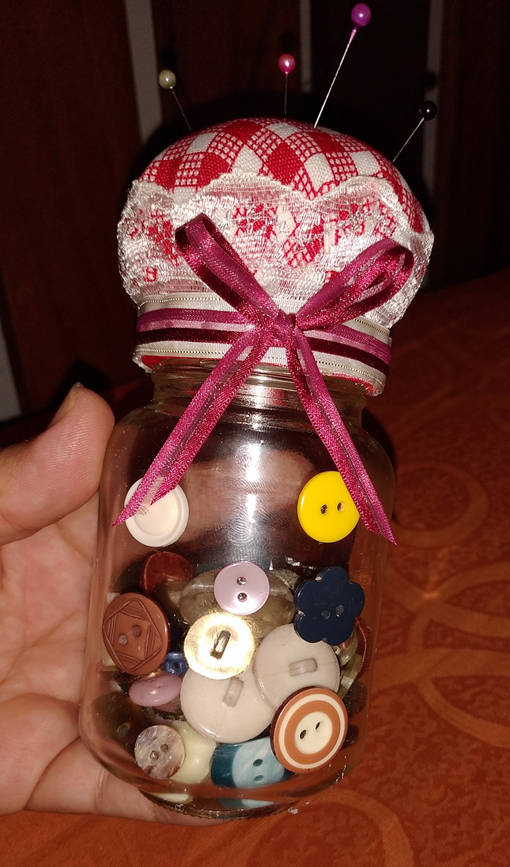
Hola amigos, hoy comparto este alfiletero, realmente lo realicé por la necesidad de organizar los botones y alfileres en un solo lugar, es muy práctico para tener a disposición cada vez que se necesite, además de que ayuda a ordenar.Otra cosa es que he utilizado envases de cristal reutilizables, una forma de dar cariño al planeta.Espero les guste.
Hi friends, today I share this pincushion, I really made it because of the need to organize the buttons and pins in one place, it's very practical to have at your disposal whenever you need it, besides it helps to order, another thing is that I used reusable glass containers, a way to give love to the planet, I hope you like it.
Aquí el paso a paso en imágenes/Here the step by step in pictures
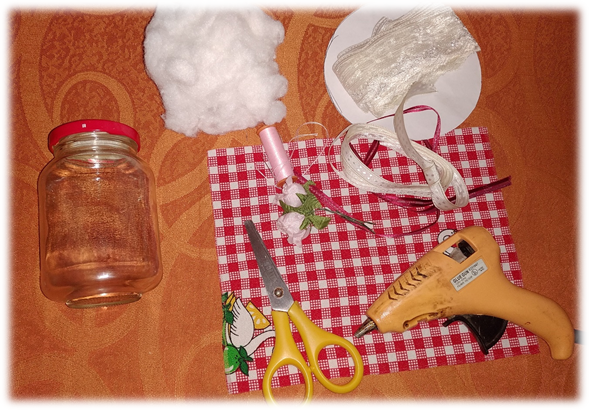
Materiales a Utilizar:/ Materials to be used:🌼
- Un envase de vidrio
- Un trozo de tela
- Relleno
- Hilo y aguja
- Encaje
- Cinta de raso
- Tijera
- Pistola de silicón
- A glass container
- A piece of cloth
- Stuffing
- Thread and needle
- Lace
- Satin ribbon
- Scissors
- Silicone gun
Paso a Paso/Step by step🌷
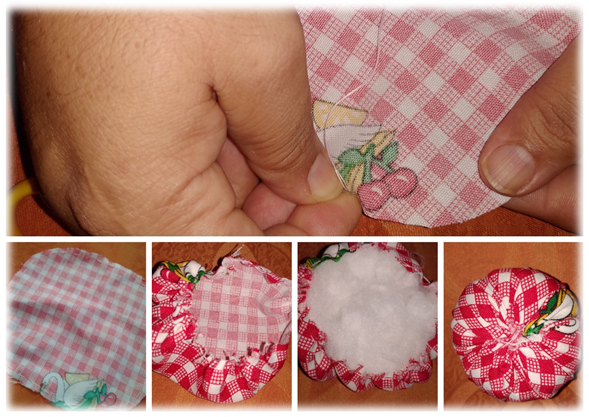
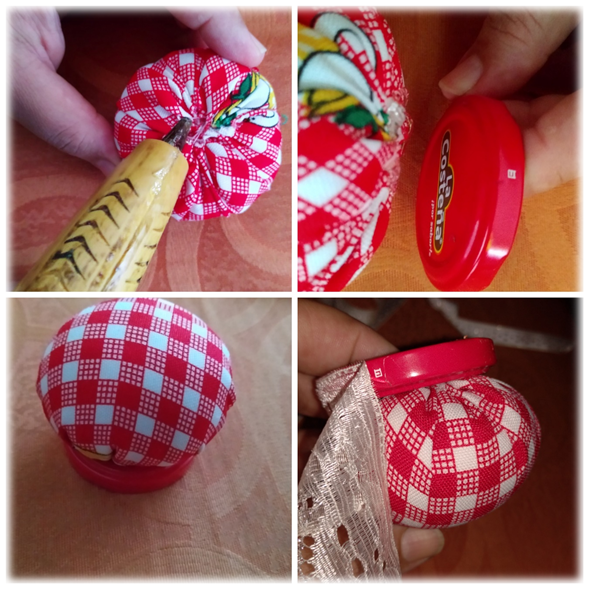
- Comienzo por recortar un círculo de tela, el tamaño depende del diámetro de la tapa del envase, sugiero duplicar el diámetro,de manera que cubra la tapa en su totalidad.
- Ahora procedo a realizar una costura tipo basteo o hilvanar el contorno de la tela, es importante reforzar la primera puntada para evitar que al fruncir esta se vaya.
- Ahora frunzo la tela y procedo a rellenar , luego cierro en su totalidad reforzando las puntadas.
- I start by cutting out a circle of cloth, the size depends on the diameter of the lid of the container, I suggest doubling the diameter, so that it covers the whole lid.
- Now I proceed to make a basting type seam or baste the contour of the fabric, it is important to reinforce the first stitch to avoid that when puckering this one goes away.
- Now I pucker the fabric and proceed to fill, then I close in its totality reinforcing the stitches.
- En este paso procedo a pegar la bola de tela a la tapa del envase, luego decoro el borde con un encaje.
- In this step I proceed to glue the cloth ball to the lid of the container, then I decorate the edge with a lace.
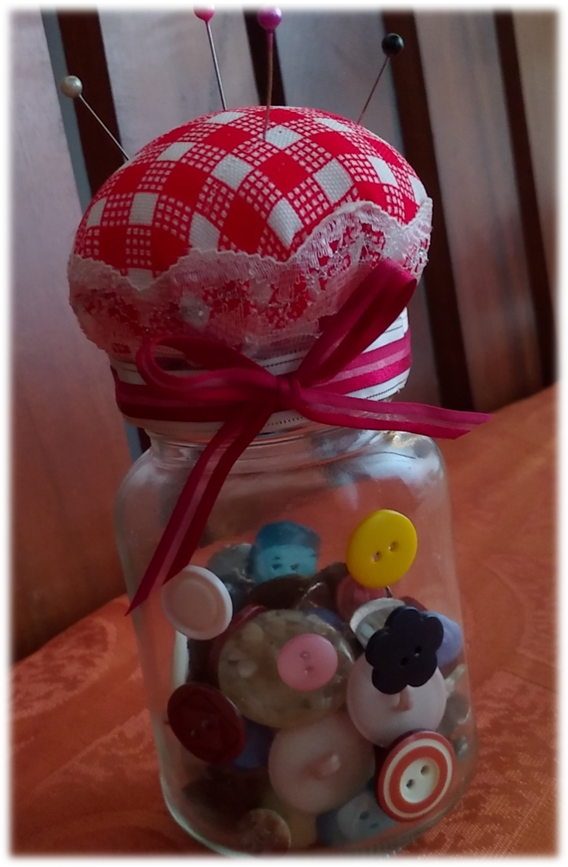
- Finalmente coloqué una cinta de raso por el borde de la tapa,le coloqué un lazo realizado con la misma cinta y le pegué al frasco algunos botones para decorarlo.
- Finally I put a satin ribbon on the edge of the lid, I put a bow made with the same ribbon and I stuck some buttons on the bottle to decorate it.
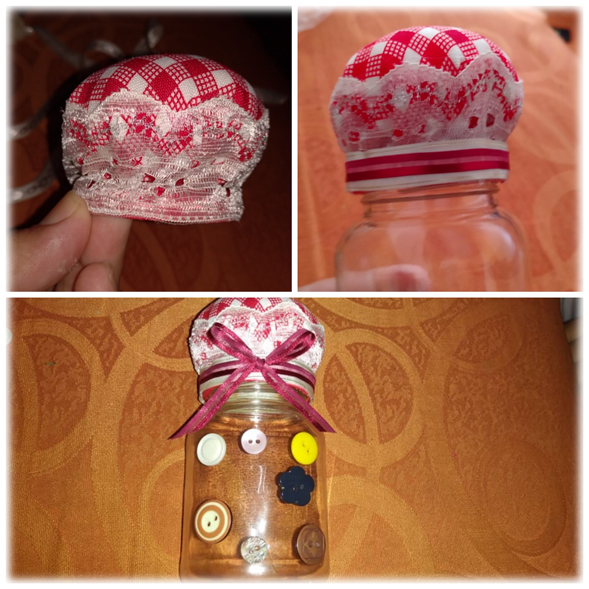
Está culminado el alfiletero... 🌼/The pincushion is finished...

La Vida es Arte...🌼
¡Gracias por leerme! Nos encontraremos en el próximo post @dorada
**Nota: fotos de mi autoría capturadas con dispositivo móvil Redmi 8.
thank you @qurator for being present and motivating me to work harder every day.