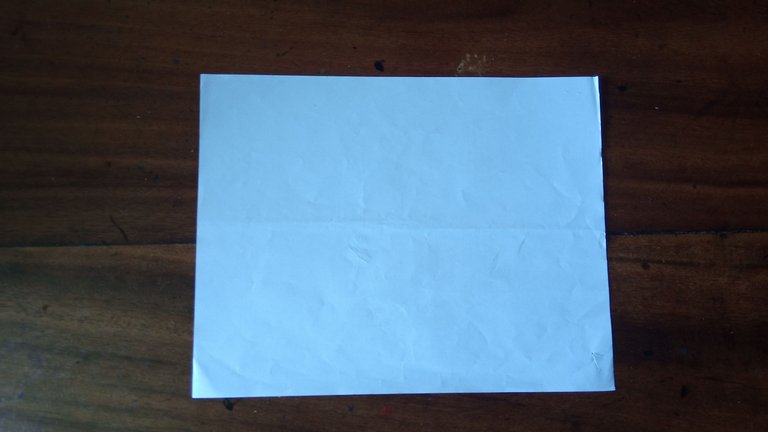
Hoy en la mañana estuve viendo una de las comiquitas que más me gustaron cuando estaba pequeño, la cual podía pasar horas y horas viéndola son cansarme y si, estoy hablando de Pokémon. Lo estuve viendo con mi sobrina y lo tuve latente por mucho rato reviviendo ciertos recuerdos, por lo cual en un momento de la tarde decidí juntar los pensamientos que tenía en la mente con una de las cosas que más me gusta hacer, Origami; así que emprendí a realizar un Pikachu de papel donde solo necesité una hoja tamaño carta y quiero invitarlos a ustedes a qué lo realicen también.
[eng]Today in the morning I was watching one of the cartoons that I liked the most when I was little, which I could spend hours and hours watching it without getting tired and yes, I'm talking about Pokémon. I was watching it with my niece and I had it latent for a long time reliving certain memories, so at one point in the afternoon I decided to put together the thoughts I had in my mind with one of the things I like to do, Origami; so I started to make a Pikachu of paper where I only needed a letter size sheet and I want to invite you to make it too.
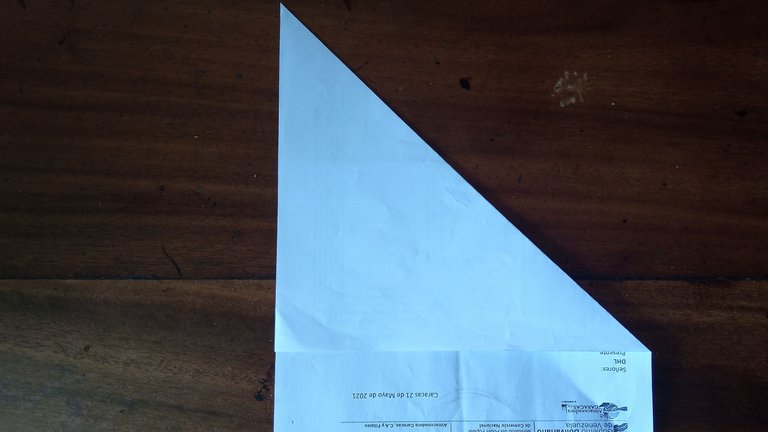
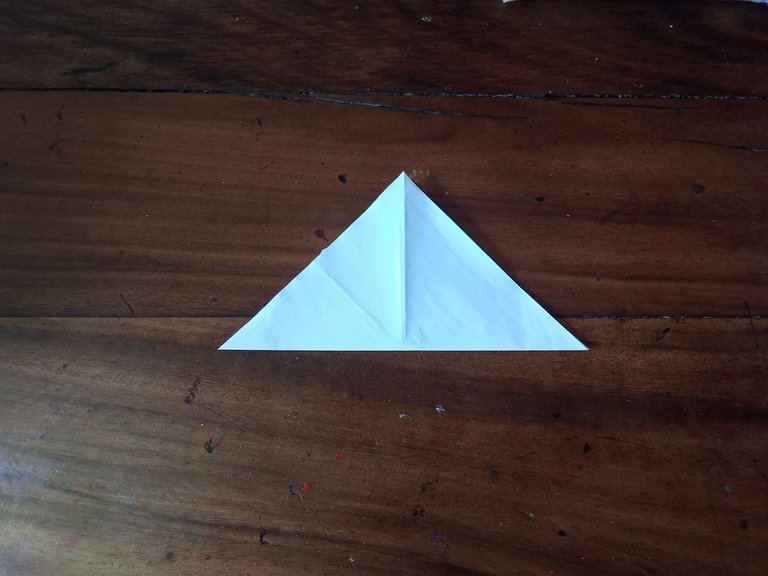
🔹 Lo primero que debemos hacer es buscar un cuadrado perfecto, por lo que doblaremos la hoja de manera diagonal y recortaremos el sobrante ya sea marcando bien la línea y luego quitando la poco a poco o si no también con una tijera.
[eng]The first thing to do is to look for a perfect square, so we will fold the sheet diagonally and cut the excess either by marking the line well and then removing it little by little or with scissors.
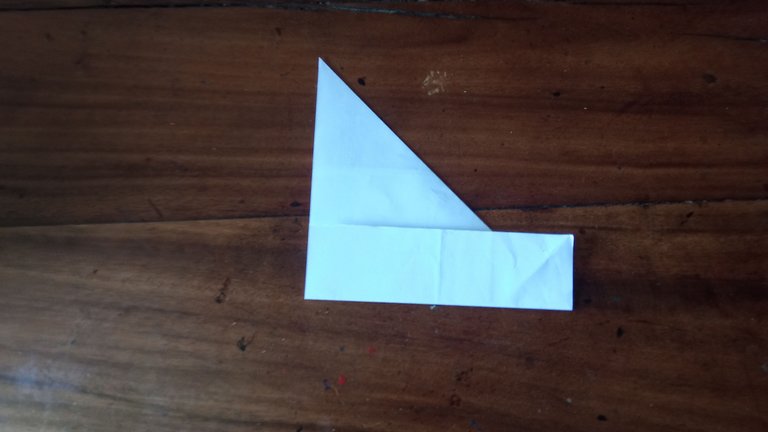

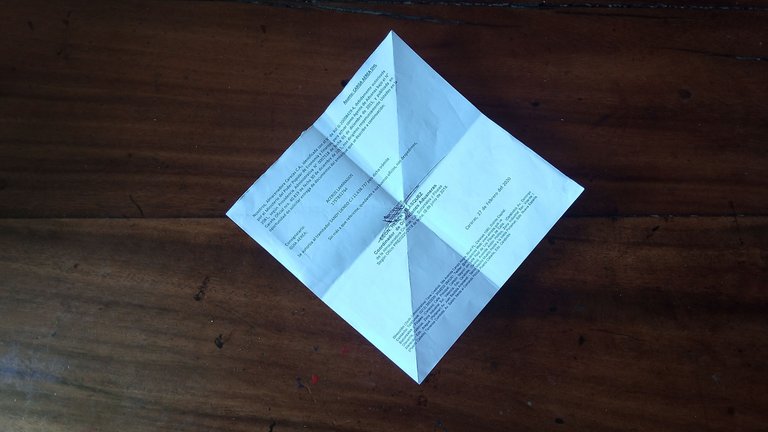
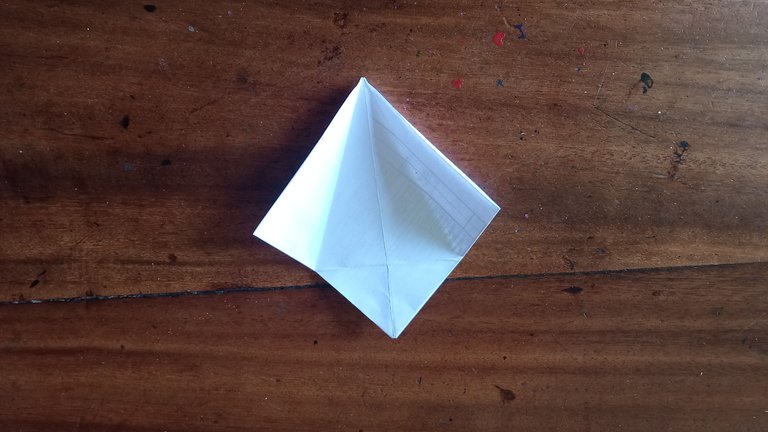
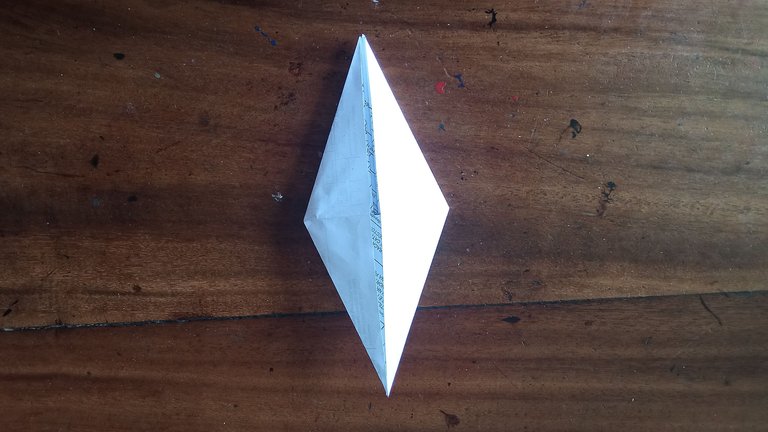
🔹 Lo siguiente es doblar en ambos sentidos para luego obtener 4 diamantes en nuestro cuadro perfecto.
[eng]The next step is to fold in both directions to get 4 diamonds in our perfect square.

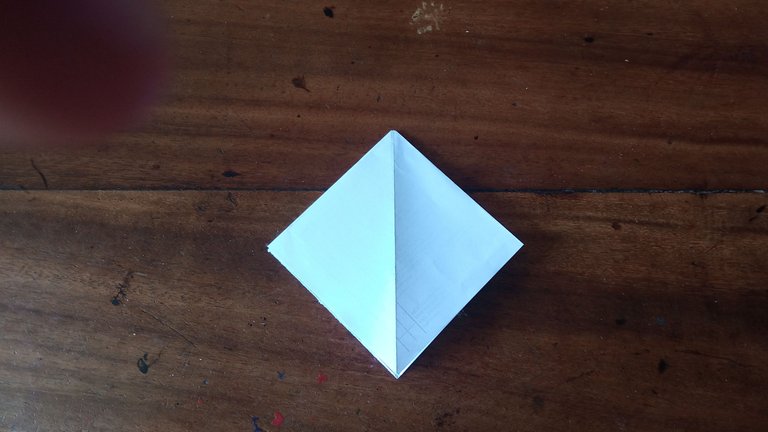
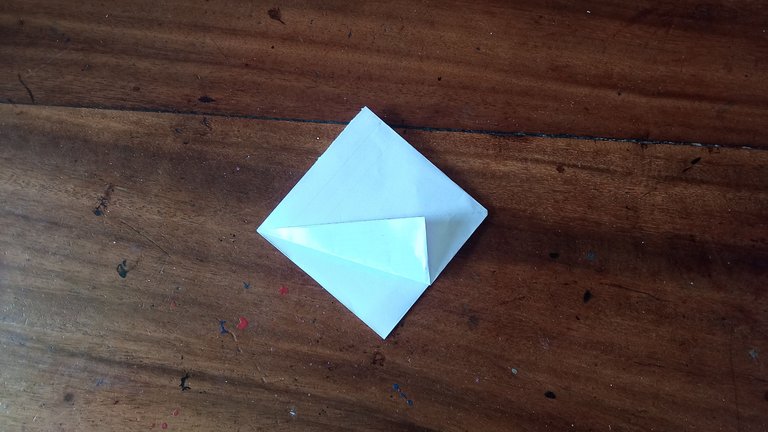
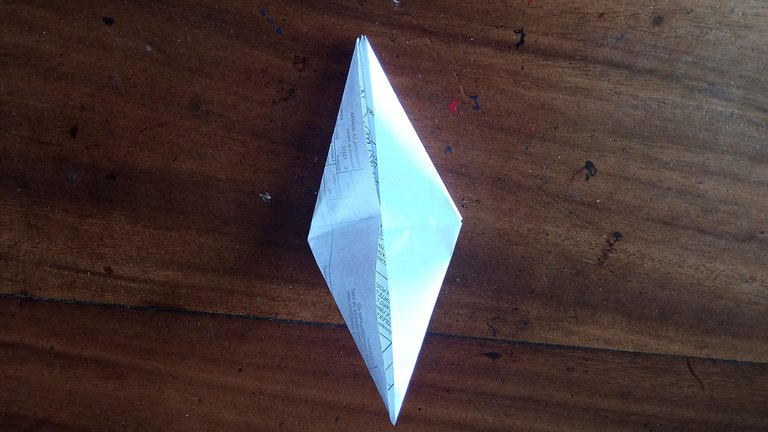
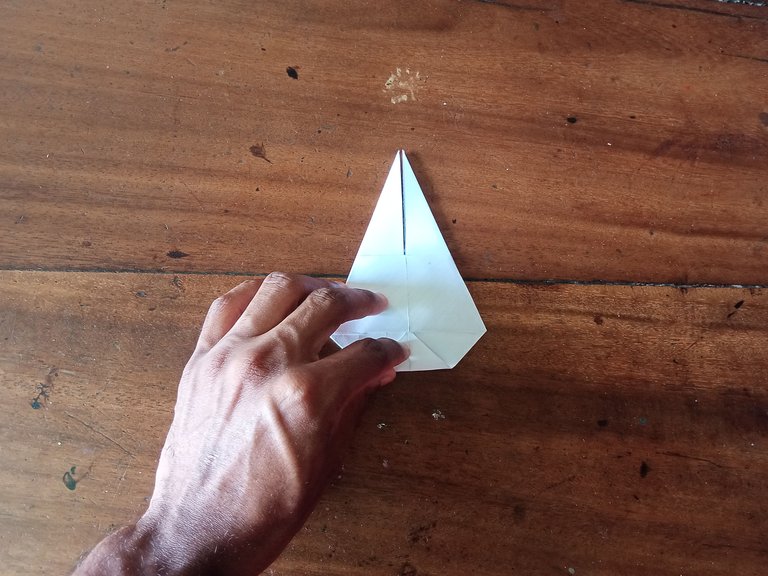
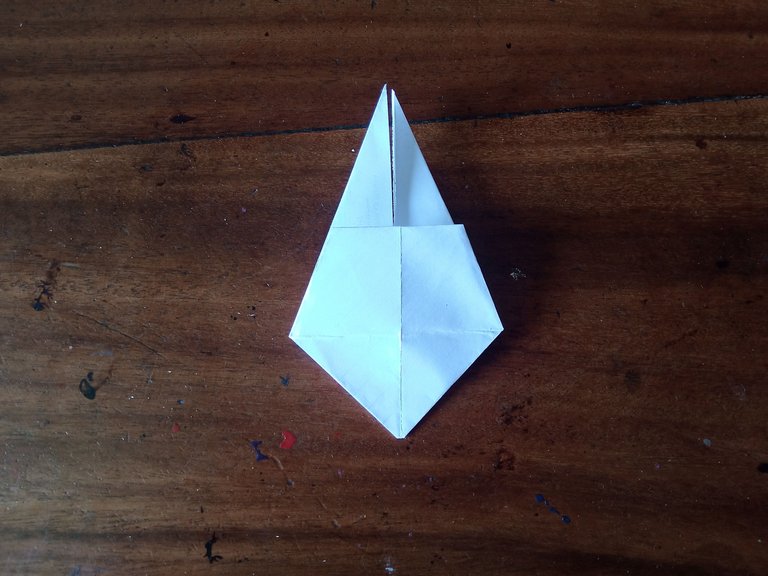
🔹 Ahora llevaremos dos de los rombos que tenemos formados hacia adentro y luego la parte superior la llevaremos hacia abajo para de esta forma tener un solo rombo.
[eng]Now we will take two of the rhombuses that we have formed inwards and then we will take the upper part downwards in order to have only one rhombus.
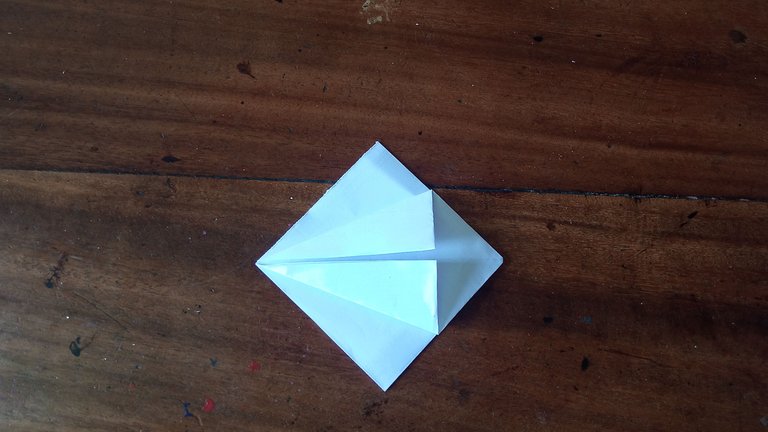
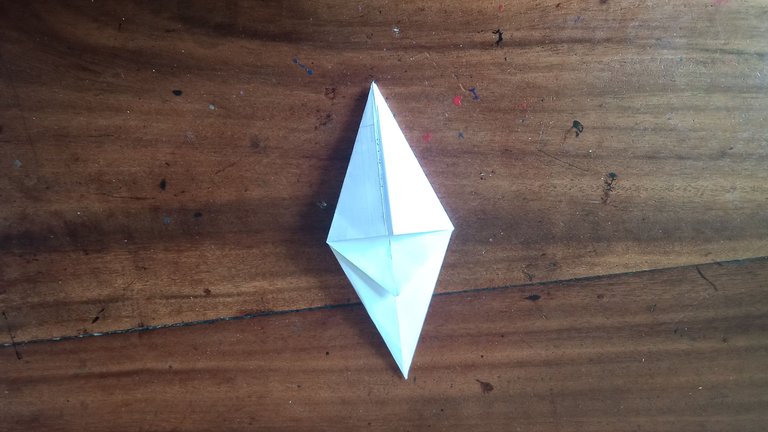
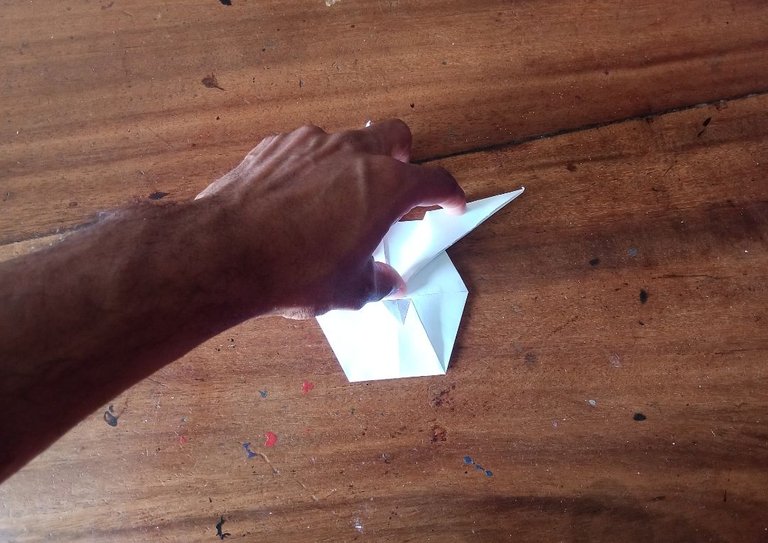
🔹 Hecho esto vamos a llevar las dos alas del rombo hacia adentro de la siguiente manera como se muestra en las imágenes, el proceso se realiza en ambas caras.
[eng]Once this is done, we will bring the two wings of the rhombus inwards as shown in the images, the process is done on both sides.
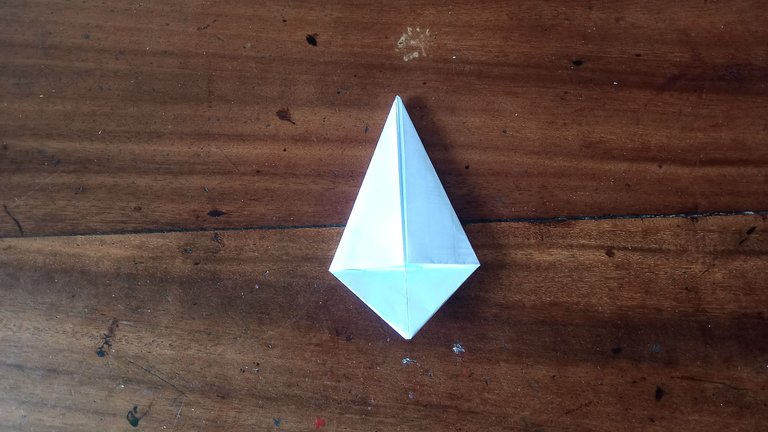
🔹 Ya en este punto nos daremos cuenta que hay un triángulo pequeño que nos quedó en la parte inferior; la vamos a doblar hacia arriba y luego la devolveremos a dónde estaba.
[eng]At this point we will notice that there is a small triangle left at the bottom; we will fold it upwards and then return it to where it was.
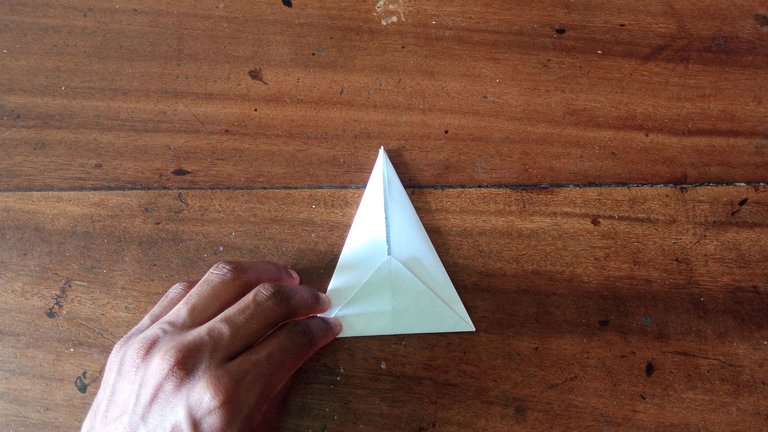
🔹 Vamos a aperturar las caras del rombo y la abrimos por el orificio de abajo y doblaremos hacia adentro los laterales de cada ala tal cual se ve en las imágenes, se repite el proceso en ambas caras.
[eng]We are going to open the faces of the rhombus and open it through the bottom hole and fold inward the sides of each wing as shown in the images, repeating the process on both sides.
🔹 Vamos a dejar hacia arriba las puntas que están separadas y doblaremos las puntas de abajo hasta el comienzo del triangulito inferior de nuestra forma; lo repetimos en ambas caras.
[eng]We will leave the separate ends upwards and fold the bottom ends up to the beginning of the lower triangle of our shape; we repeat this on both sides.
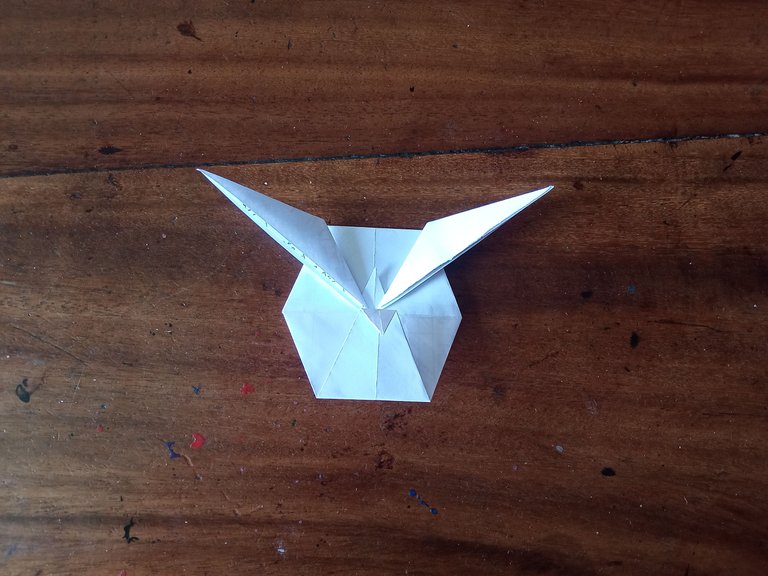
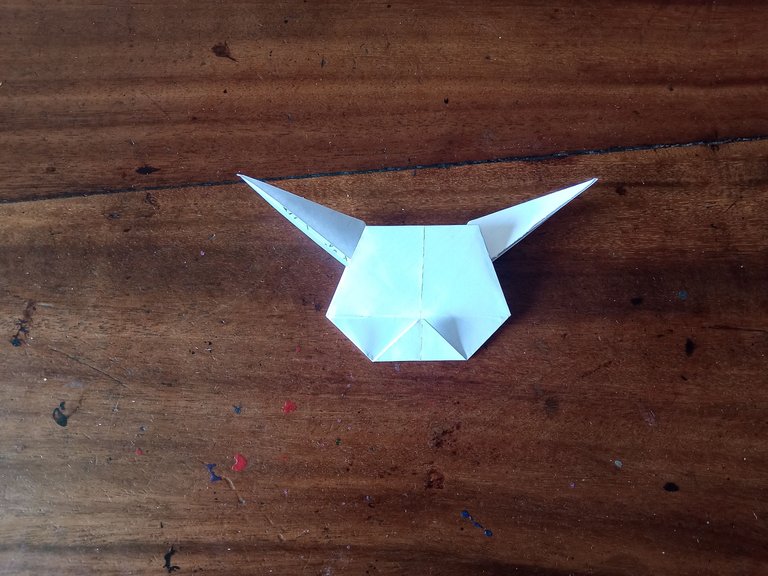
🔹 Posteriormente una de los dobles los vamos a deshacer por un momento para realizar las formas de las orejas, las cuales haremos doblando las hacia un lado y teniendo como límite la punta superior del rostro de nuestro Pikachu.
[eng]Afterwards, we will undo one of the doubles for a moment to make the shapes of the ears, which we will do by bending them to one side and having as a limit the upper tip of the face of our Pikachu.
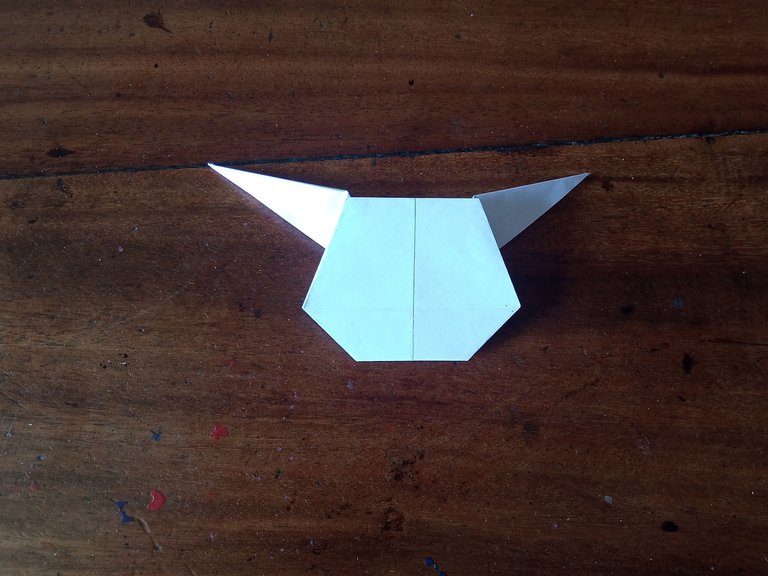
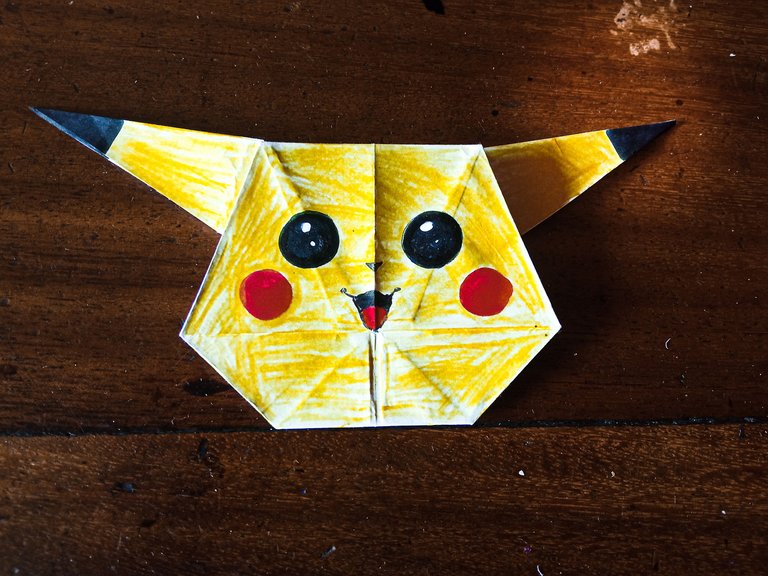
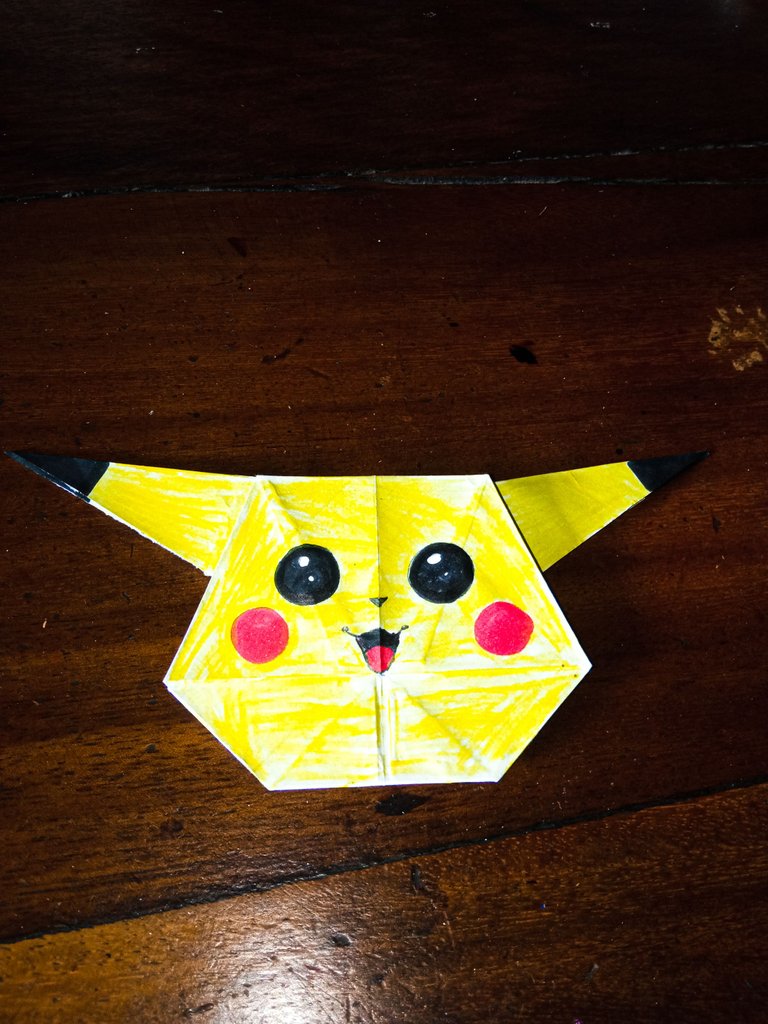
Y listo, ya tenemos nuestro rostro hecho pero muy simple, por lo que le pedí el favor a mi sobrina para que le diera algo de vida y este fue el resultado.
[eng]And that's it, we have our face done but very simple, so I asked my niece to give it some life and this was the result.
Si te gusto esta públicación déjamelo saber en los comentarios. Sigue aportando tu granito de arena para que sigamos creciendo como comunidad y haciendo cosas muy interesantes. Que Dios me los bendiga siempre Hivers, hasta un próximo post.
[esp] If you liked this publication let me know in the comments. Keep contributing with your grain of sand so we can keep growing as a community and doing very interesting things. God bless you always Hivers, see you in the next post.
