
¡Hola Chicos!
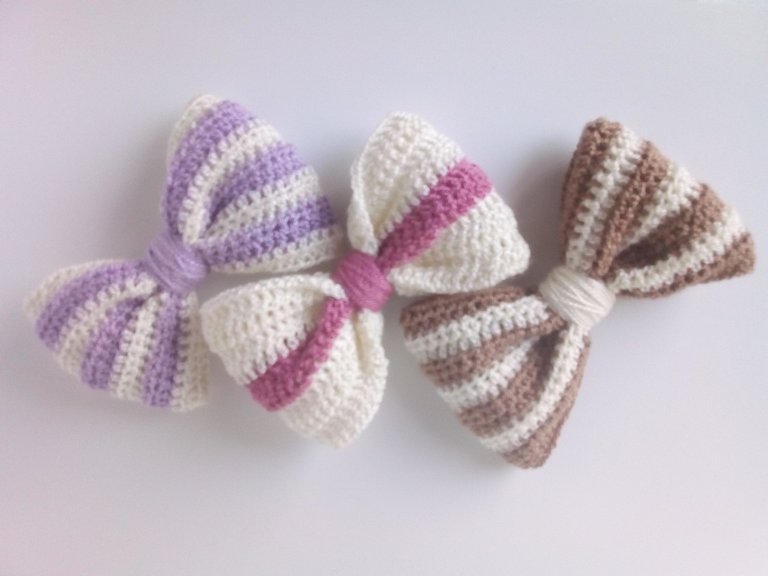
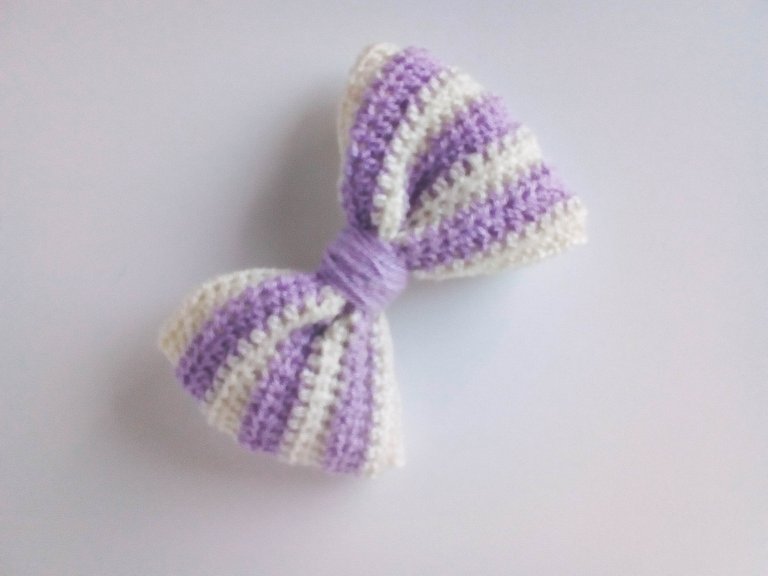
El día de hoy quiero presentarle estos lindos lazos tejidos a crochet los cuales son en realidad unos ganchitos para el cabello. Como son algo grandes para una niña se trata de un lazo que se usa por individual y posiblemente los coloque en combo con algún par de zarcillos que hagan juego.
Les voy a explicar el paso a paso para que puedas hacerlos tú también y quizá montar tu propio emprendimiento como yo lo estoy haciendo. Son bien sencillos de hacer, y no se usa gran cantidad de material por lo que es ideal para un negocio que cuenta con poco capital.
Sin más que decir, acompáñame a descubrir los pasos a seguir para elaborarlos.
Hi Guys!
Today I want to introduce you to these cute crocheted bows which are actually hair clips. As they are somewhat large for a girl, it is a bow that is used individually and possibly put in a combo with a pair of matching earrings.
I am going to explain the step by step so that you can do them too and perhaps set up your own business as I am doing. They are very simple to make, and do not use a large amount of material so it is ideal for a business that has little capital.
Without further ado, join me in discovering the steps to follow to make them.
- Aguja de Crochet
- Hilo Margarita
- Tijeras
- Crochet hook
- Daisy thread
- Pair of scissors
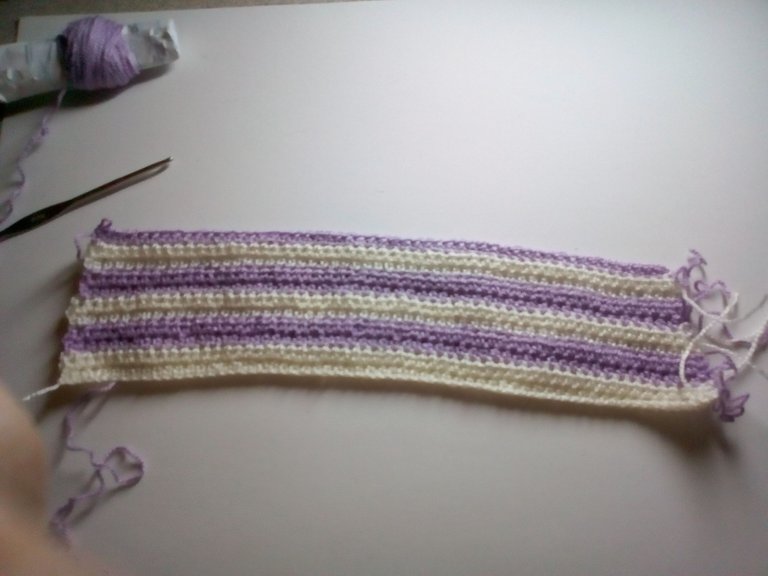
1.- Vamos a tejer los lazos en horizontal, por lo que vamos a tejer 60 cadenetas para la base.
2.- Tejemos 2 cadenetas adicionales para iniciar la vuelta y en la tercera cadena vamos a iniciar tejiendo puntos medios.
3.- Finalizando la vuelta volvemos a tejer 2 cadenetas y en el segundo punto seguimos tejiendo medios puntos.
4.- Yo he intercambiado colores al tejer dos vueltas, en total debes tejer 10 vueltas de medios puntos.
1.- We are going to knit the ties horizontally, so we are going to knit 60 chains for the base.
2.- We knit 2 additional chains to start the round and in the third chain we are going to start knitting half stitches.
3.- At the end of the round we chain 2 again and in the second stitch we continue to knit half stitches.
4.- I have exchanged colors by knitting two rounds, in total you must knit 10 rounds of half stitches.
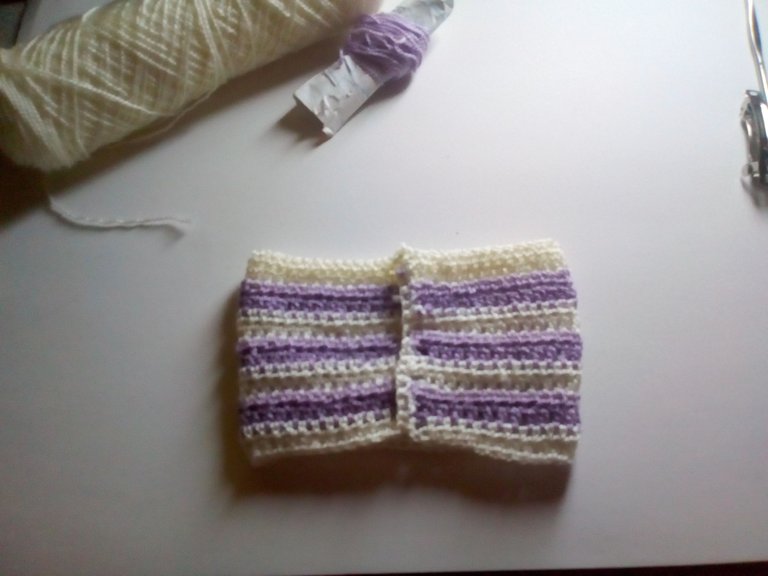
5.- Finalizadas las vueltas cortamos el excedente de los hilos y vamos a coser para unir ambos extremos con la misma aguja de tejer y el hilo que estamos usando.
5.- Once the rounds are finished, we cut the excess of the threads and we are going to sew to join both ends with the same knitting needle and the thread that we are using.
6.- Colocamos la unión en el centro, doblamos y mantenemos presionado con los dedos en el centro para comenzar a crear el centro del lazo.
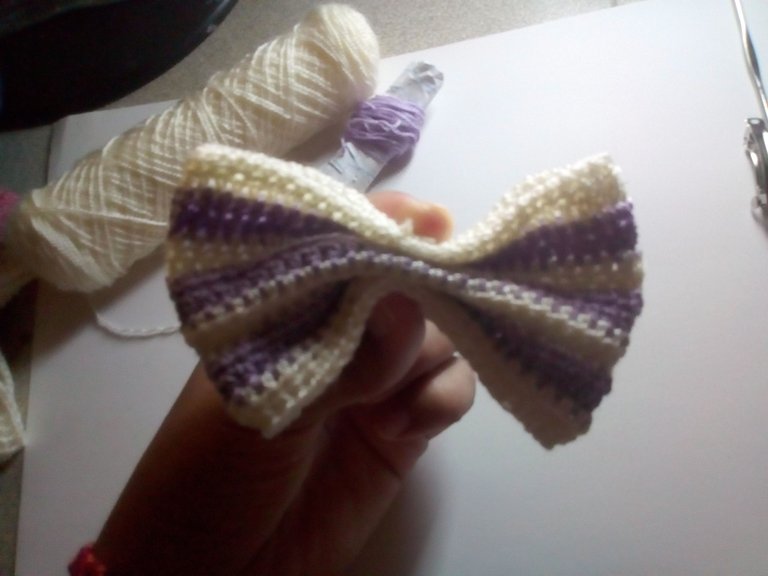
7.- Amarramos un cordel en el centro del lazo dando tantas vueltas como sean necesarias para ocultar la unión del lazo.
8.- Una vez logrado esto hacemos un pequeño nudo y cortamos el excedente de hilo.
6.- We place the union in the center, fold and hold down the center with our fingers to start creating the center of the loop.
7.- We tie a string in the center of the loop, making as many turns as necessary to hide the tie's union.
8.- Once this is achieved, we make a small knot and cut the excess thread.

9.- Ahora solo resta el colocar nuestro ganchito de metal, para ello aplicamos un poco de silicón caliente en la superficie del gancho, colocamos el lazo y hacemos un poco de presión hasta pegar bien.
9.- Now it only remains to place our metal hook, for this we apply a little hot silicone on the surface of the hook, place the loop and apply a little pressure until it sticks well.
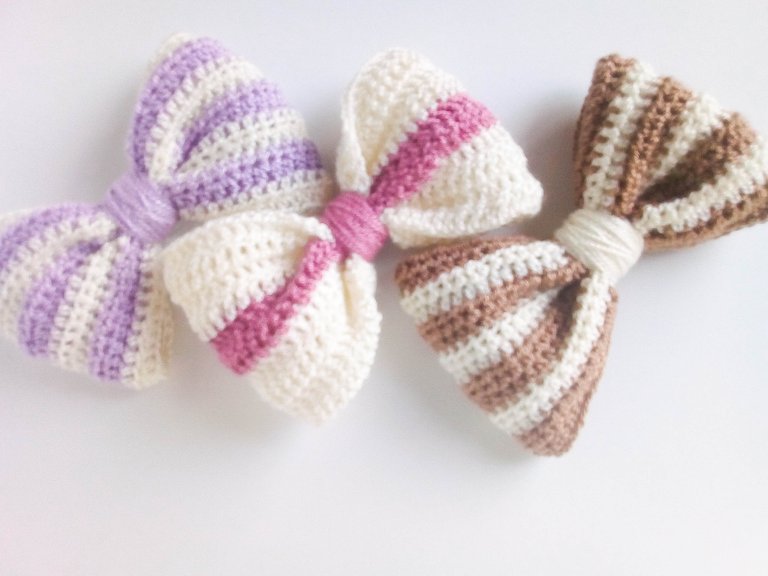
Listo, así quedan los ganchitos tejidos. Puedes variar el diseño utilizando distintas combinaciones de colores así como te muestro estos modelos.
Ready, so are the woven hooks. You can vary the design using different color combinations as well as I show you these models.

Espero haya sido de tu agrado y provecho.
Un gran abrazo a todos, y nos leemos en un próximo post
• Lakrearte en Hive •
Att: Estefania Garcia ♥
Imágenes y separadores de mi autoría
Te quedaron súper tiernos y lindos 🥰 saludos!