
Good morning everyone,
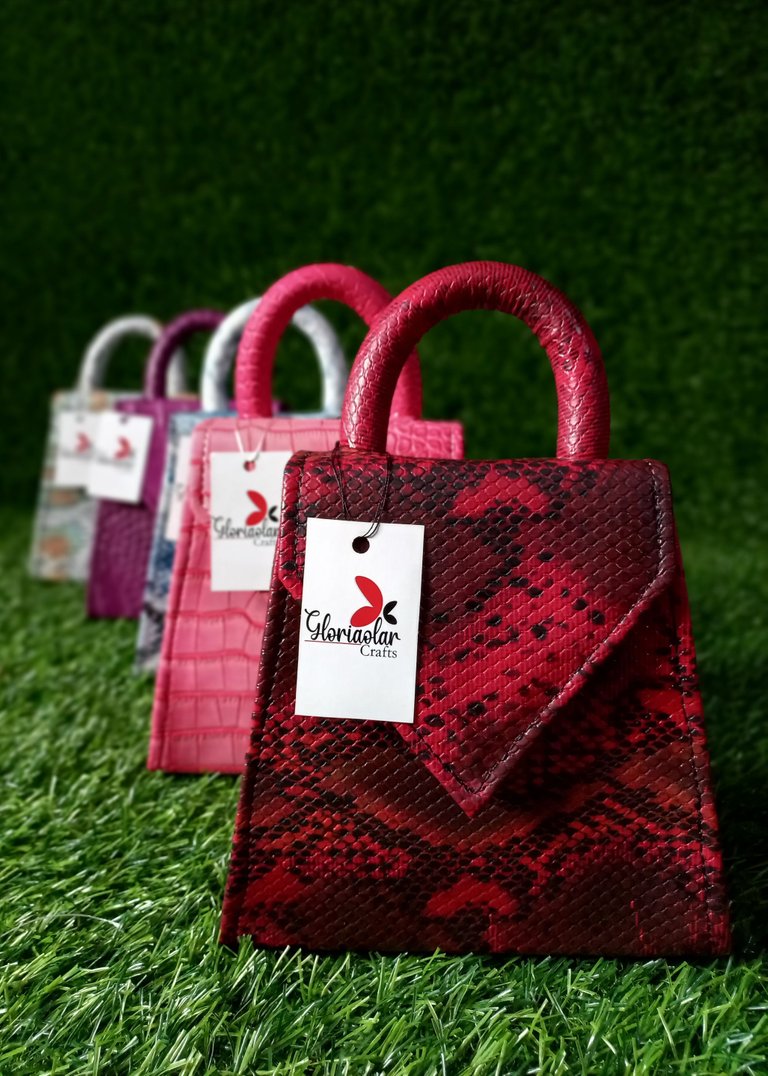
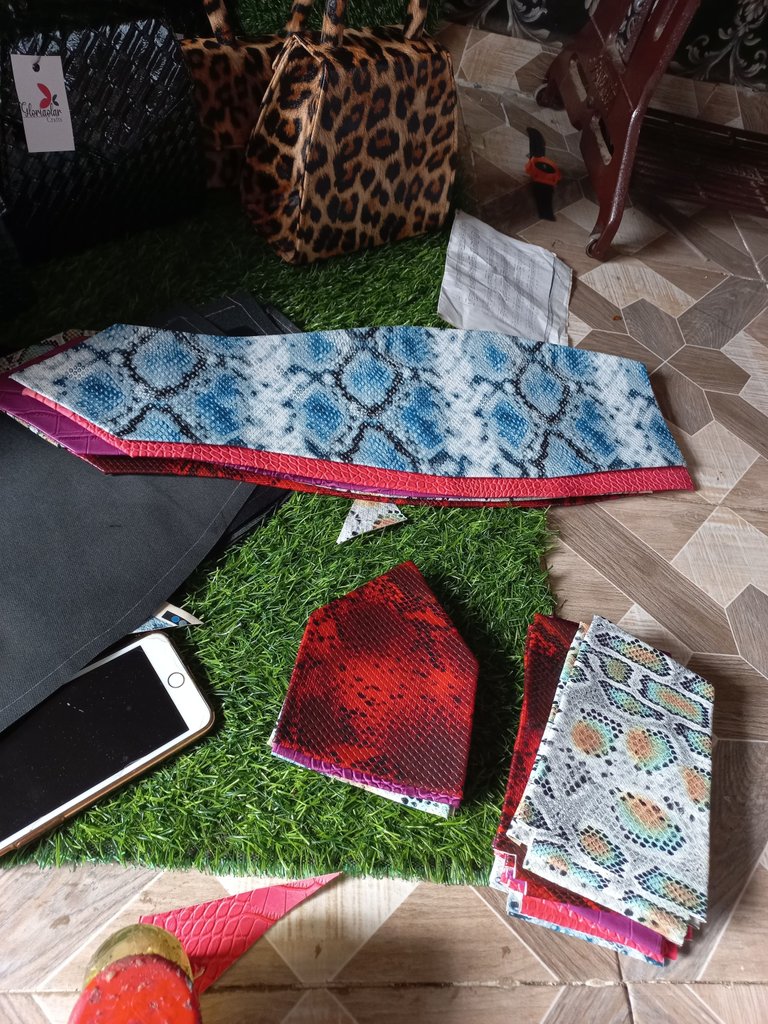
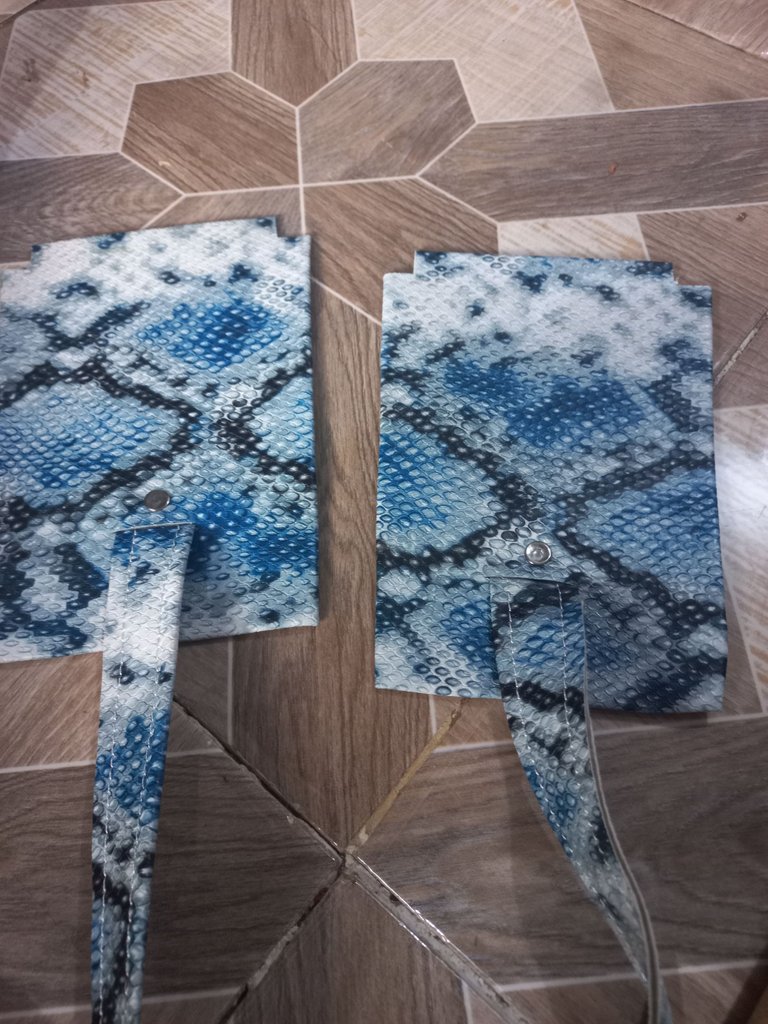
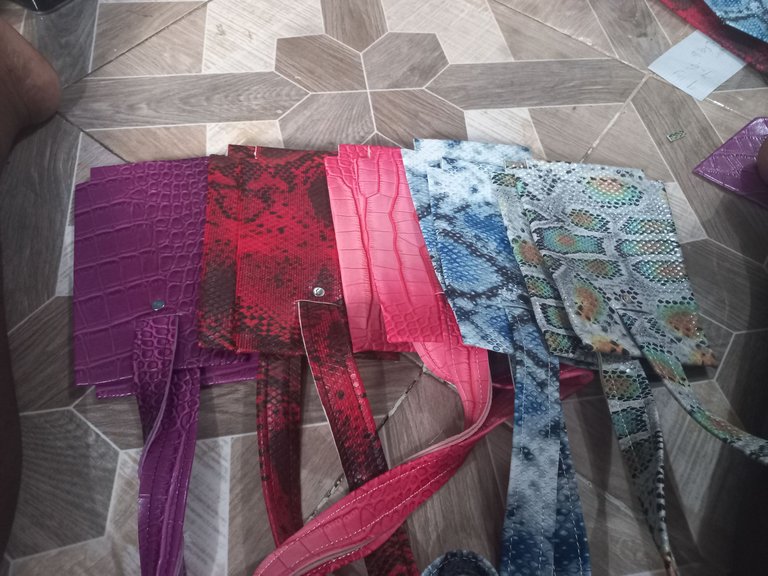
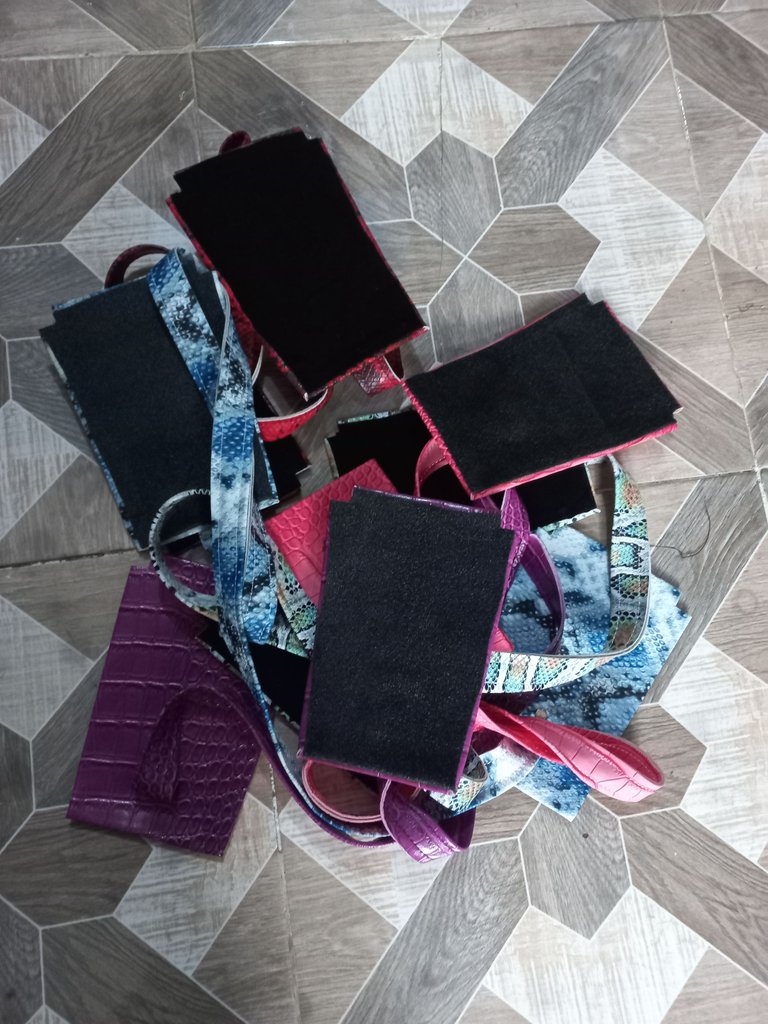
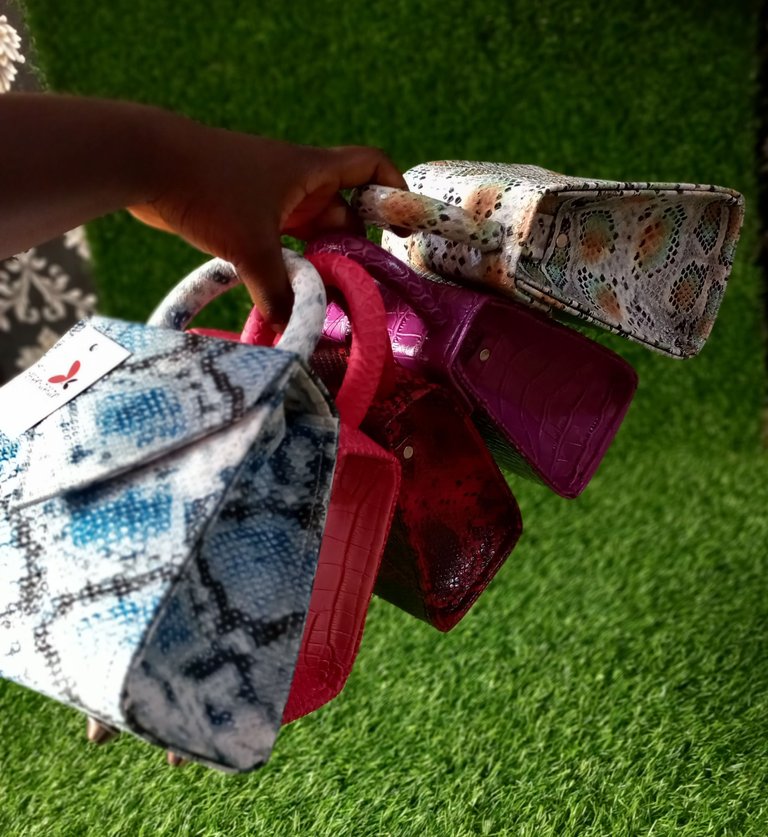
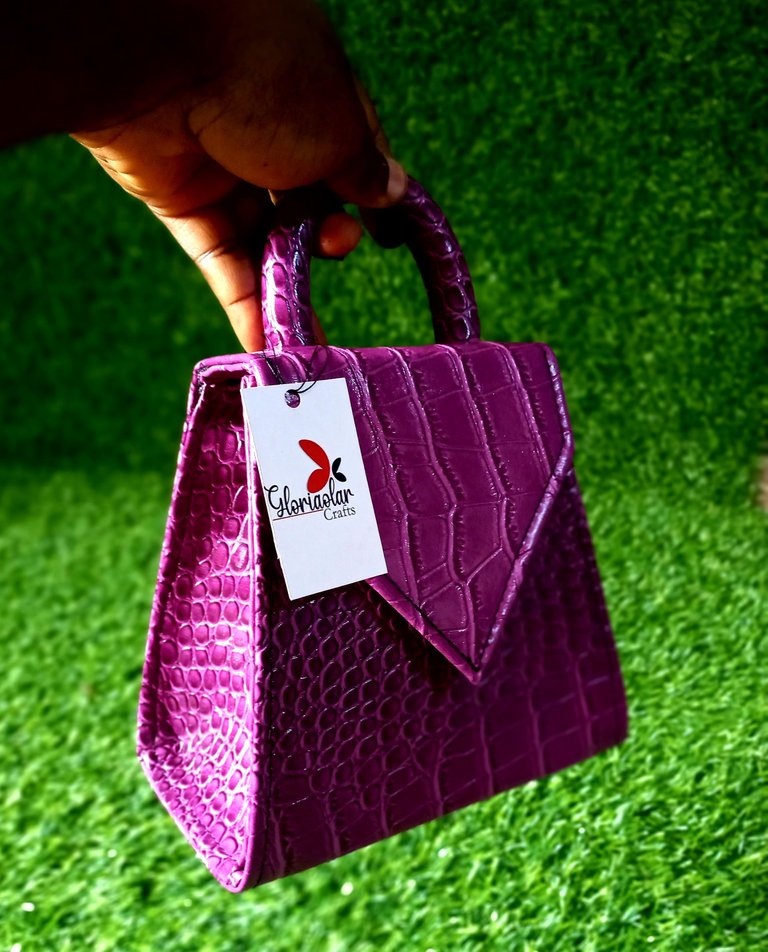
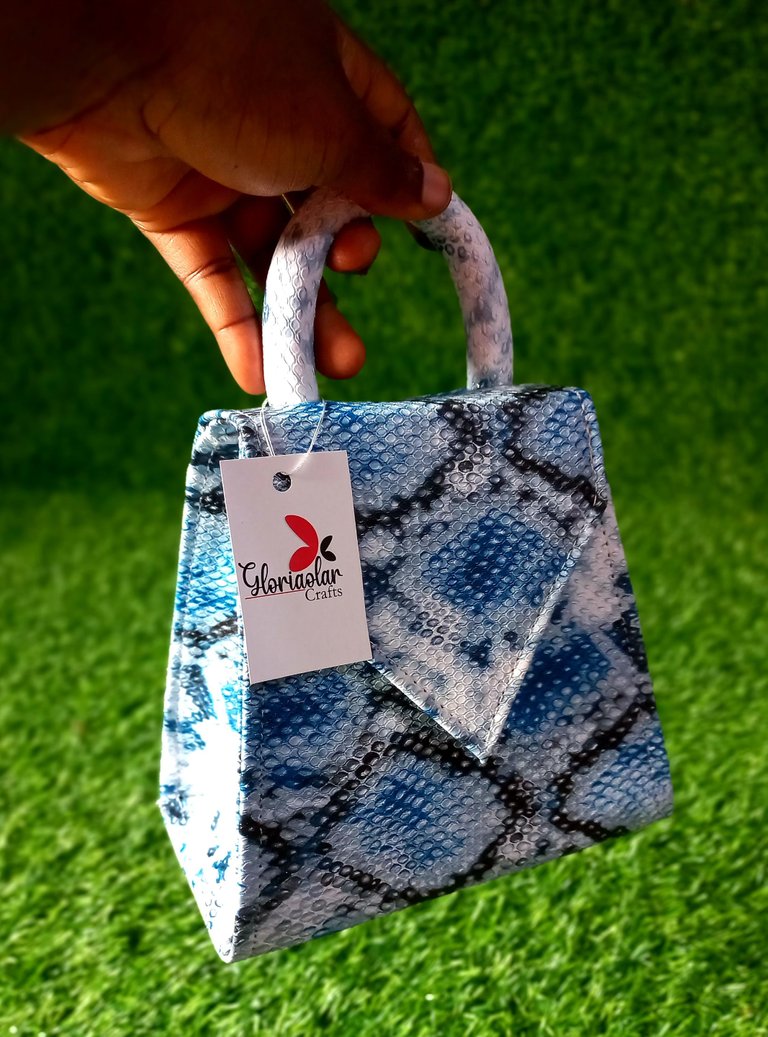
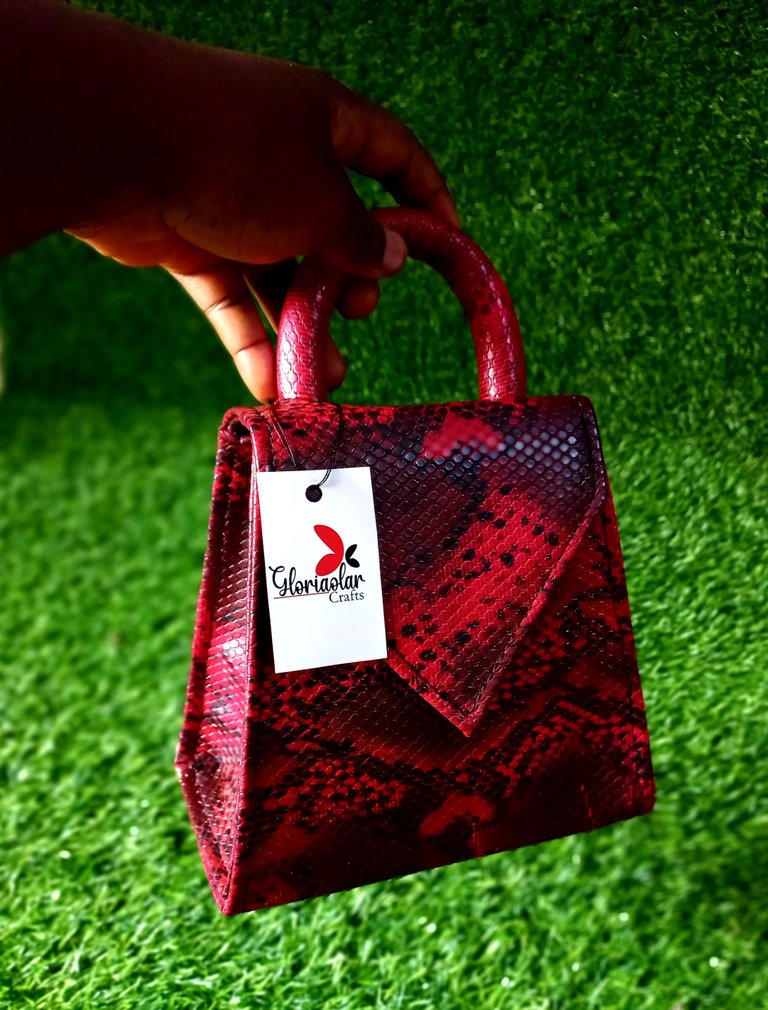
This morning I want to share with us my recent bag design. It is a mini bag style with a size of 6.5inches height by 8inches below width. I noticed mini bags are in trend at the moment. Young ladies love to carry small bags that can contain just their essentials, therefore I decided to include it in my collections. Yesterday I completed their production even though I started two days ago. Me working alone makes me slow, I still hope I find someone that will work for me soon. The bags has same designs but they are made with different leather prints with colors blue, green, red, pink and purple. The leather I use are synthetic skin leather. When you look at it, it has skin patterns but they are just manufactured to make them look like that.
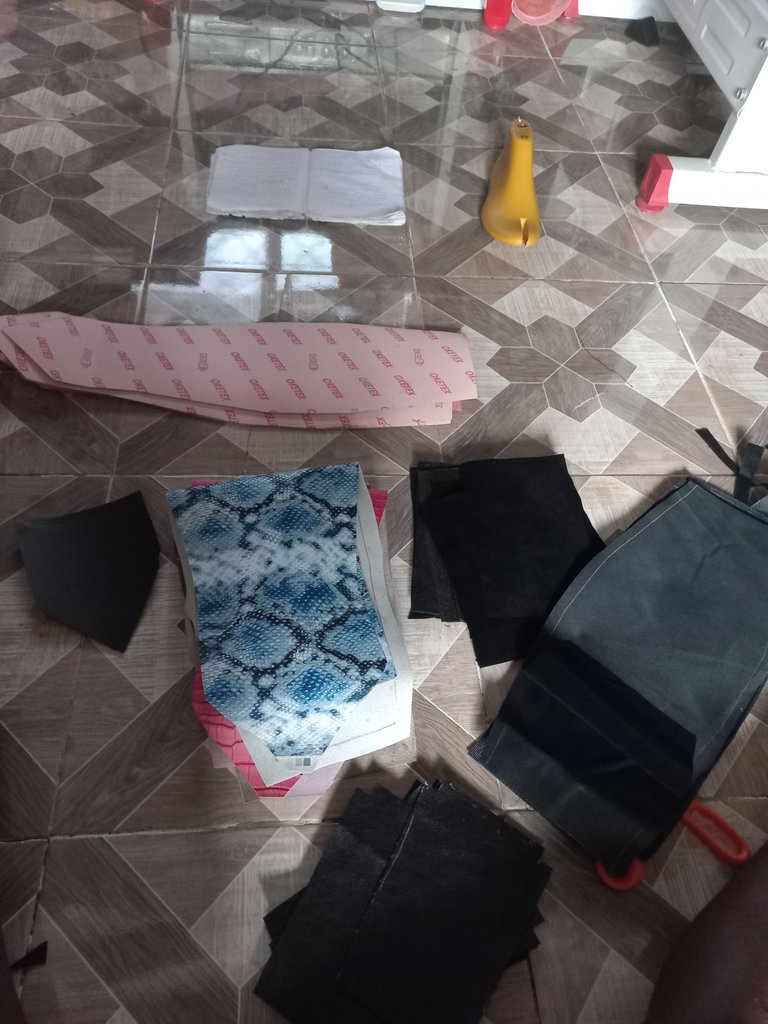
The materials I used include:
- Oketex fibre (soft fibre)
- Leather of choice
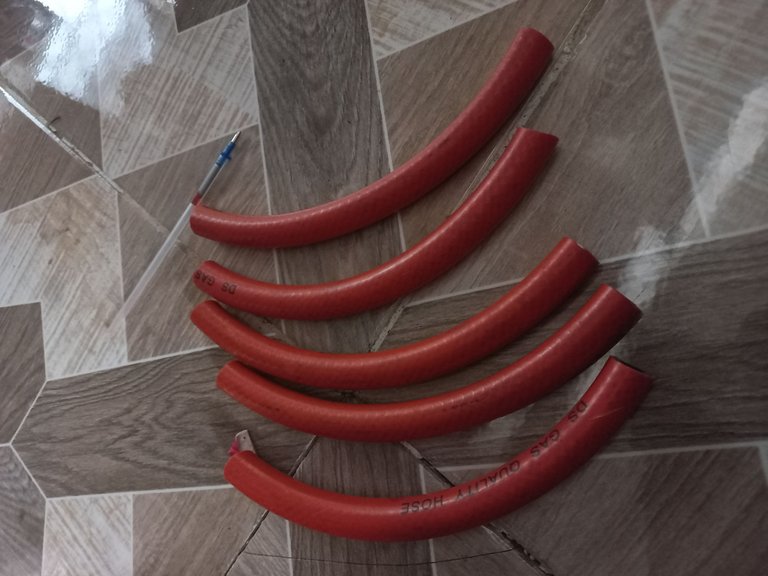
- Gas hose
- Gum
- Black pelican paper
- Soft black leather
- Bottom pin
- Suade lining
- Shoe and bag super glue
PROCESS
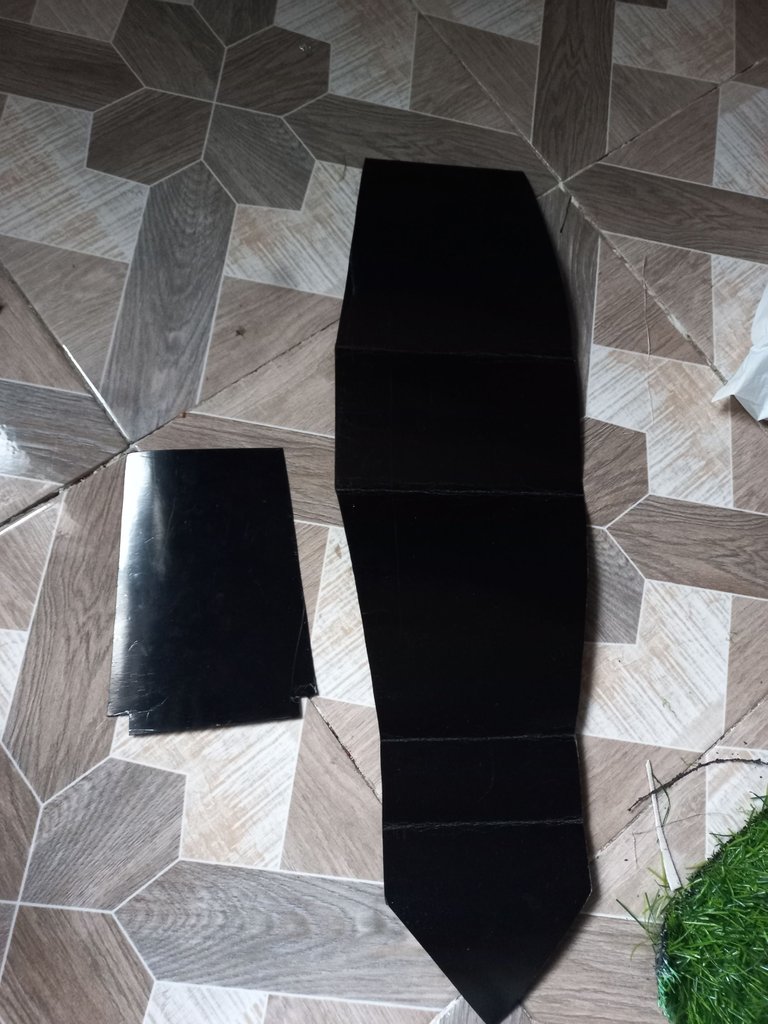
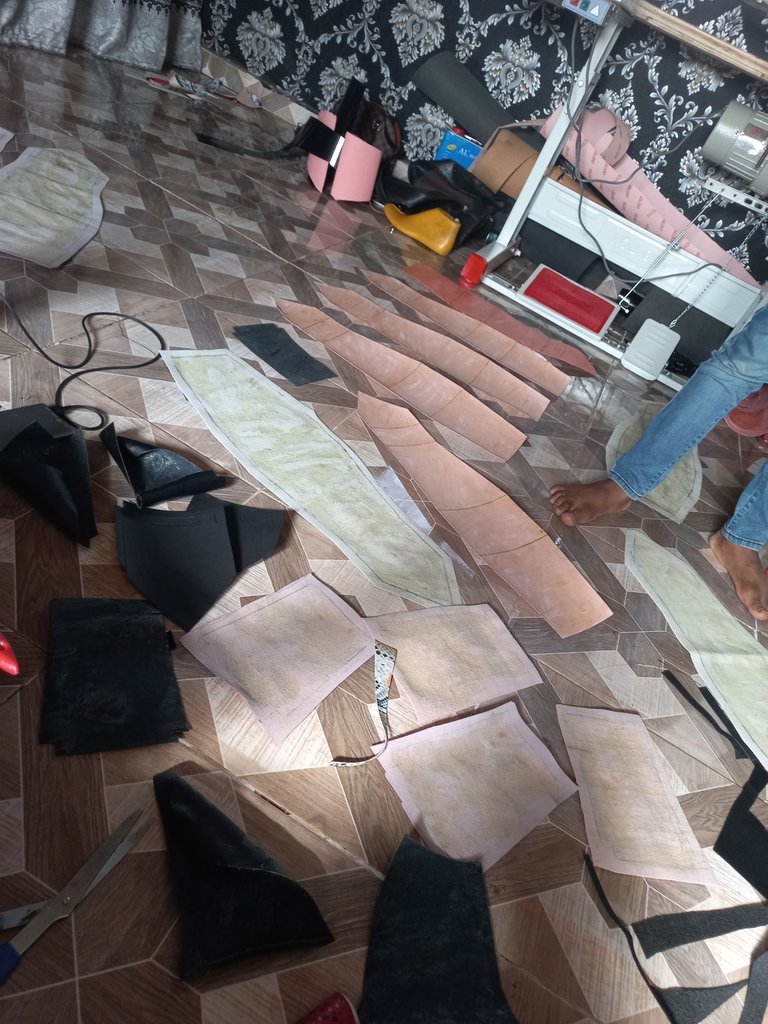
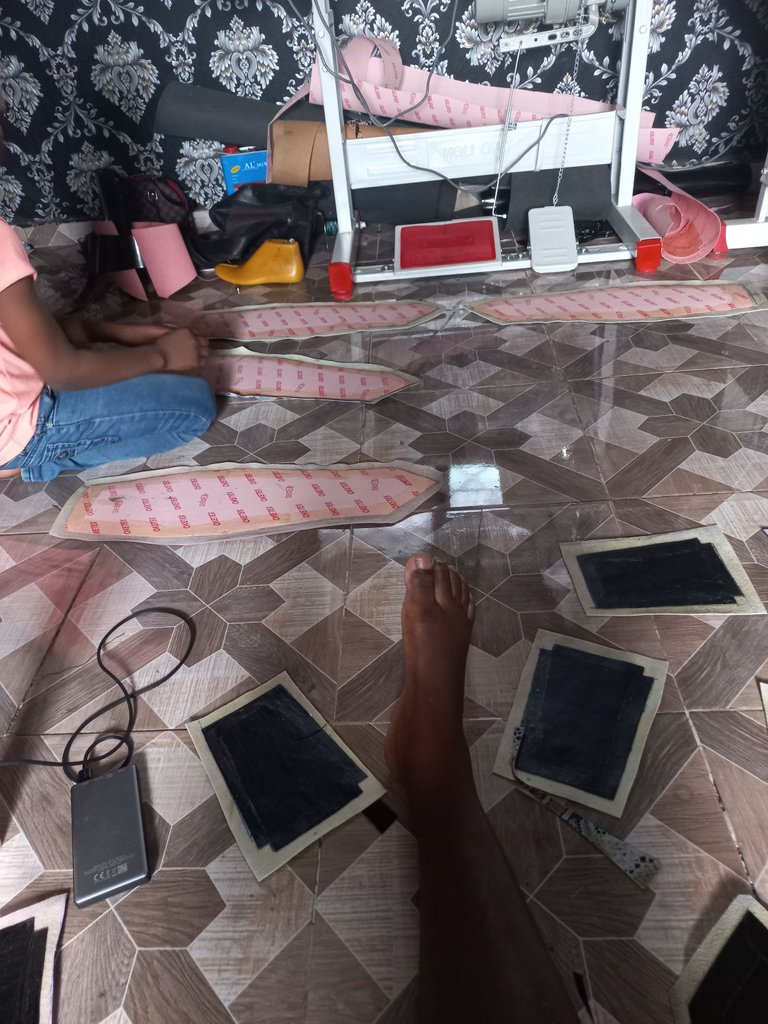
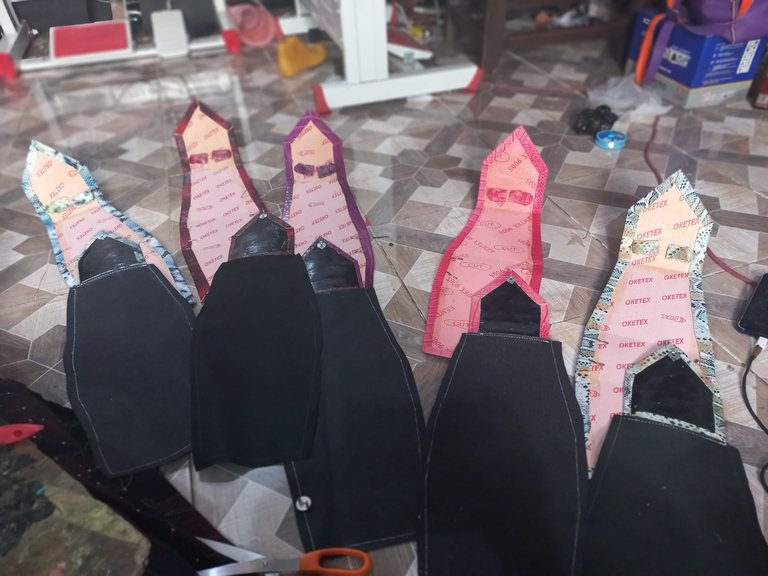
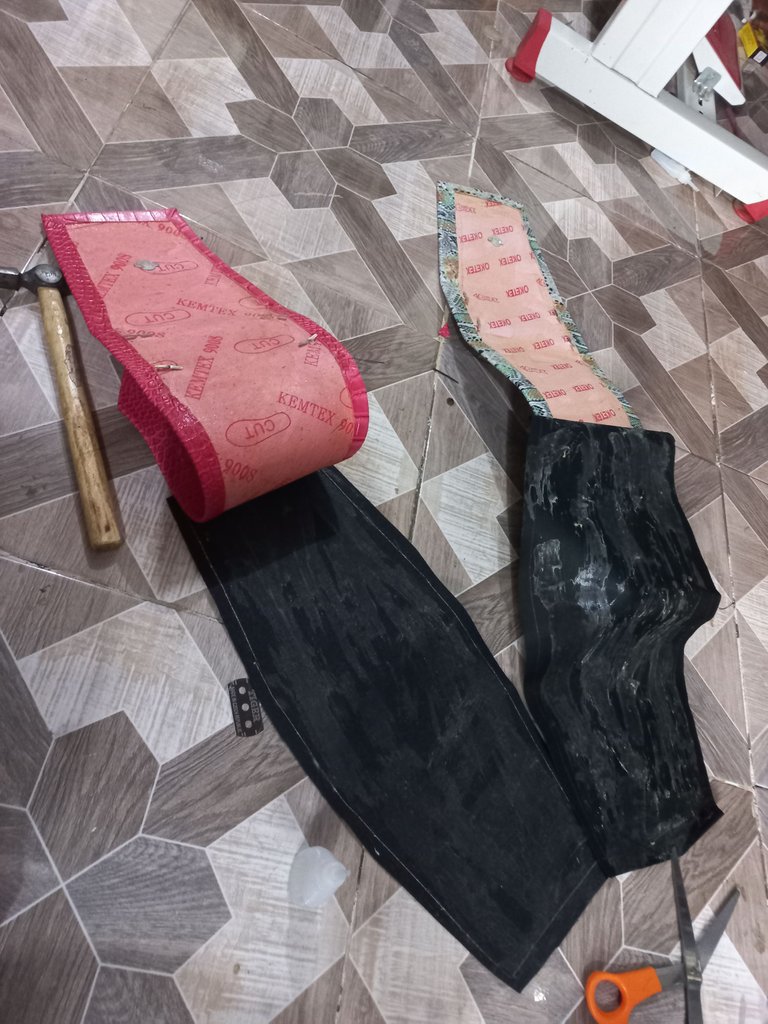
- The first thing I did was to create the pattern with the size I mentioned above. After that, I marked it out on the Fibre and leather and cut it out leaving allowance for cappingbon the leather. After that, I gummed them both together. For the sides, I used Soft black leather instead of fibre inside so as to allow flexibility.

- Next I cut out the gas hose, wrapped it with leather and fixed it at the top of the main body of the bags using a strong super glue.


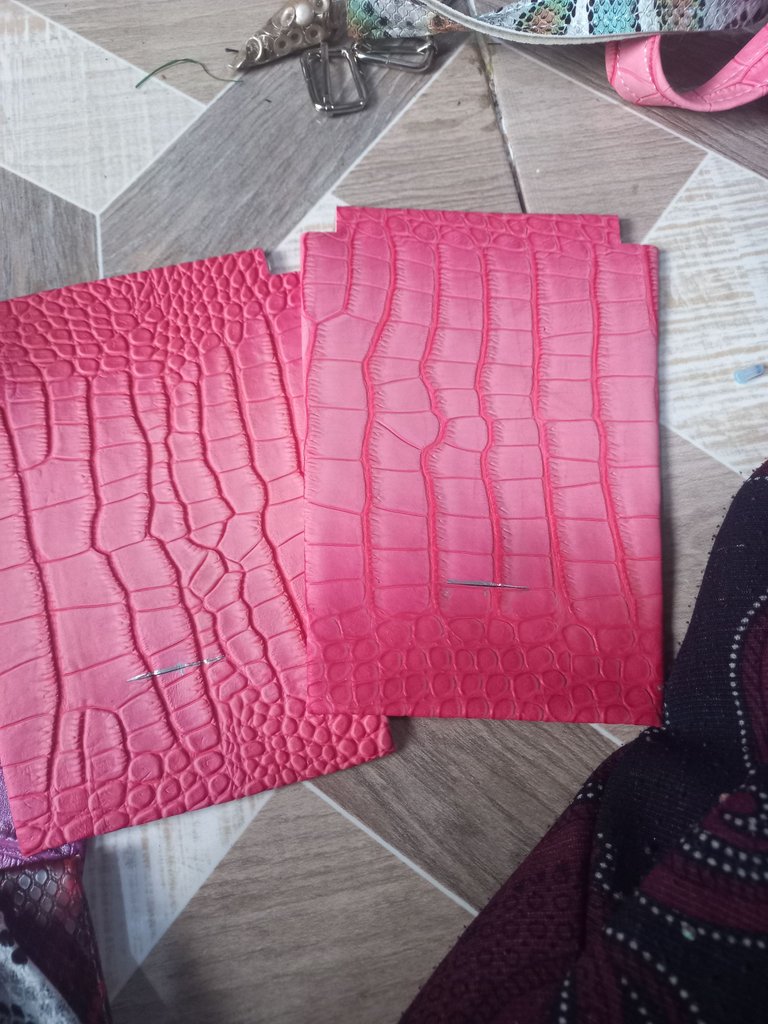
- Next I cut a small part at the leather sides, sew the long rope and fixed it to the side using tagging pins.
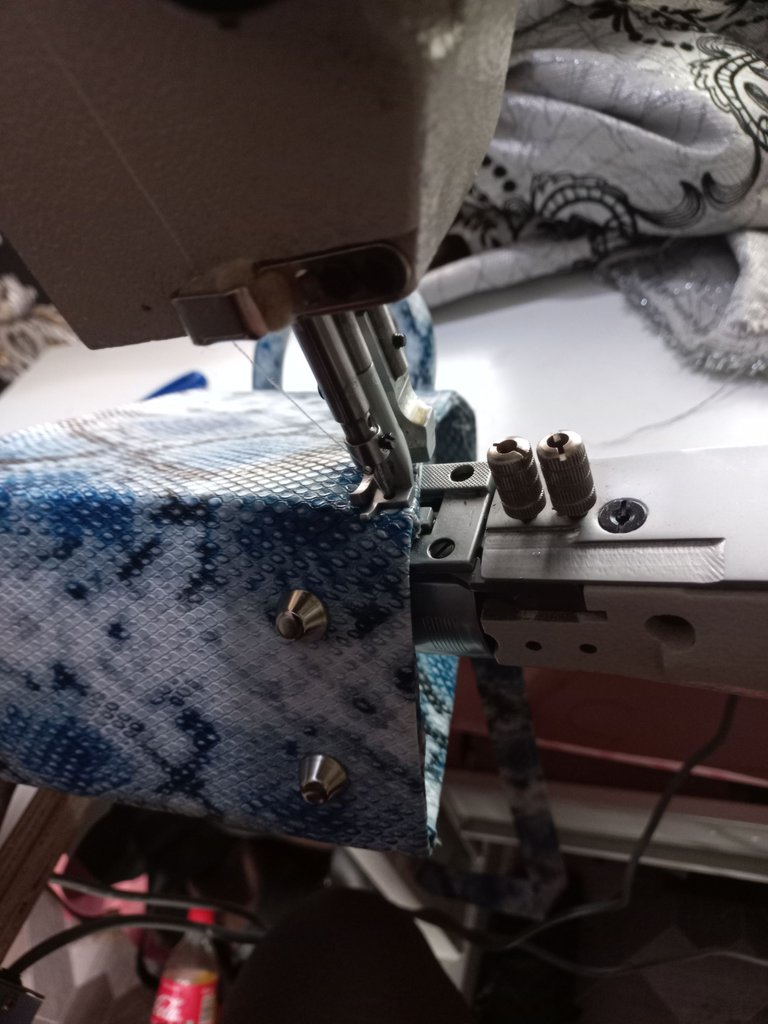
- Then I capped the leather on black pelican paper for the leather lining,then I sew the black lining with it. Next I fixed the magnet after capping it. Then I gummed the lining with the bag, fix the other side of the magnet and gummed the rest. Then I trimmed the excess lining.


- I also gummed the lining to the sides and trimmed the excess. After thatbi sew the sides with the main body ofnthe bag.
FINAL PICTURES


Congratulations @gloriaolar! You have completed the following achievement on the Hive blockchain and have been rewarded with new badge(s) :
Your next target is to reach 39000 upvotes.
You can view your badges on your board and compare yourself to others in the Ranking
If you no longer want to receive notifications, reply to this comment with the word
STOPCheck out the last post from @hivebuzz:
Support the HiveBuzz project. Vote for our proposal!
These are really cool. Way to go Gloria!
Thank you so much
Beautiful
I love that kind of bags. You did a great job. Congrats