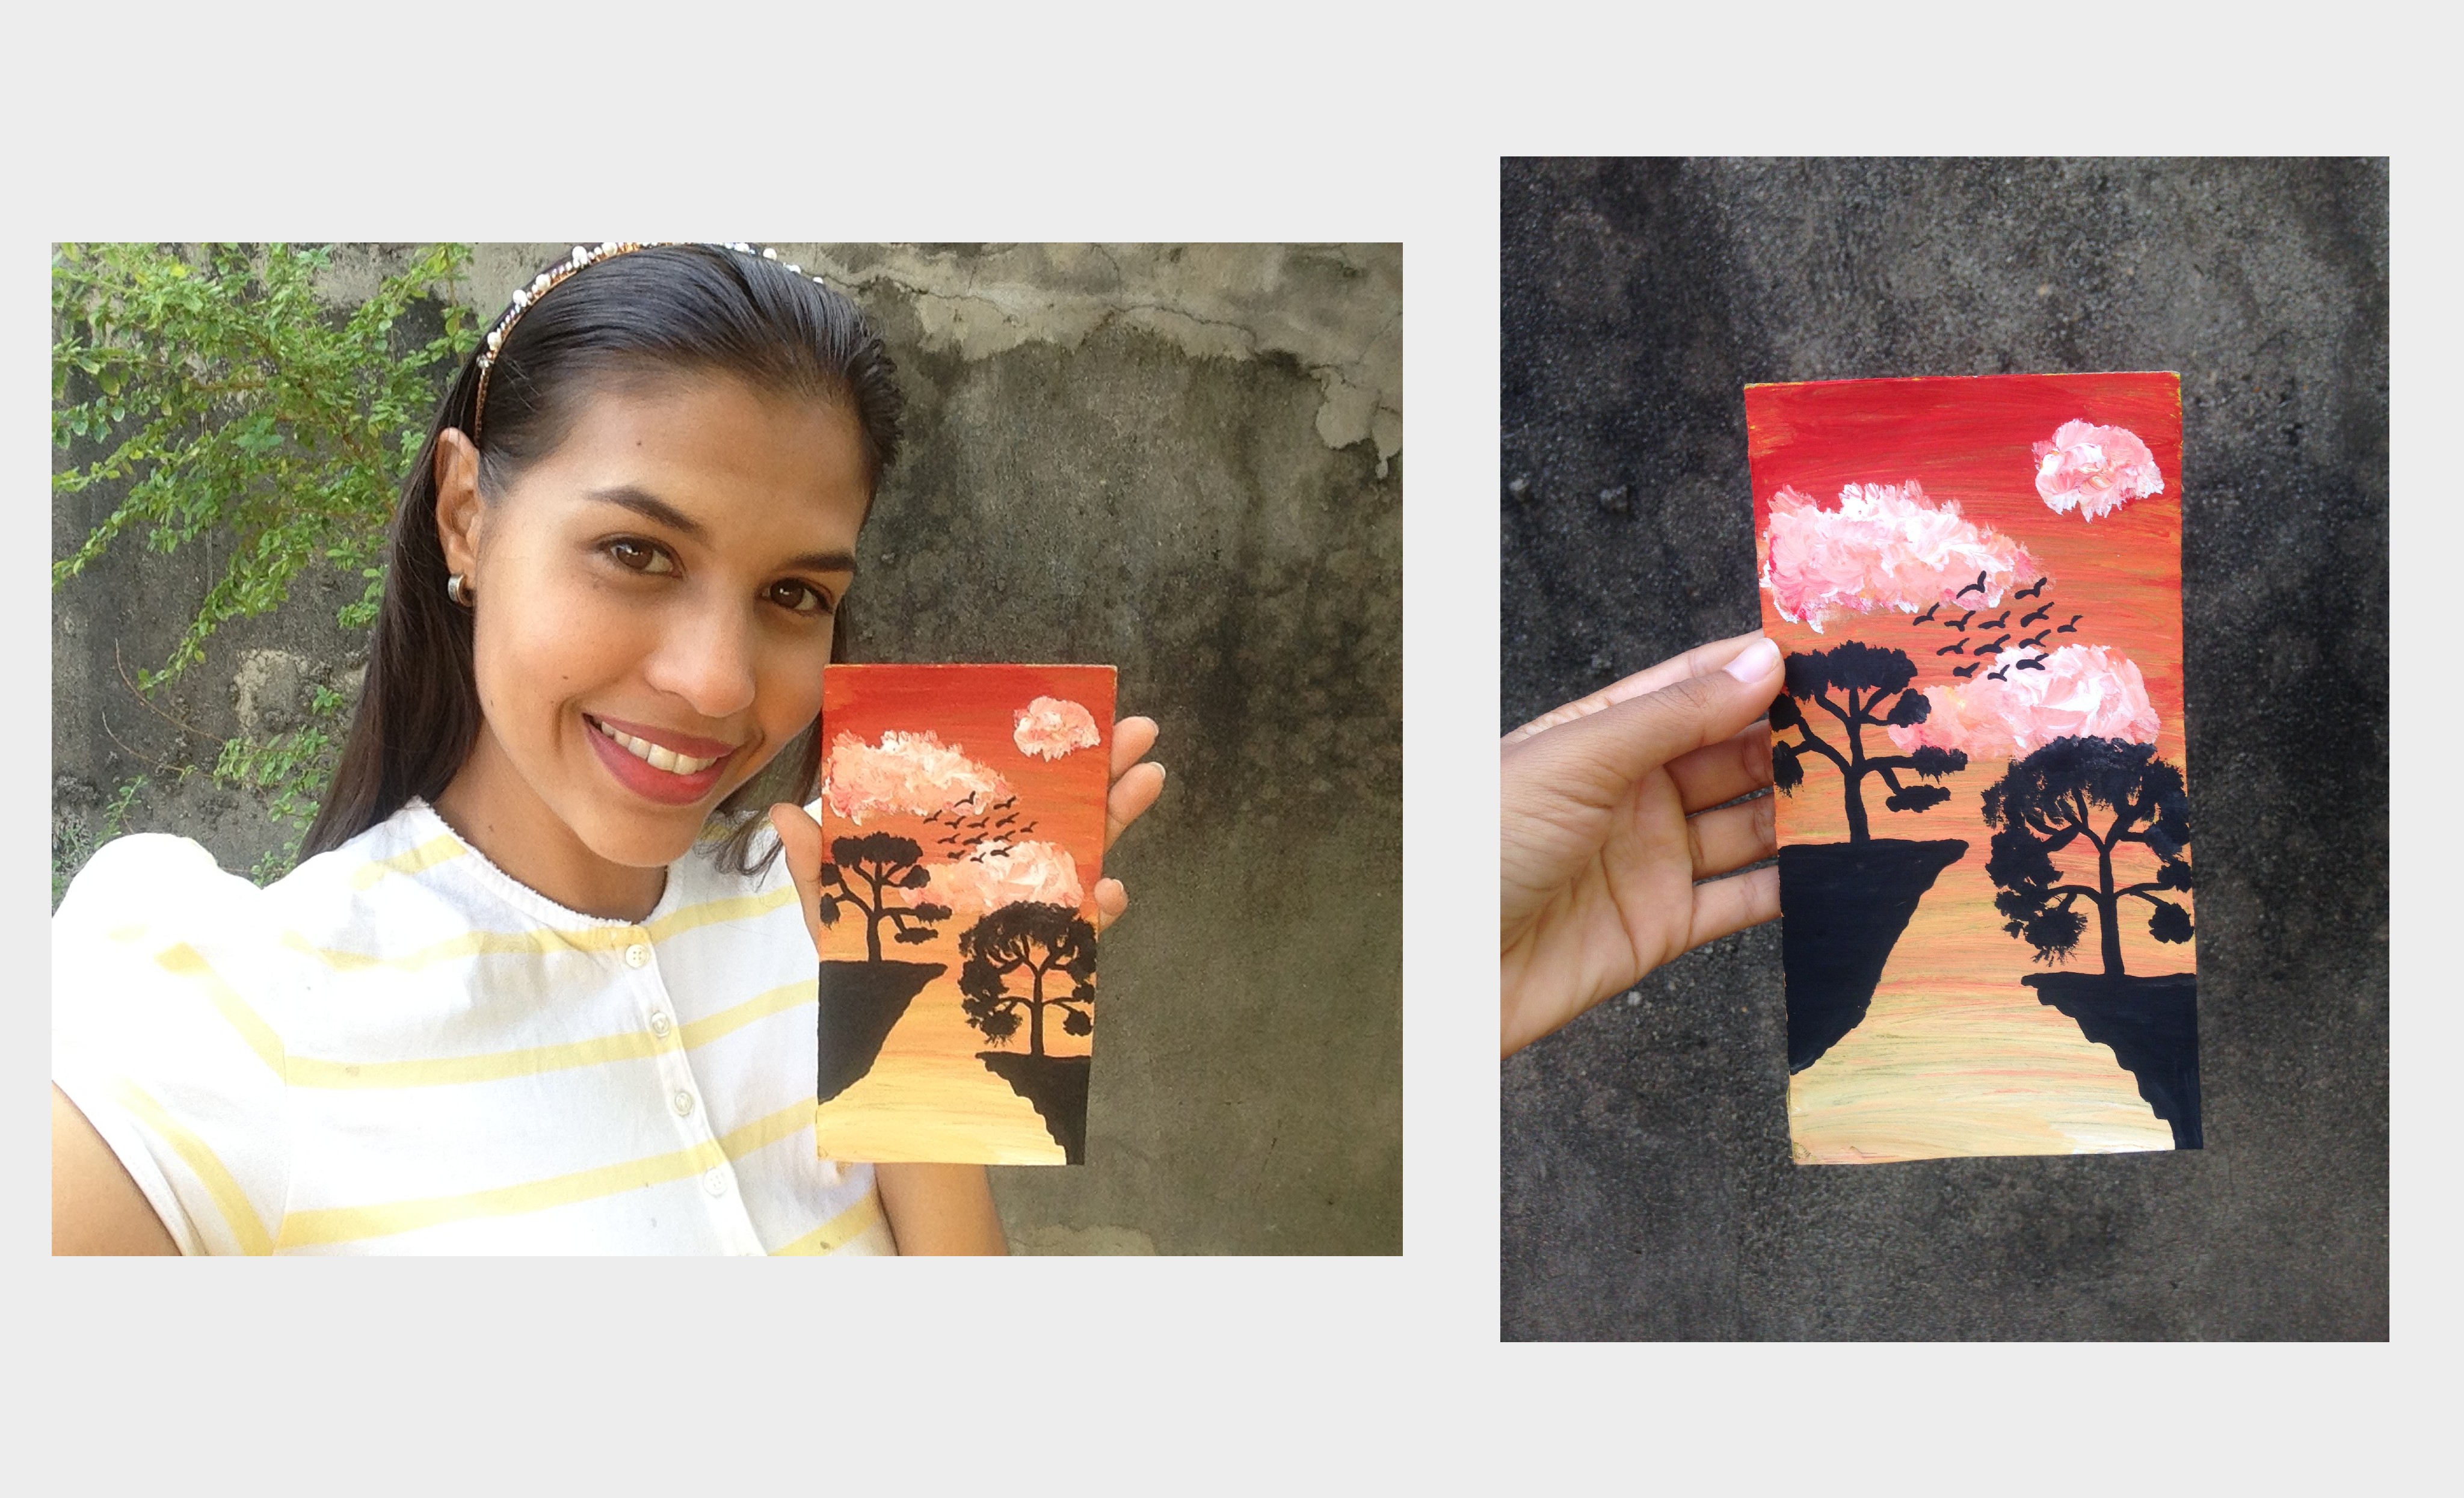
God bless this beautiful community of Hive greatly, today I want to share the elaboration of this beautiful decorative painting of a sunset reflecting the silhouettes of a beautiful landscape of trees and rocks, so let's start this tutorial
Dios bendiga grandemente a esta hermosa comunidad de Hive, hoy quiero compartir la elaboración de este hermoso cuadro decorativo de un atardecer reflejando las siluetas de un hermoso paisaje de arboles y de rocas, asi que comencemos este tutorial
Materiales:
- Un pequeño rectangulo de carton
- Pinturas de color: rojo, amarillo, blanco y negro
- Pinceles: Grueso y delgado
- vaso con agua
- lápiz y borra (opcional)
Materials:
- A small cardboard rectangle
- Color paints: red, yellow, white and black
- Brushes: Thick and thin
- glass of water
- pencil and erase (optional)

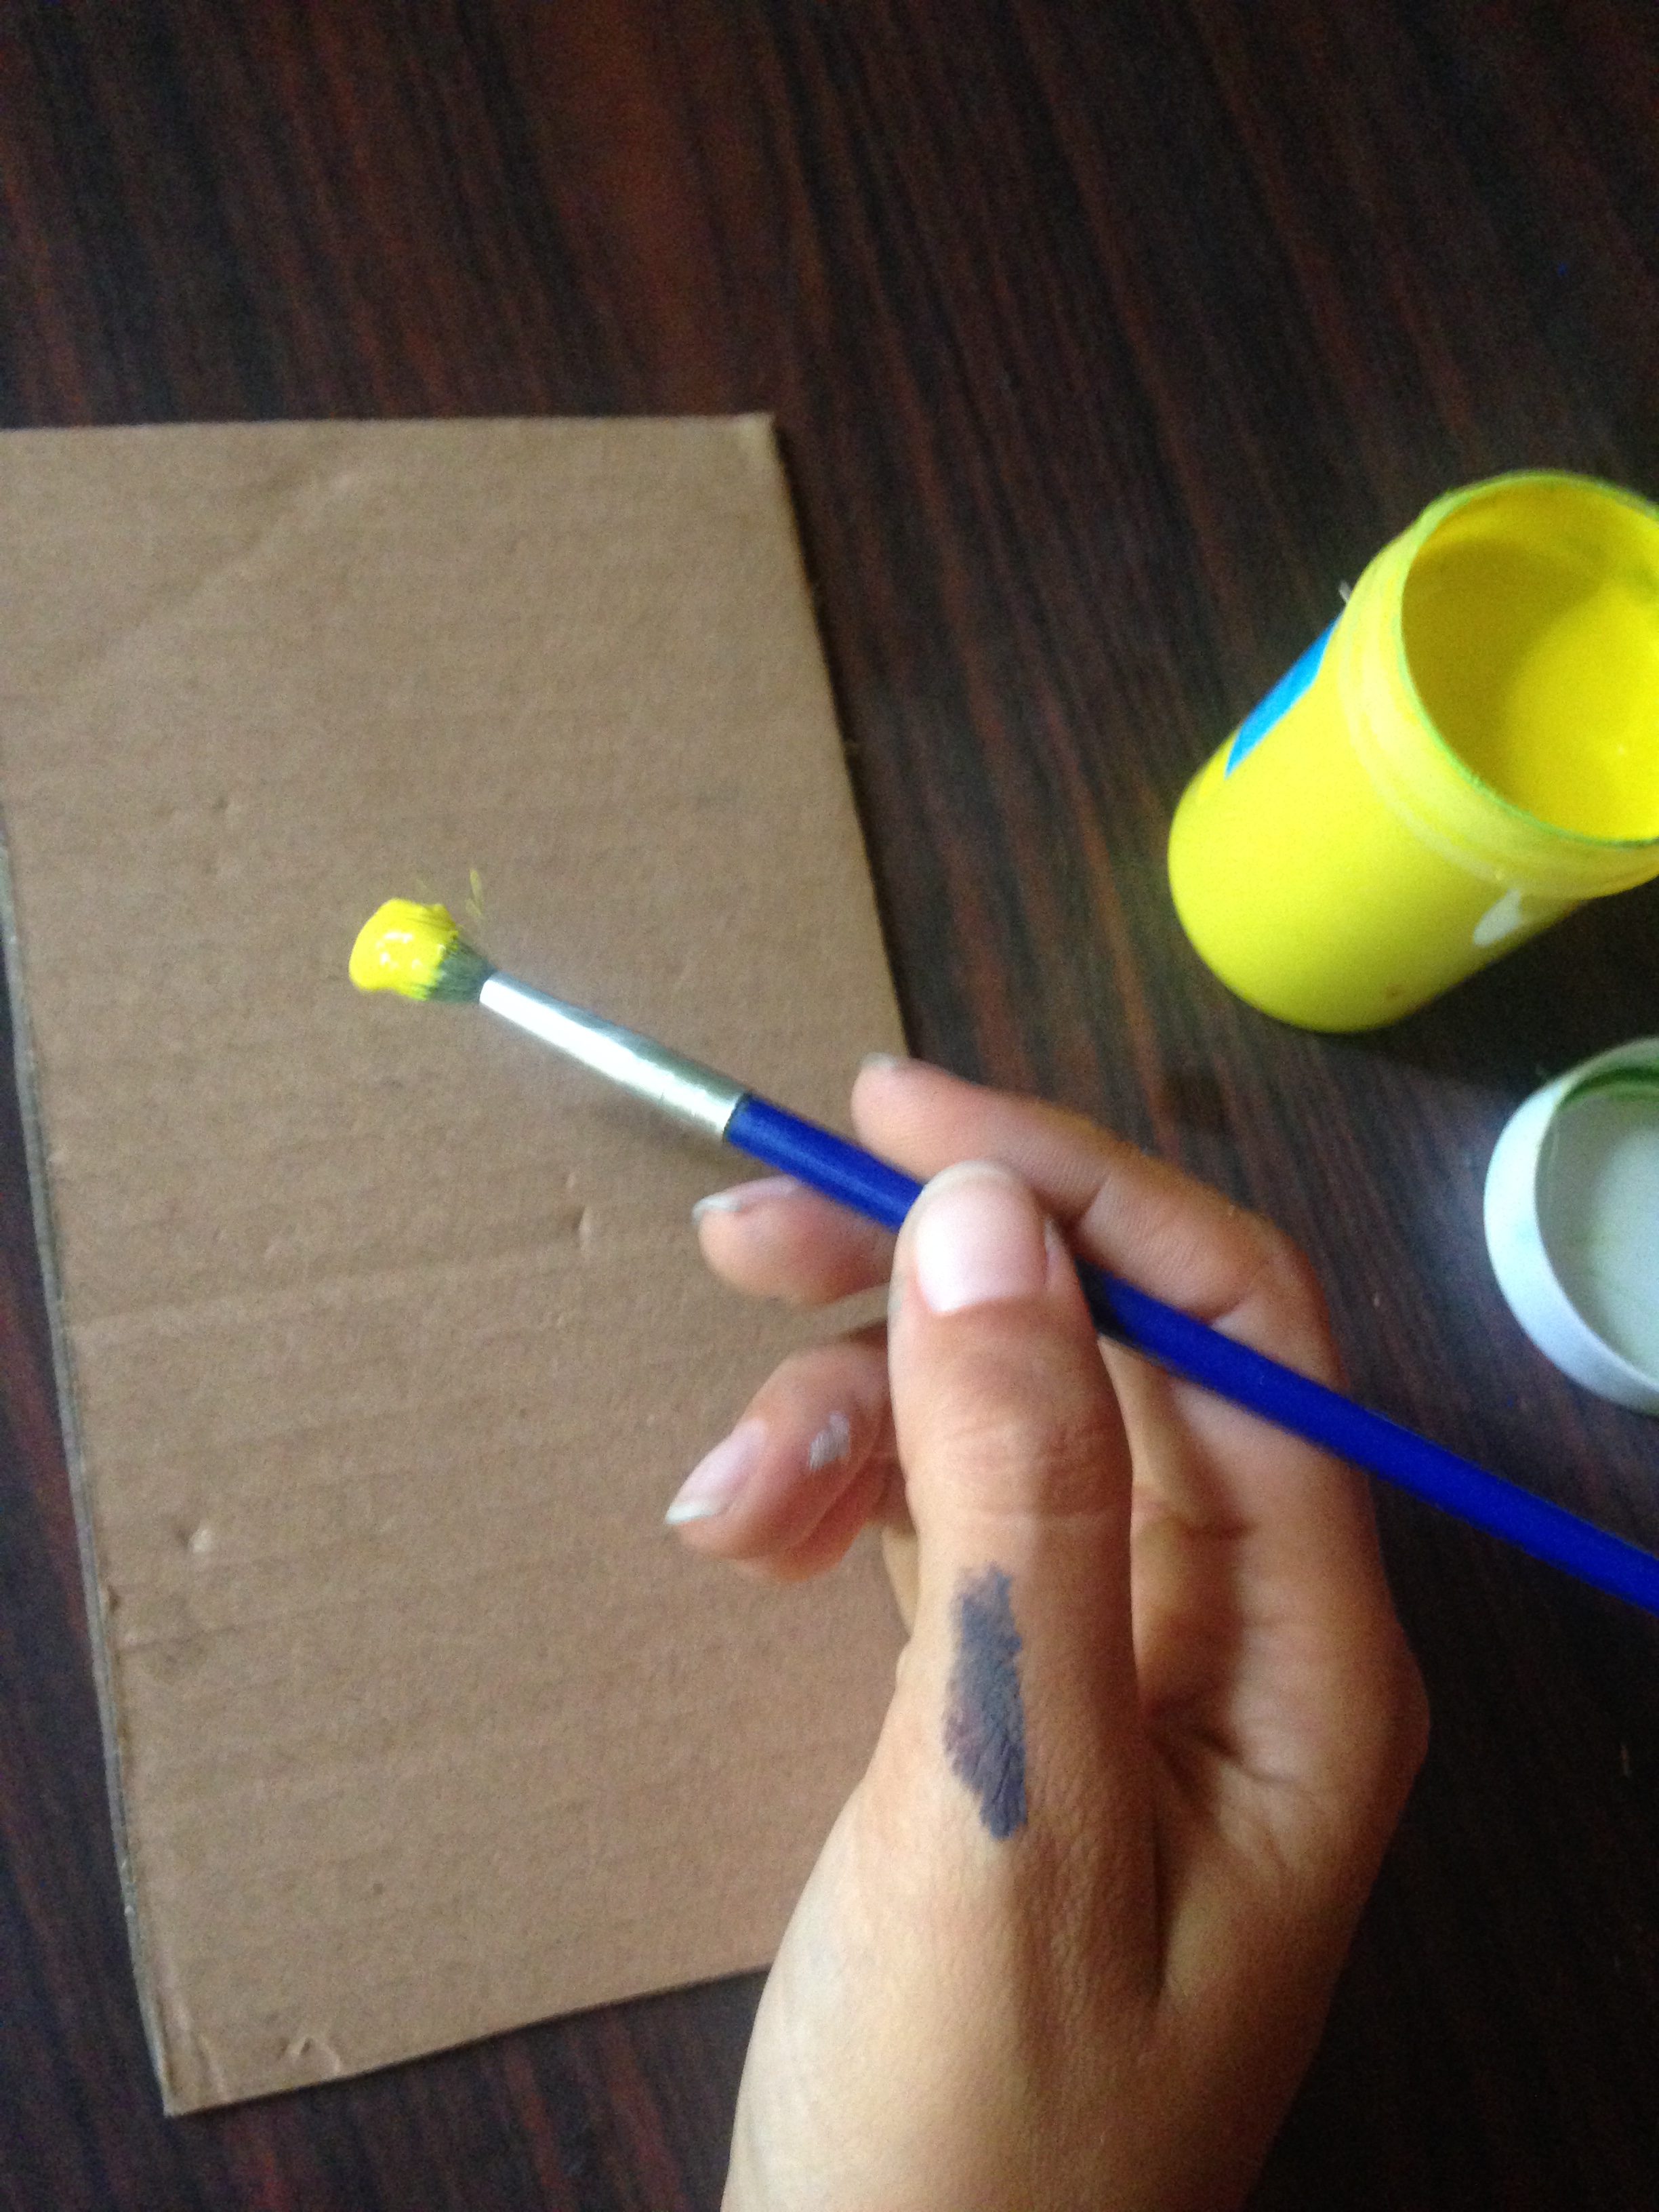
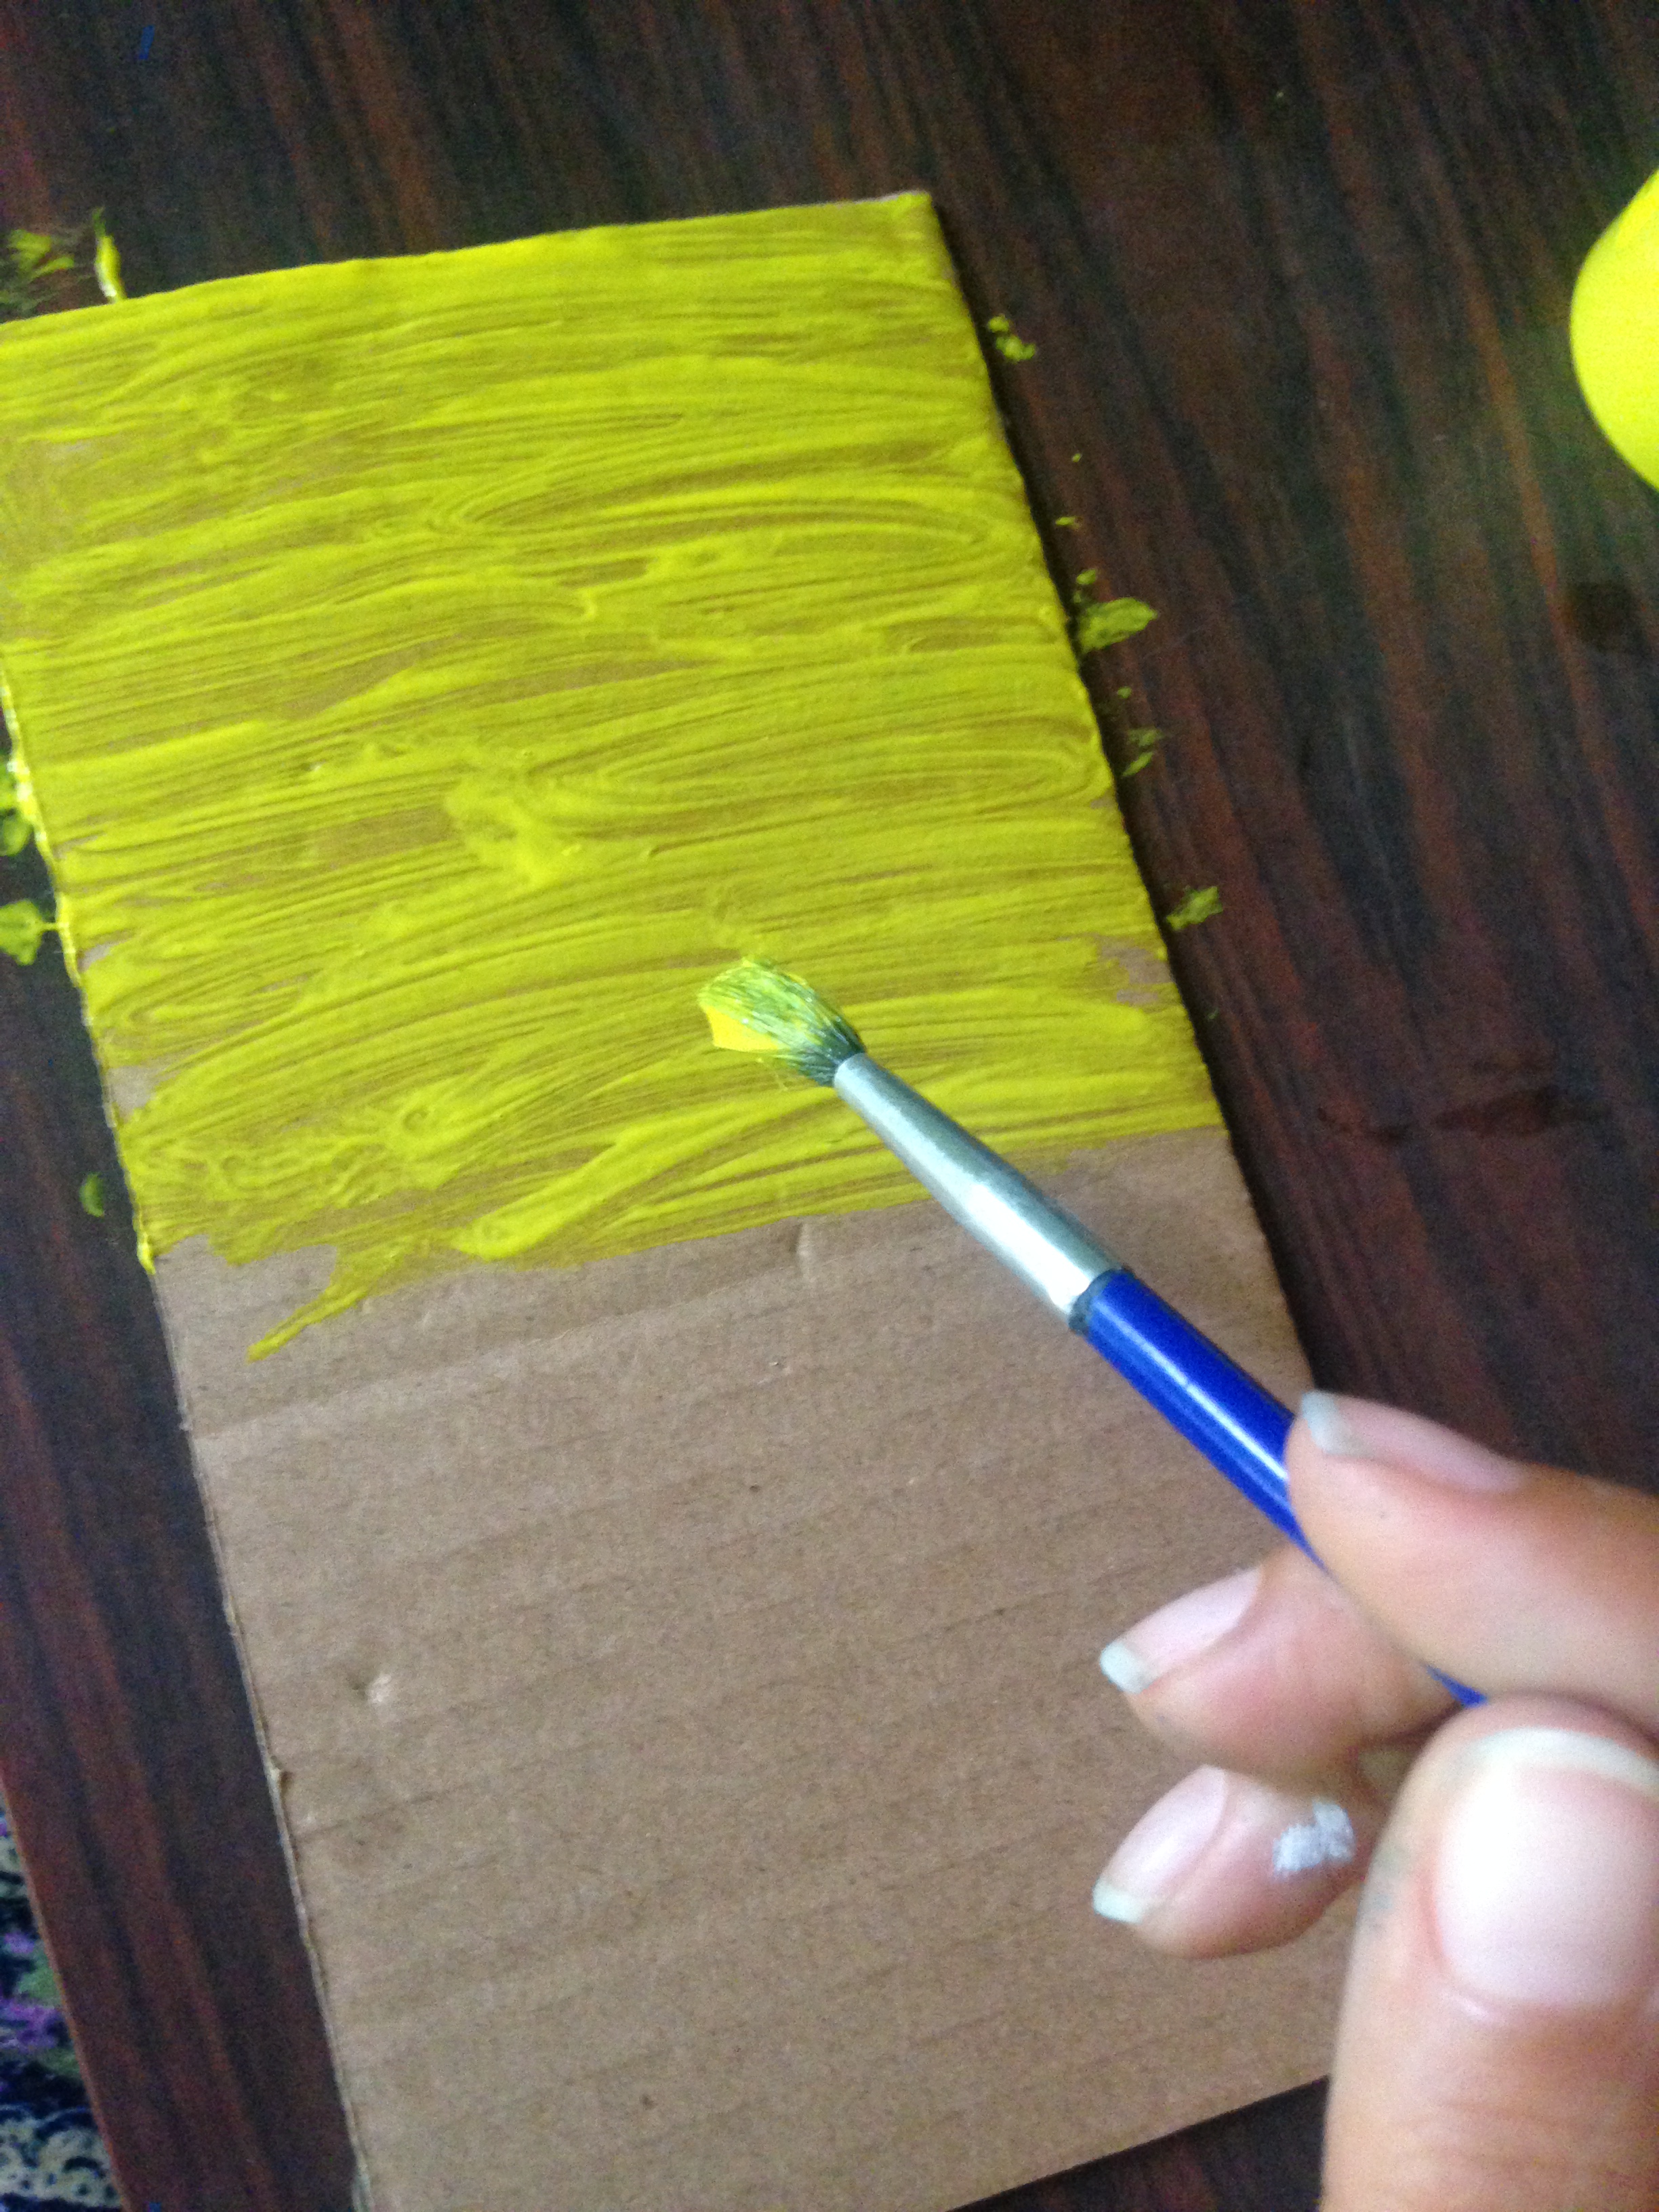
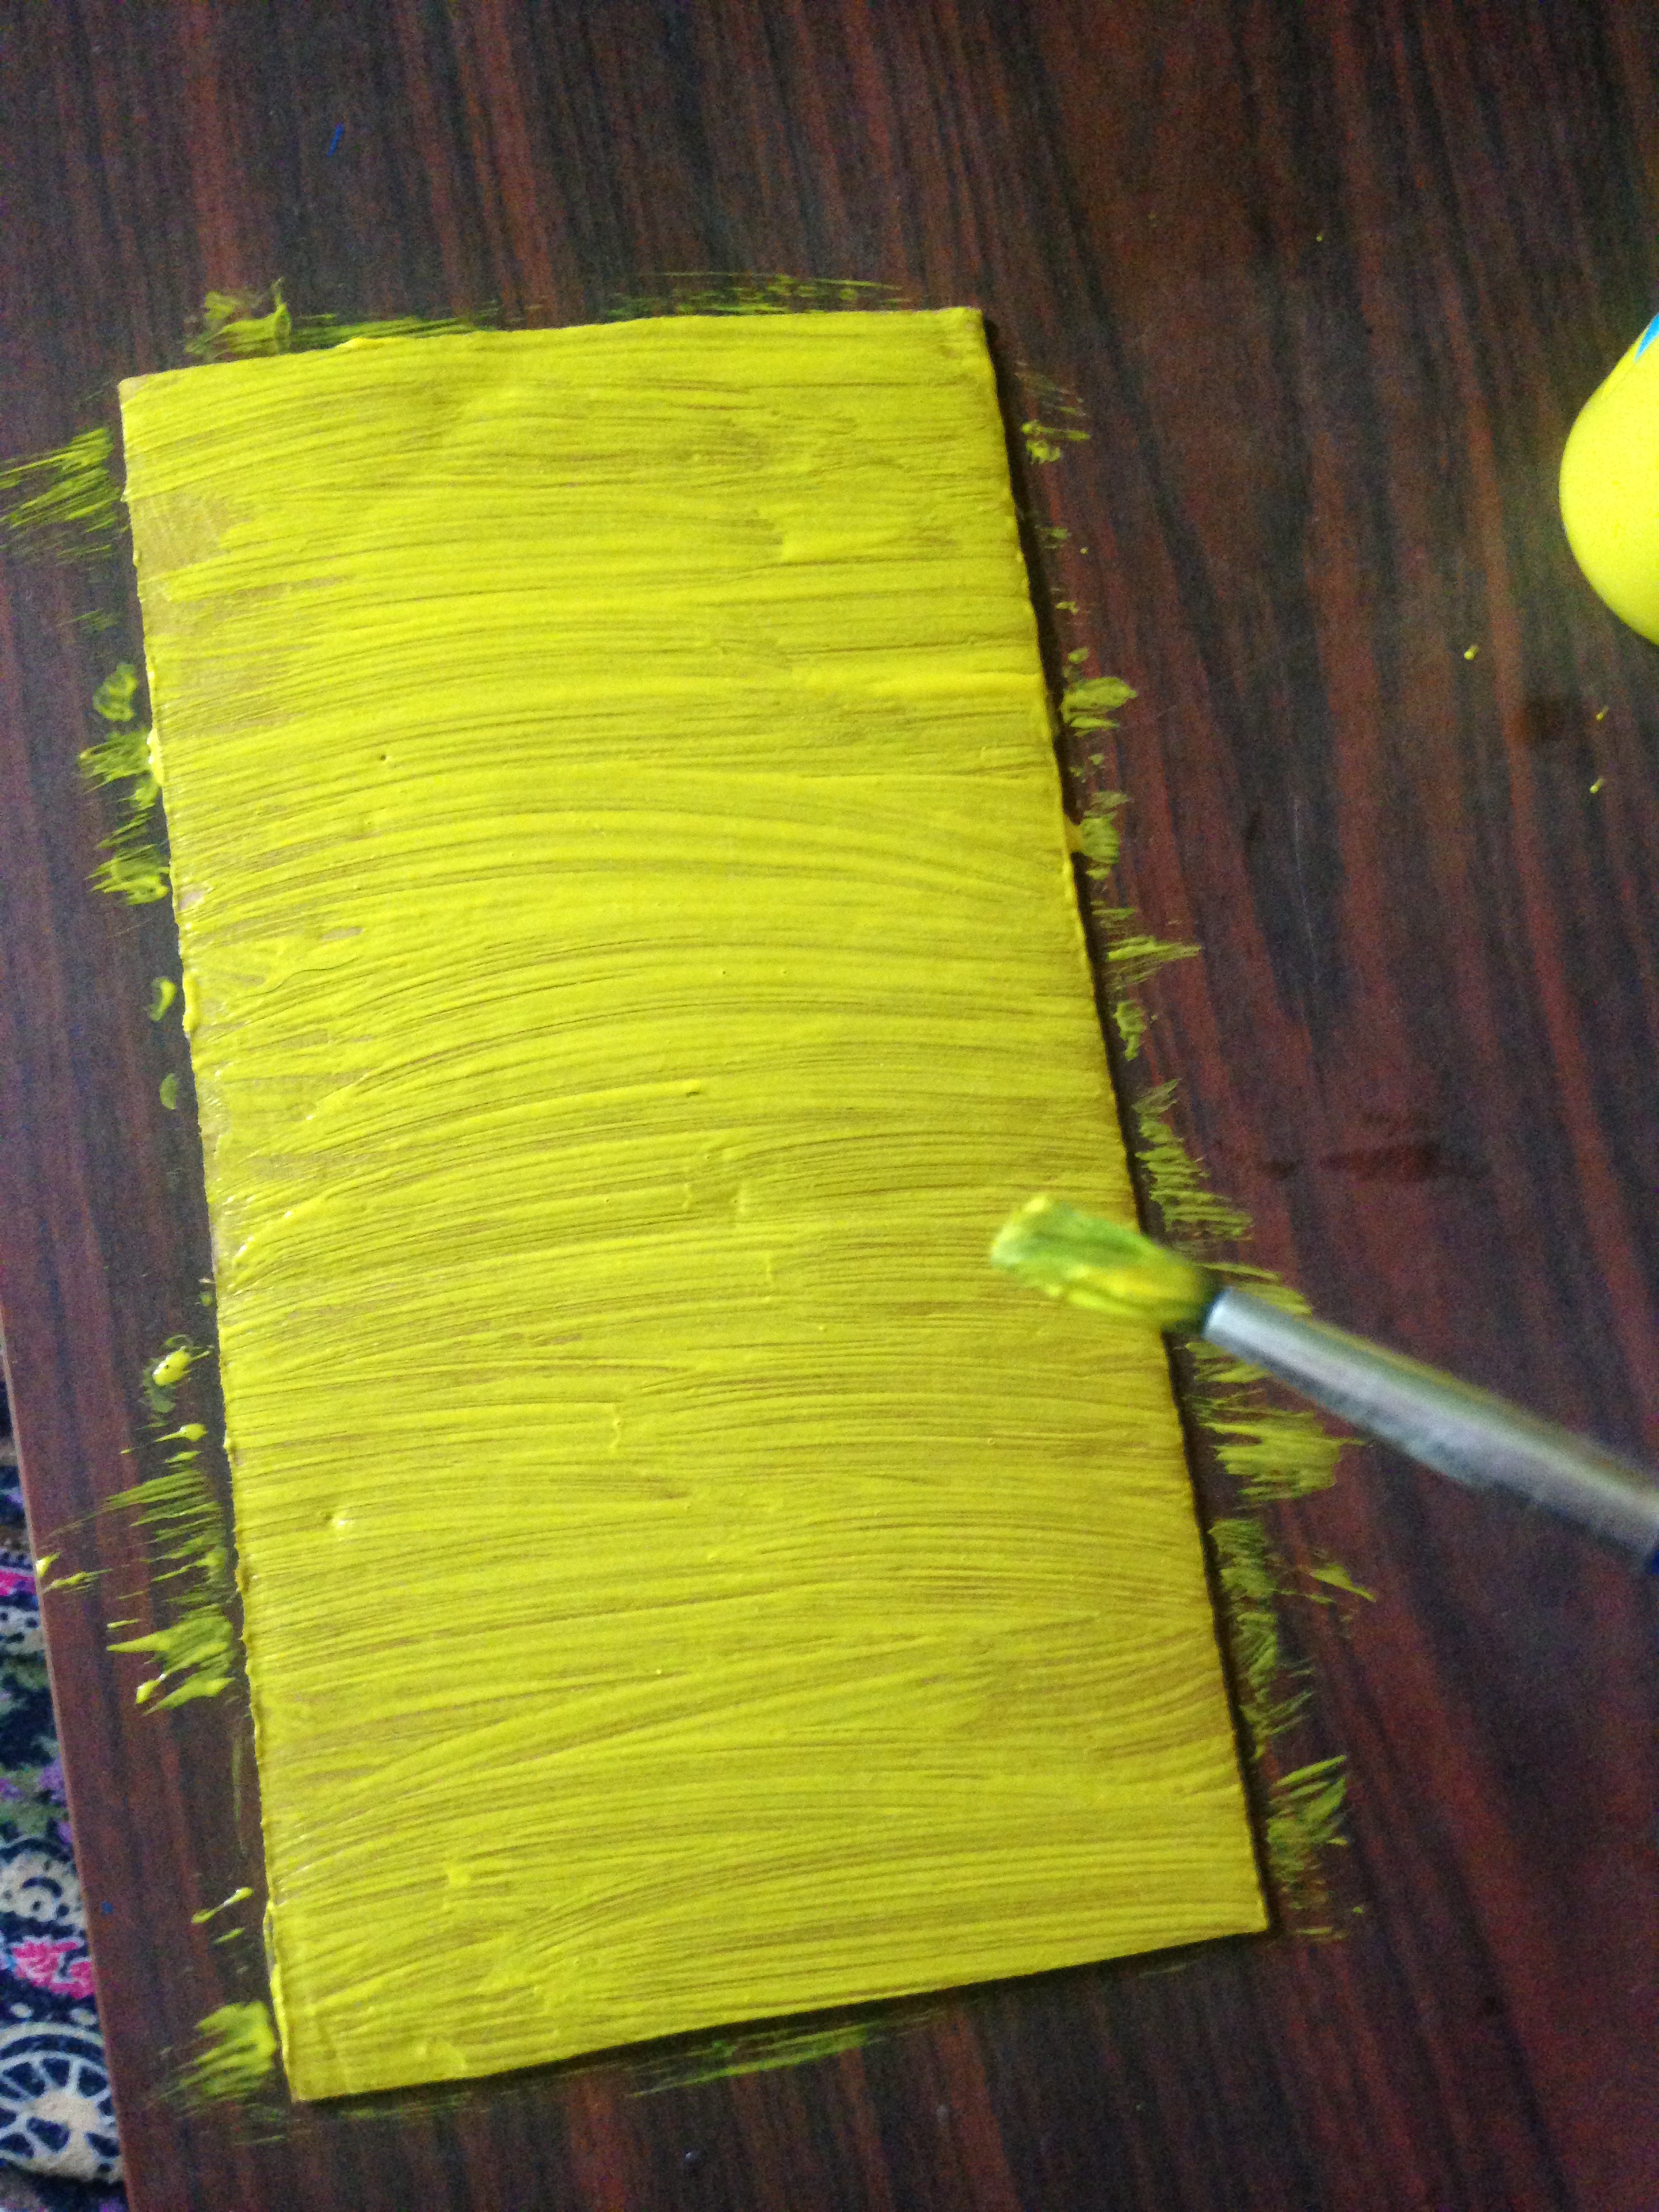
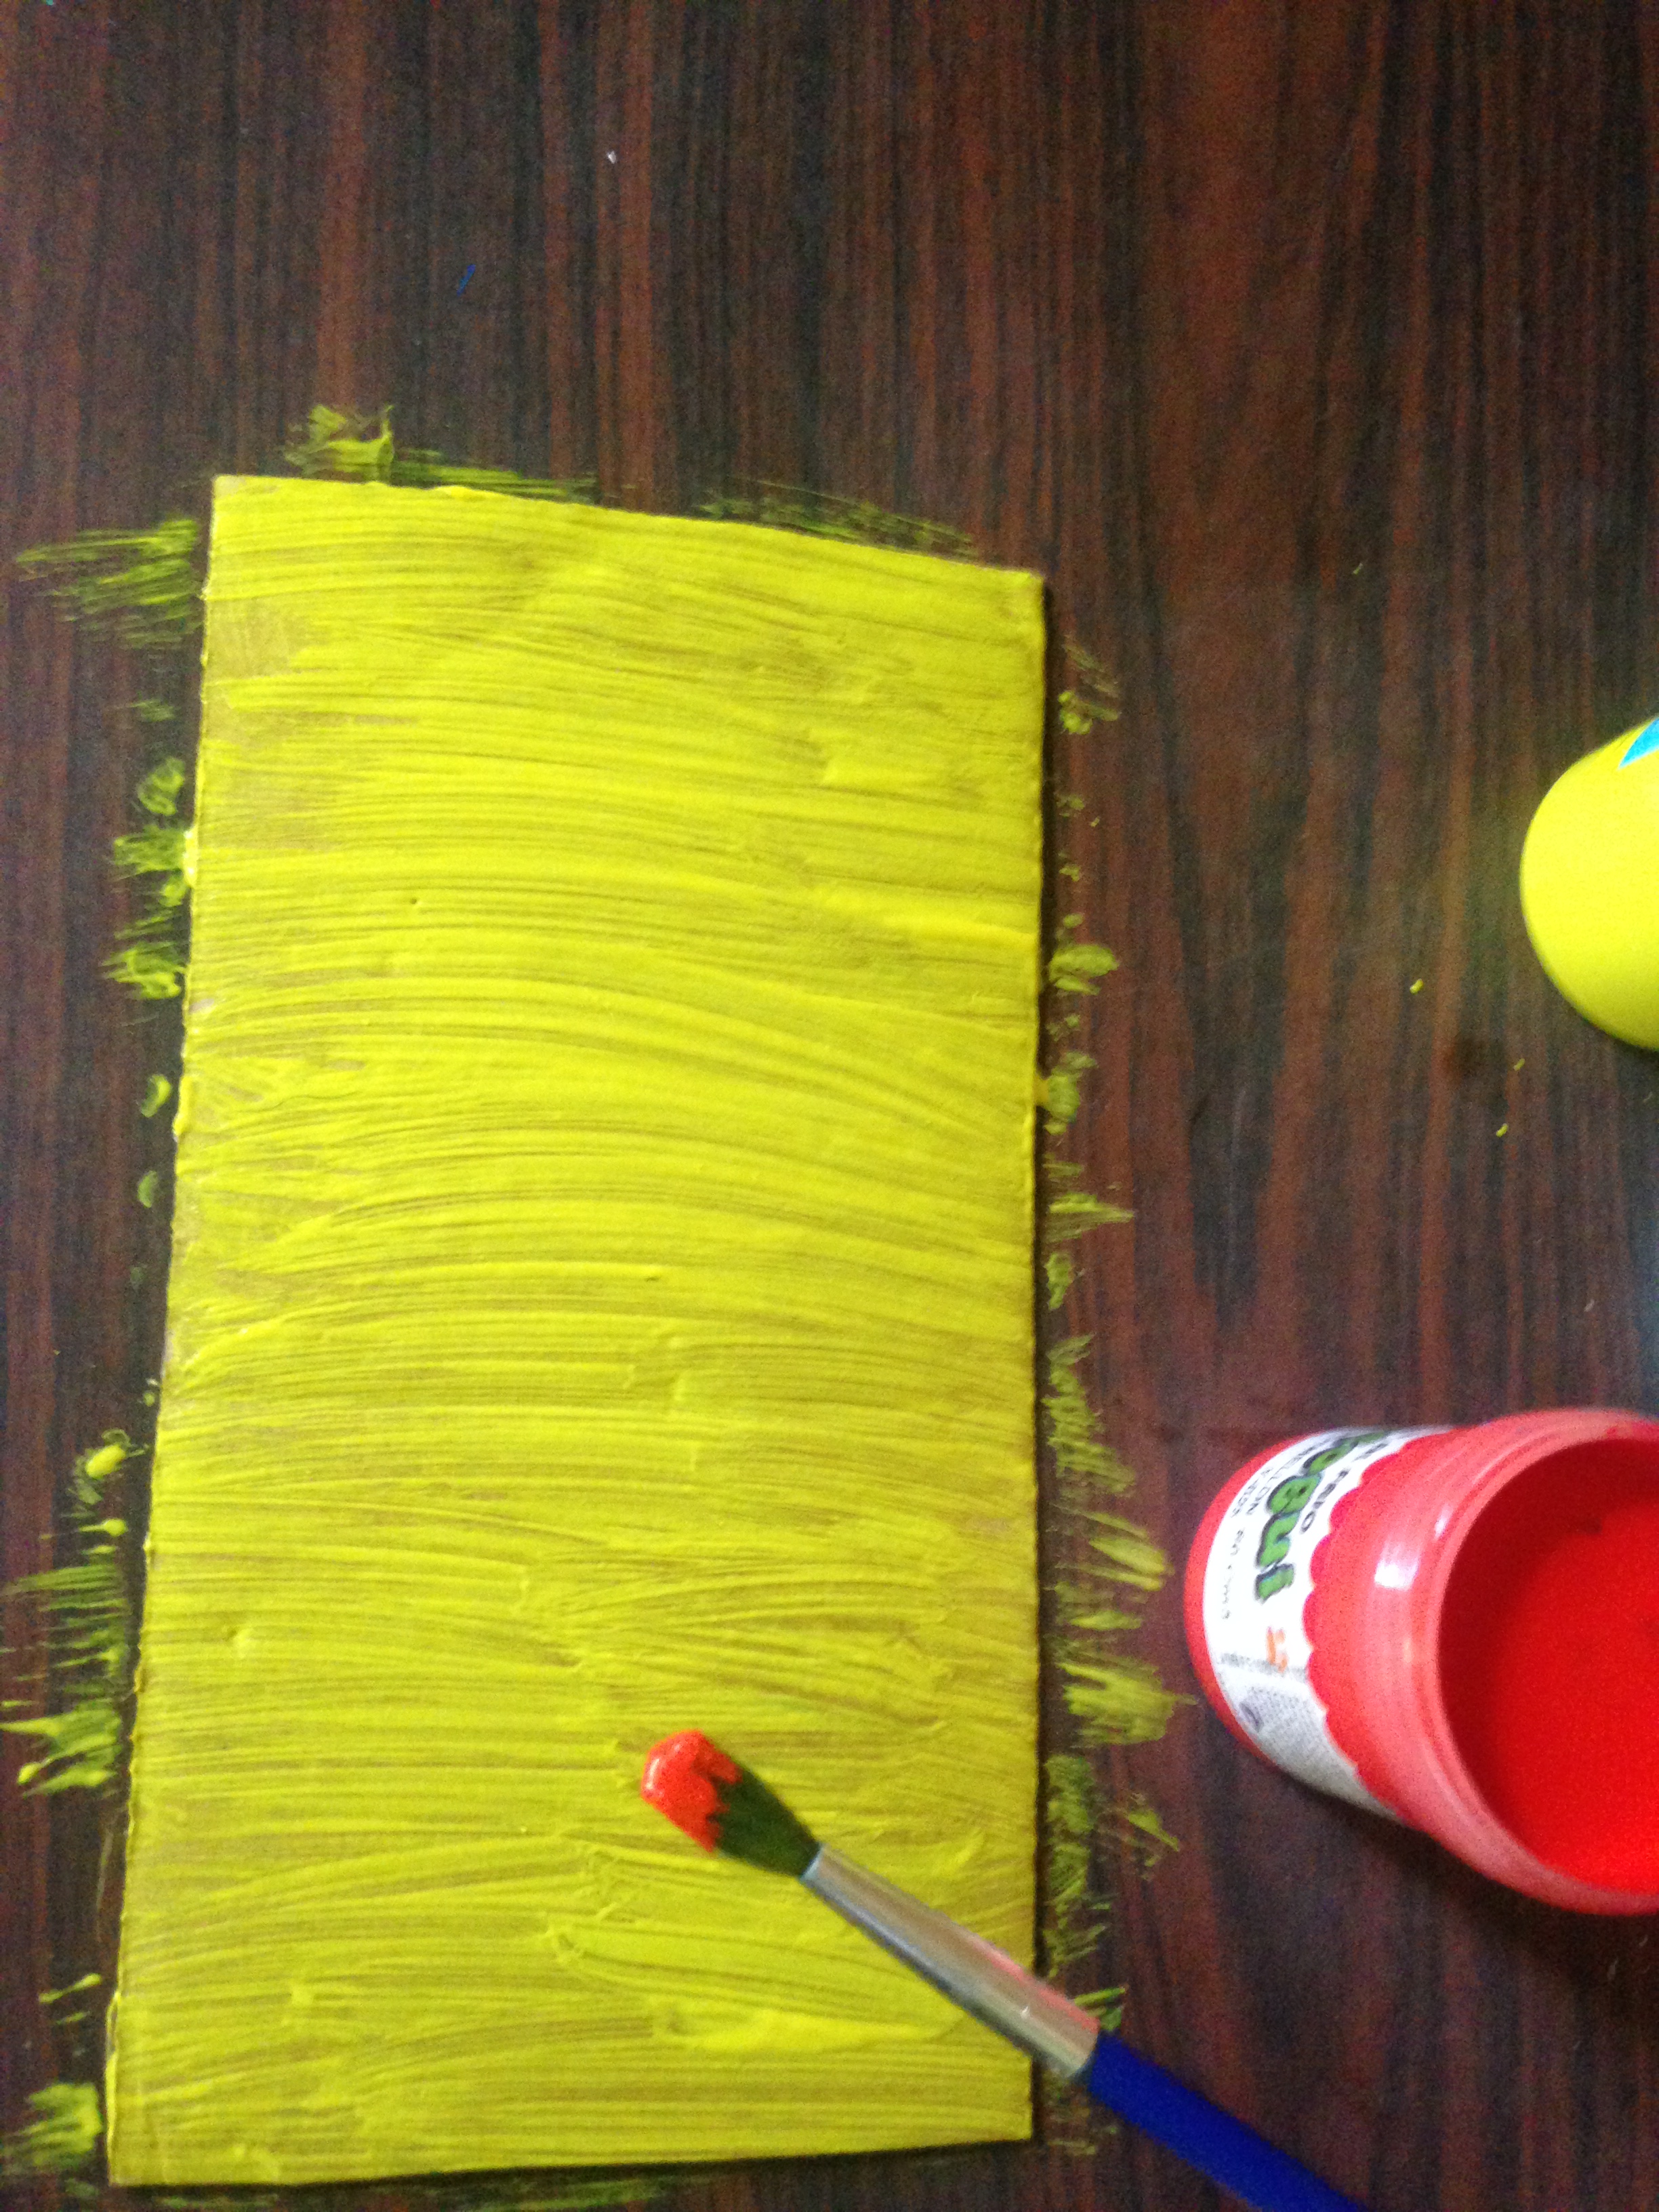
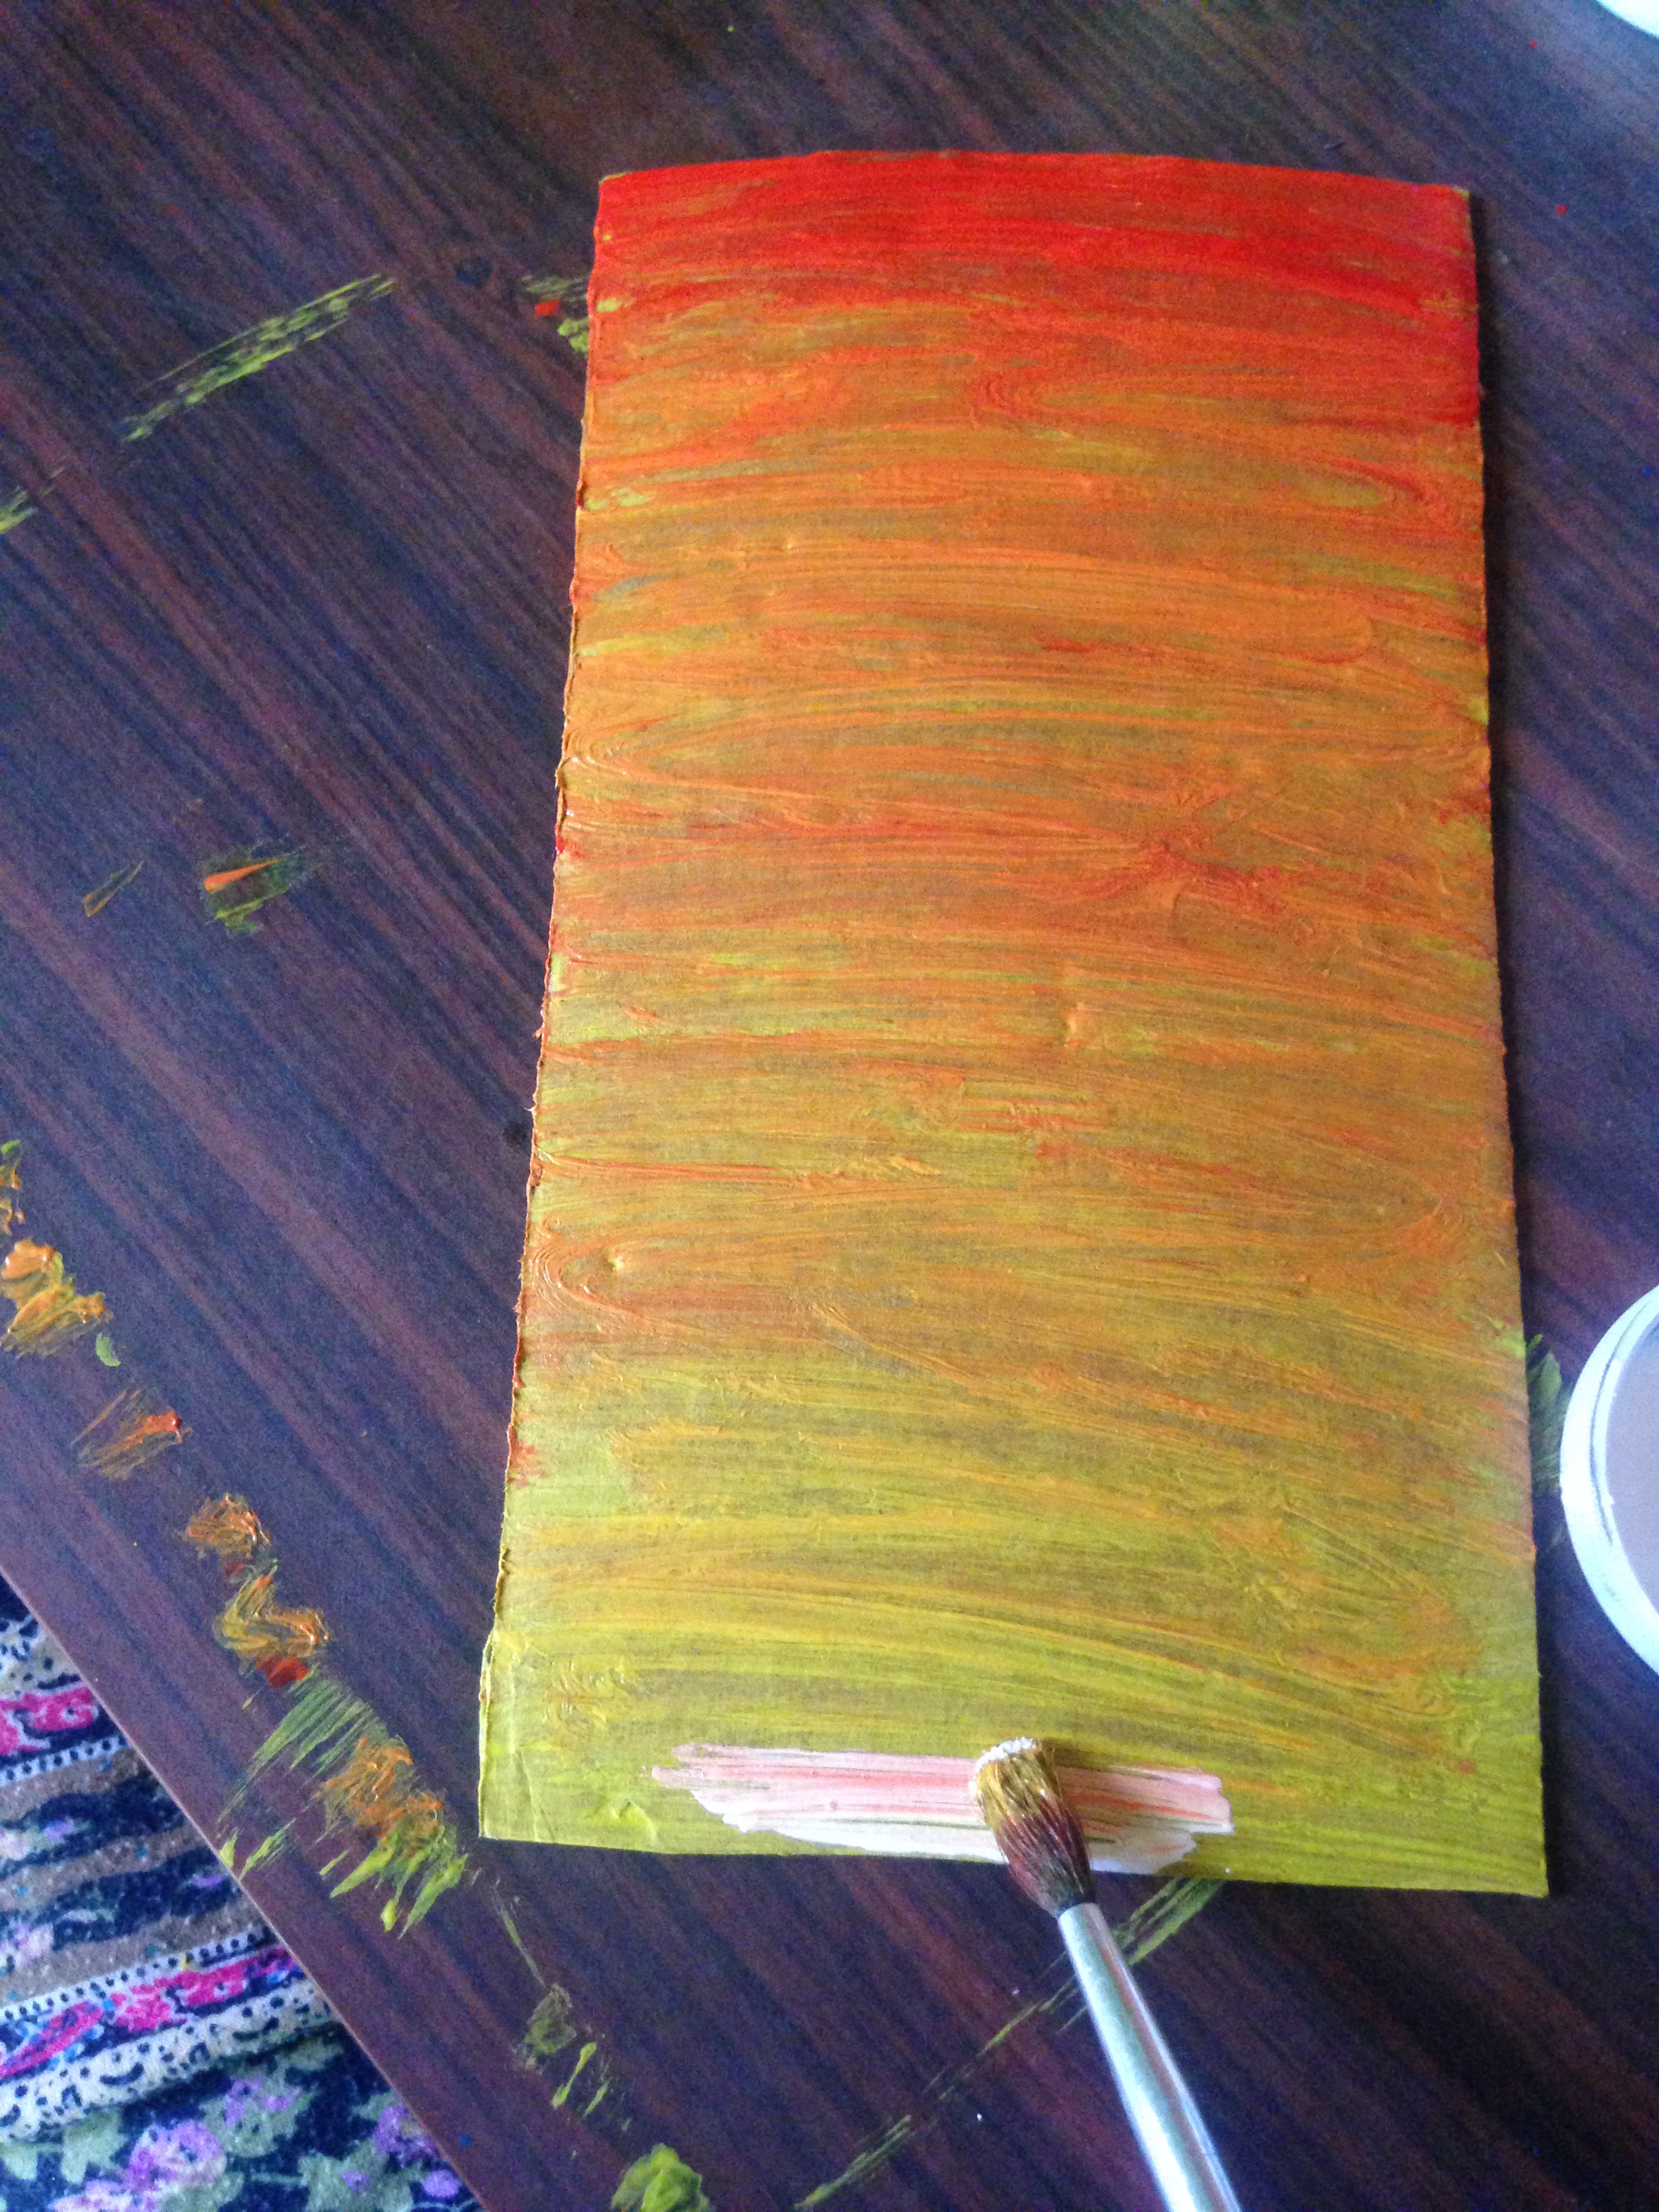
Paso 1
Lo primero que haremos es pintar con un fondo de color amarillo
Step 1
The first thing we will do is paint with a yellow background
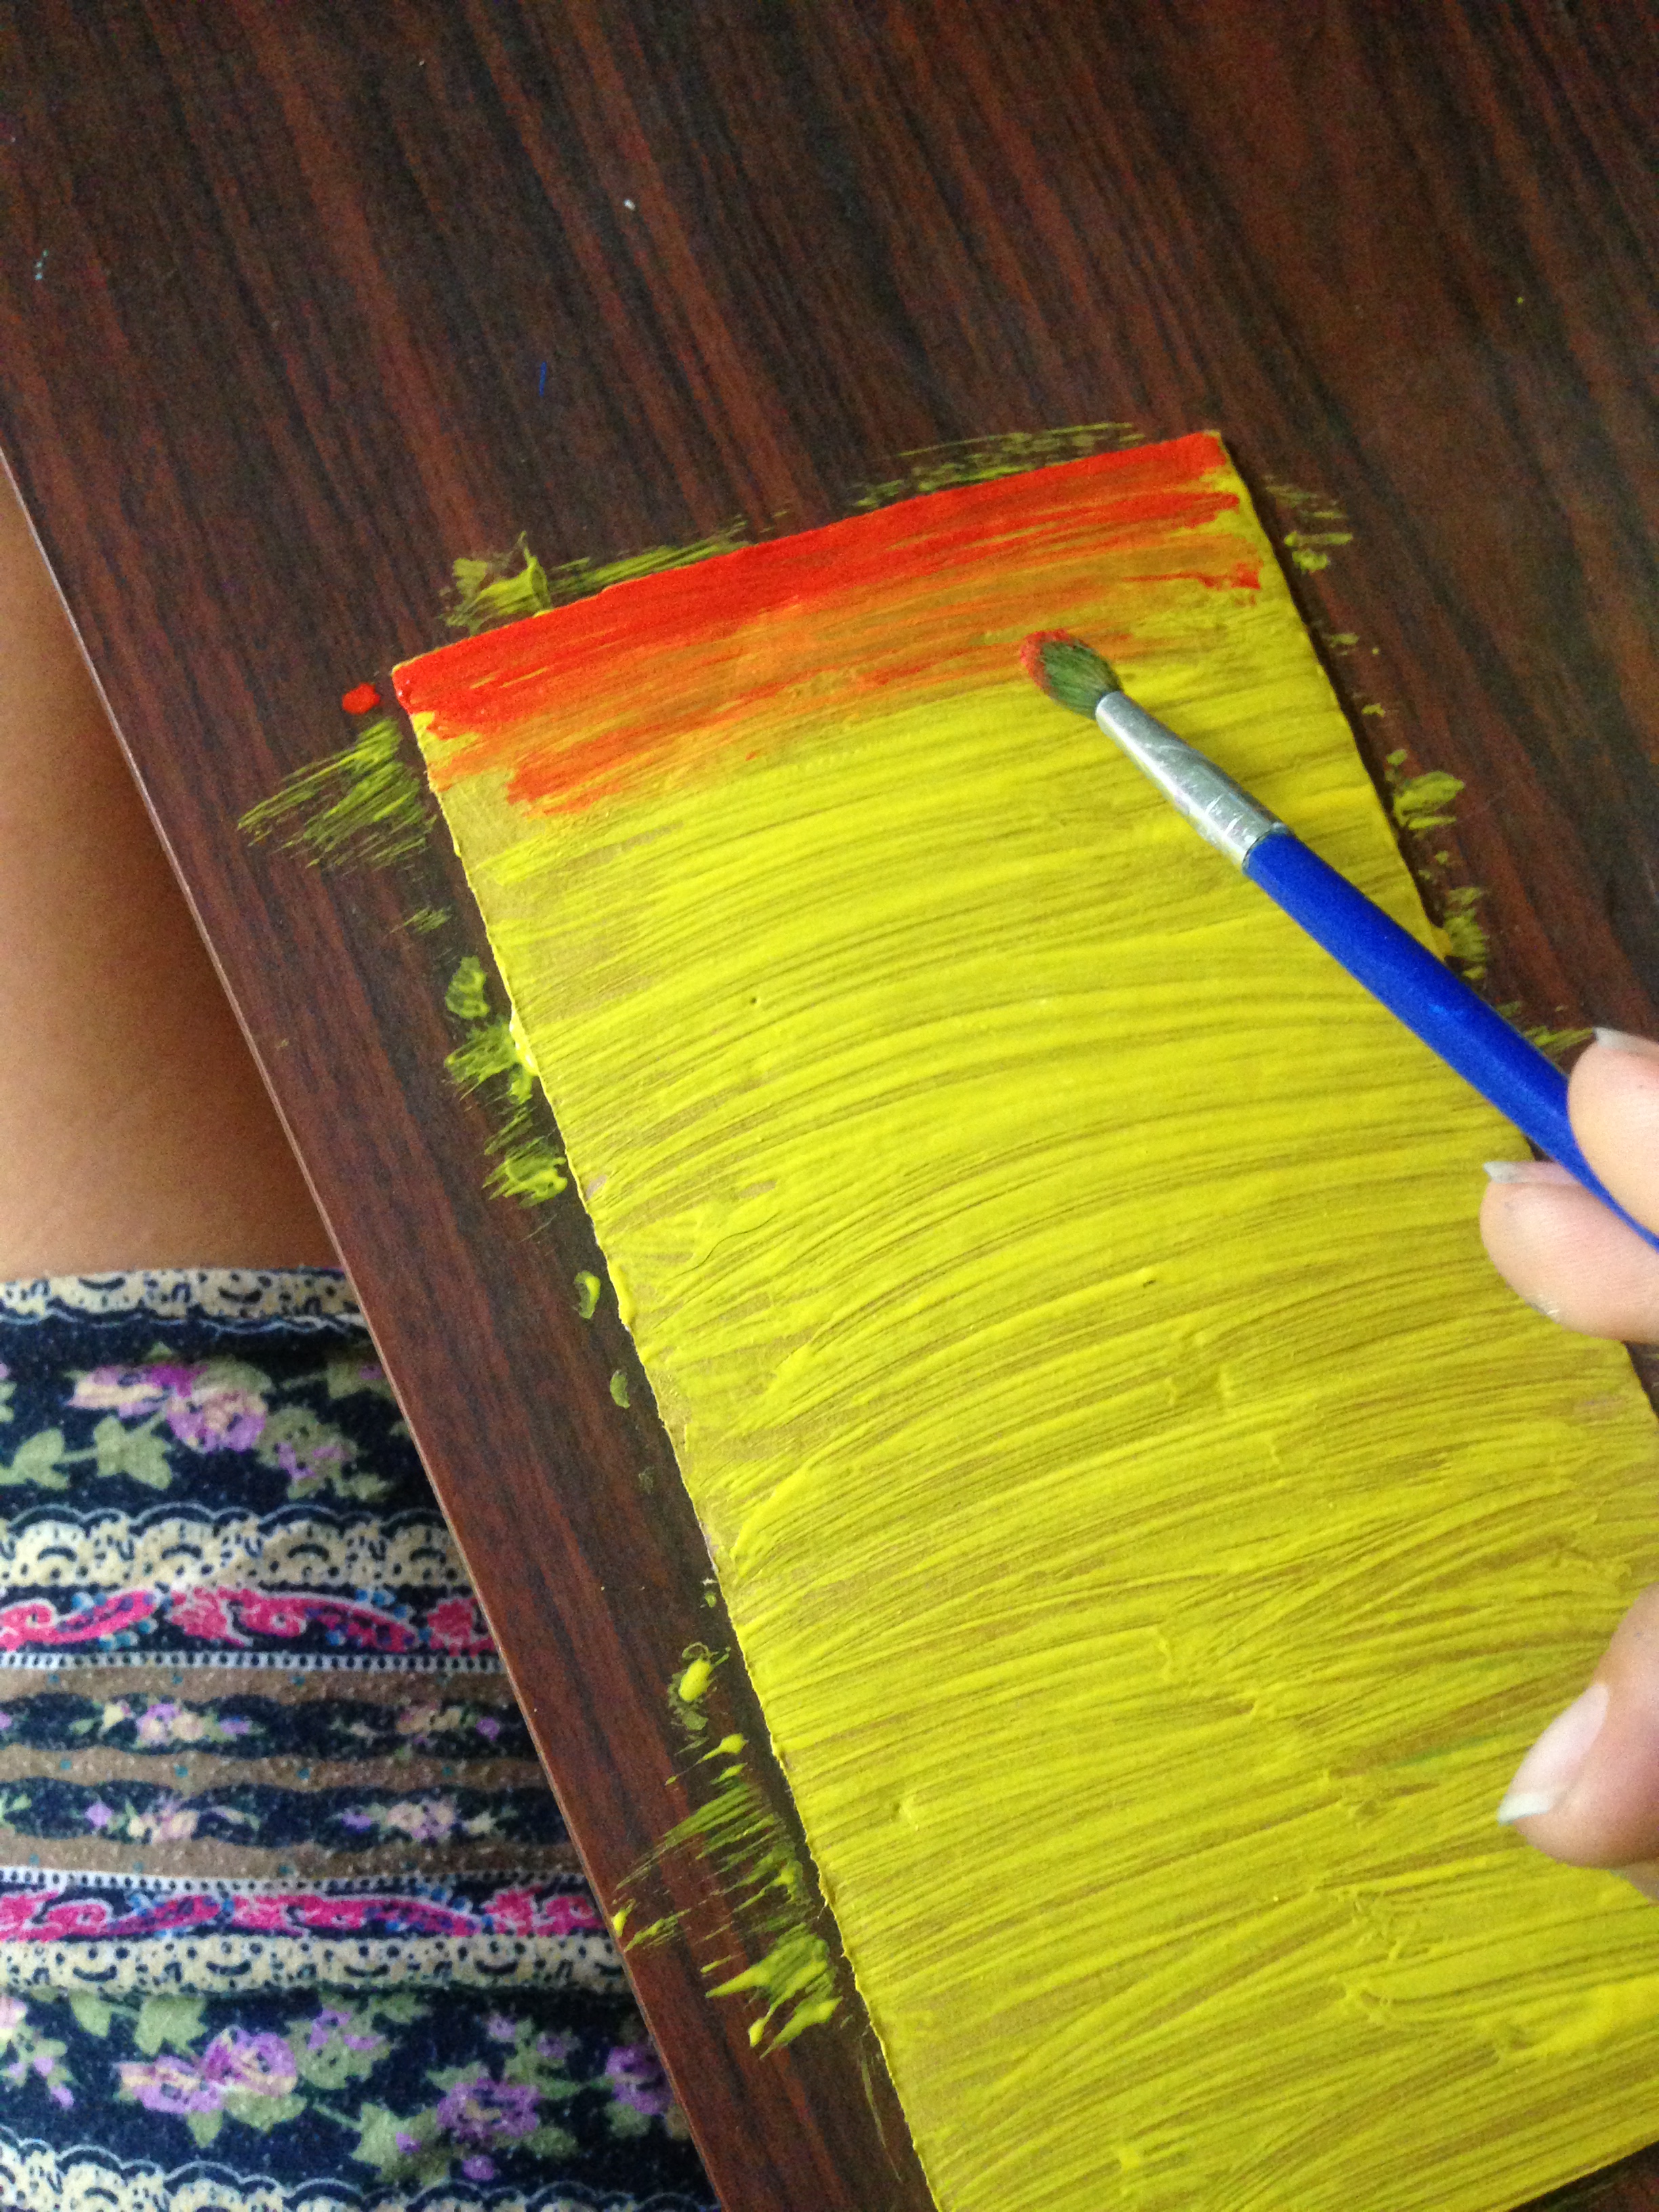
Paso 2
Ahora pintamos de arriba hacia bajo con la pintura de color rojo tratando de difuminarlo, puedes mojar el pincel de agua para facilitar el degradado
Step 2
Now we paint from top to bottom with the red paint trying to blur it, you can wet the brush with water to facilitate the gradient
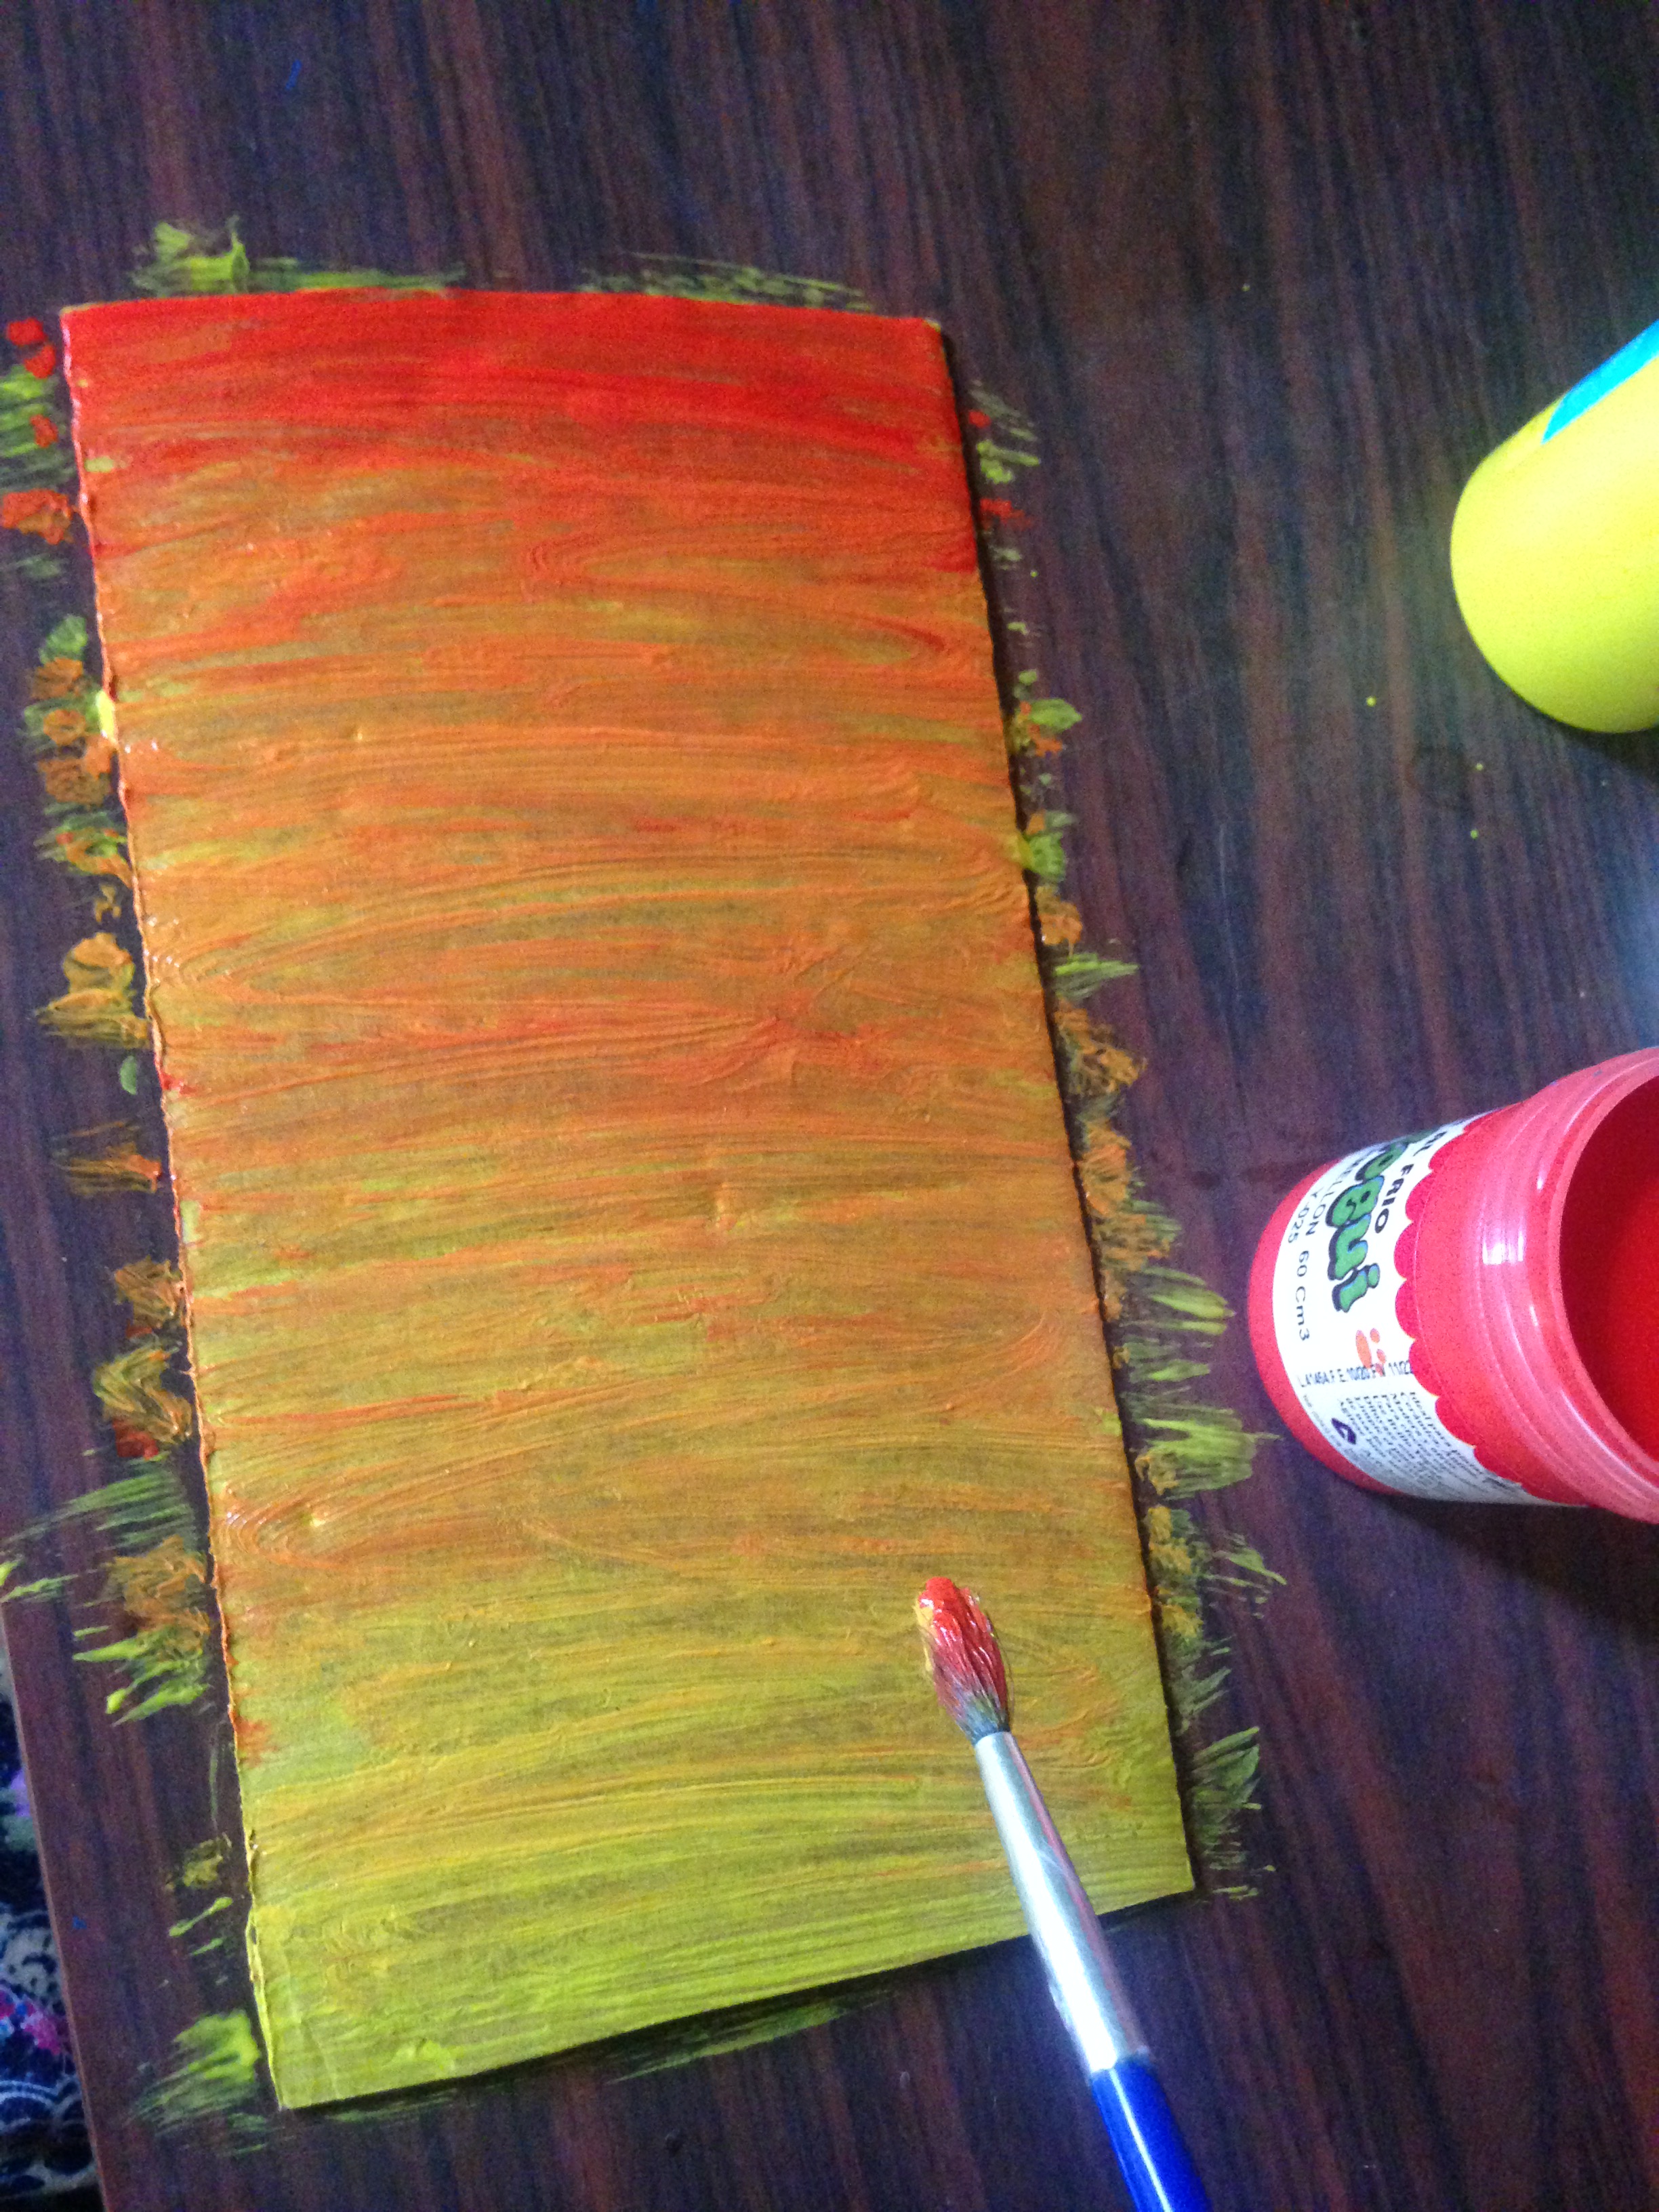
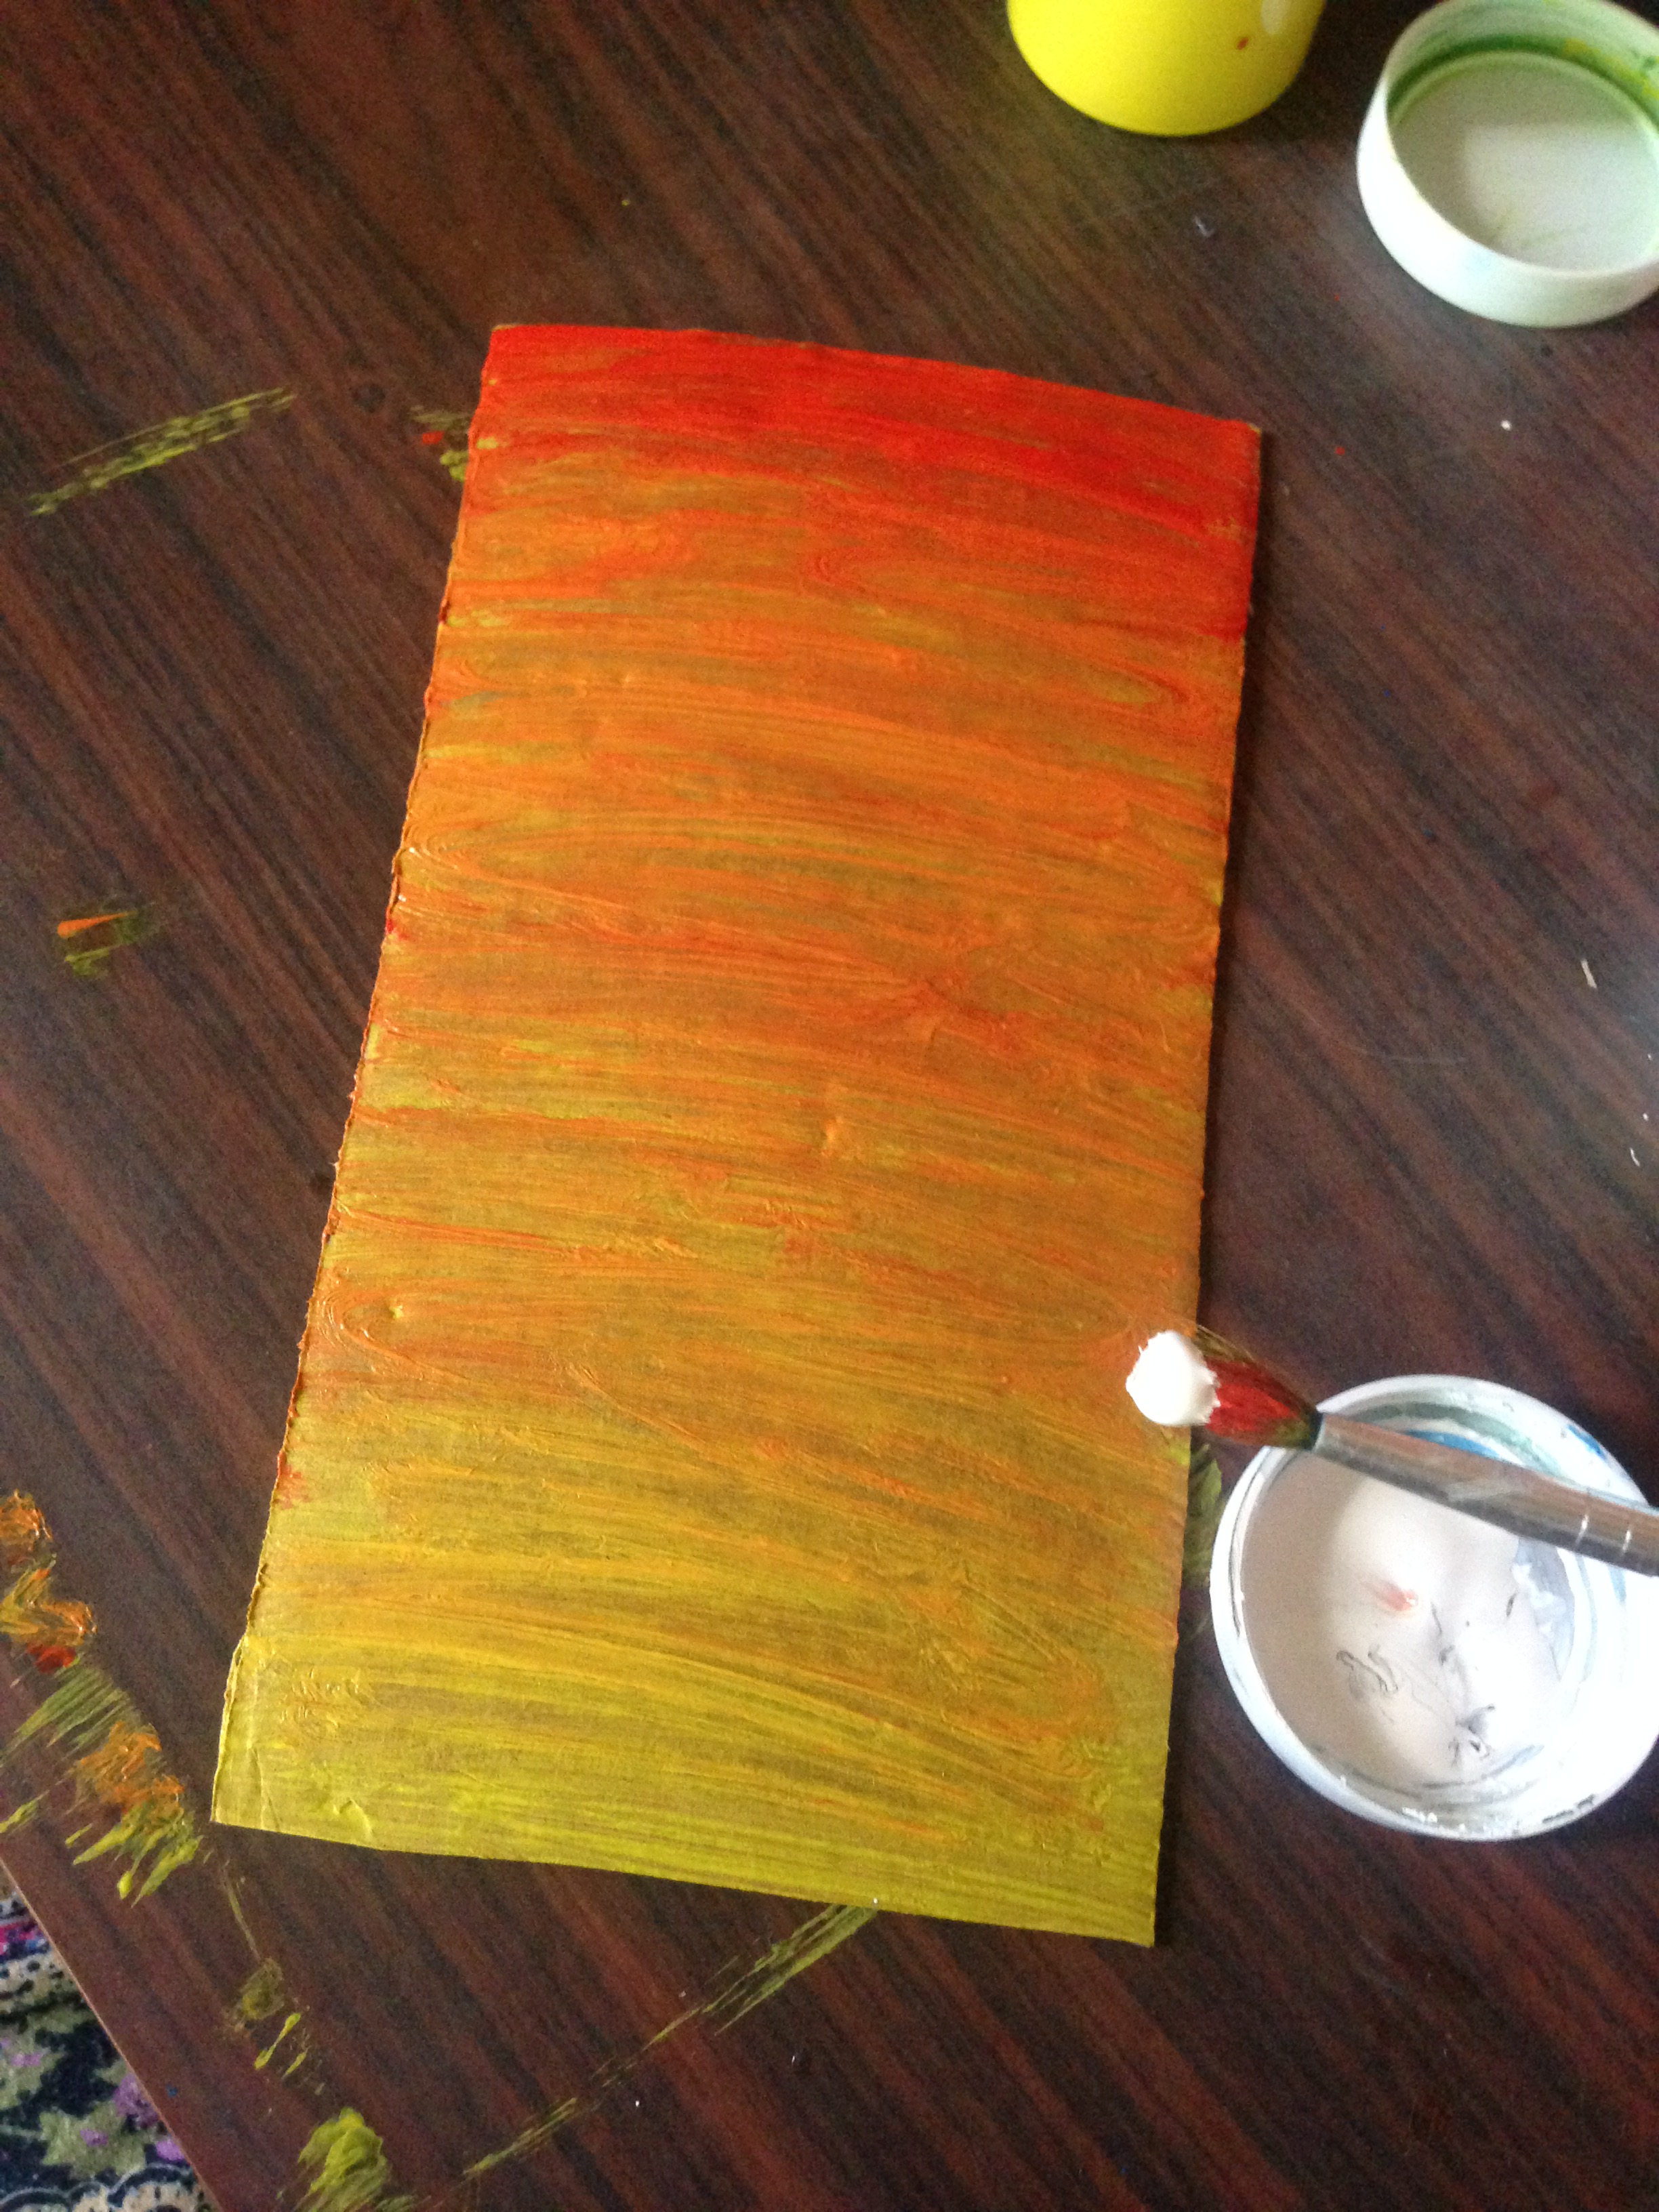
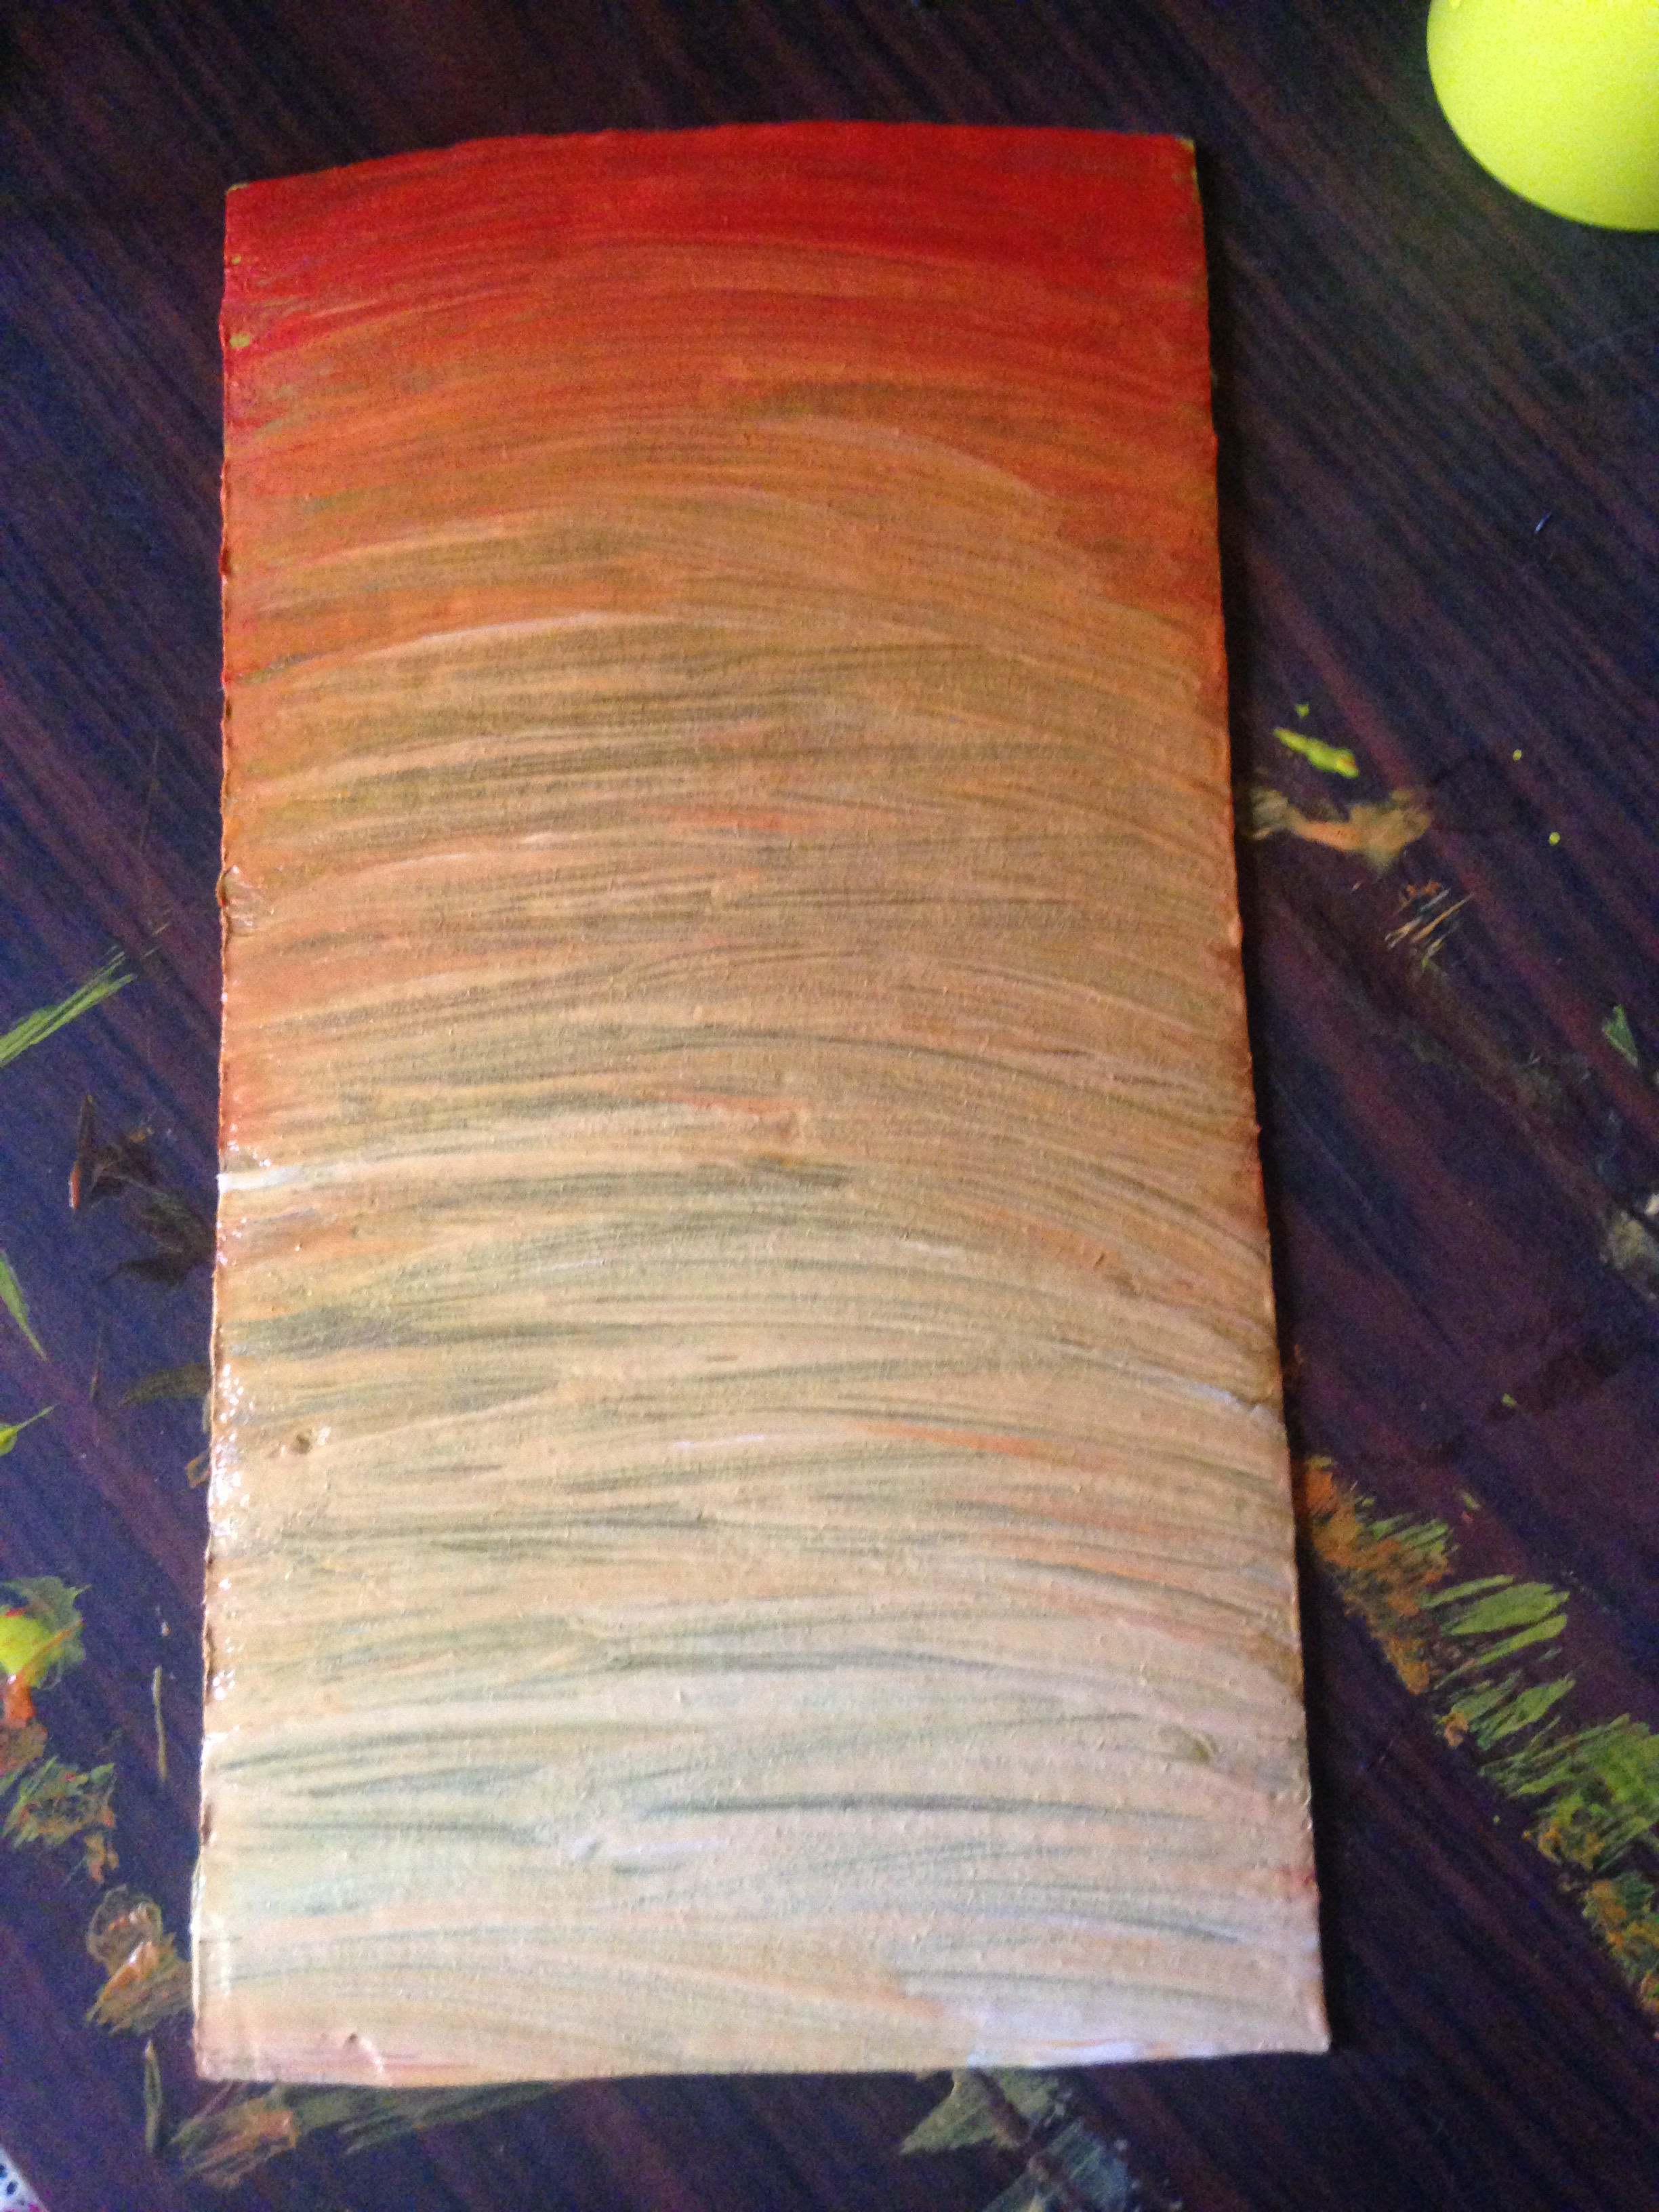
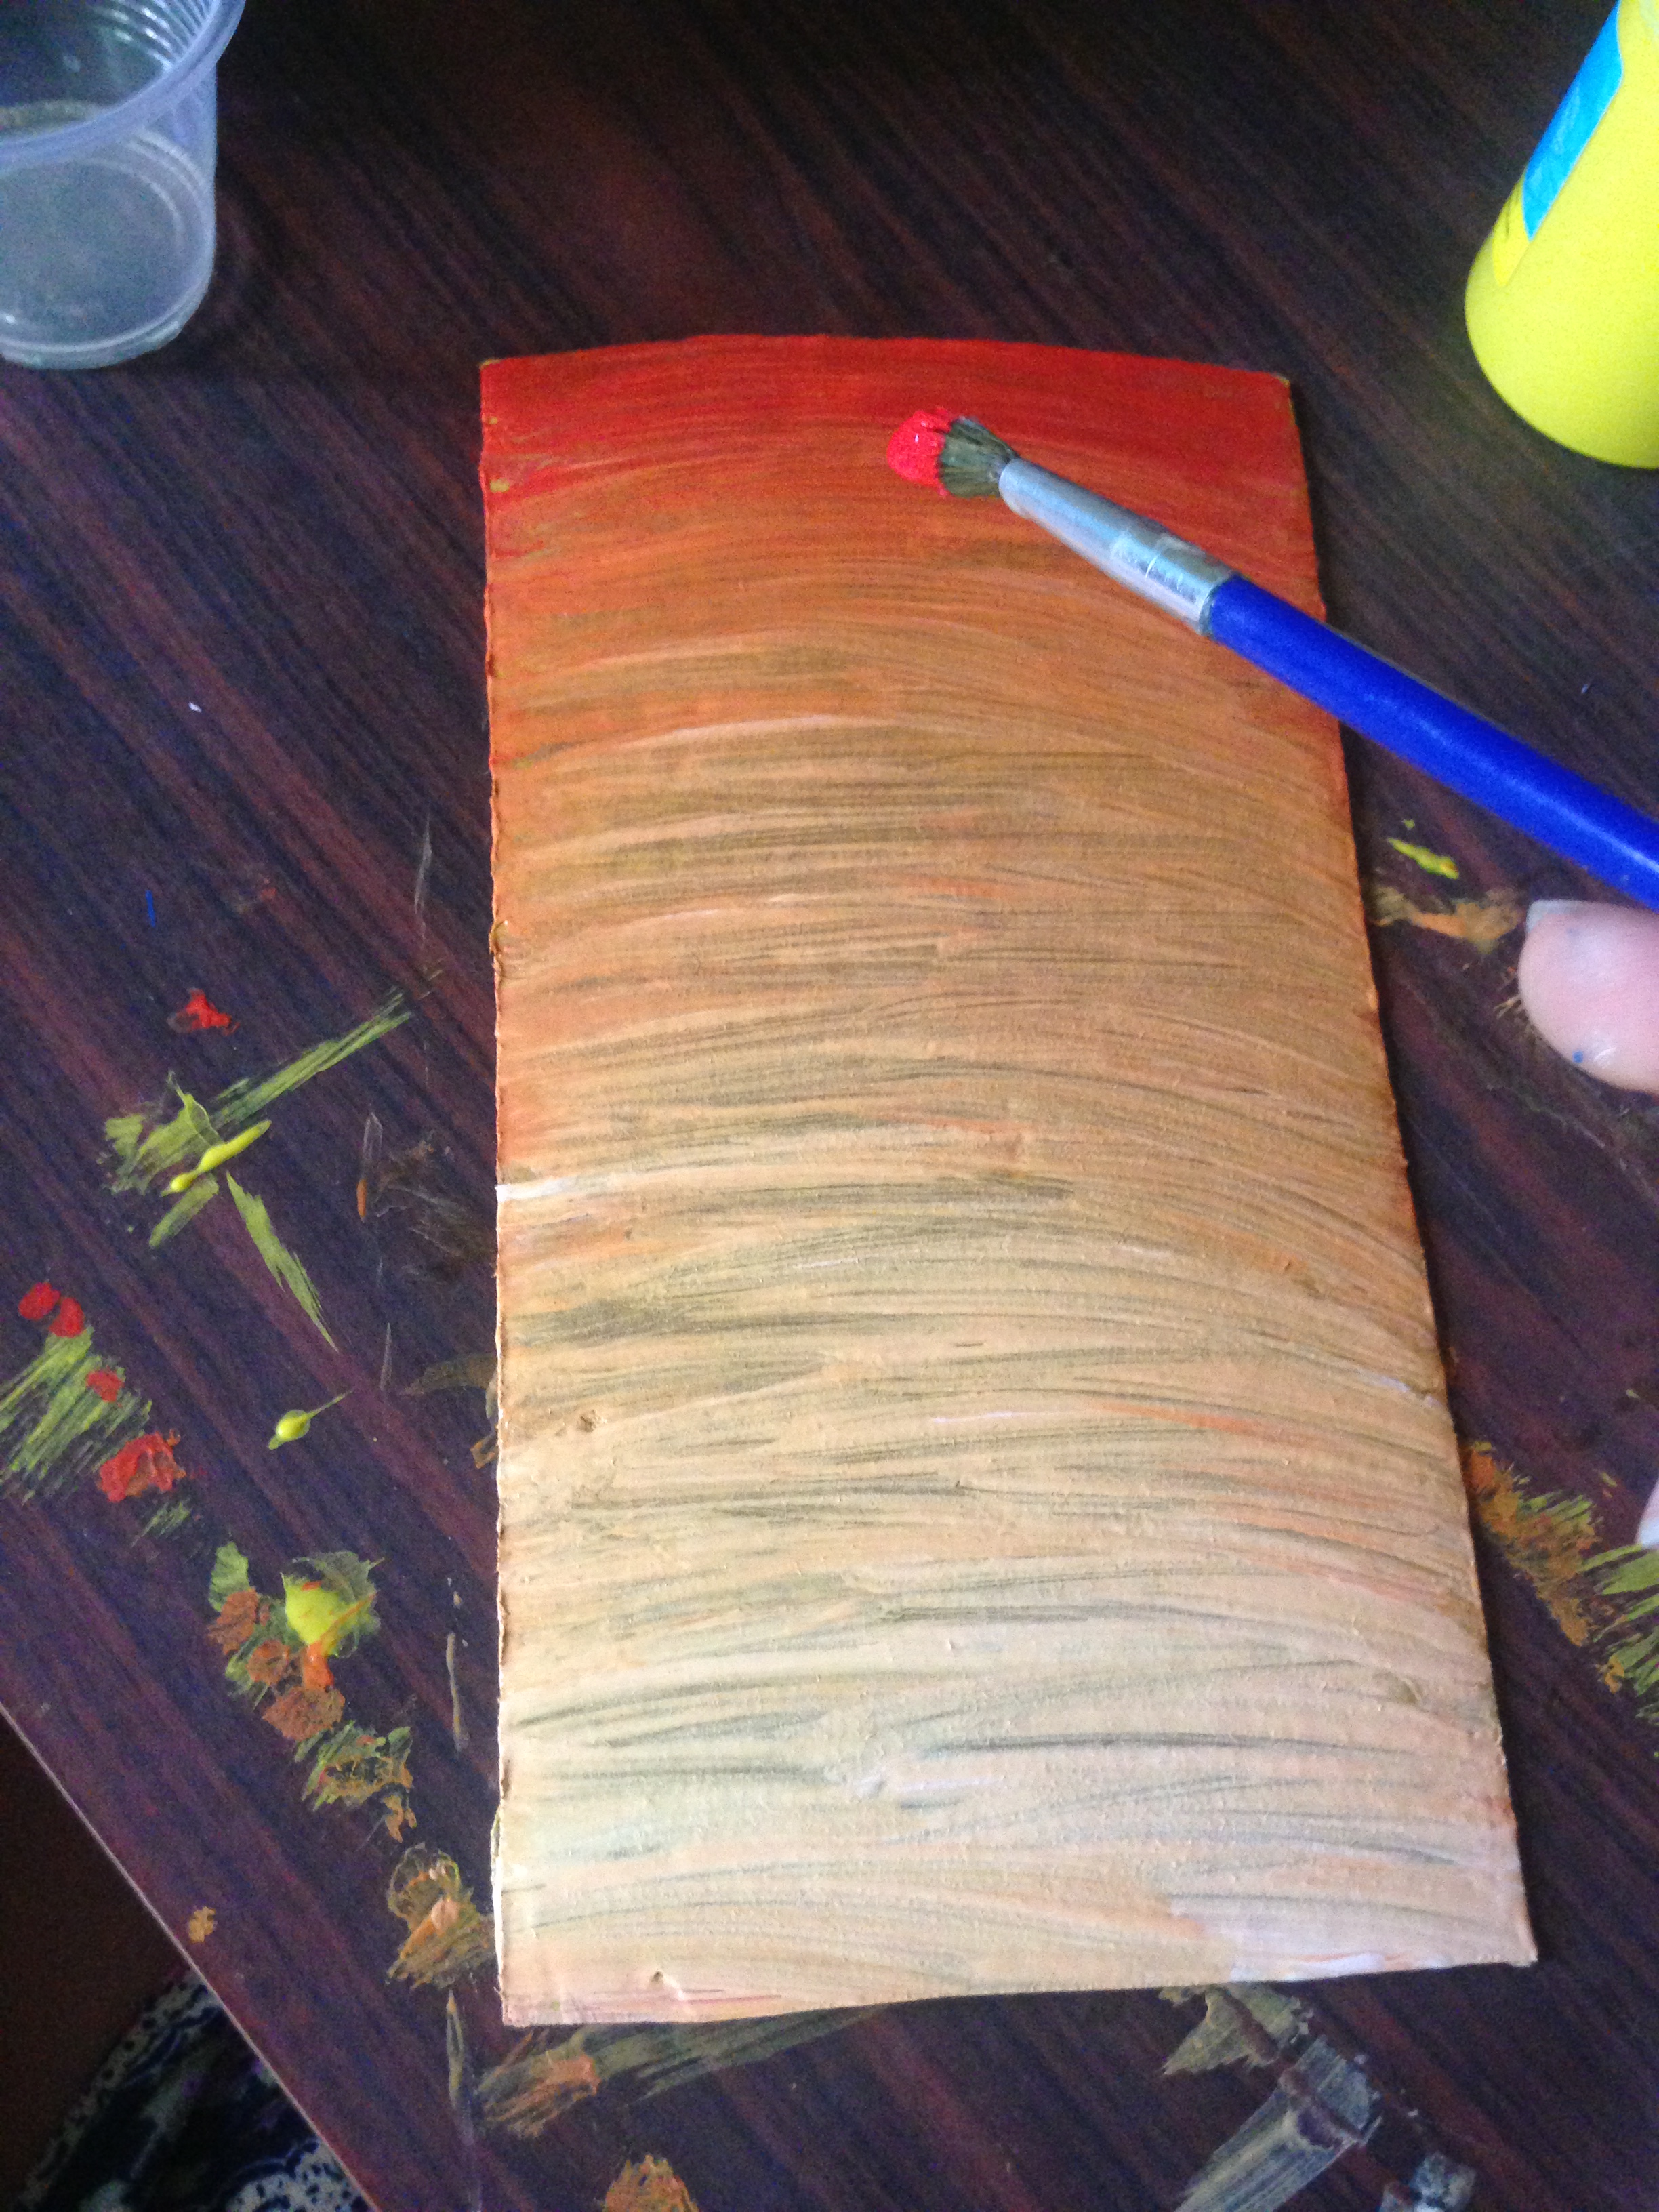
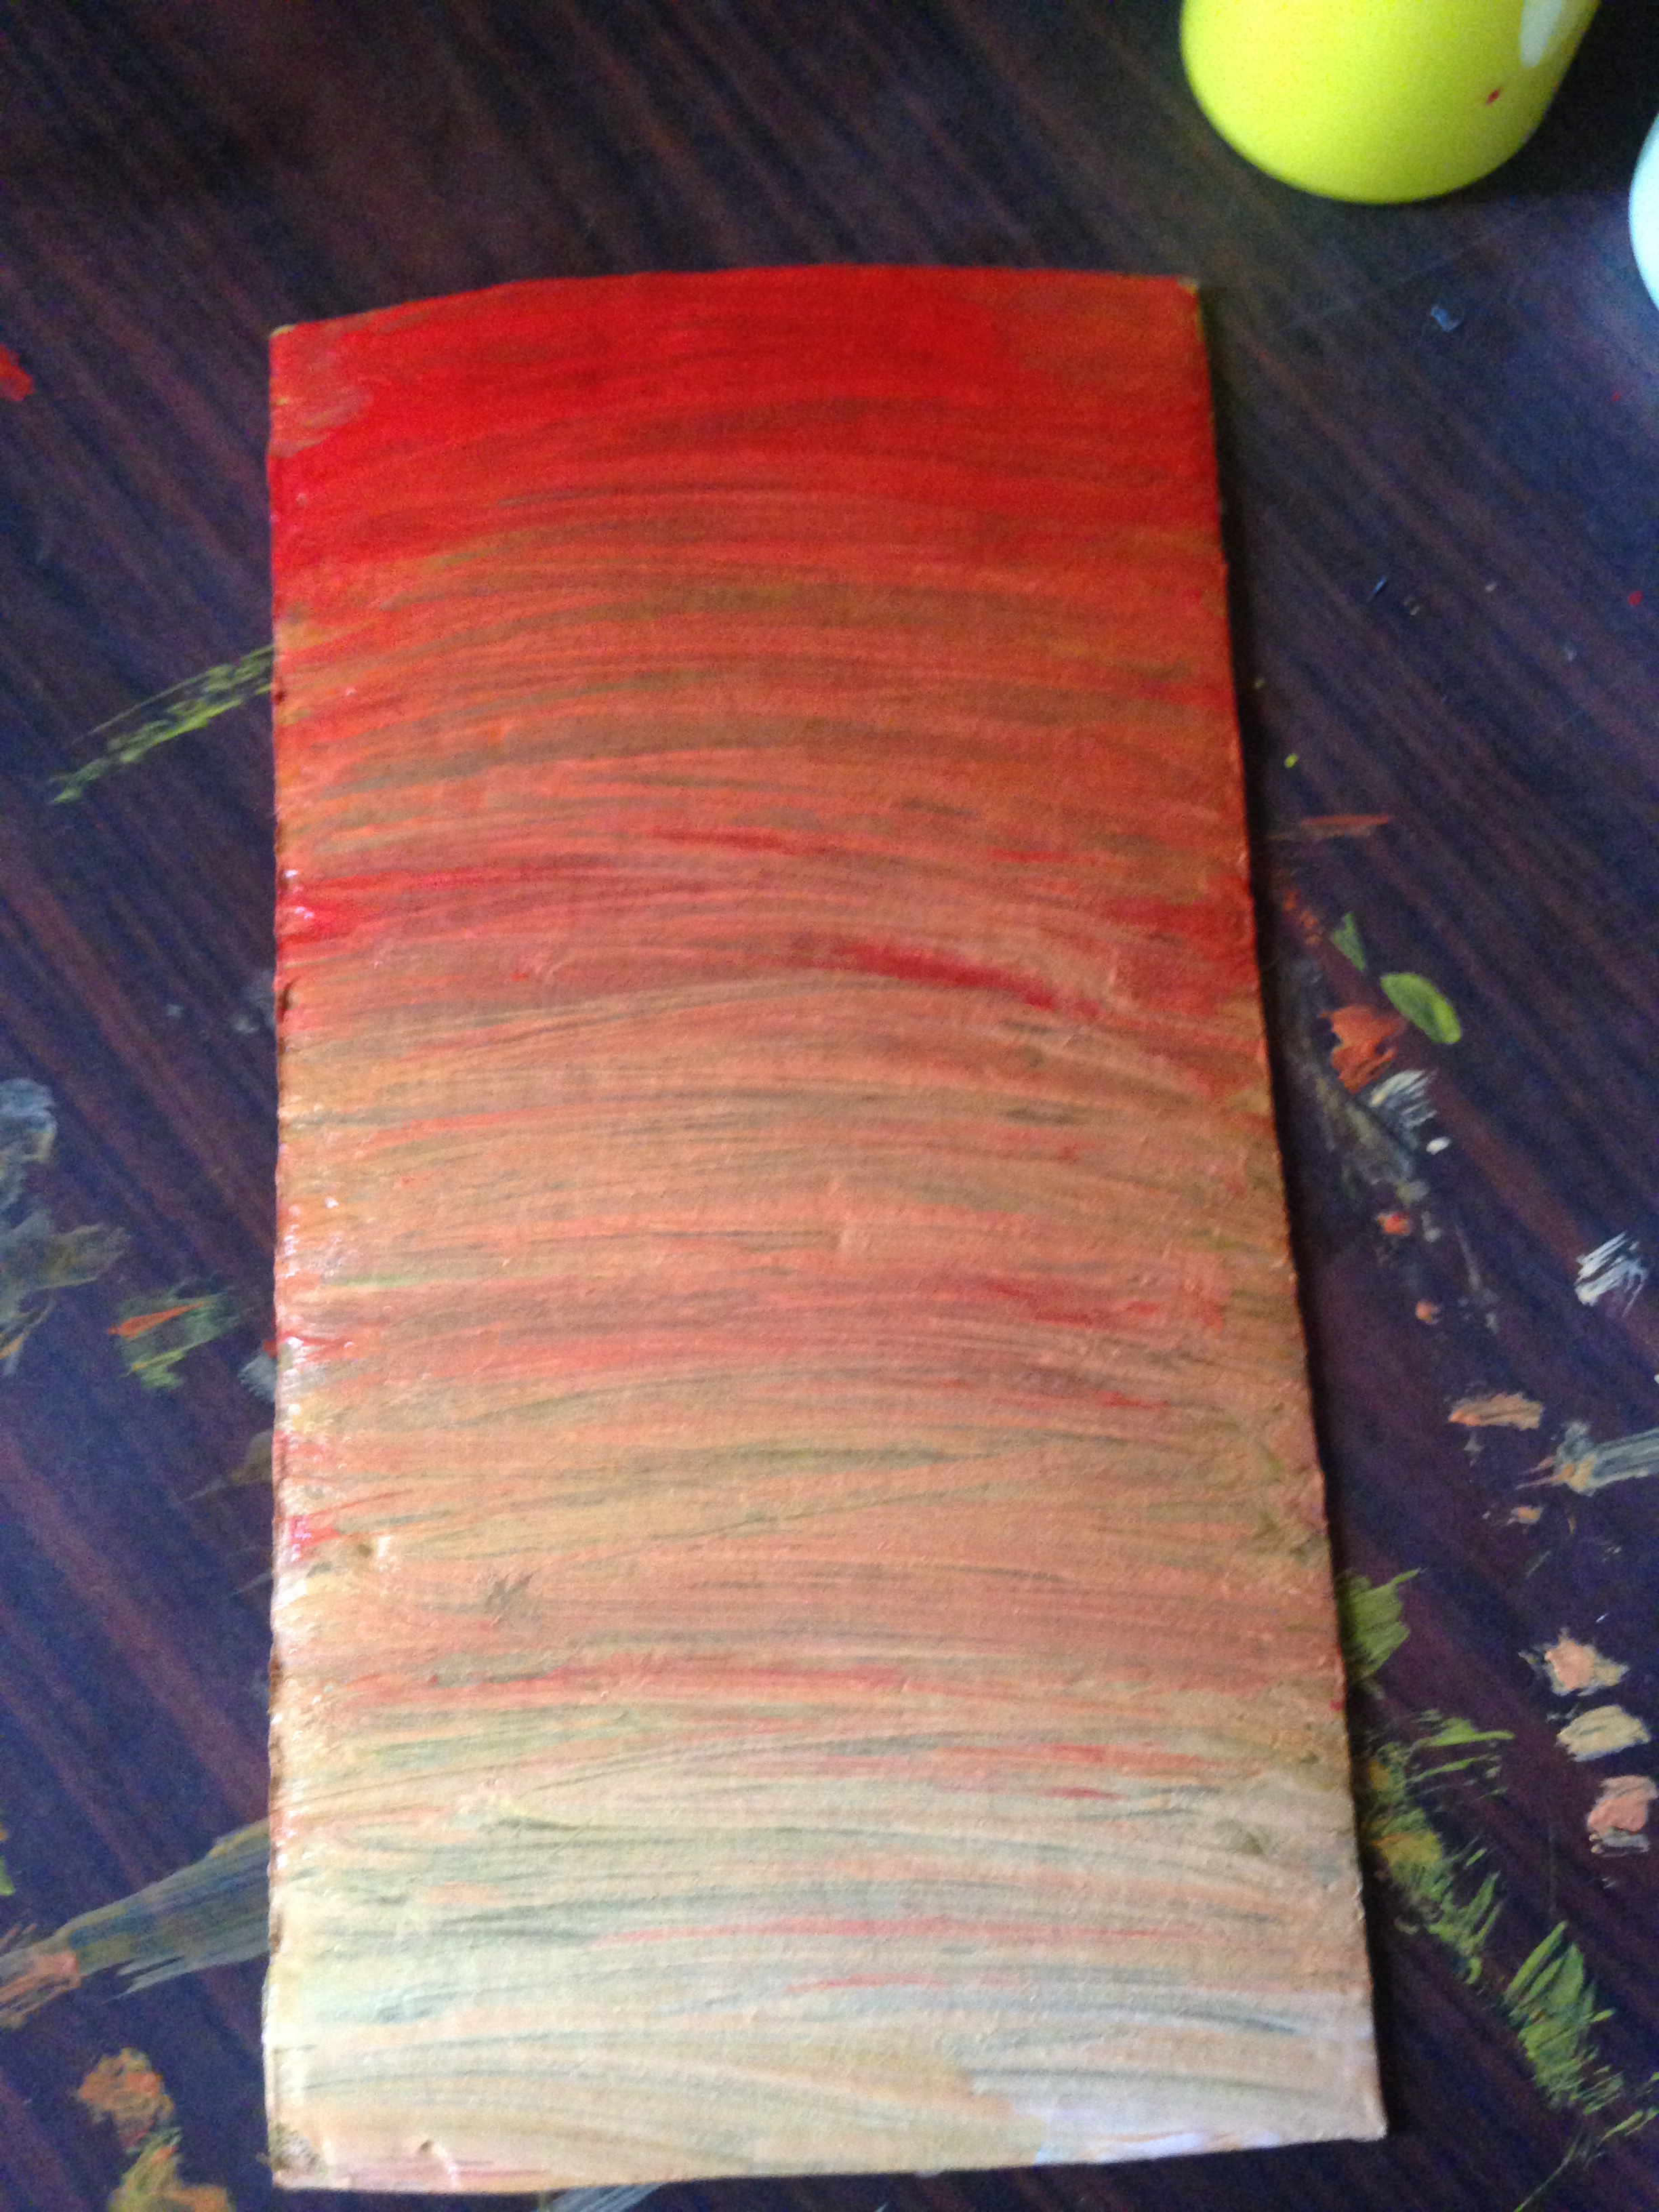
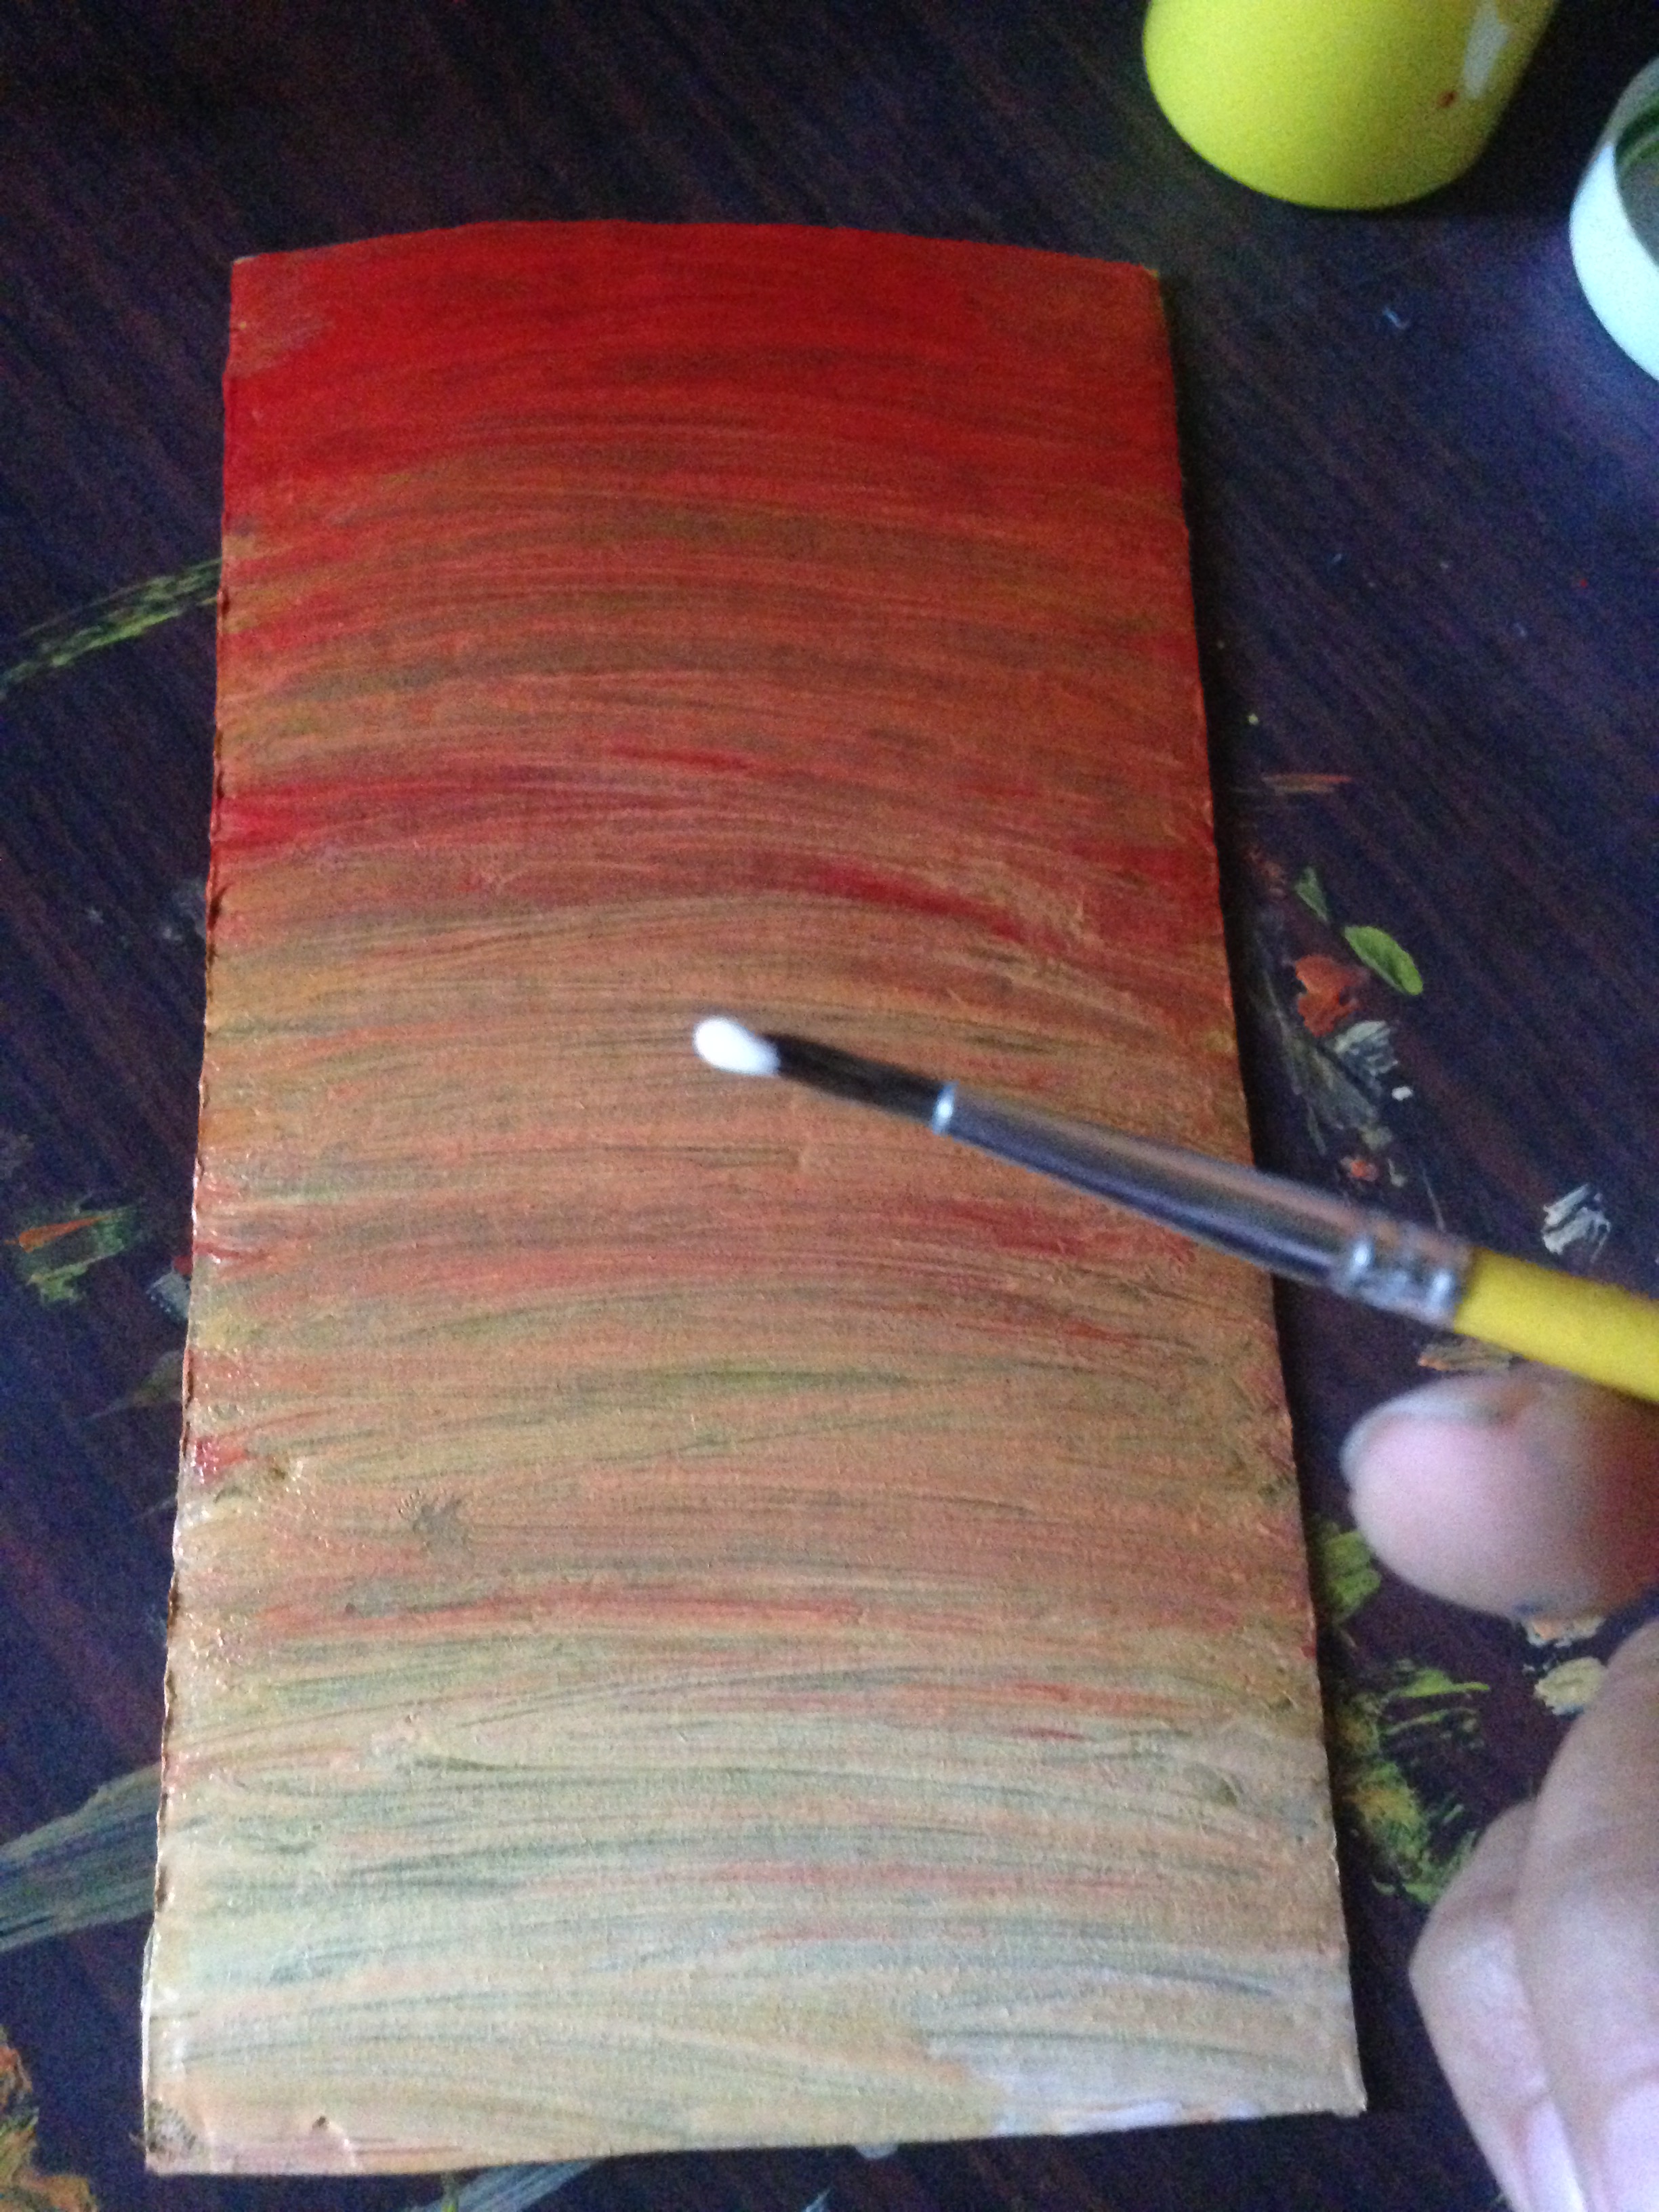
Paso 3
Luego vamos a pintar de abajo hacia arriba con la pintura de color blanco, para aclarar nuestro atardecer y ir matizando, y después para finalizar de hacer nuestro atardecer nuevamente pintamos de arriba hacia abajo de rojo para dar mas profundidad
Step 3
Then we are going to paint from the bottom up with the white paint, to clarify our sunset and go more nuanced, and then to finish making our sunset again we paint from the top down in red to give more depth
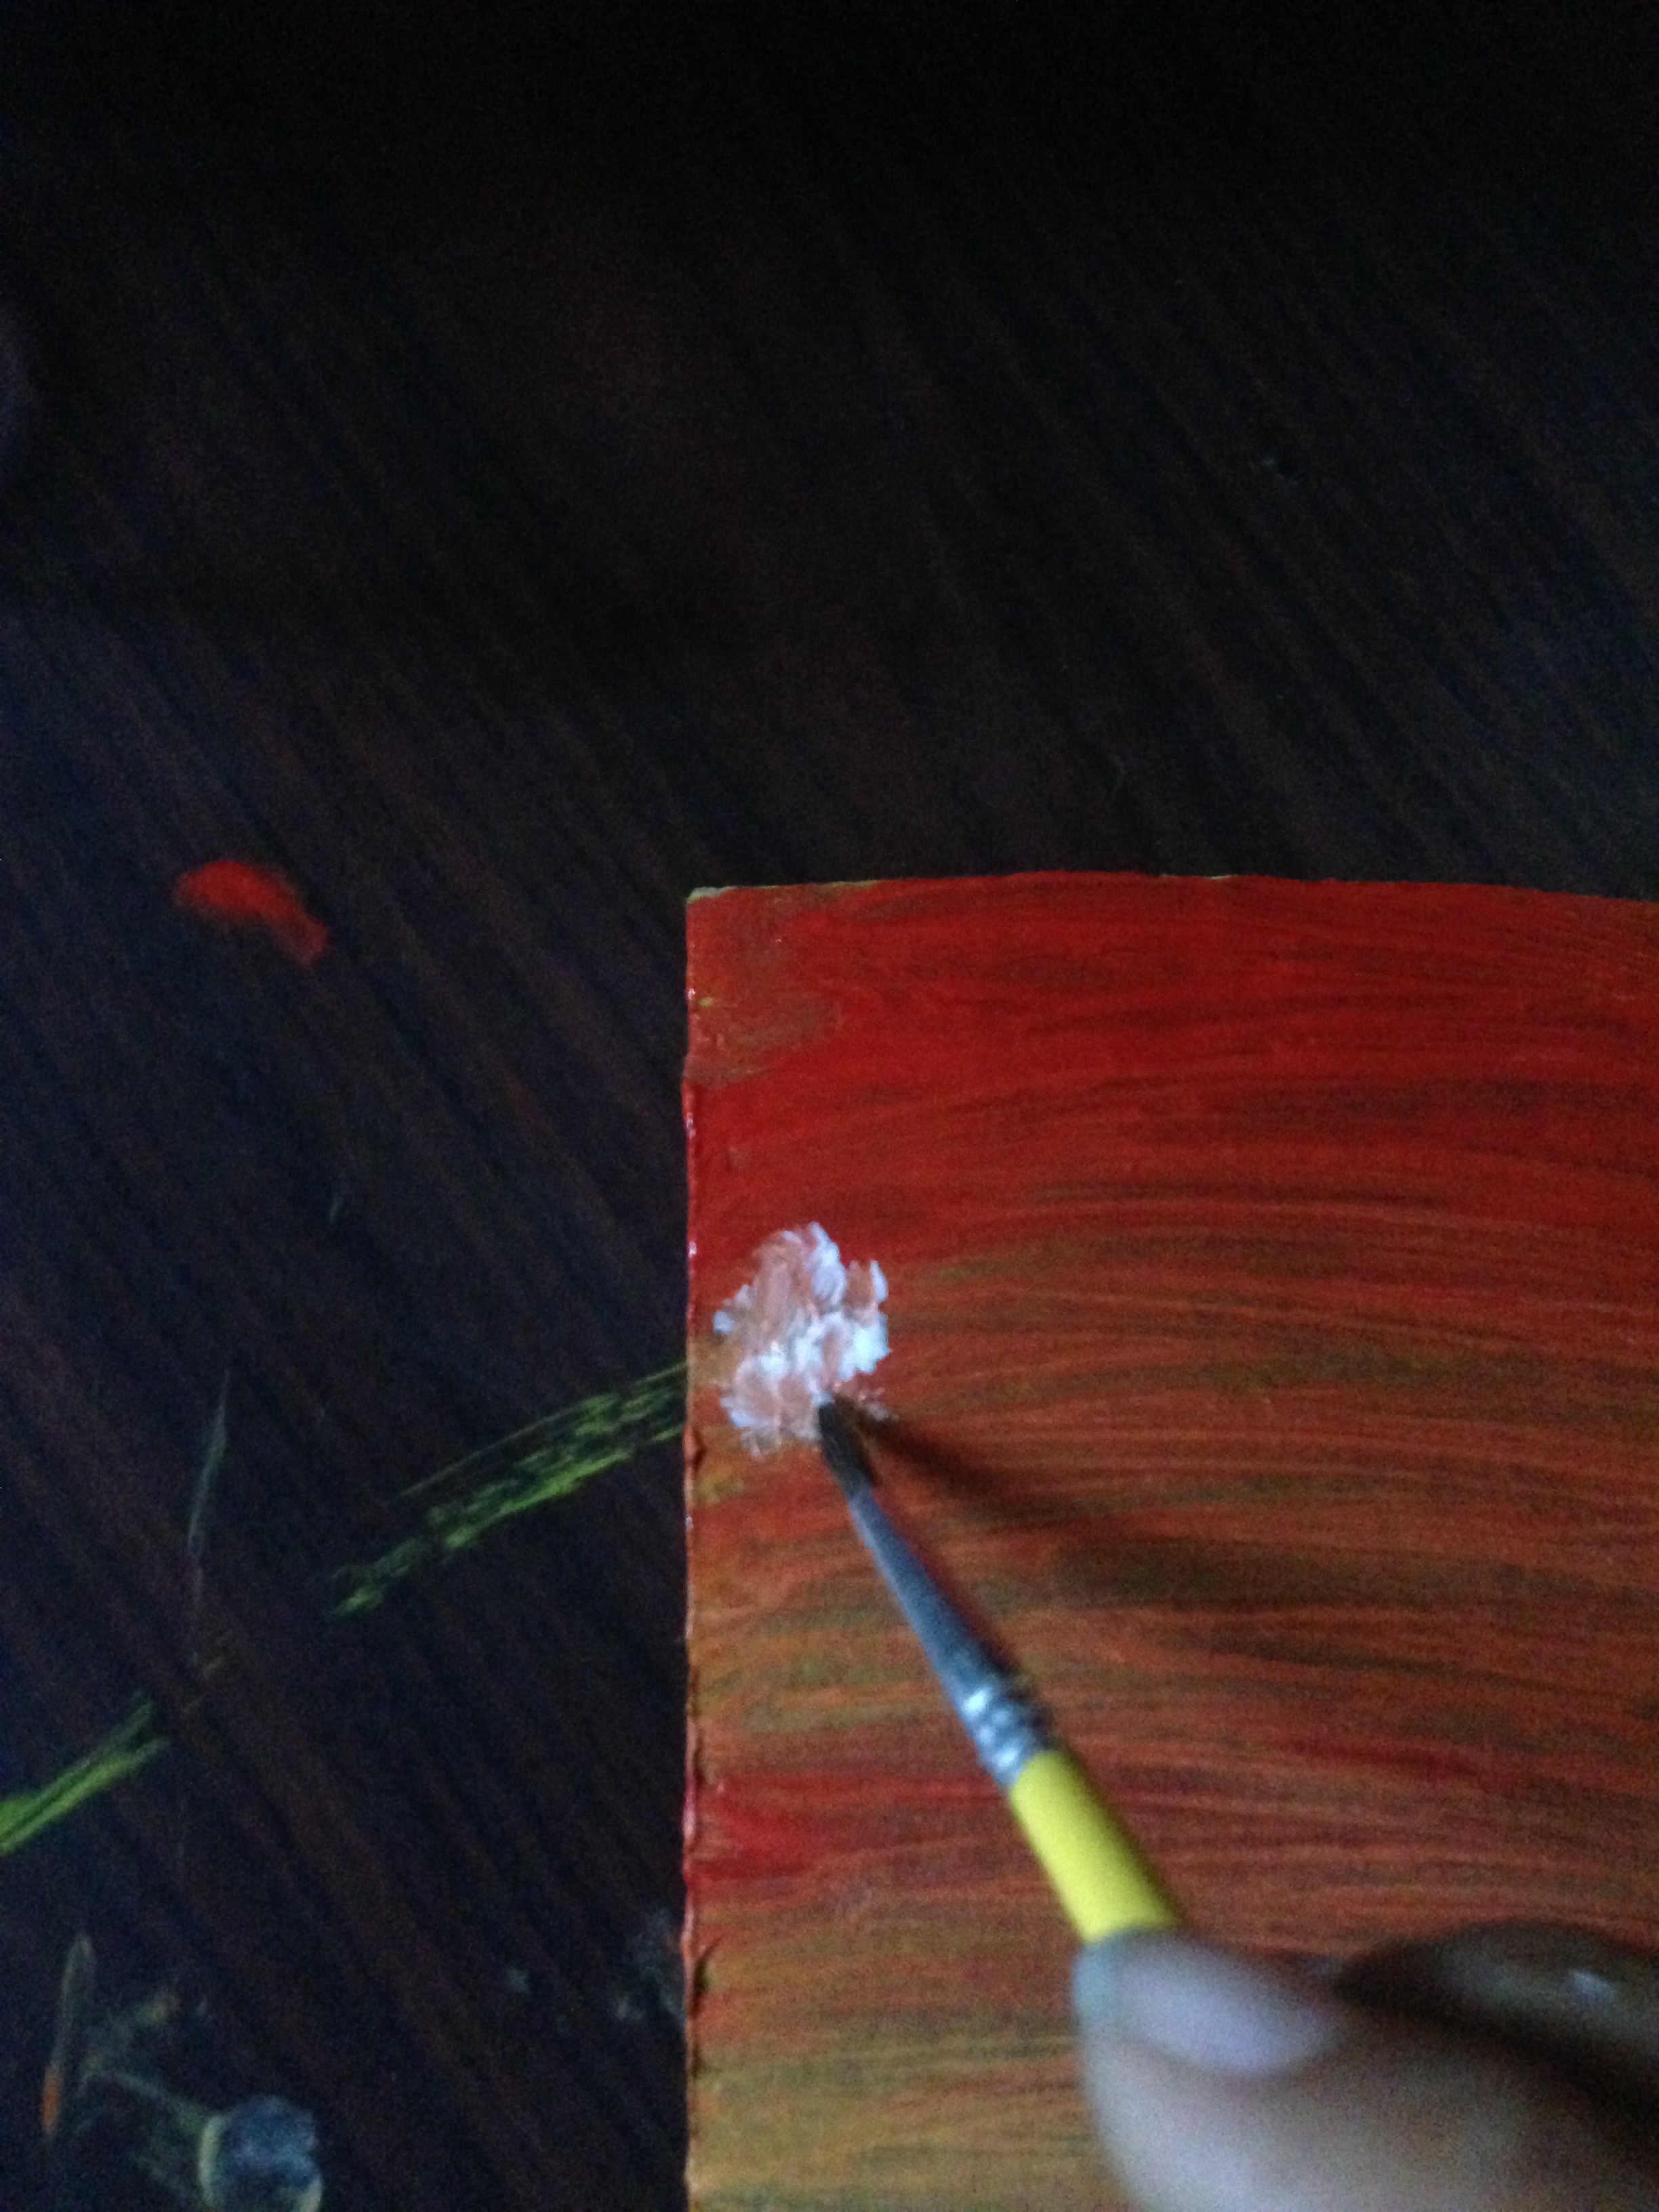
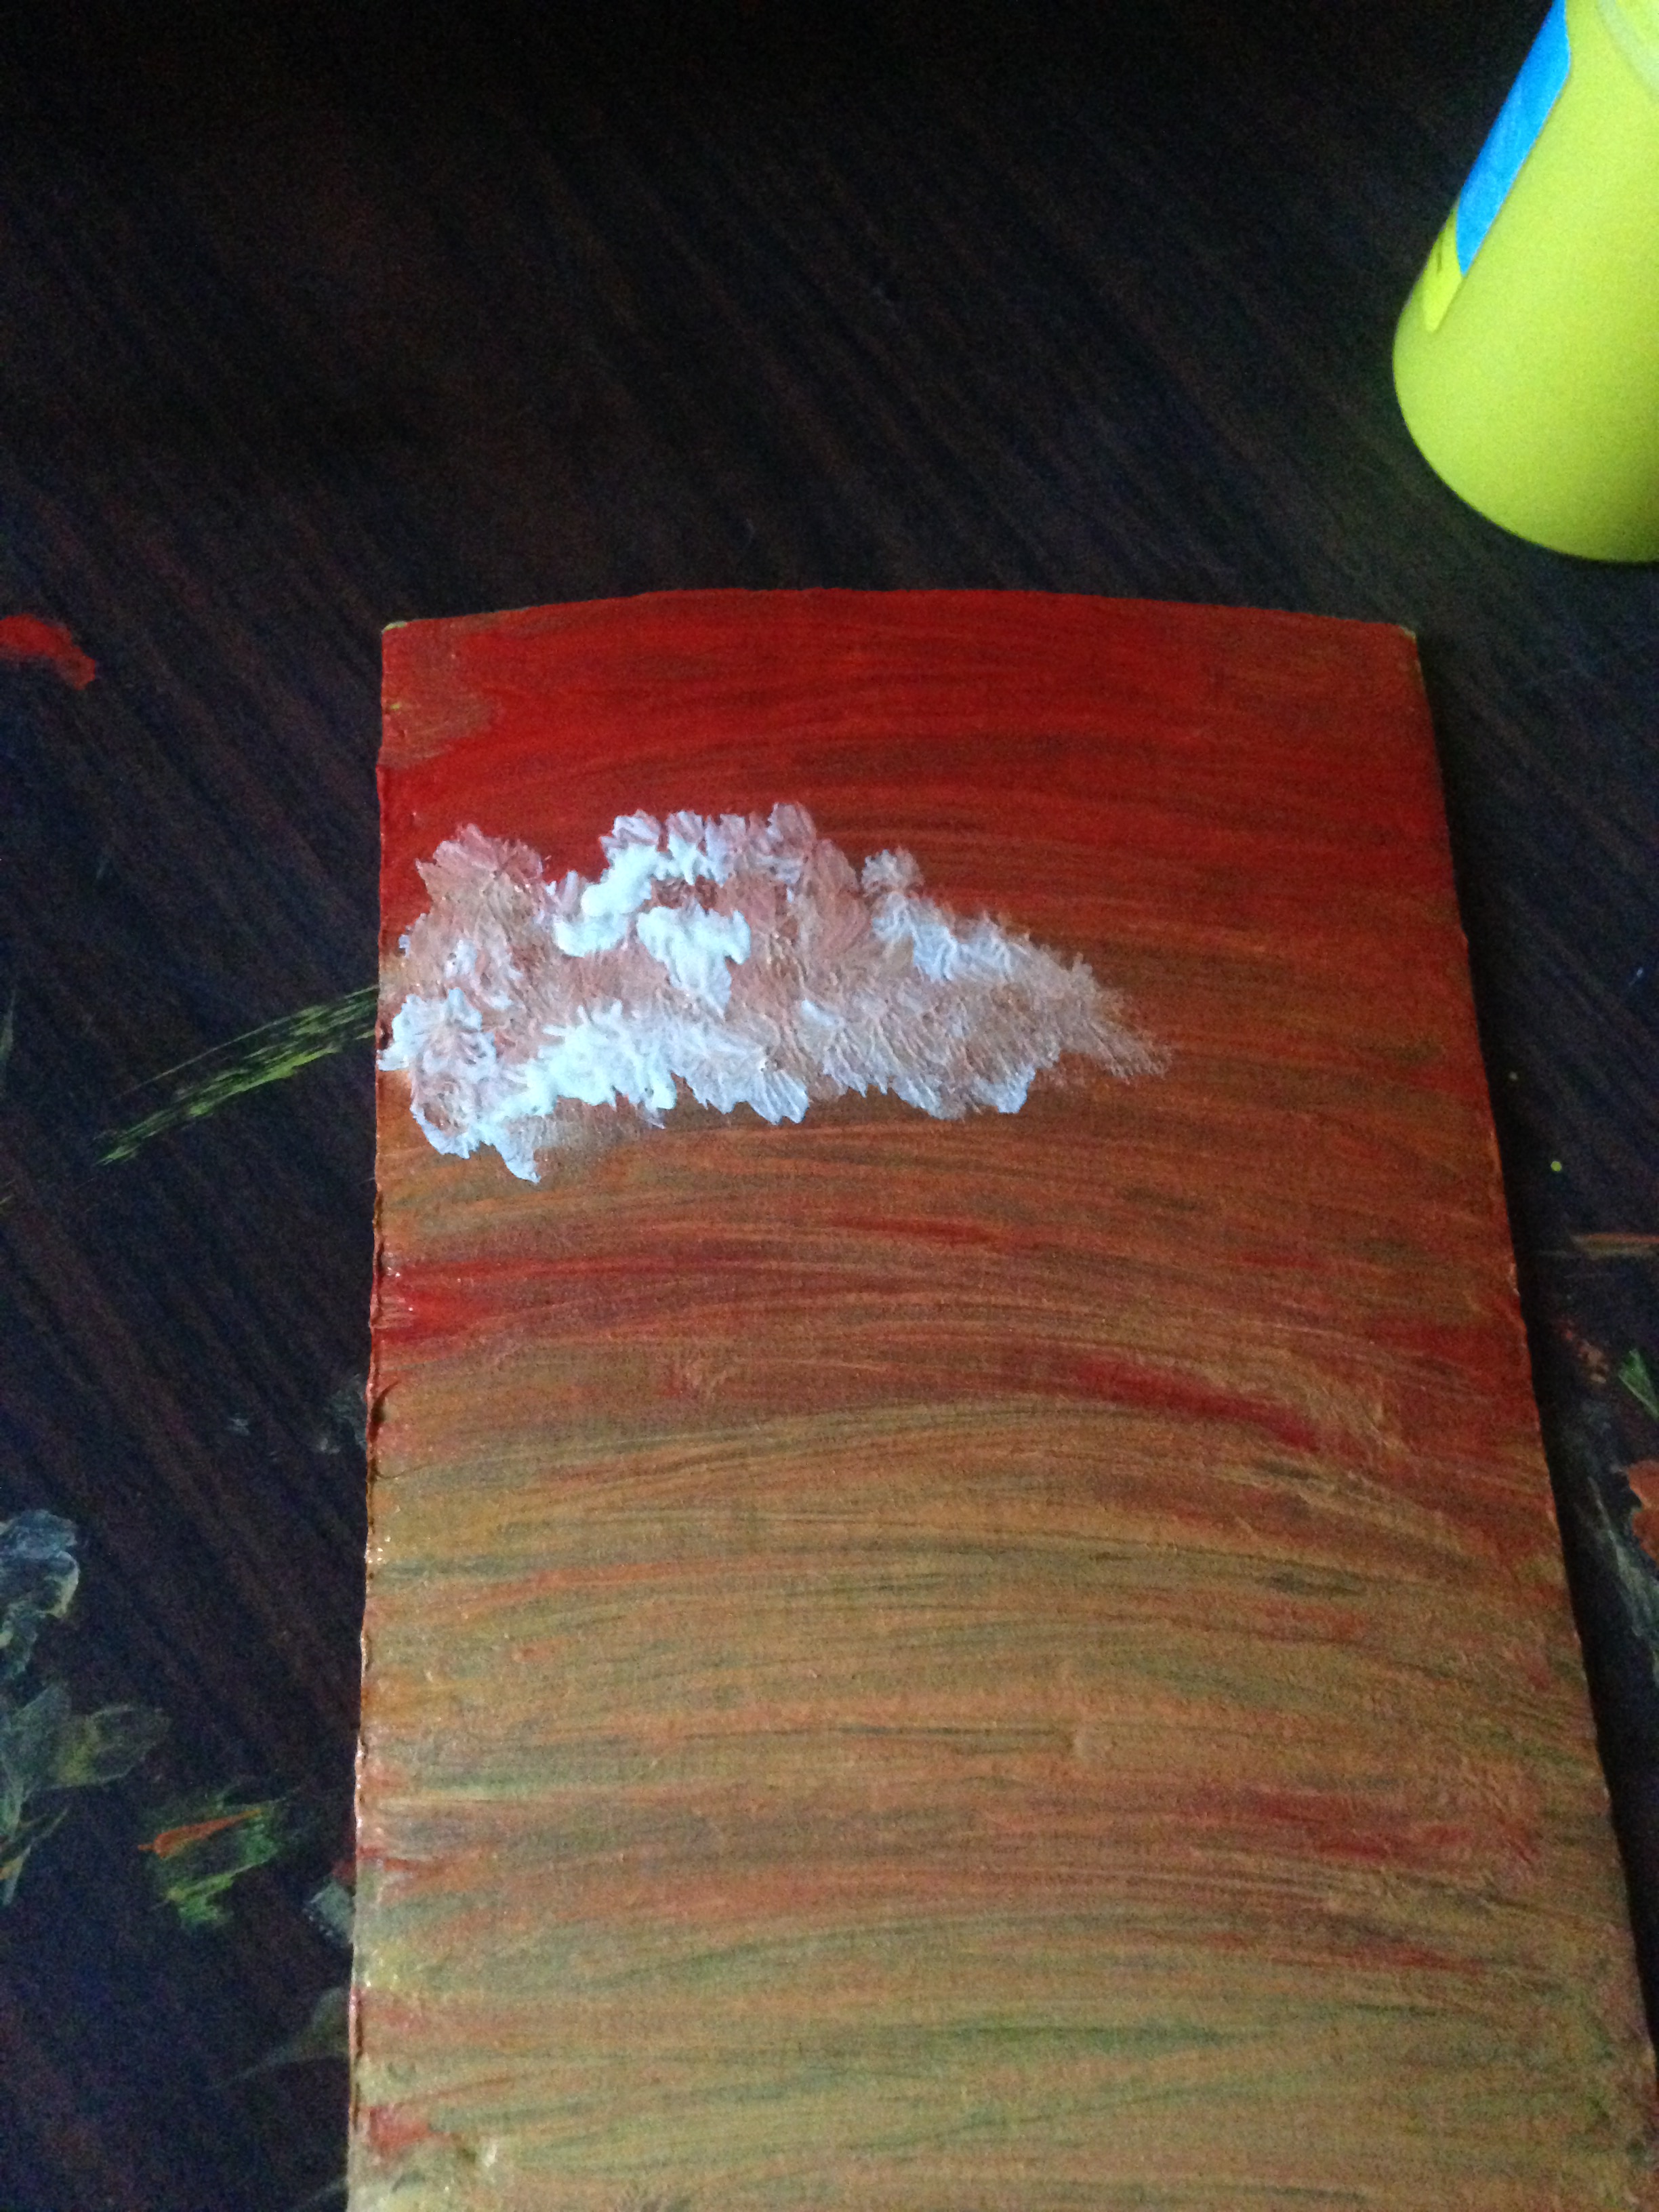
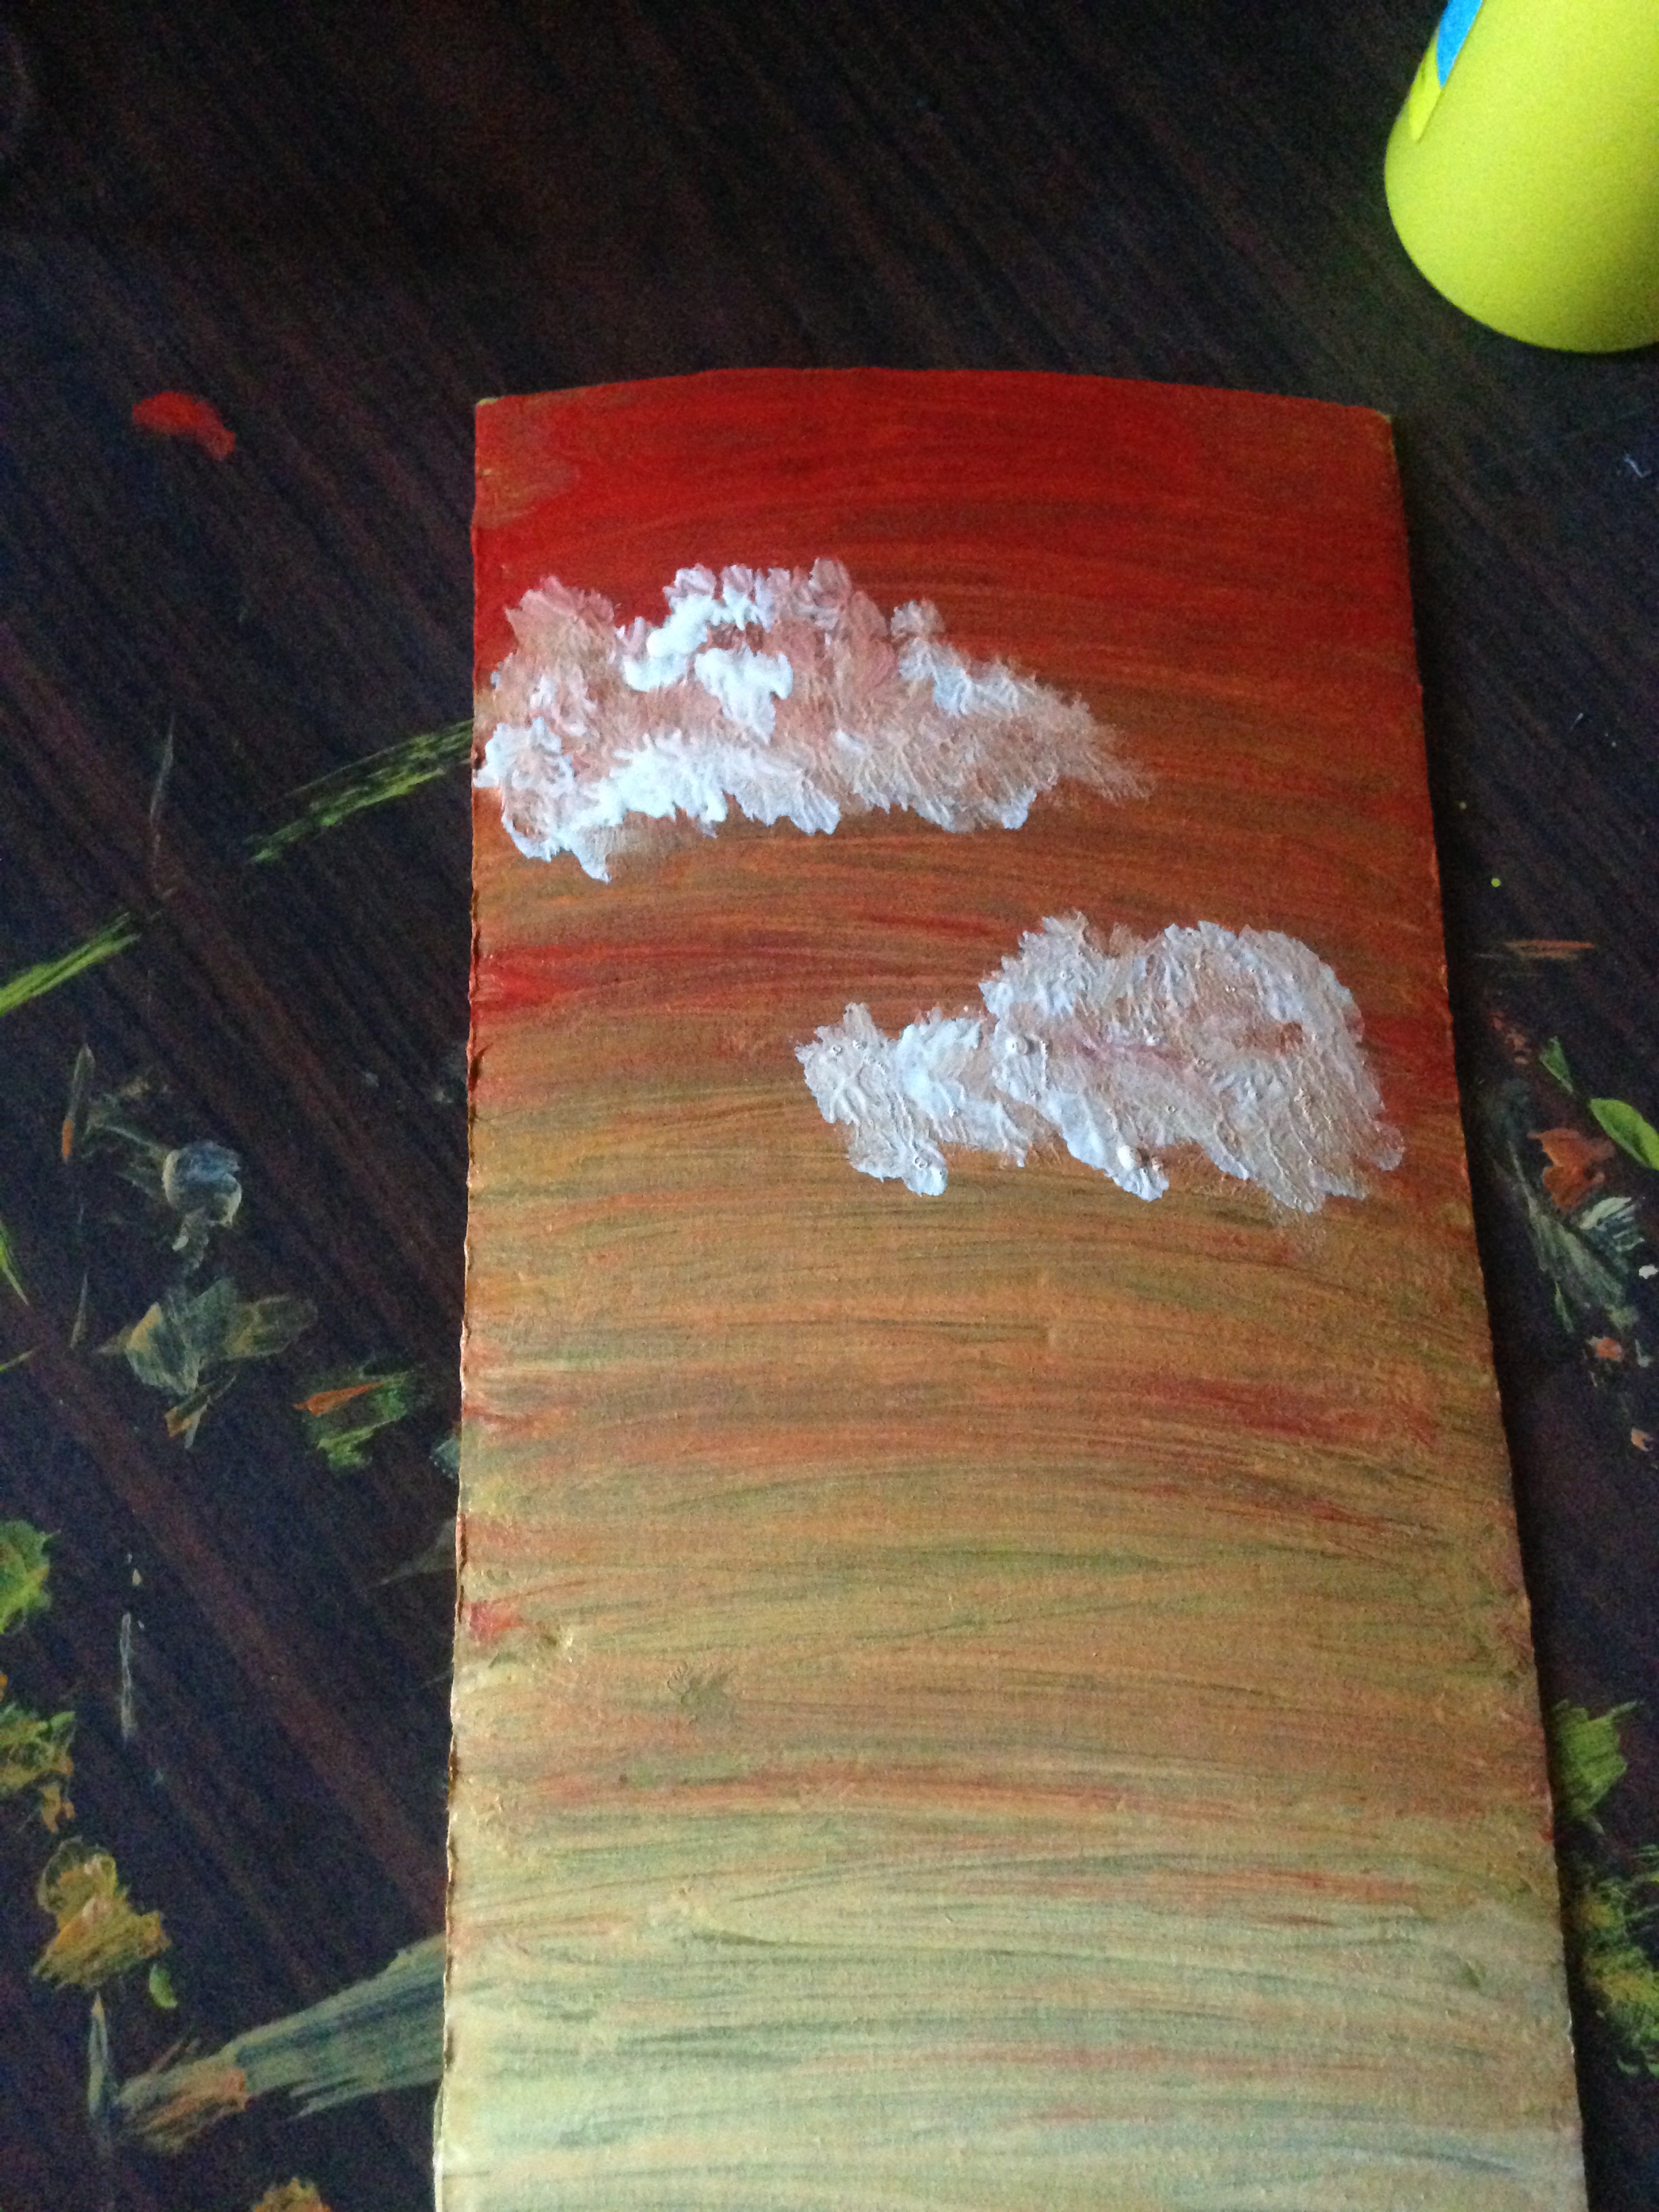
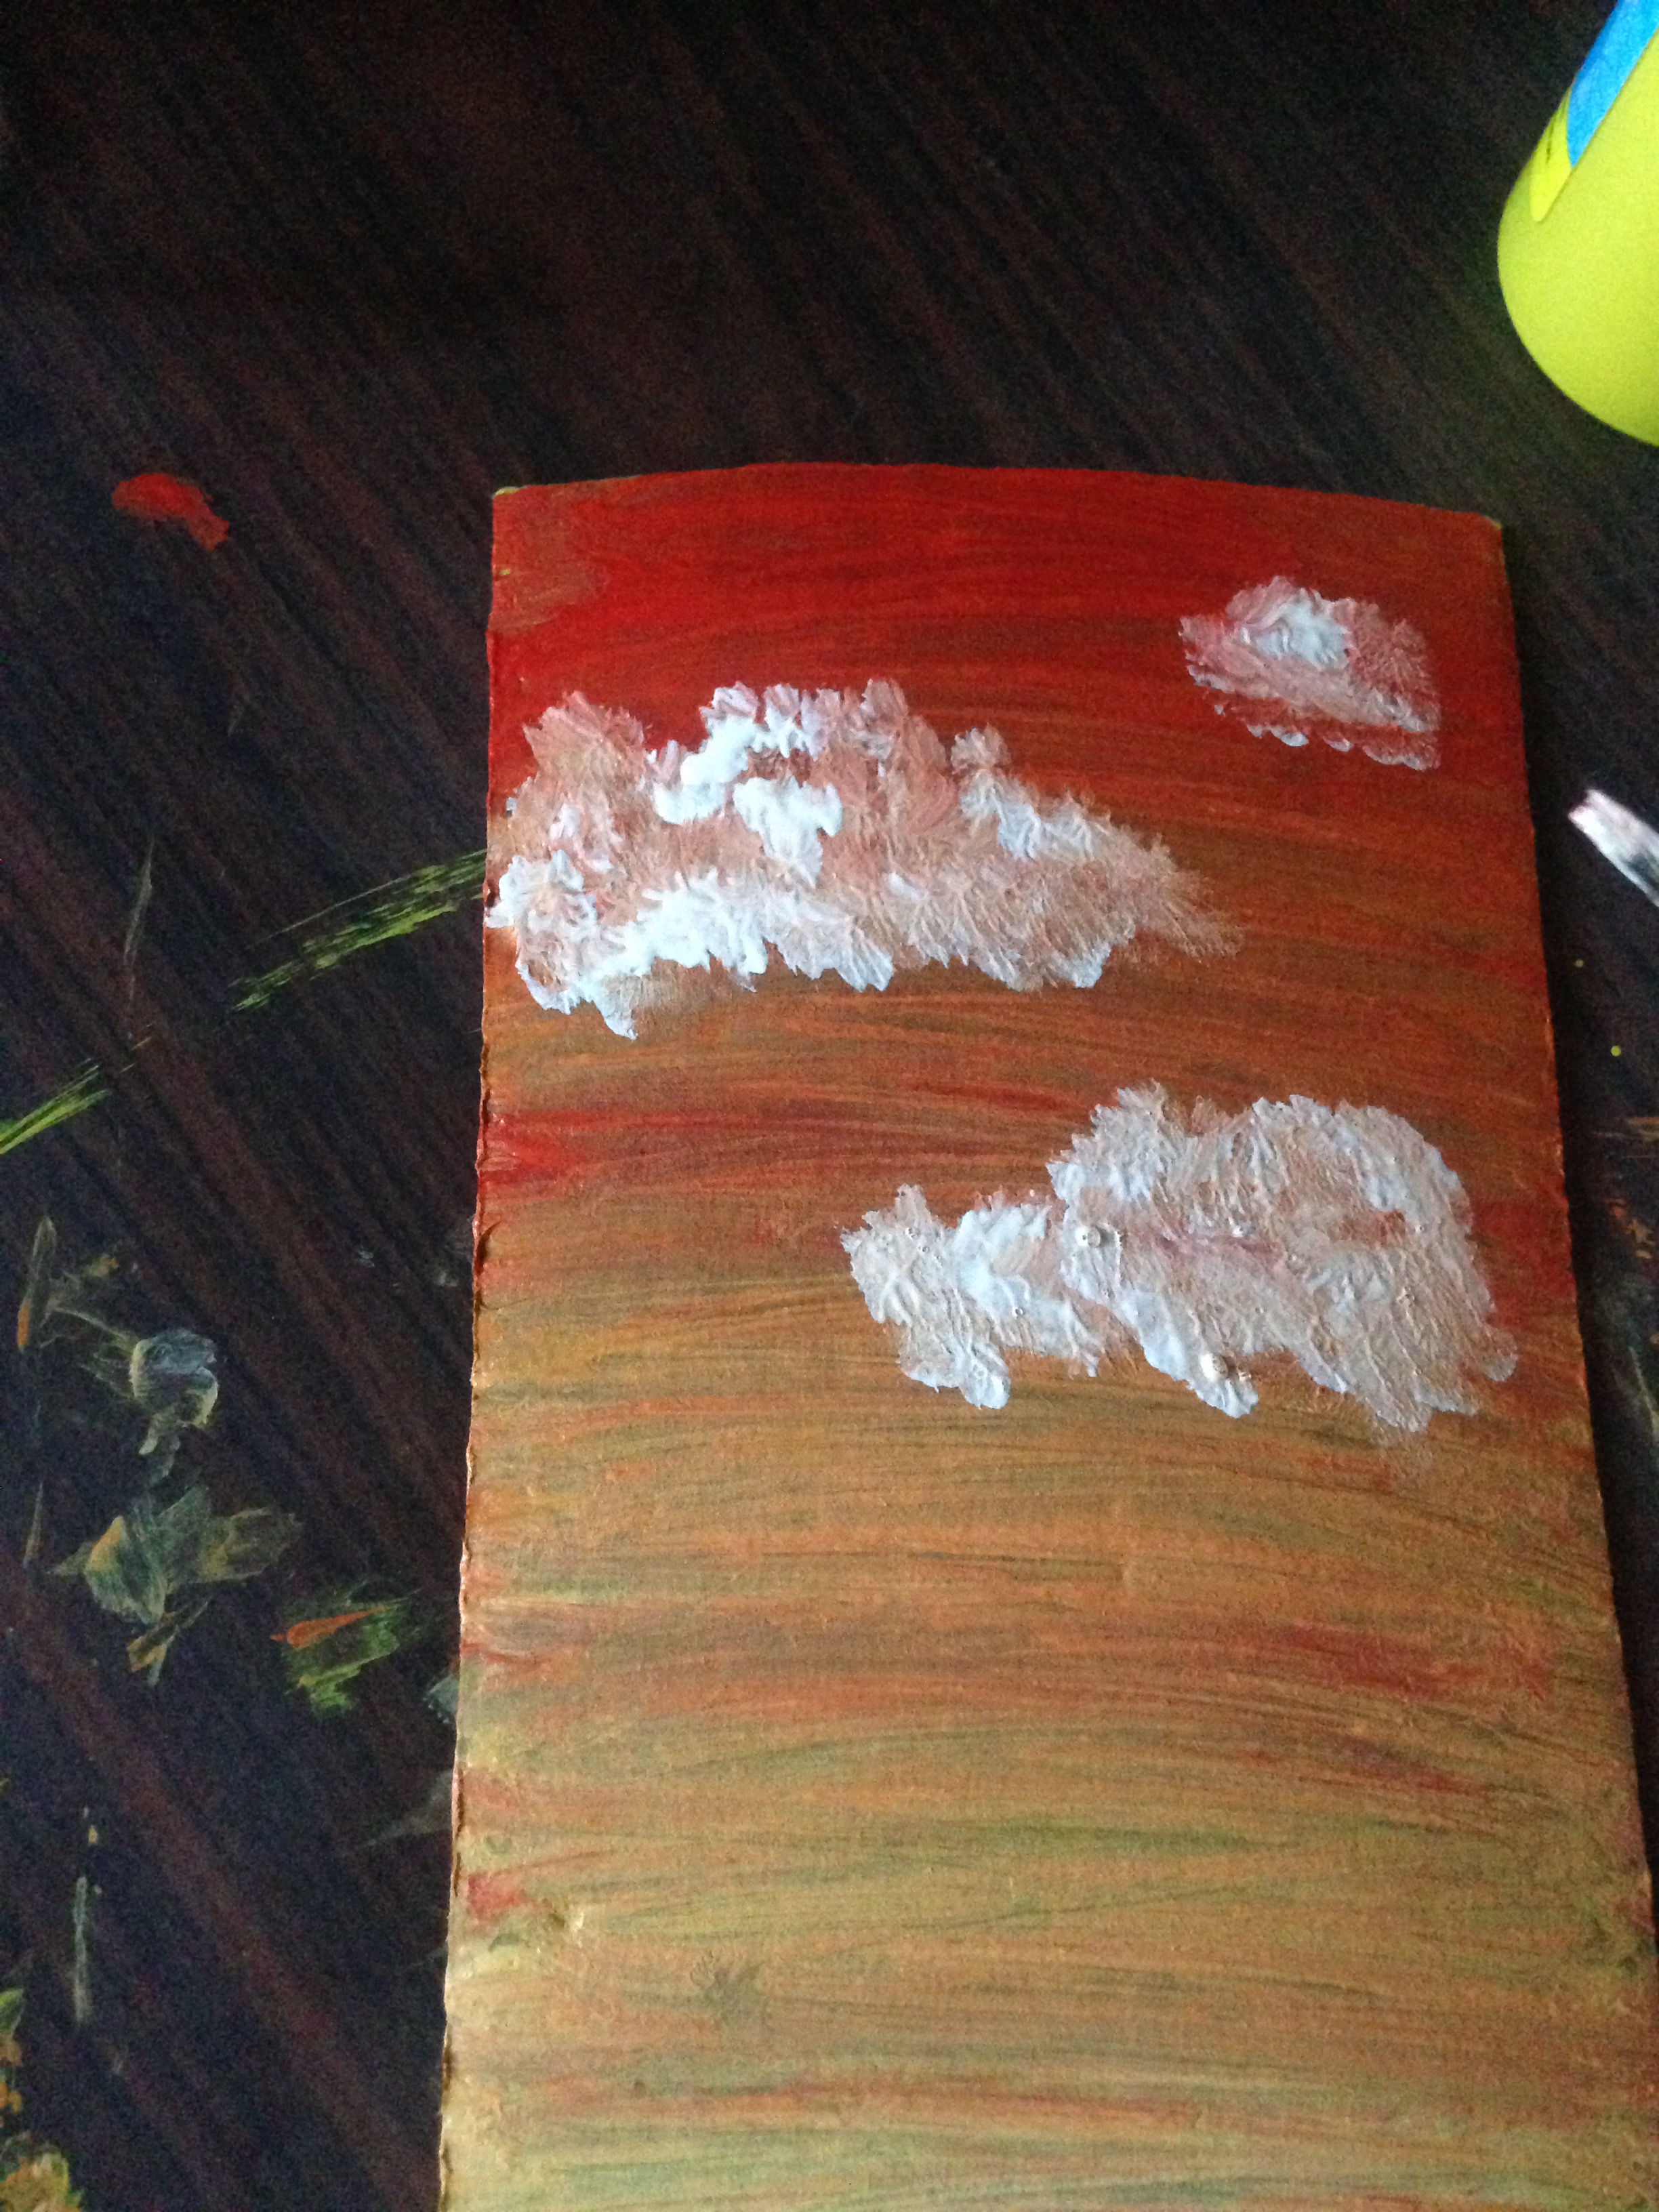
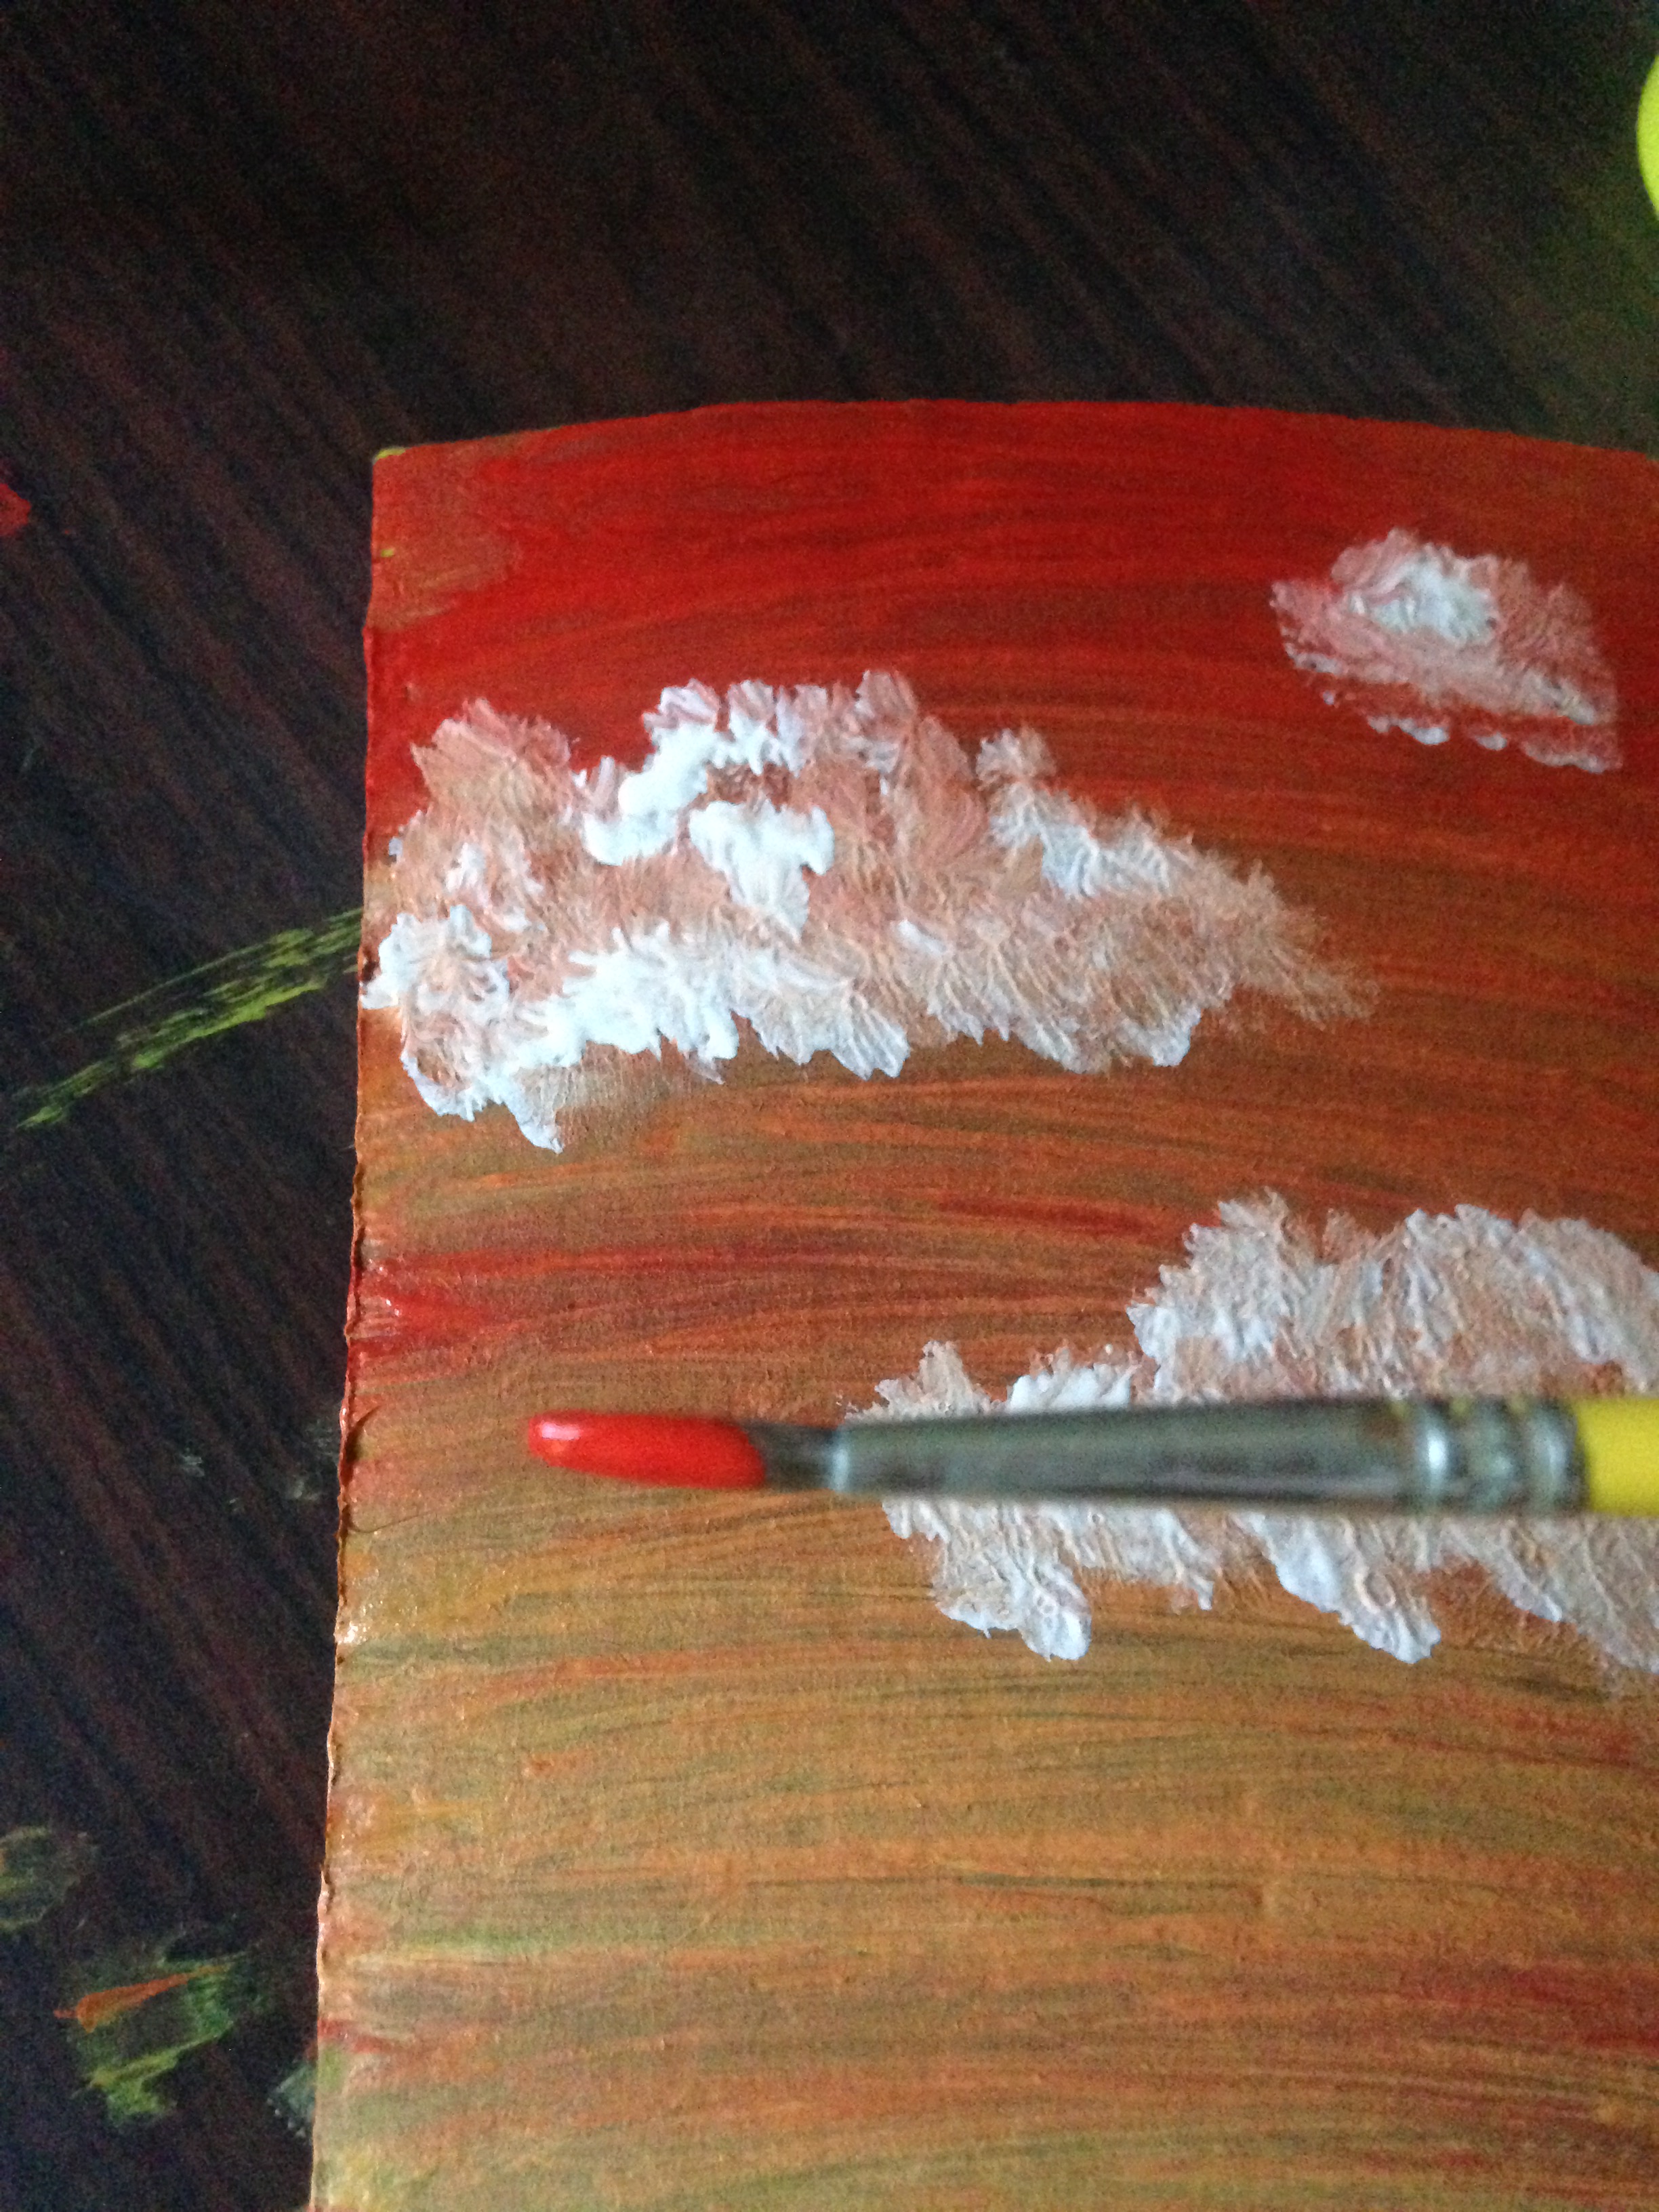
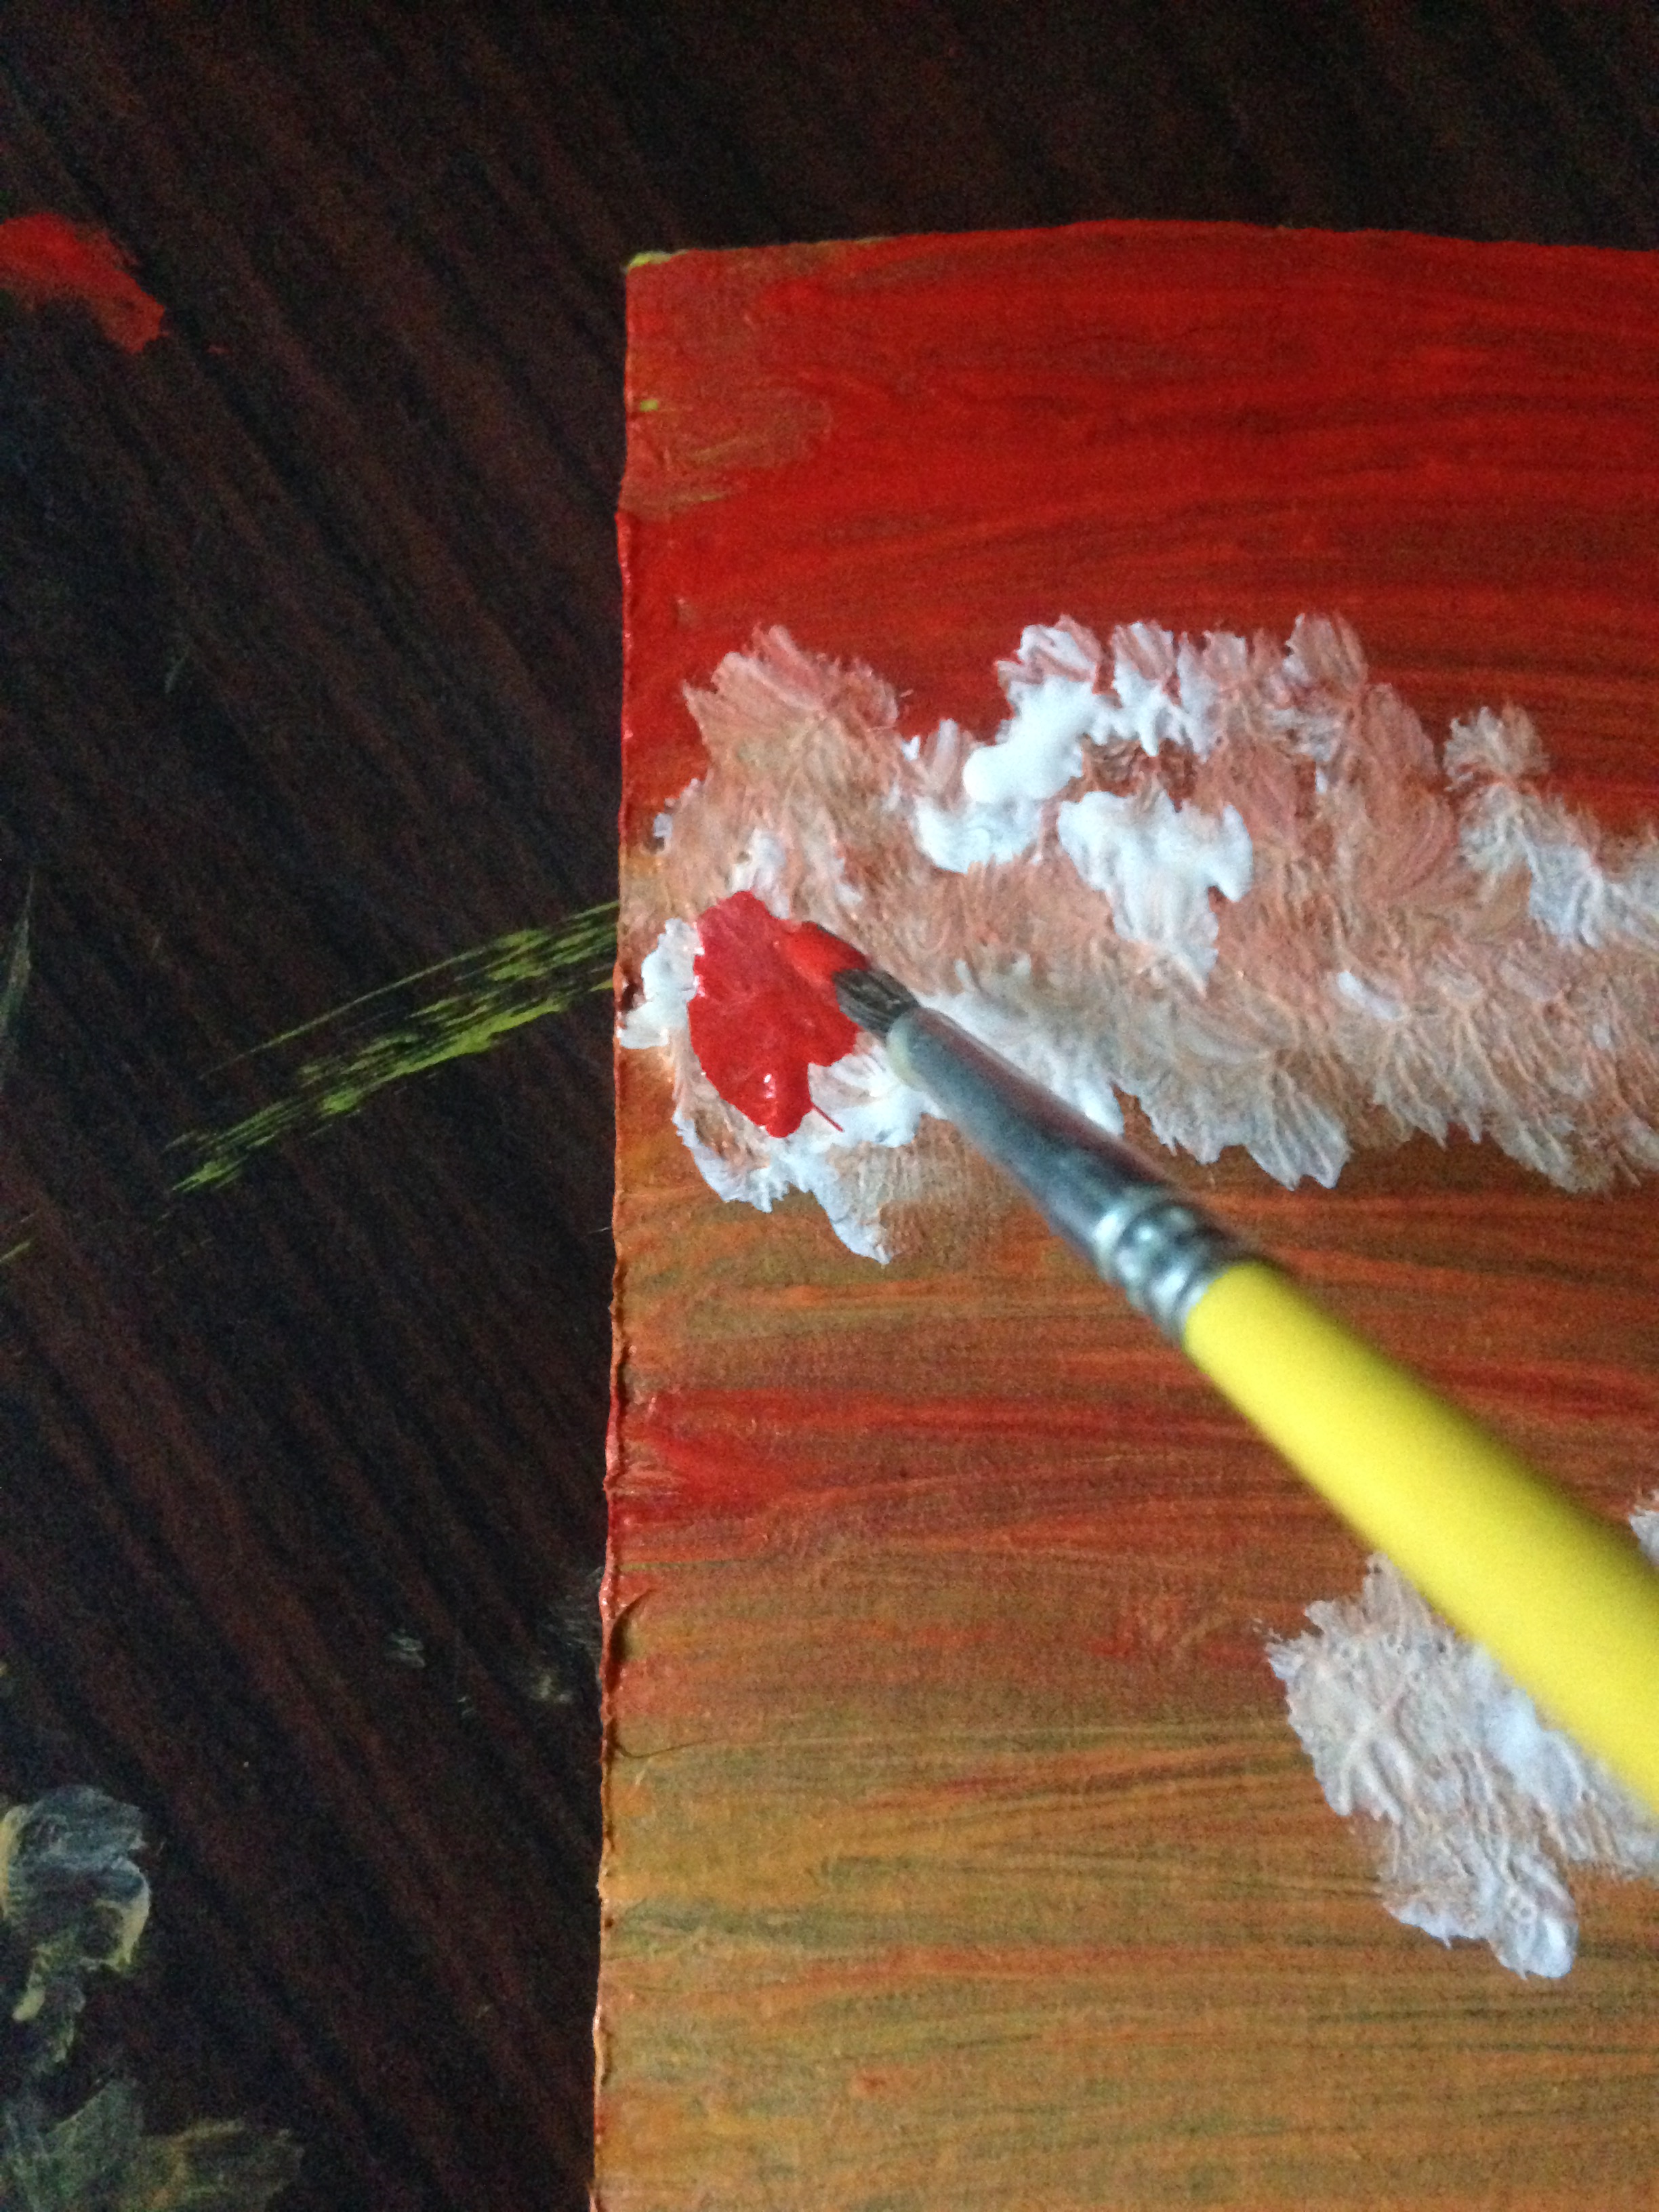
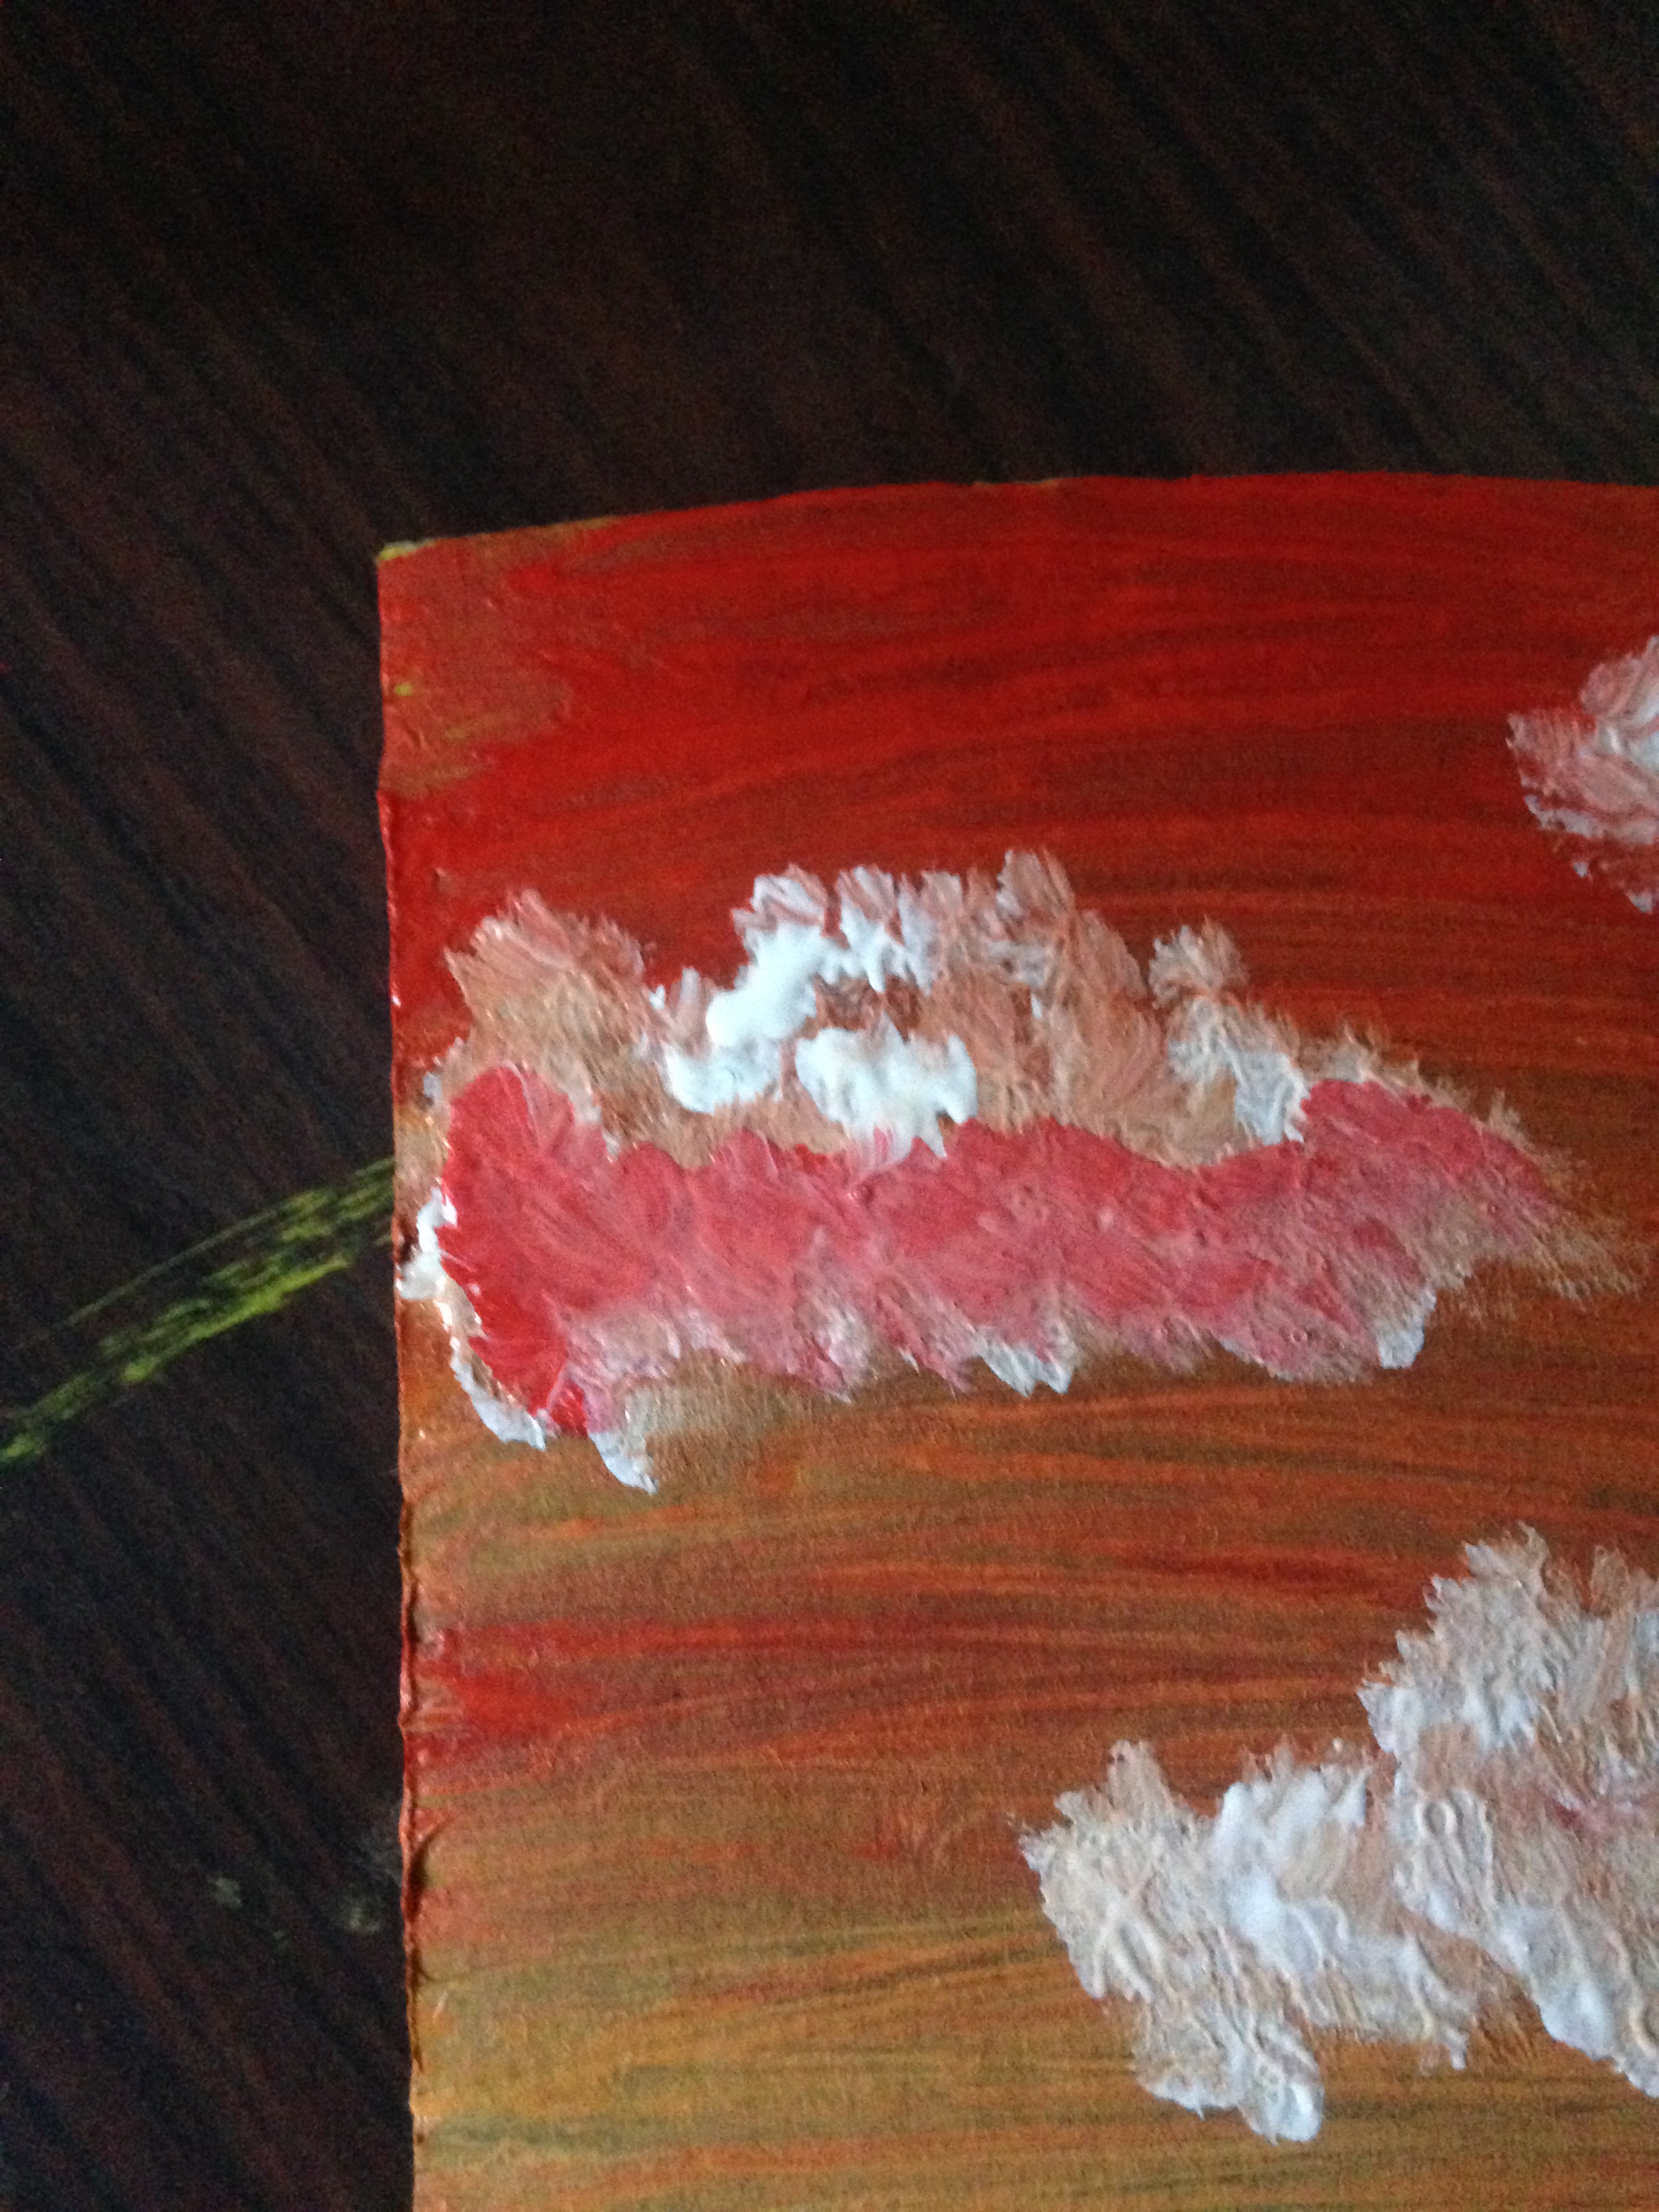
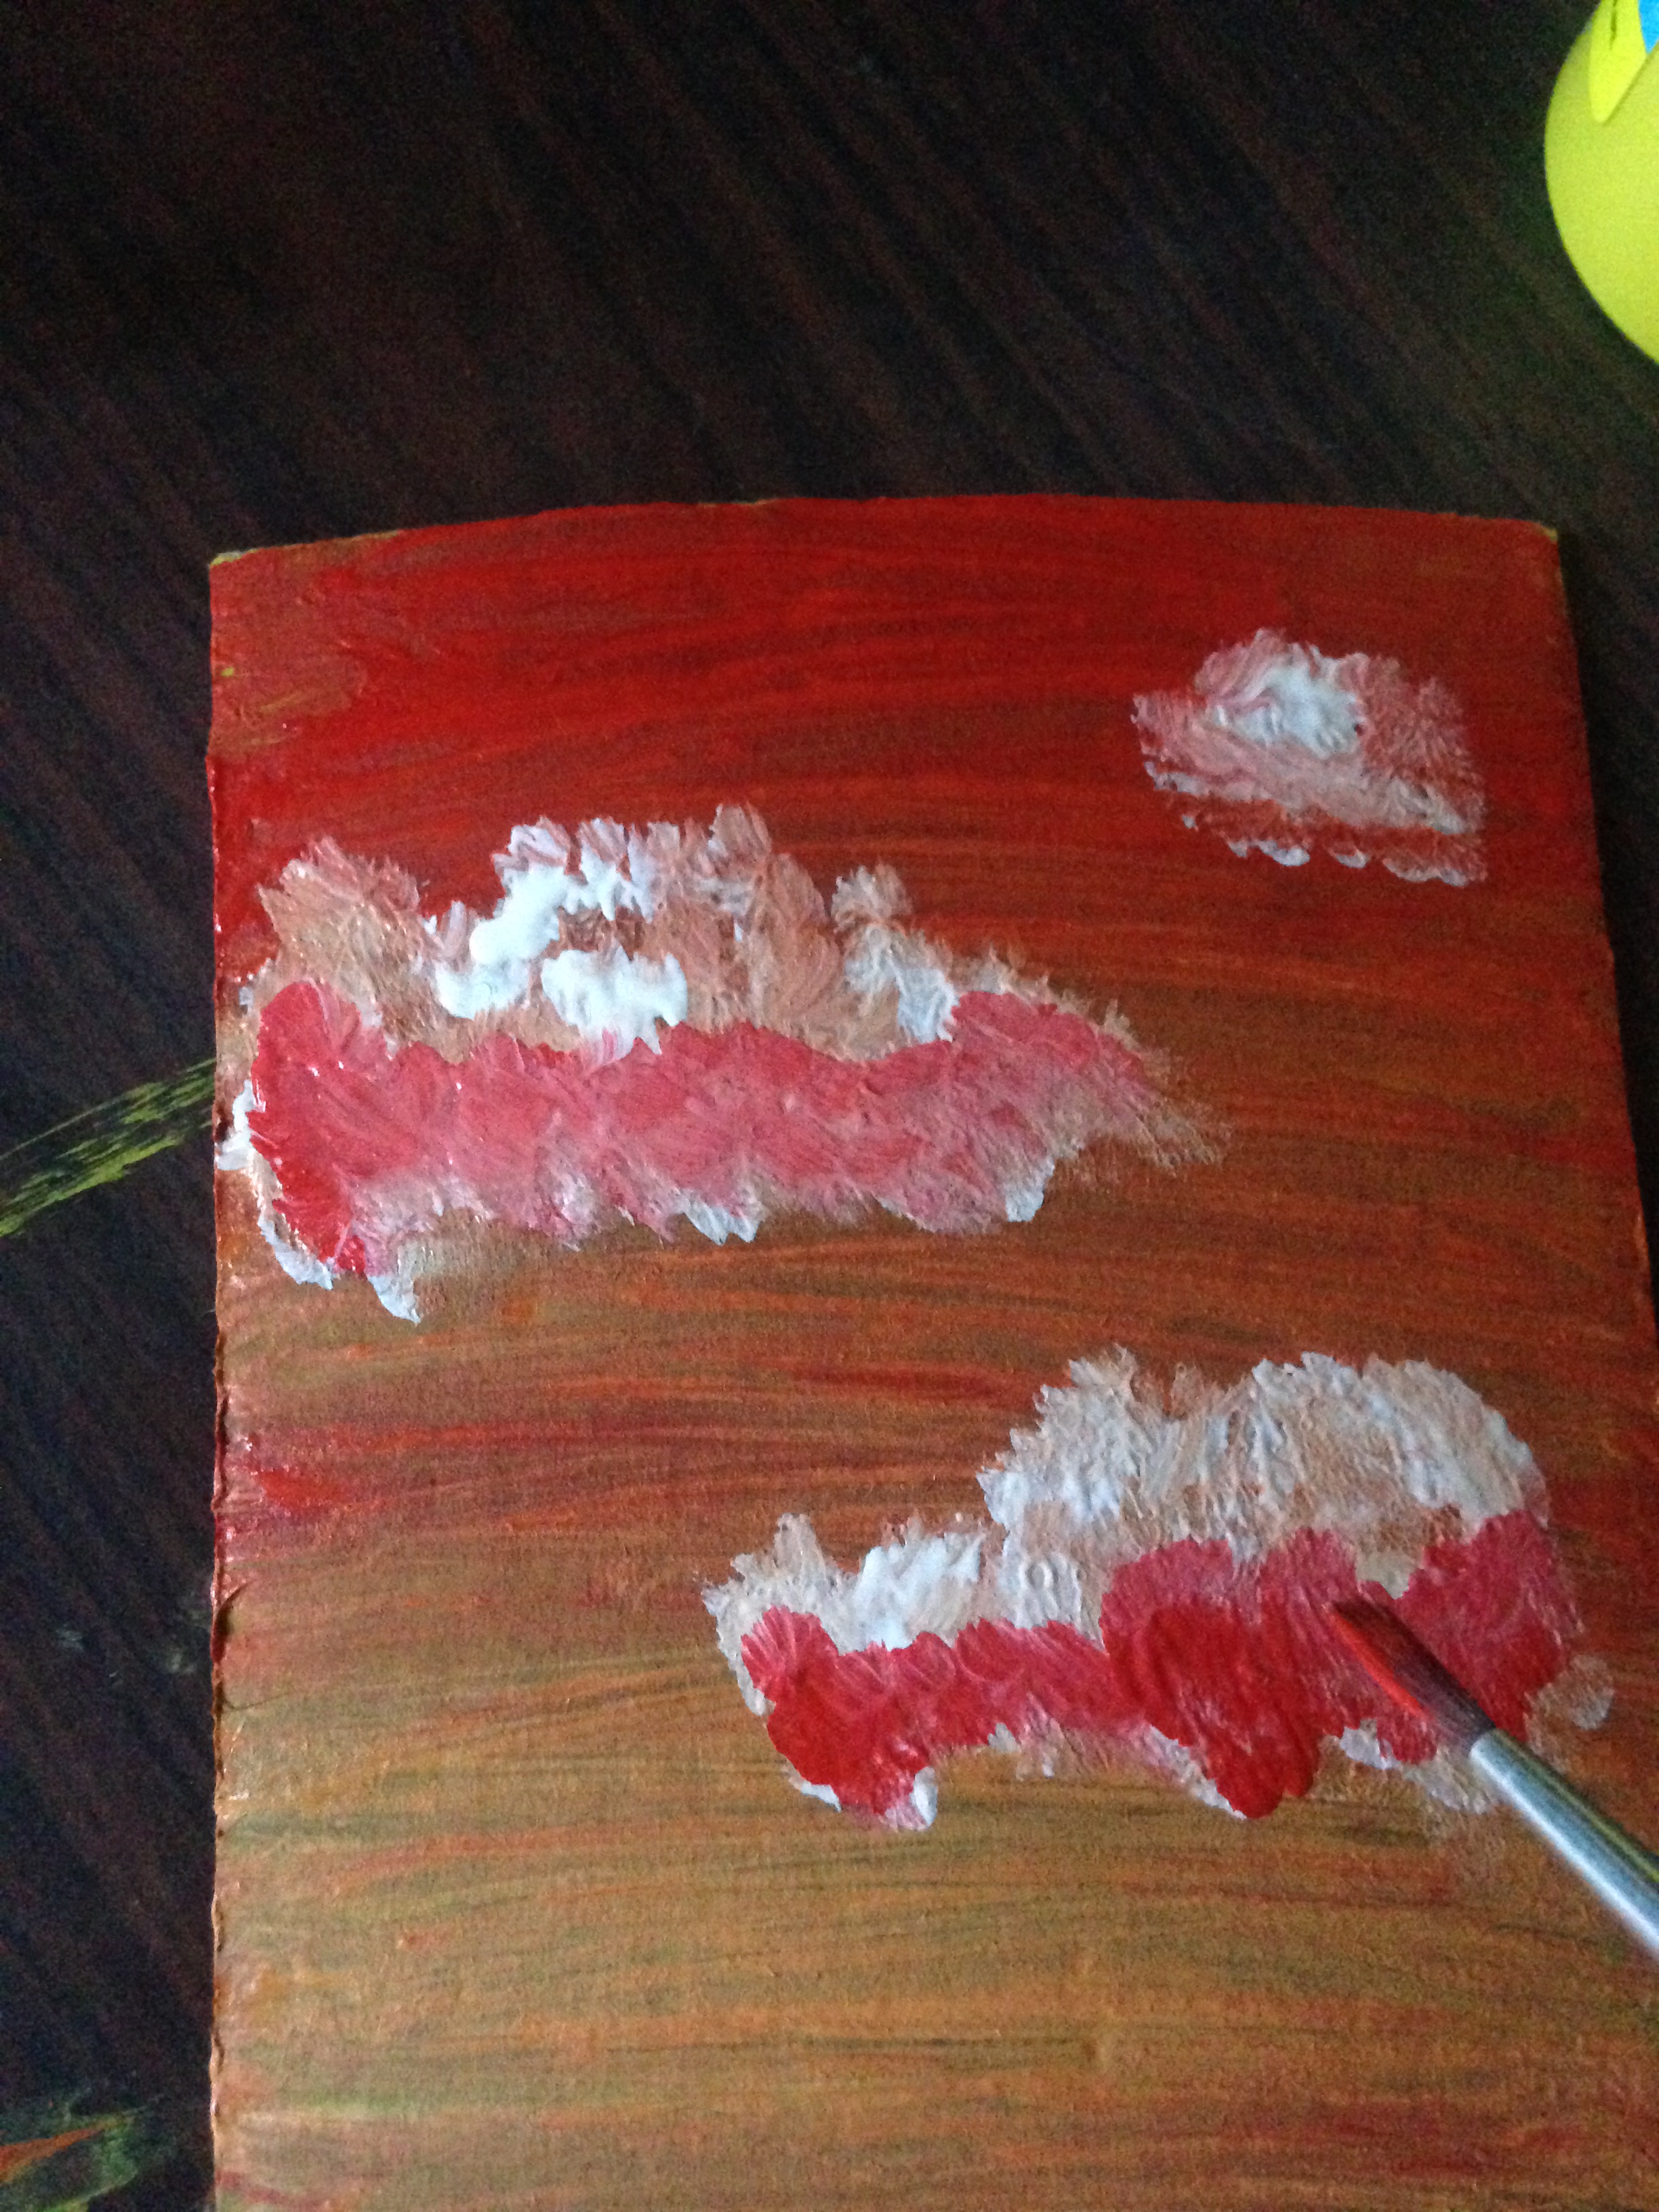
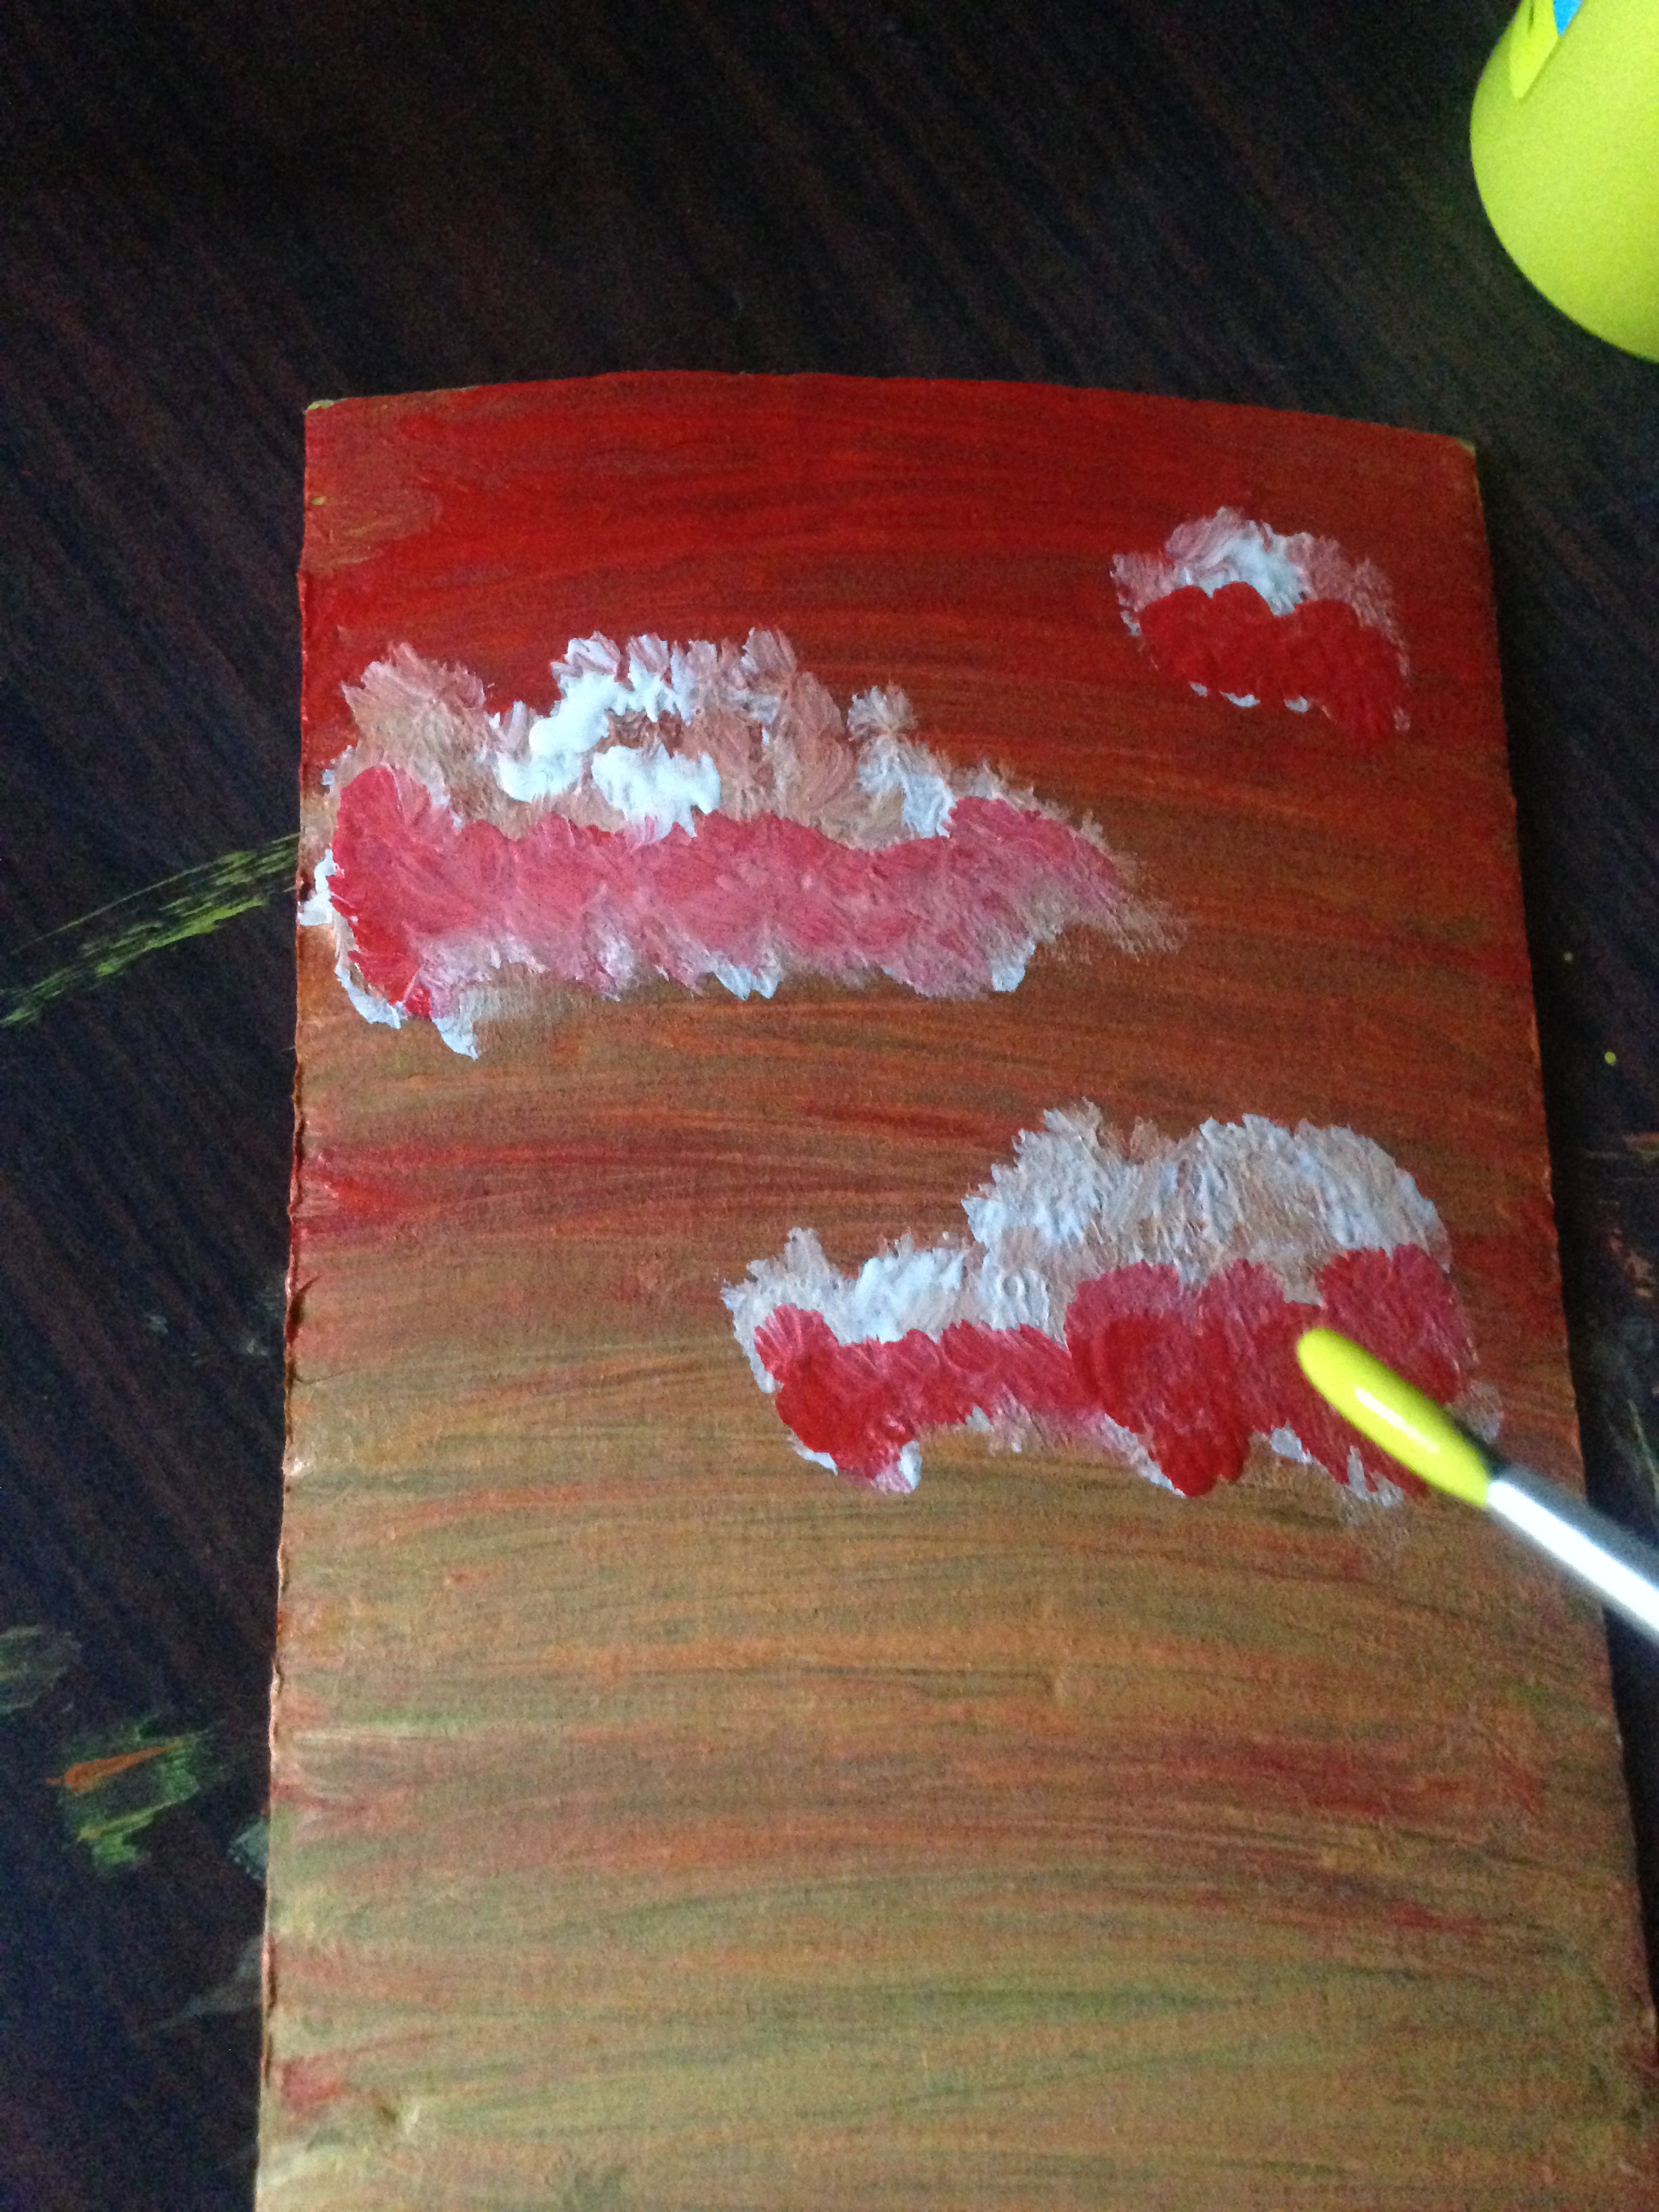
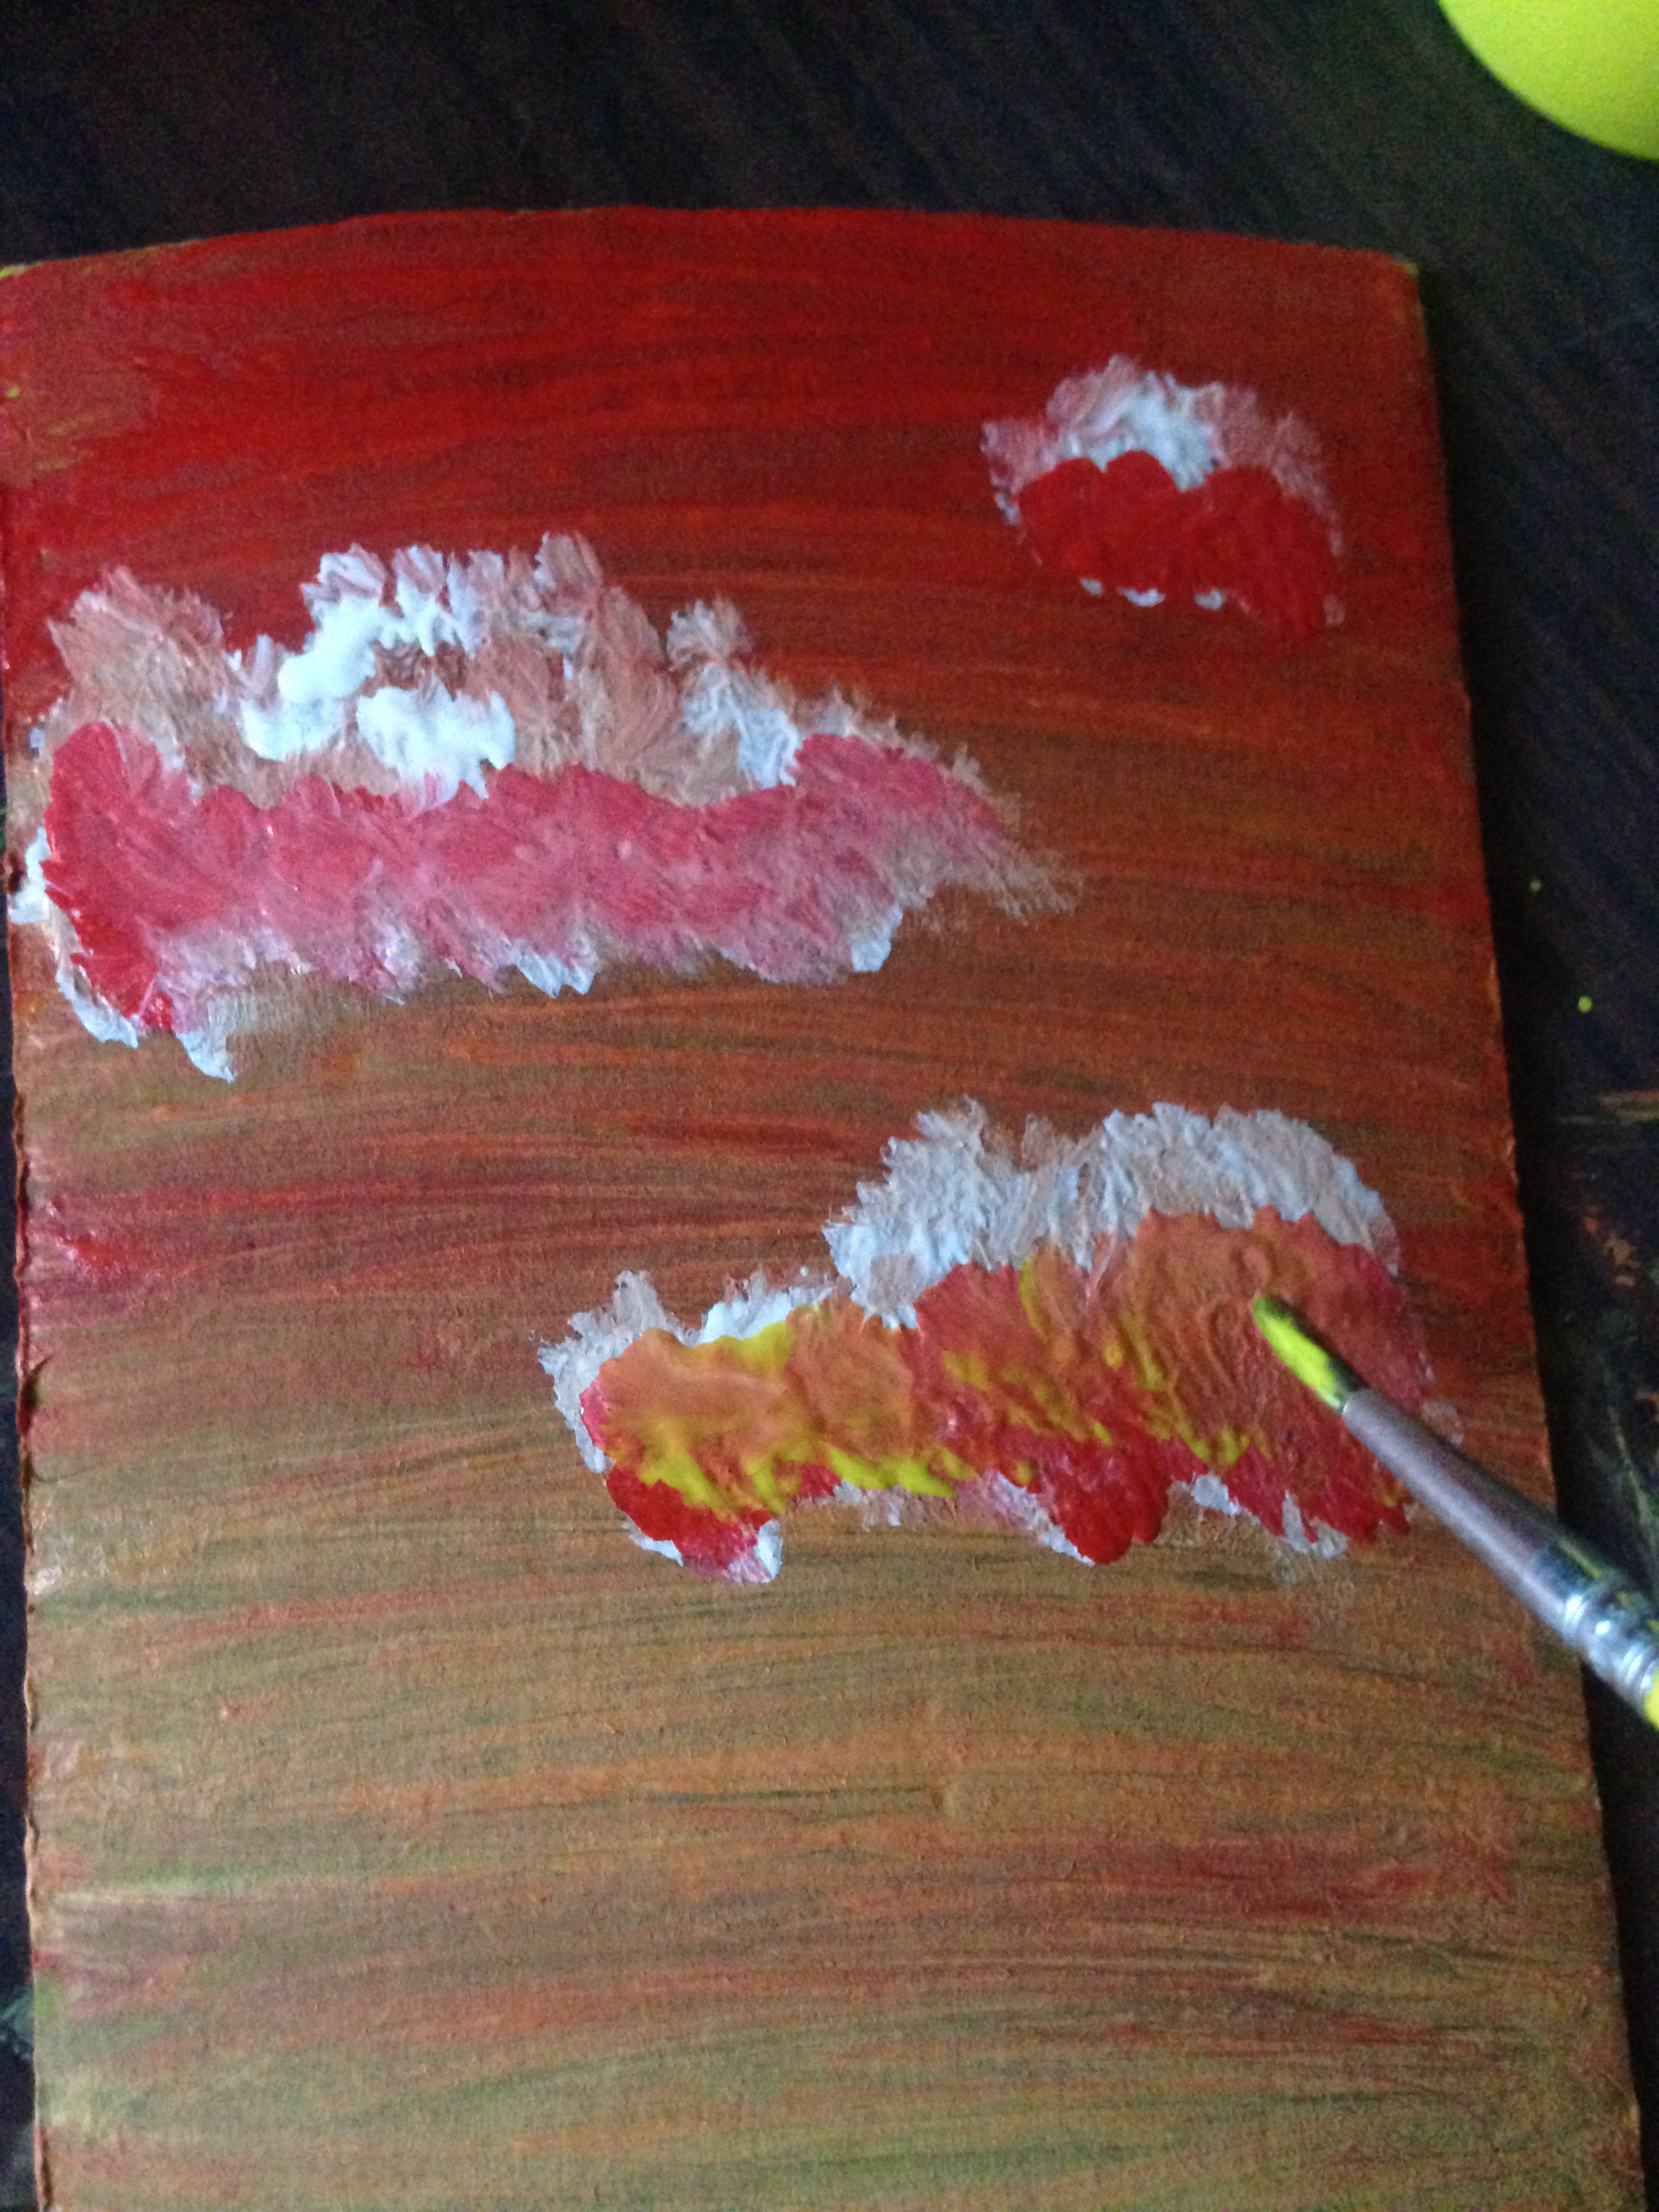
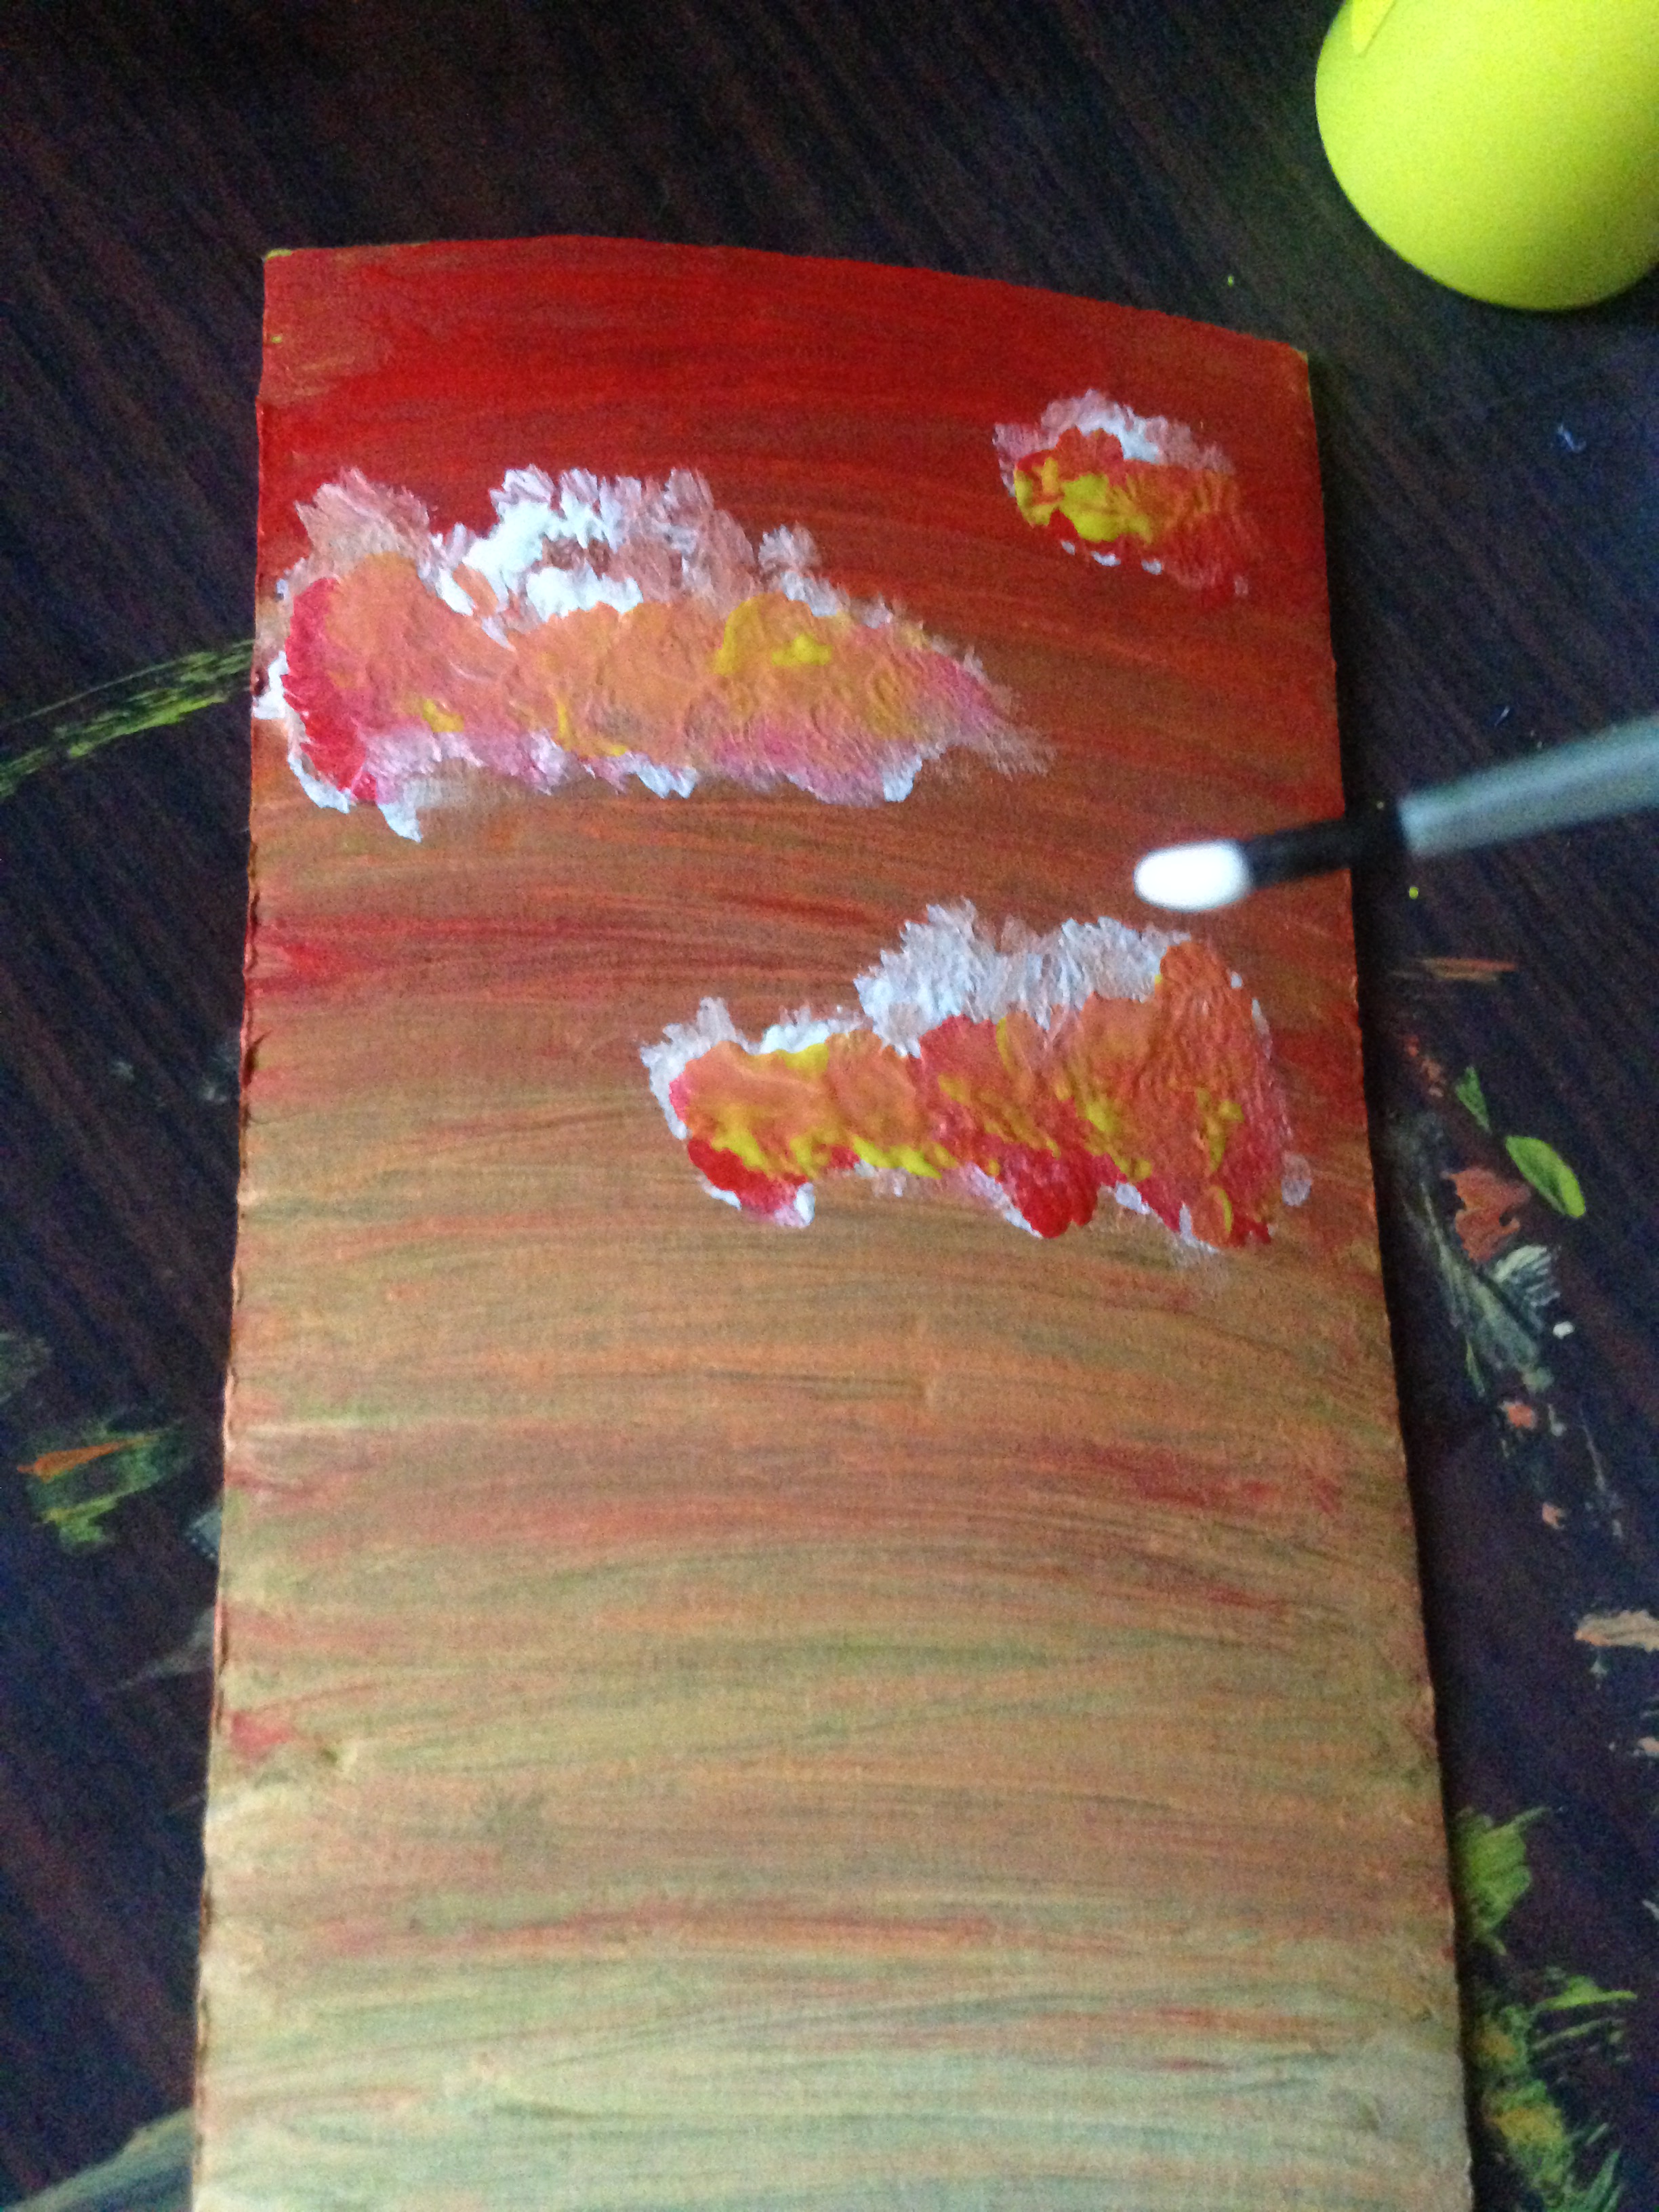
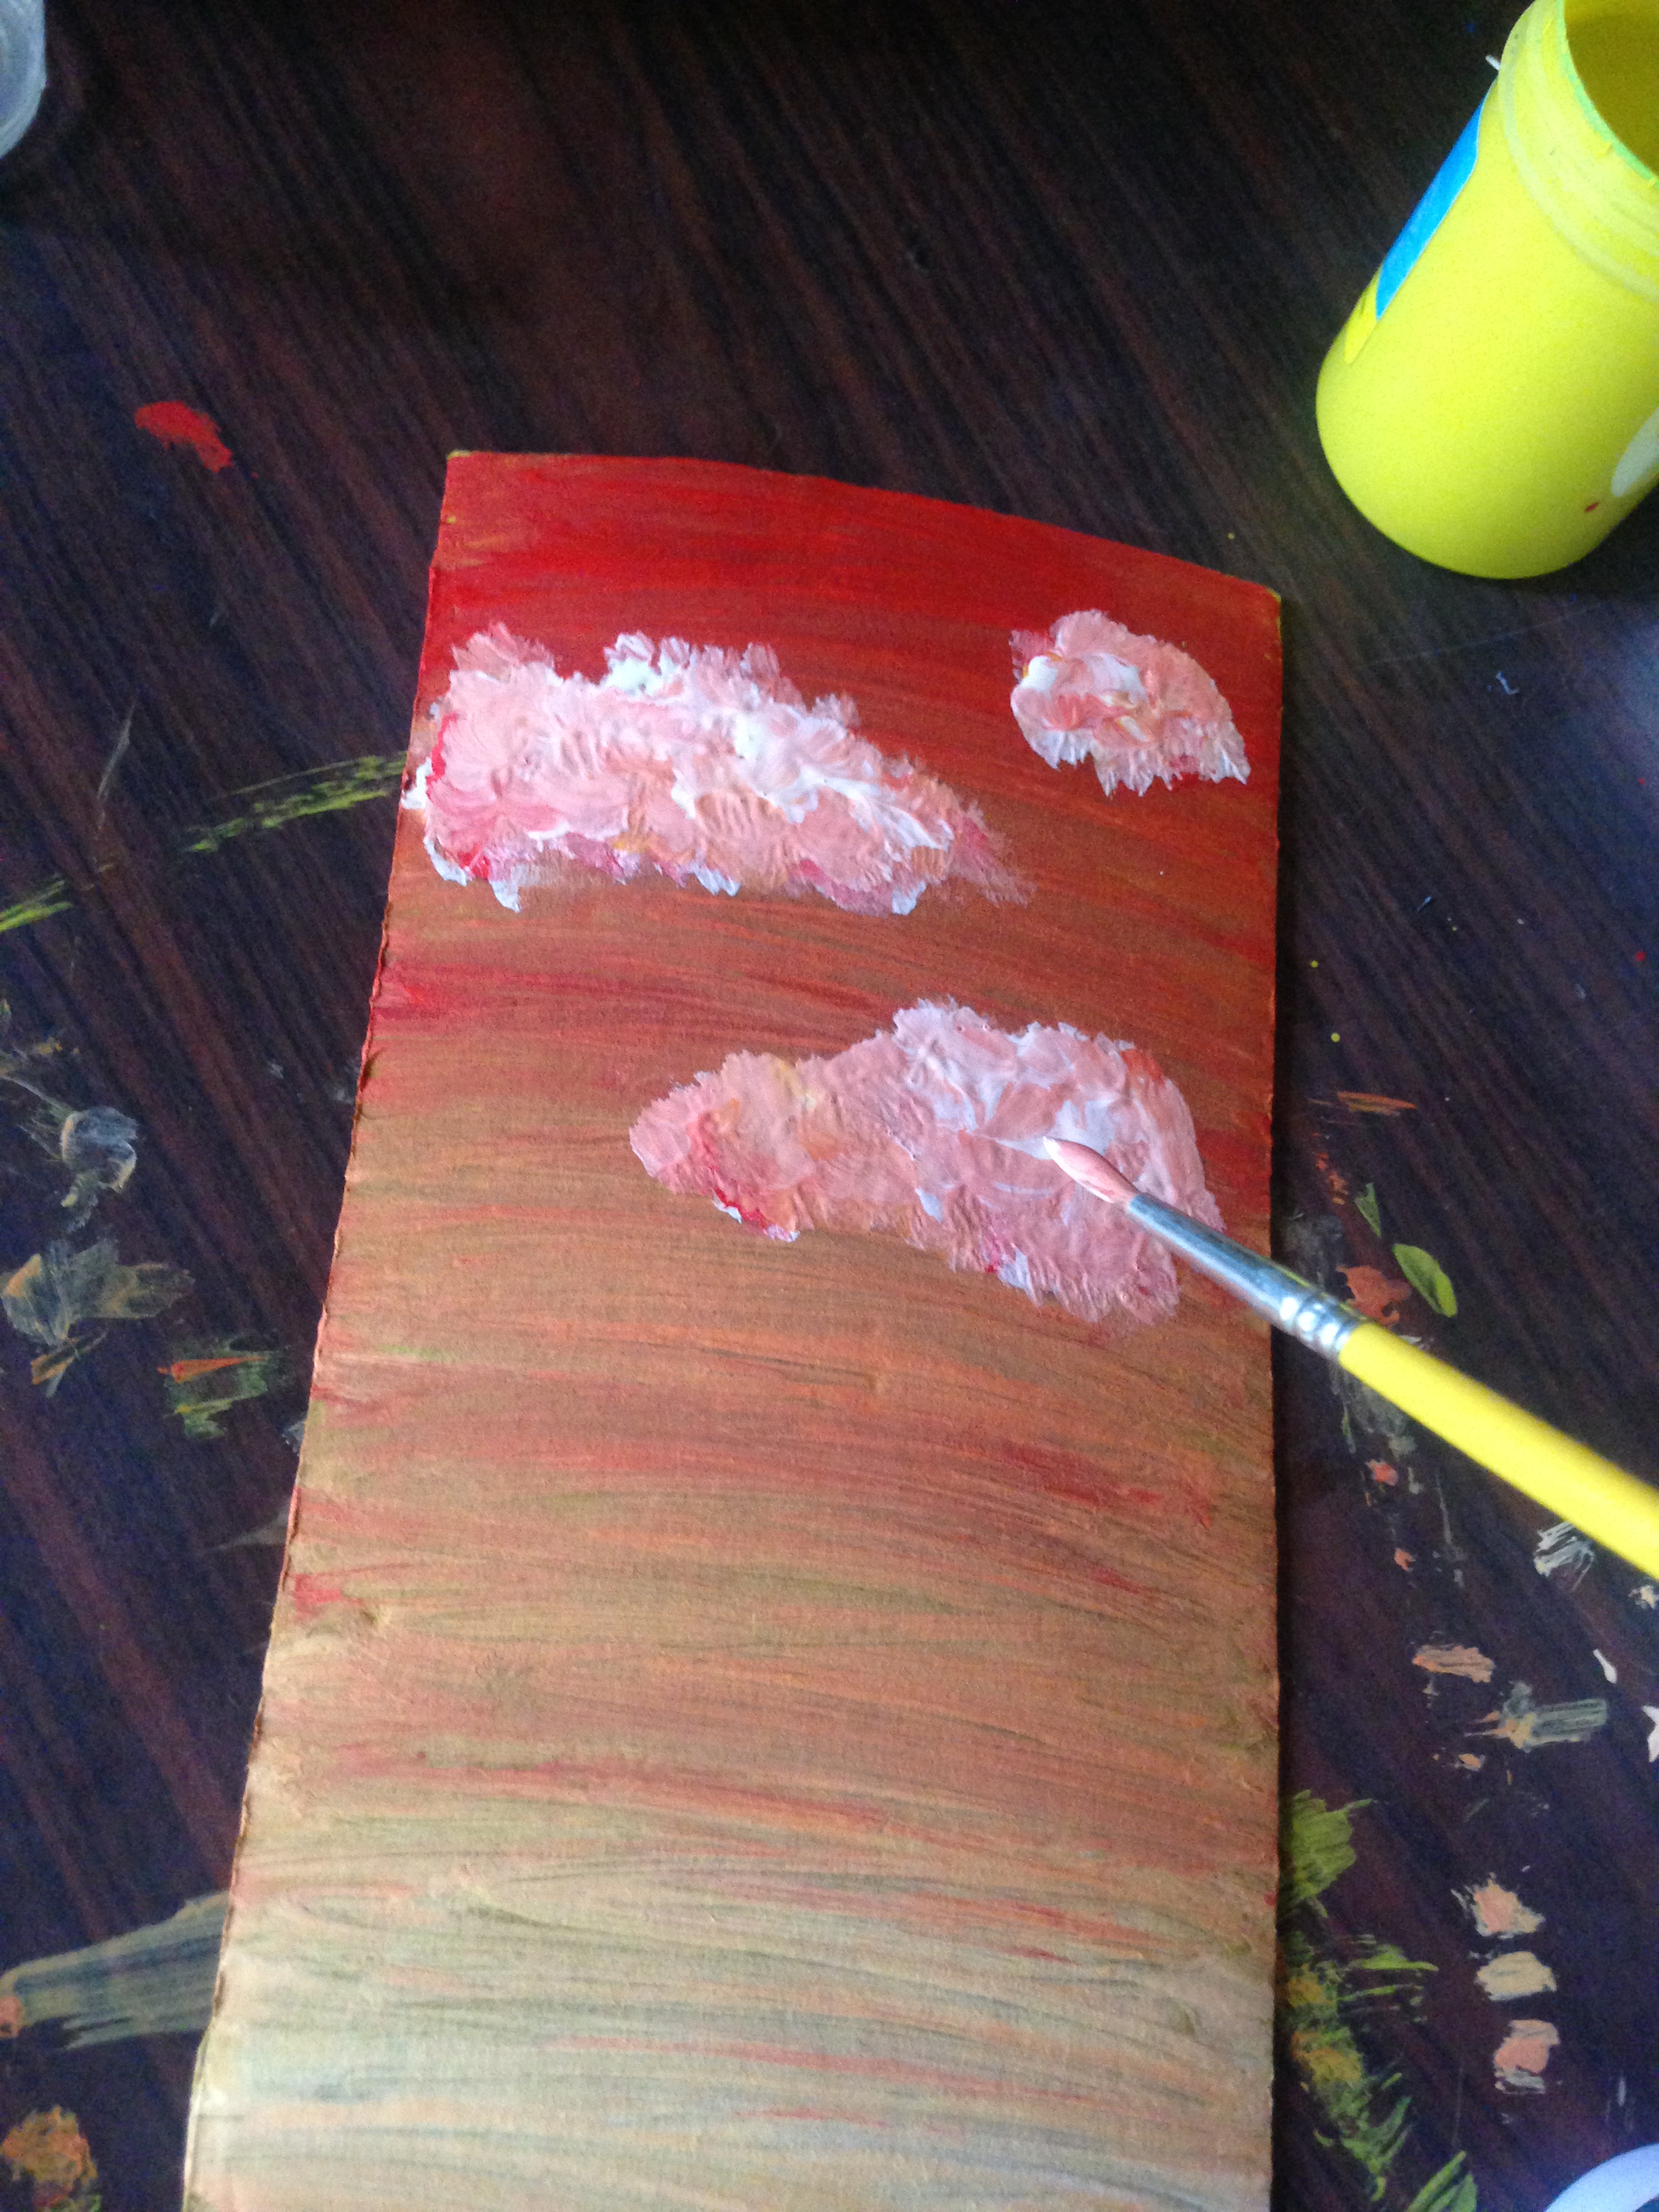
Paso 4
Vamos hacer unas nubes, para eso sumergimos el pincel en la pintura blanca, y con toques pequeños formaremos la nube, para darle profundidad le daremos unos toques con pintura roja y luego amarilla, y para difuminar nuevamente usamos blanco
Step 4
We are going to make some clouds, for that we will submerge the brush in the white paint, and with small touches we will form the cloud, to give it depth we will give it a few touches with red paint and then yellow, and to blur again we use white

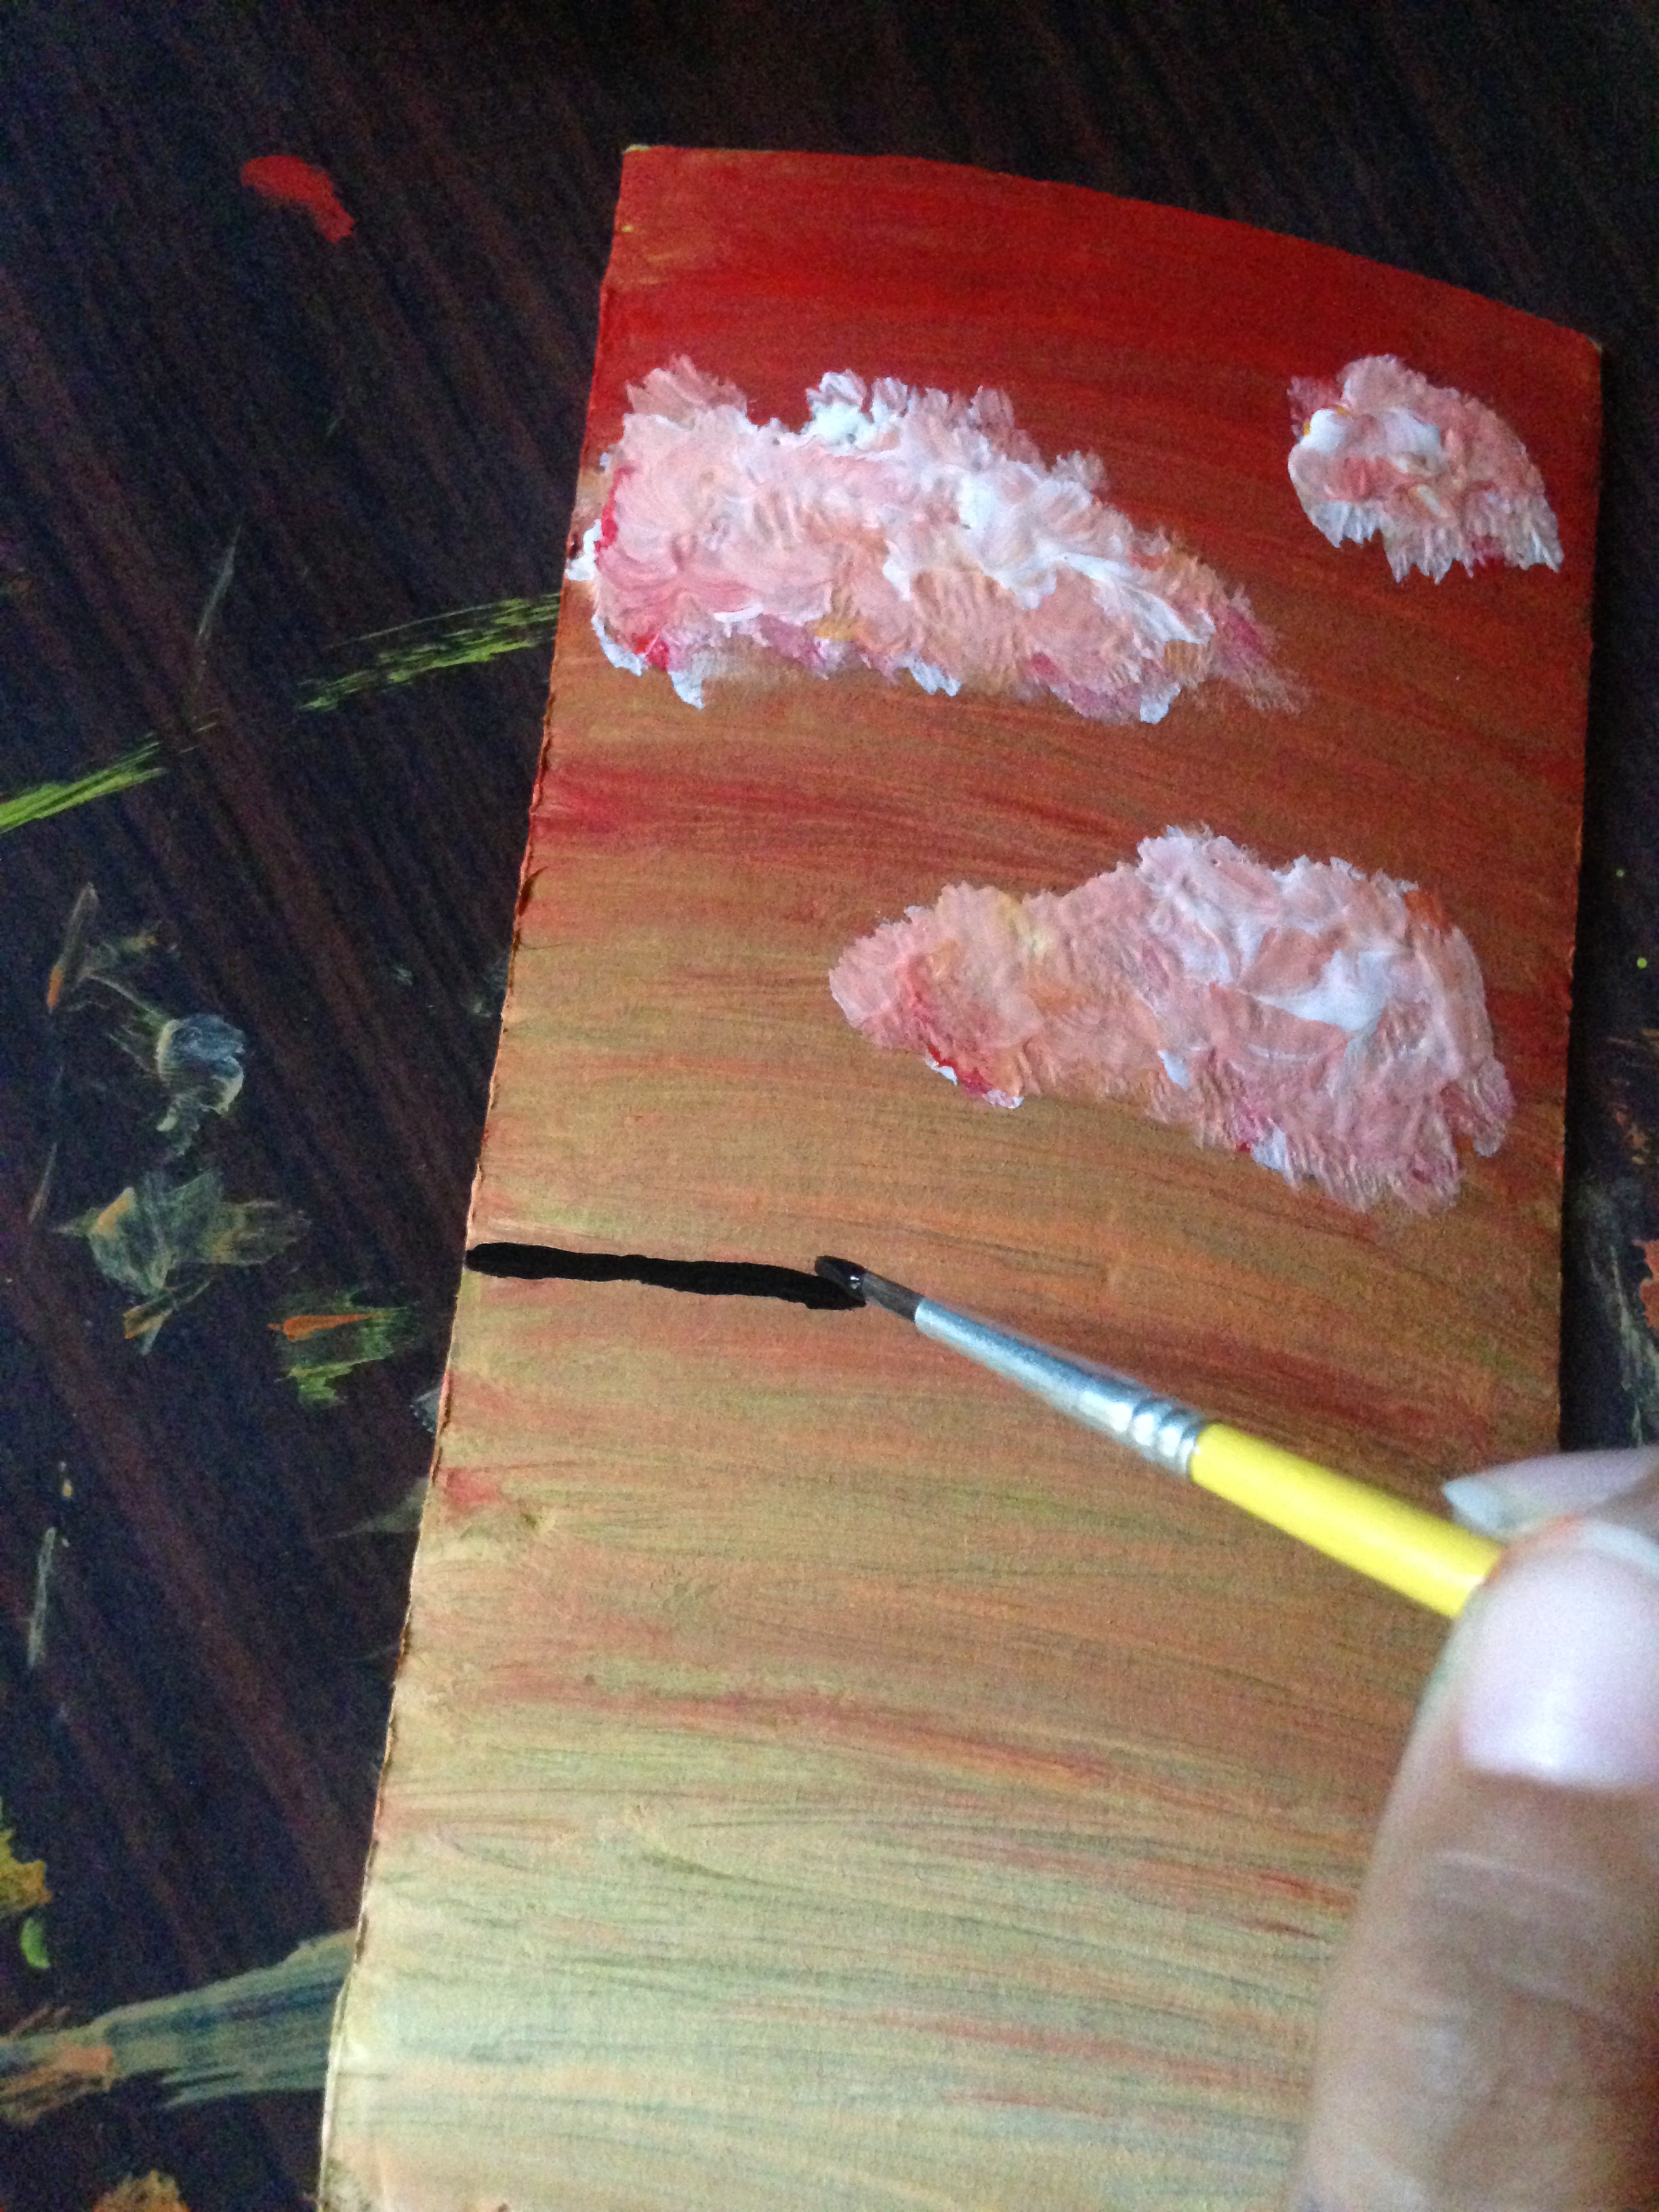
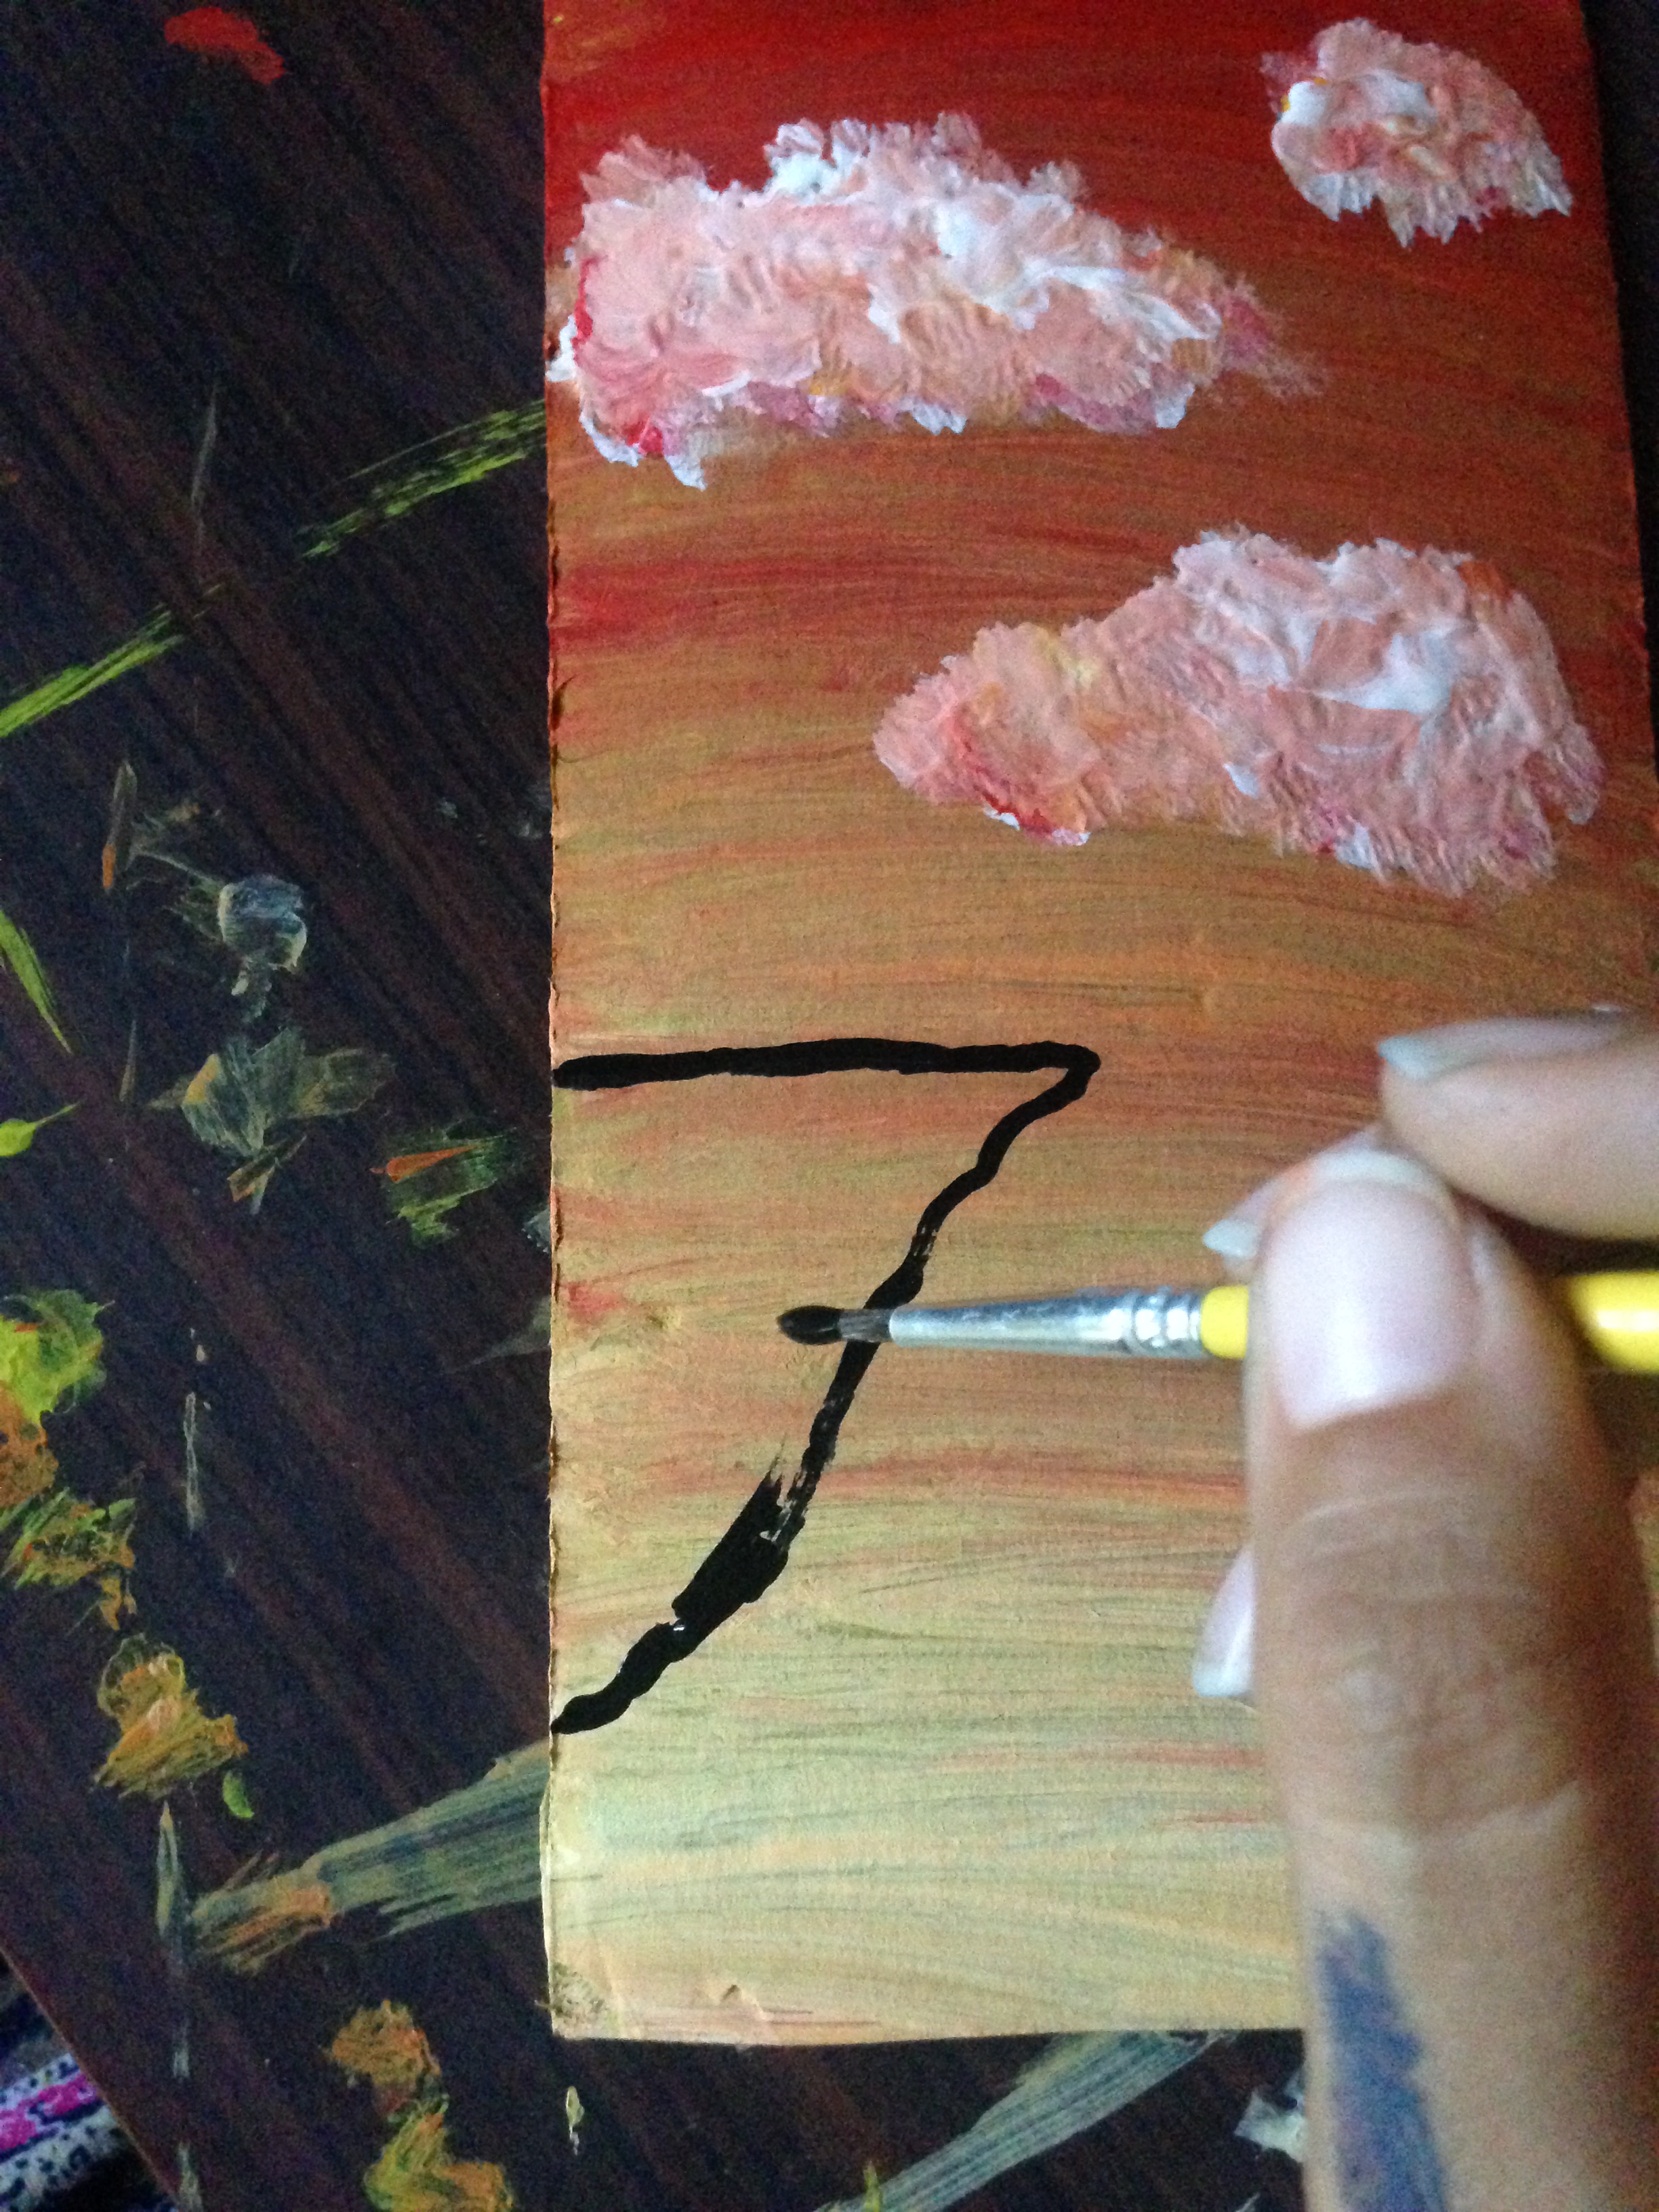
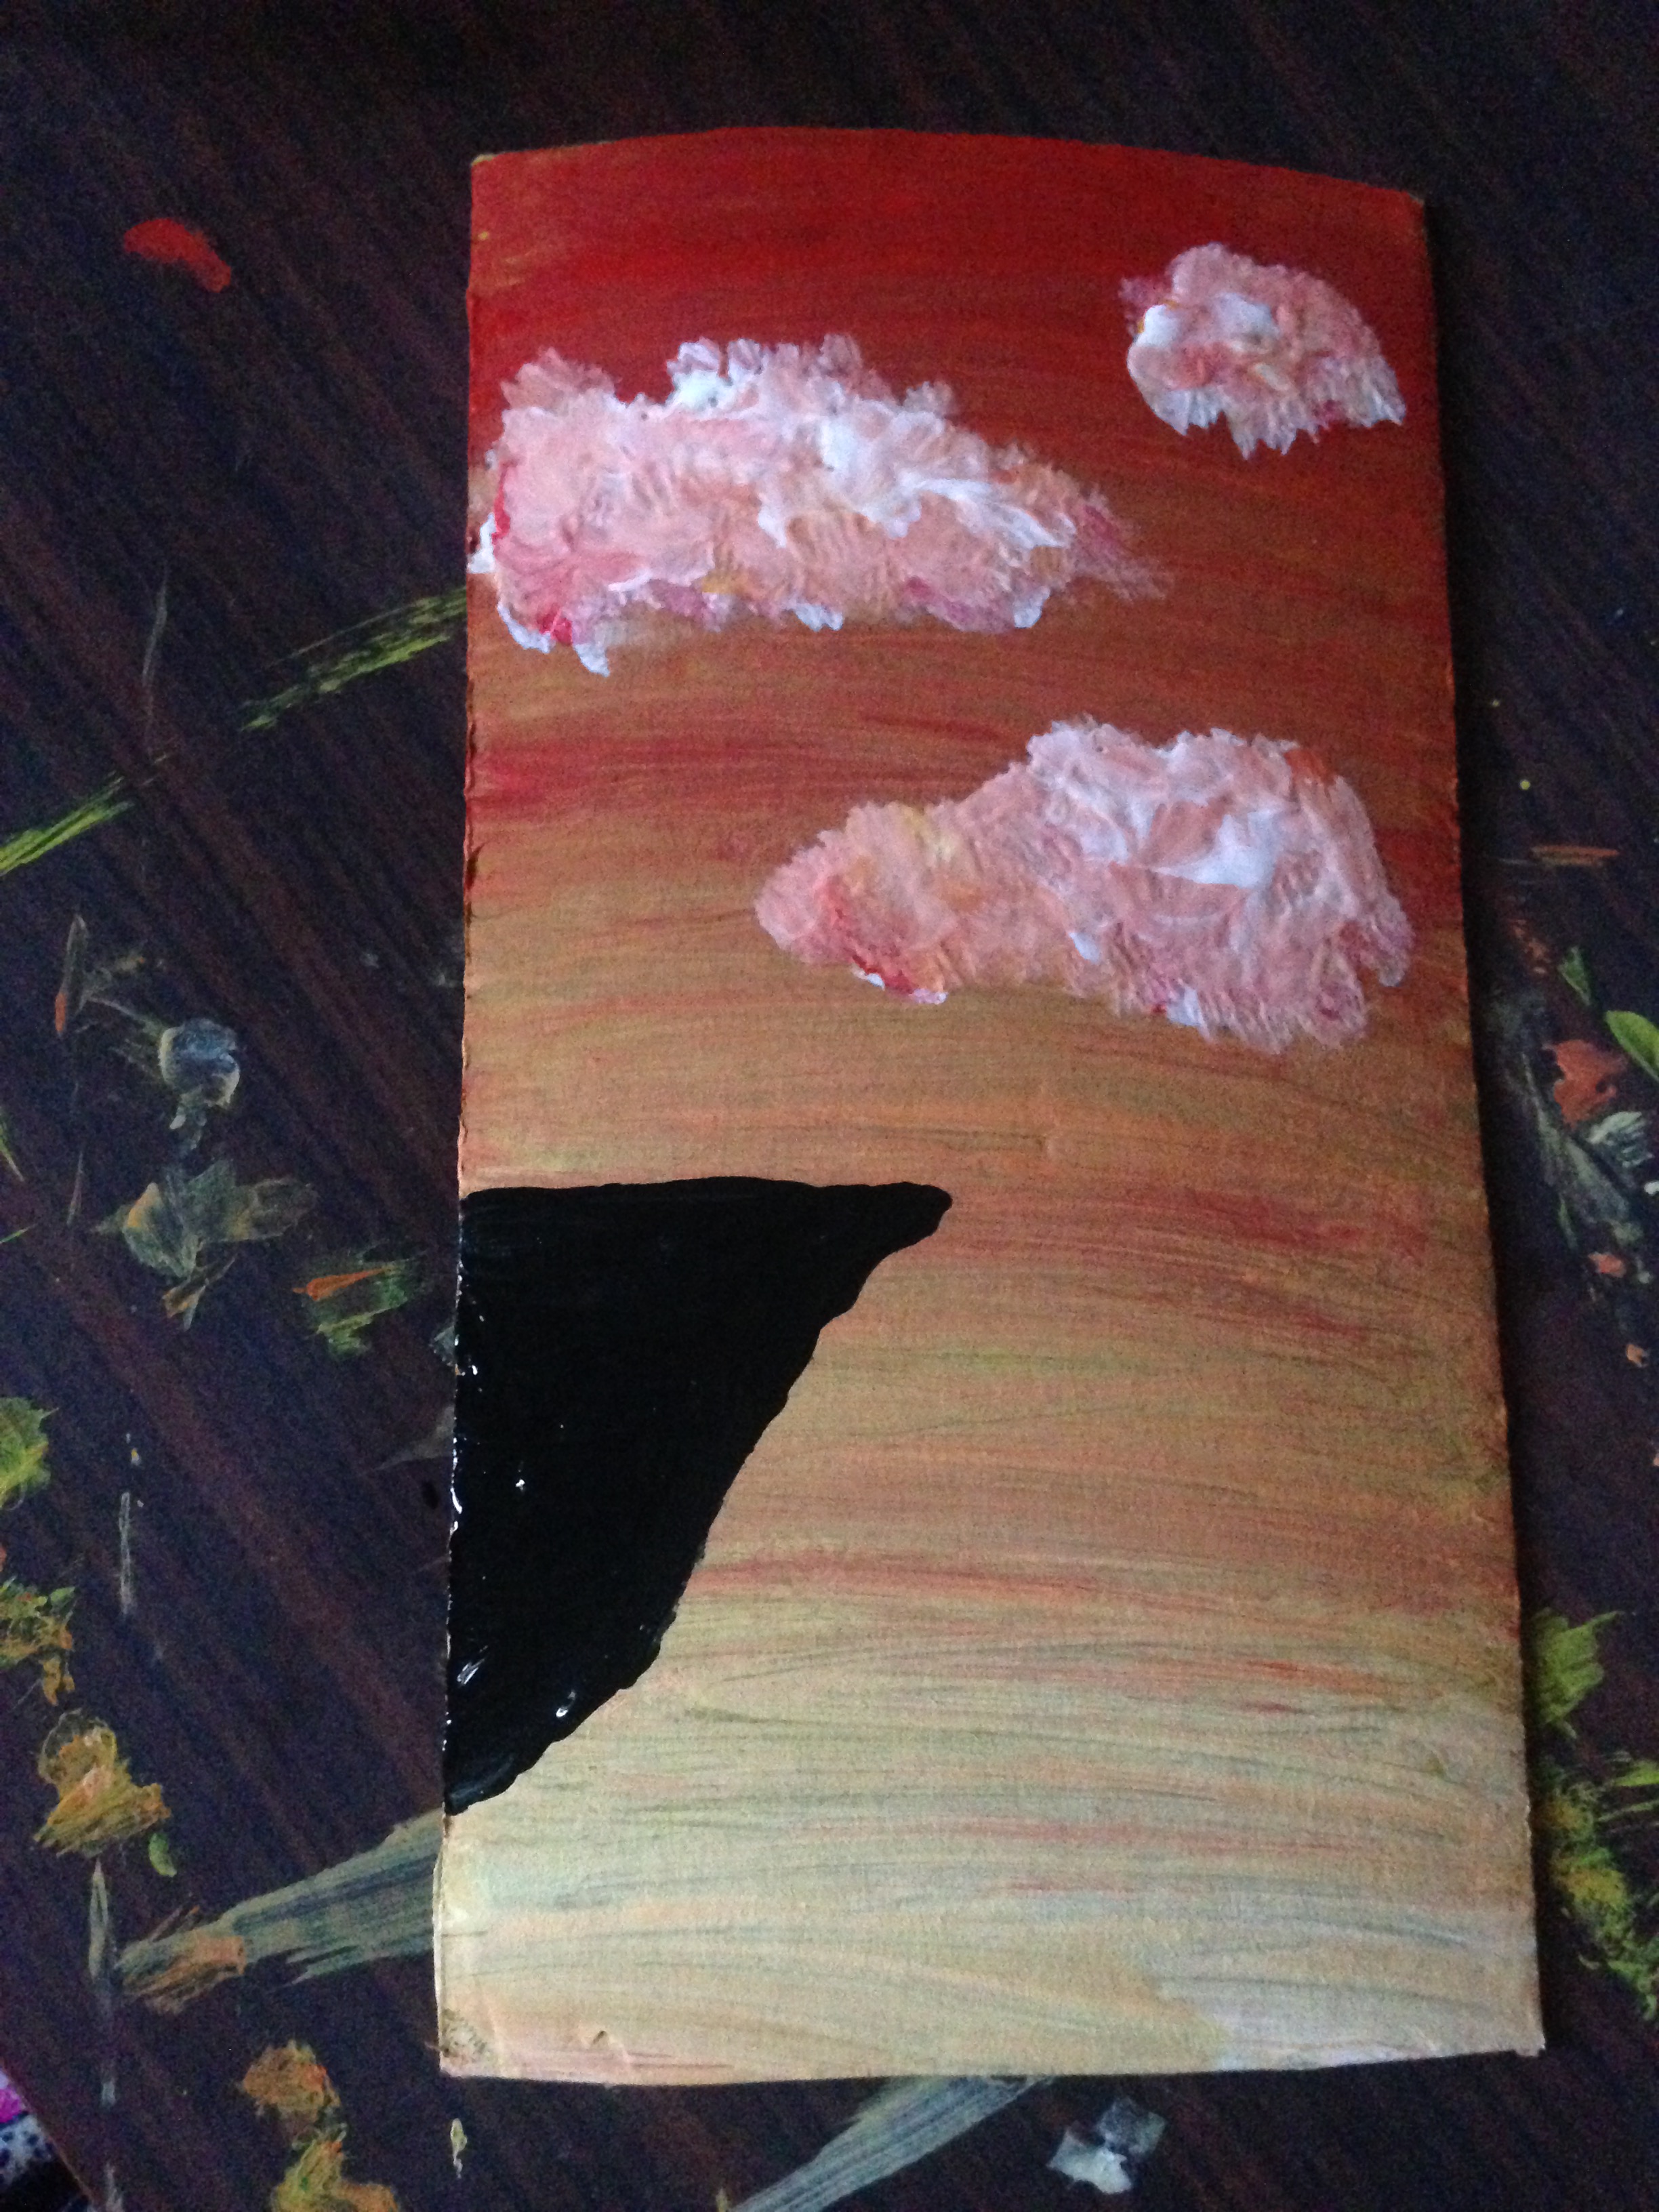
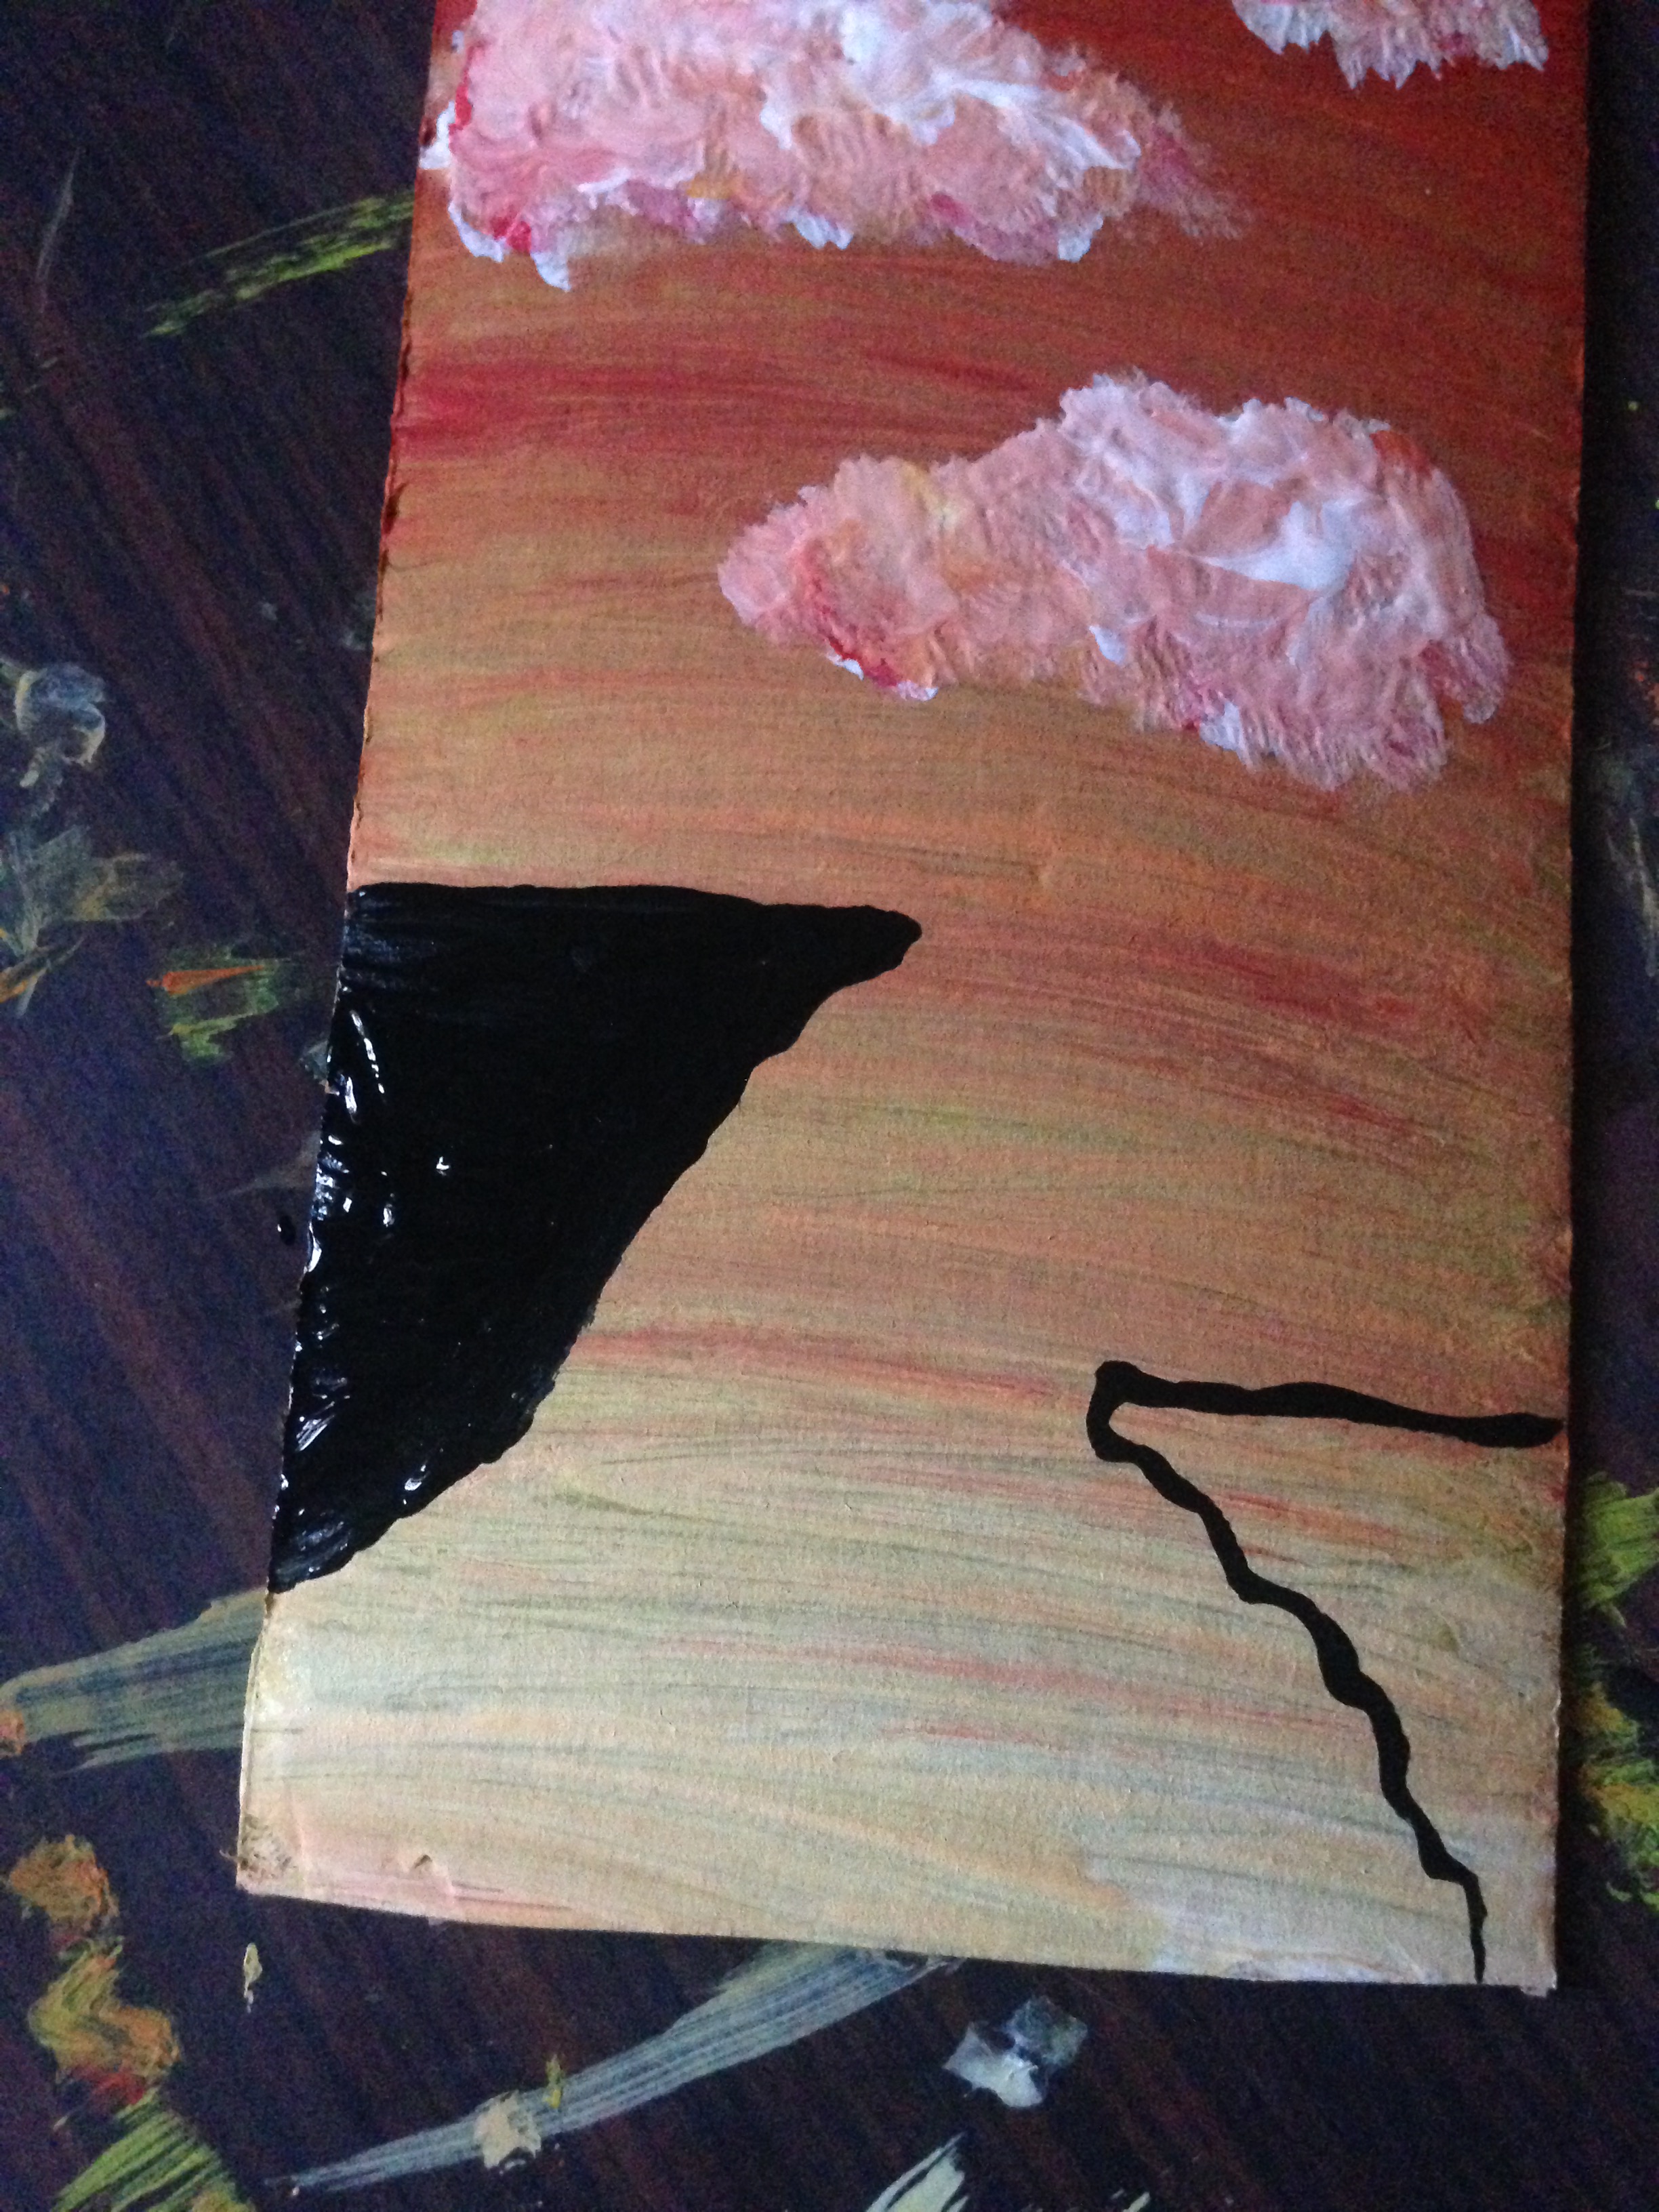
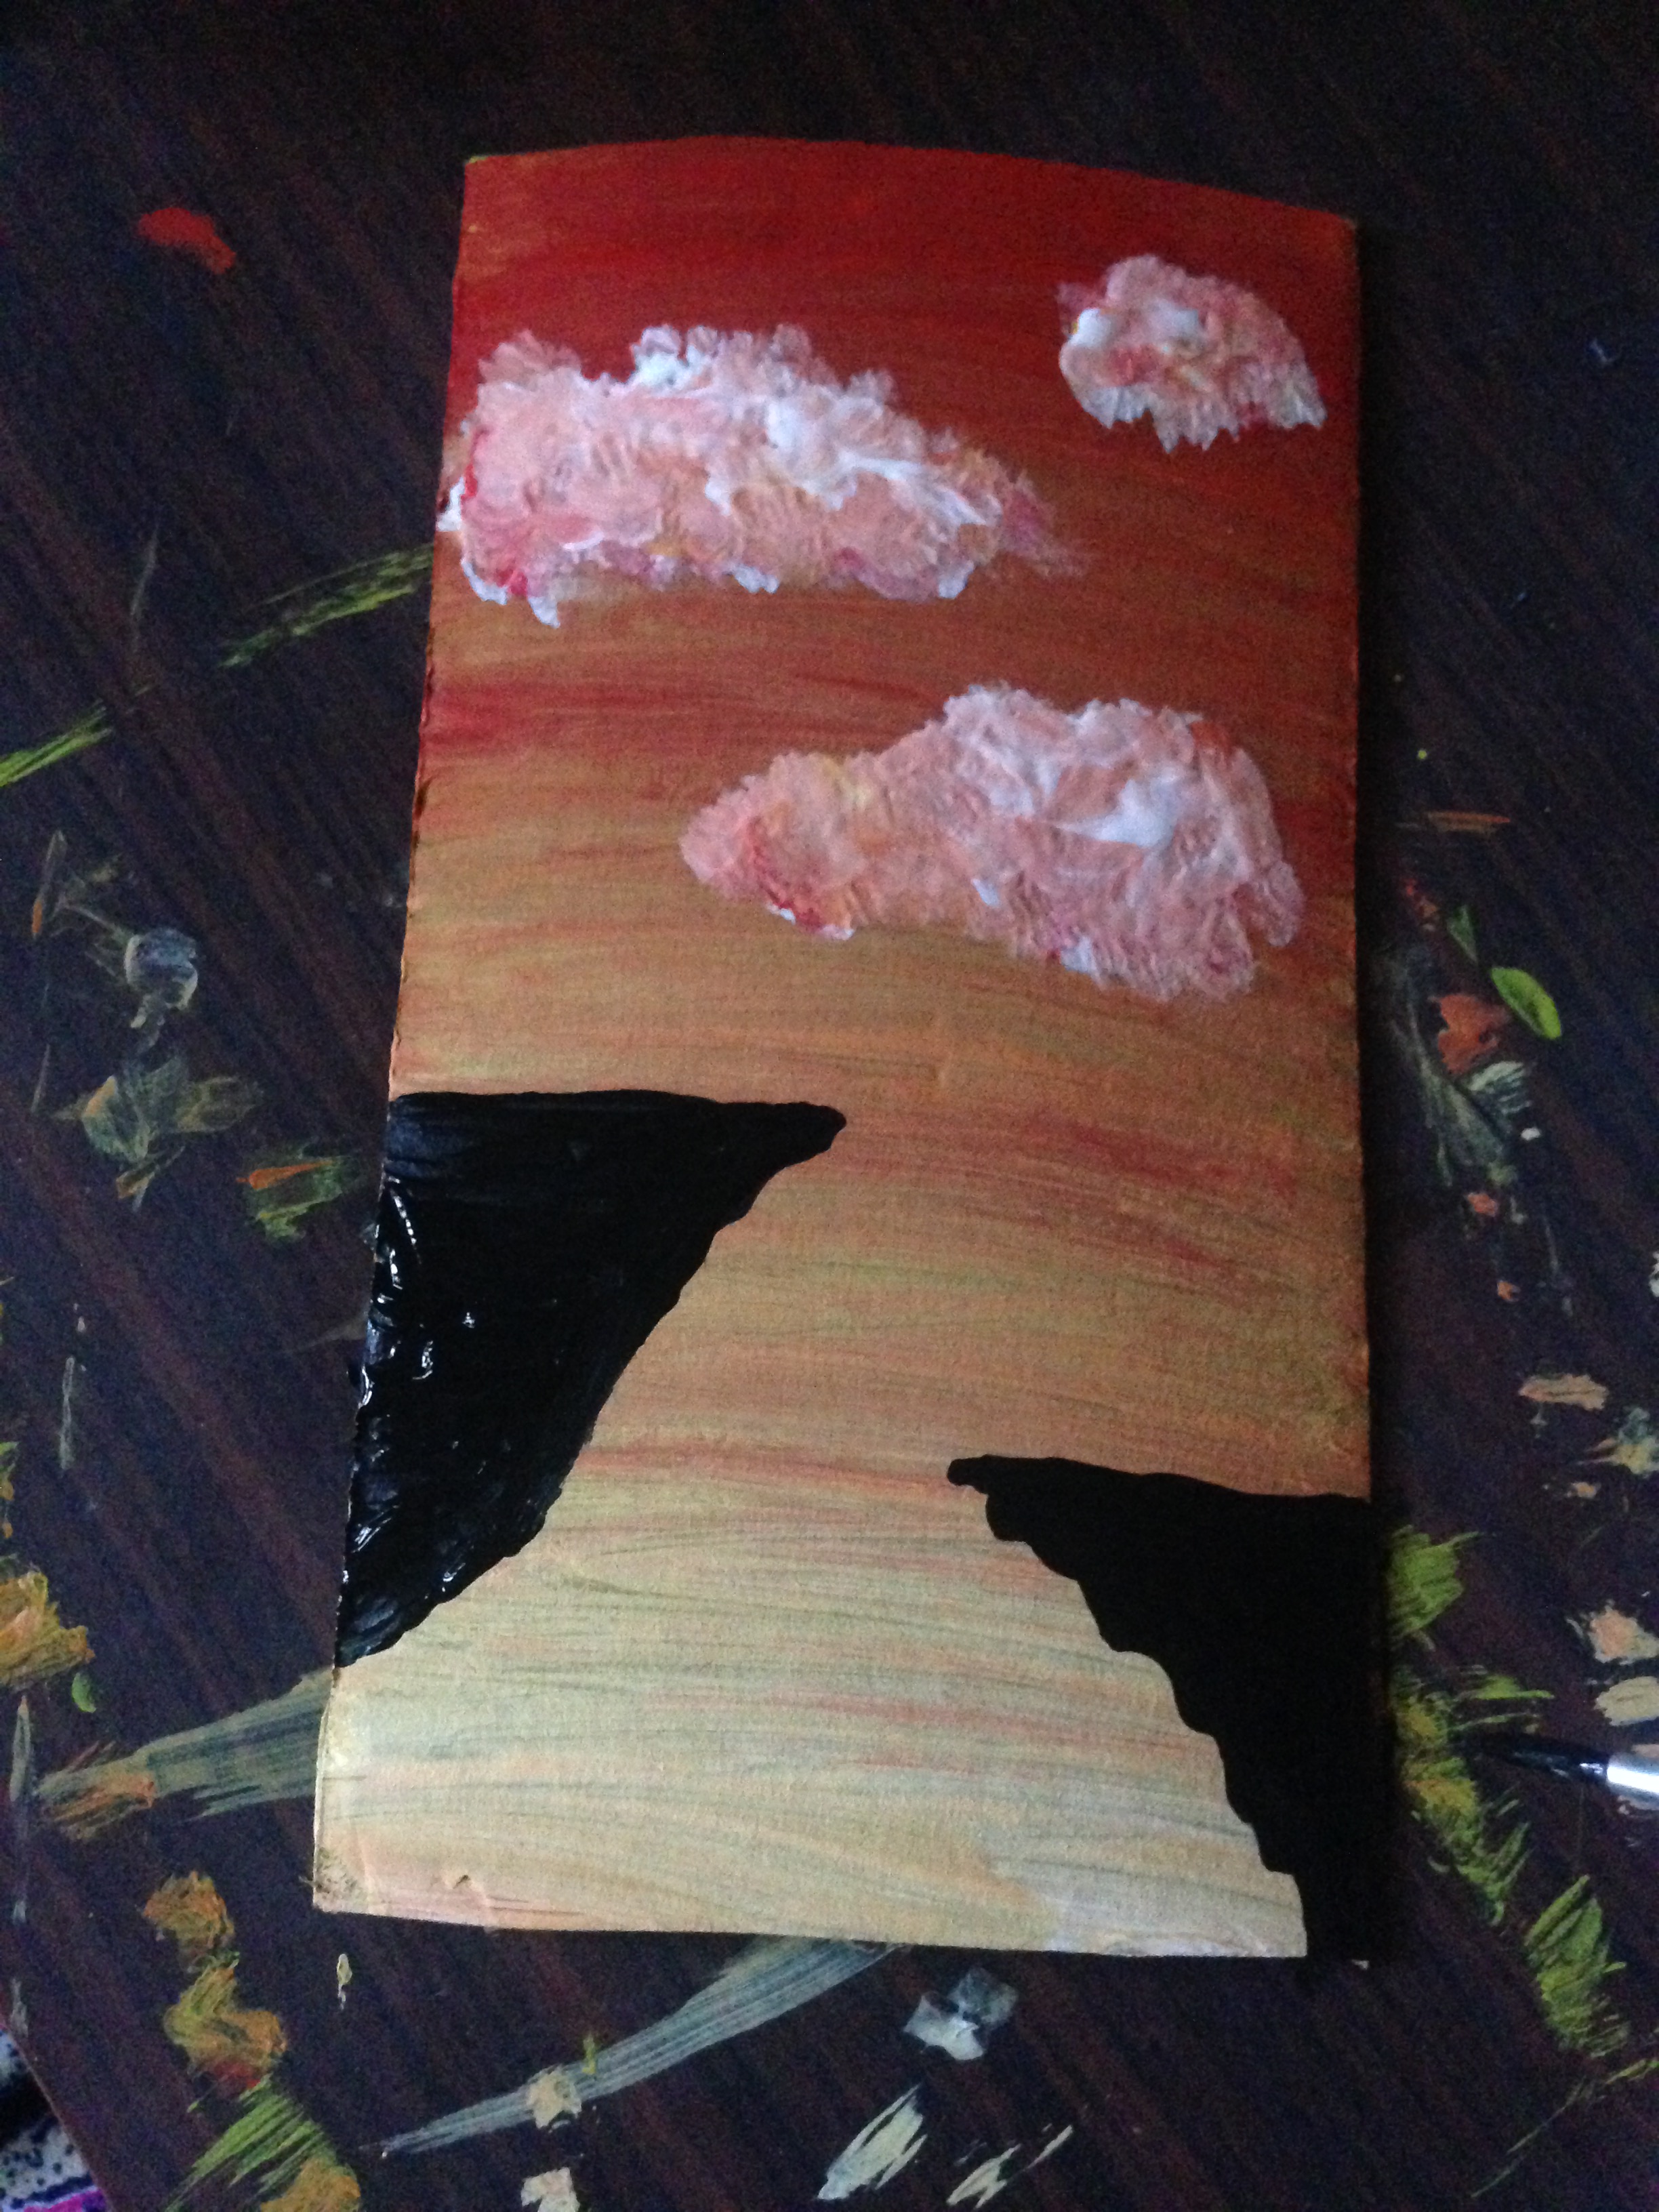
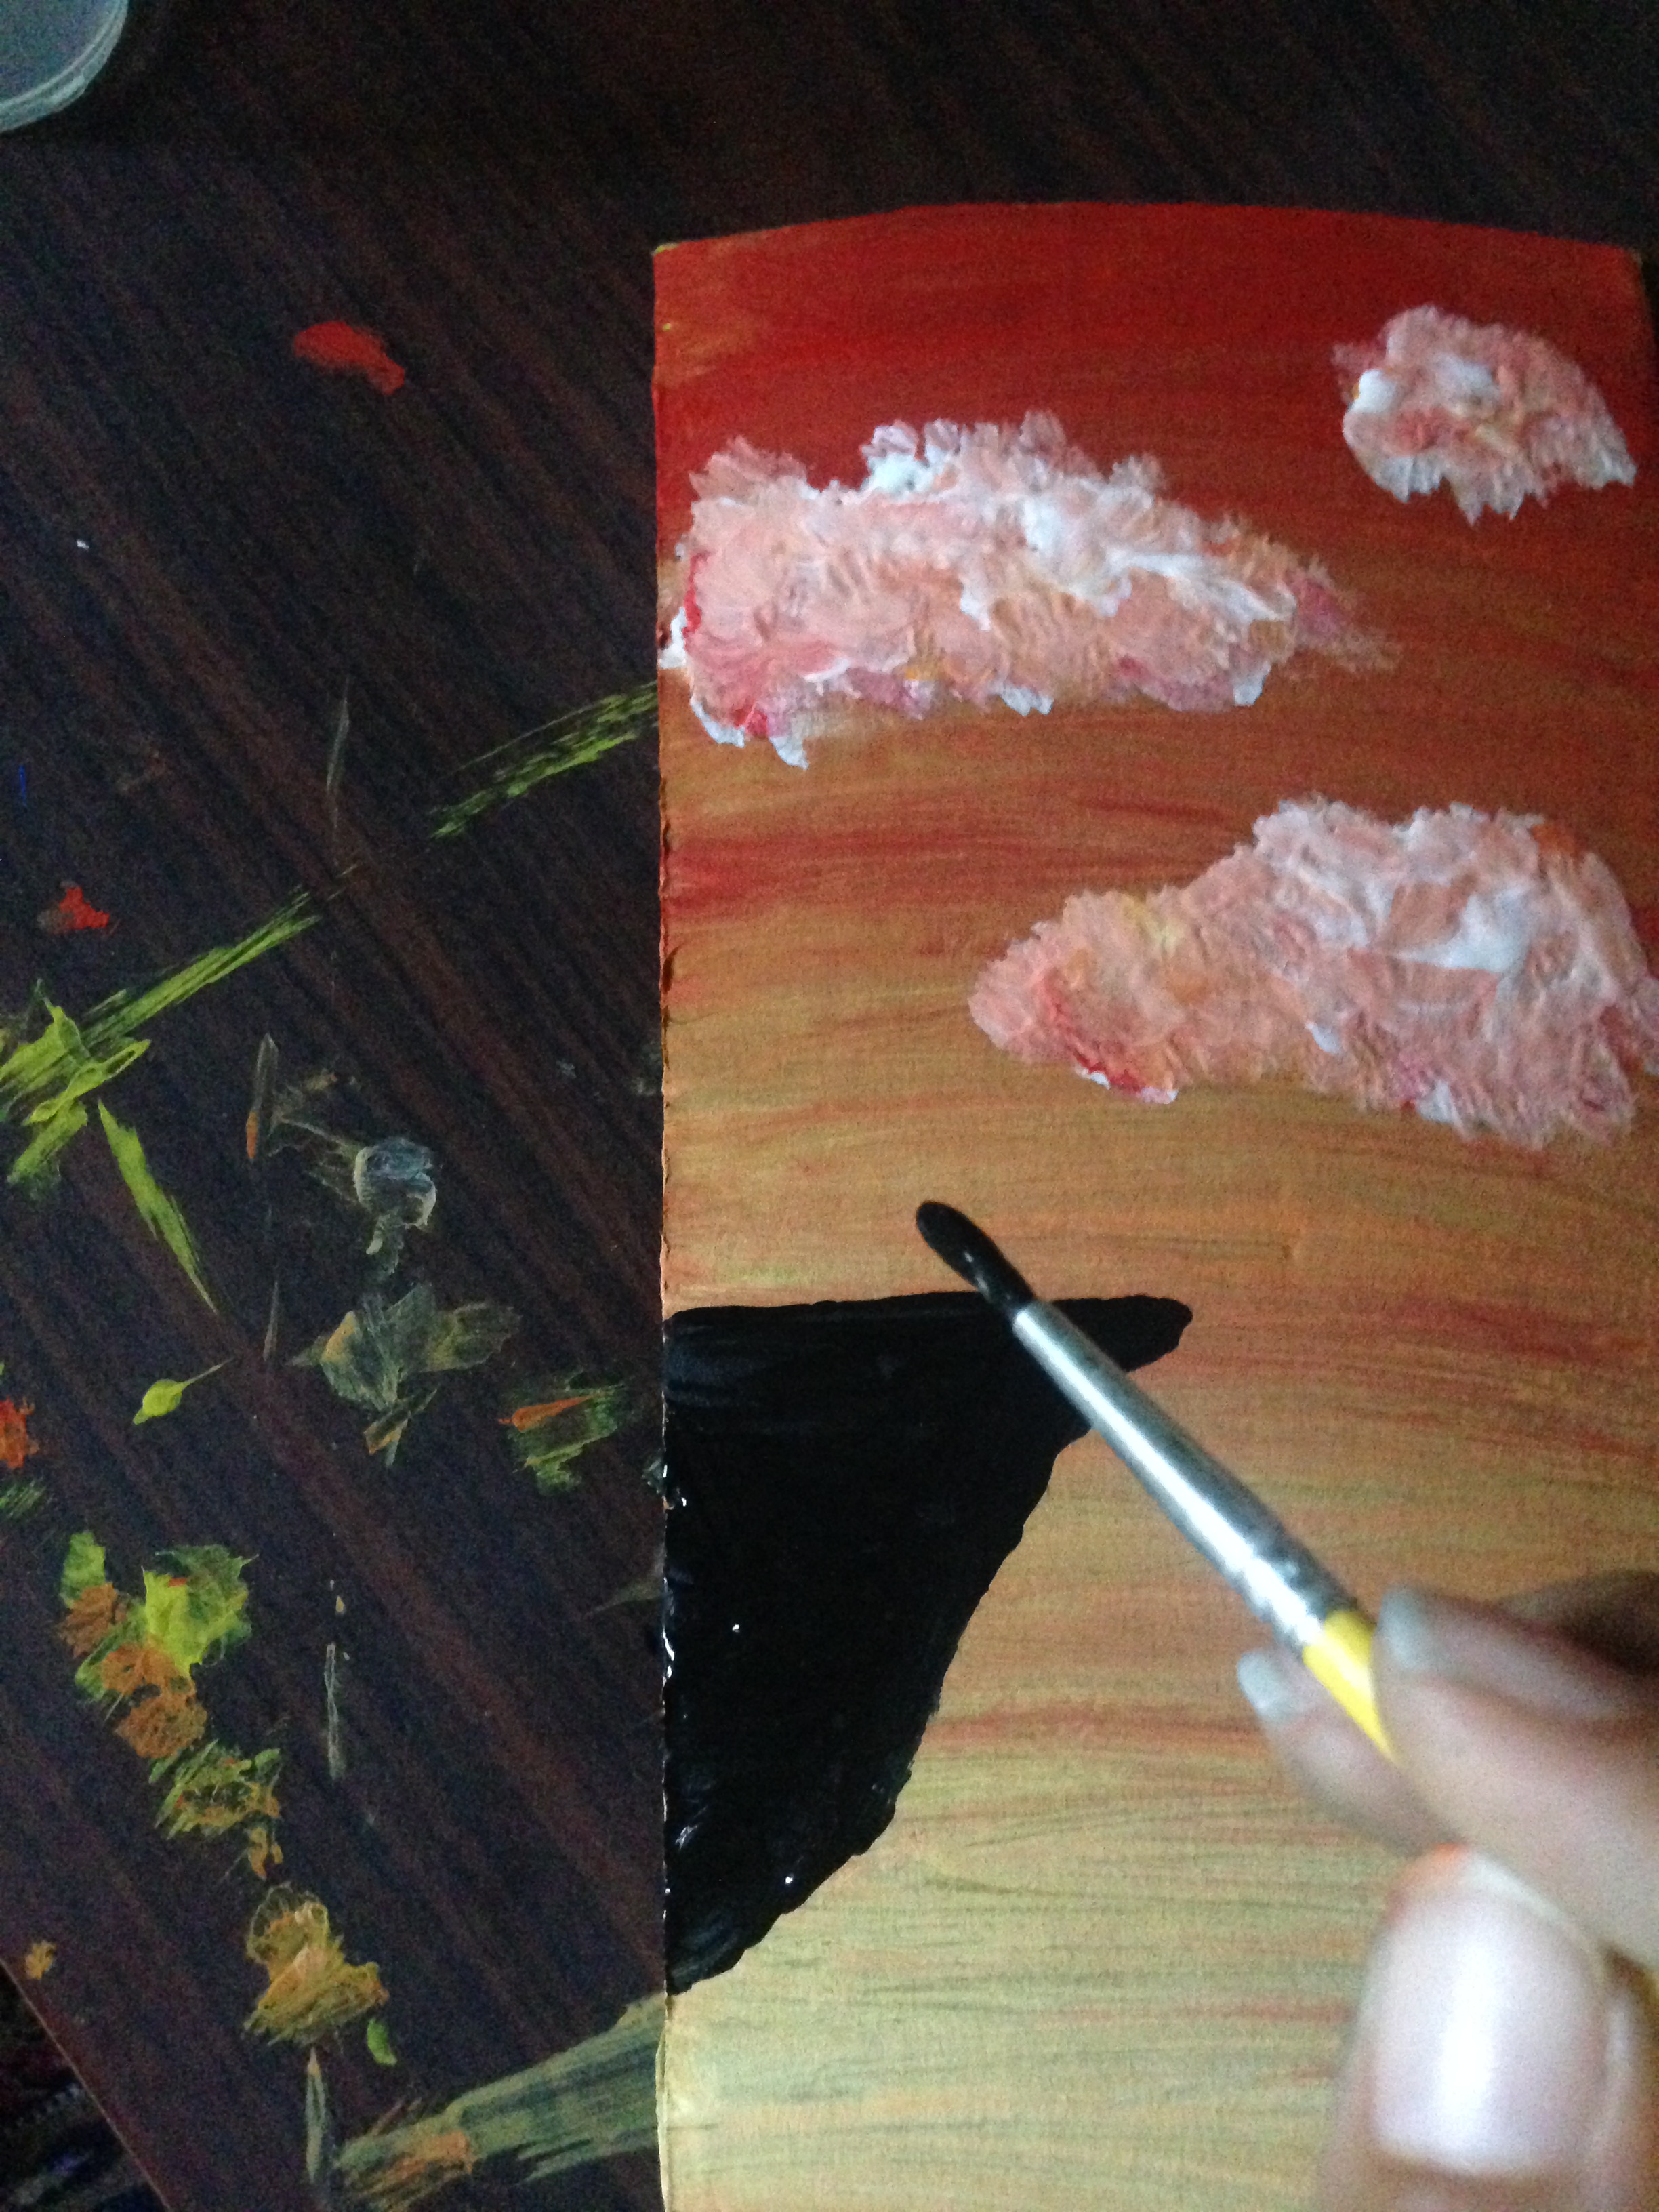
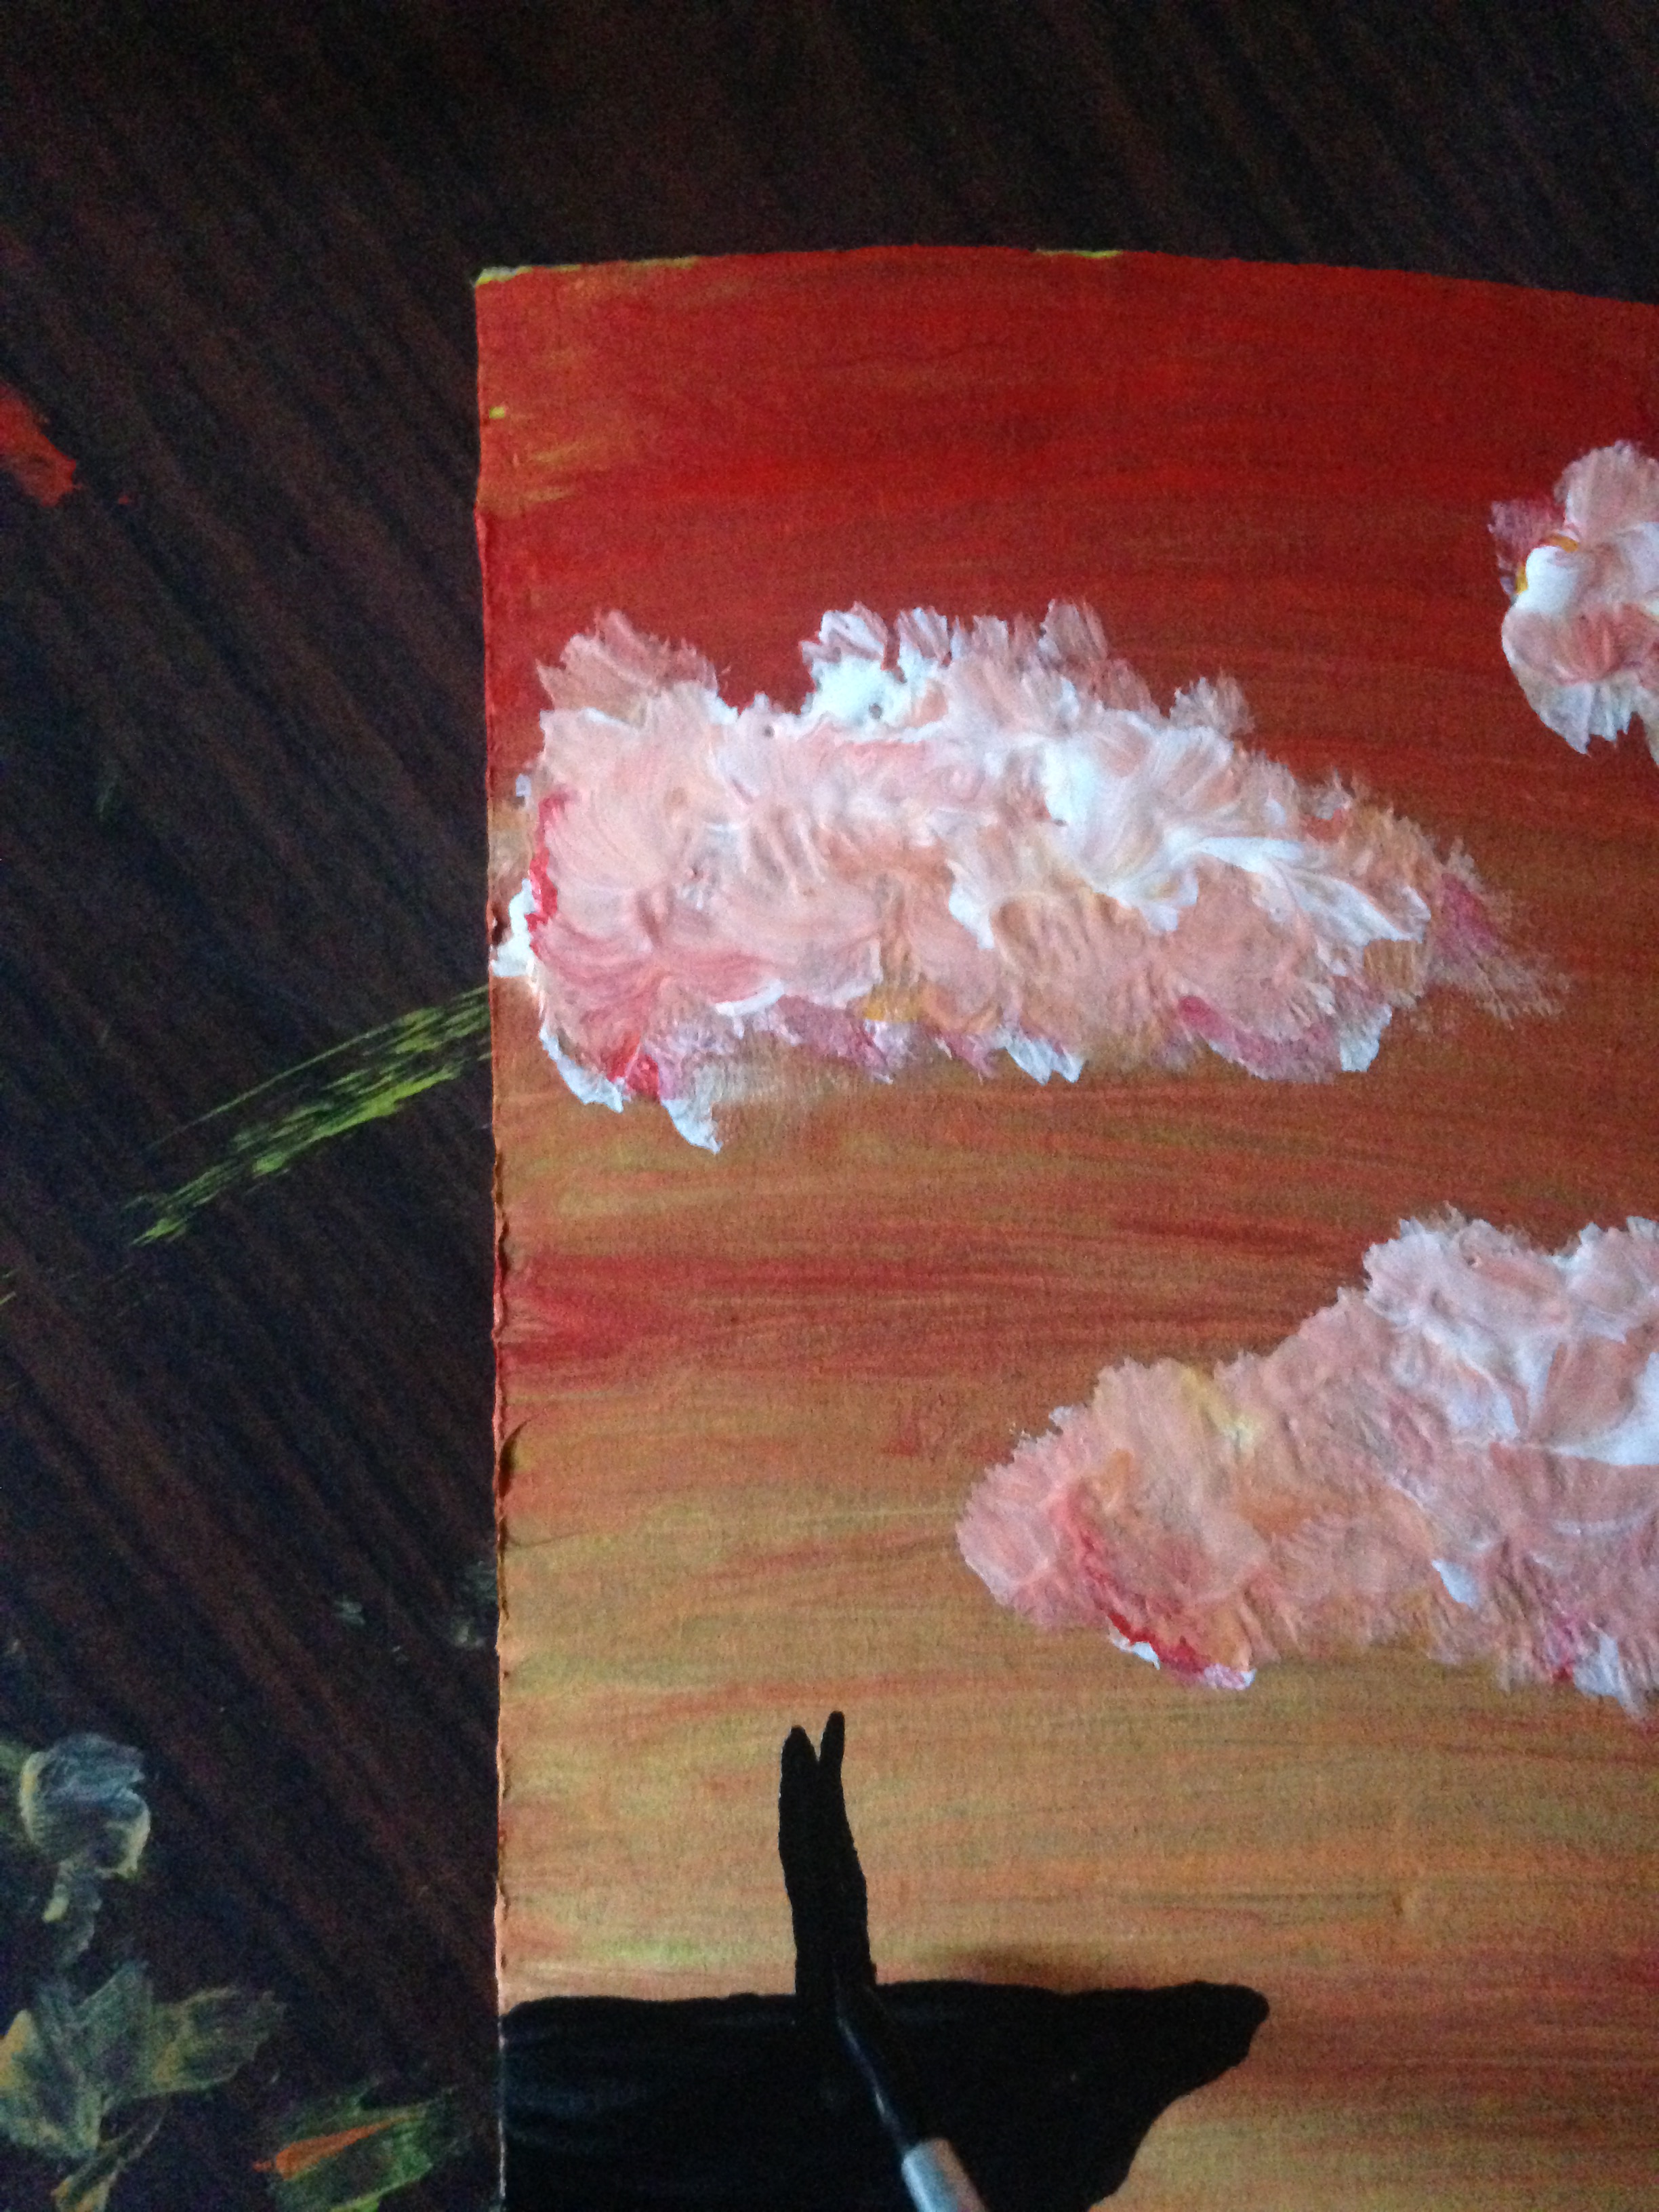
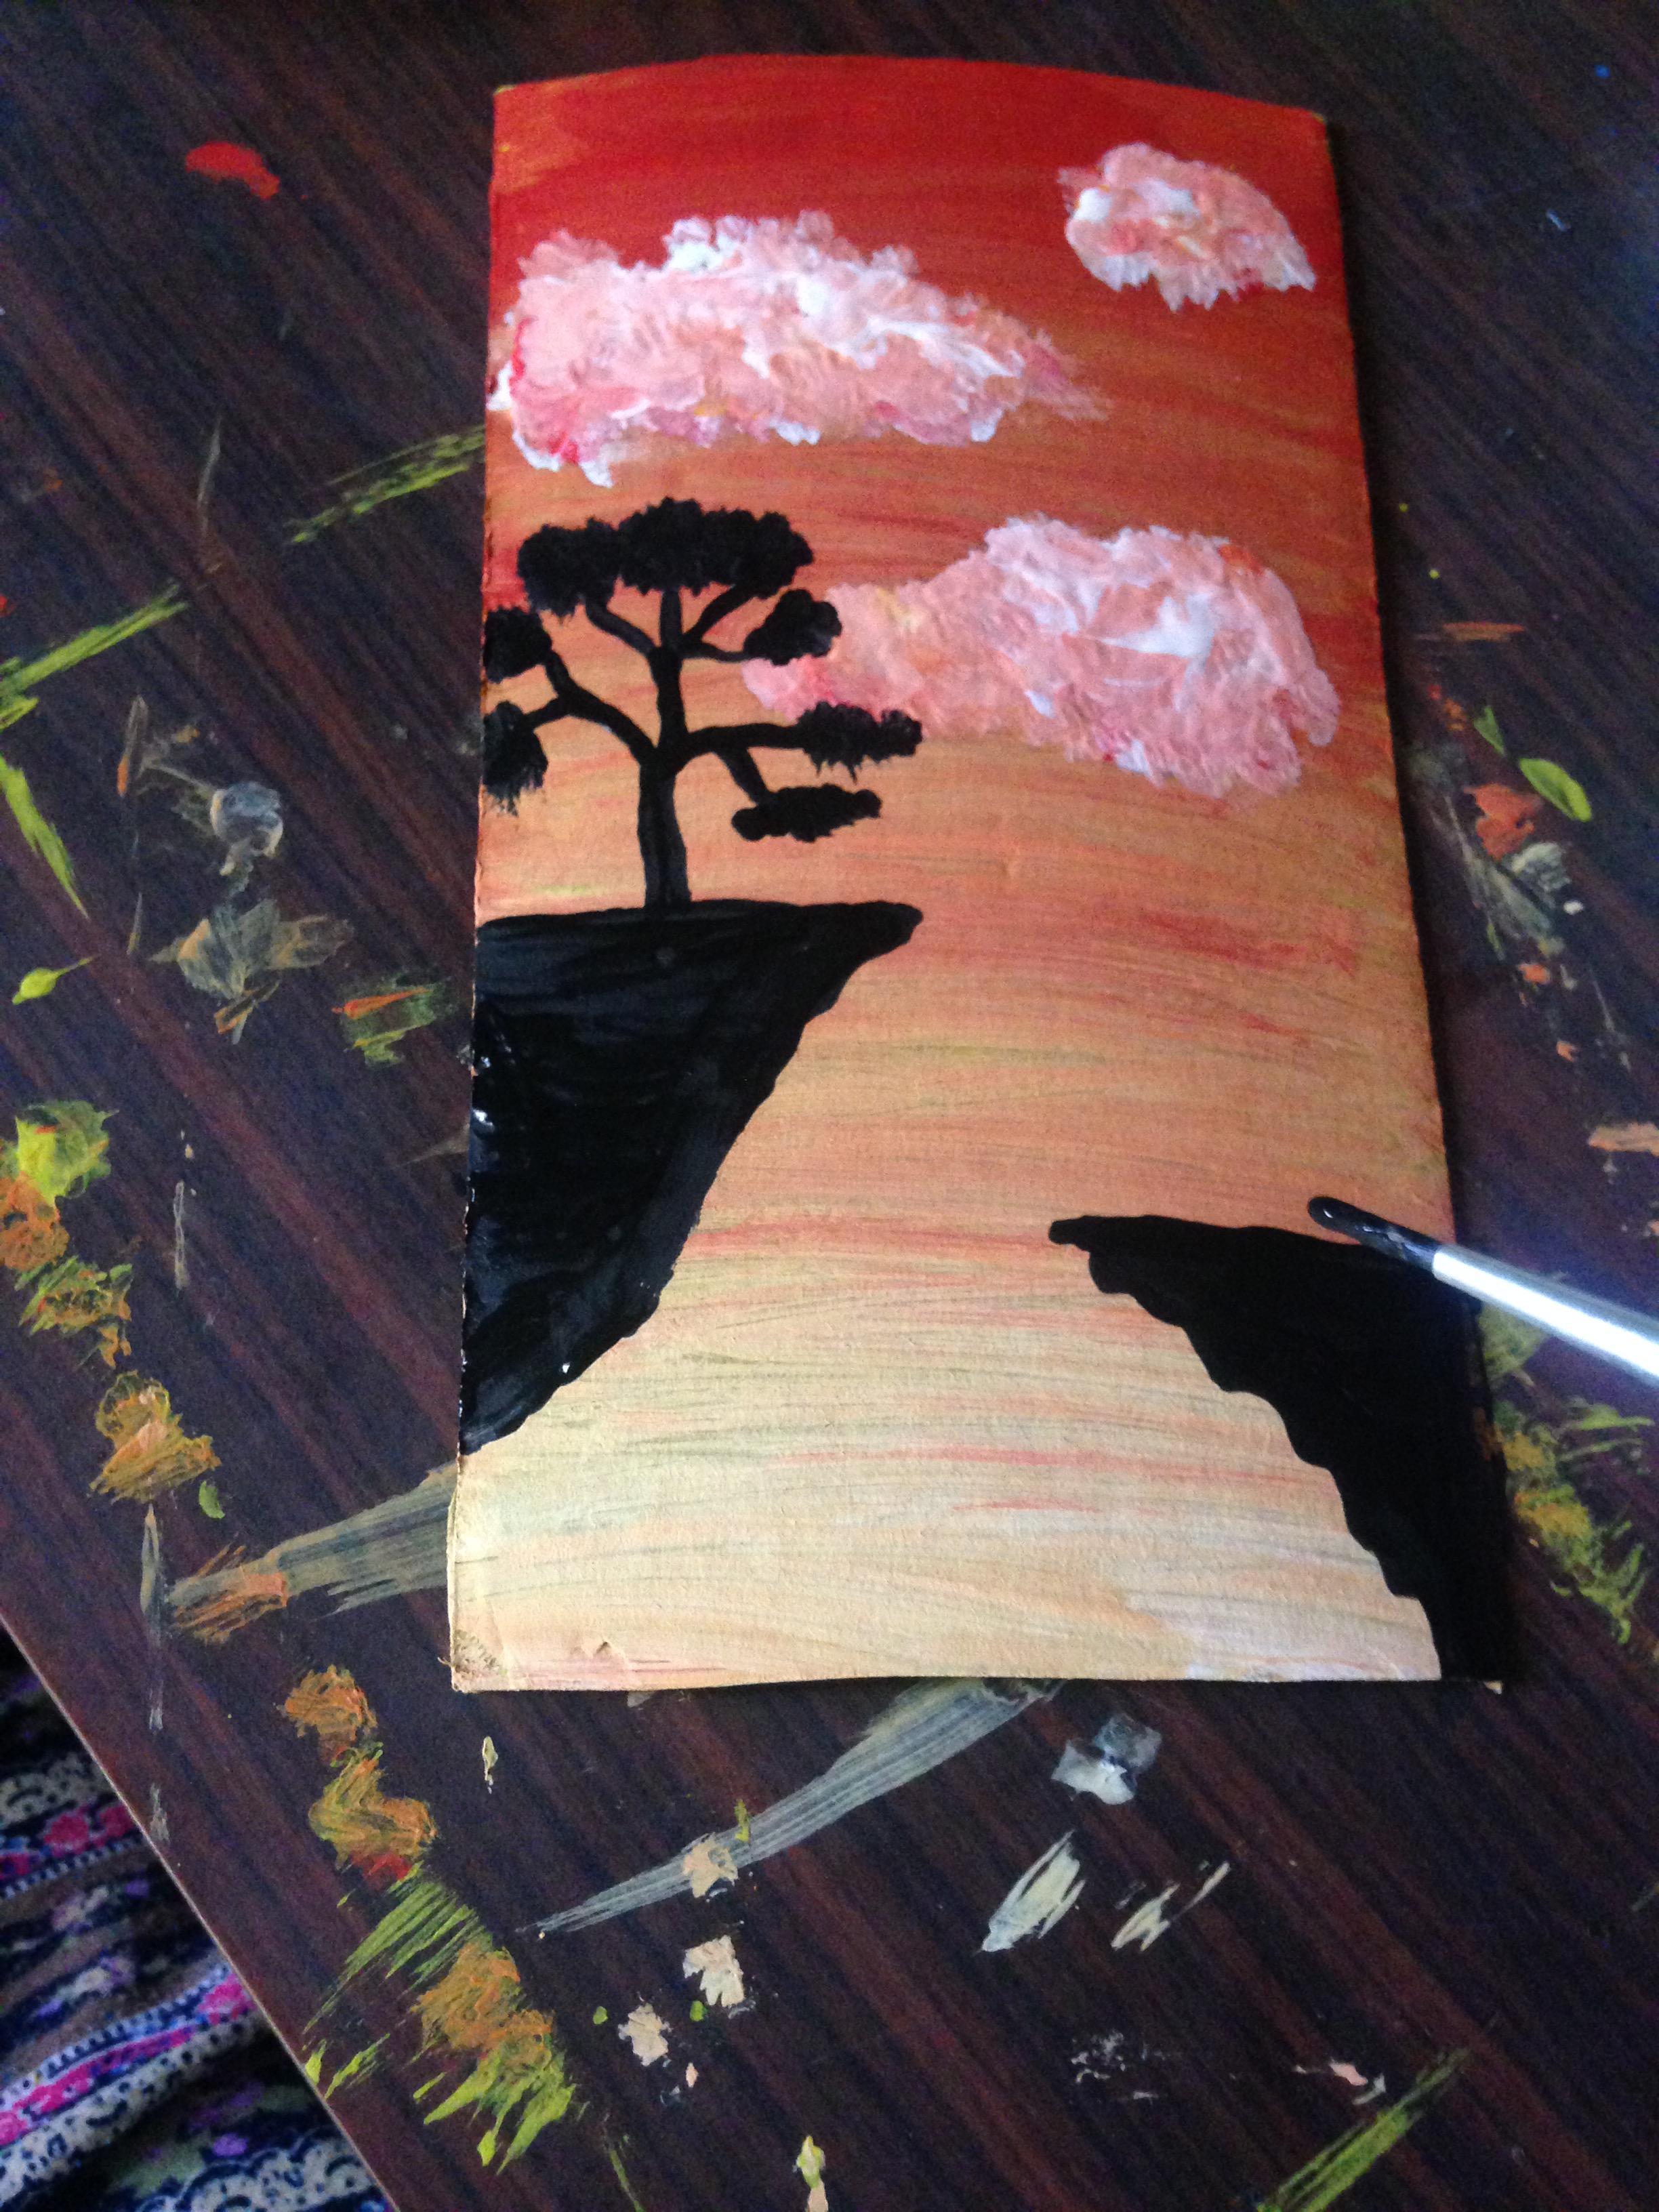
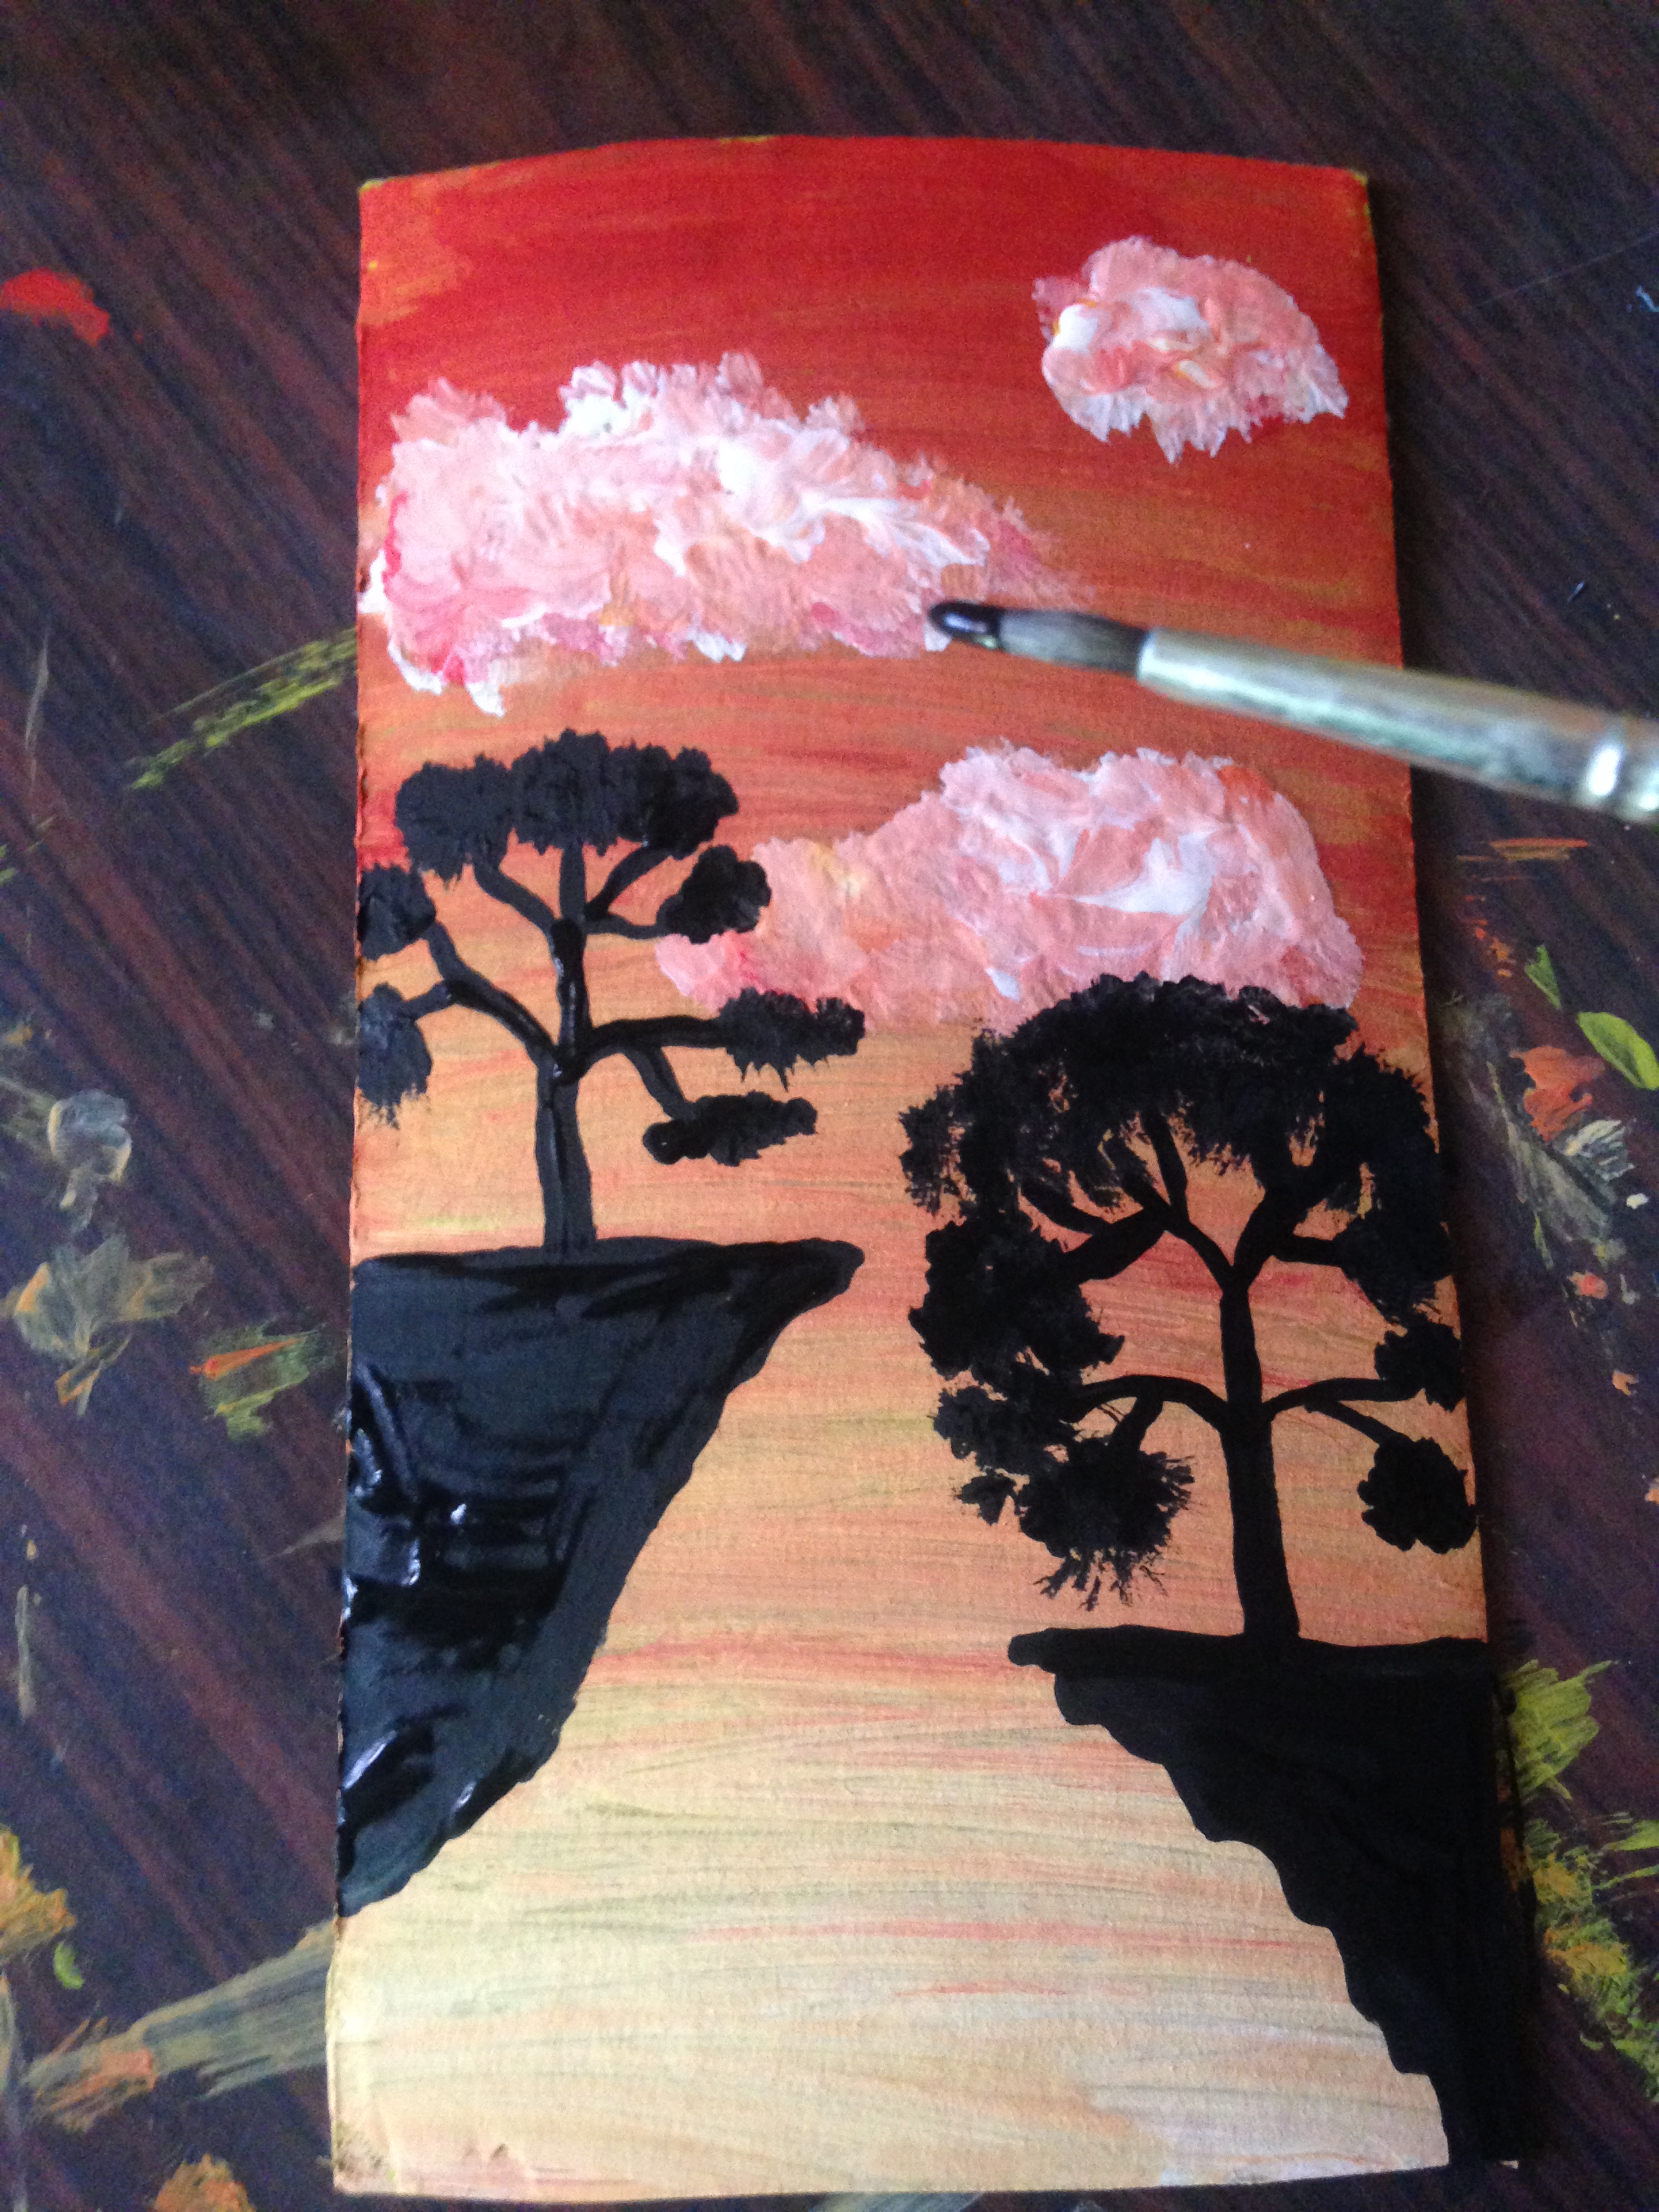
Paso 5
Ahora vamos a pintar las siluetas de las montañas, yo lo hice directamente con la pintura negra y un pincel delgado pero si quieres tu lo dibujas con lápiz y luego lo pintas de negro, haremos una de cada lado pero una arriba mas arriba que la otra
Step 5
Now we are going to paint the silhouettes of the mountains, I did it directly with black paint and a thin brush but if you want you draw it with a pencil and then paint it black, we will do one on each side but one on top, higher than the other.

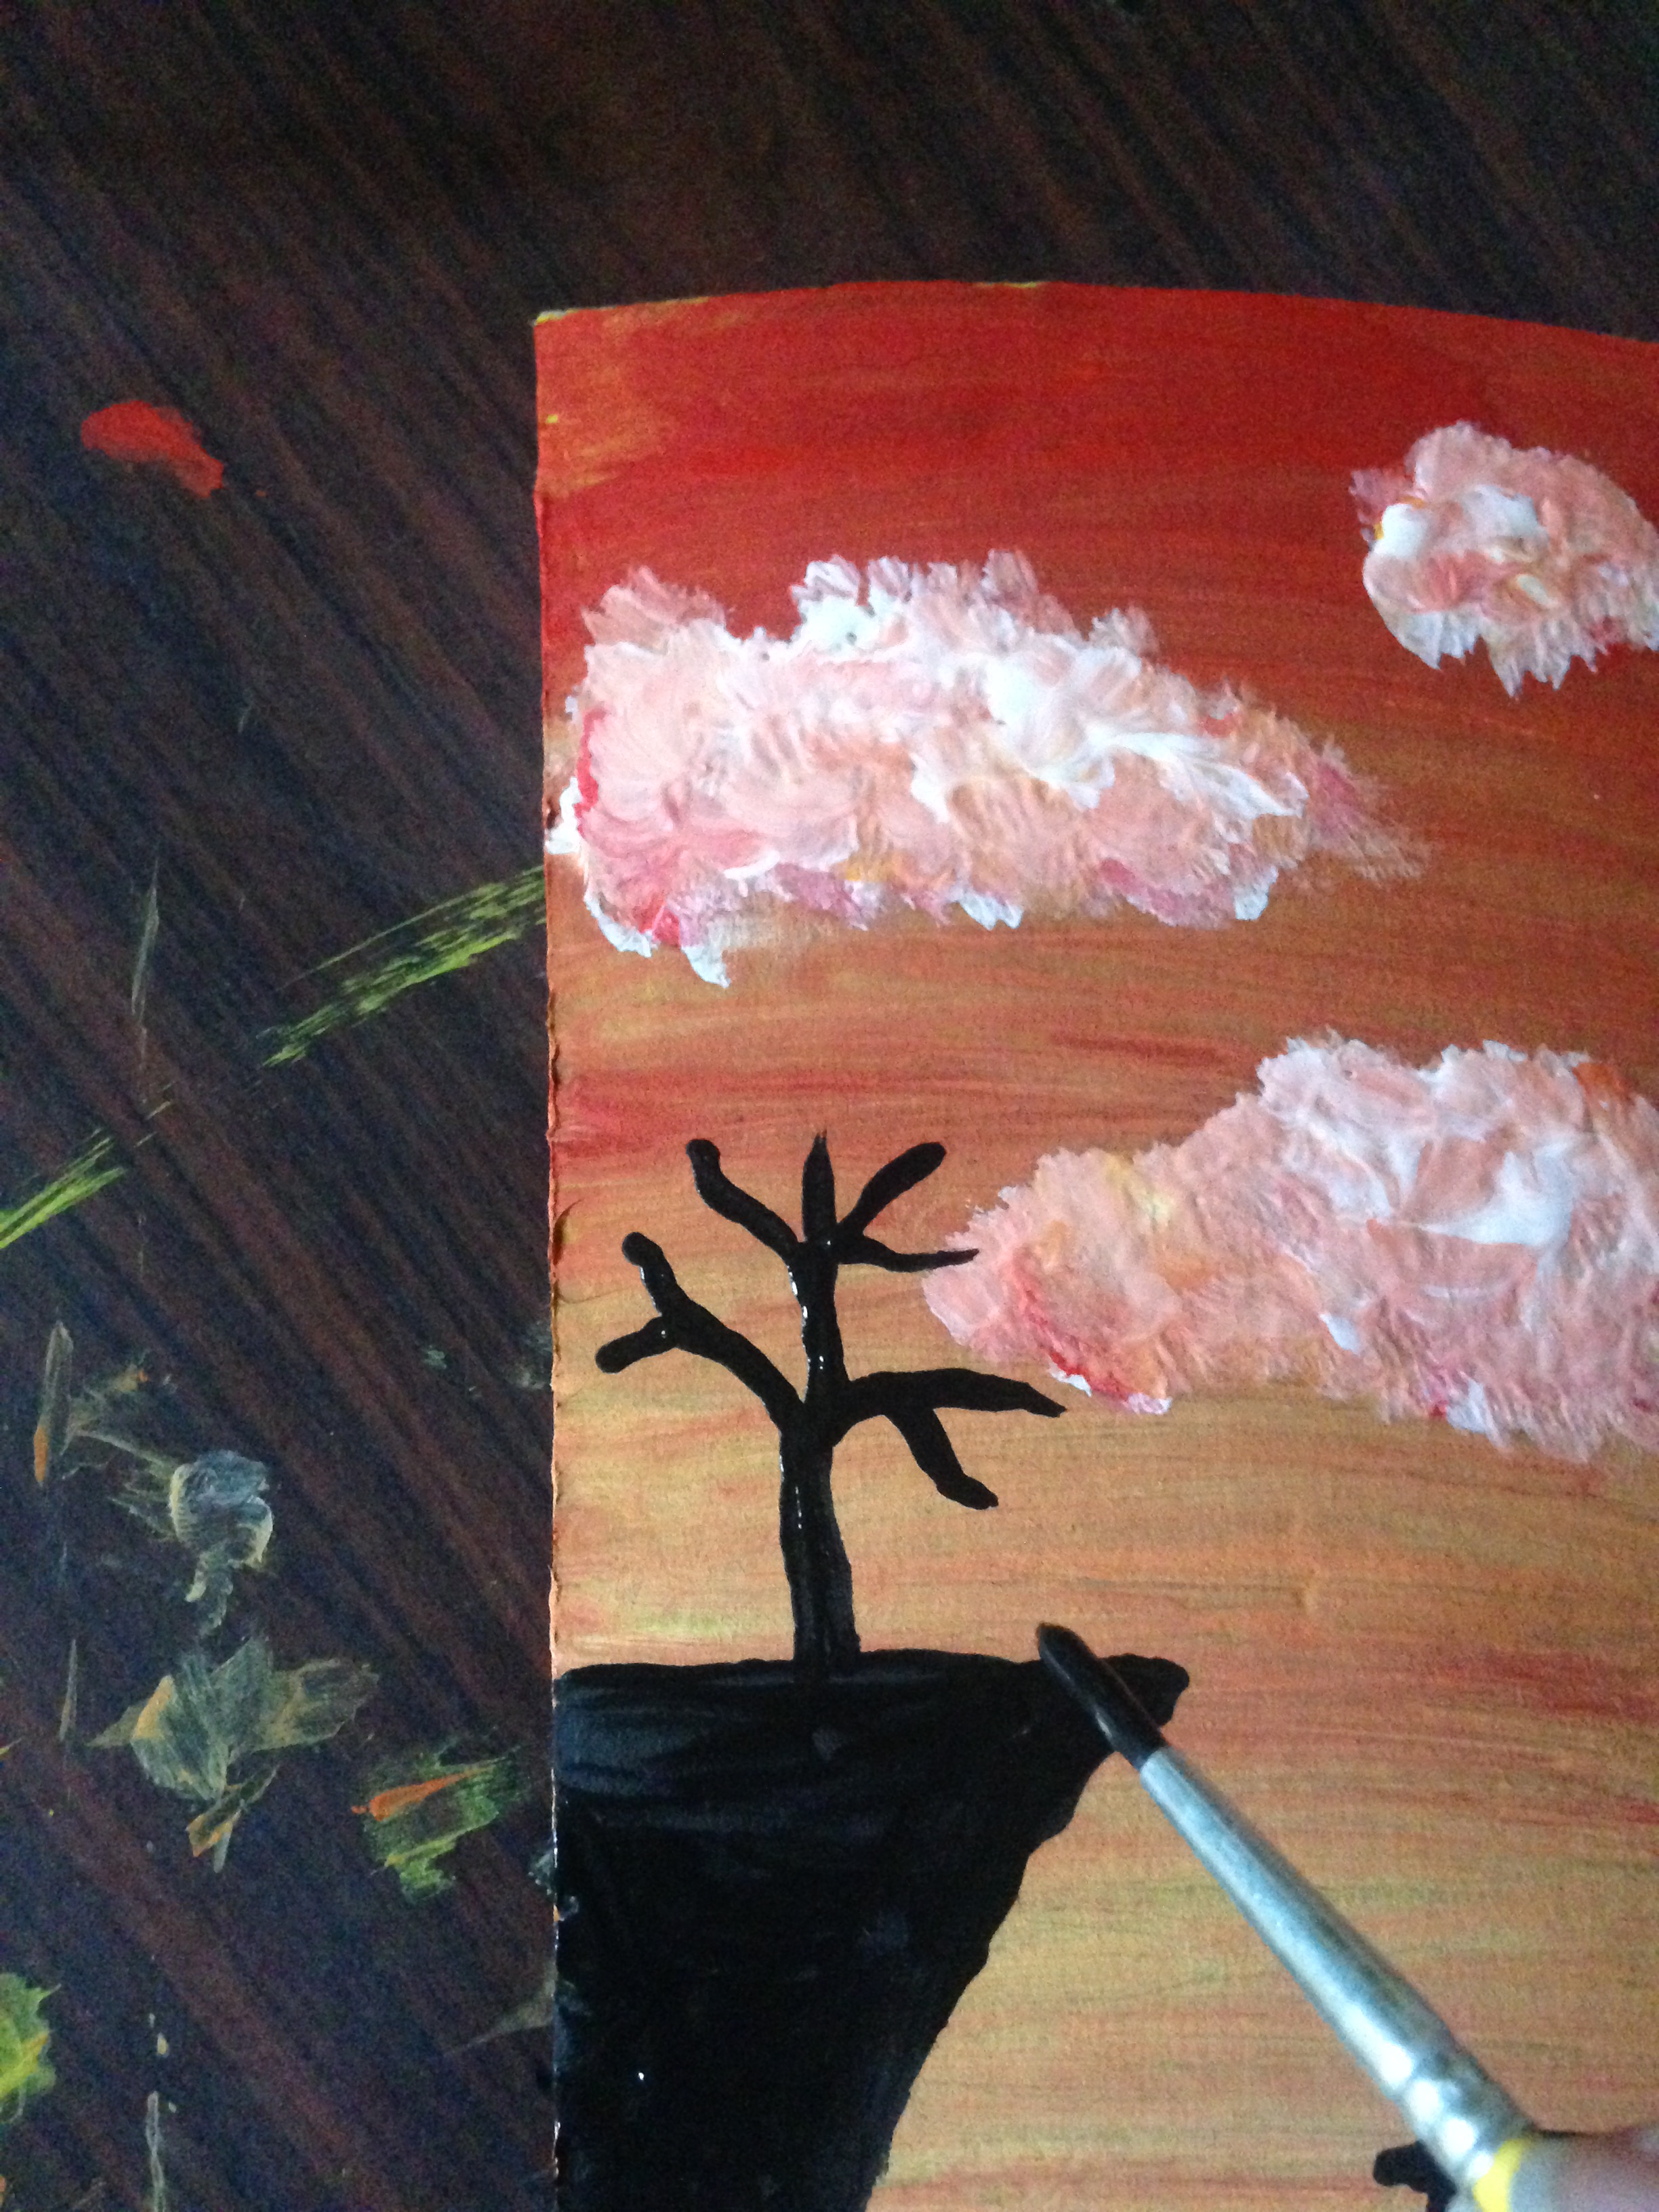
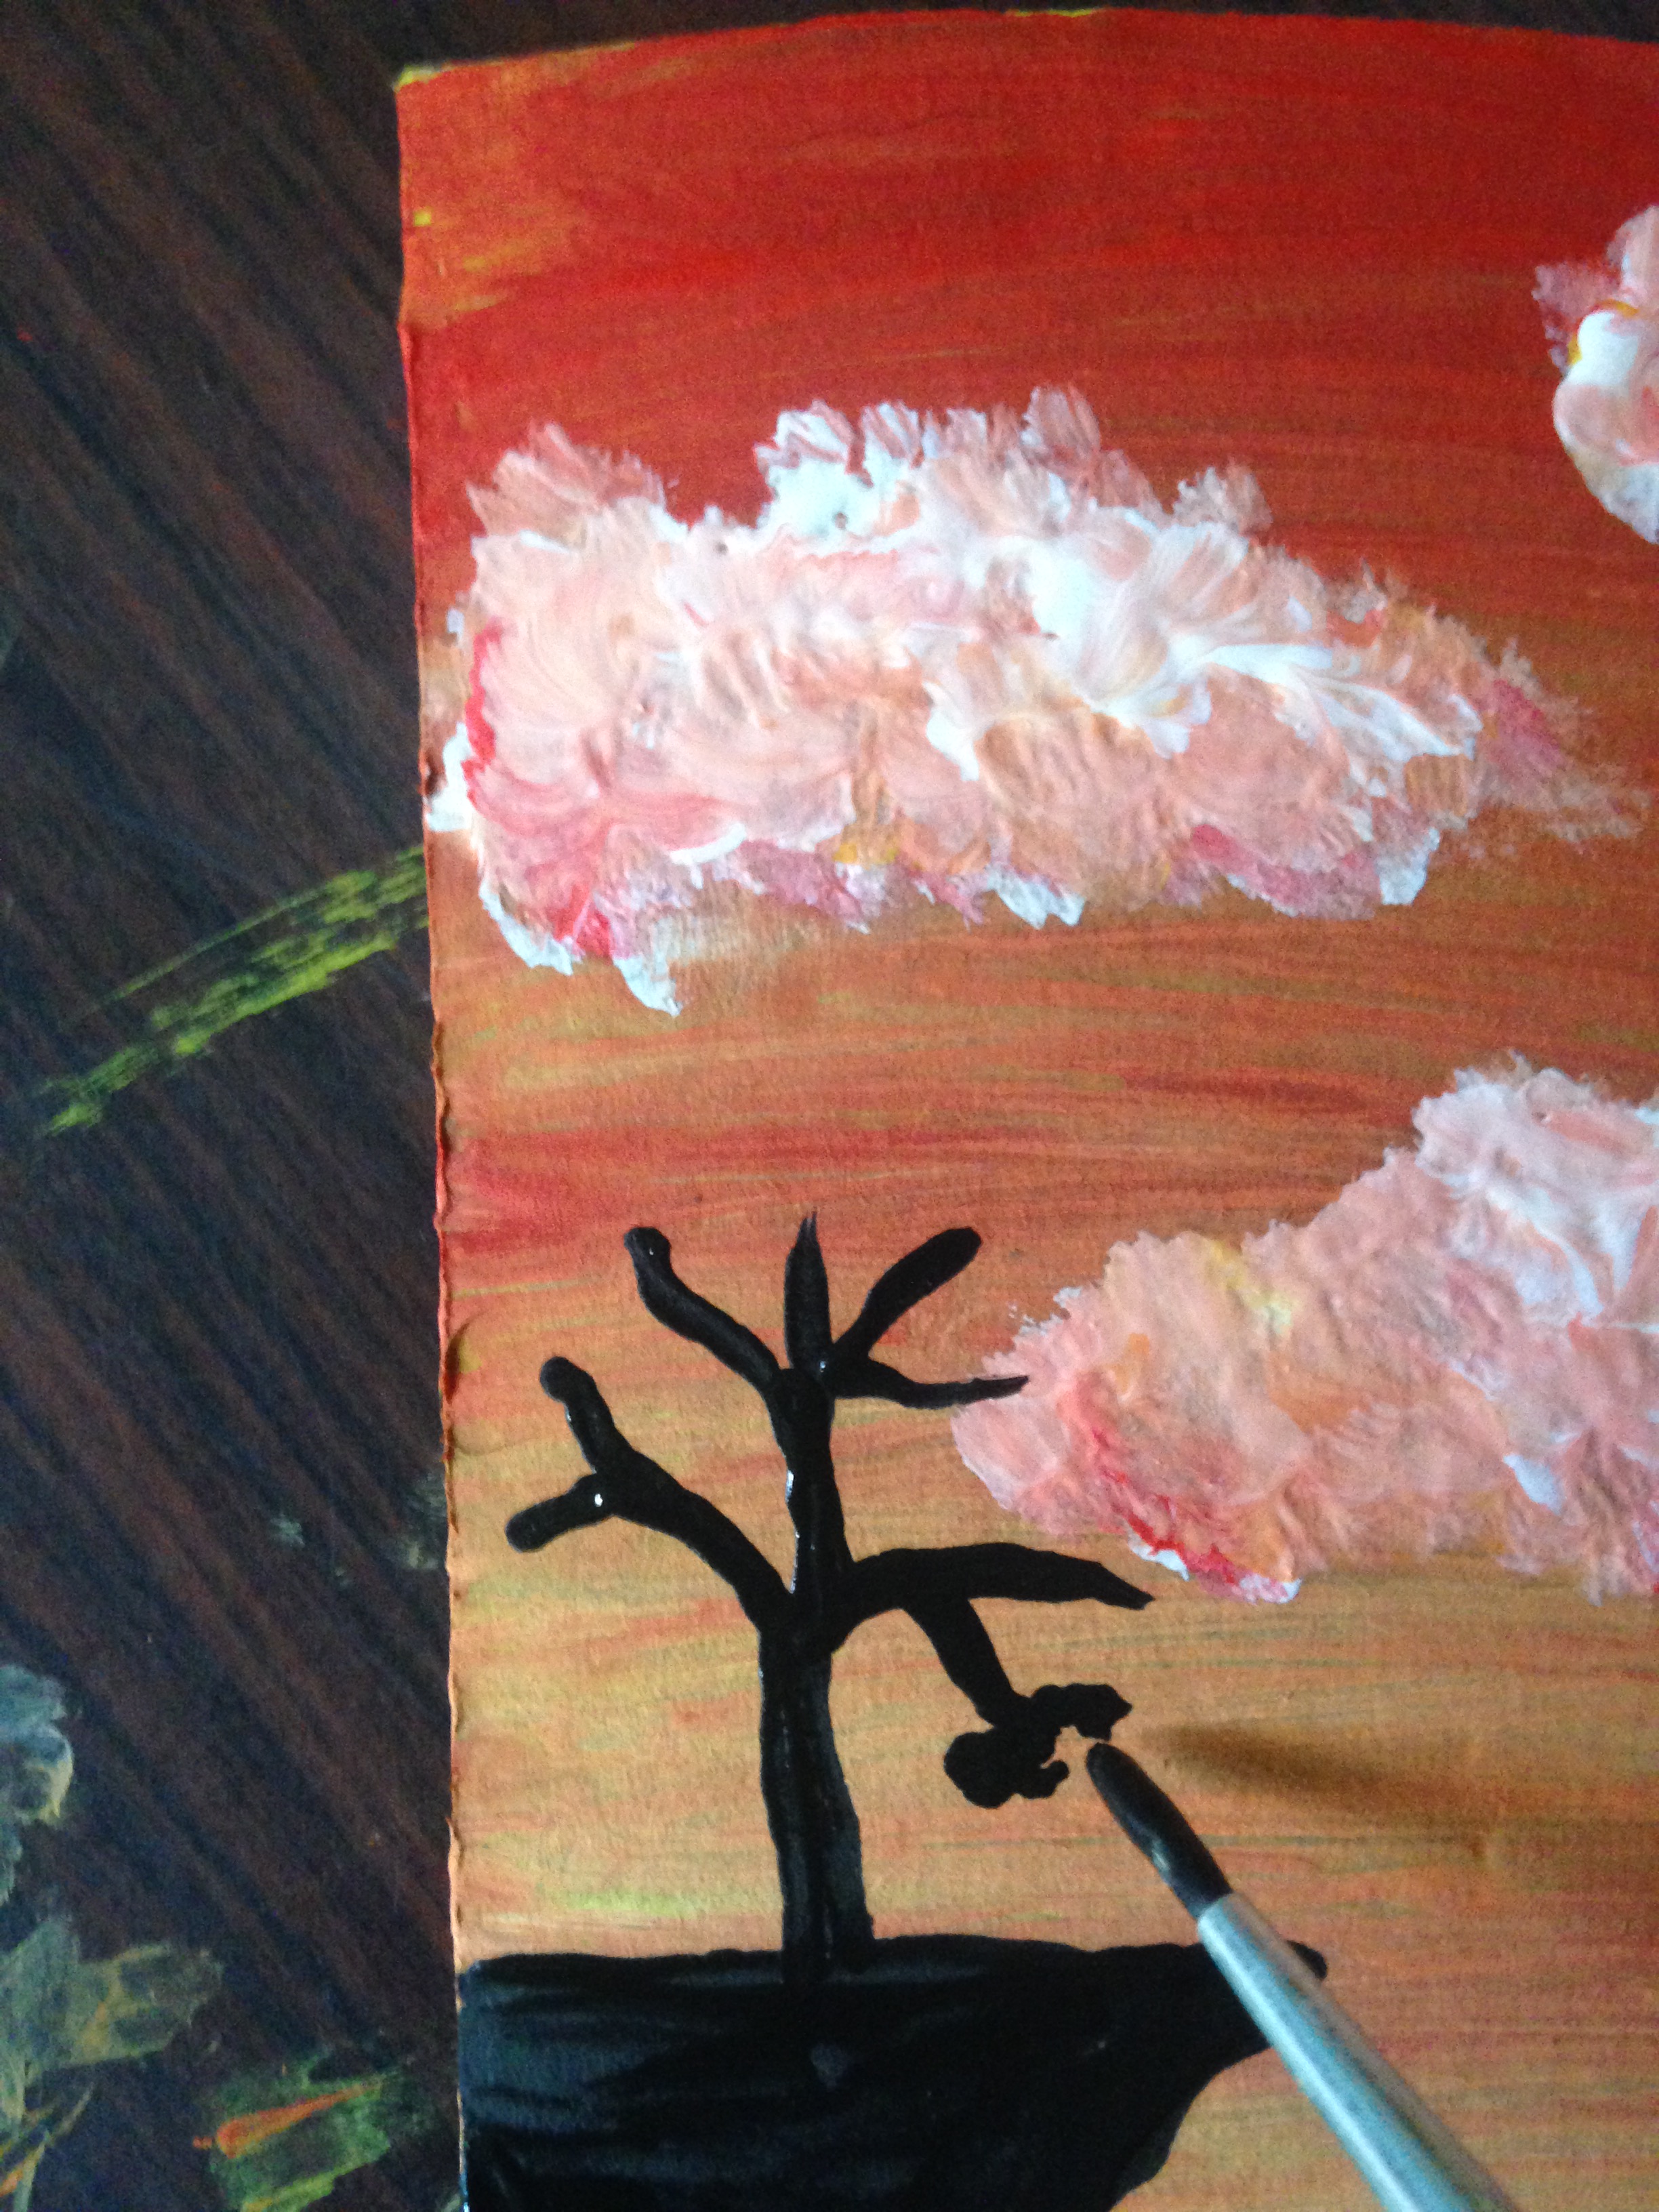
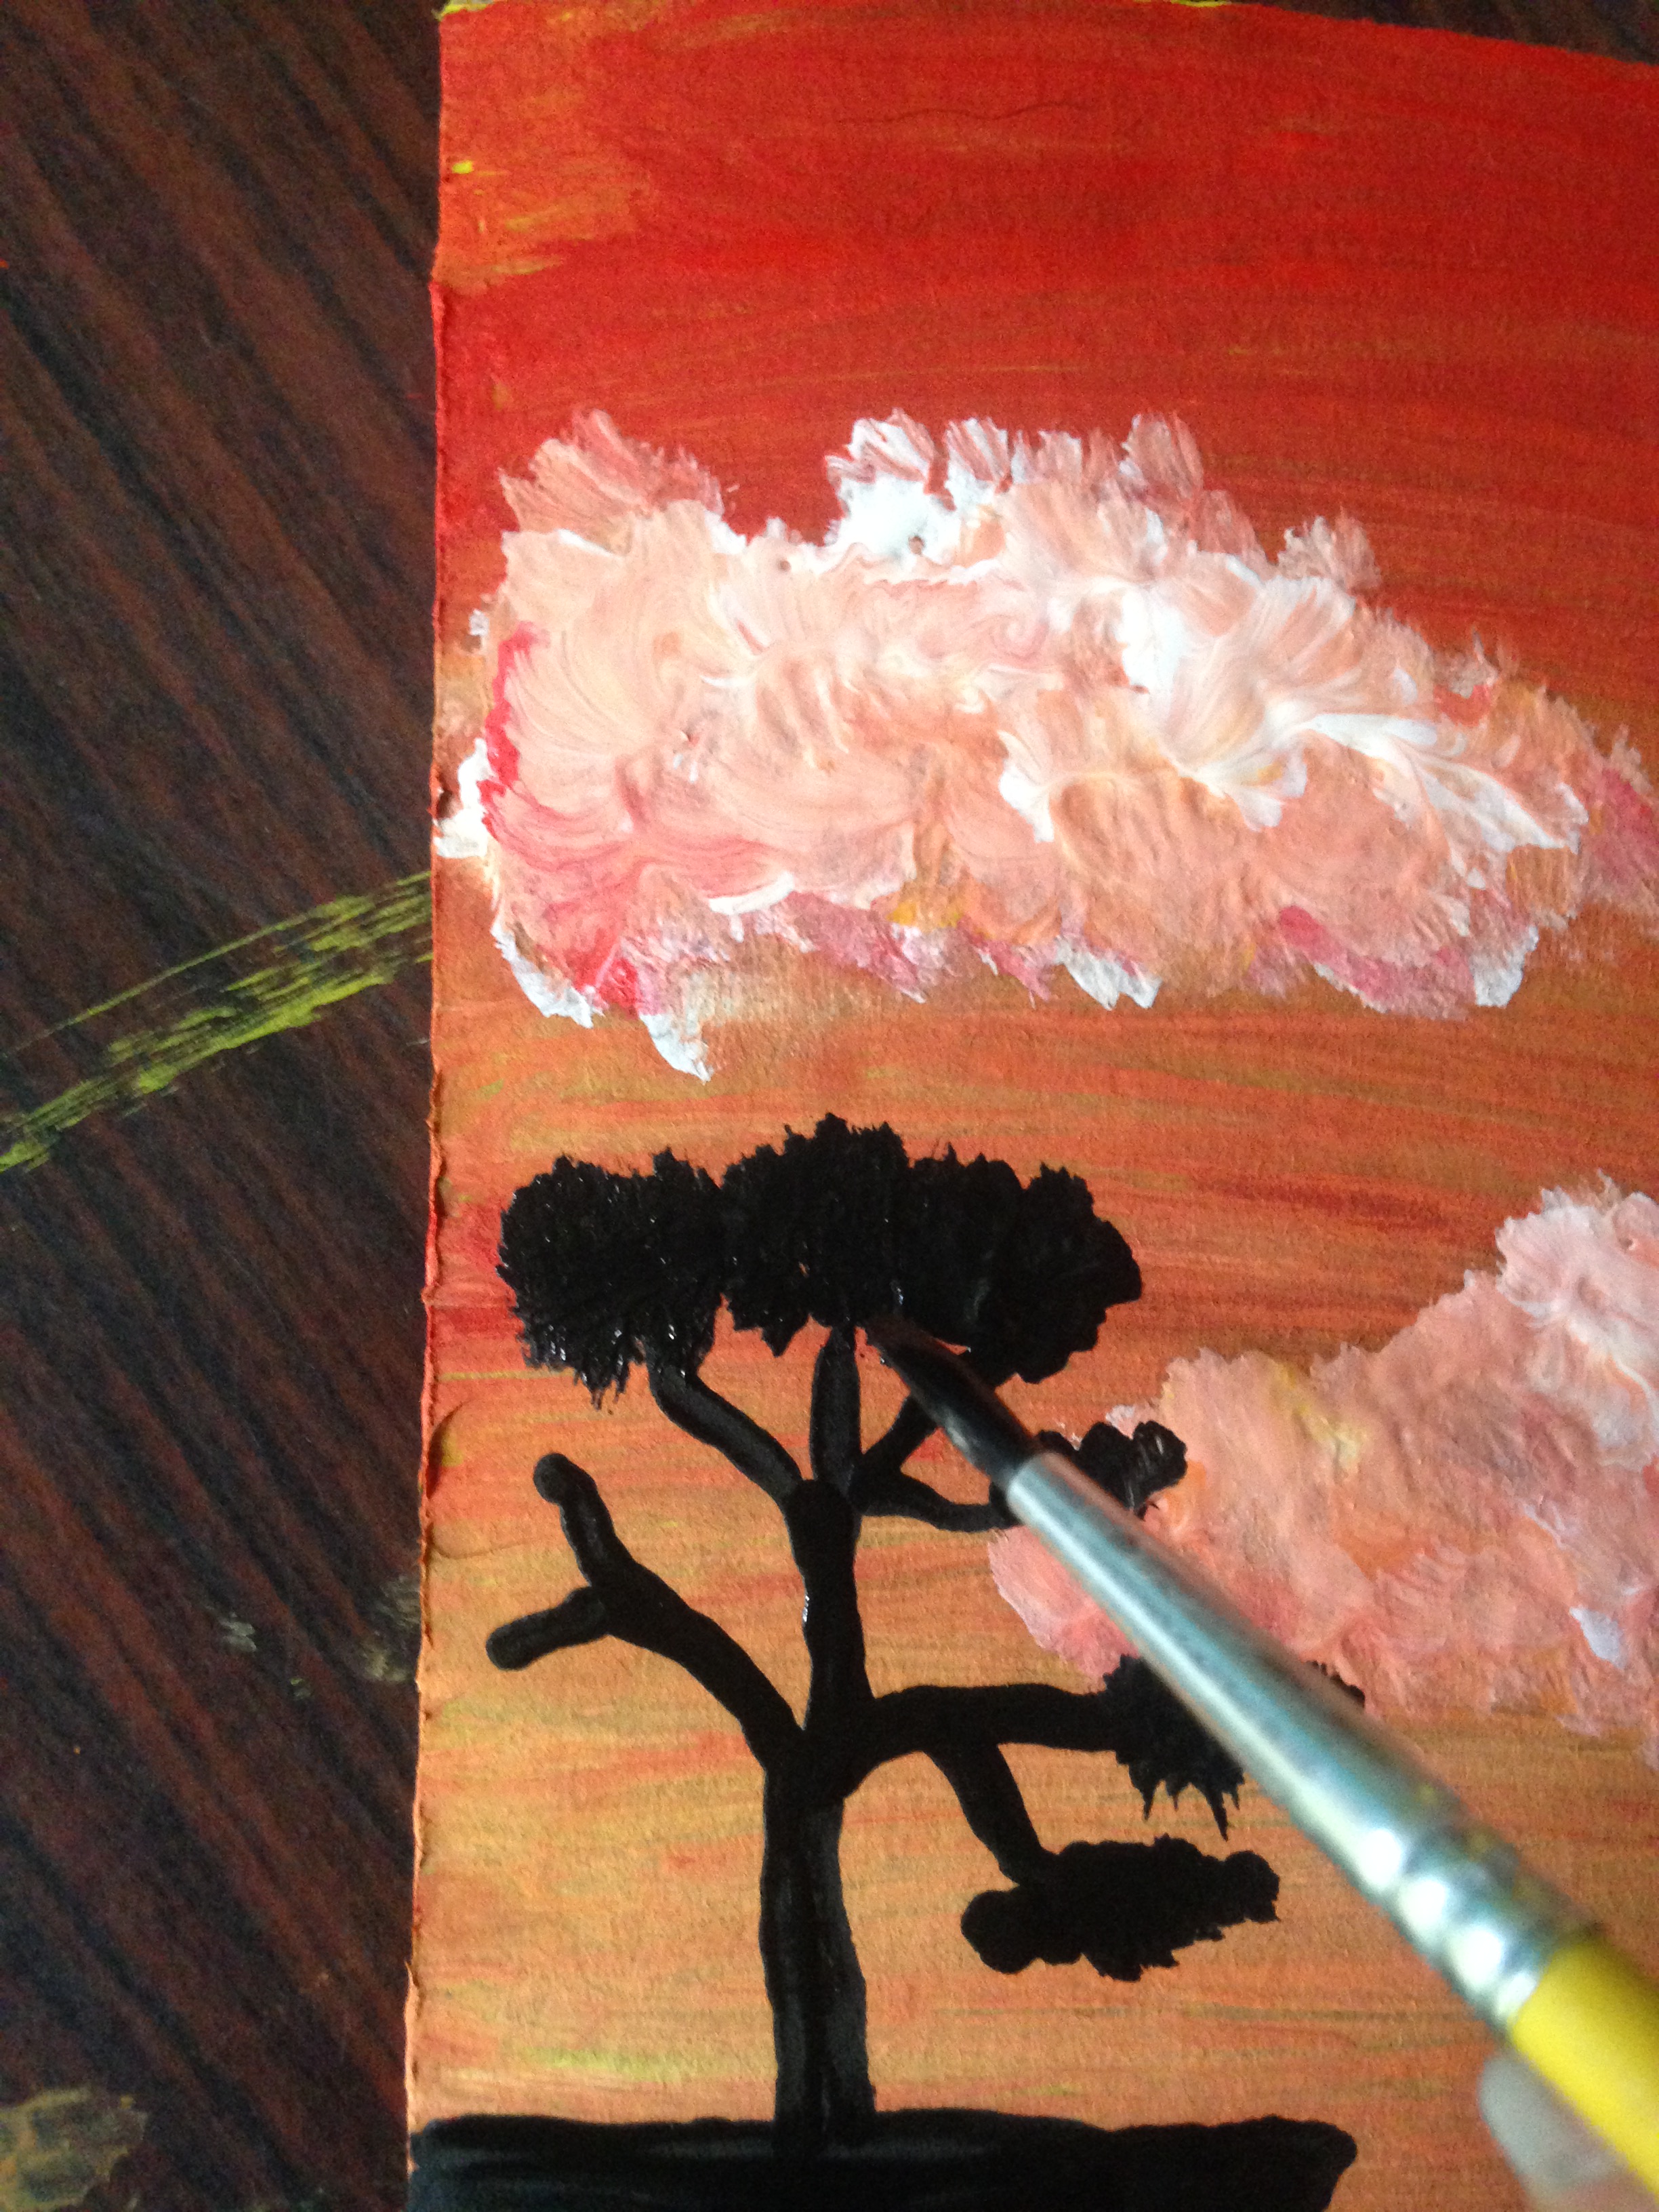
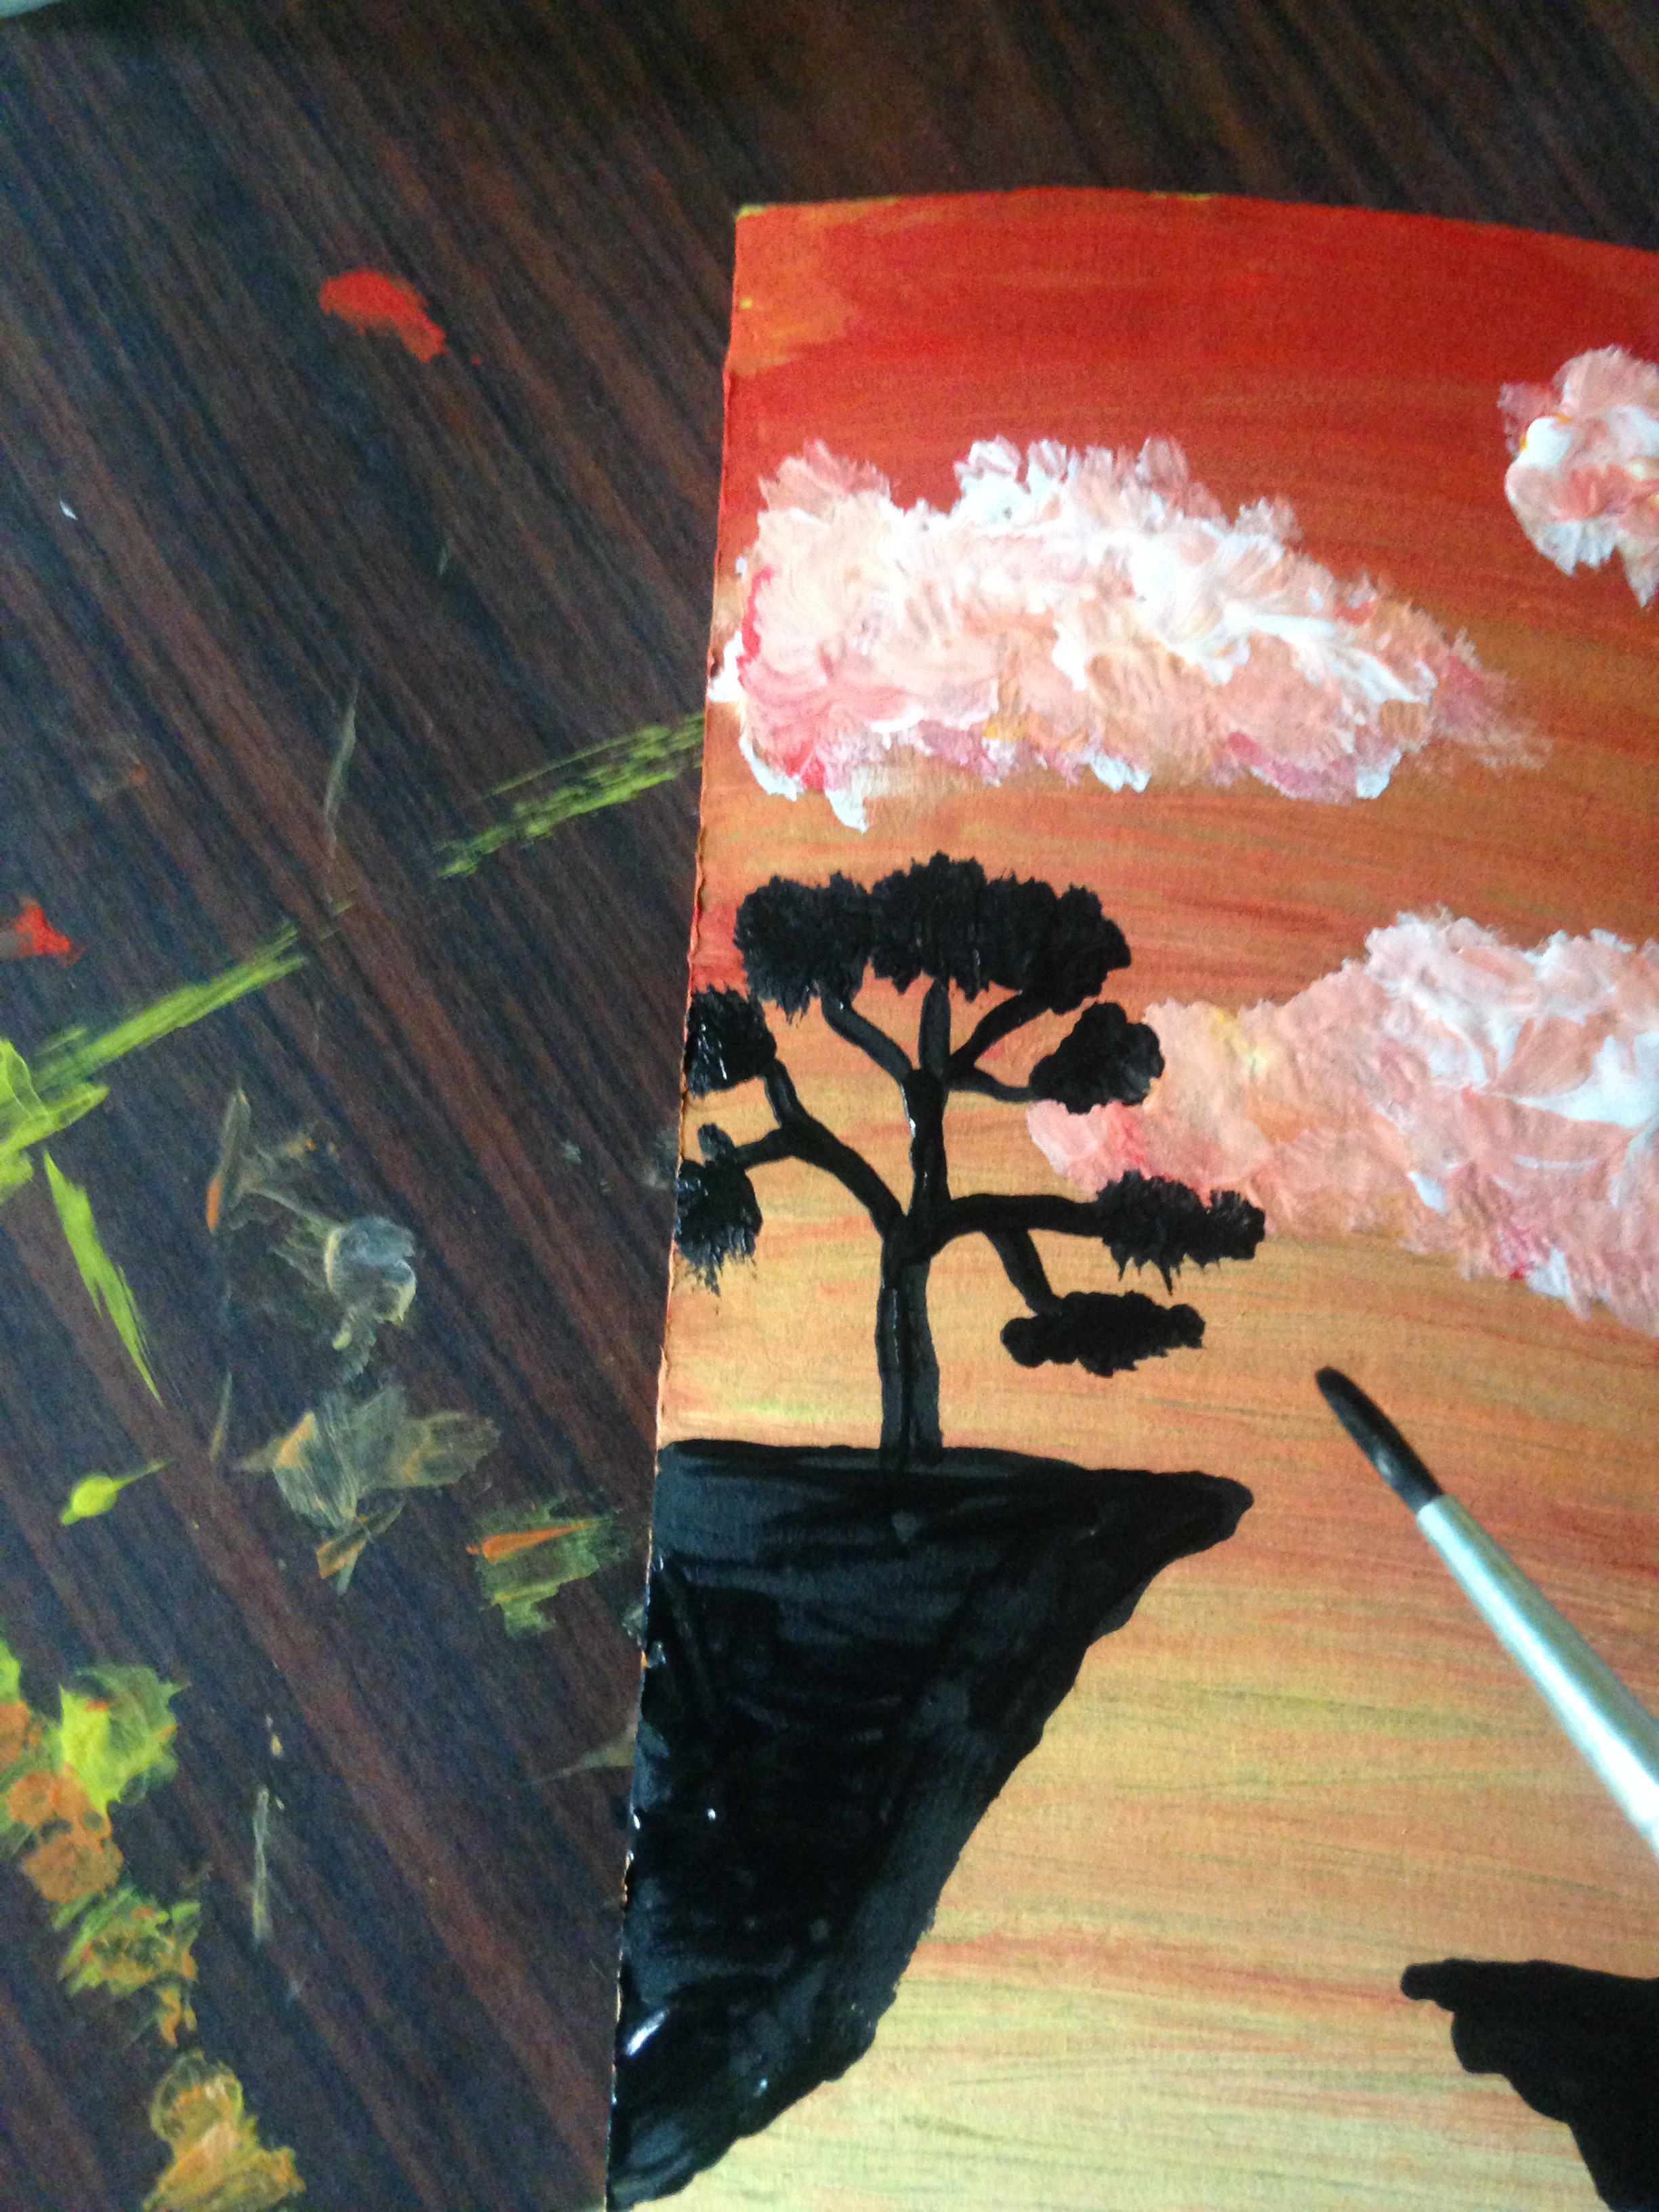
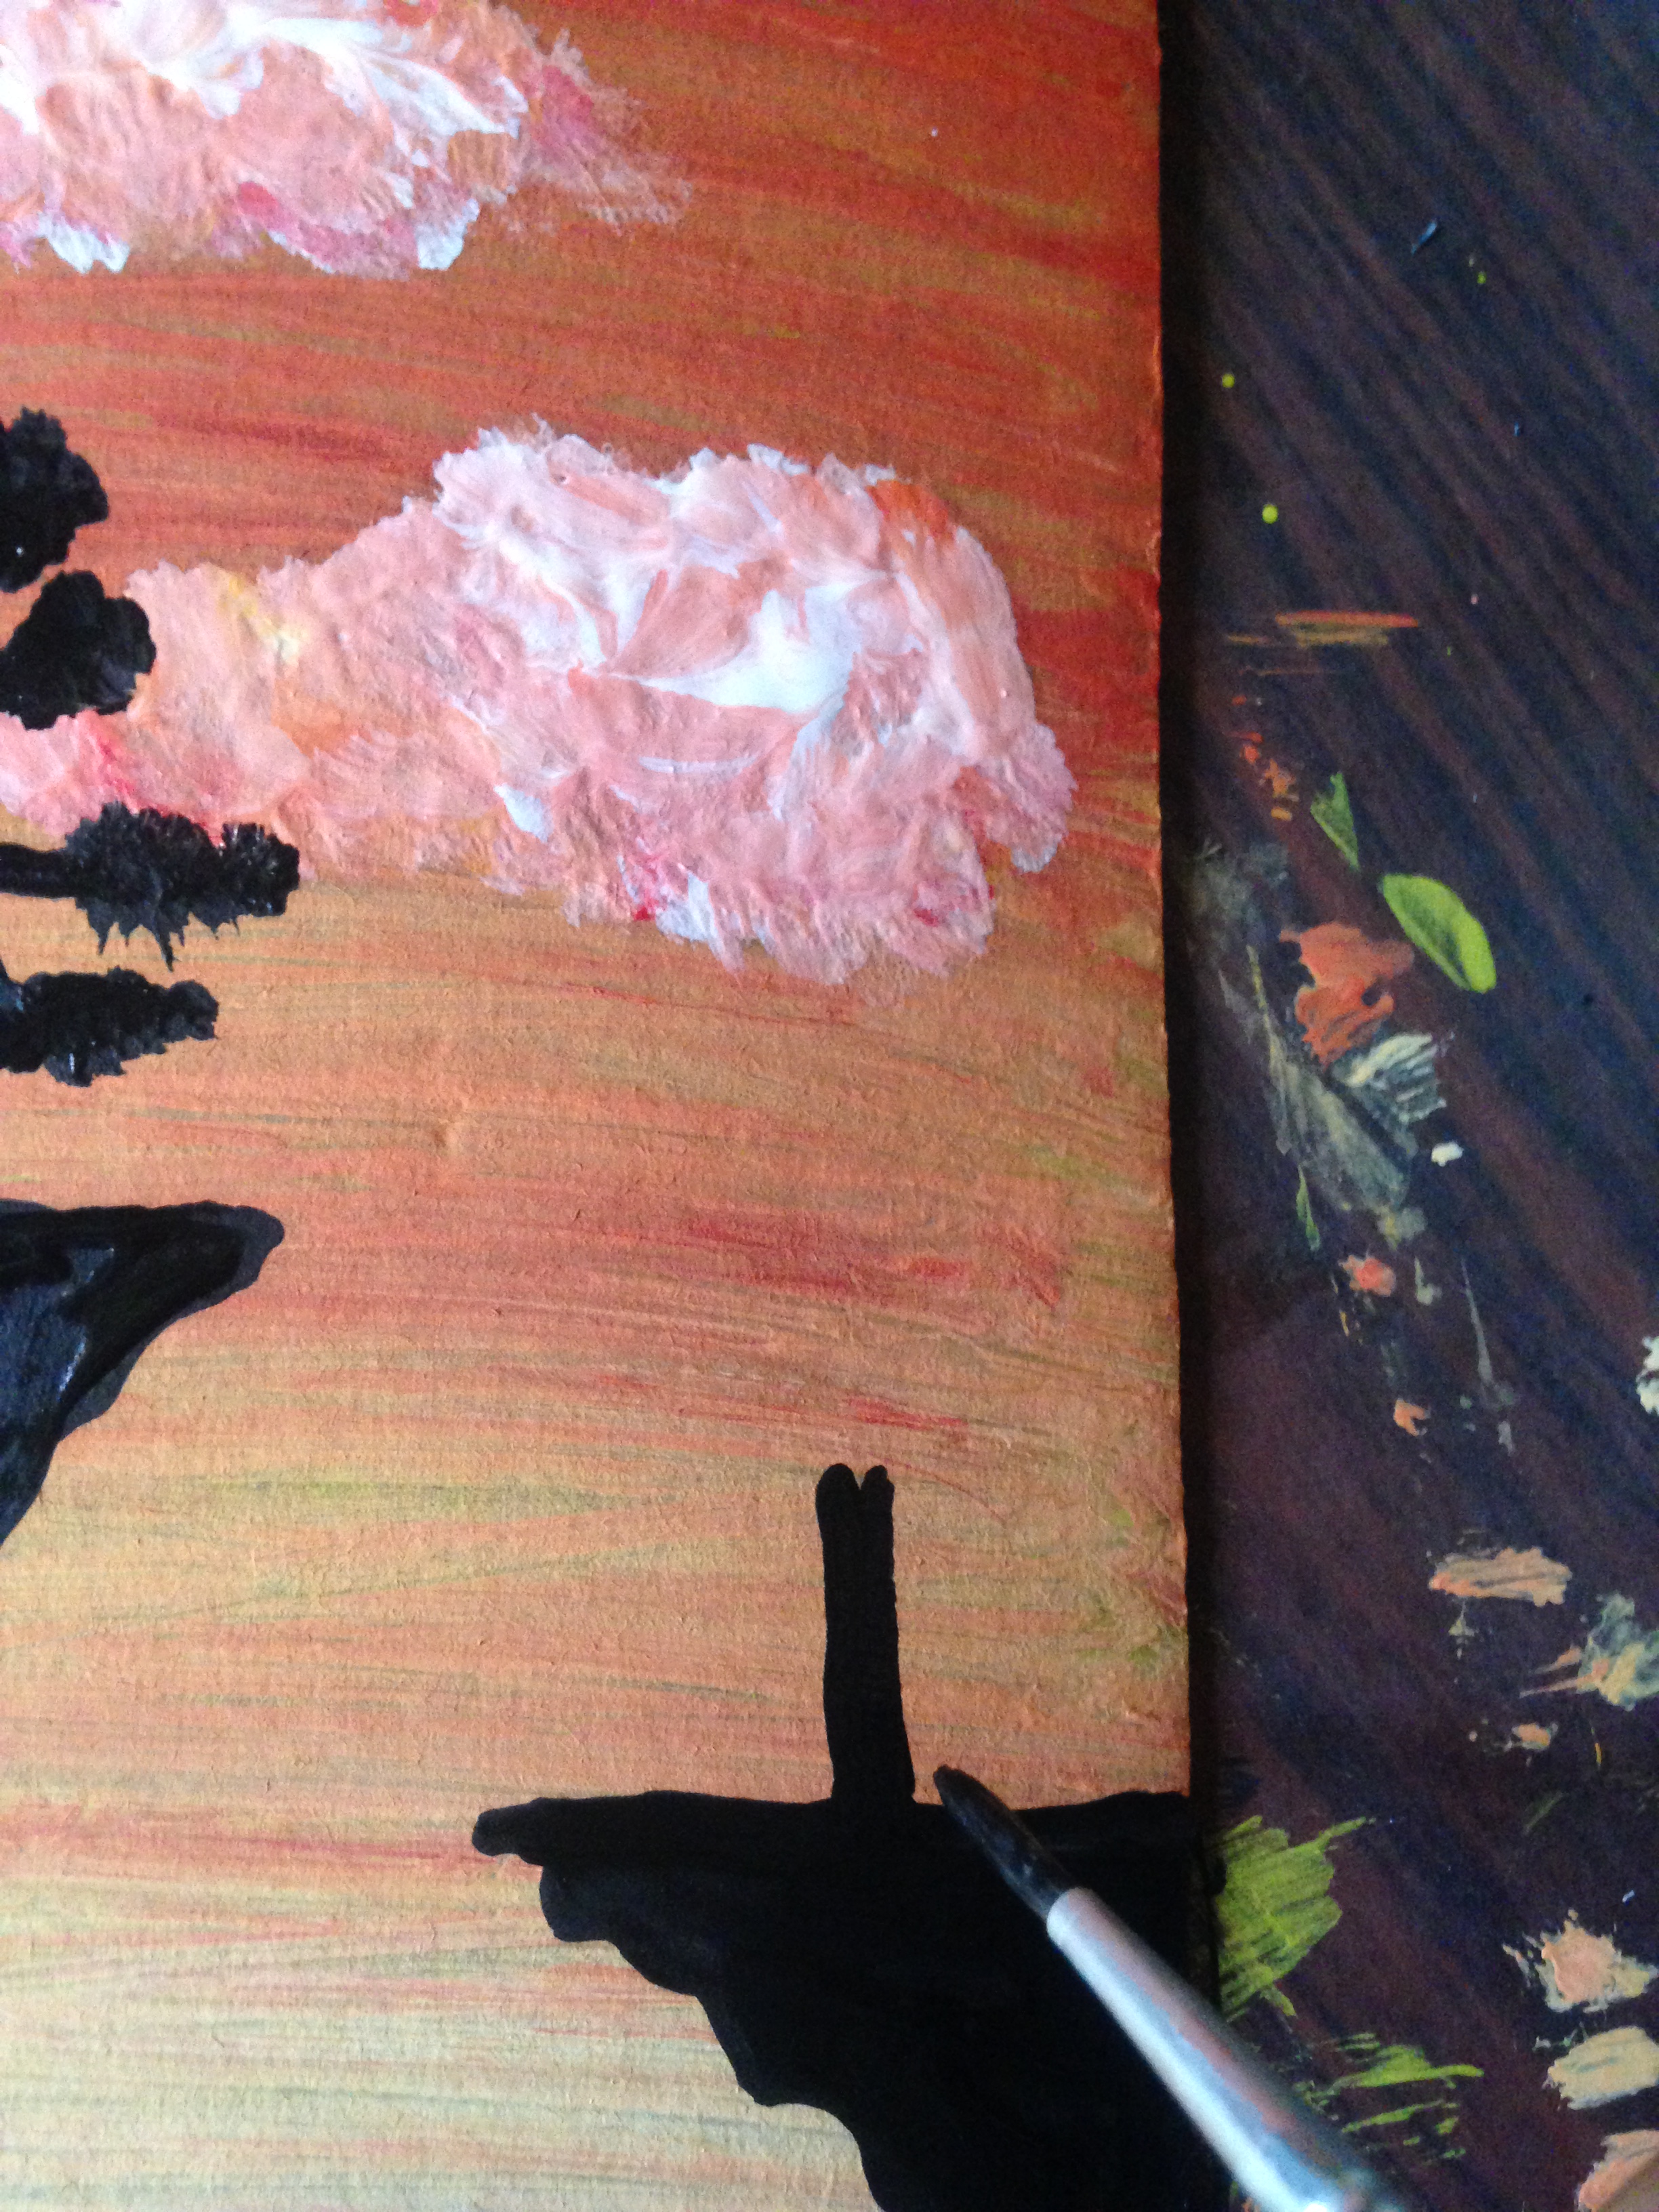
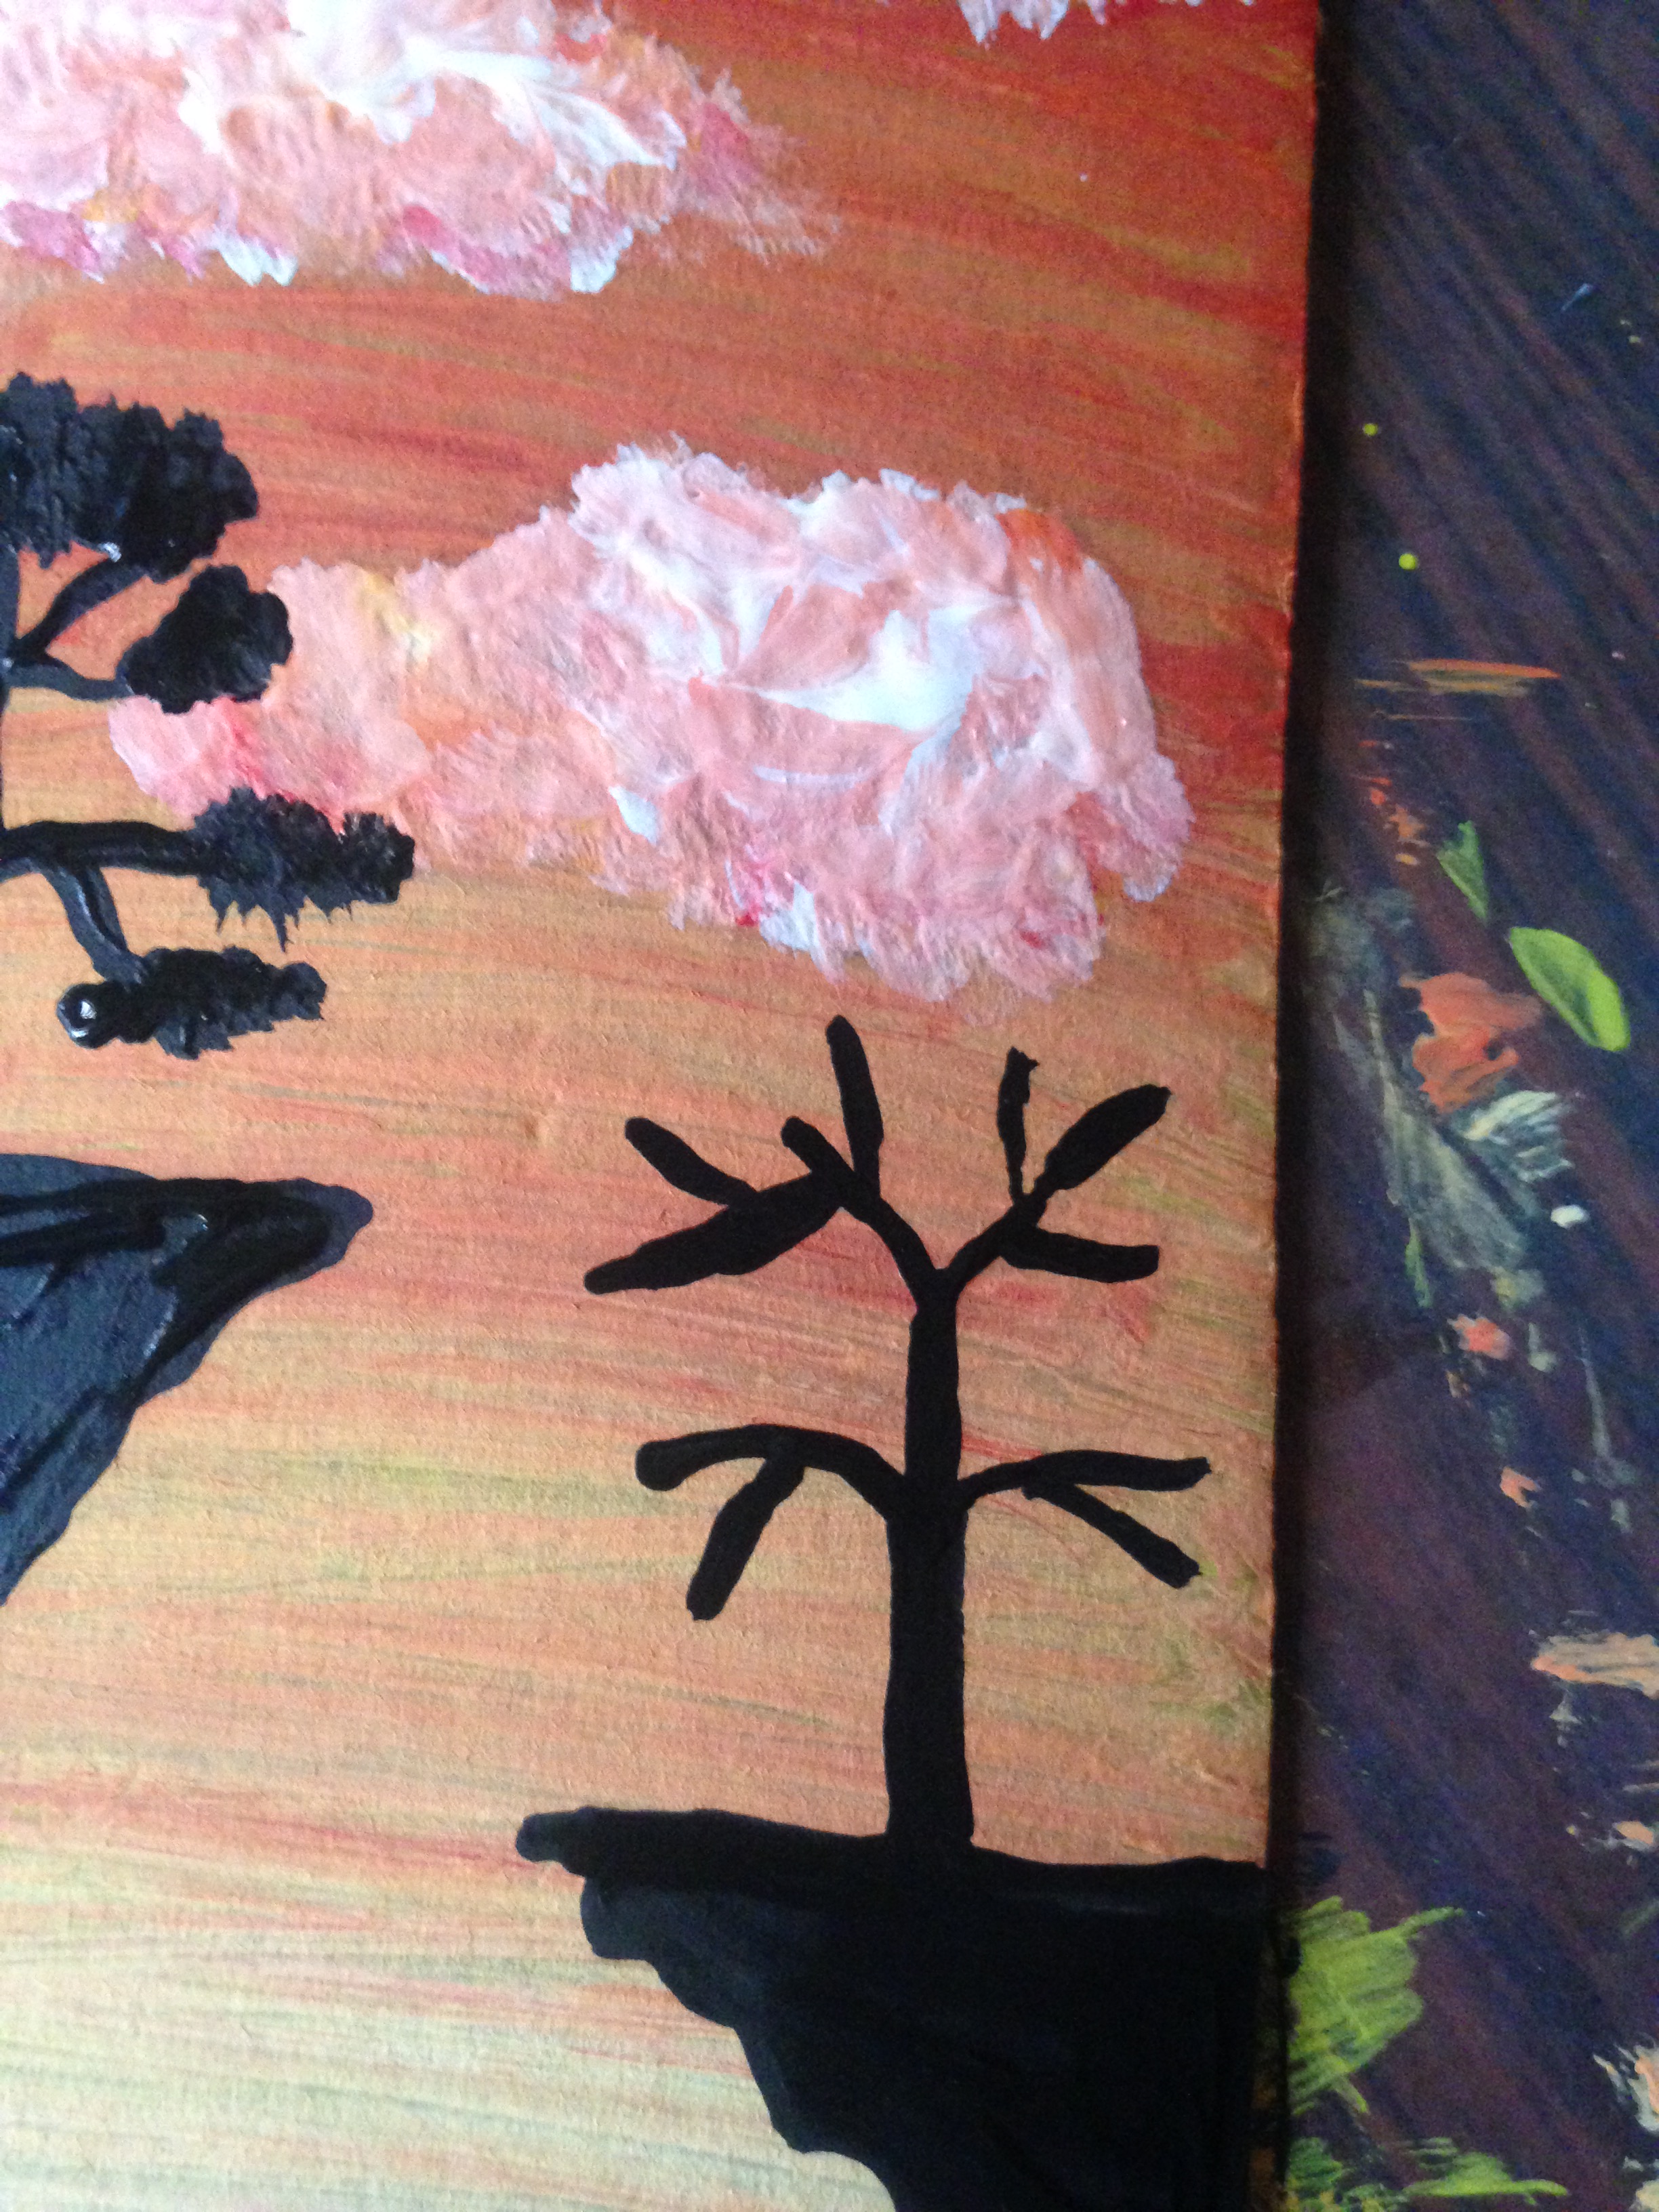
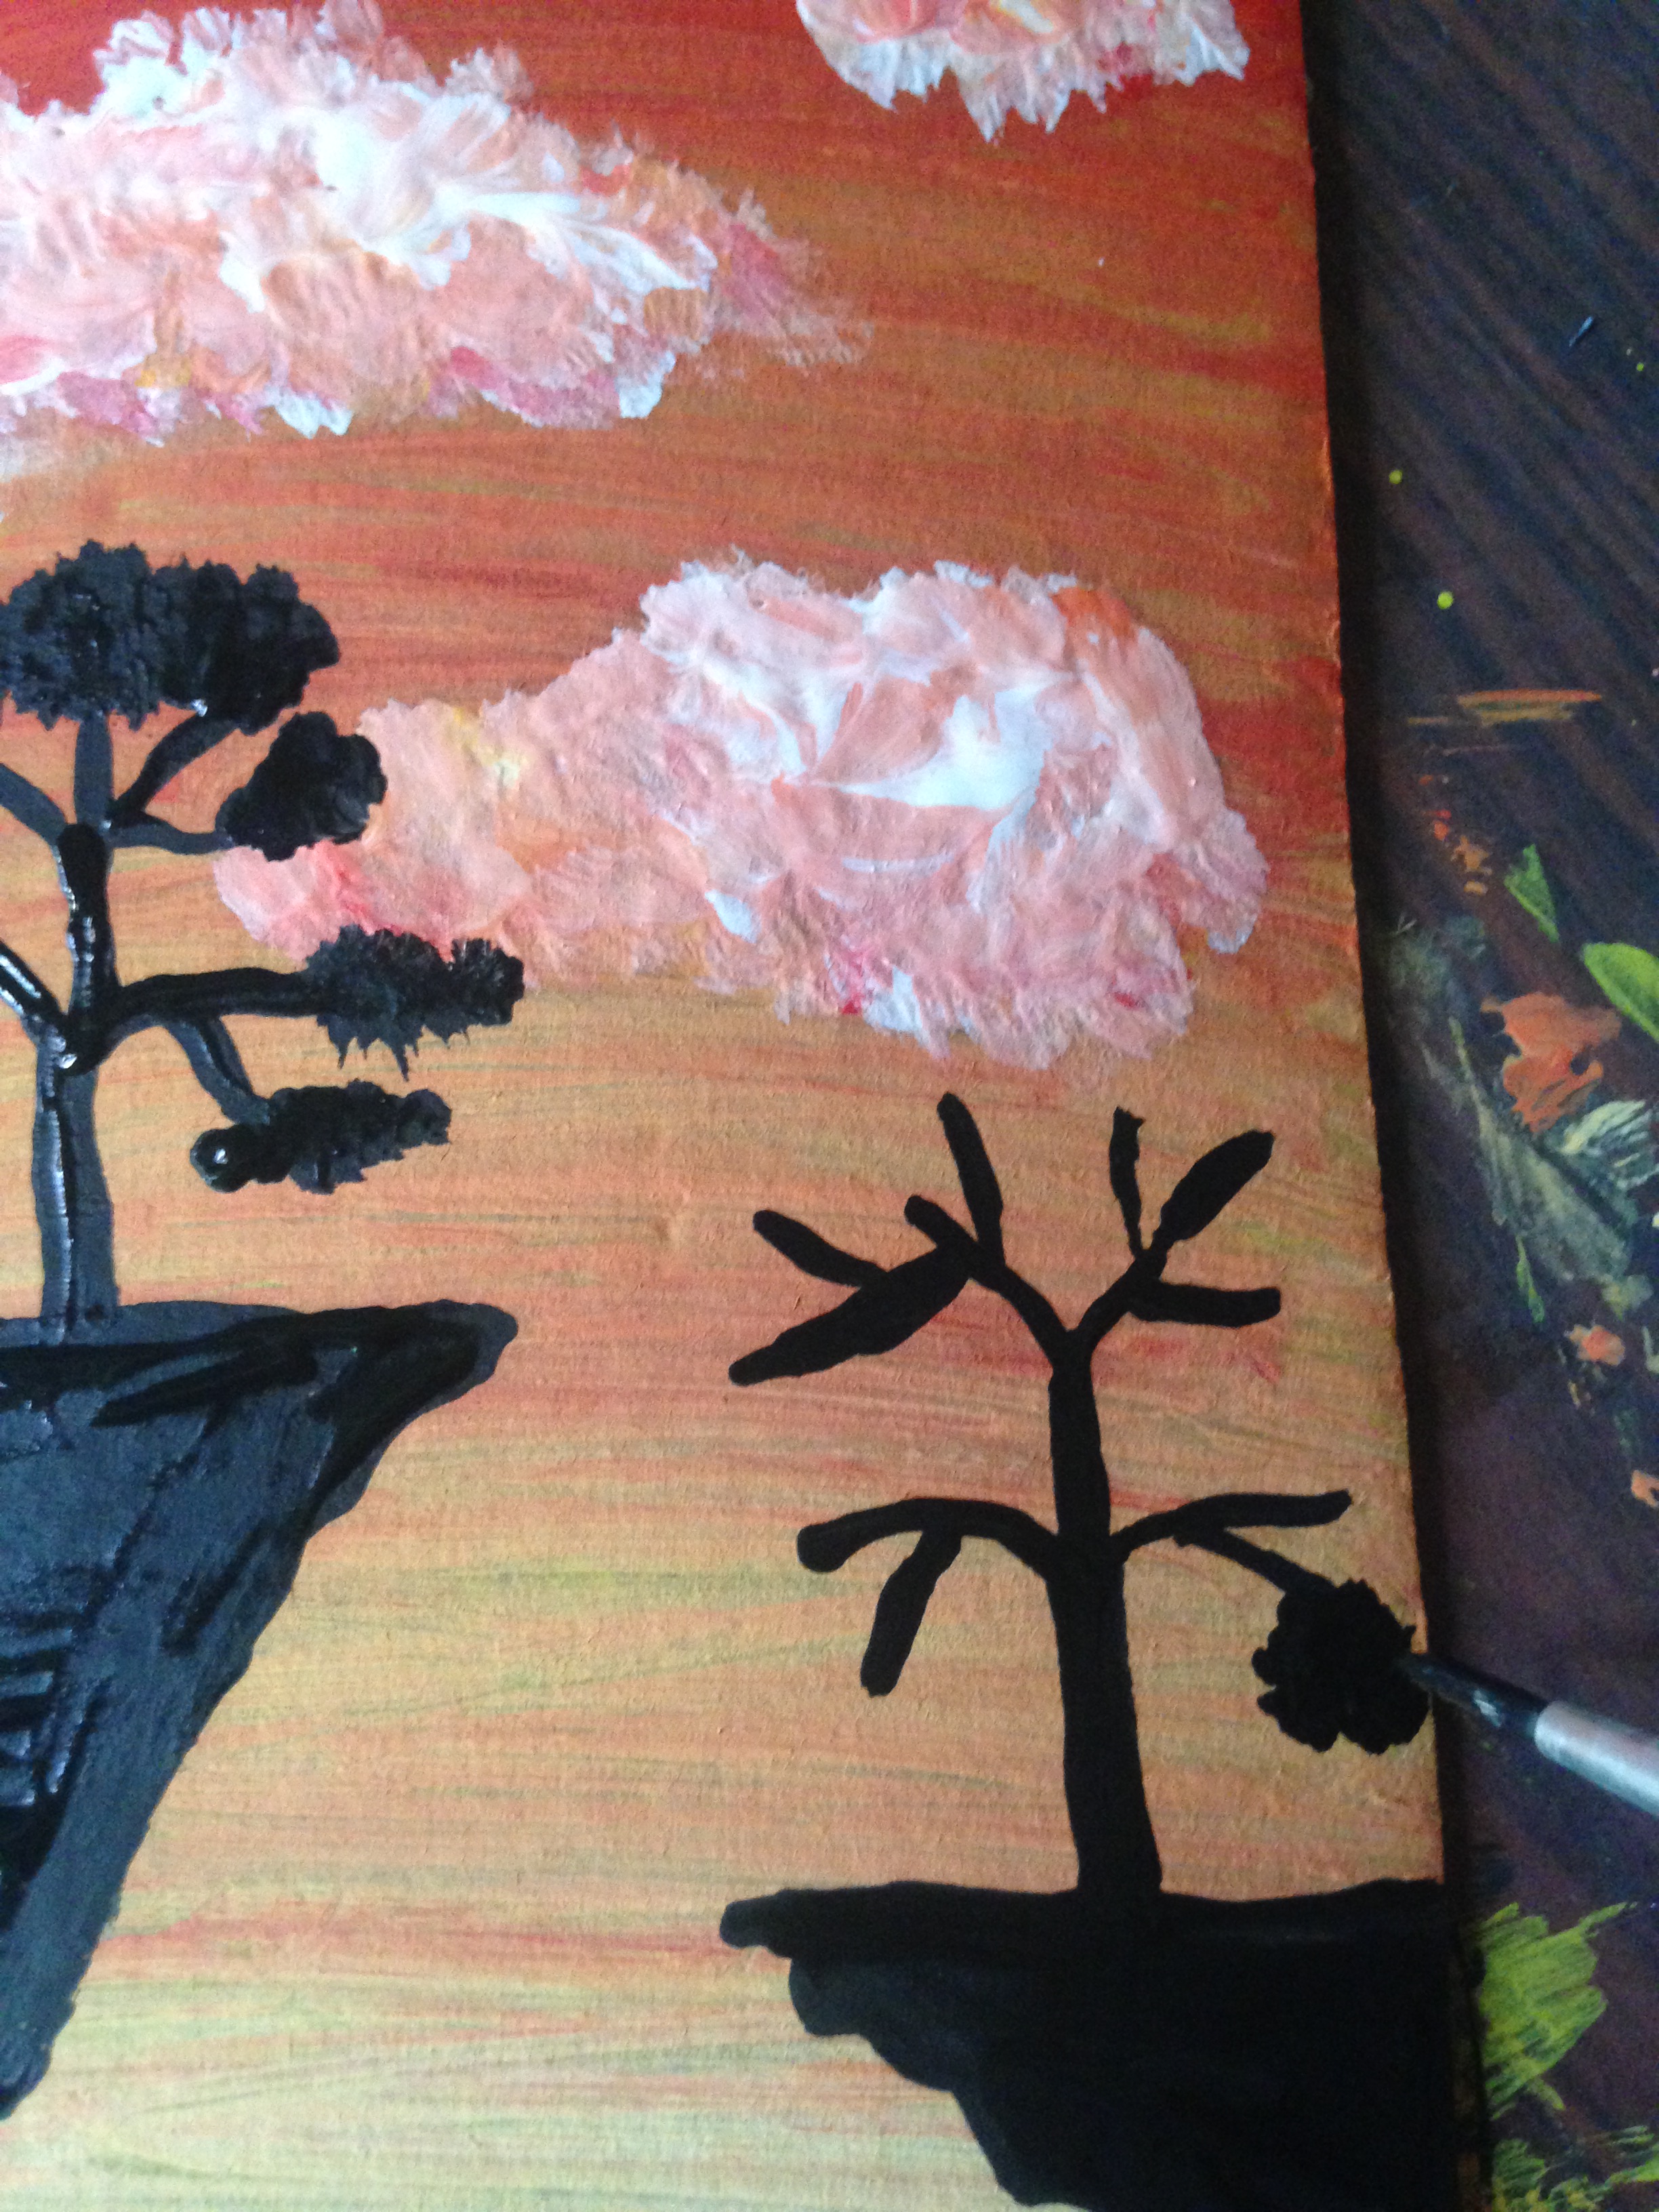
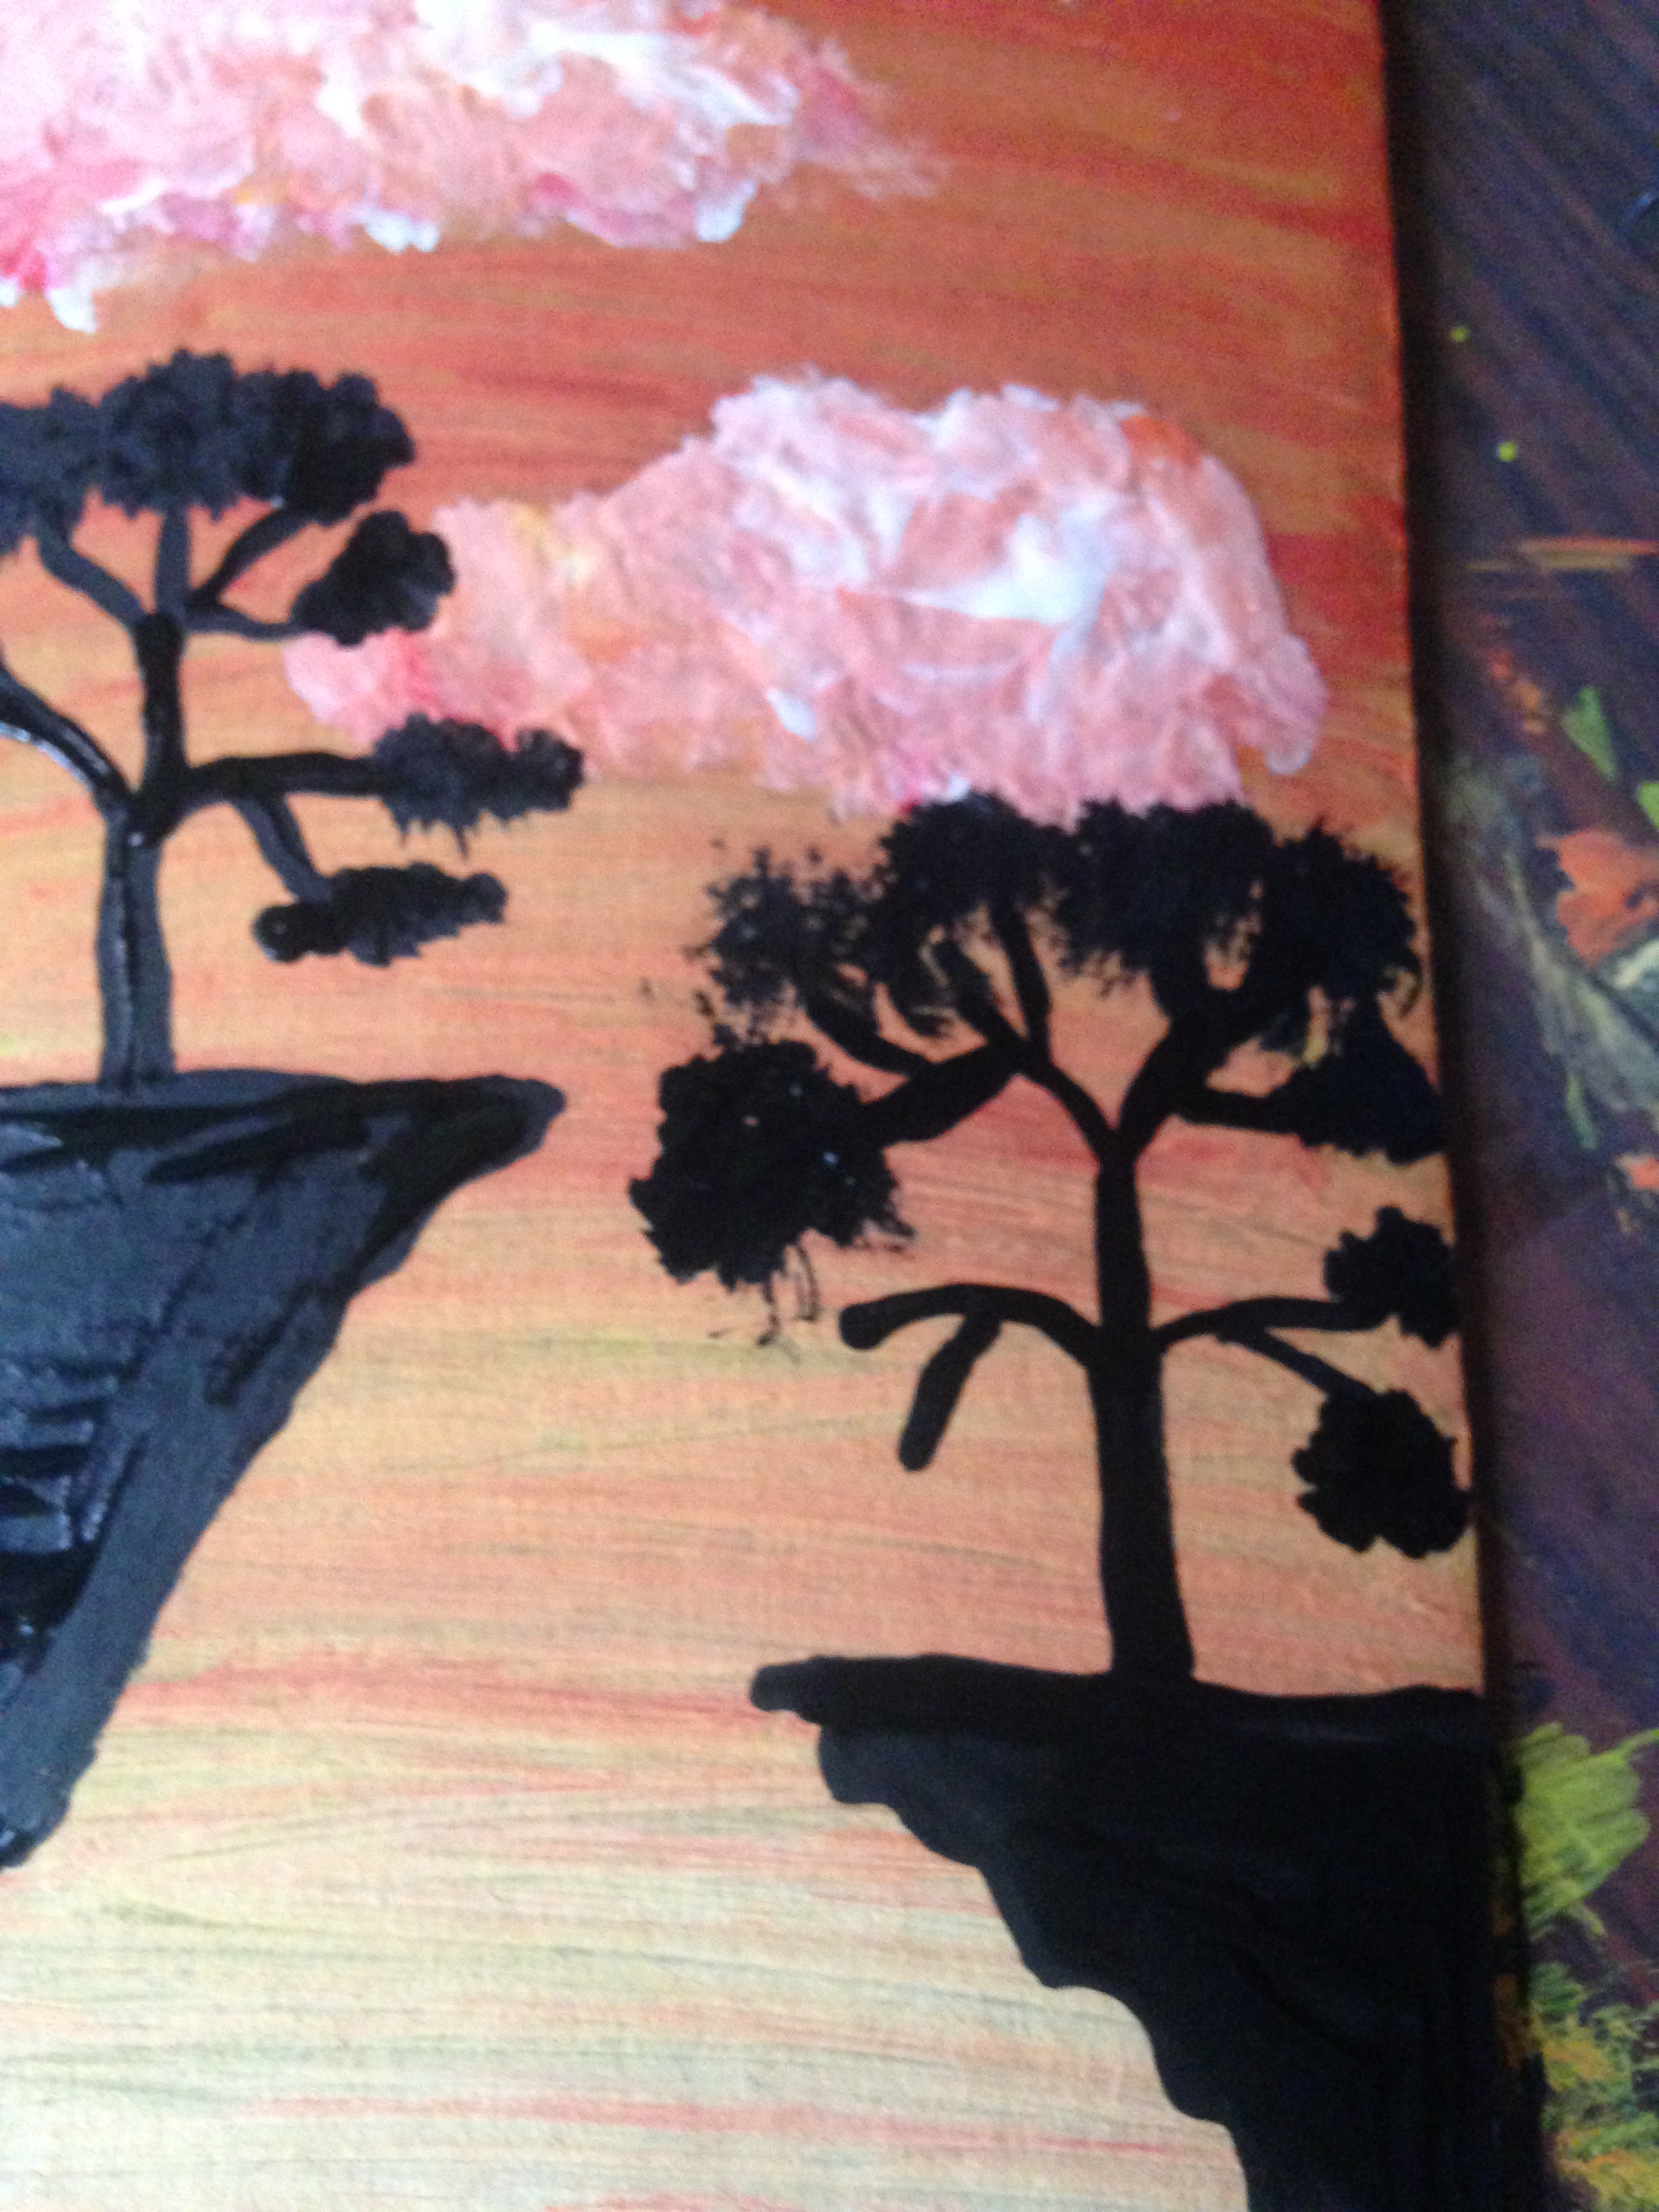
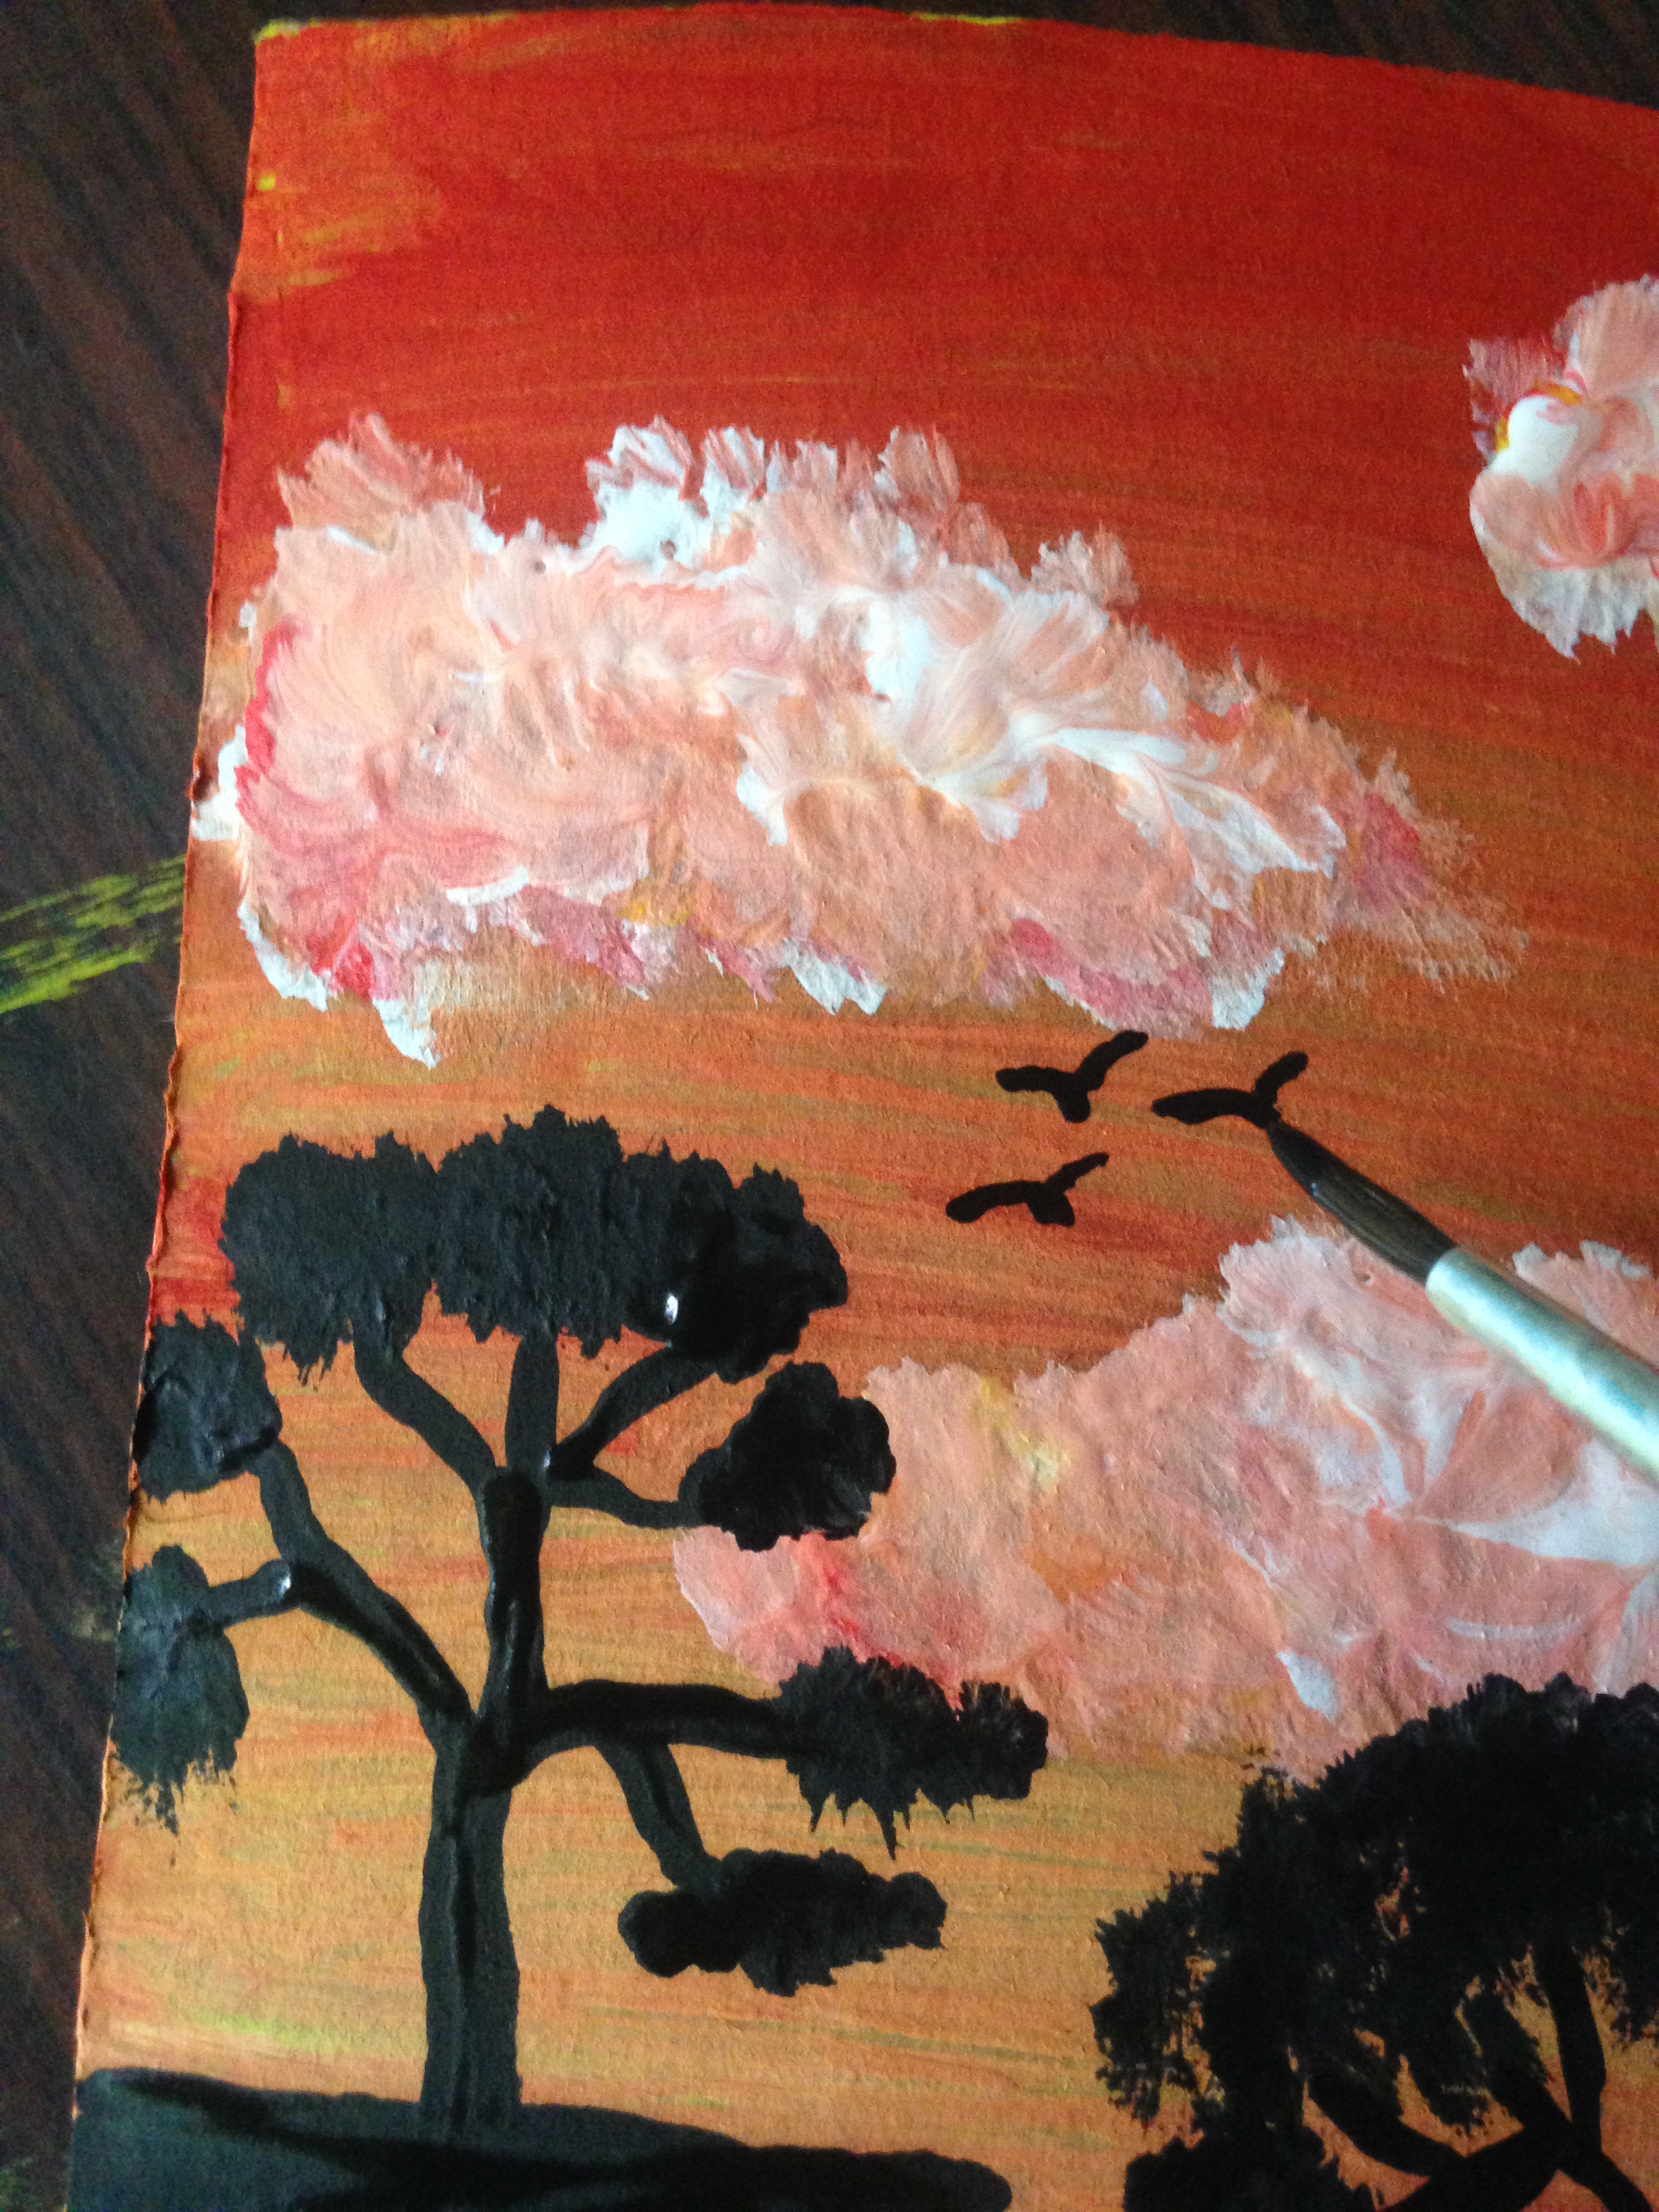
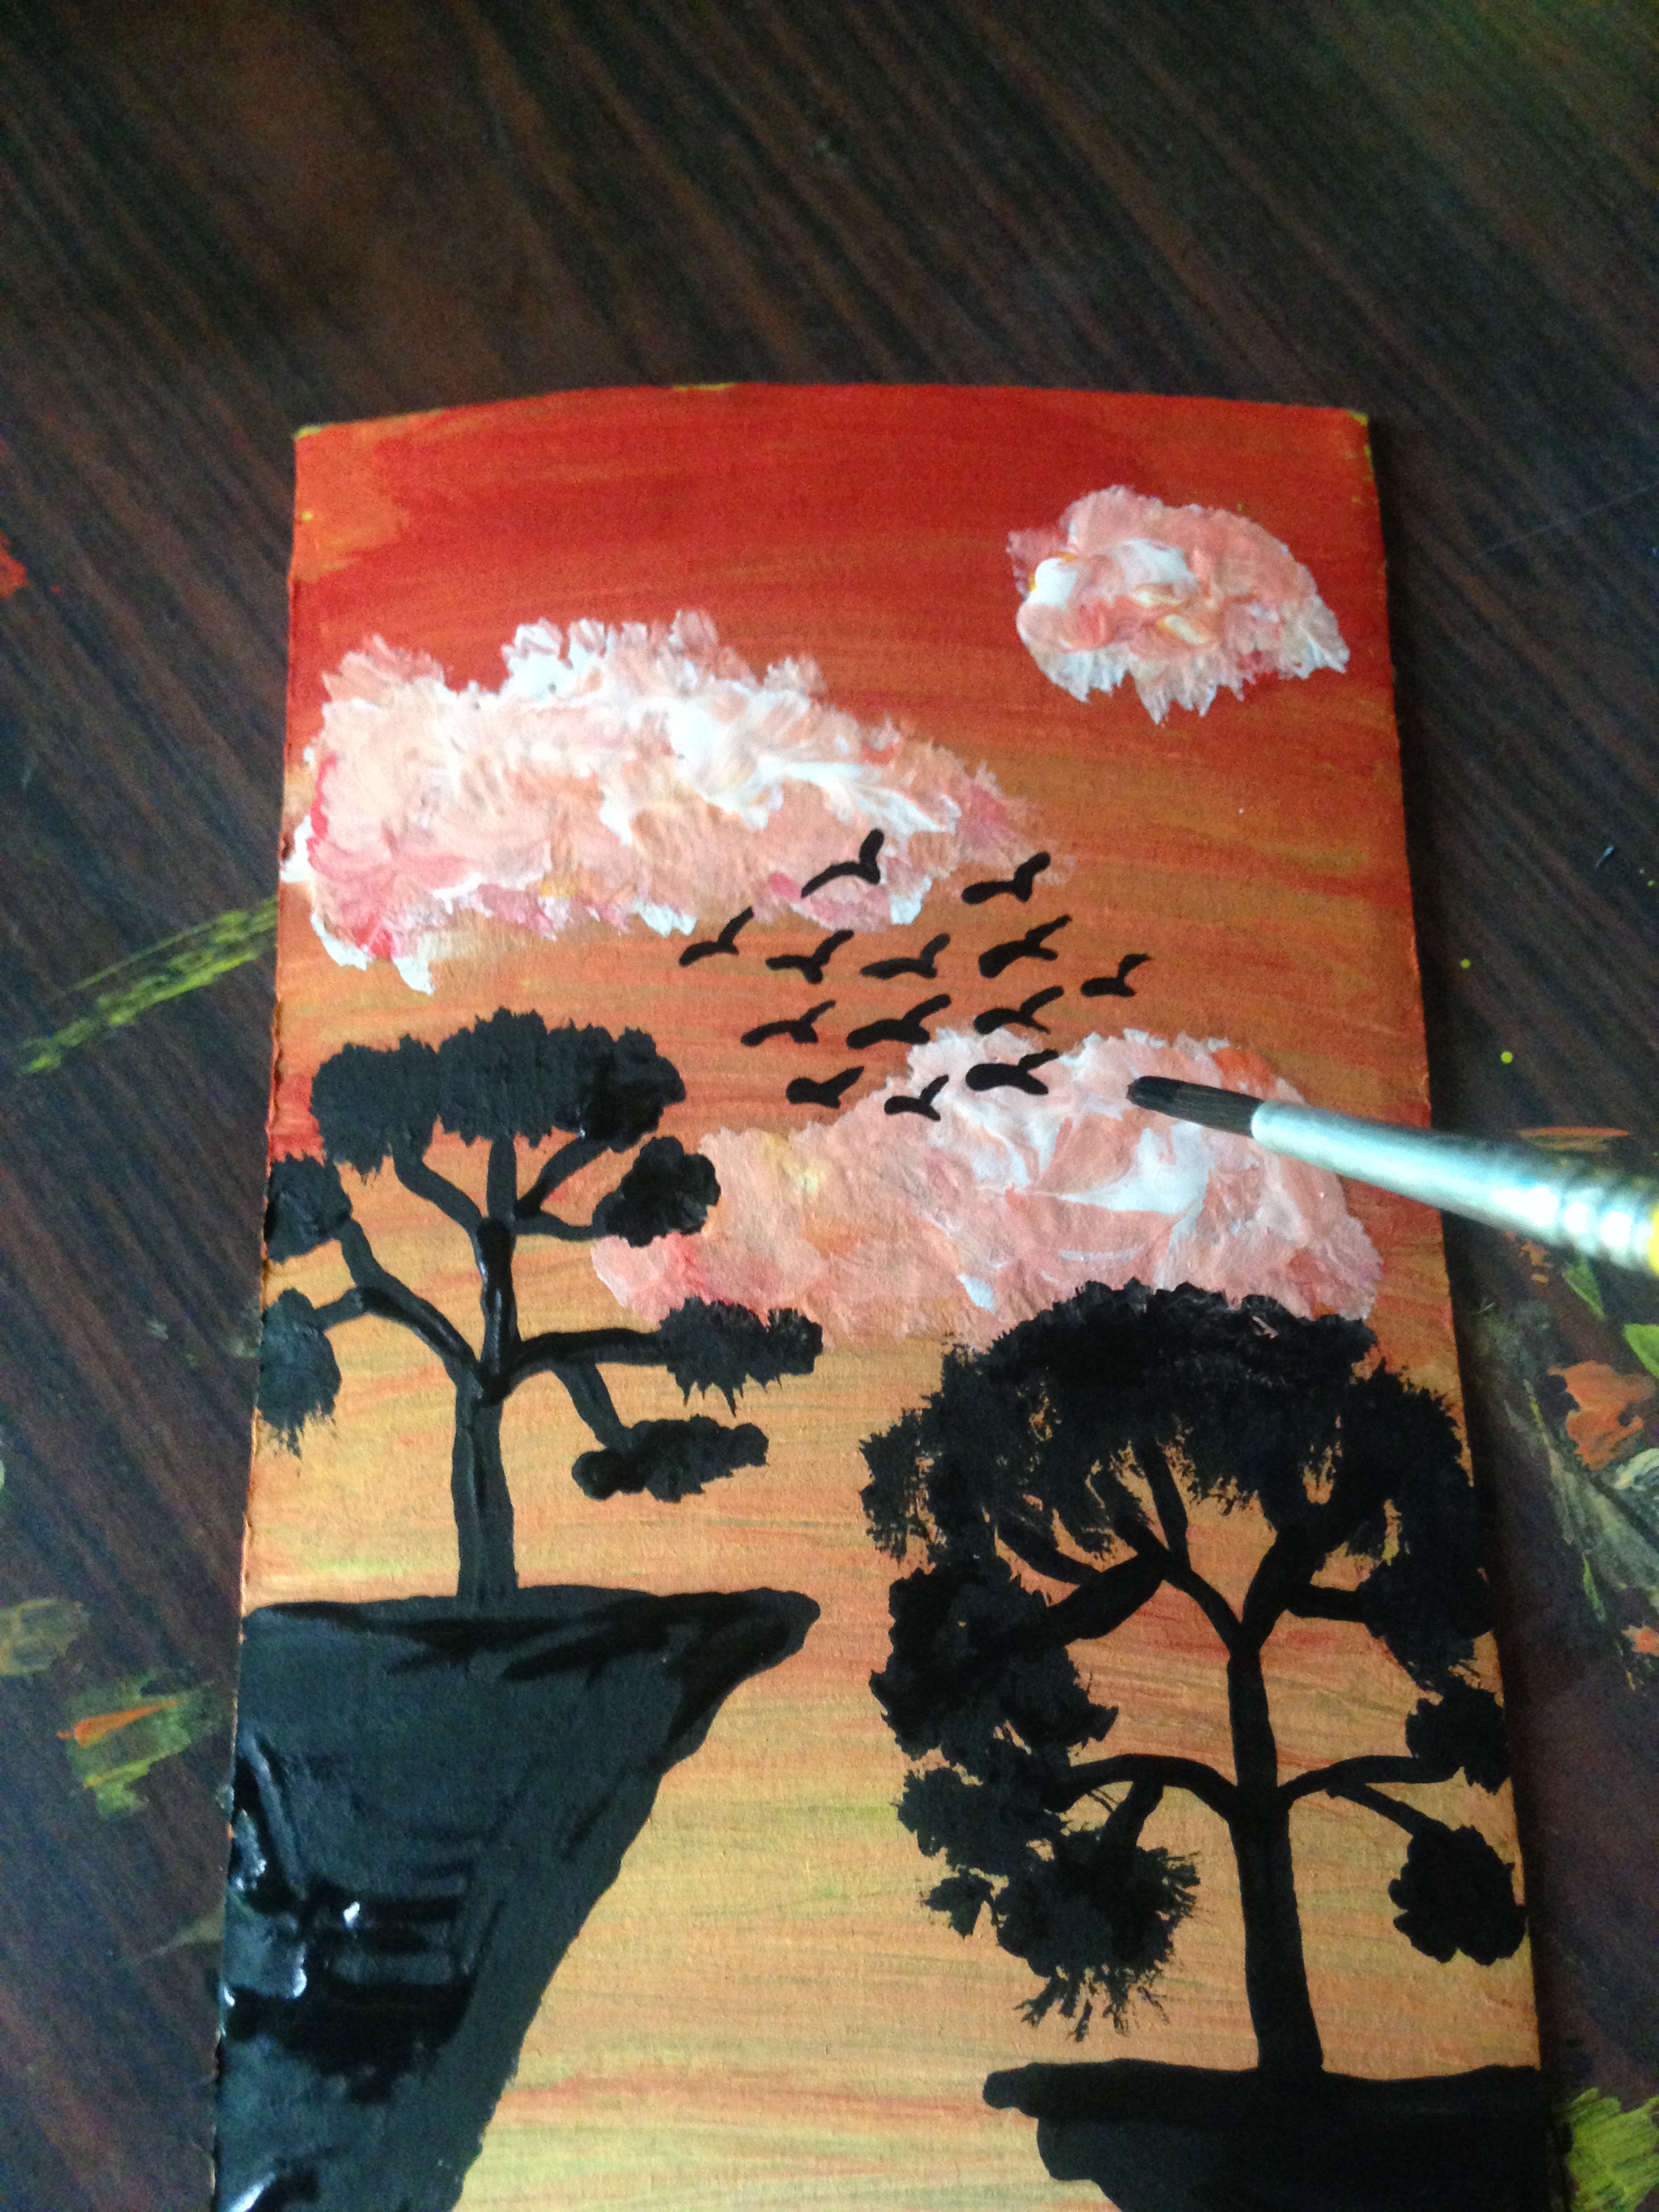
Paso 6
Ahora haremos una silueta de arboles en cada roca con la pintura negra y les haremos con el pincel sus hojas con toques pequeños y delicados, luego para ir finalizando nuestro cuadro le pintaremos unas aves volando en el cielo con la pintura negra
Step 6
Now we will make a silhouette of trees on each rock with the black paint and we will make their leaves with the brush with small and delicate touches, then to finish our painting we will paint some birds flying in the sky with the black paint

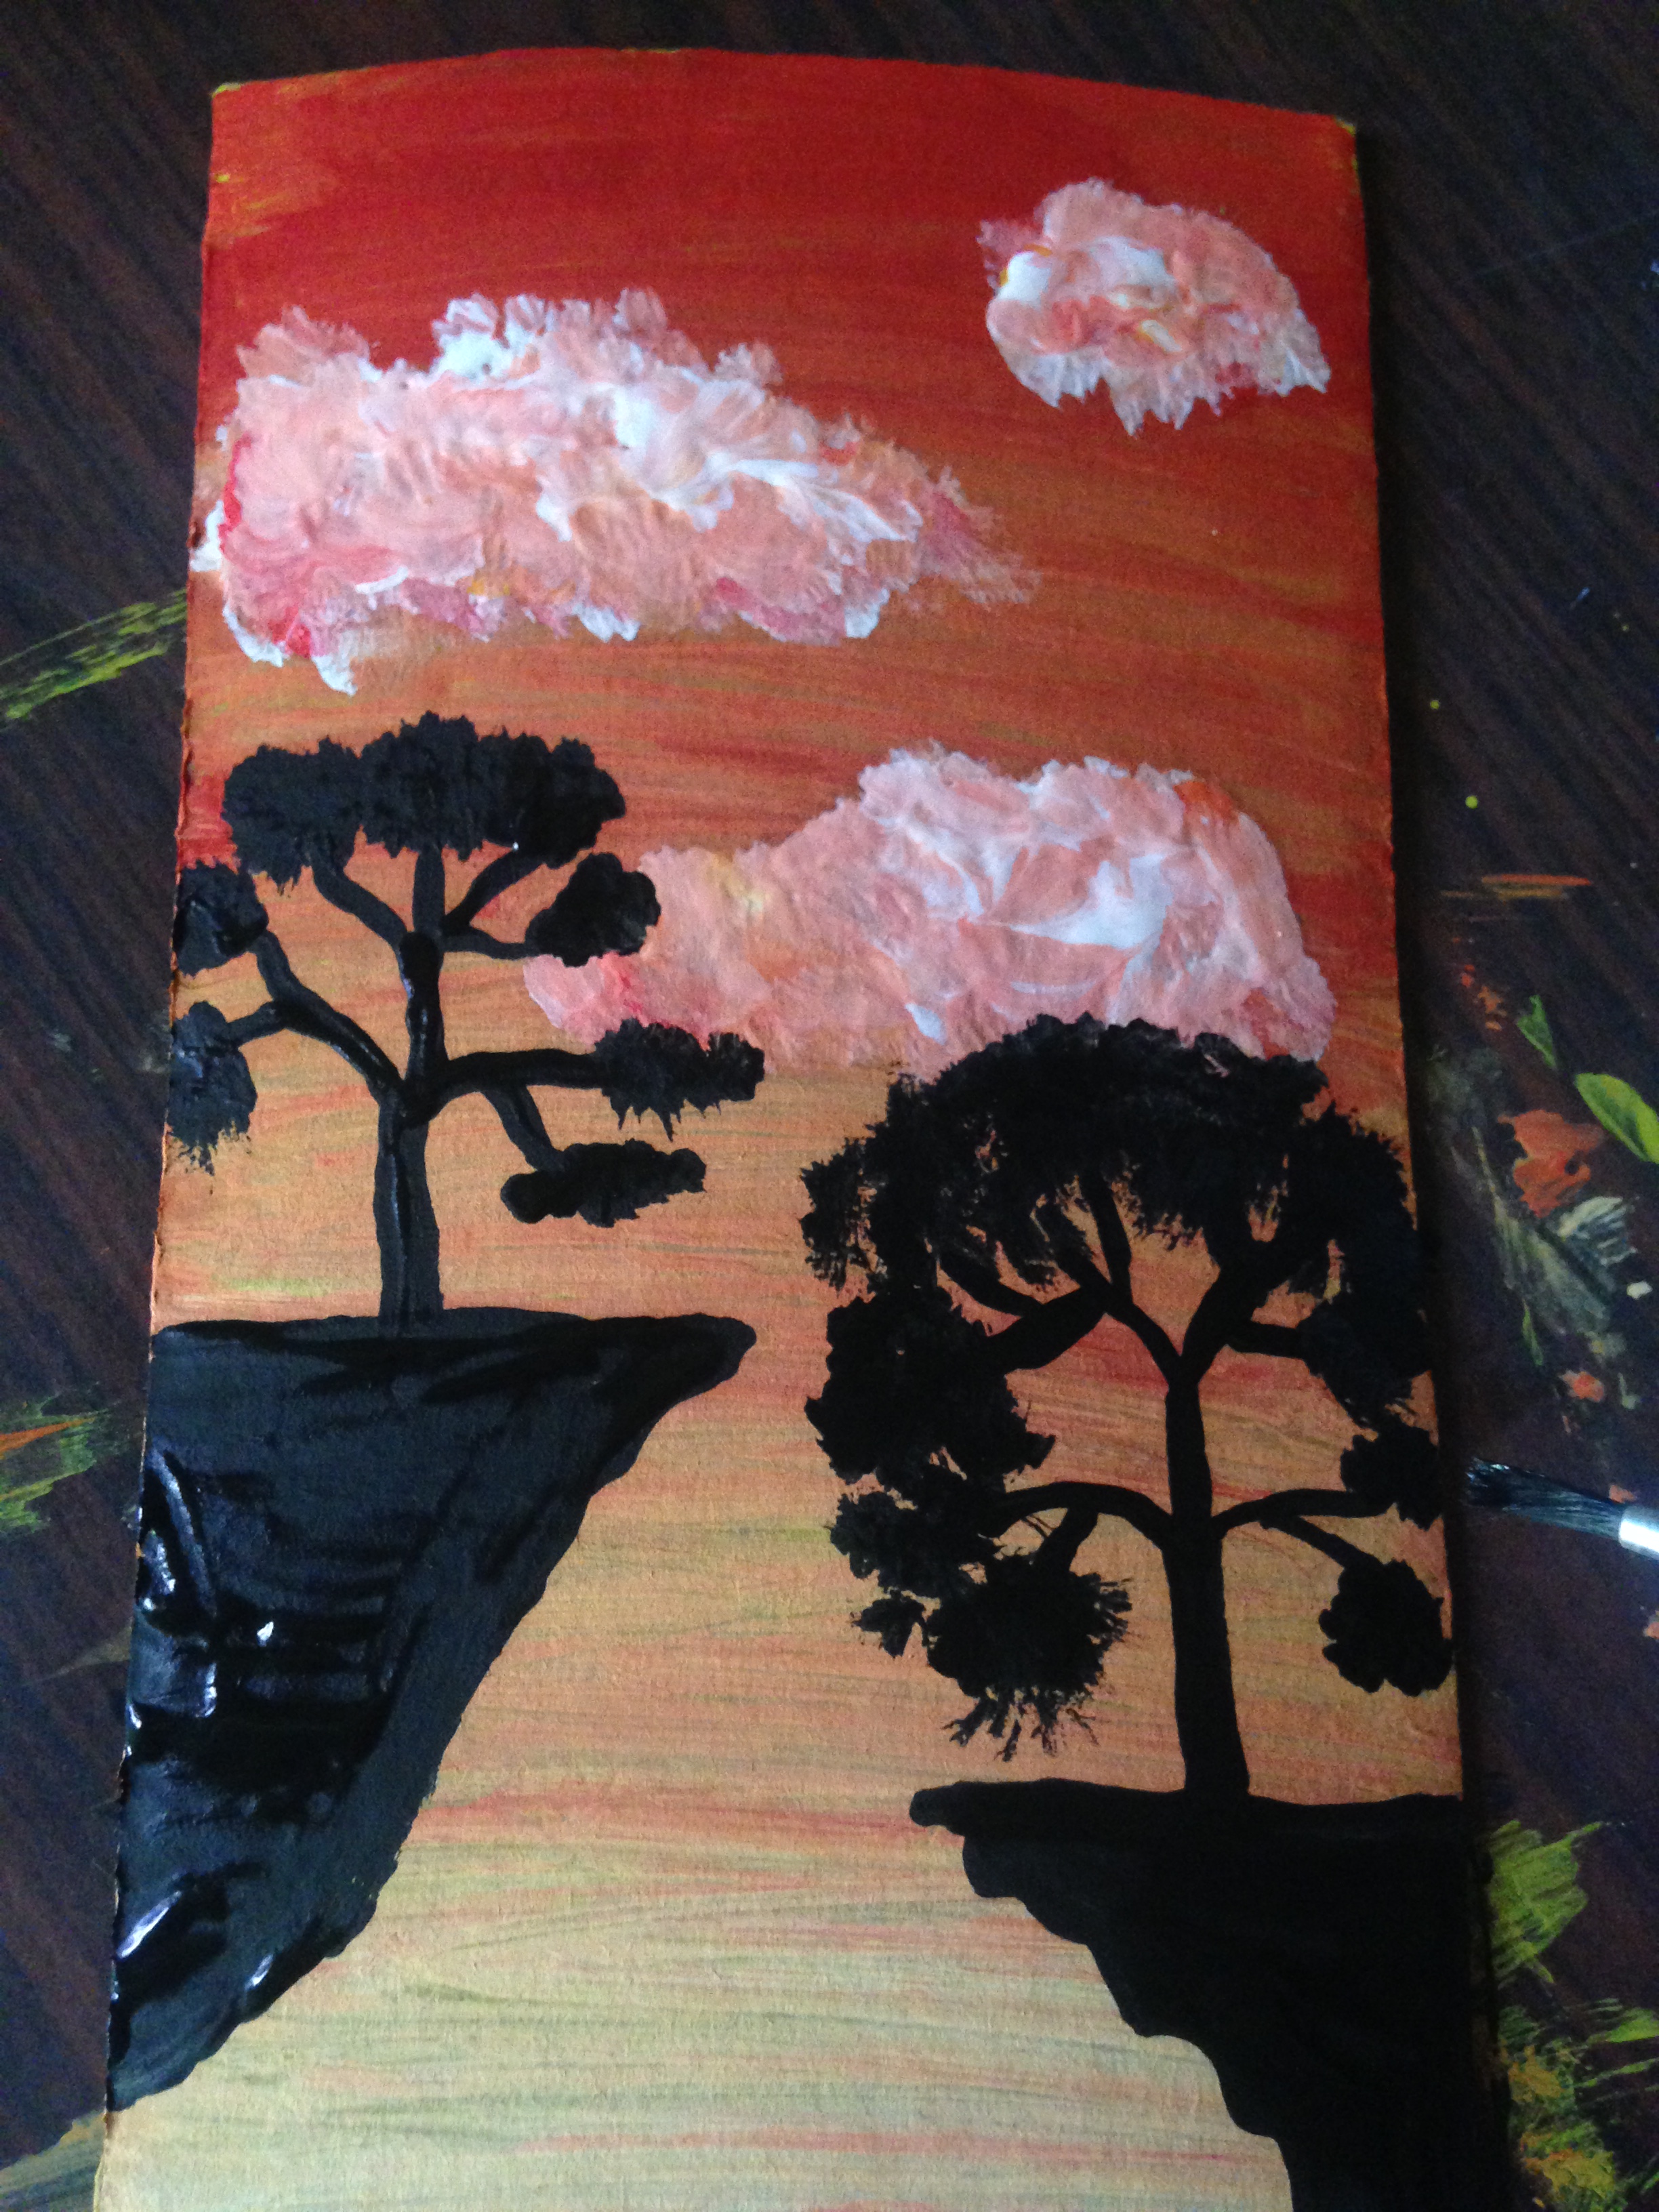
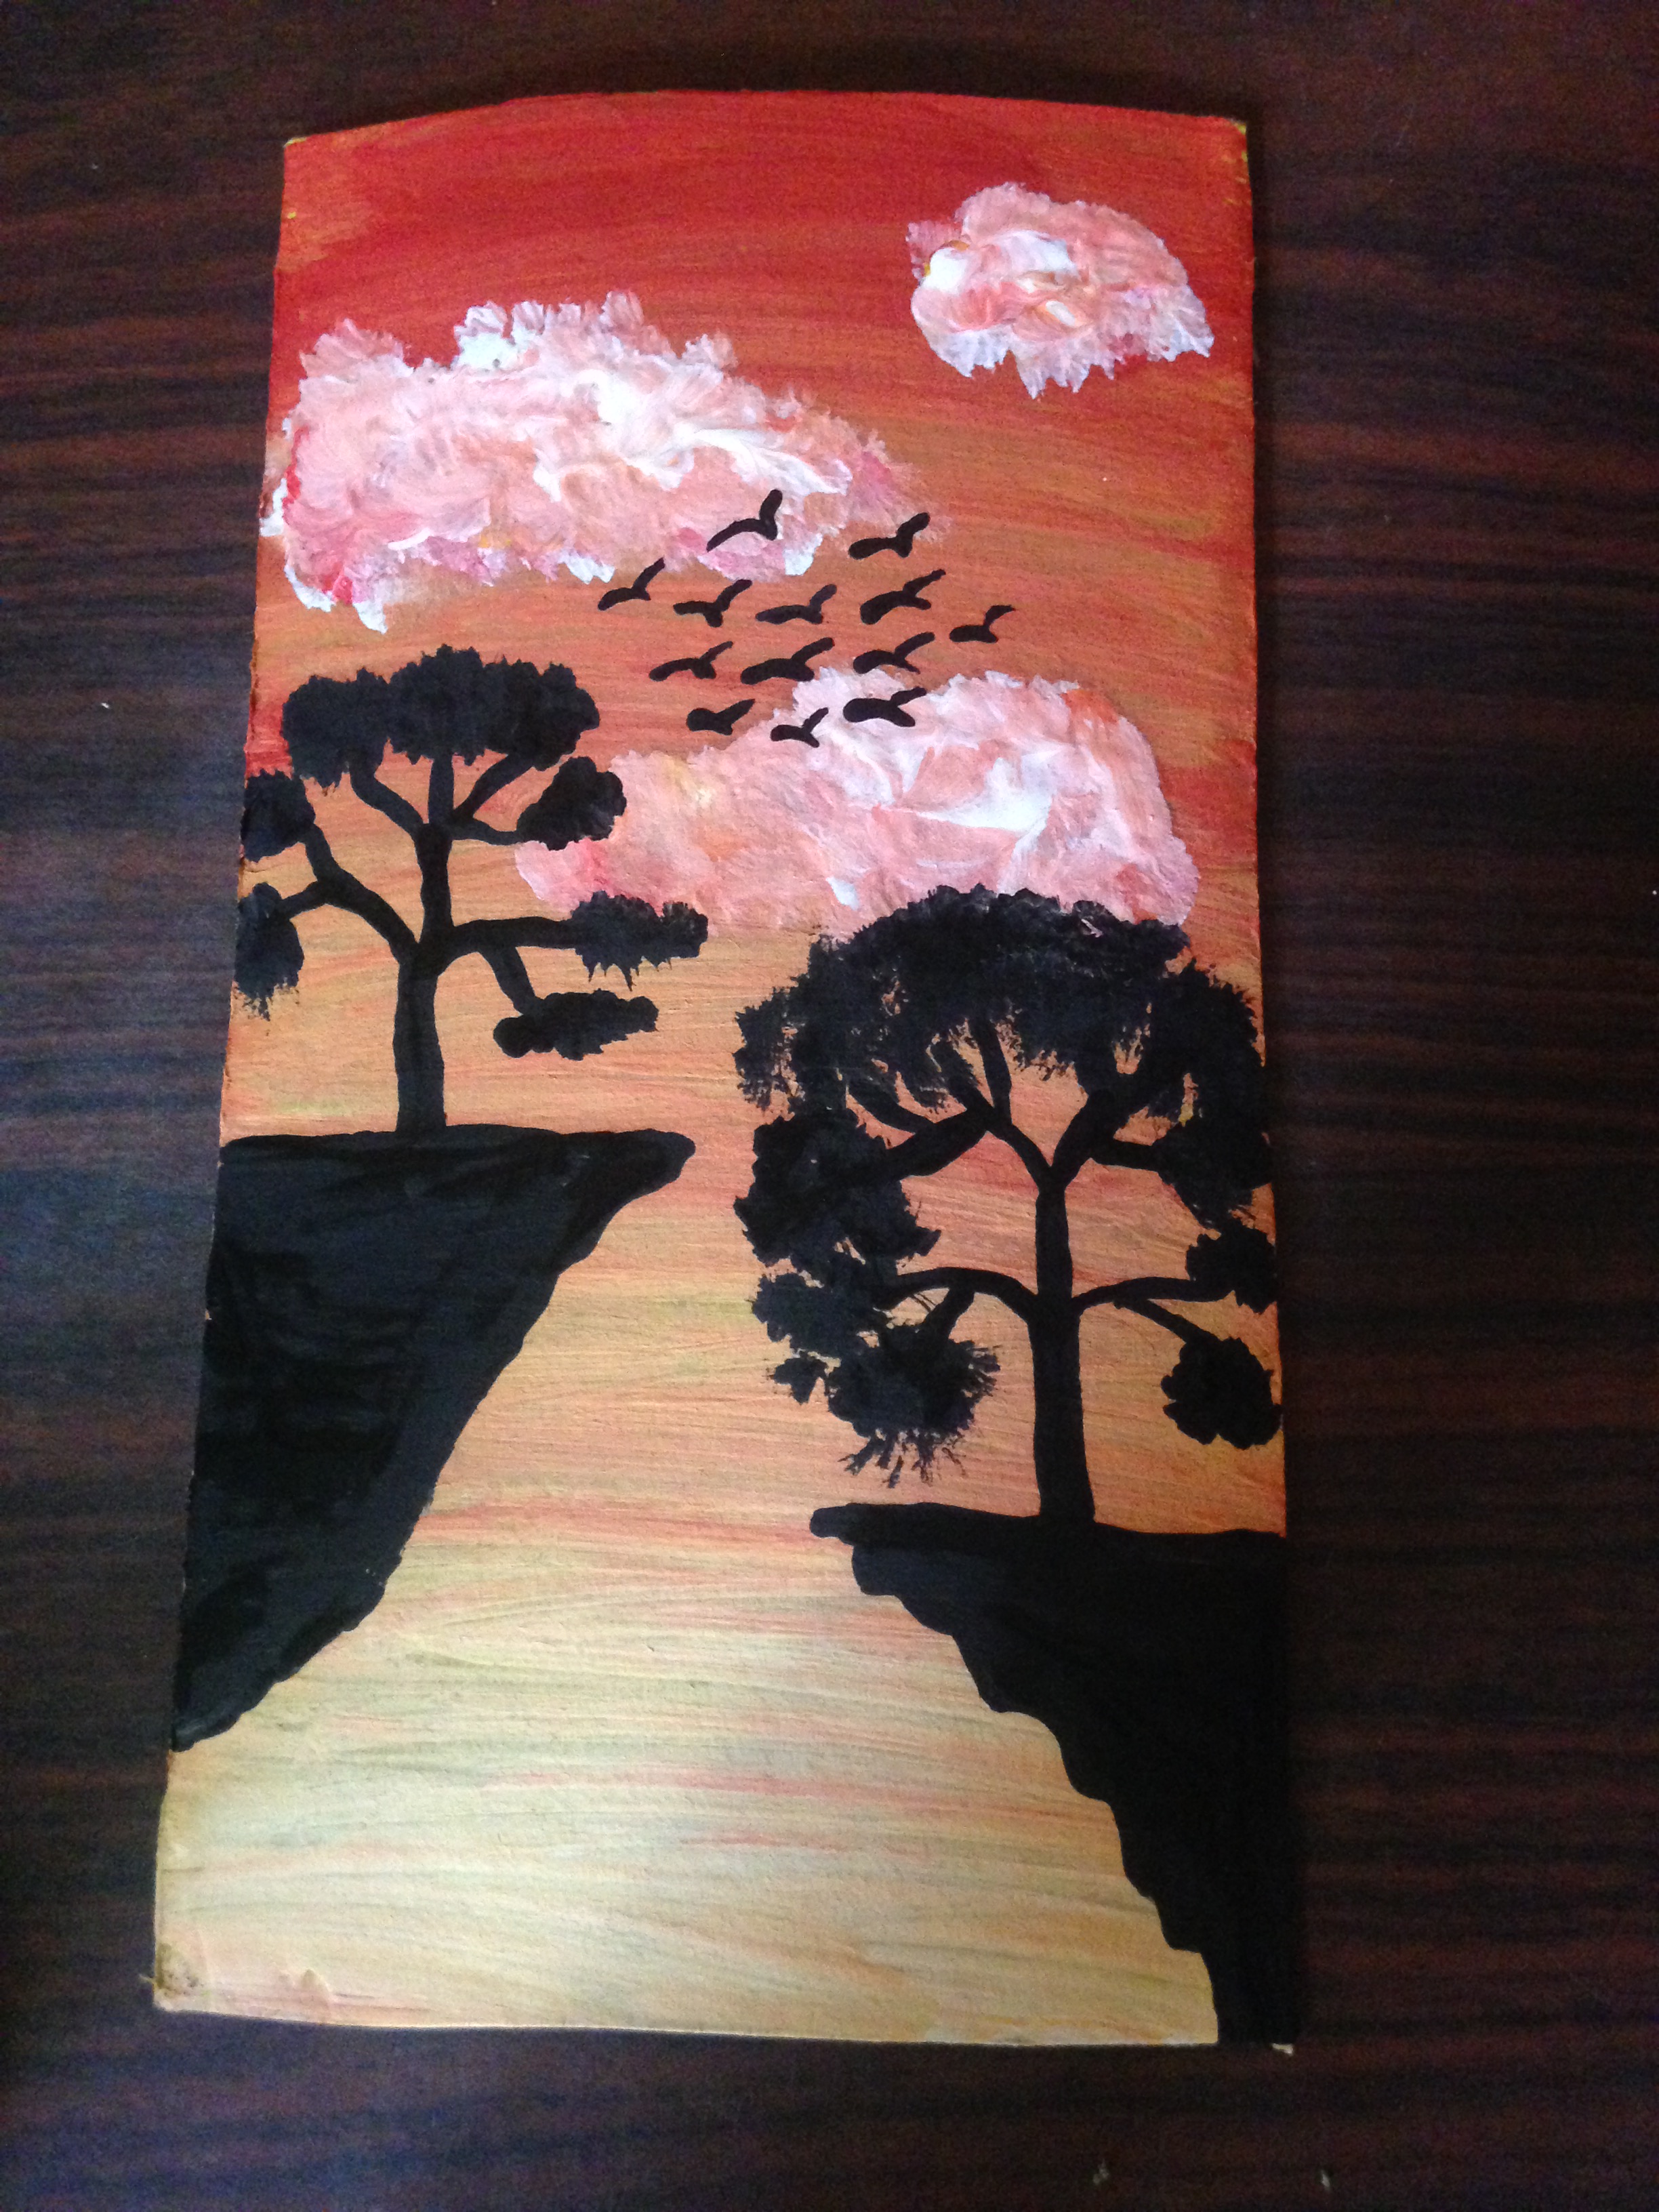
Listo, ya hemos terminado nuestro cuadro decorativo de este hermoso atardecer y las siluetas de la naturaleza, espero les sea de provecho y se animen a hacerlo
Ready, we have already finished our decorative painting of this beautiful sunset and the silhouettes of nature, I hope it will be of benefit to you and you are encouraged to do it
.png)
Bye Bye