
Hello, God bless you greatly, happy new year 2022 for this beautiful community, you are very well, I was a bit busy and that is why I had not been able to upload content but thank God I came back, and today I bring you these beautiful ladybugs made with plastic bottles , they are very decorative, so let's start their elaboration
Hola, Dios los bendiga grandemente, feliz año nuevo 2022 para esta hermosa comunidad, se encuentren muy bien, estaba un poco ocupada y por eso no había podido
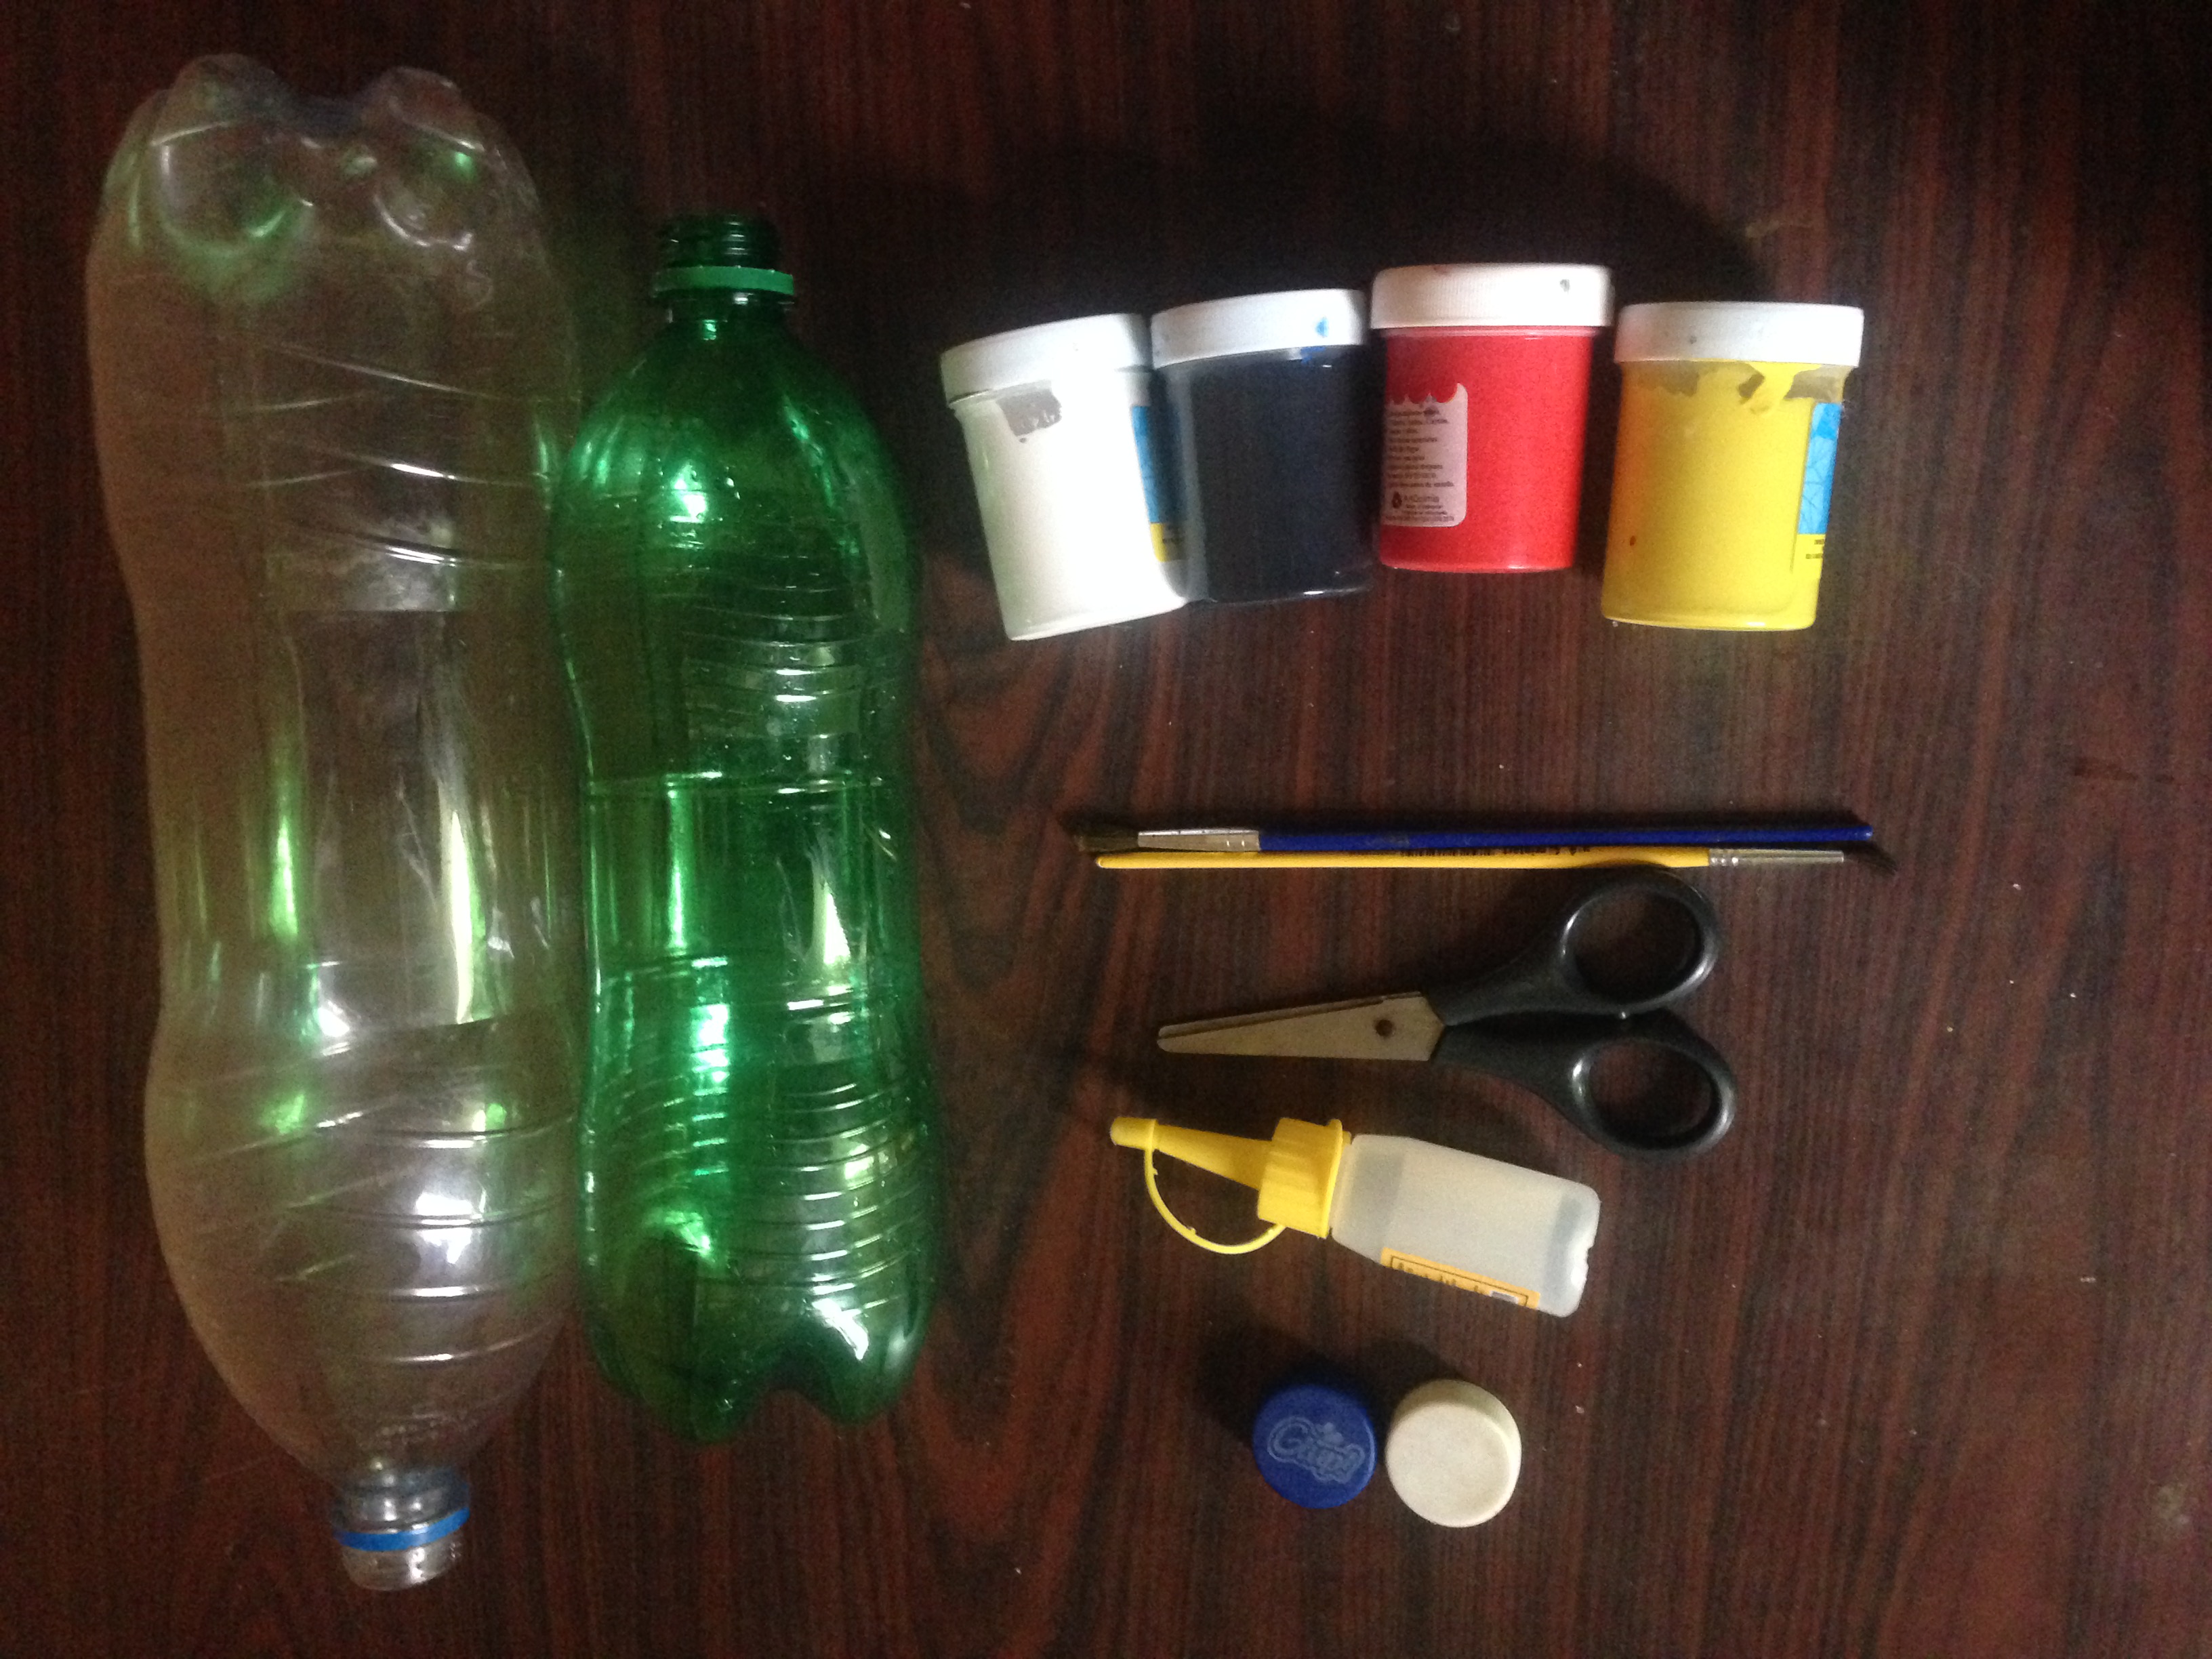
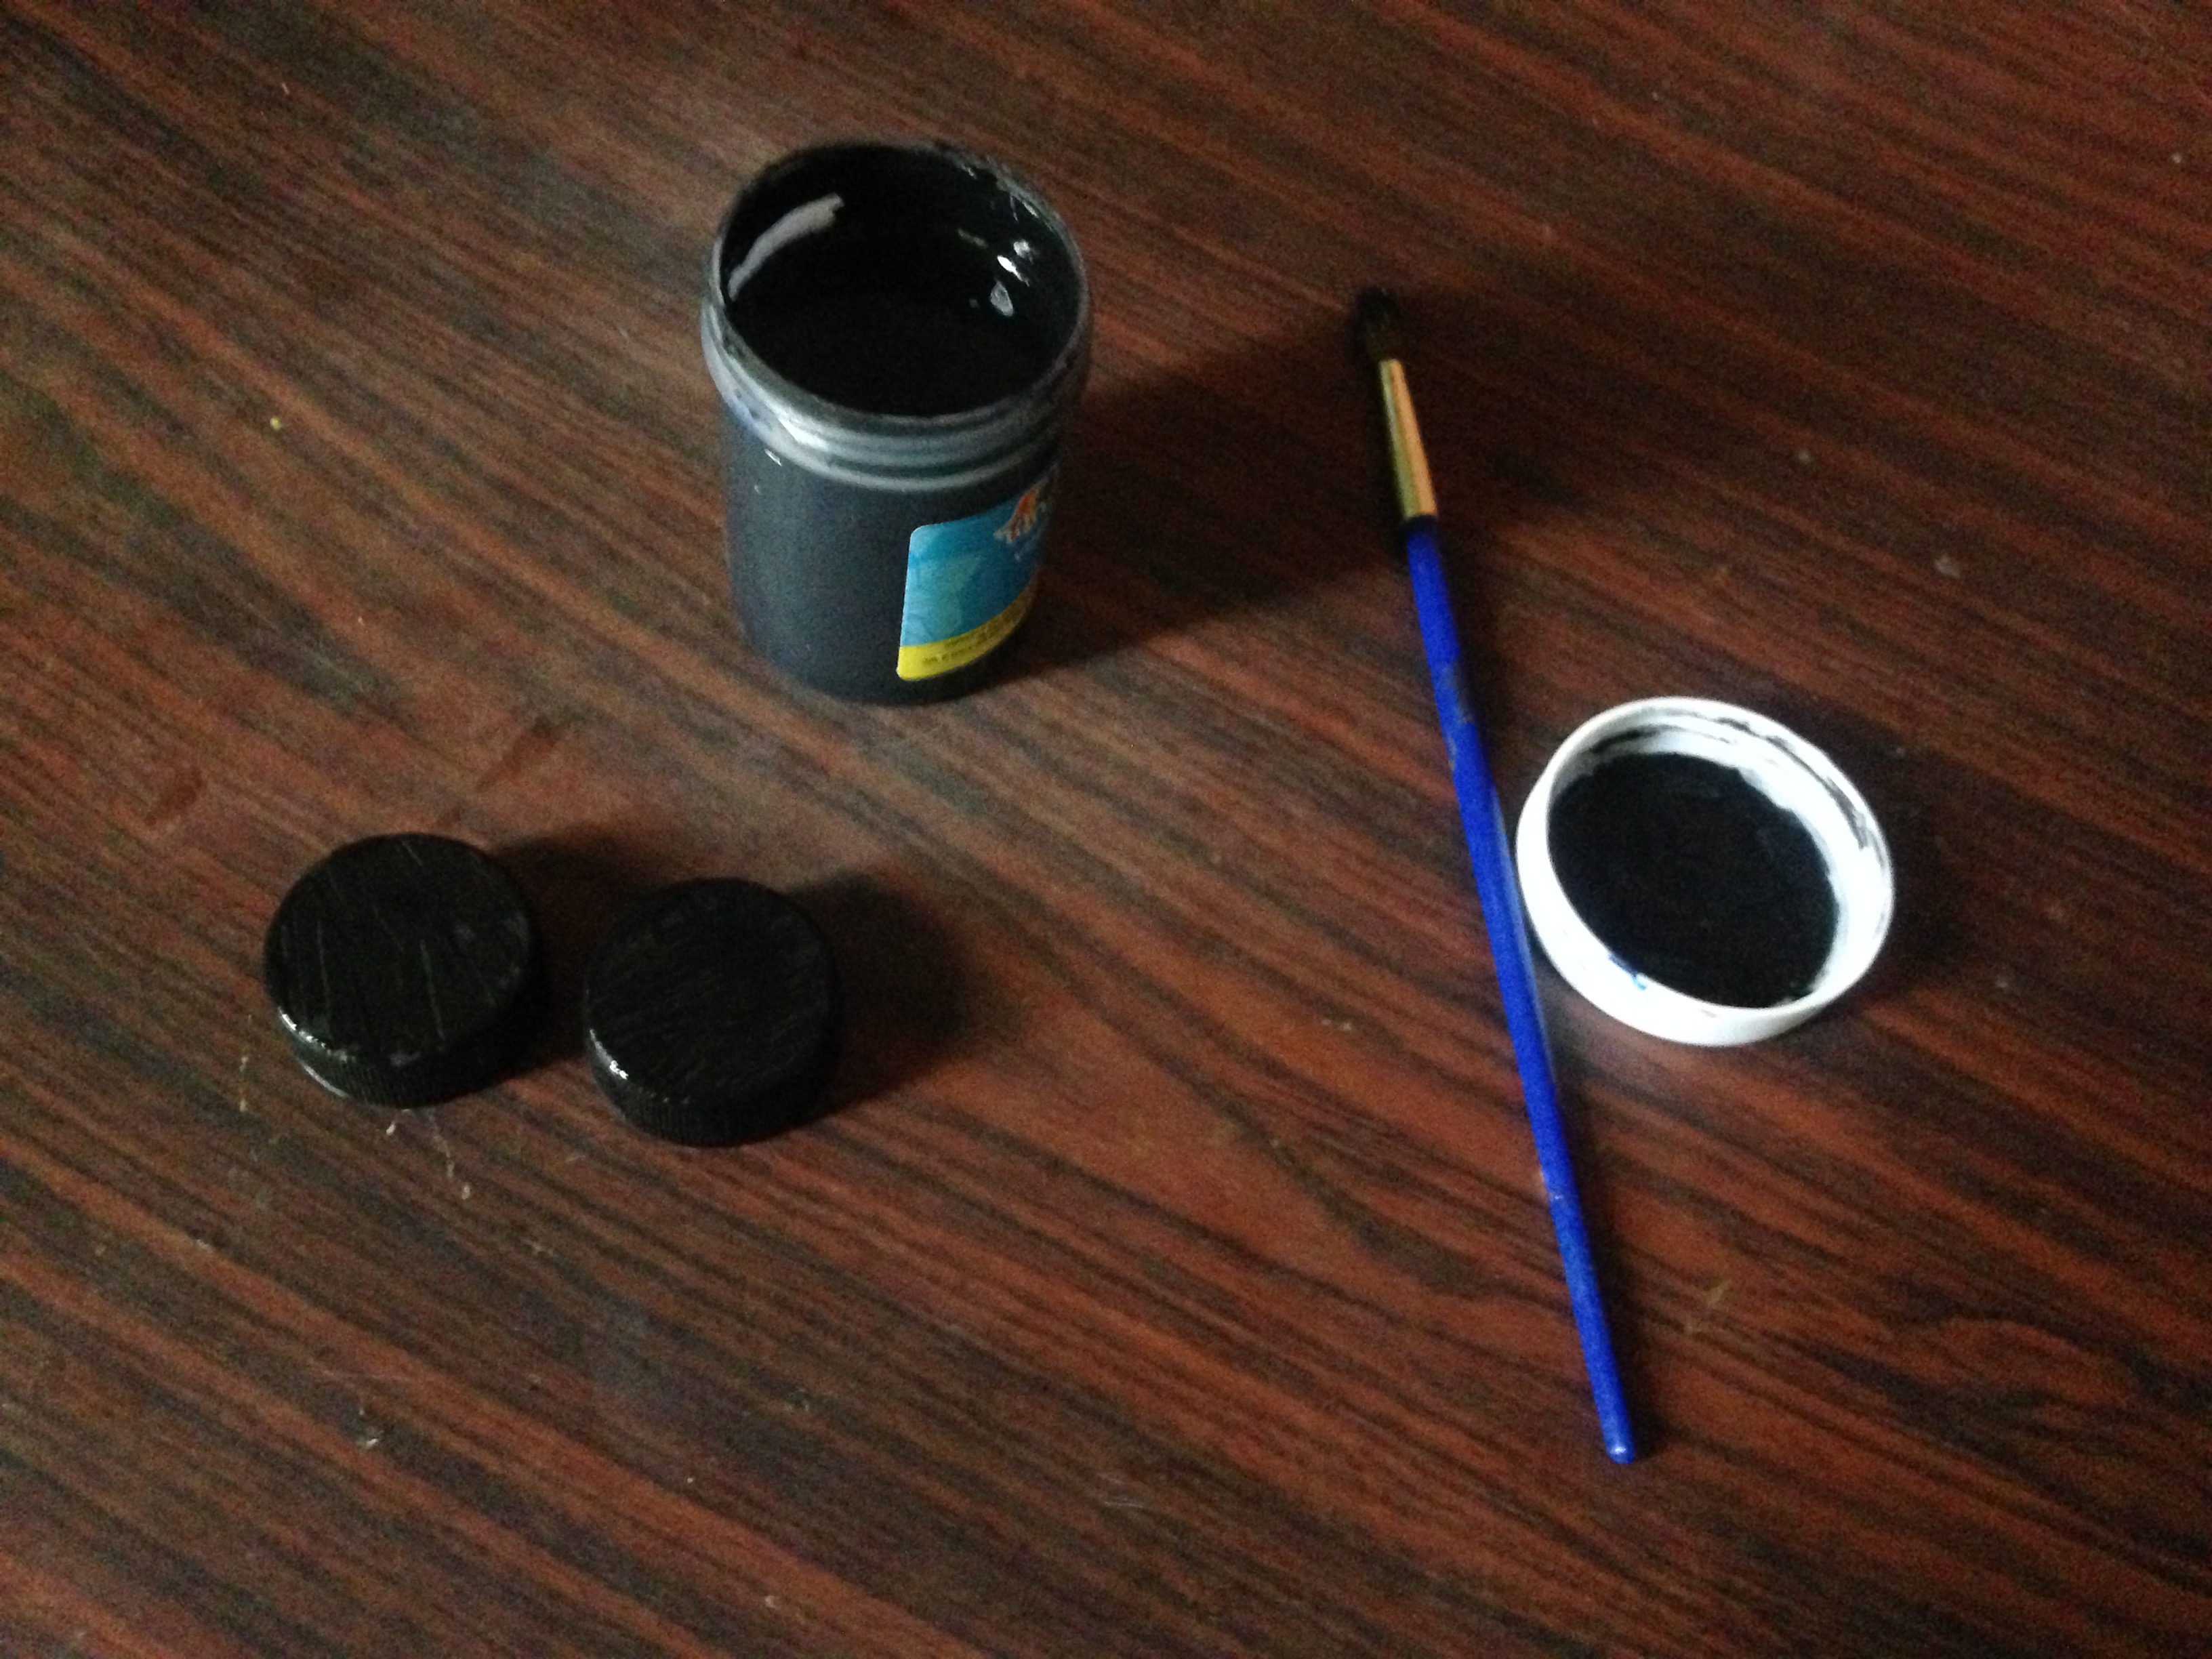
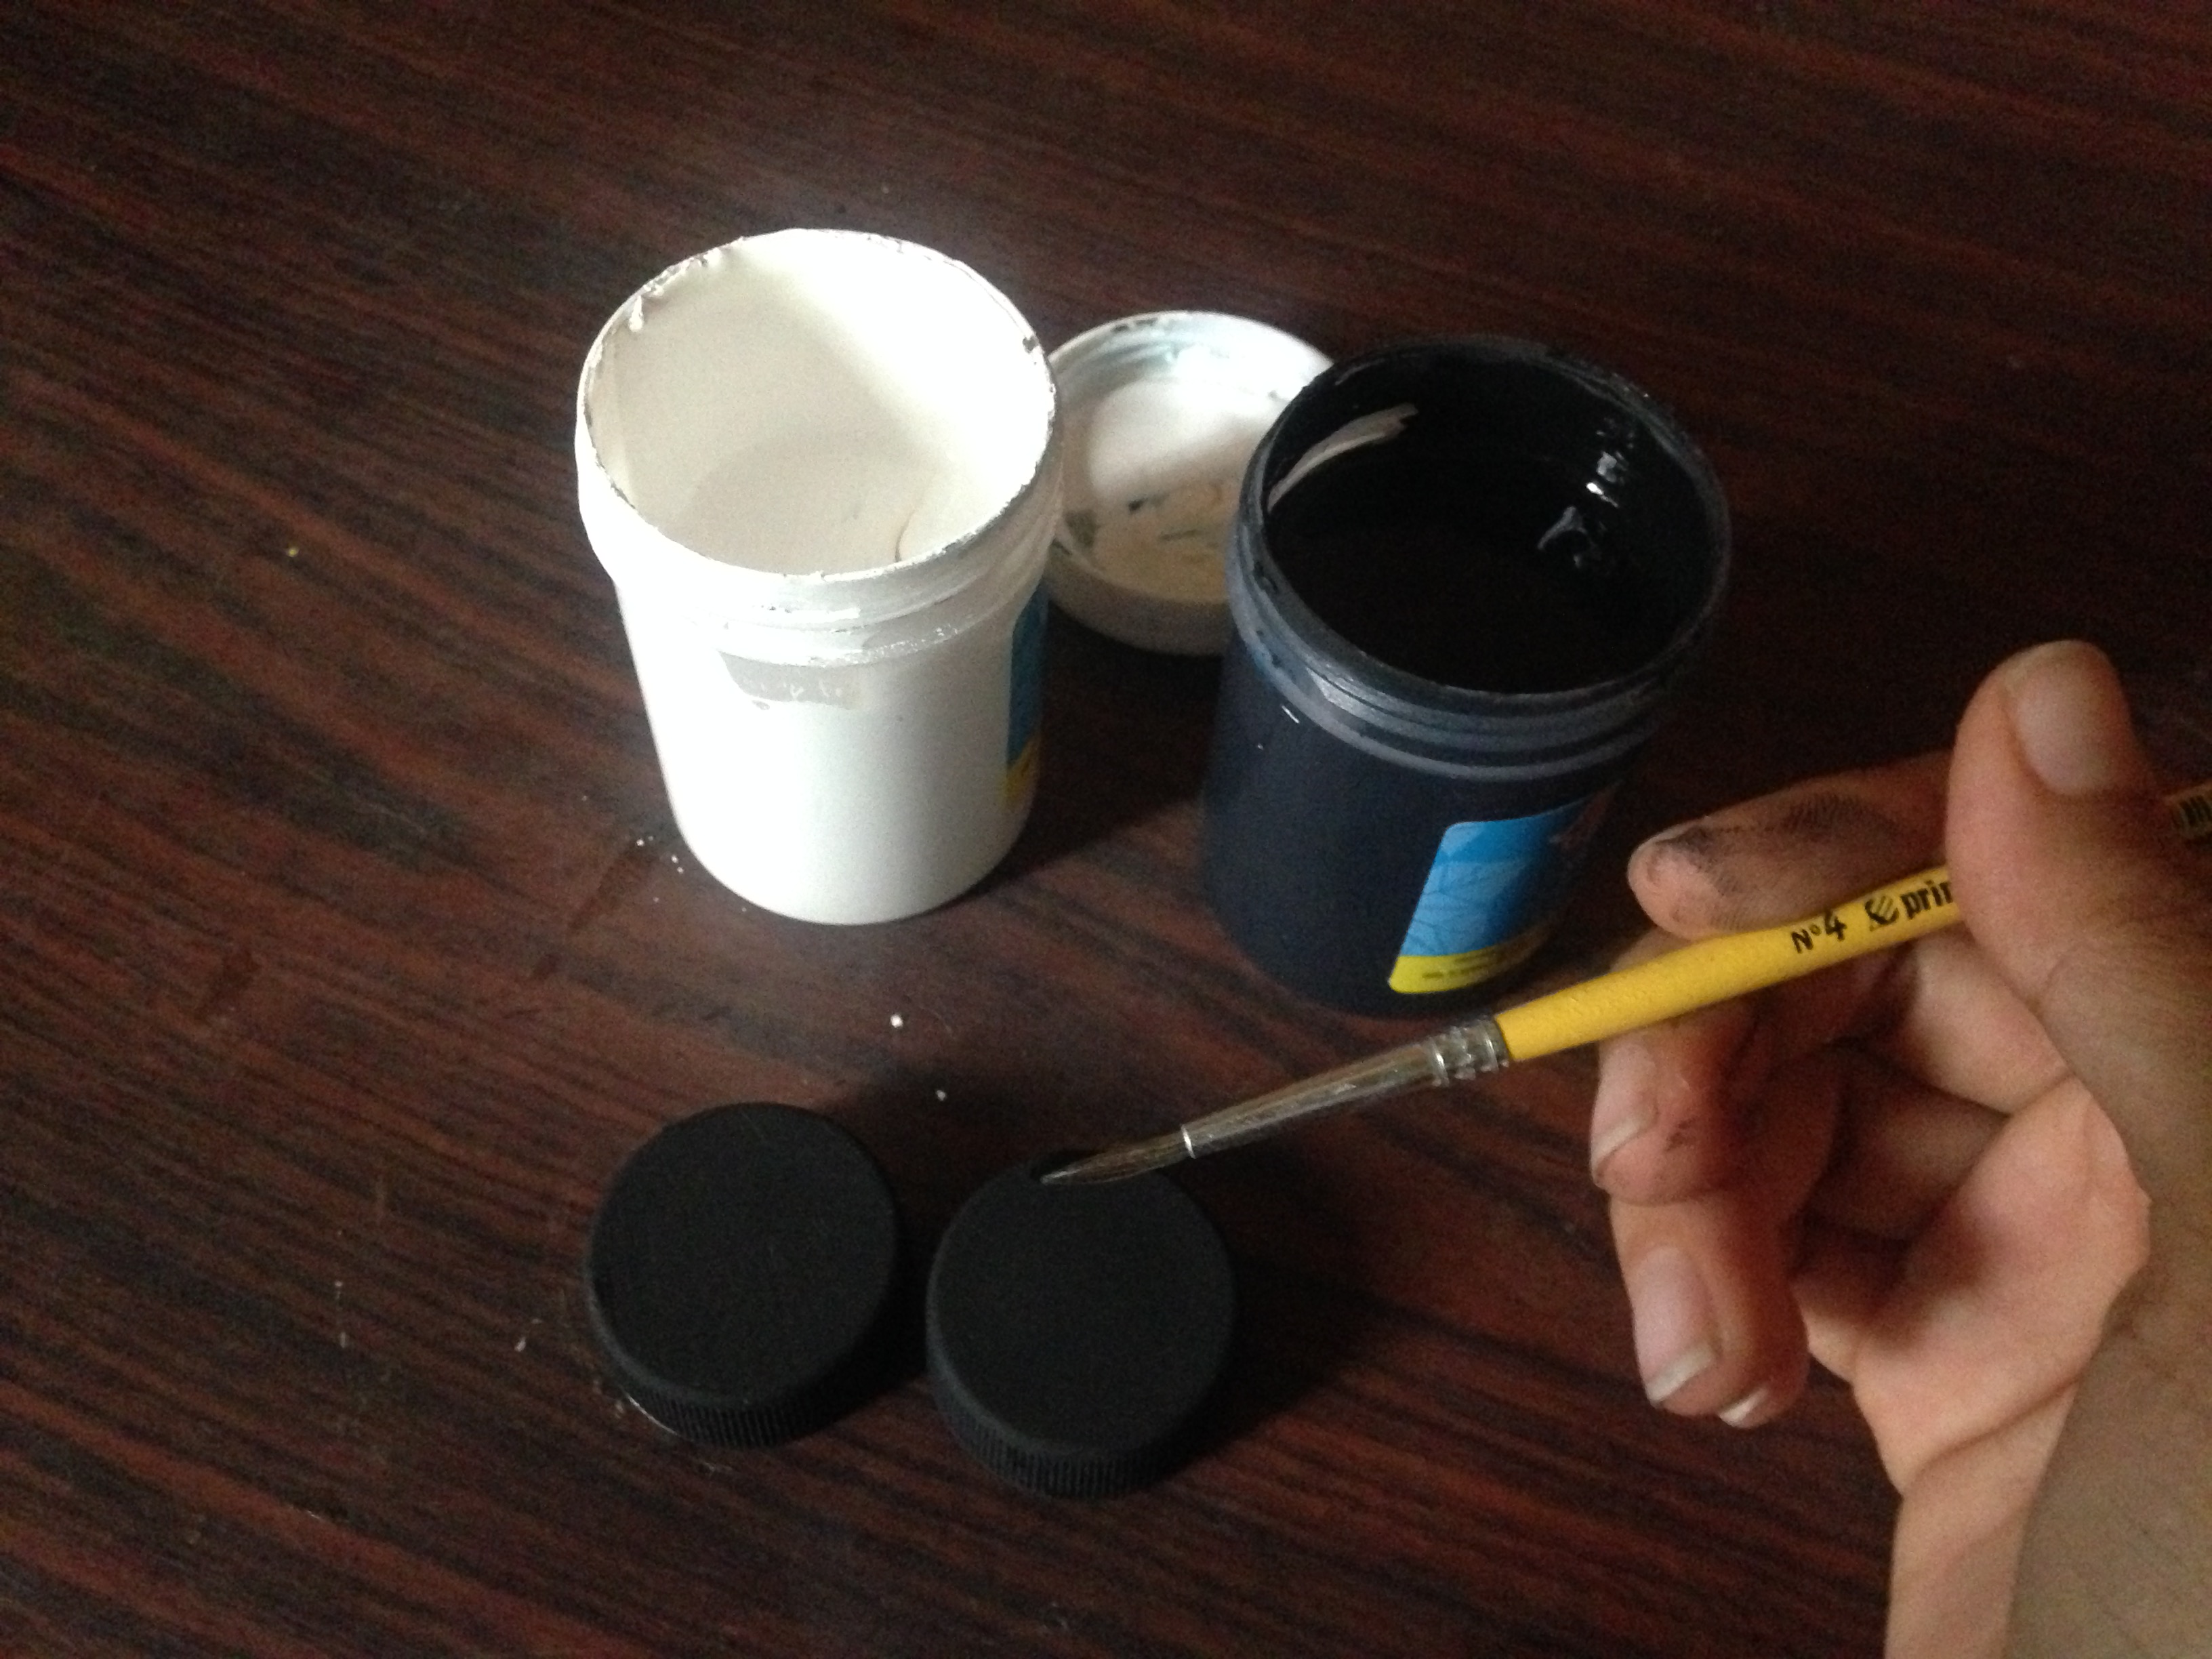
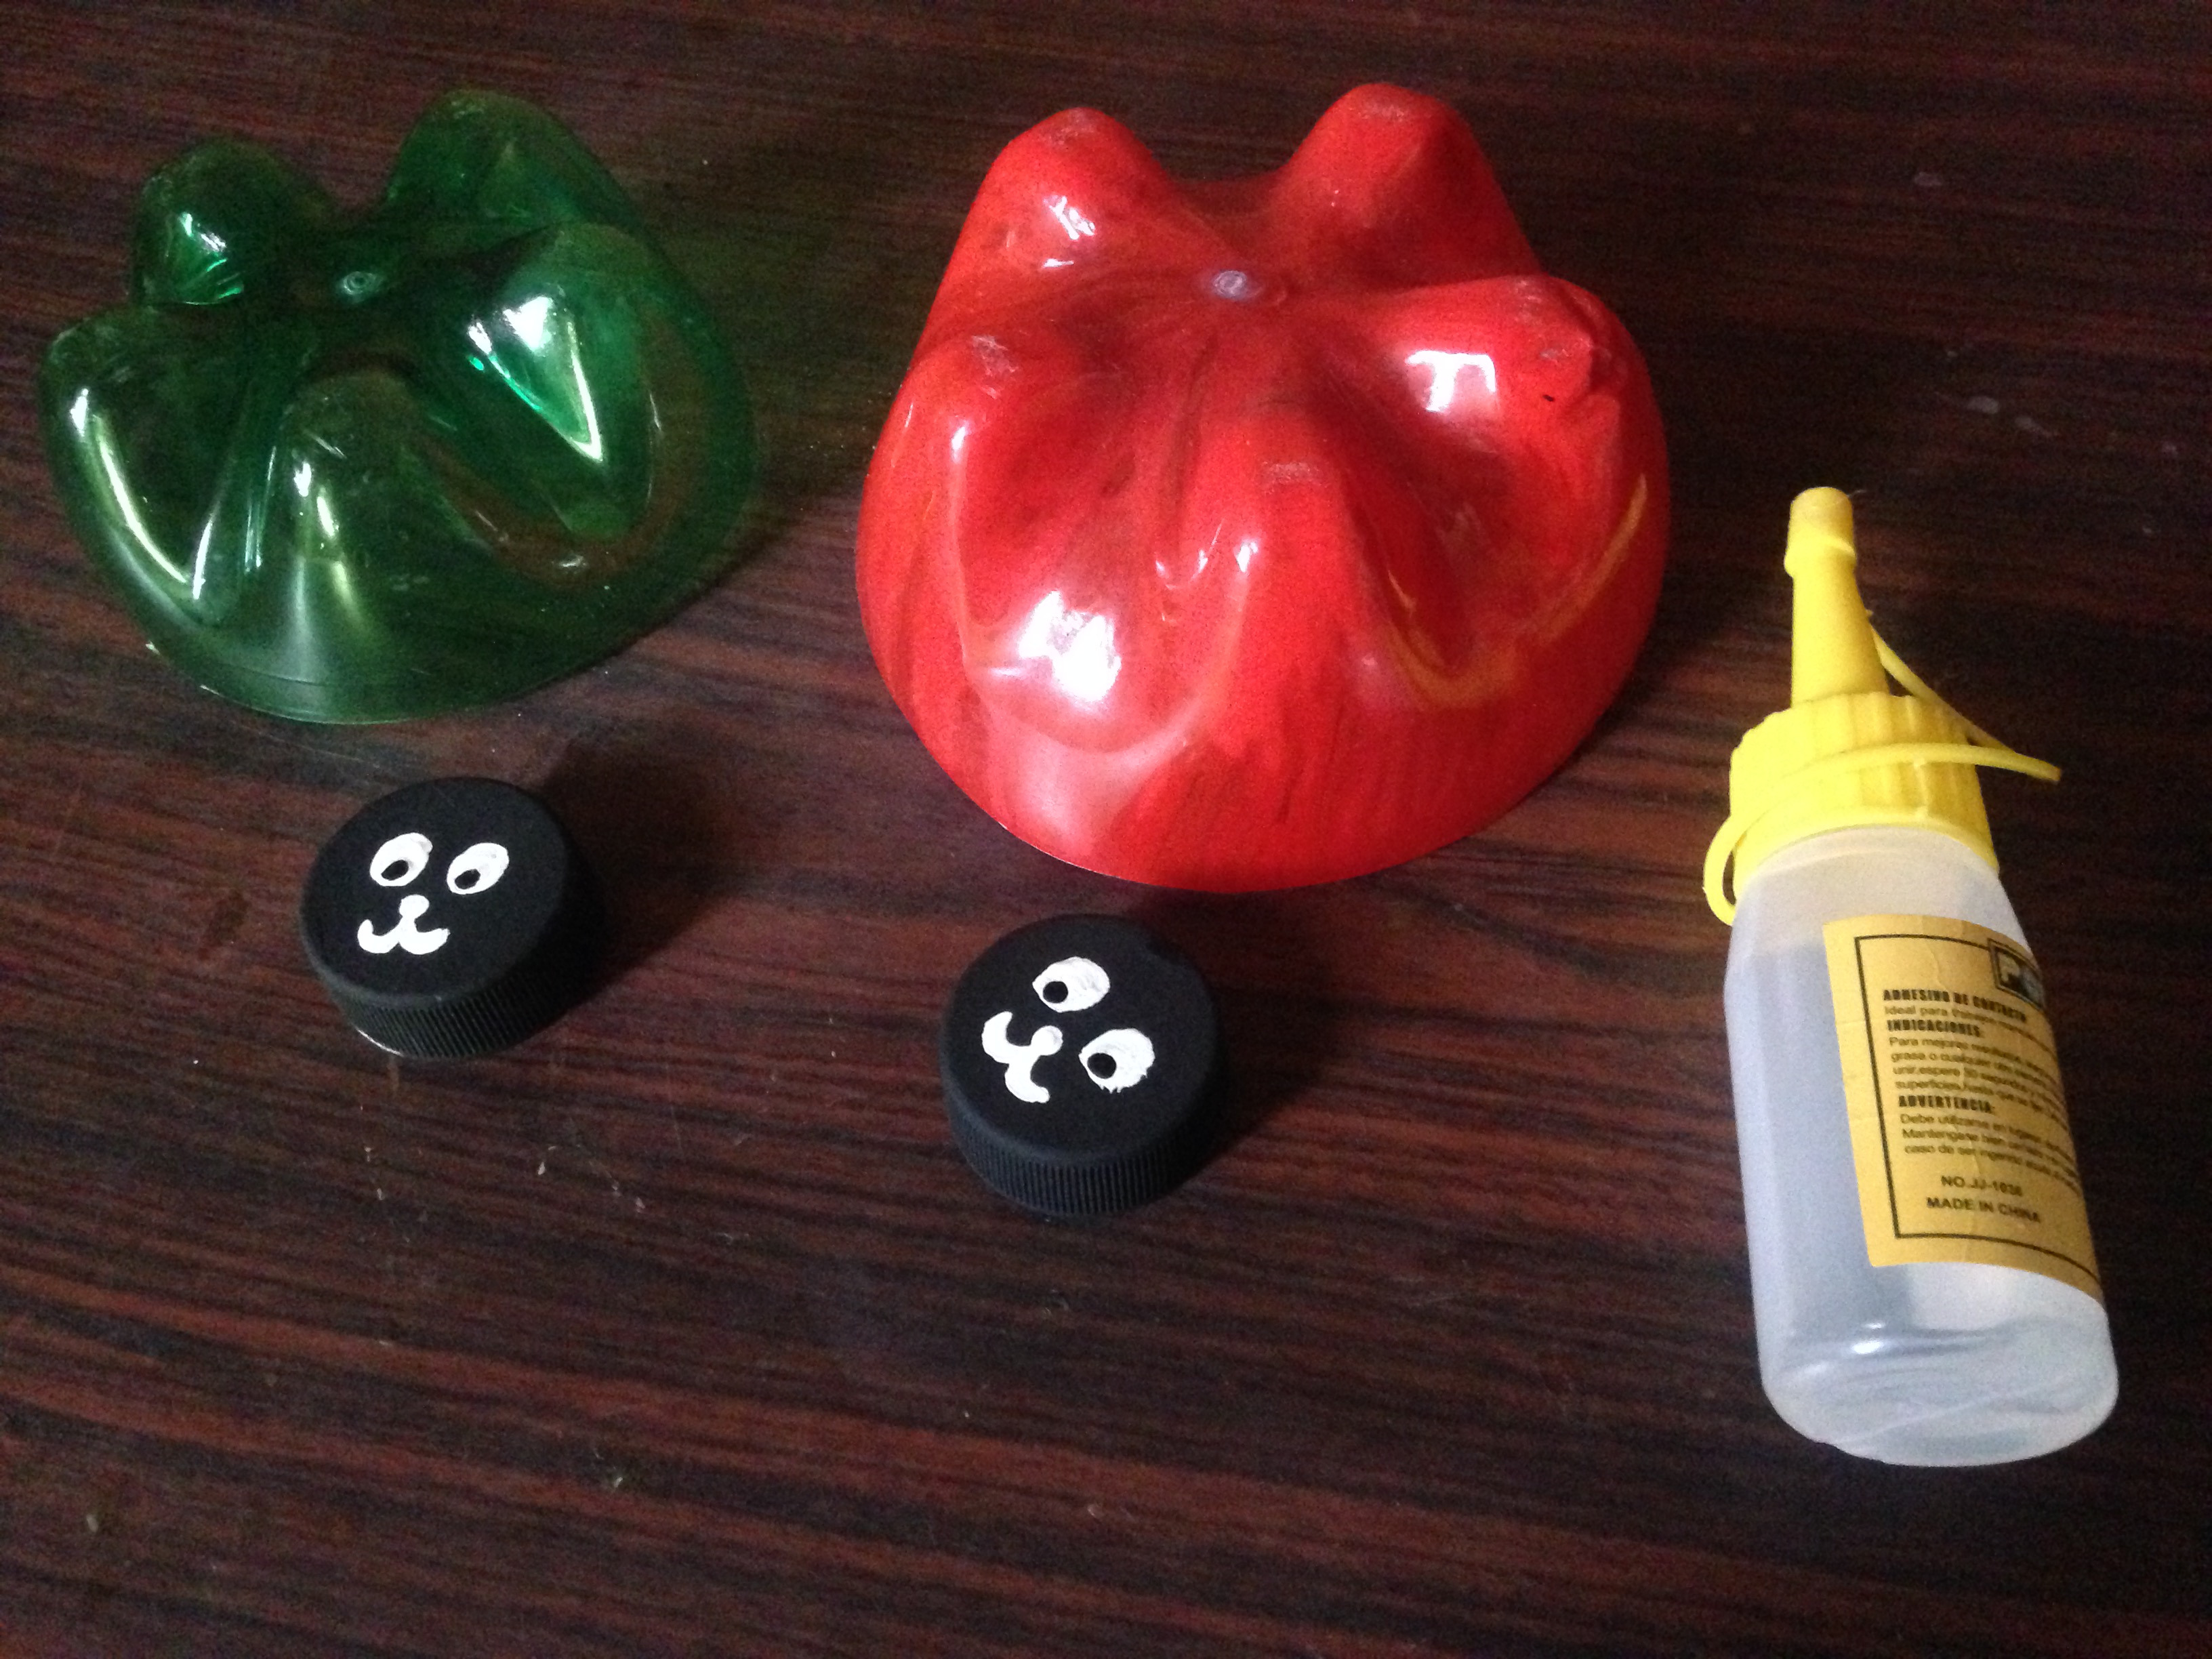
Materiales:
- Dos botellas plásticas de diferentes tamaños
- pinturas de color: negro, rojo, y blanco
- silicon
- dos tapas plásticas
- tijeras
- pinceles
Materials:
- Two plastic bottles of different sizes
- color paints: black, red, and white
- silicone
- two plastic caps
- pair of scissors
- Brushes
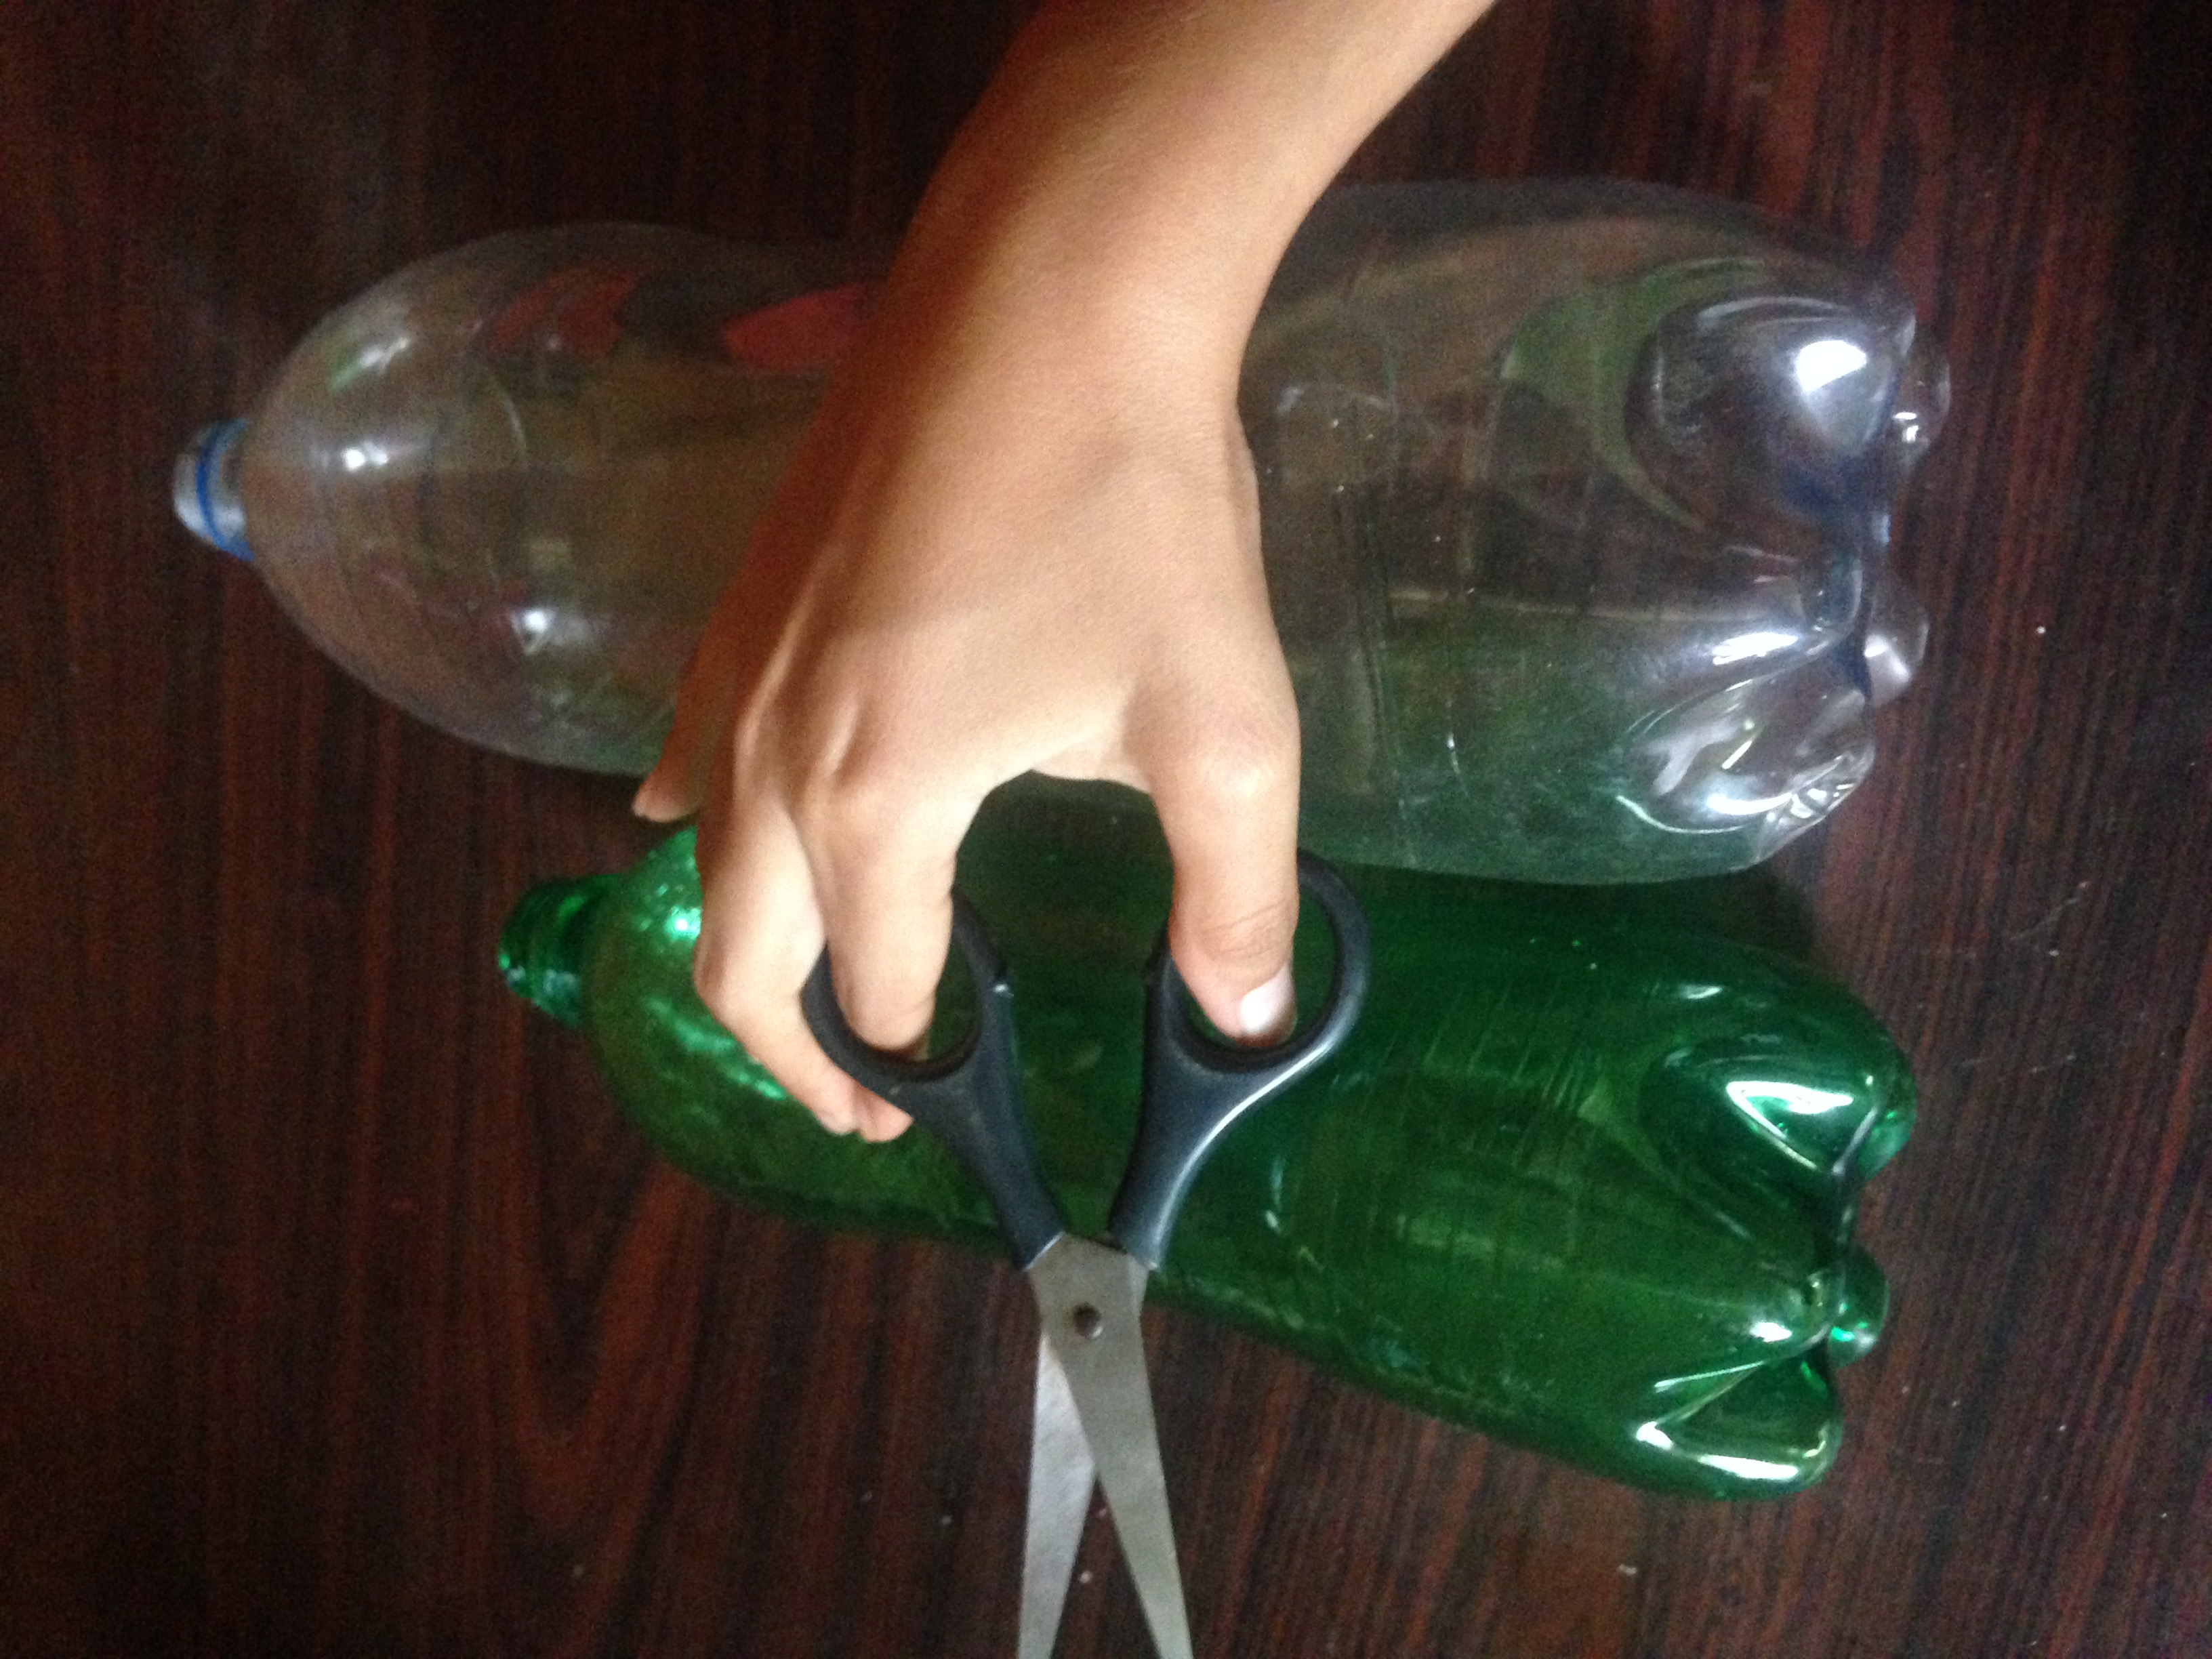
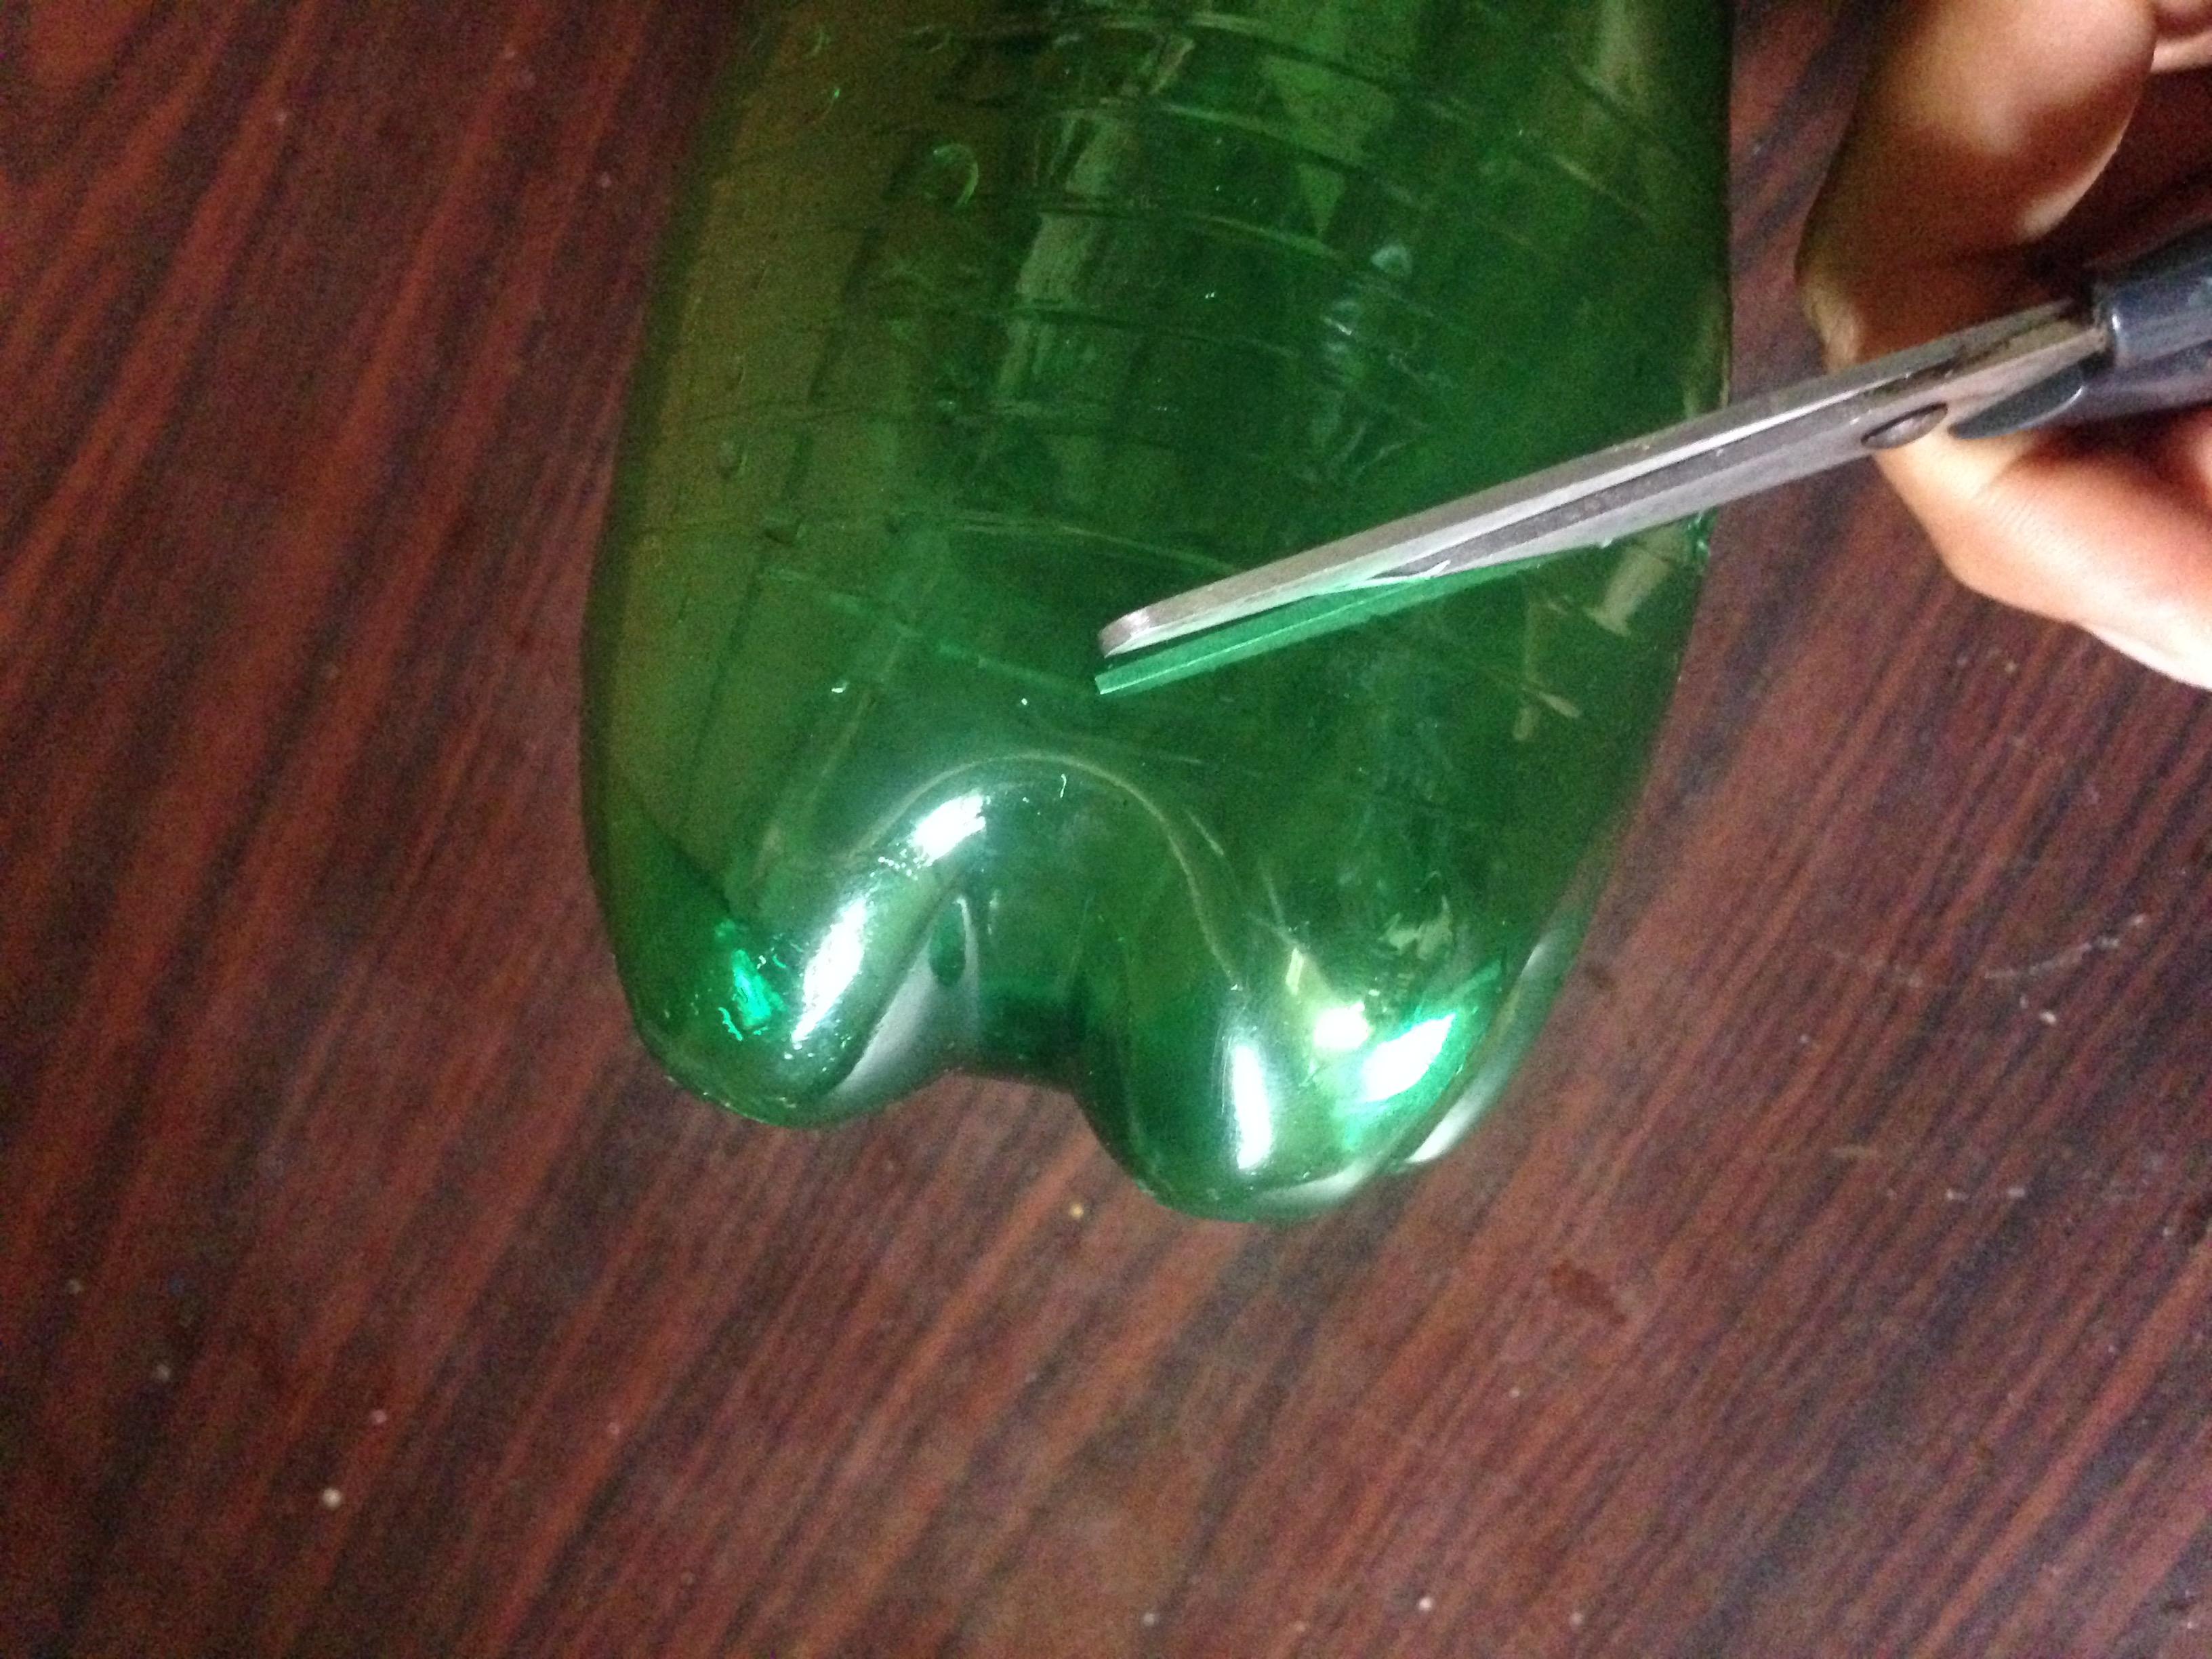
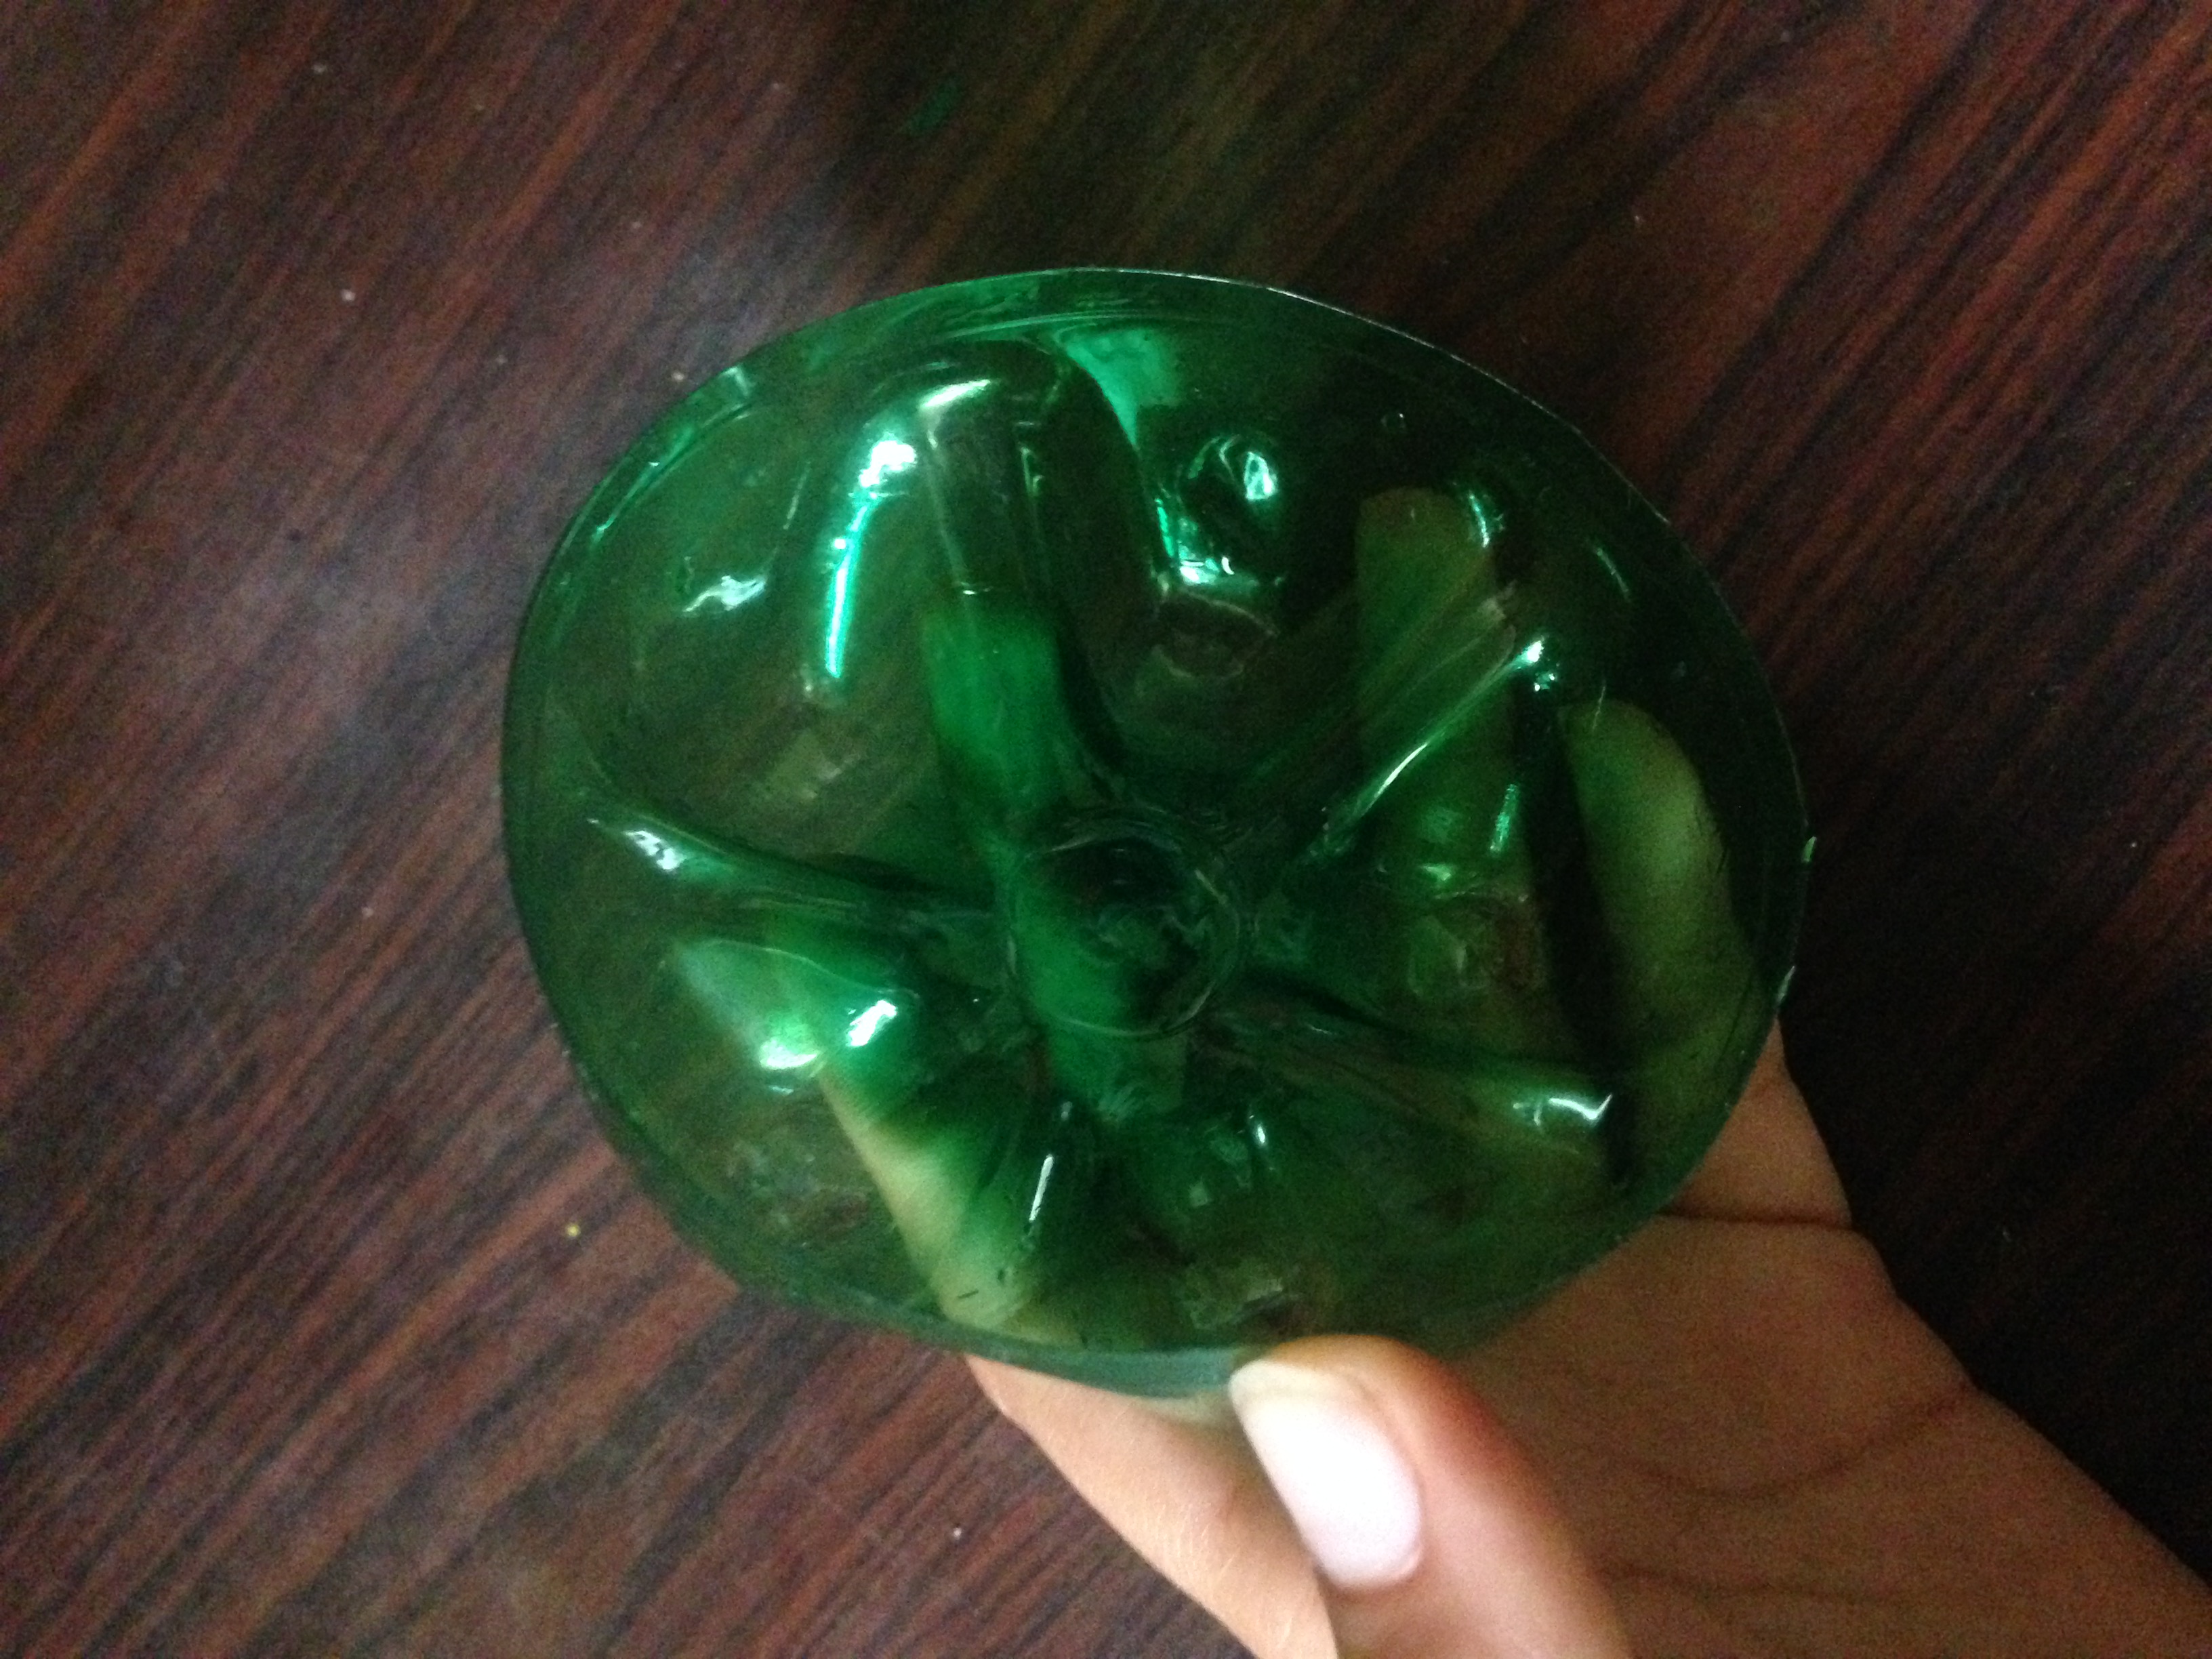
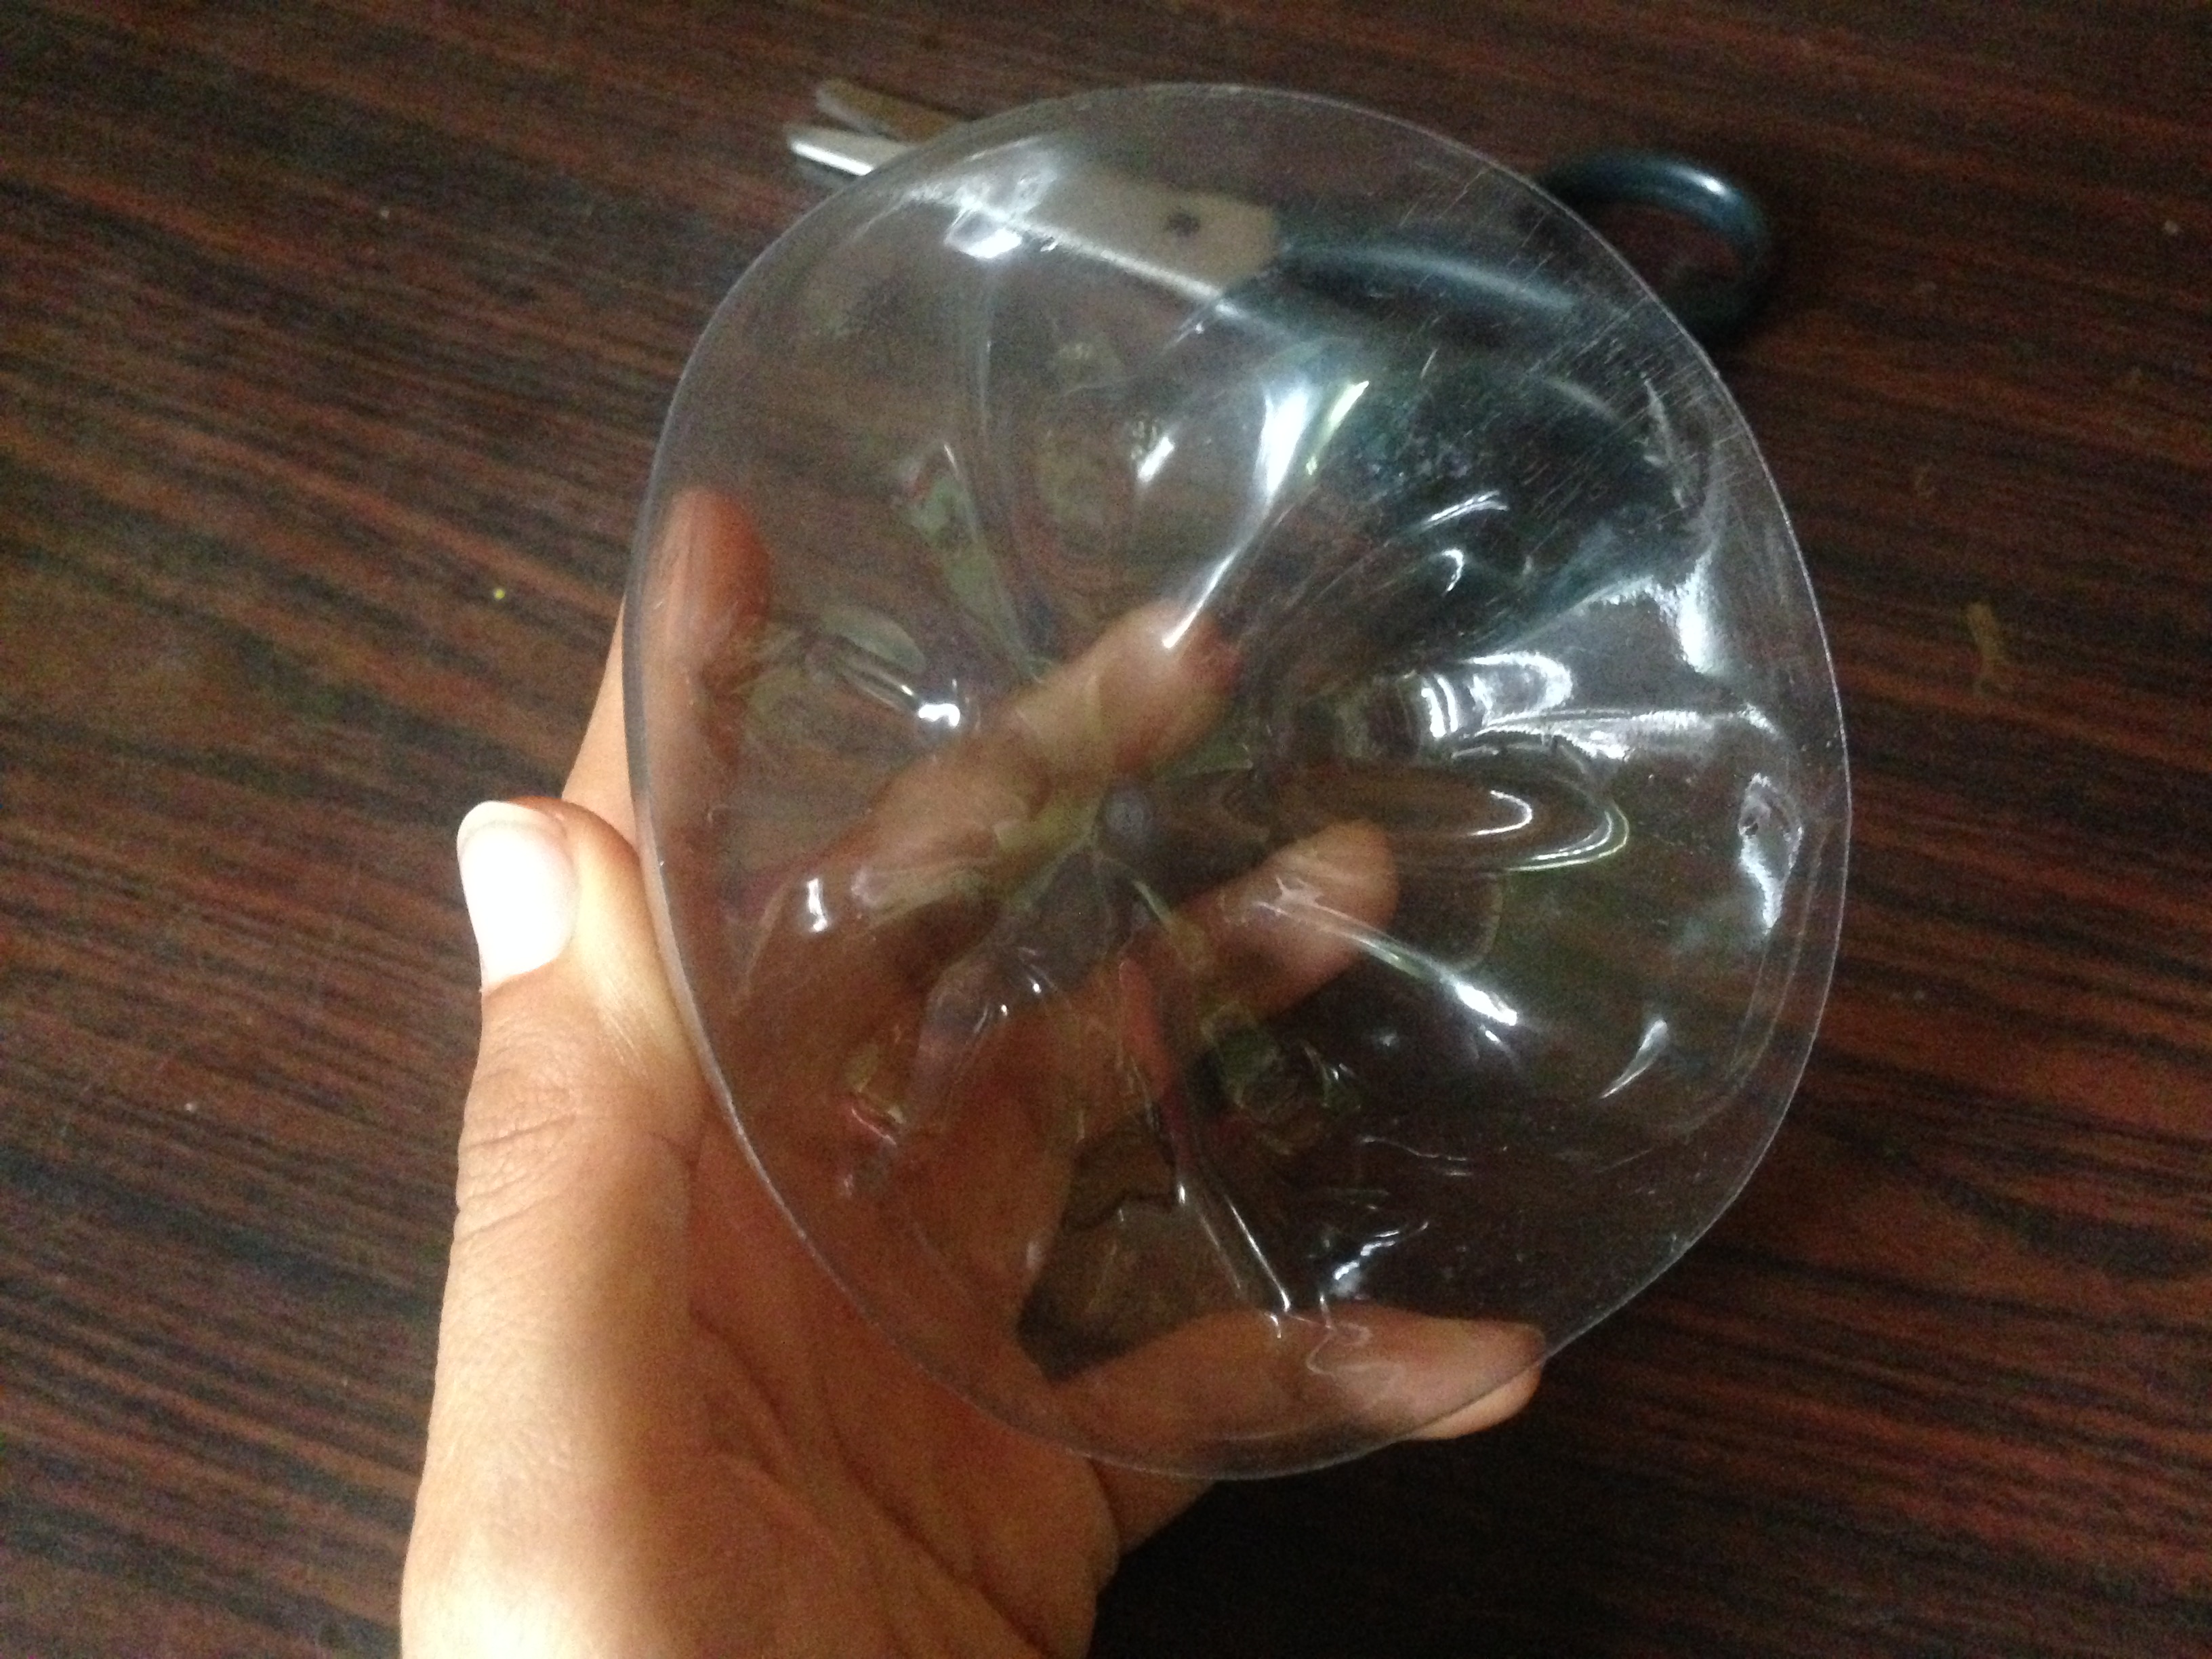
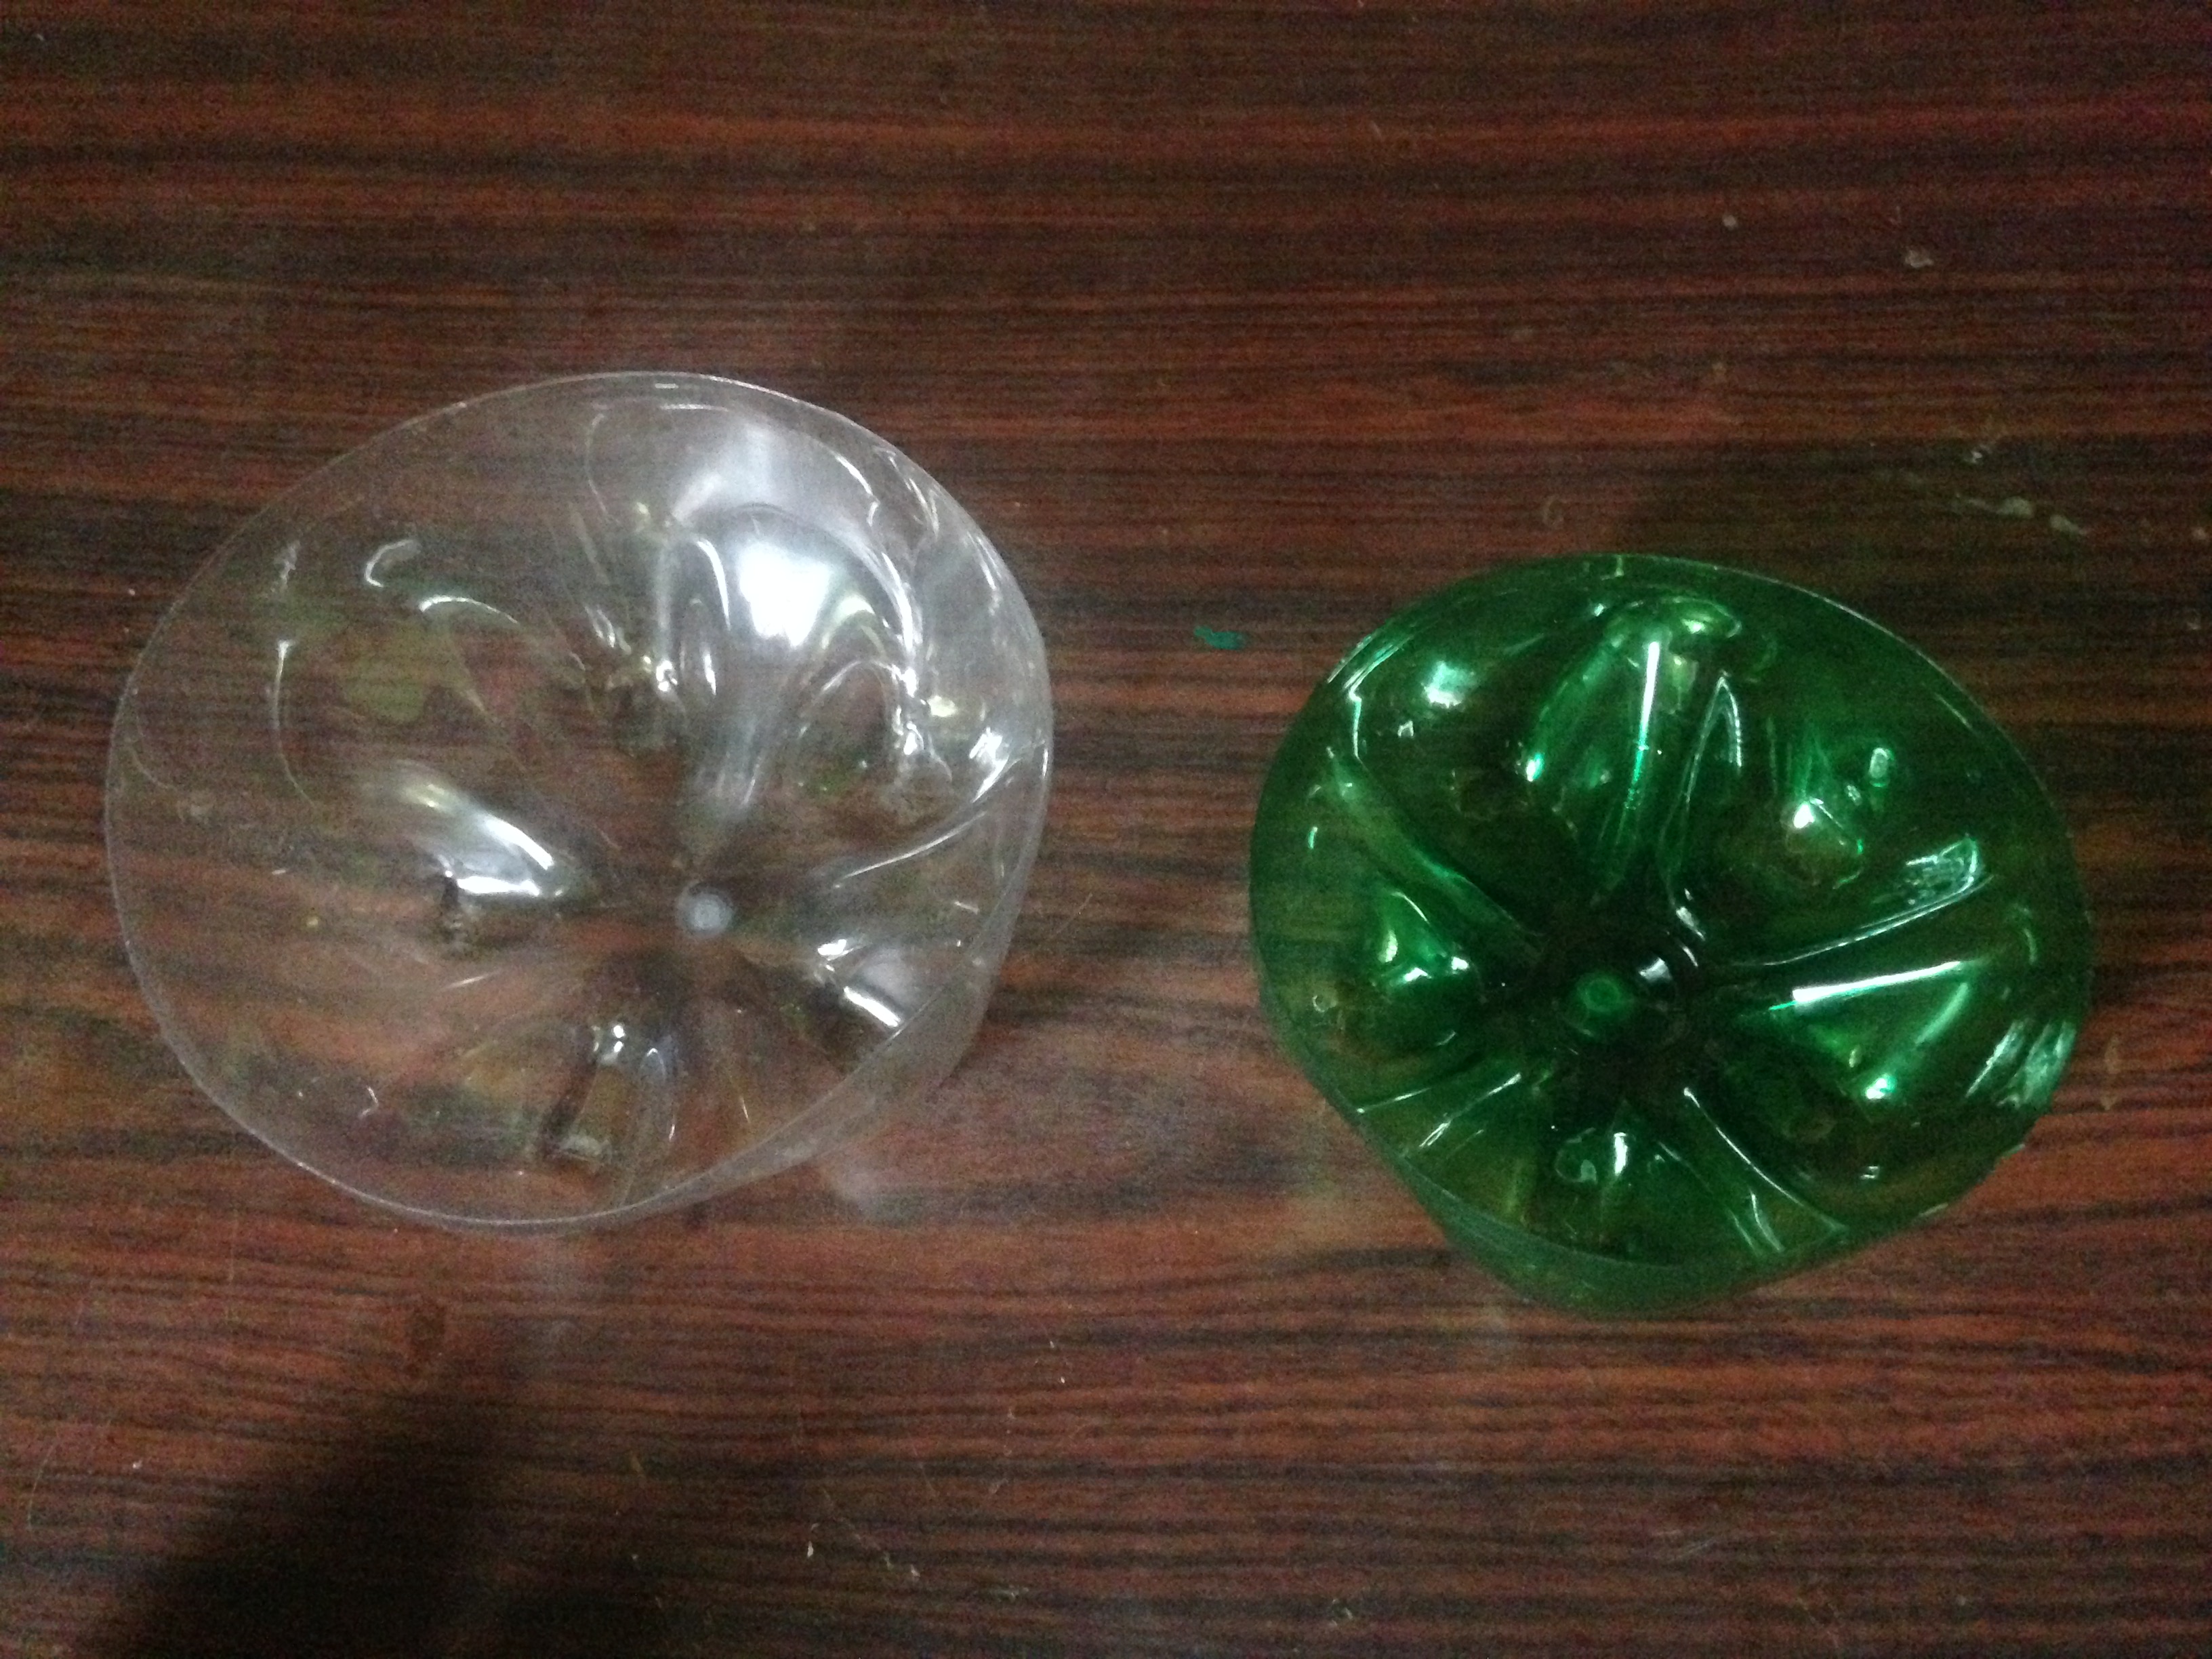
Paso 1
Lo primero que haremos es cortar la parte inferior de las botellas con mucho cuidado
Step 1
The first thing we will do is cut the bottom of the bottles very carefully
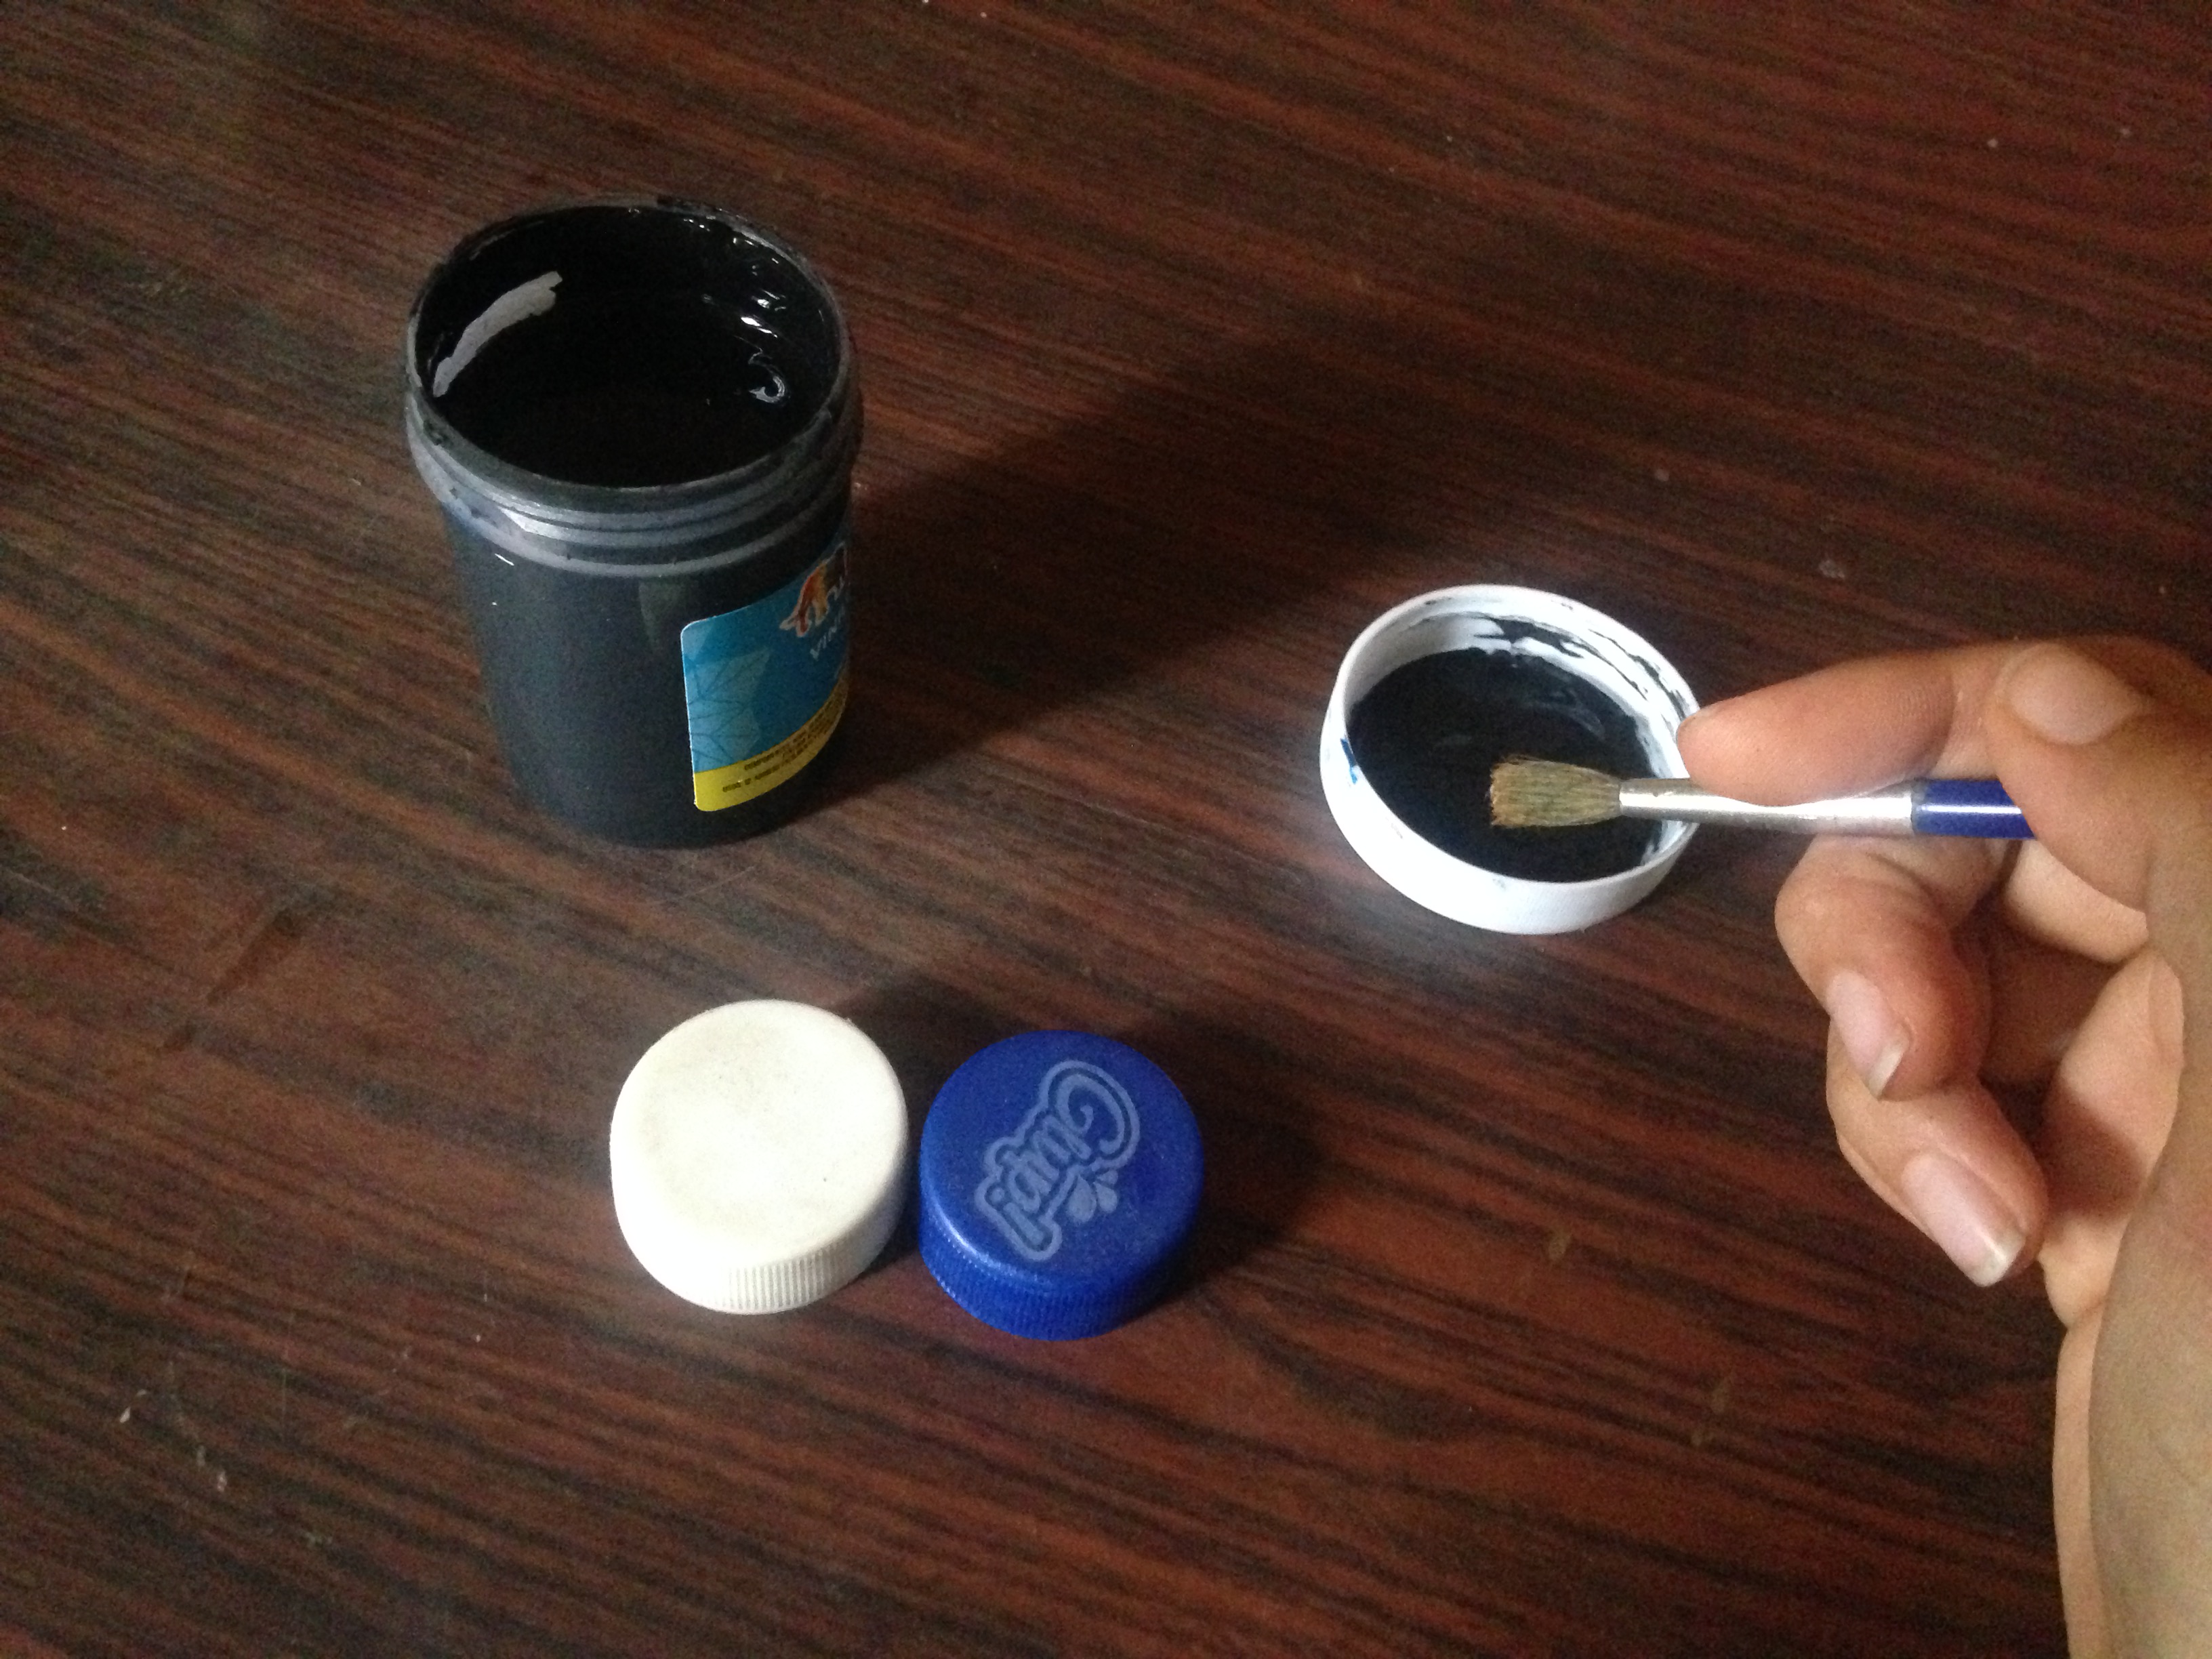
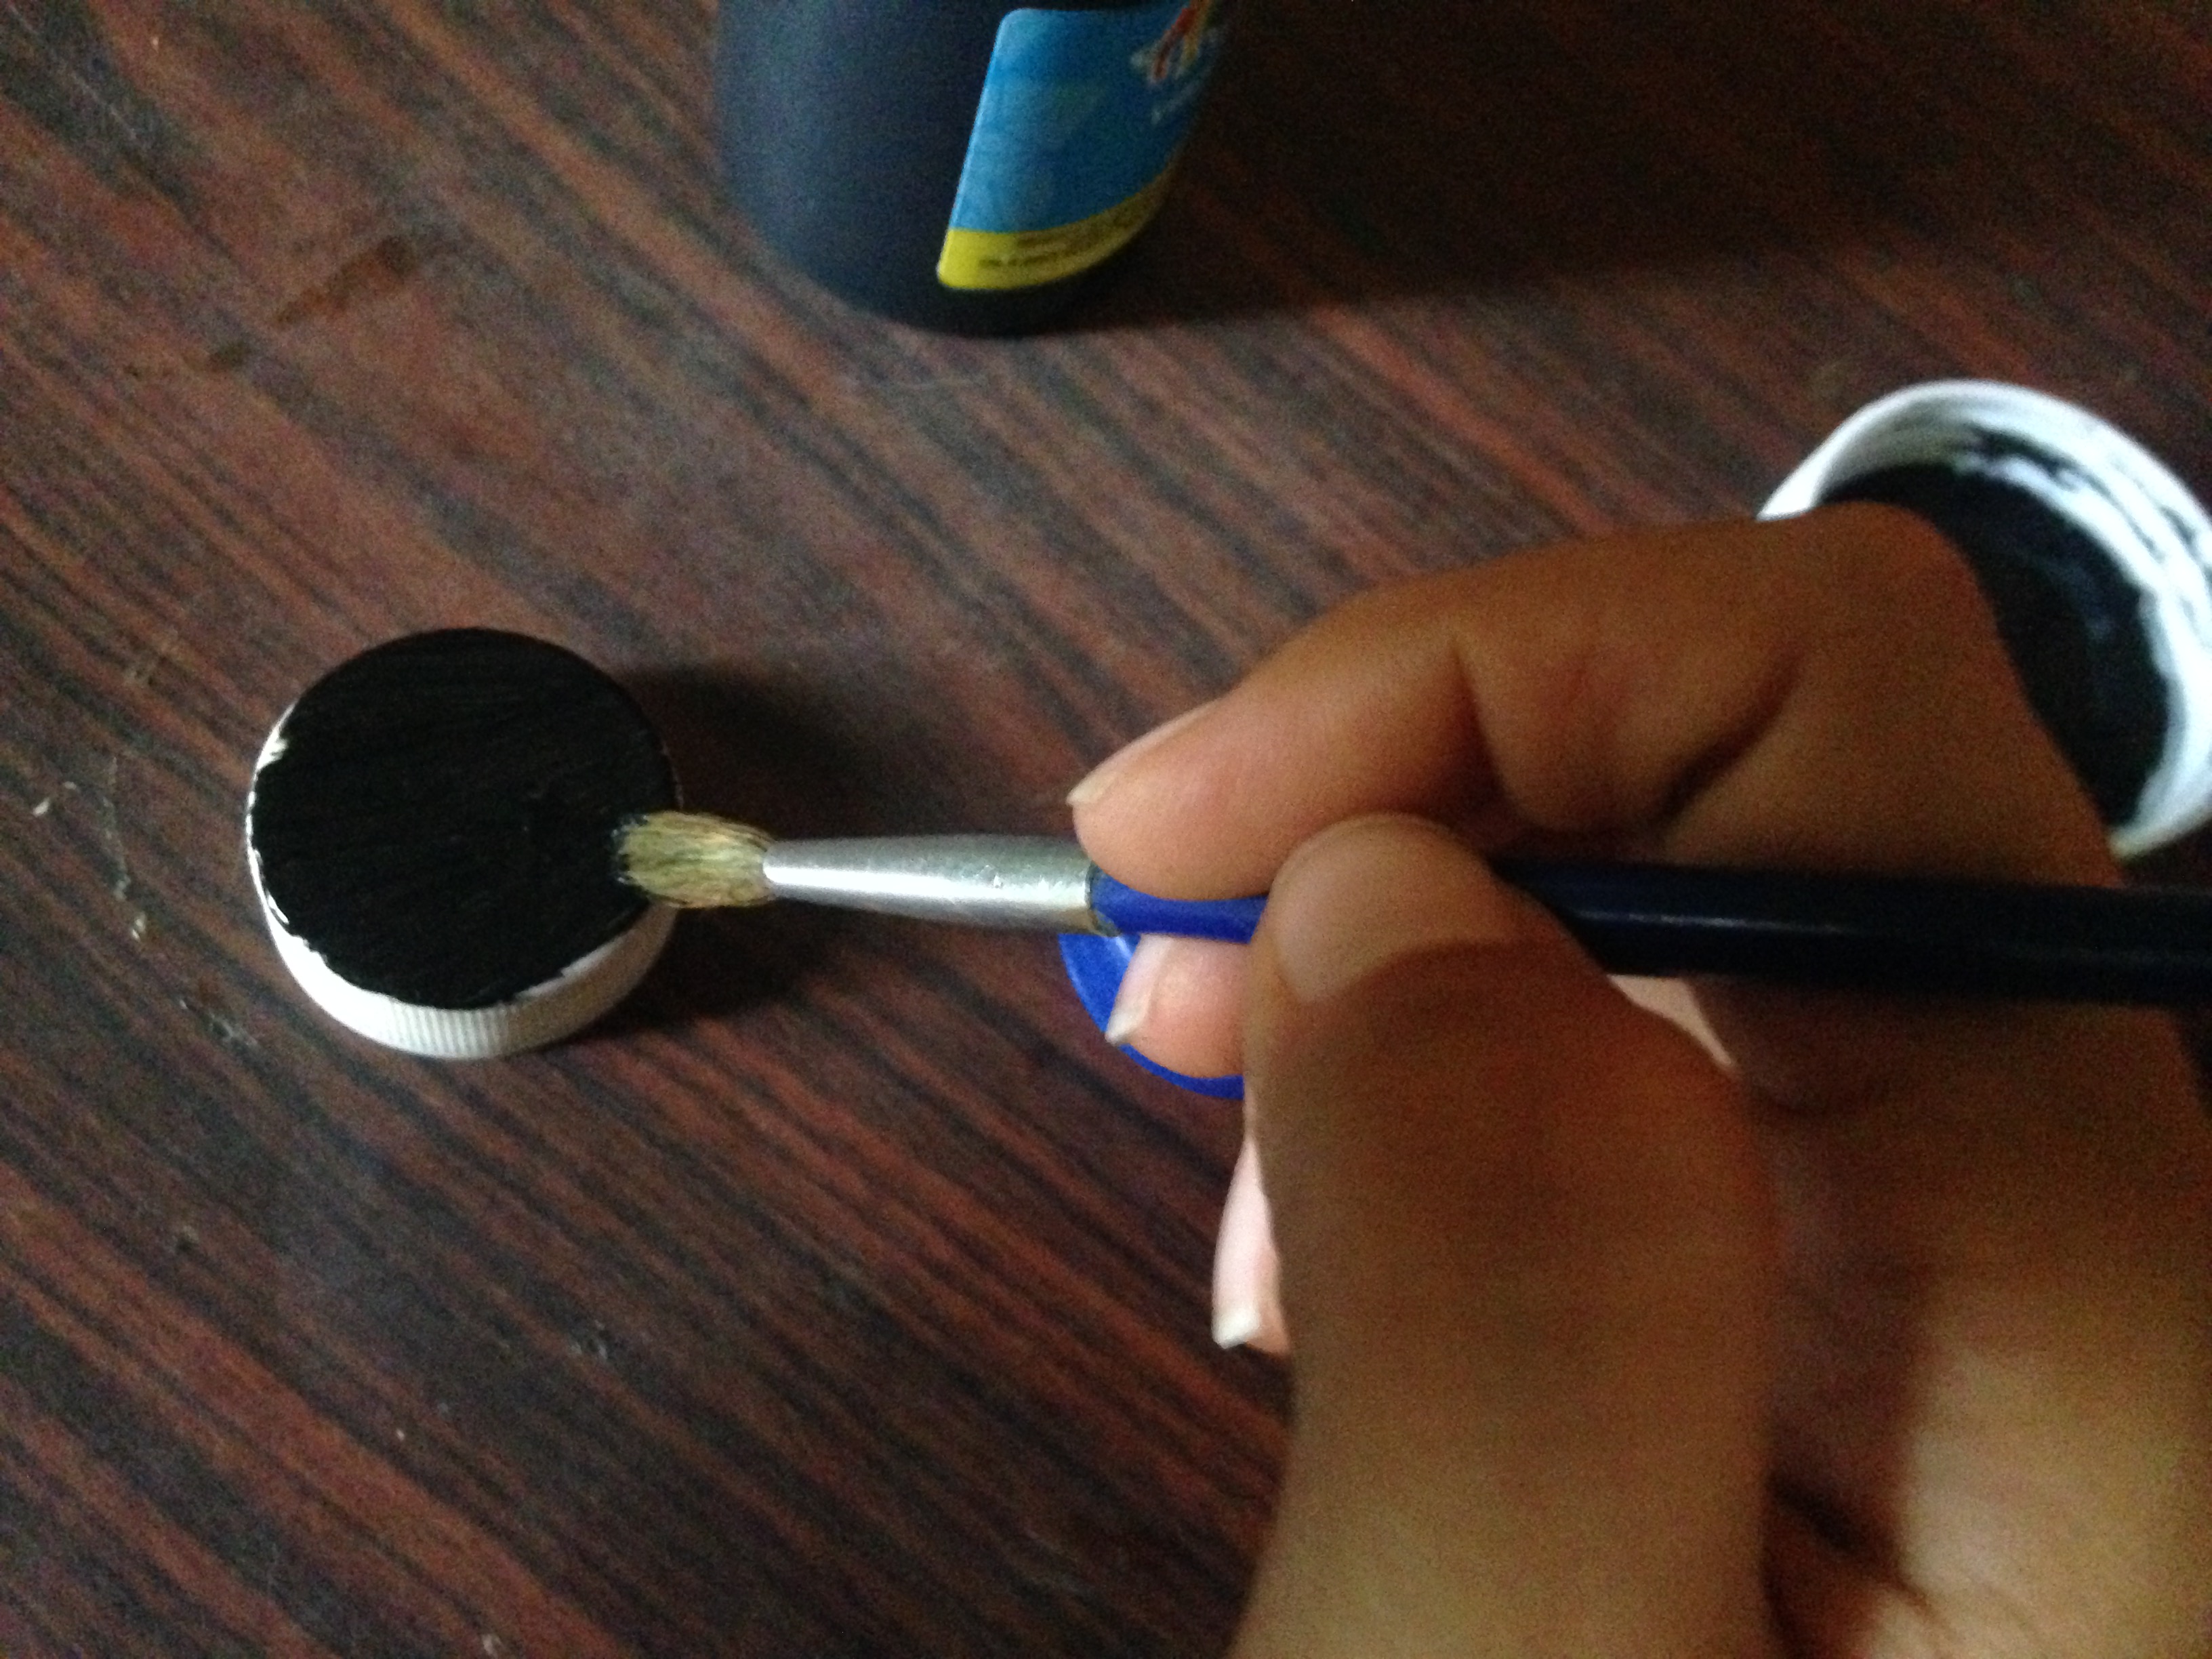
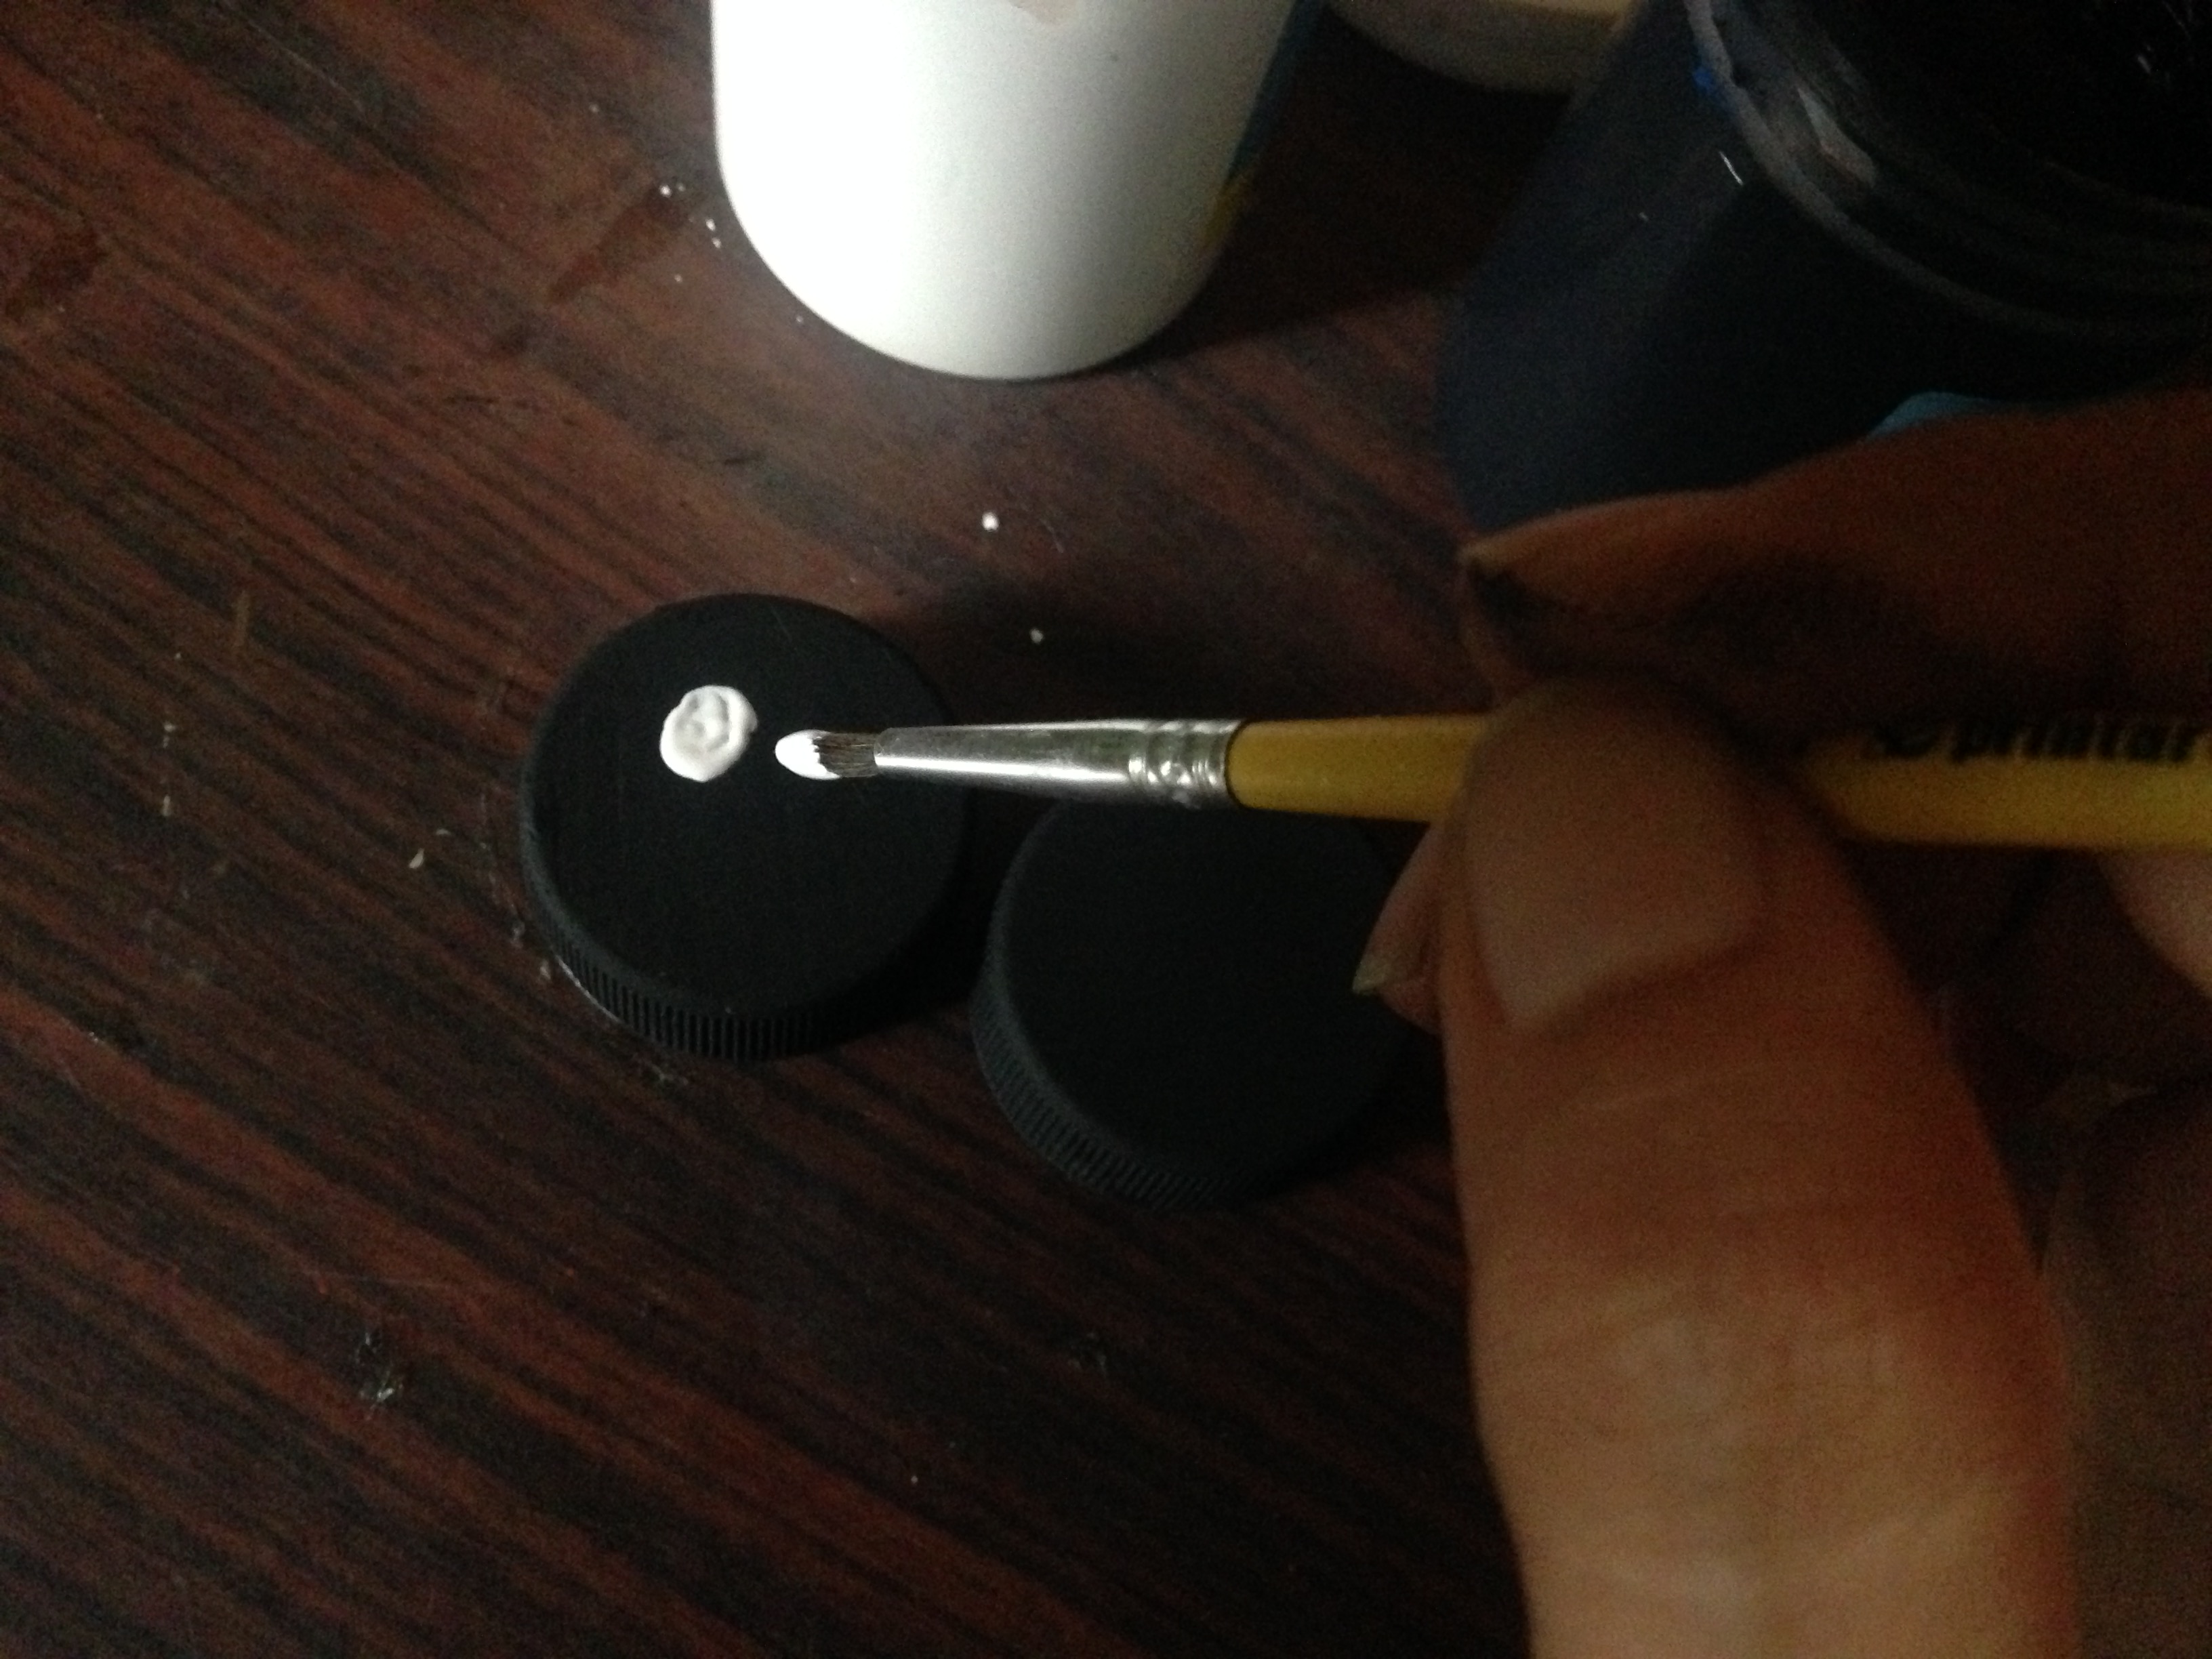
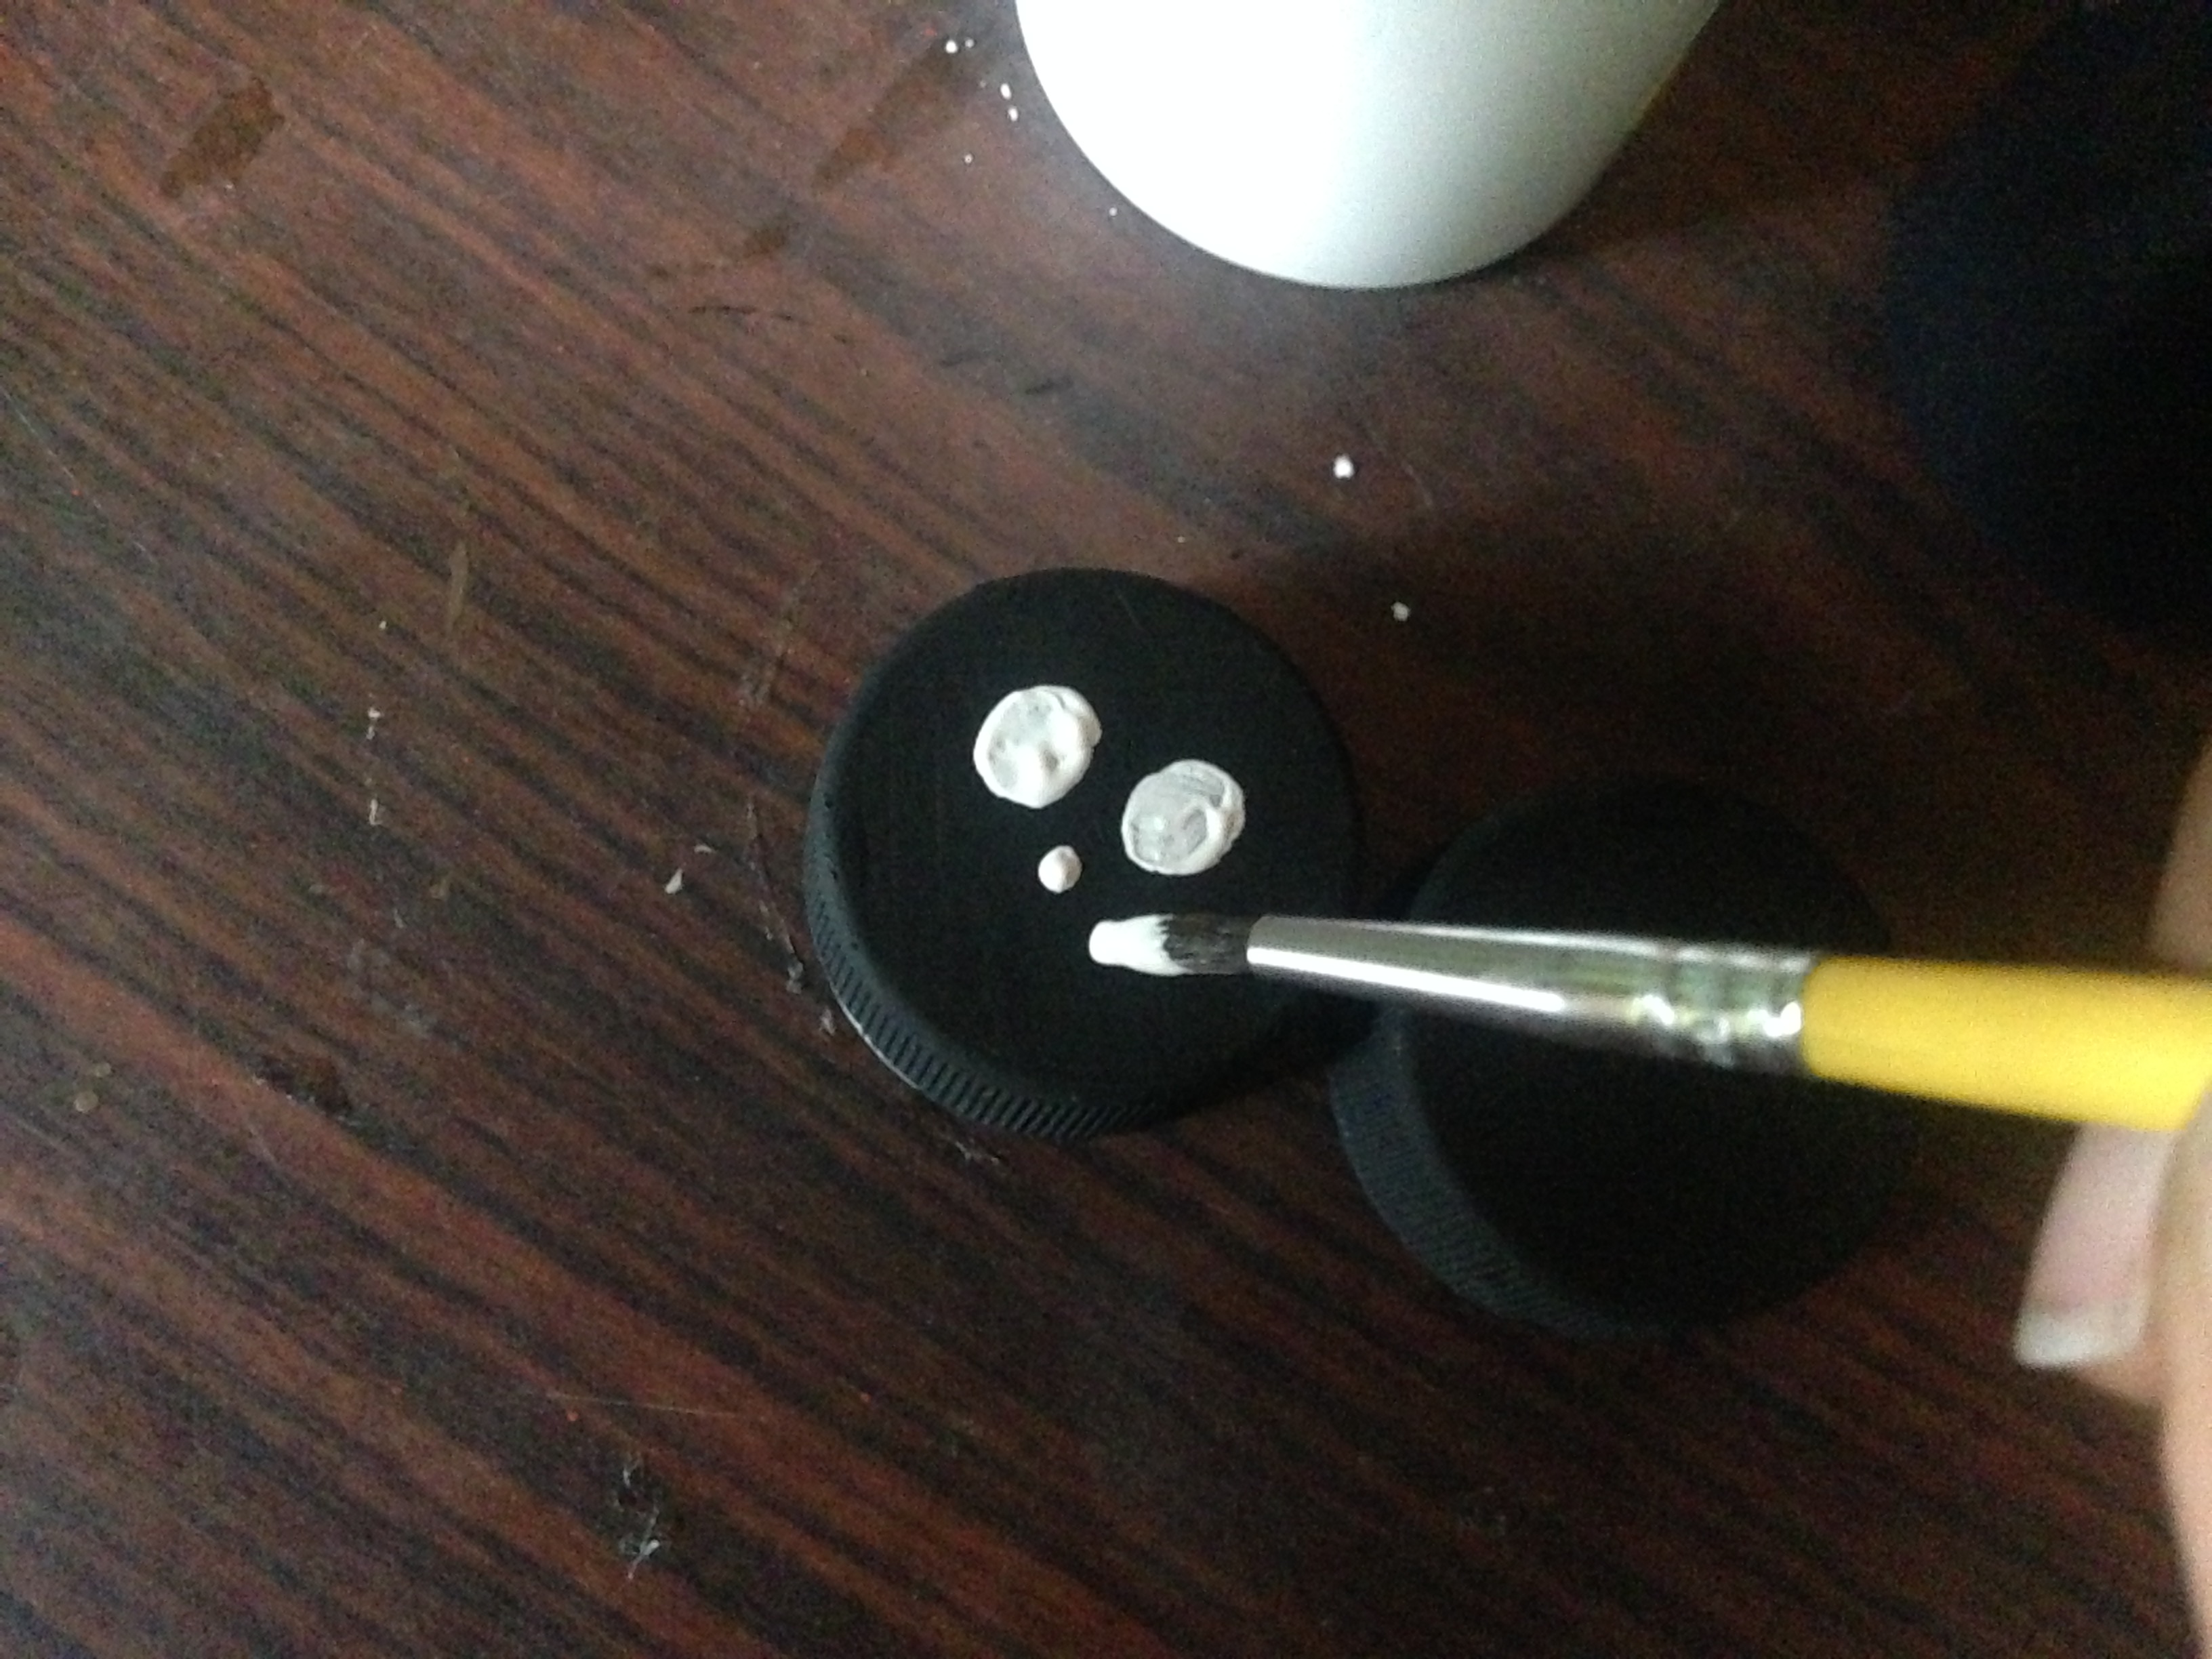
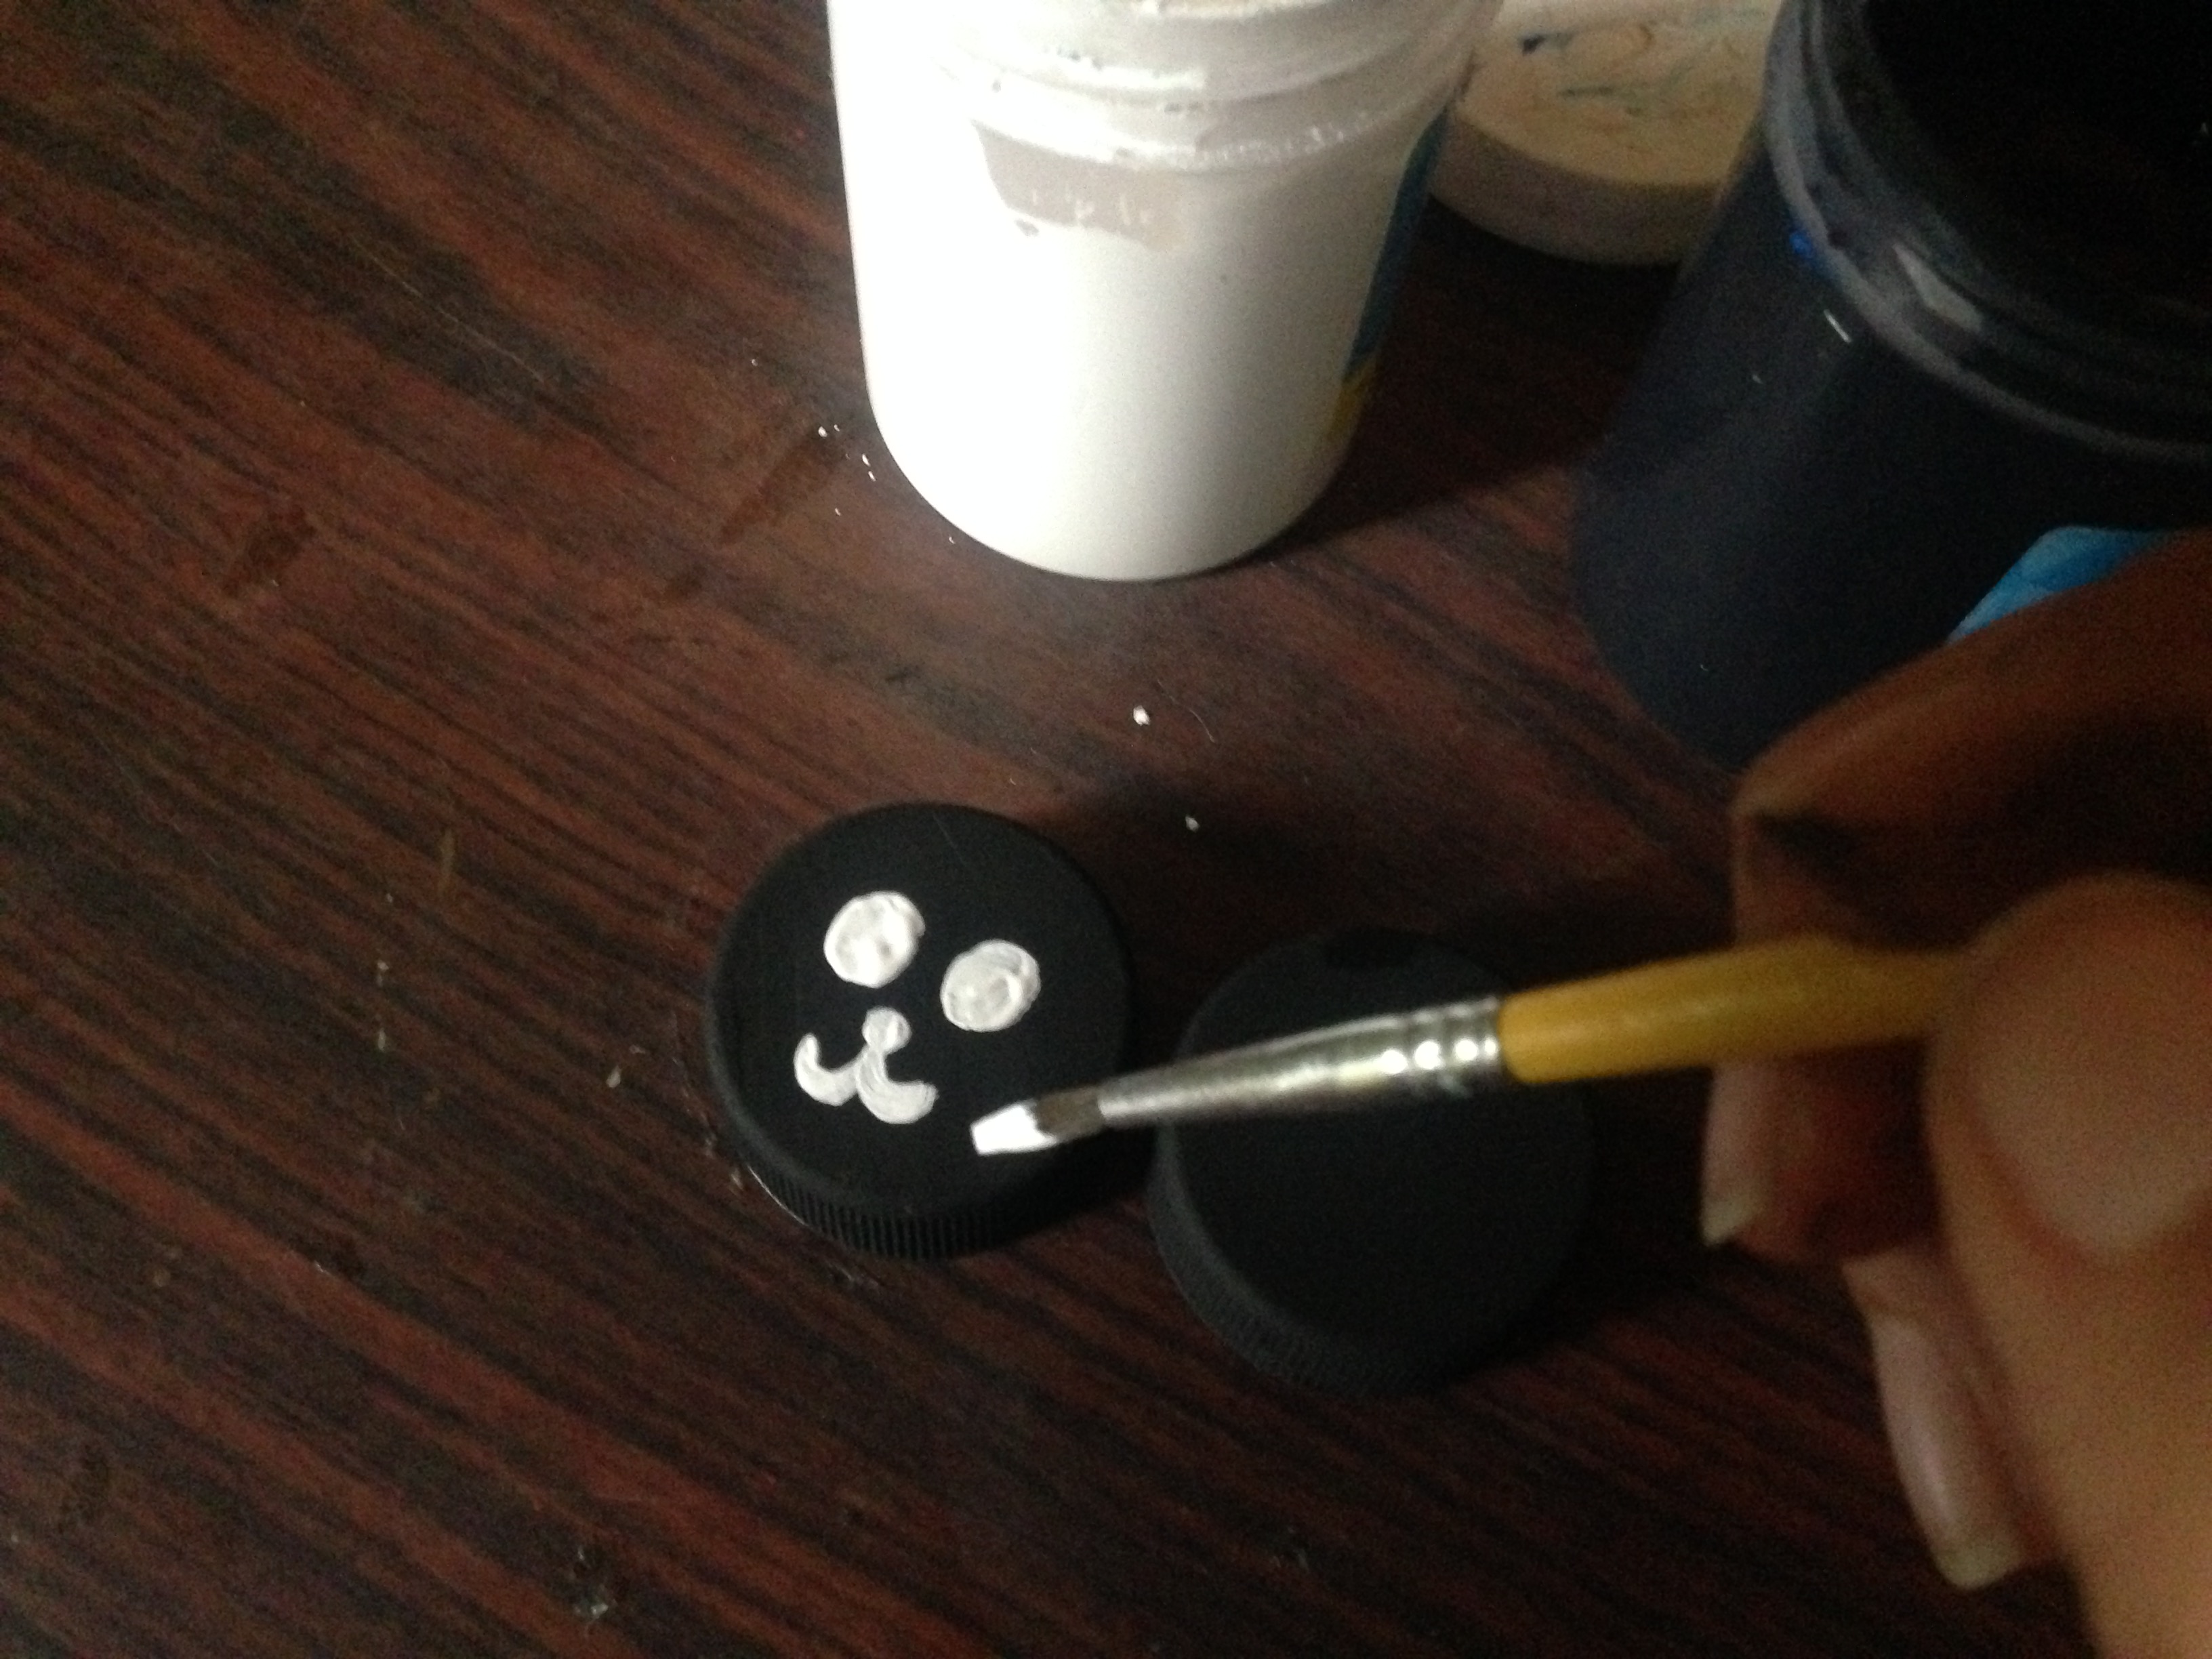
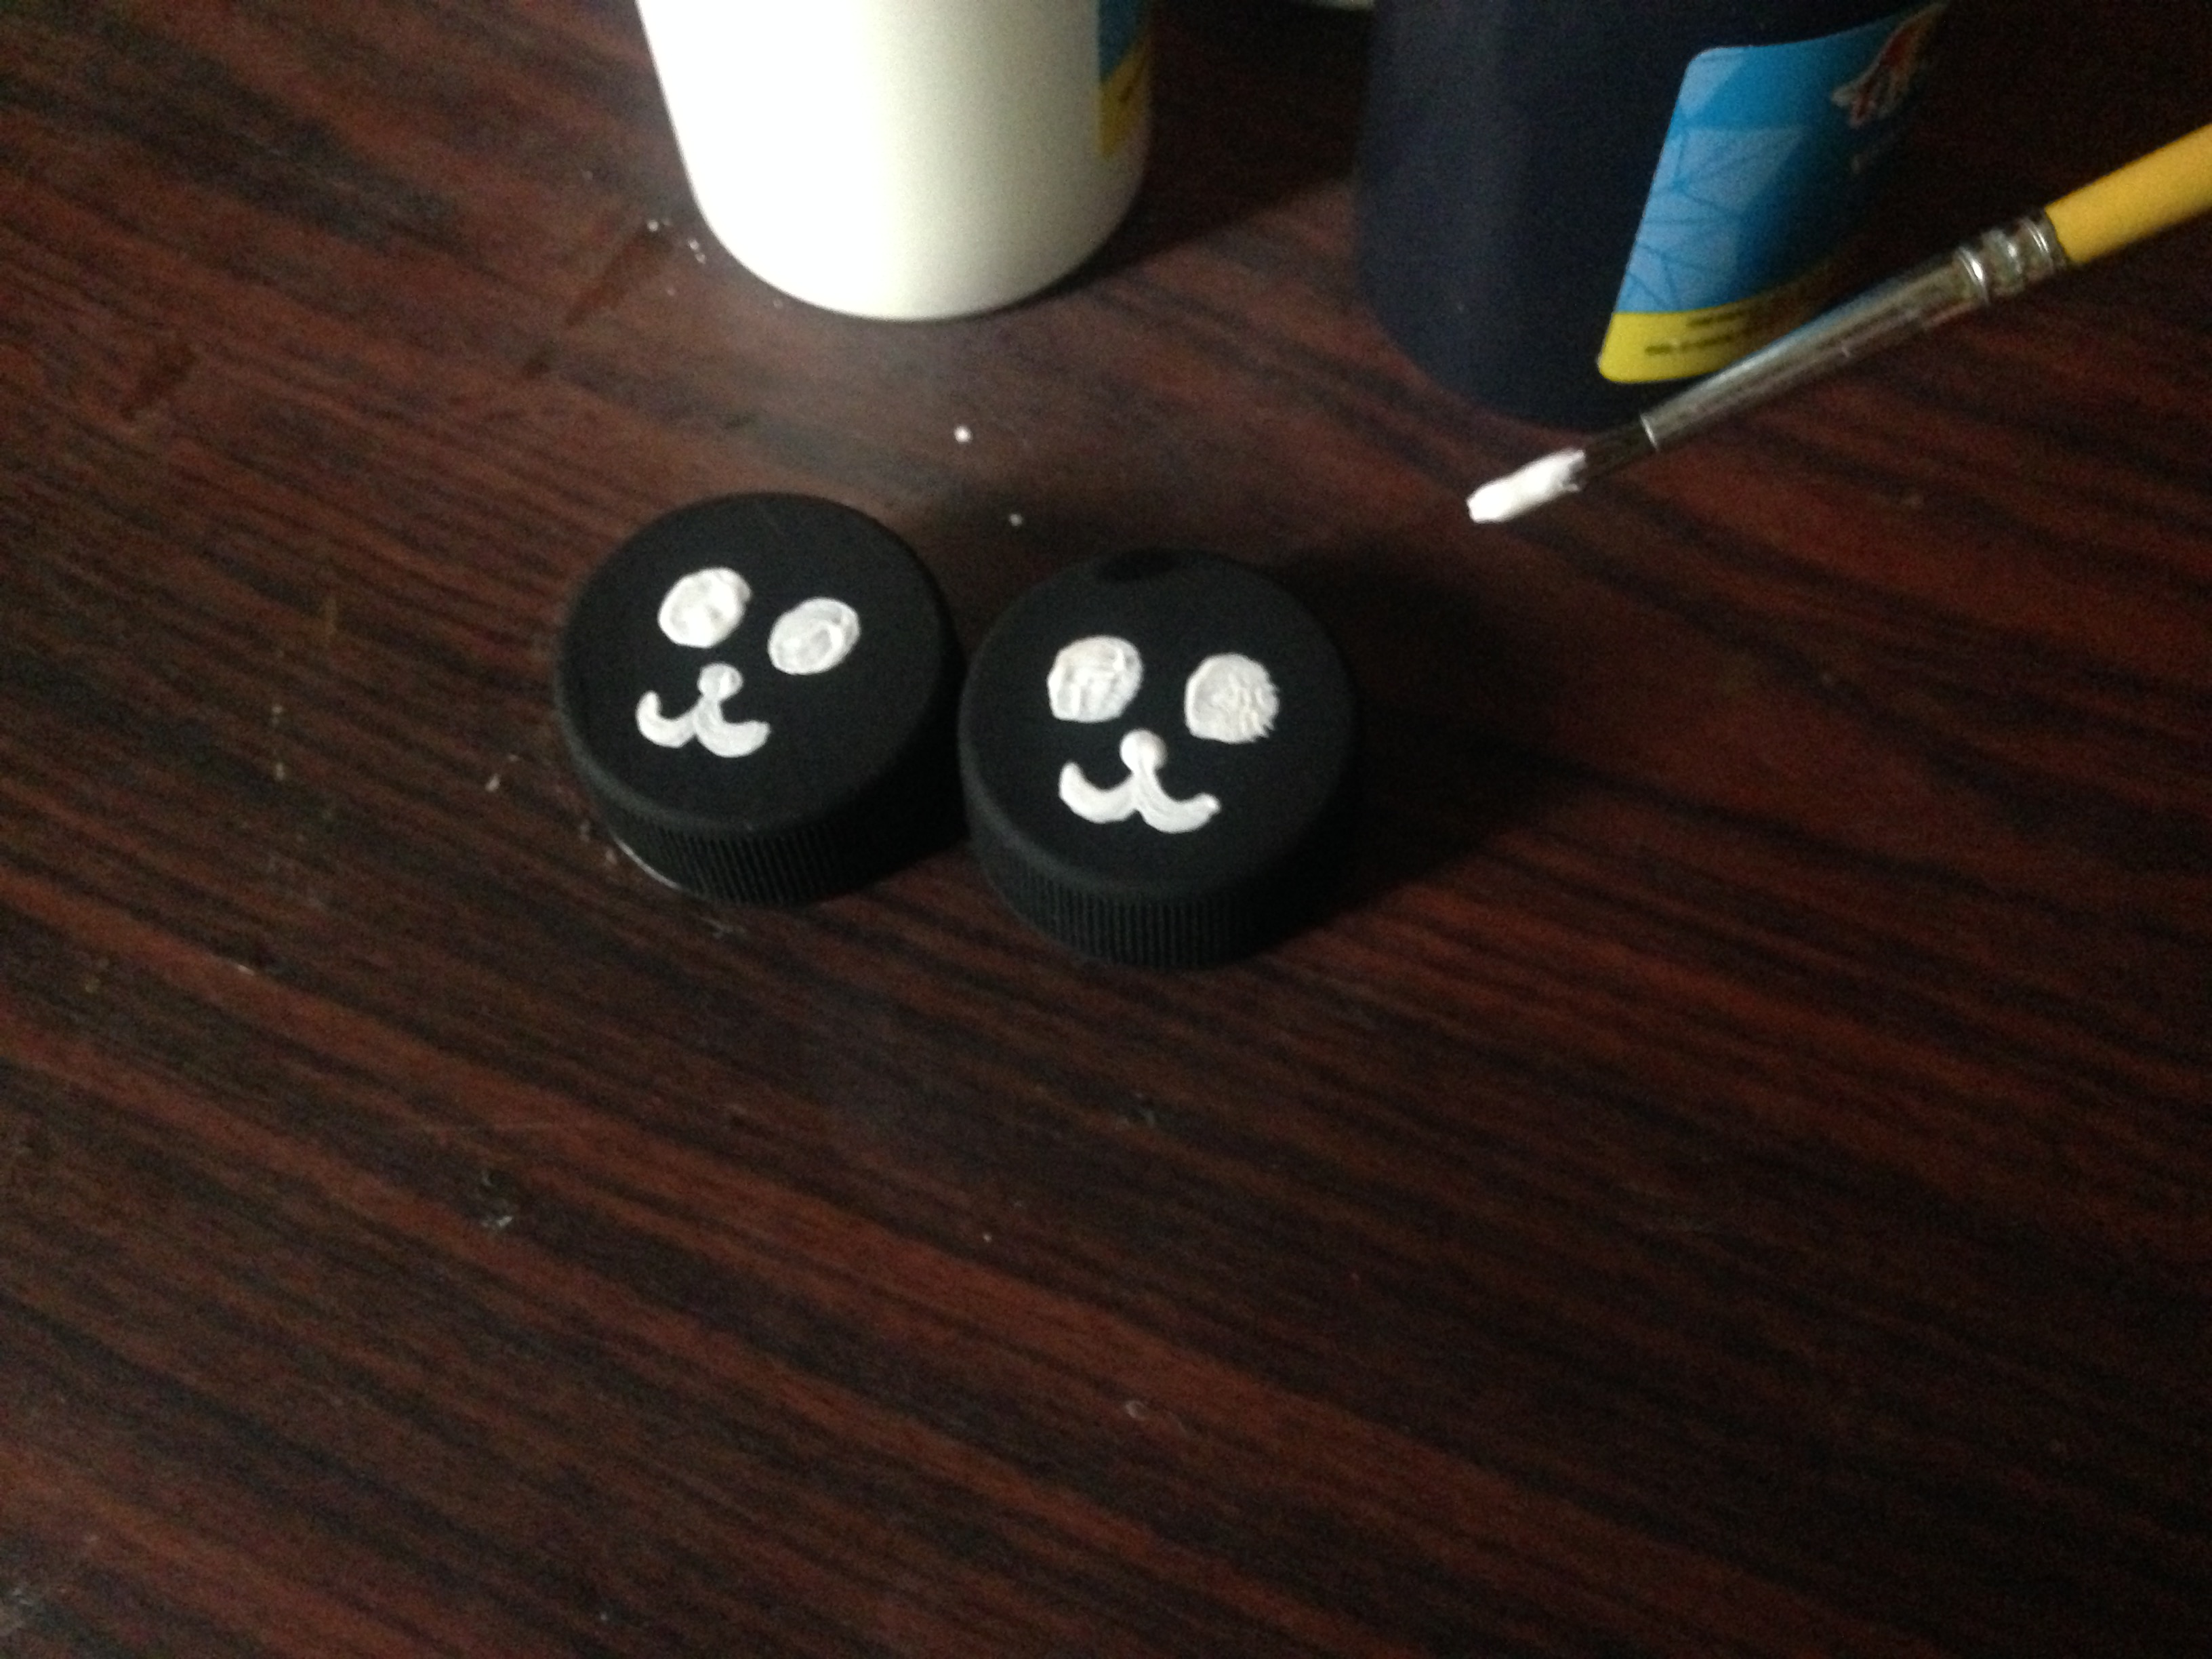
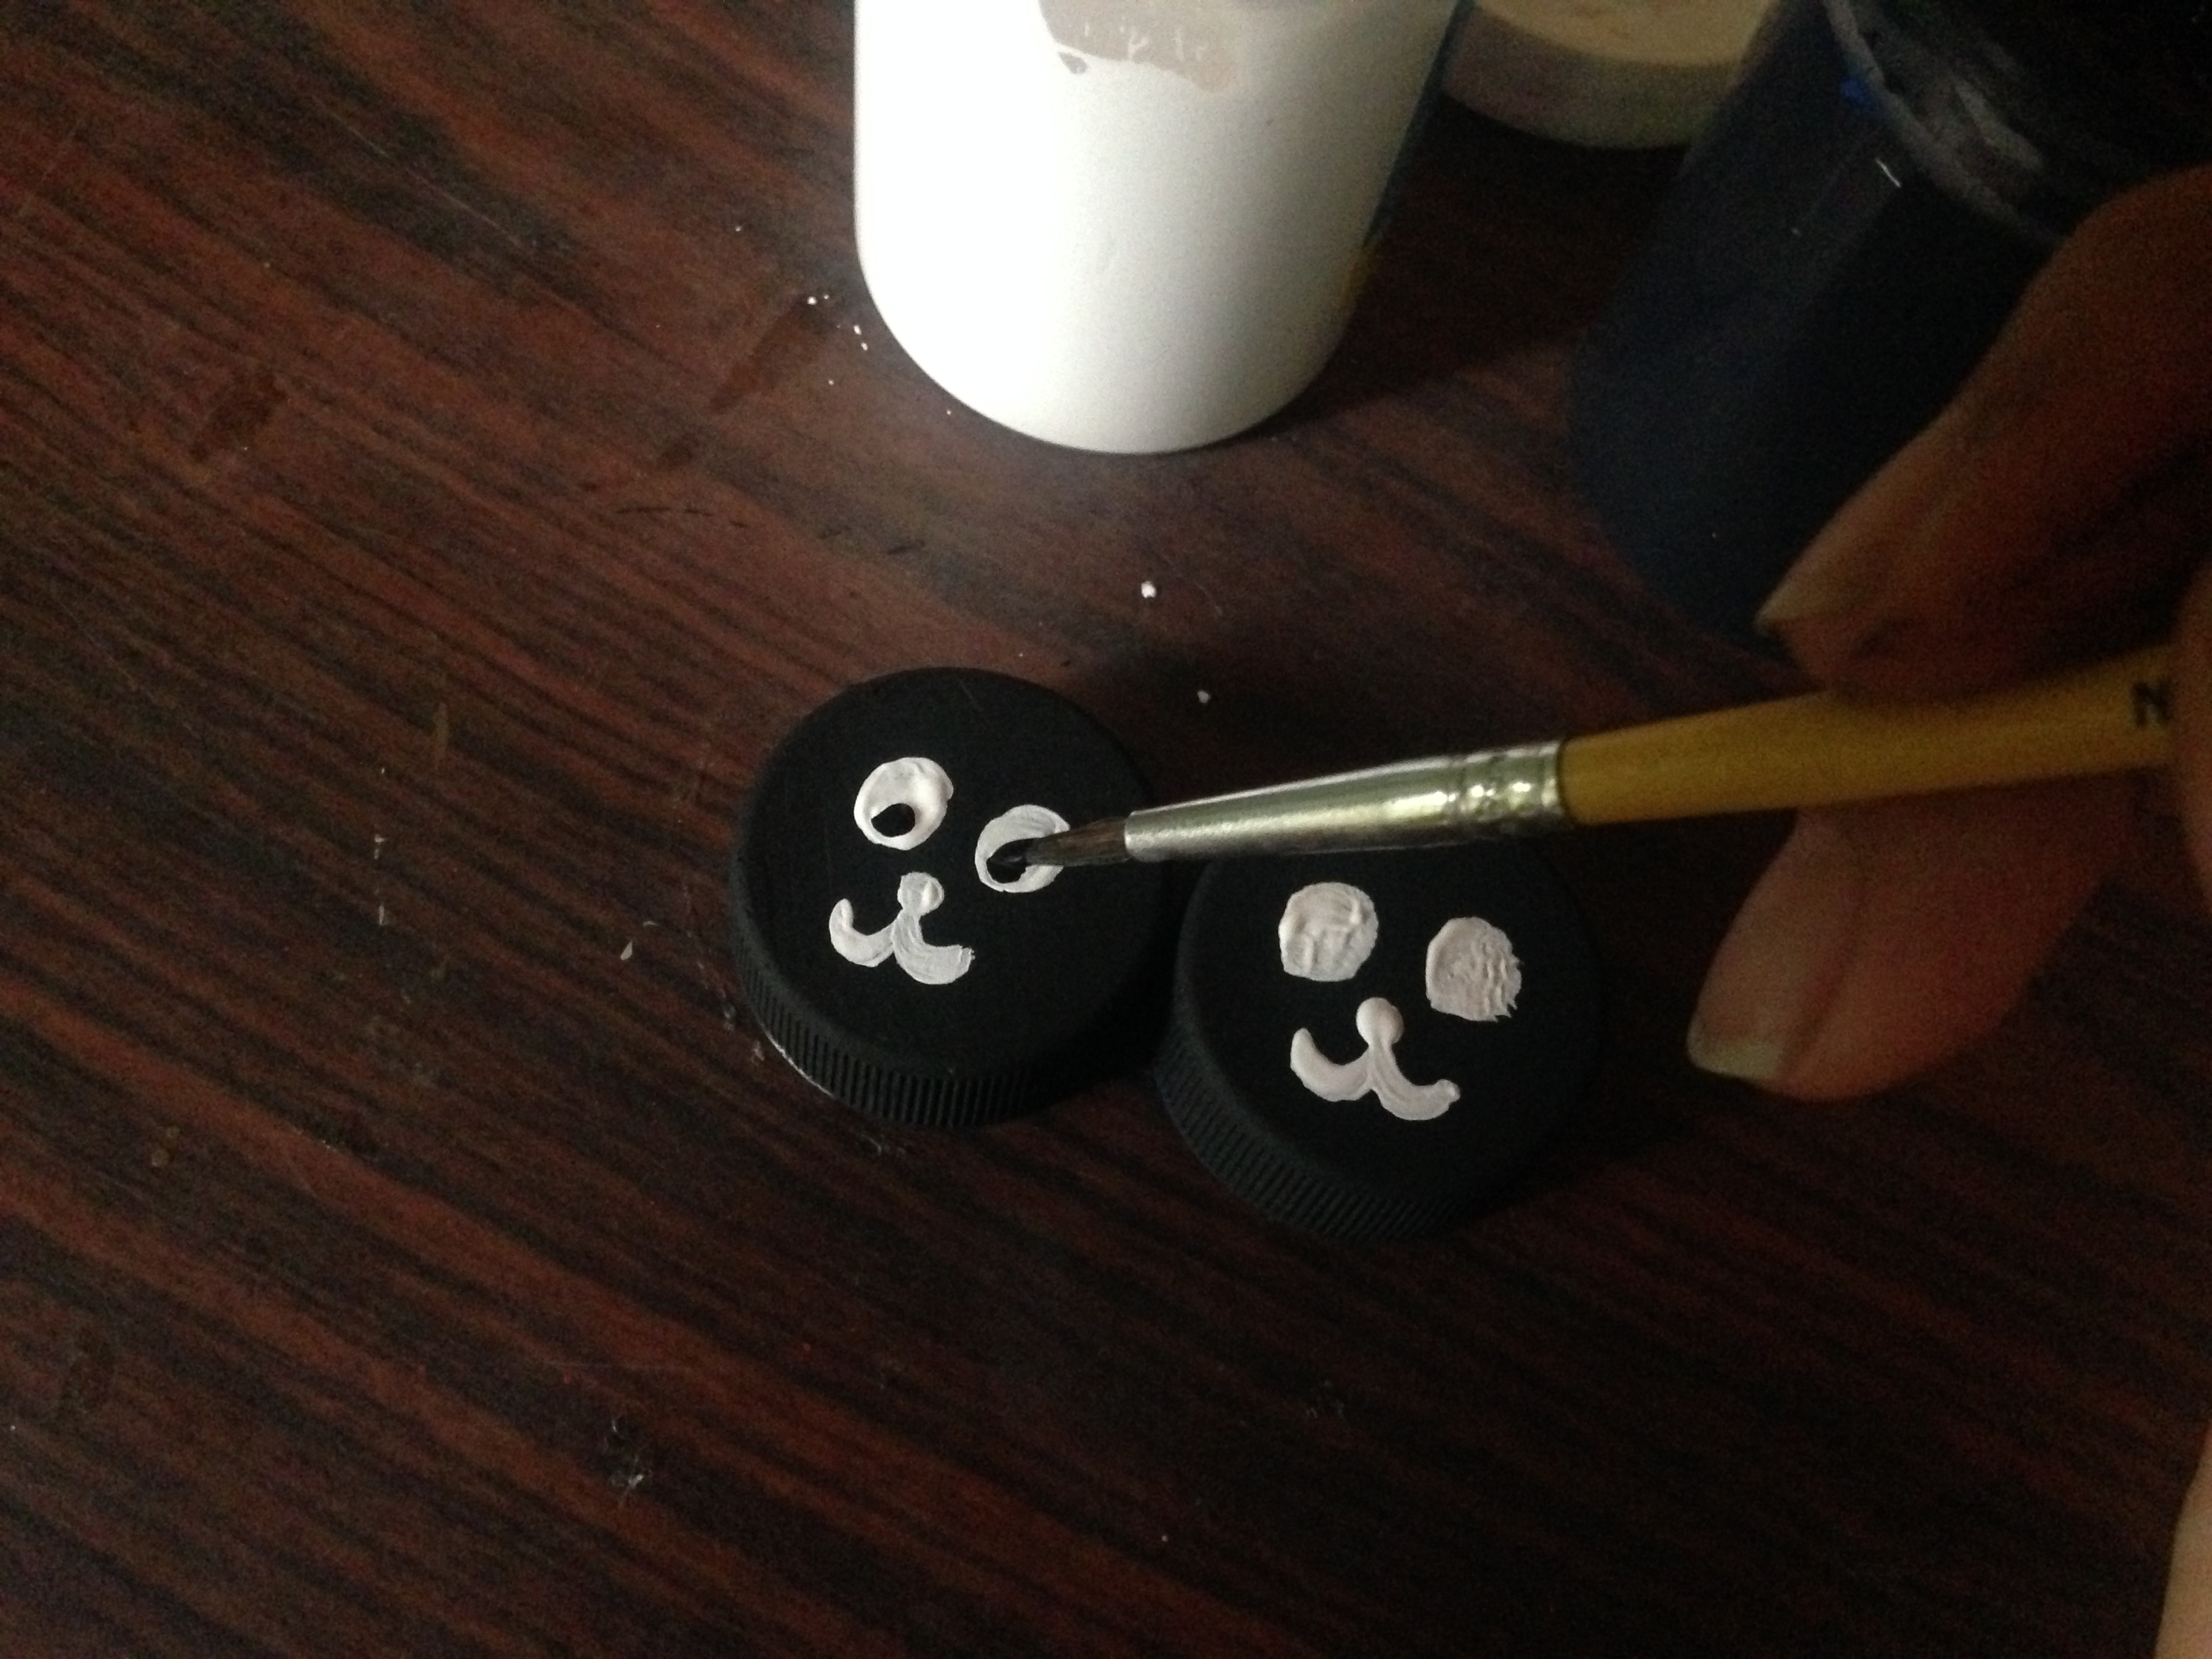
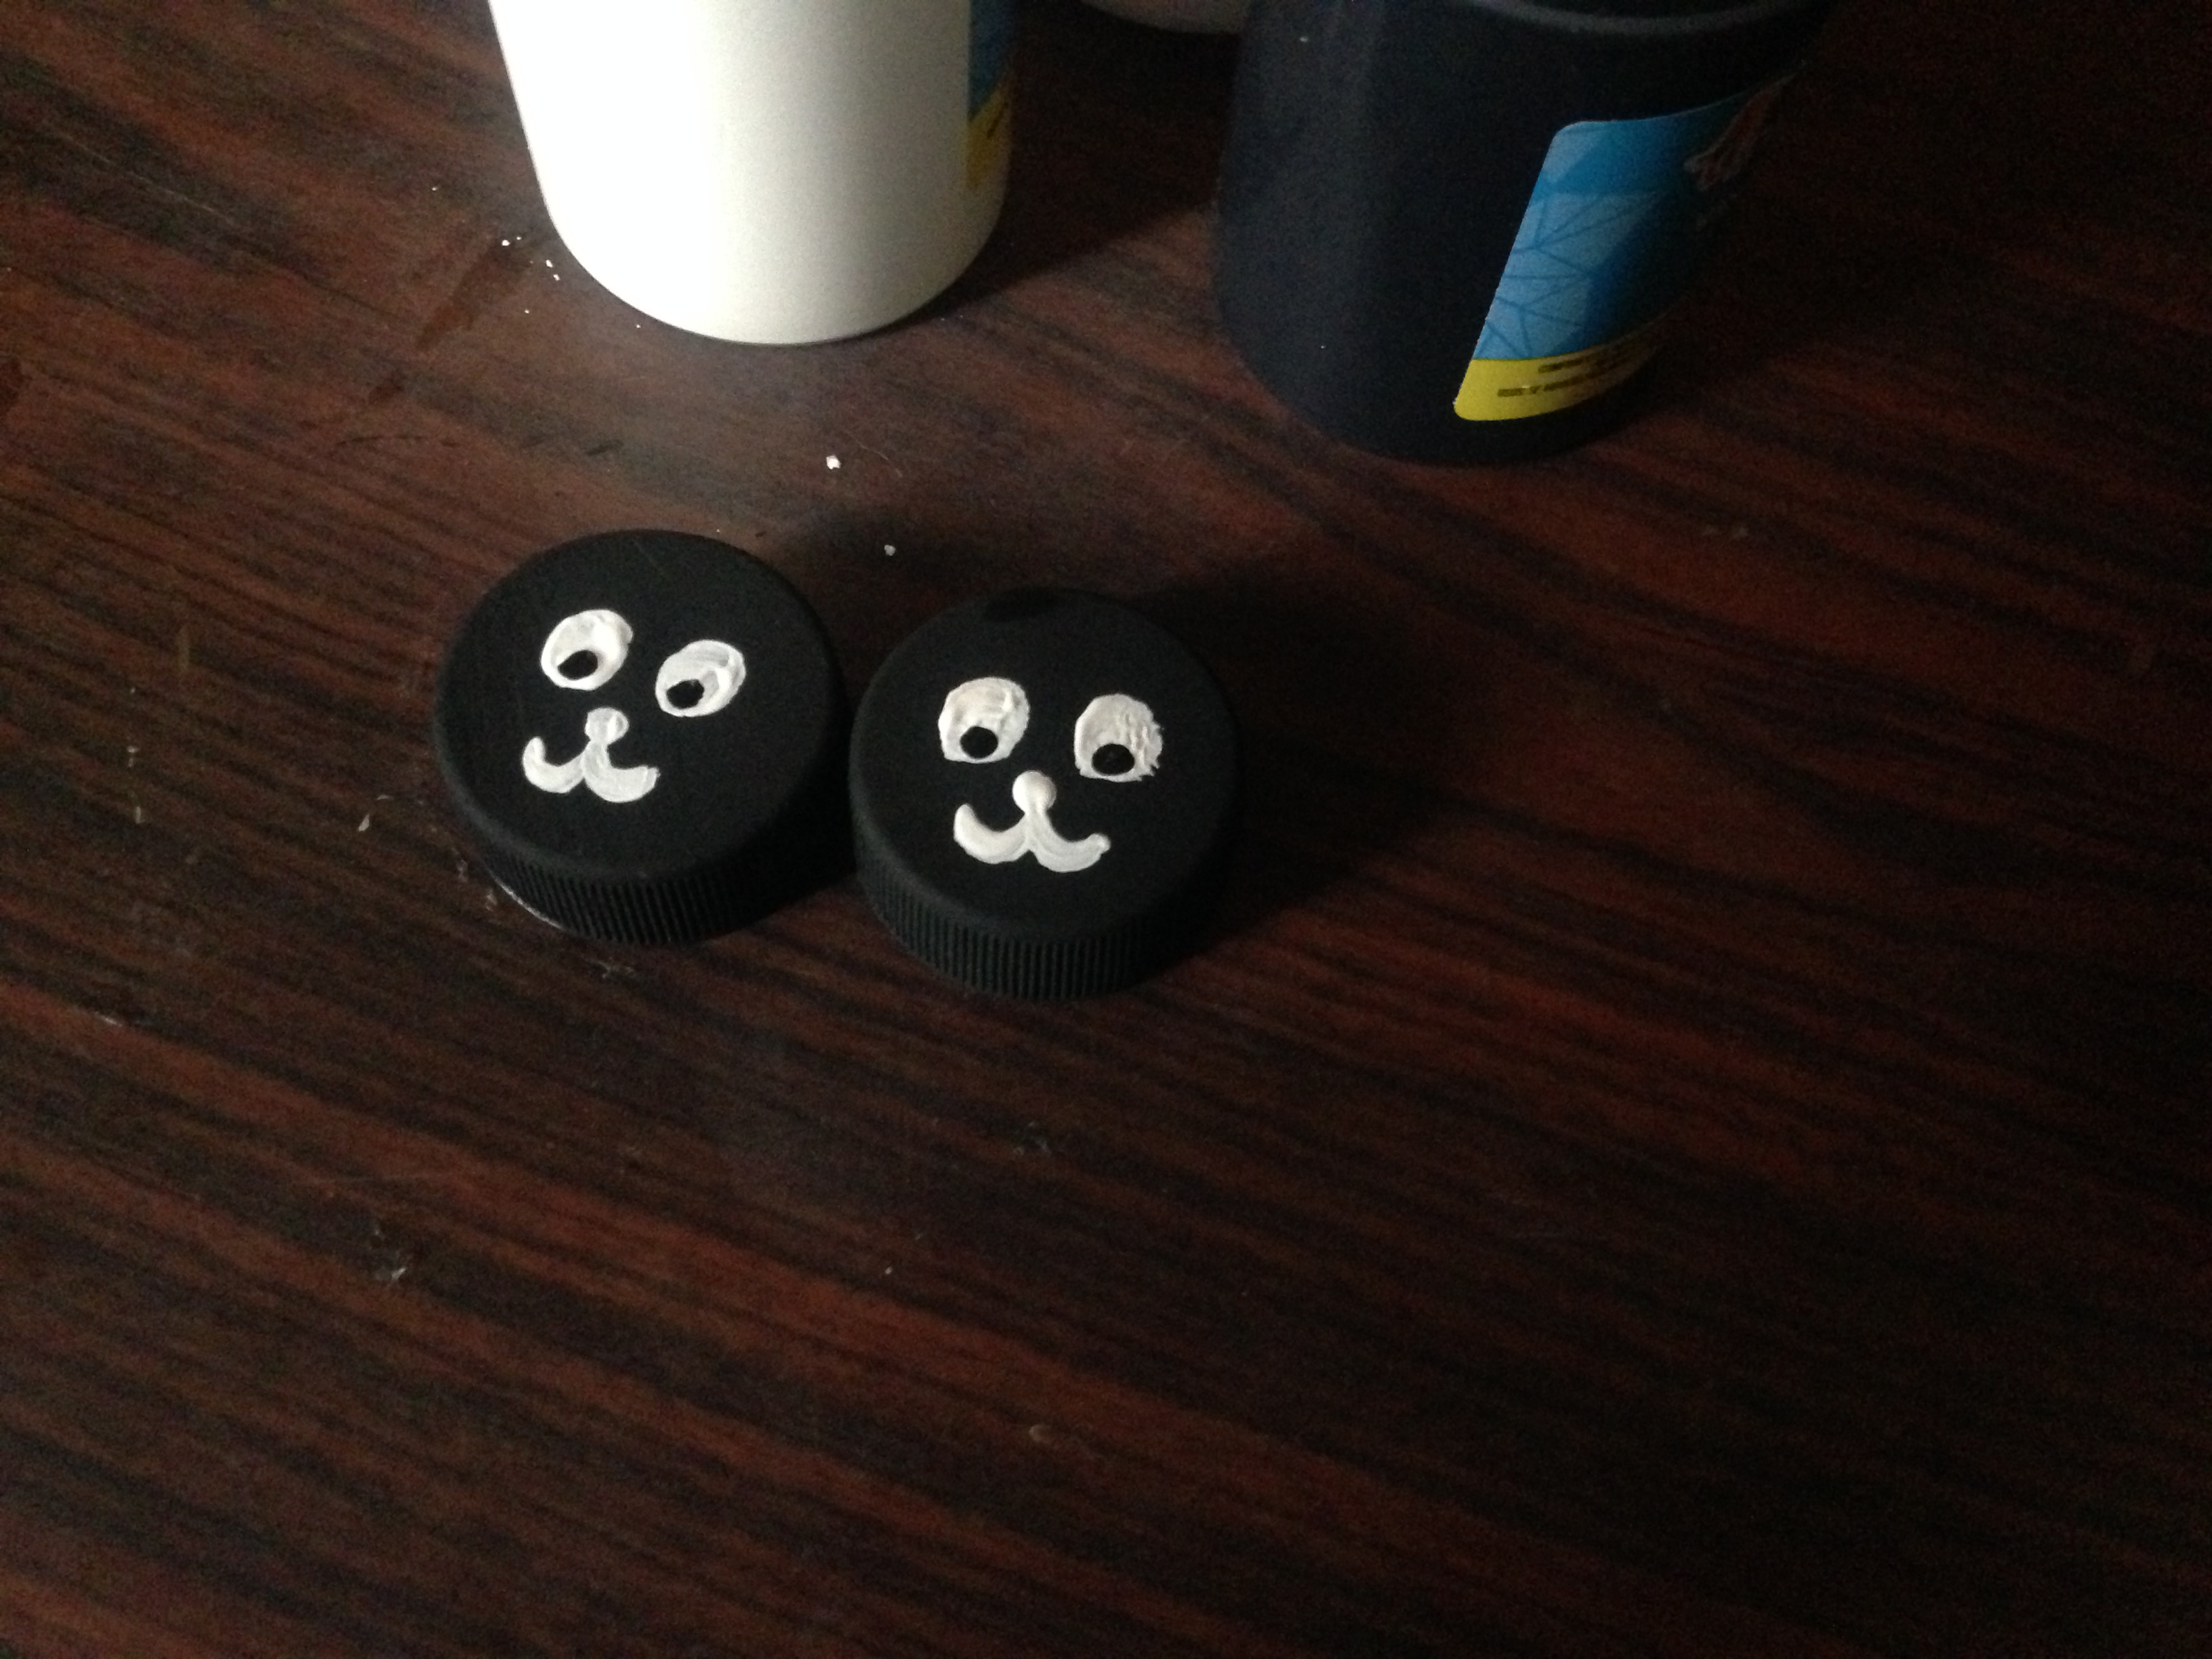
Paso 2
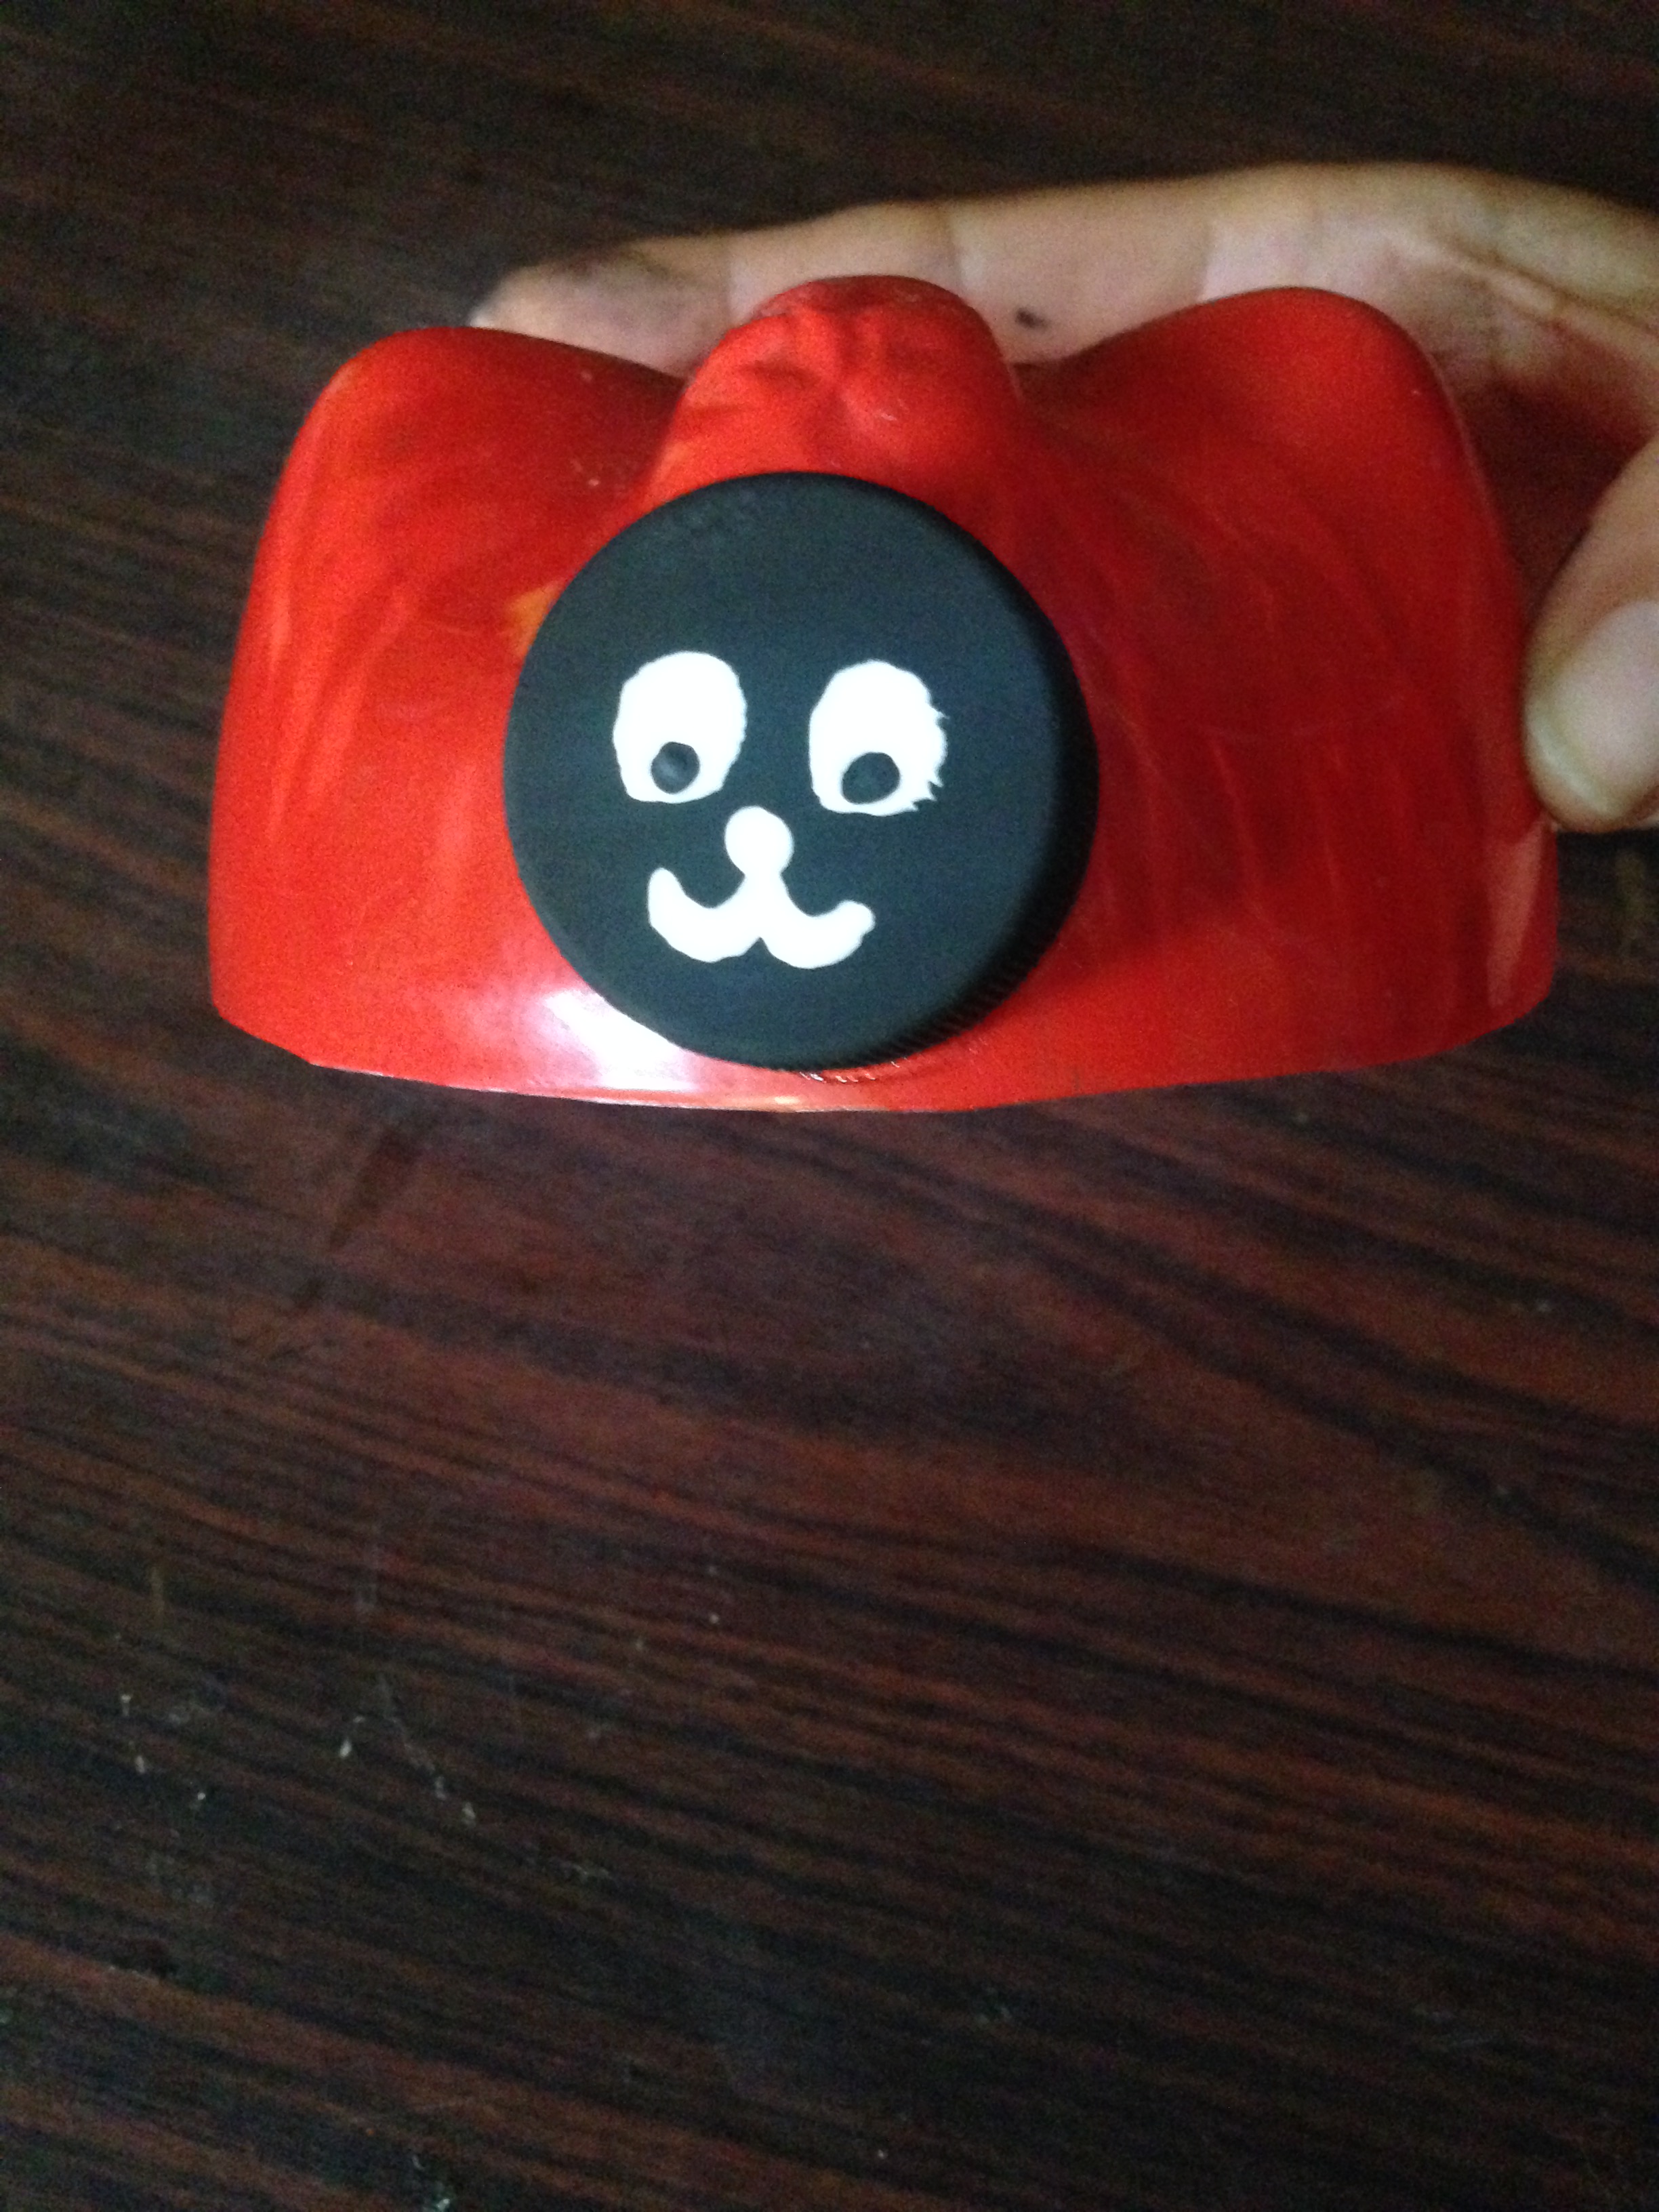
Luego pintaremos de negro nuestras tapas plásticas y una vez secas les pintaremos su carita, primero los ojos de blanco y un punto negro y luego la nariz y la boca de color blanco
Step 2
Then we will paint our plastic caps black and once dry we will paint their faces, first the eyes white and a black dot and then the nose and mouth white.
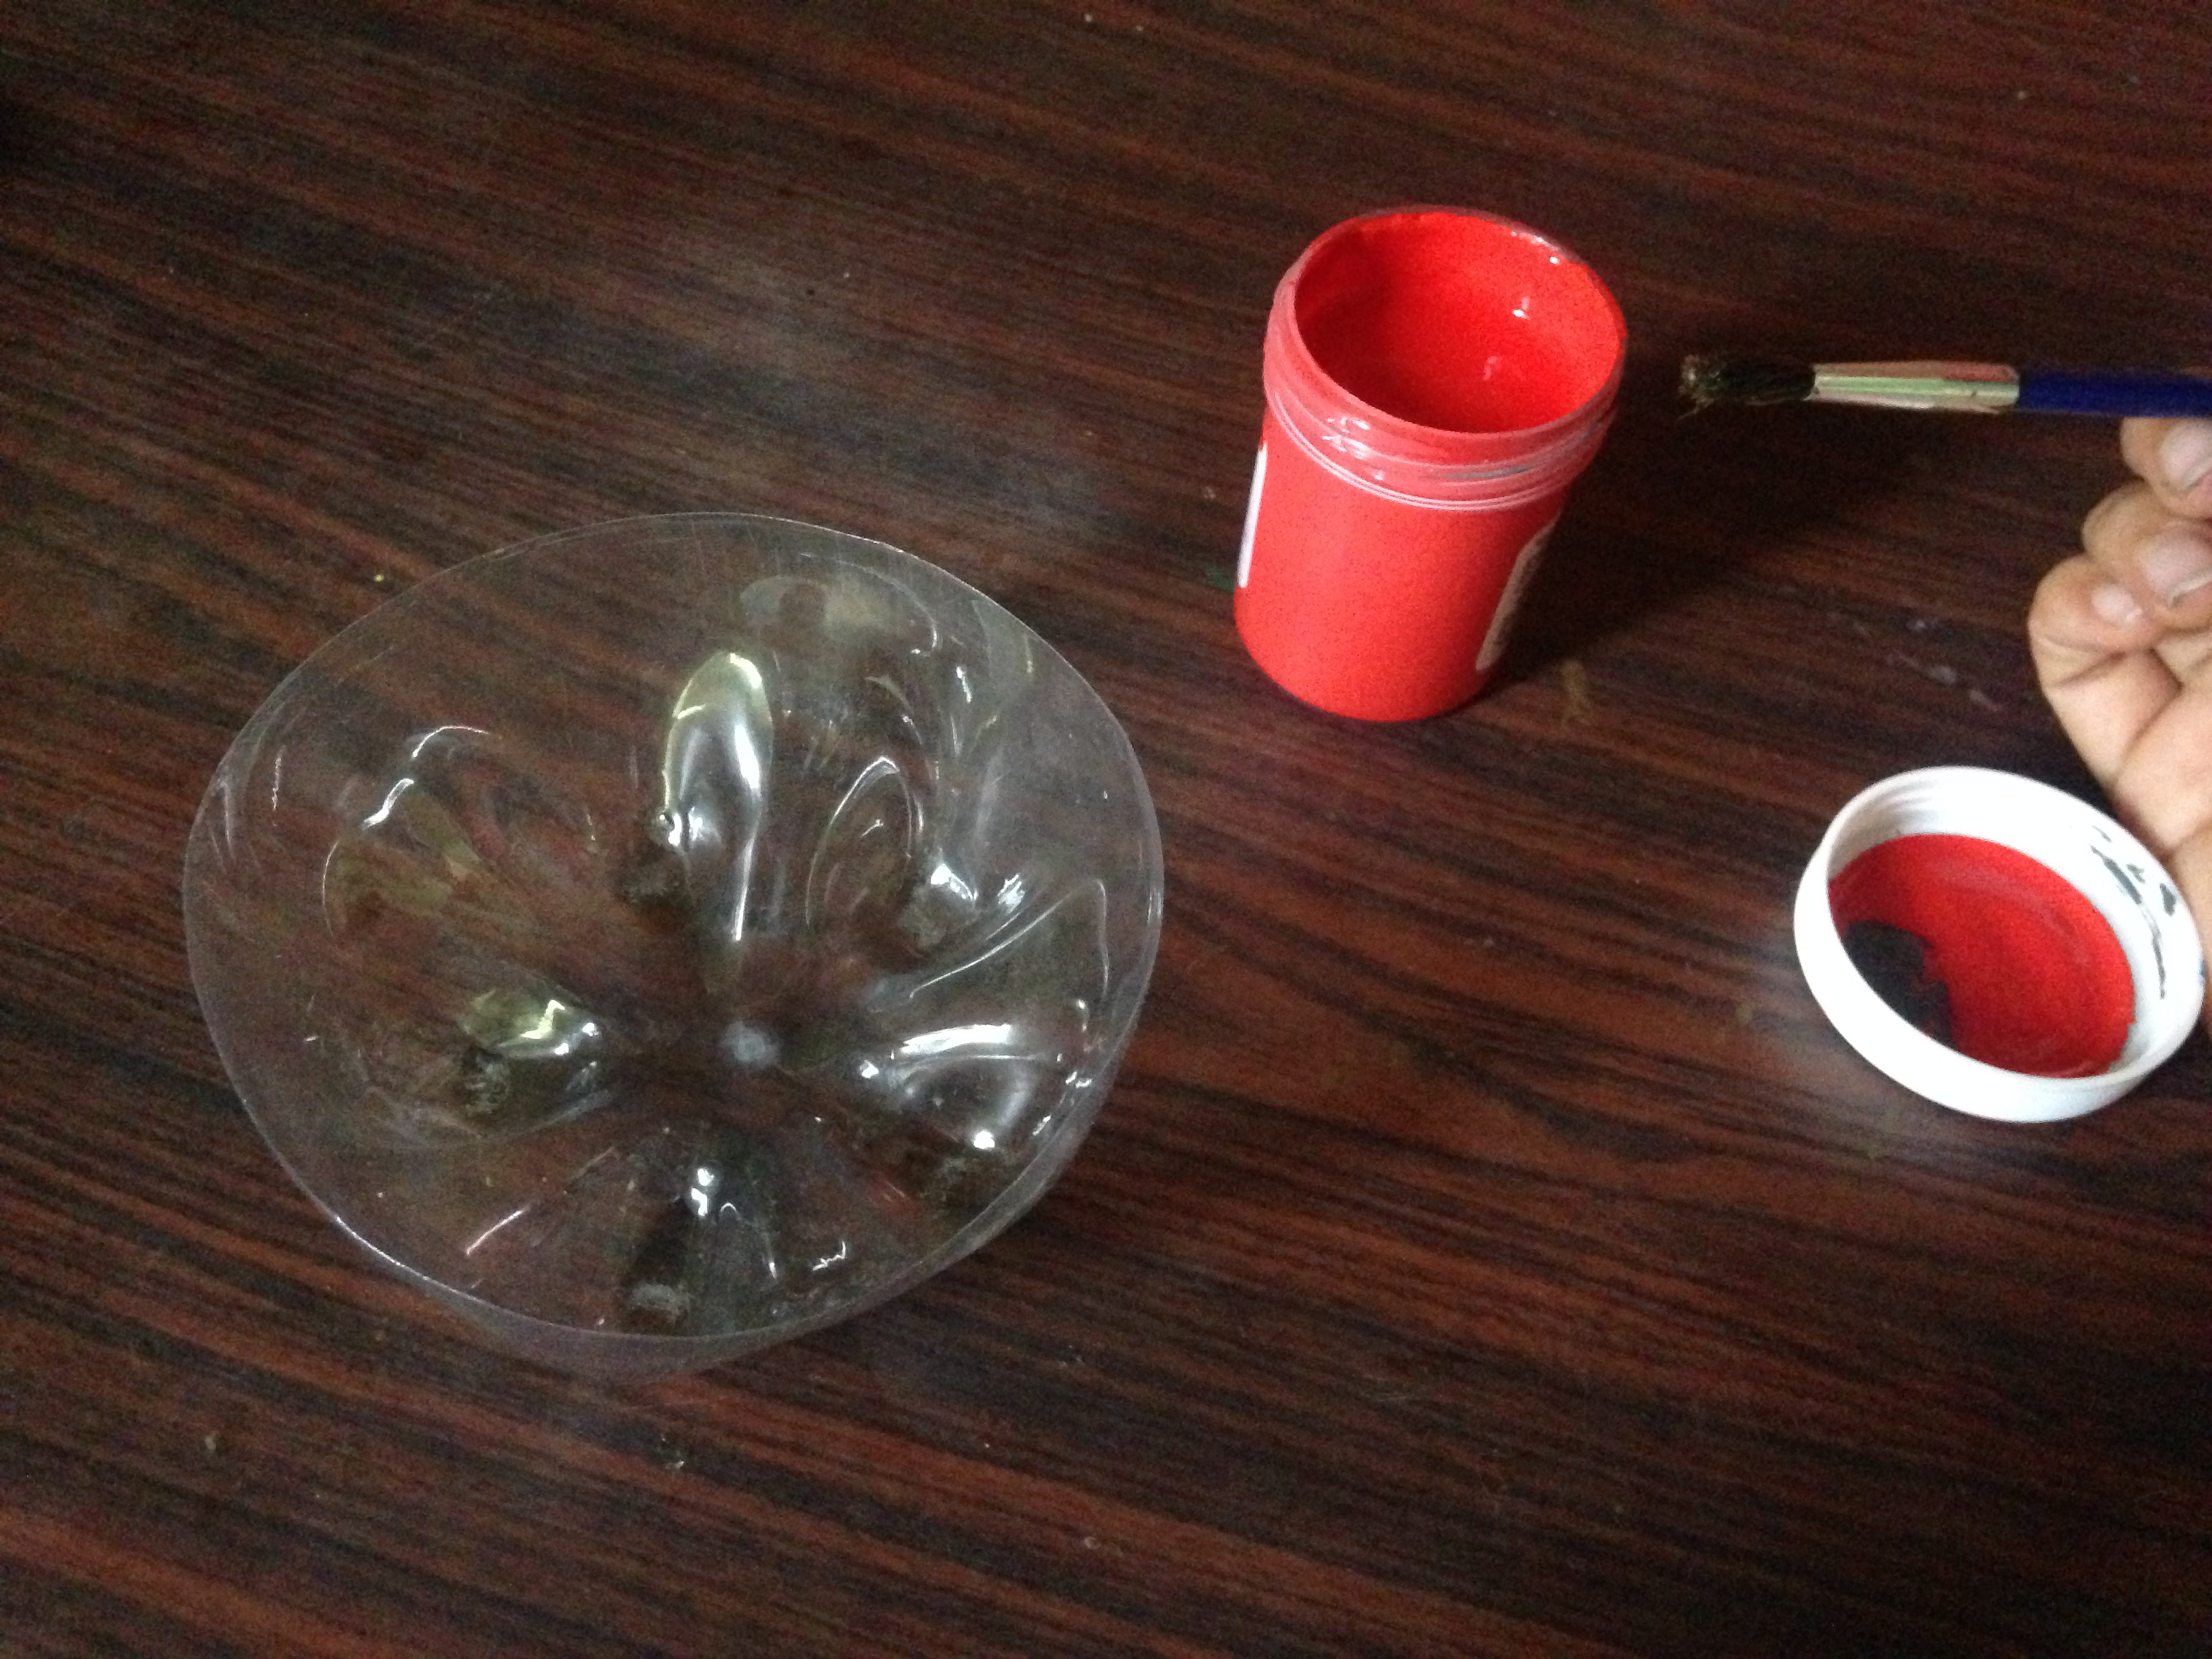
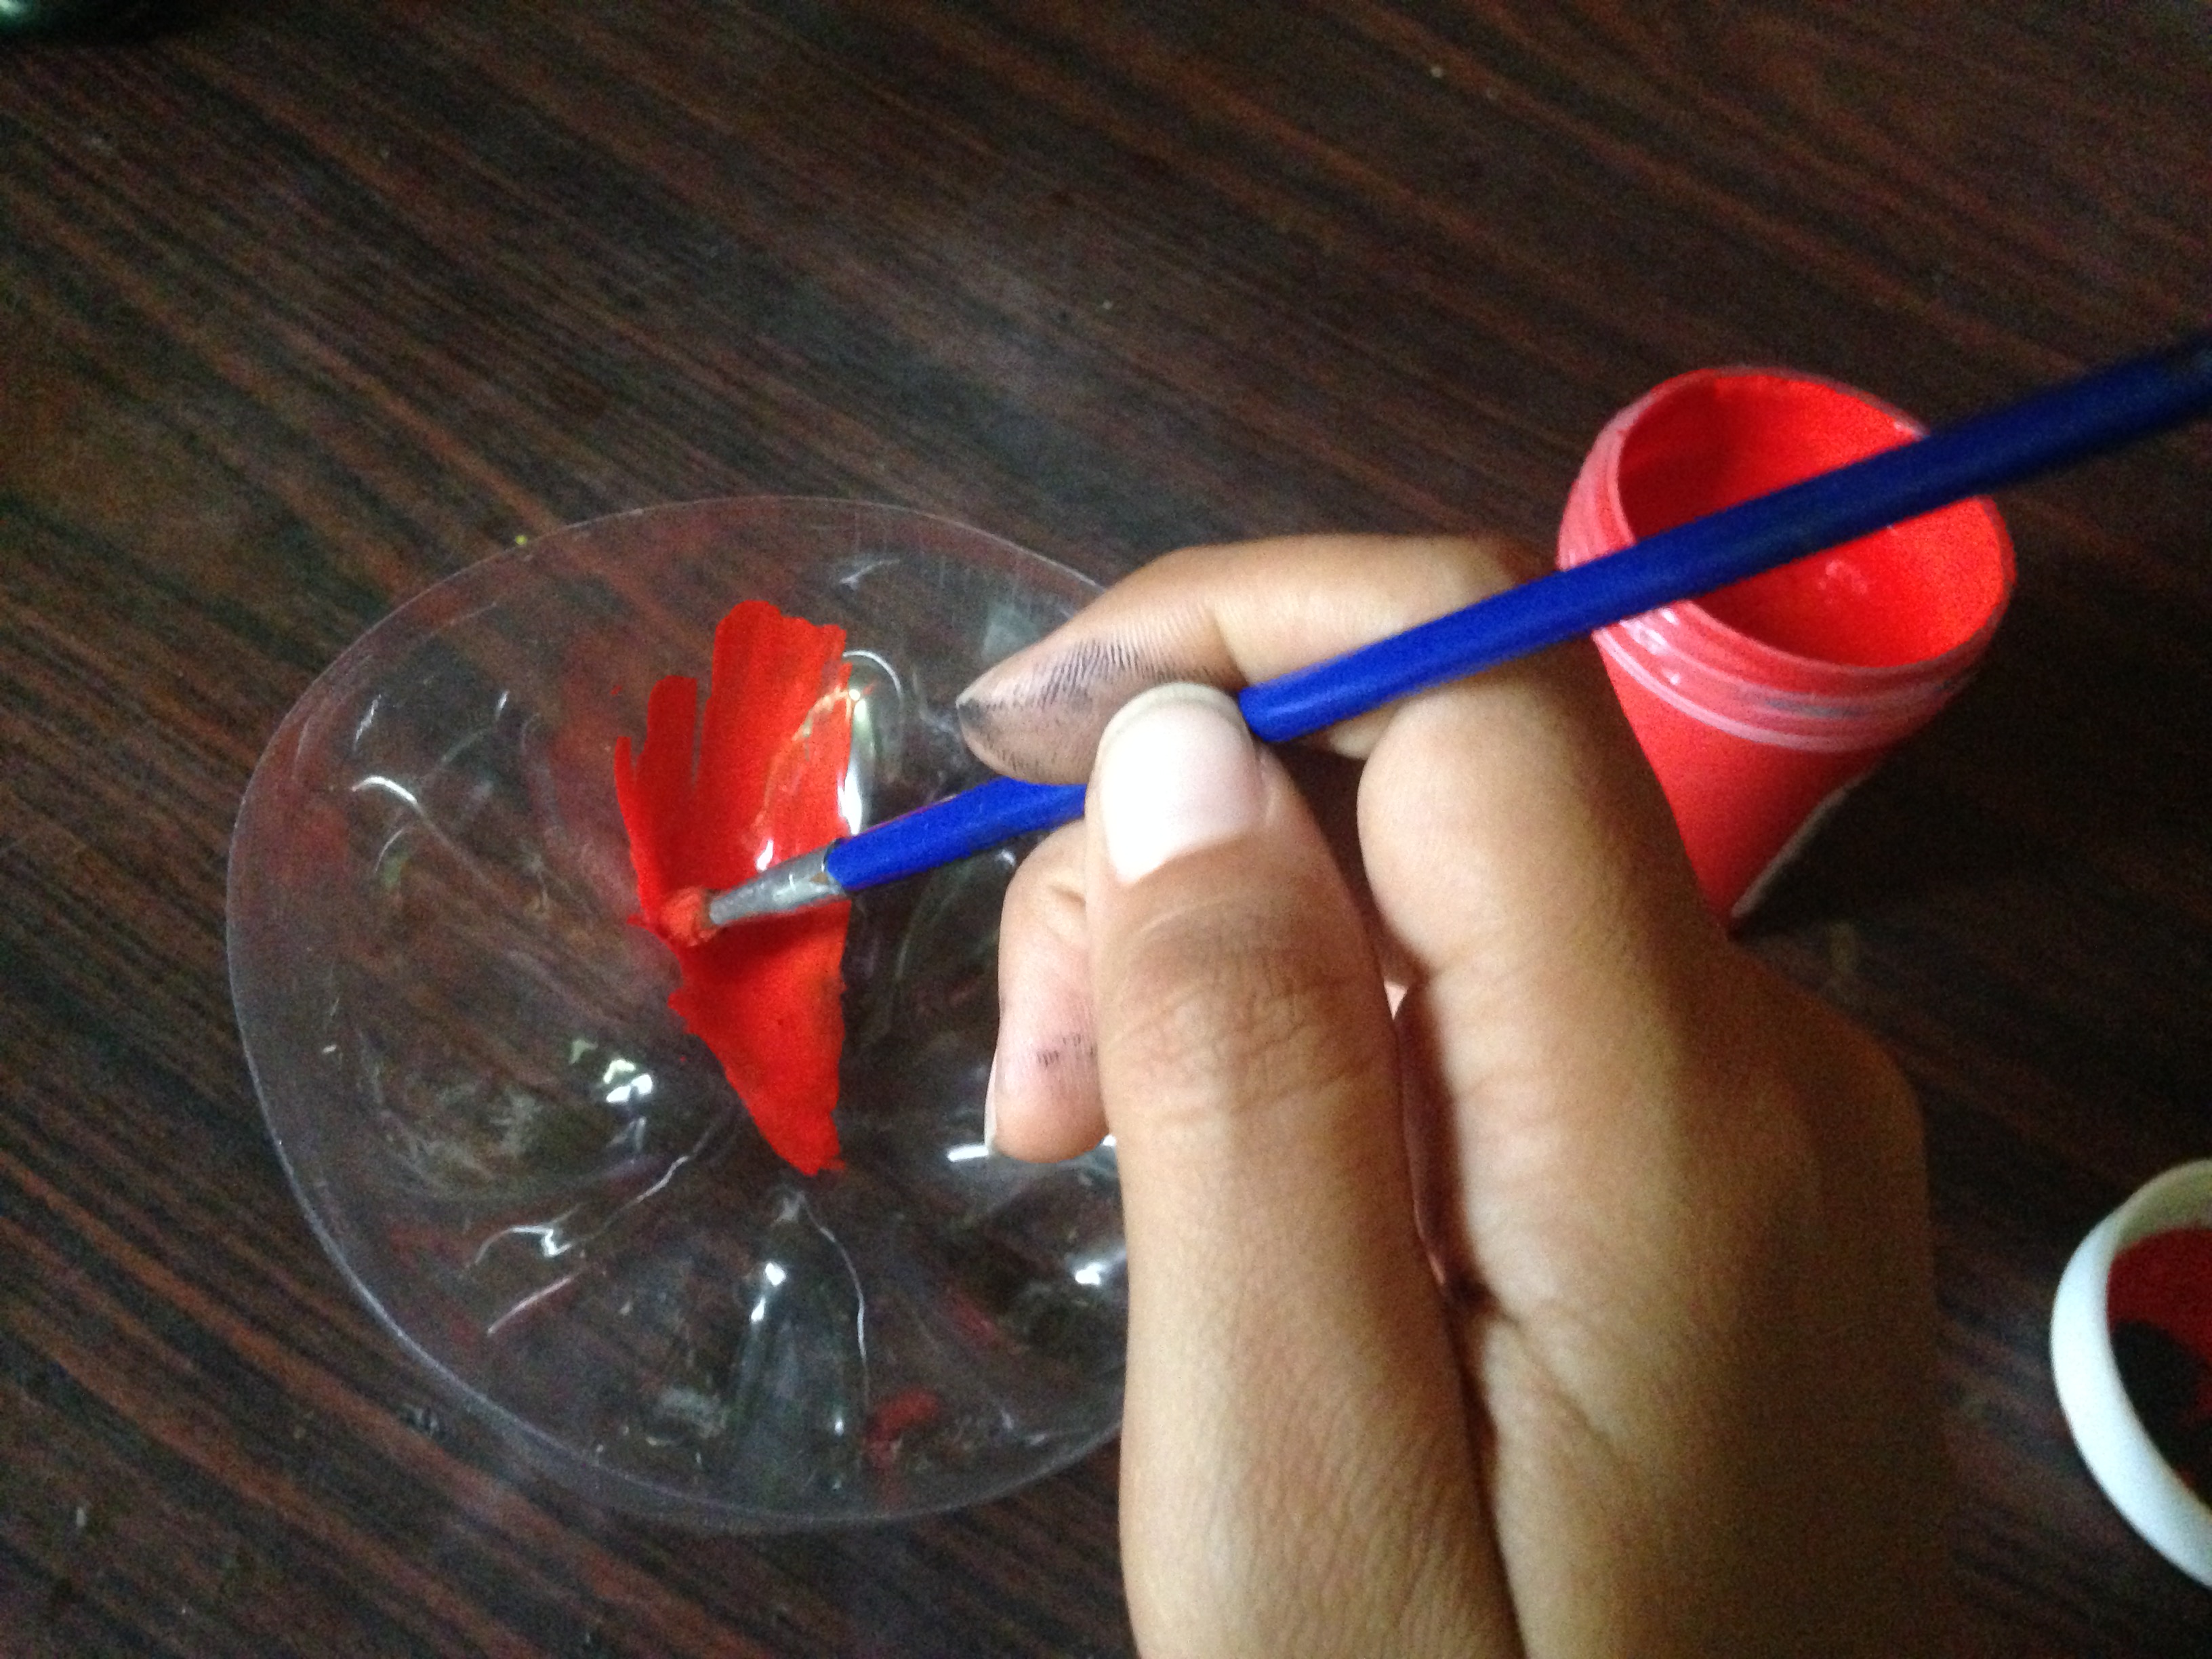
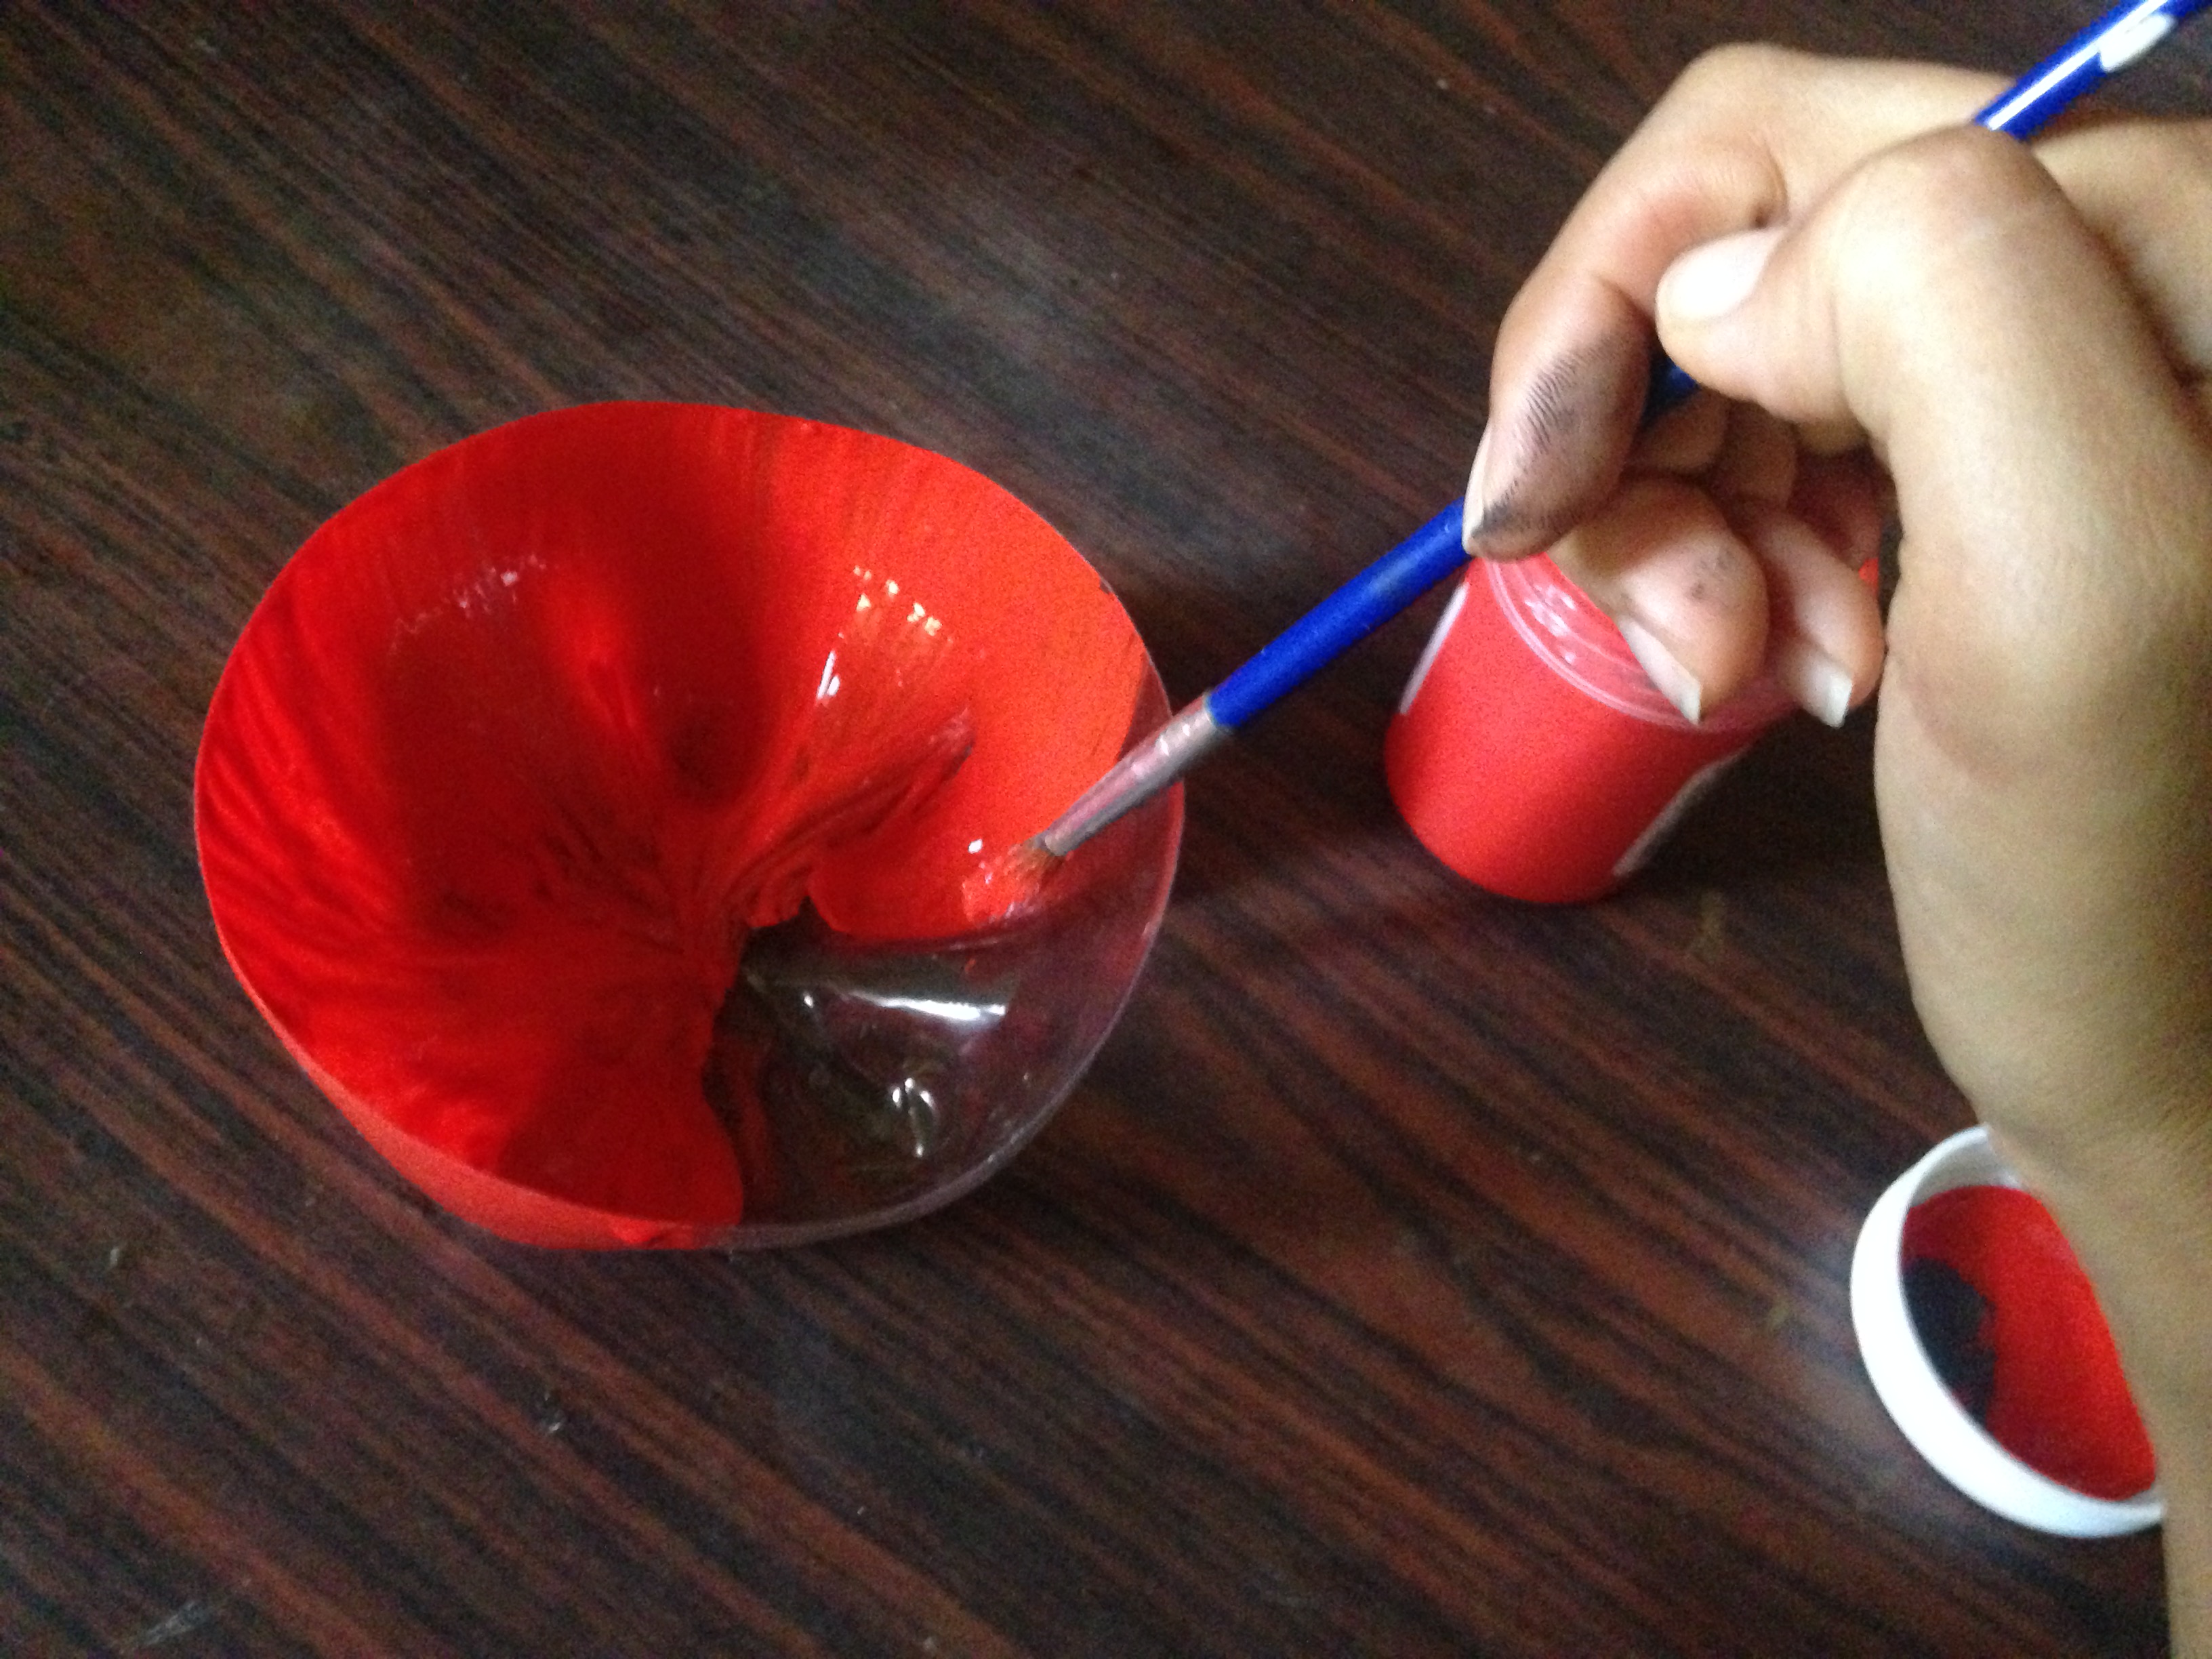
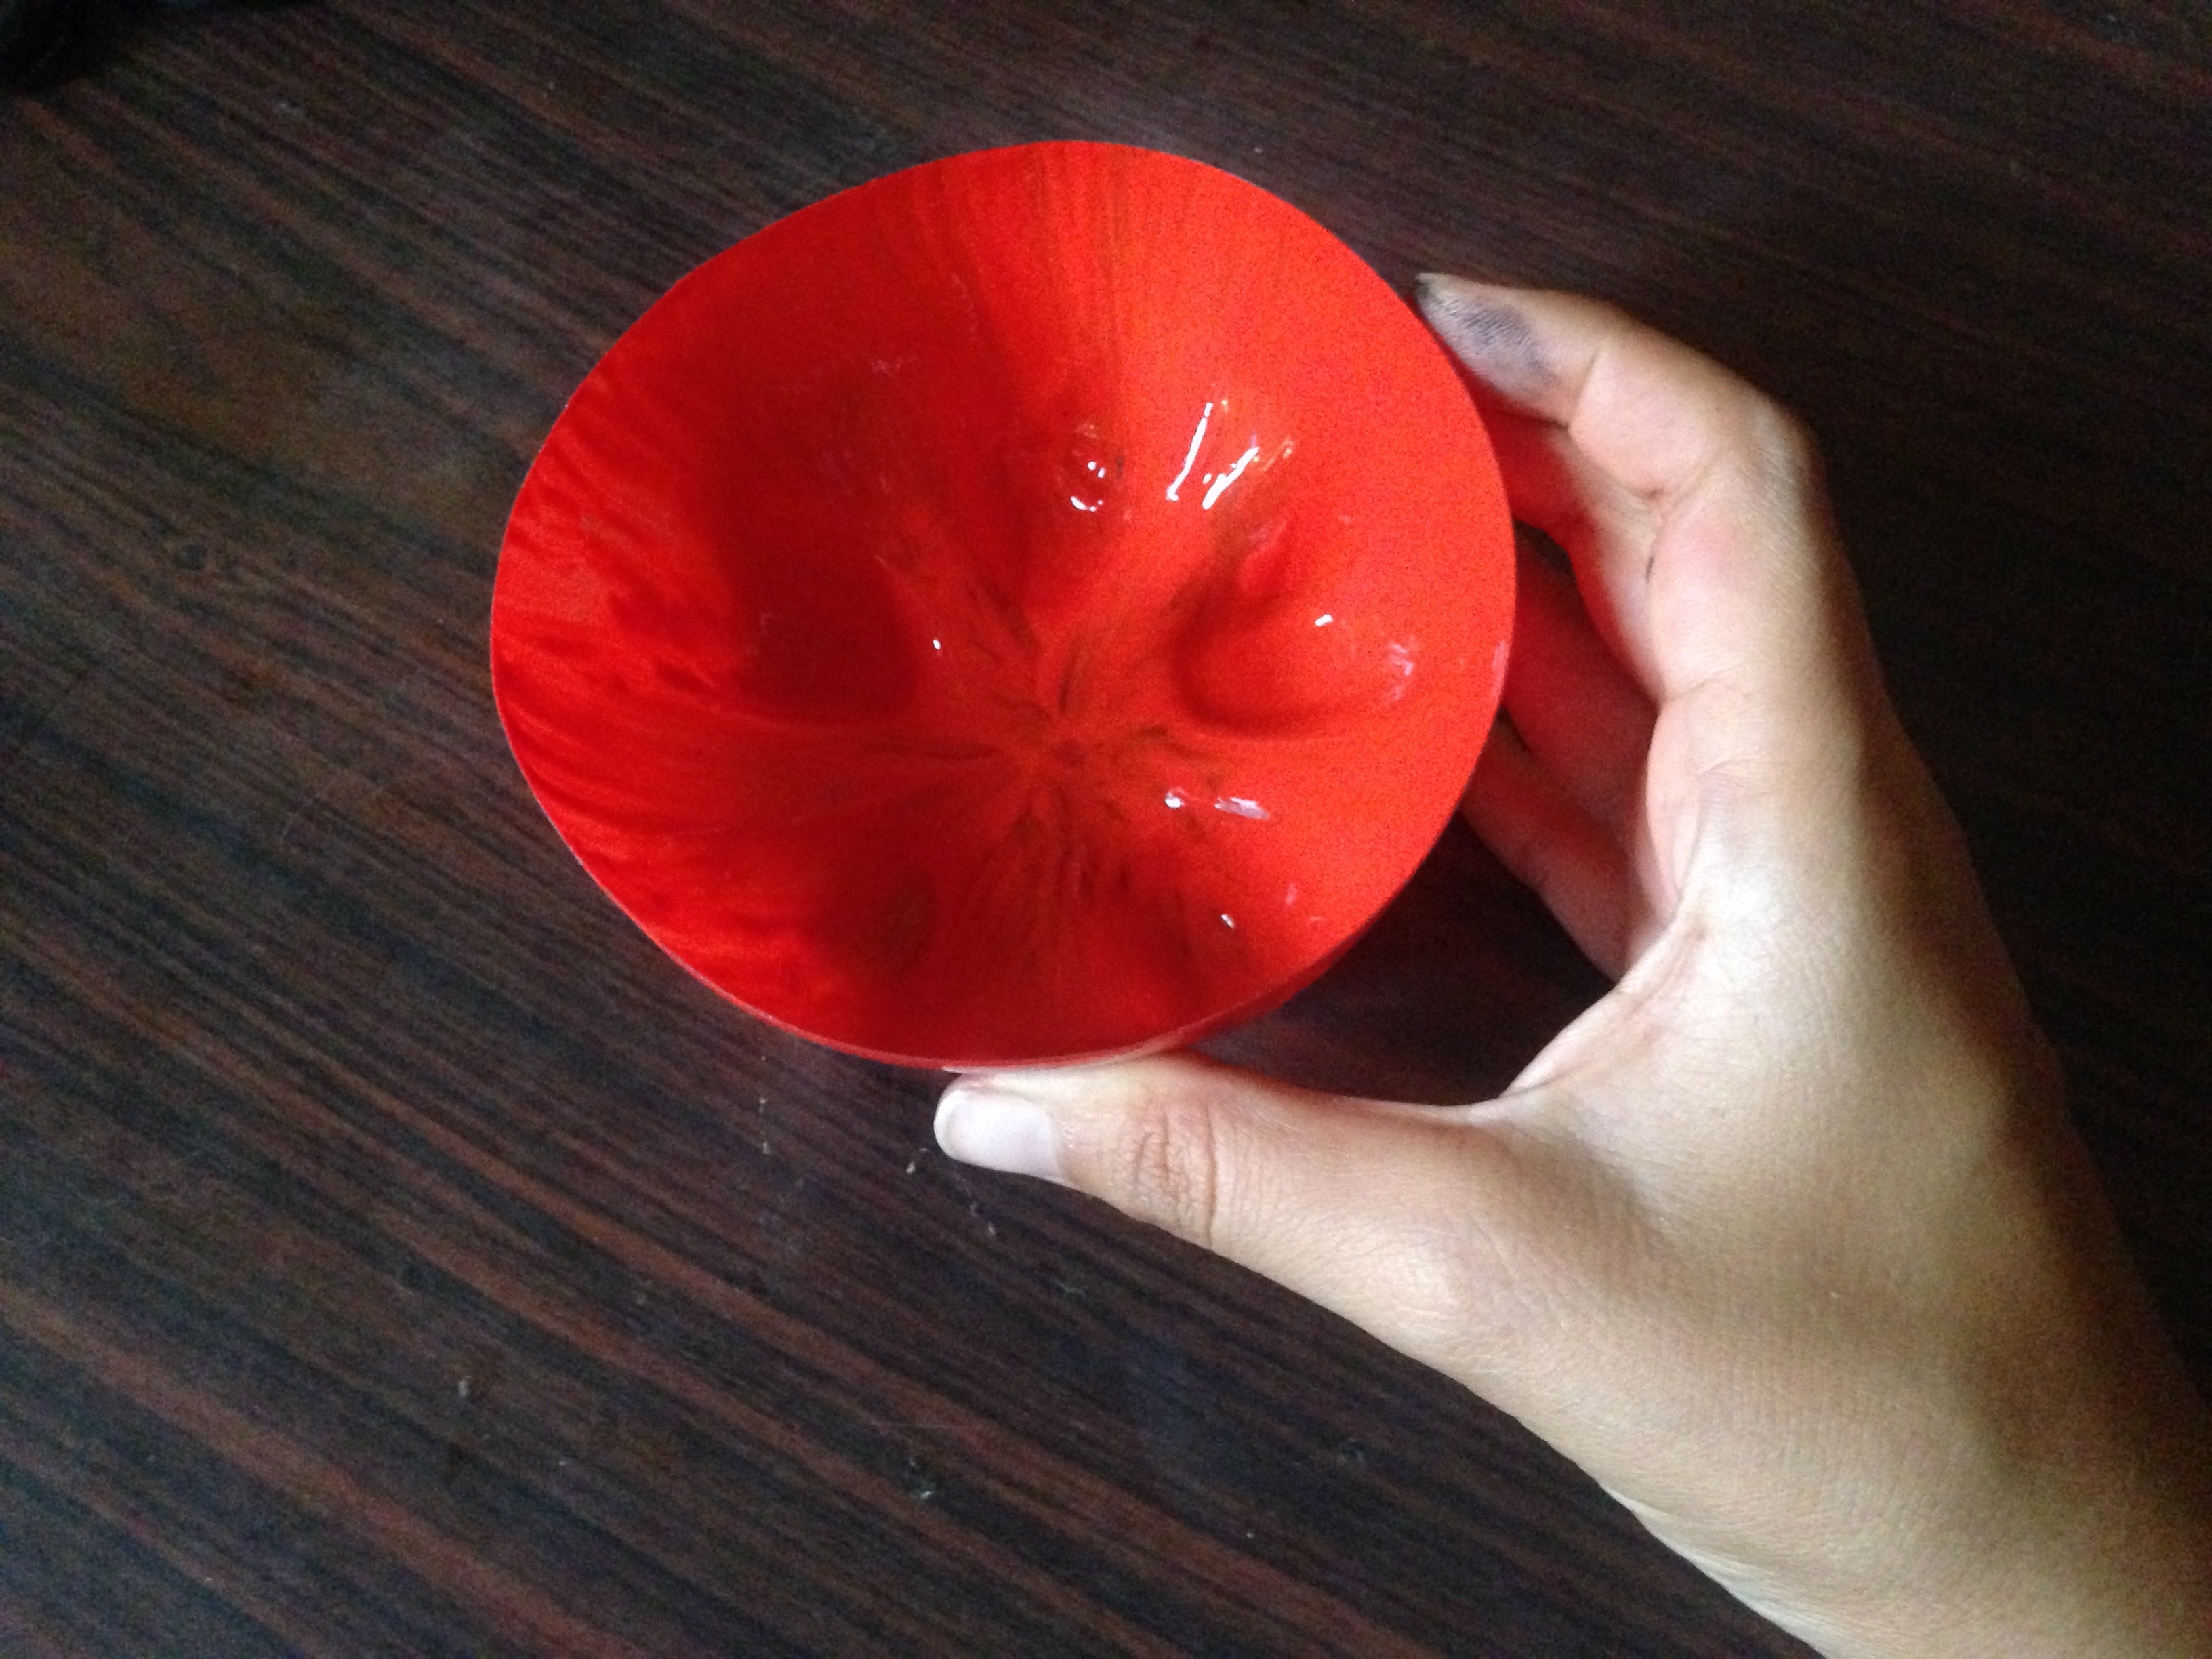
Paso 3
Ahora vamos a pintar una de nuestras tapas plásticas de color rojo por la parte de adentro, elegí pintar solo la transparente y dejar la de verde con su color natural
Step 3
Now we are going to paint one of our plastic caps red on the inside, I chose to paint only the transparent one and leave the green one with its natural color
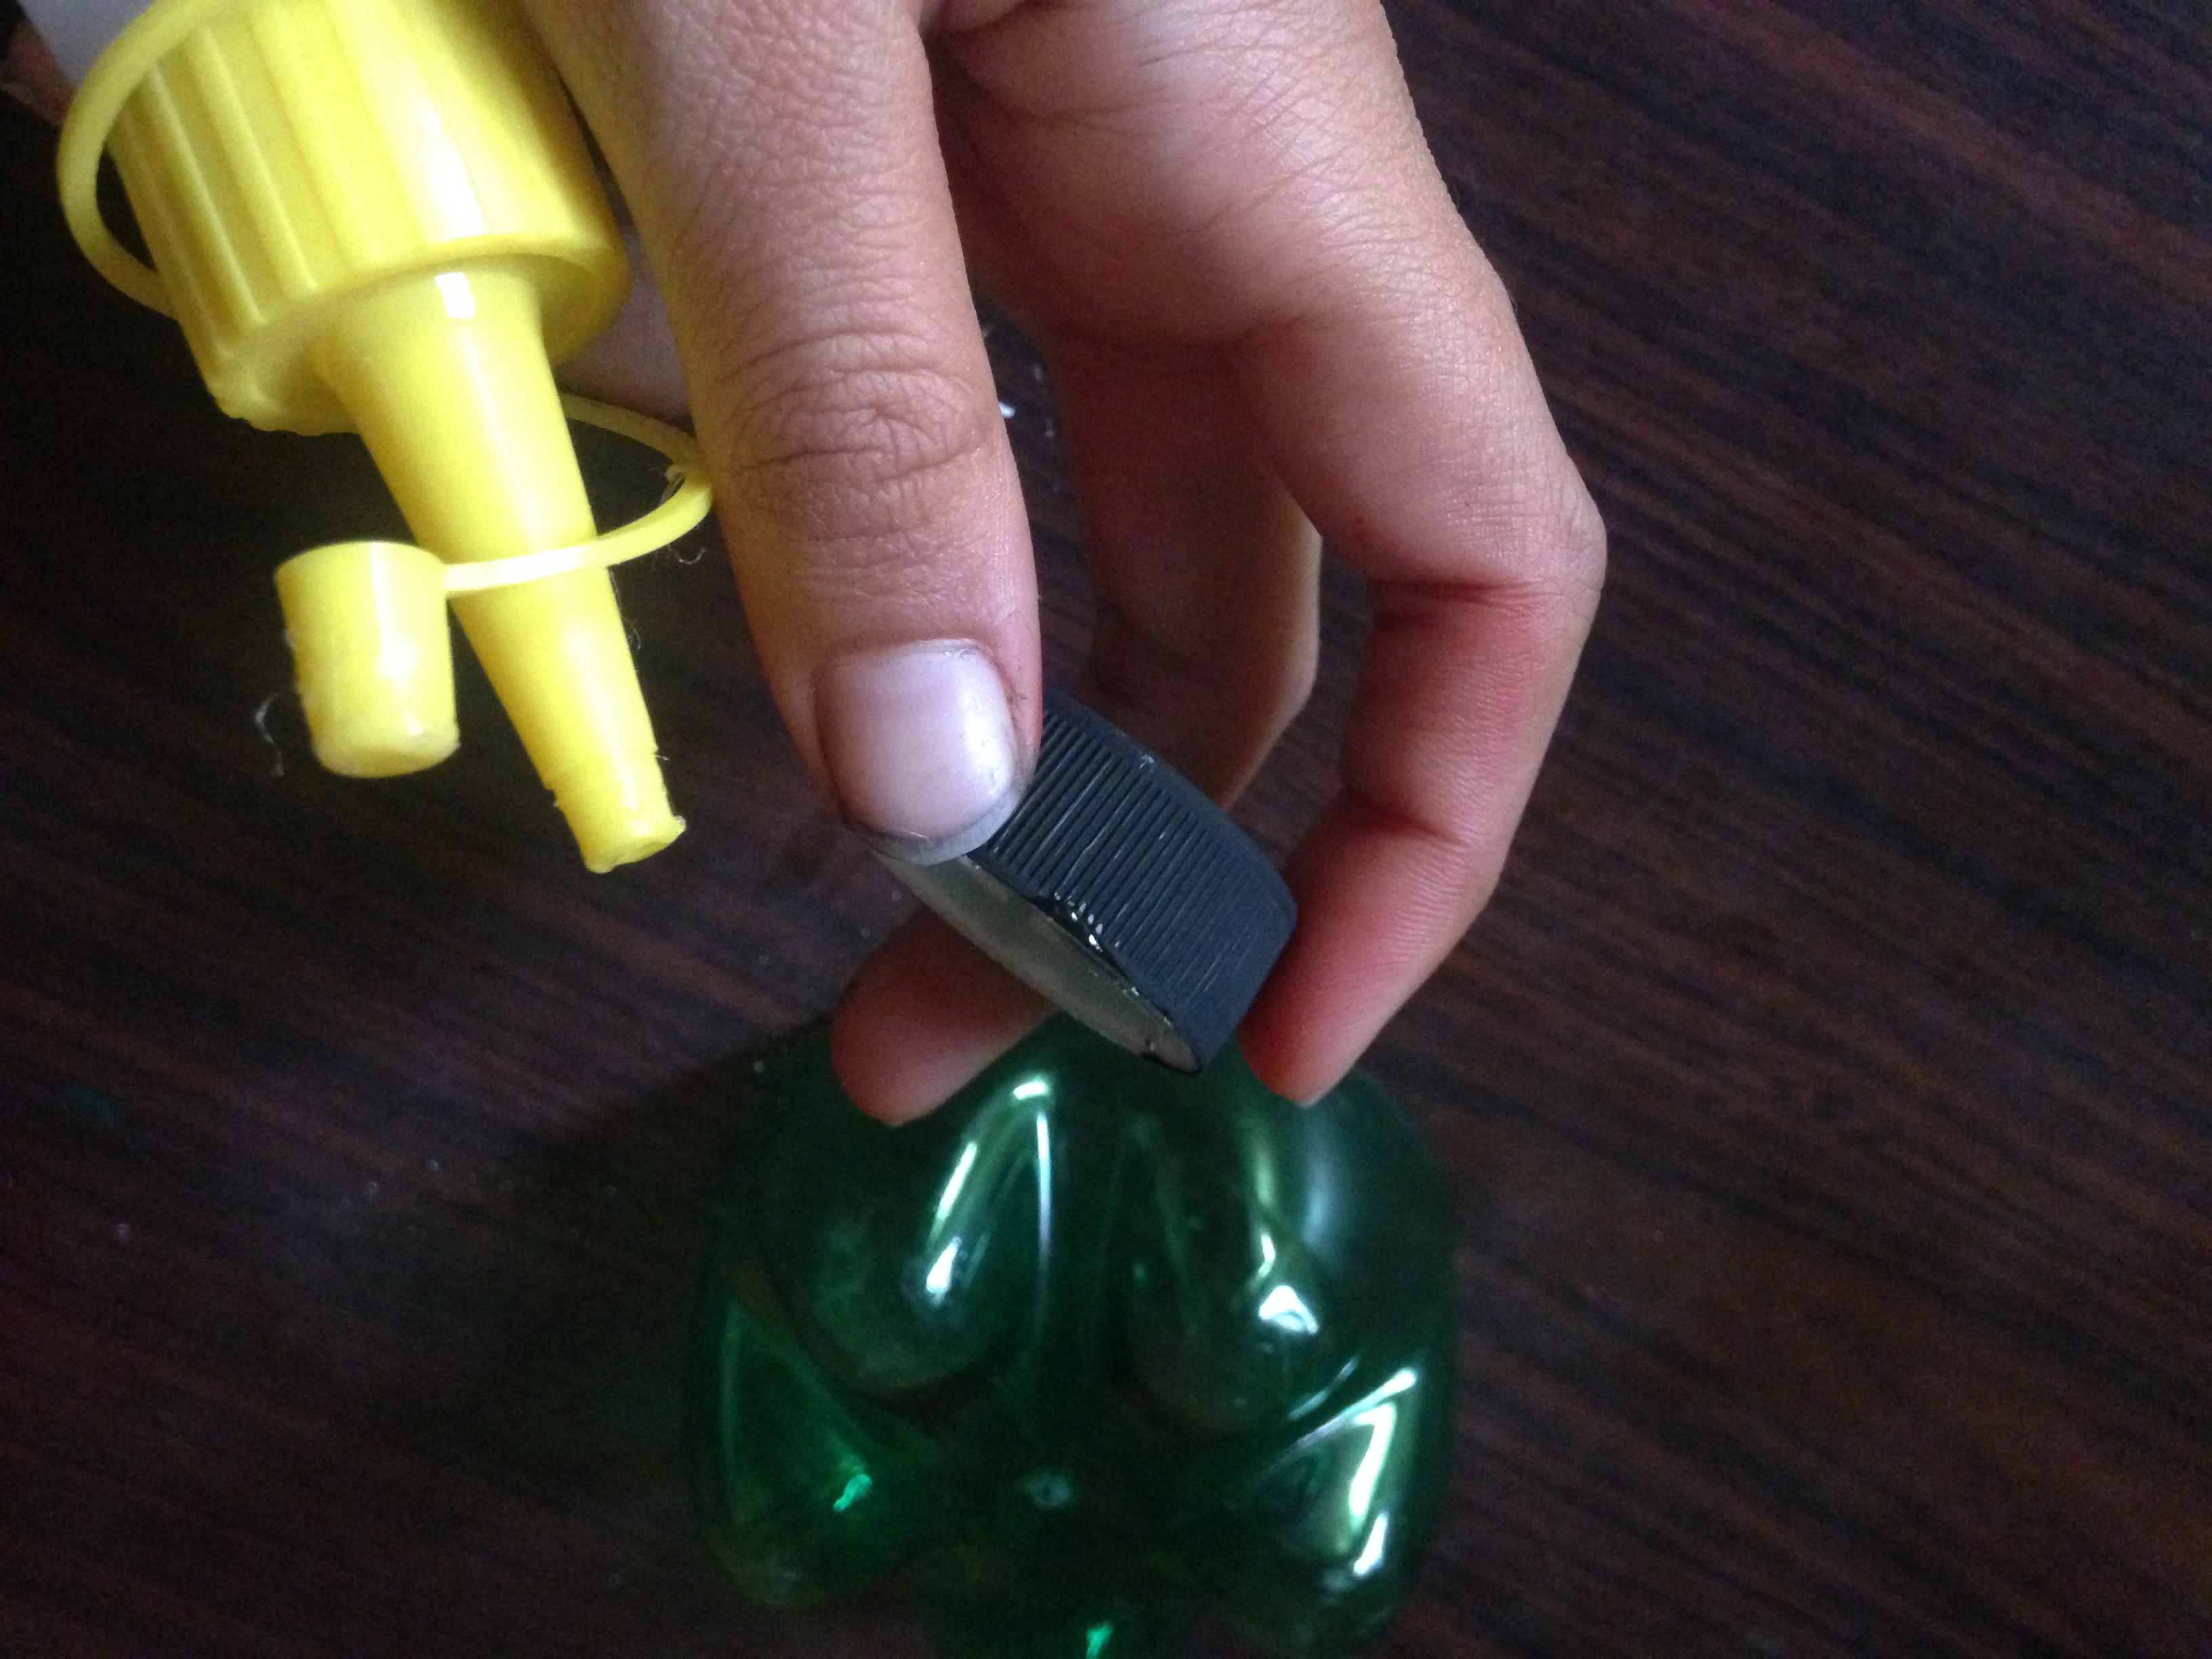
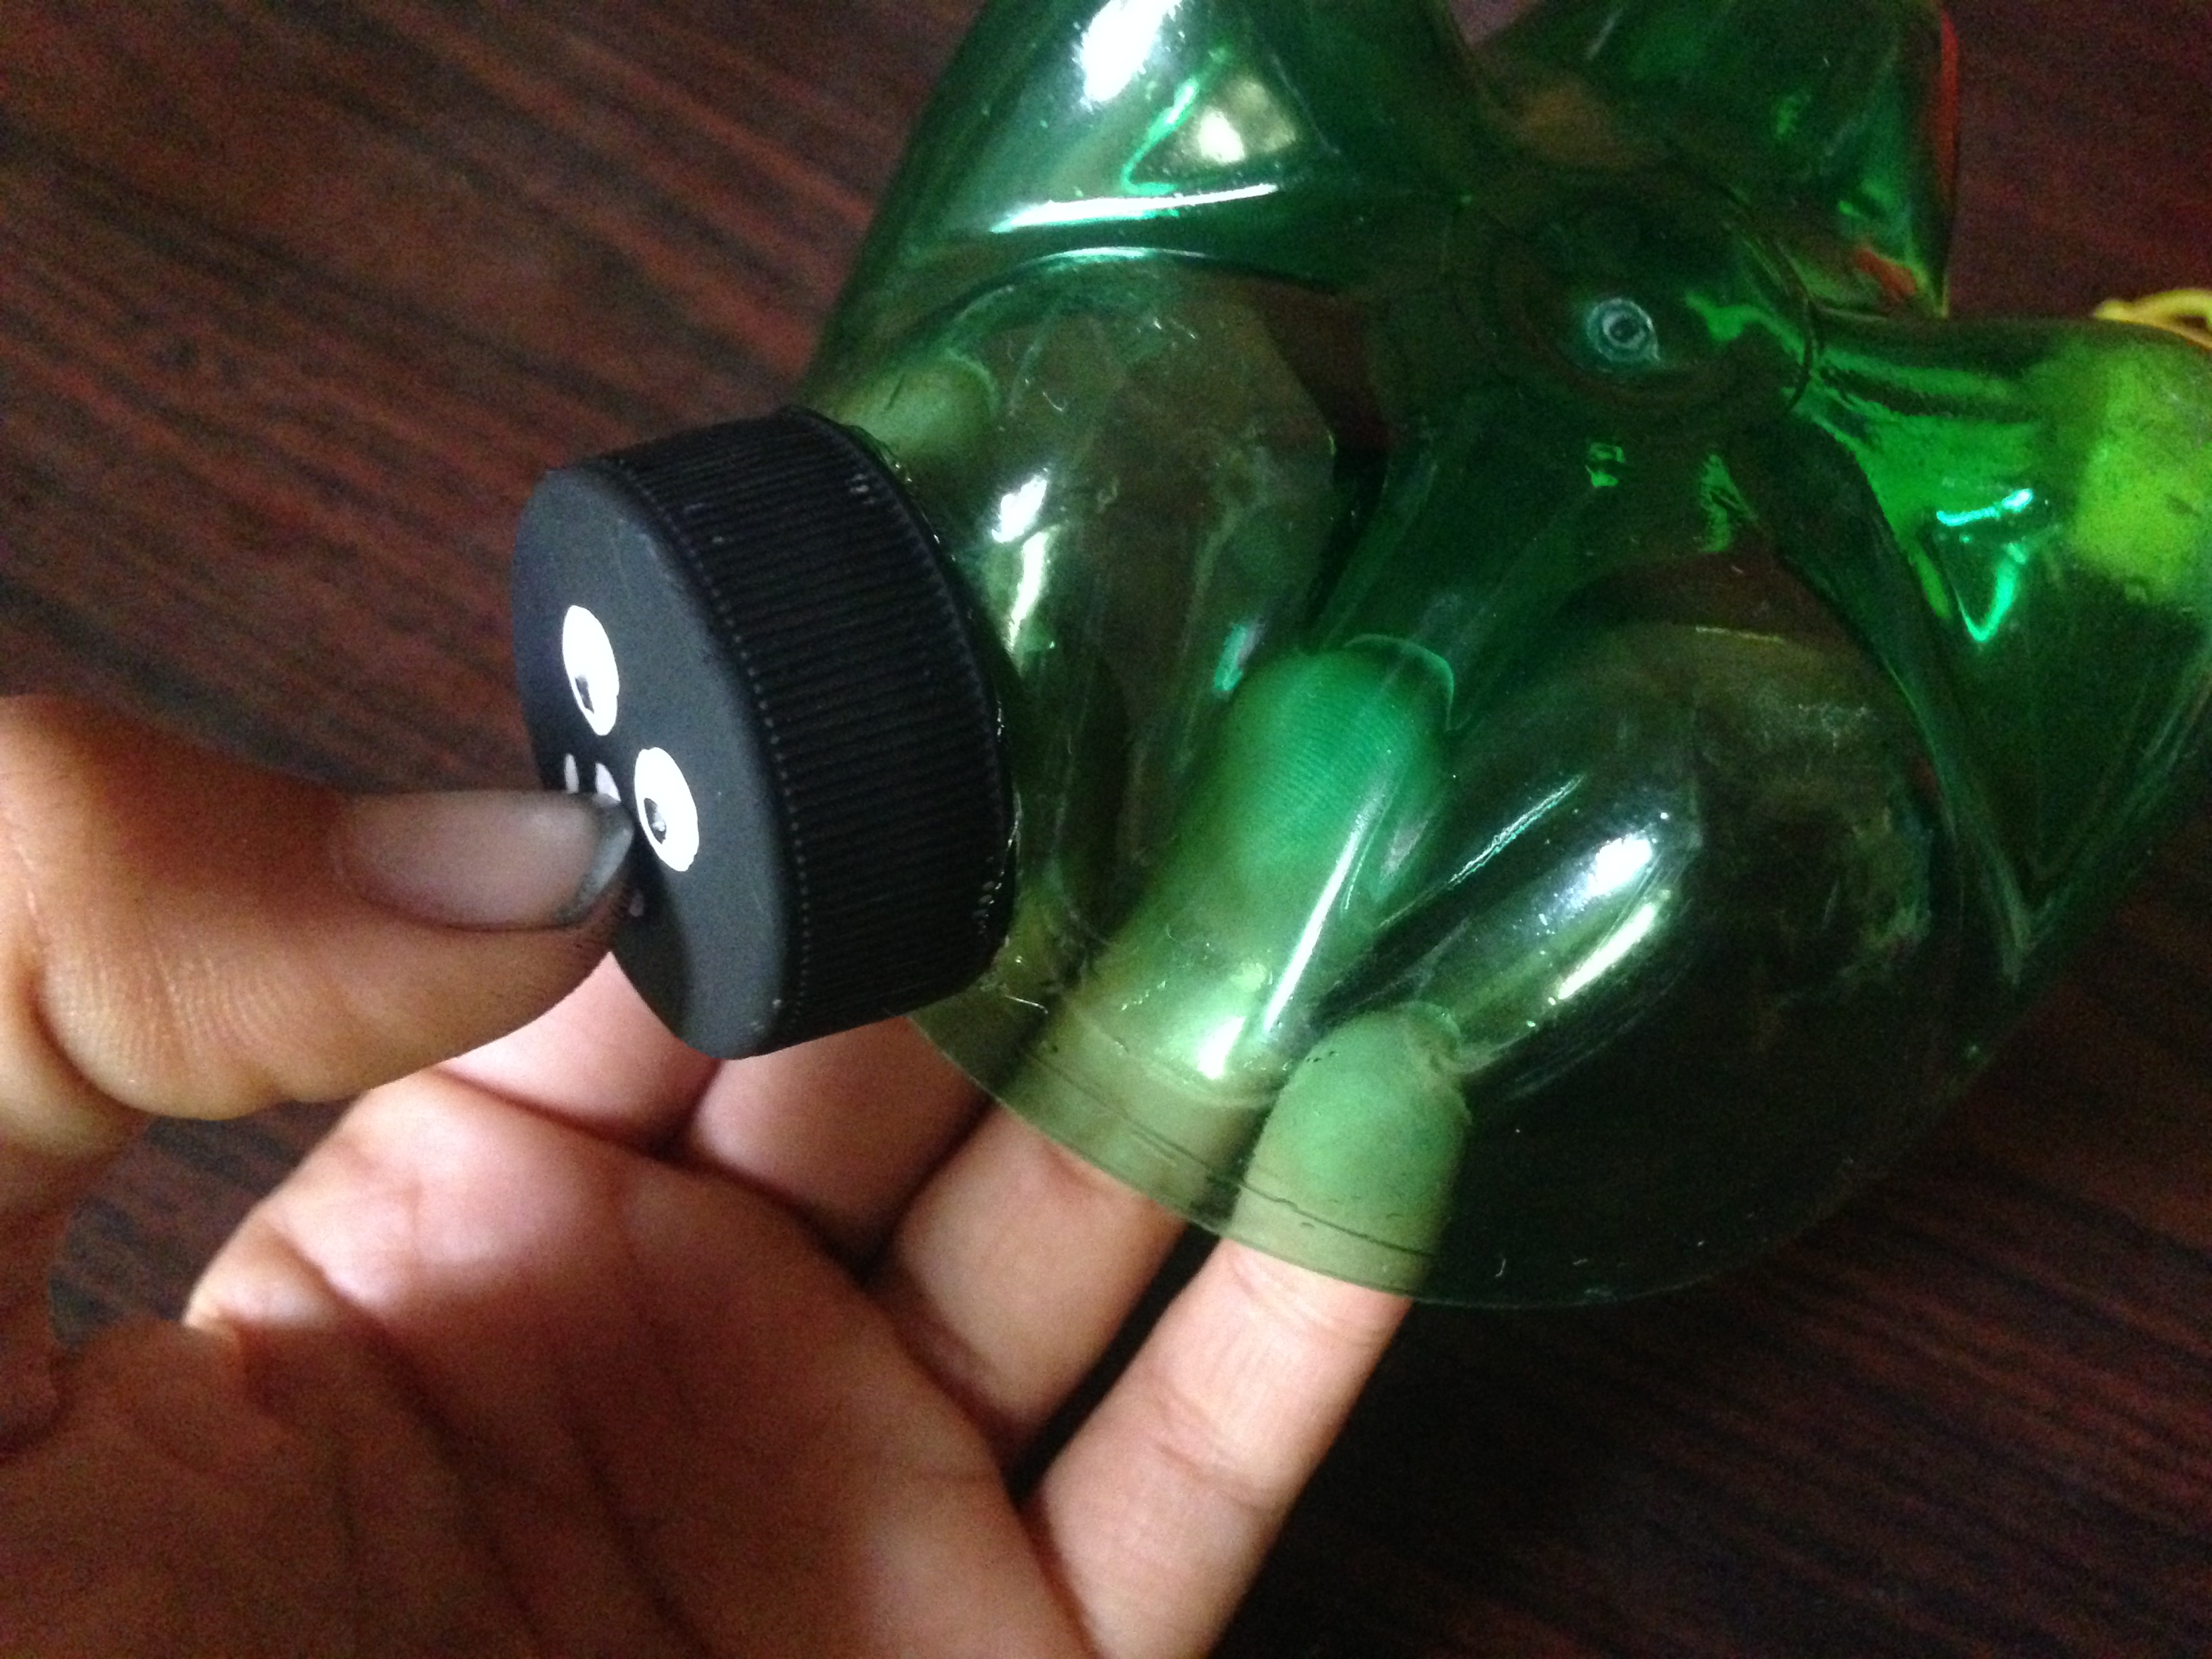
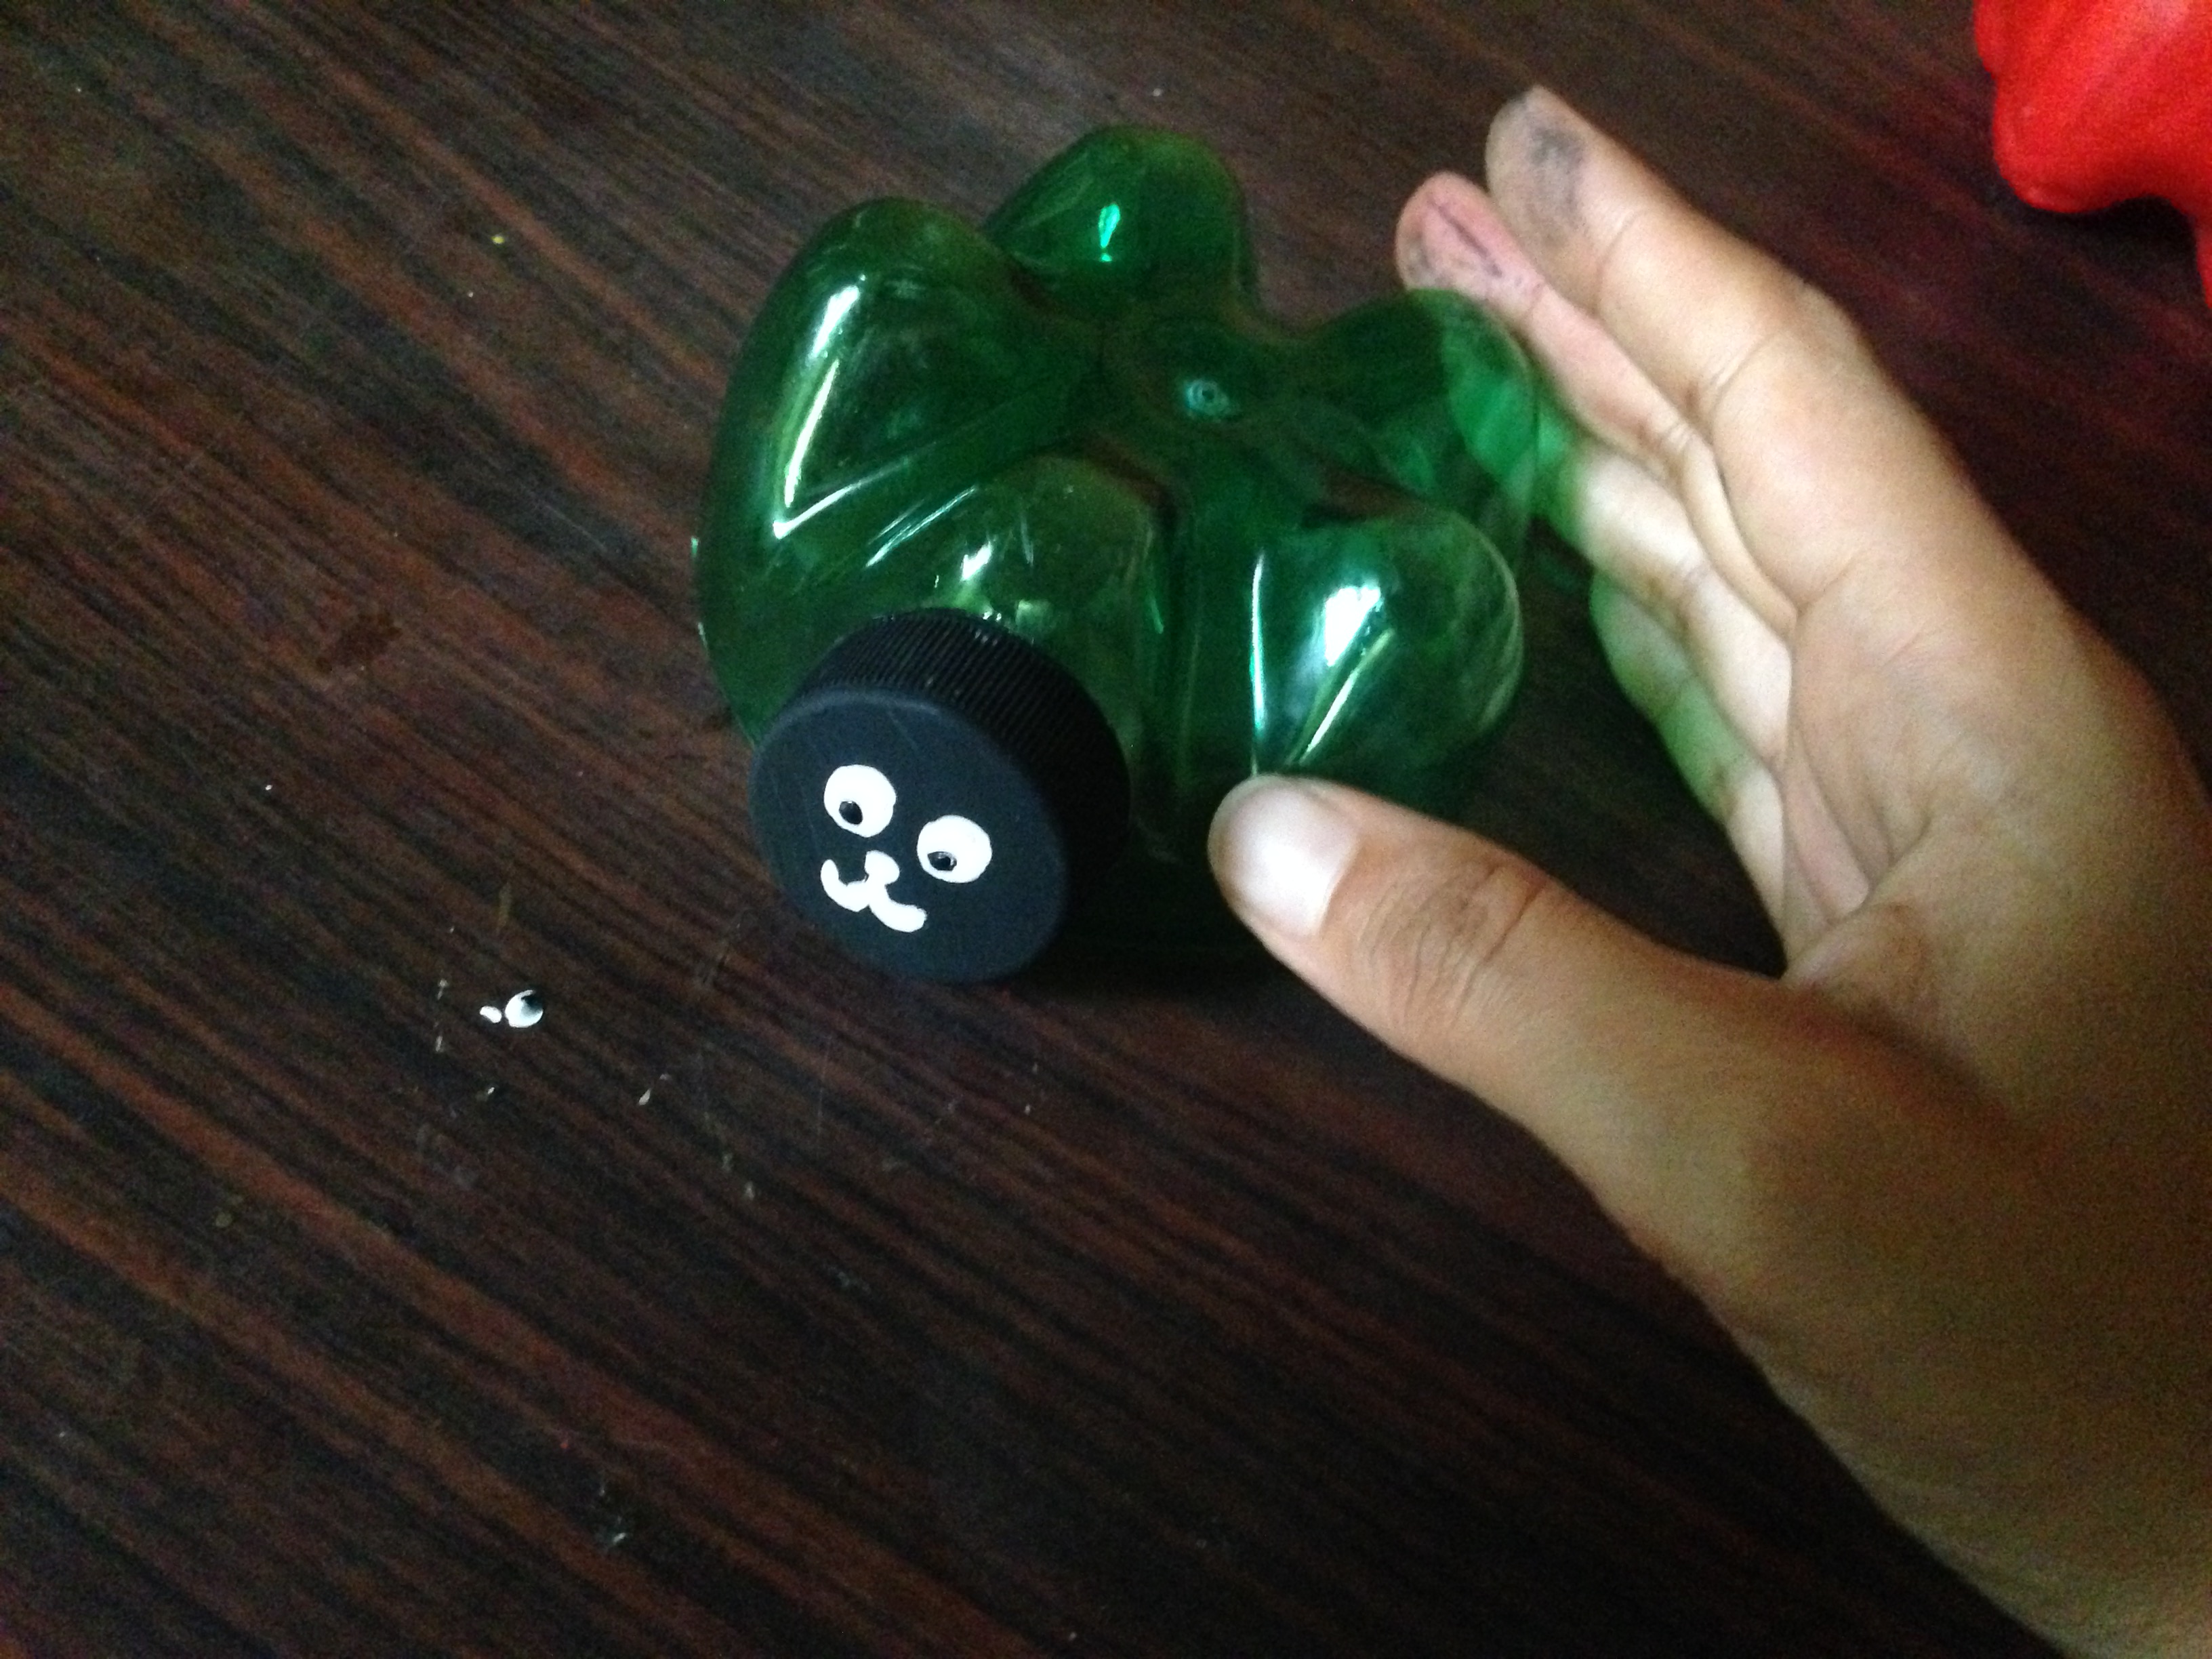
Paso 4
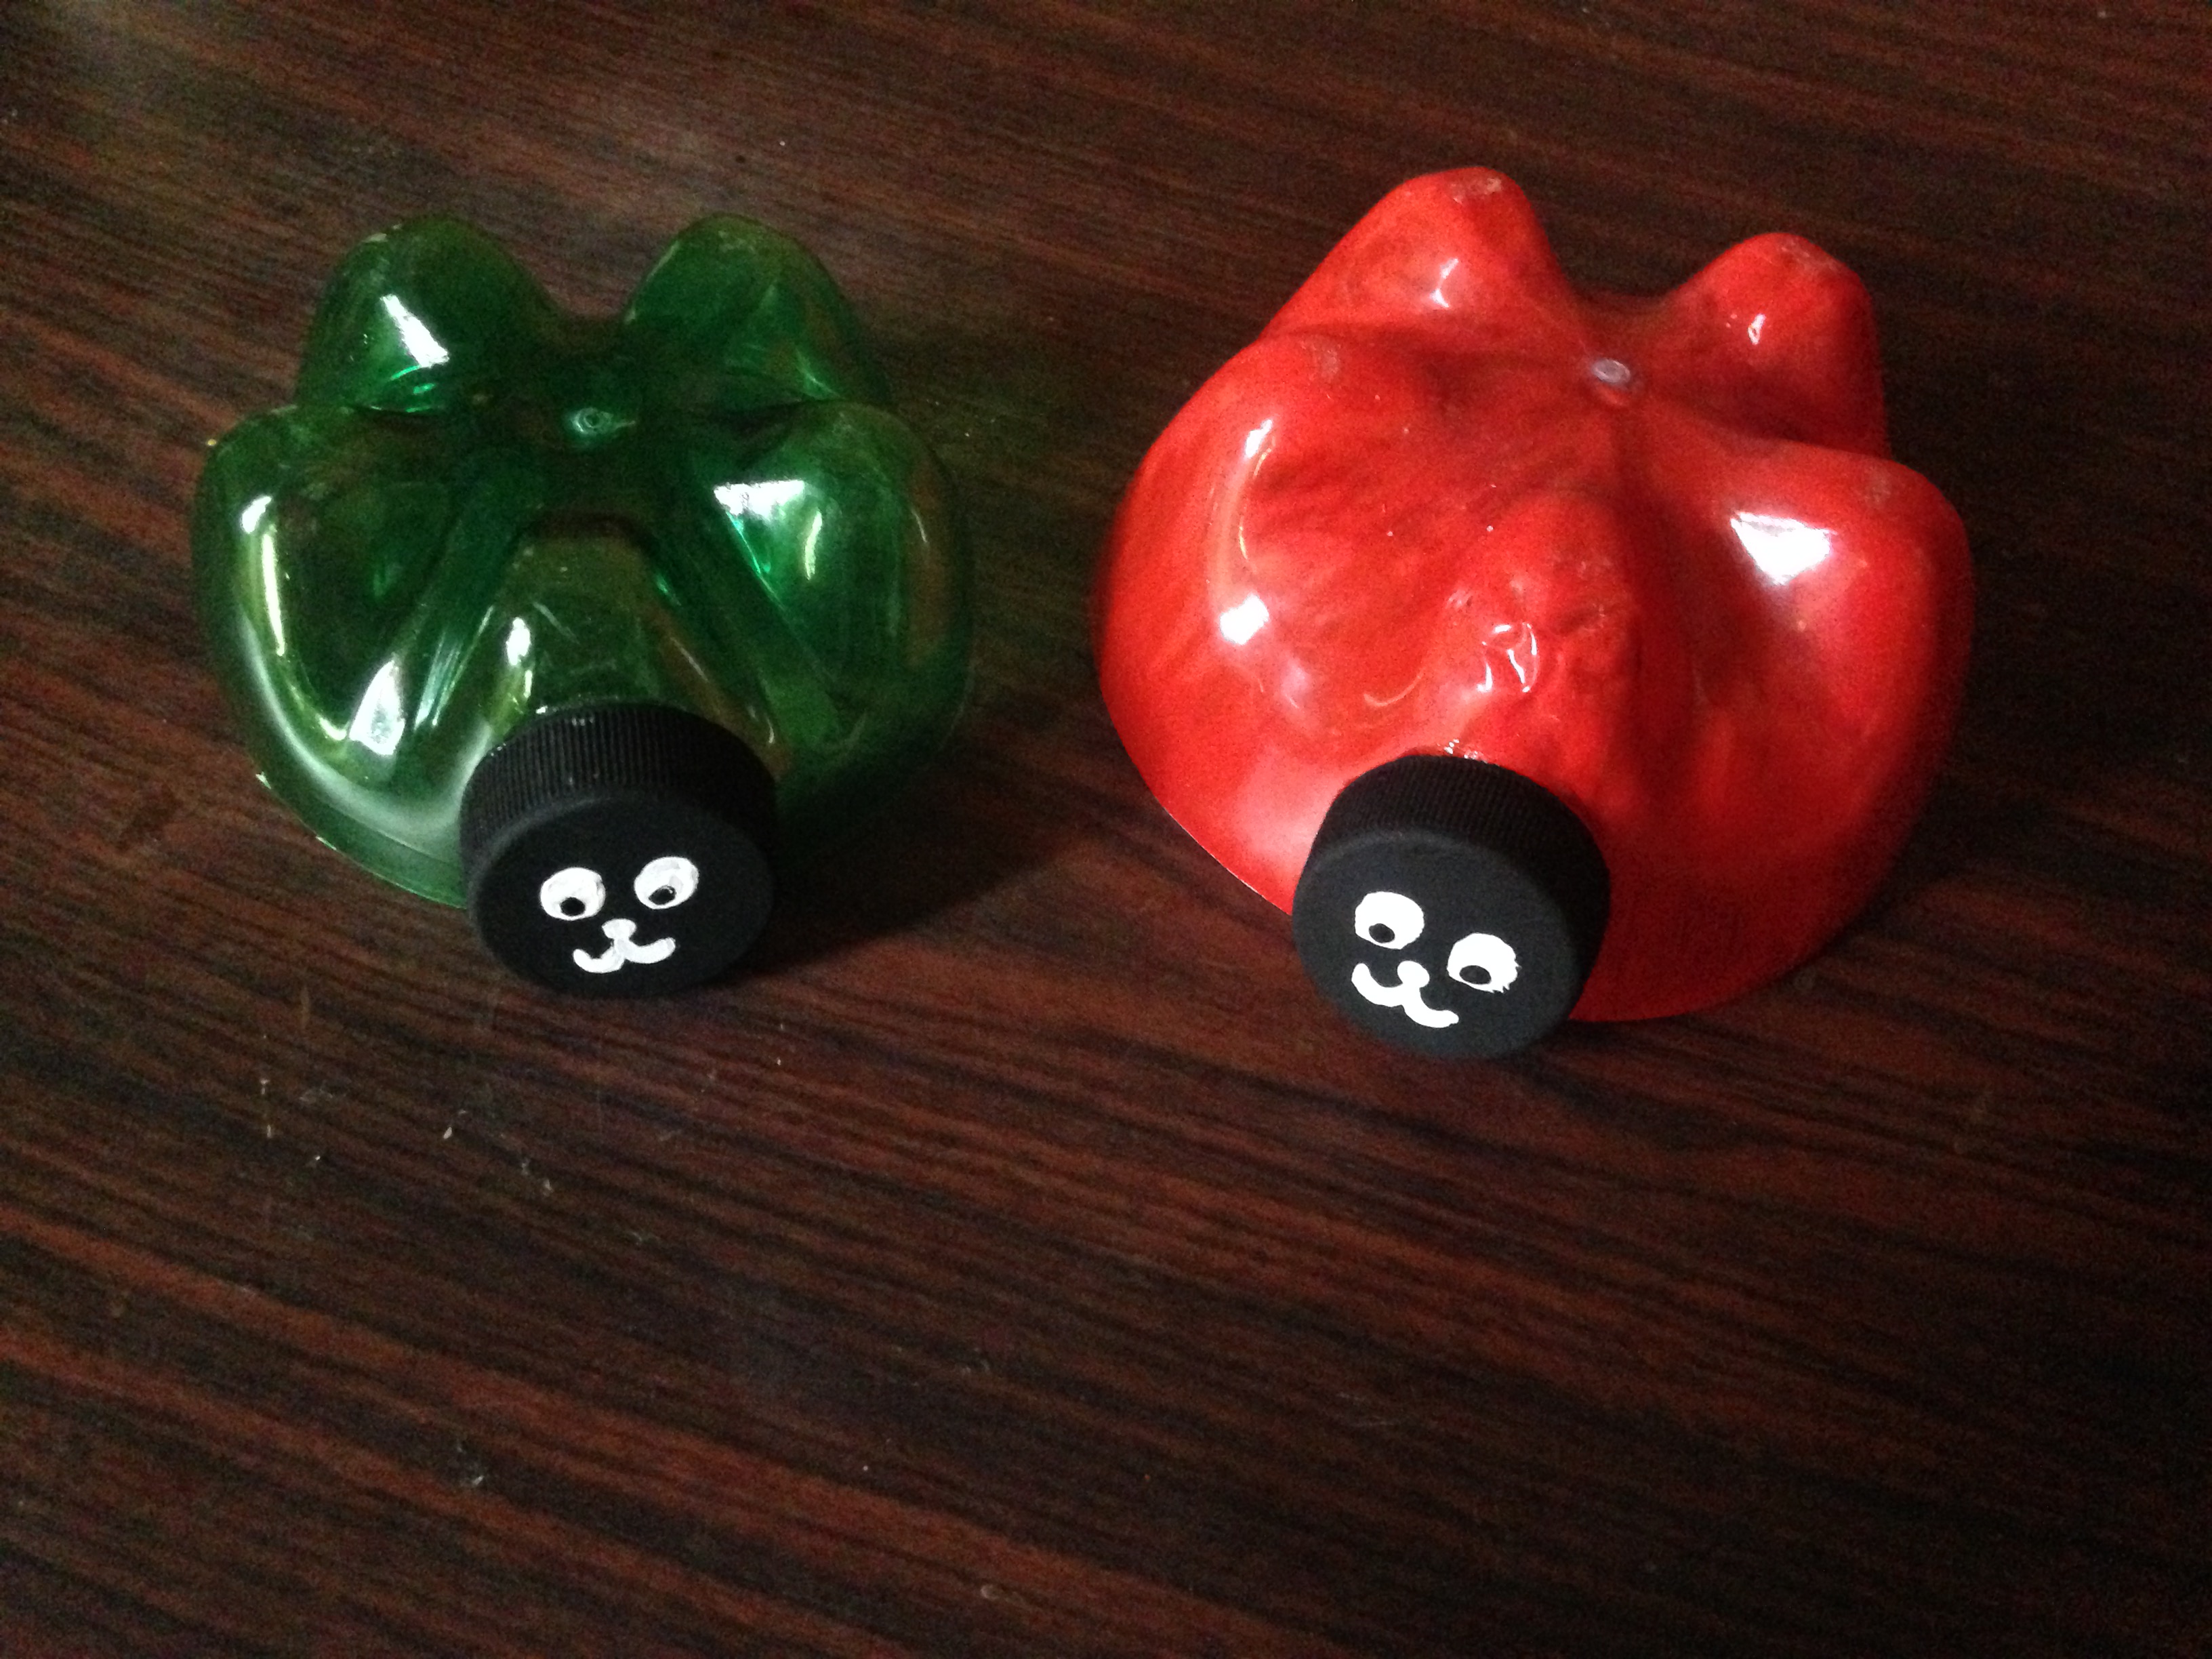
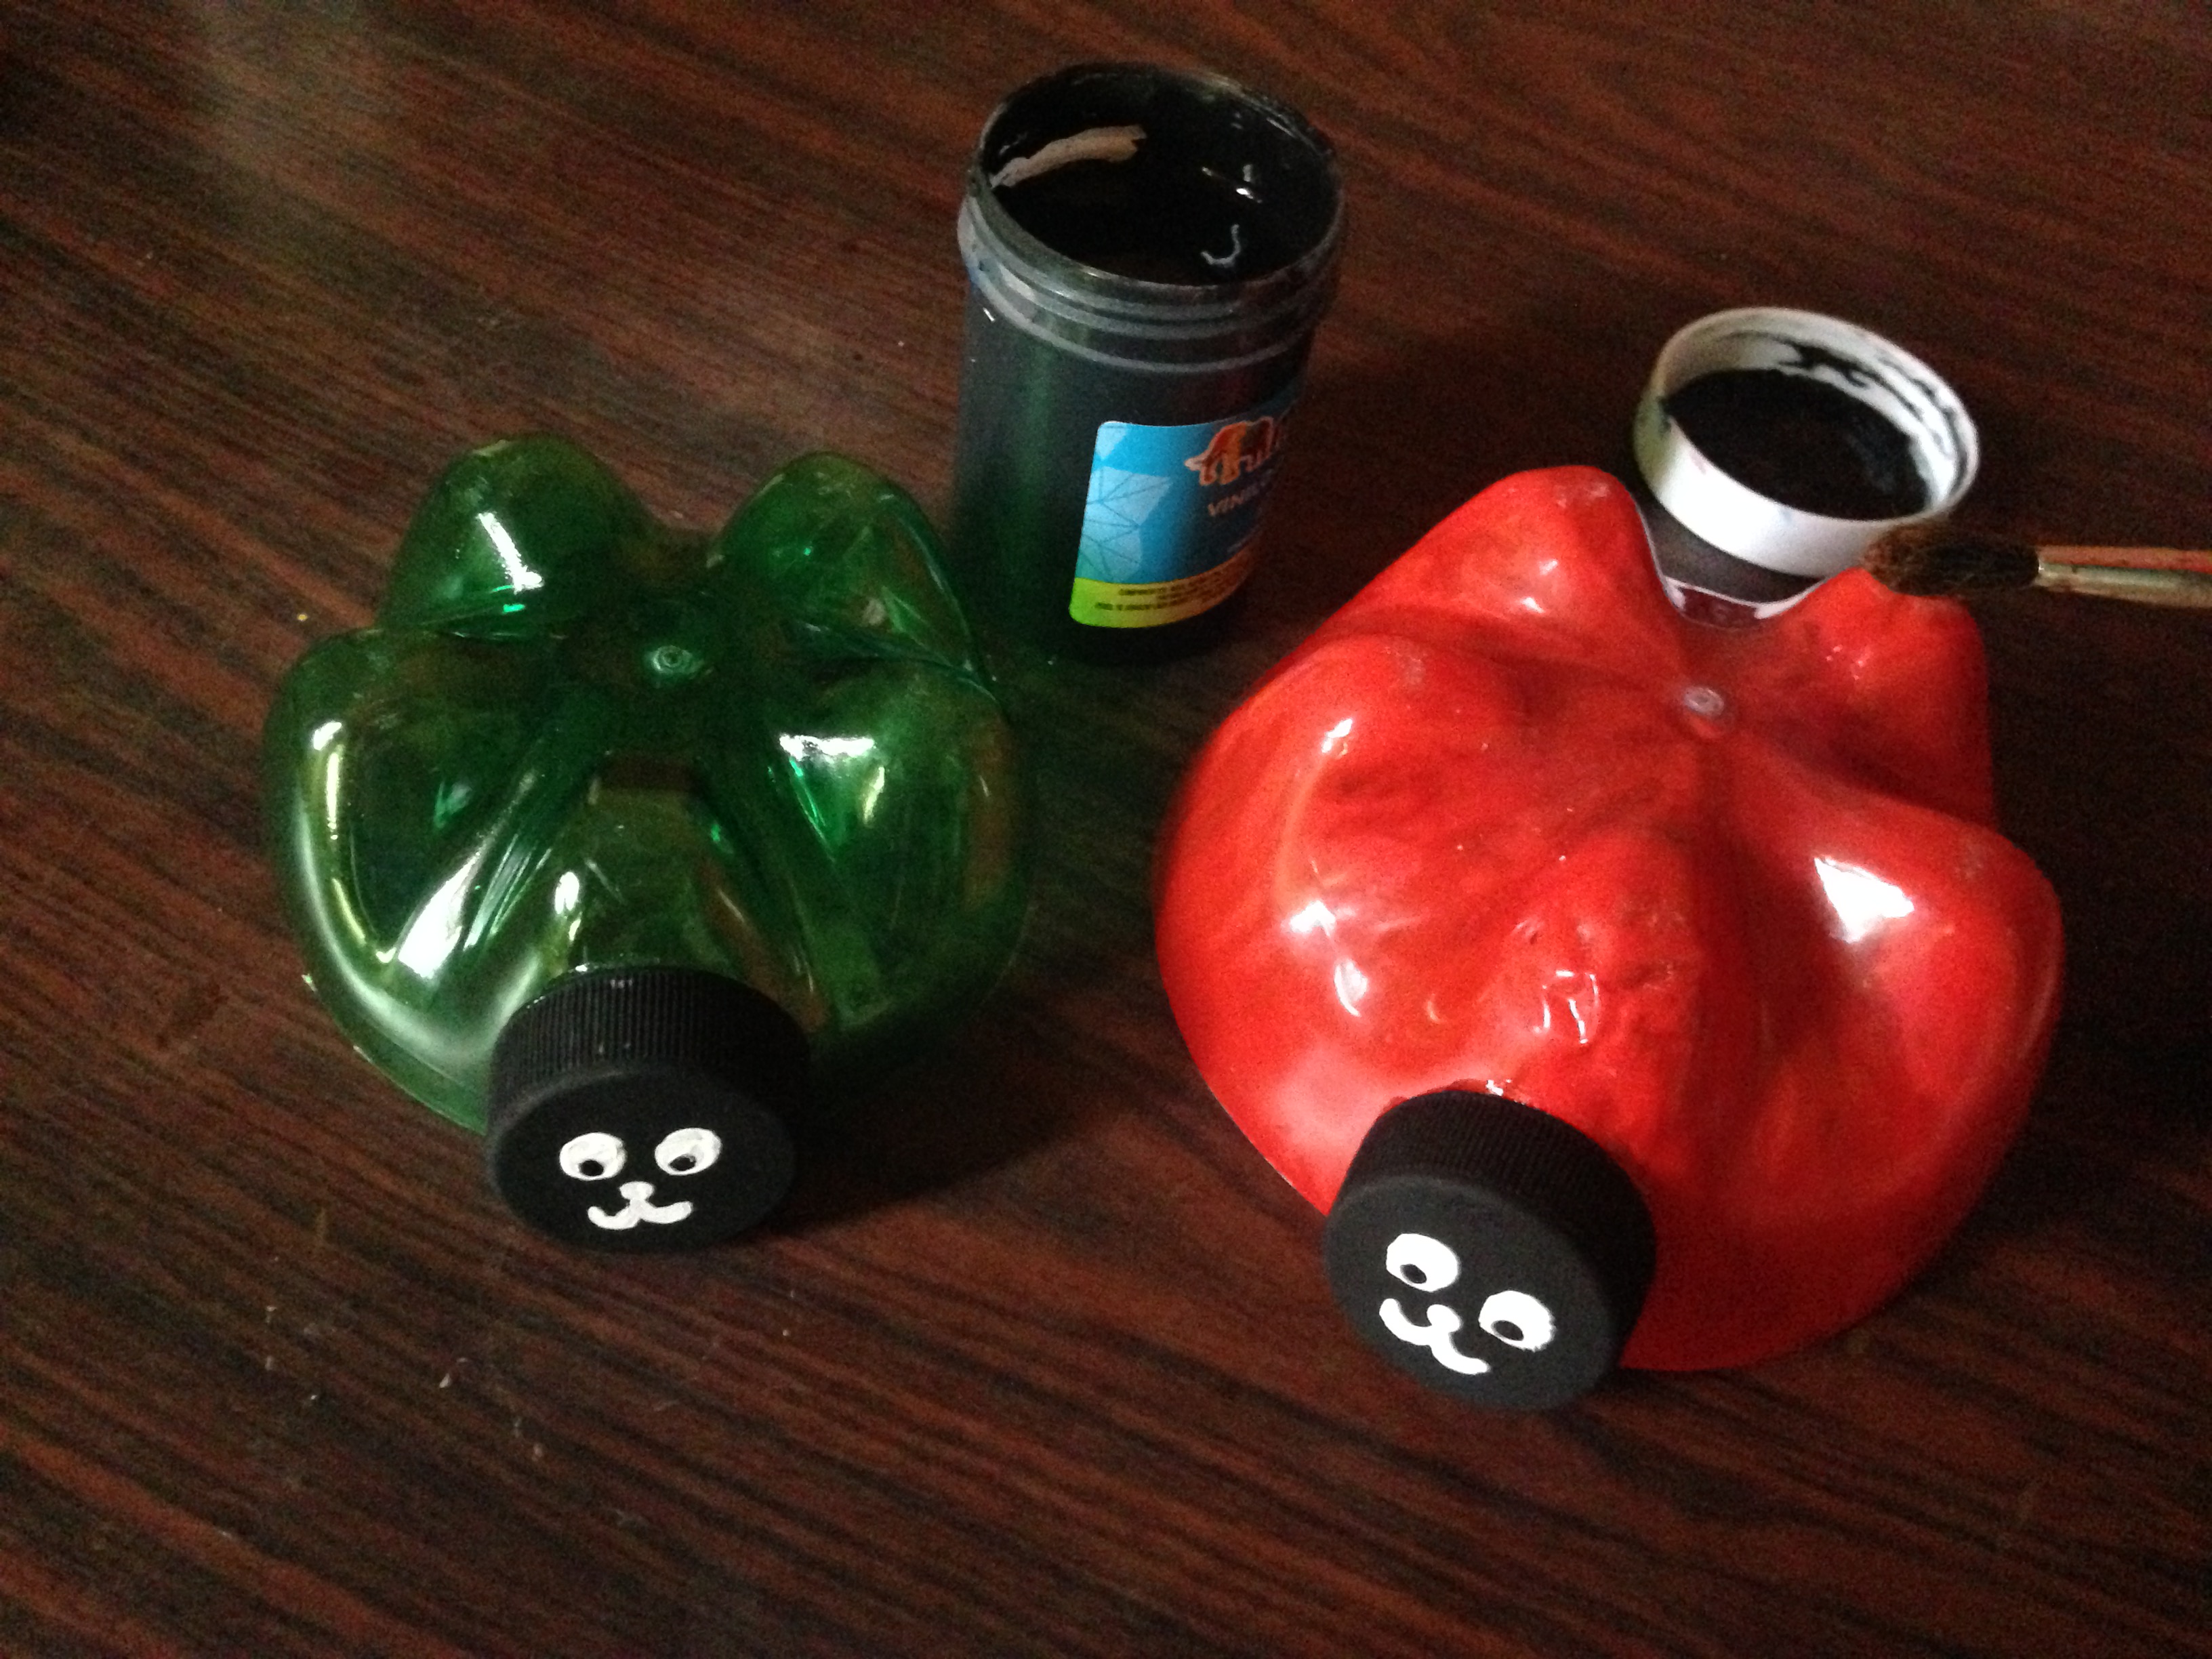
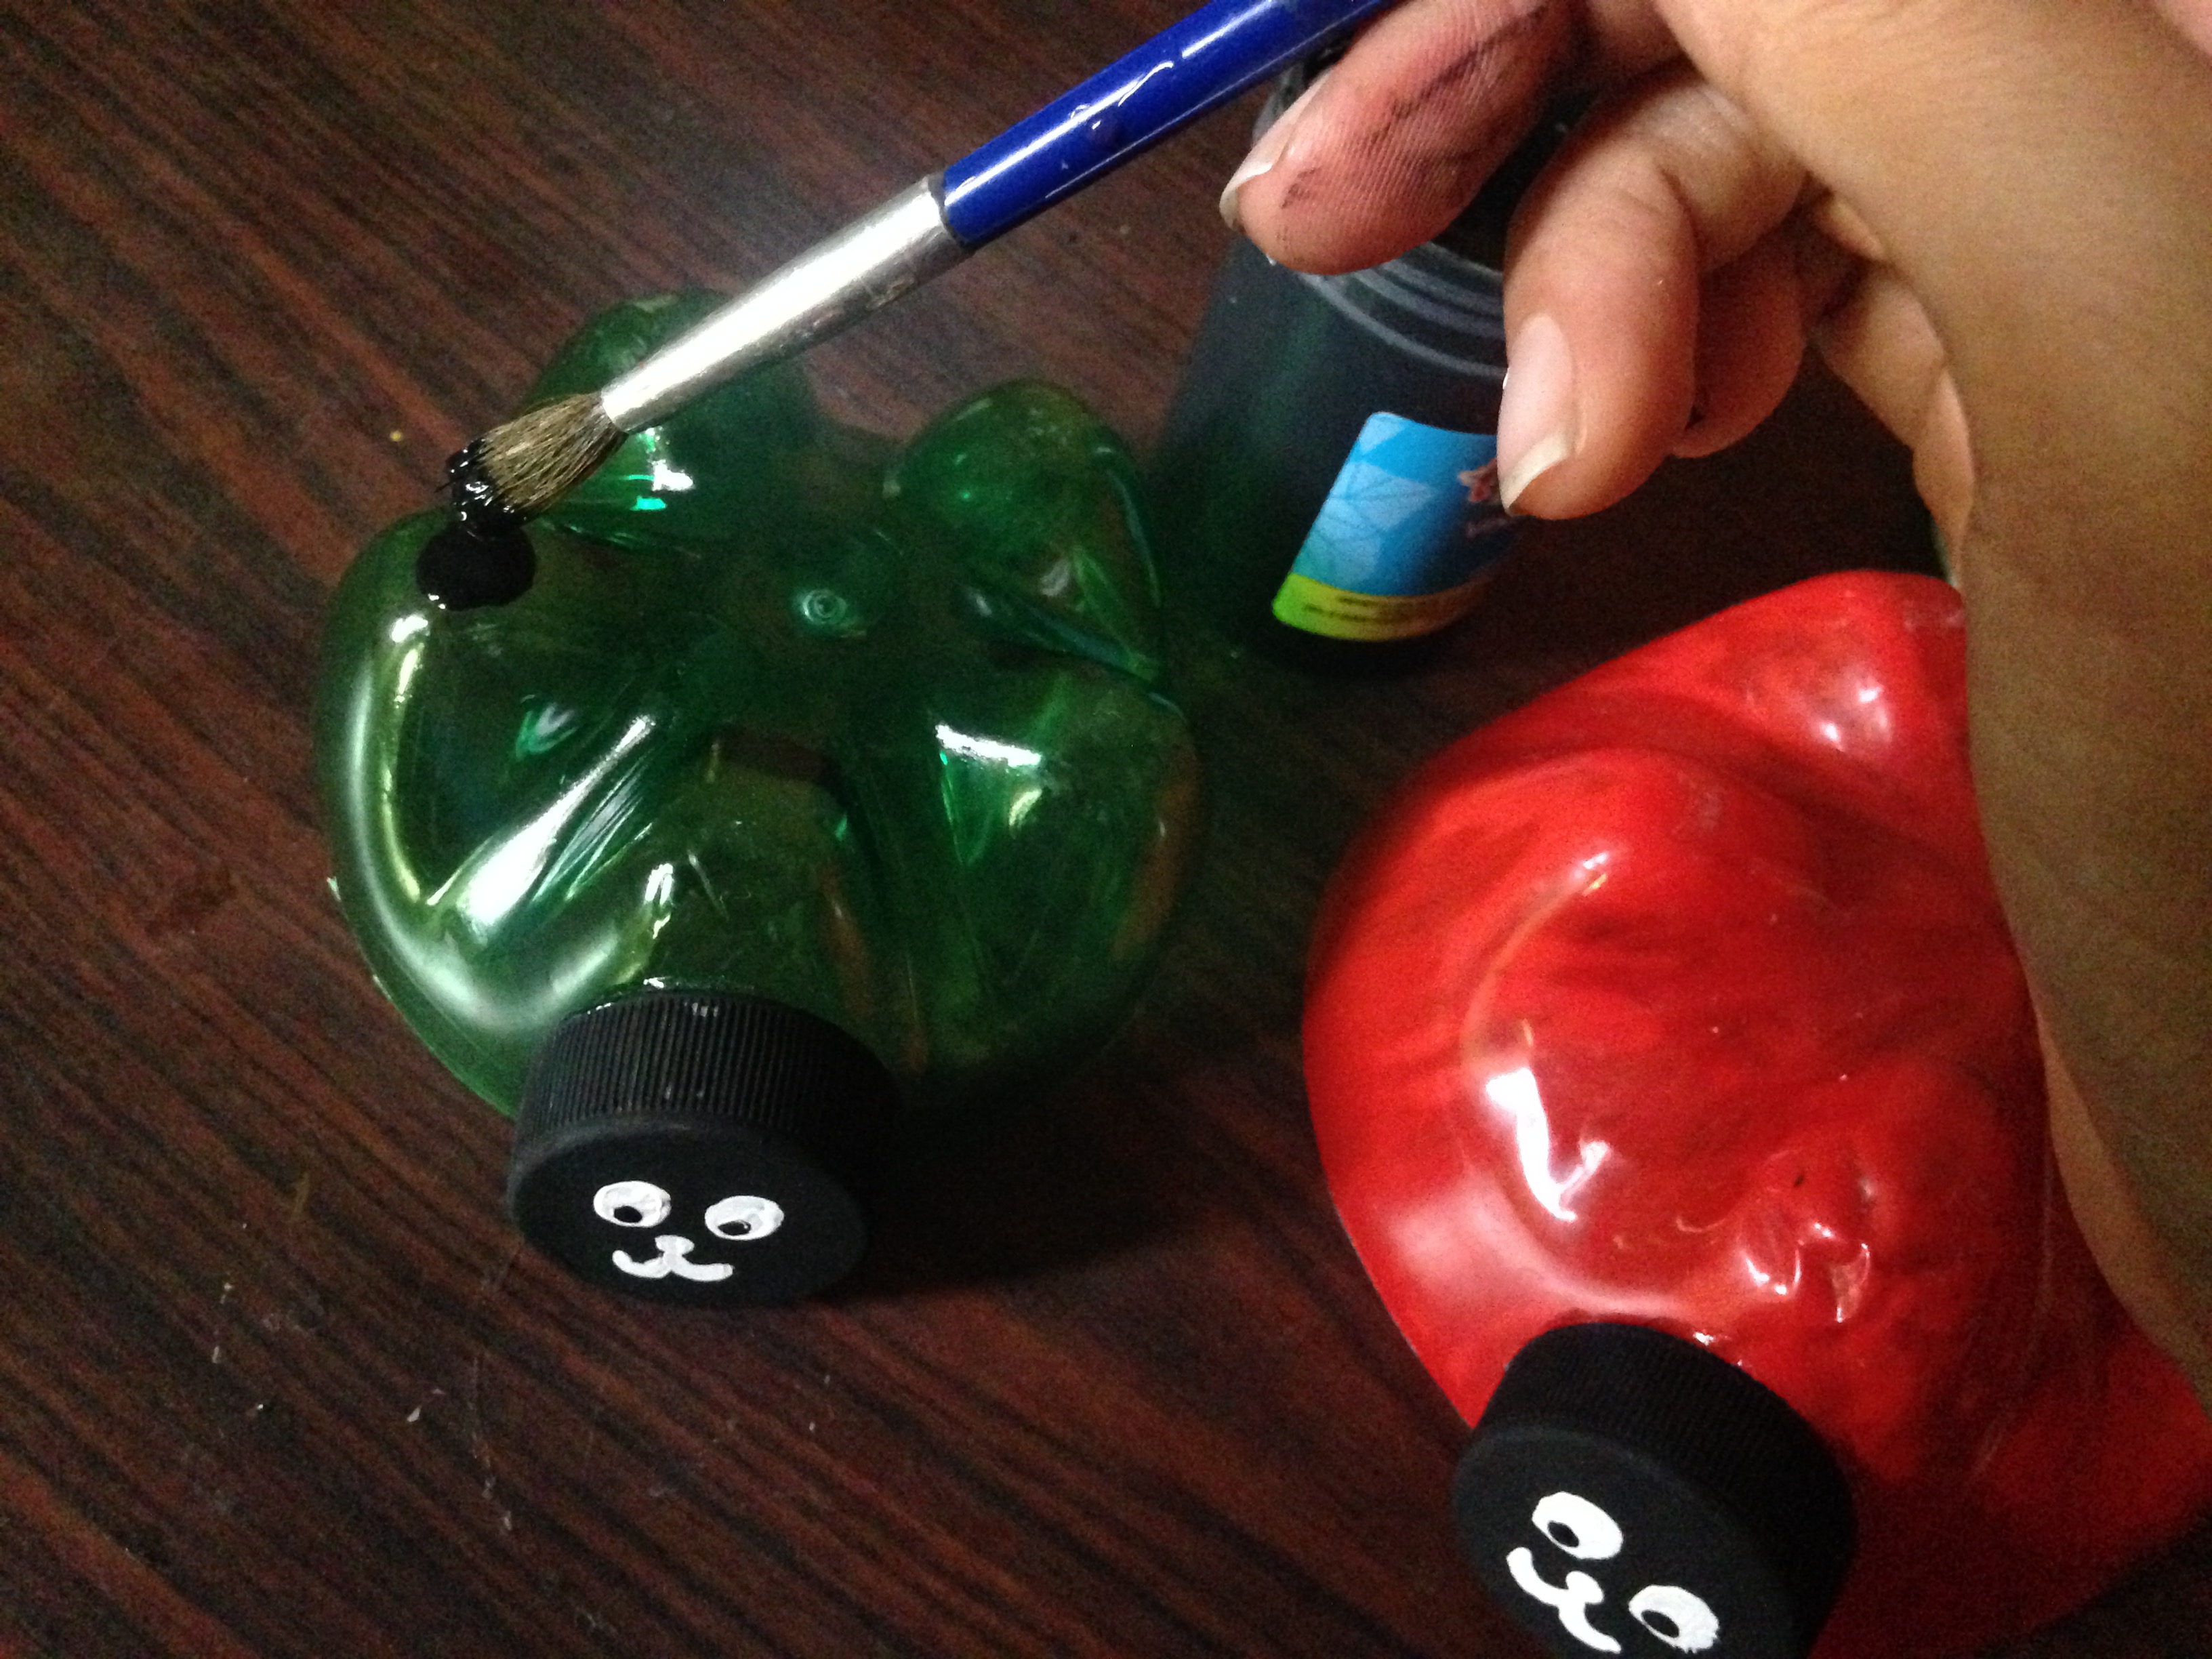
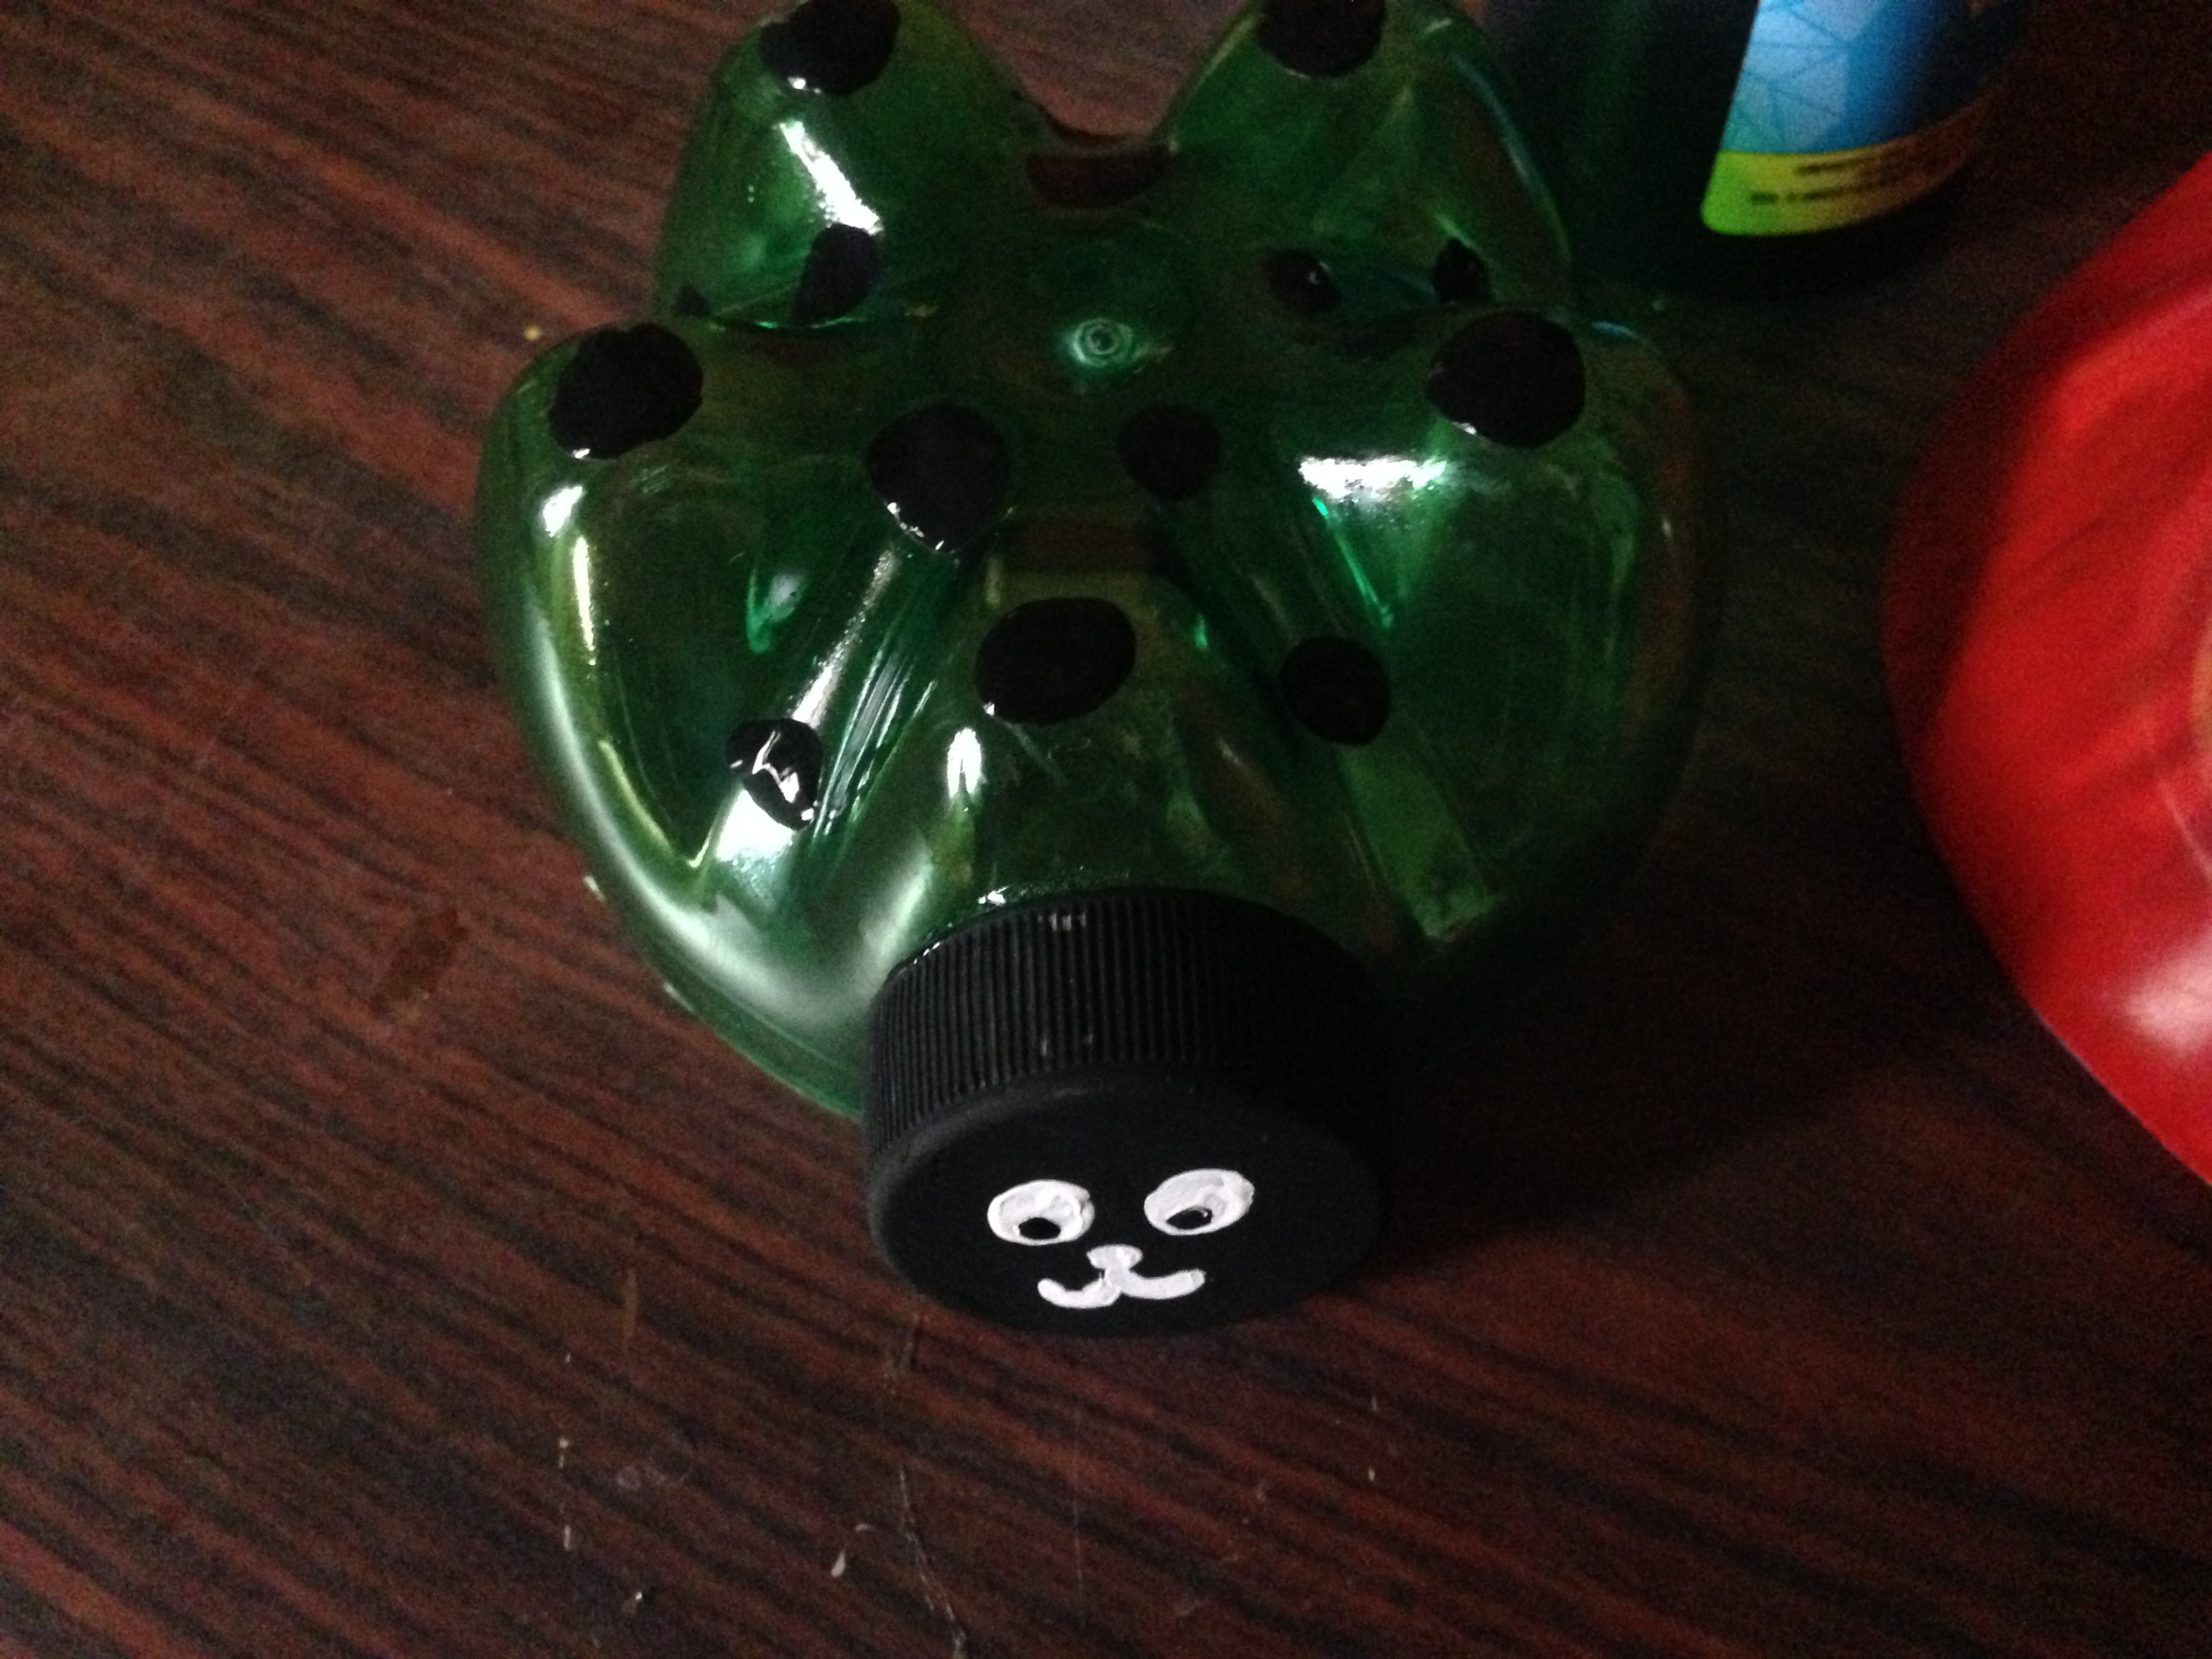
Ahora vamos a ensamblar a nuestras mariquitas, pegamos su cara a la tapa plastica pero volteada, de la manera en como se observa en la foto, luego de pegarlas les pintaremos unos puntos color negro característicos de las mariquitas
Step 4
Now we are going to assemble our ladybugs, we glue their face to the plastic lid but turned around, as seen in the photo, after gluing them we will paint some black dots characteristic of ladybugs
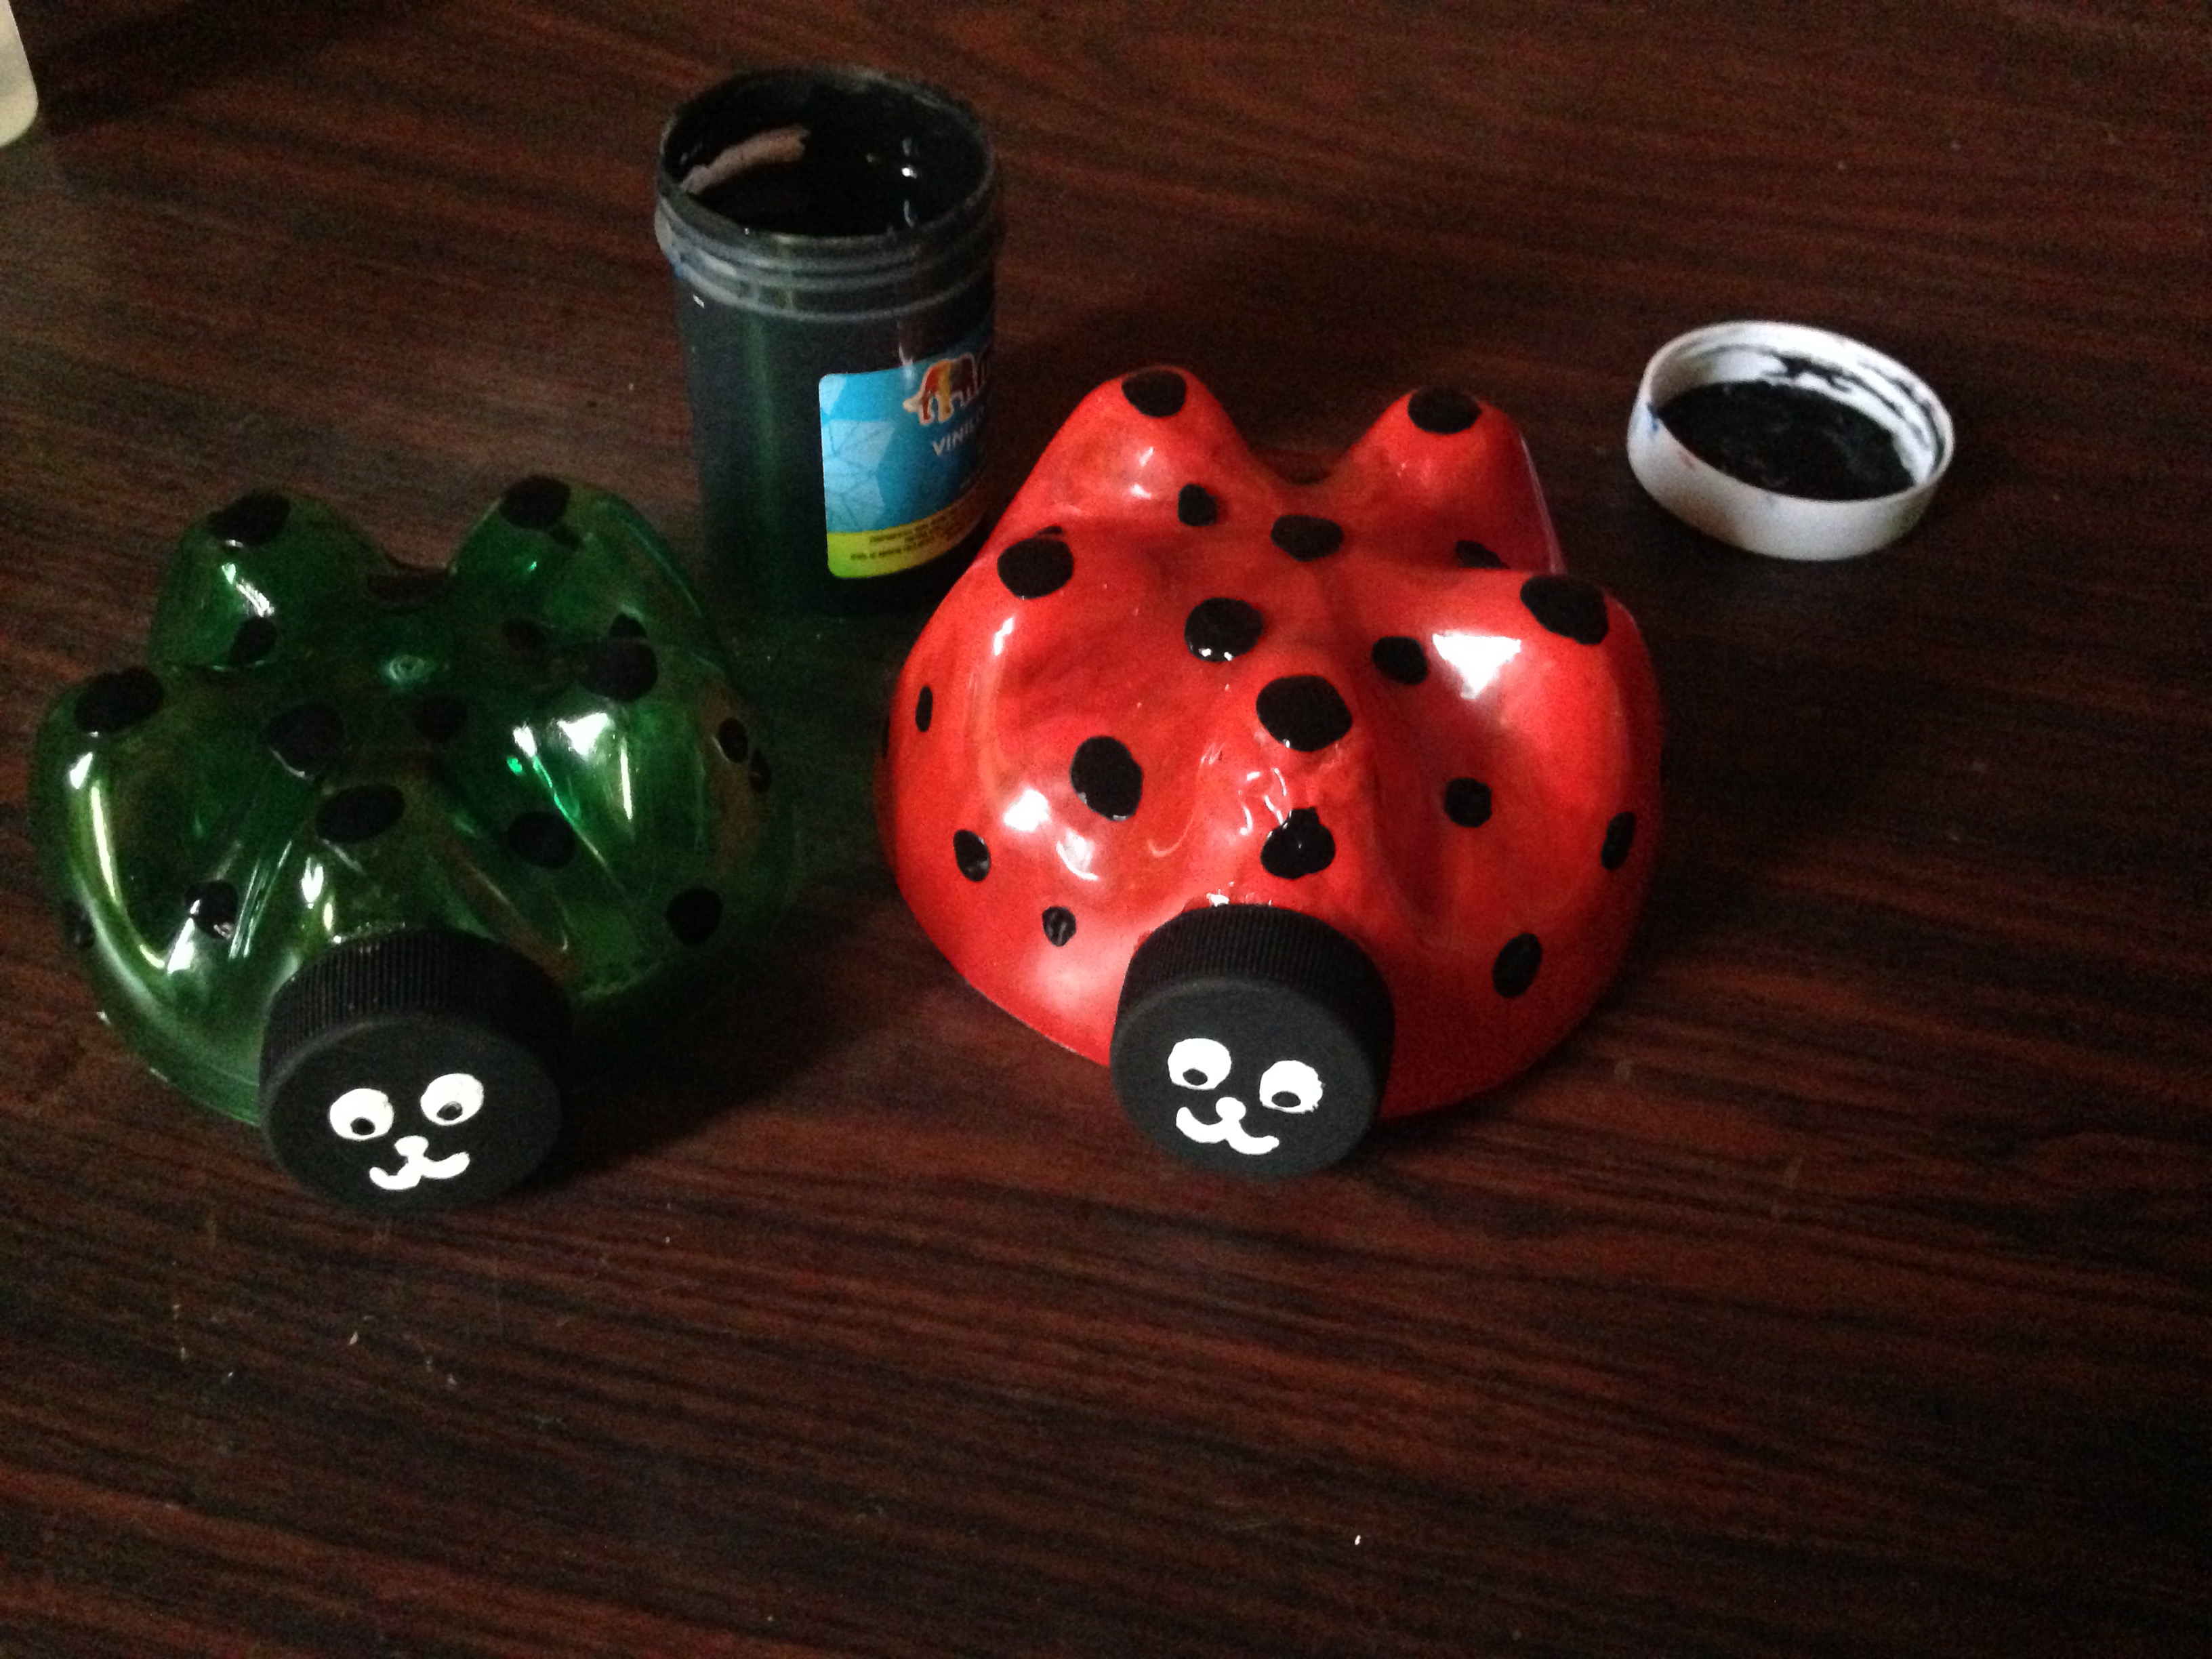
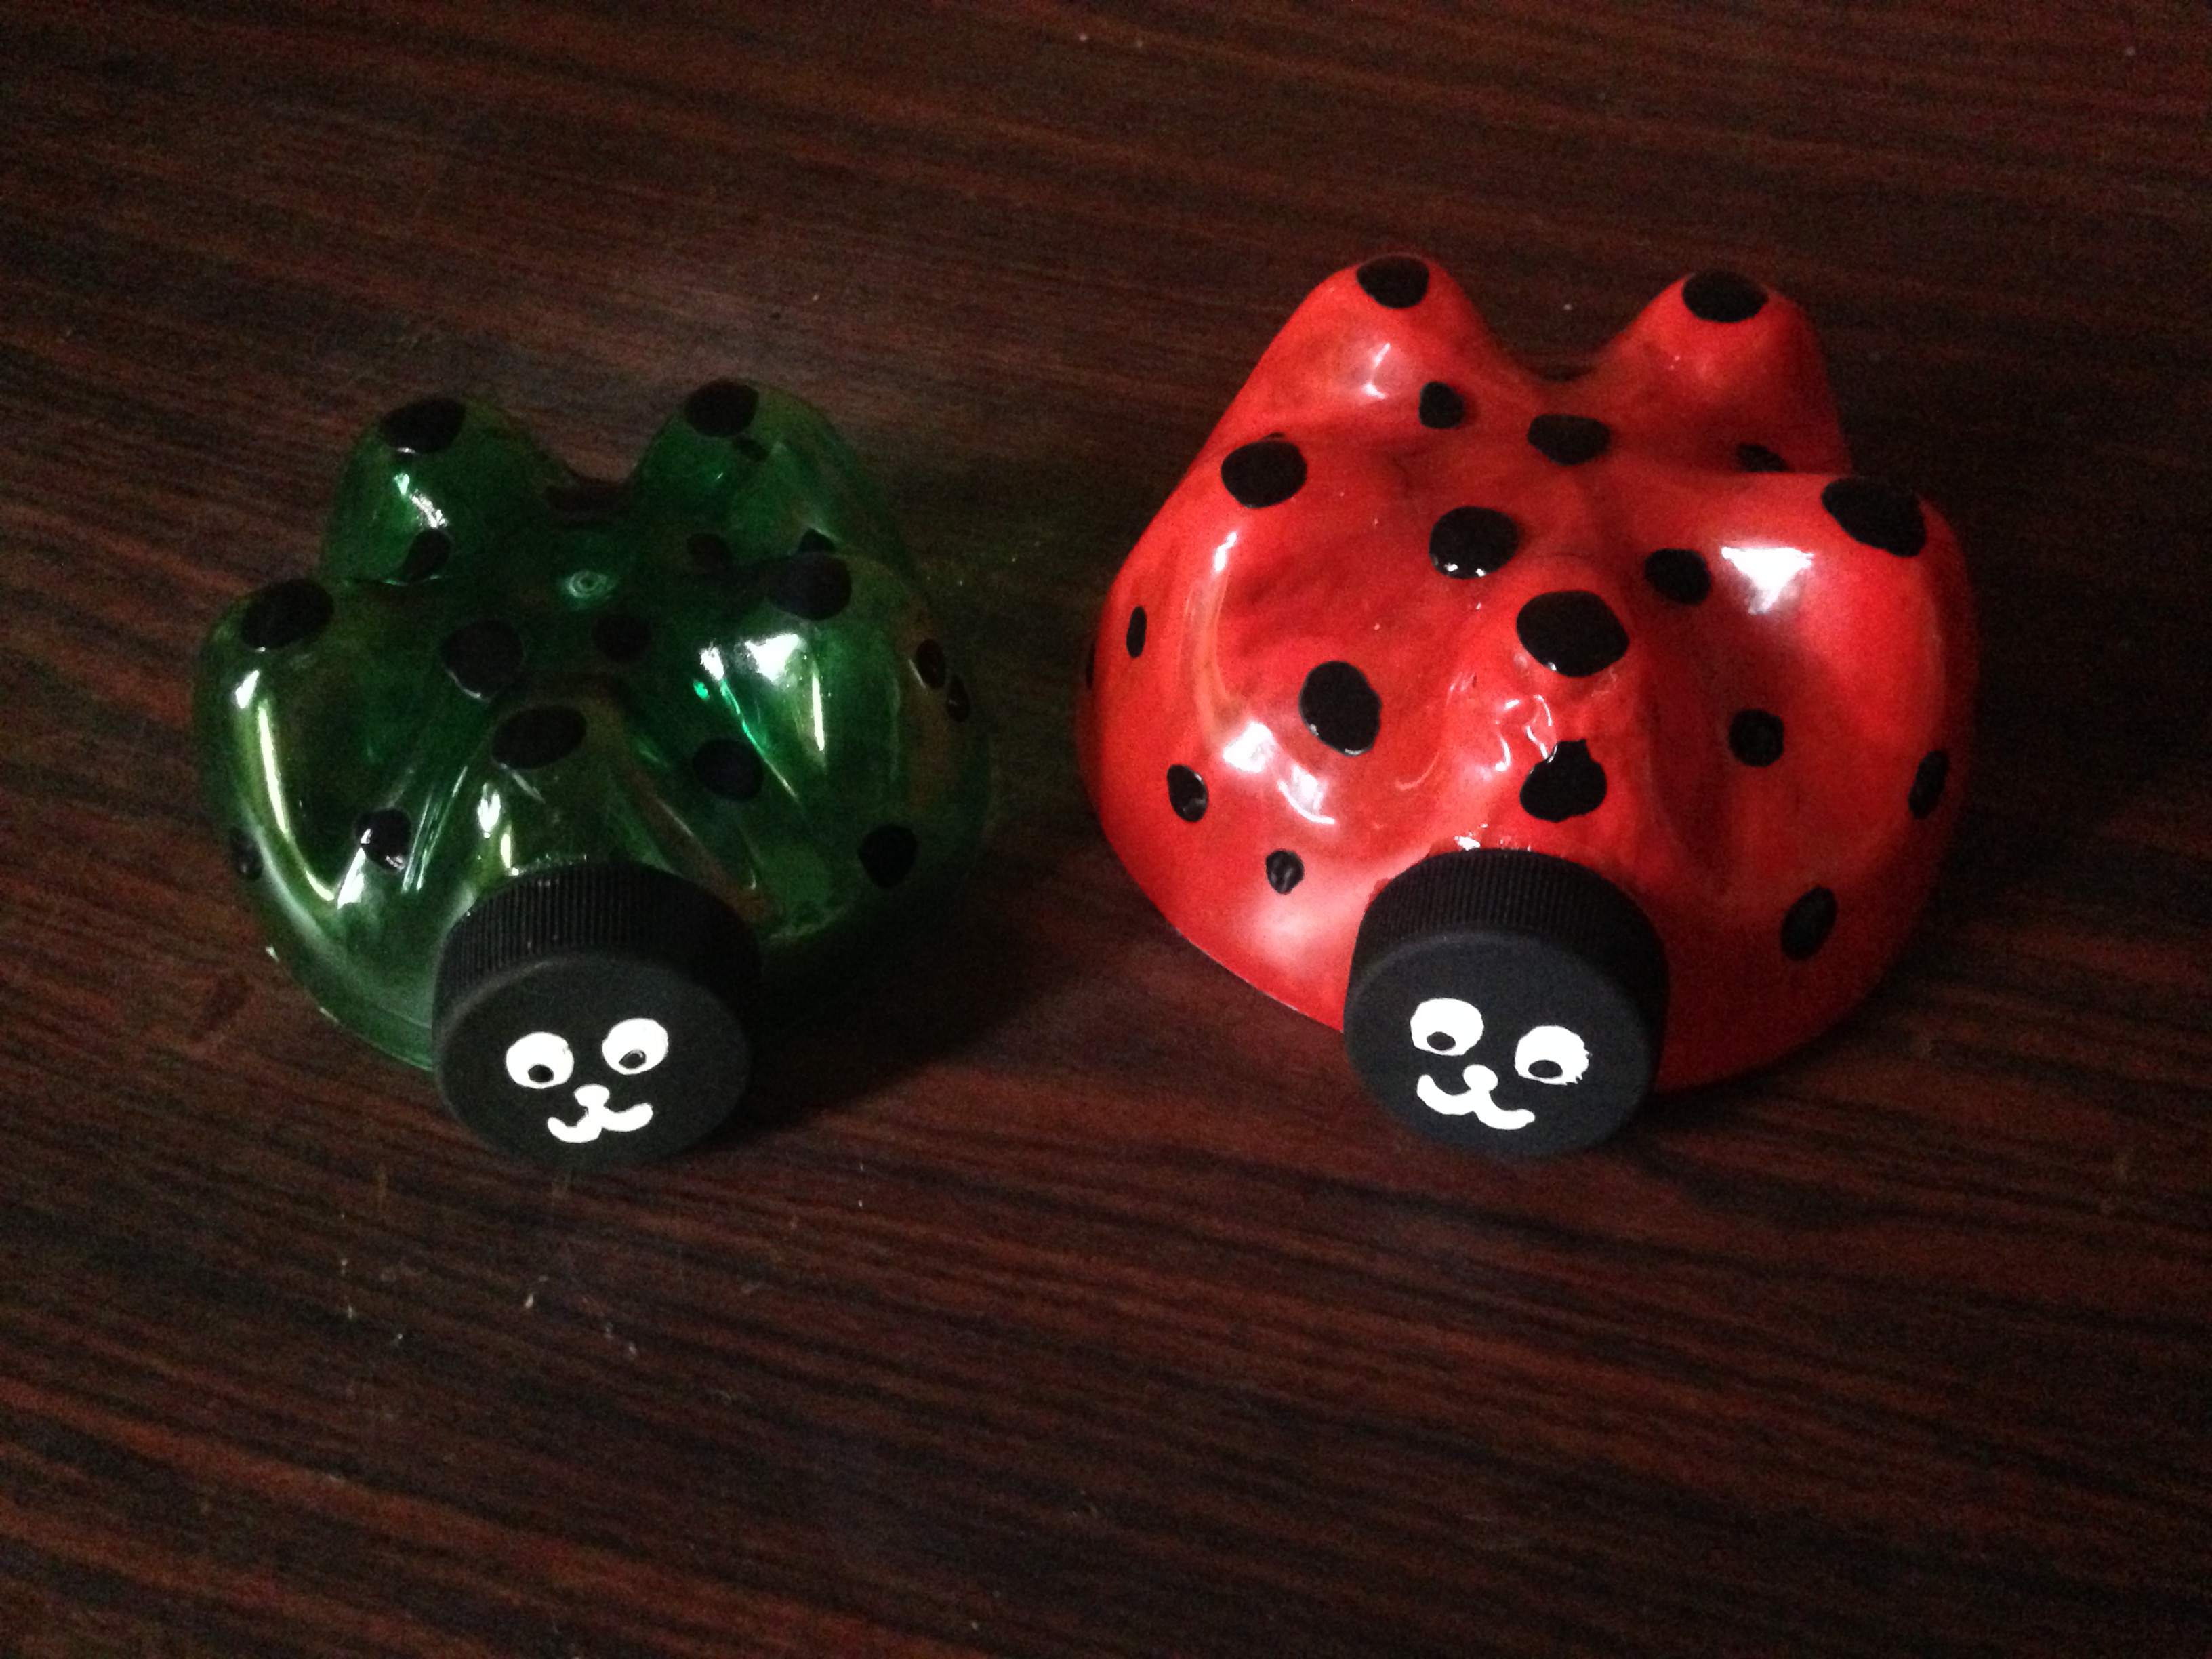
Y listo, hemos terminado nuestras hermosas mariquitas, puedes colocarlas de adorno donde tu quieras, animate a hacerlas, y espero que esto les sea de provecho!!!
And that's it, we have finished our beautiful ladybugs, you can place them as decoration wherever you want, encourage yourself to make them, and I hope this will be of benefit to you!!!
.png)
Bye Bye