.jpg)
God bless this community greatly, today I want to share the development of this beautiful mini pacifier, made with useful materials that you can have in your home, so let's start !!!
Dios bendiga grandemente a esta comunidad, hoy quiero compartir la elaboración de esta hermosa mini chupetera, hecha con materiales de provecho que puedes tener en tu casa, así que empecemos !!!
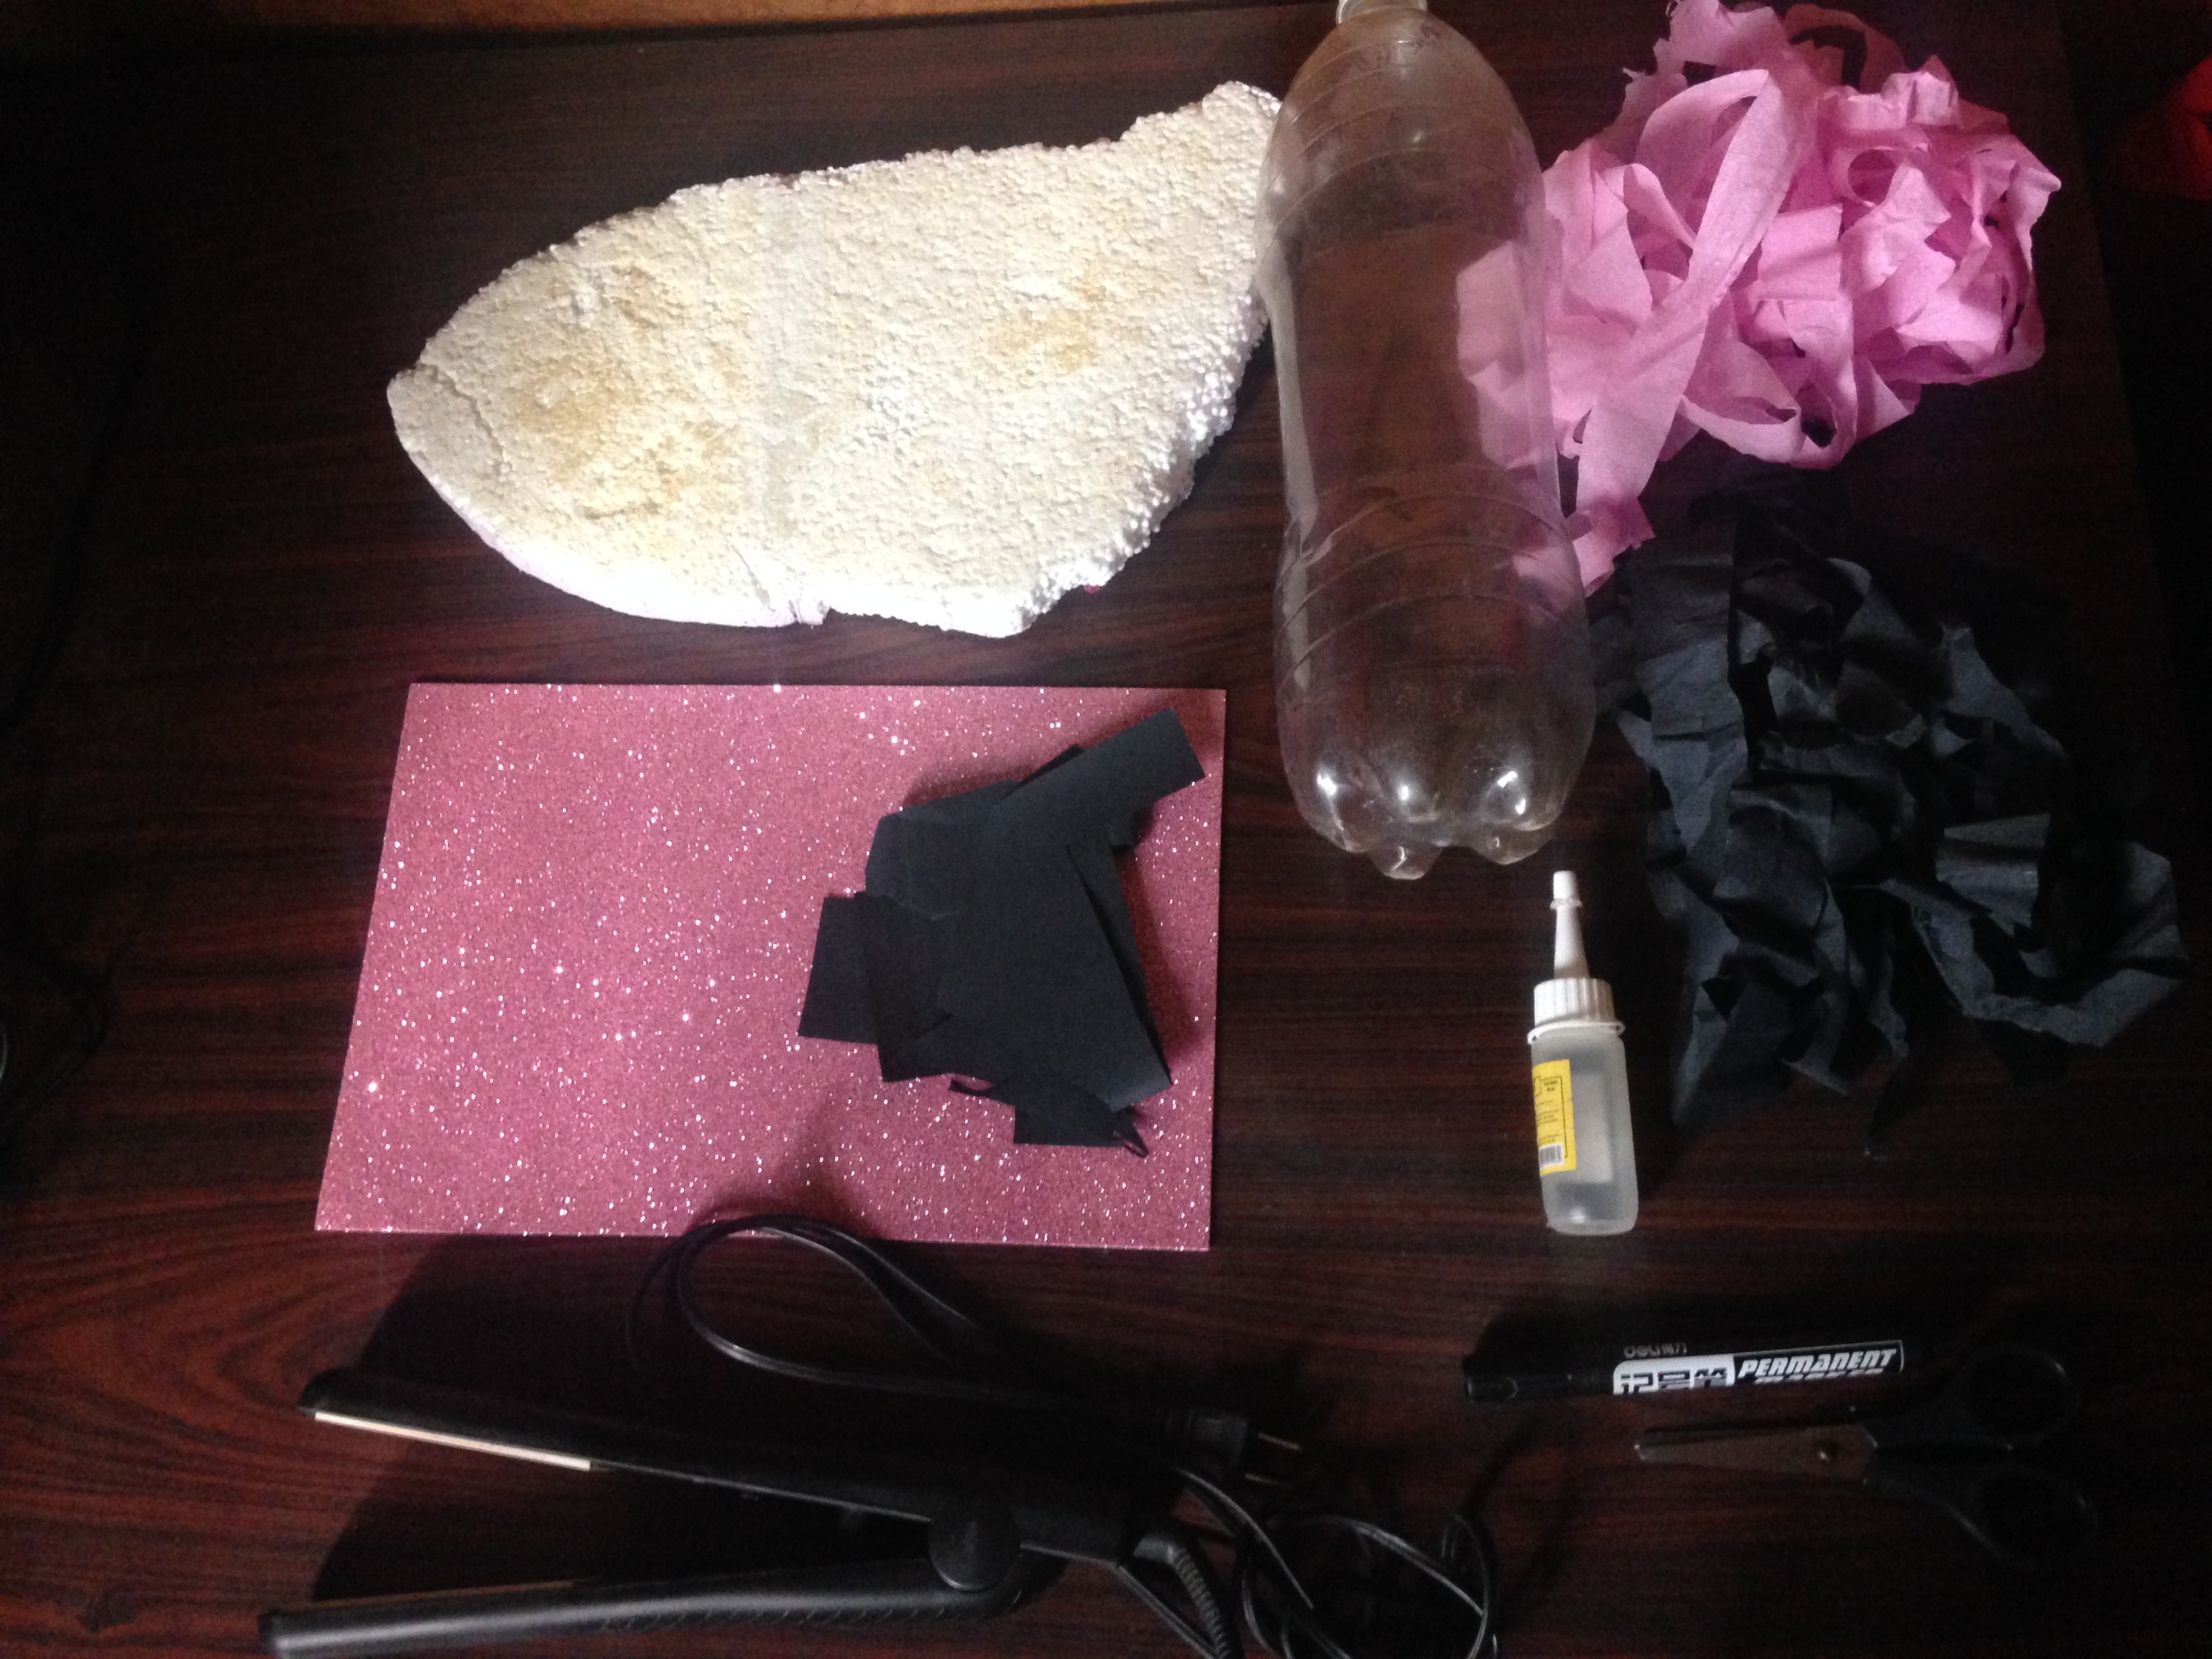
Materiales:
- Una botella plástica de 2 litros
- anime
- papel crepe rosa y negro
- foamy rosa
- cartulina negra
- tijera
- silicon
- marcador
- lapiz
- plancha de cabello
Materials:
- A 2 liter plastic bottle
- anime
- pink and black crepe paper
- pink foamy
- black cardstock
- scissor
- silicon
- marker
- pencil
- hair iron
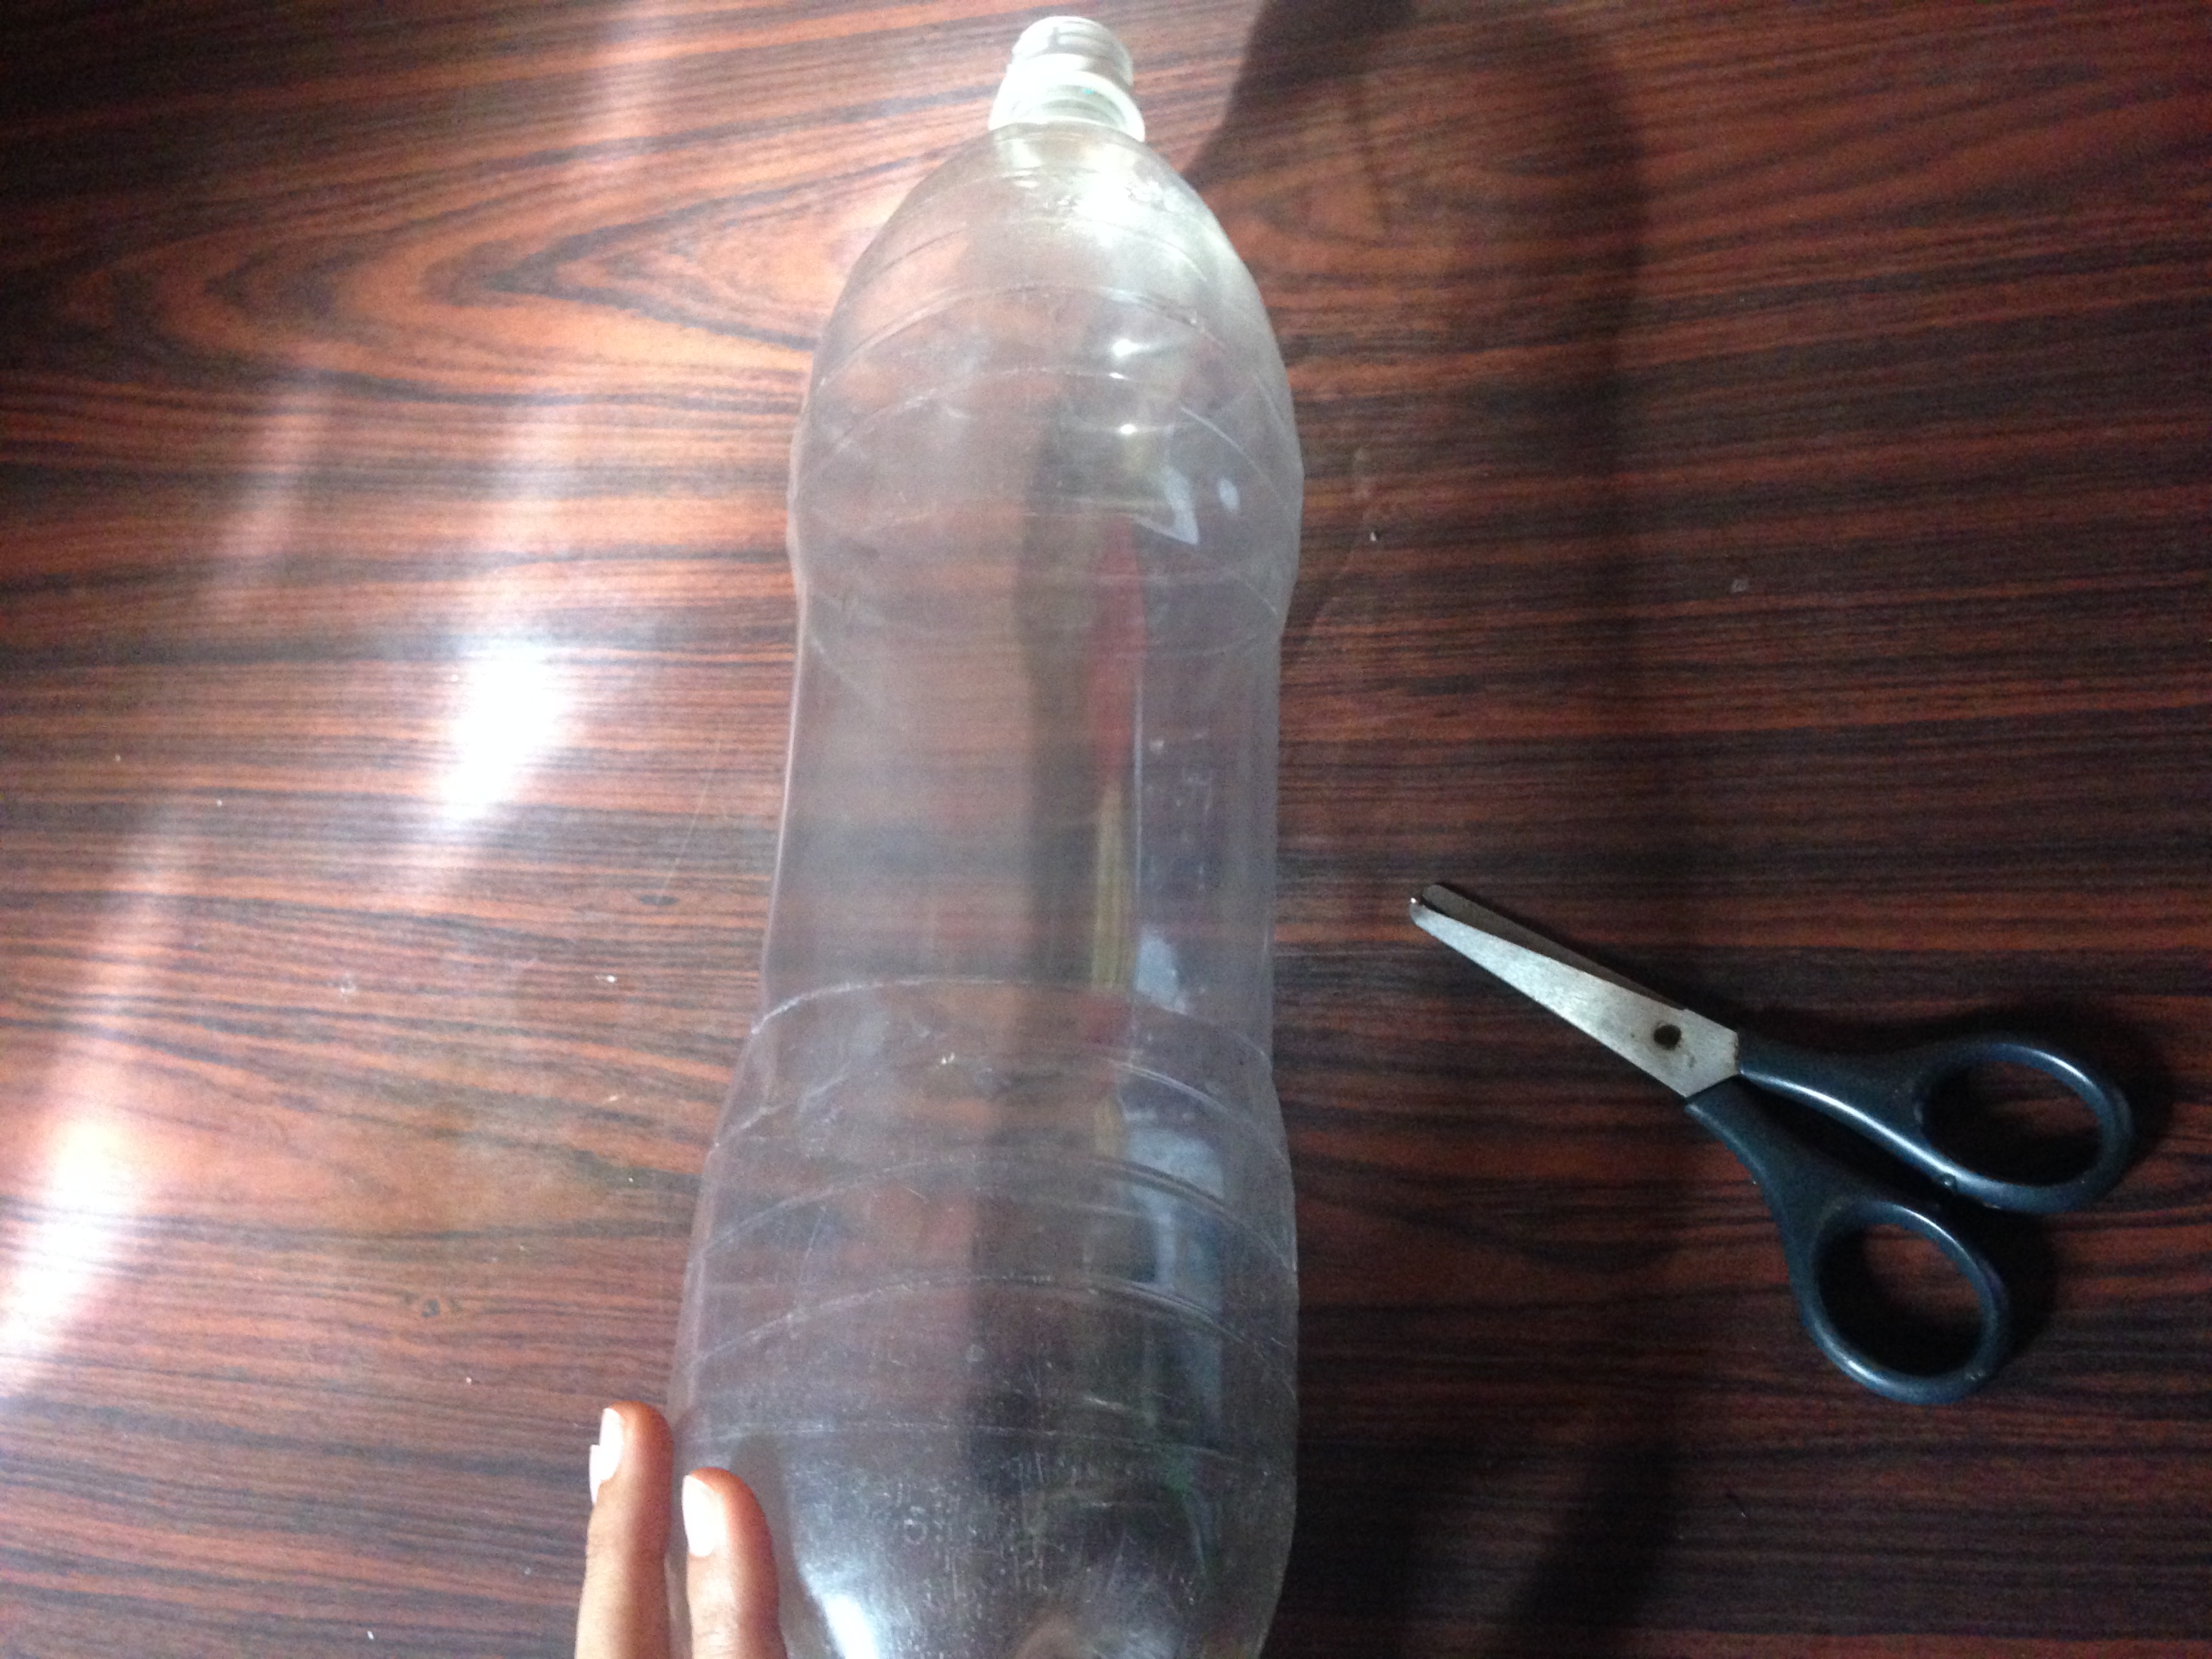
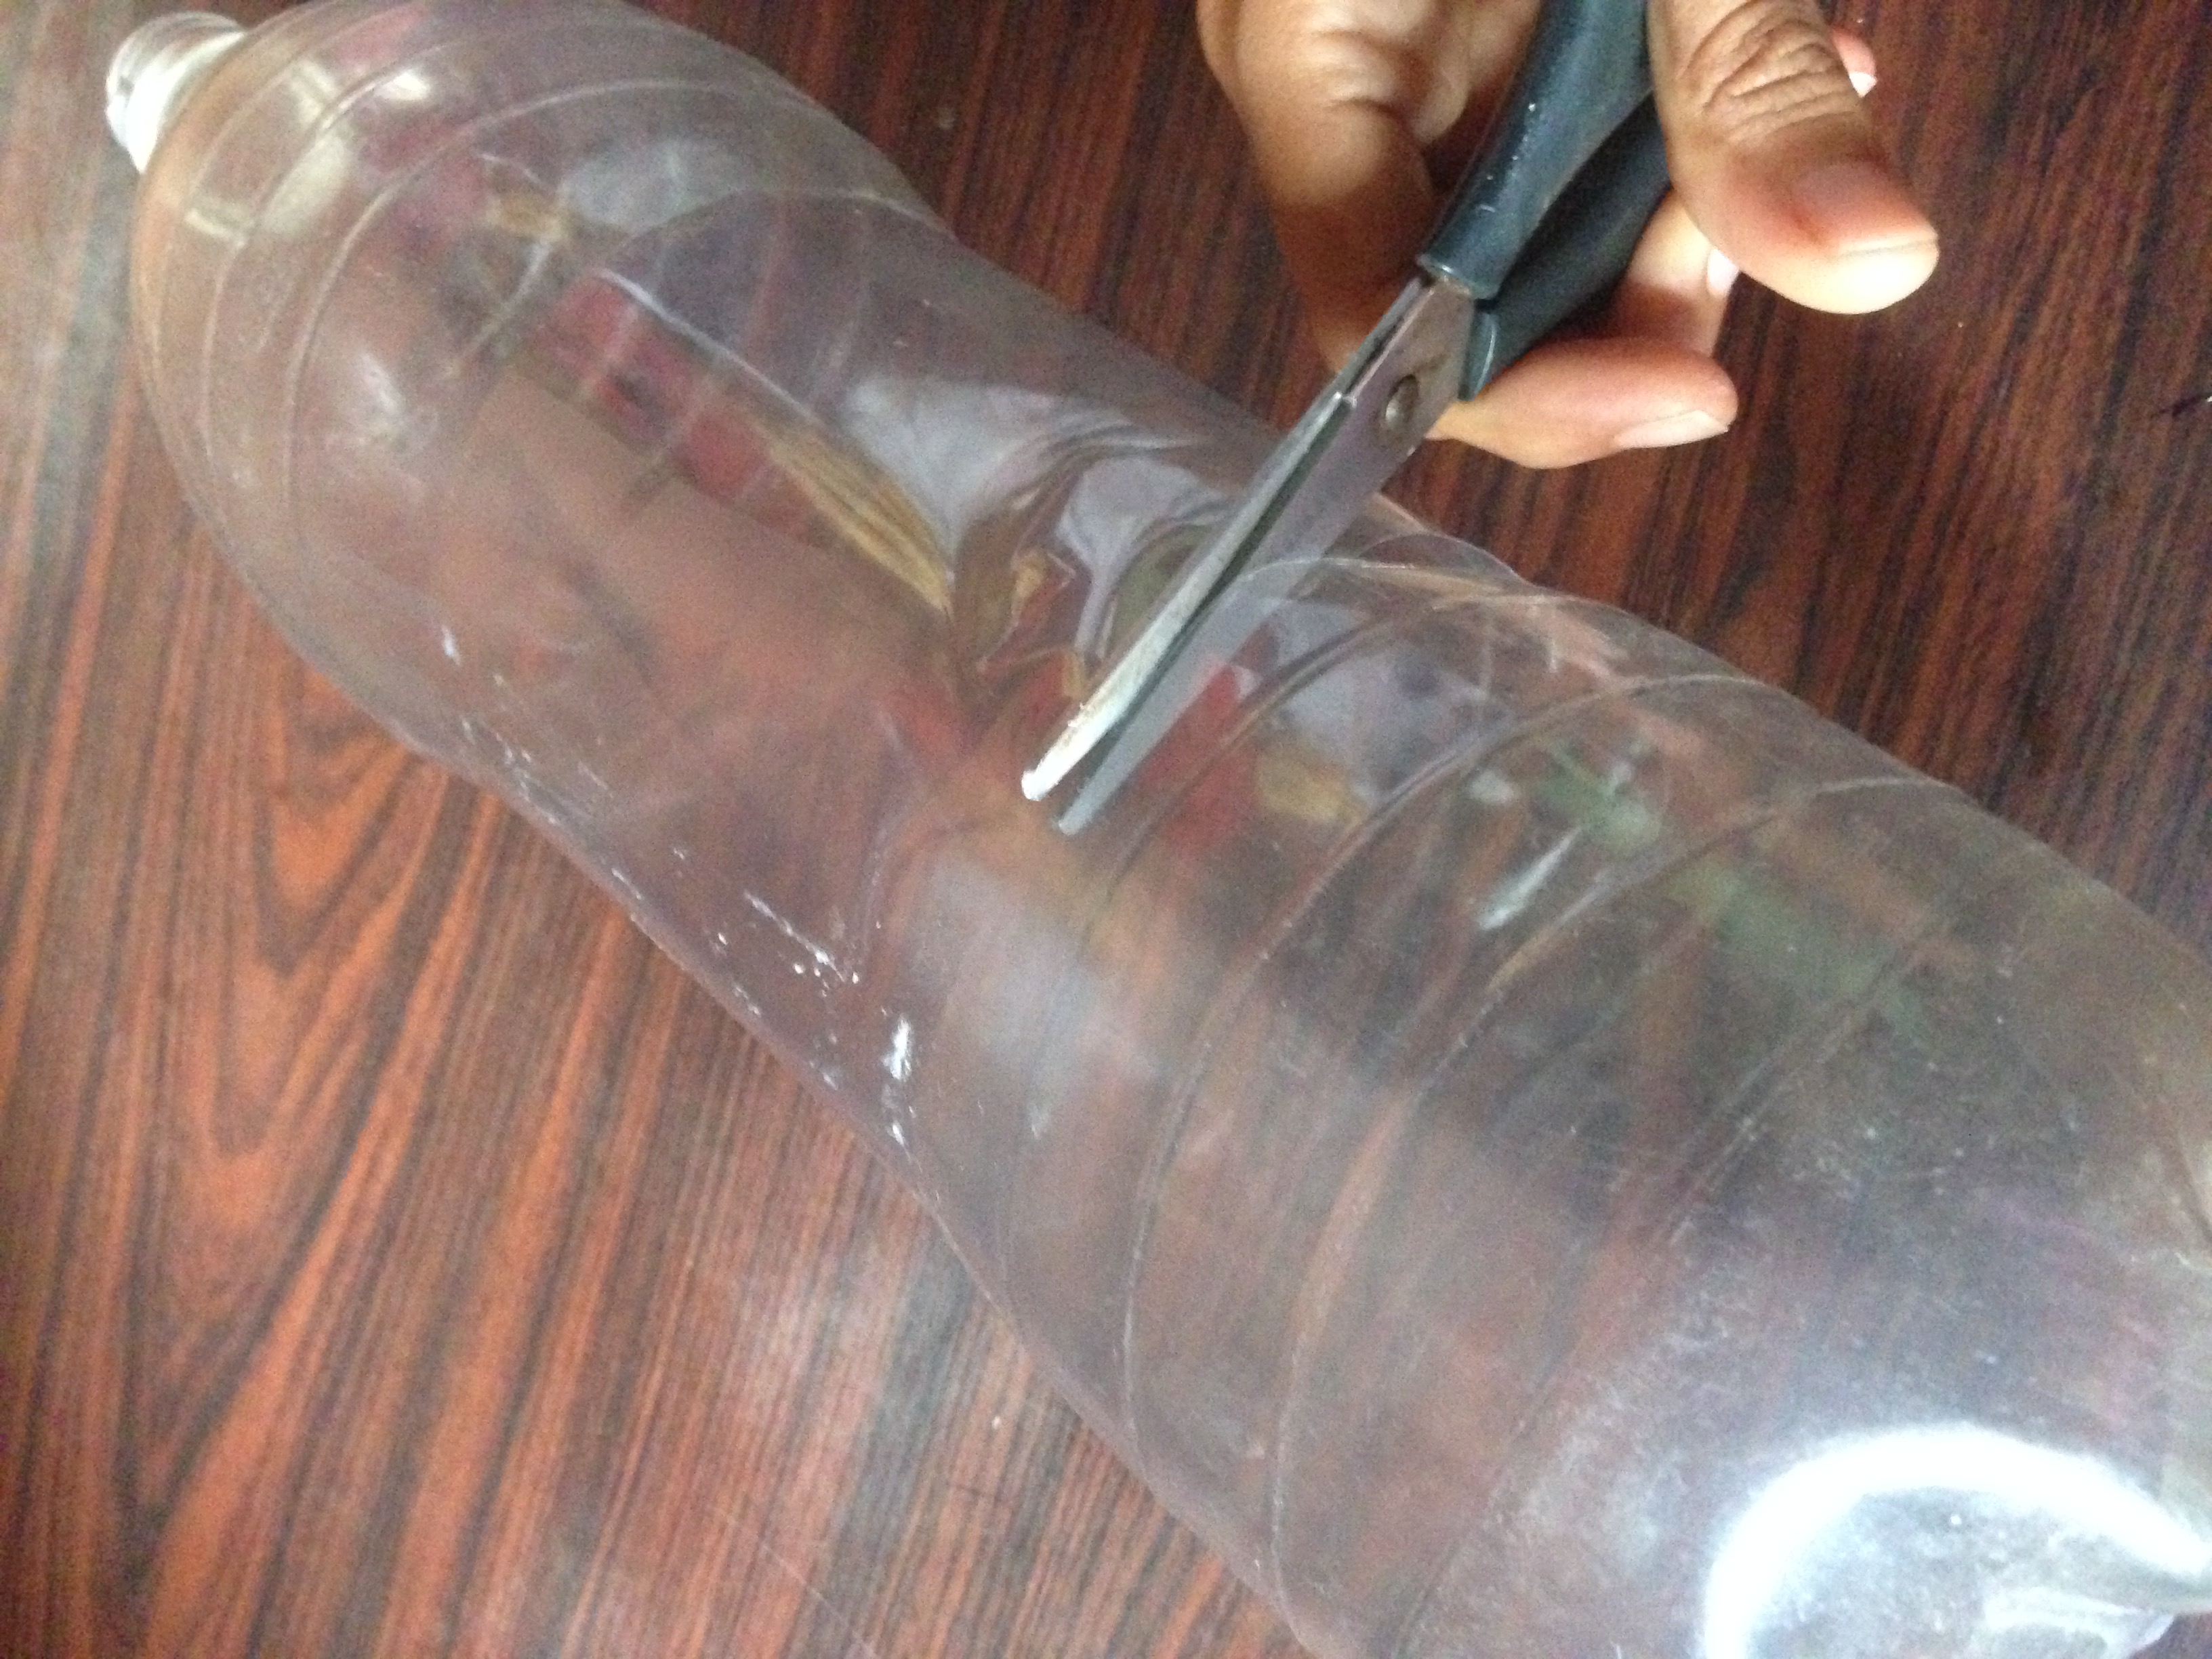
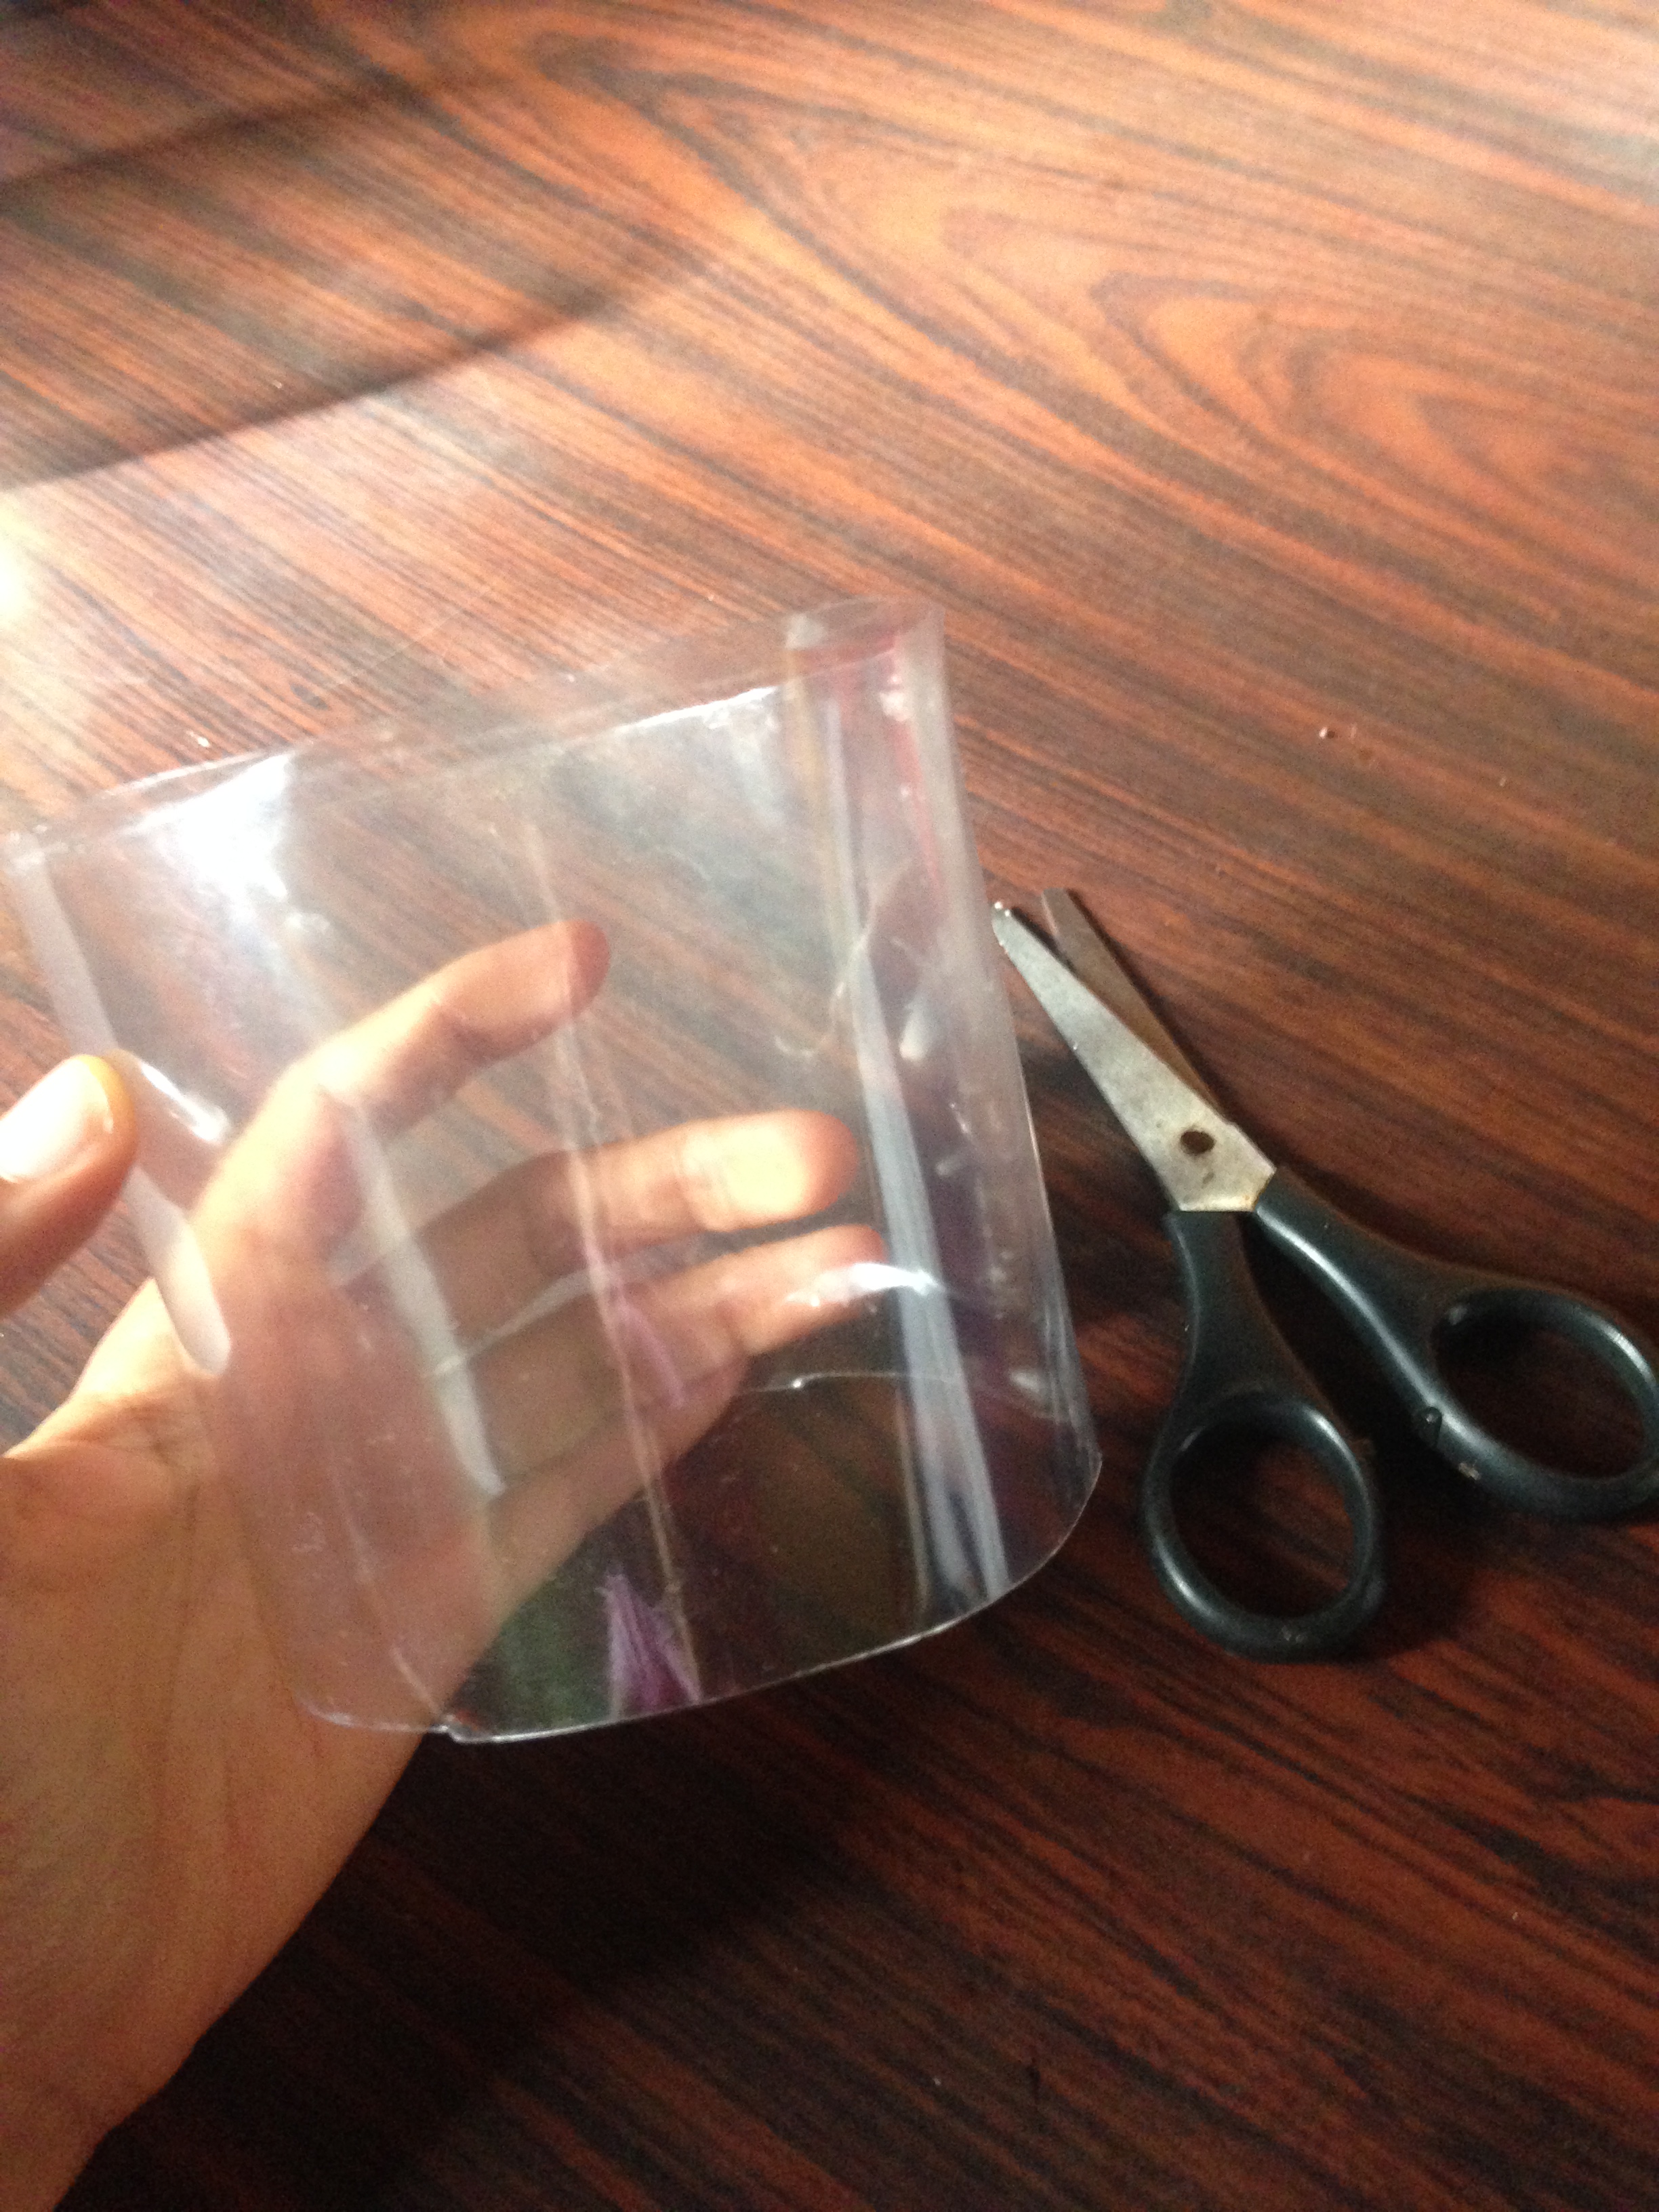
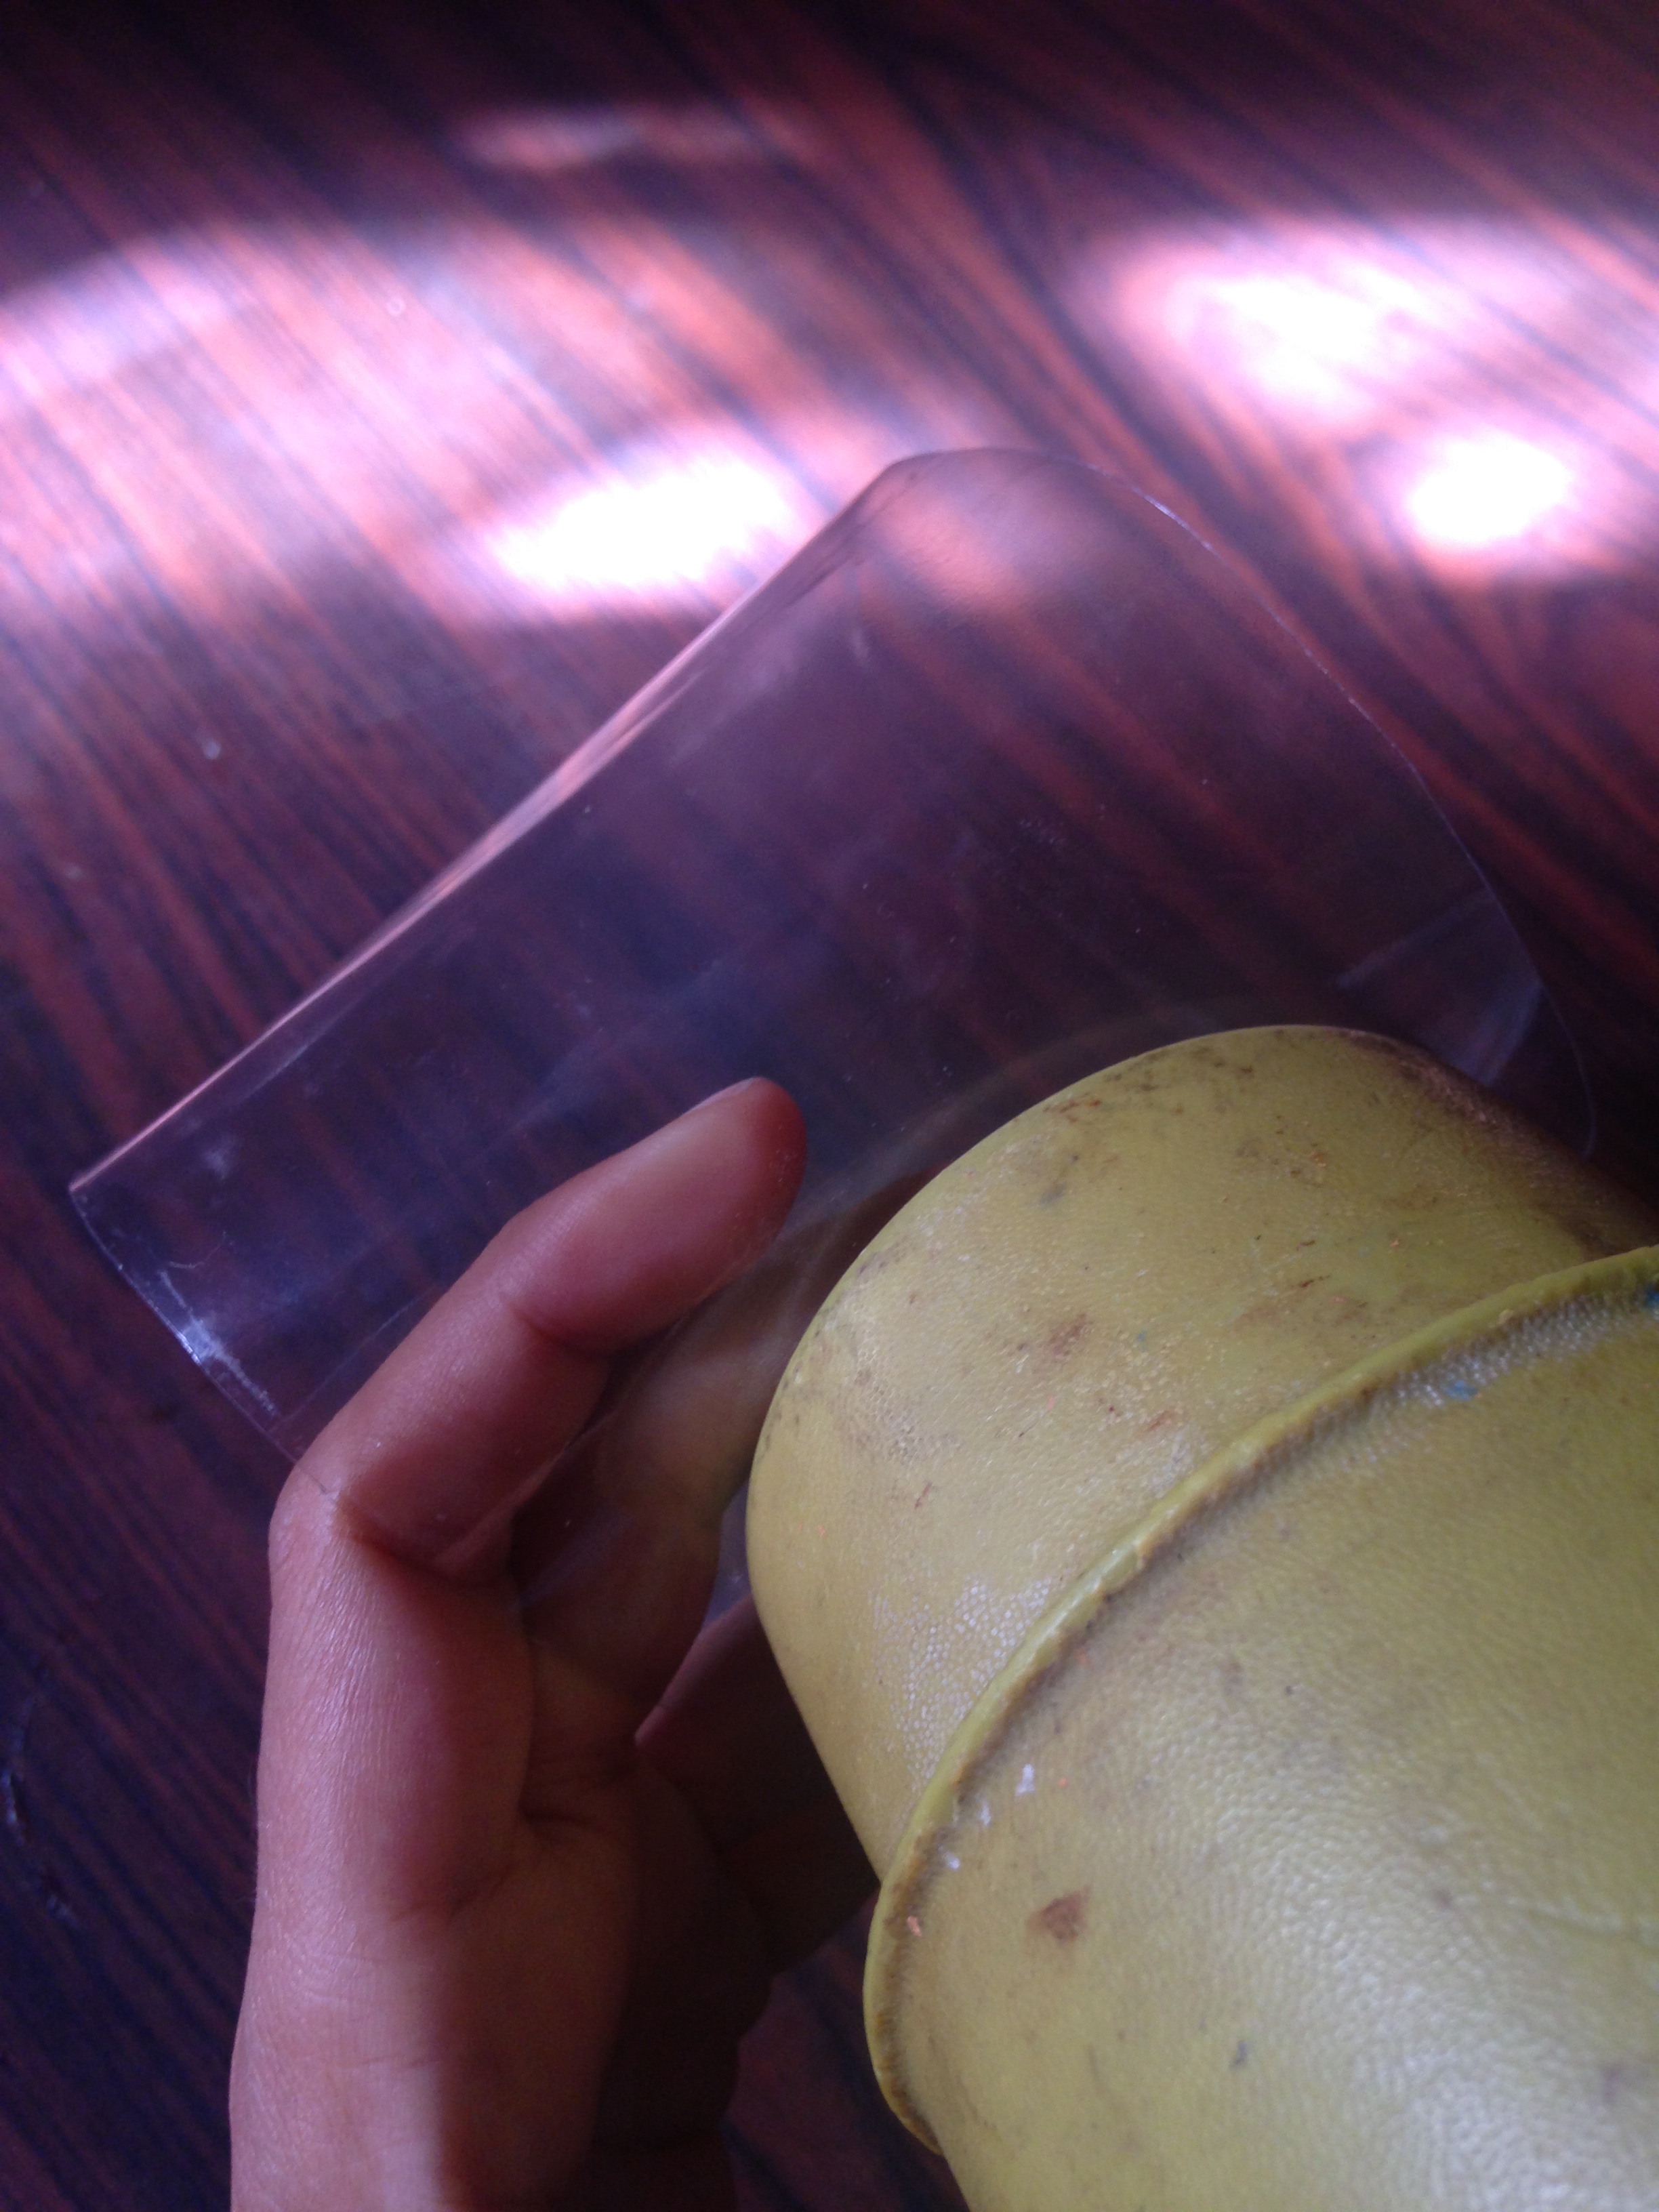
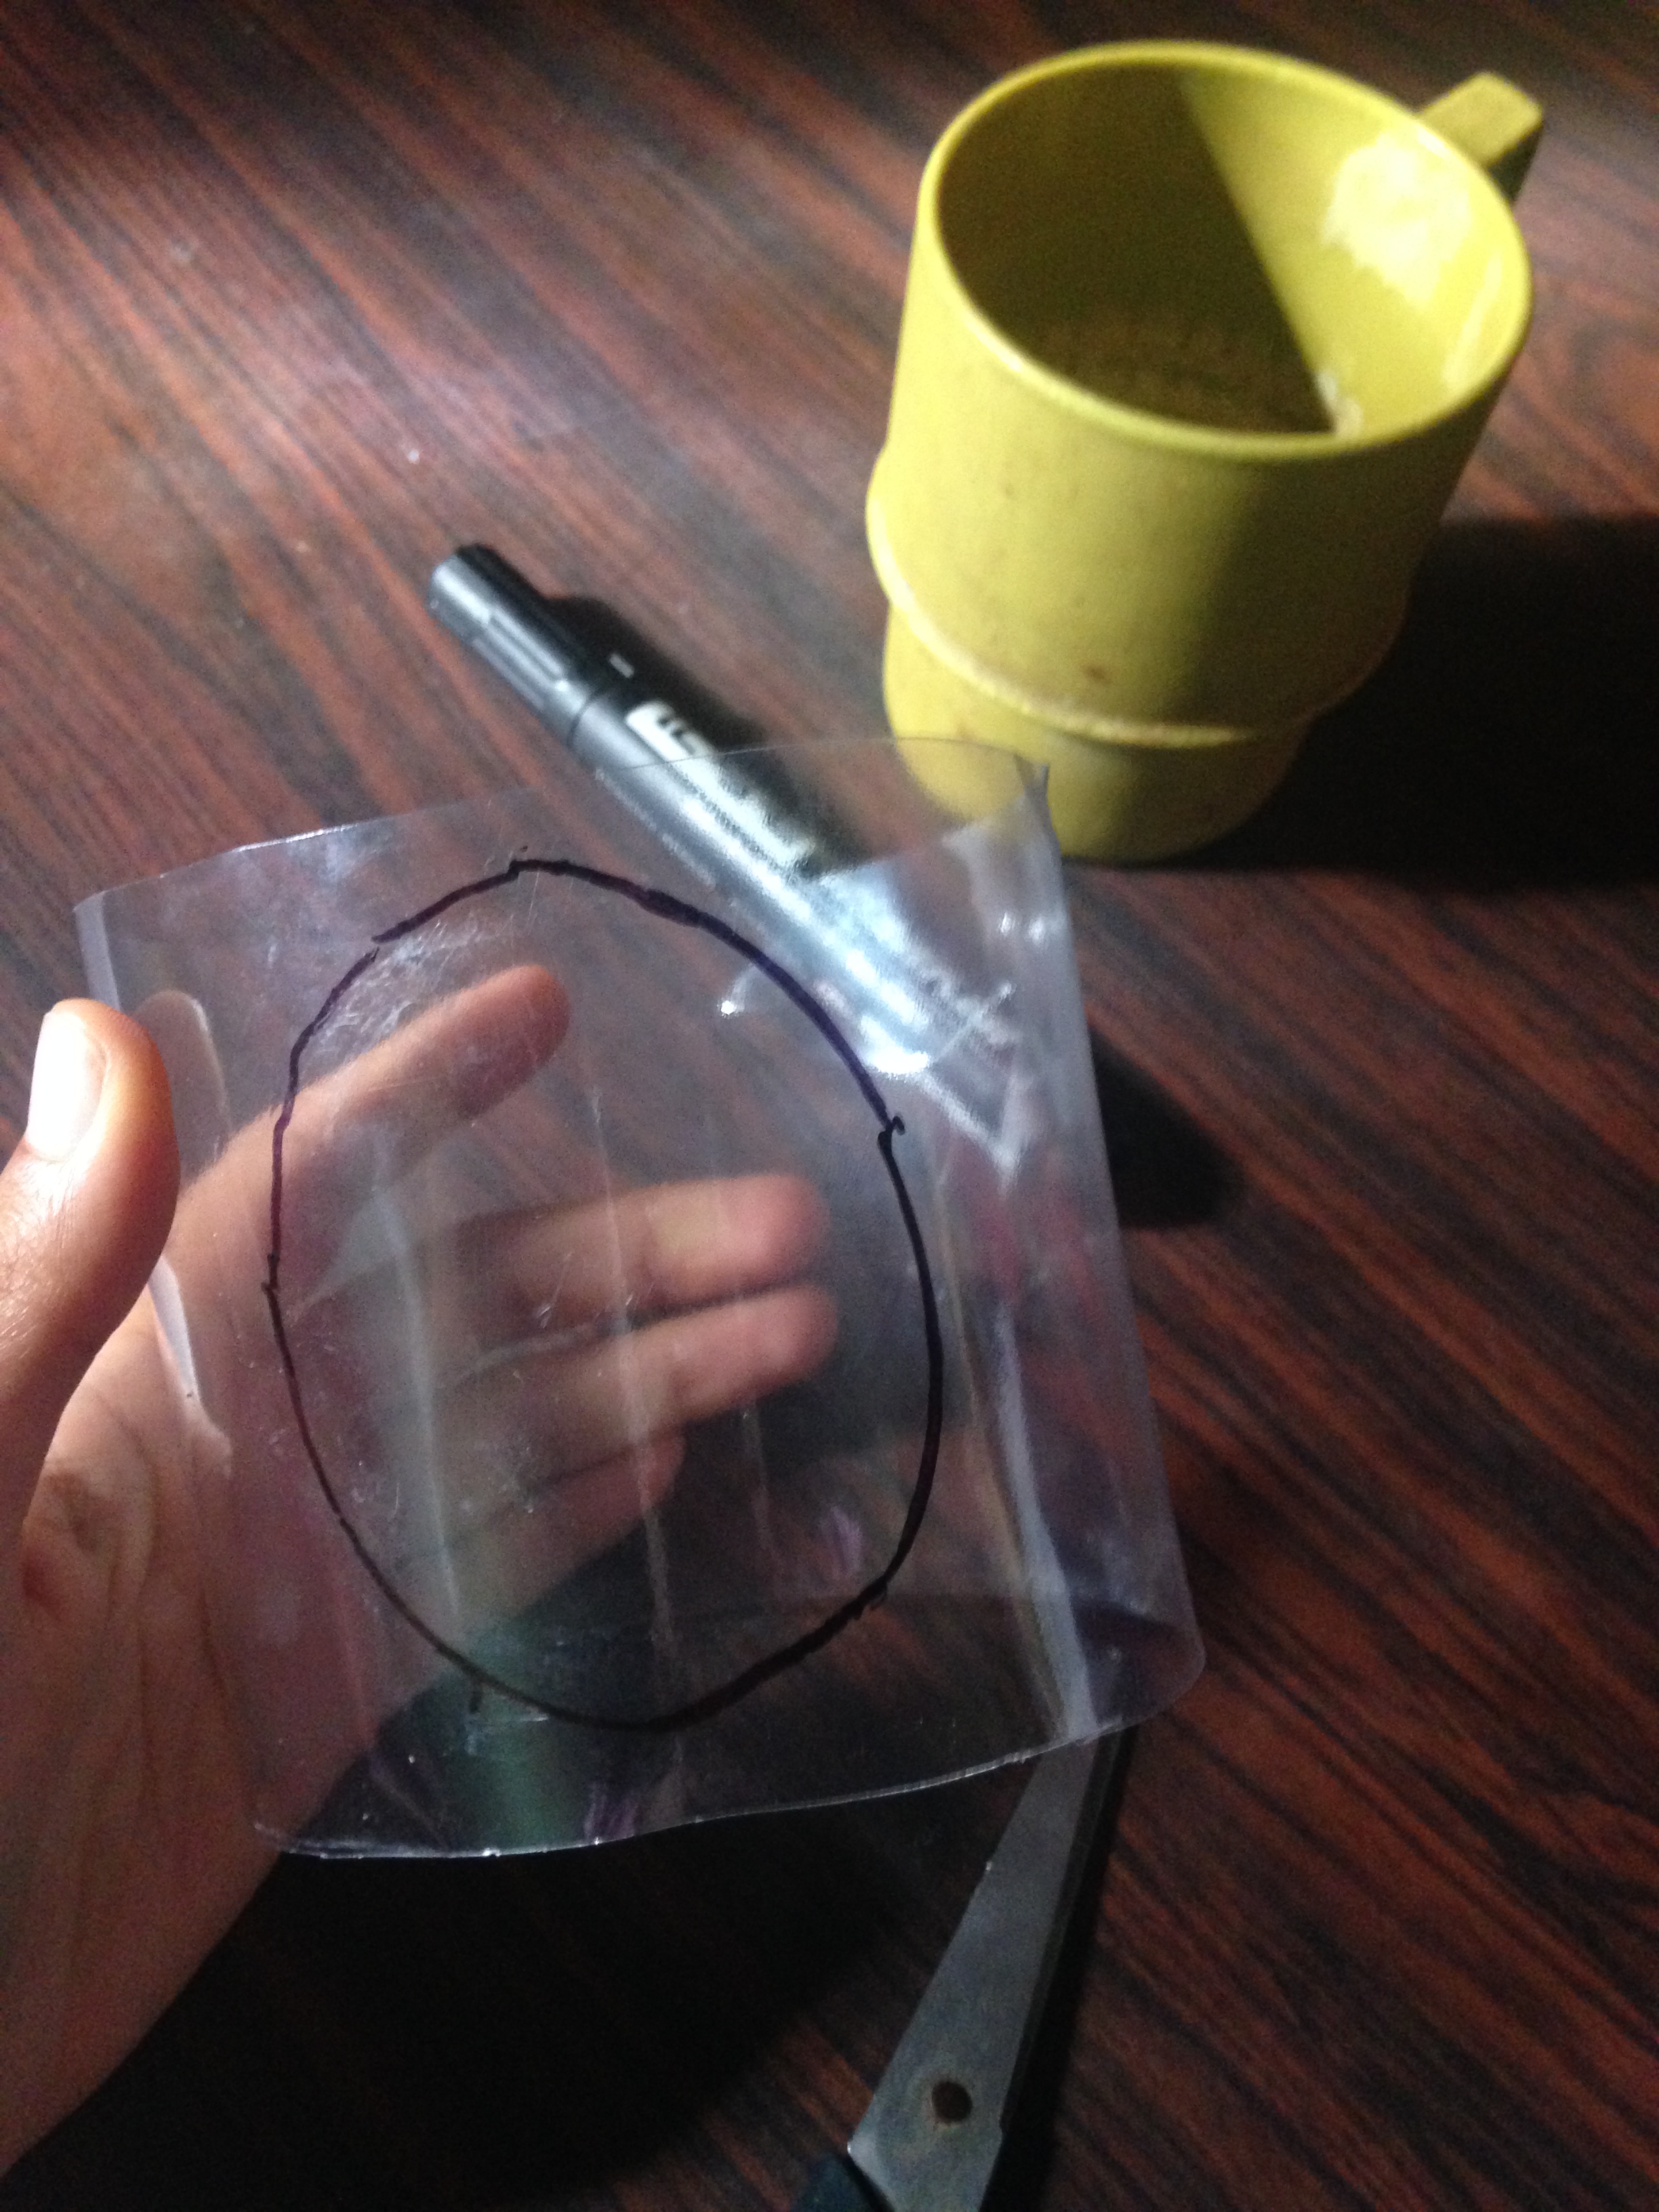
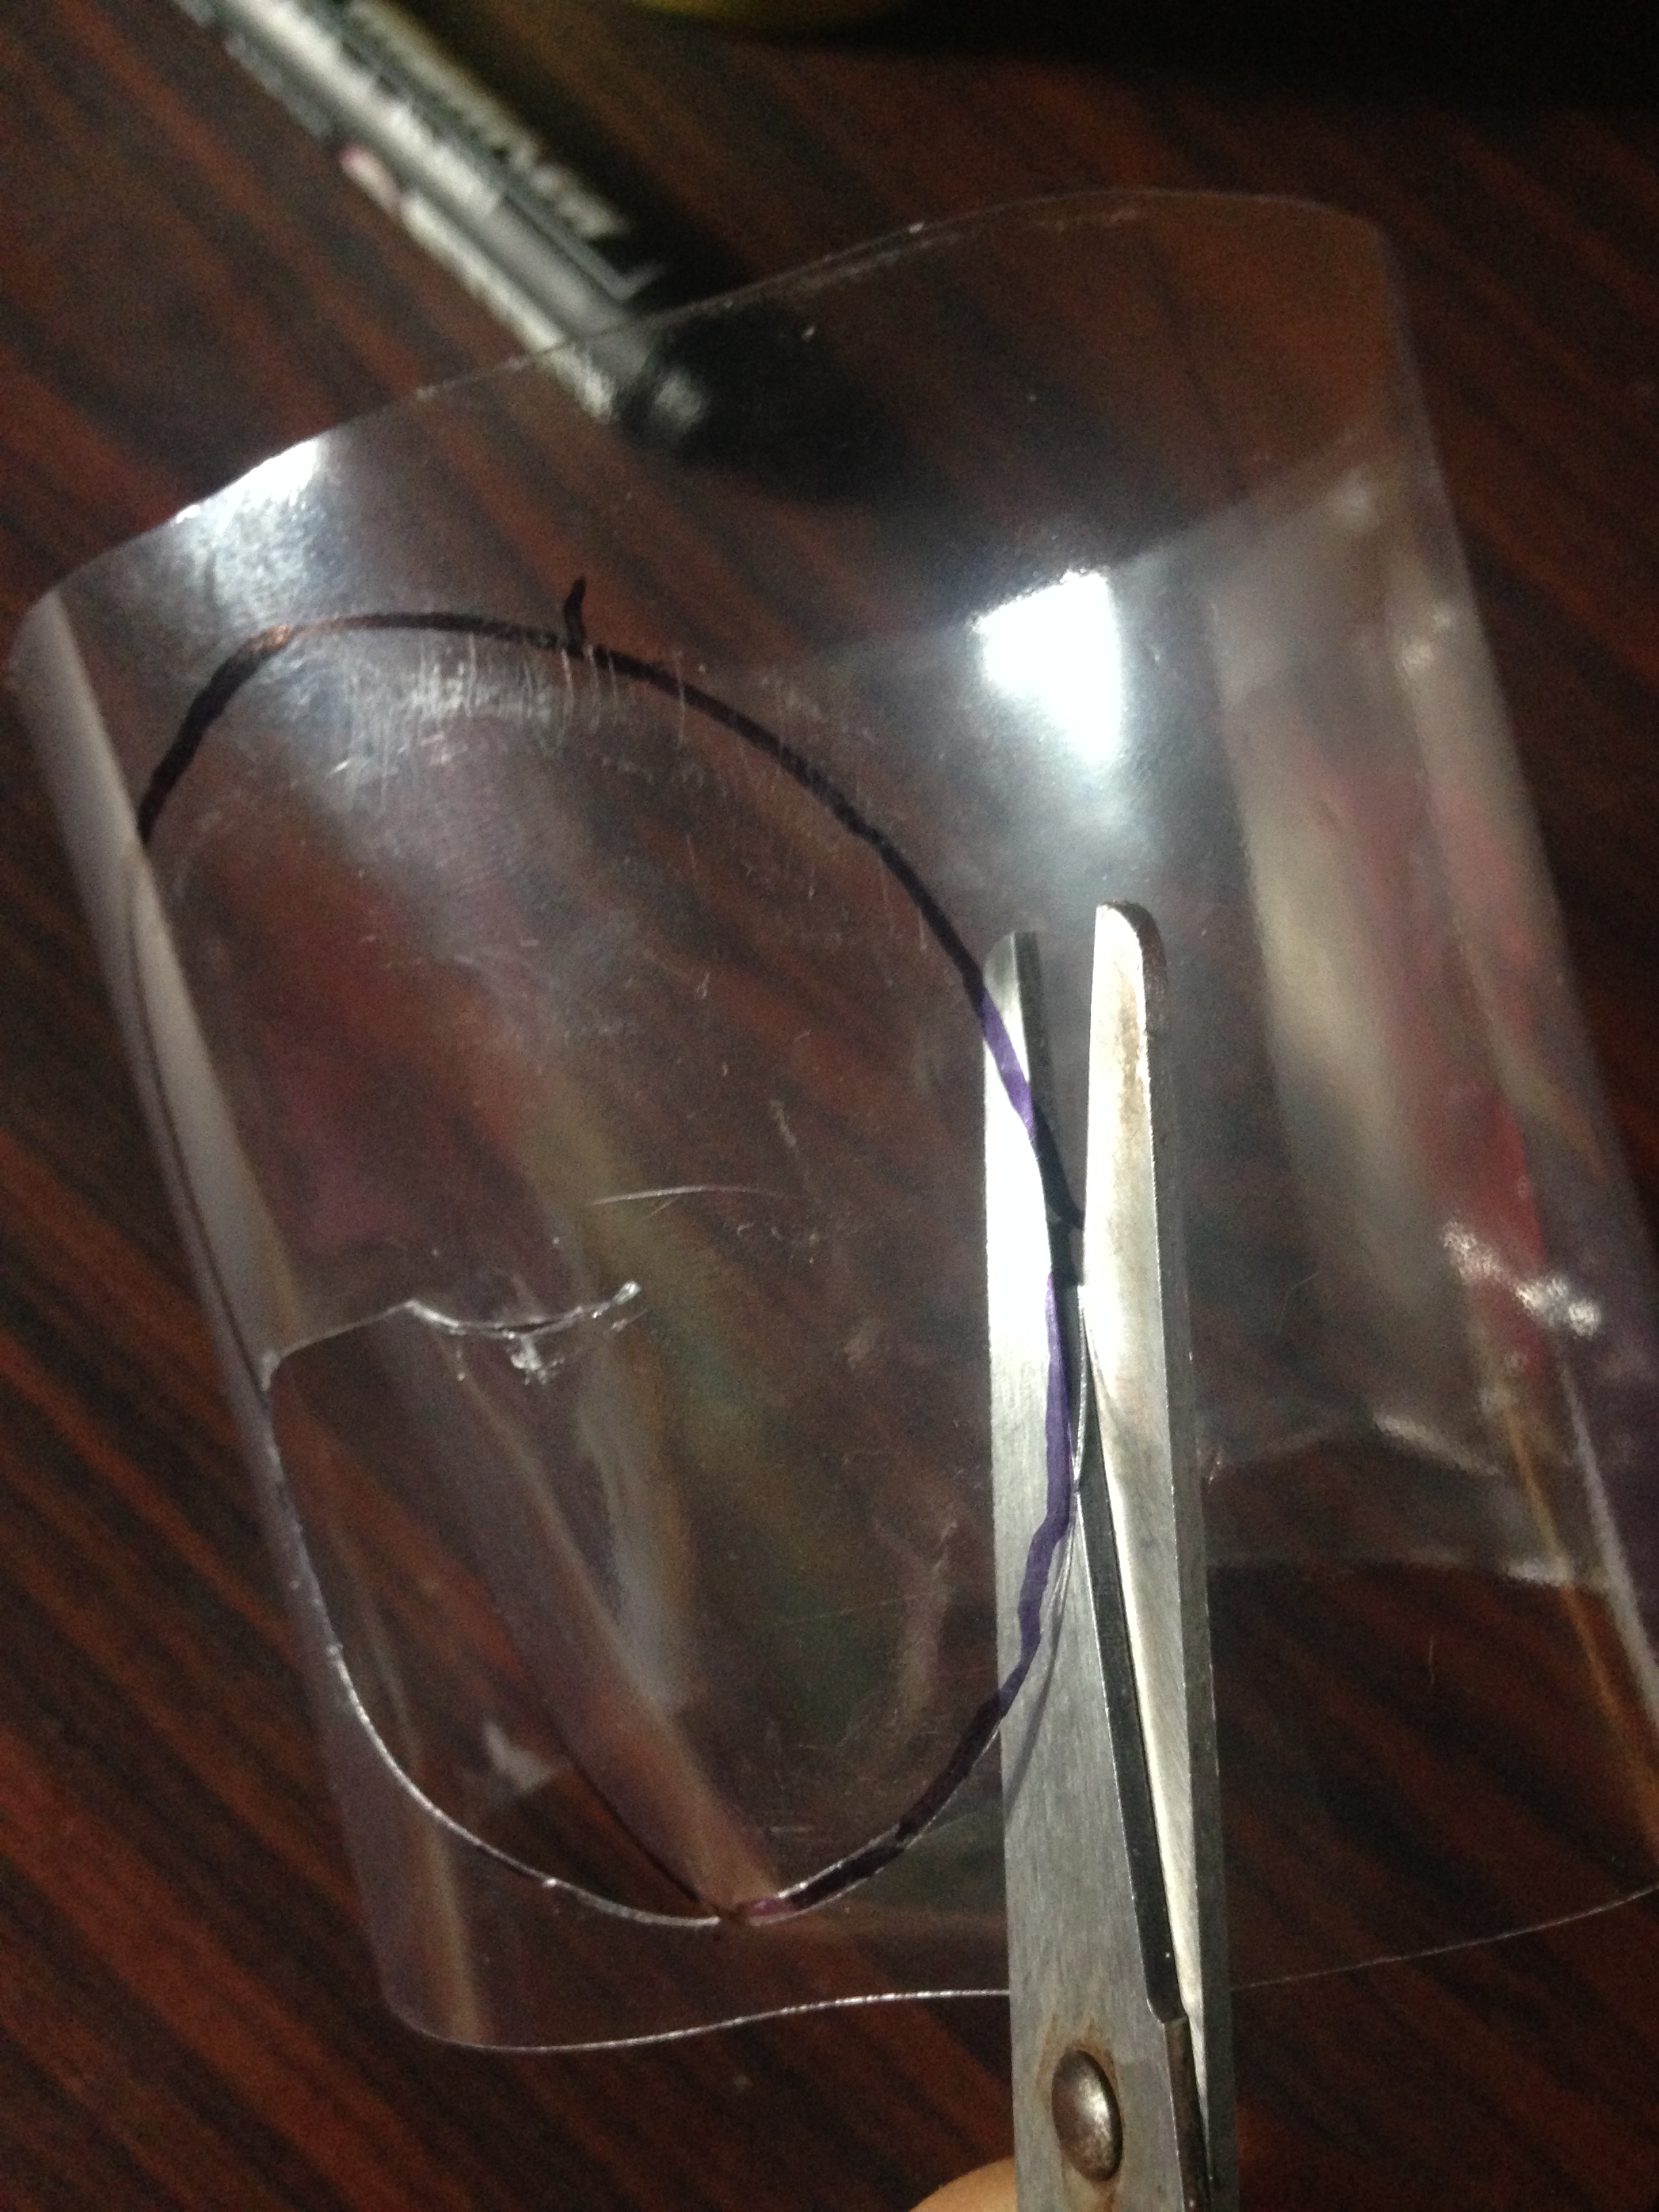
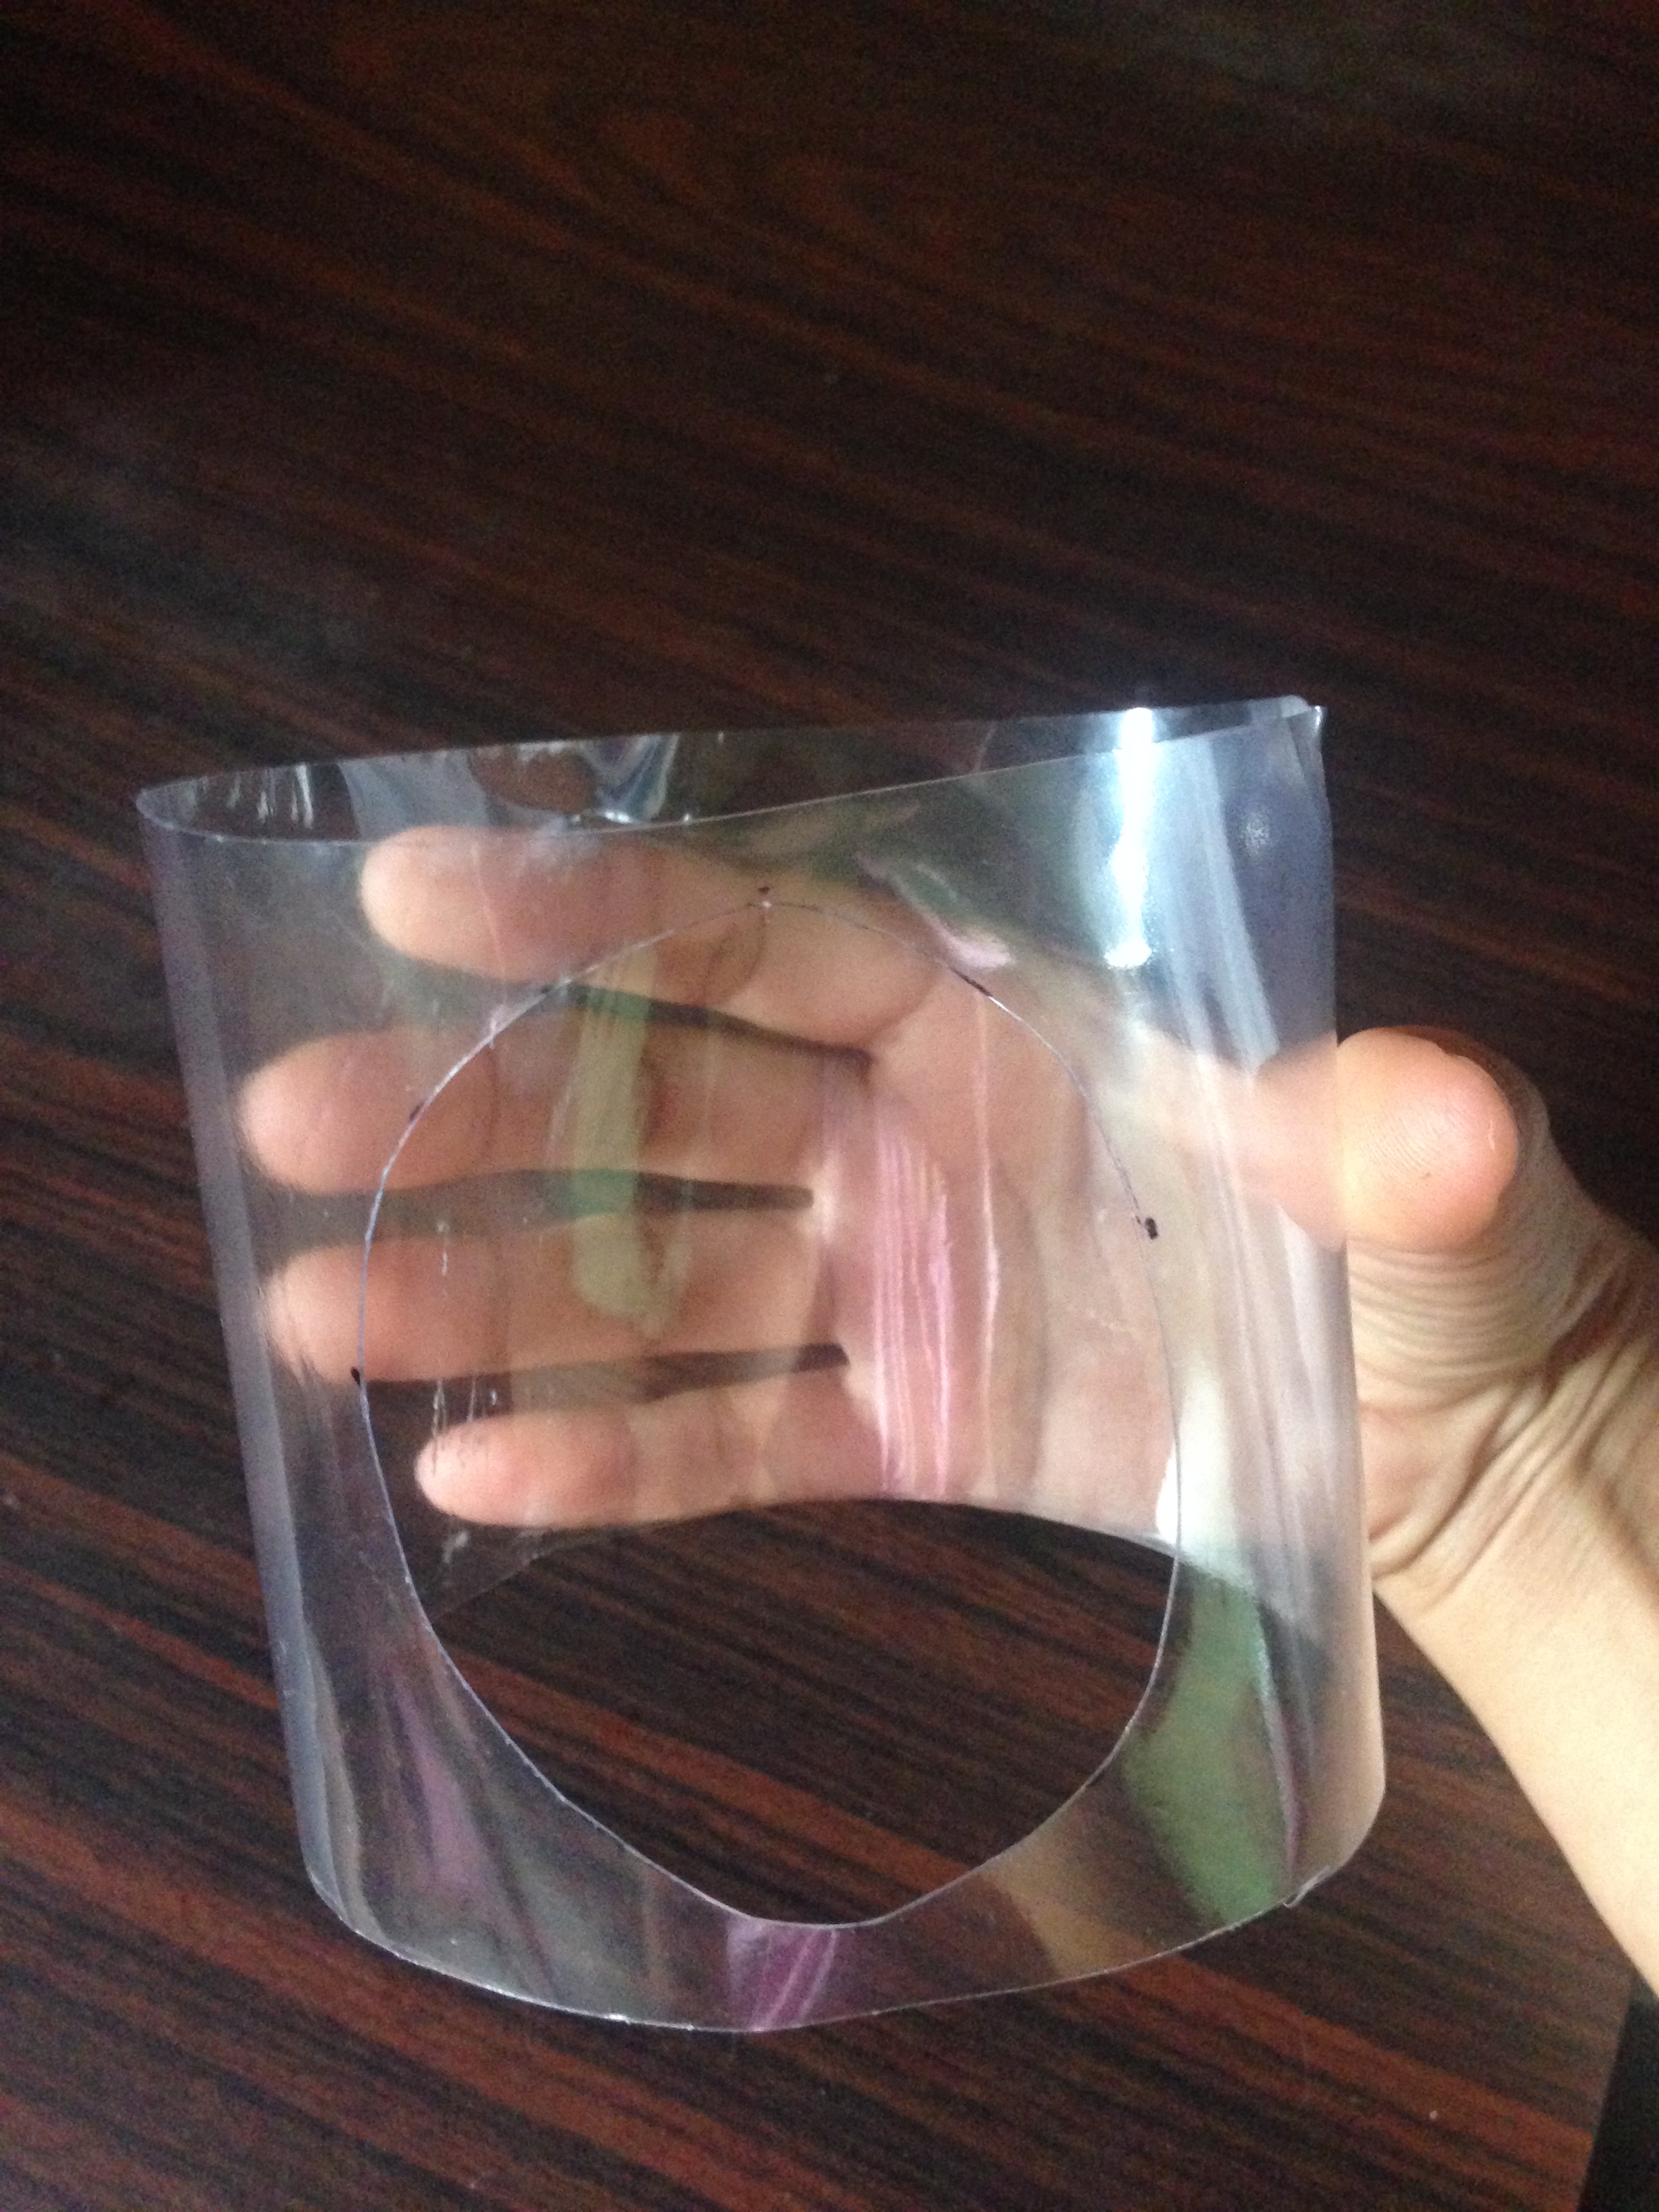
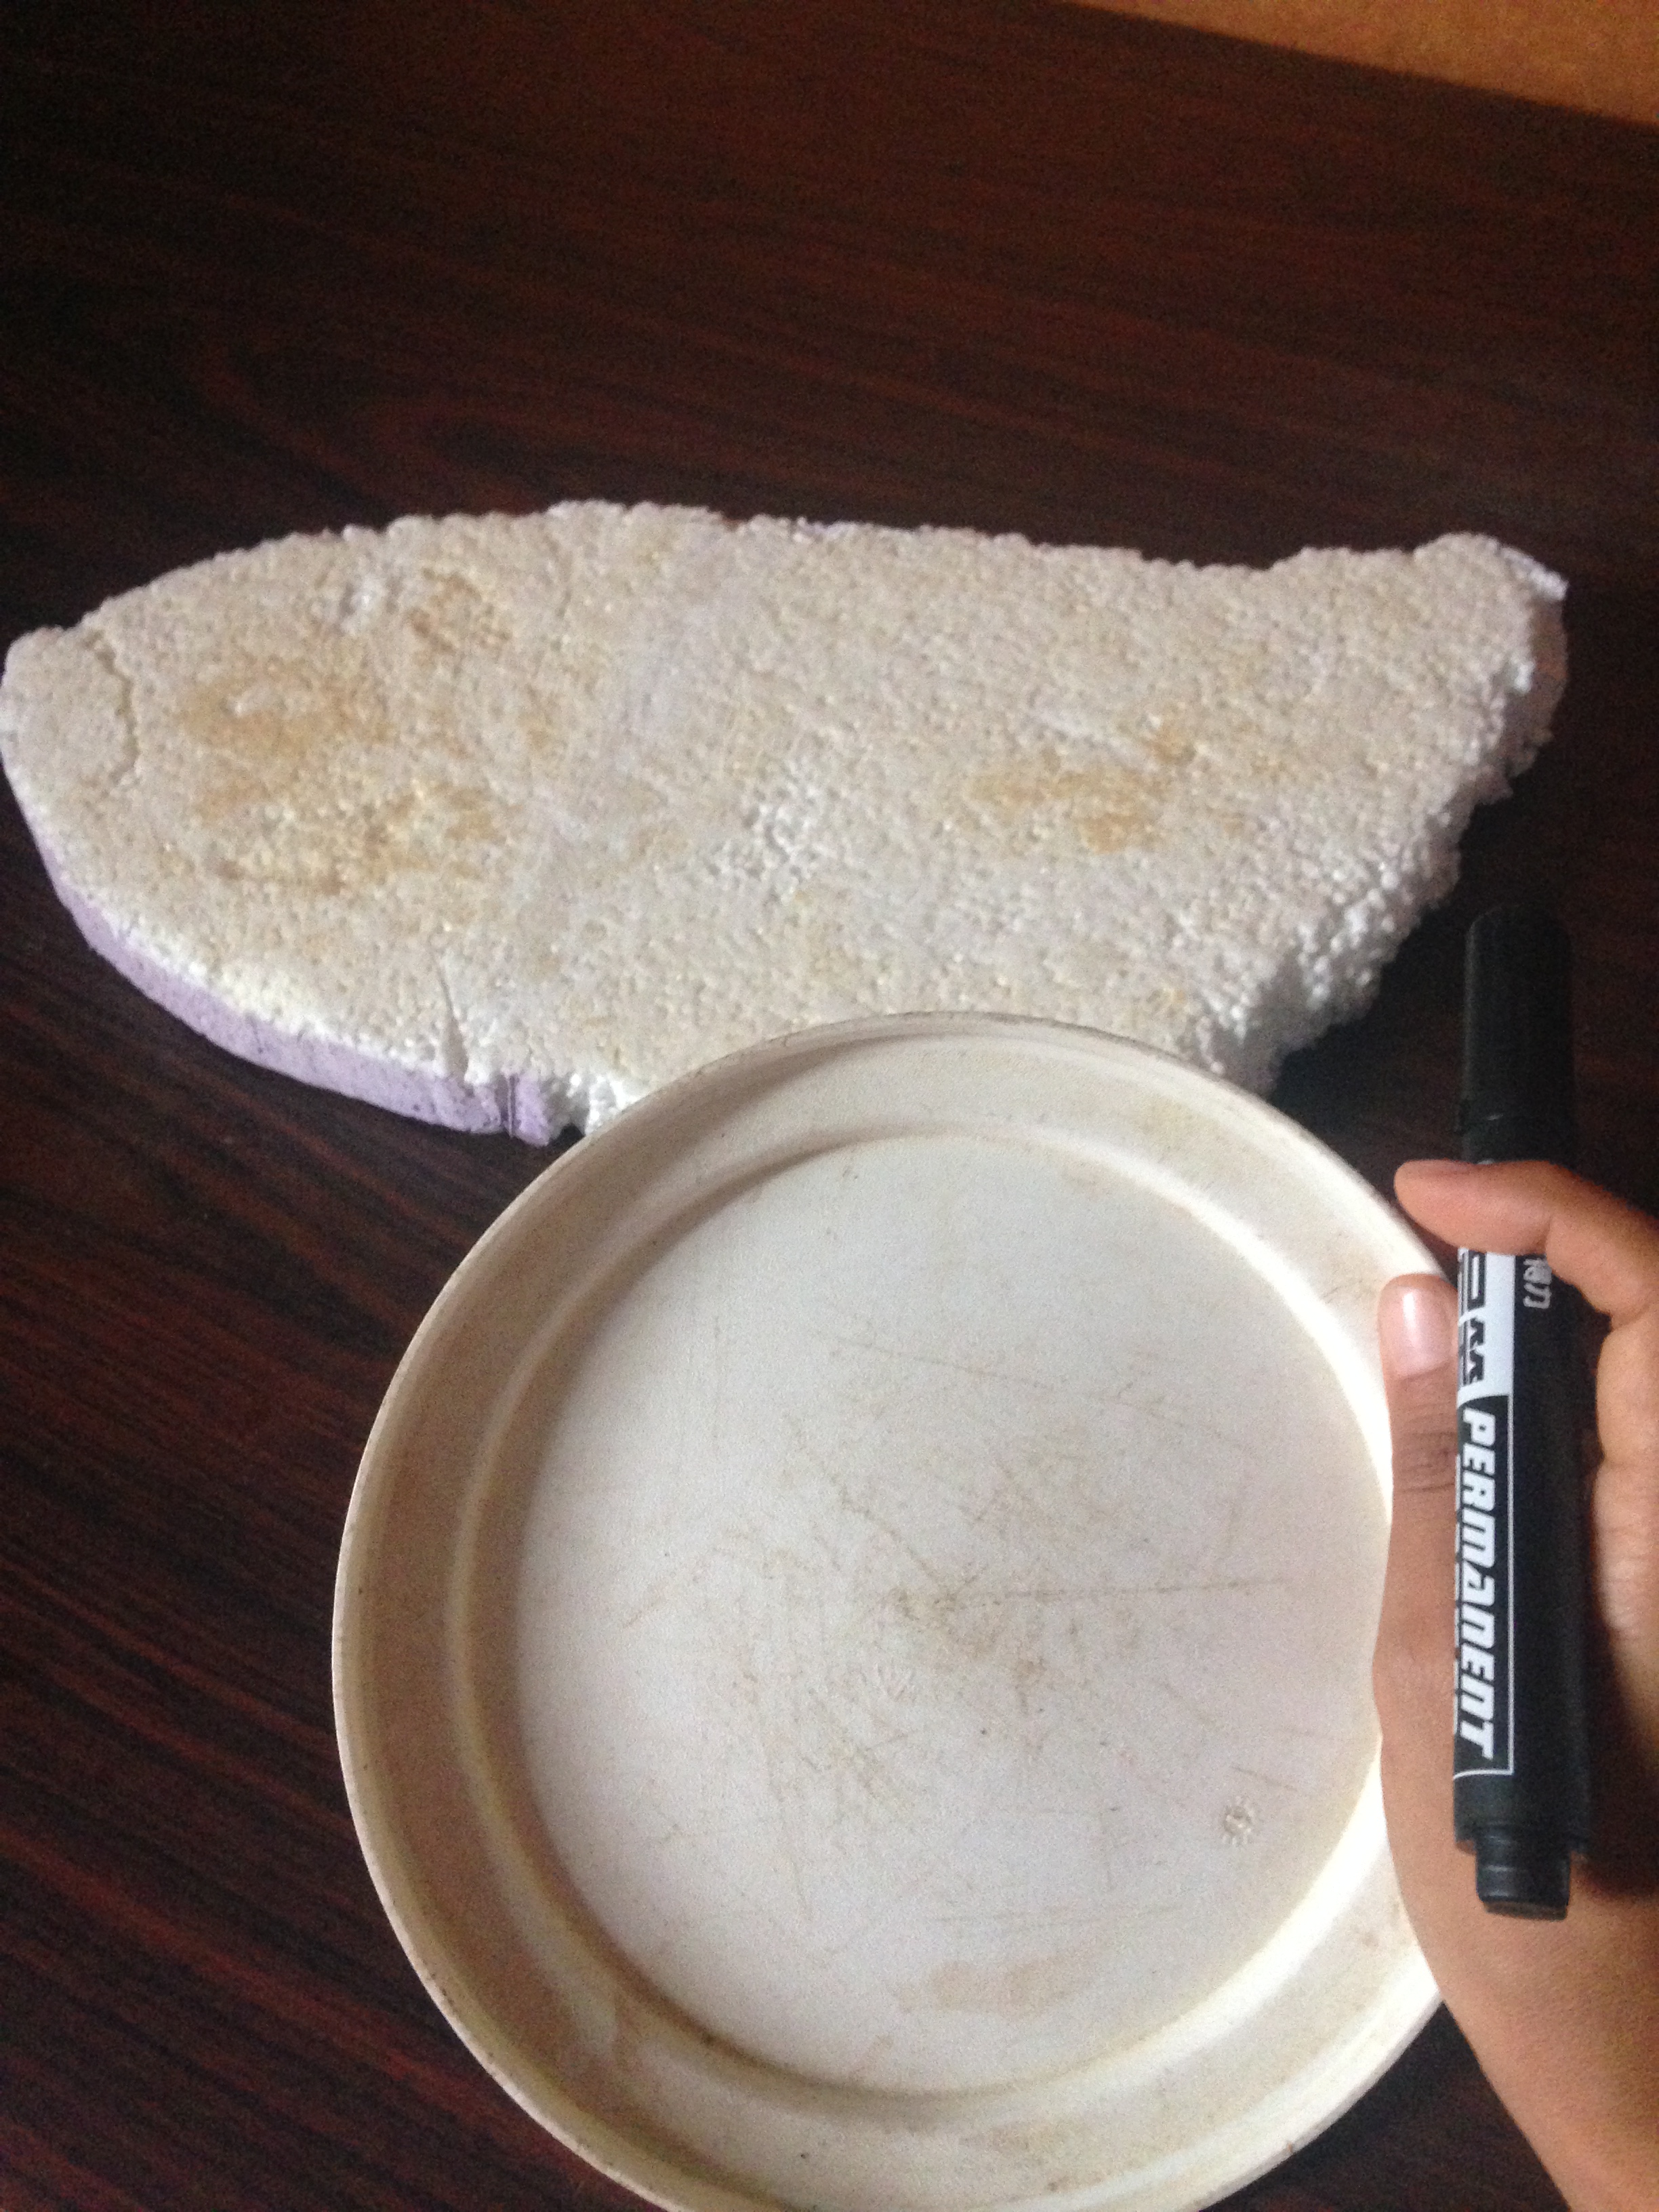
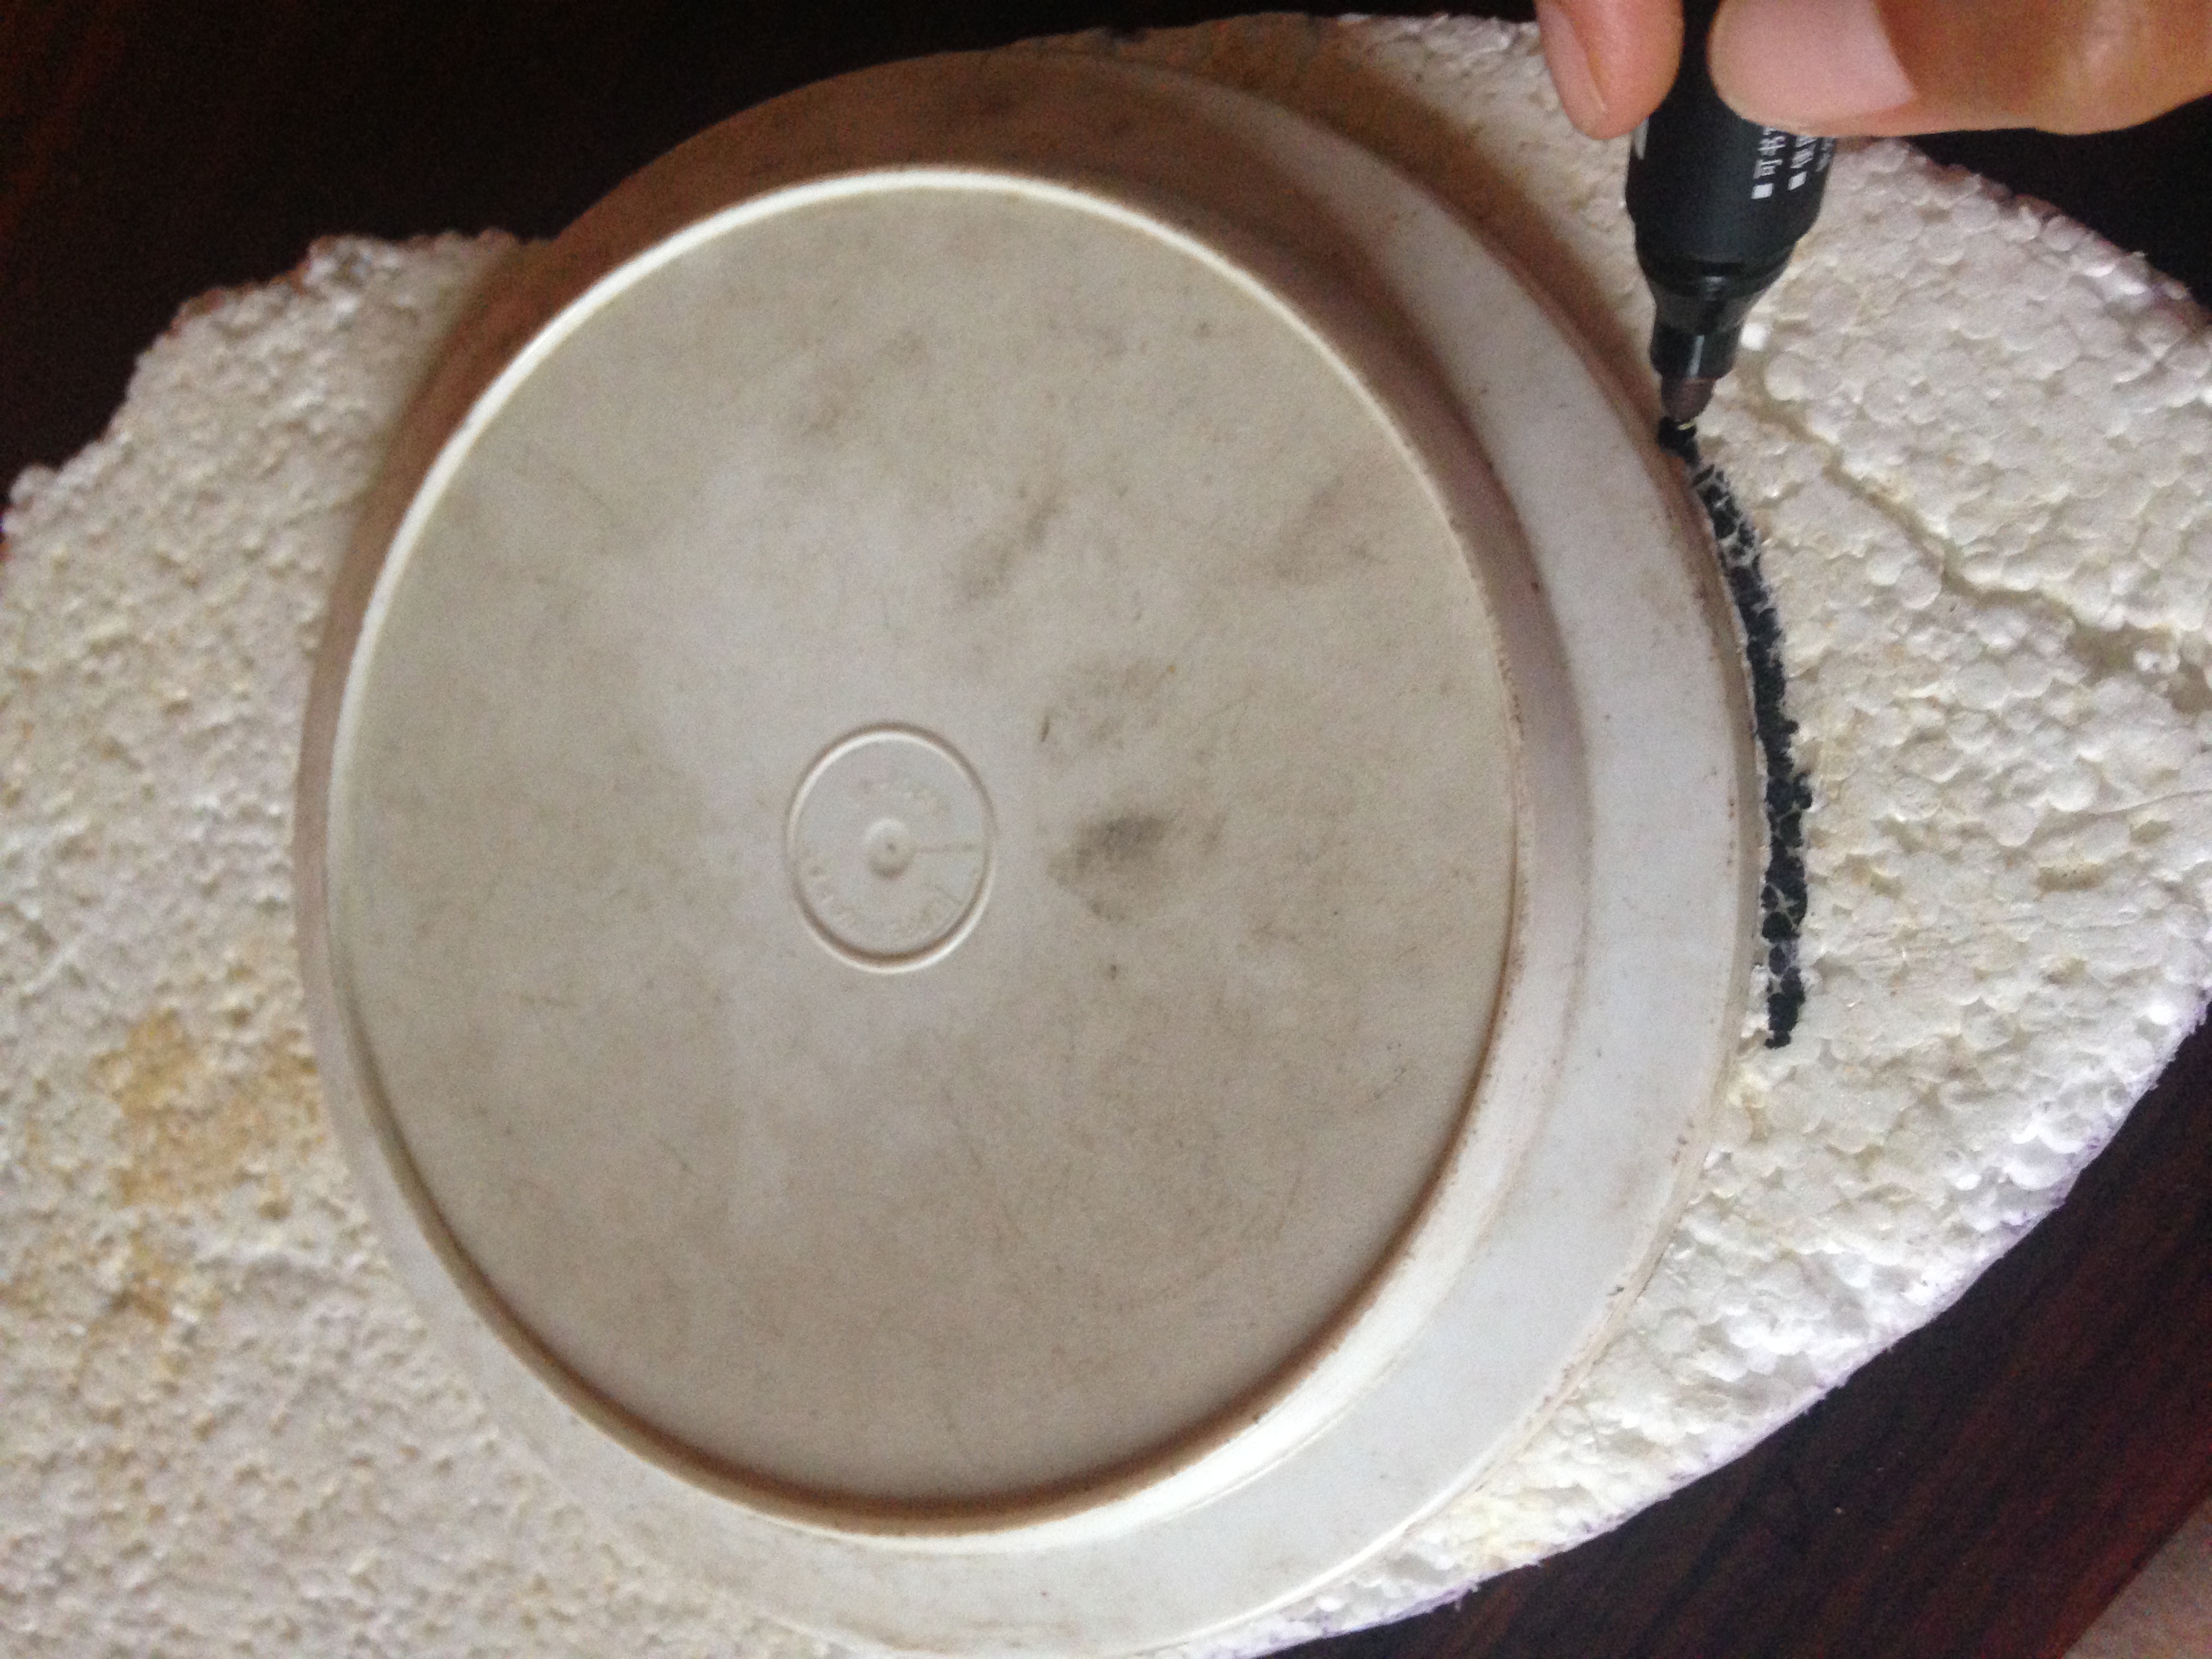
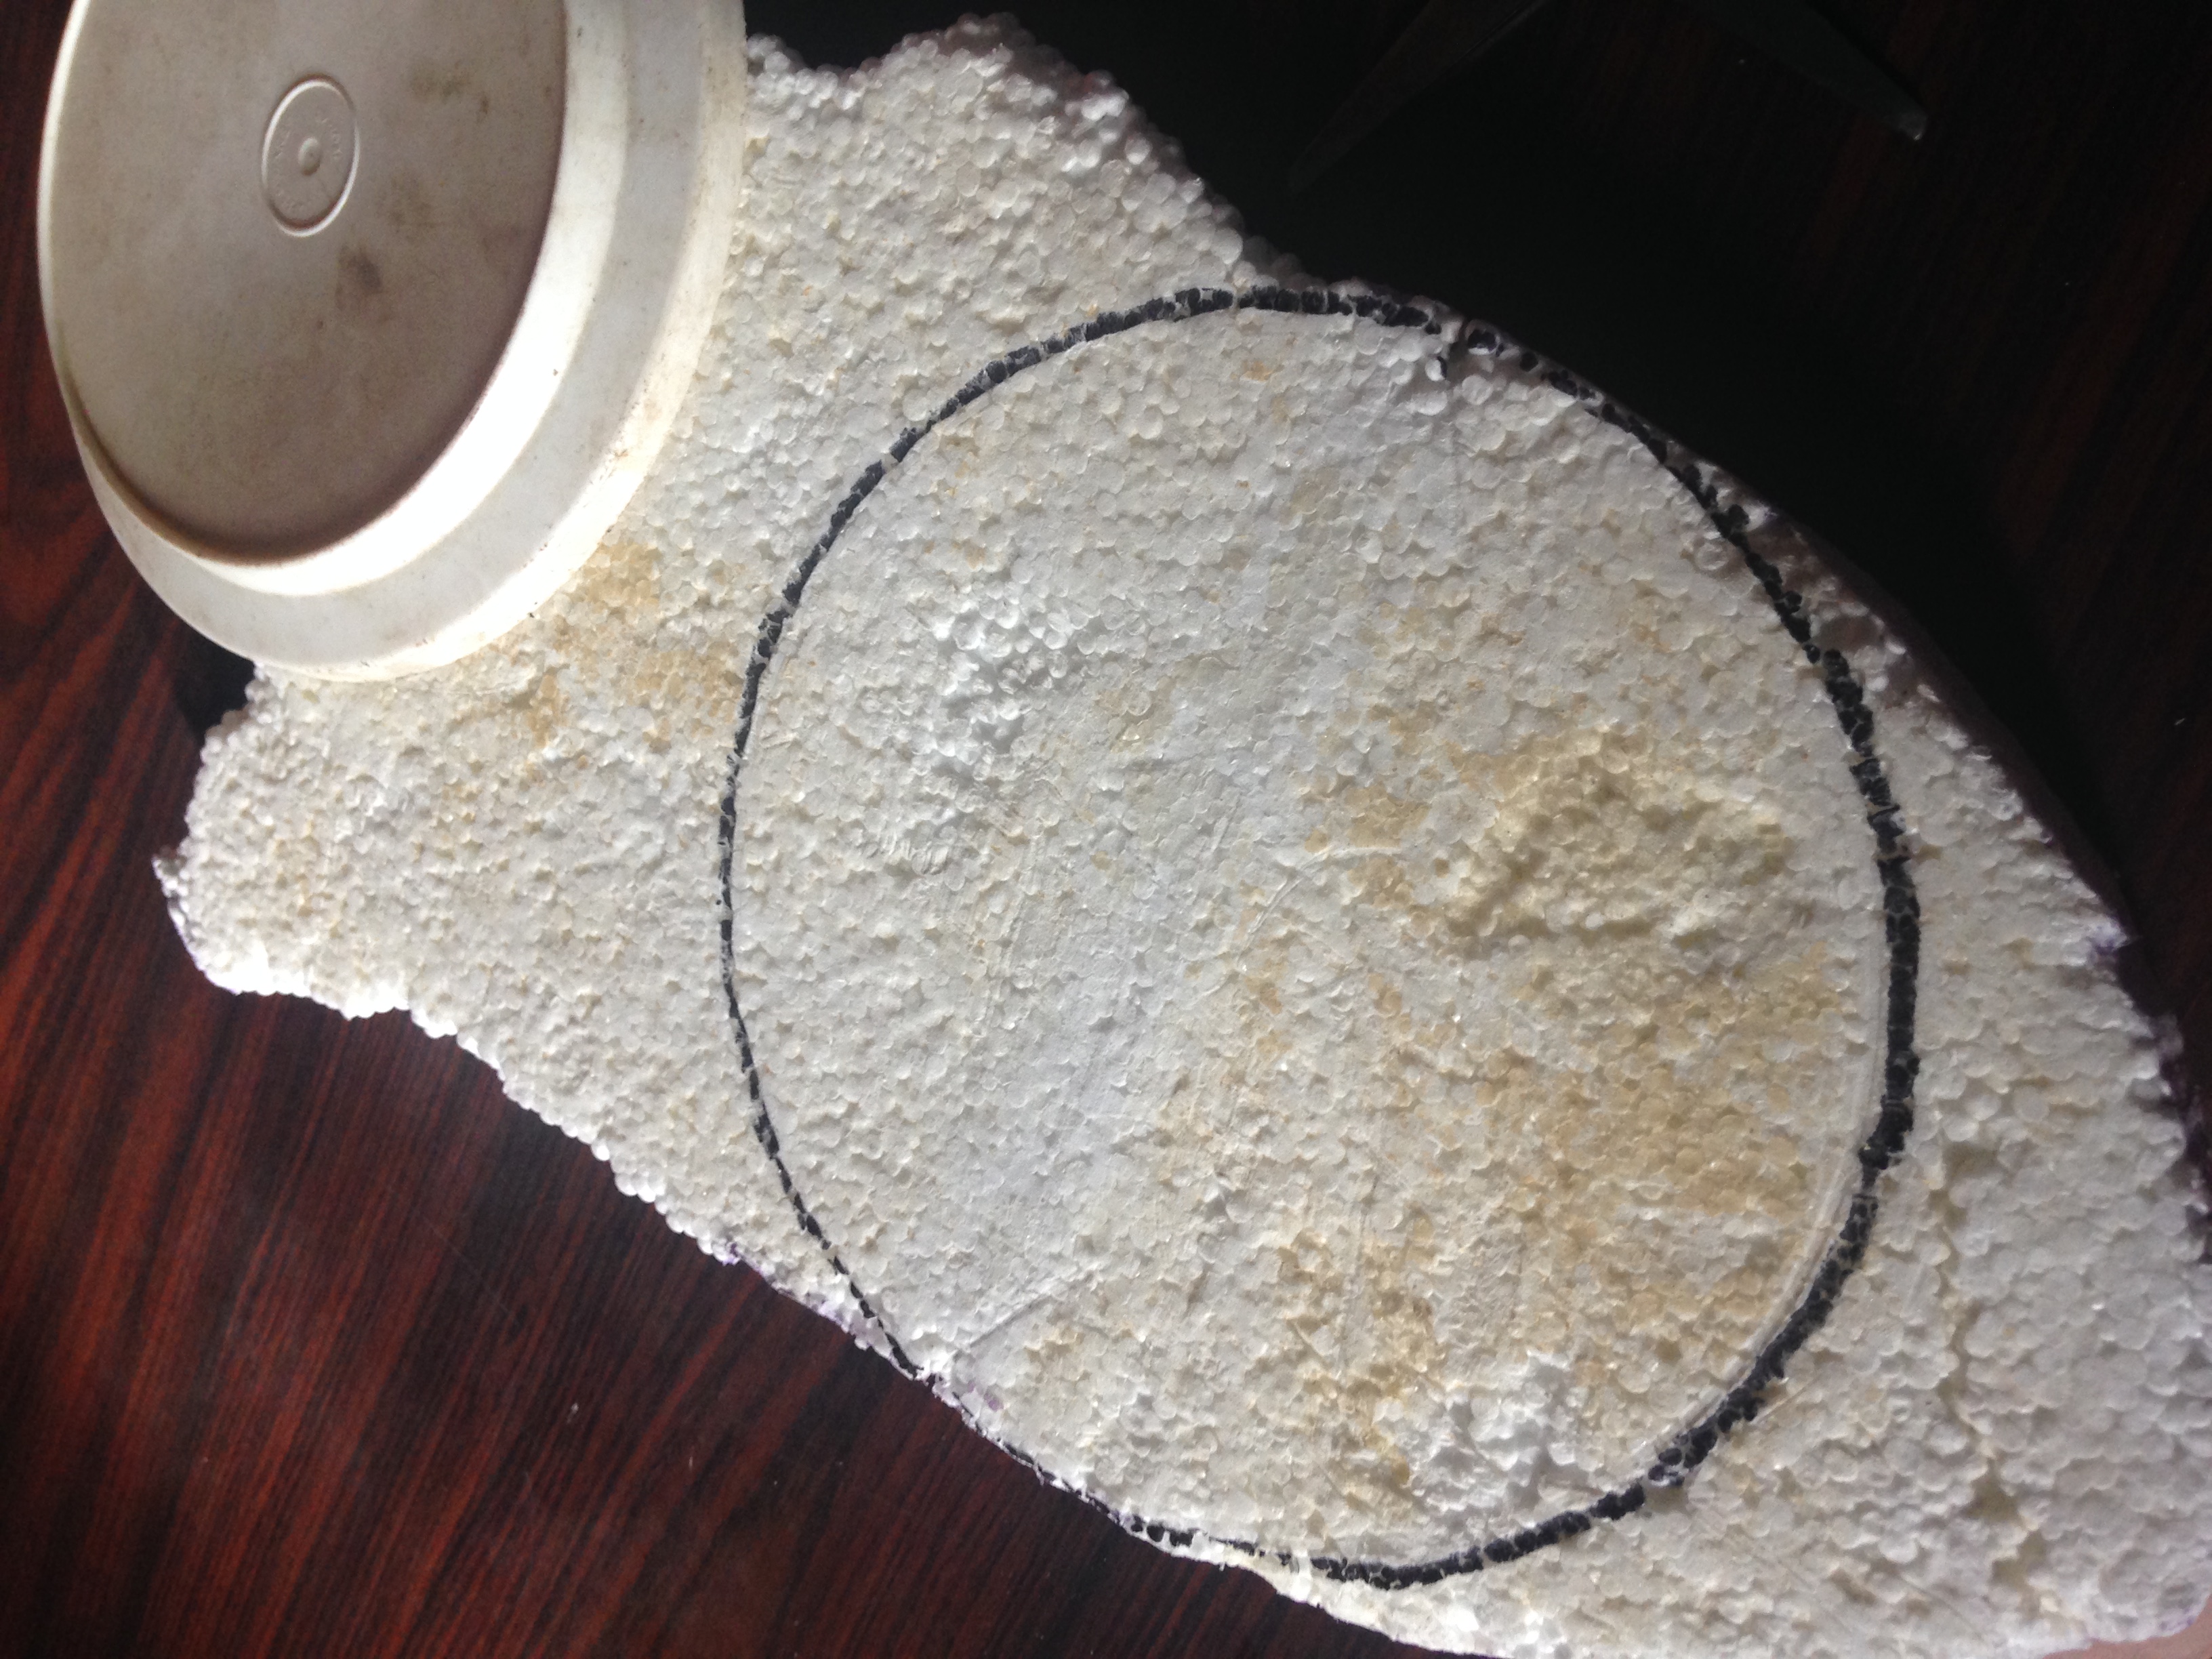
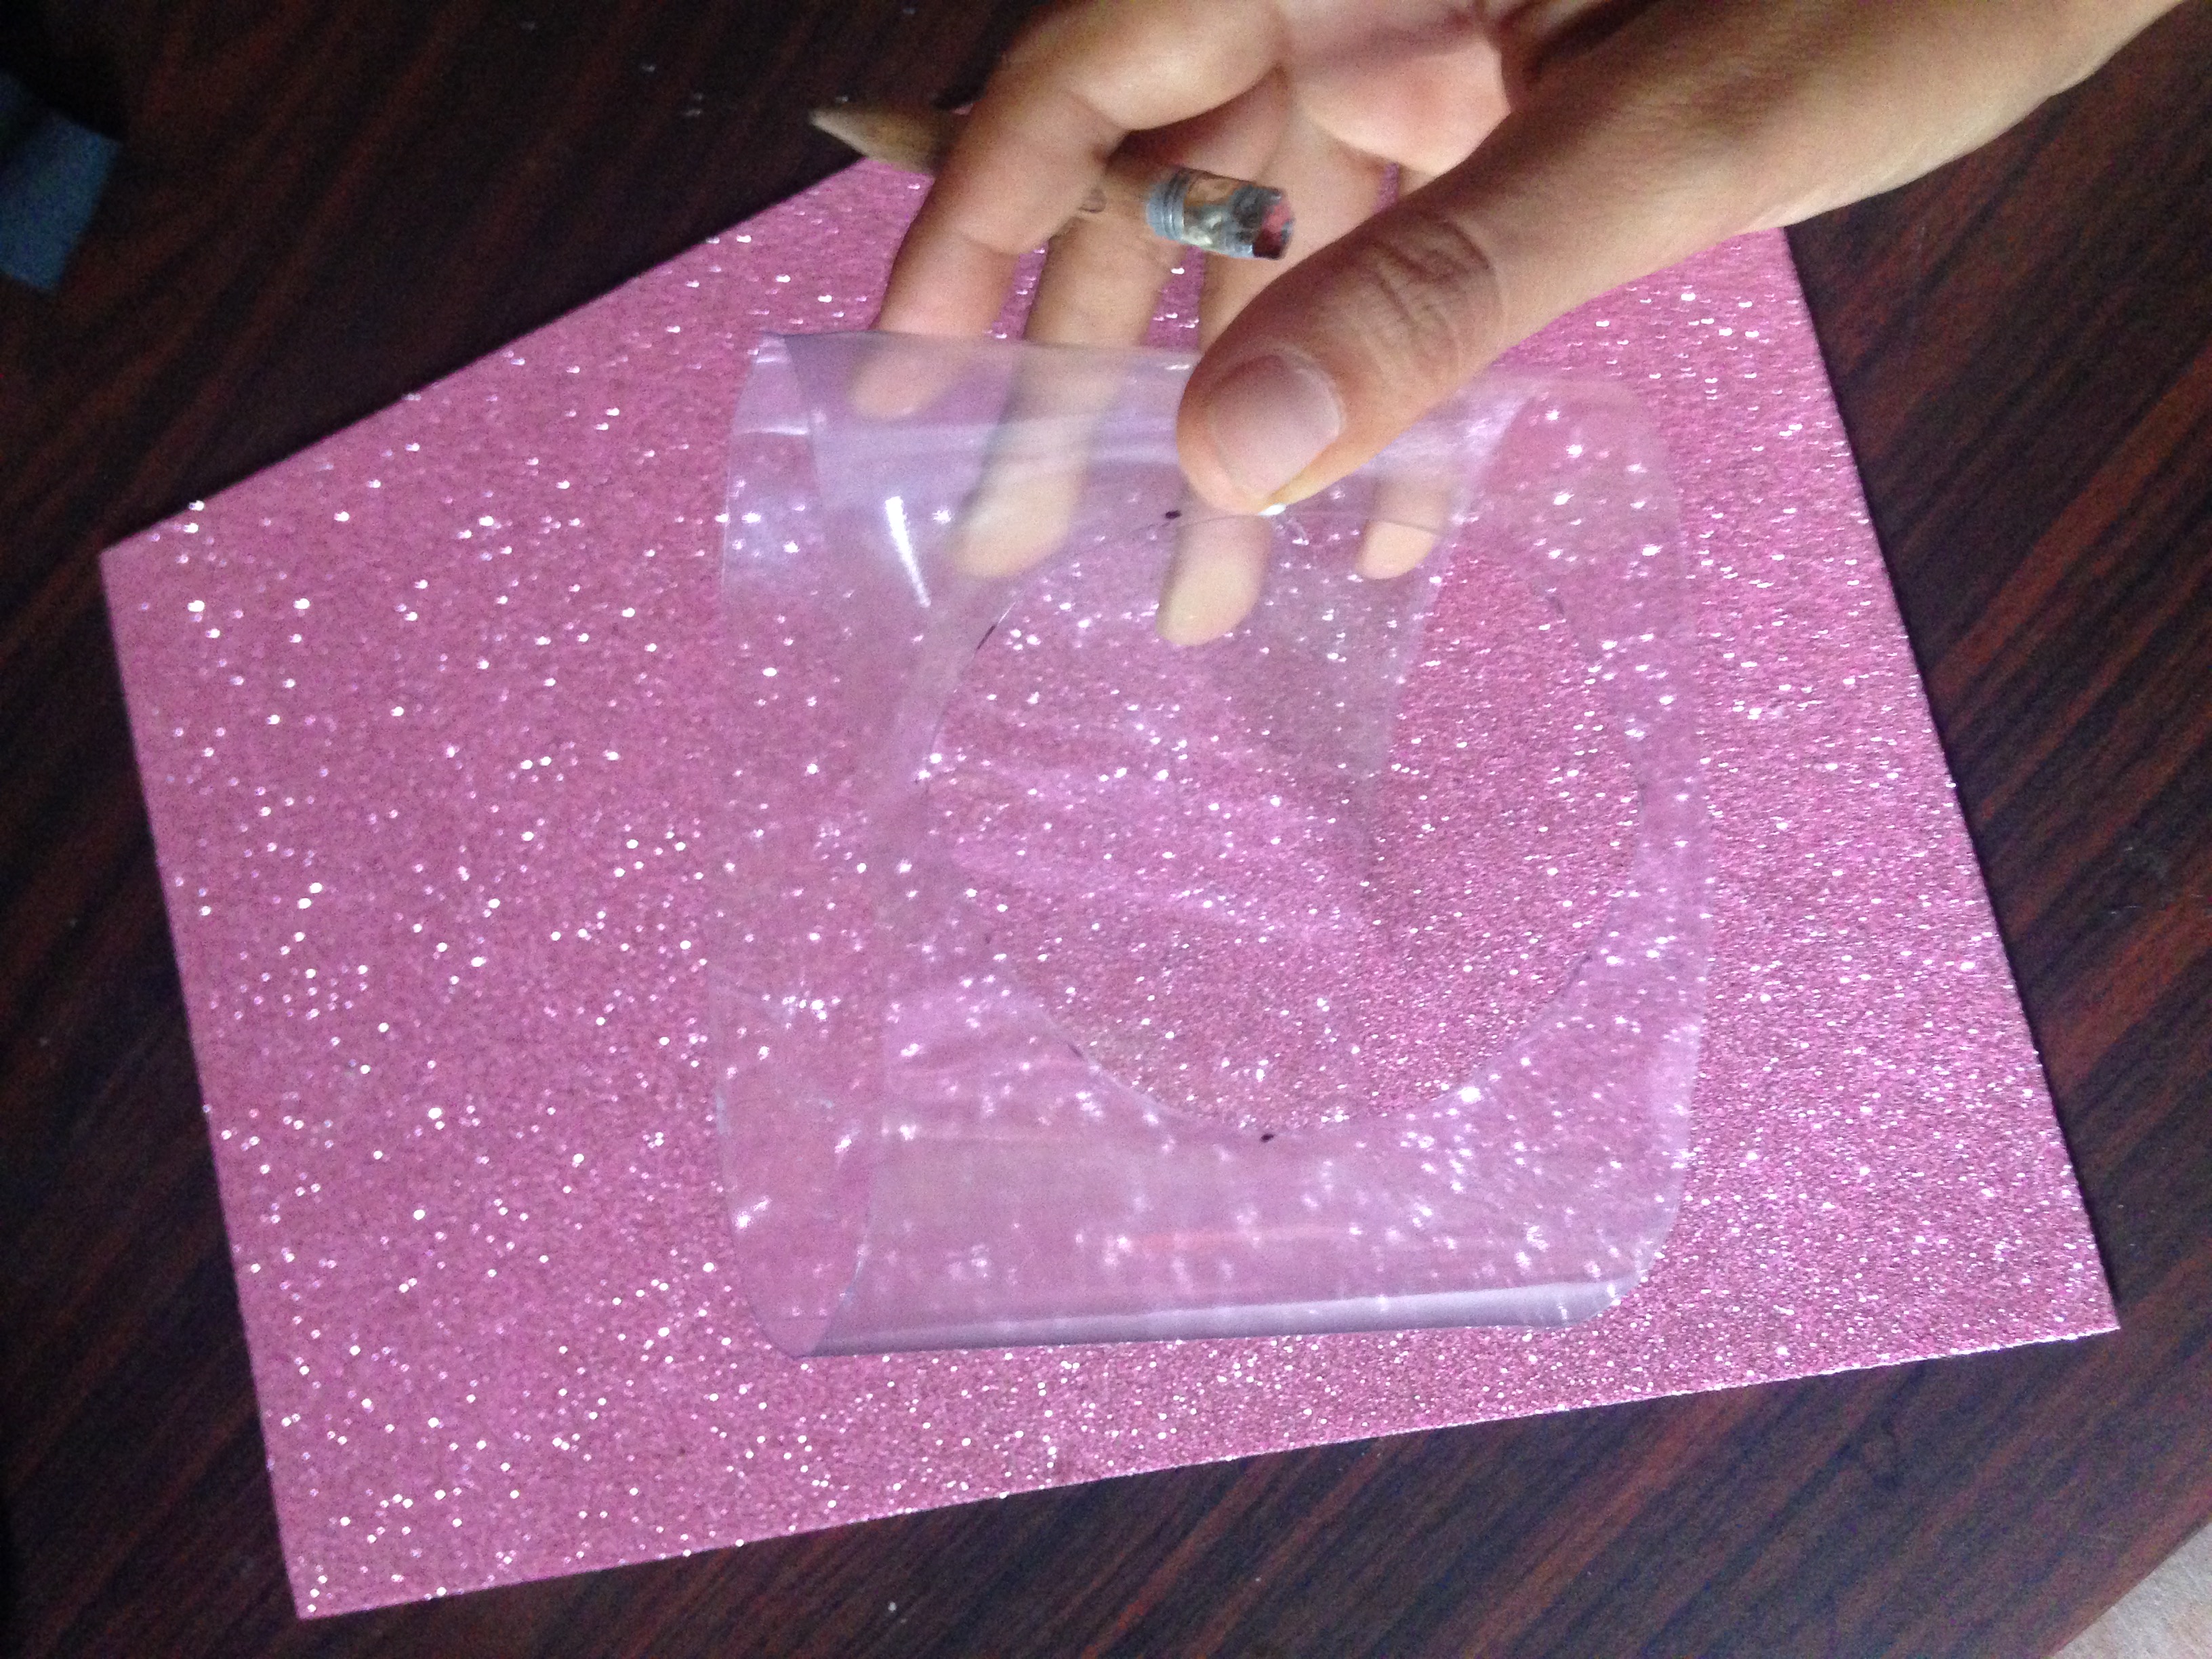
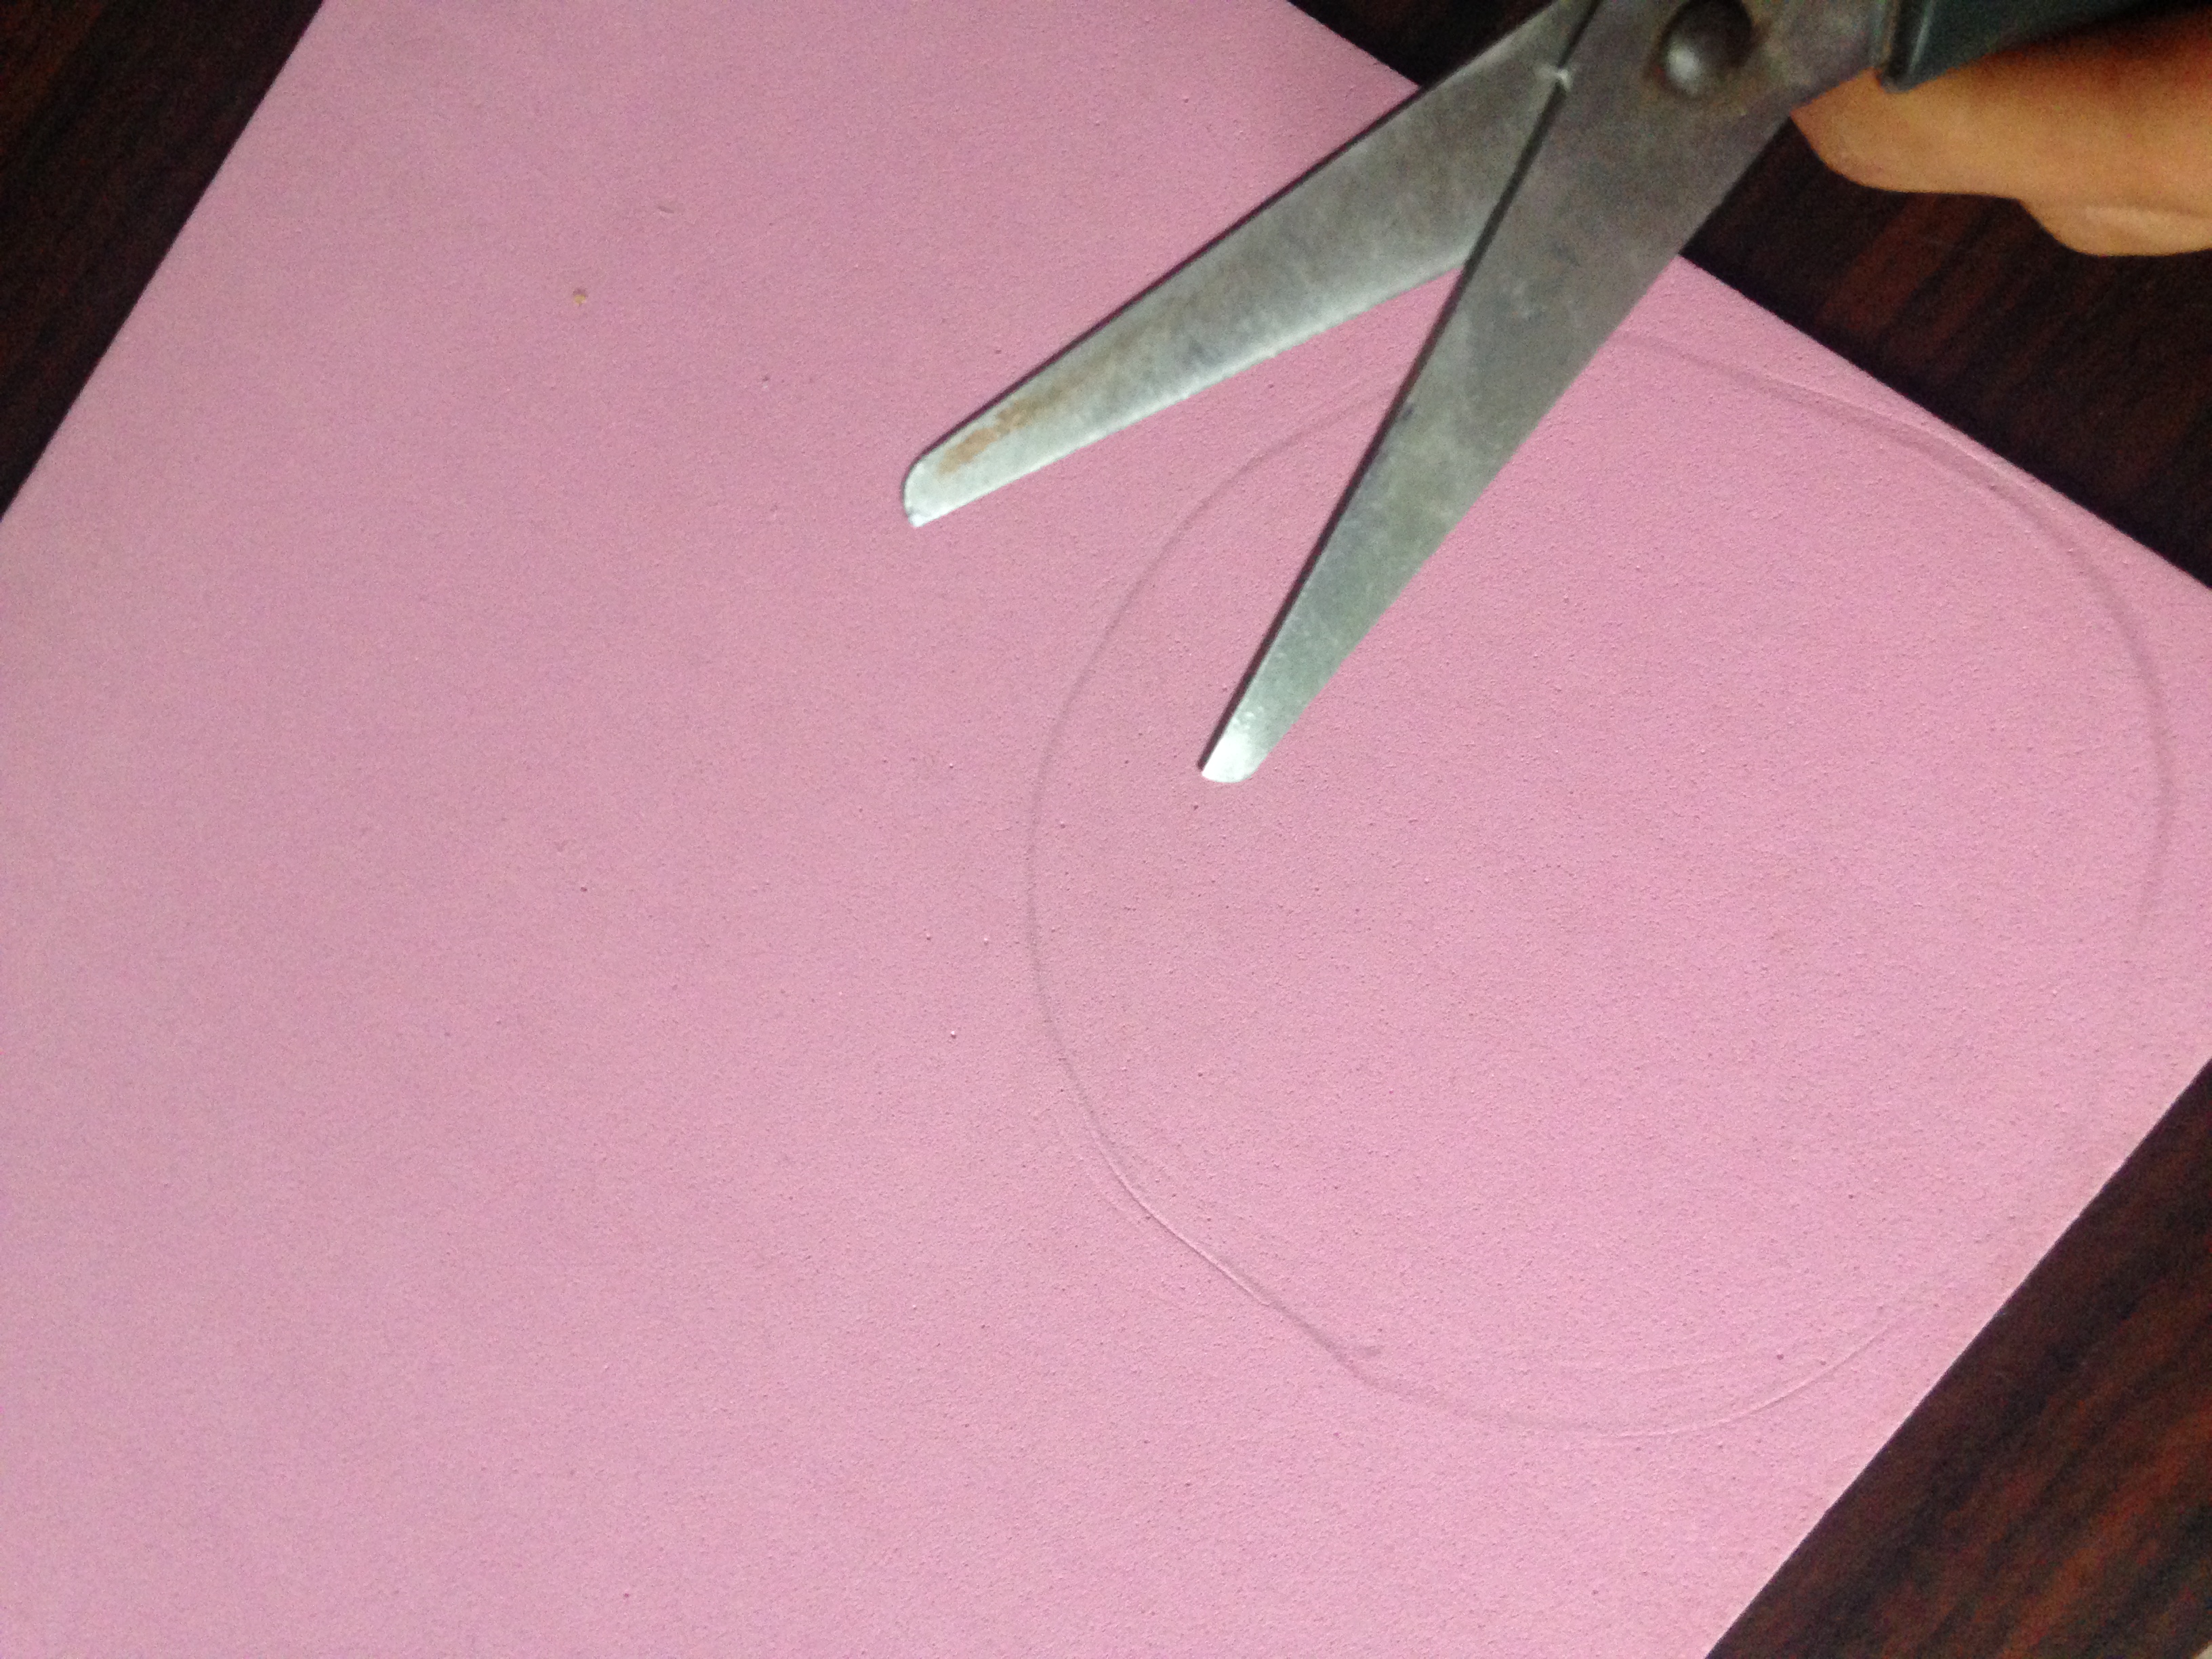
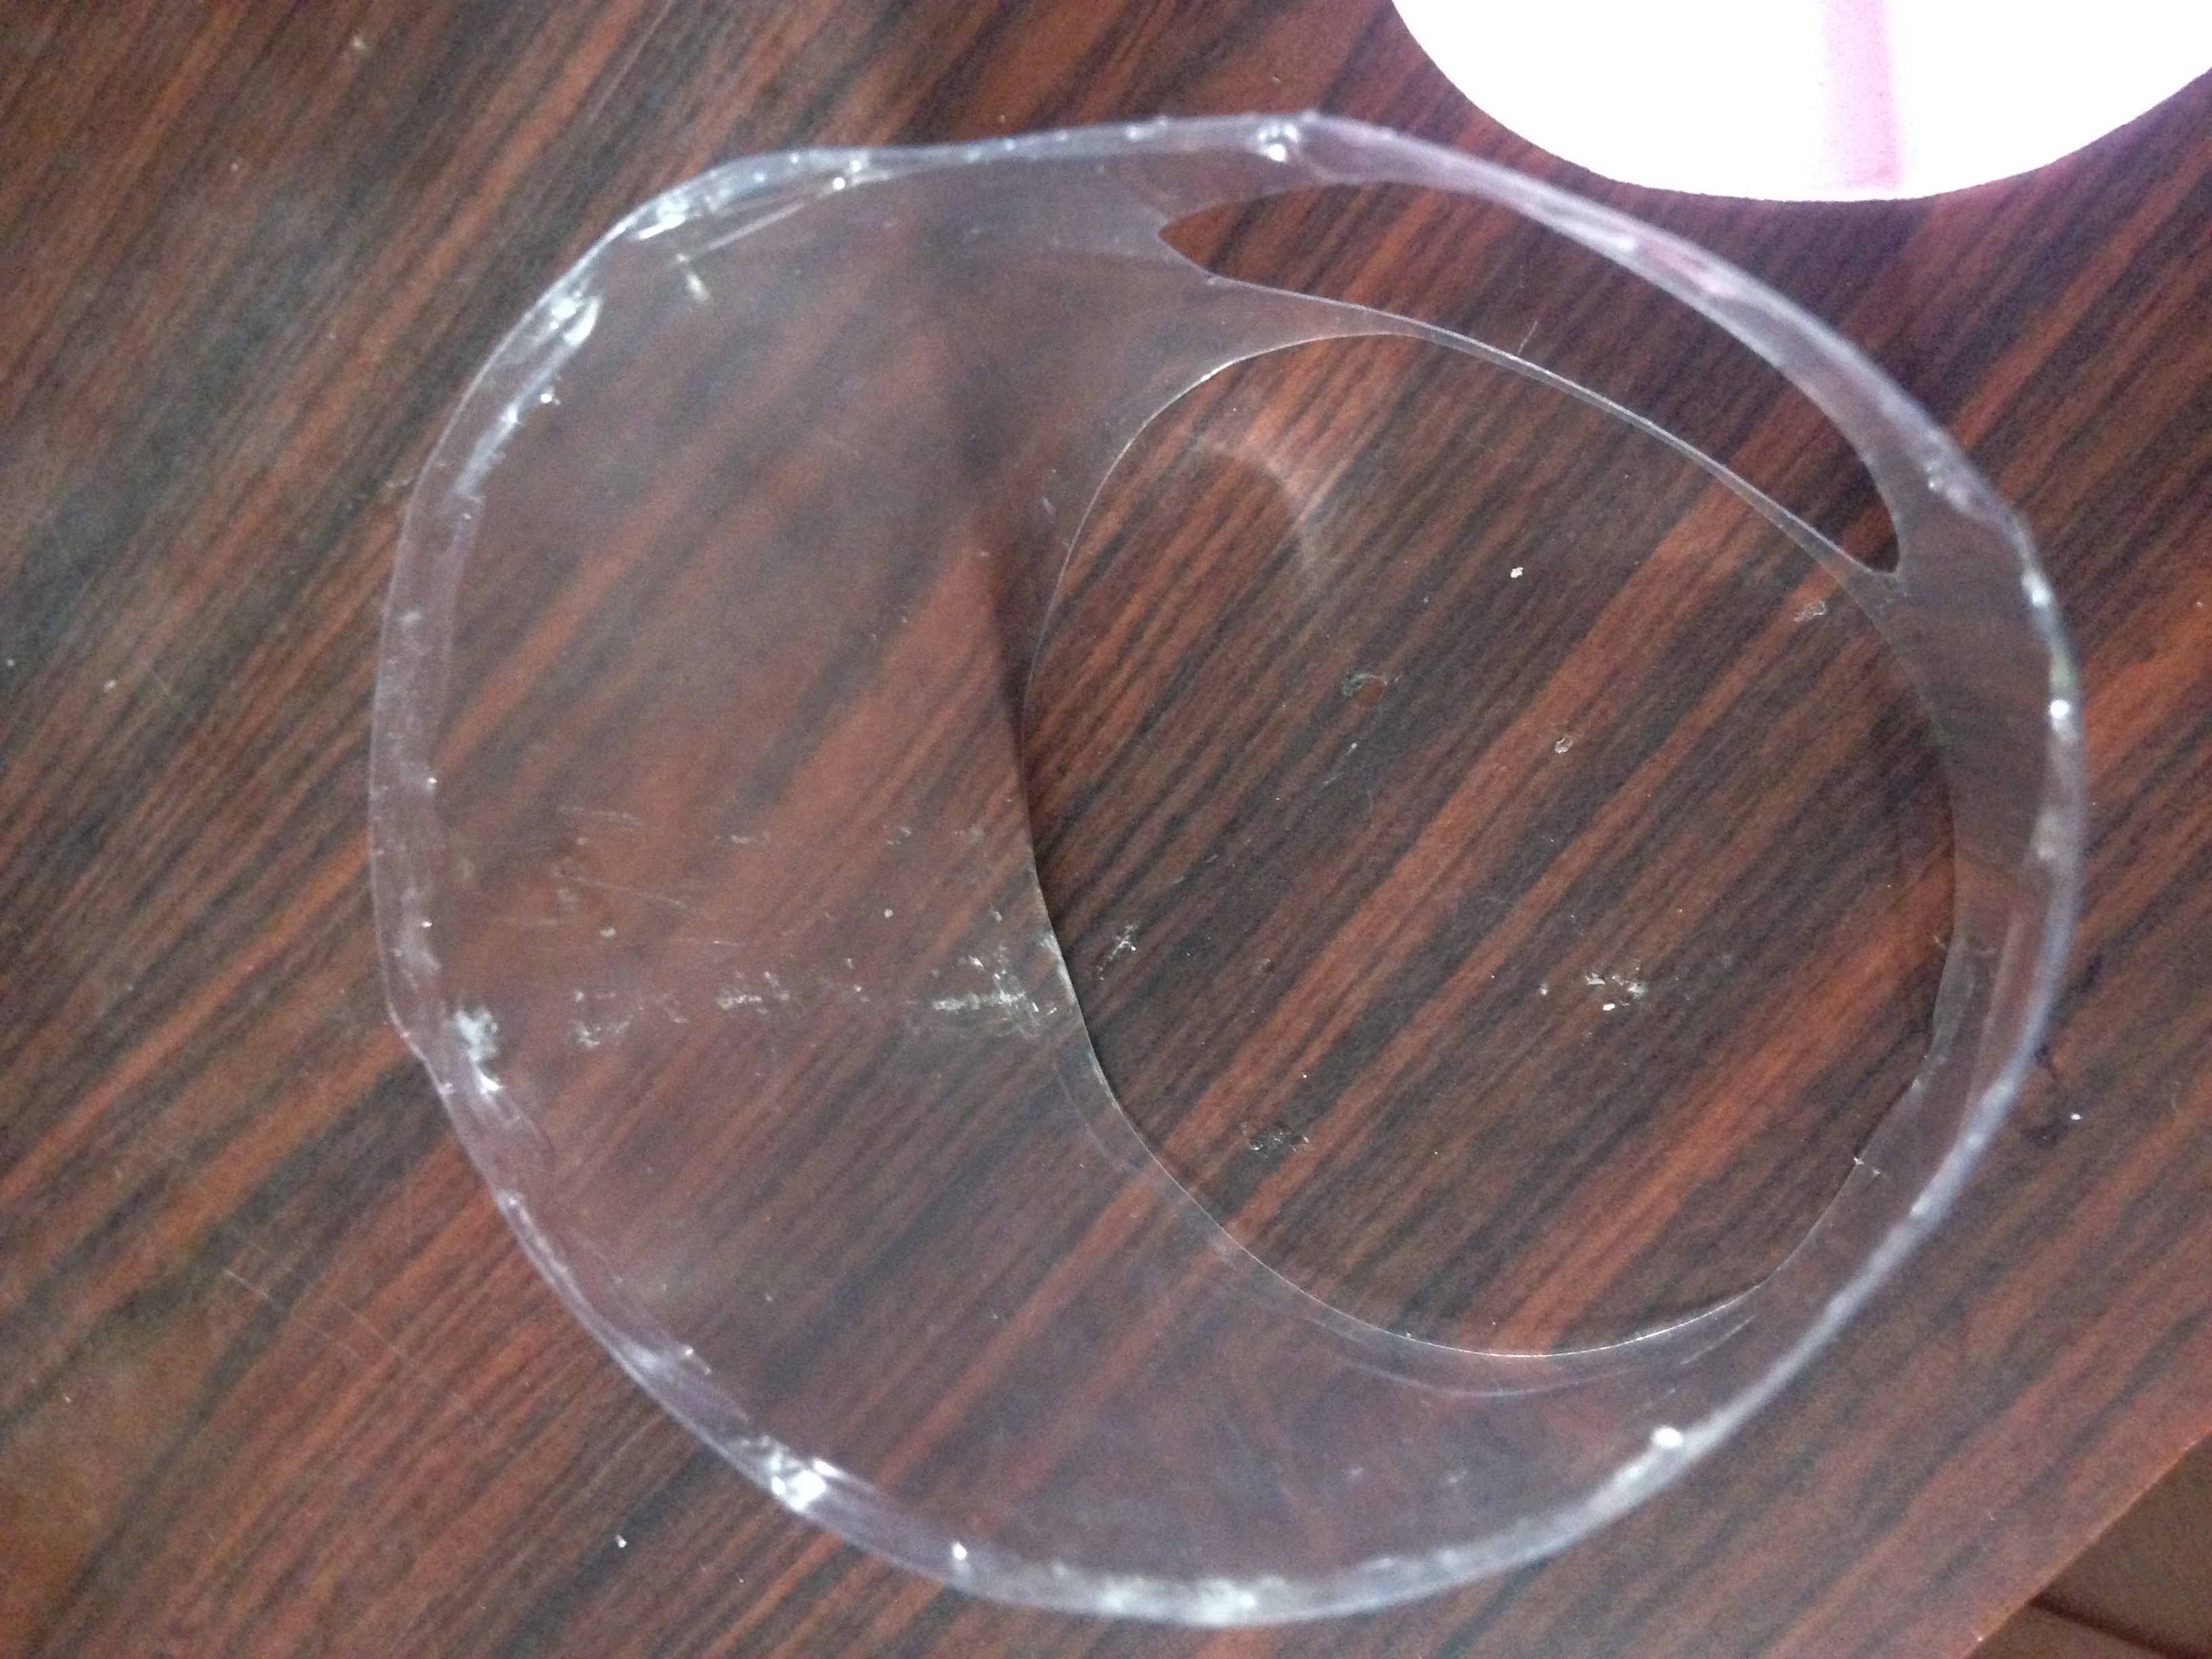
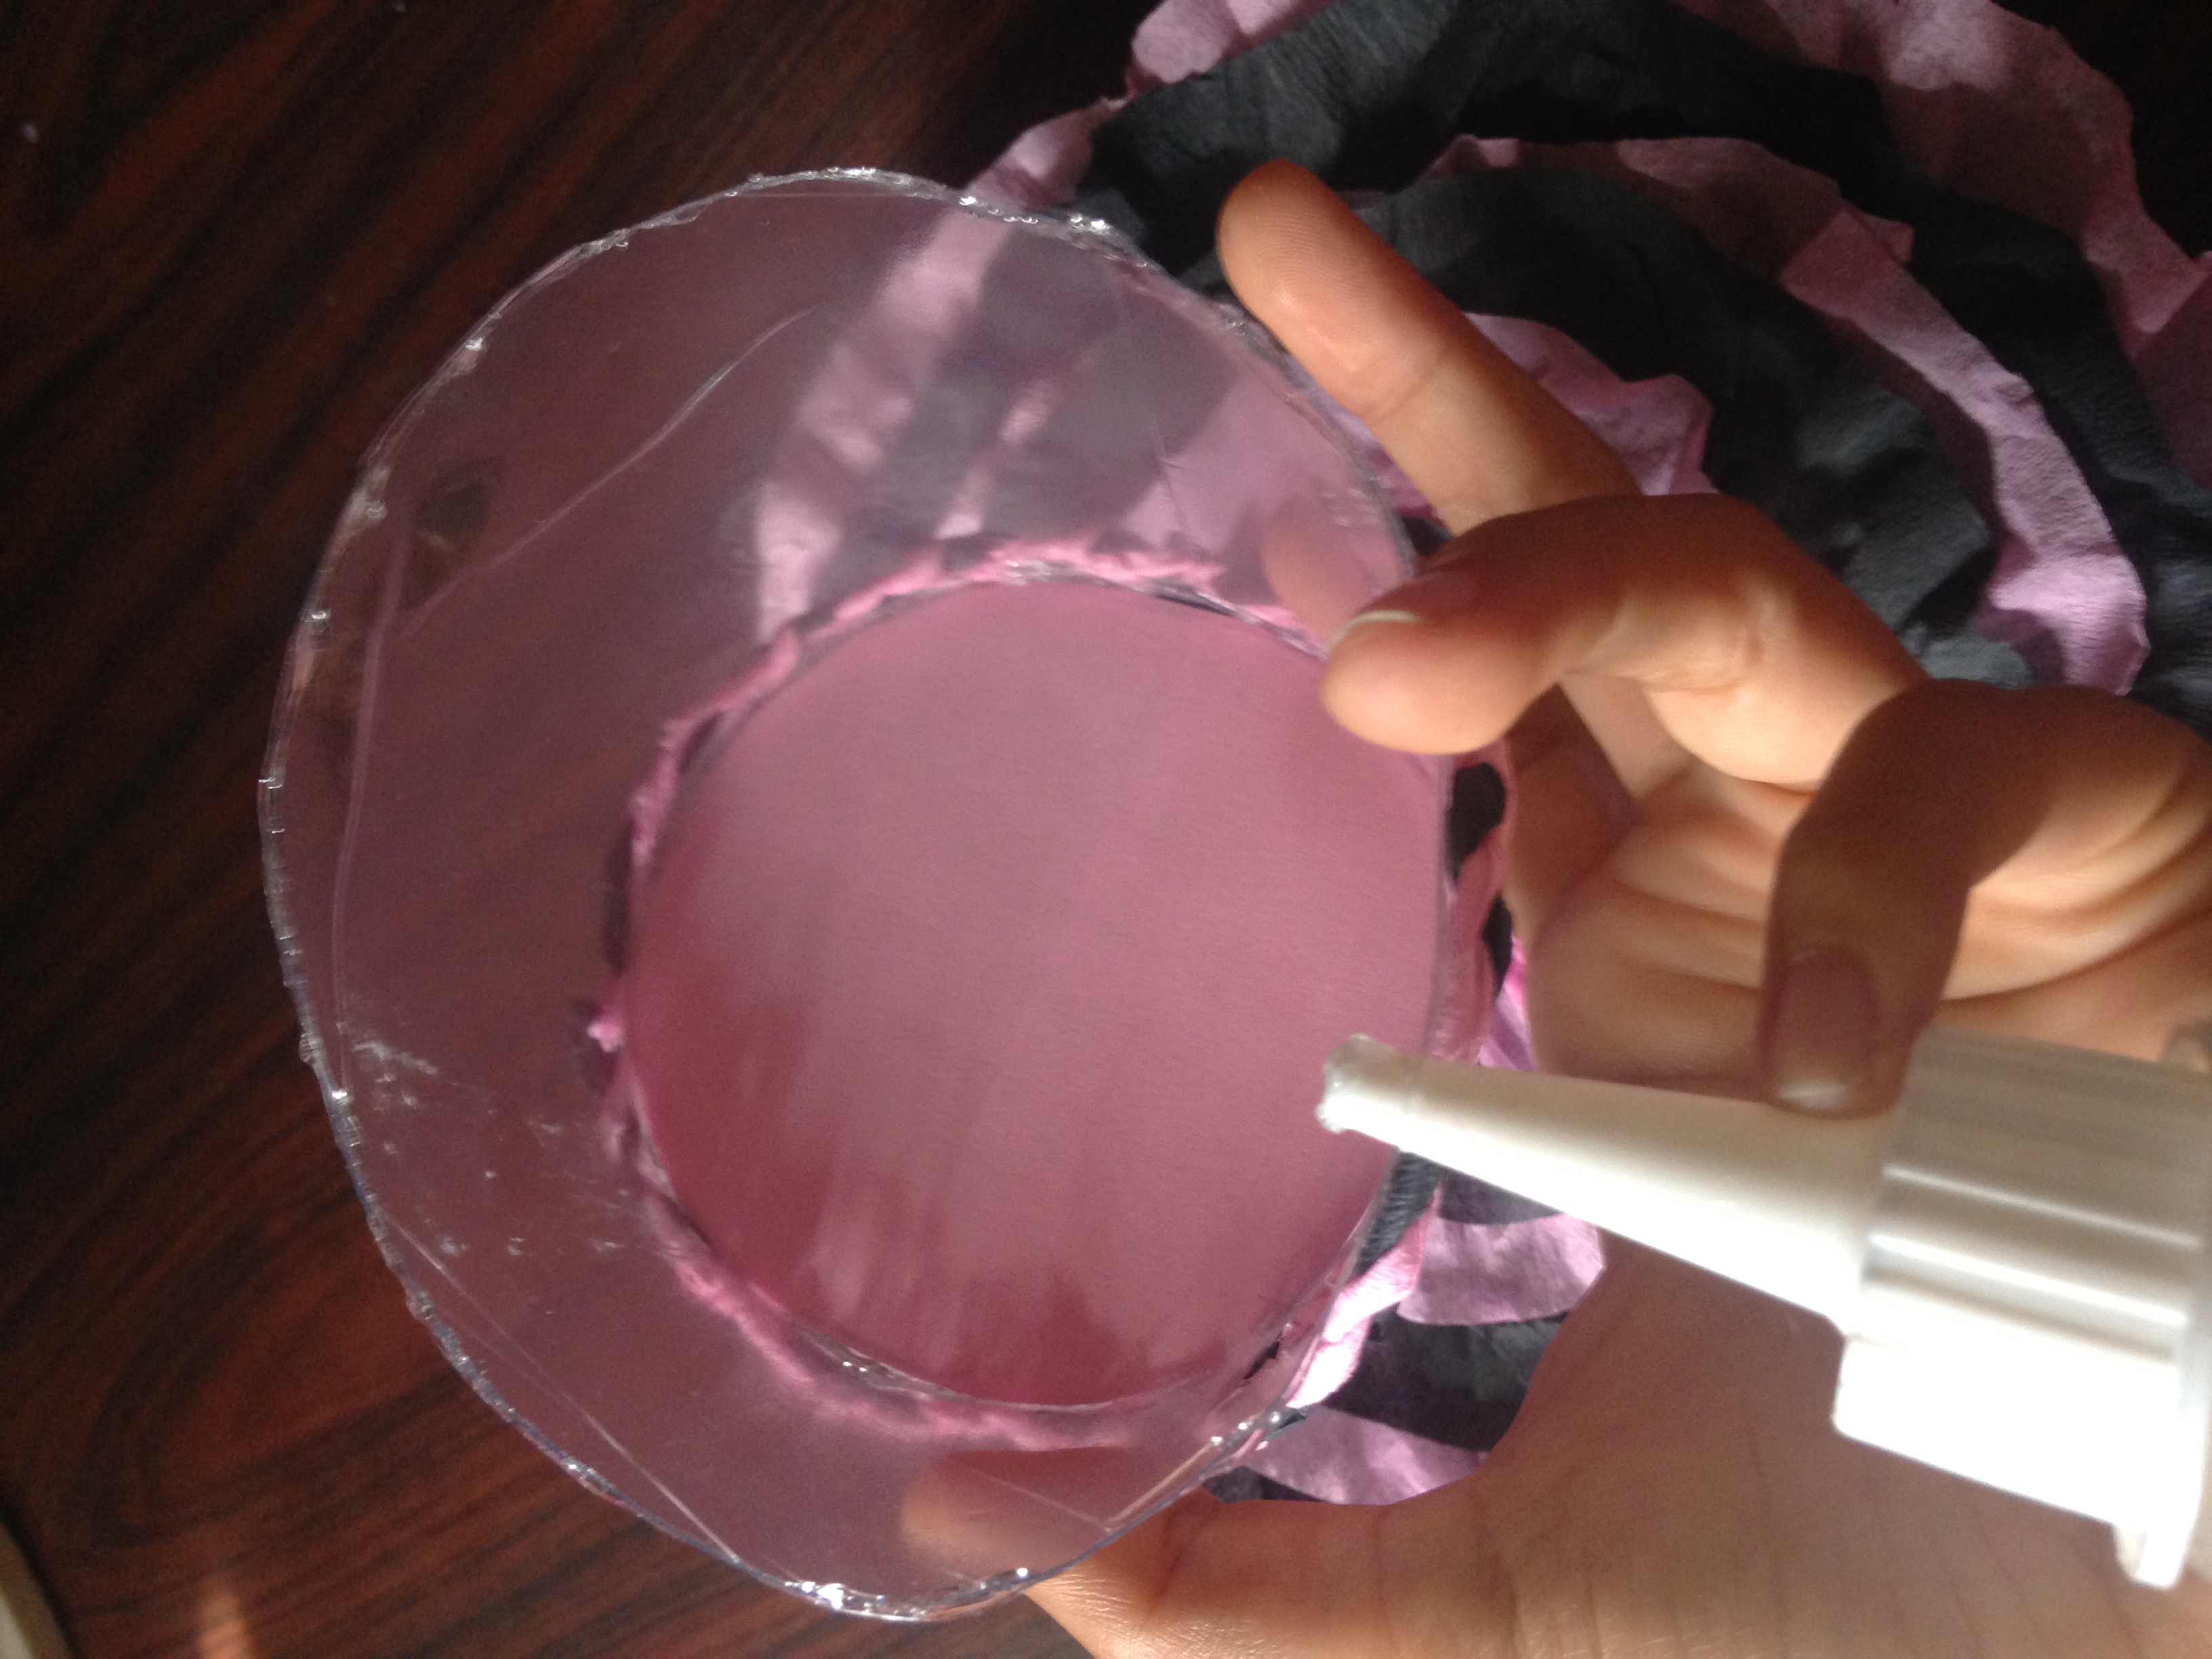
Paso 1
Vamos a picar el centro de la botella plástica, luego una vez picado vamos a buscar una taza pequeña con la cual marcaremos un circulo con el marcado en el cilindro de plastico para recortarlo con la tijera, este sera el centro de nuestra chupetera
Step 1
We are going to chop the center of the plastic bottle, then once chopped we are going to find a small cup with which we will mark a circle with the marking on the plastic cylinder to cut it with the scissors, this will be the center of our pacifier

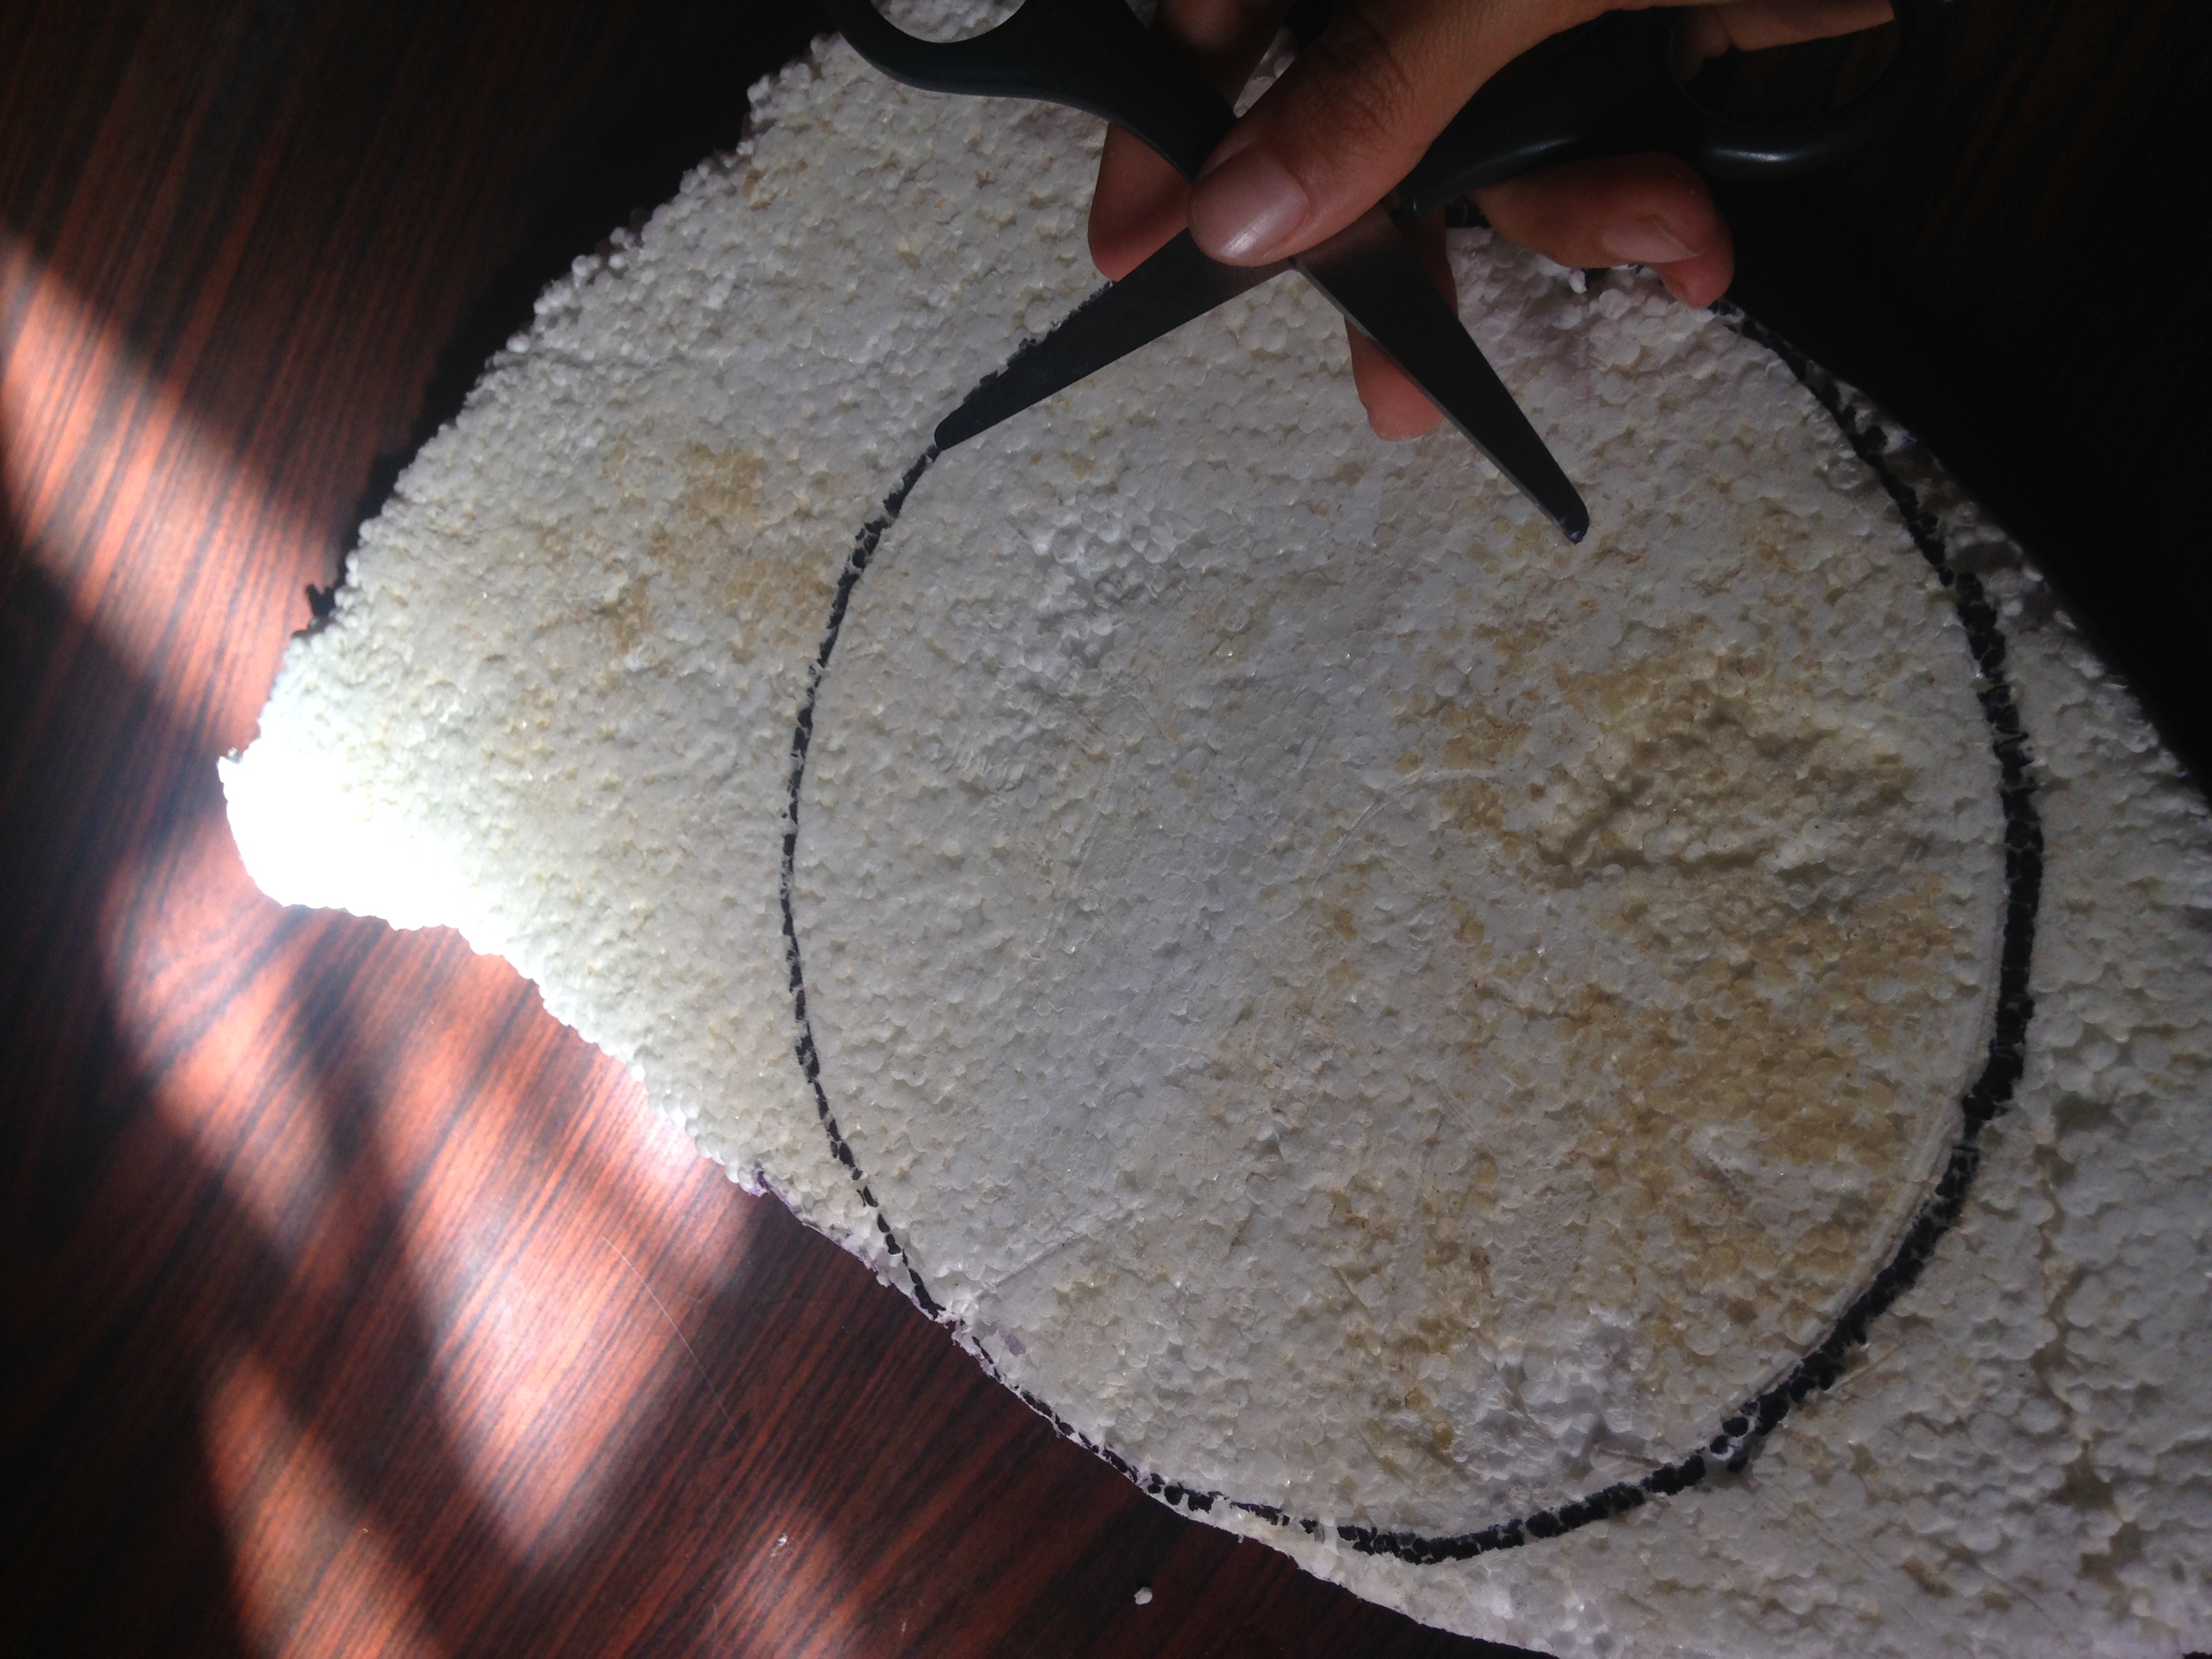
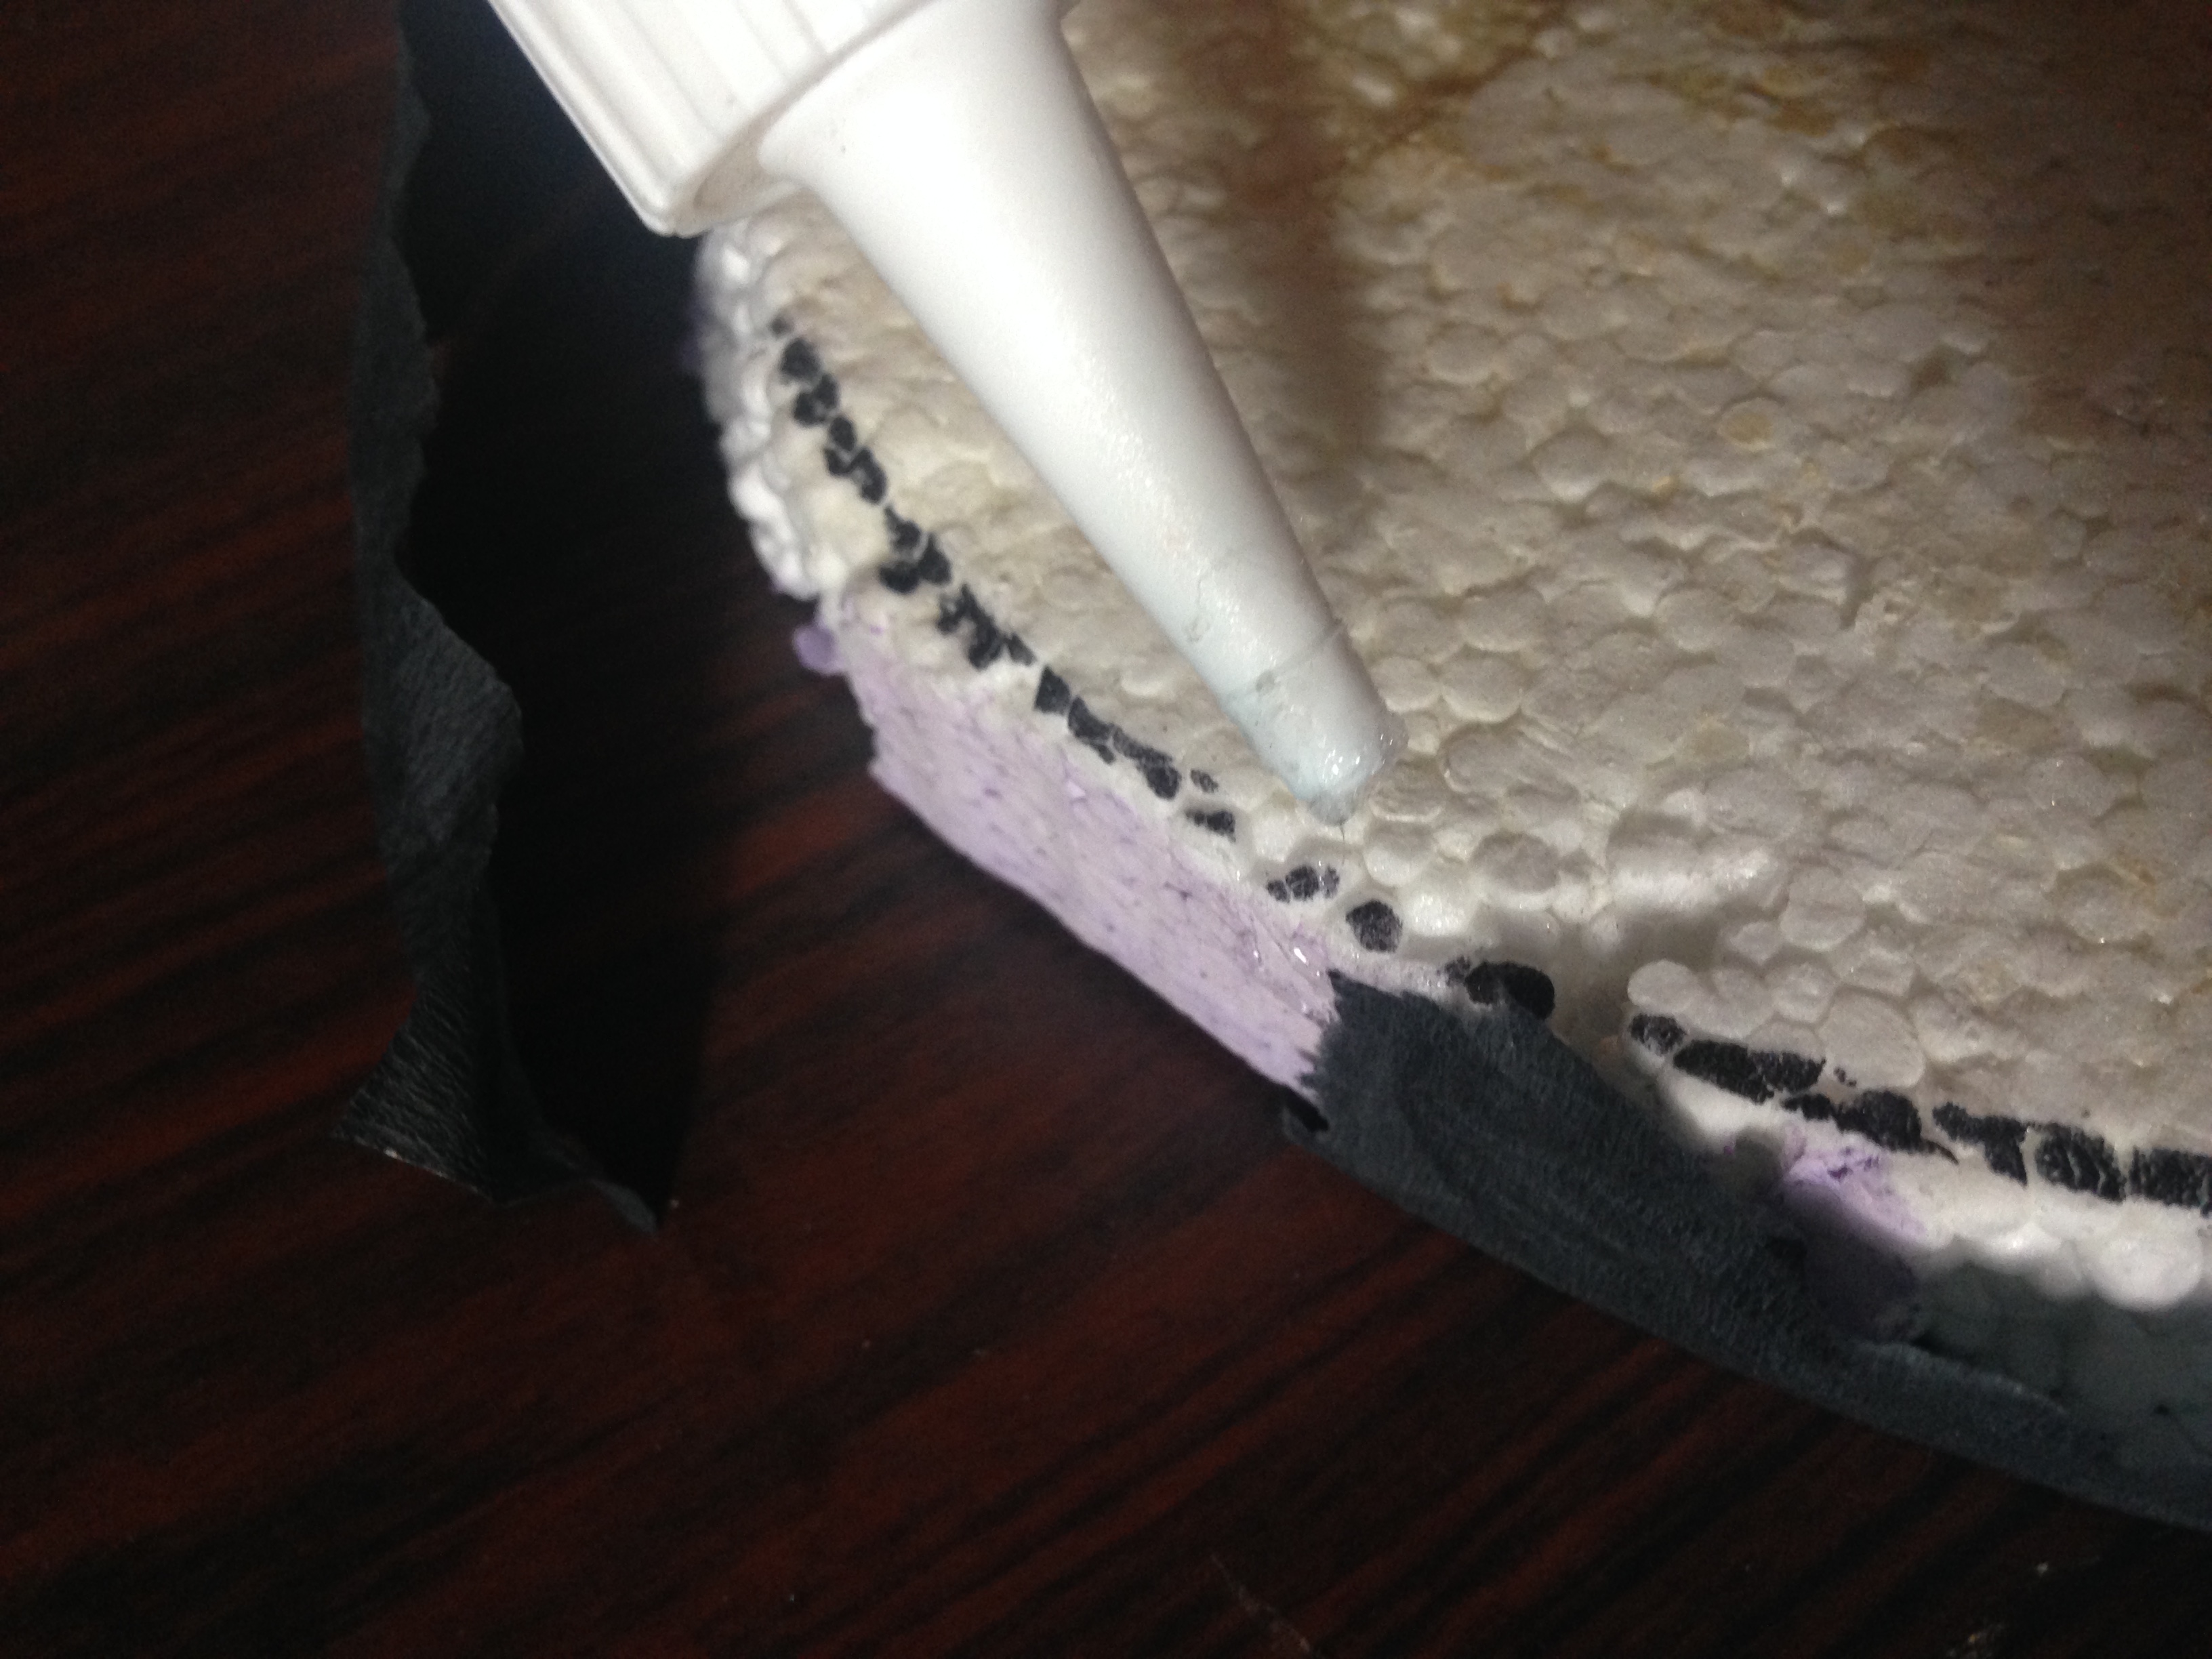
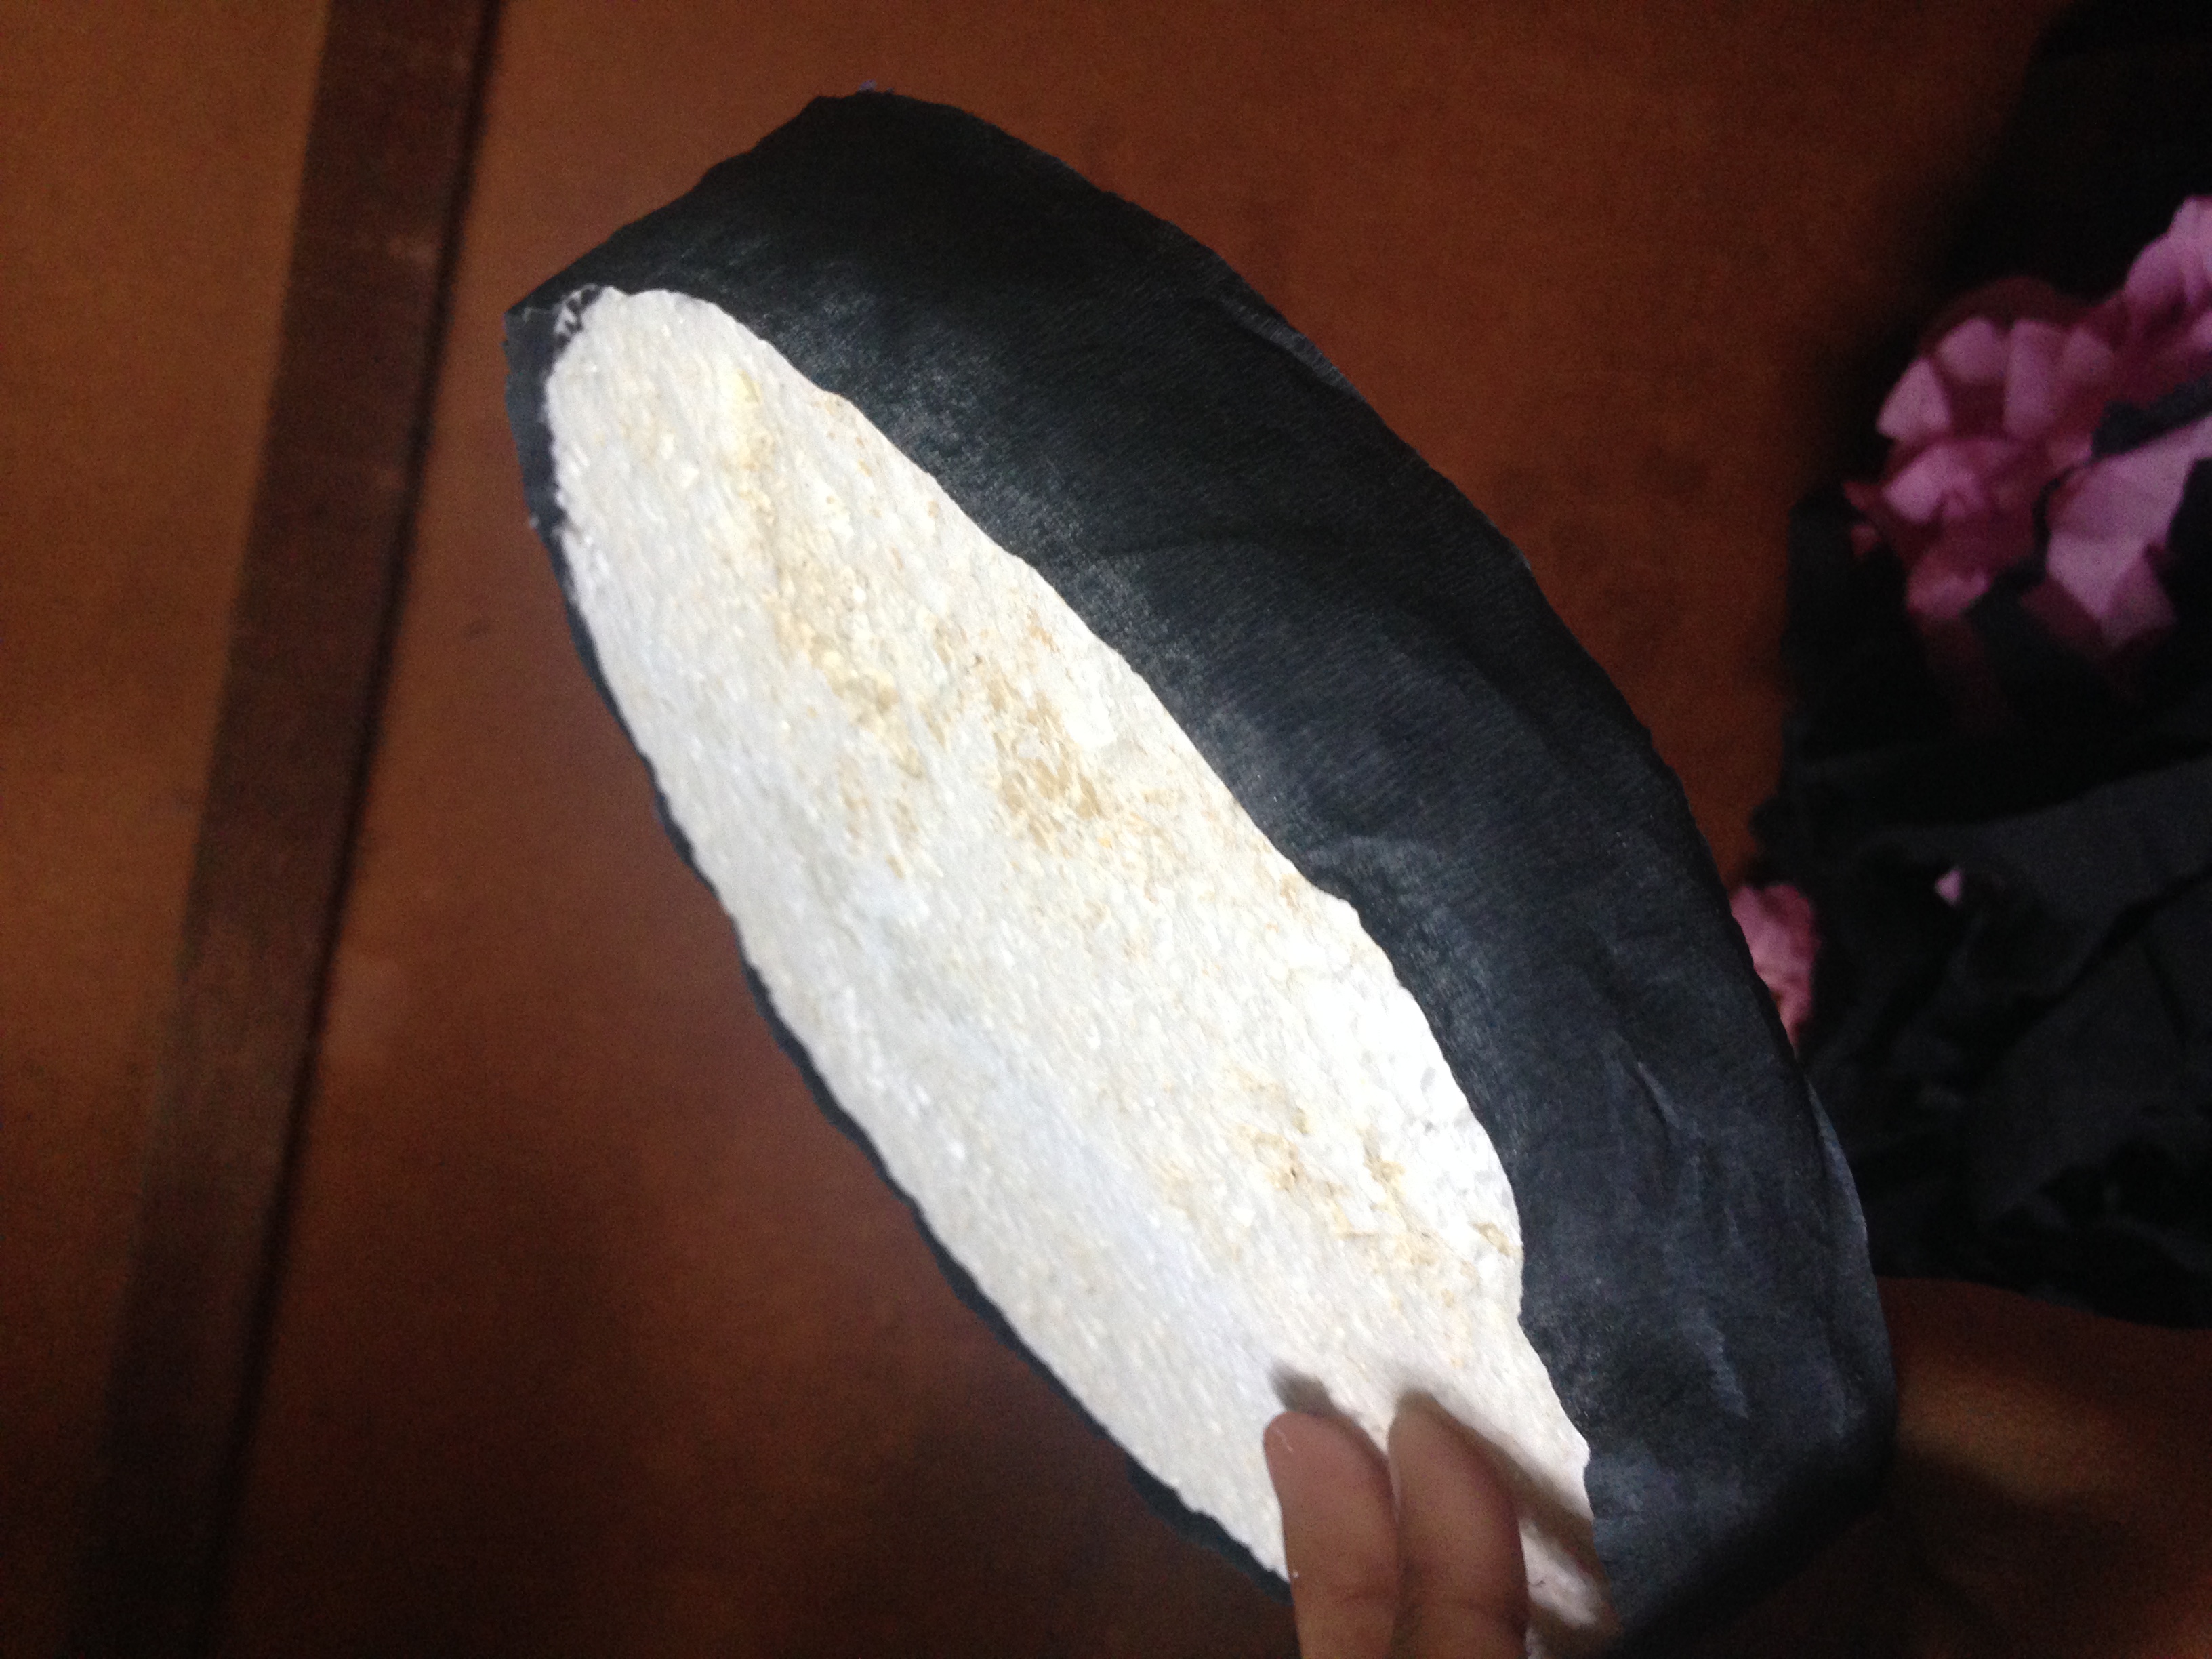
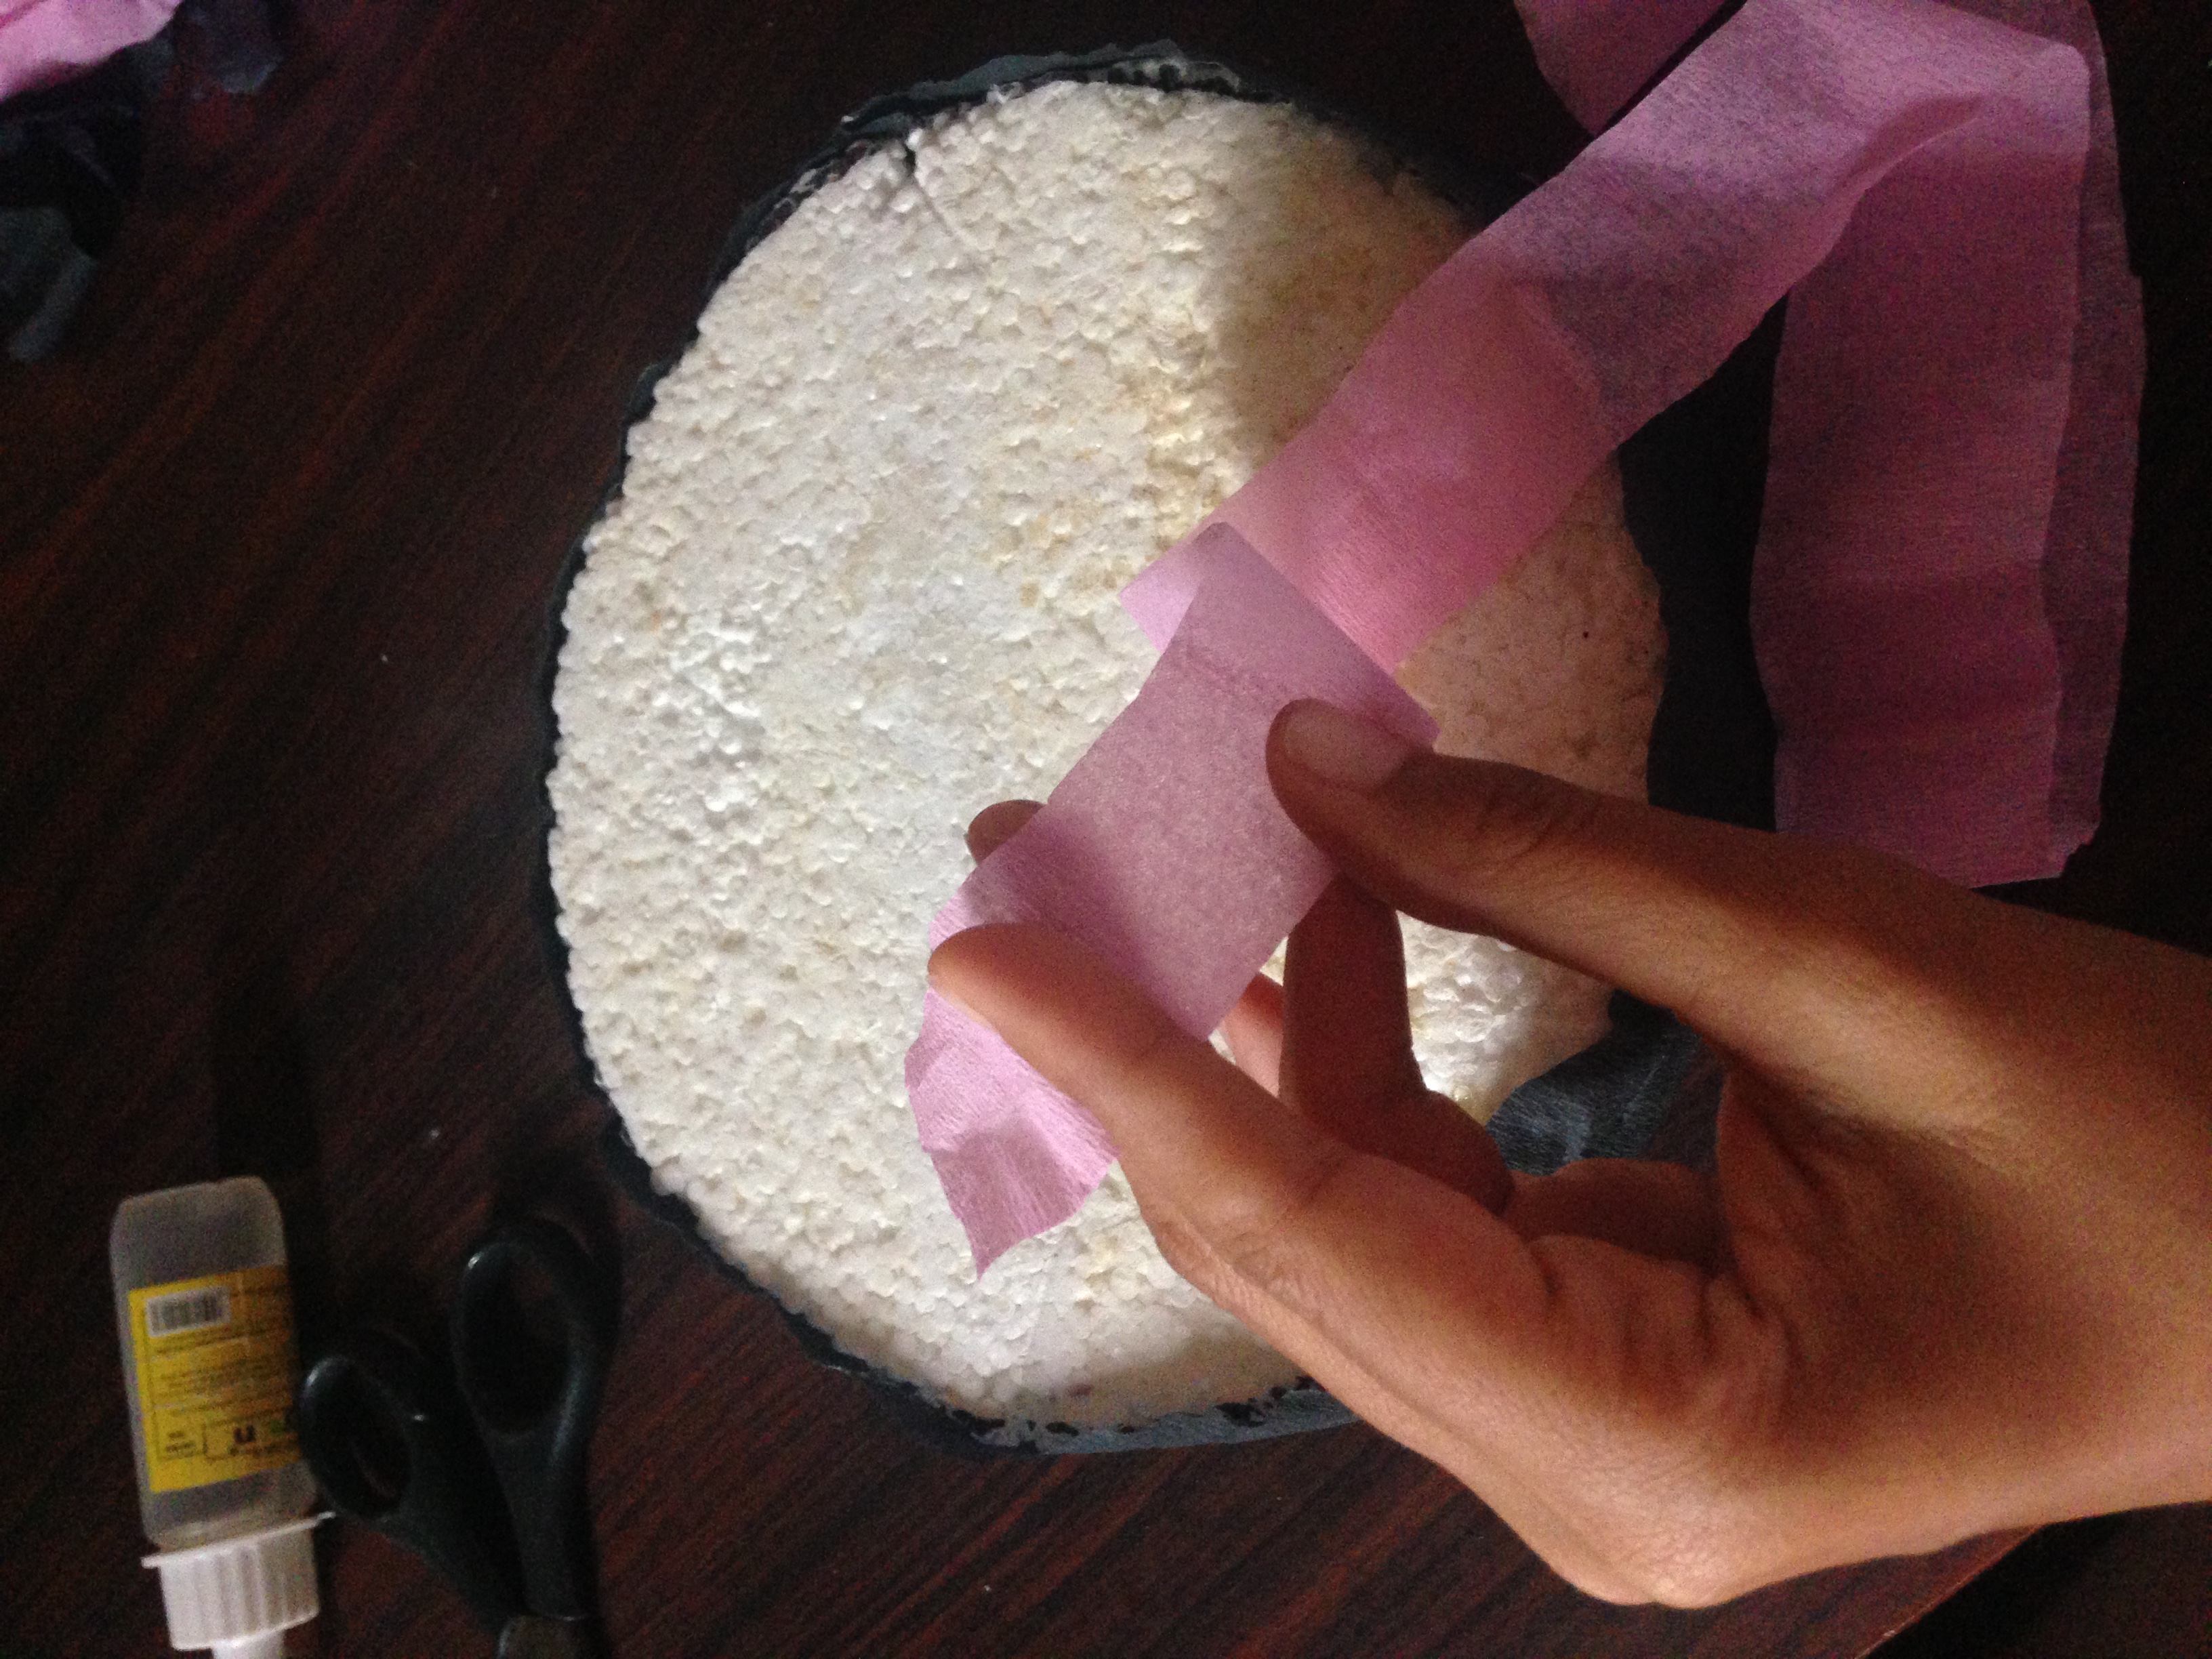
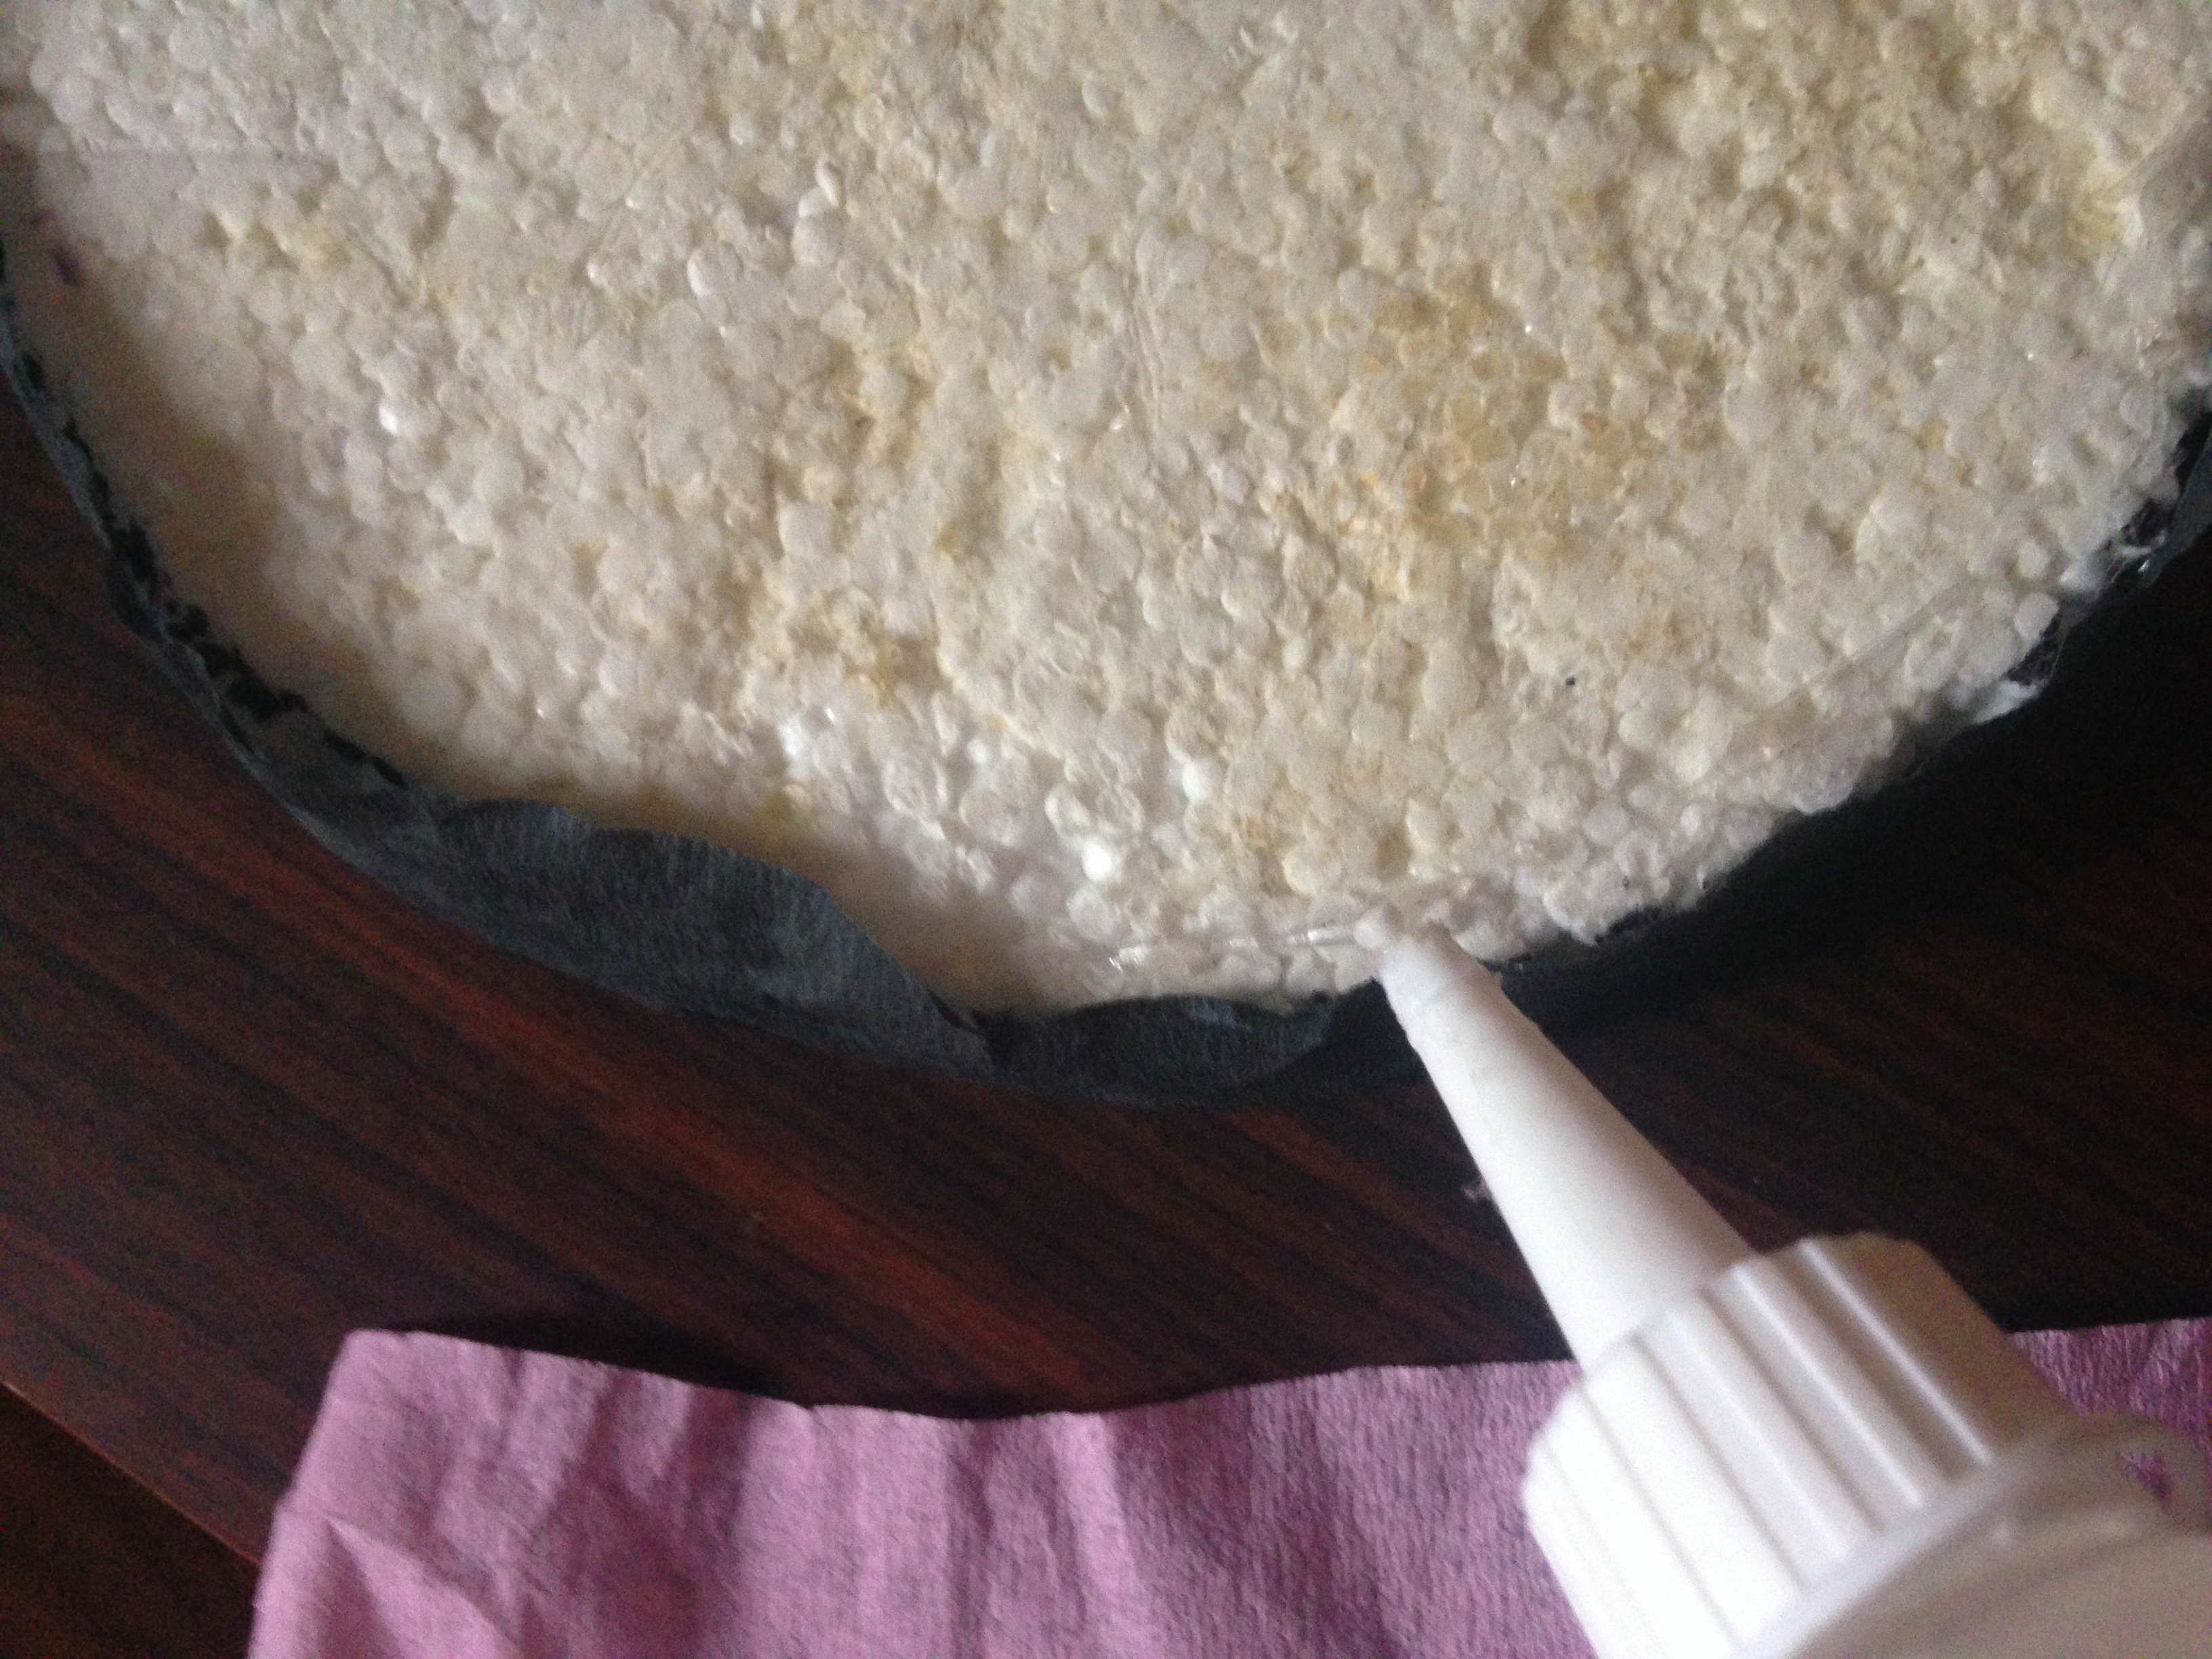
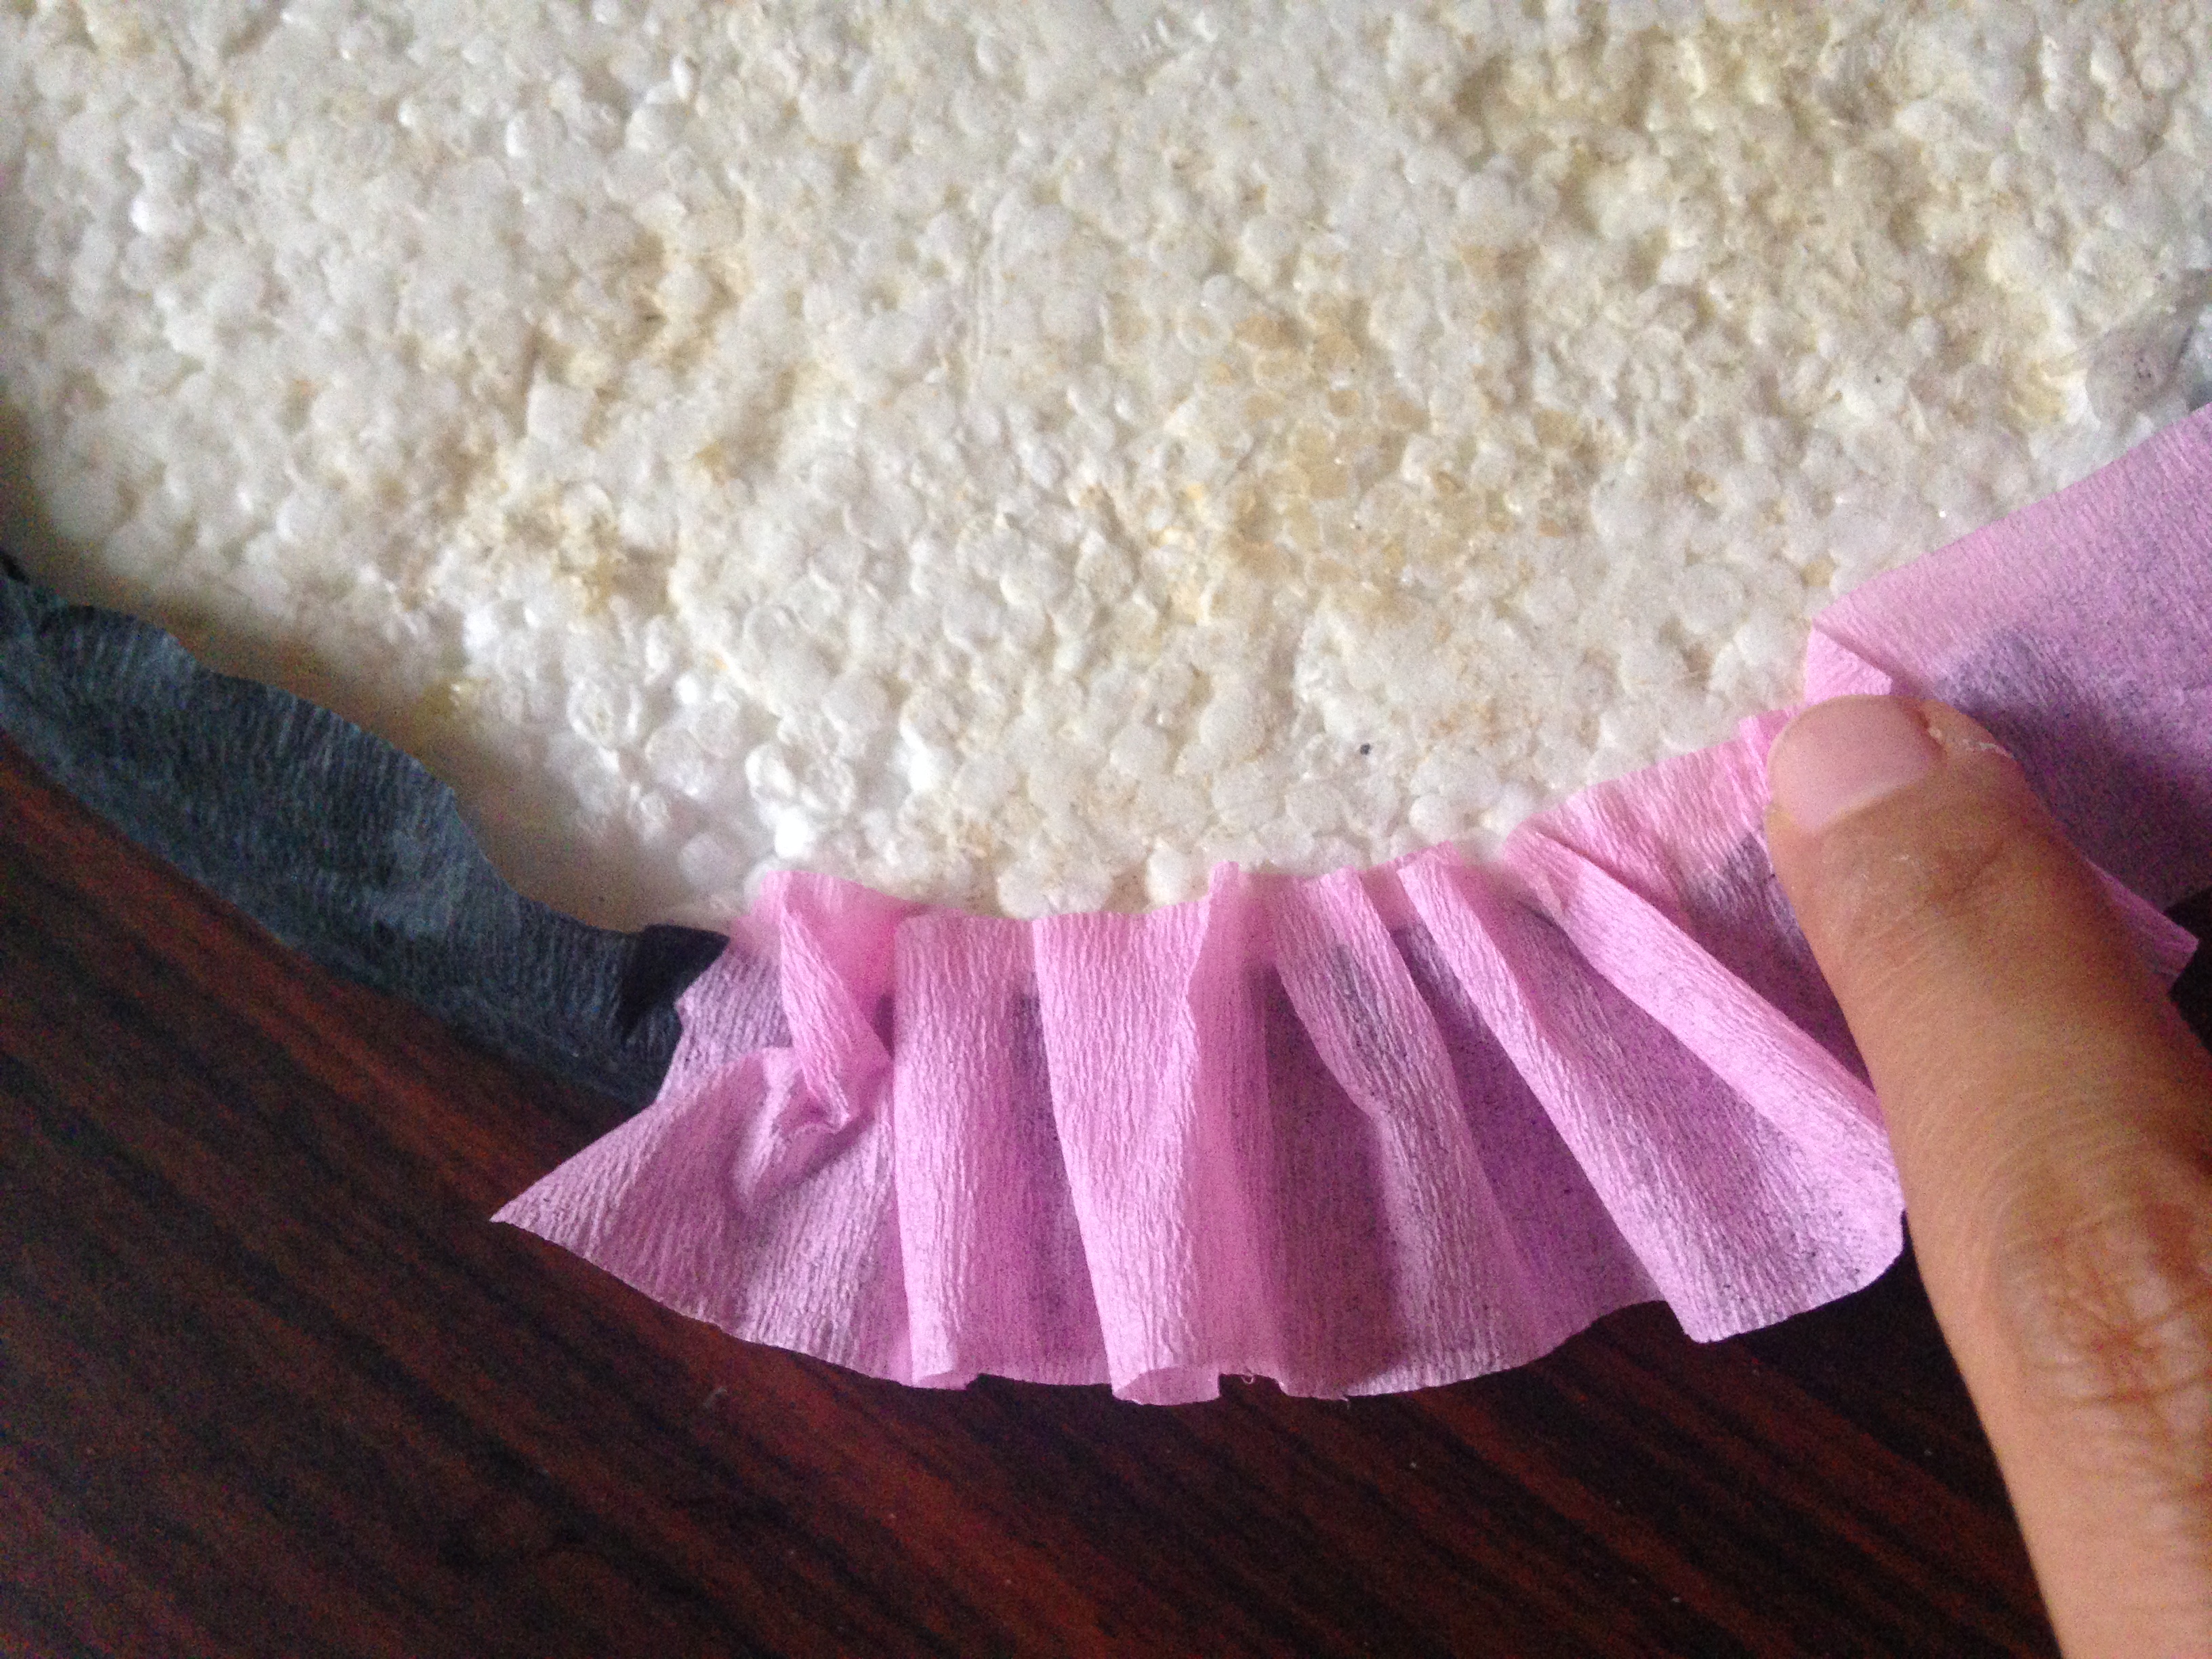
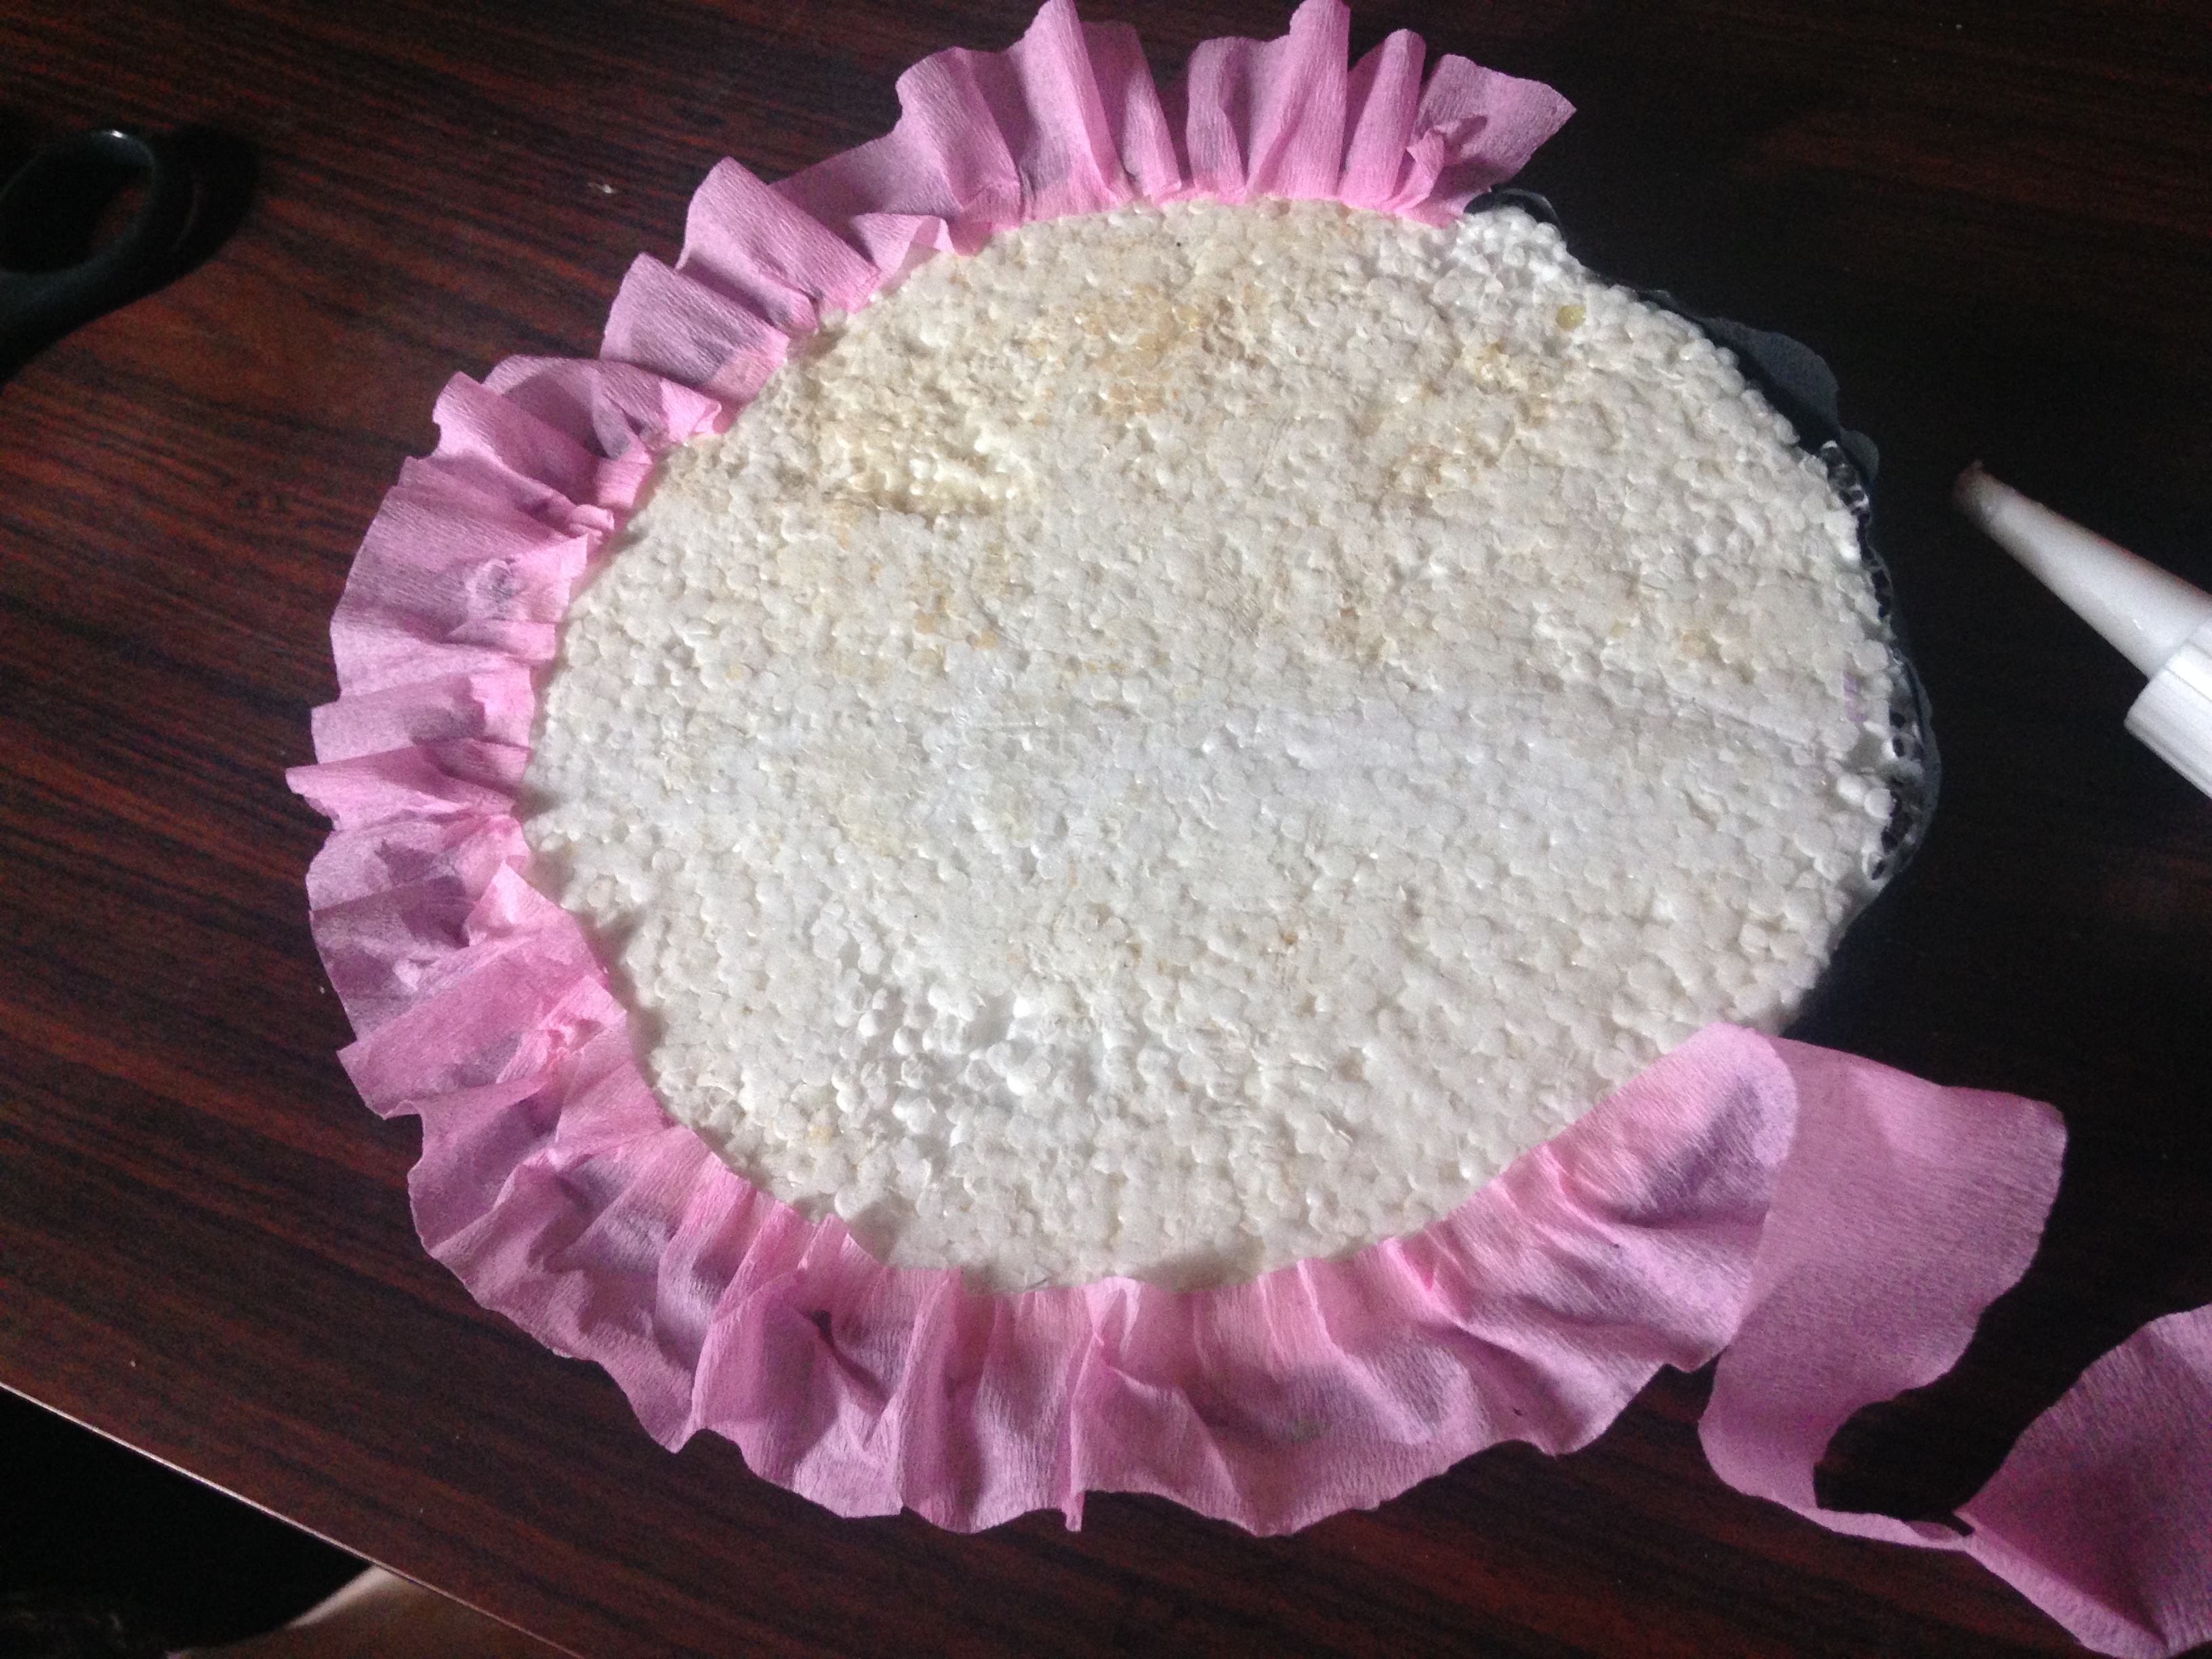
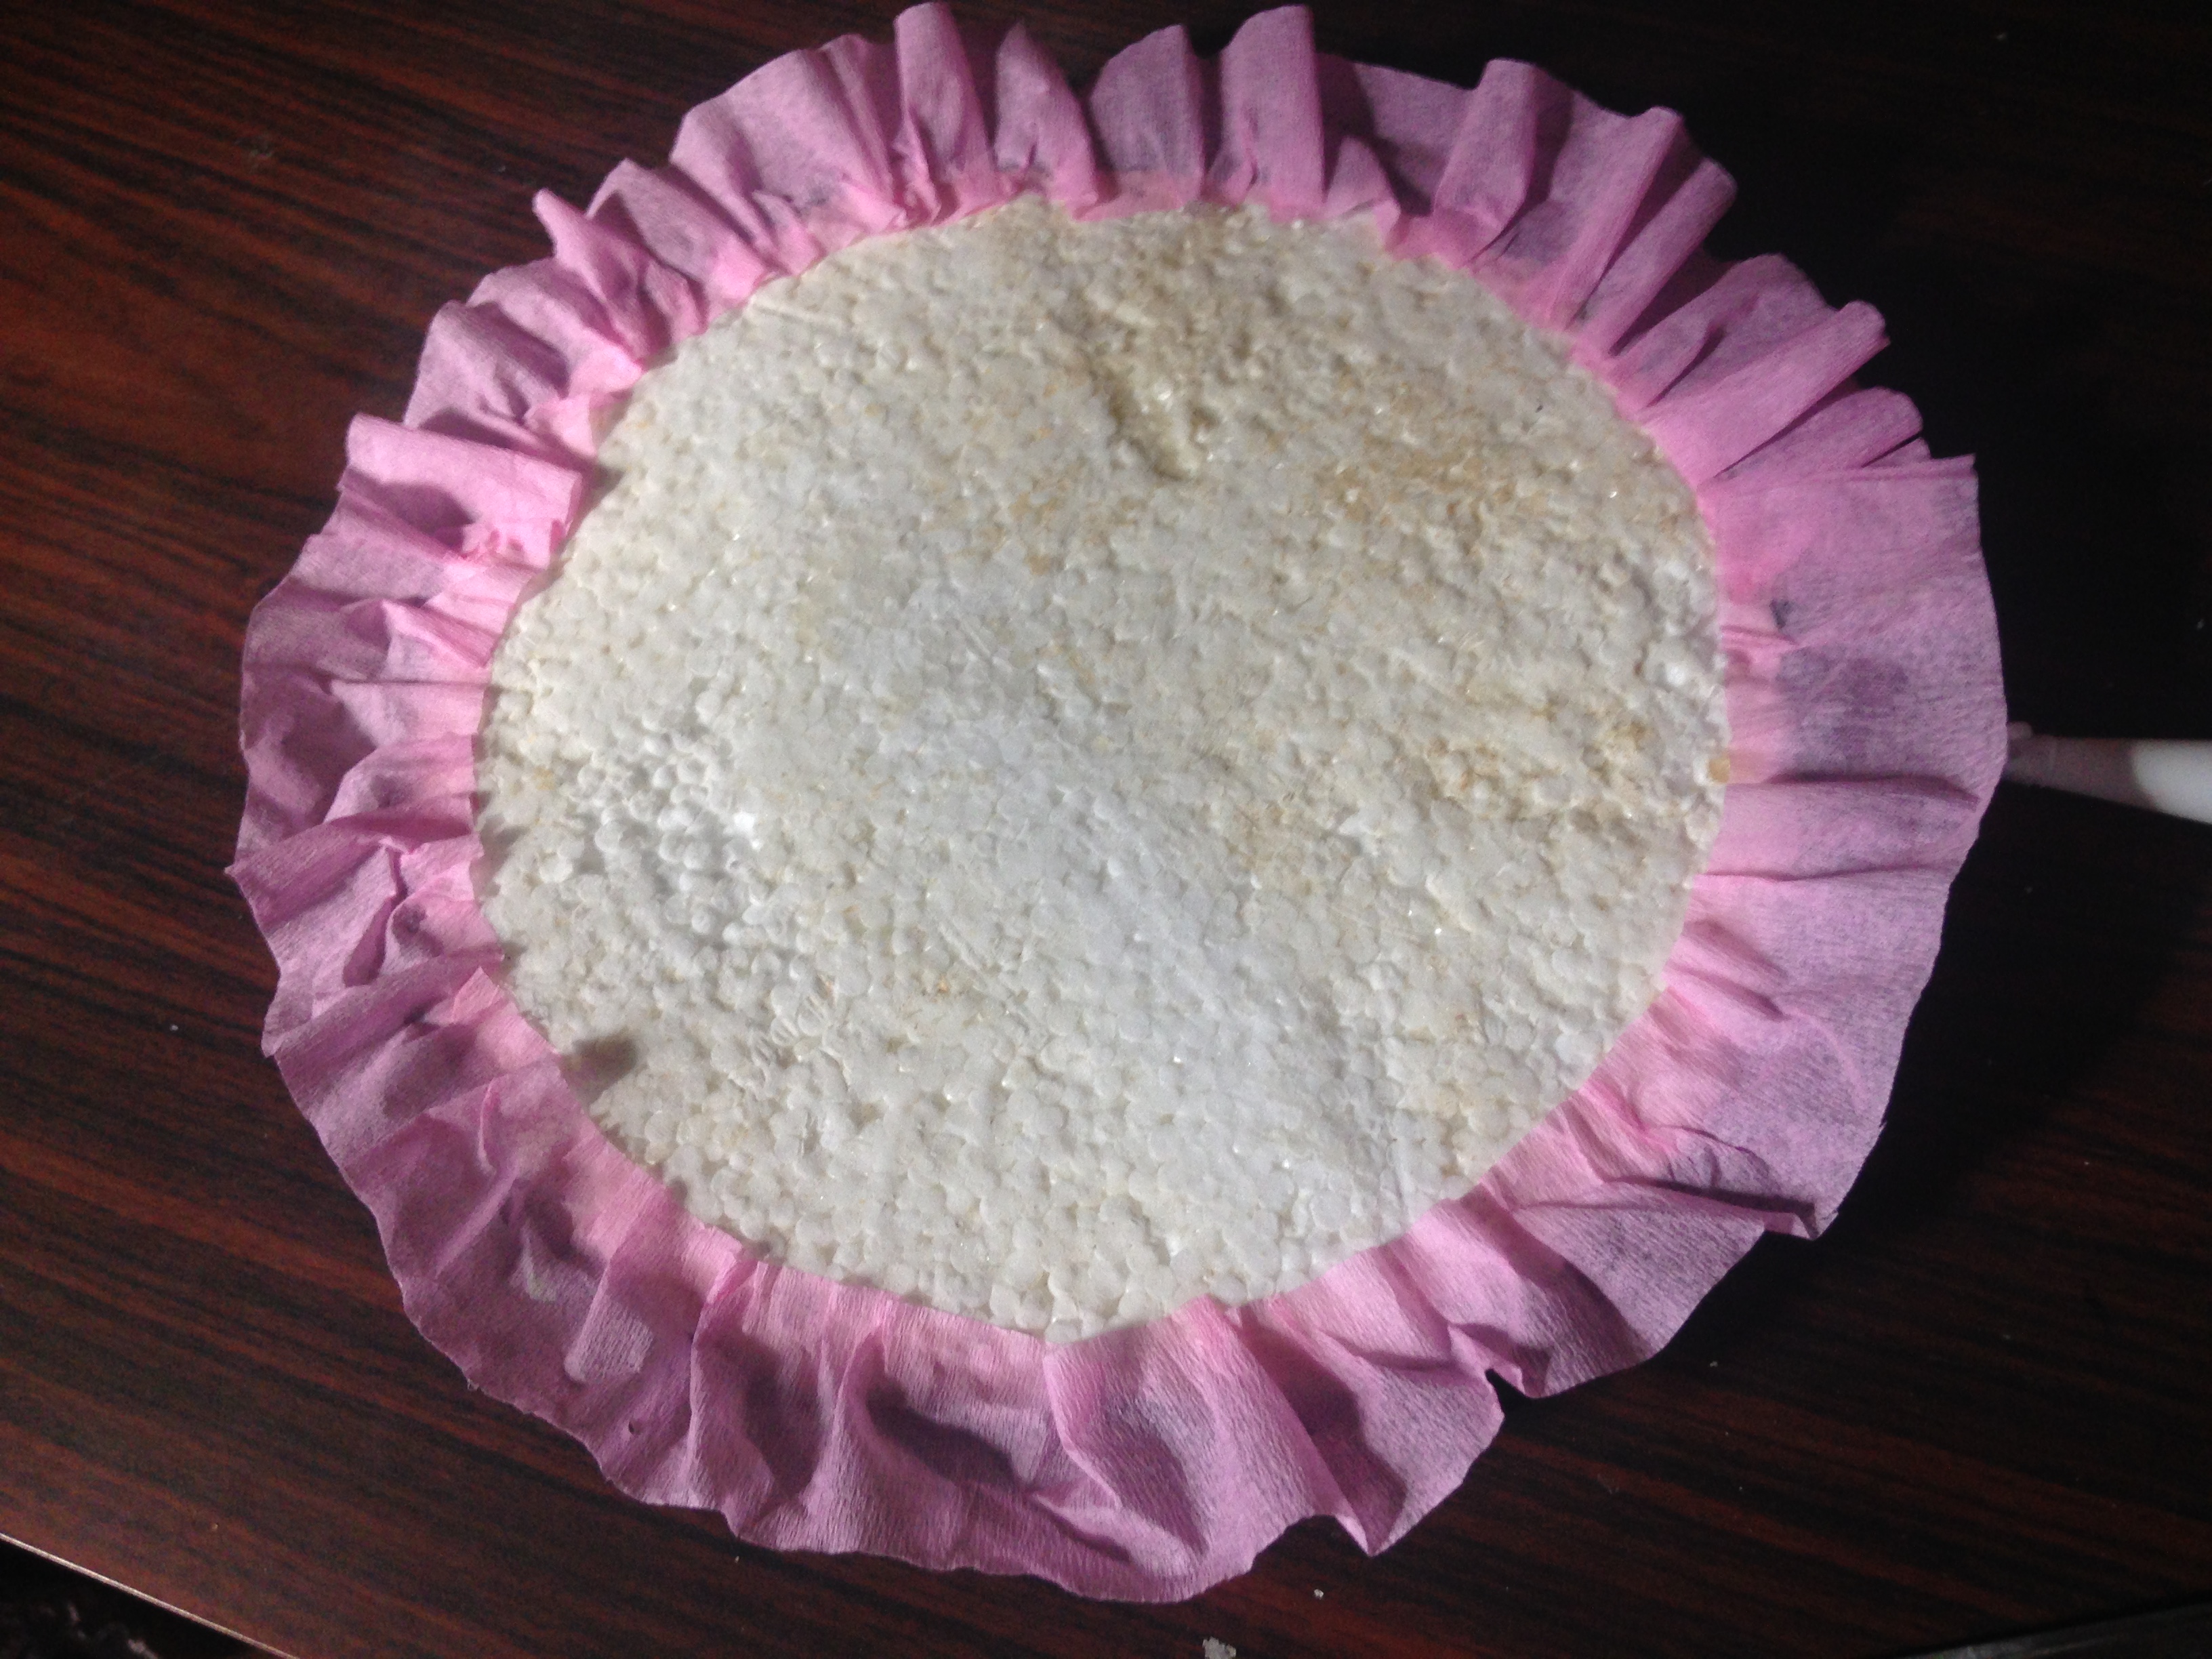
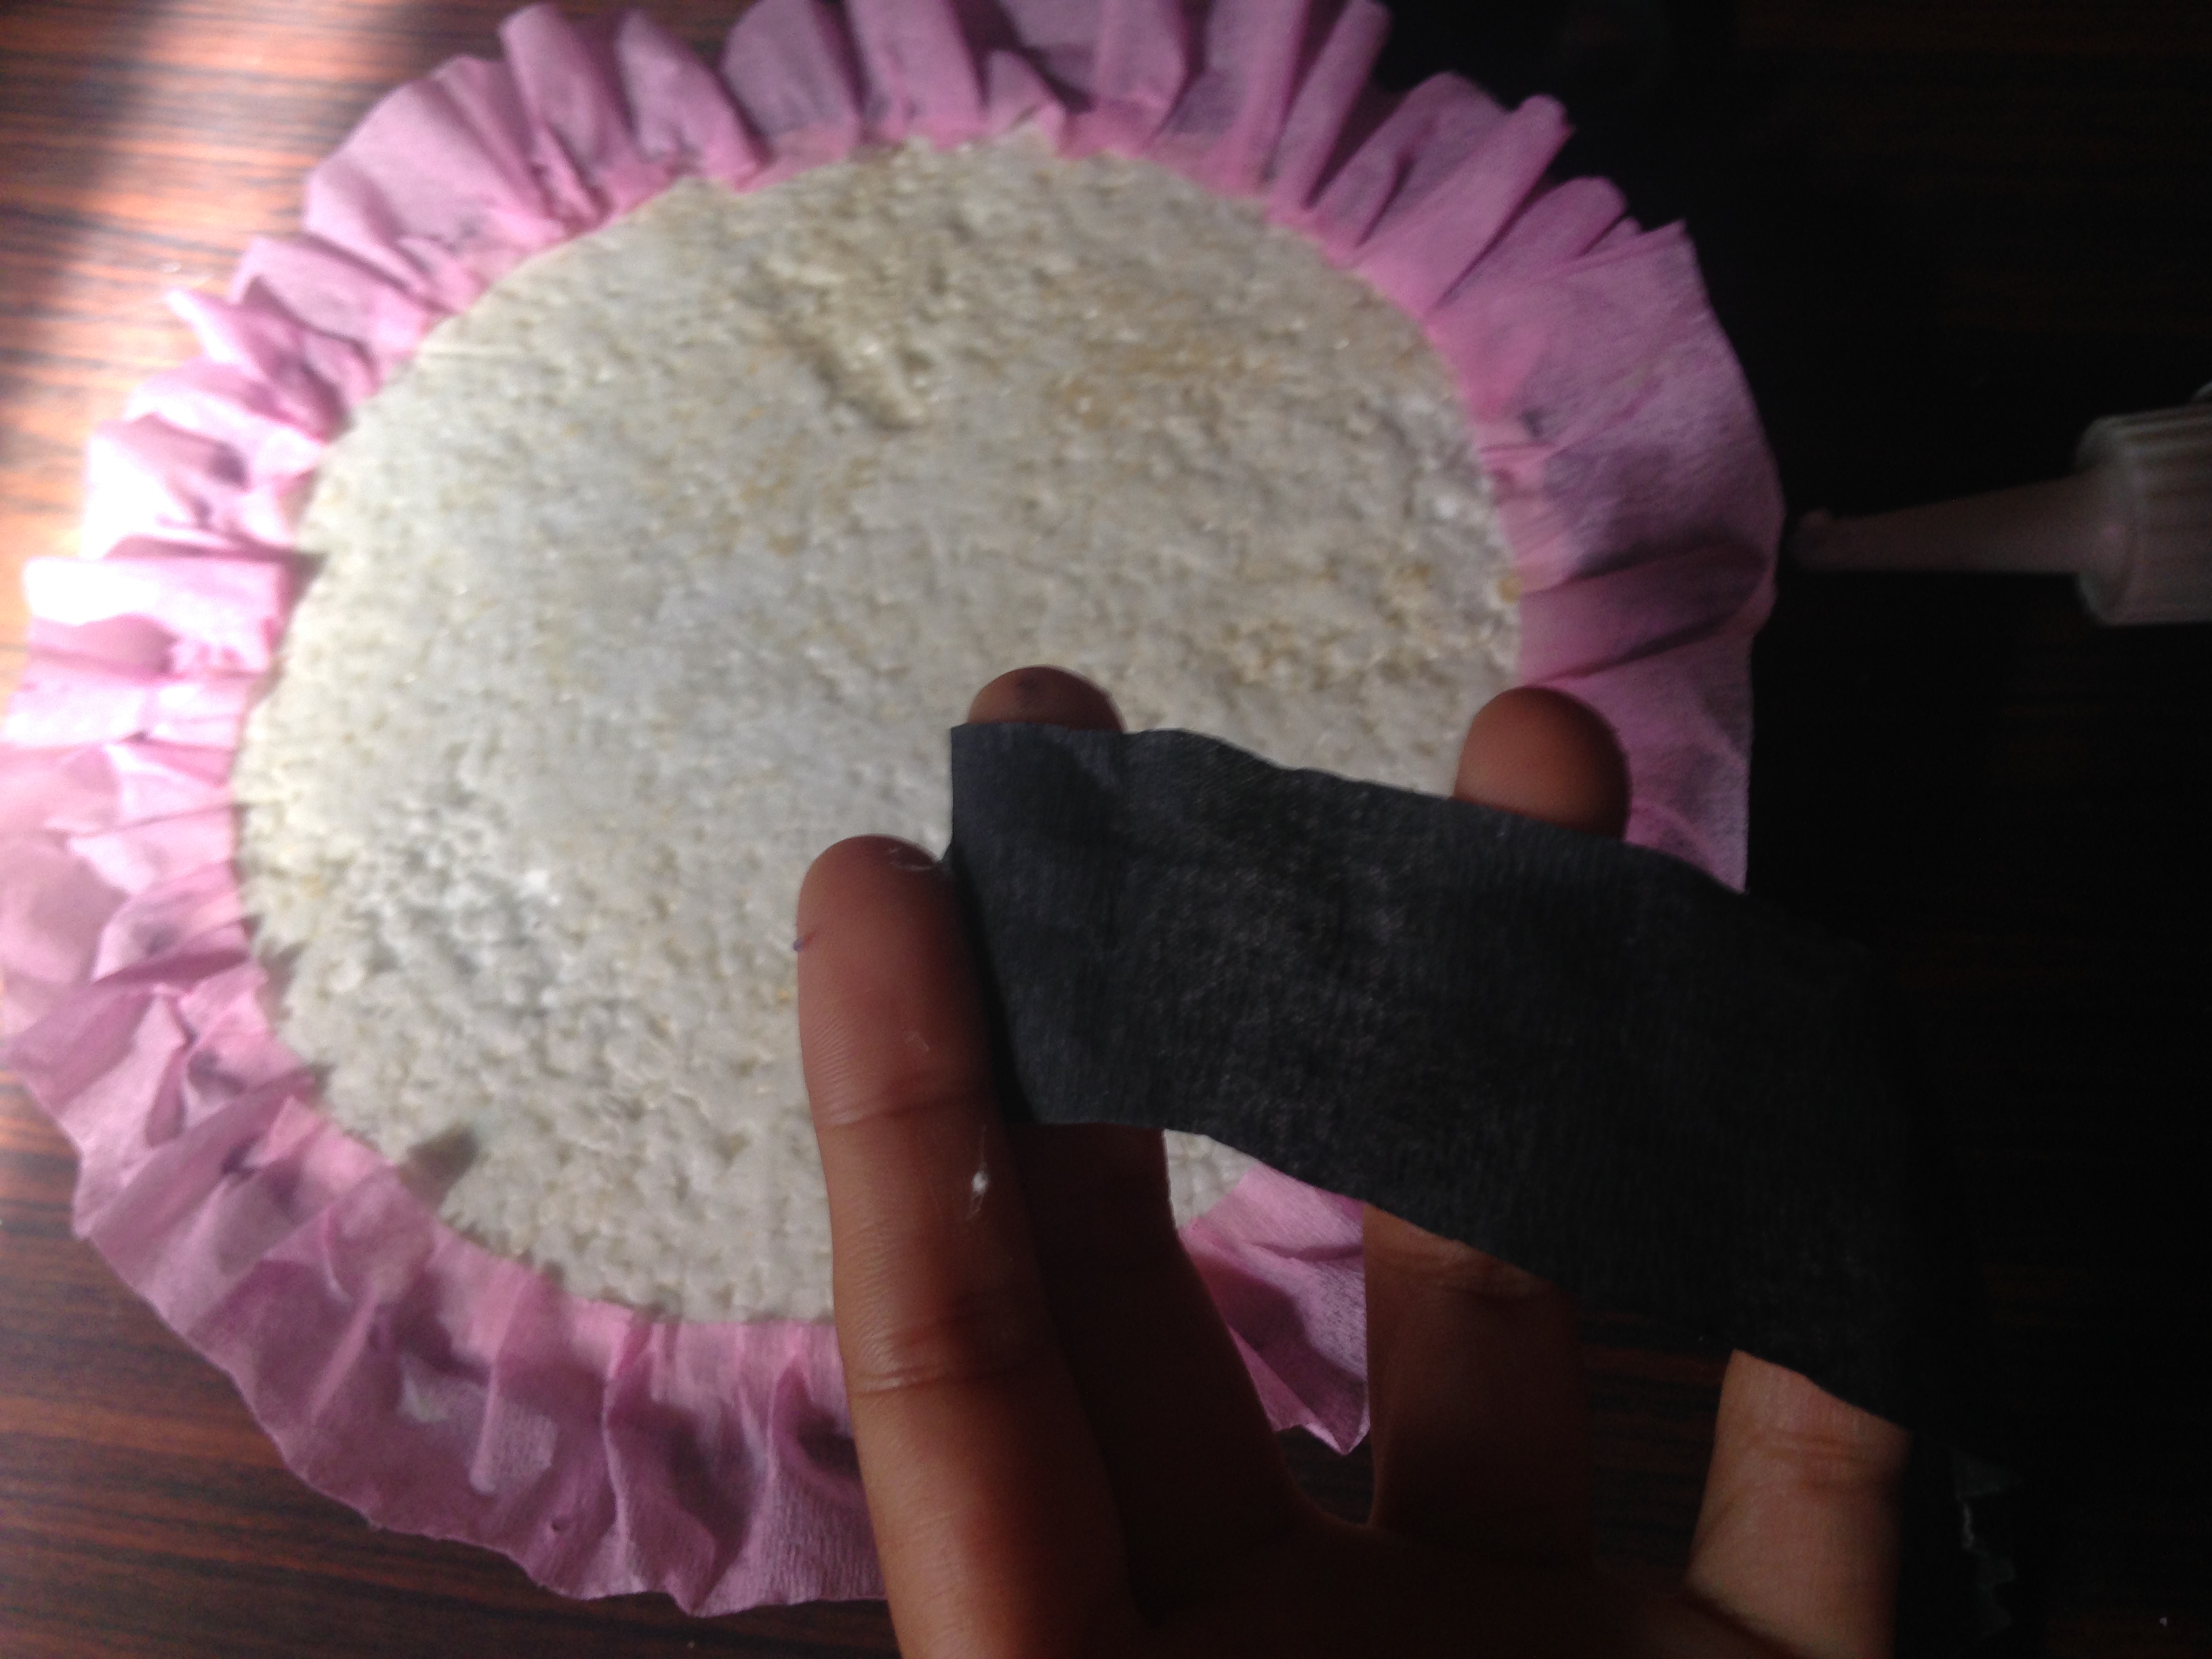
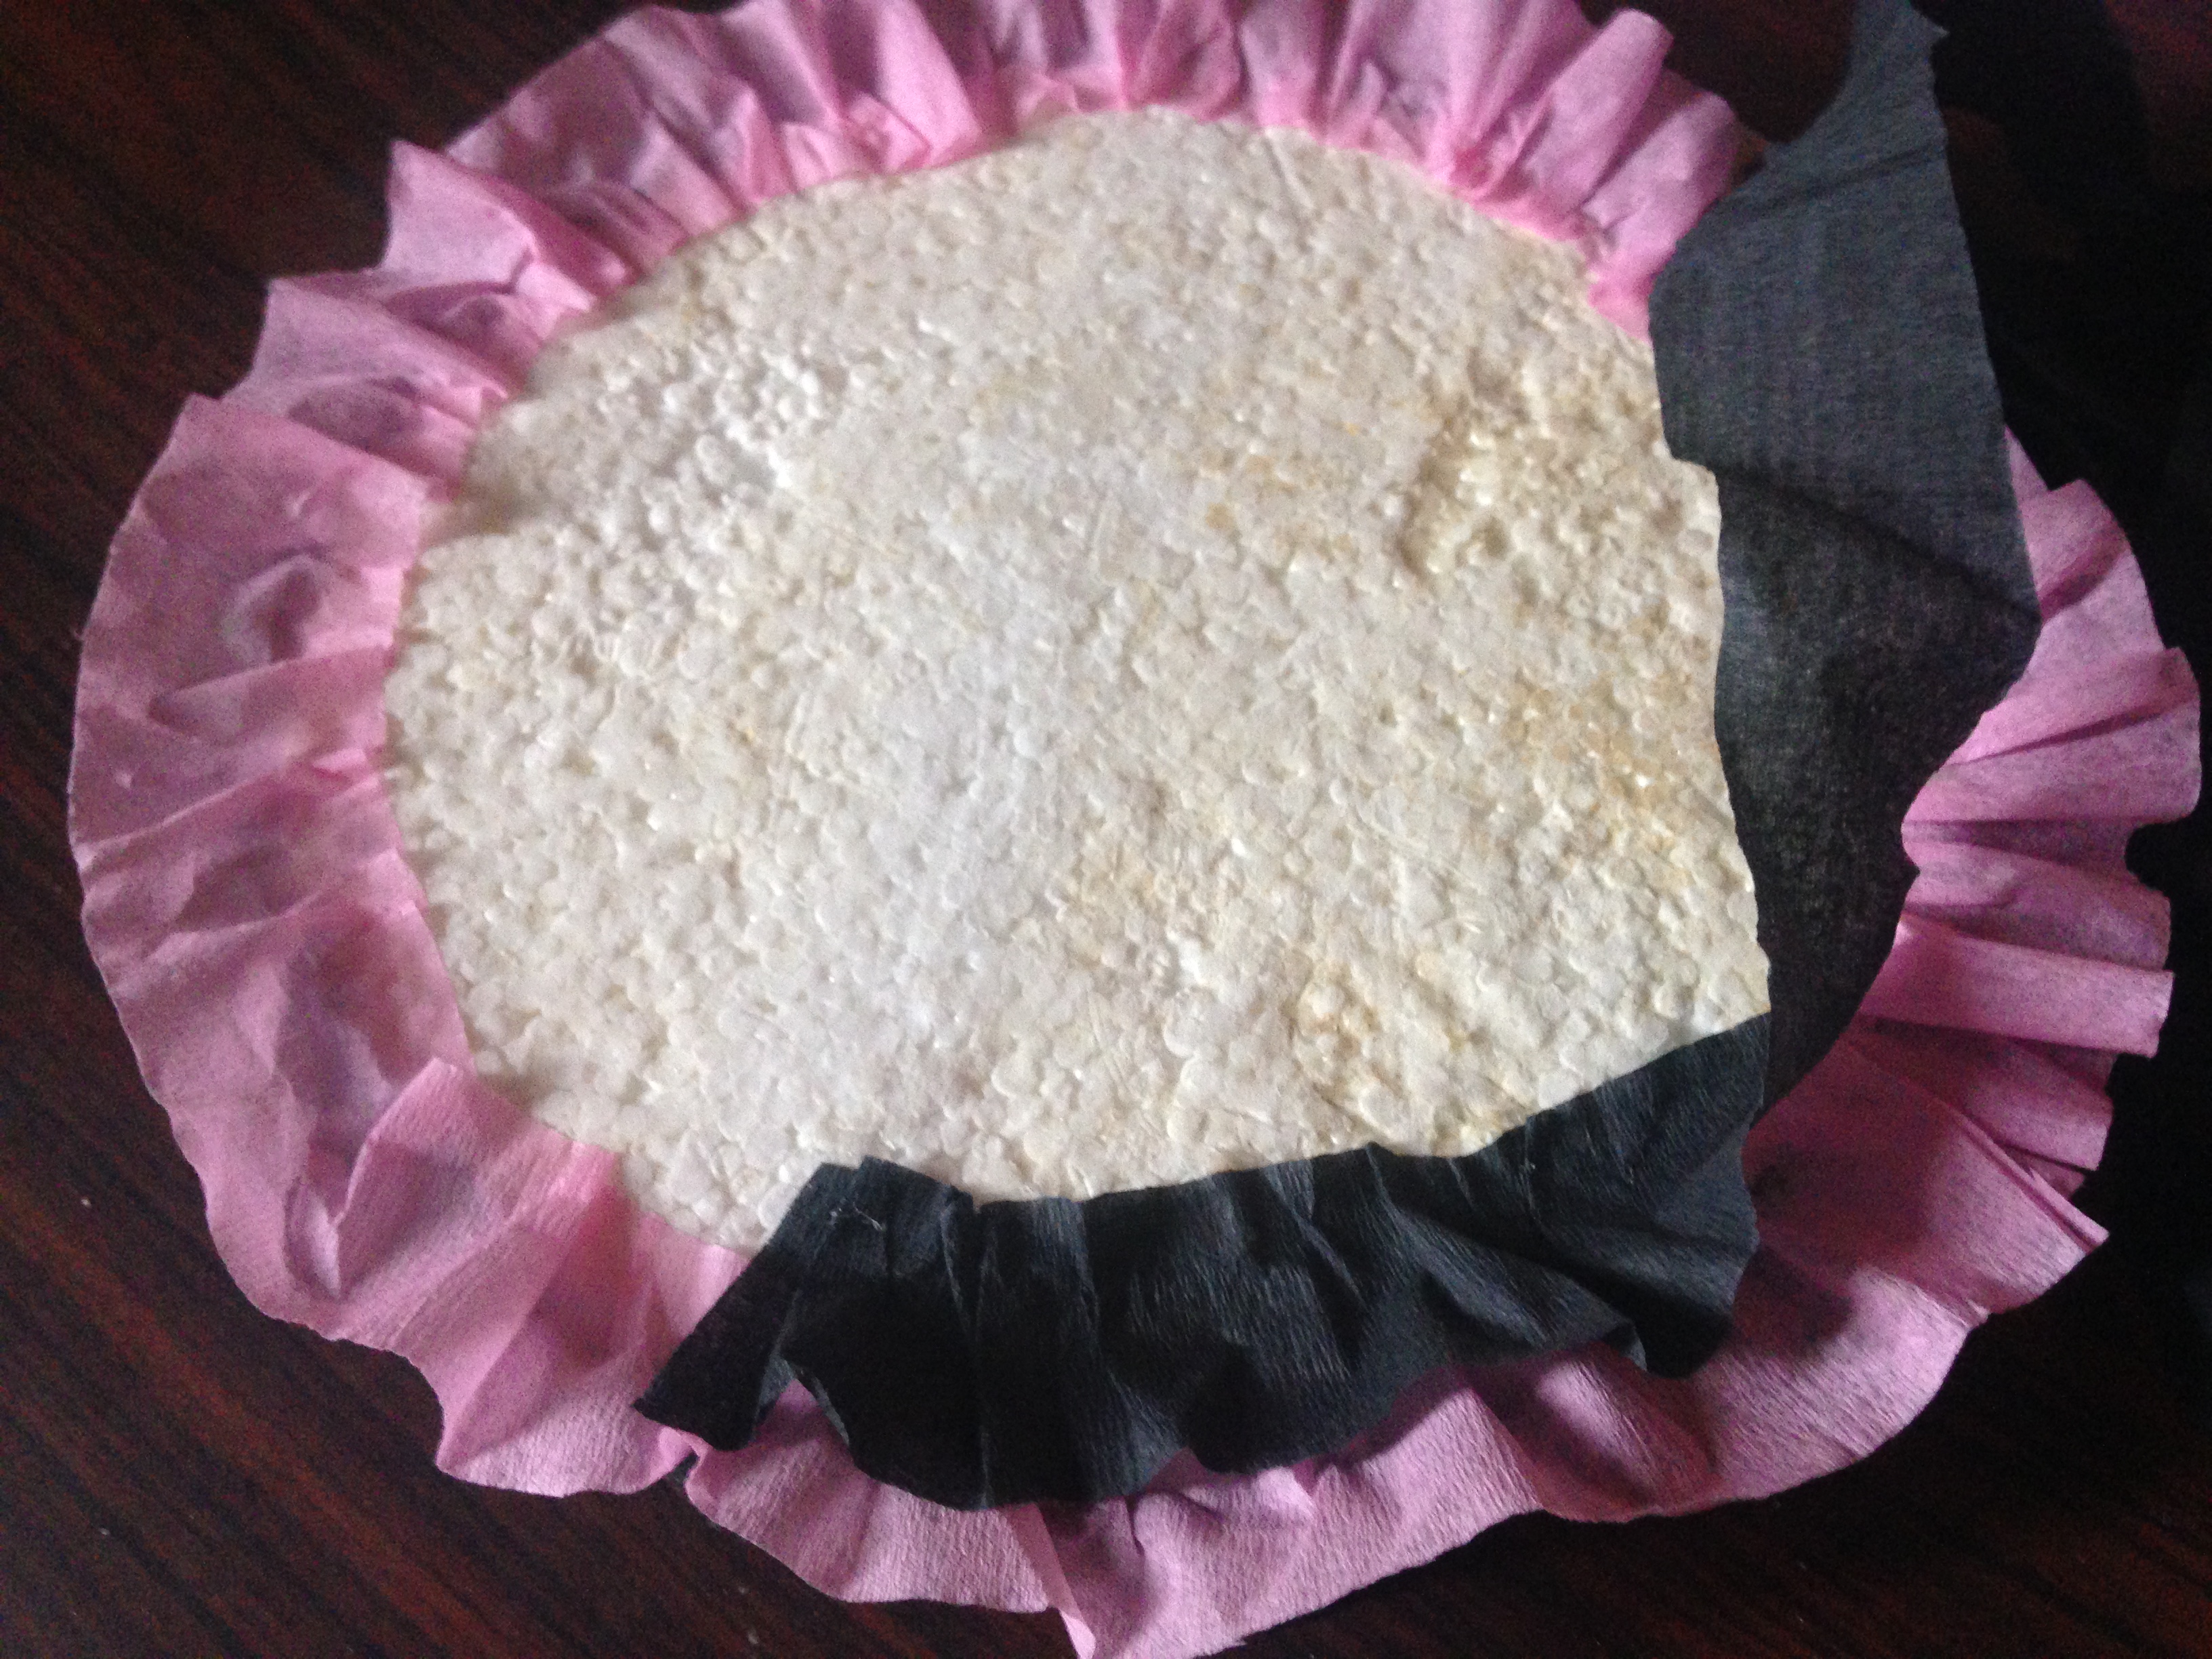
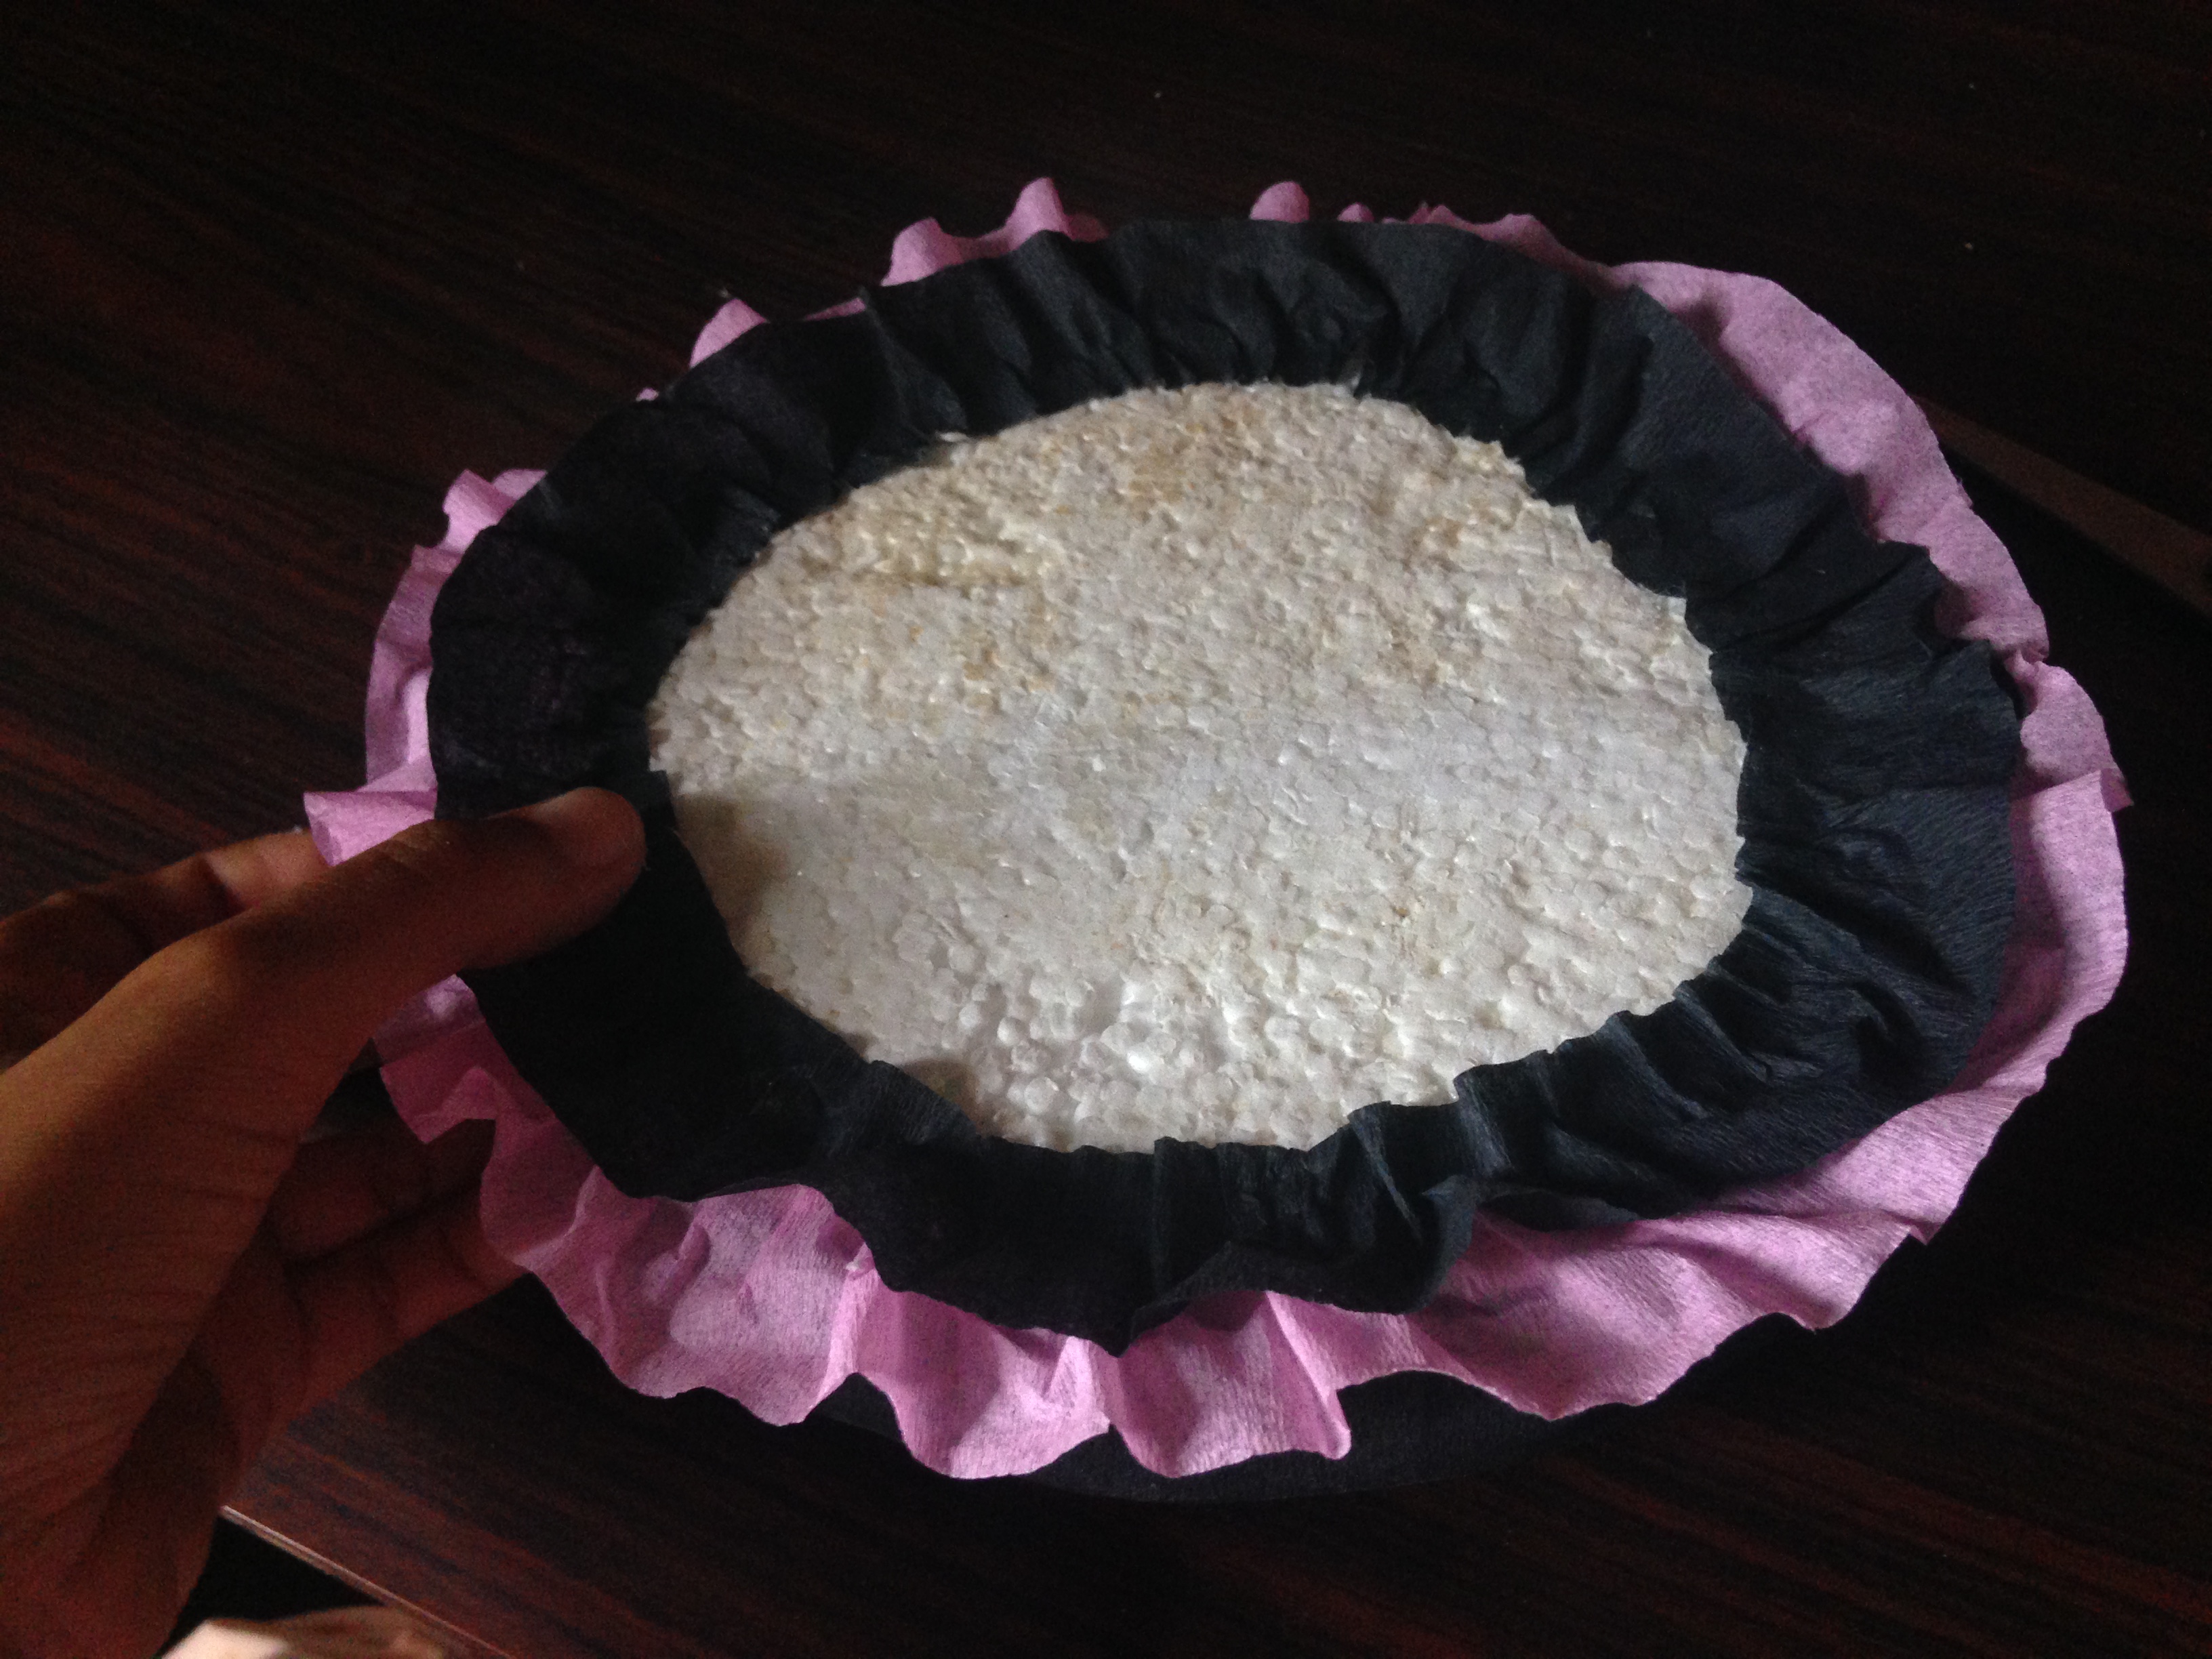
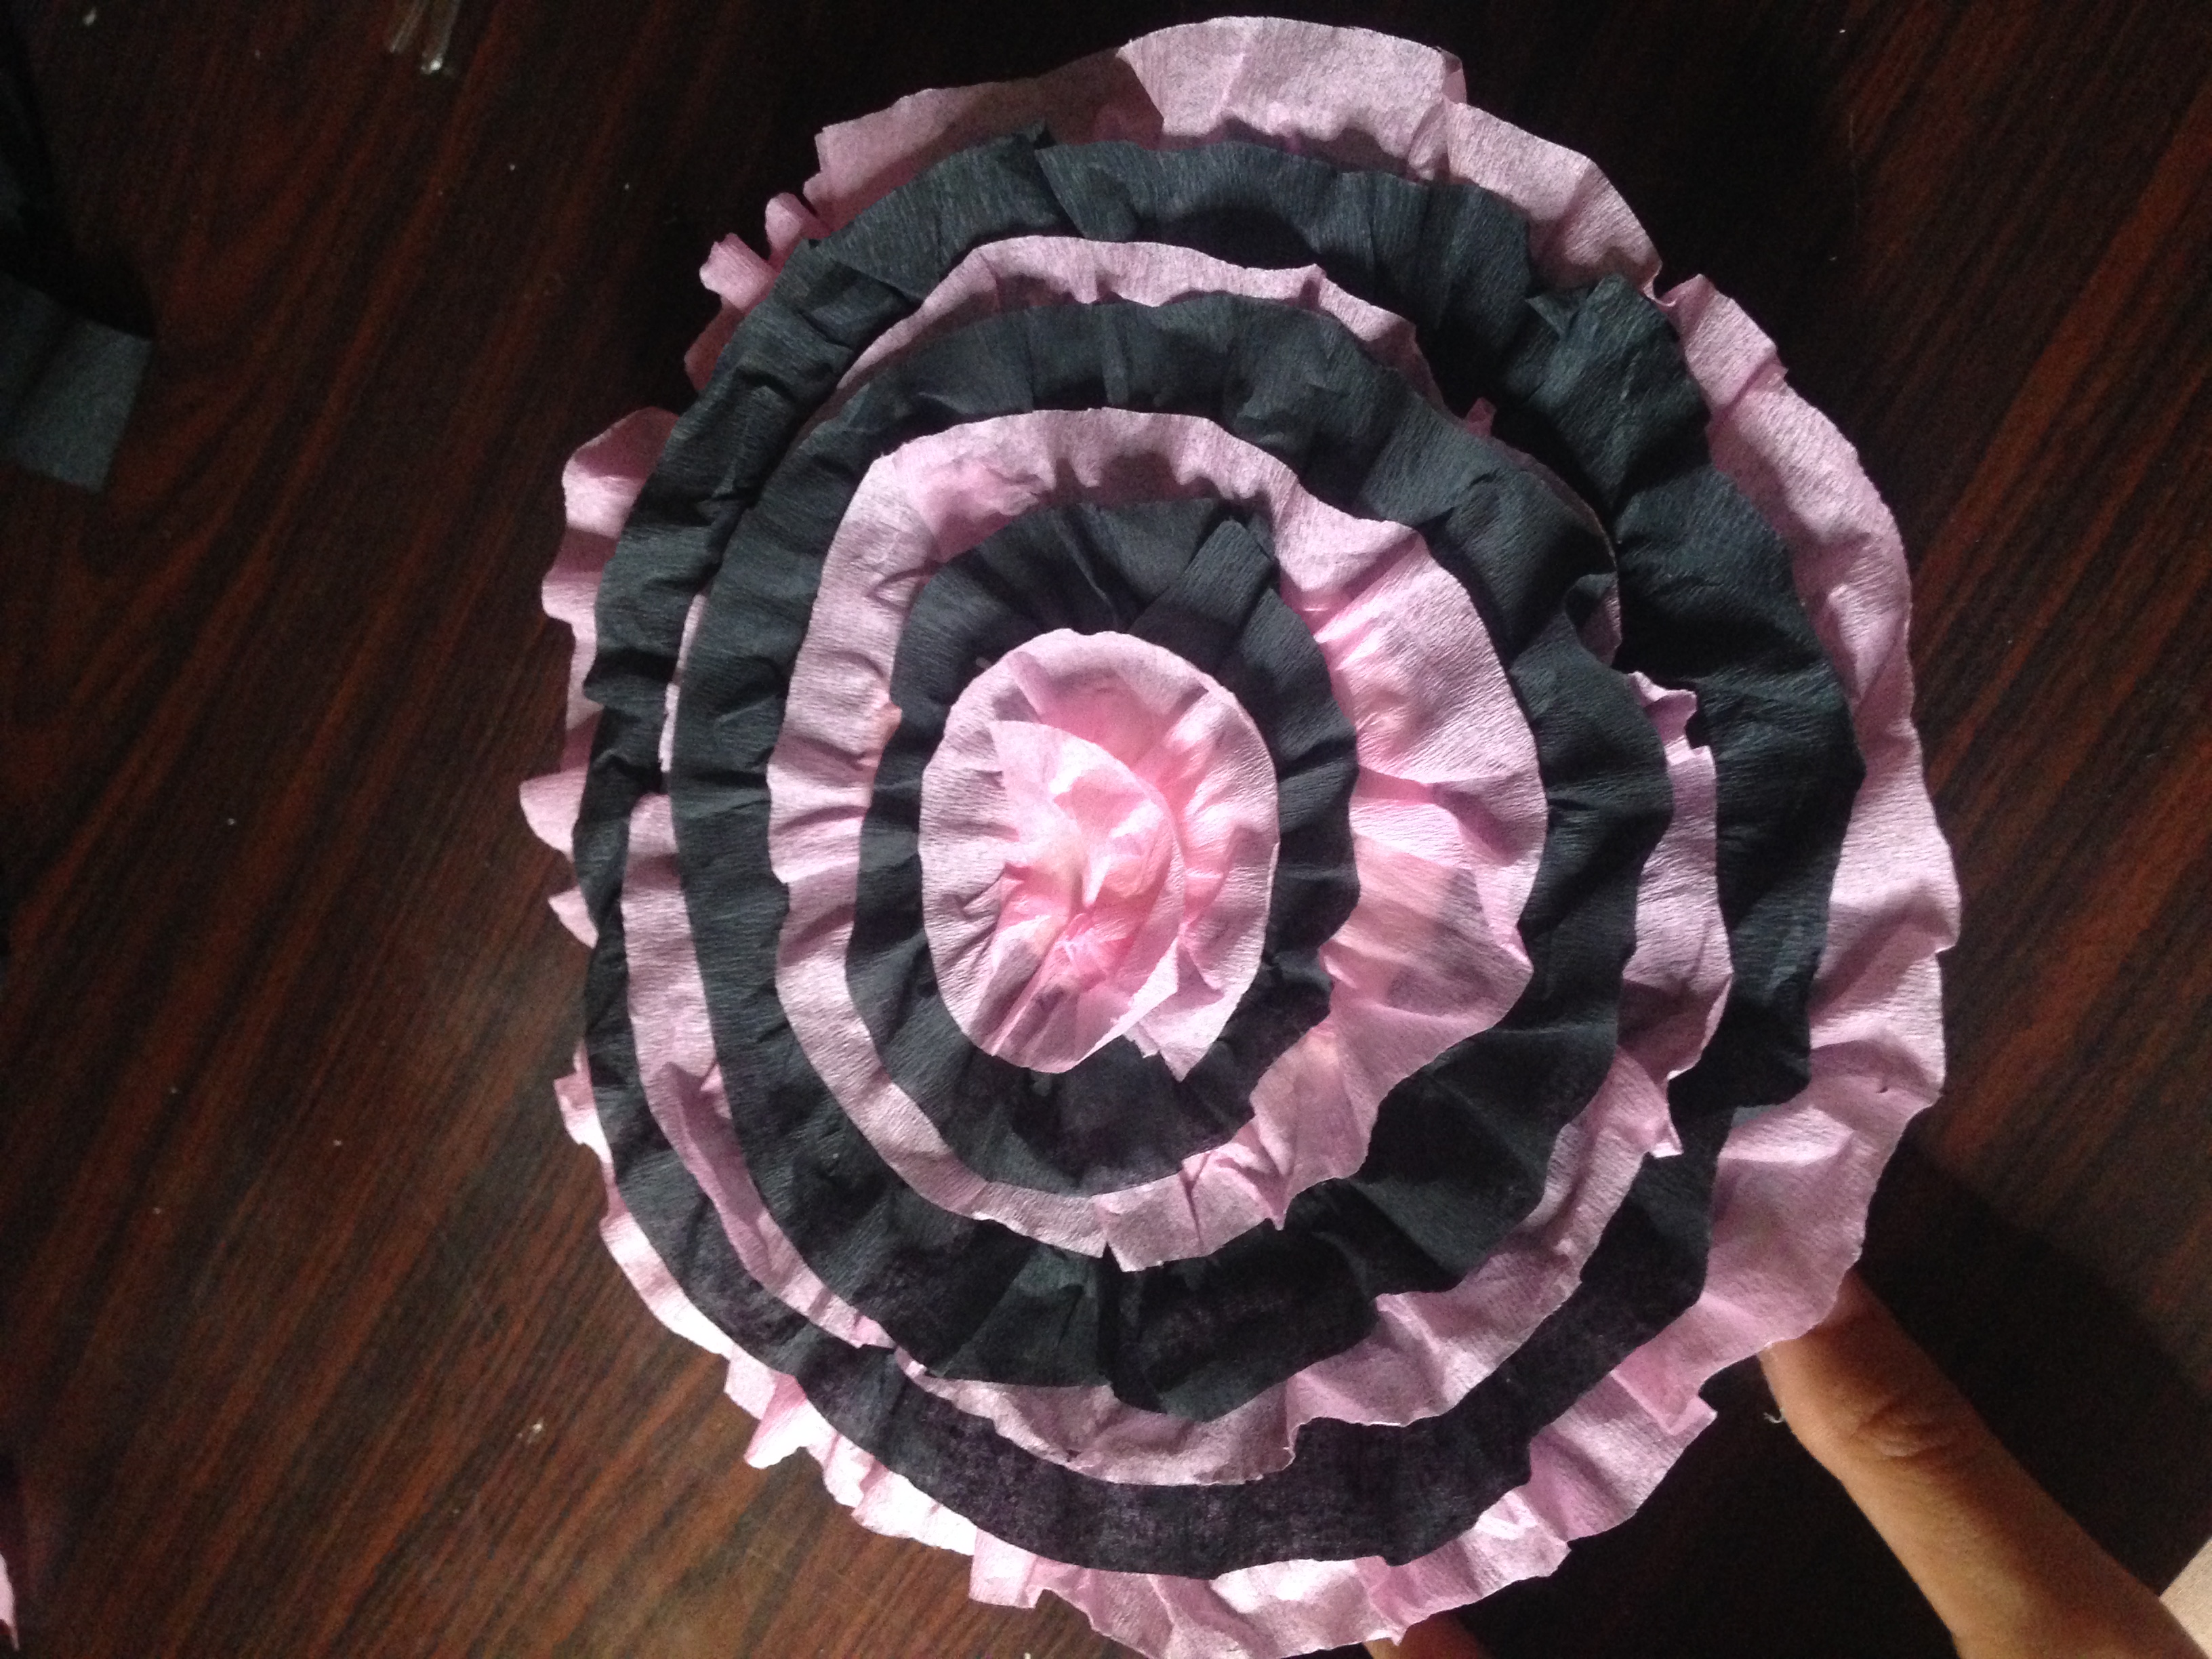
Paso 2
Posteriormente vamos a buscar una tapa y marcar un circulo en el anime, luego lo cortamos con el filo de la tijera, una vez que tenemos nuestro circulo procedemos a forrarlo con papel crepe, primero a los lados del circulo con papel crepe negro, y después para forrar nuestro centro pegaremos un papel crepe rosa corrugando un poco para darle un efecto de faralao y luego pegamos un papel crepe negro de la misma forma que el anterior, y así sucesivamente hasta forrar nuestro circulo de anime, la cual sera la base de la chupetera.
Step 2
Later we are going to look for a cover and mark a circle in the anime, then we cut it with the edge of the scissors, once we have our circle we proceed to line it with crepe paper, first on the sides of the circle with black crepe paper, and then To line our center, we will glue a pink crepe paper, corrugating a little to give it a faralao effect and then we will glue a black crepe paper in the same way as the previous one, and so on until we cover our anime circle, which will be the base of the pacifier.


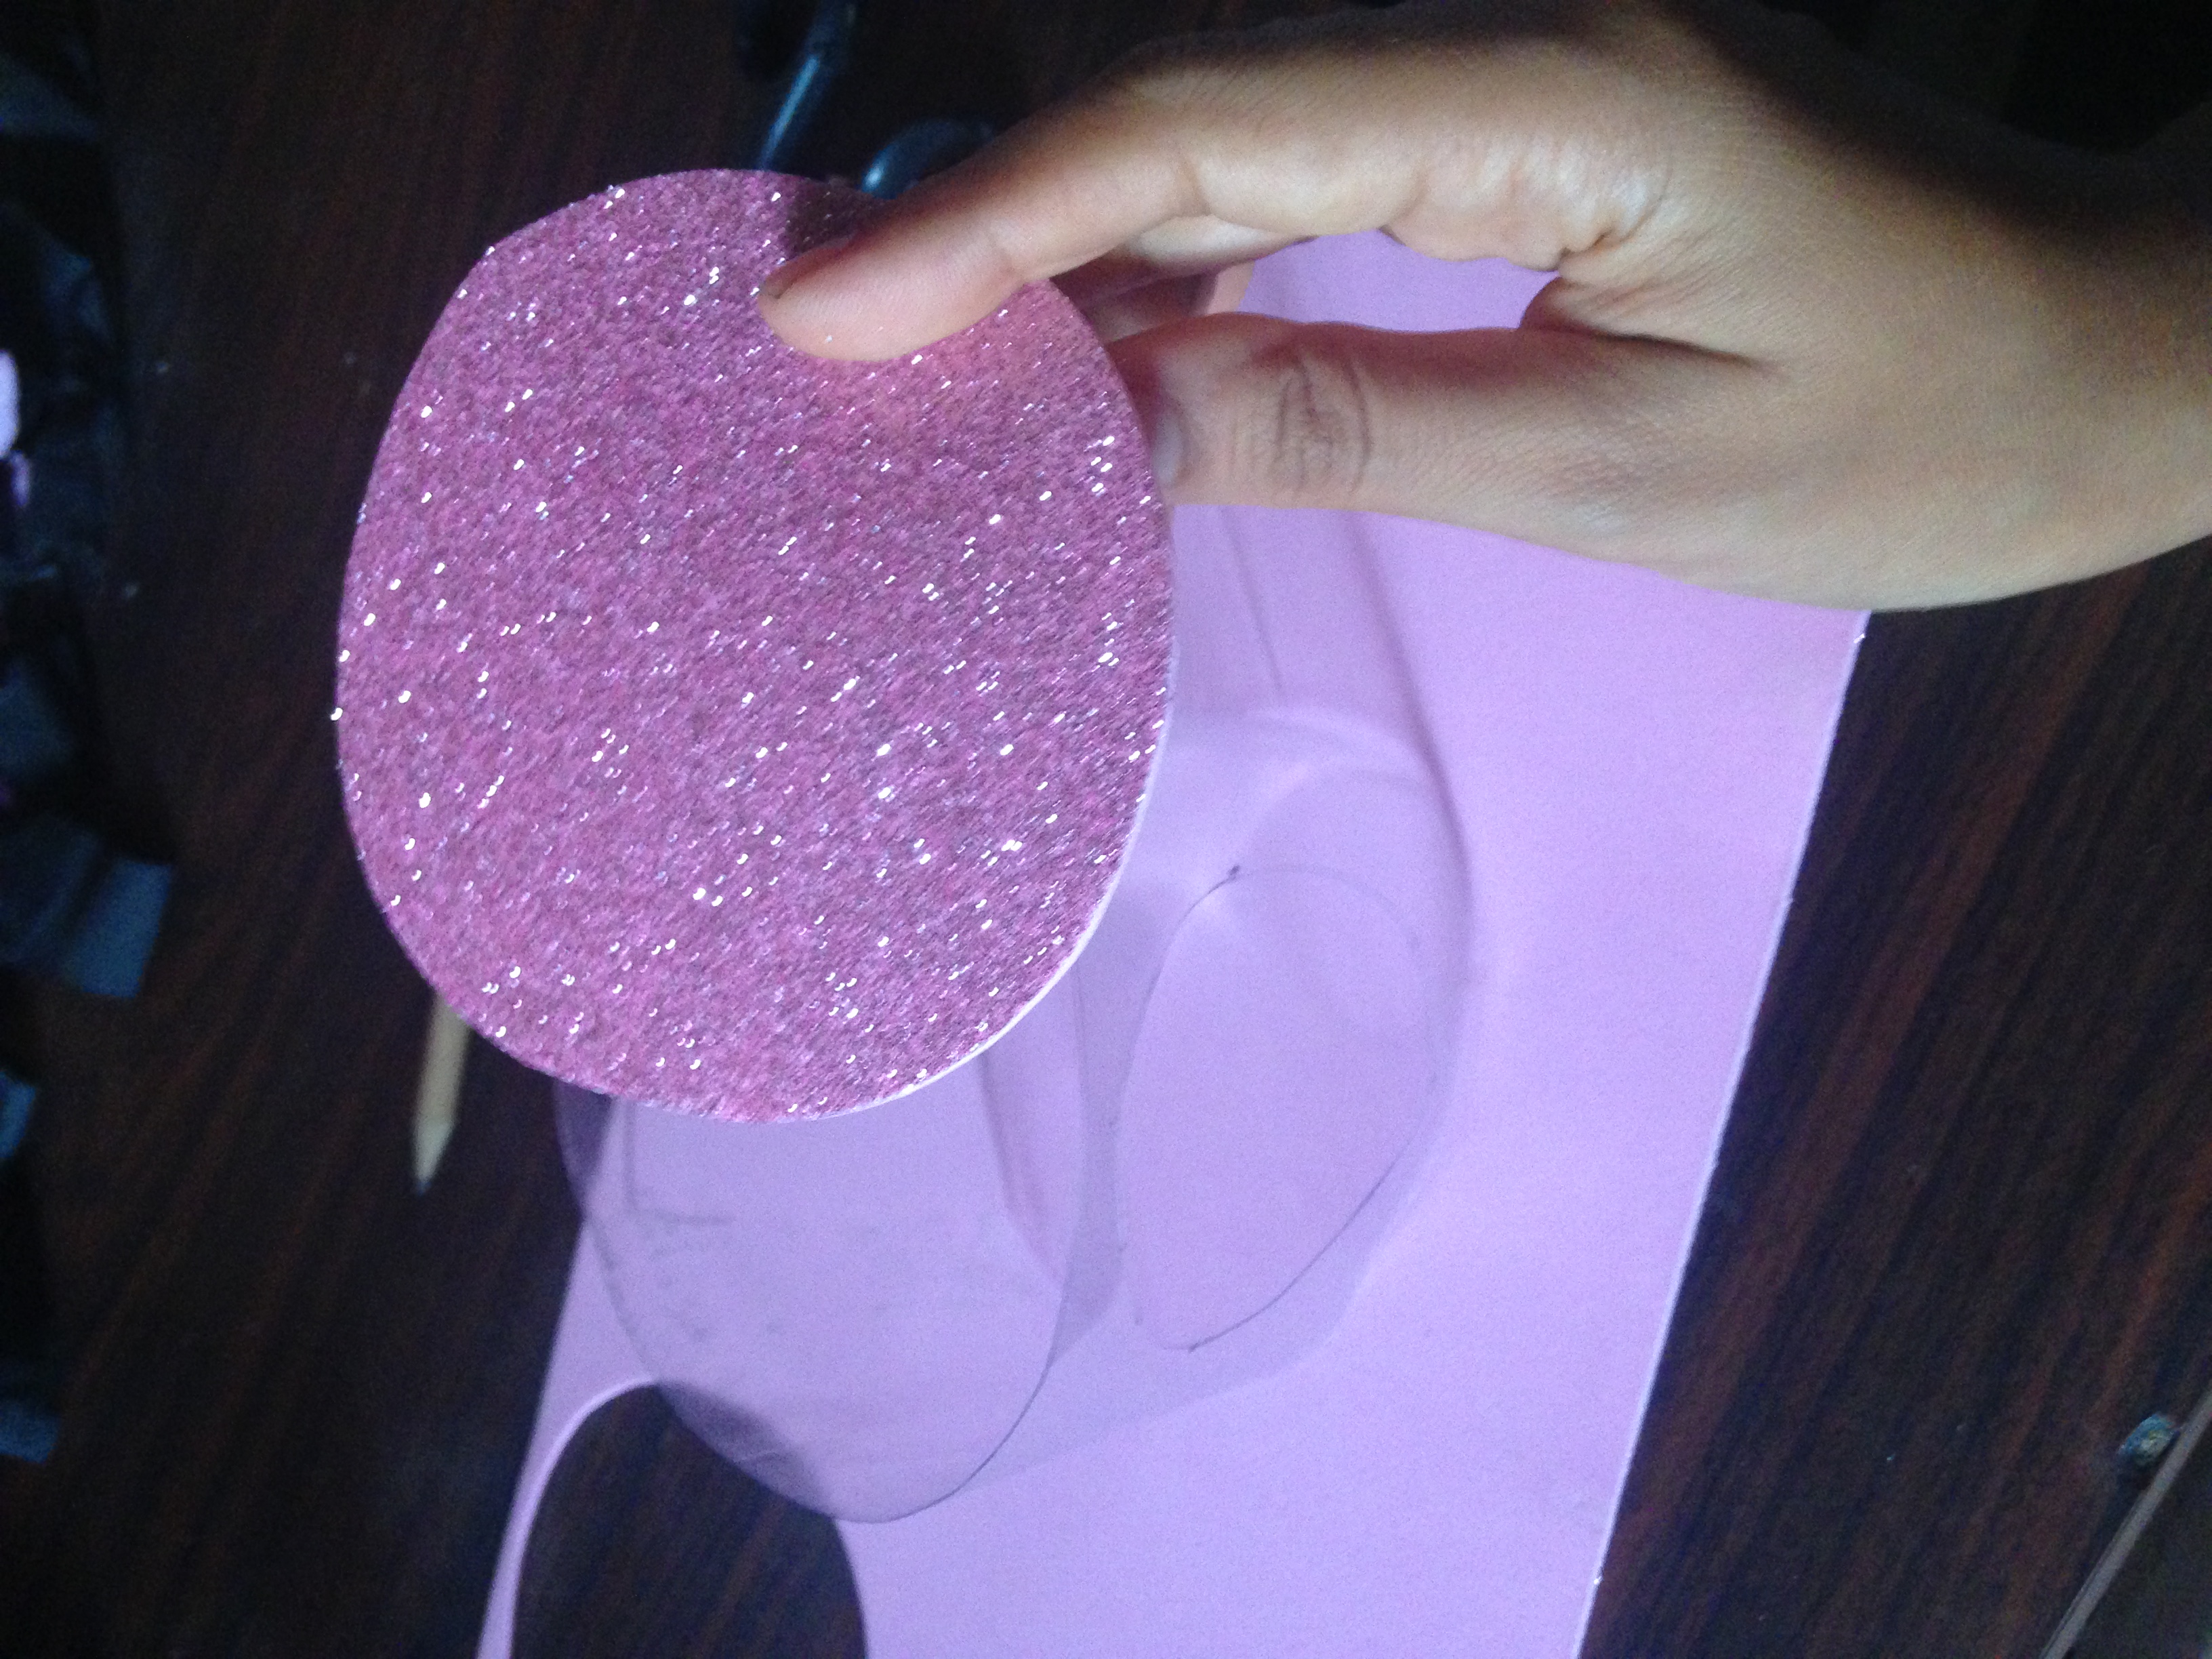
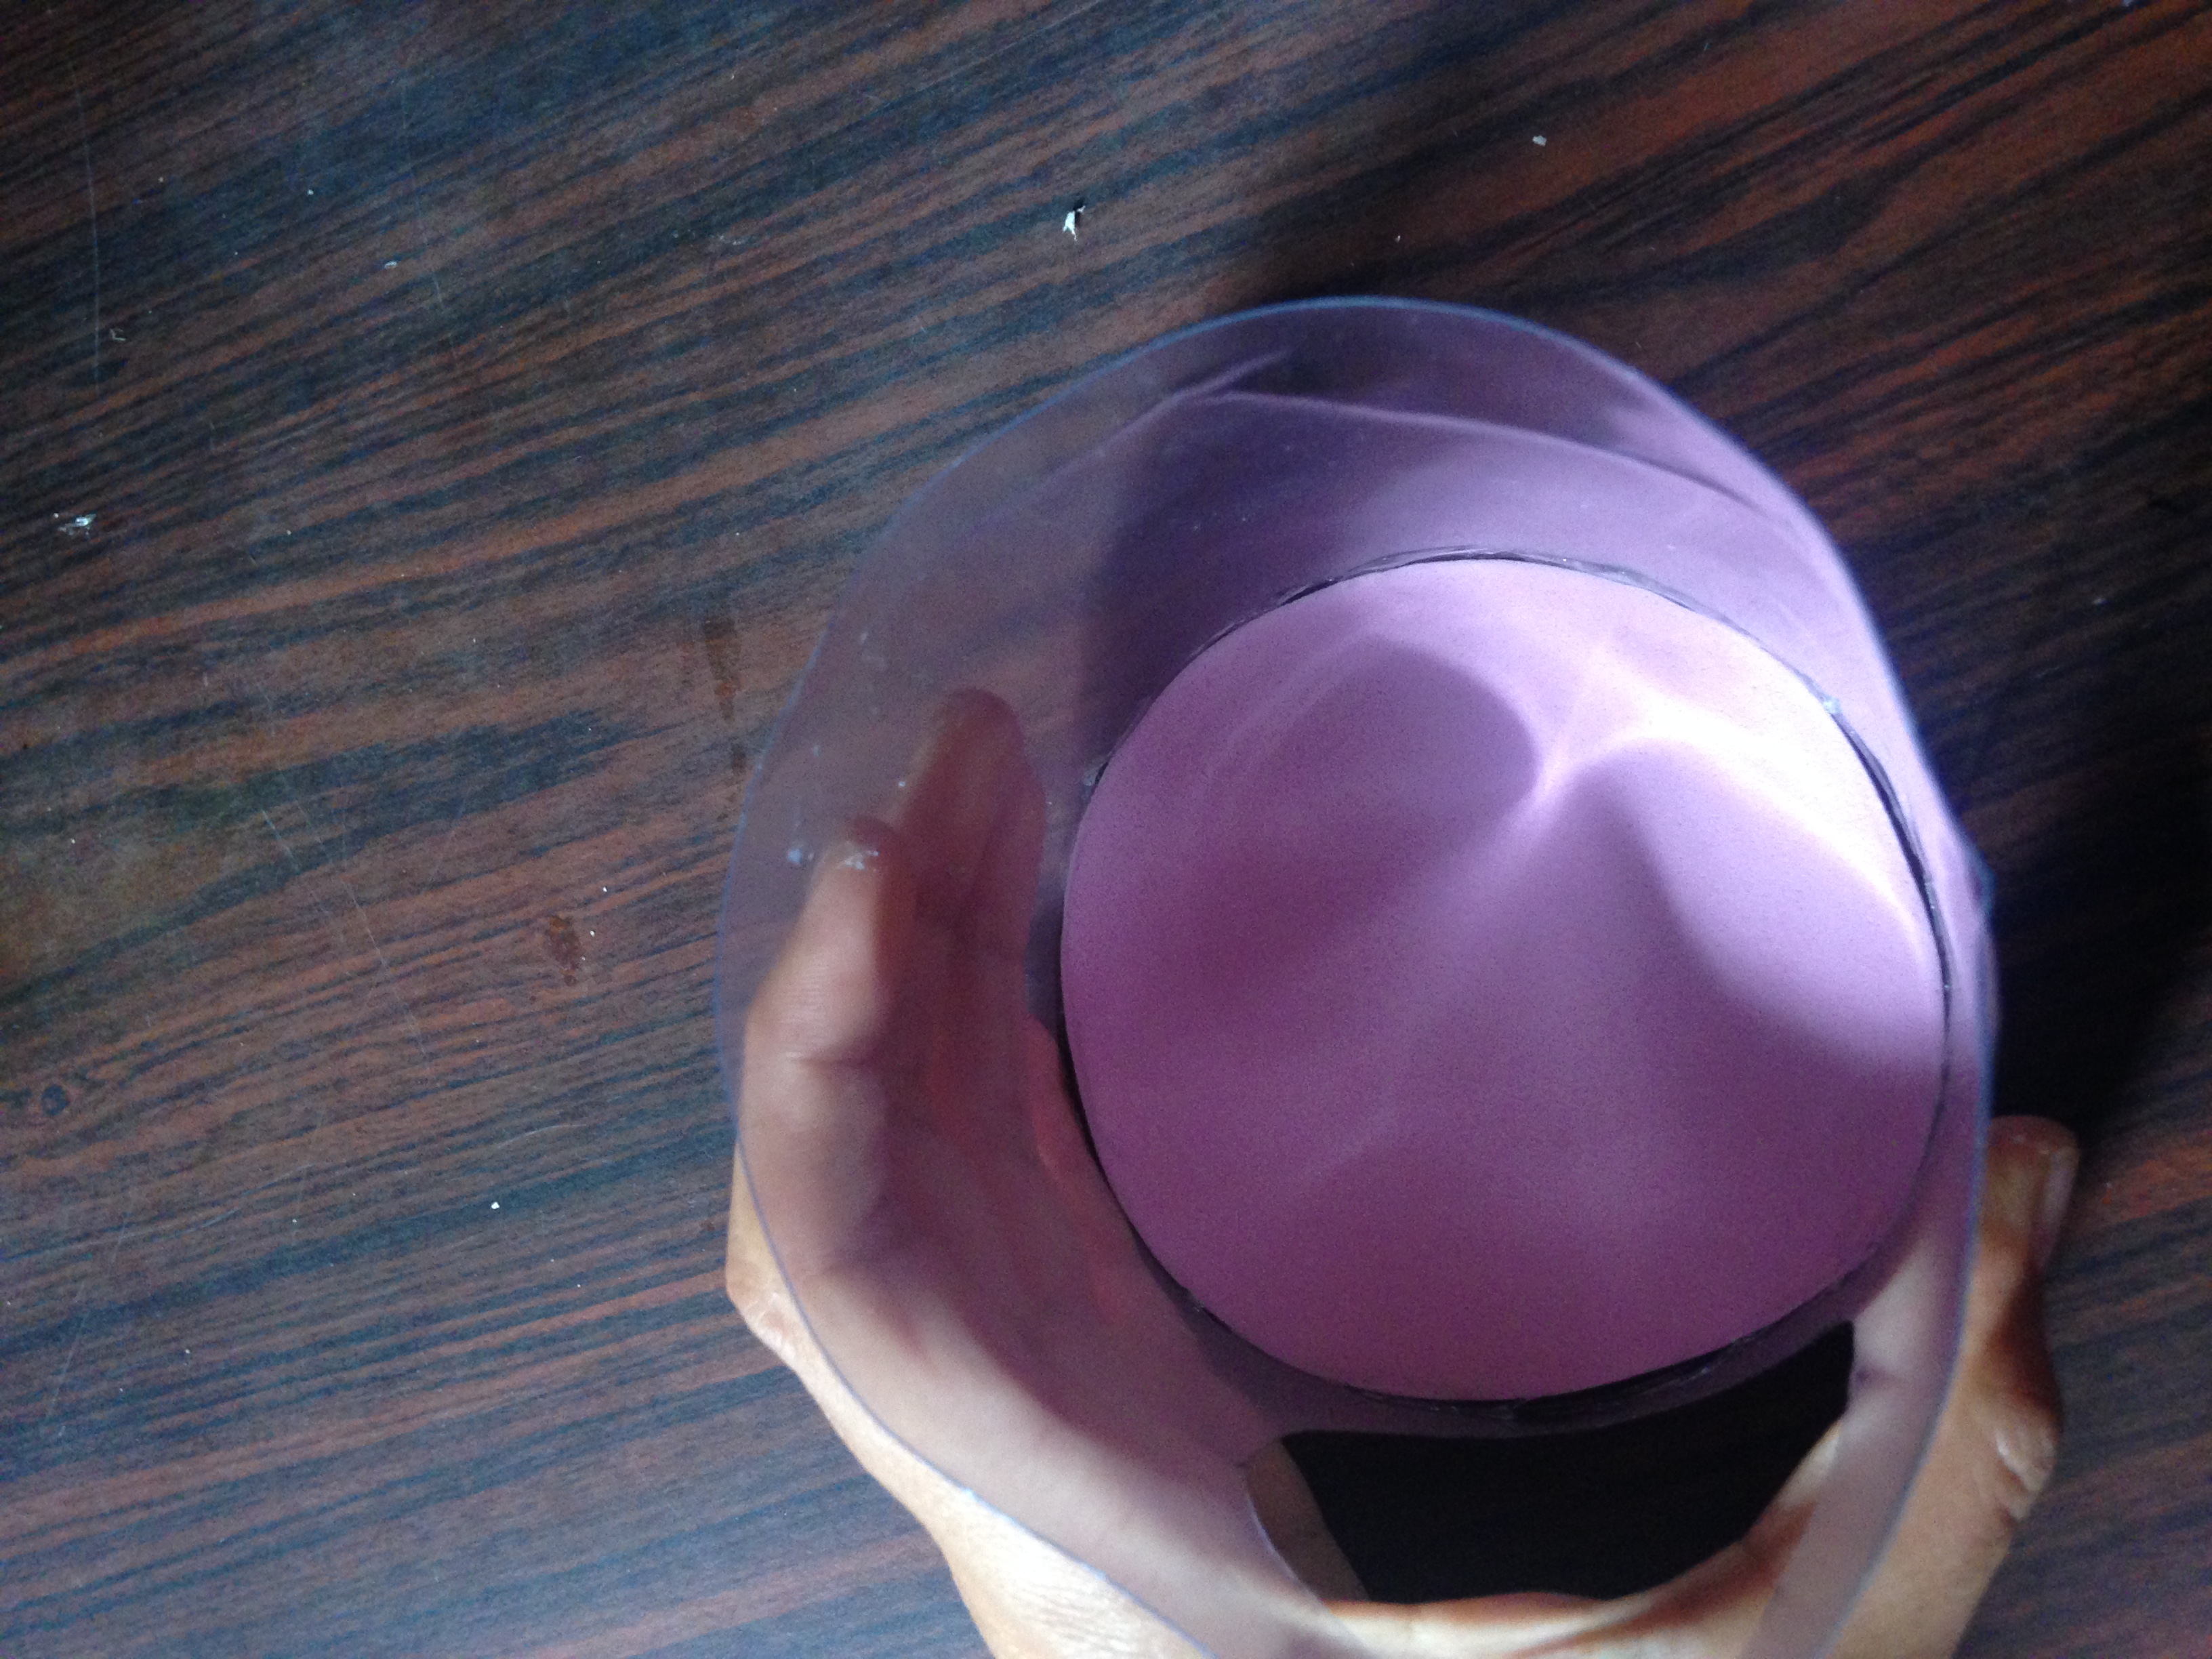
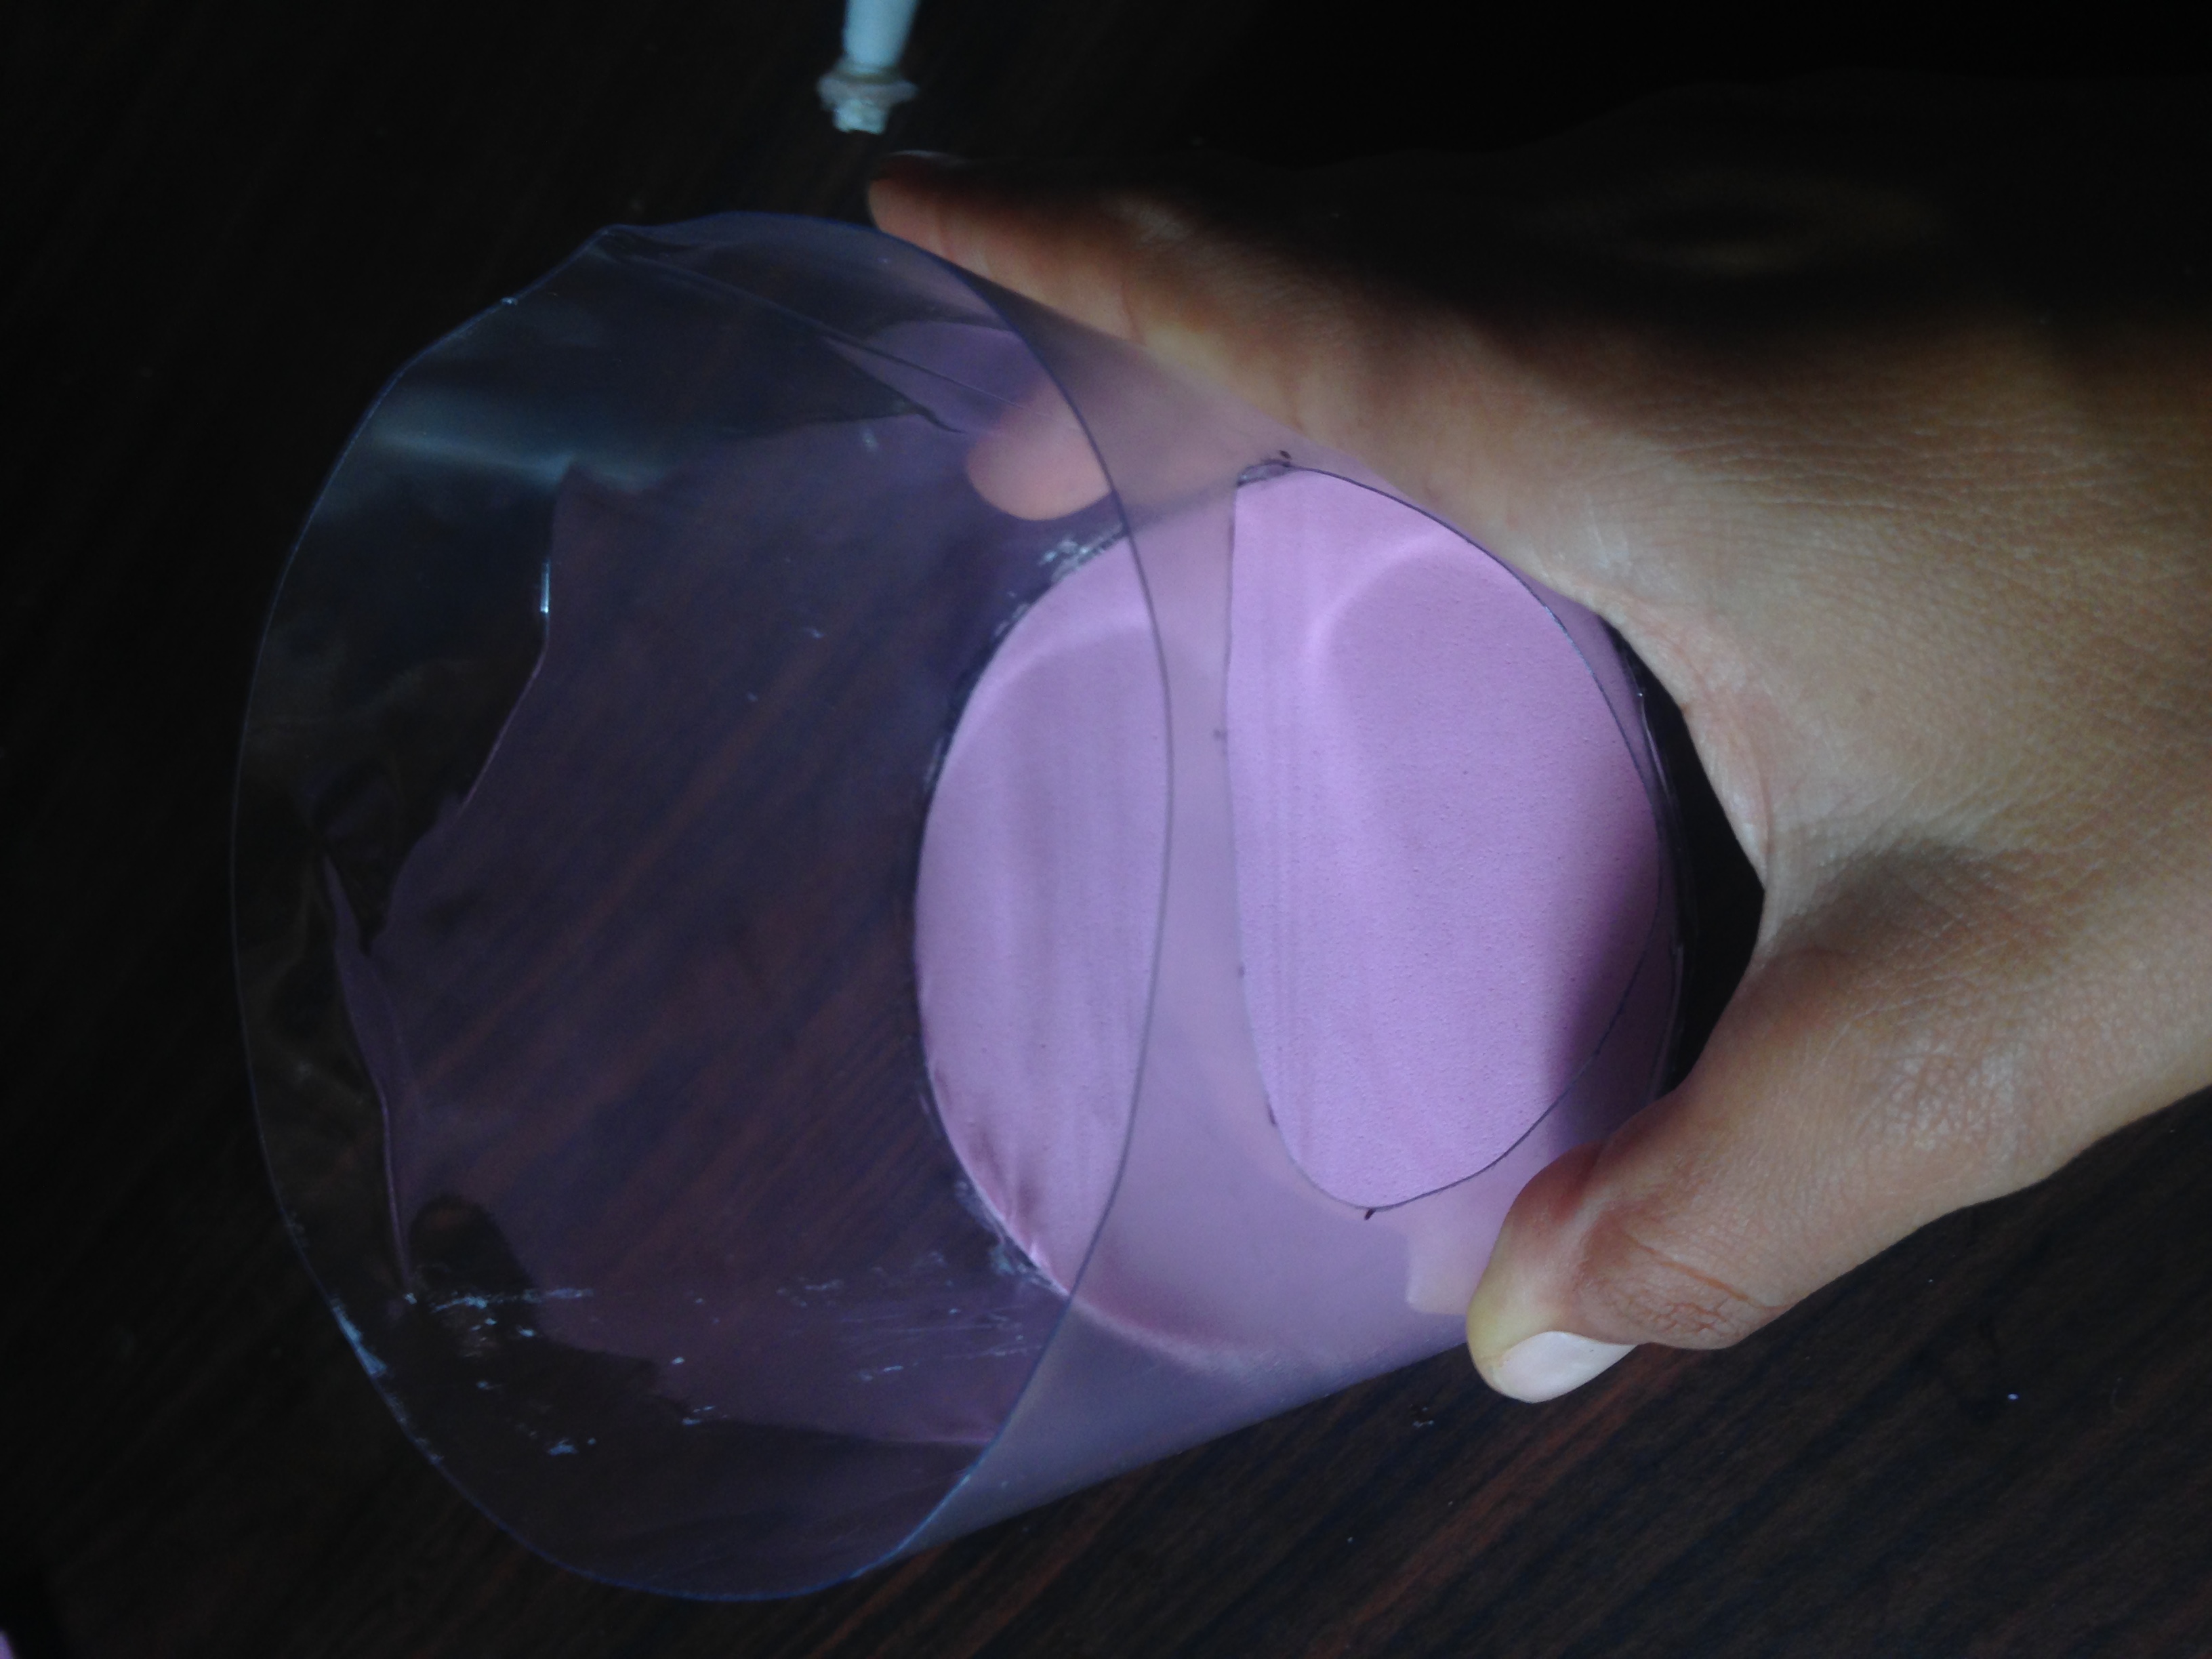
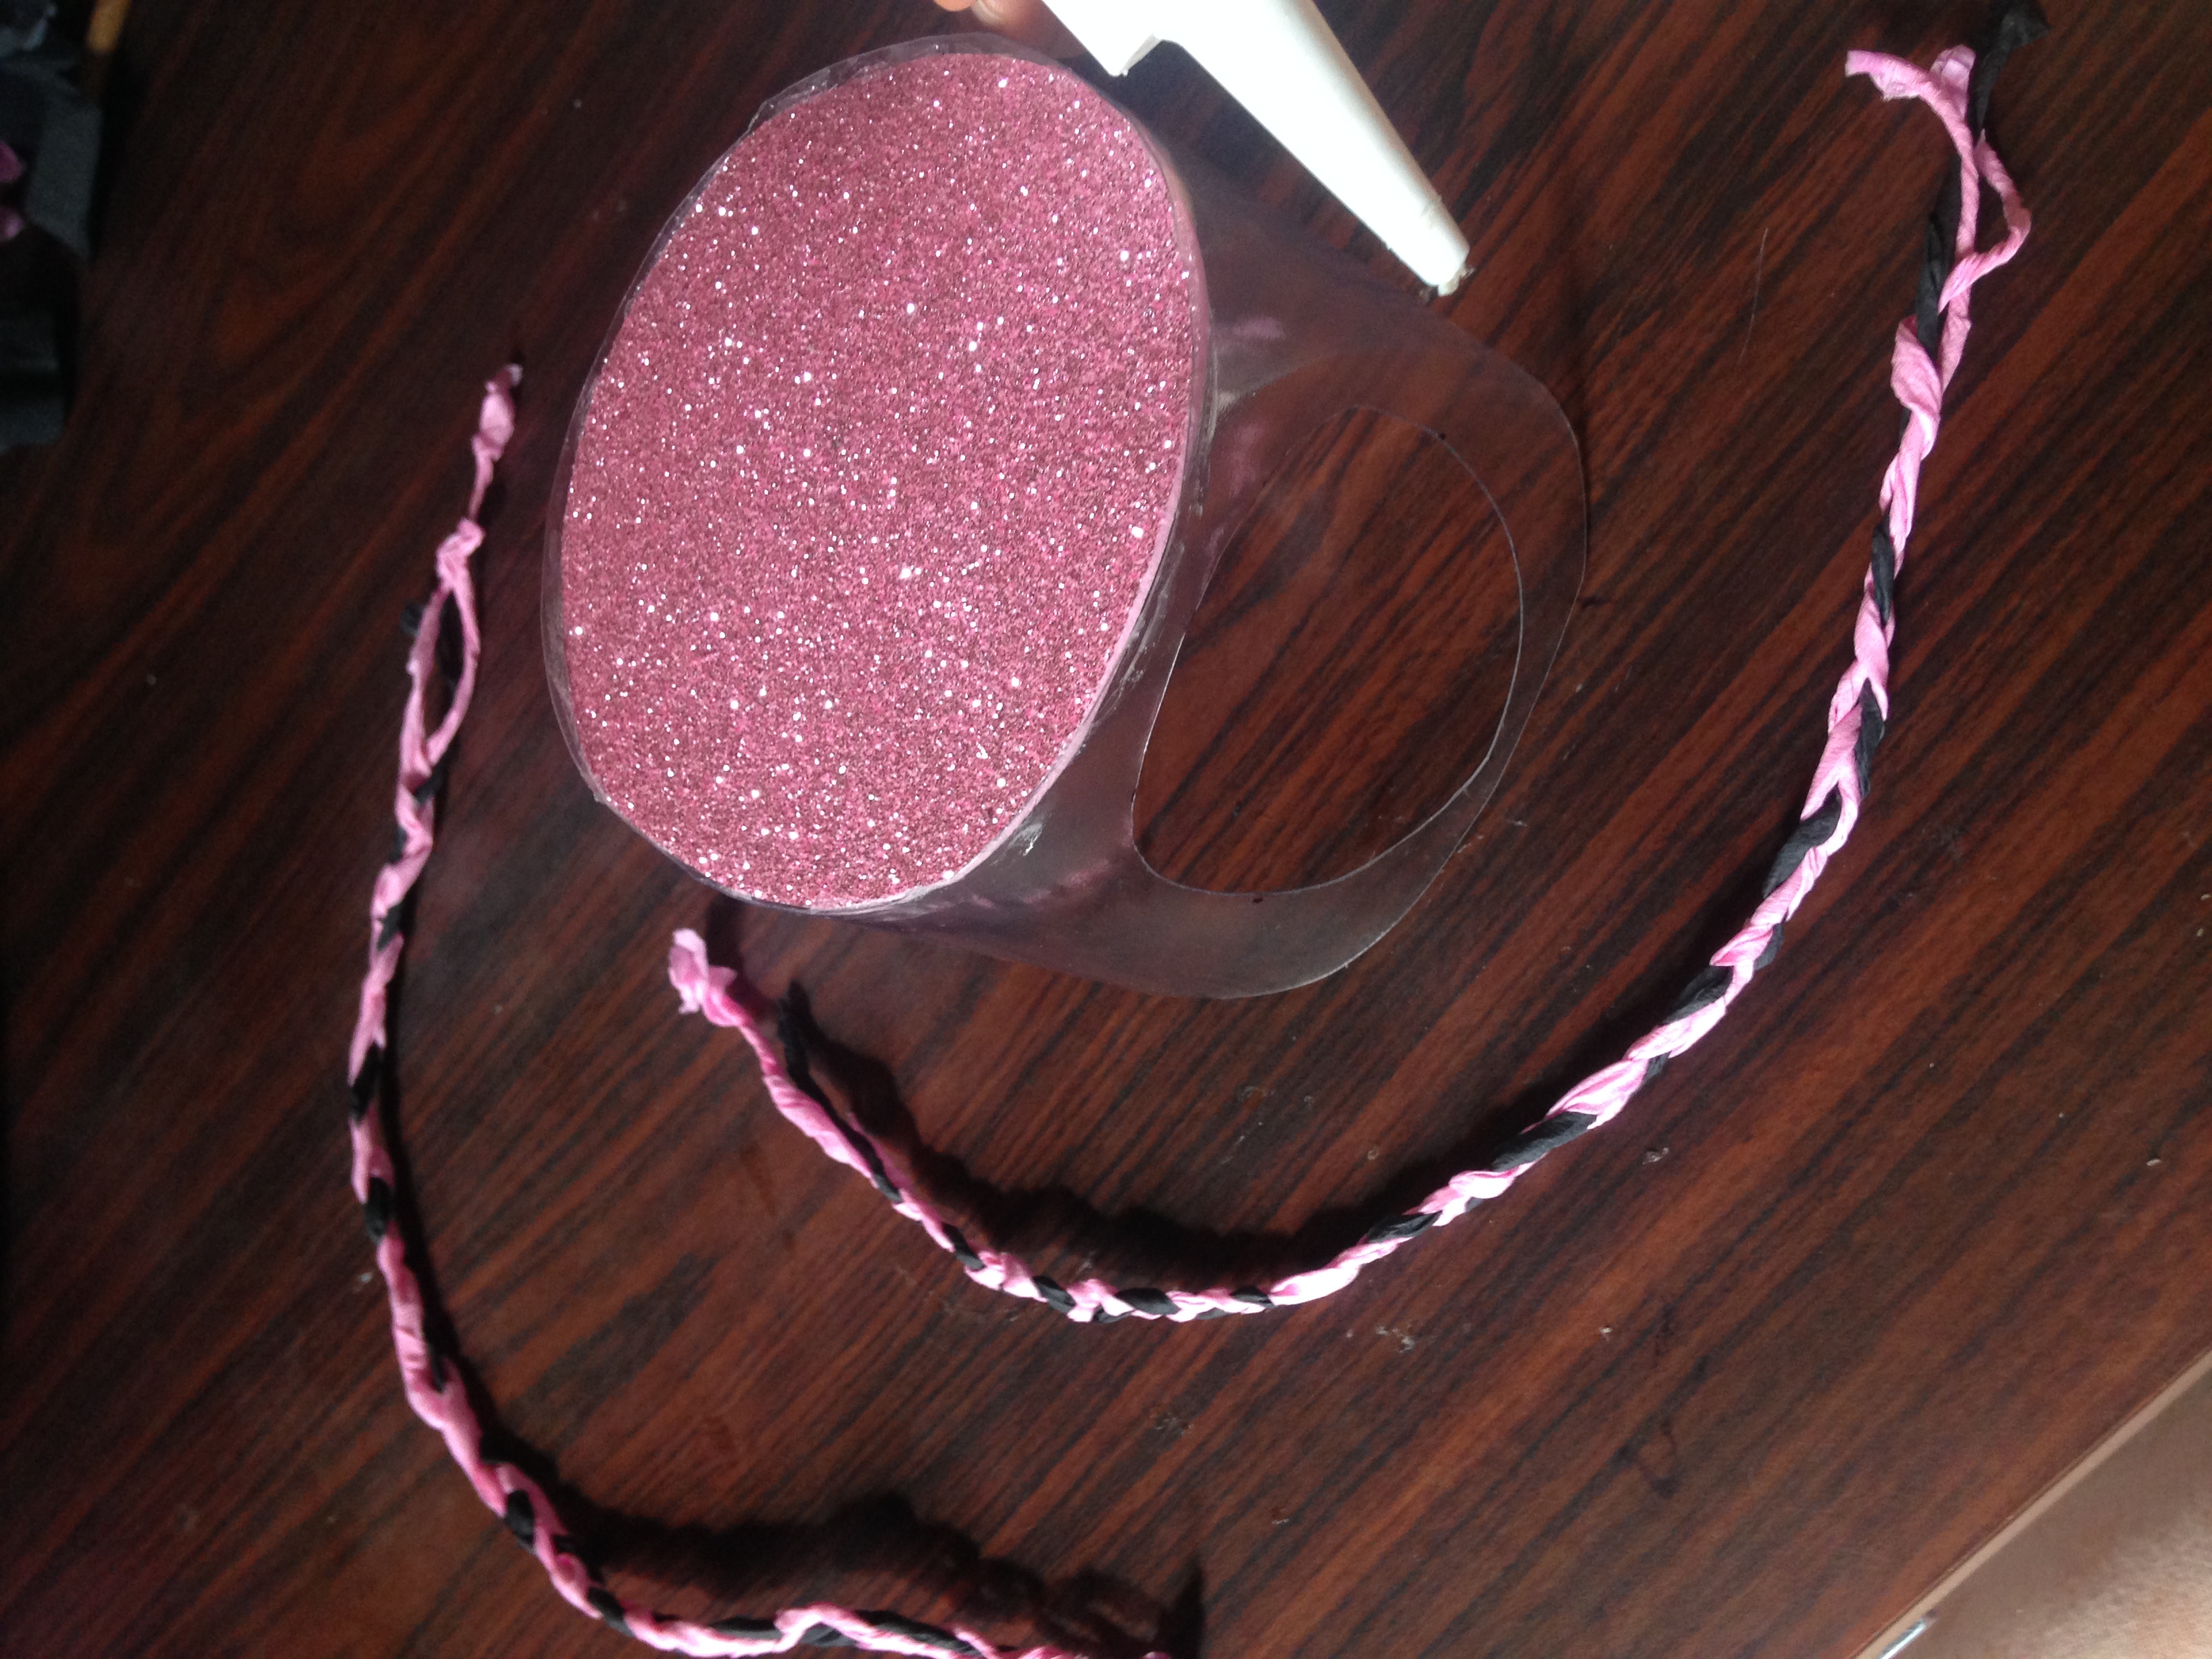
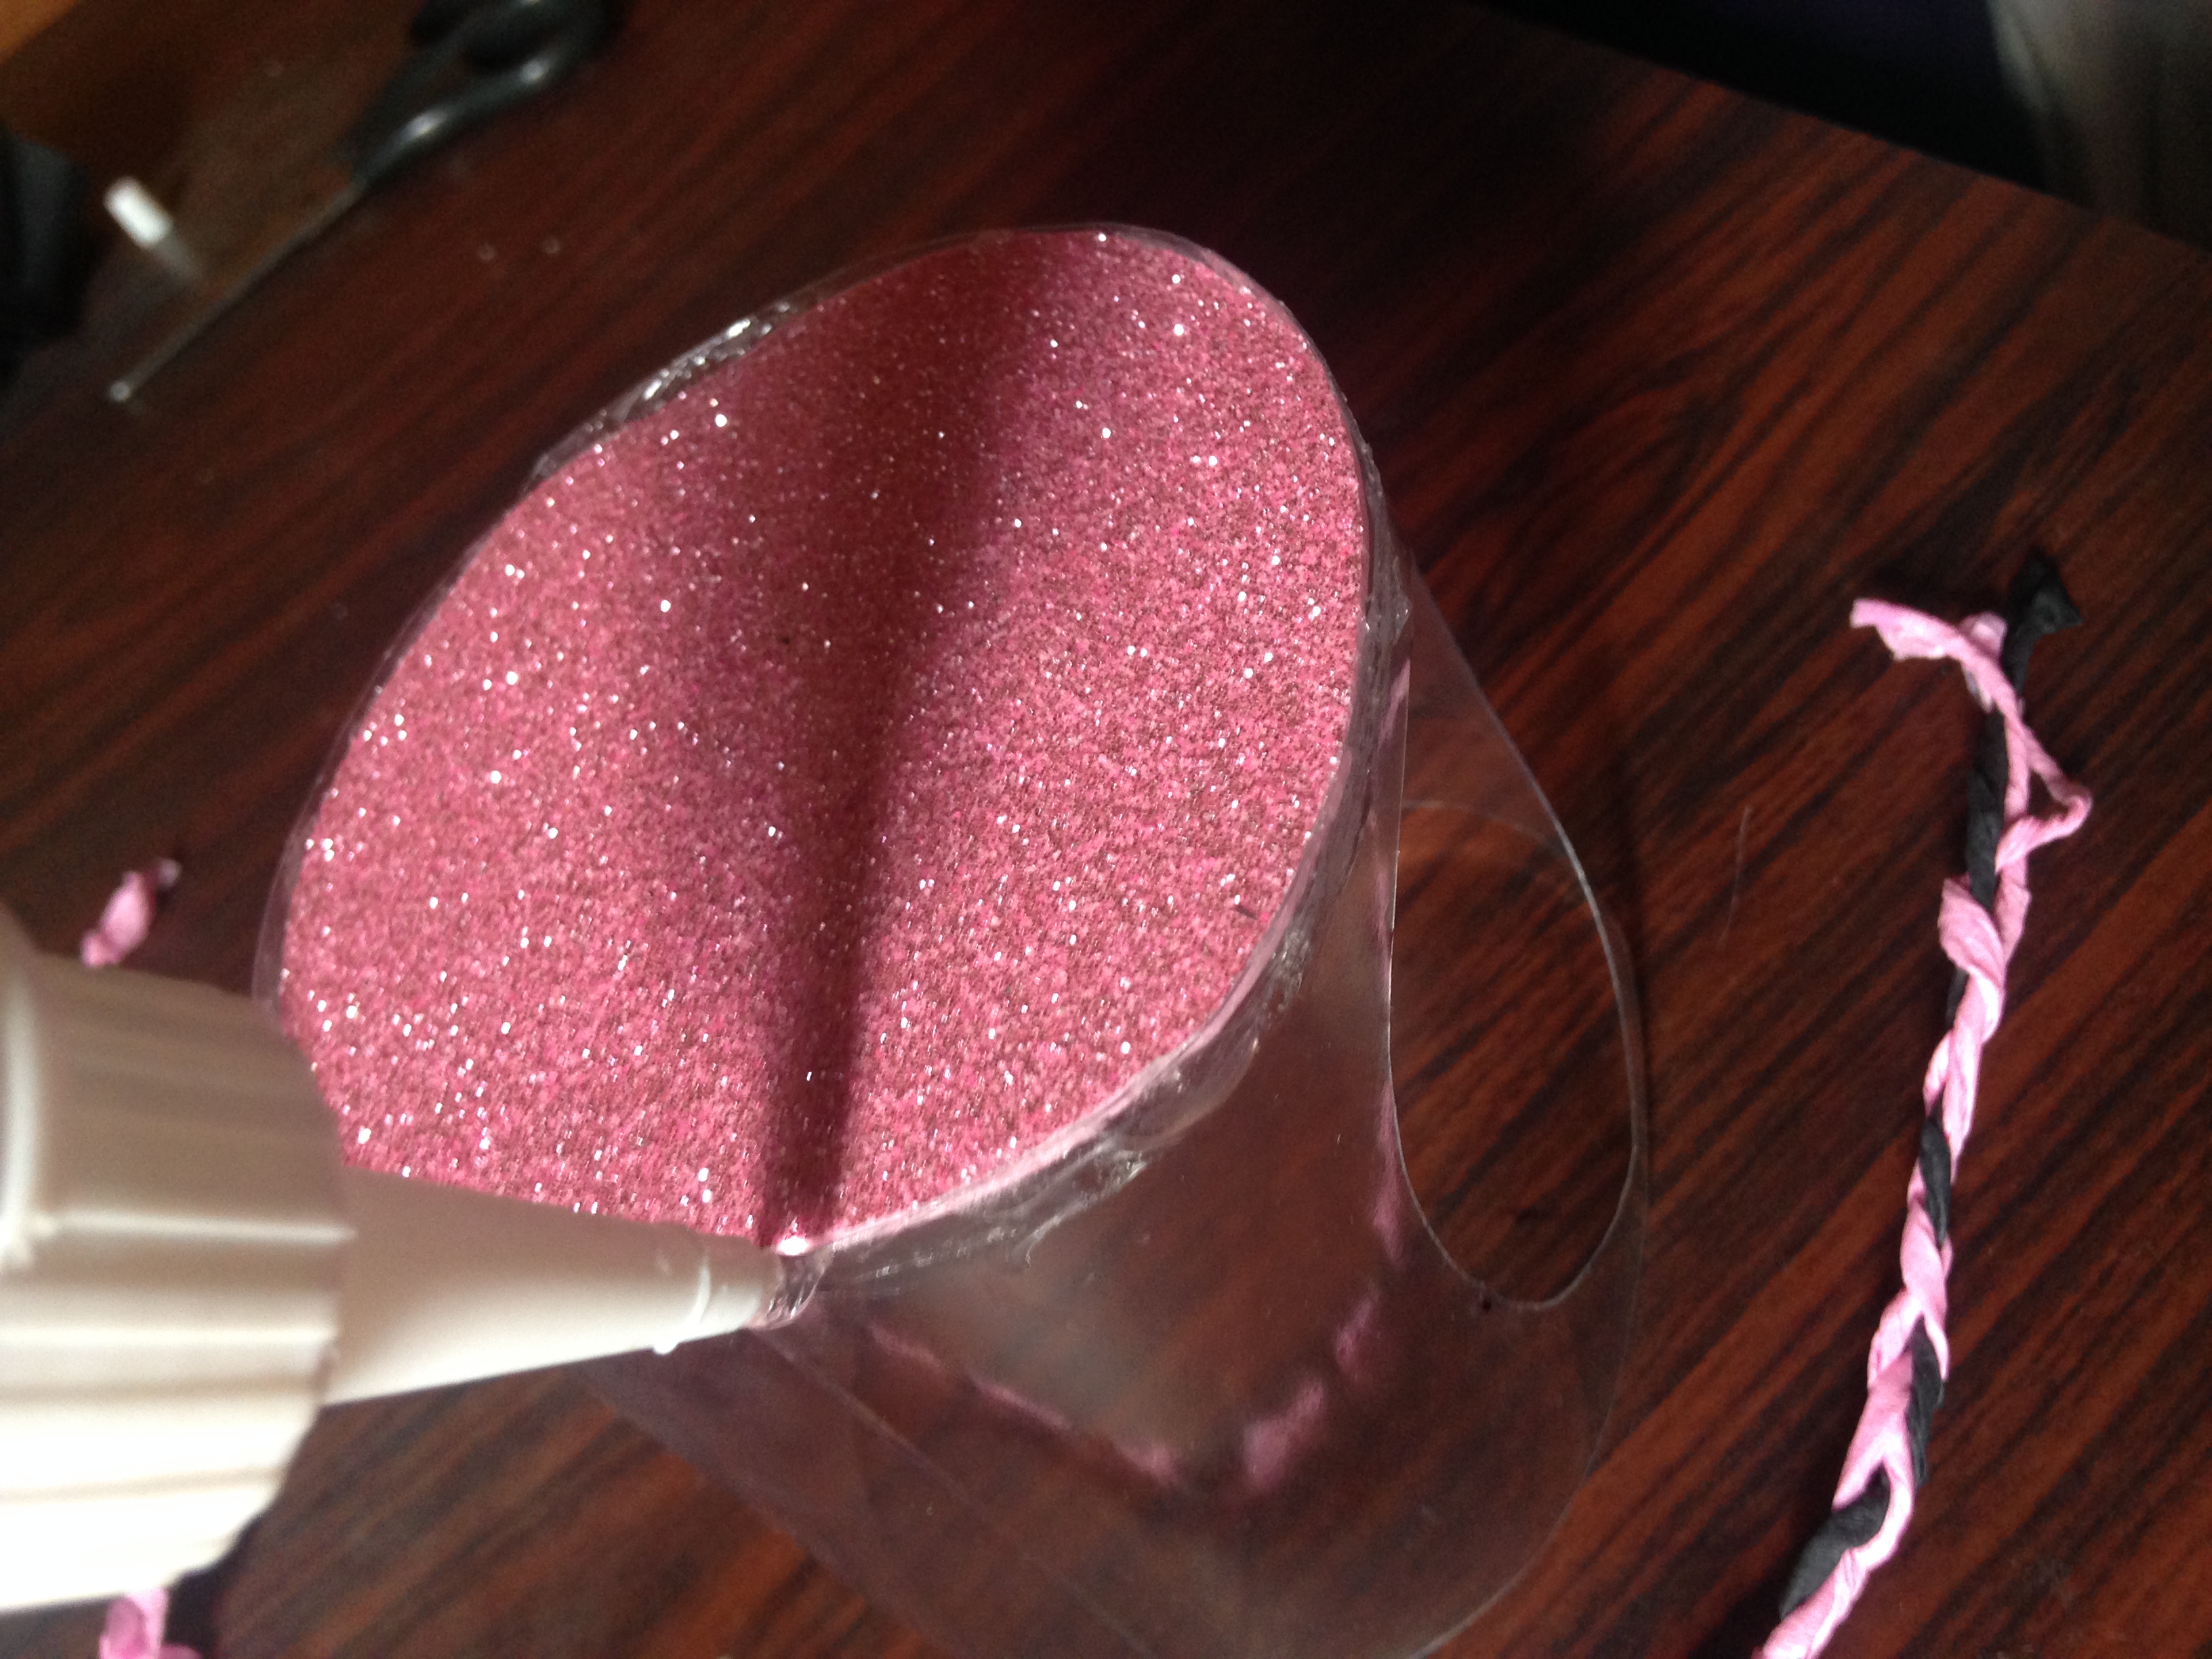
Paso 3
Nuevamente tomamos el cilindro plastico para hacerle una tapa con foamy rosa, el cual marcaremos y luego cuidadosamente pegaremos en la parte inferior del cilindro
Step 3
Again we take the plastic cylinder to make a lid with pink foam, which we will mark and then carefully glue on the bottom of the cylinder

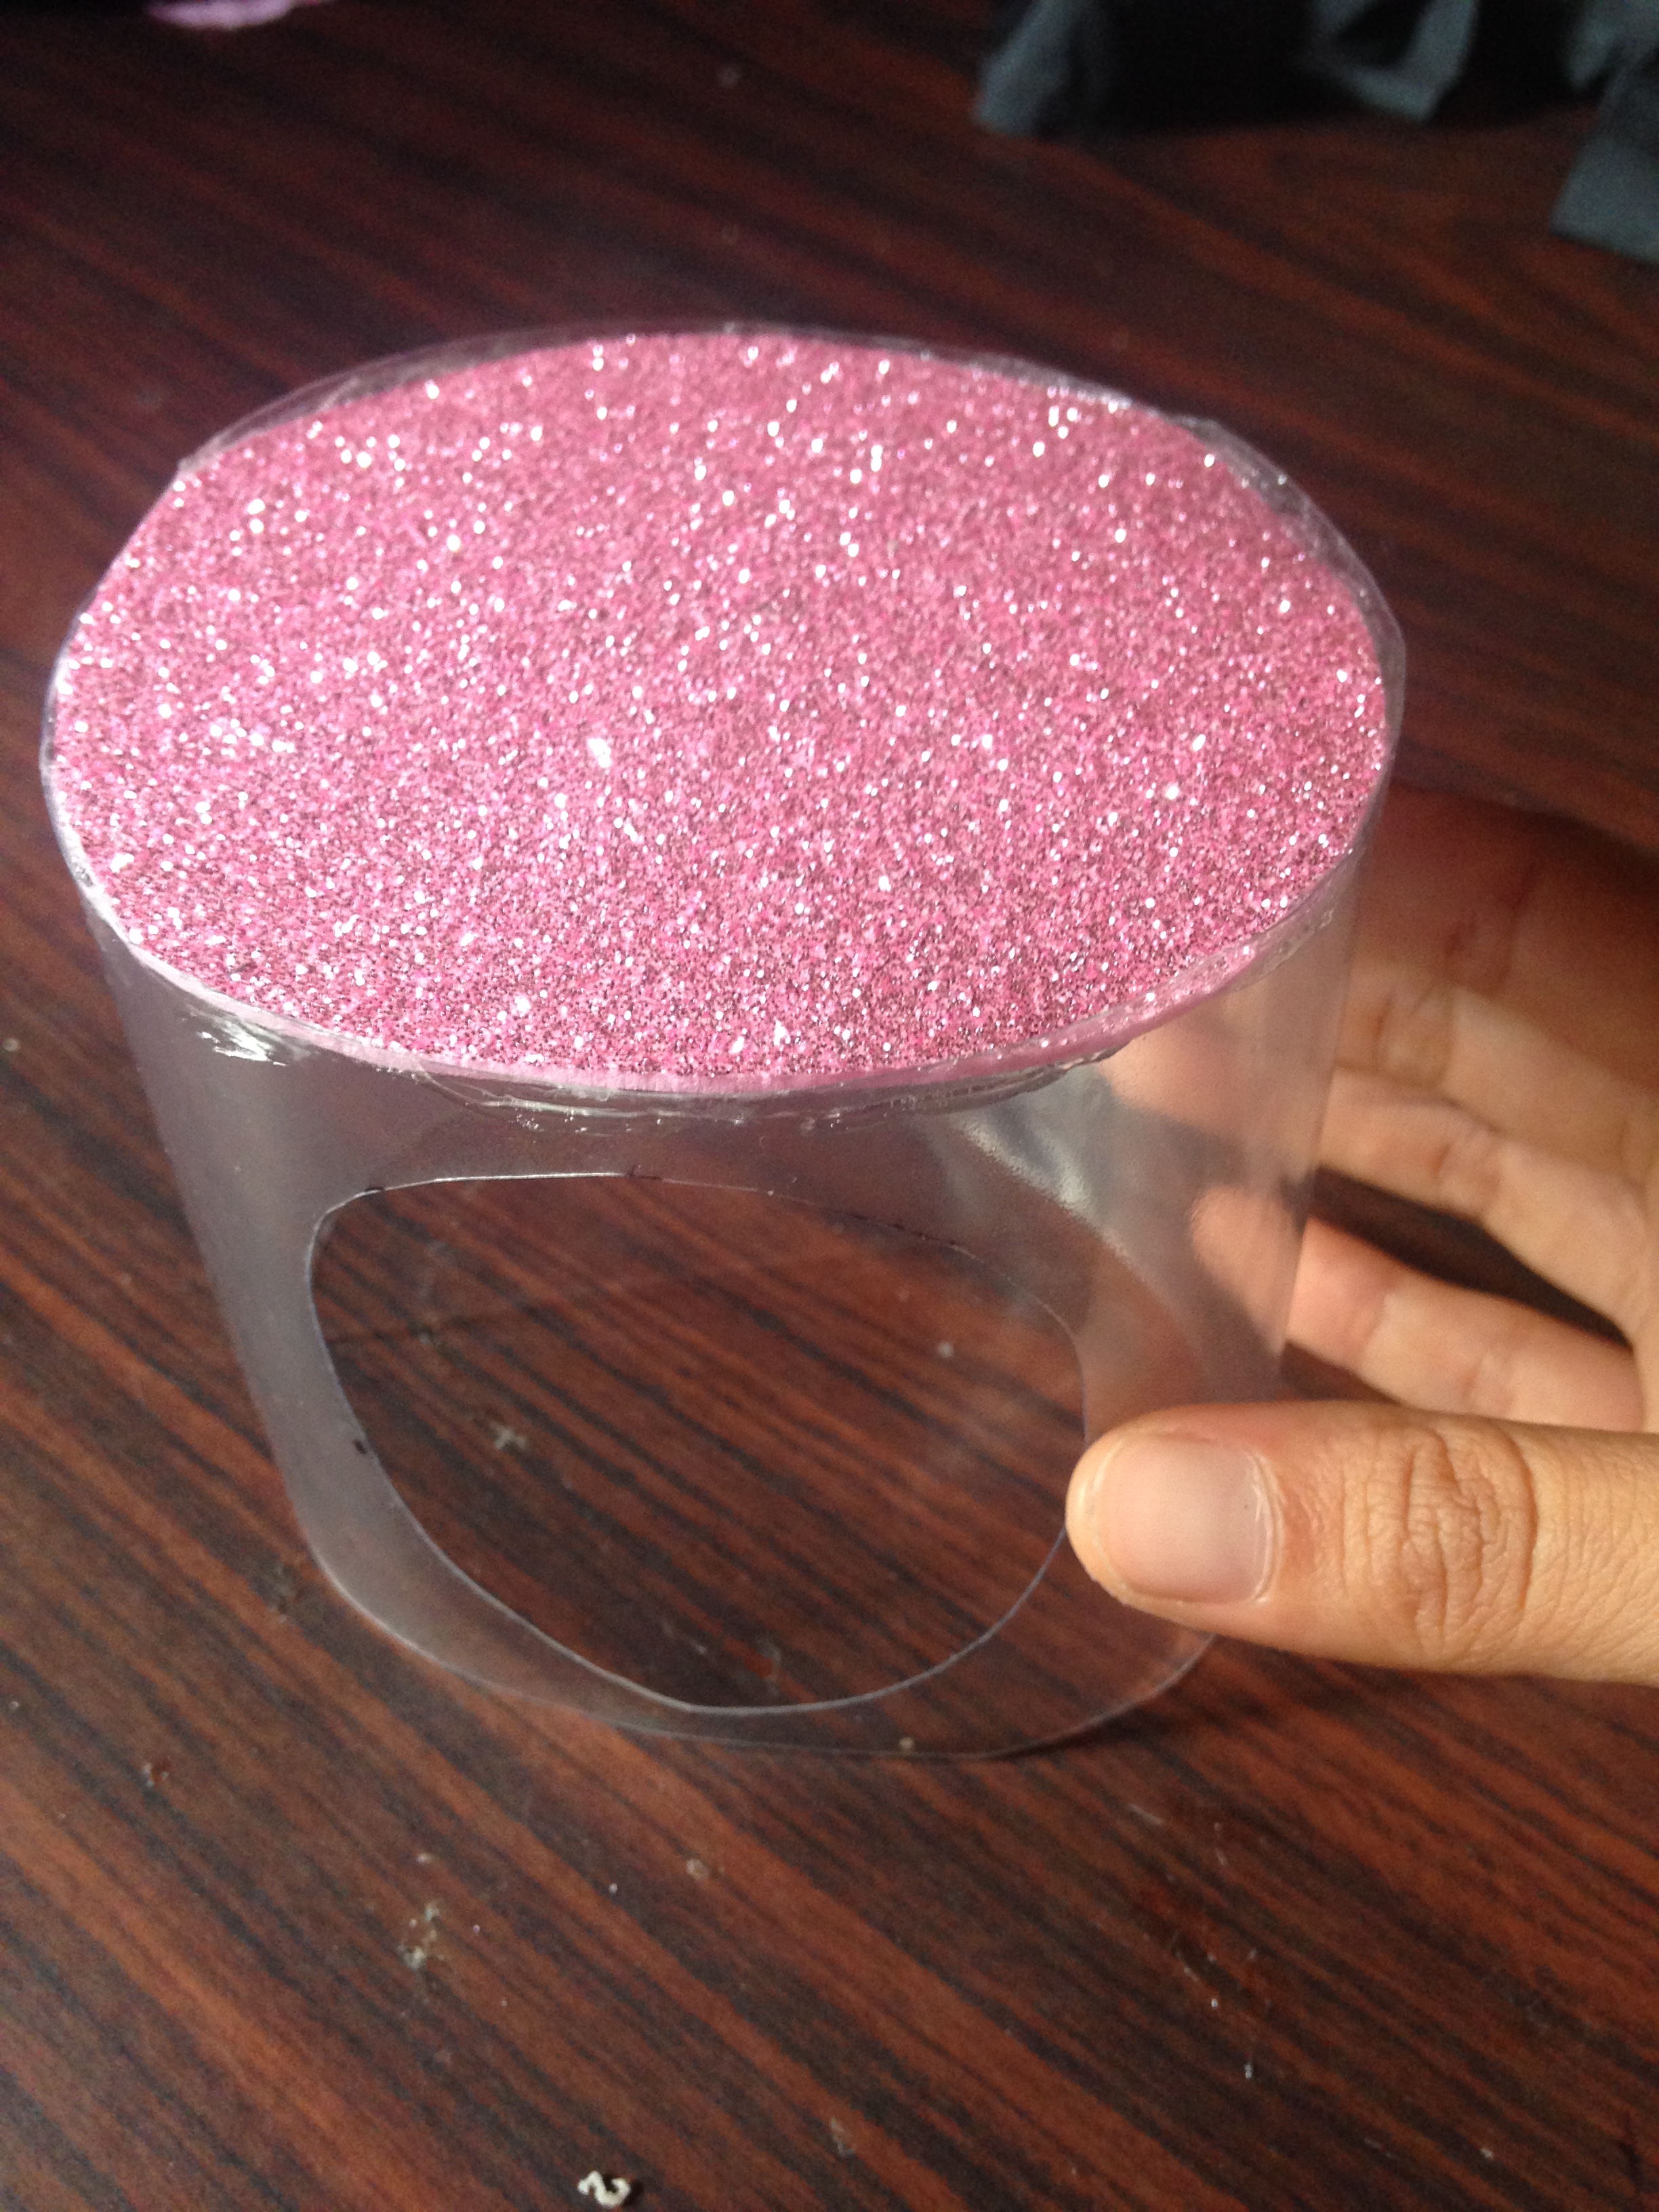
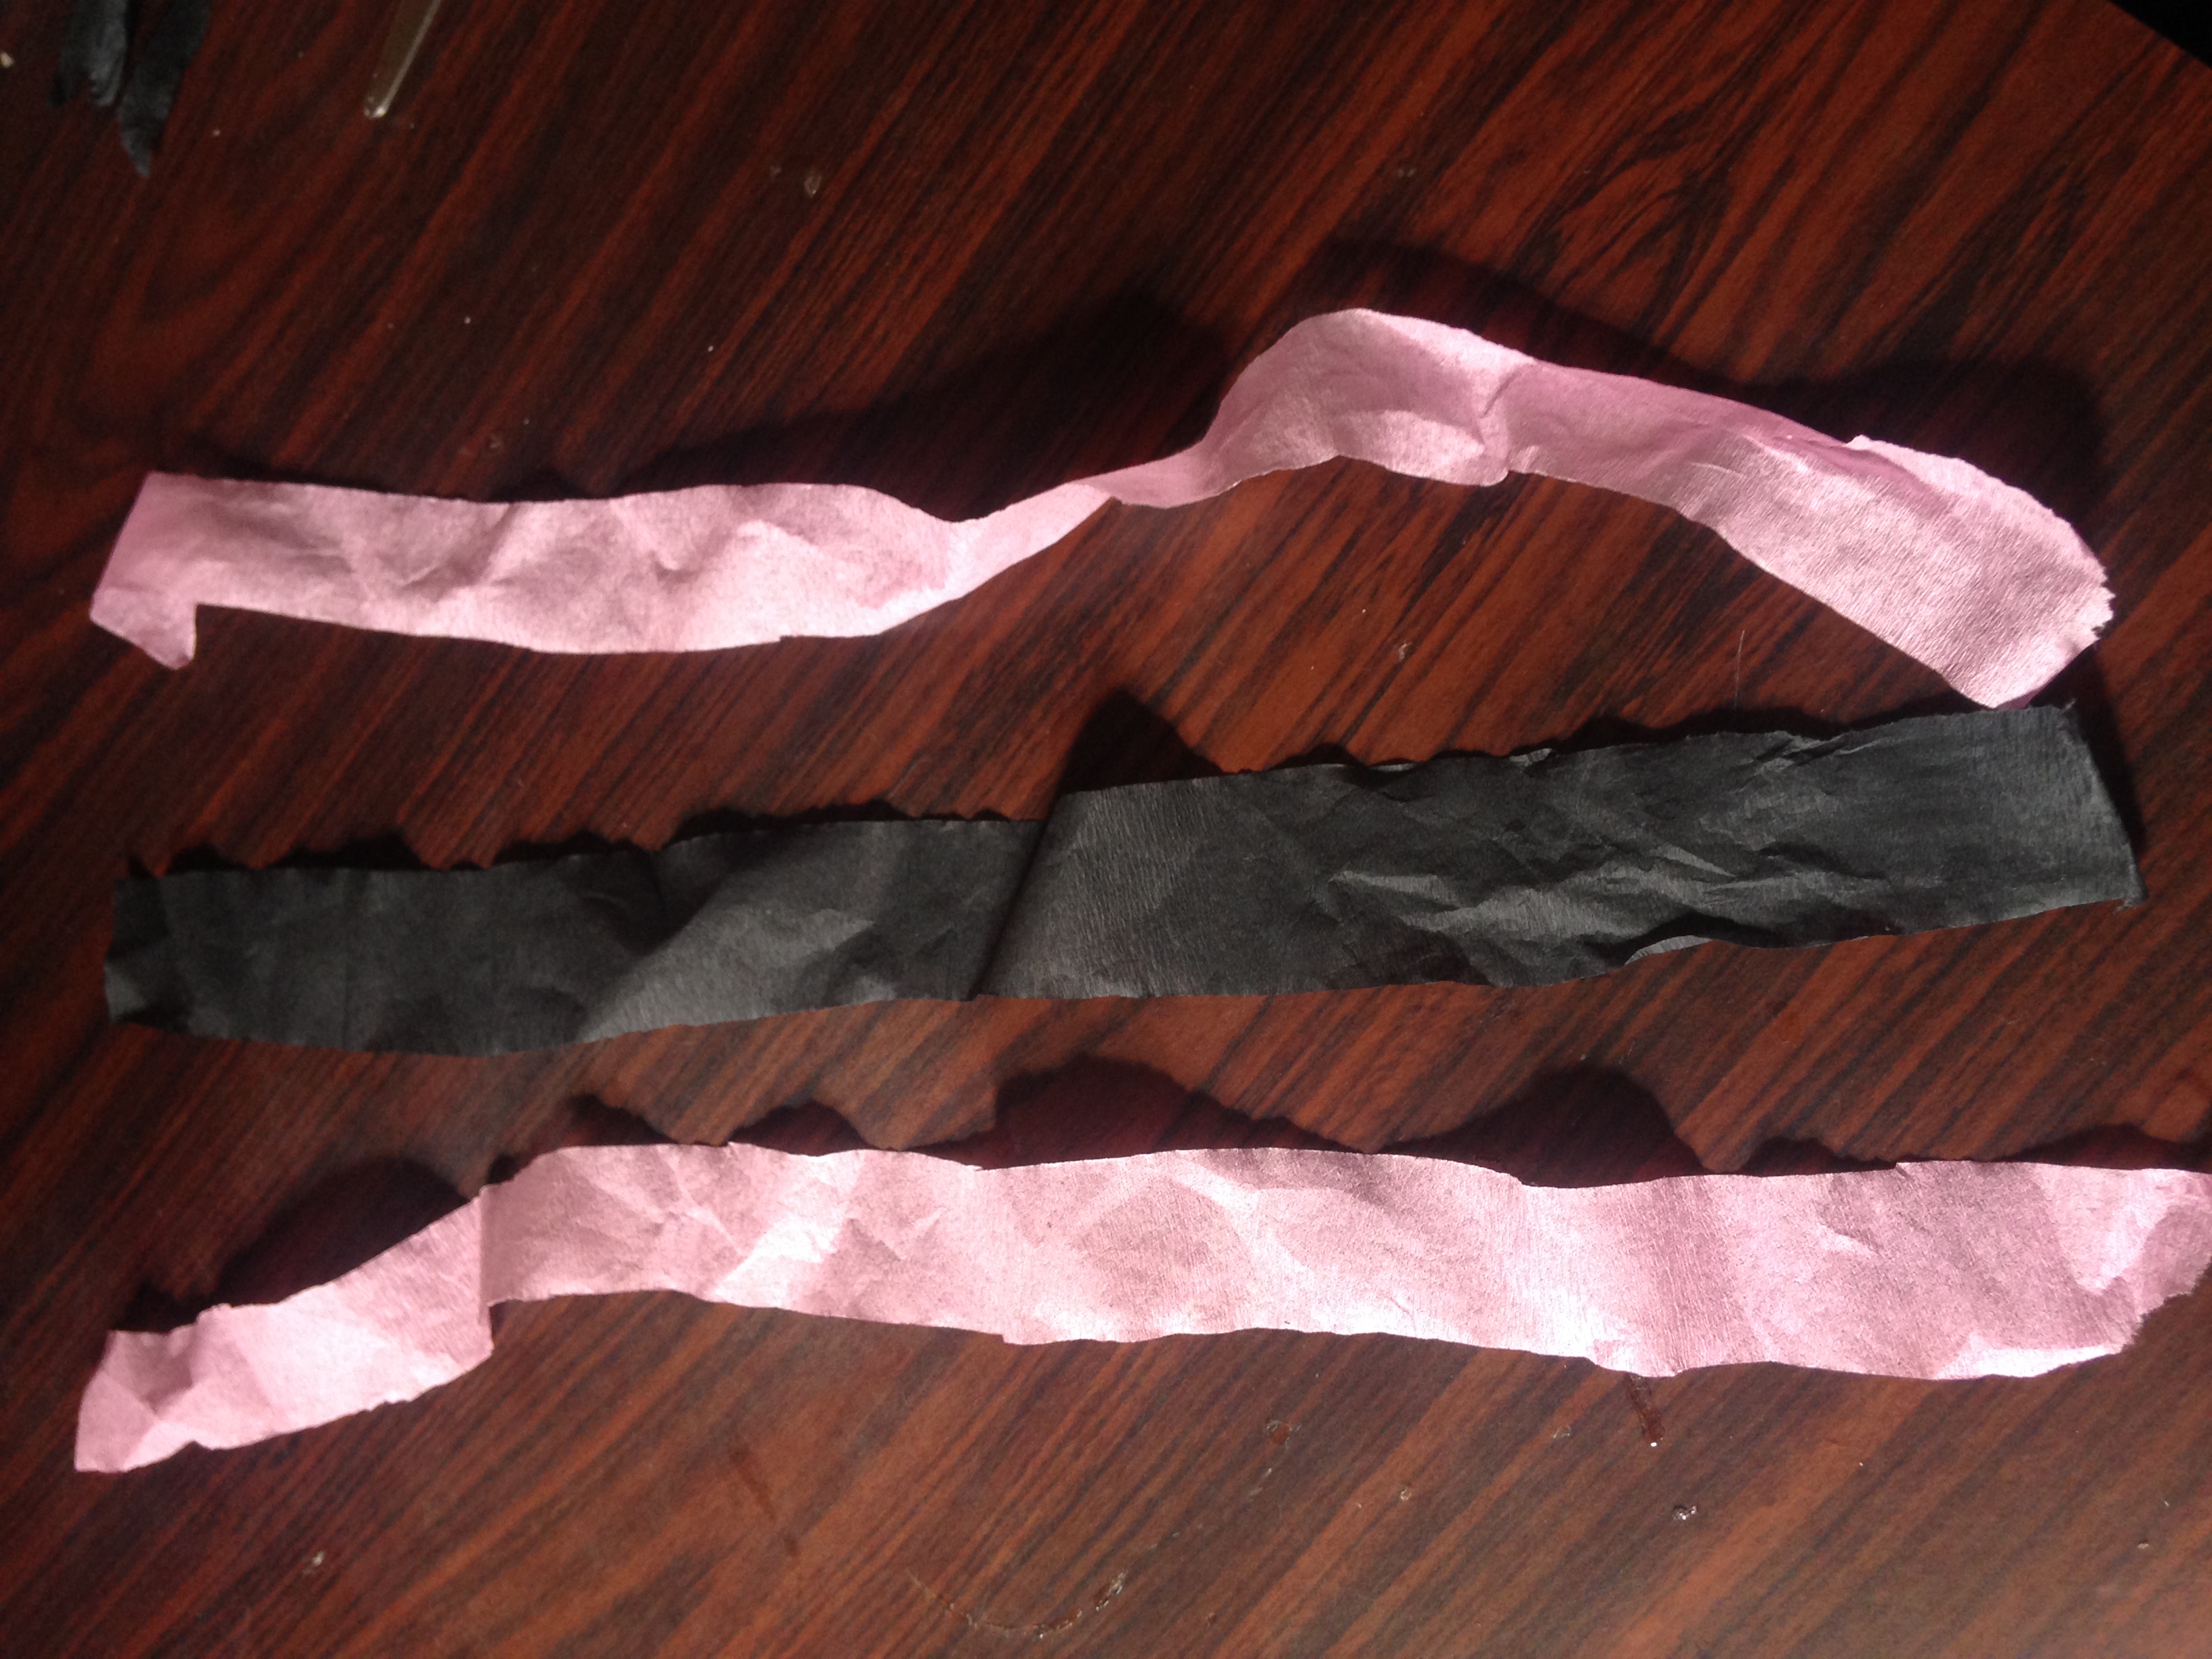
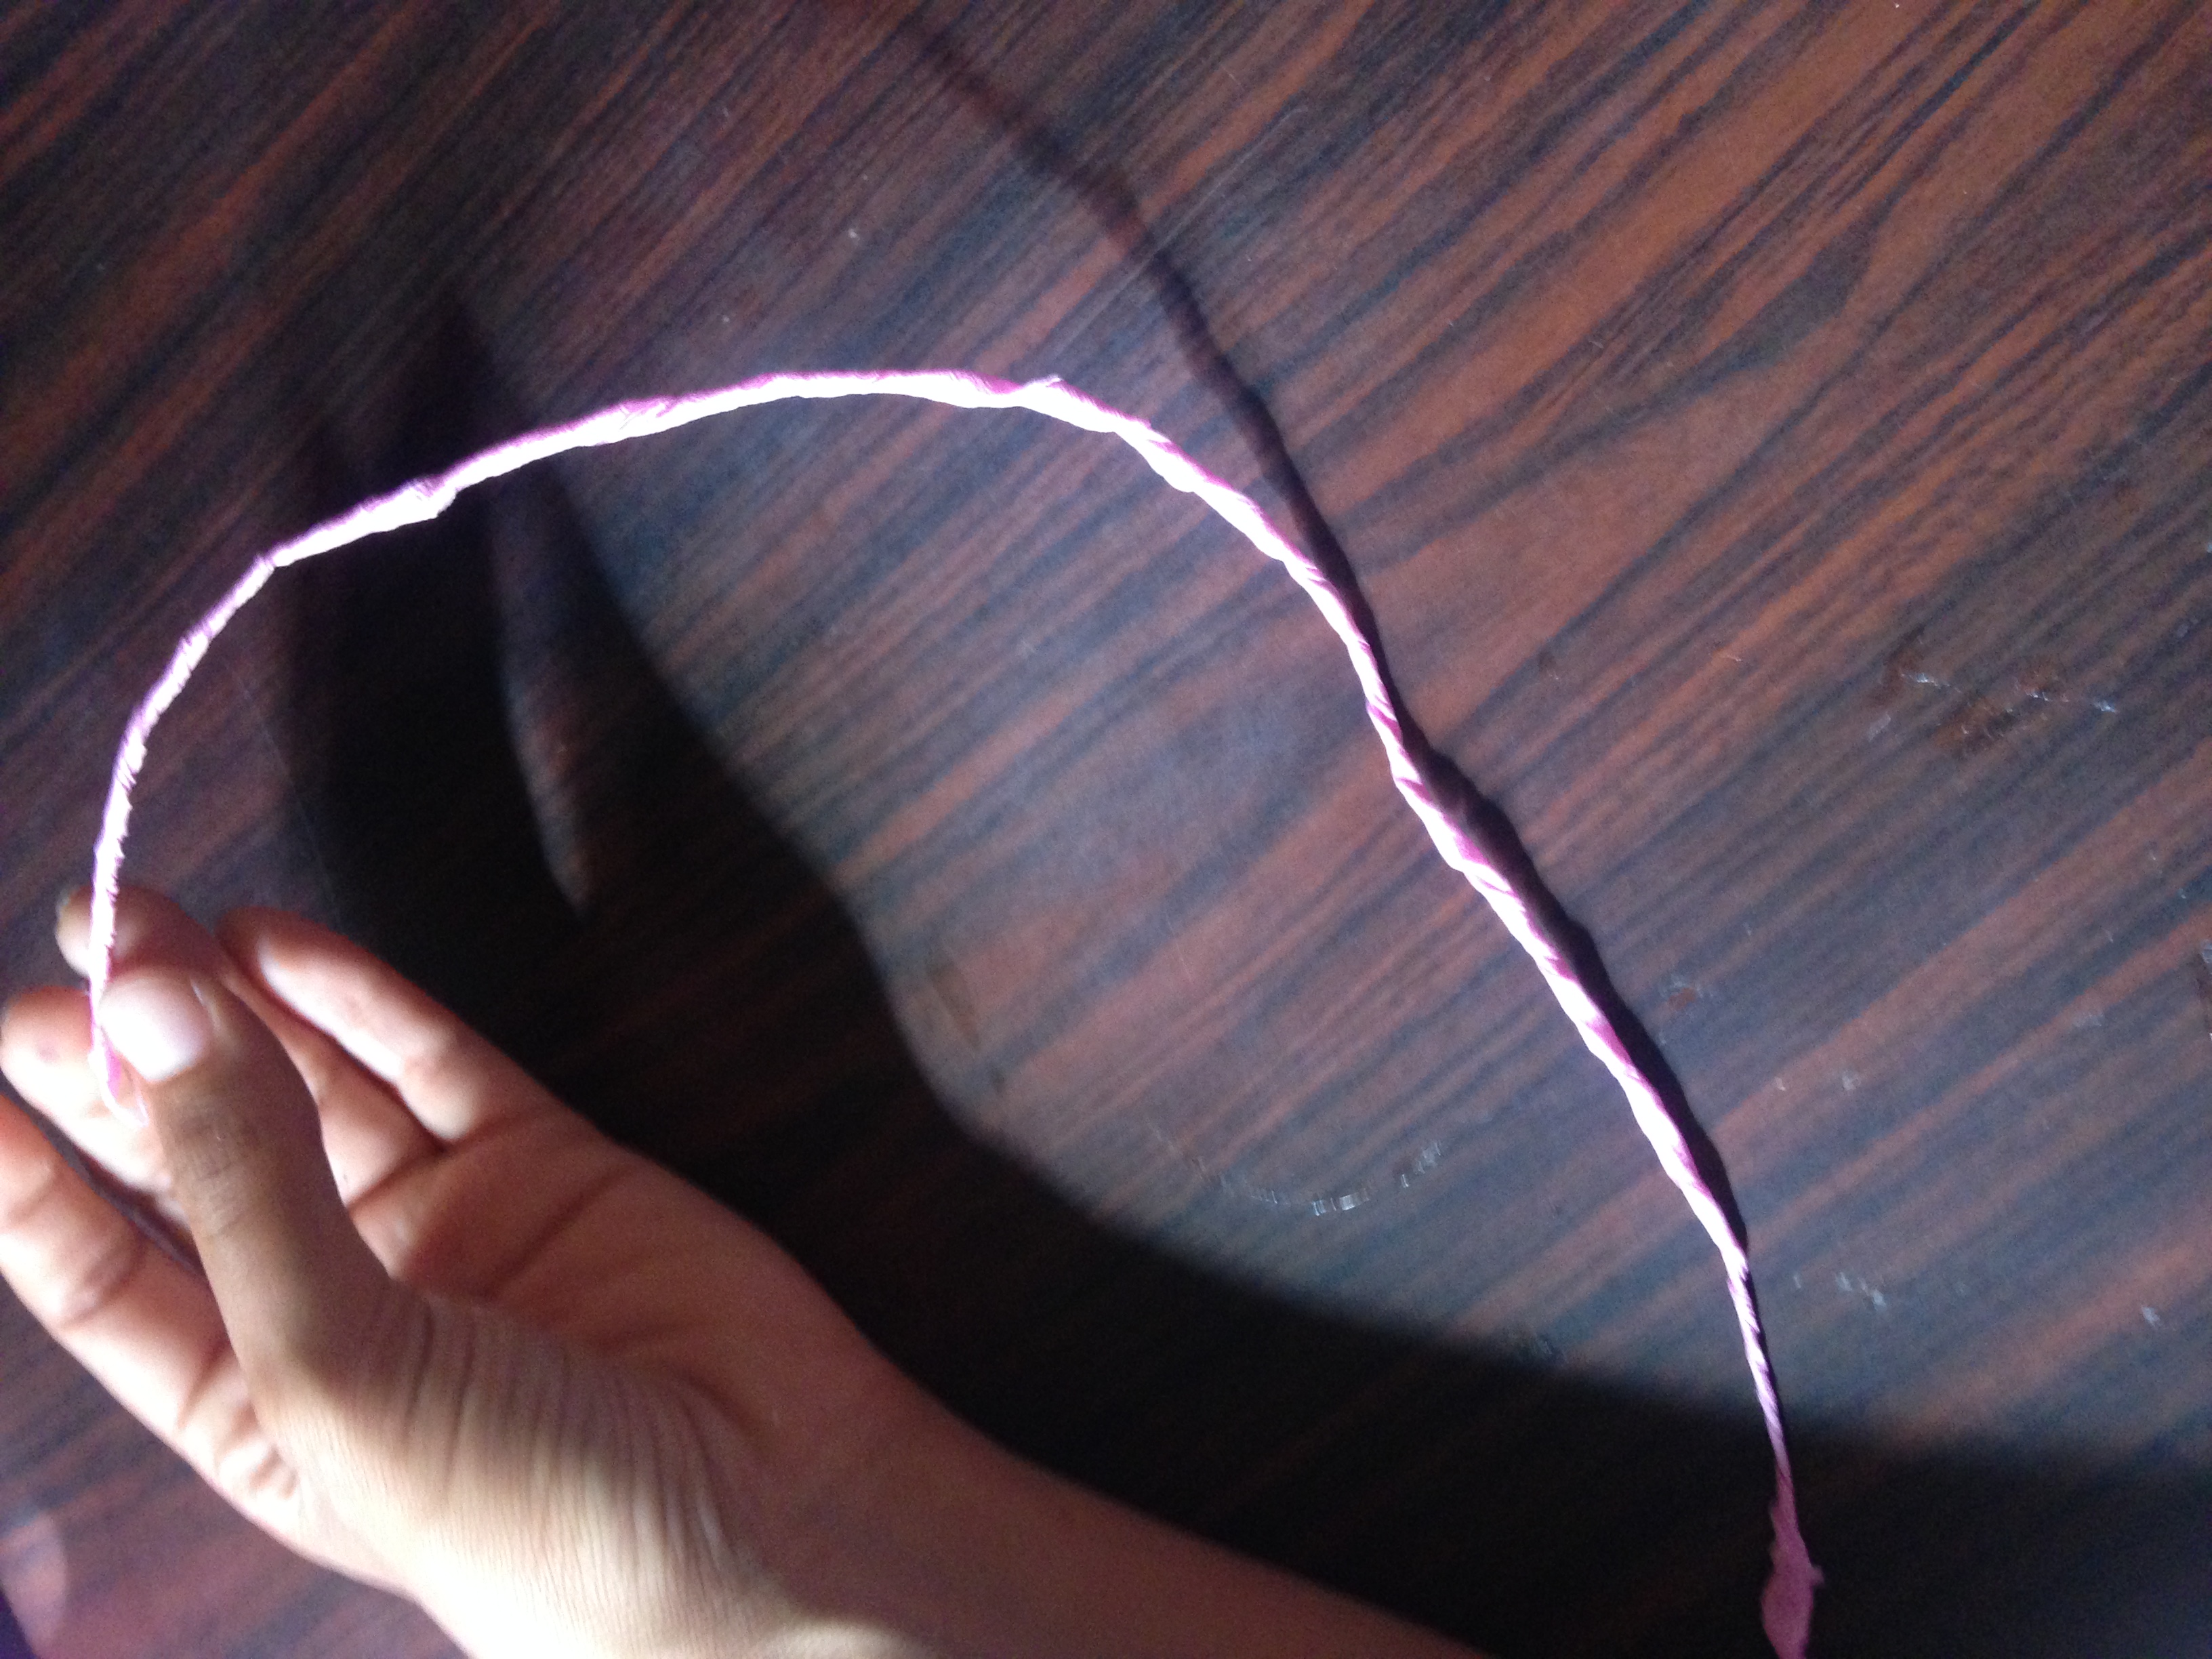
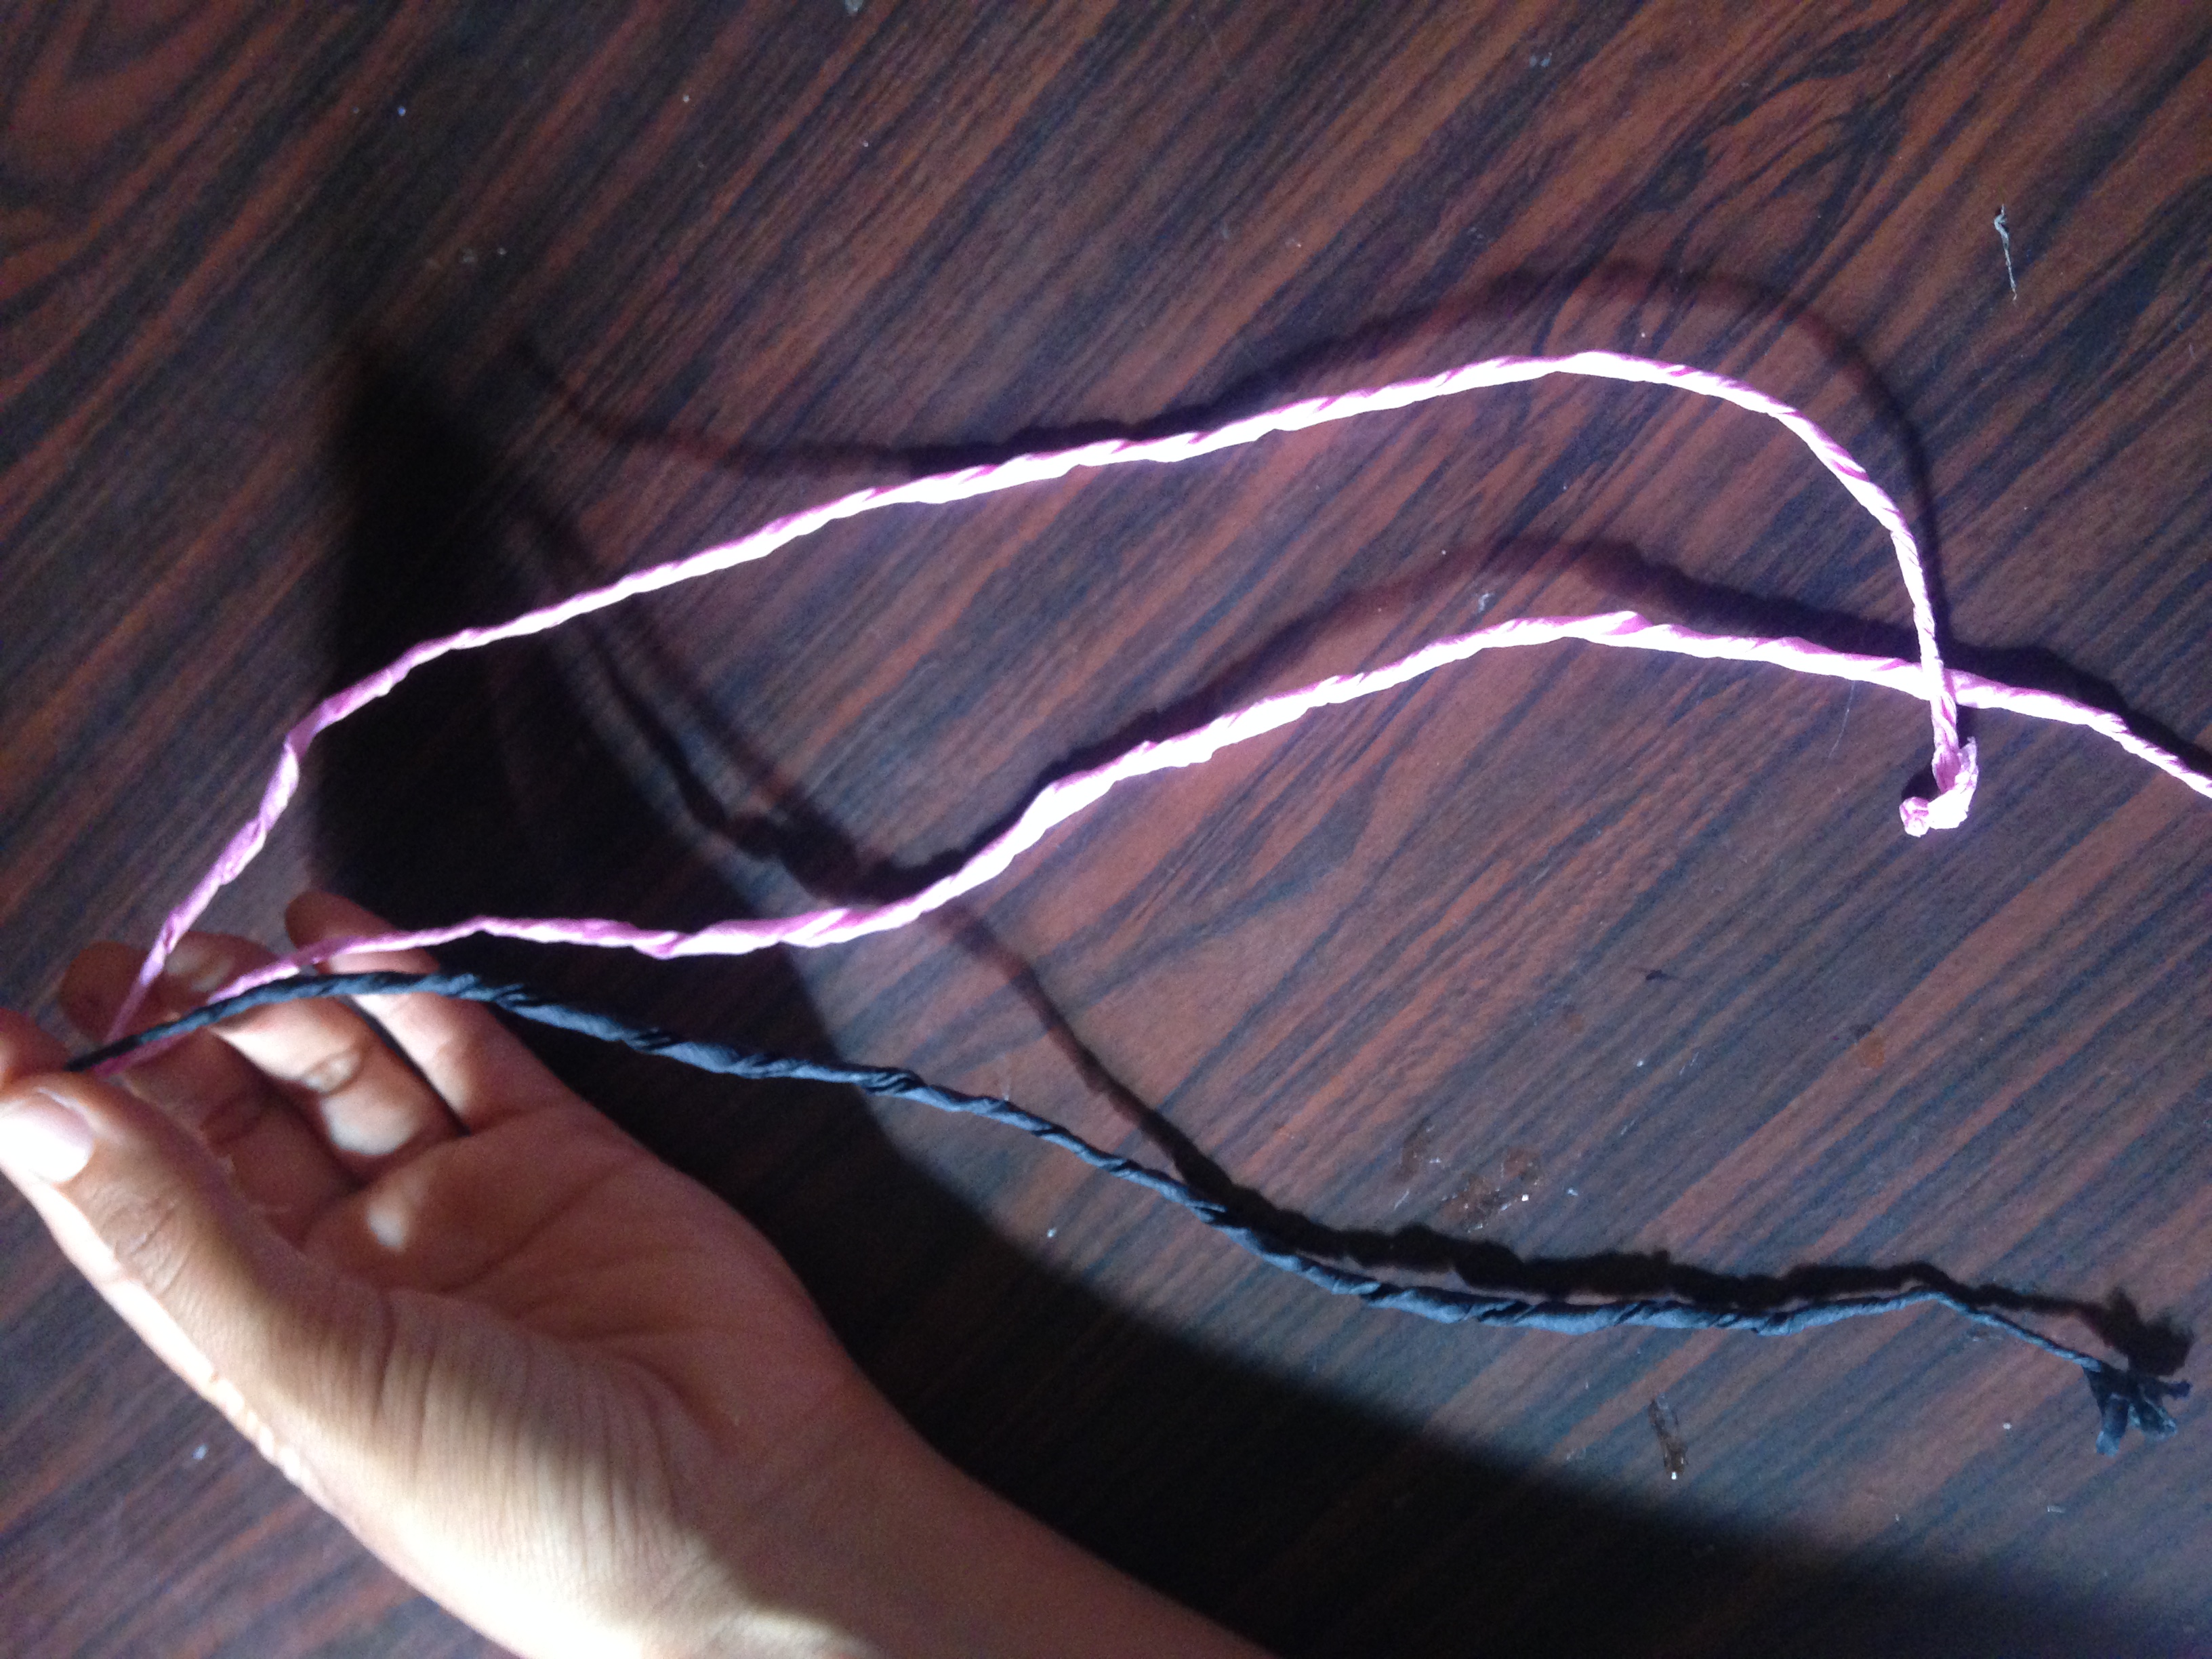
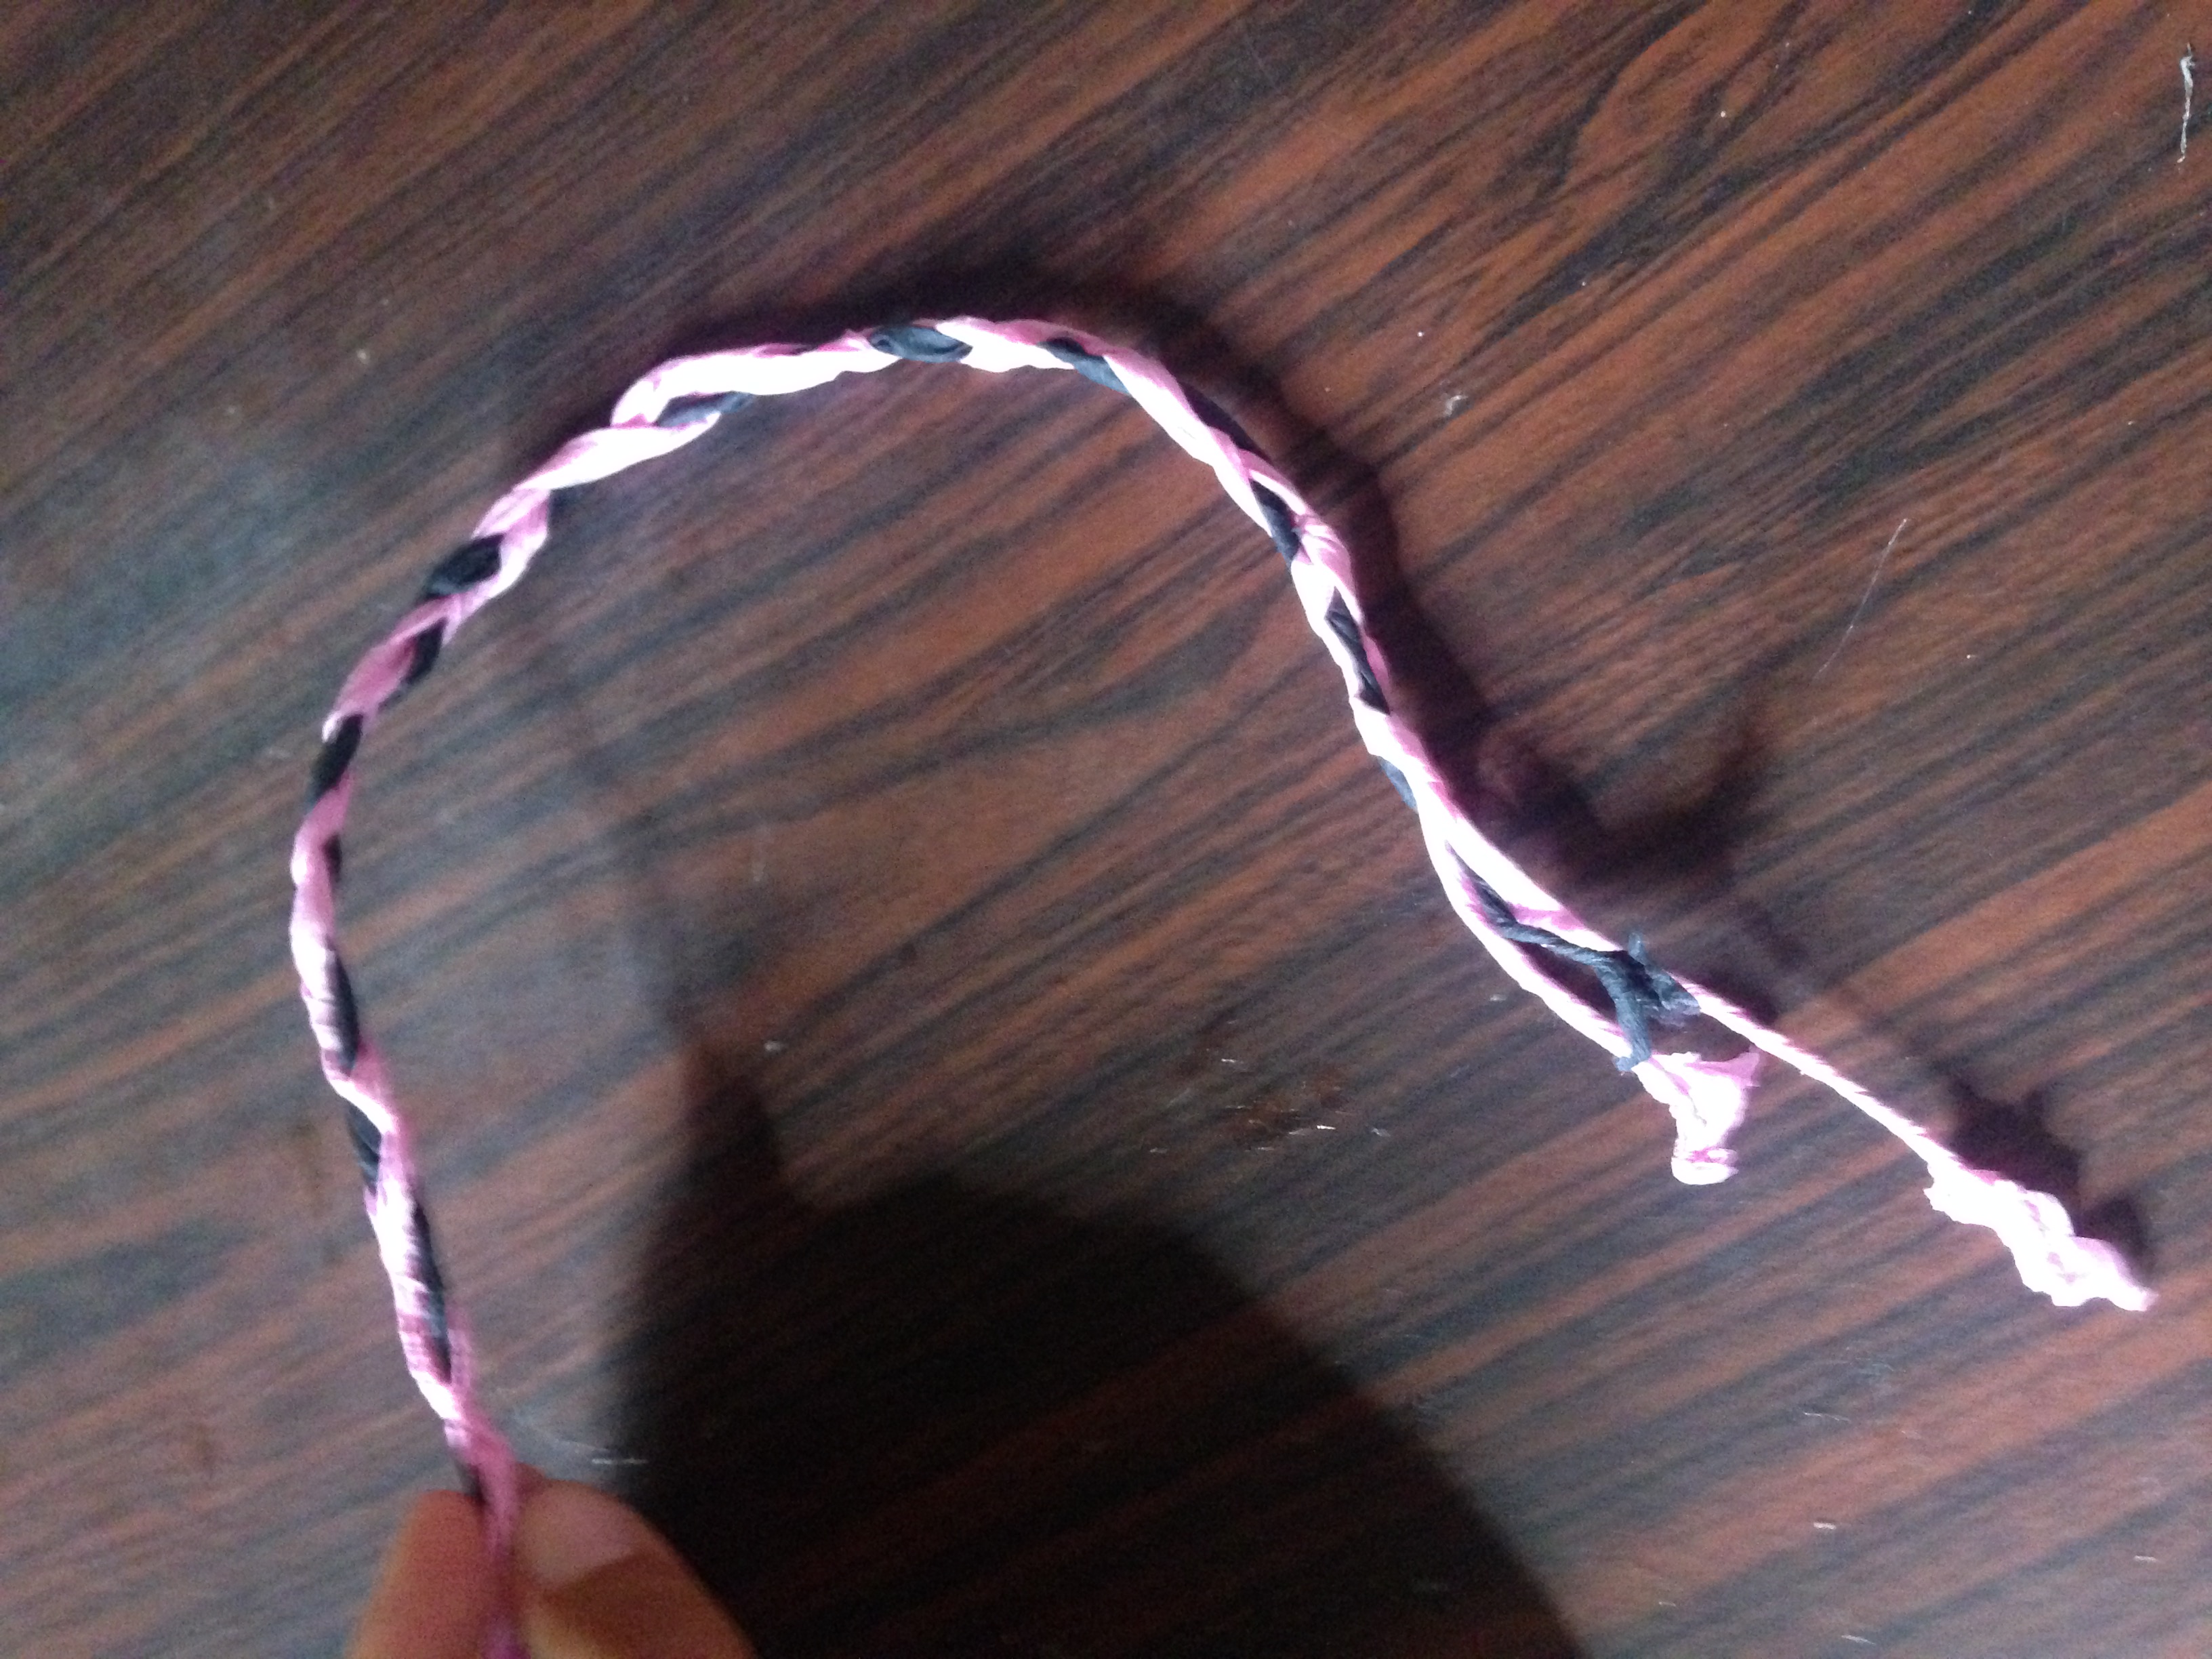
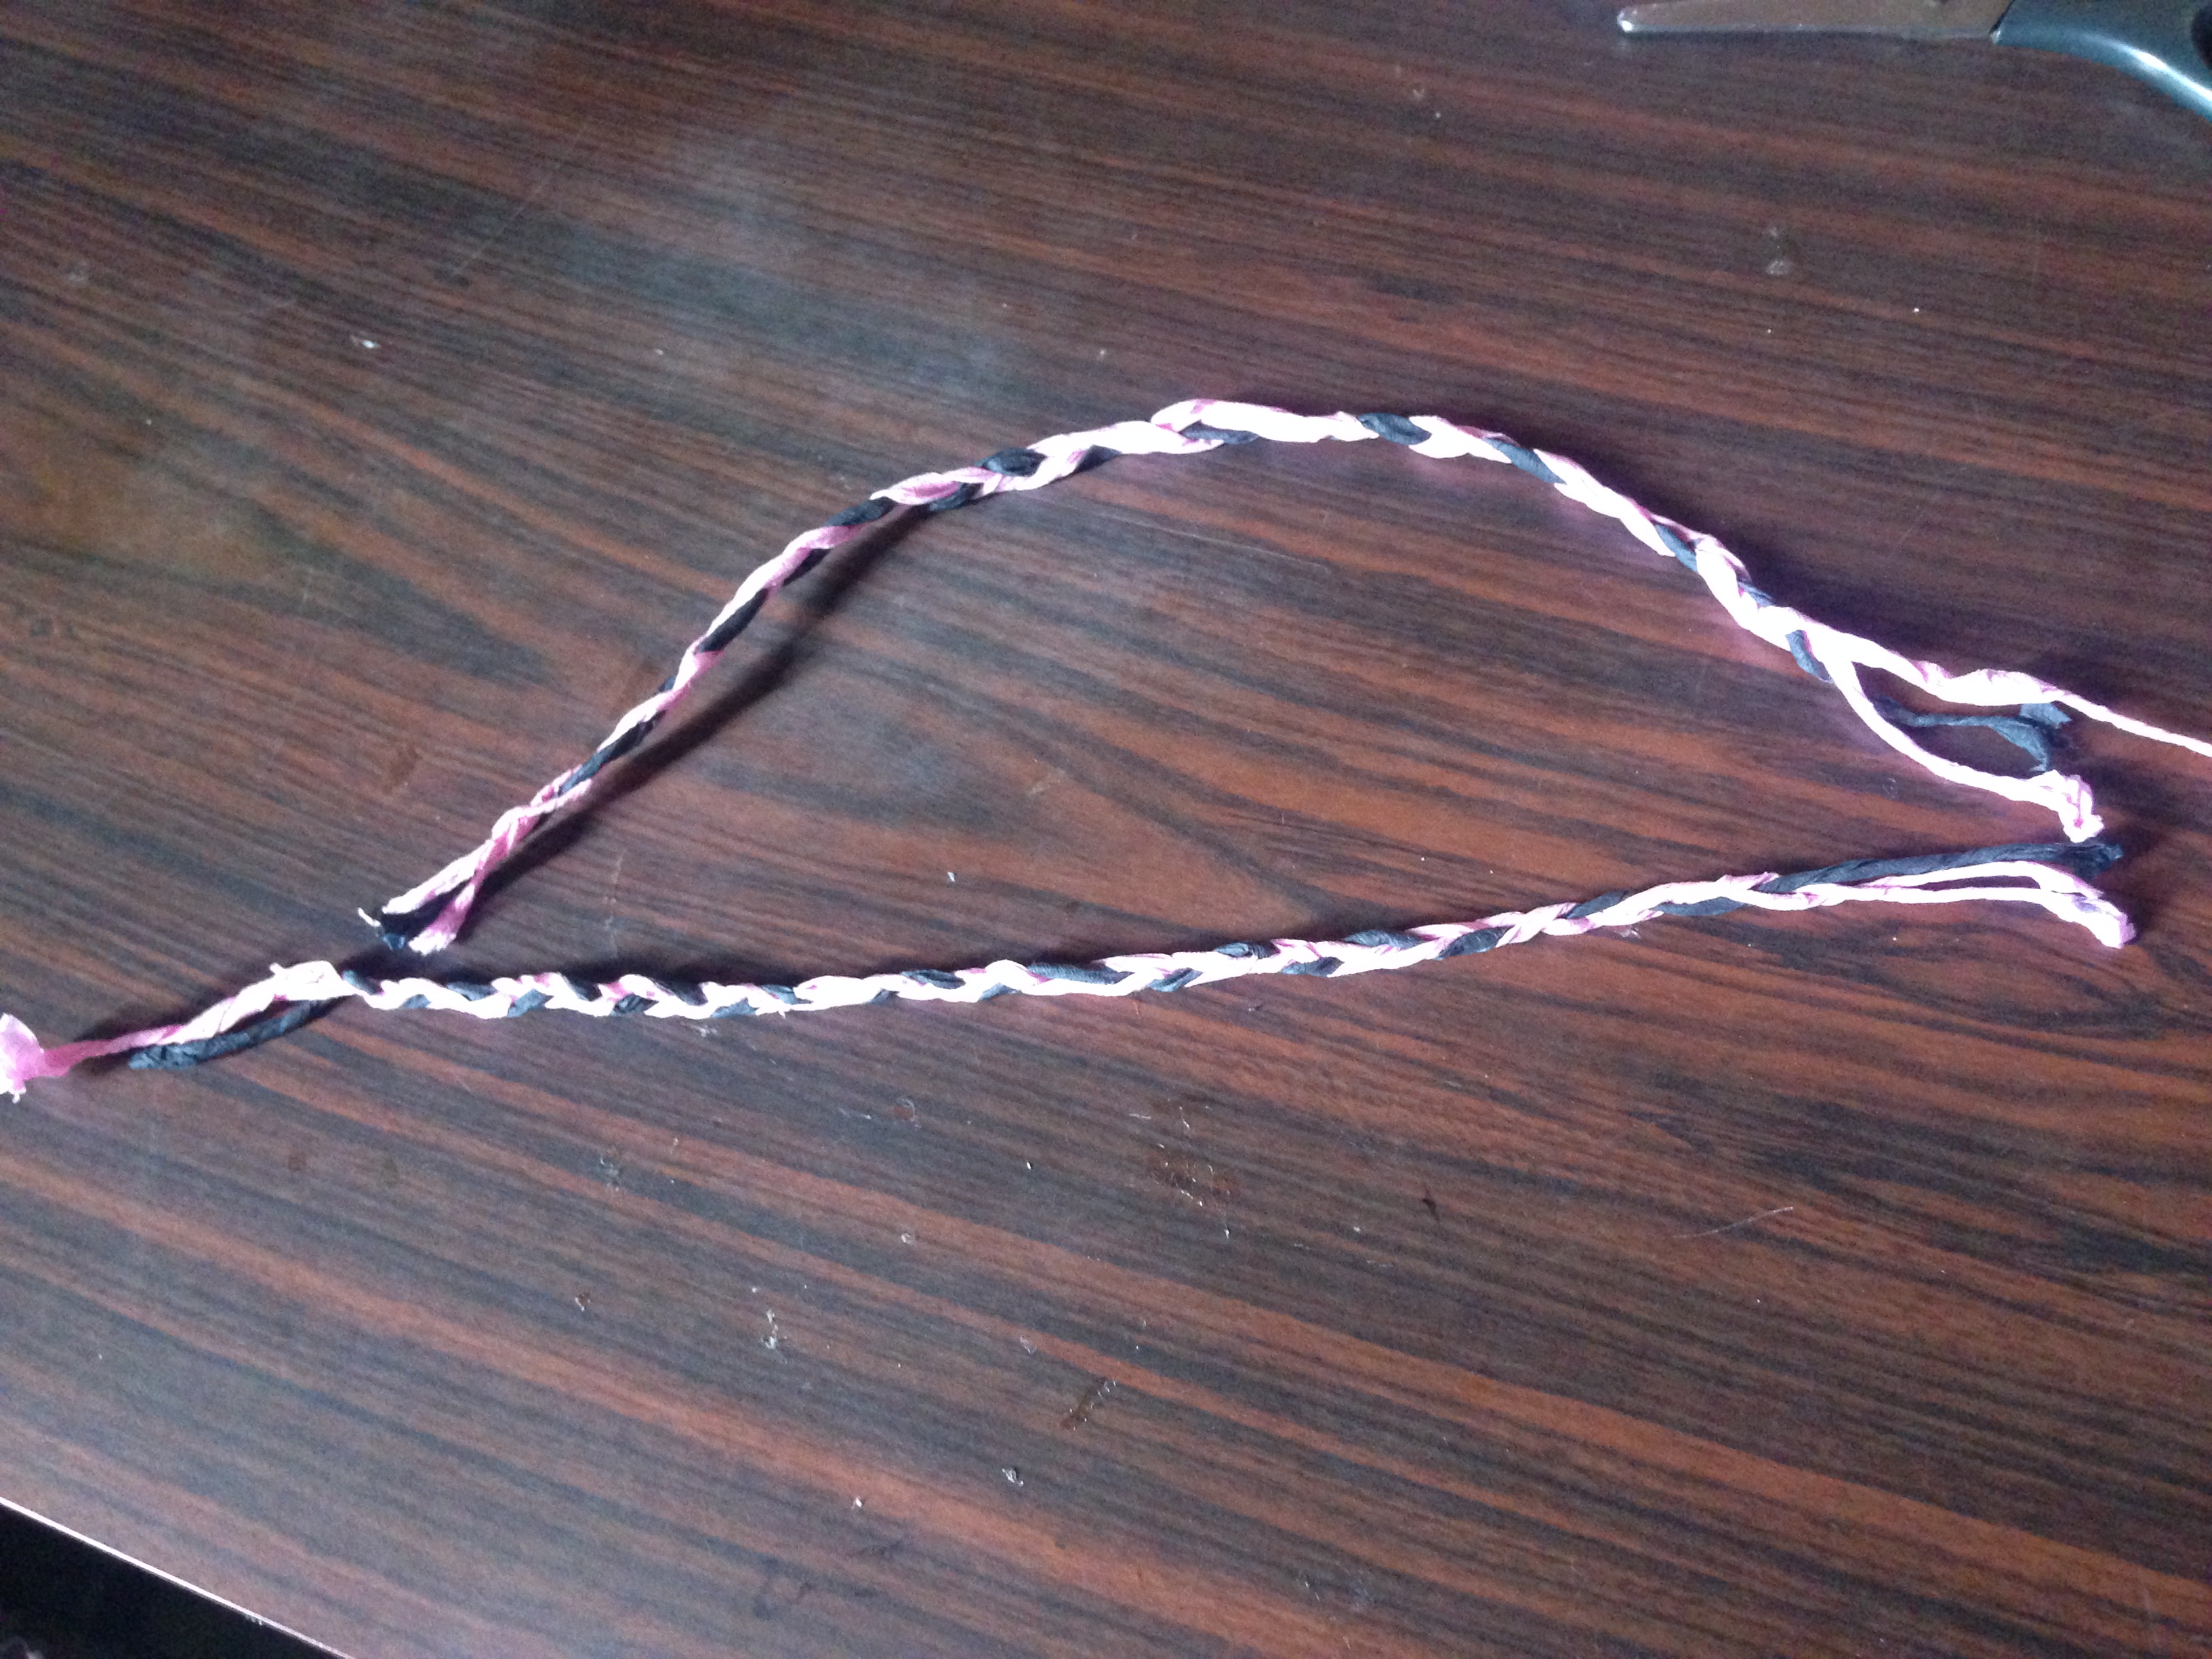
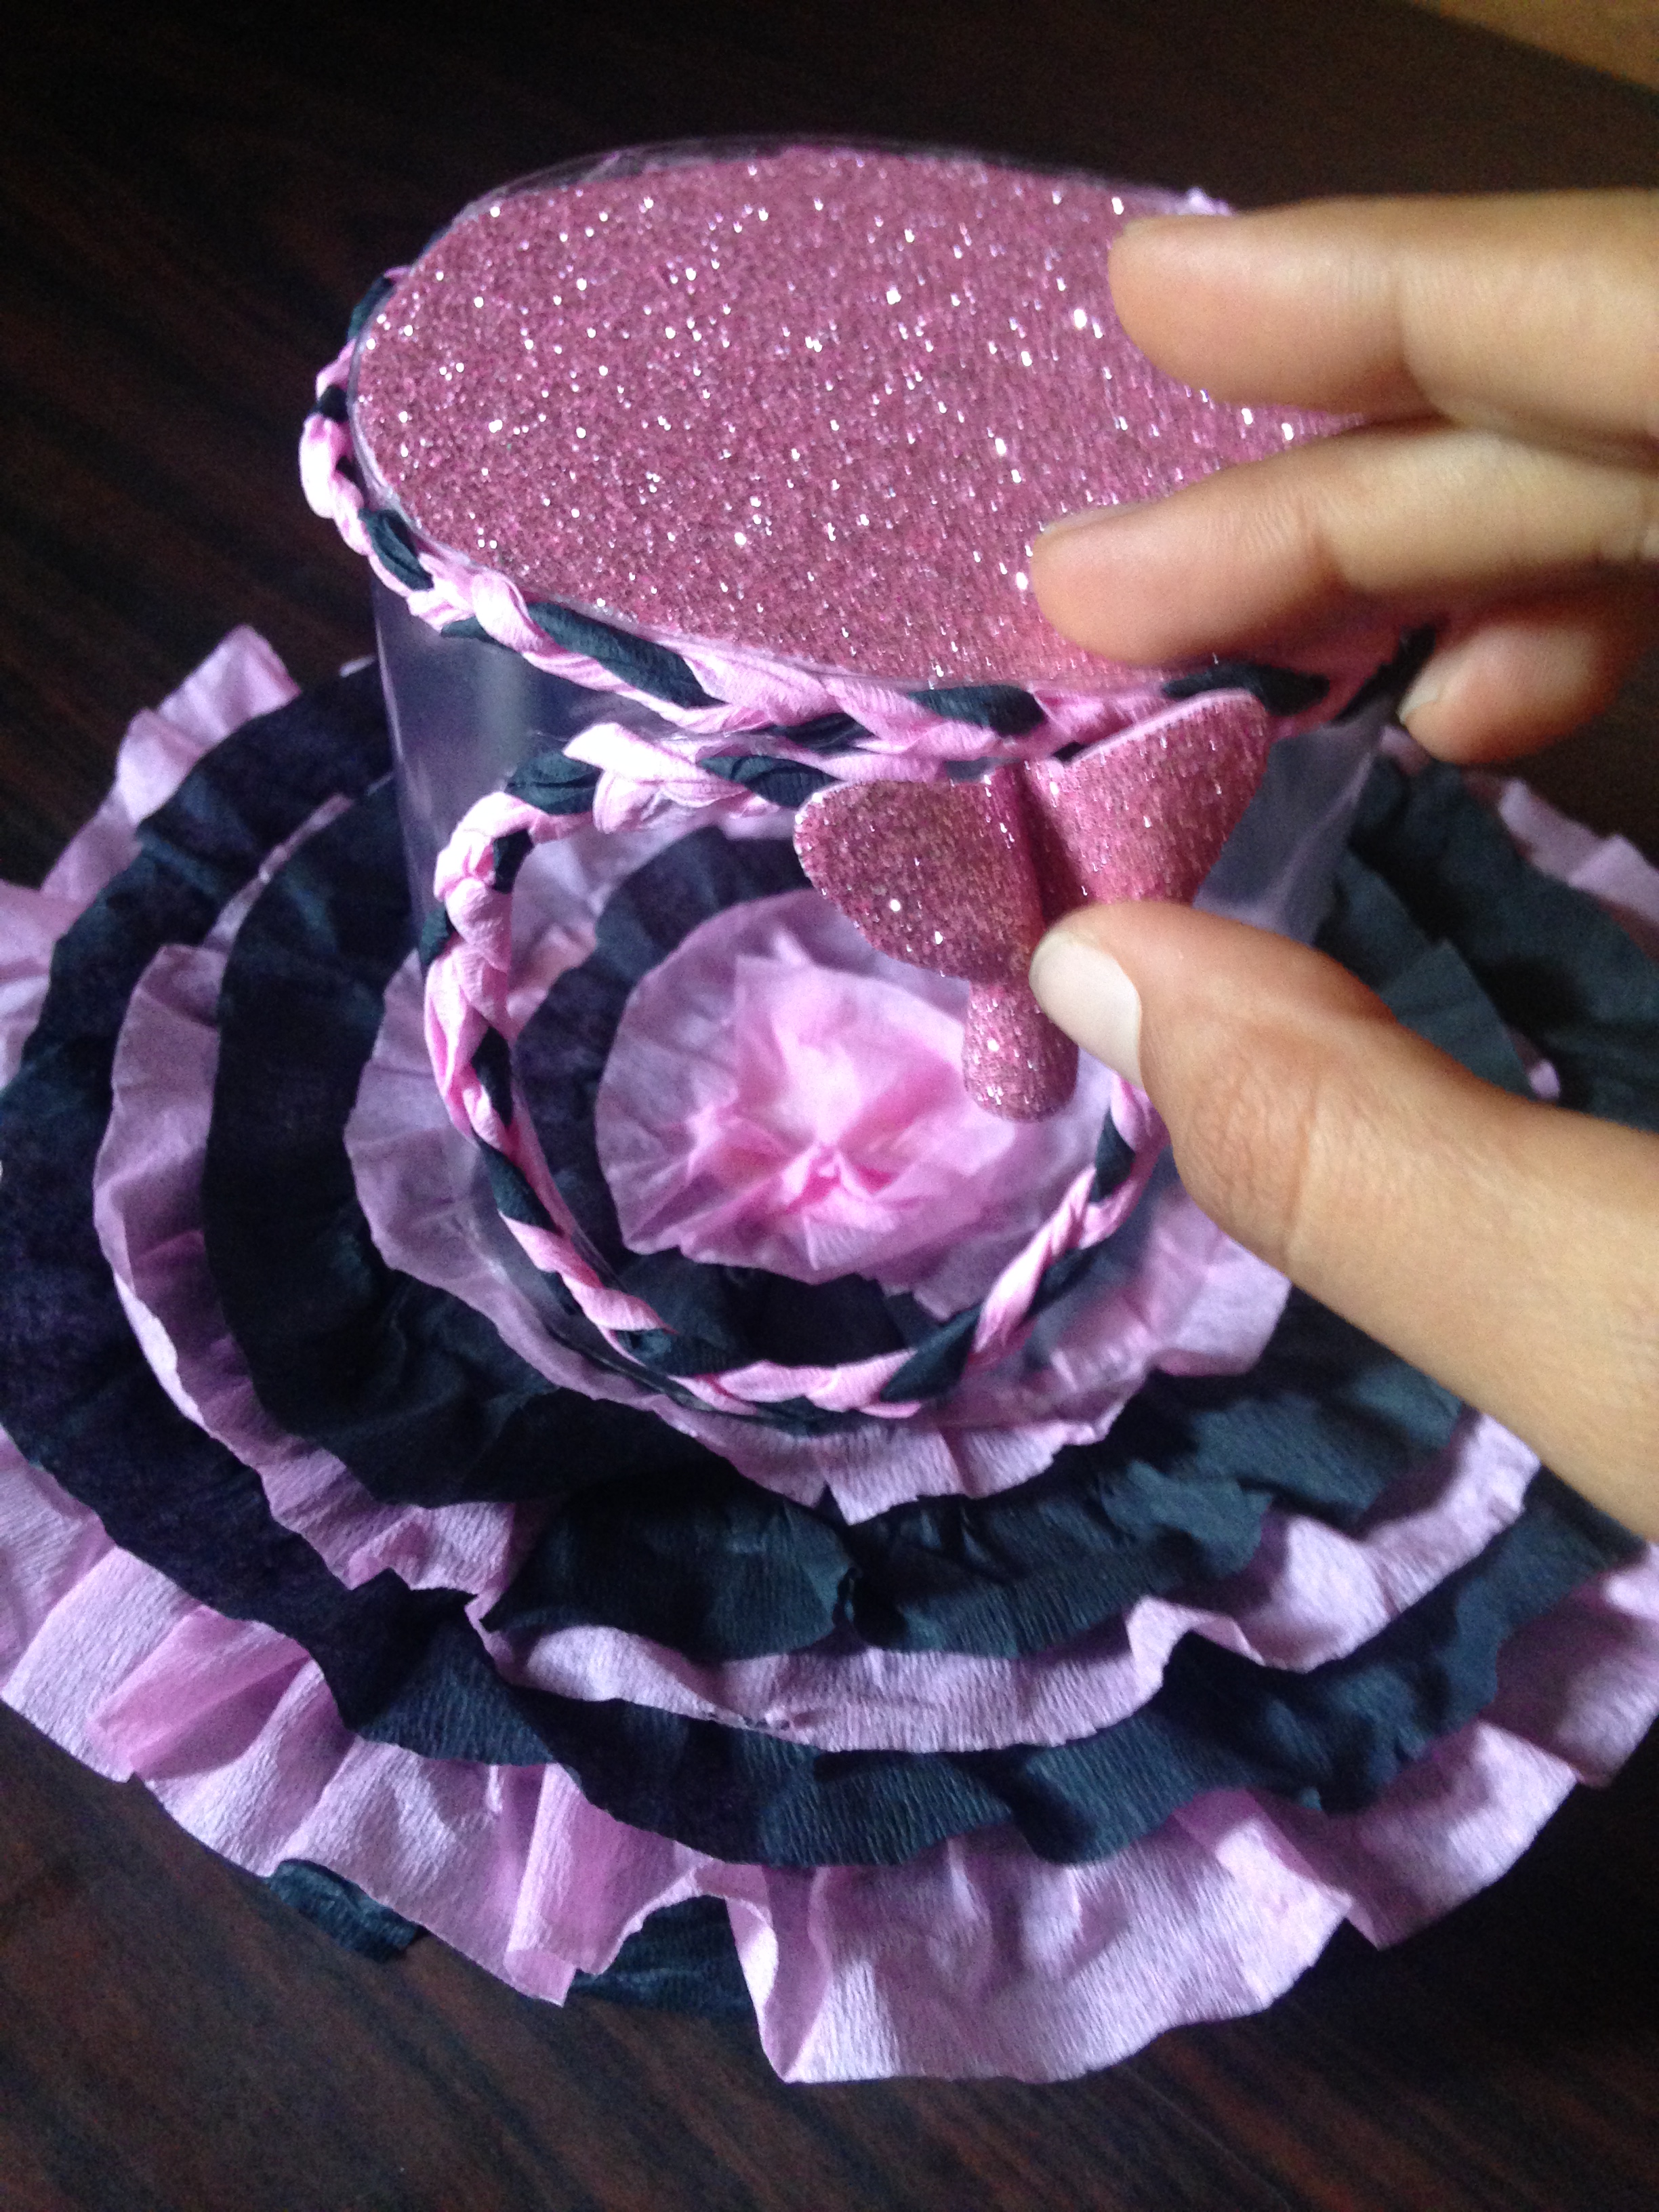
Paso 4
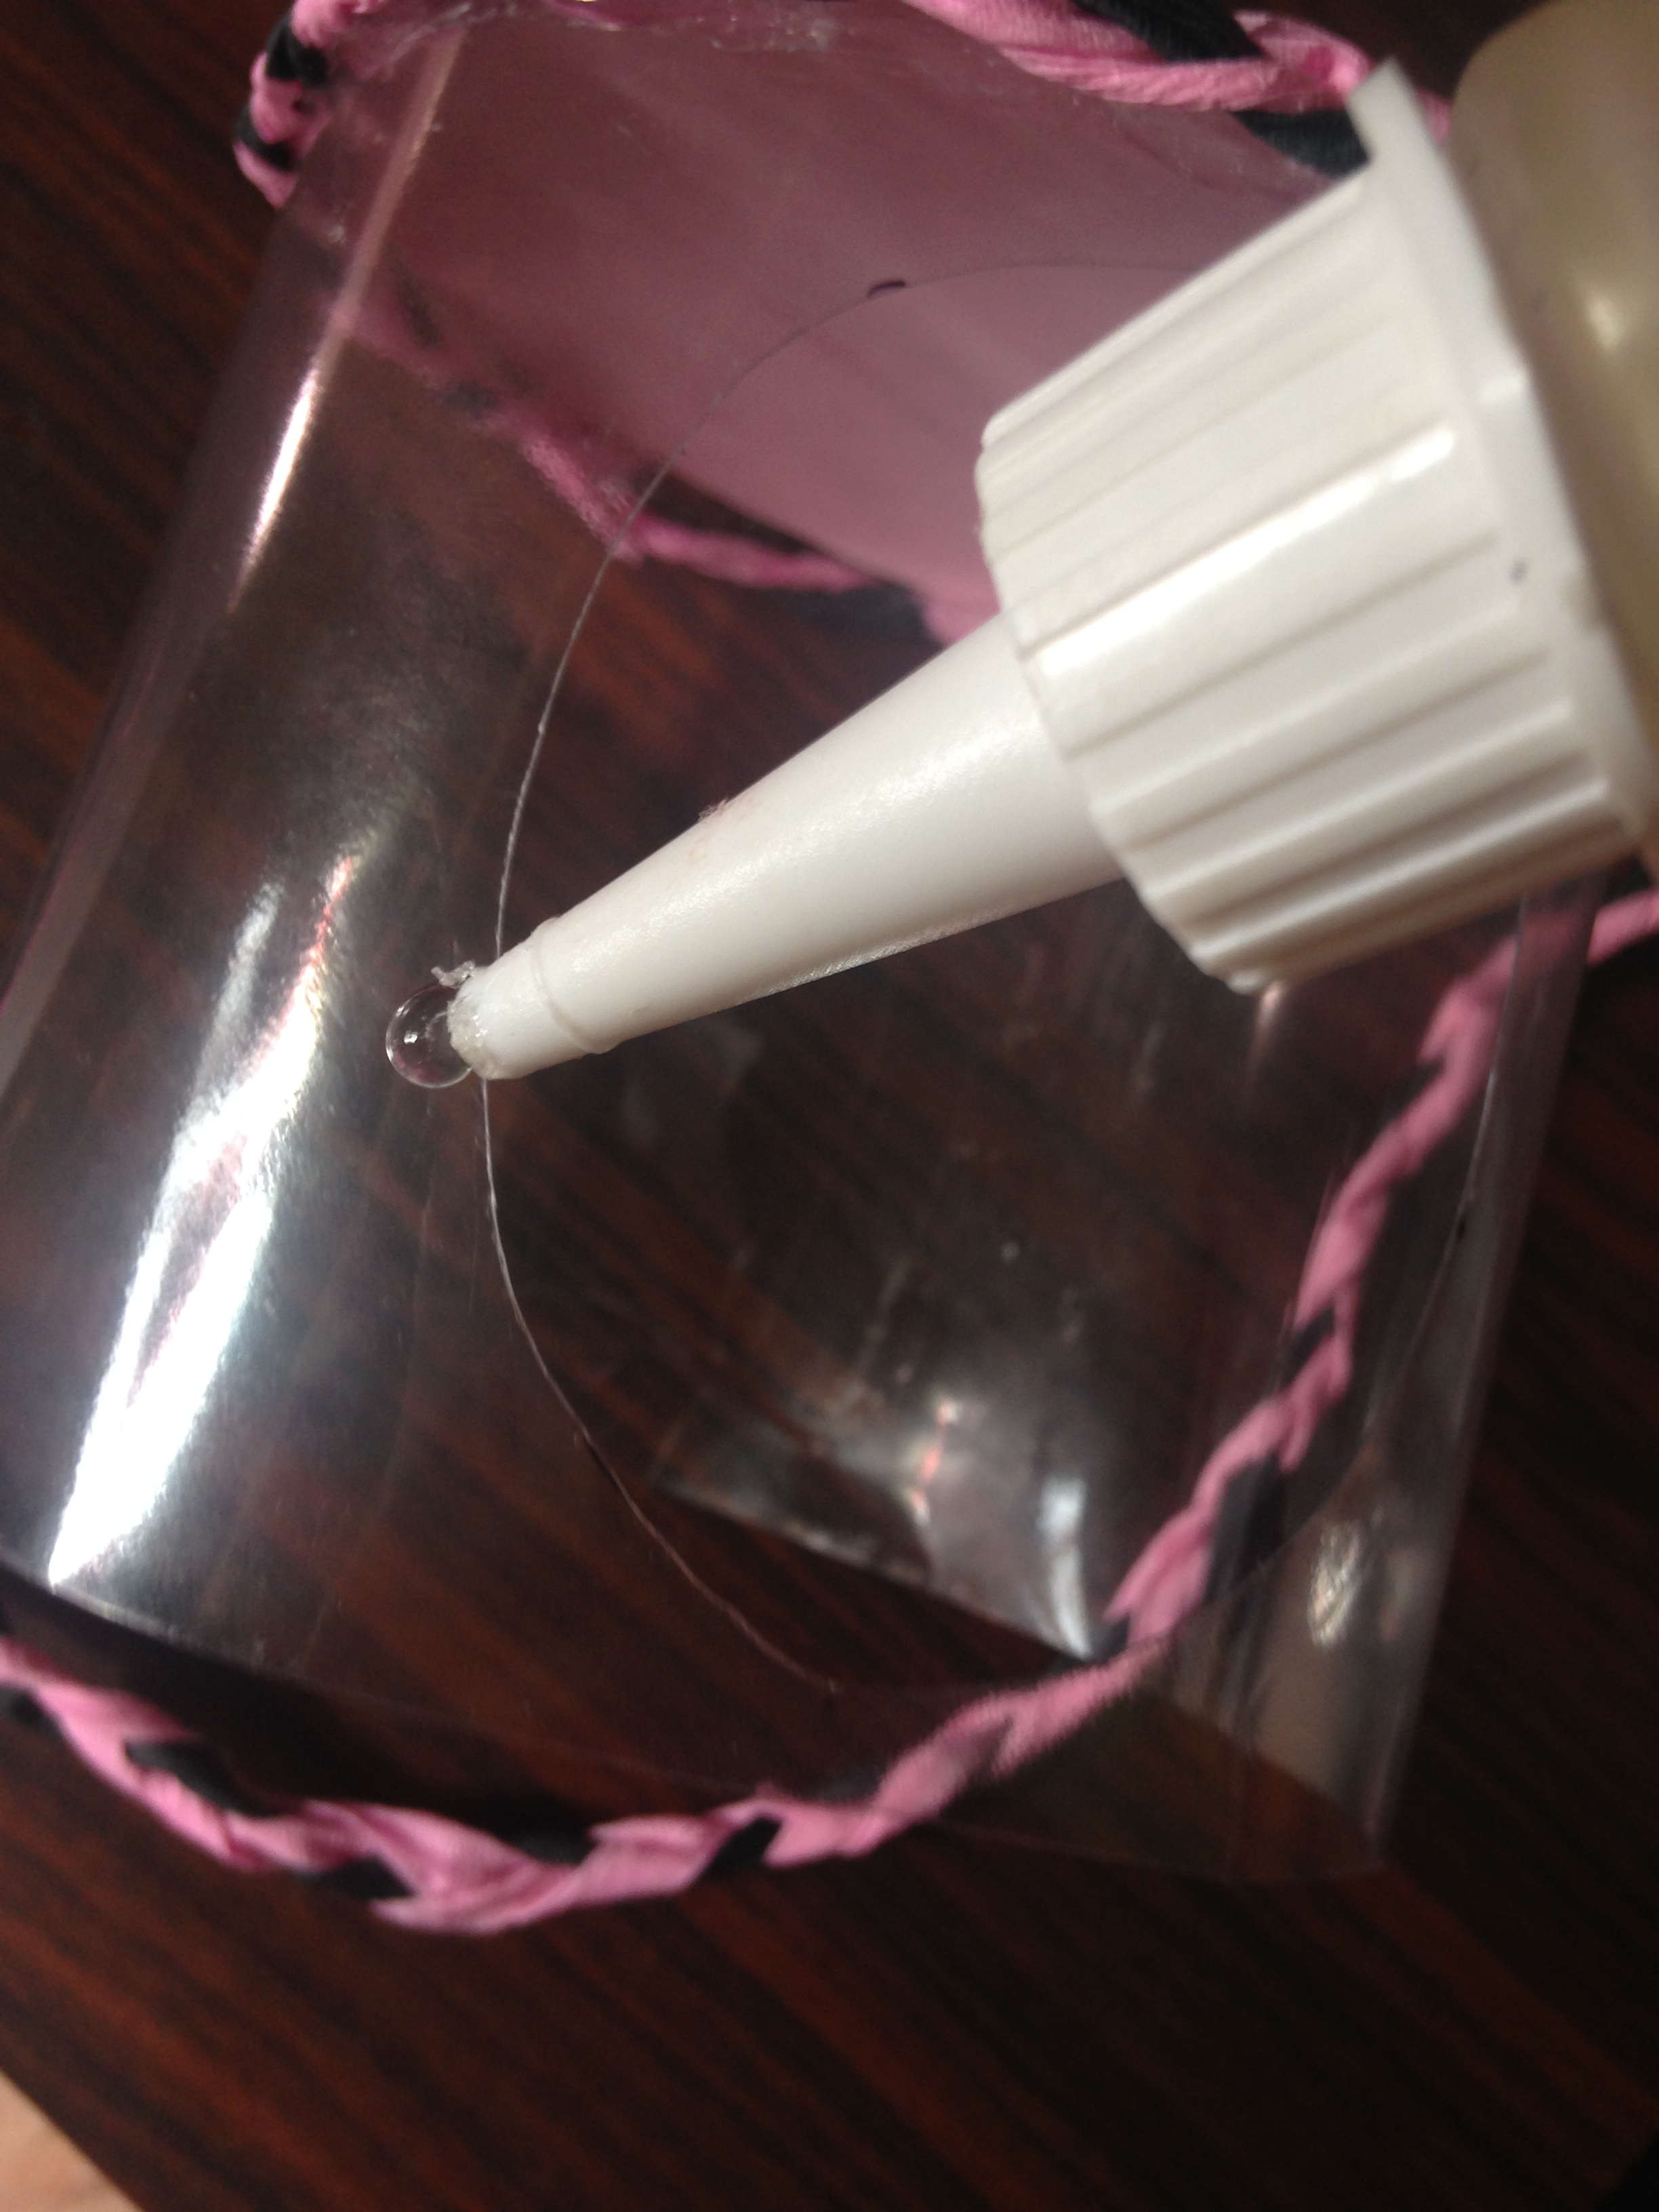
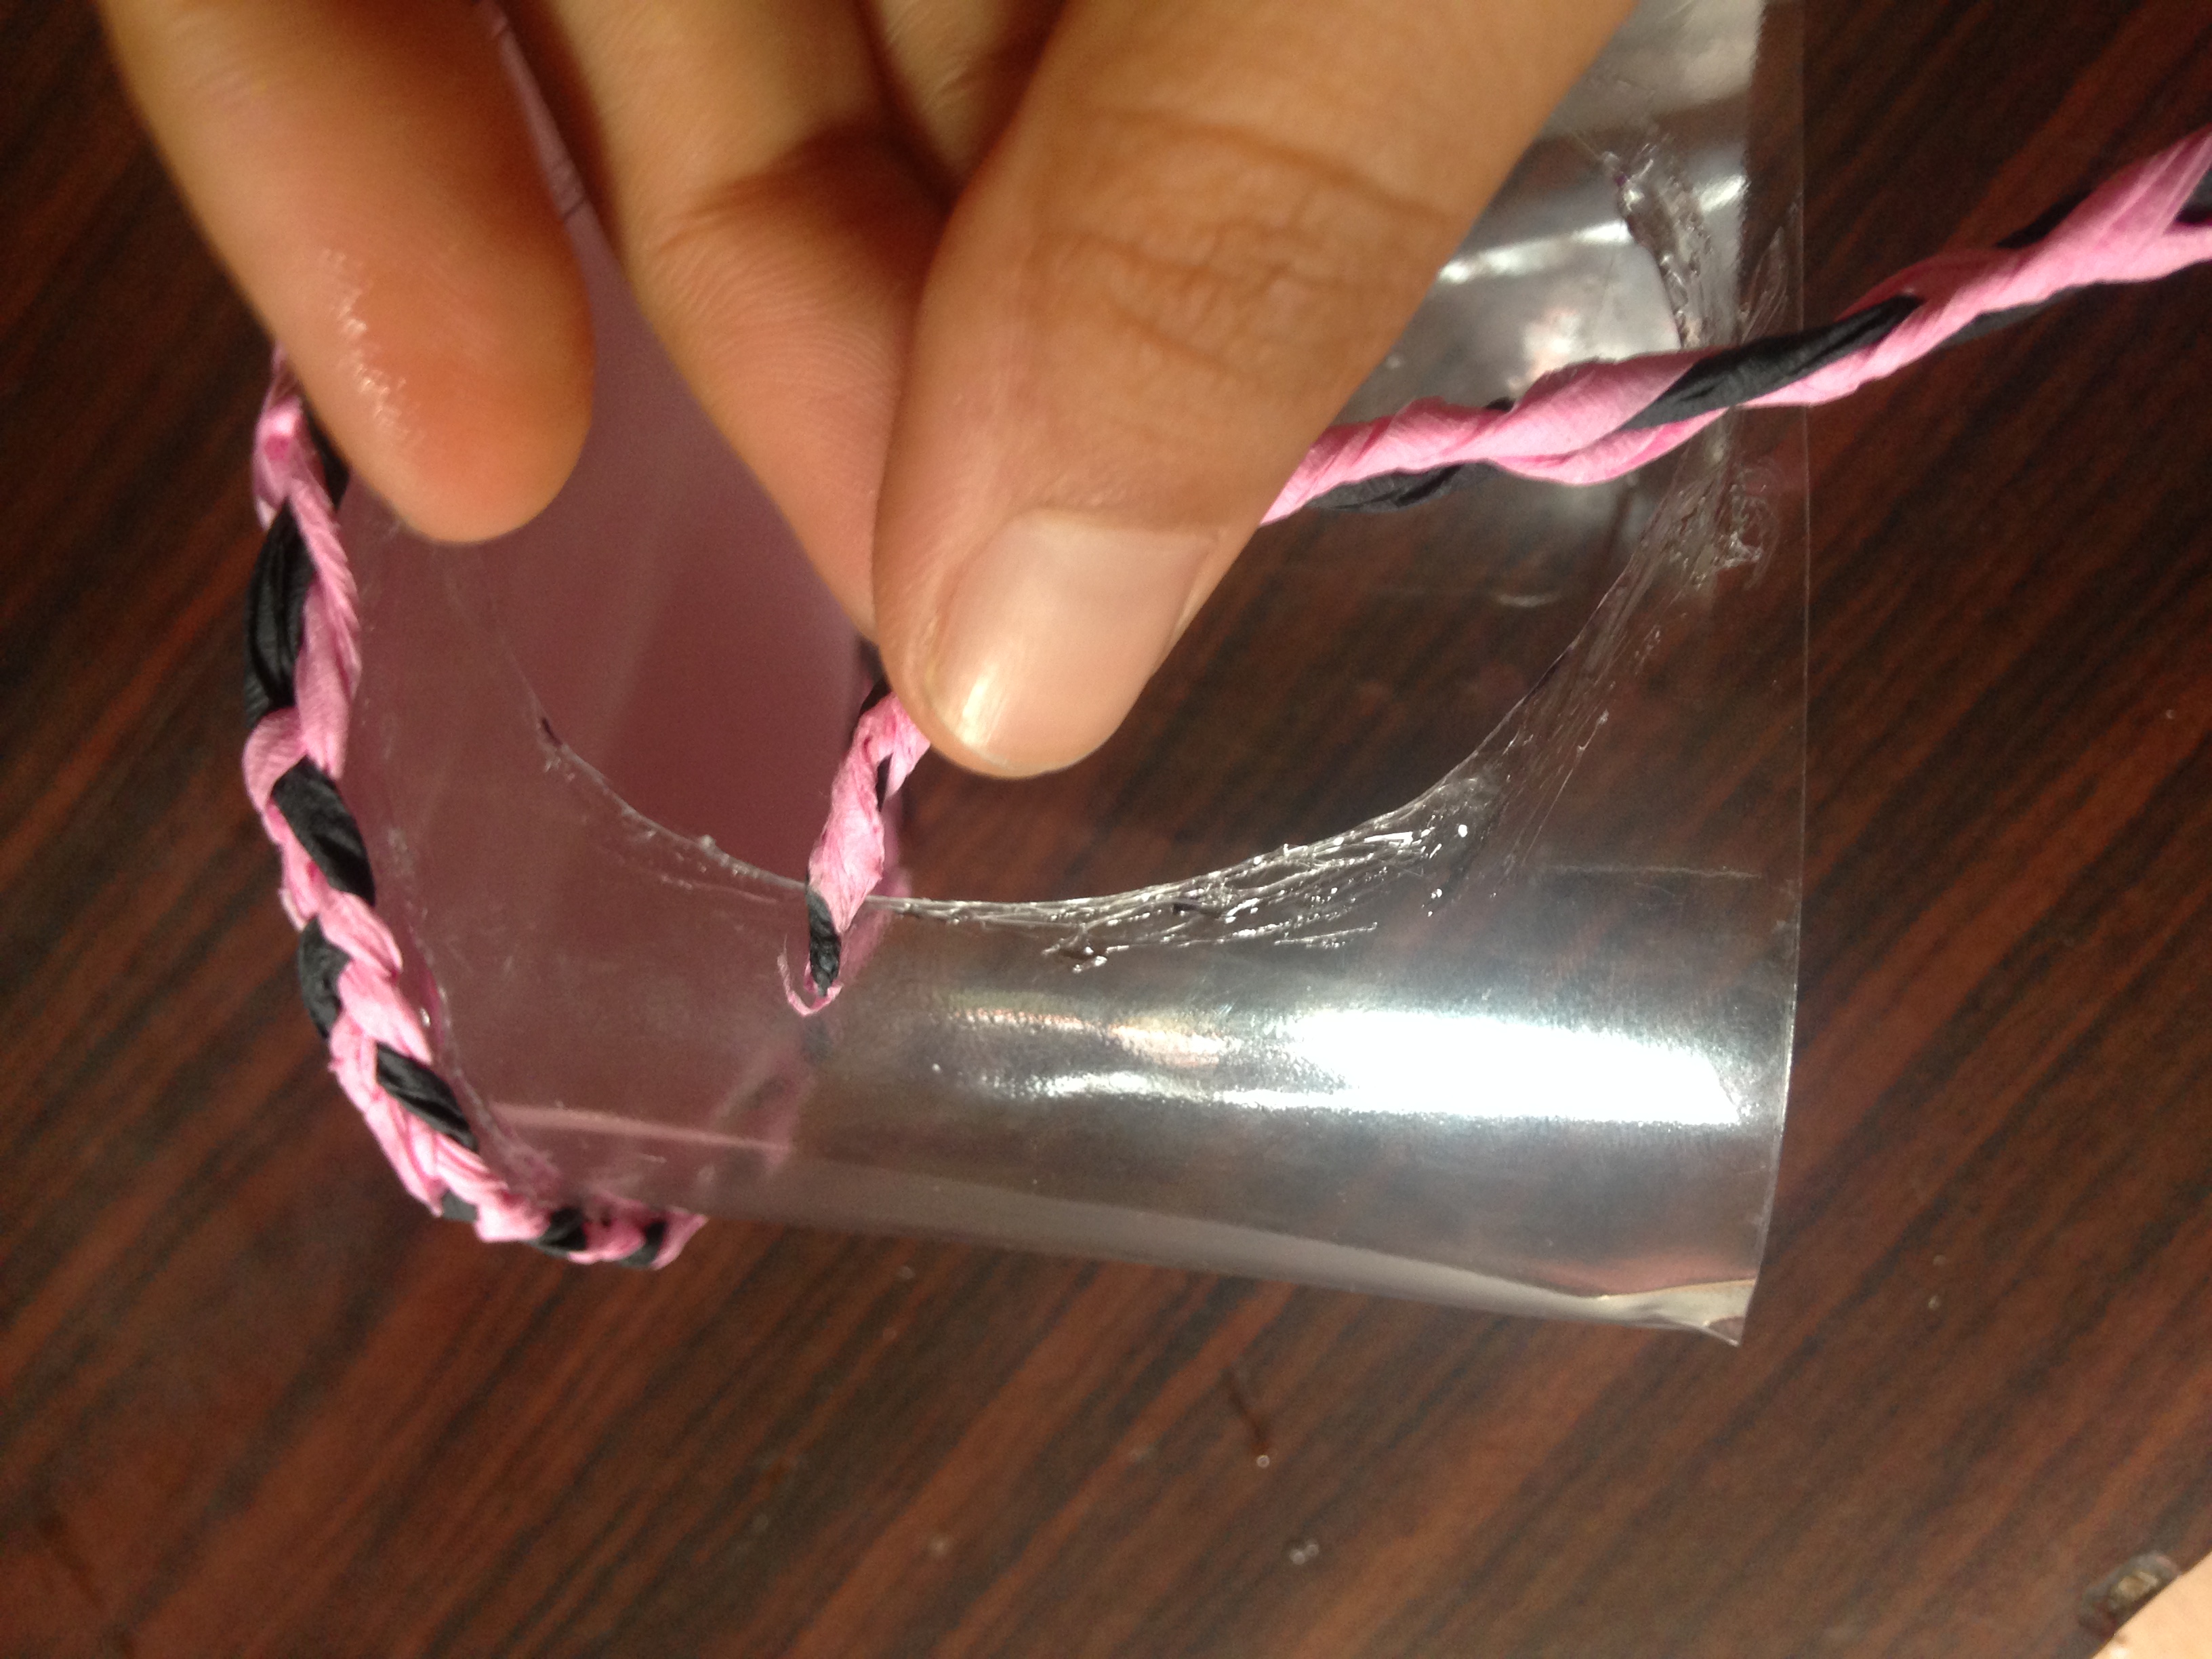
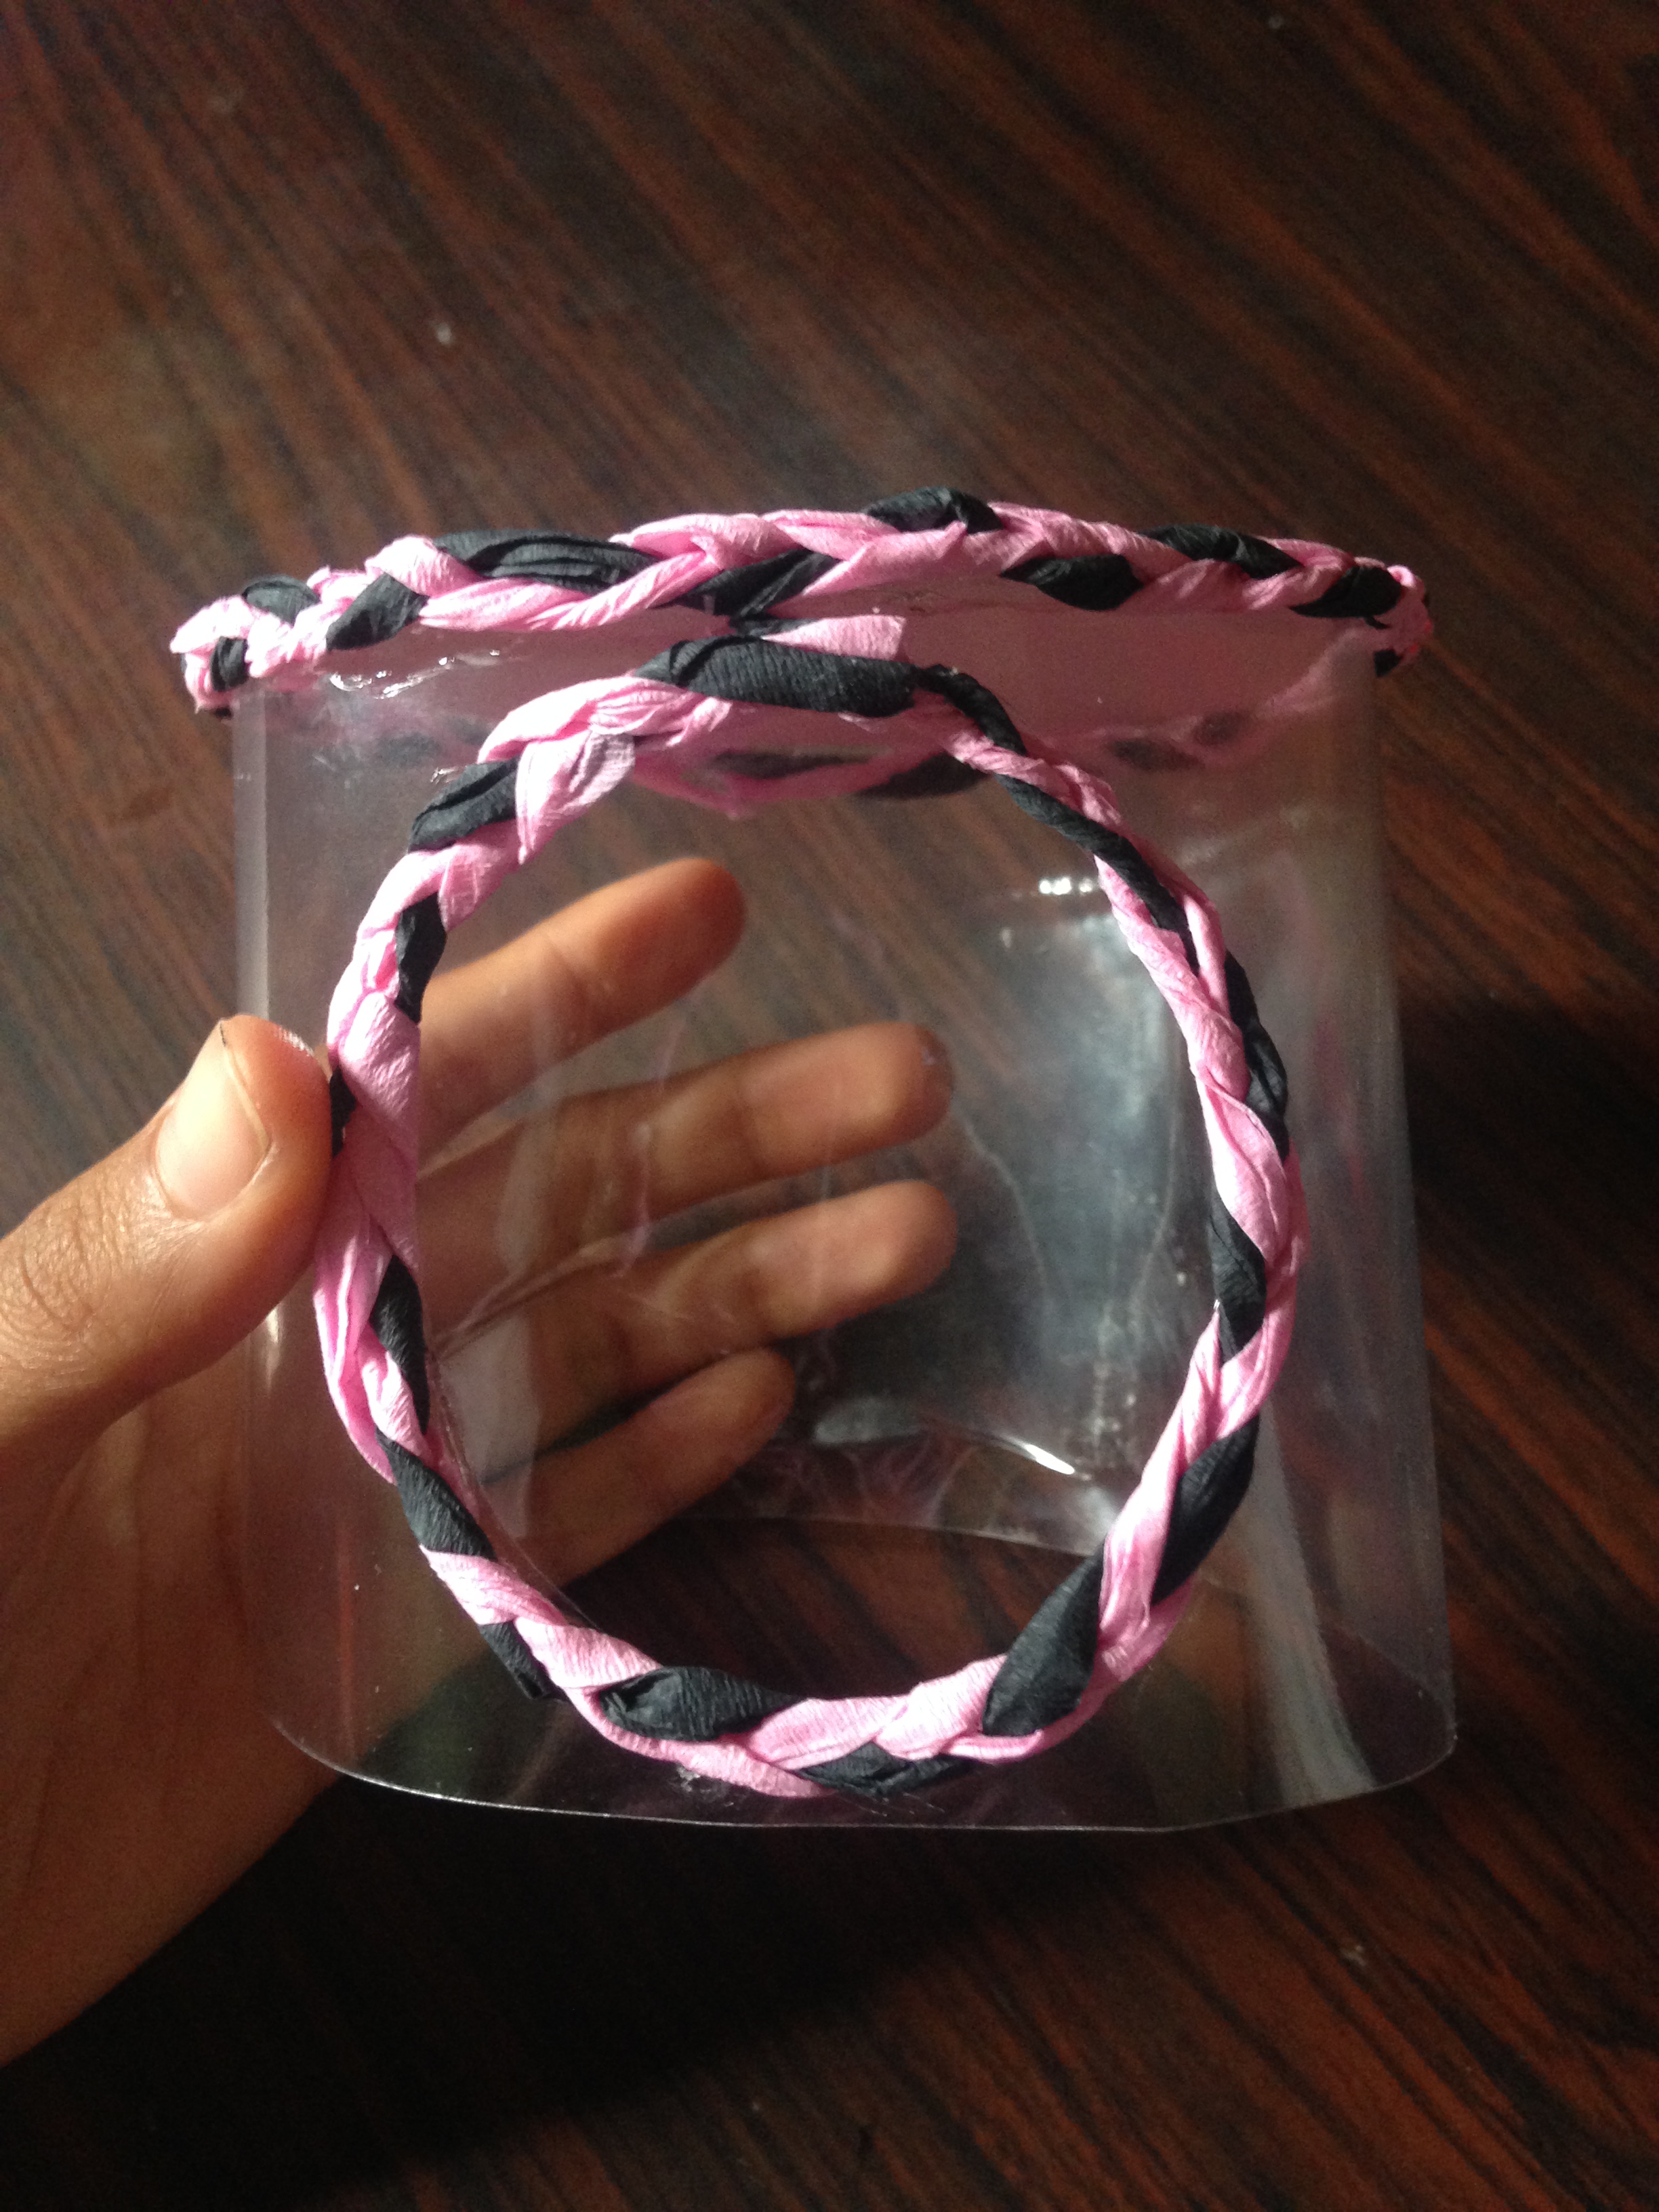
Now we will make 2 pairs of braids with crepe paper, we will cut 6 strips in total, 4 pink strips and 2 black strips, these strips are a little longer than 30 centimeters, and we will assemble the braids, then we will glue one of the braids in the top of the cylinder and the other around the hole we made in the cylinder
Step 4
Now we will make 2 pairs of braids with crepe paper, we will cut 6 strips in total, 4 pink strips and 2 black strips, these strips are a little longer than 30 centimeters, and we will assemble the braids, then we will glue one of the braids in the top of the cylinder and the other around the hole we made in the cylinder

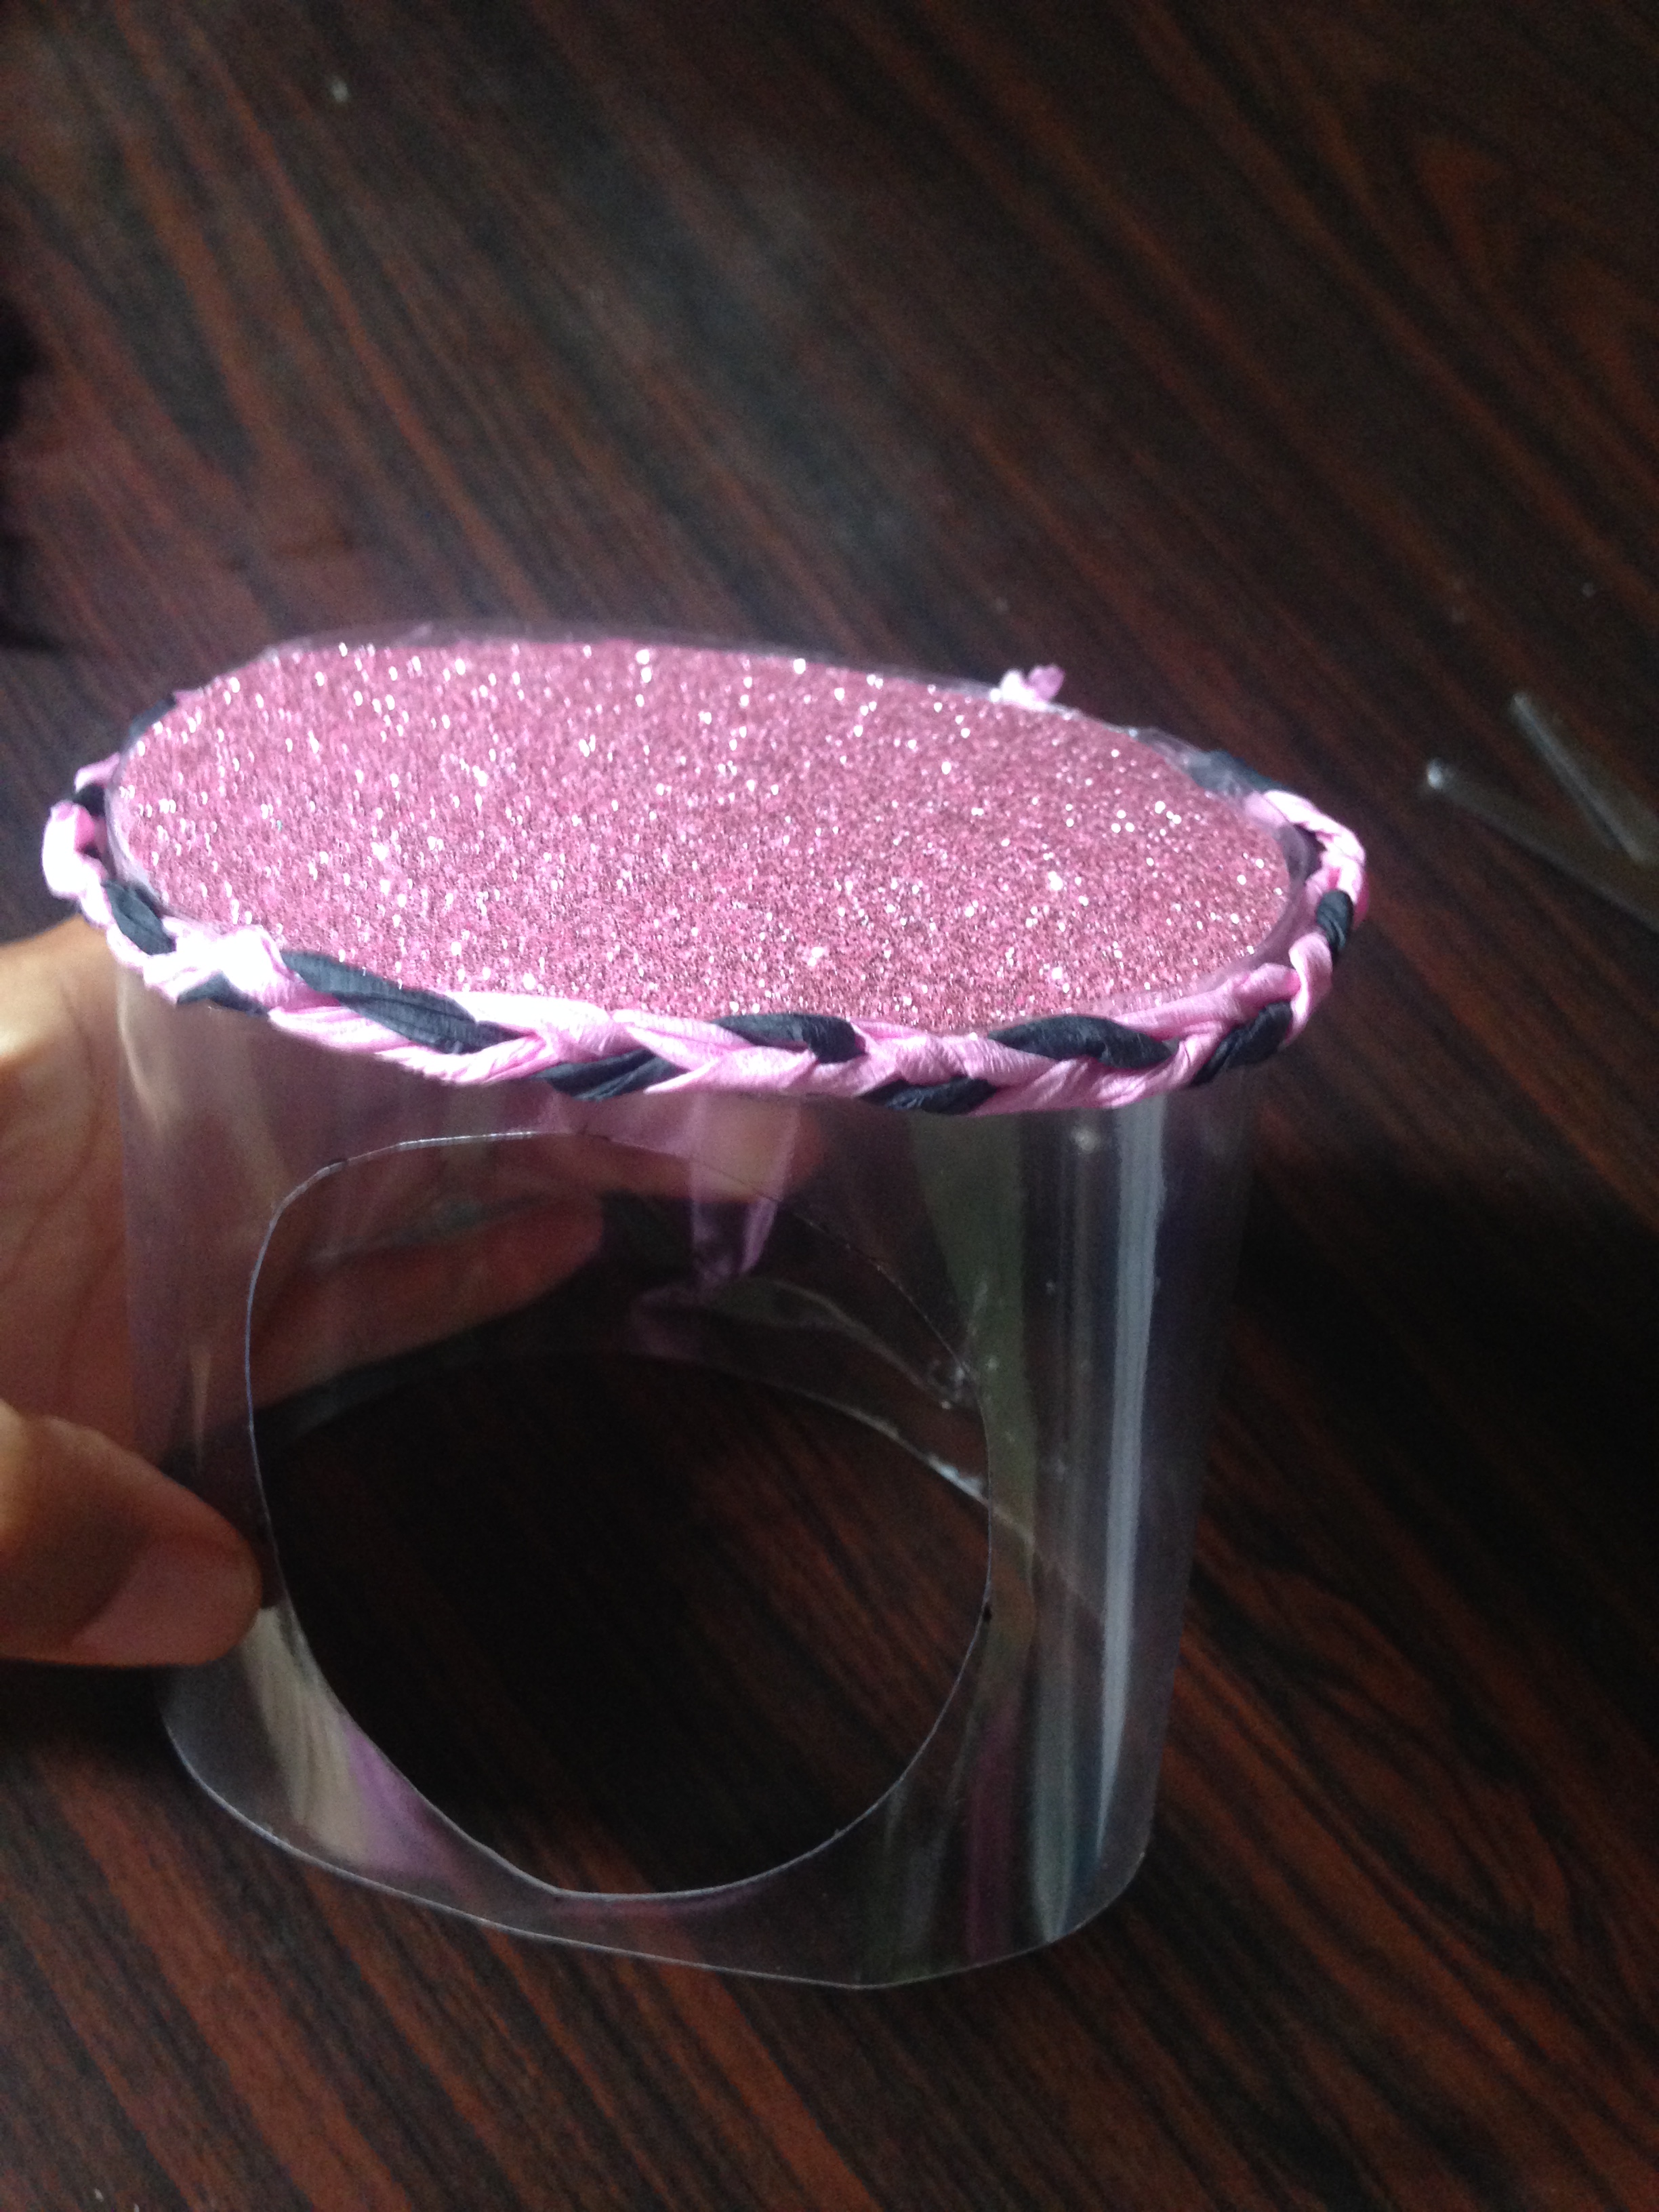
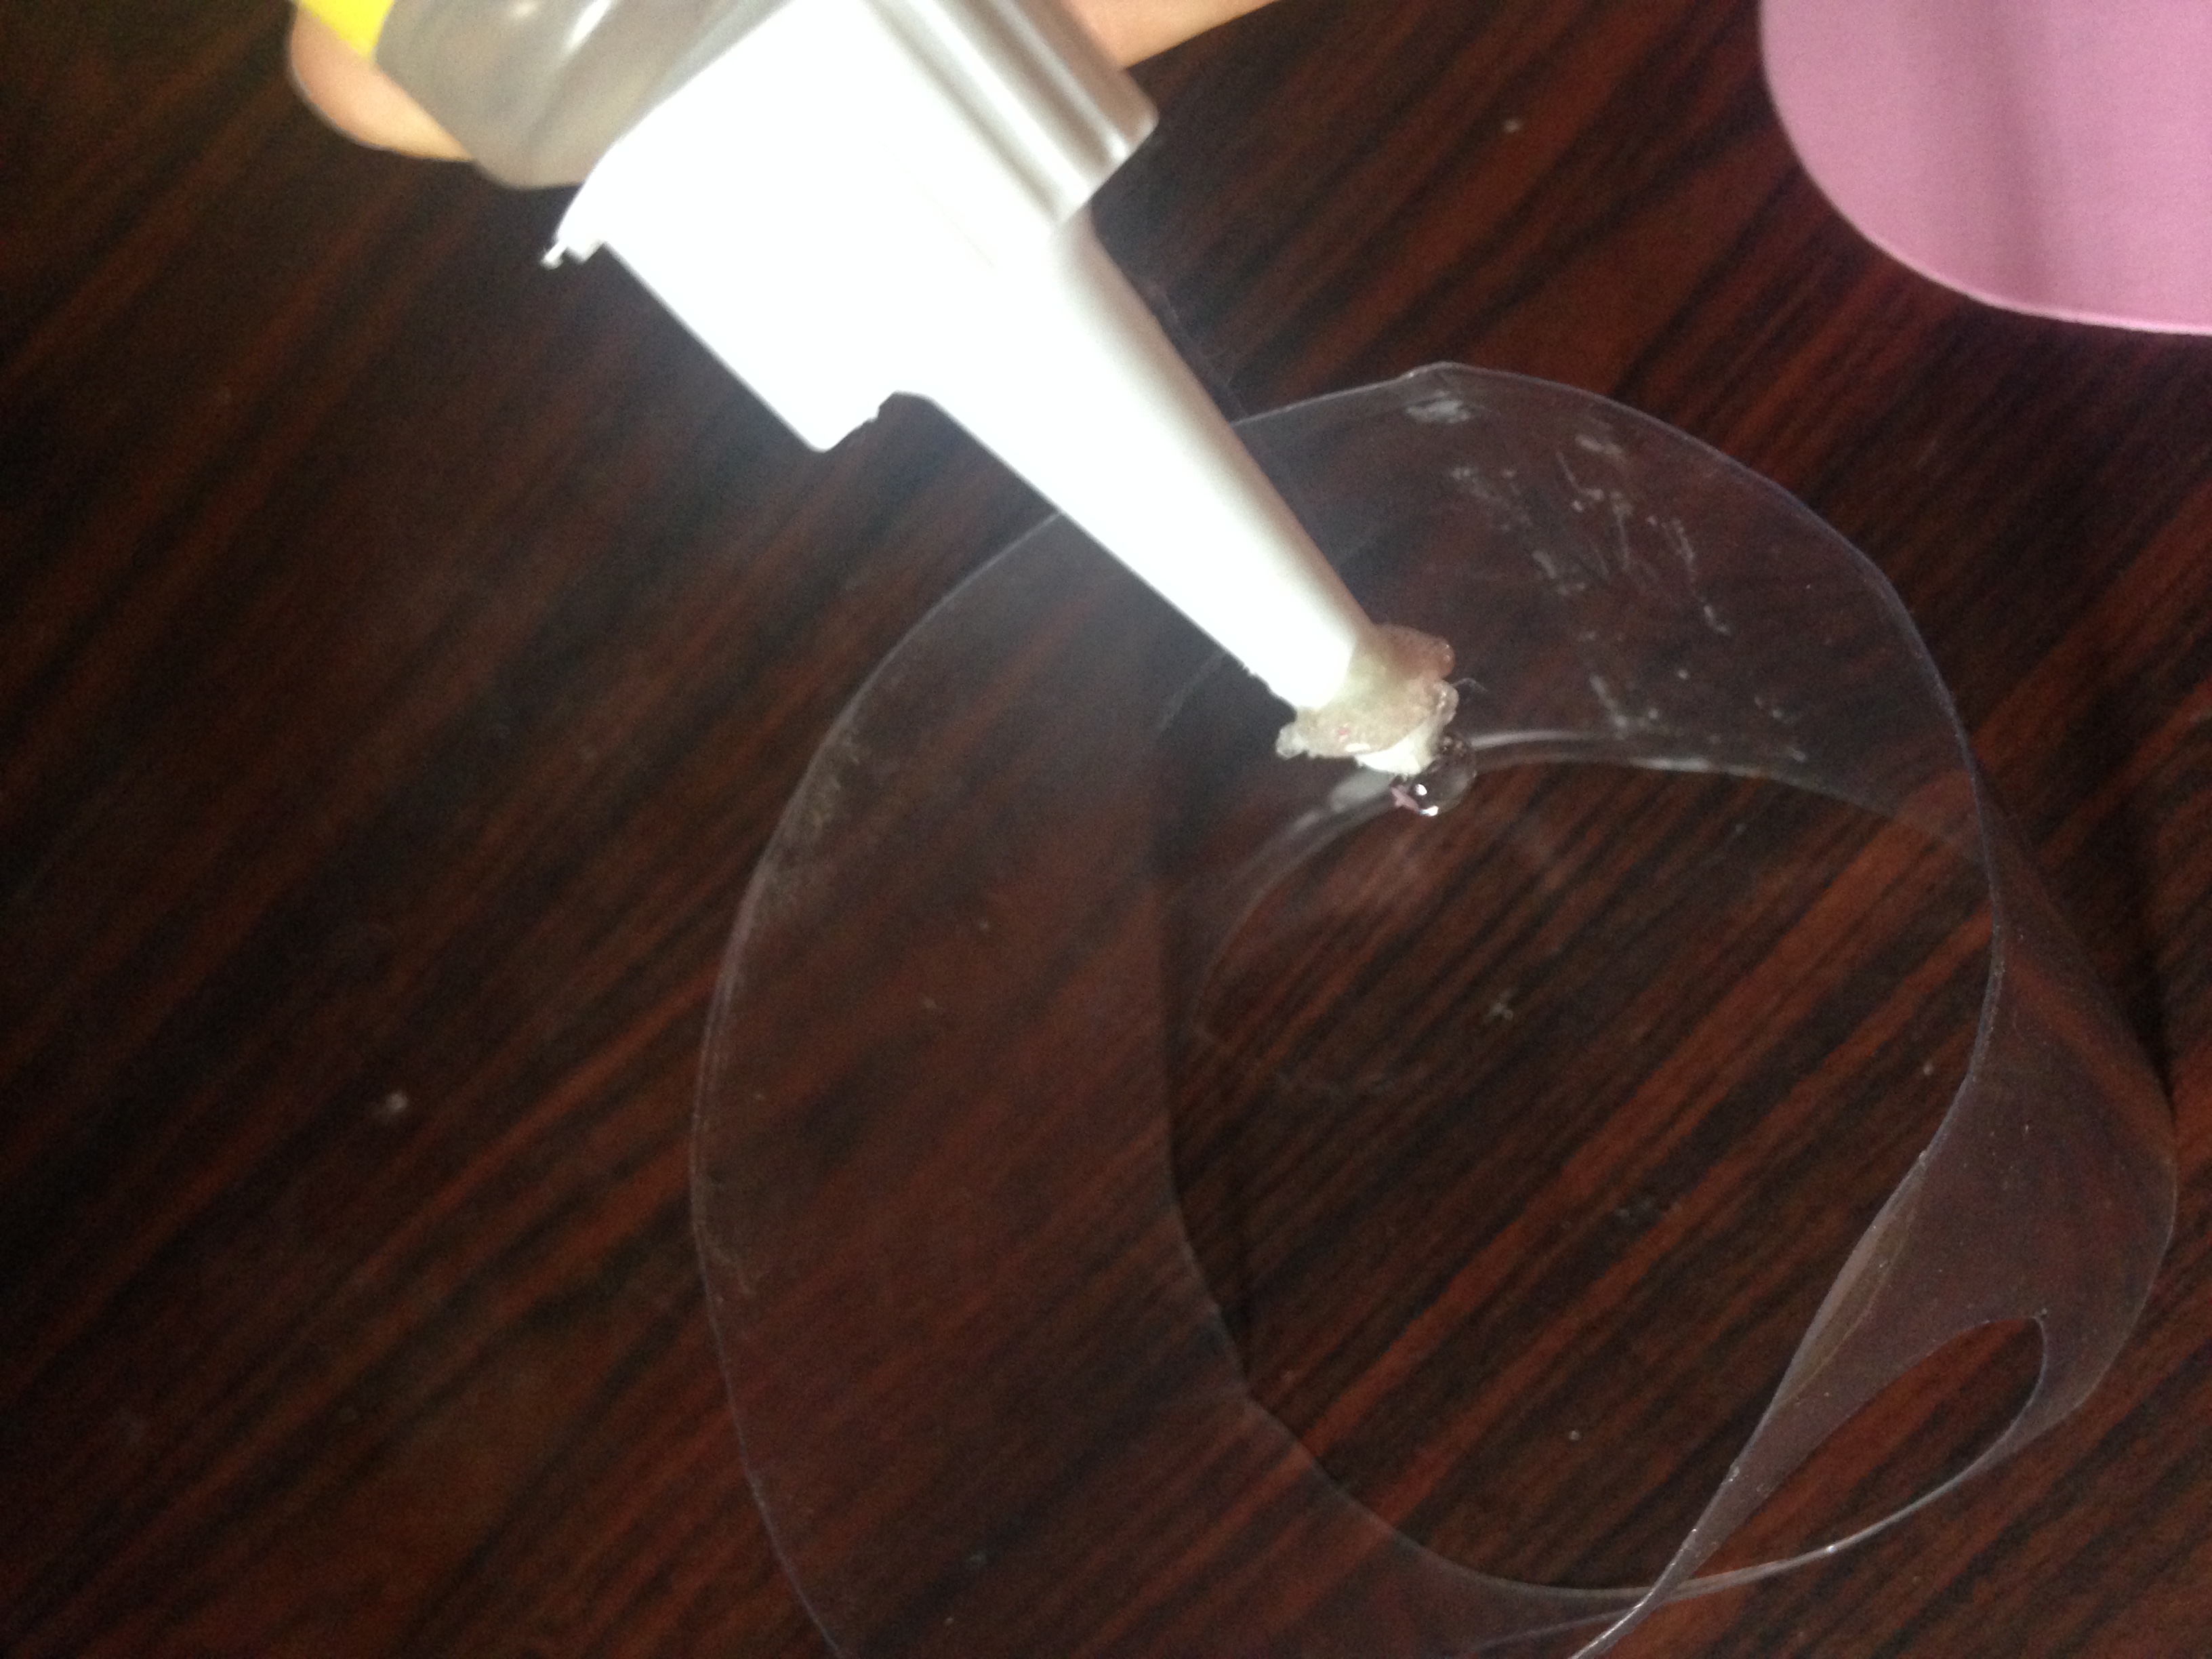
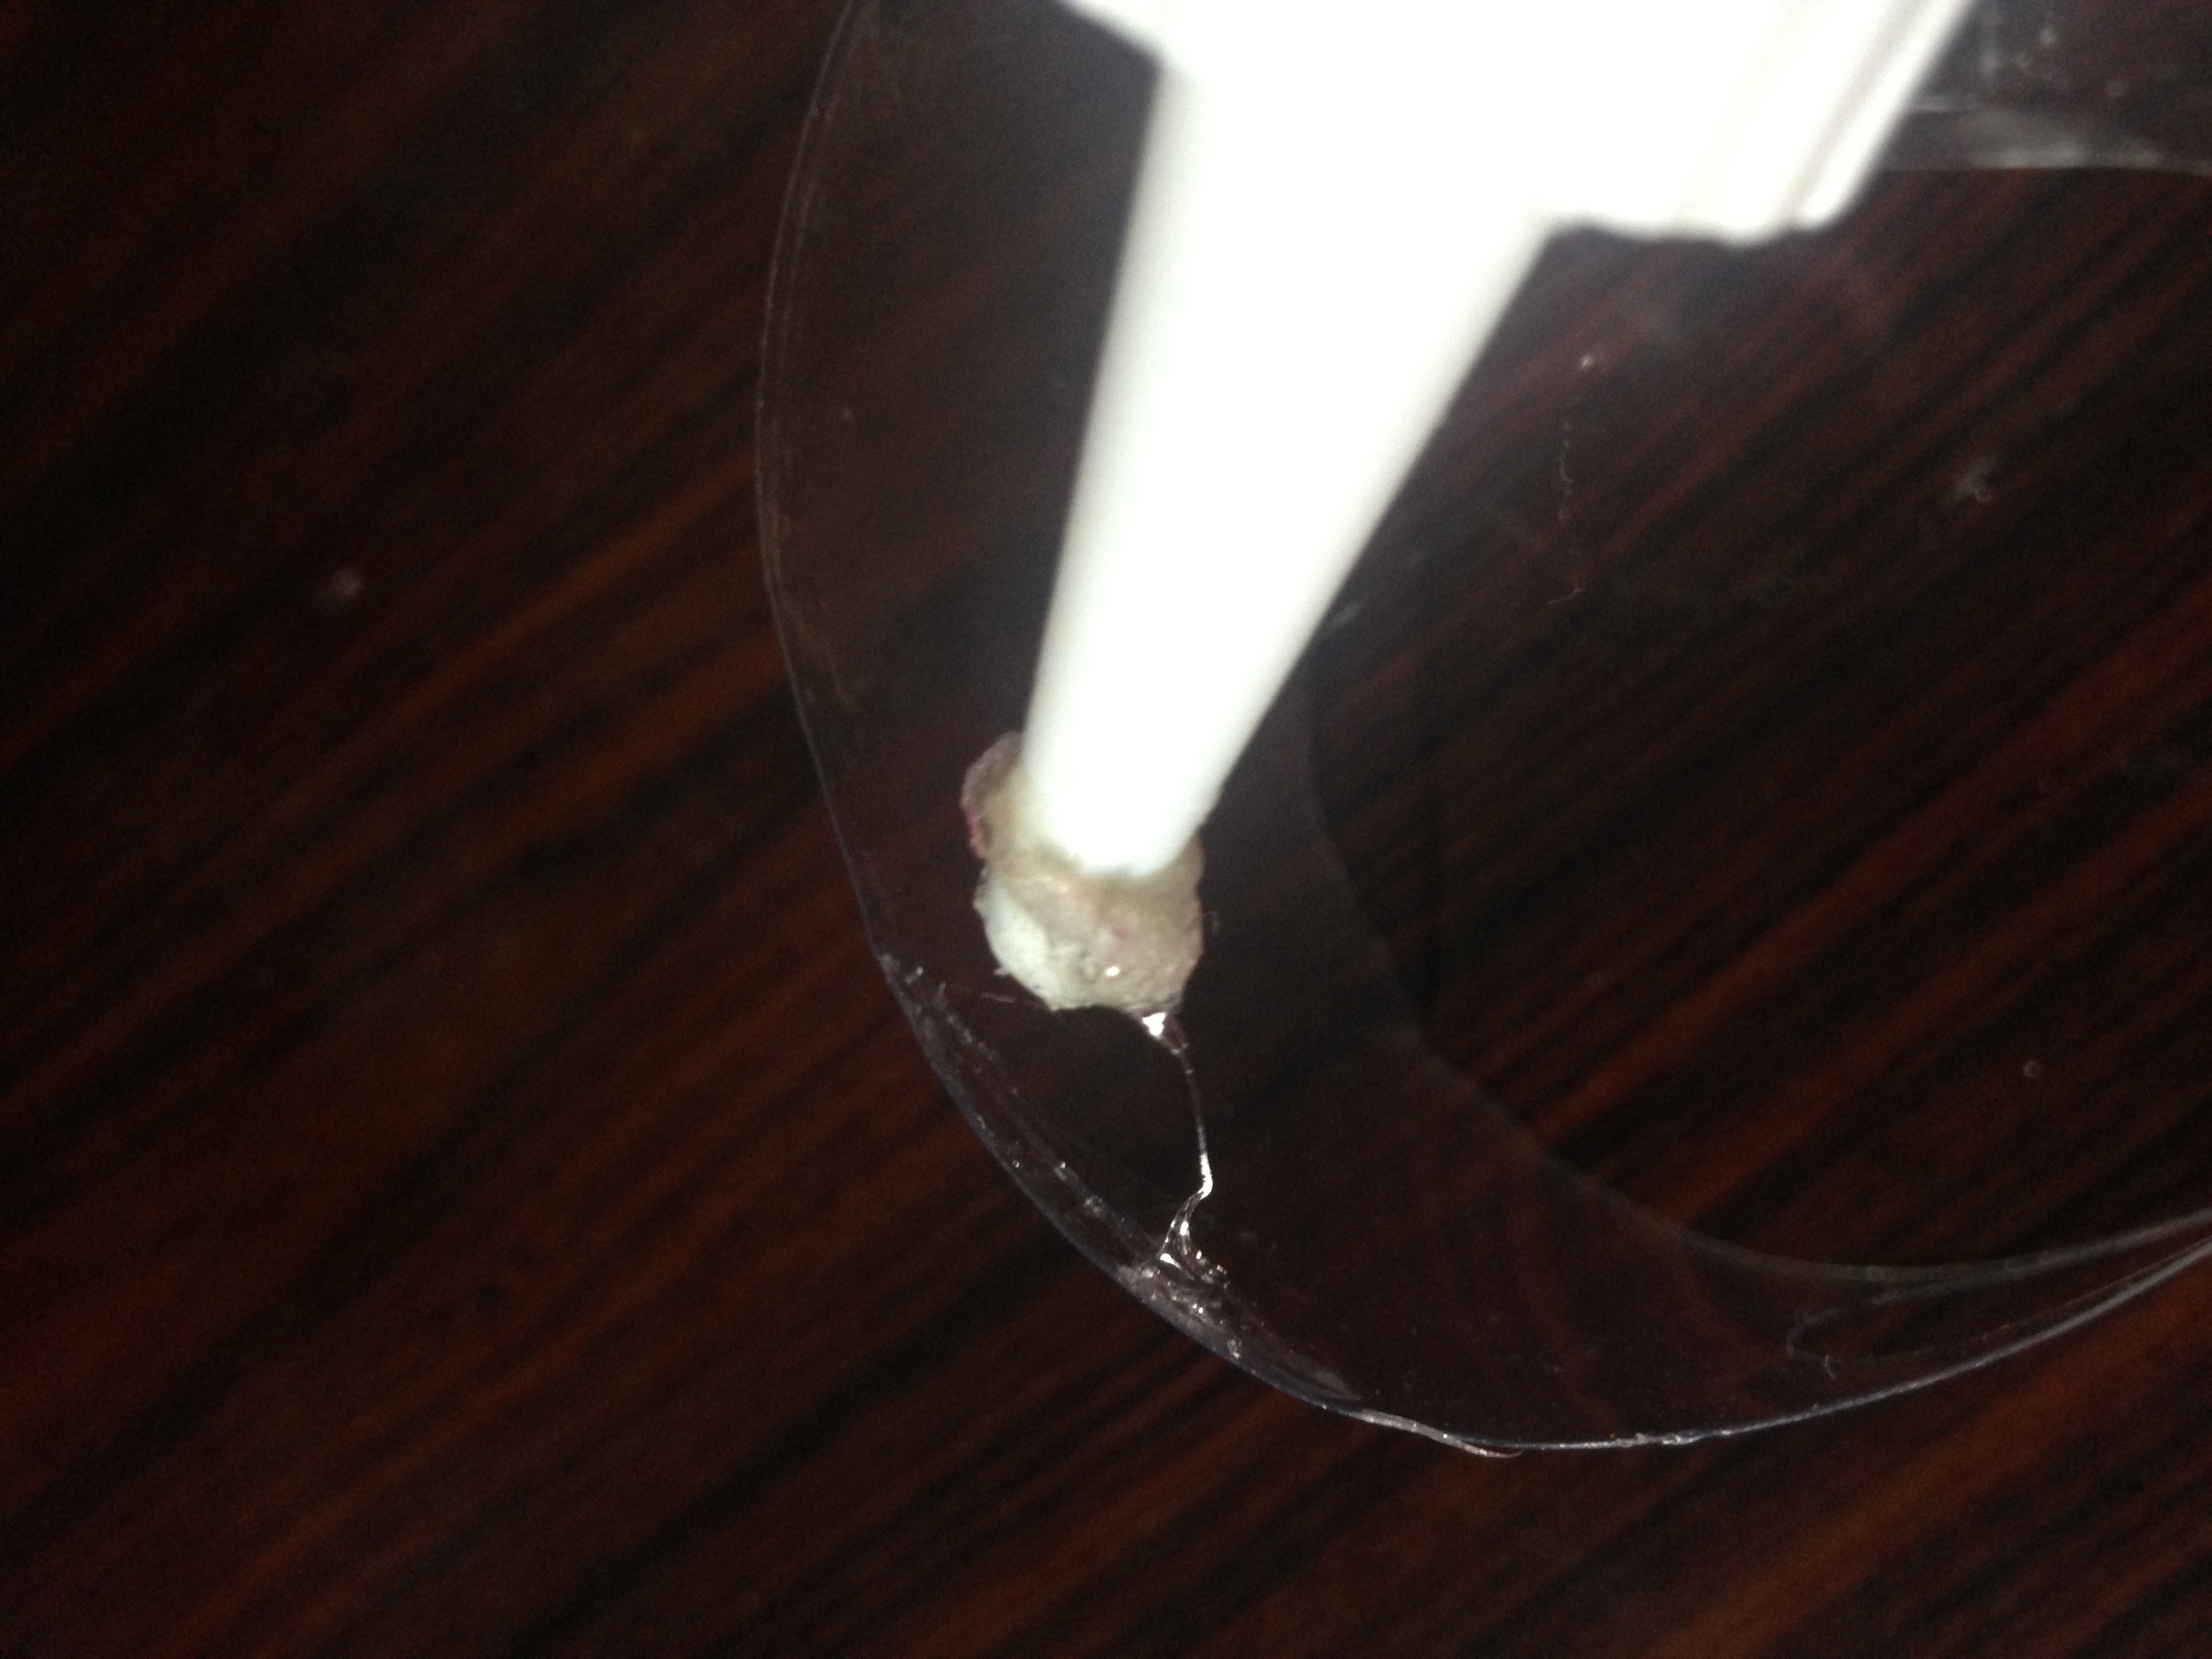
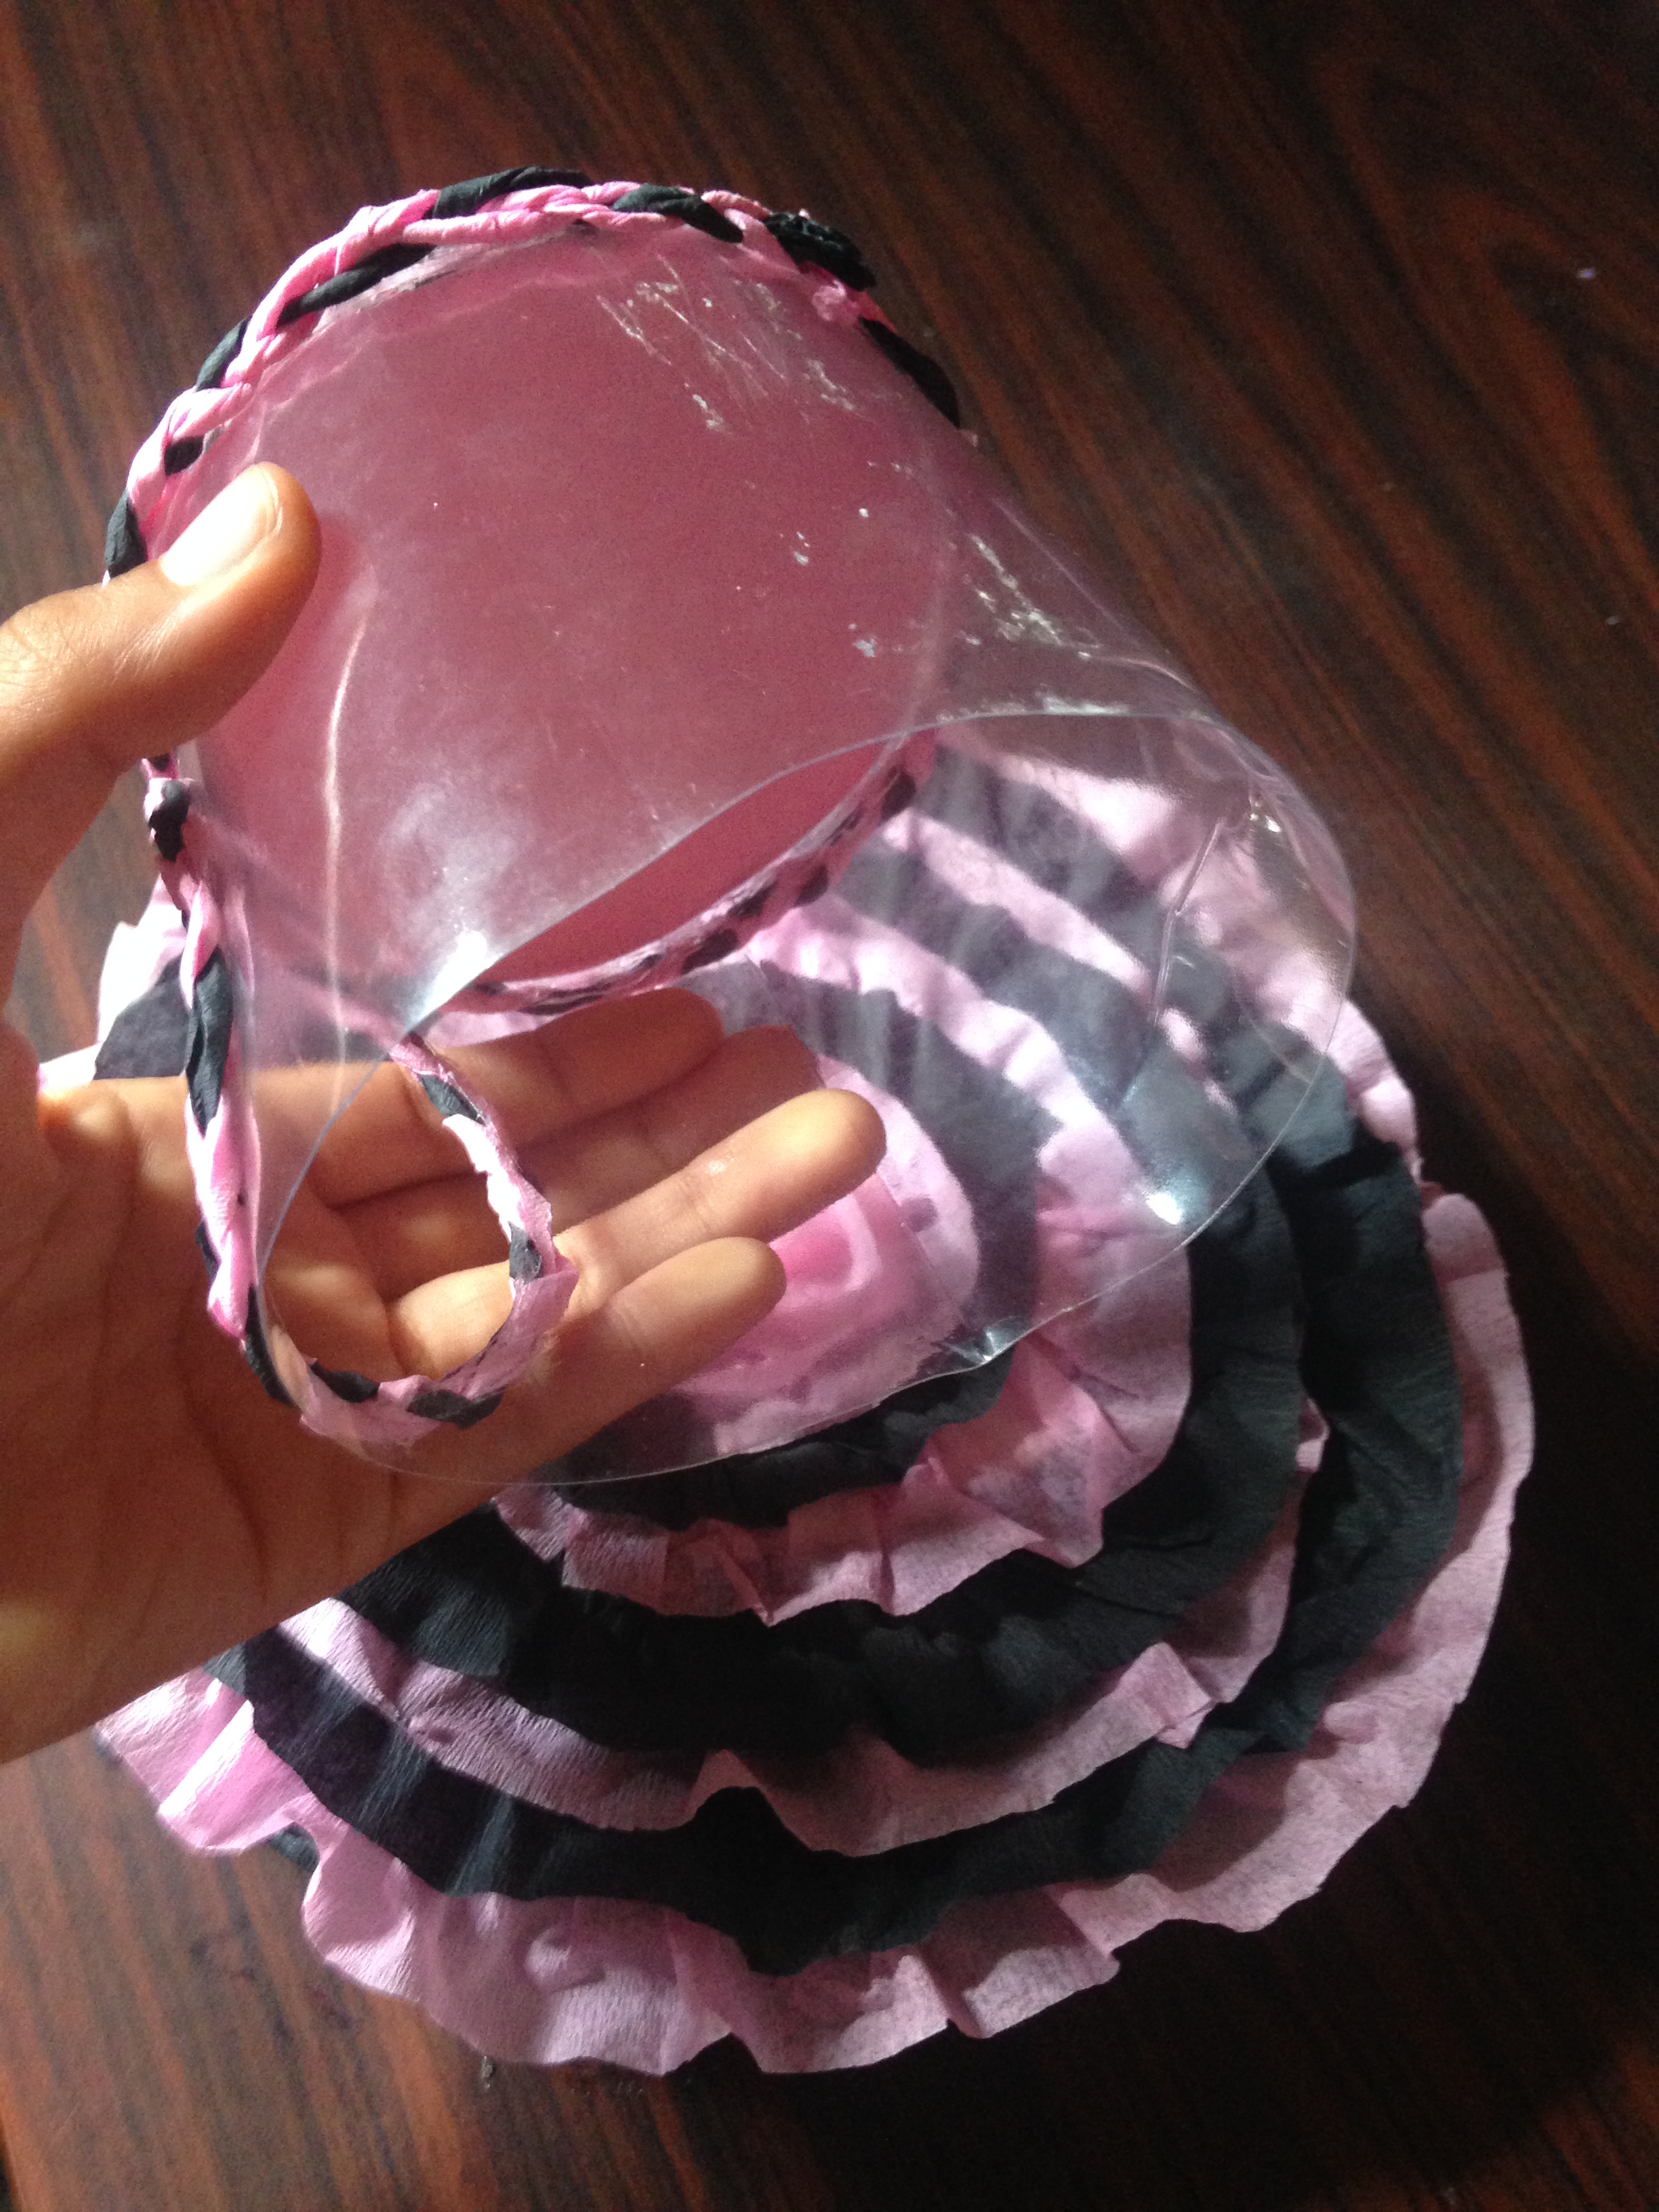
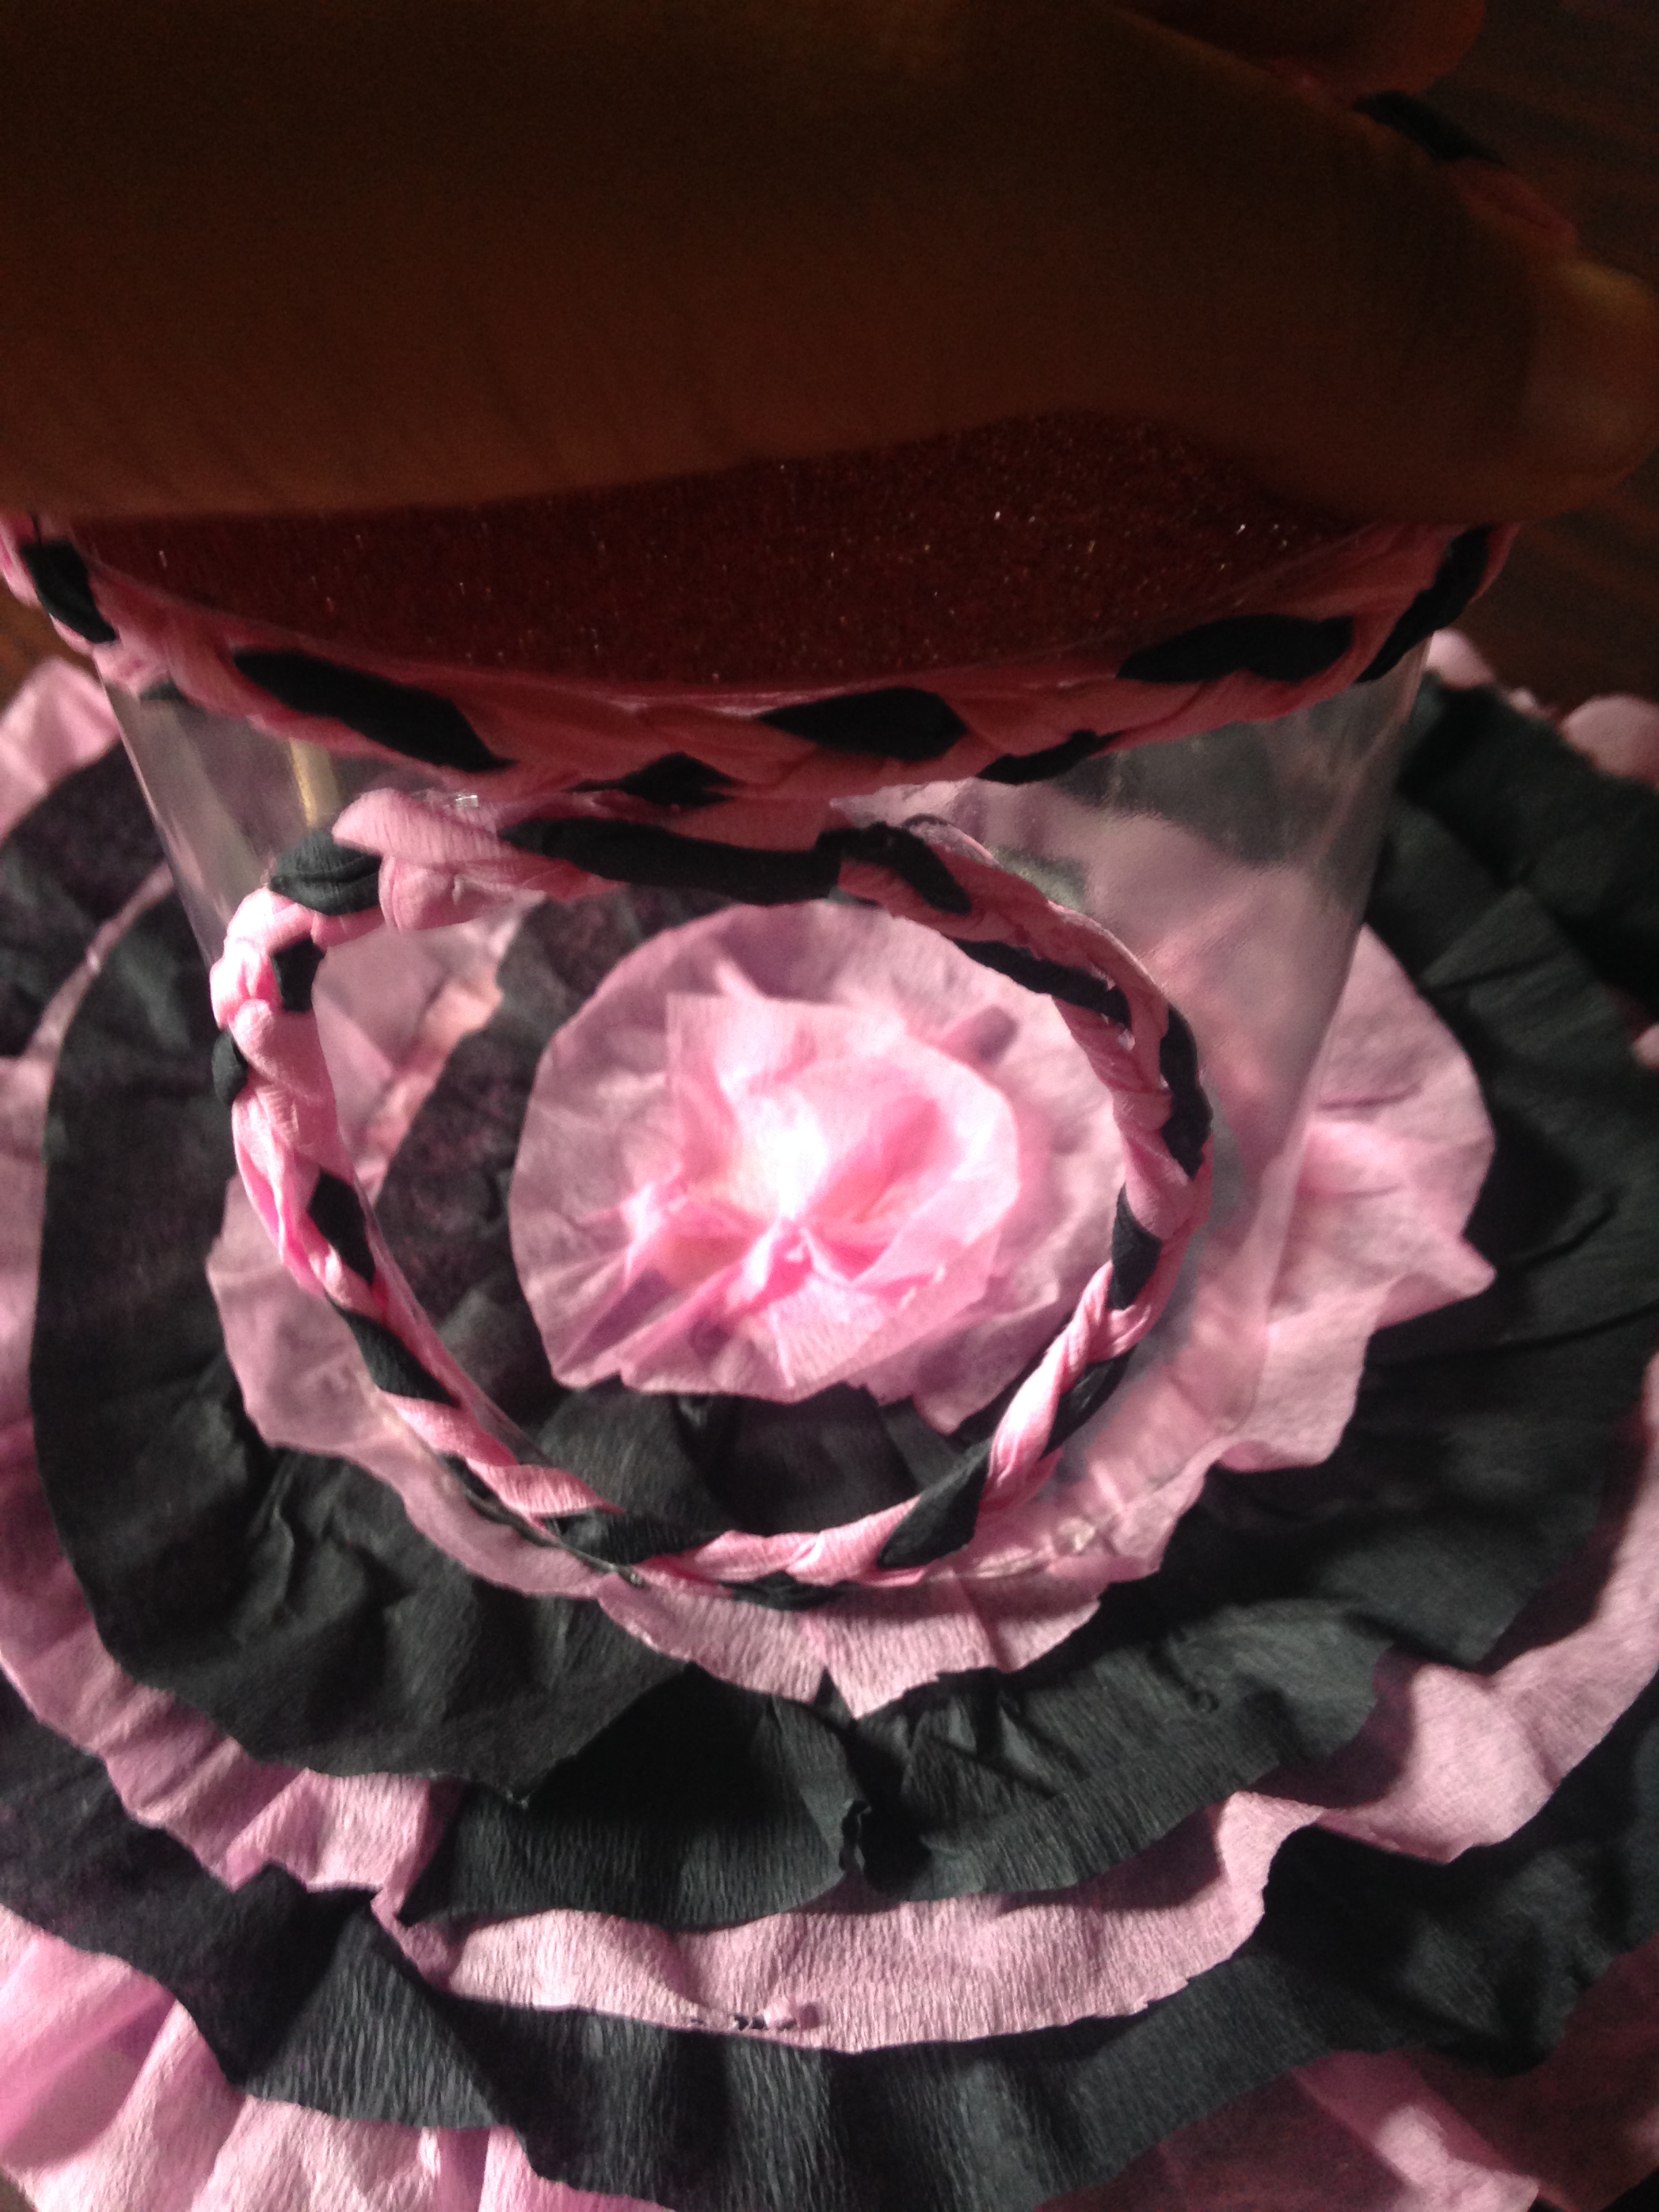
Paso 5
Then we are going to proceed to glue the cylinder at the base of the pacifier, all over the center.
Step 5
Then we are going to proceed to glue the cylinder at the base of the pacifier, all over the center.
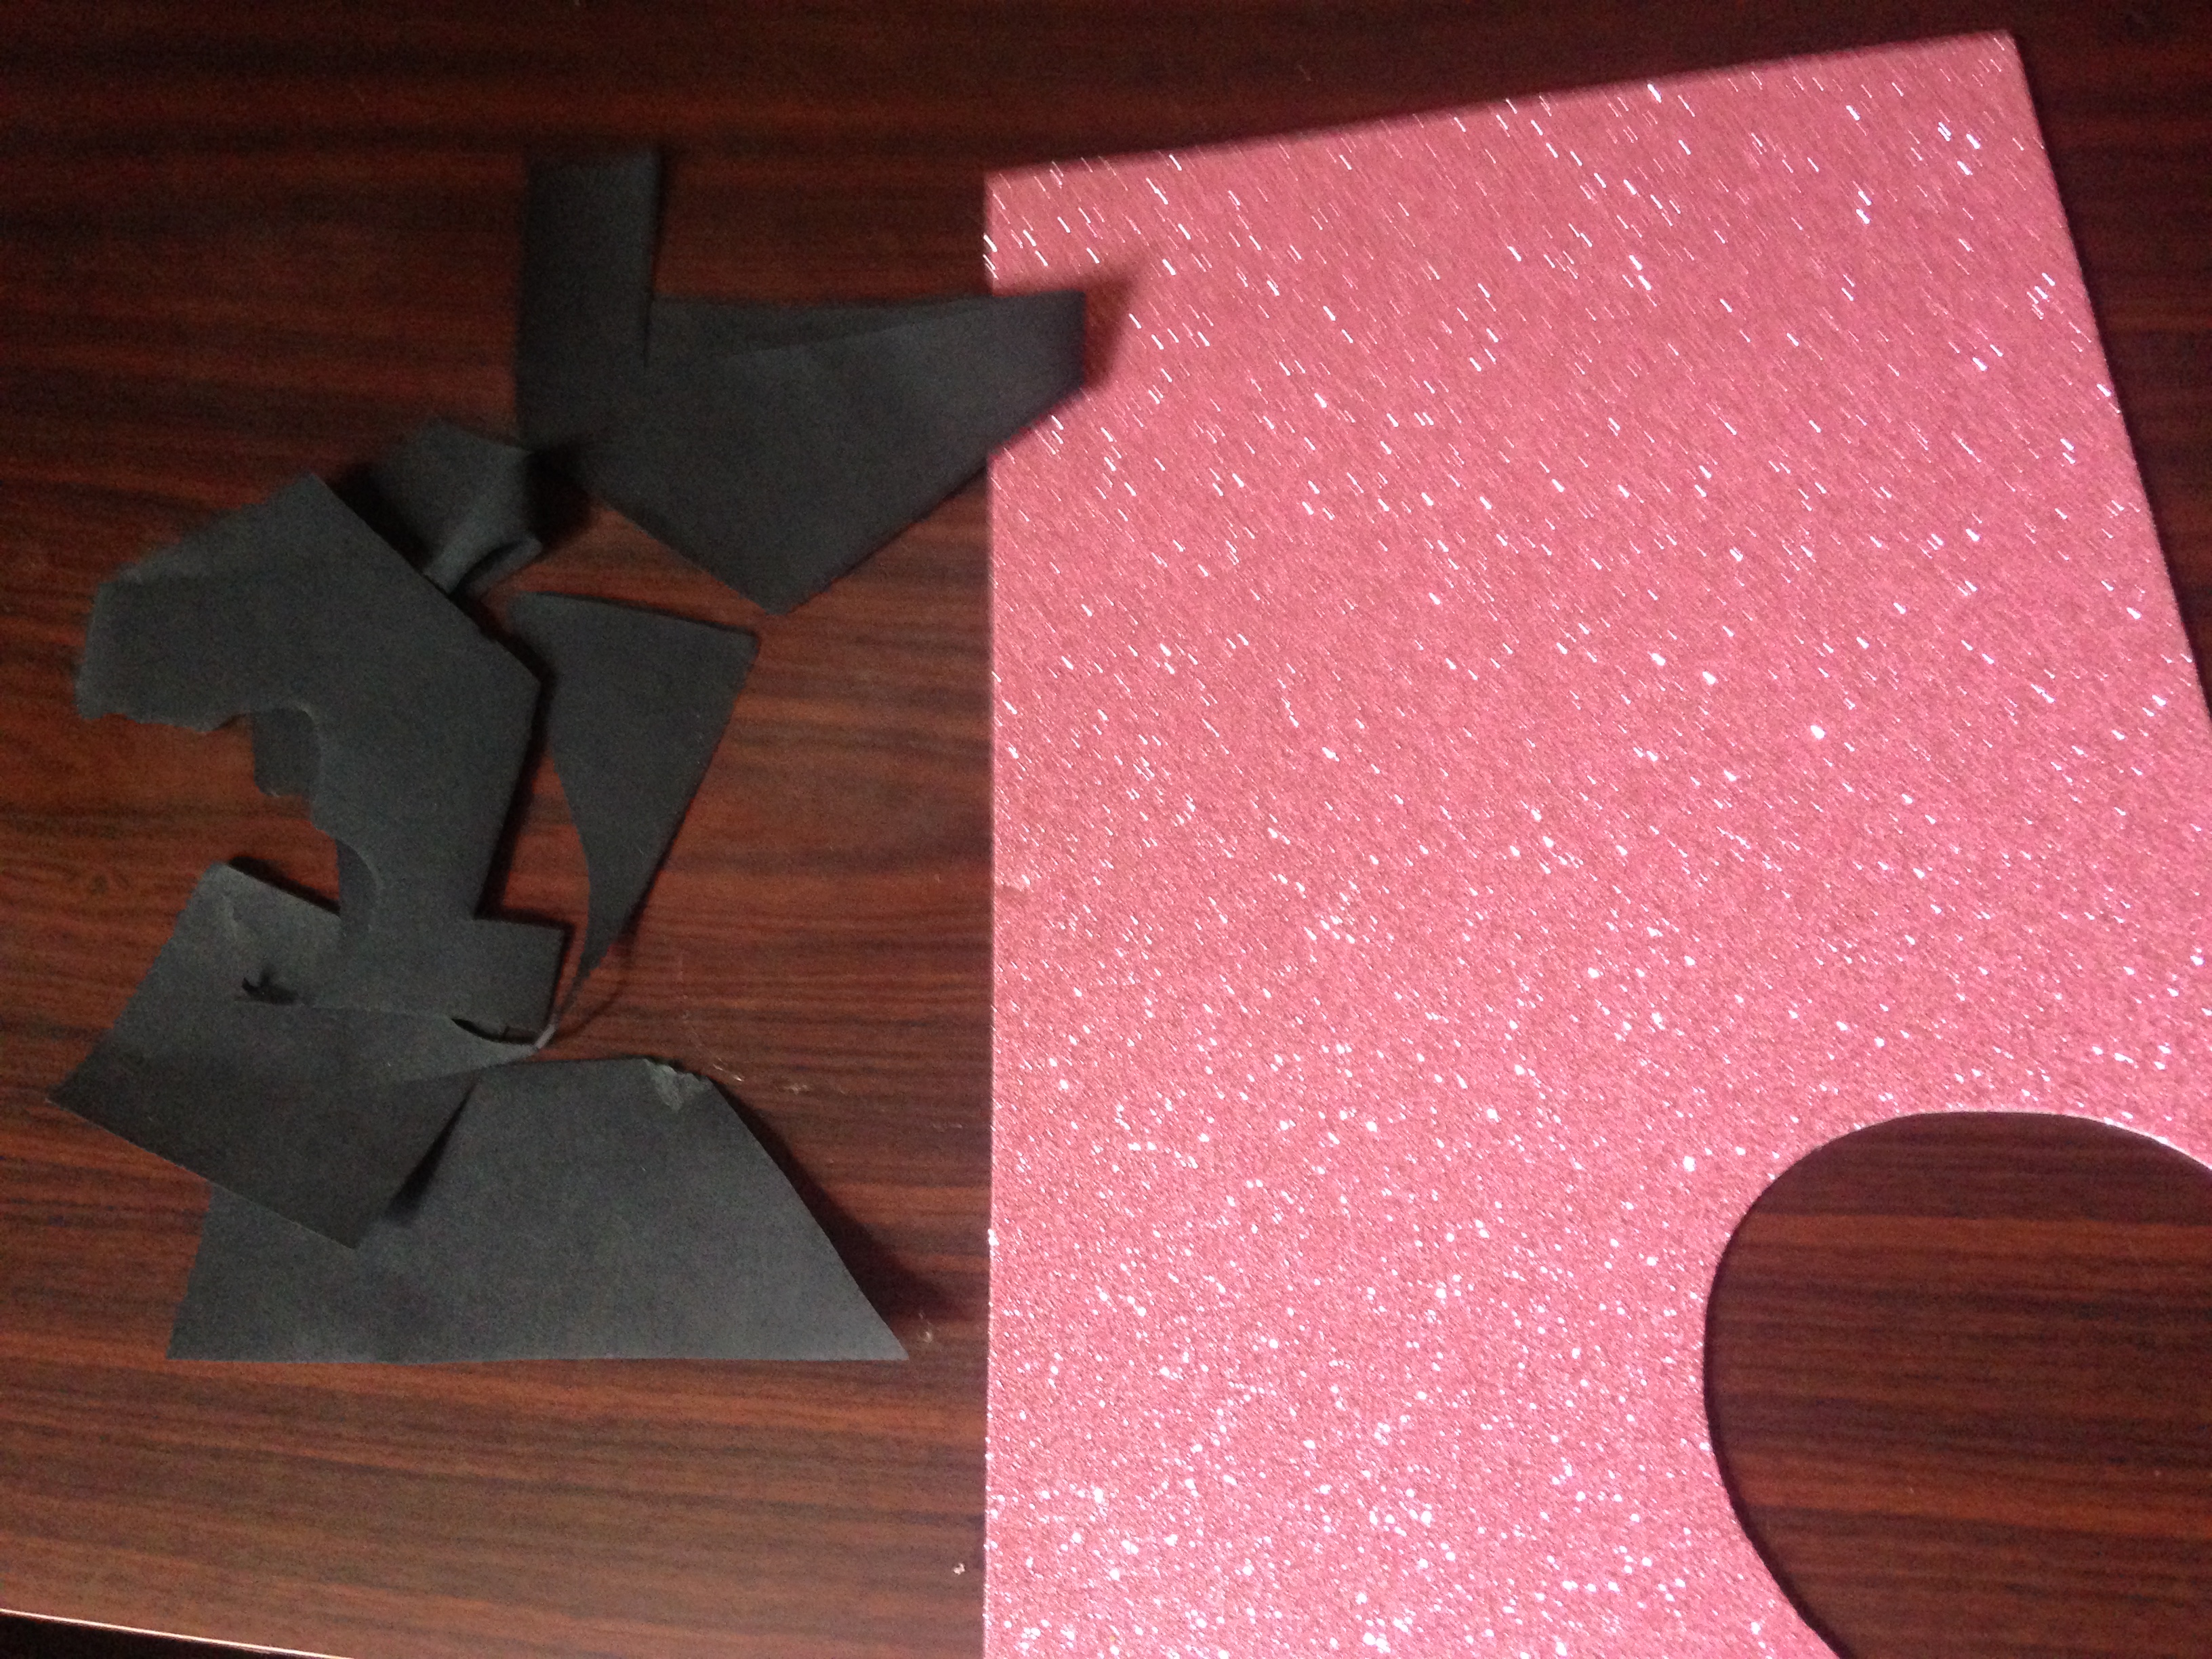
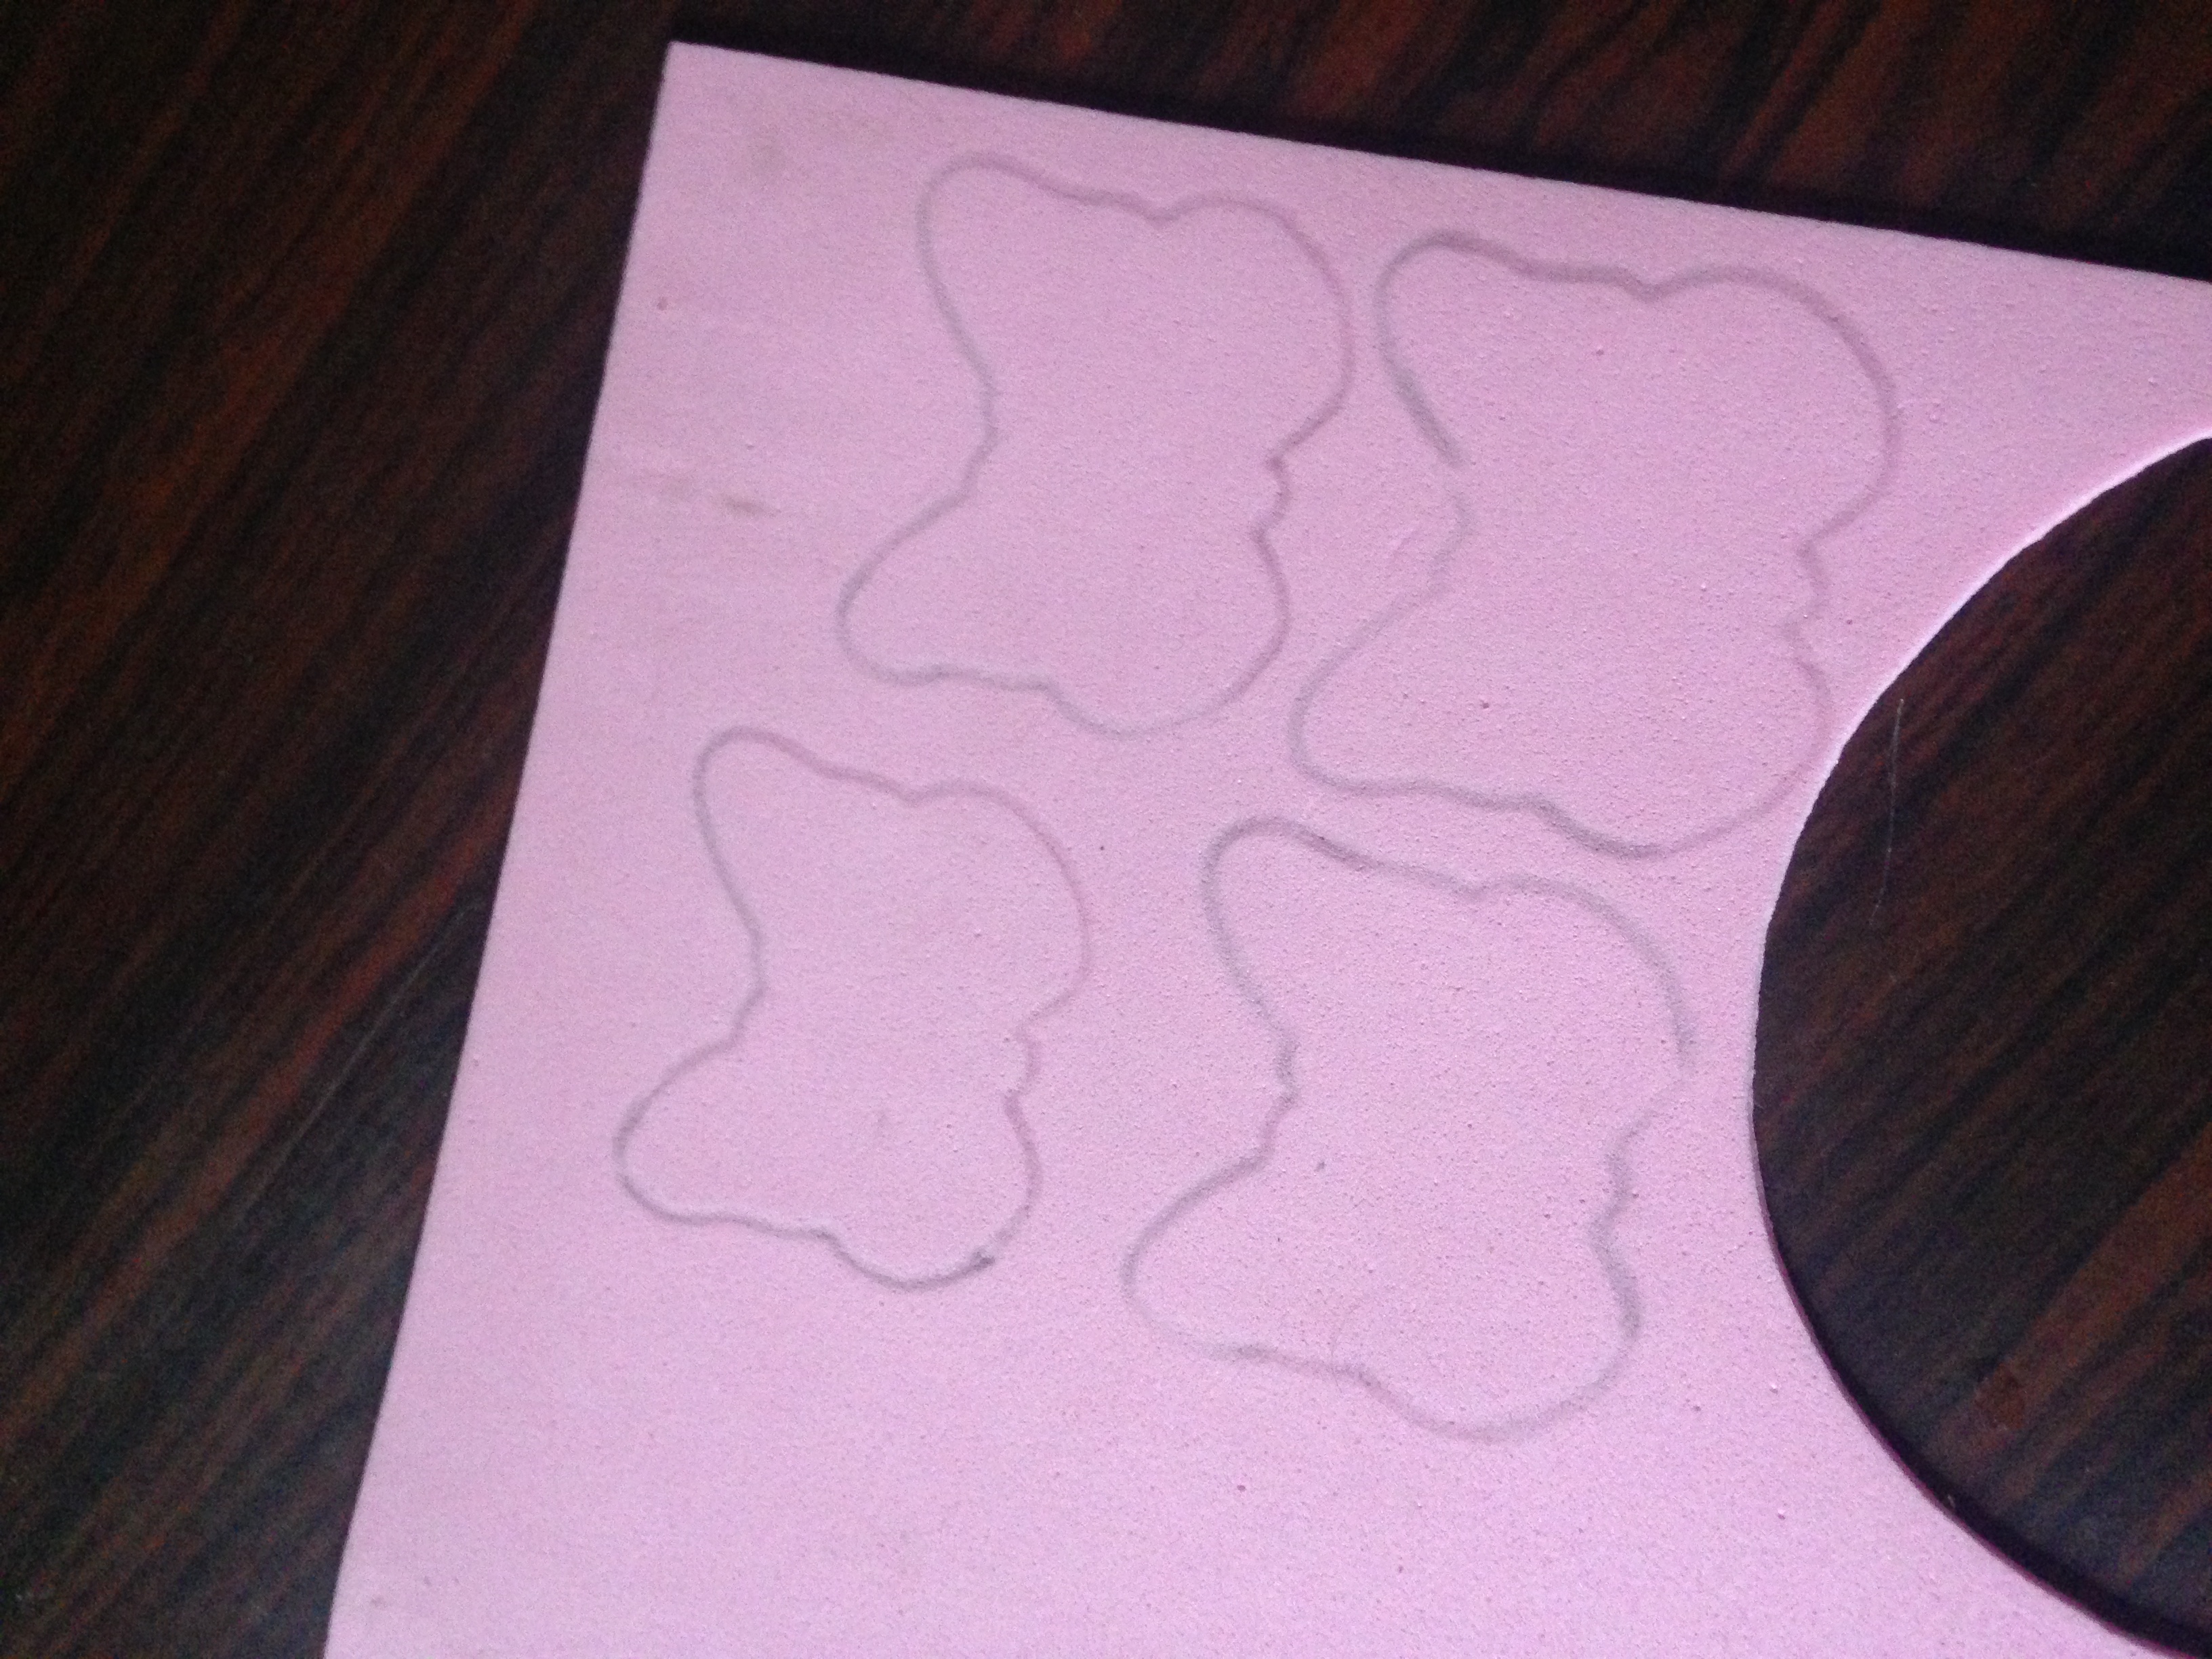
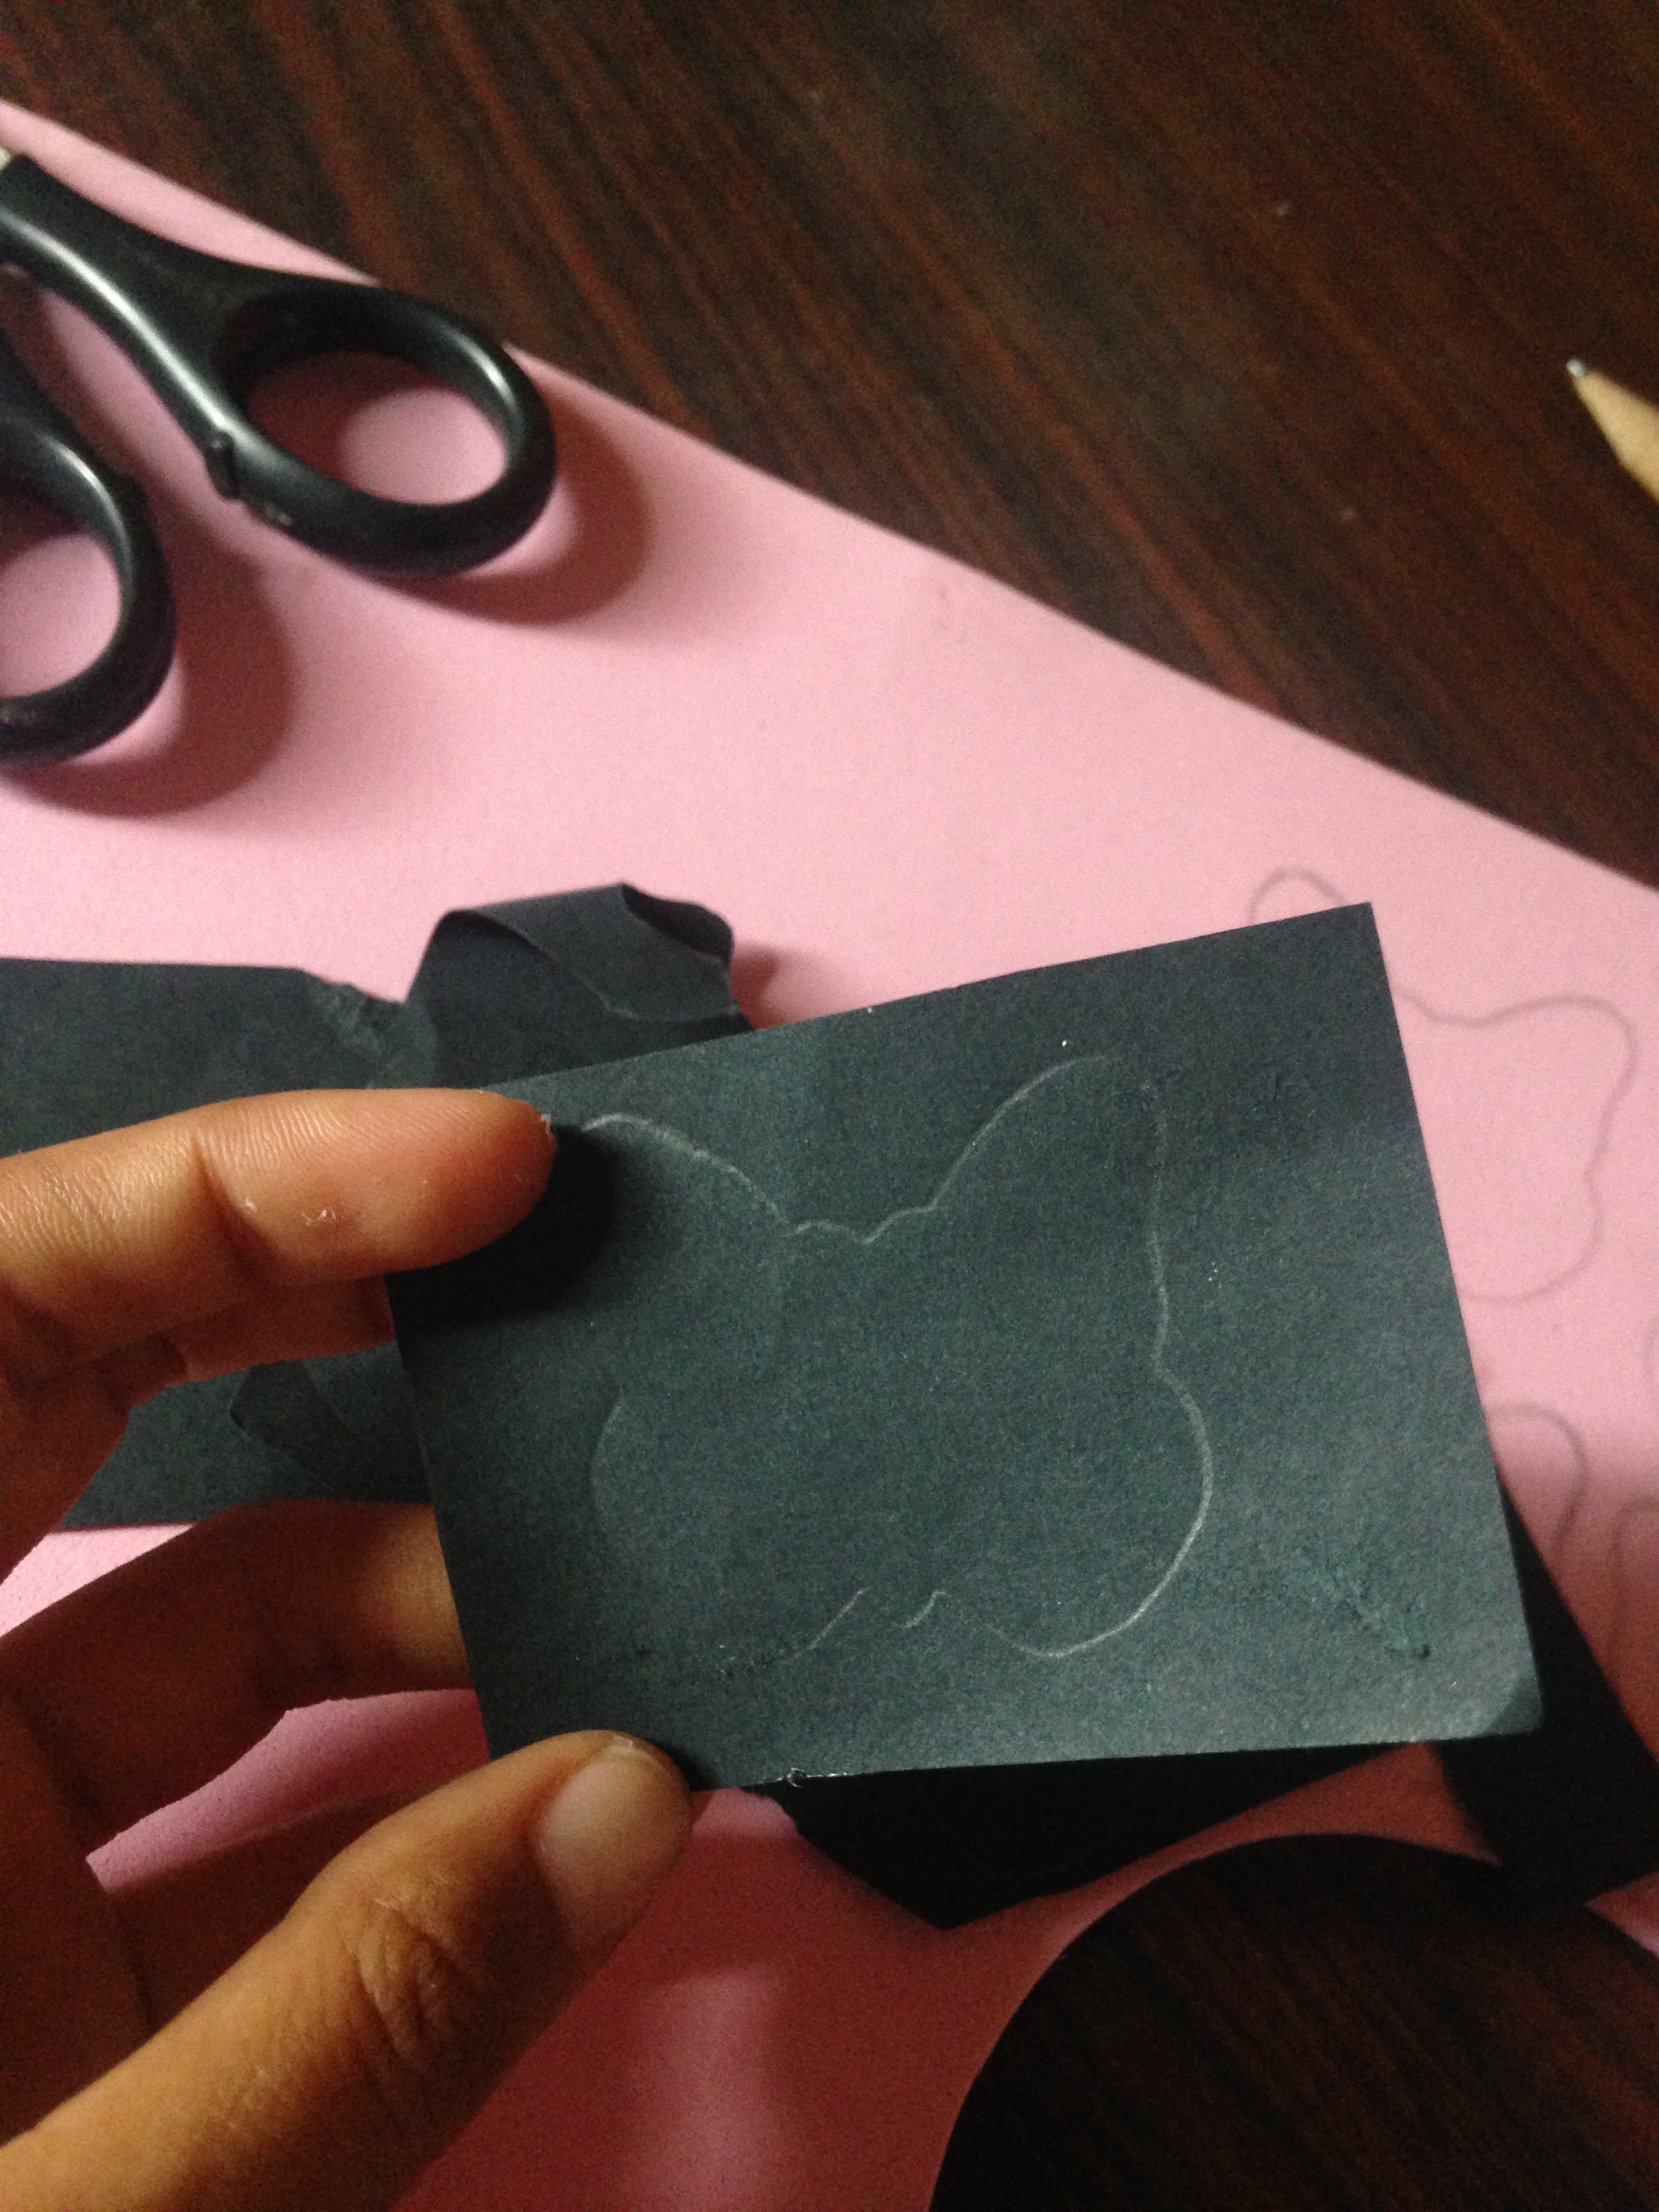
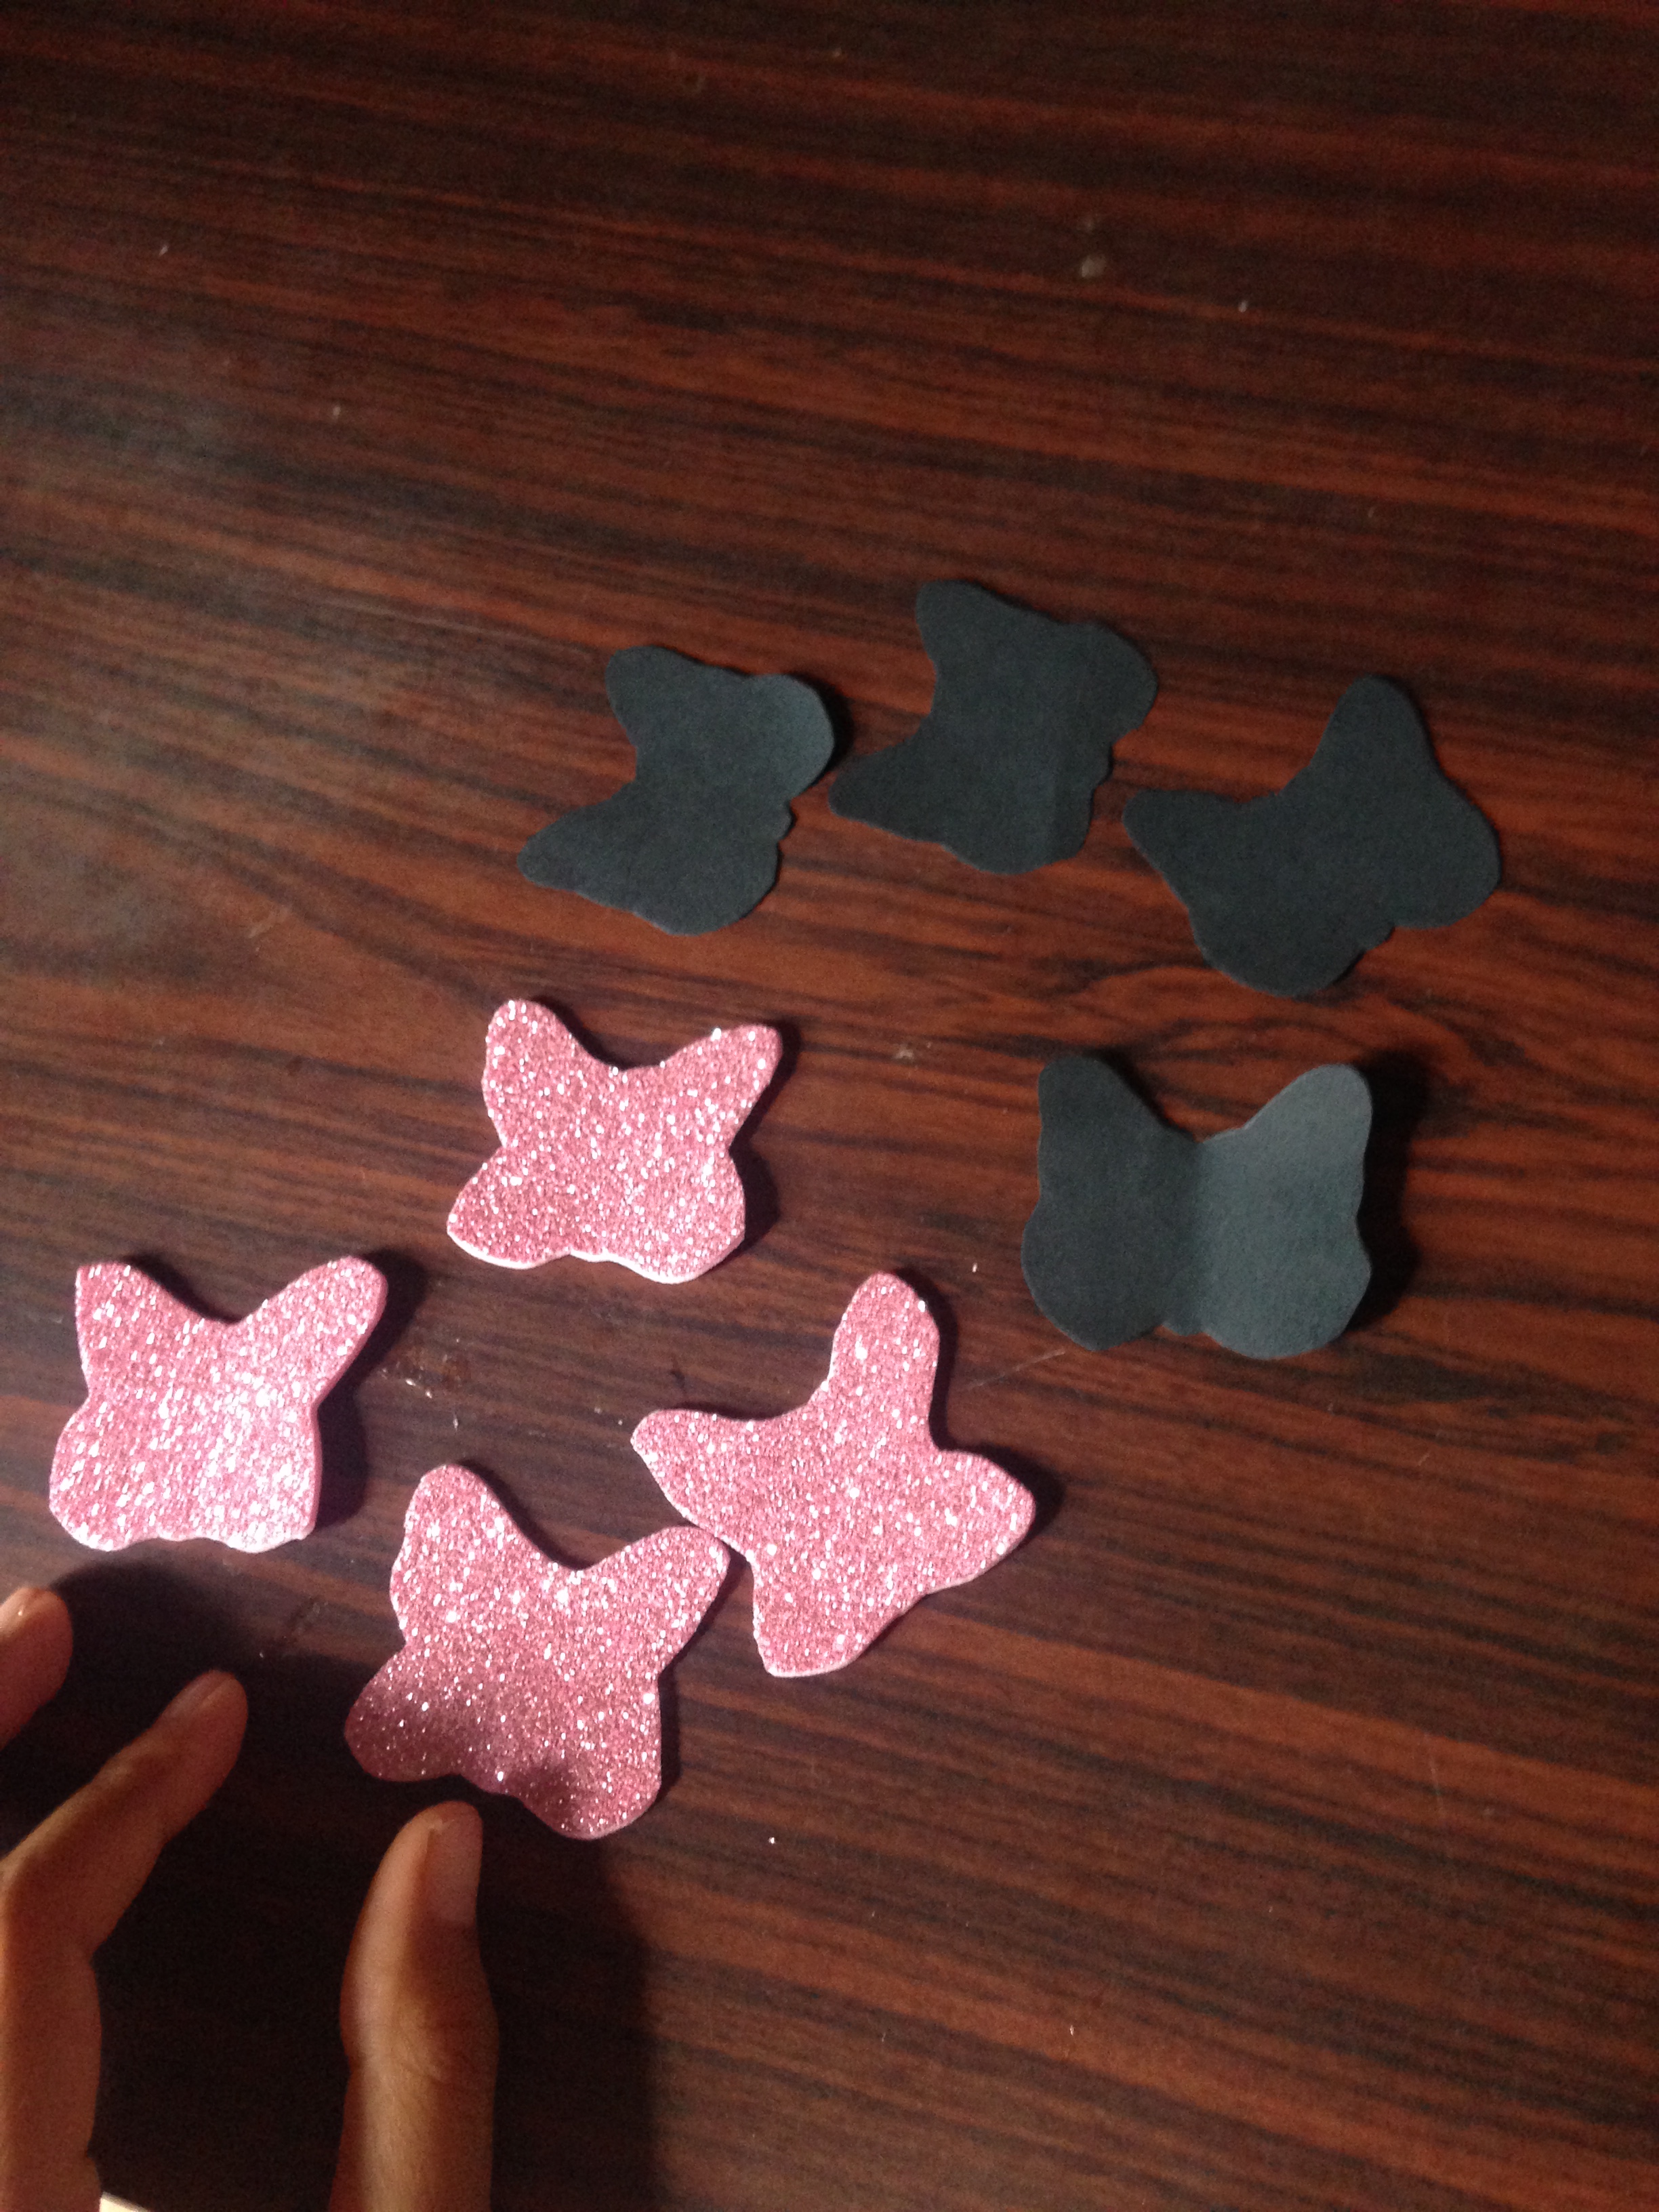
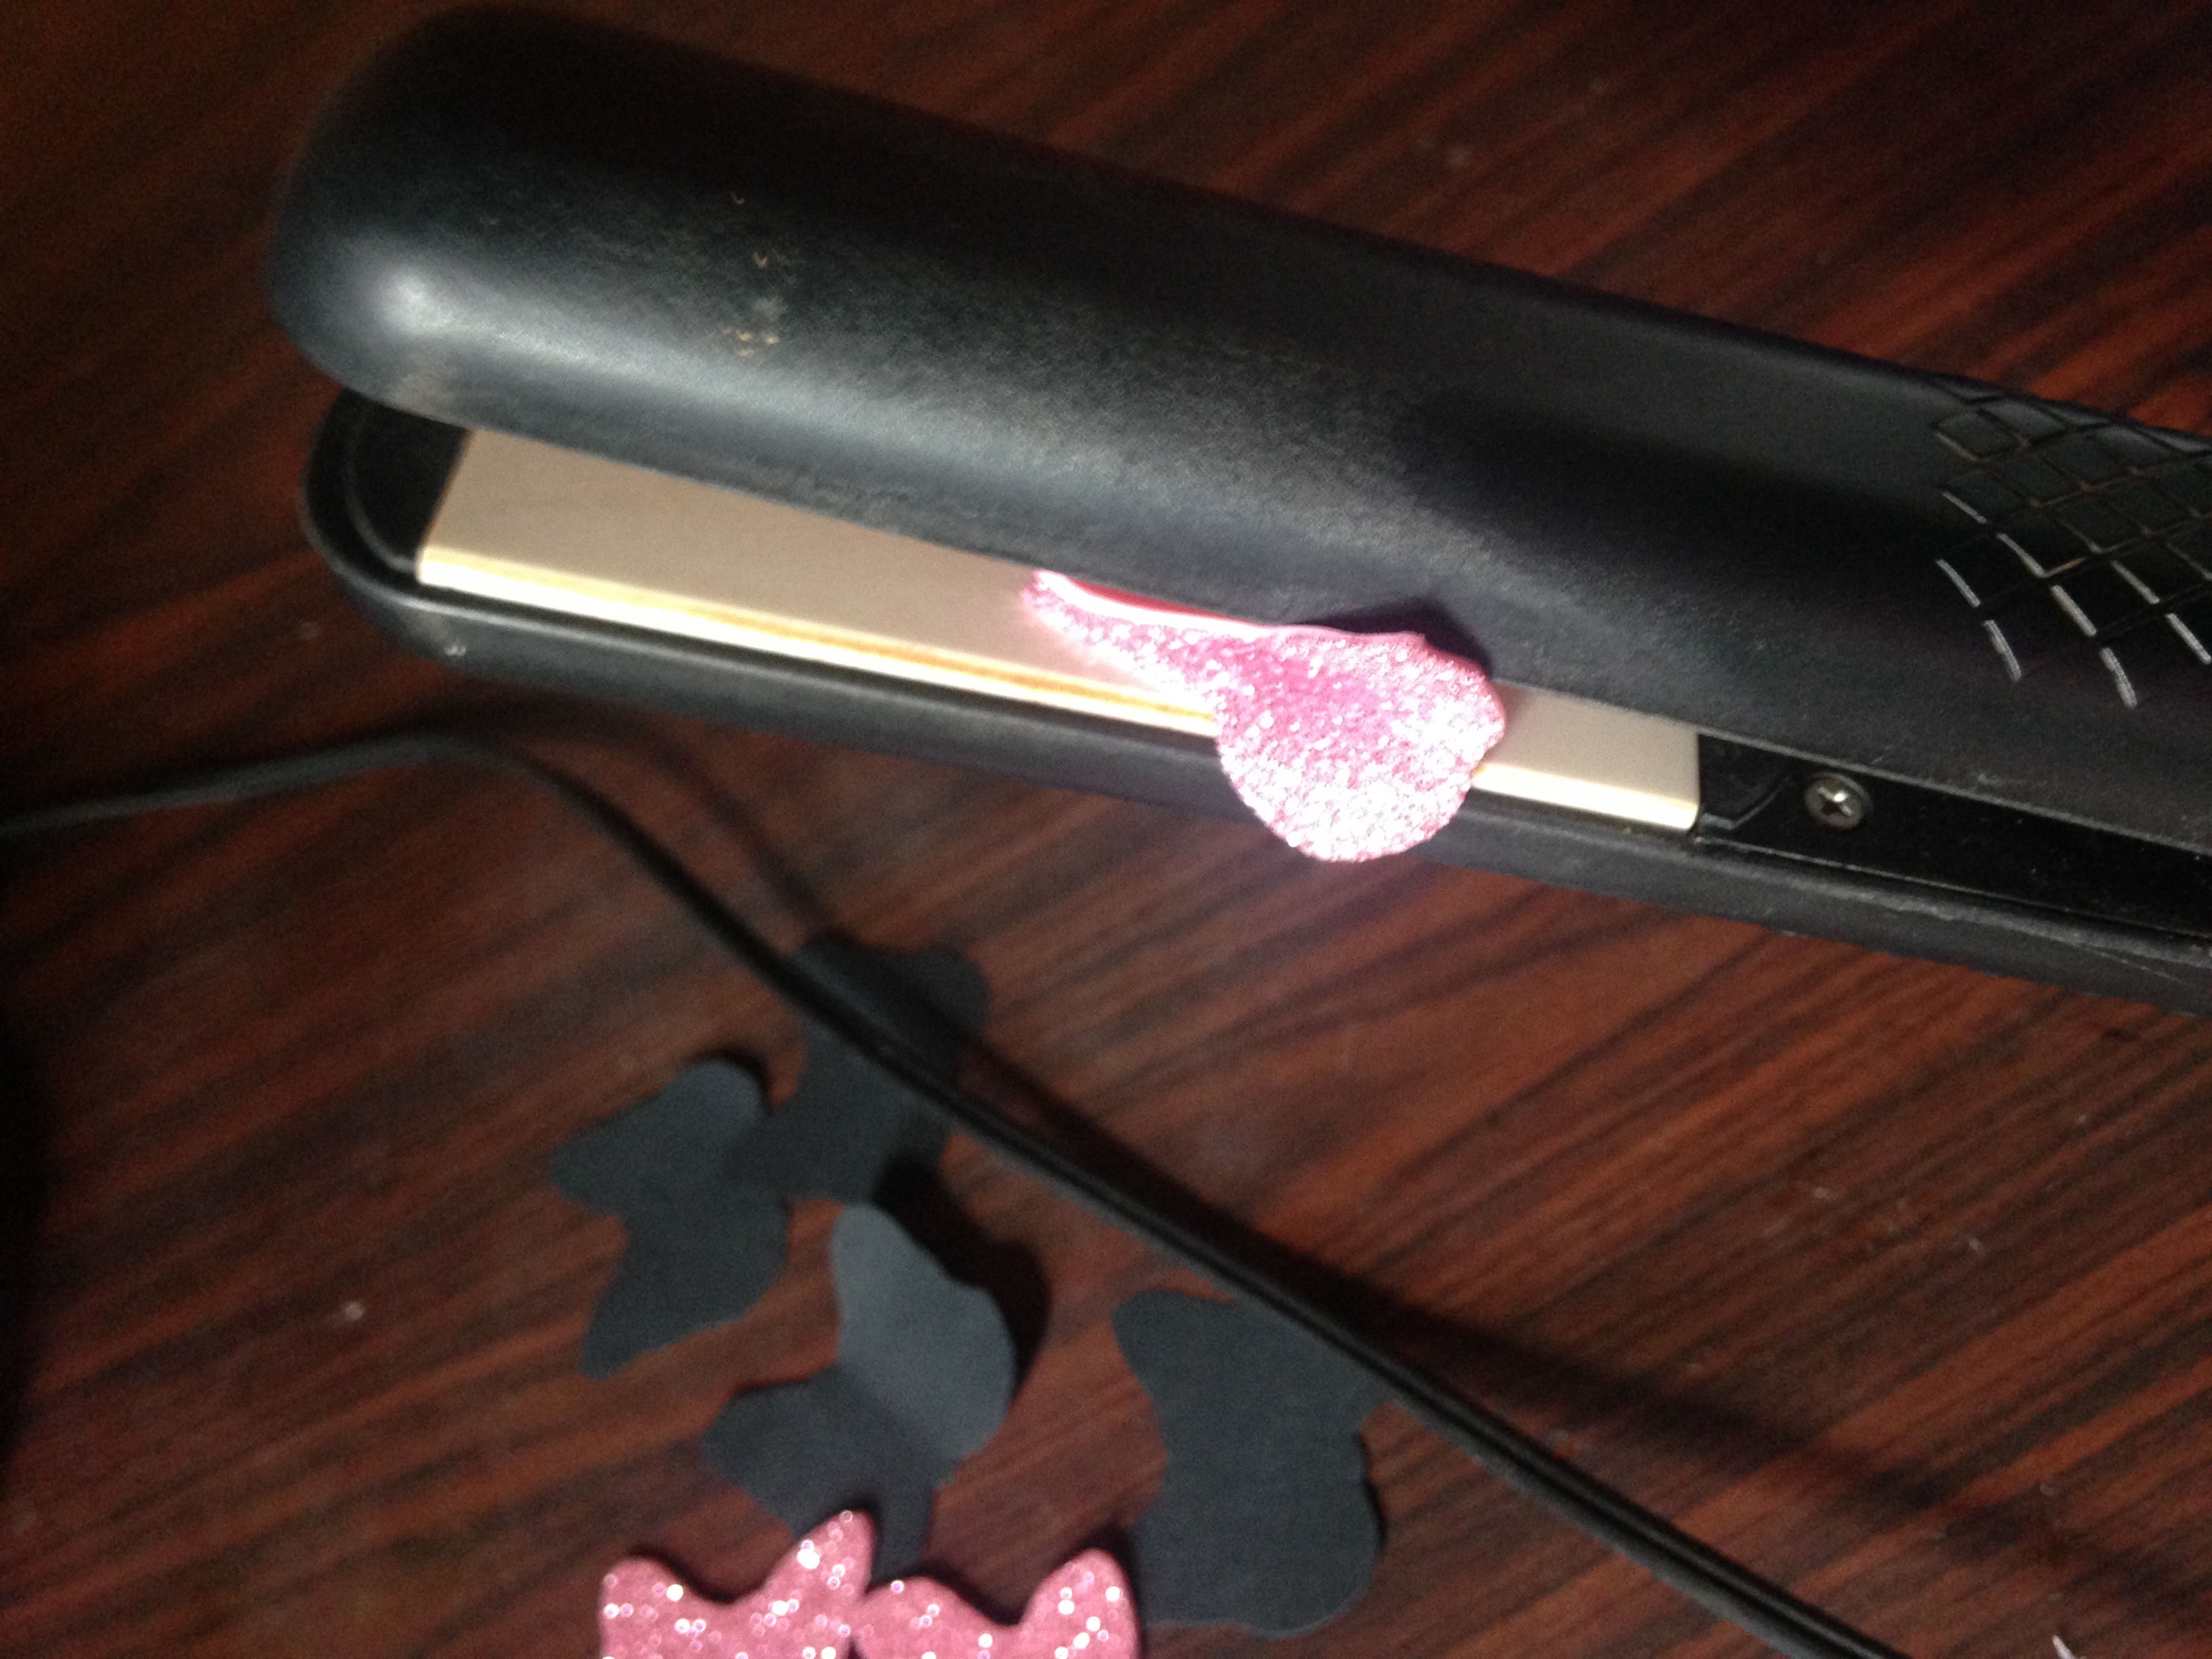
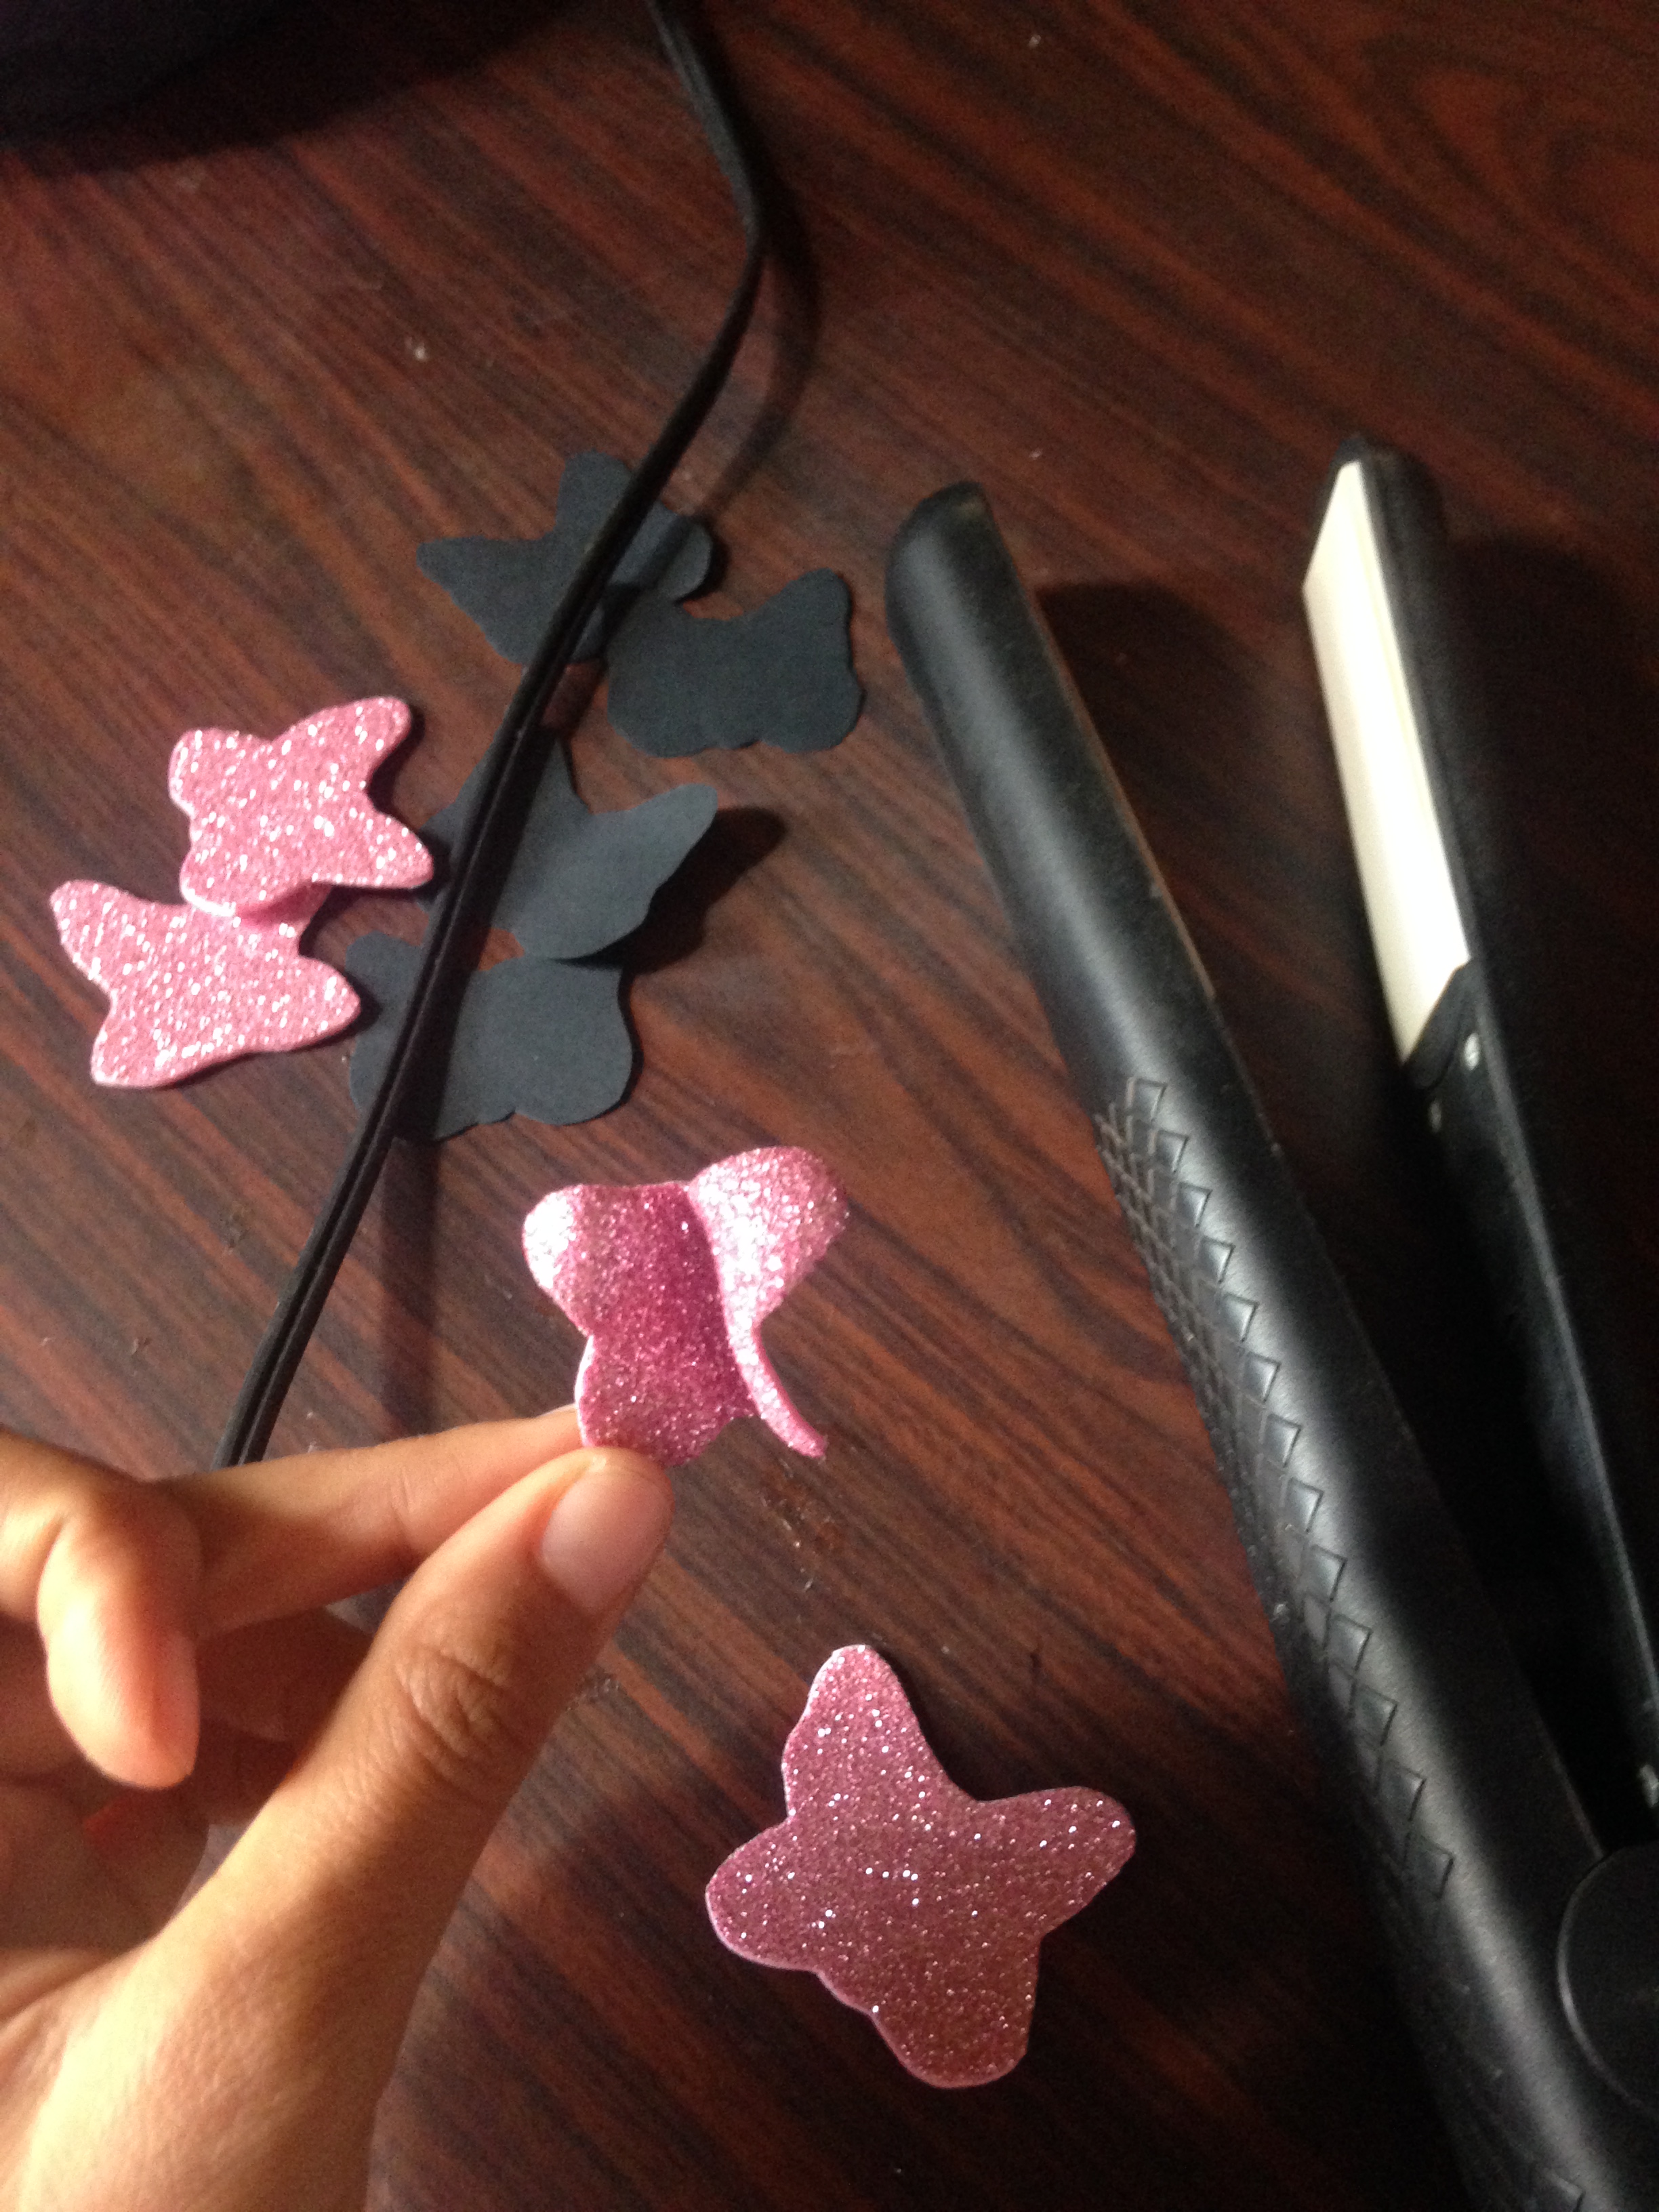
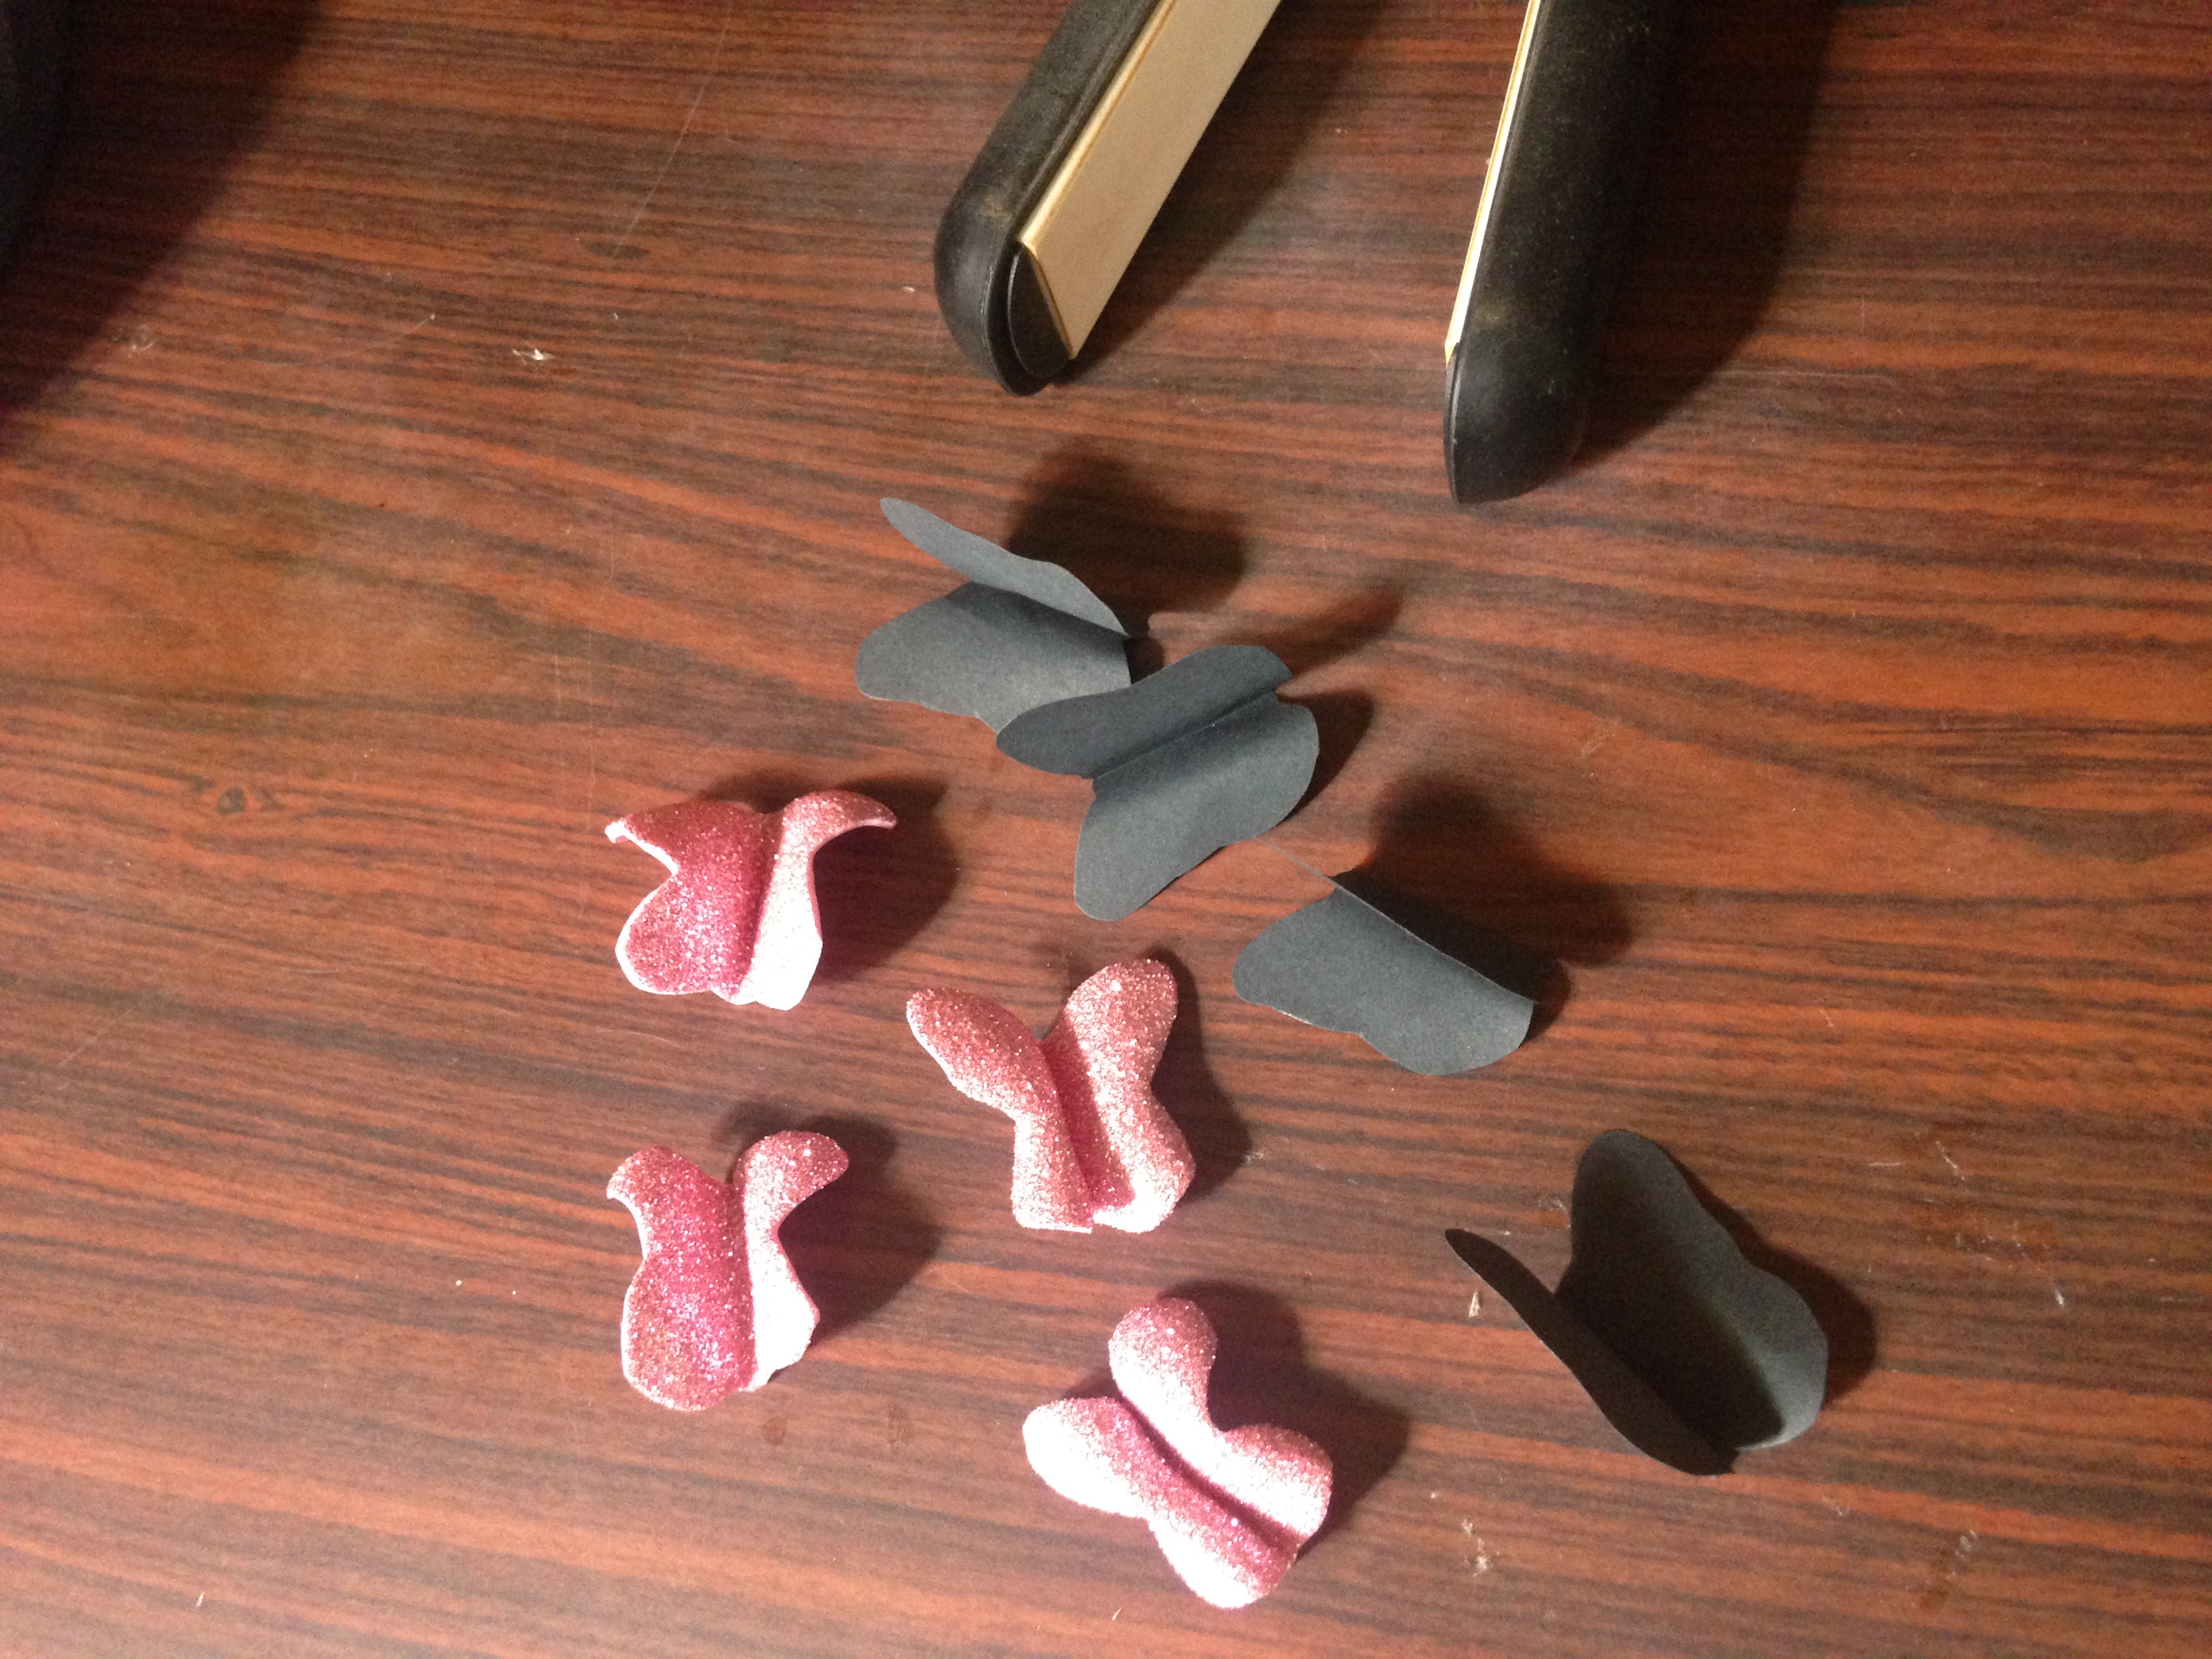
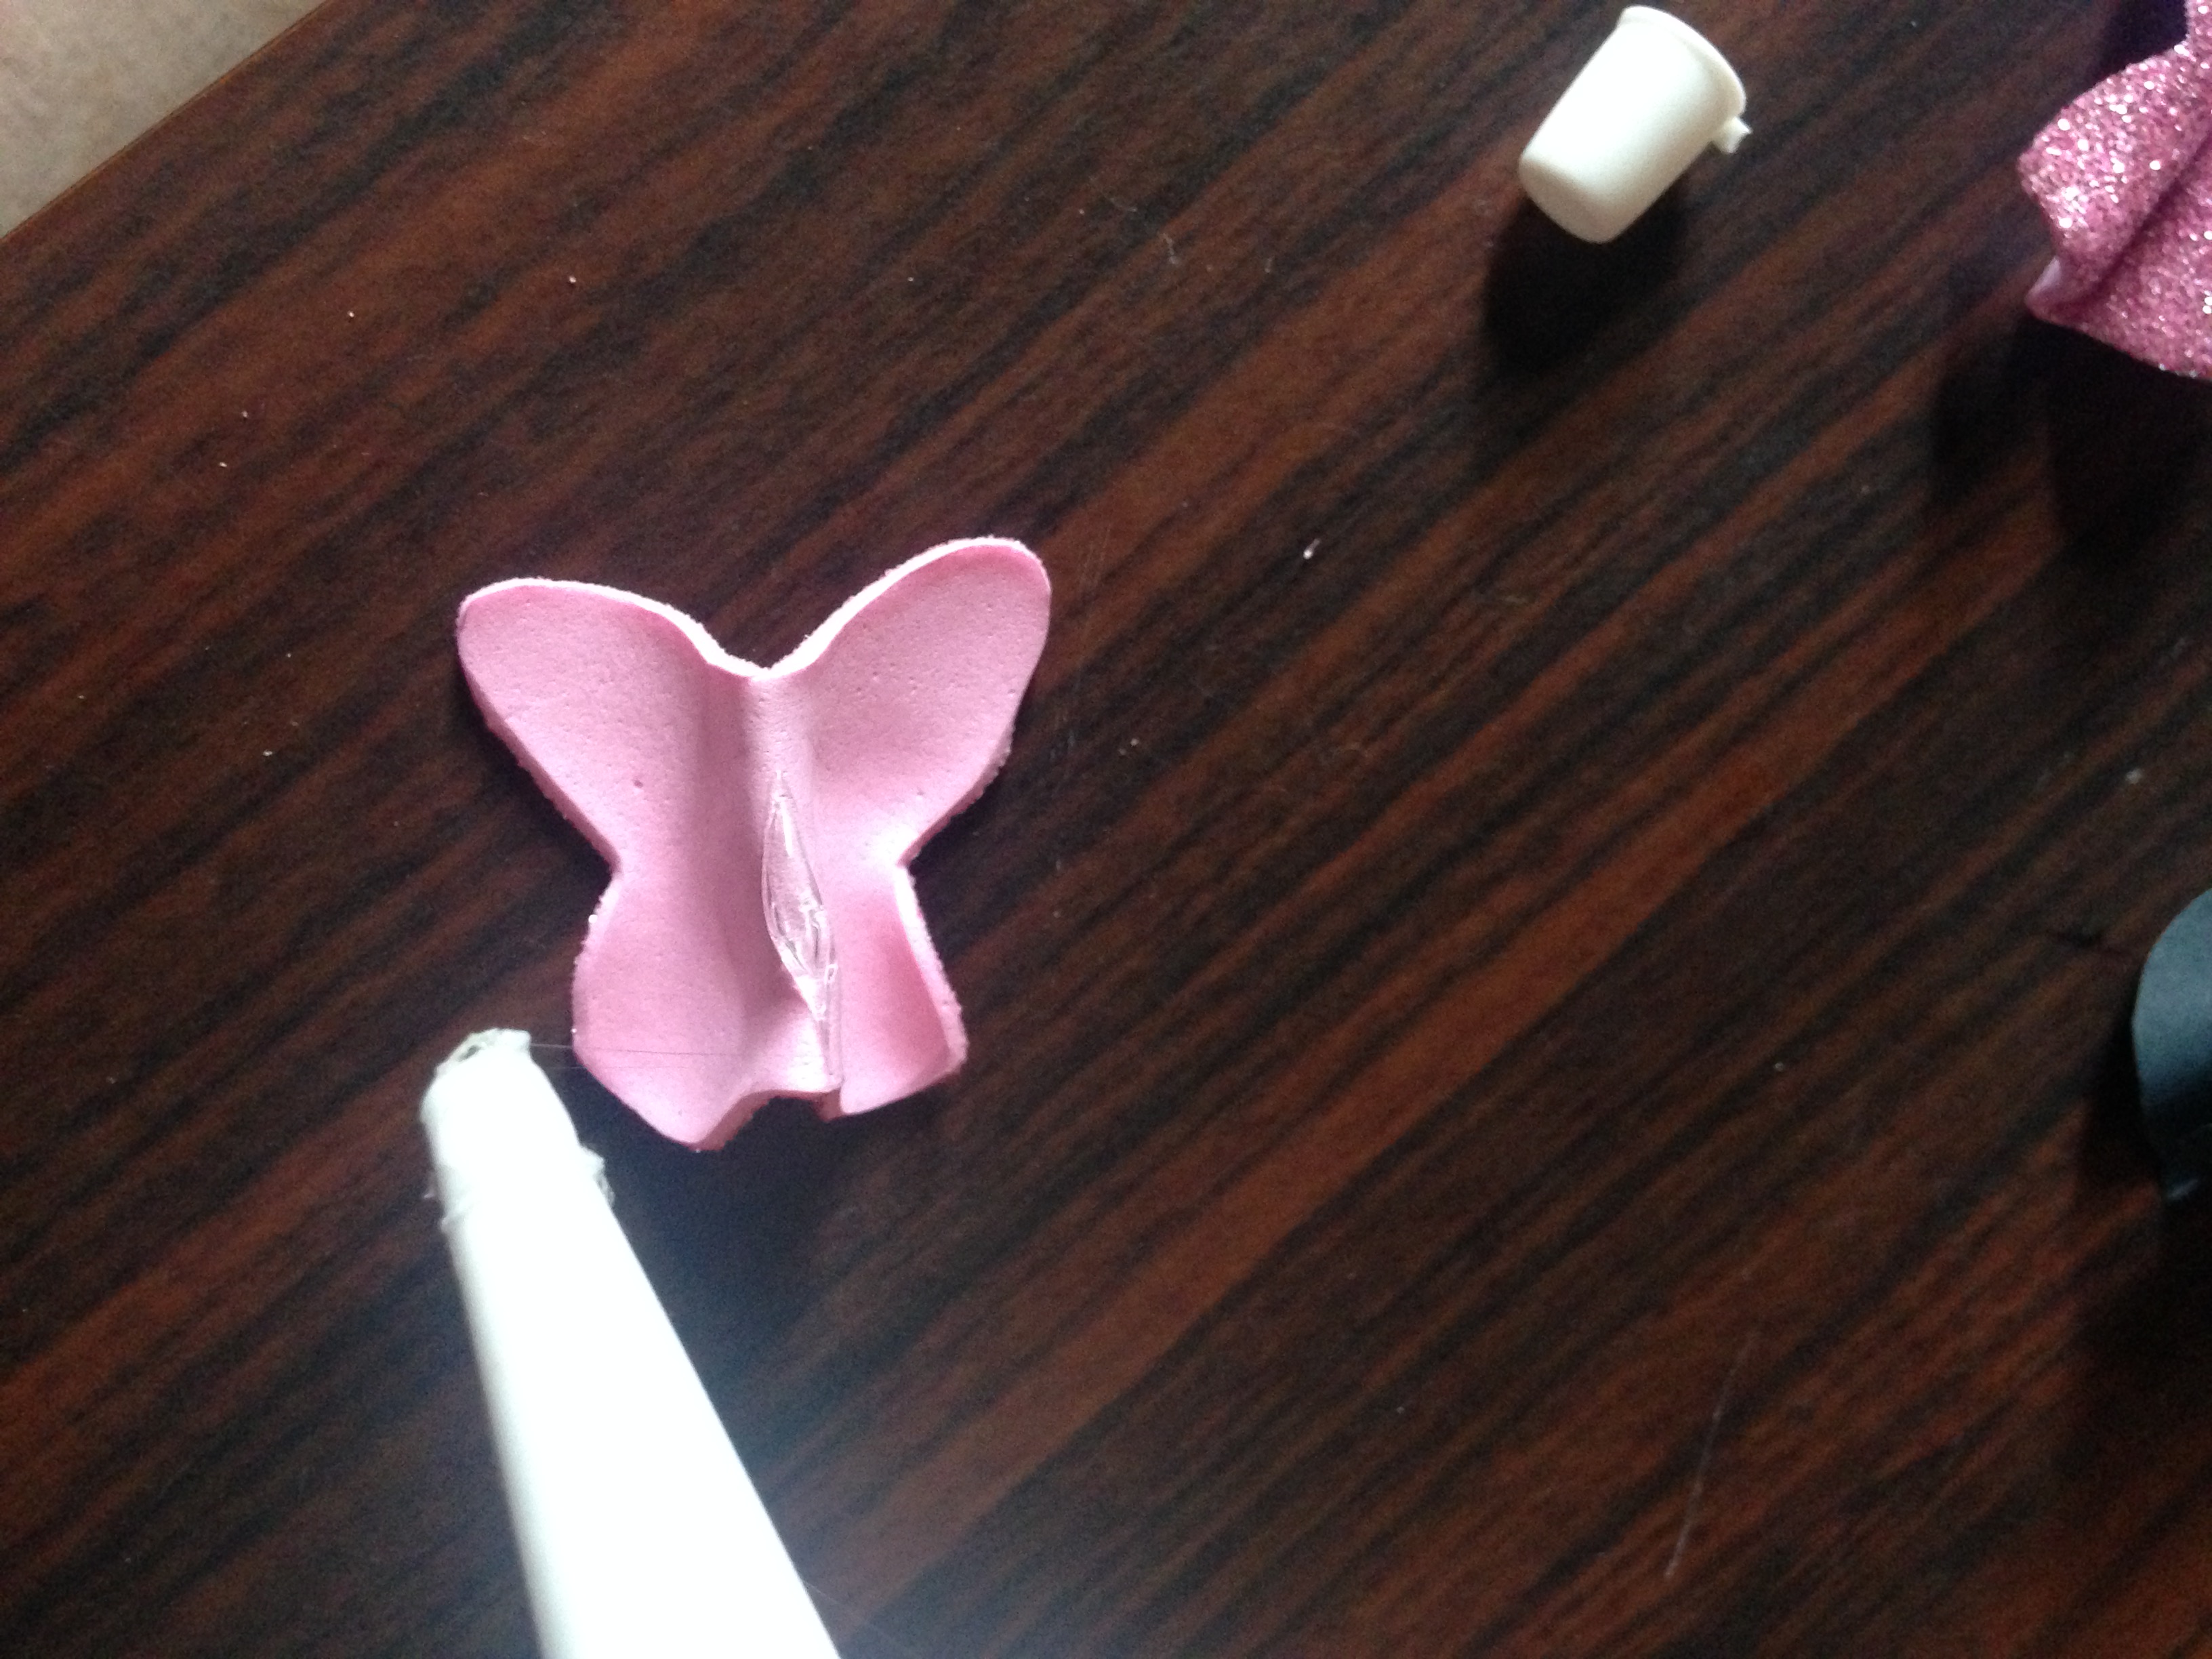
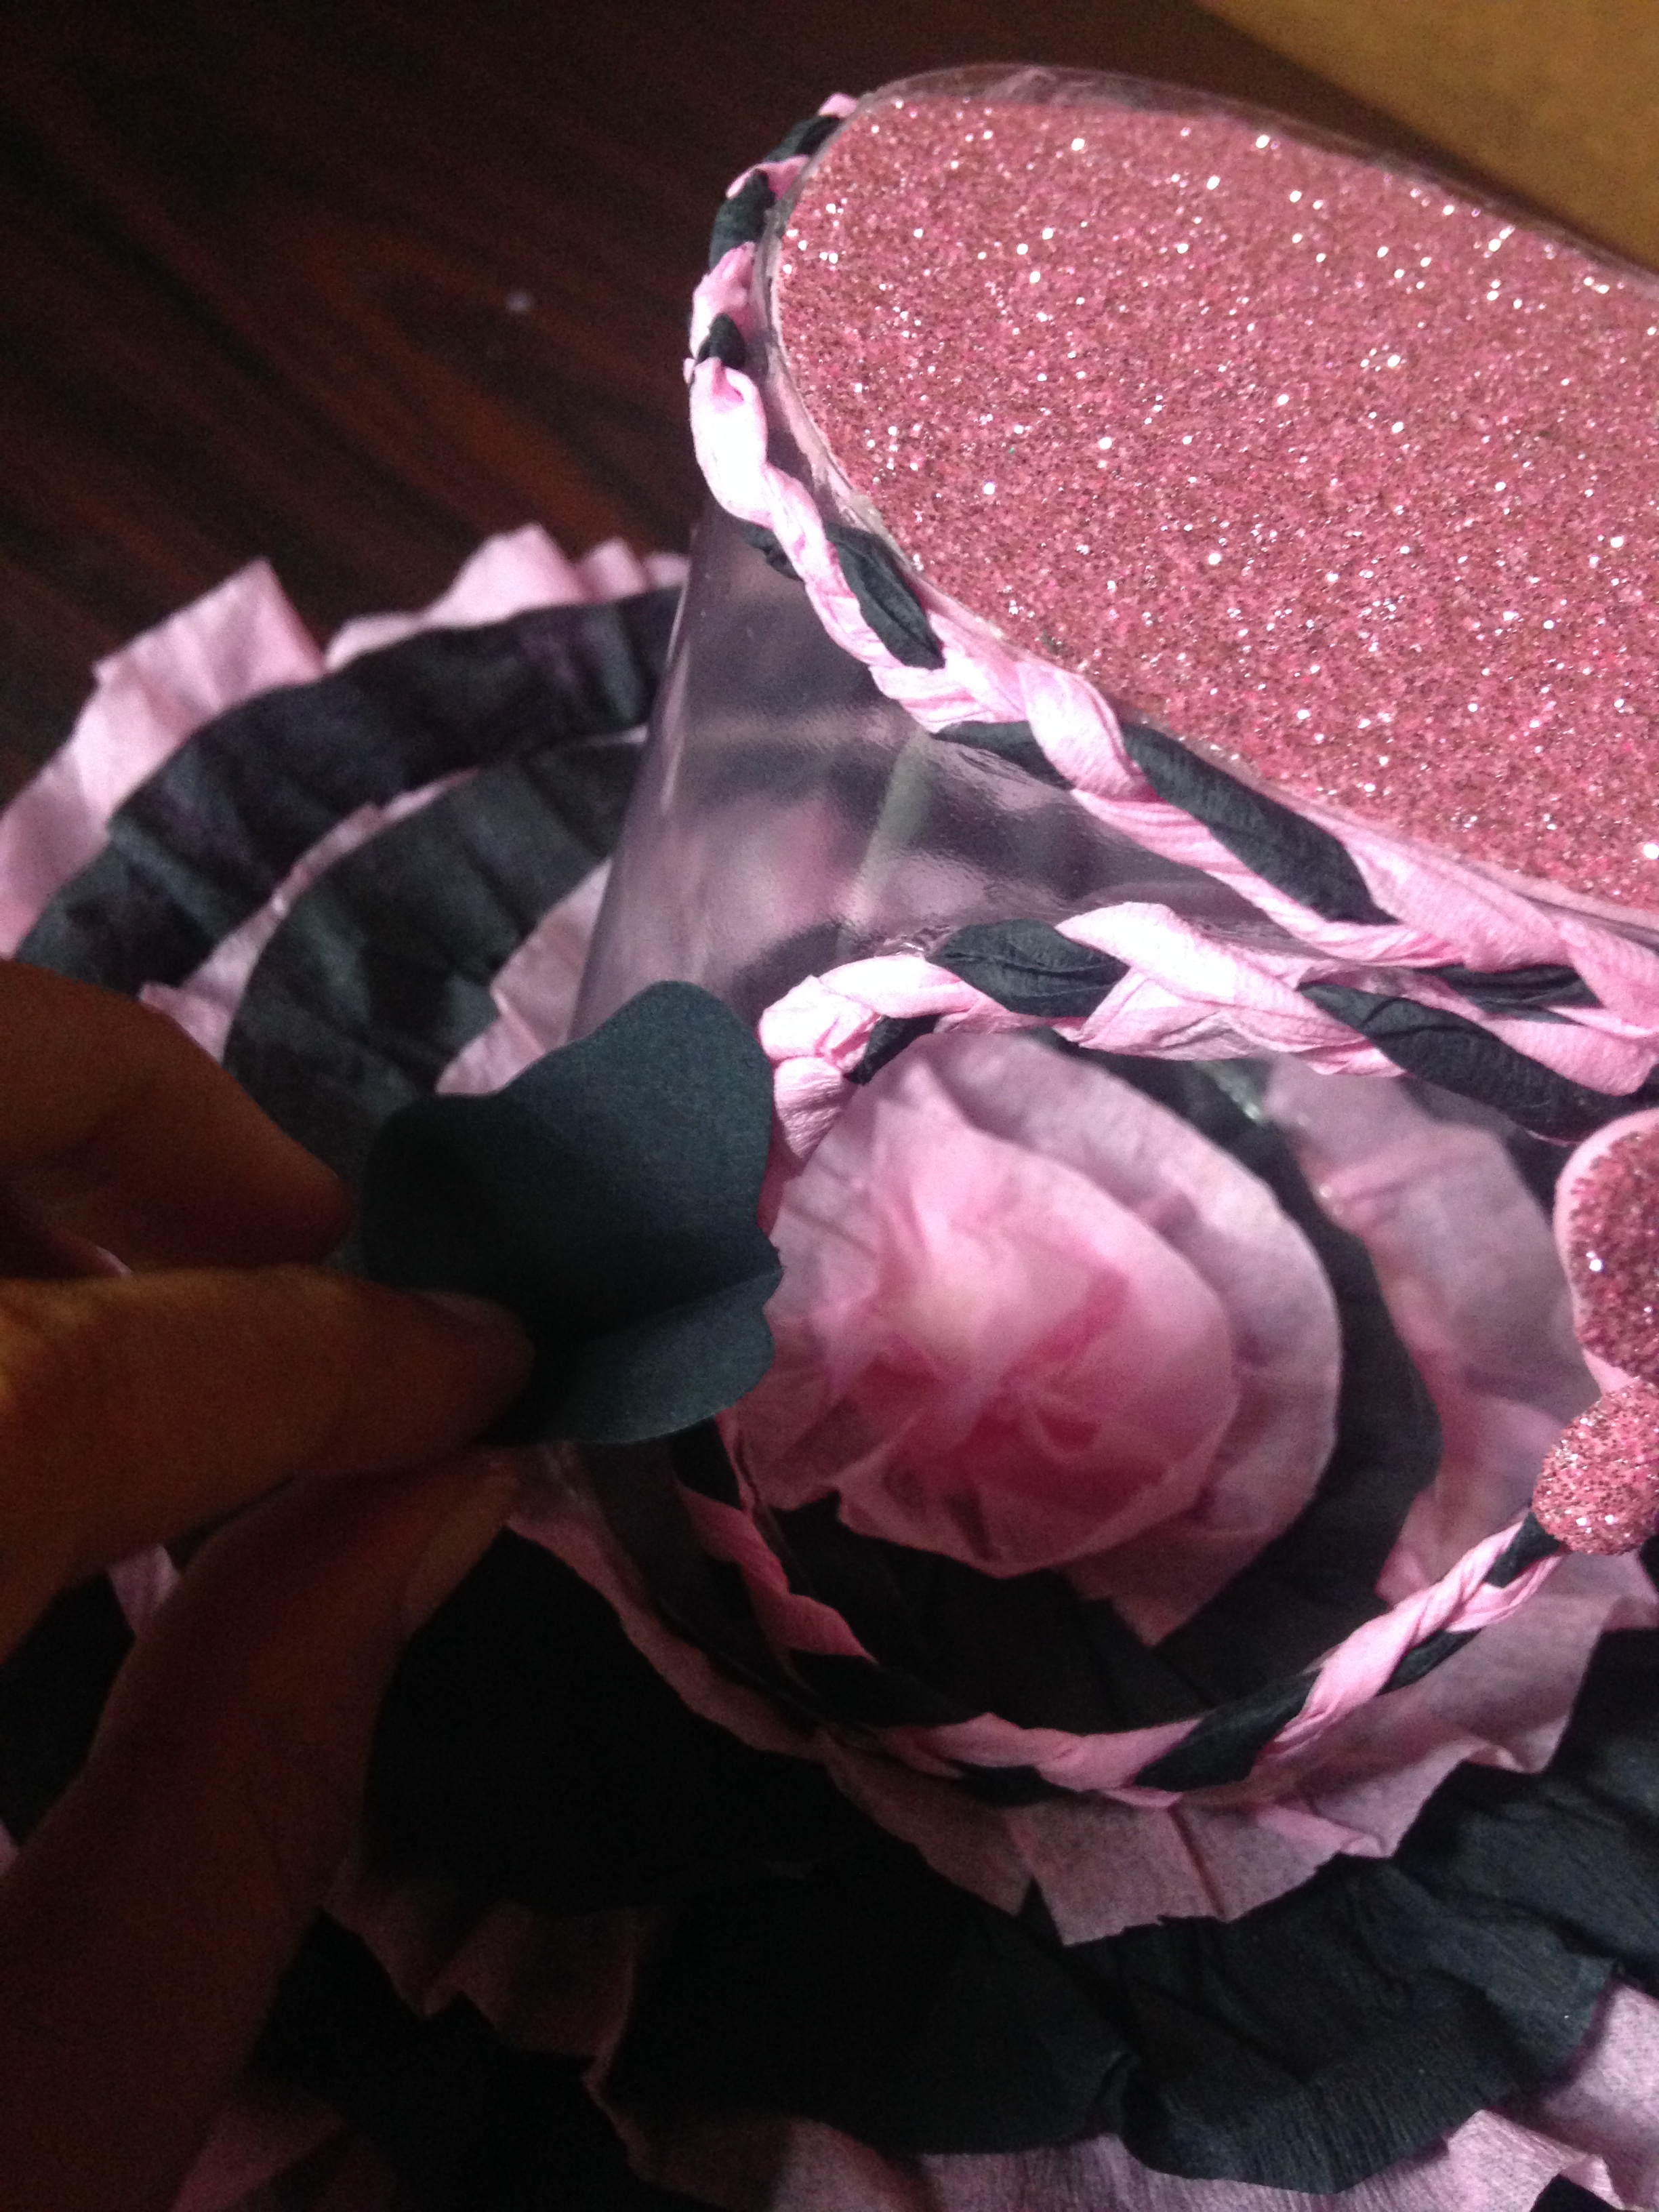
Paso 6
To finish our lollipop, we are going to draw 8 butterflies, 4 on the black cardboard and 4 on the pink foamy, to shape it after cutting them we will use the hair straightener and then we will glue them all over our lollipop
Step 6
To finish our lollipop, we are going to draw 8 butterflies, 4 on the black cardboard and 4 on the pink foamy, to shape it after cutting them we will use the hair straightener and then we will glue them all over our lollipop
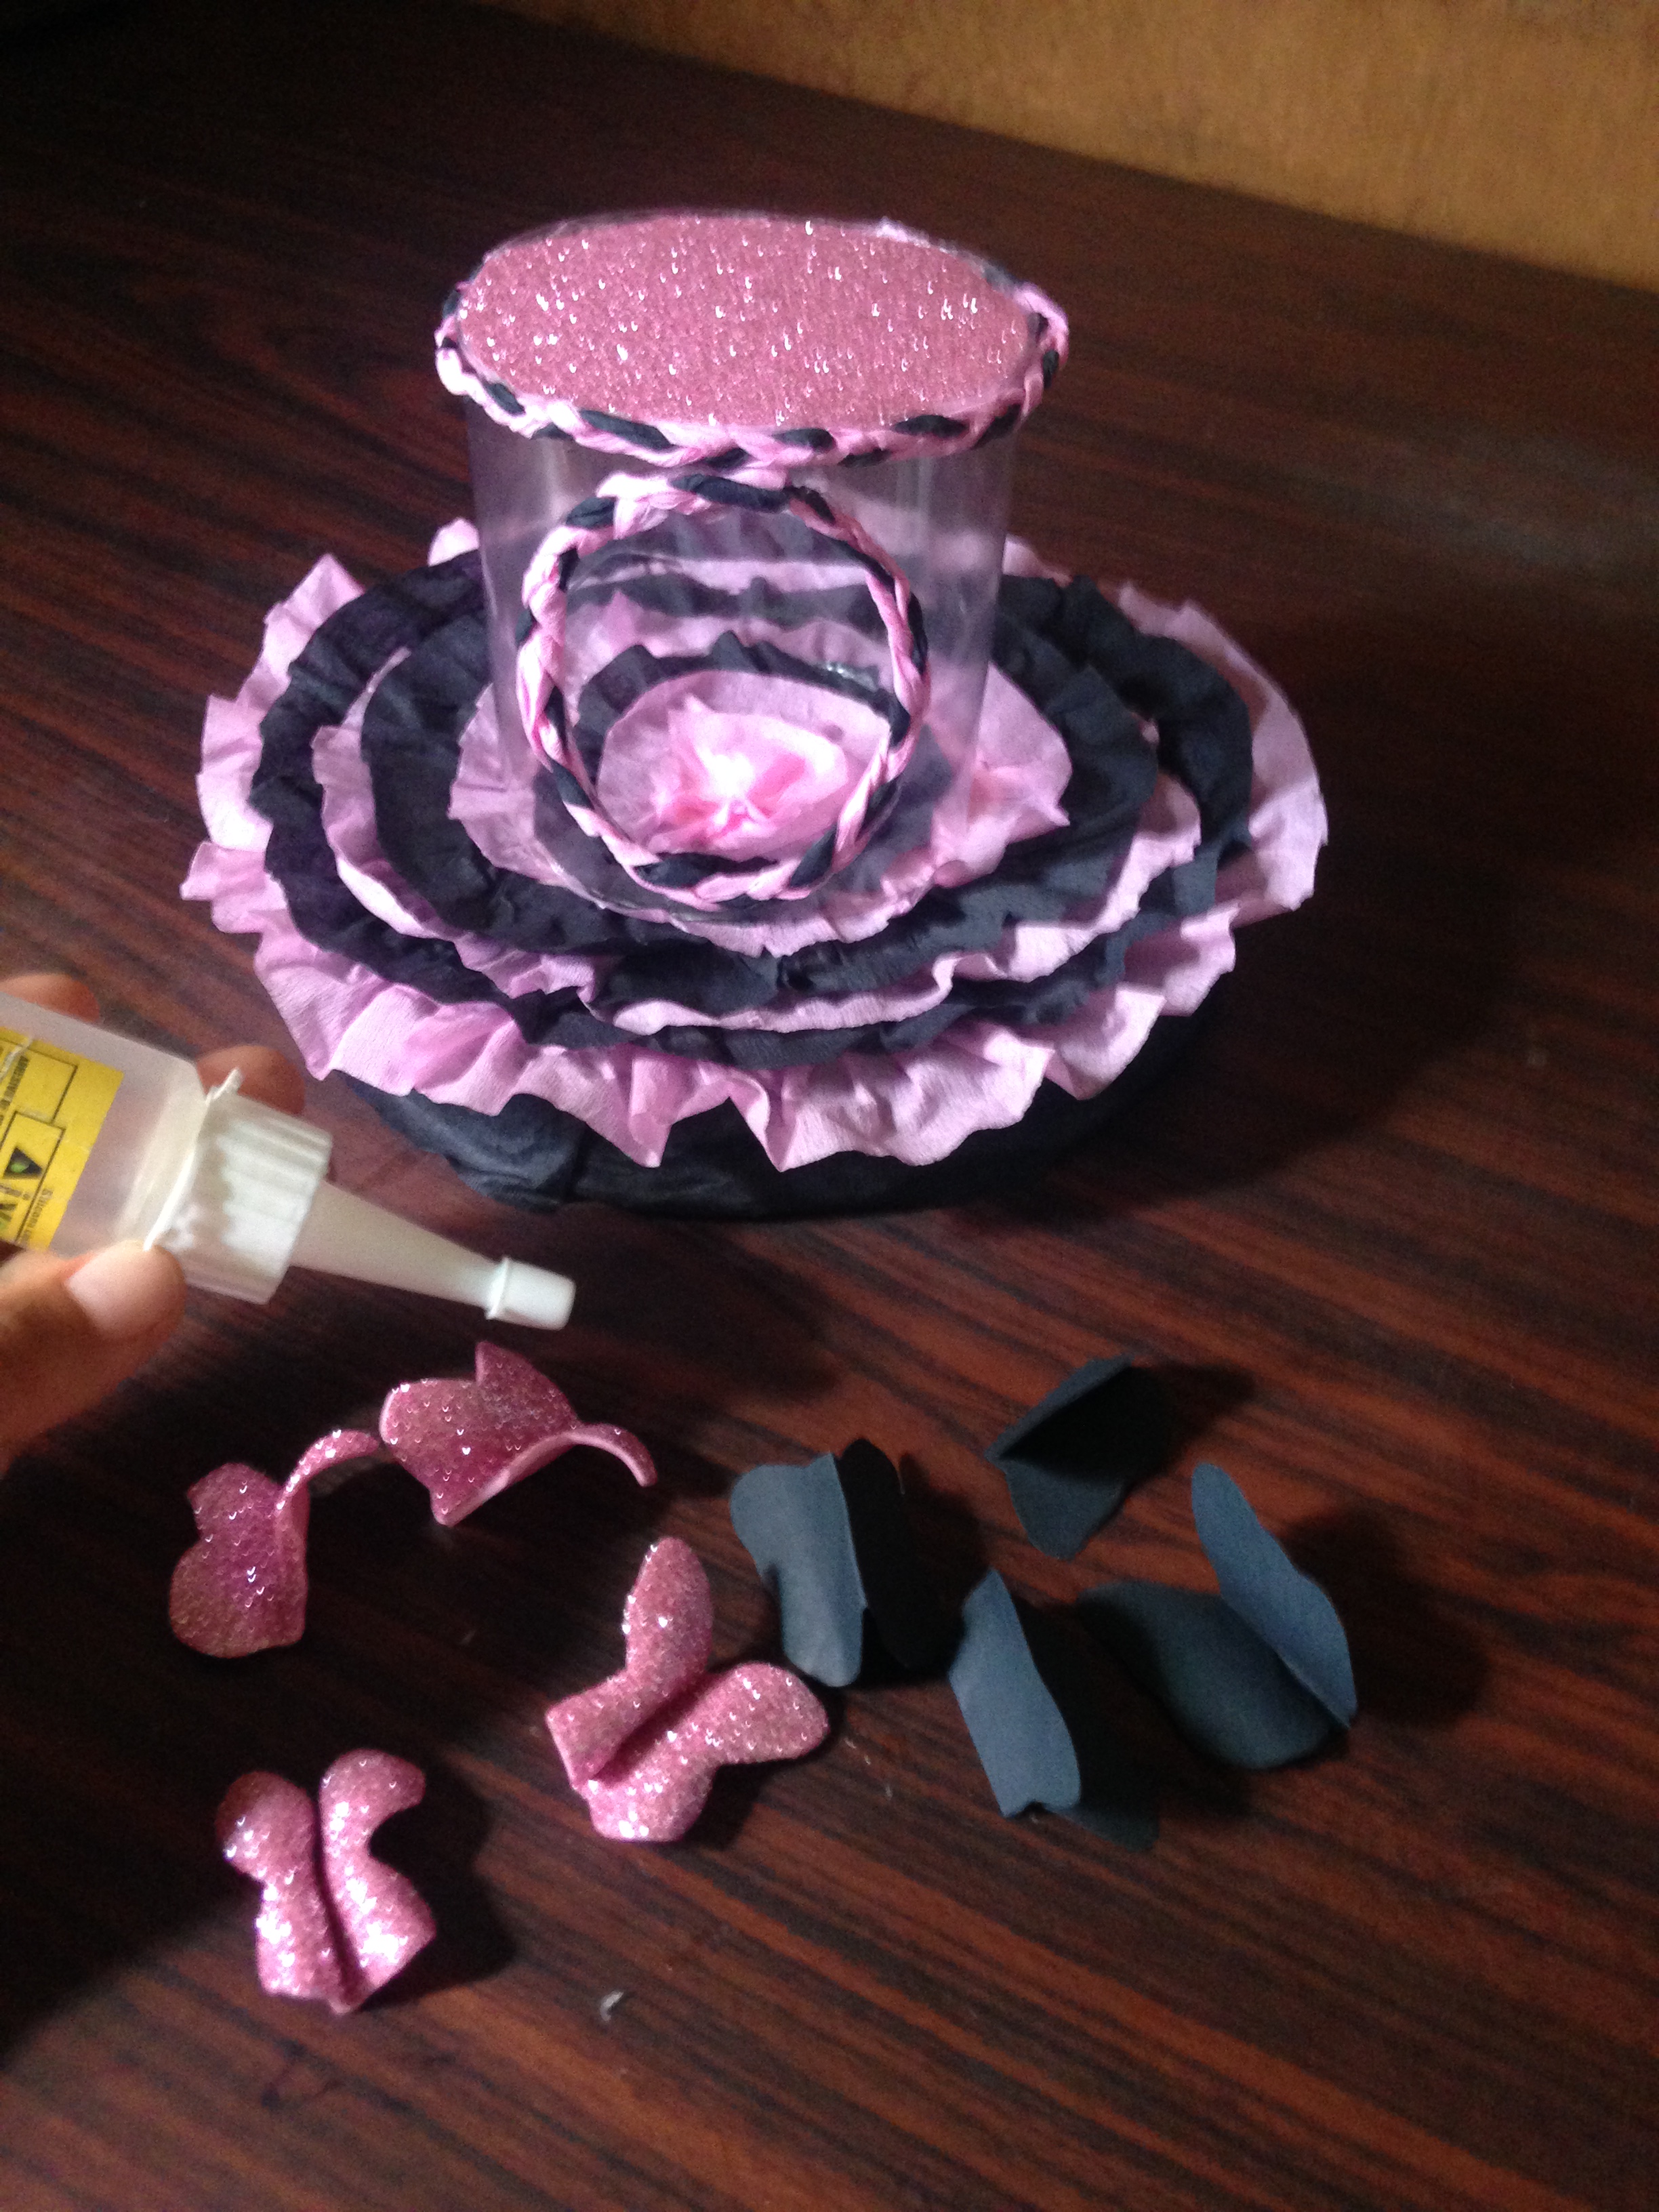
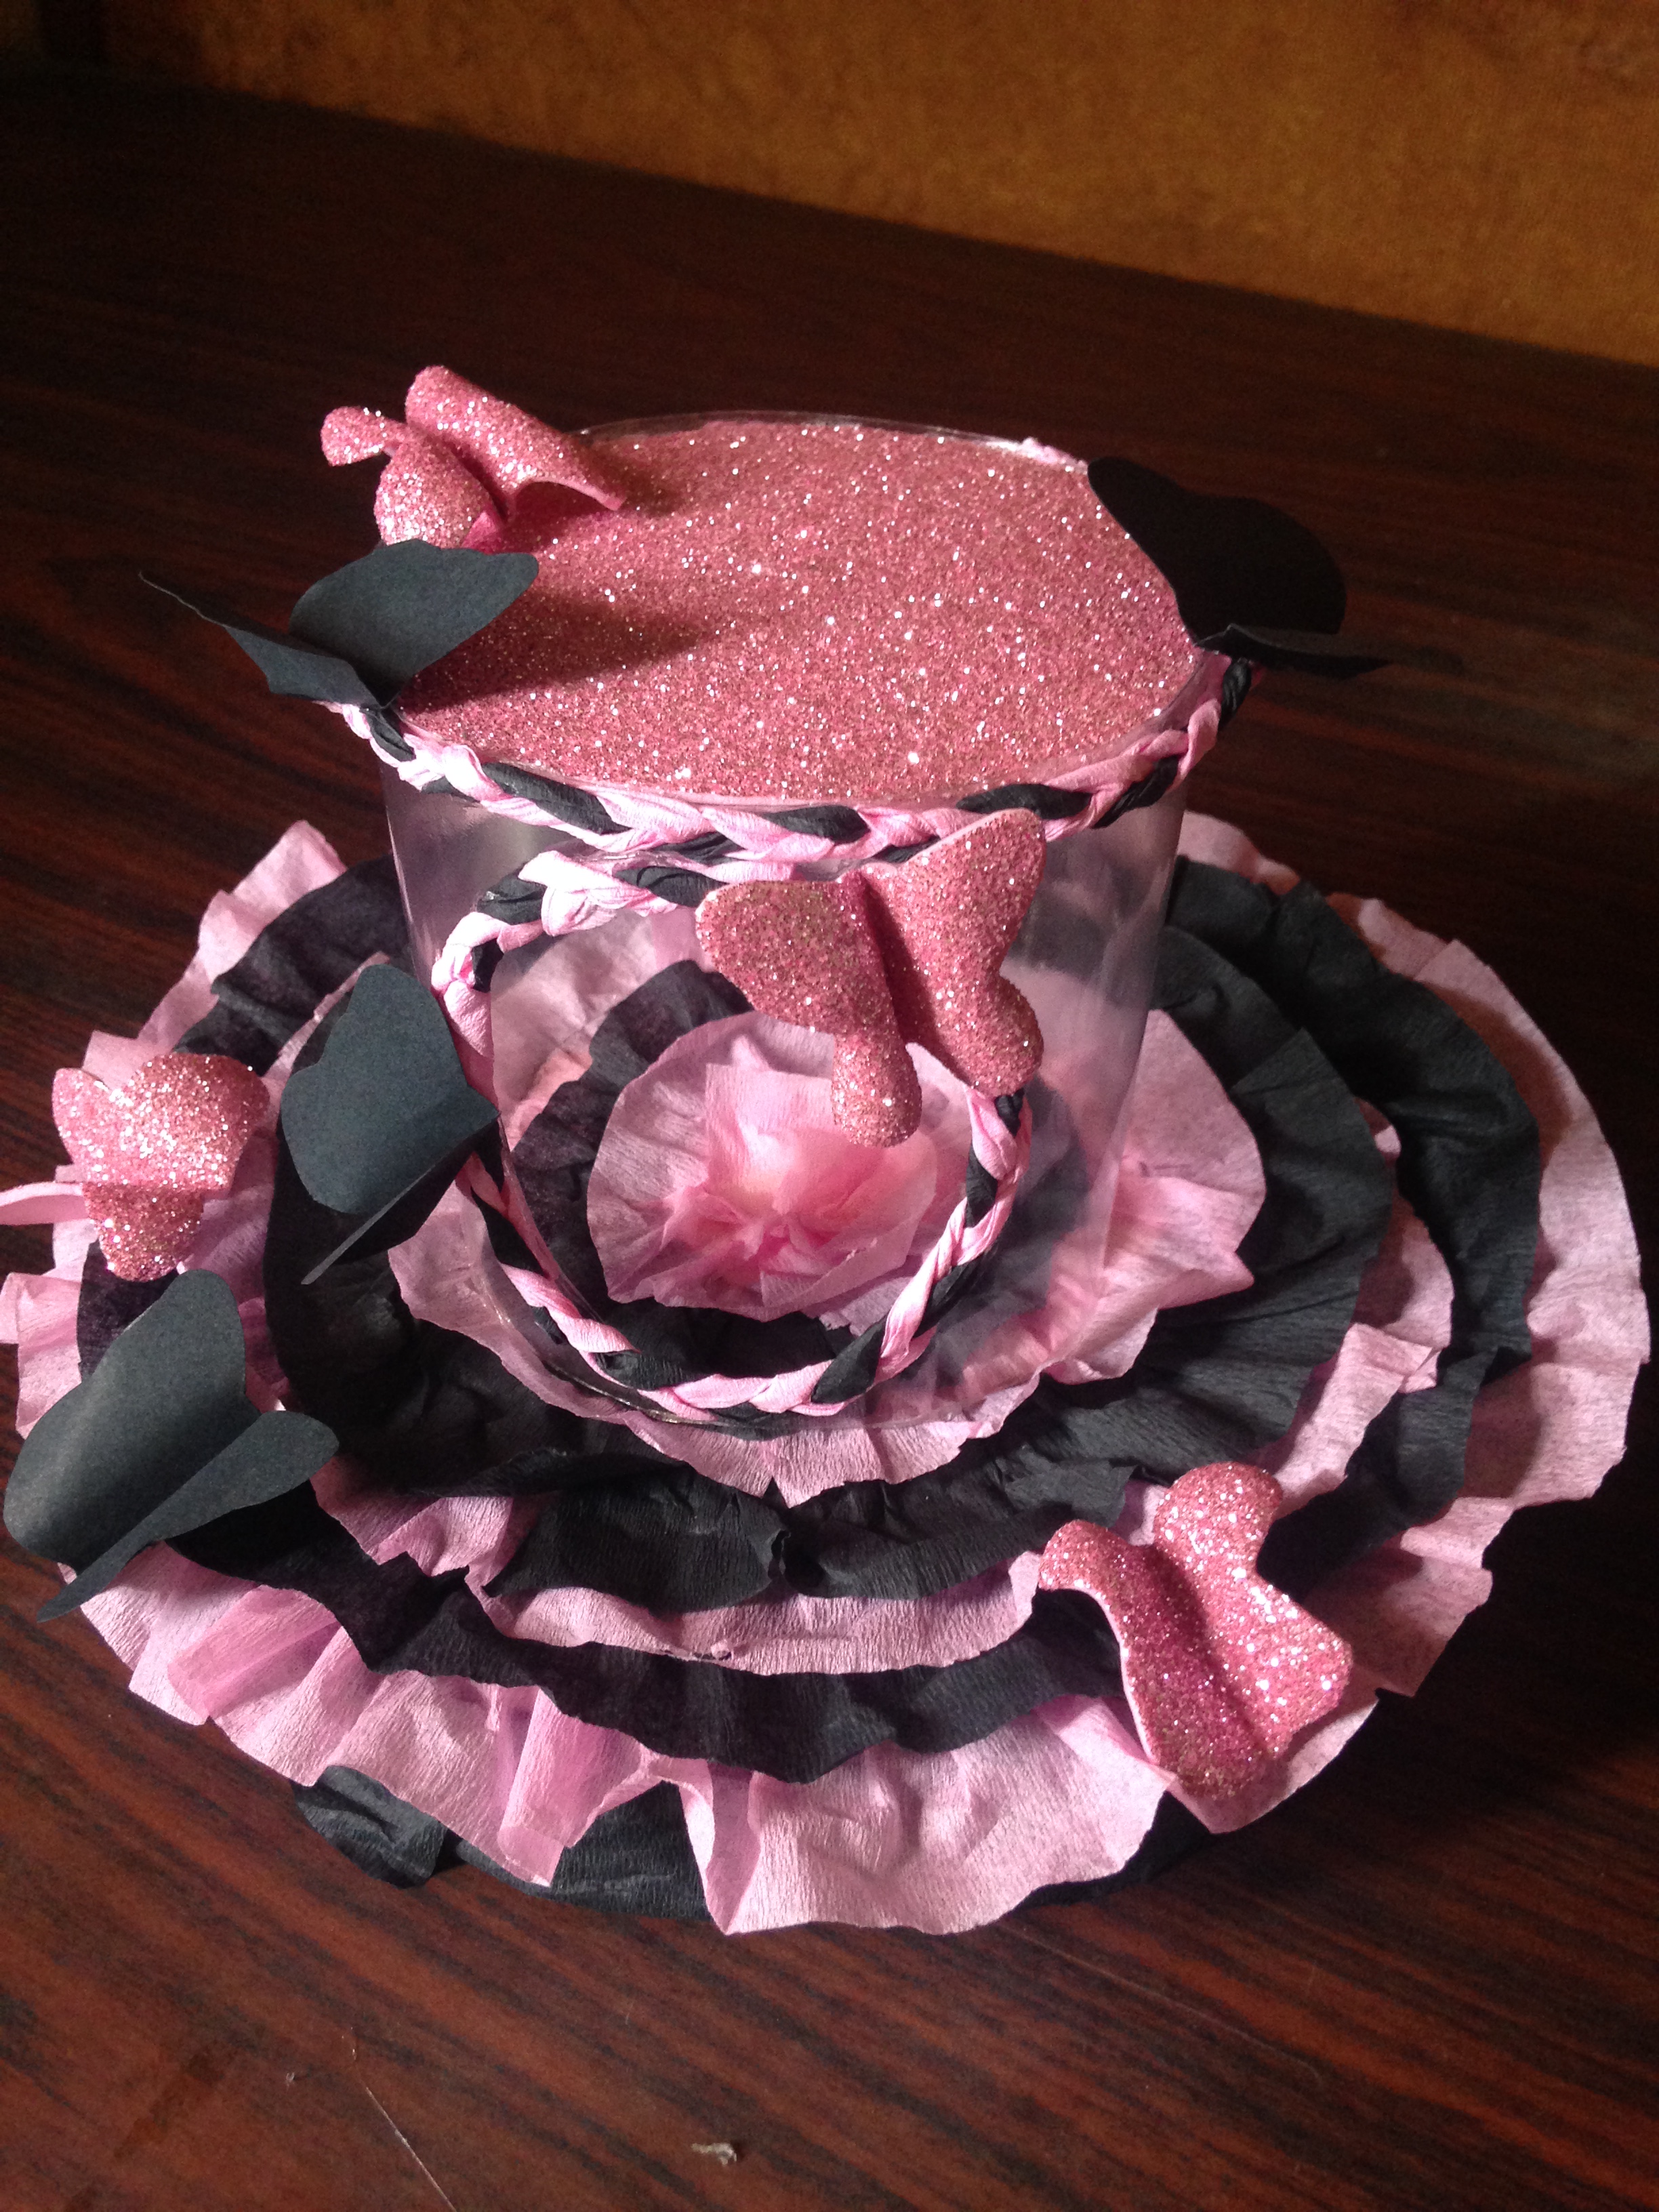
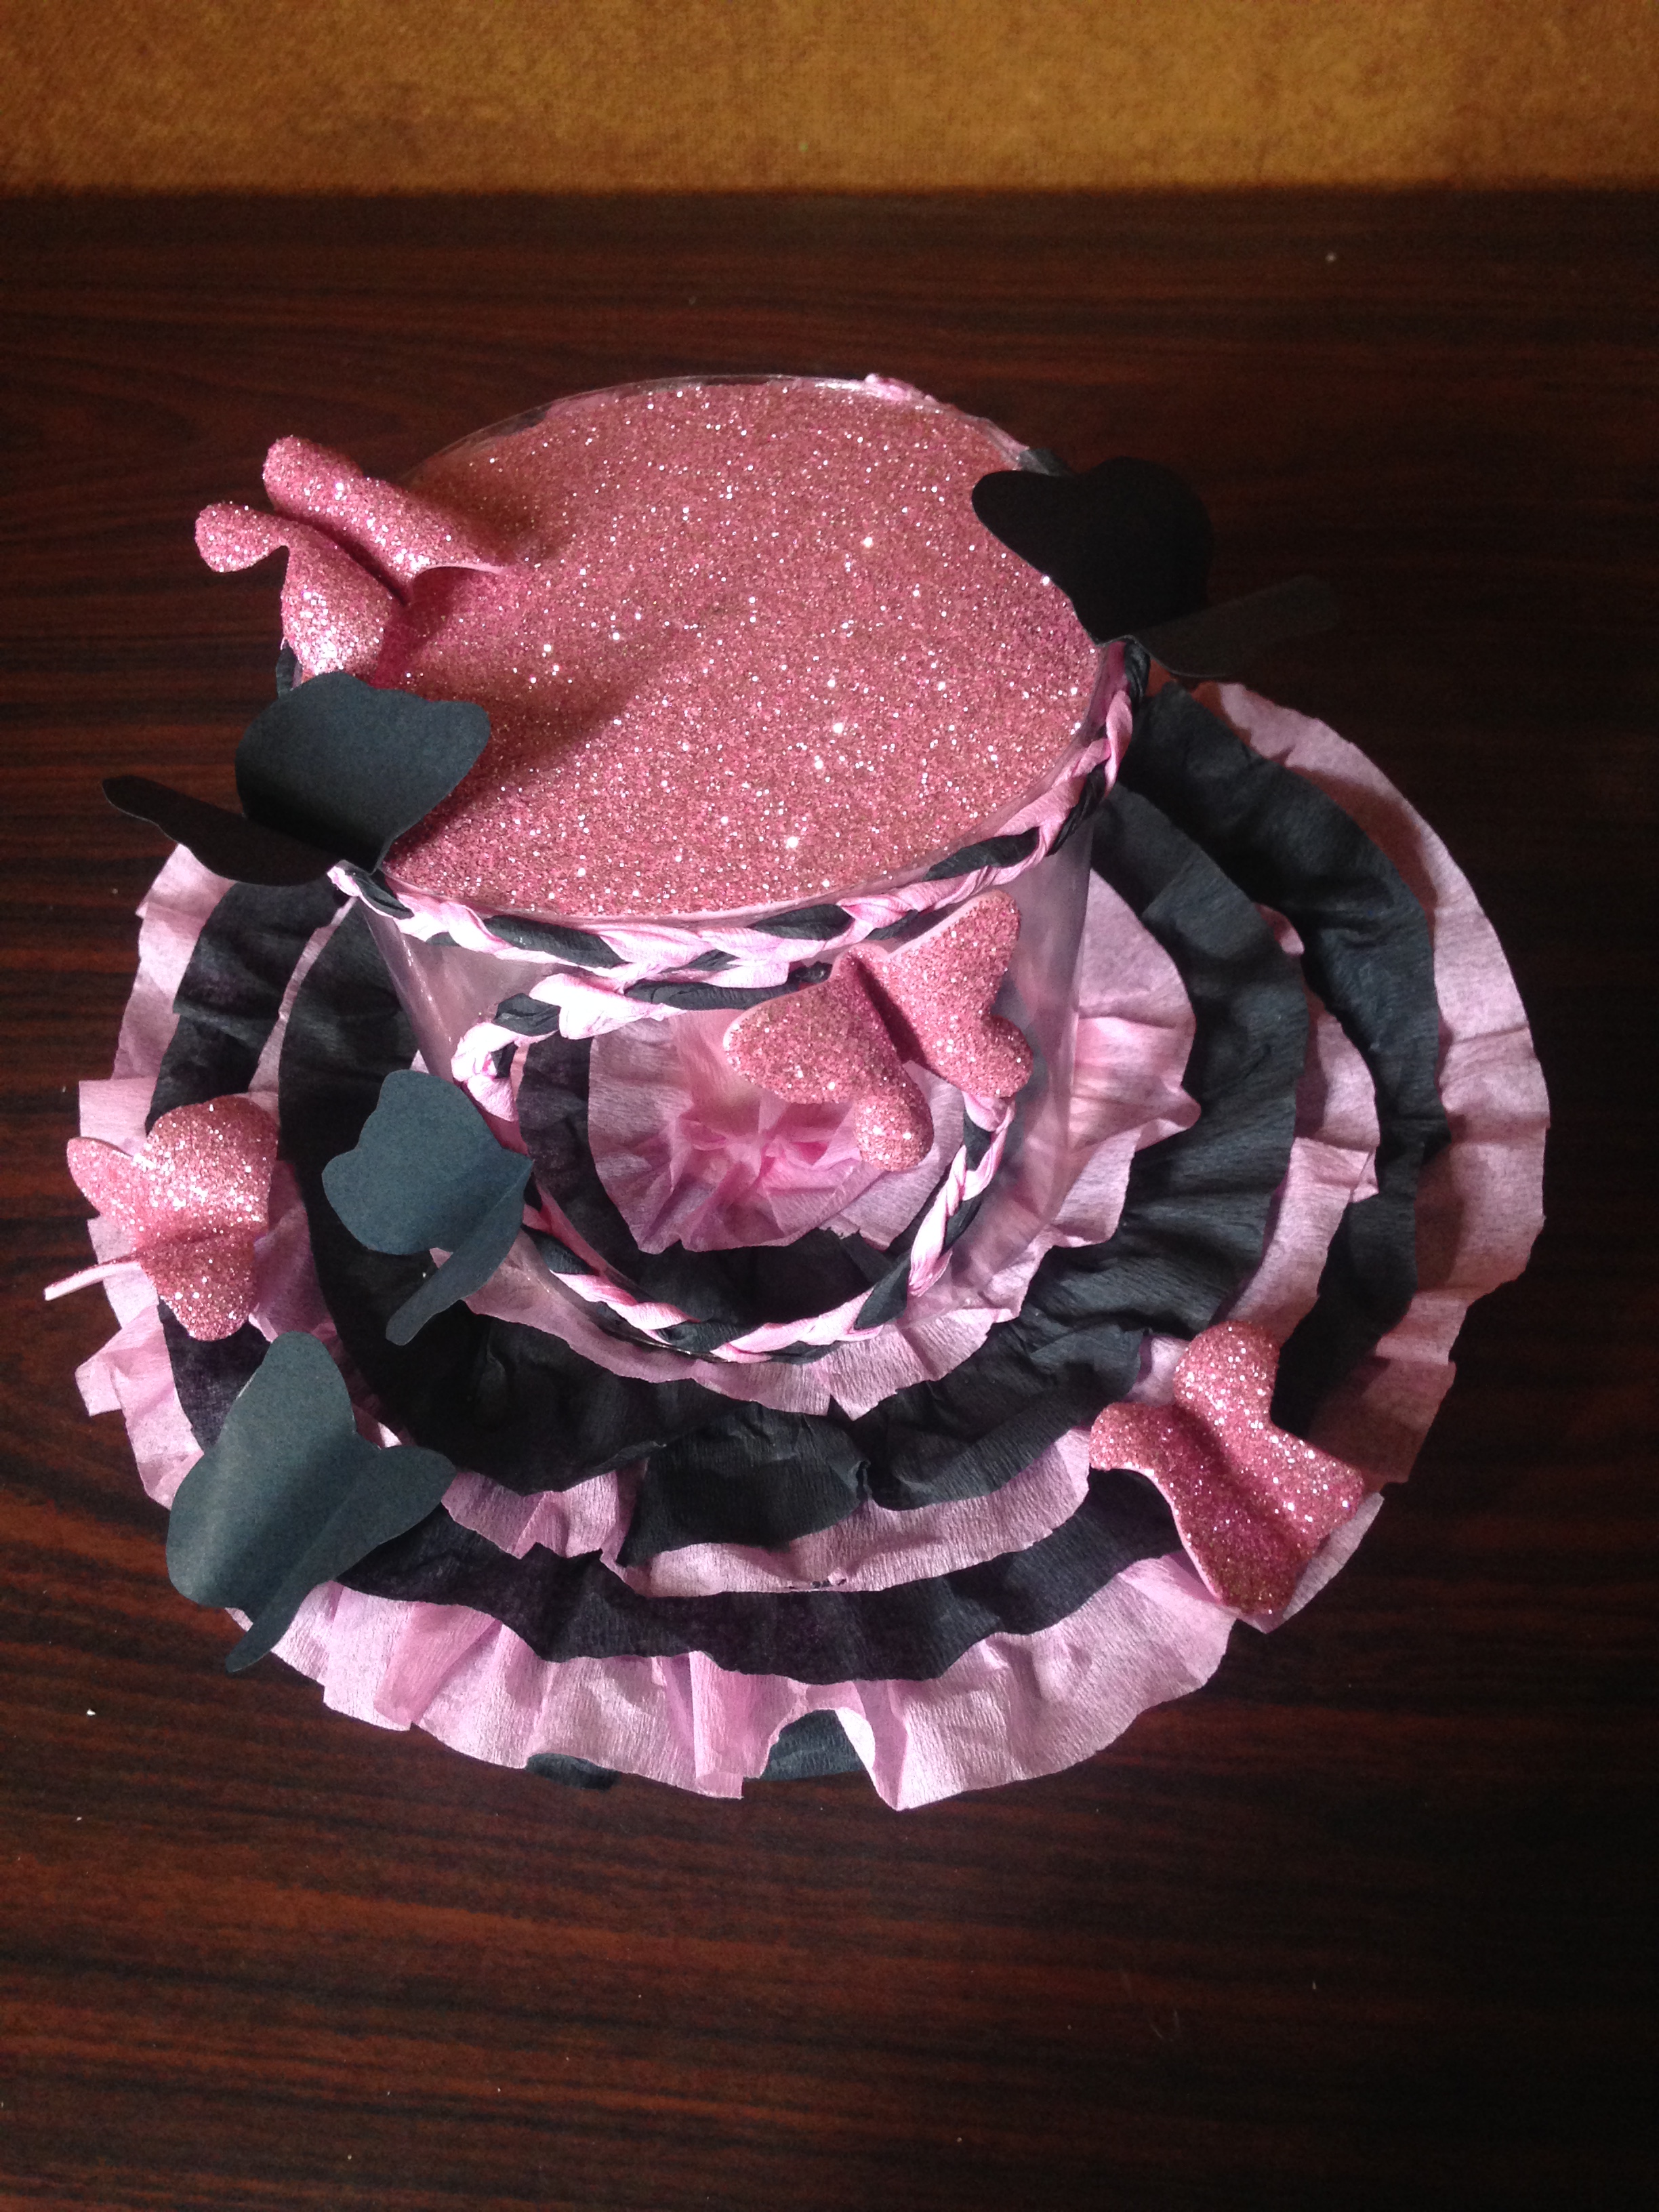
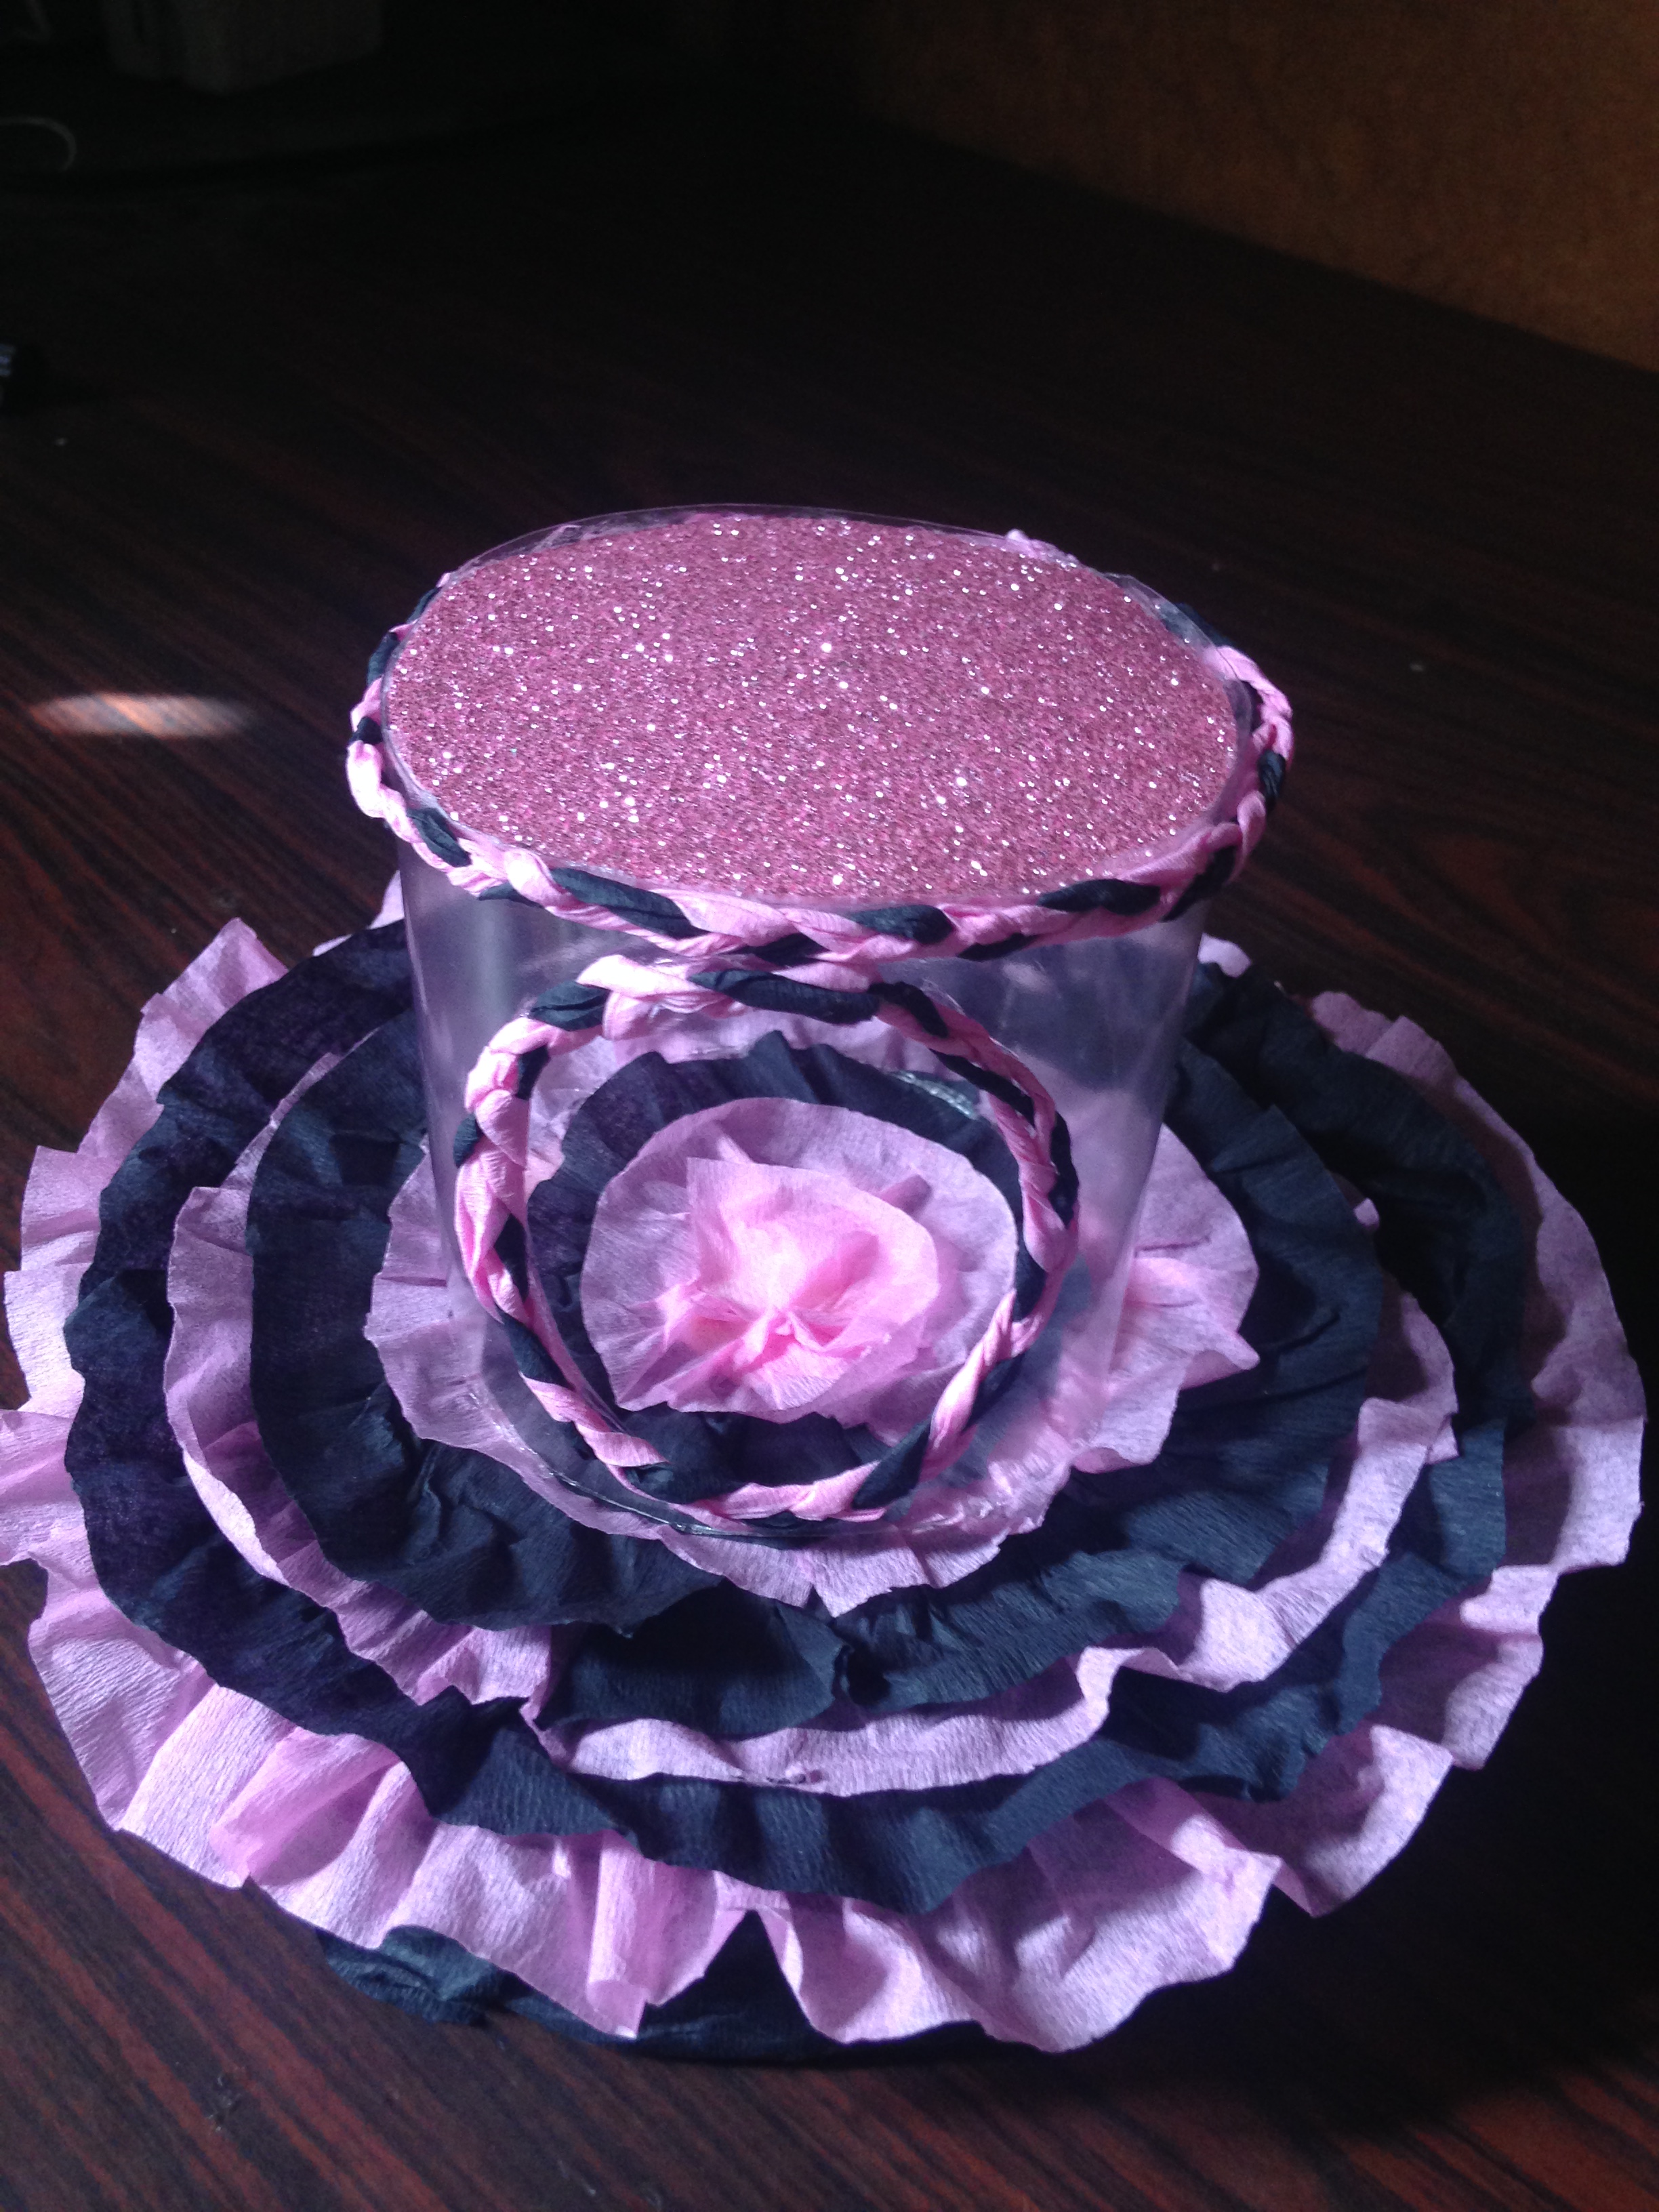
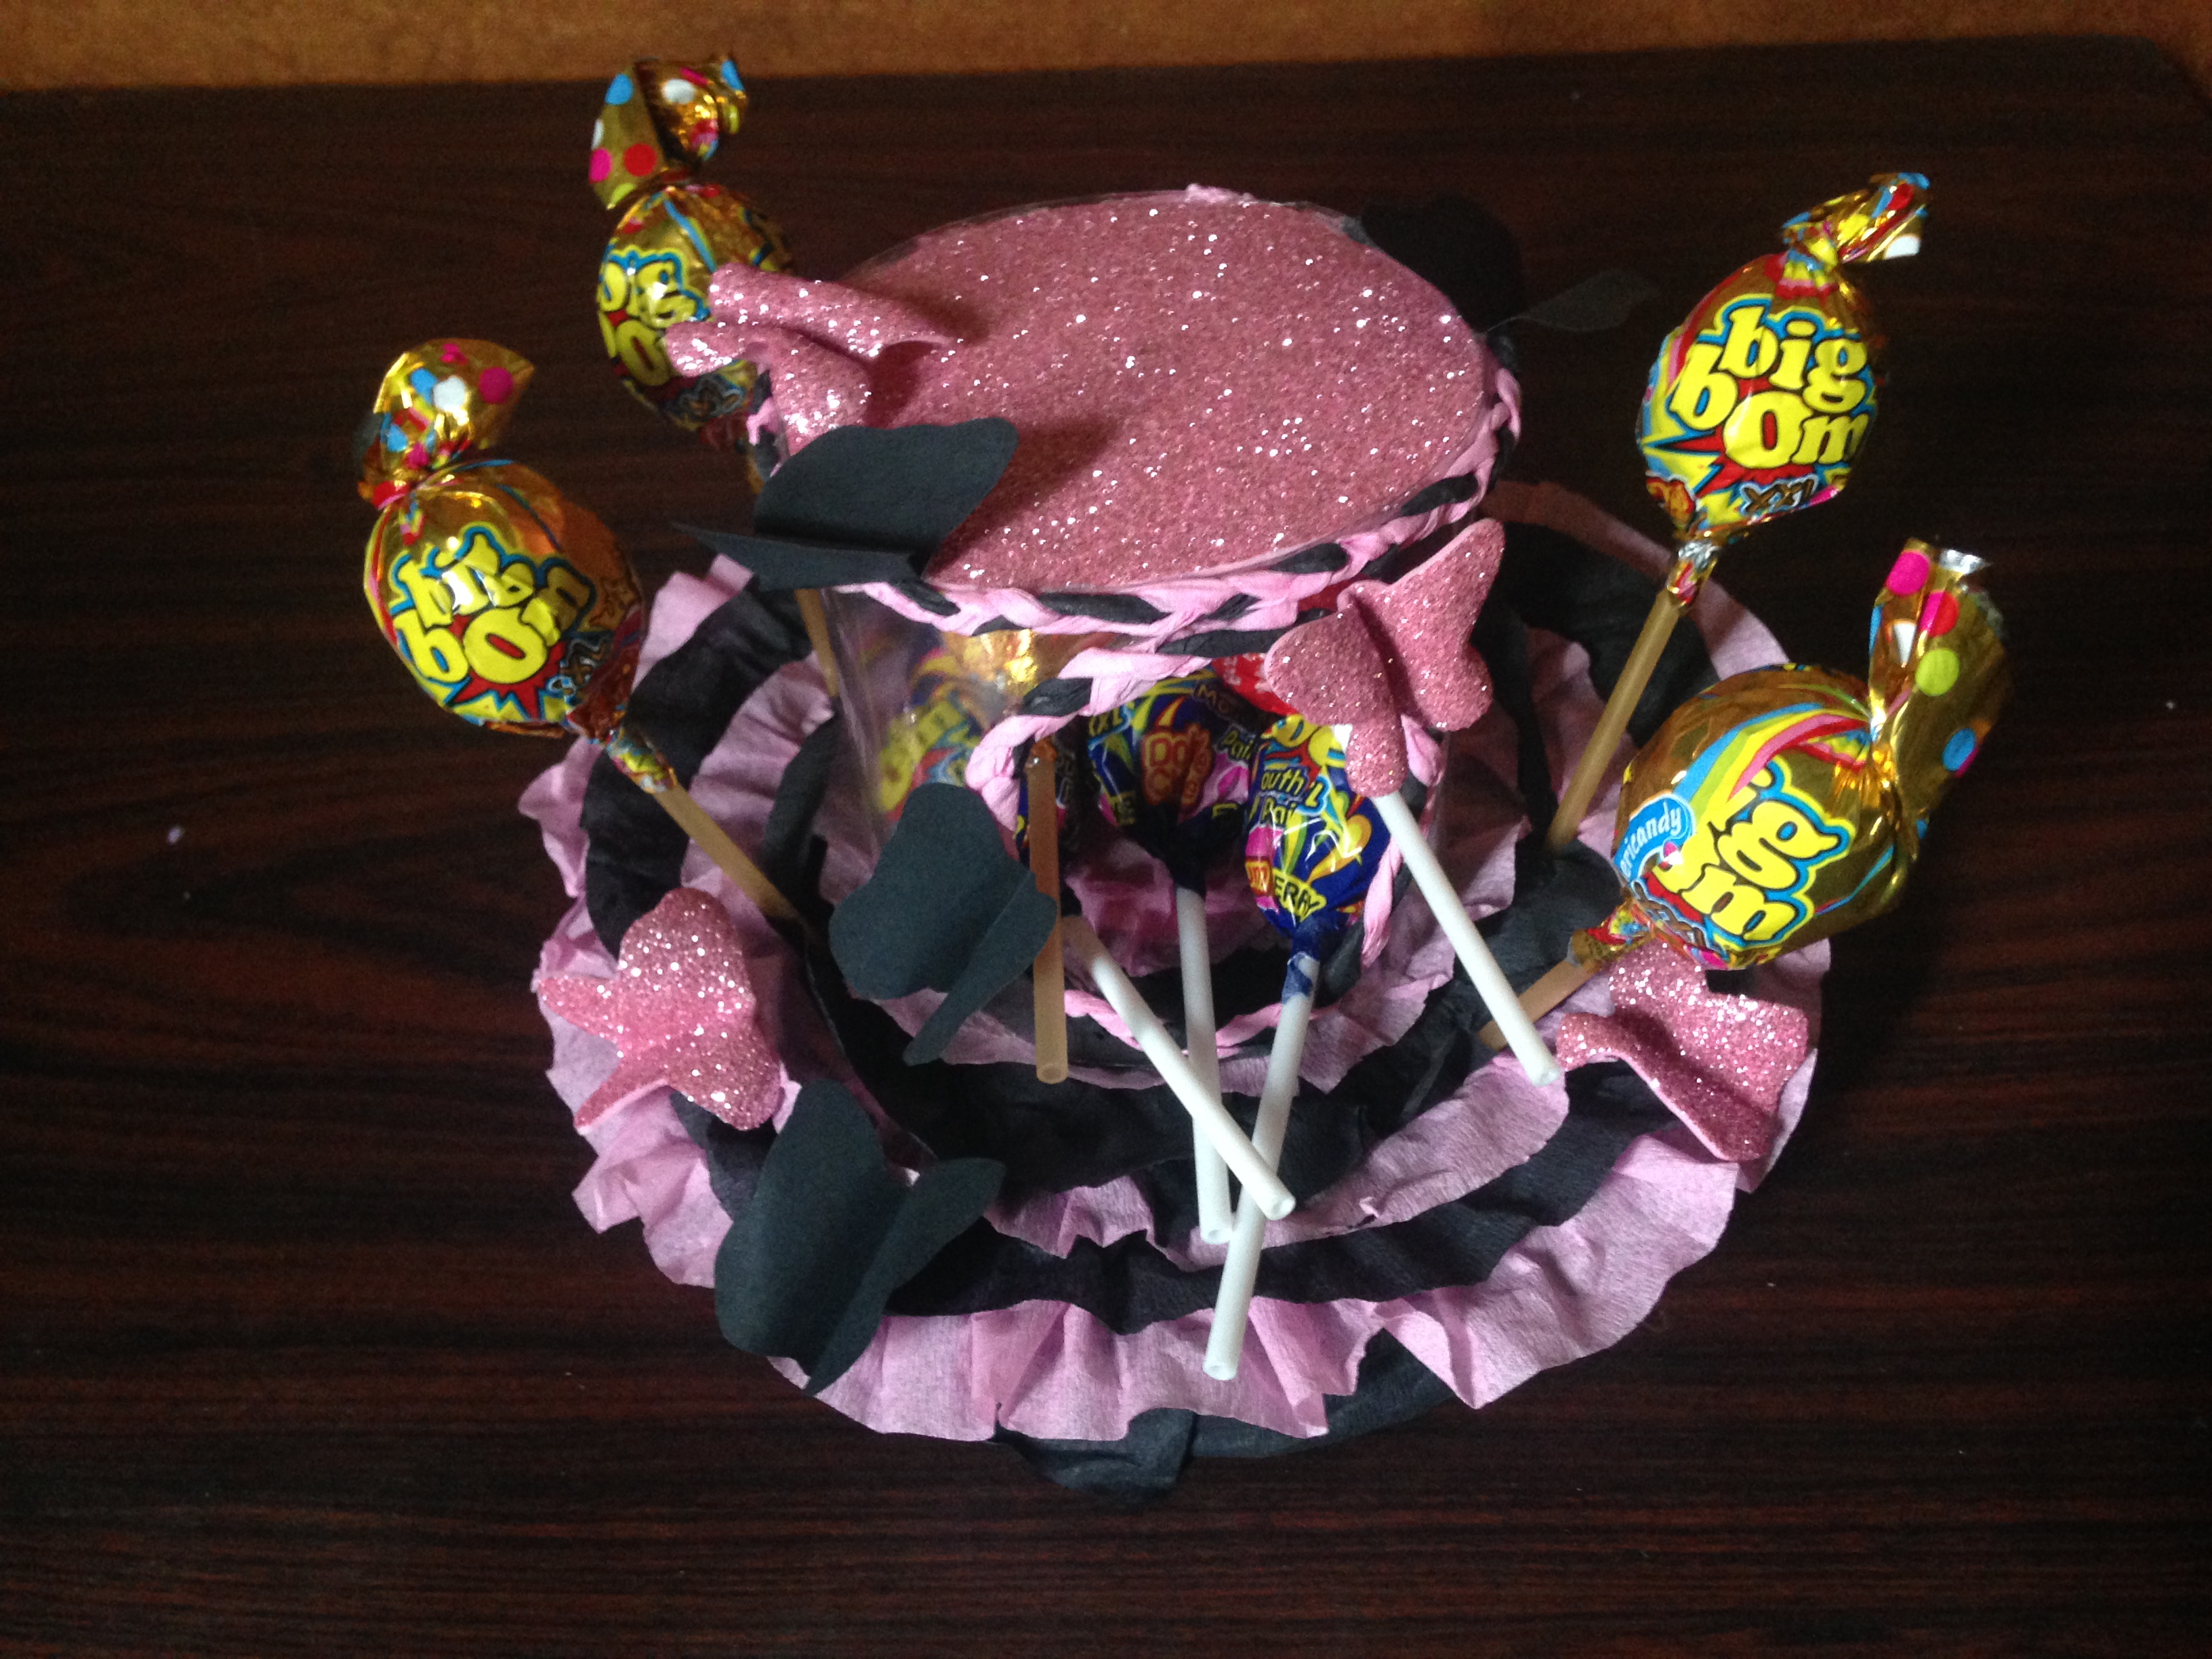
Listo, ya hemos terminado la elaboración de nuestra mini chupetera de mariposas y lo mejor hecha con materiales de provecho, espero les sea de provecho.
Ready, we have already finished the elaboration of our mini butterfly pacifier and the best thing made with useful materials, I hope it will be of benefit to you.
.png)
Bye Bye
!discovery 20
This post was shared and voted inside the discord by the curators team of discovery-it
Join our community! hive-193212
Discovery-it is also a Witness, vote for us here
Delegate to us for passive income. Check our 80% fee-back Program