
God bless you greatly, I hope this community is doing super well !!! Today I want to share with you the elaboration of this beautiful box with special flowers to give a special detail and also fill it with many sweets, its elaboration is very easy to do
Dios los bendiga grandemente, espero que esta comunidad se encuentre super bien !!! hoy quiero compartir con ustedes la elaboración de esta hermosa caja con flores especial para obsequiar un detalle especial y también llenarlo de muchas golosinas, su elaboración es muy fácil de hacer
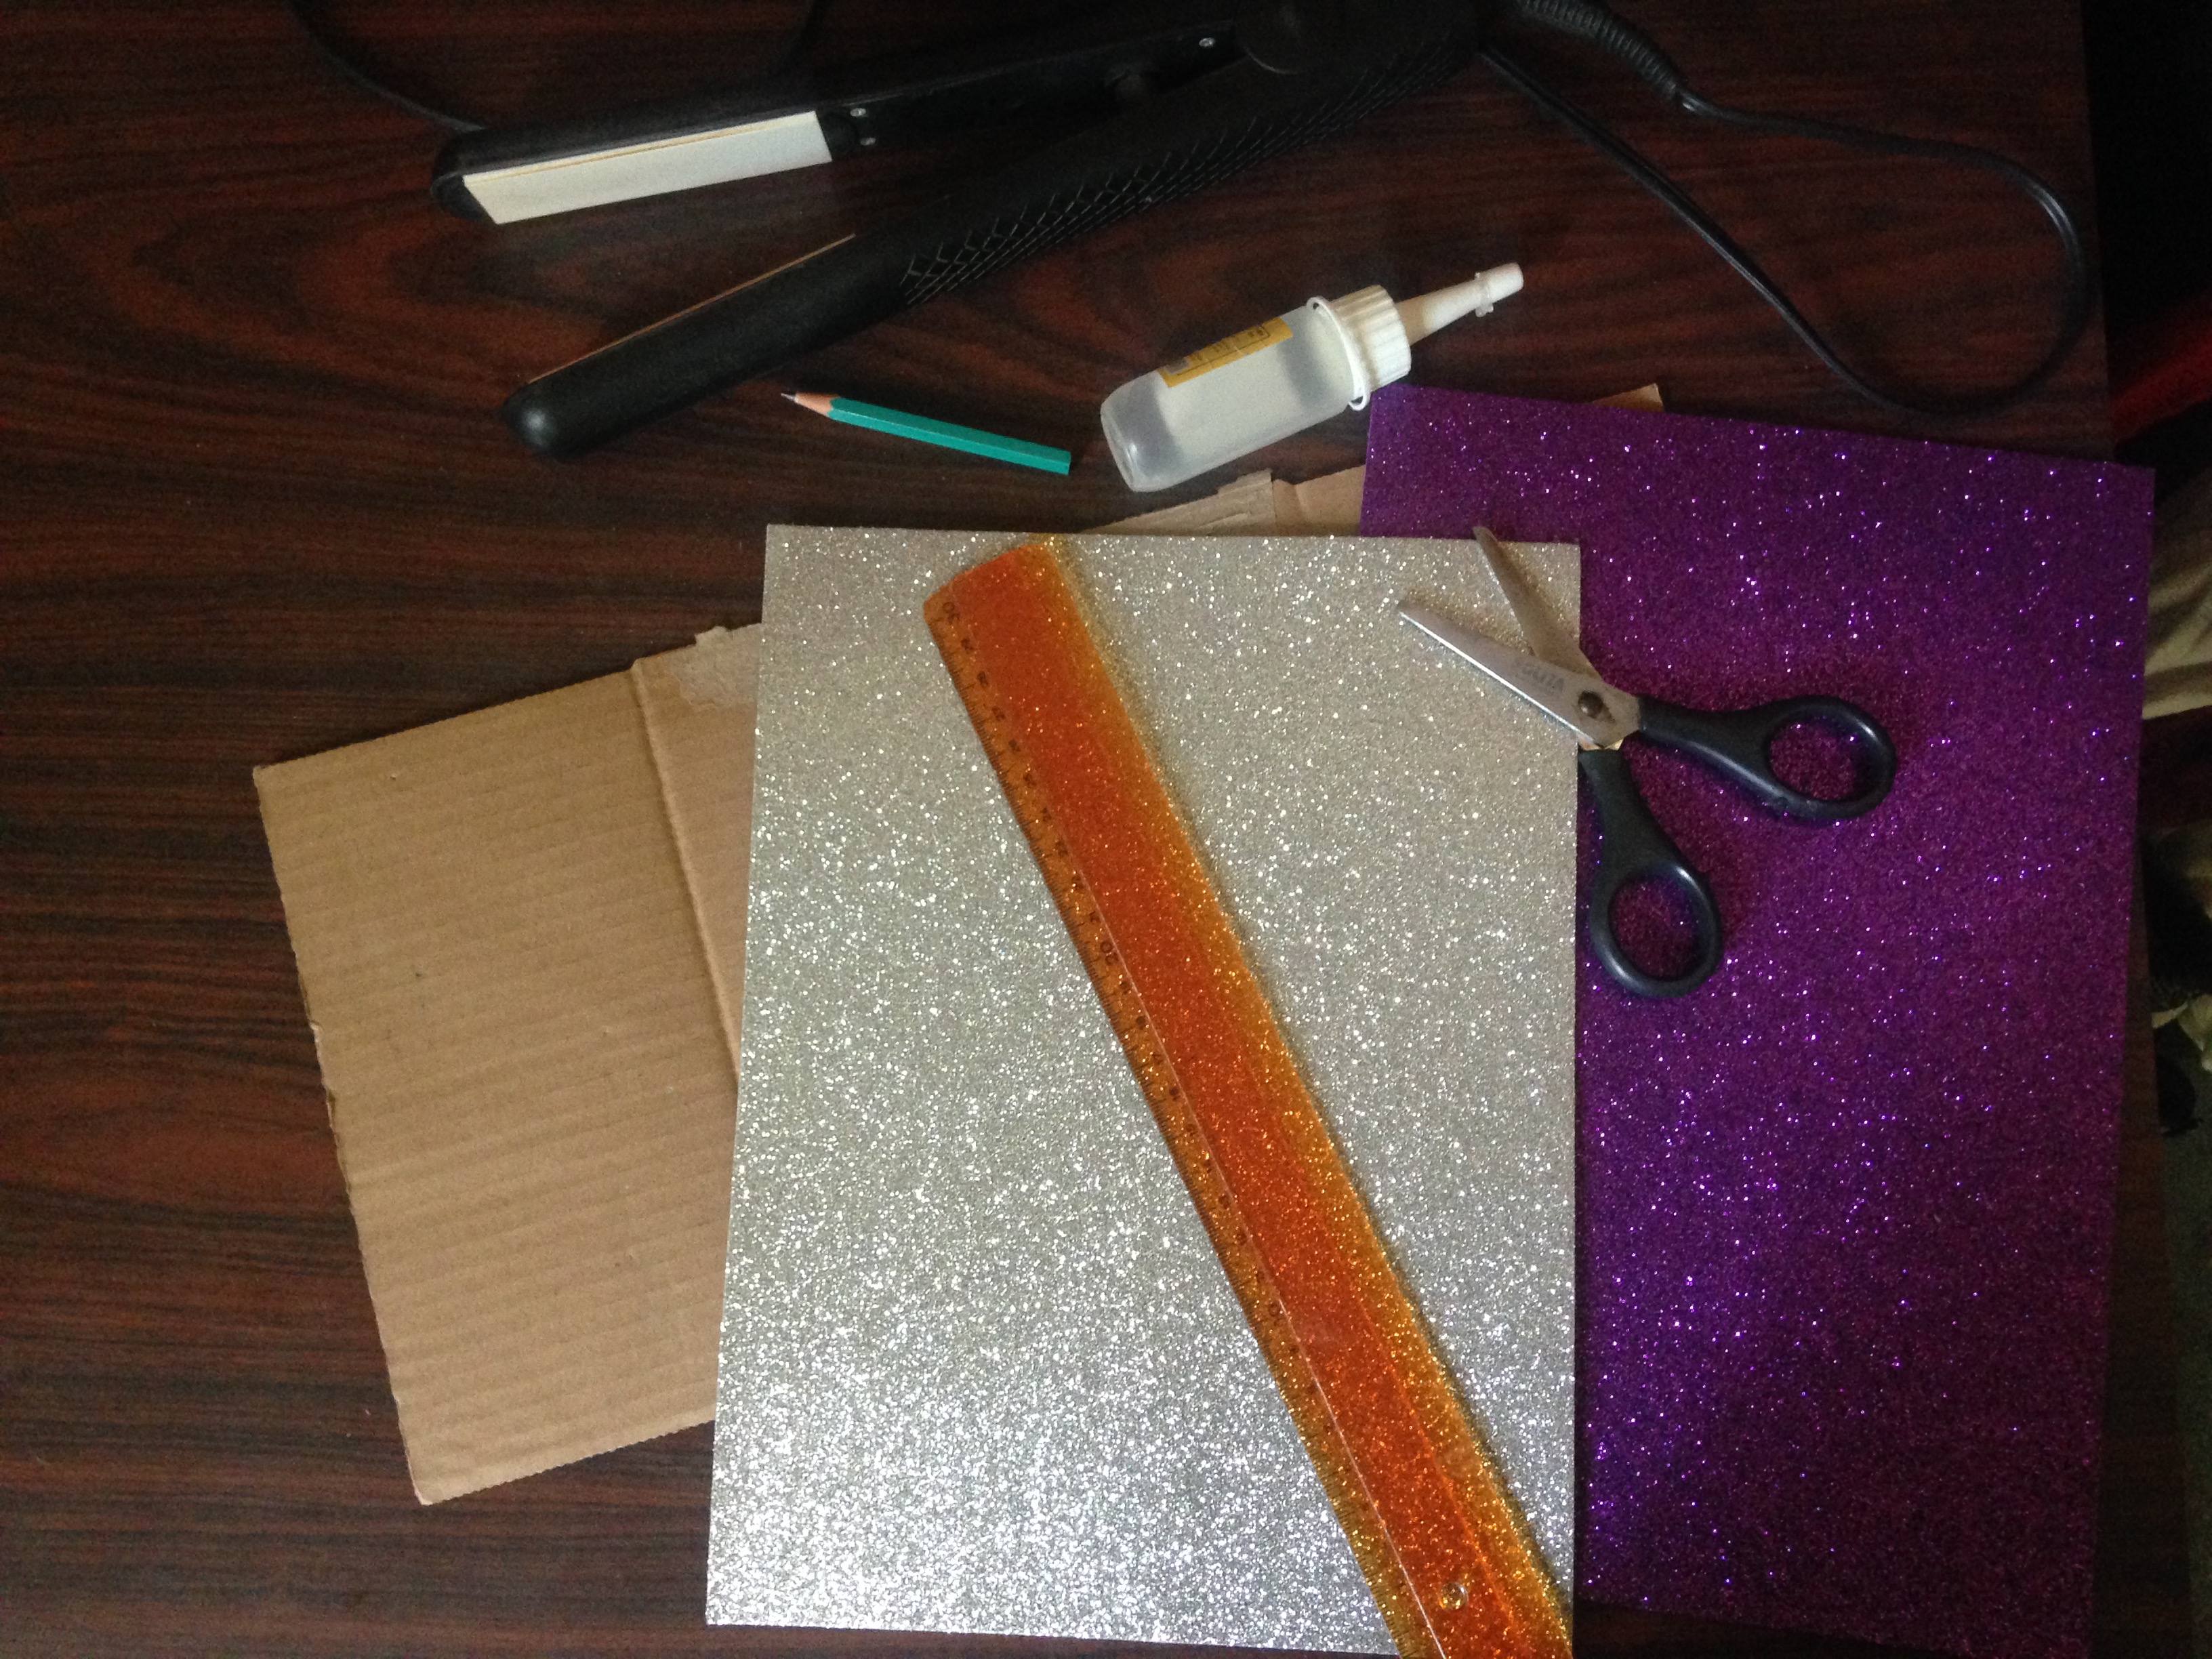
Materiales:
- Foamy escarchado morado
- foamy escarchado plateado
- cartón
- silicon
- tijera
- lápiz
- regla
- plancha de cabello
Materials:
- Purple frosty foamy
- silver frosted foamy
- cardboard
- silicon
- scissor
- pencil
- rule
- hair iron
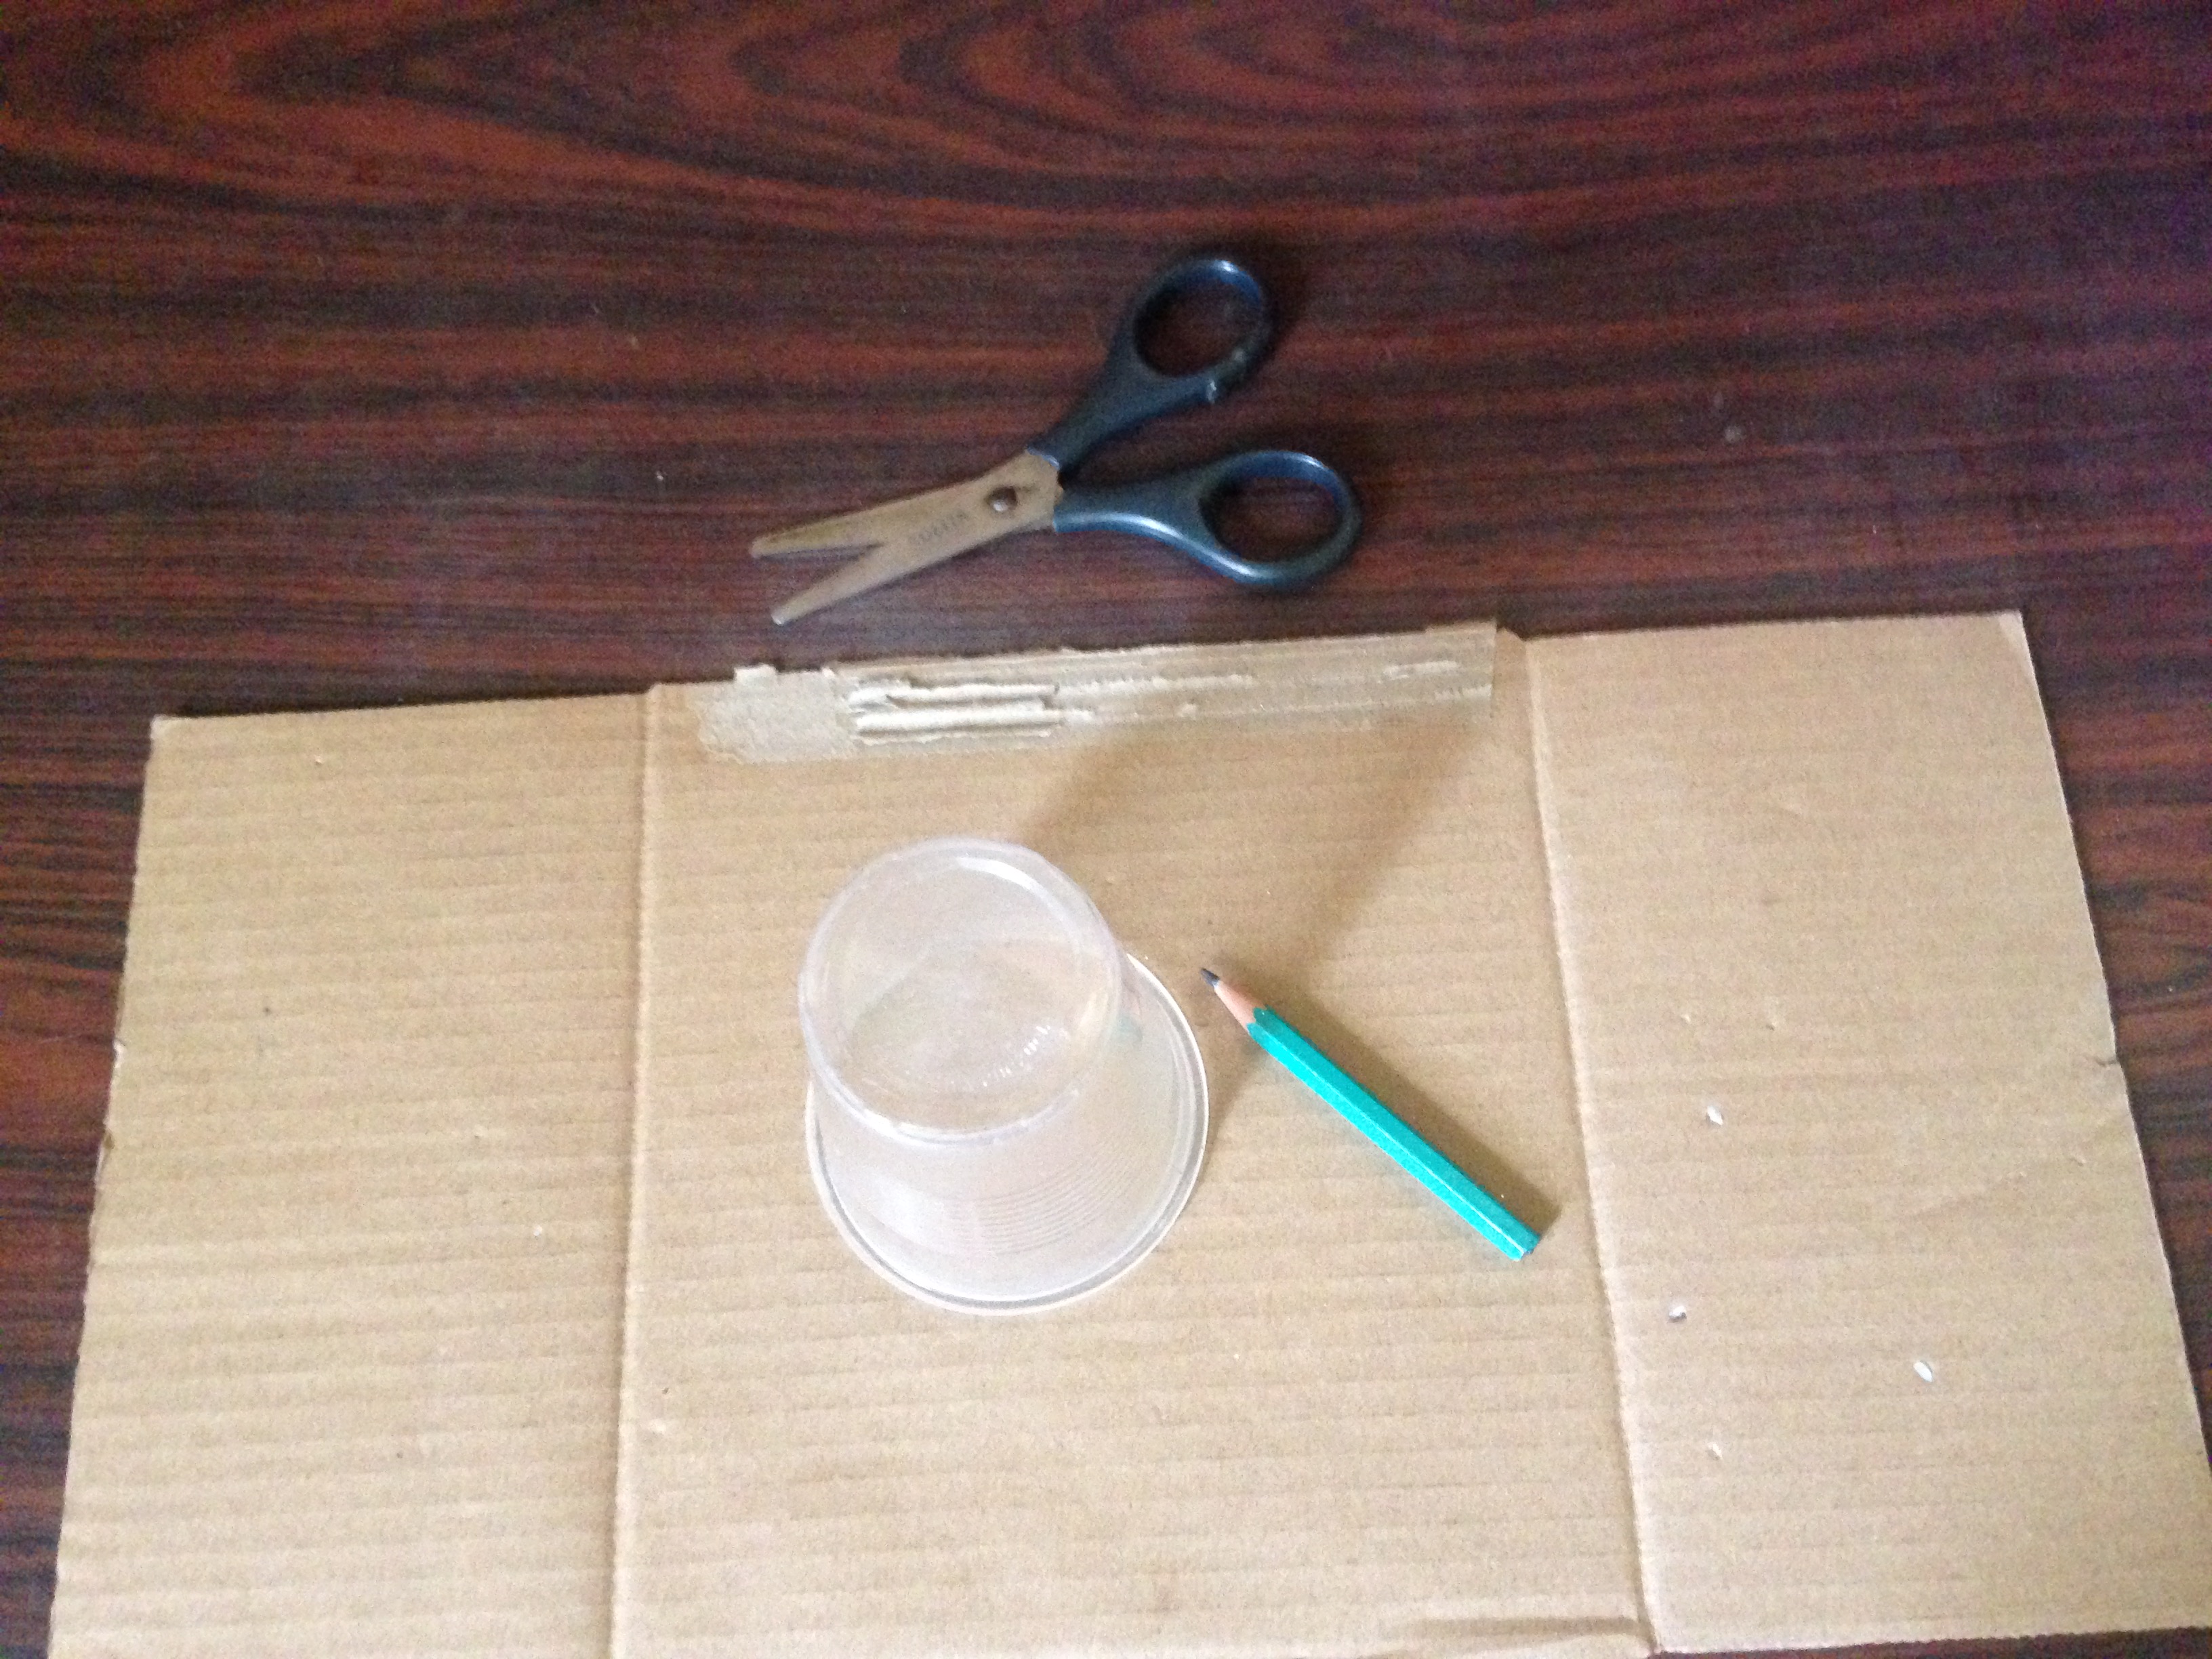
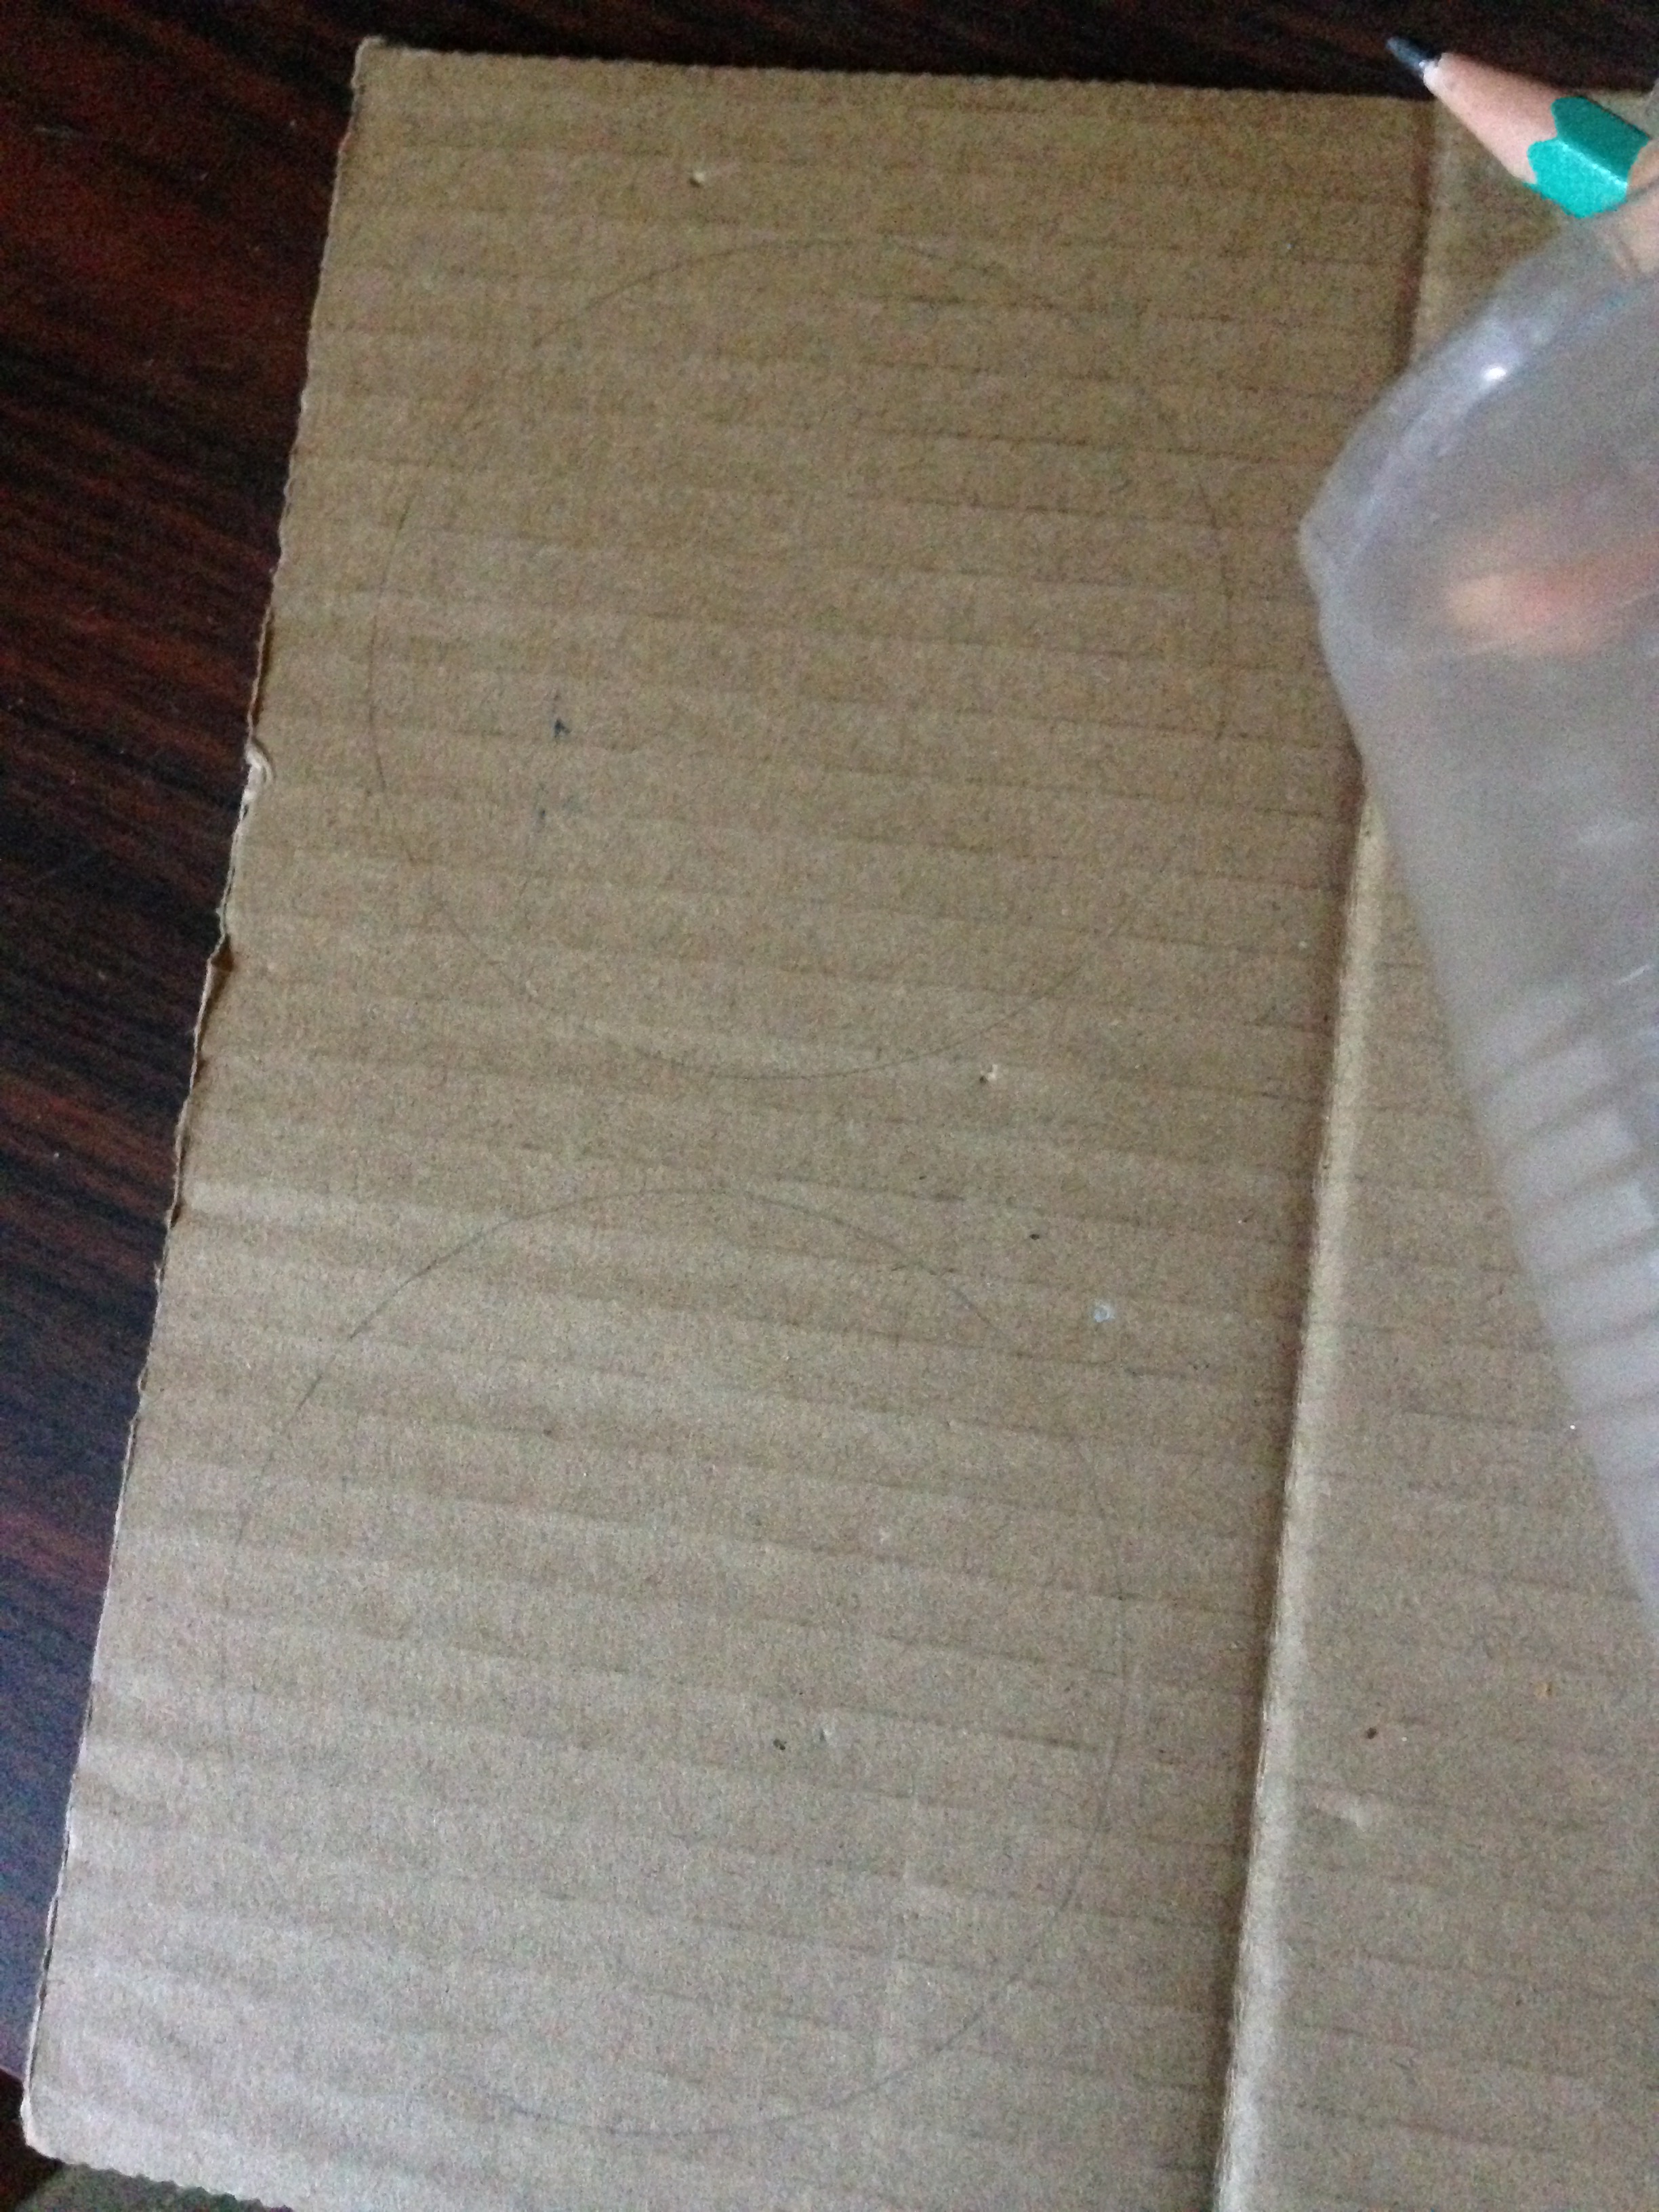
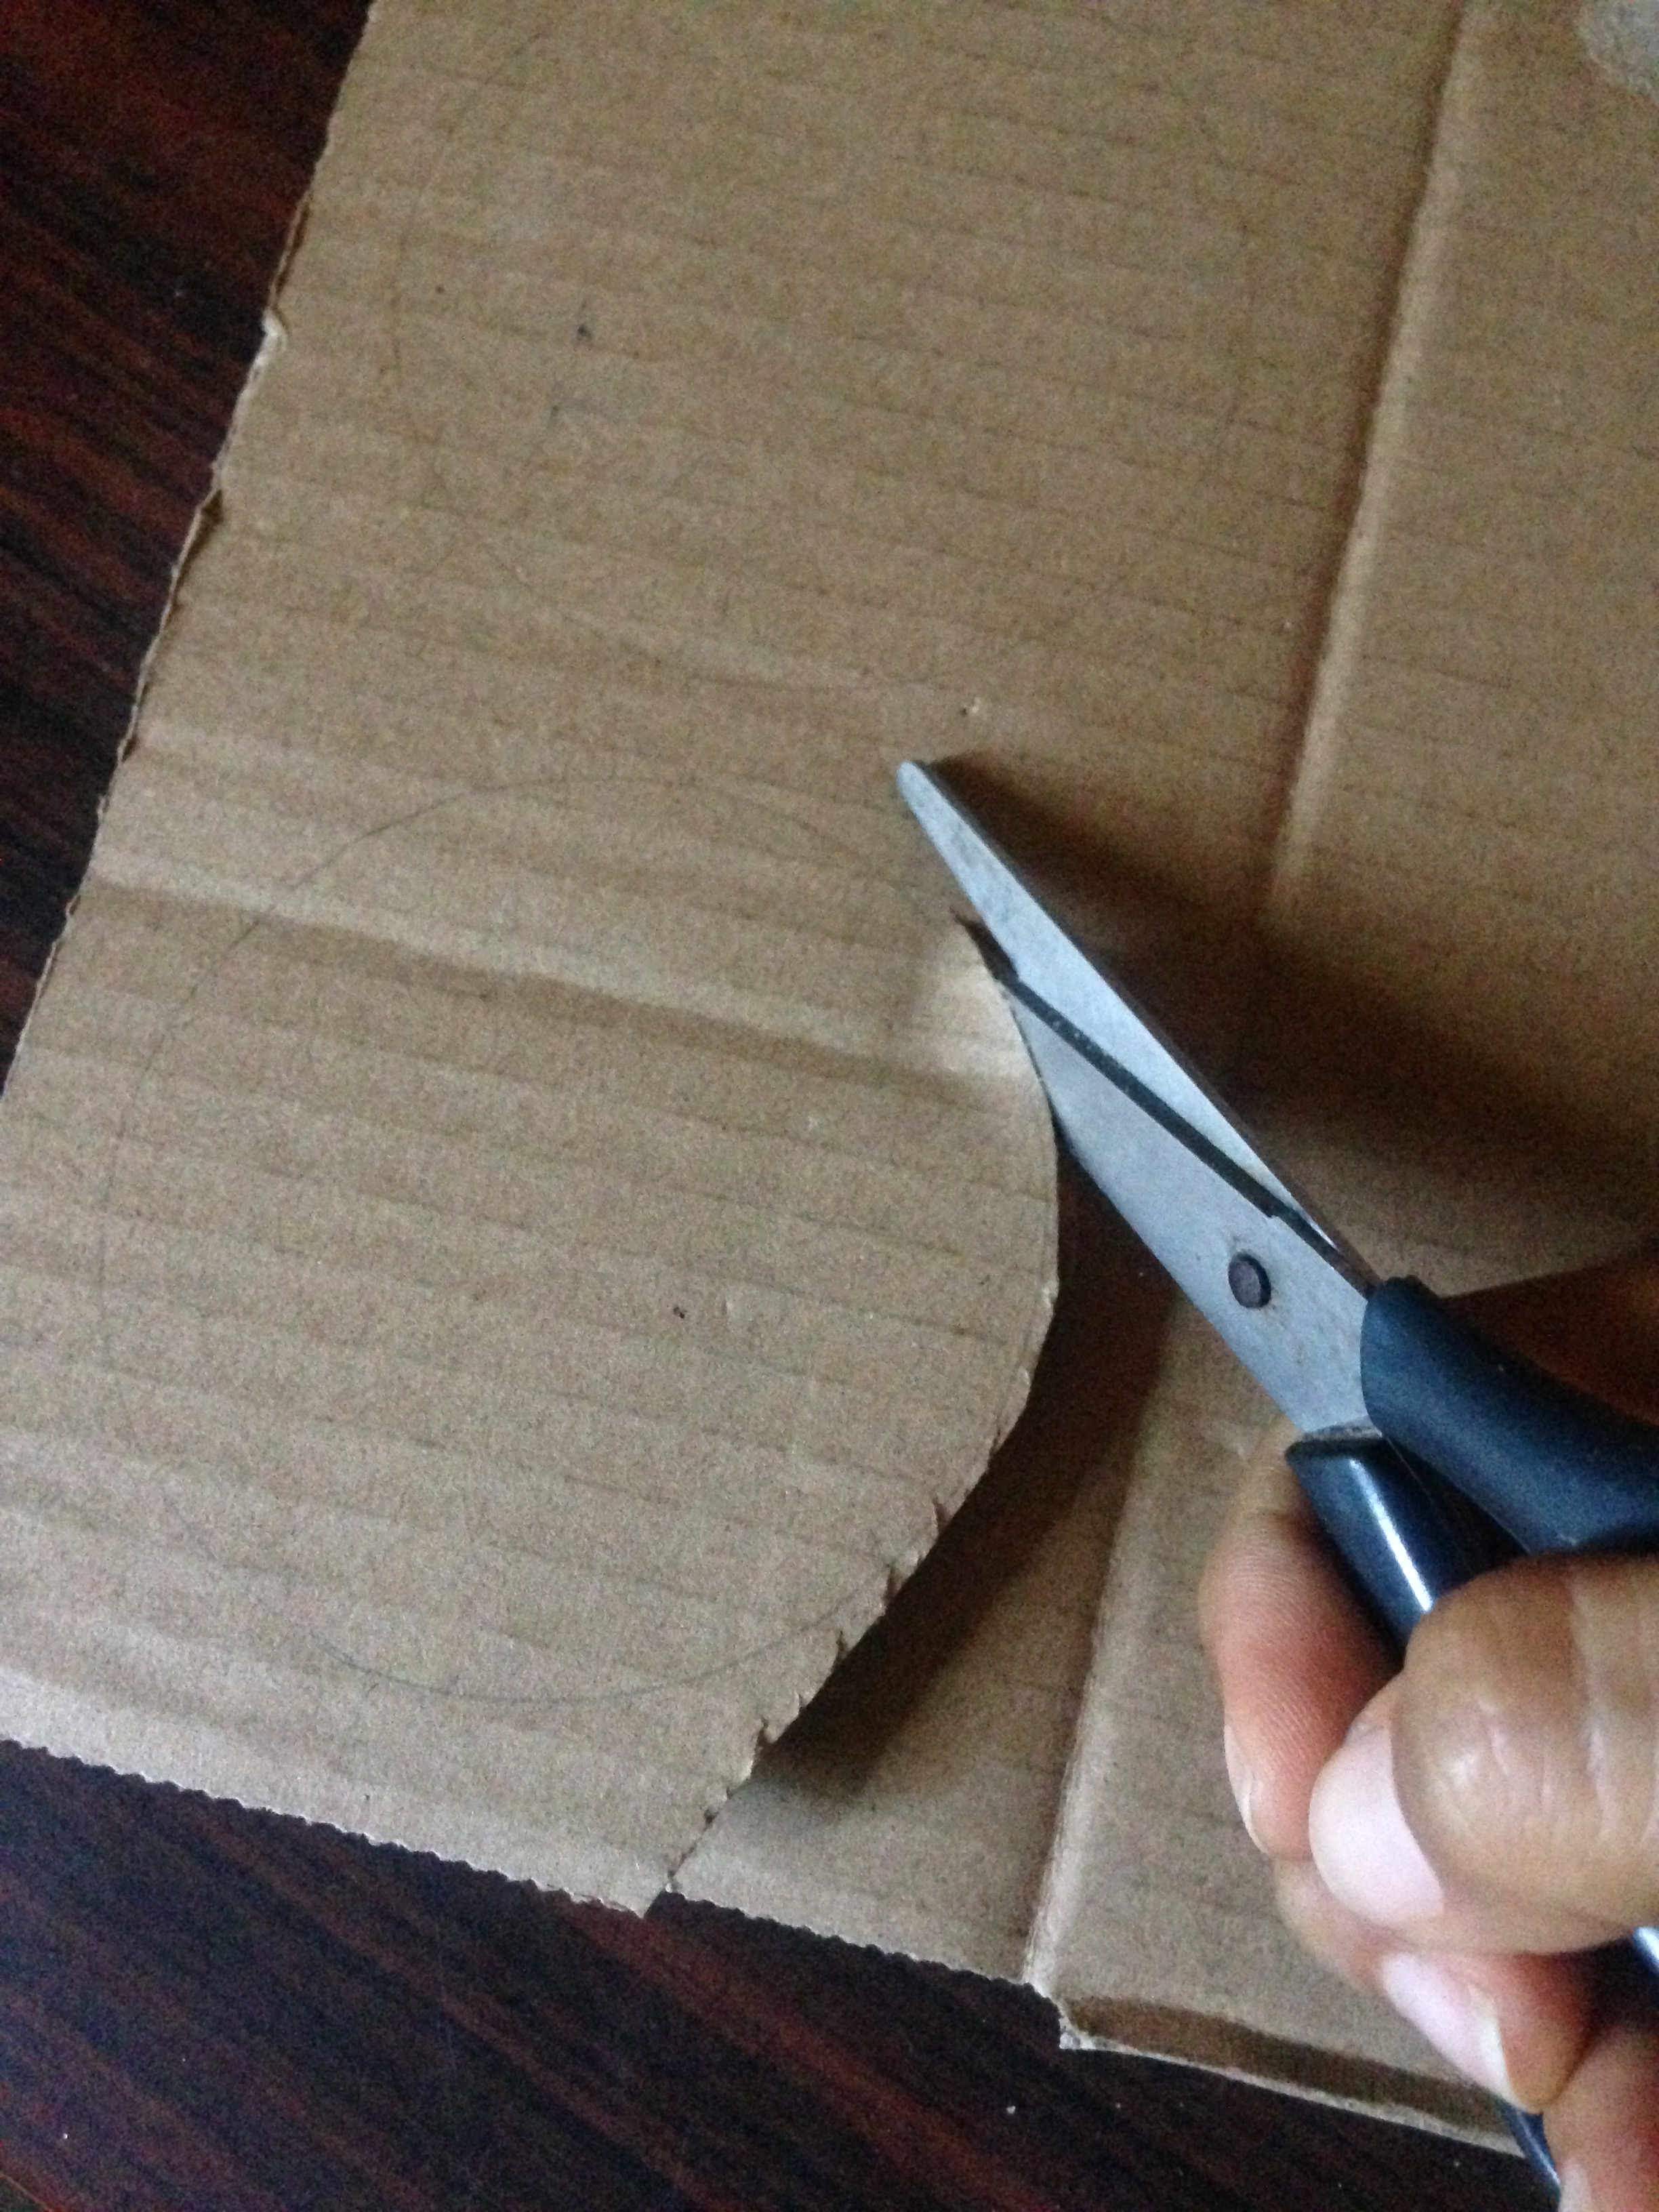
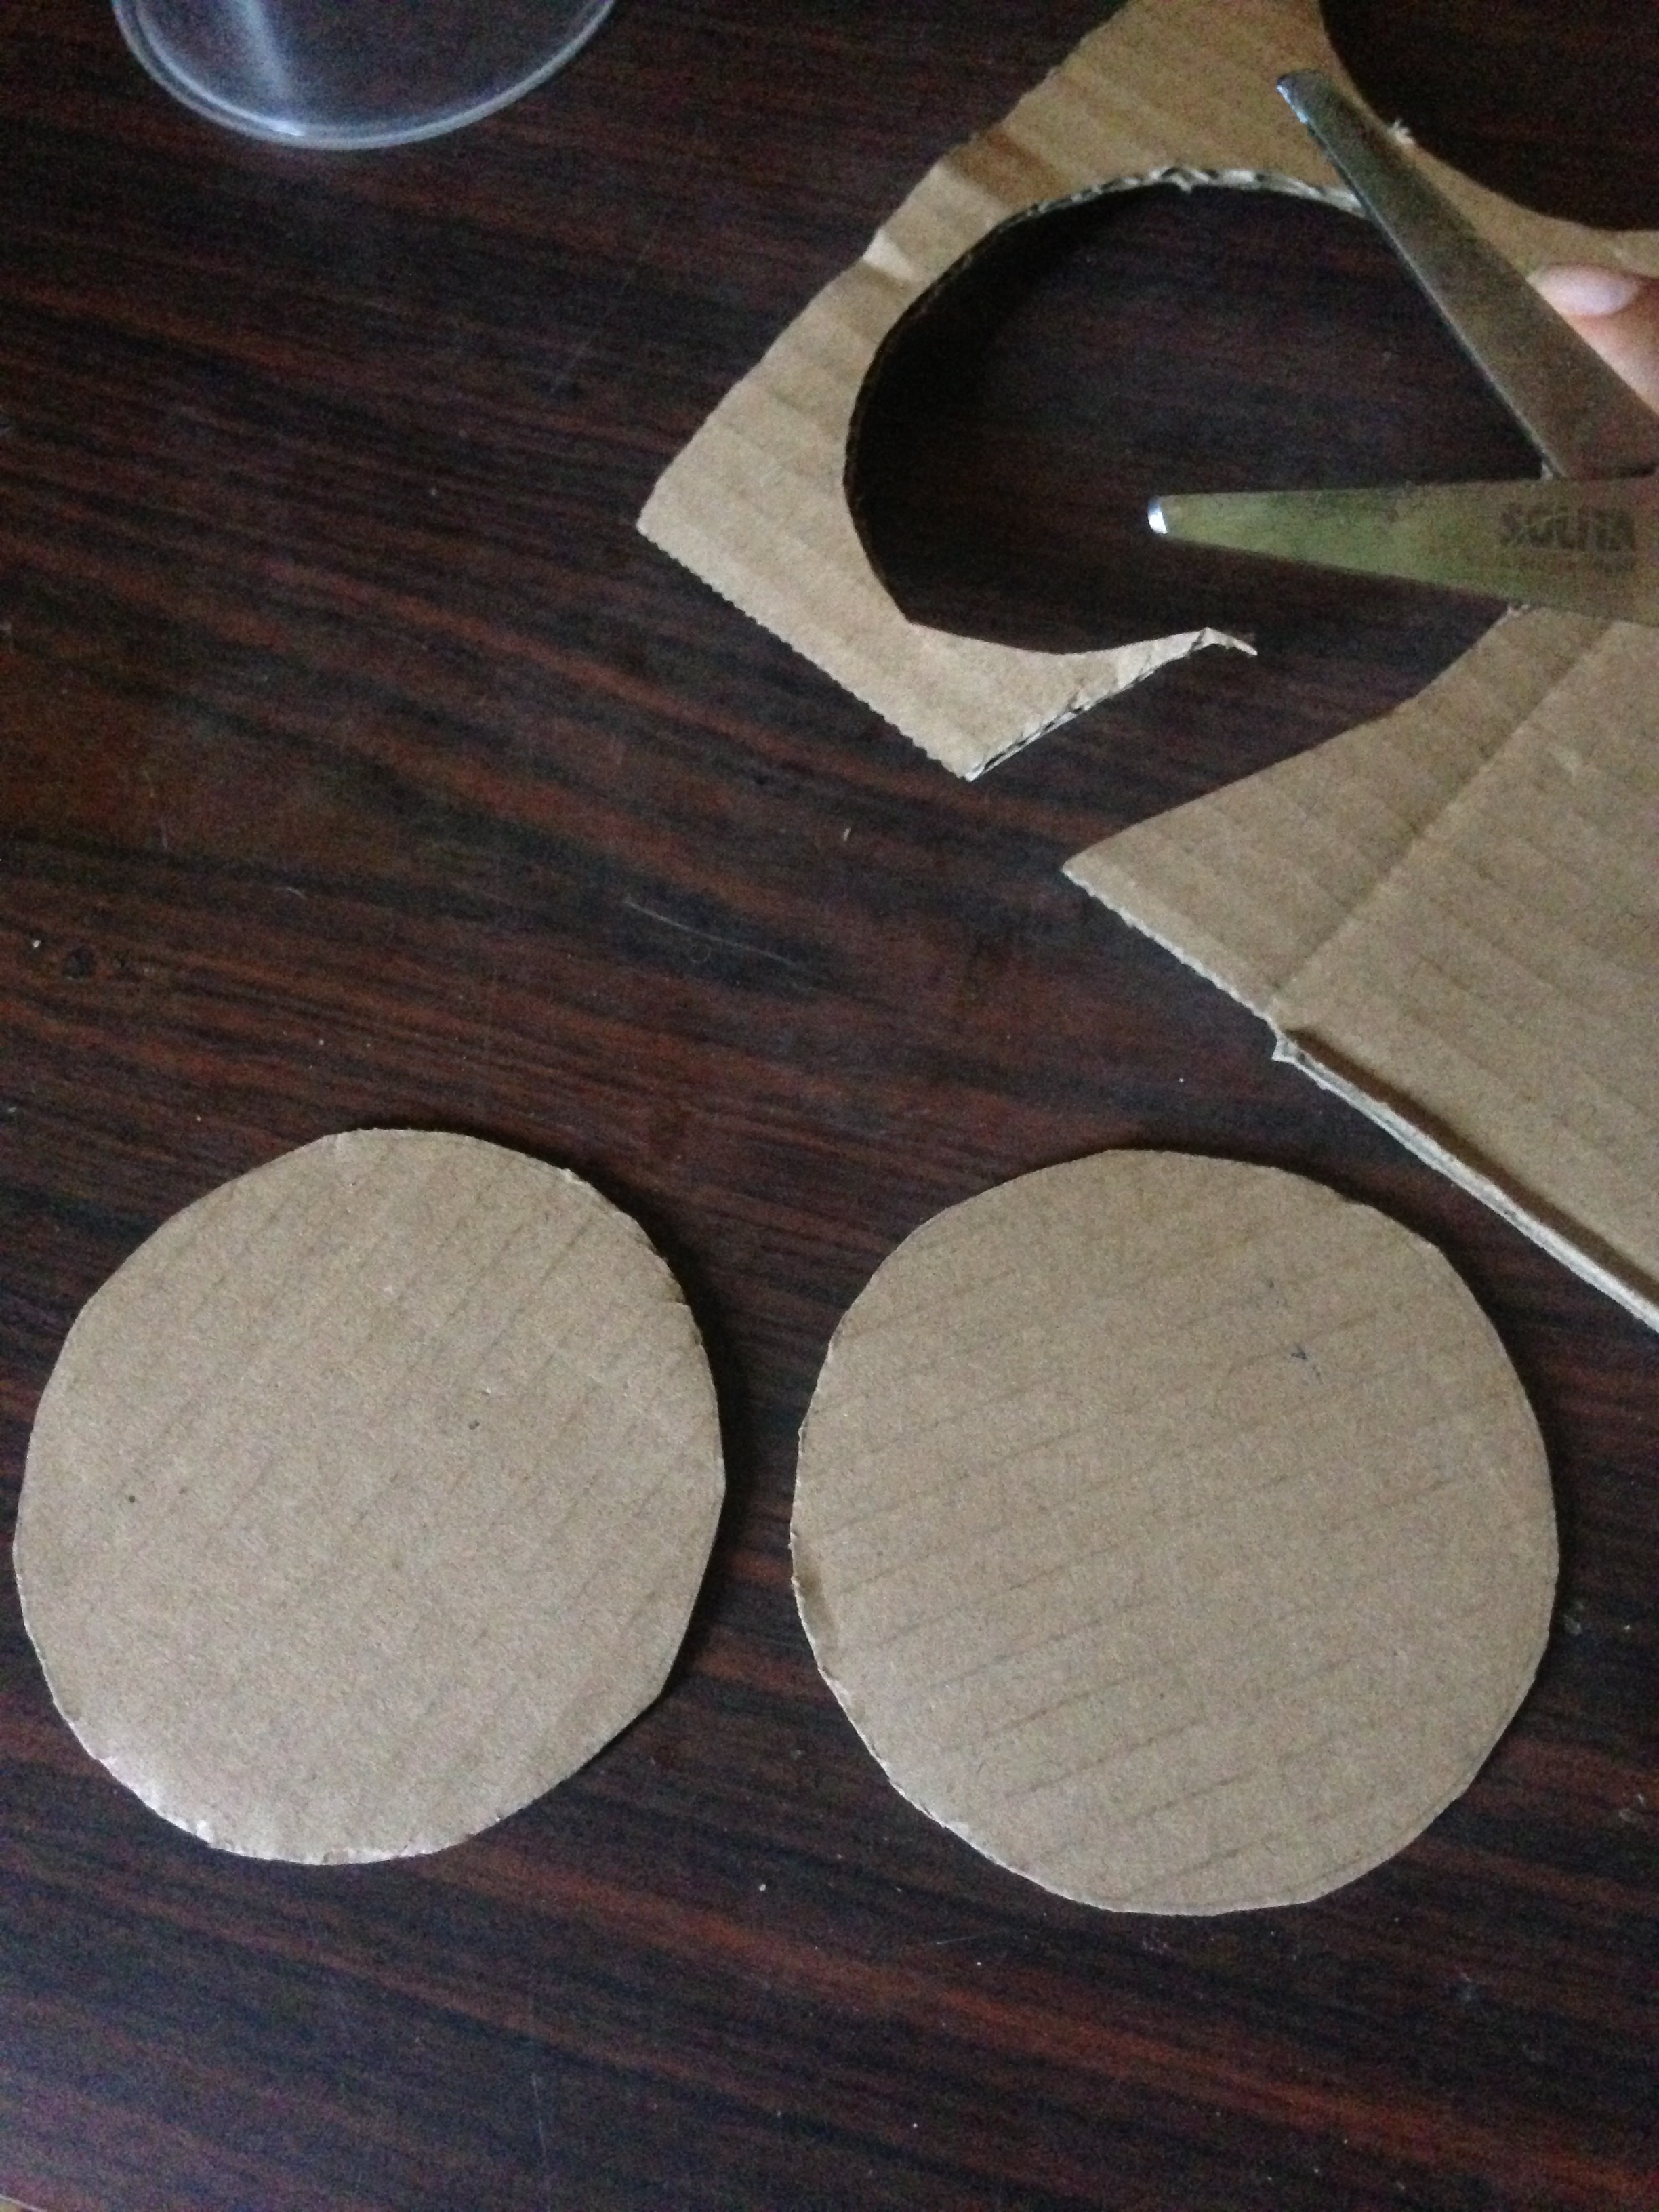
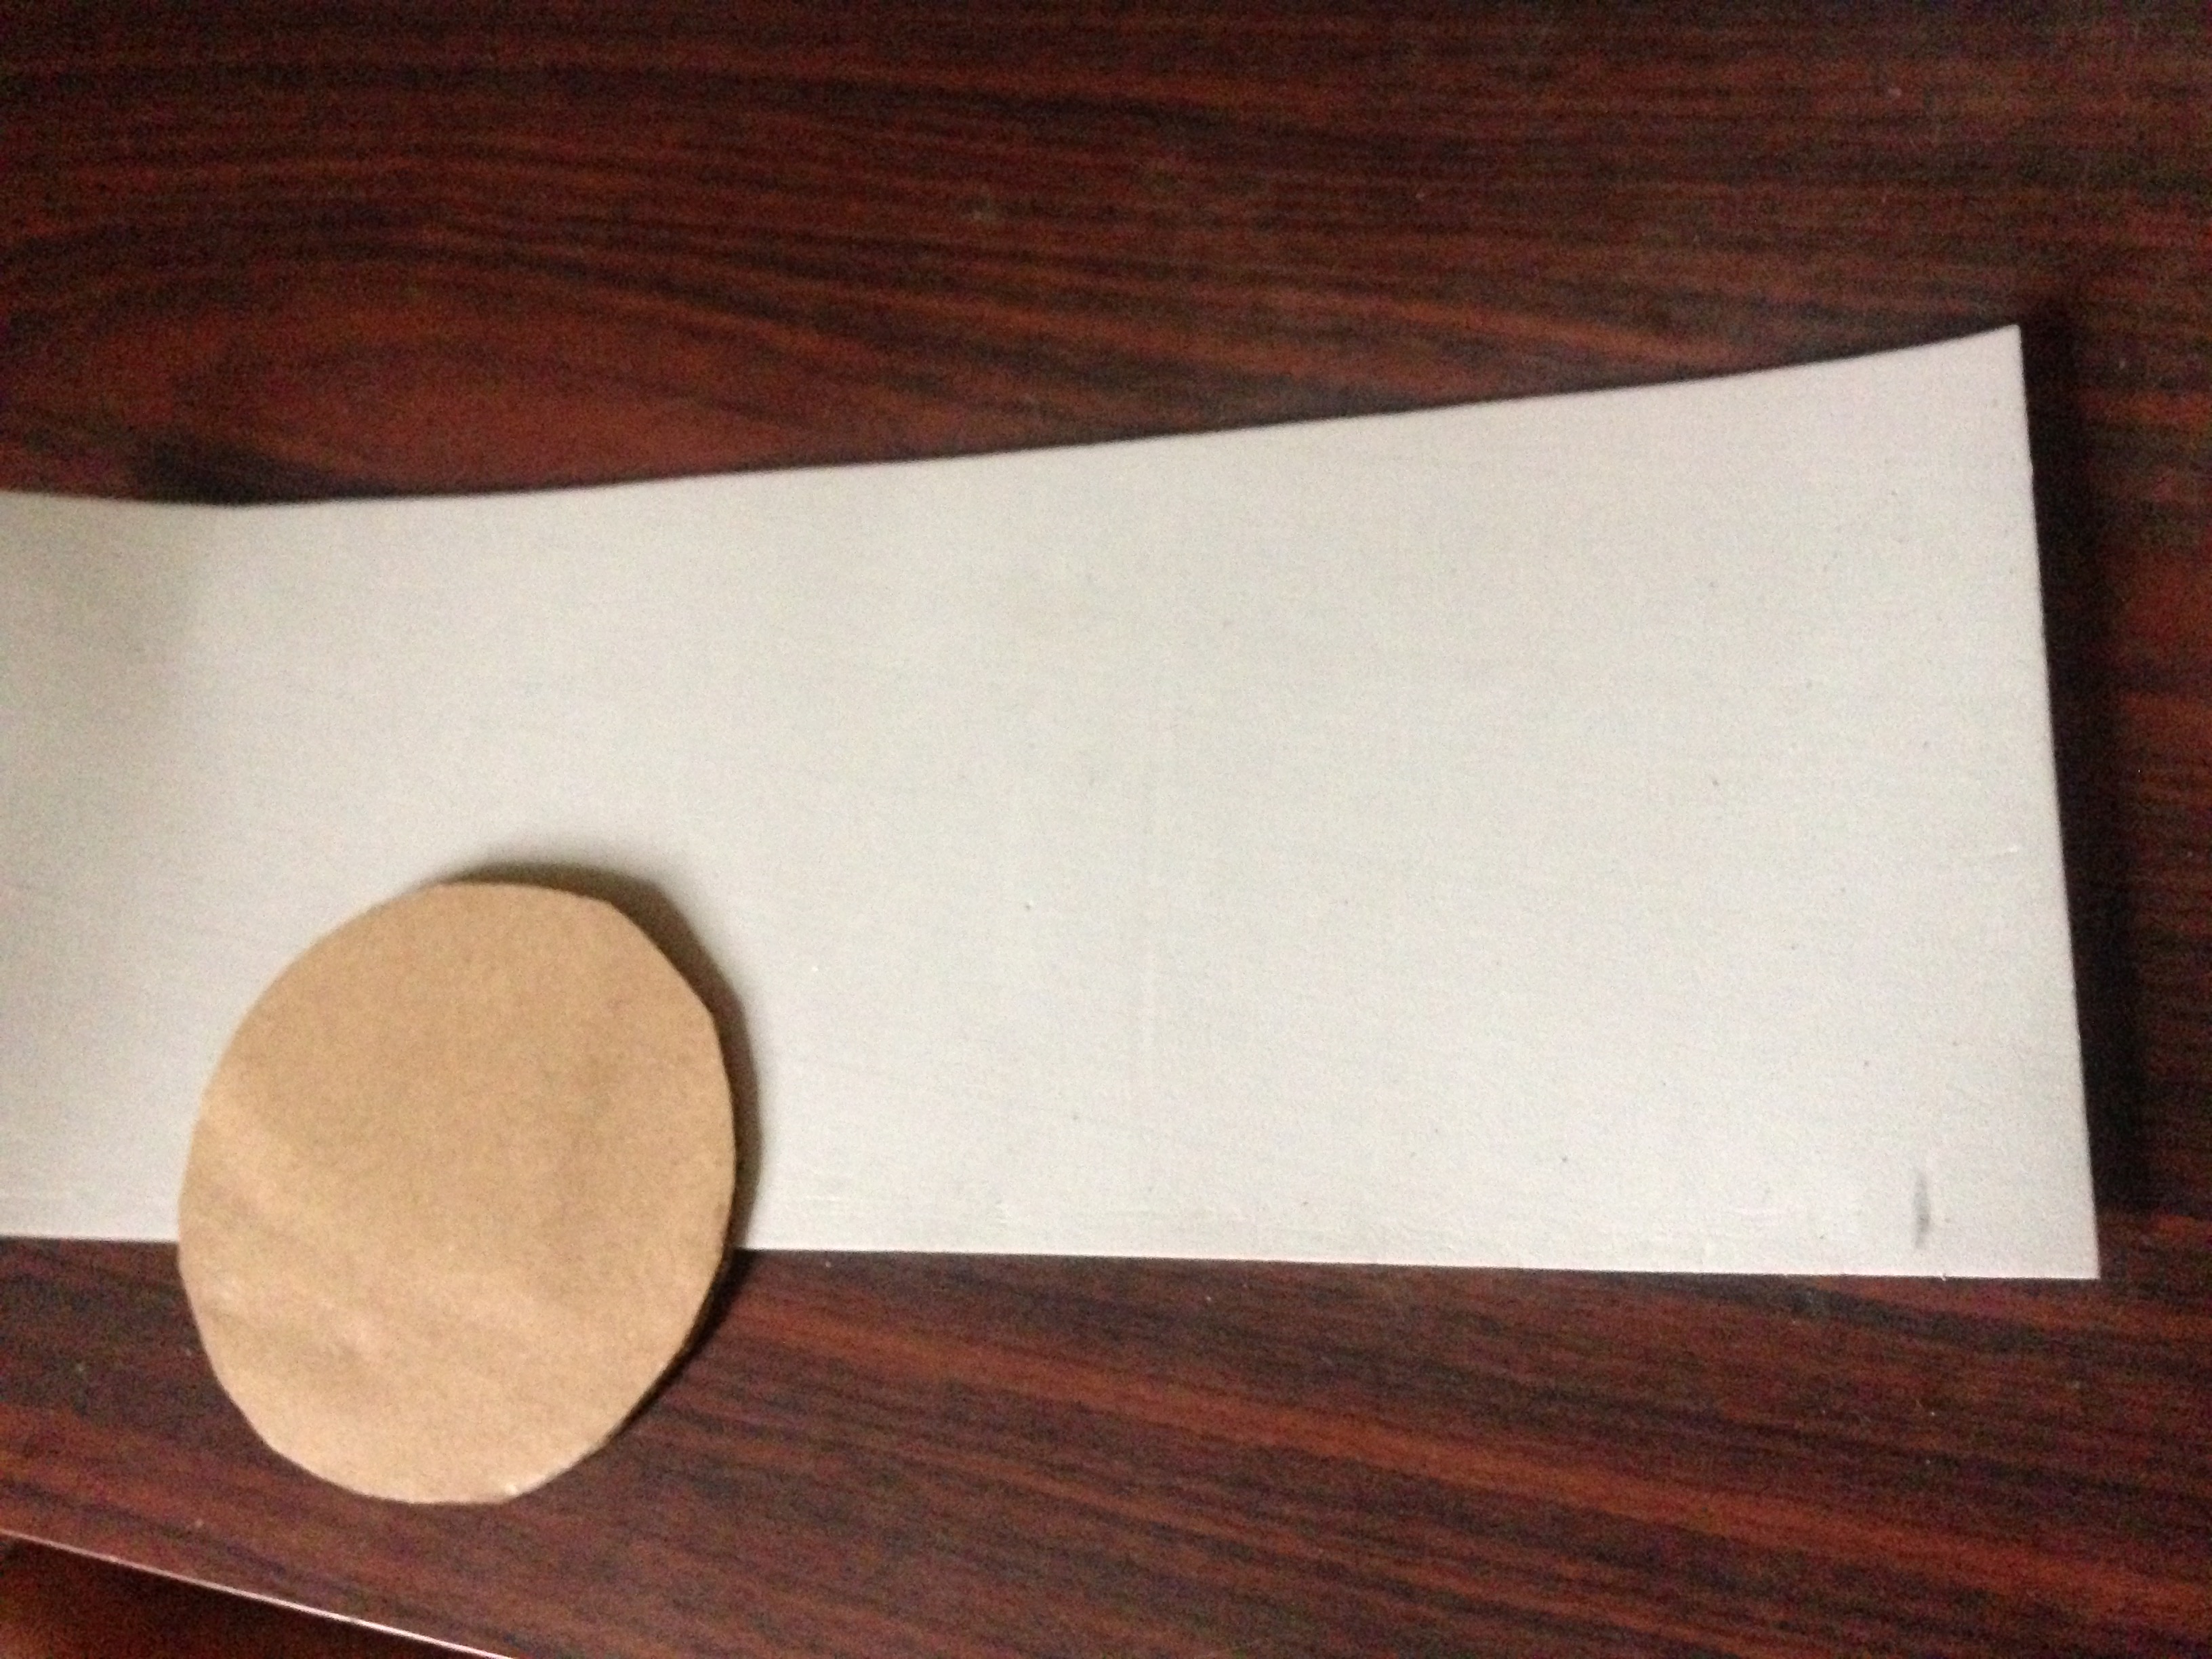
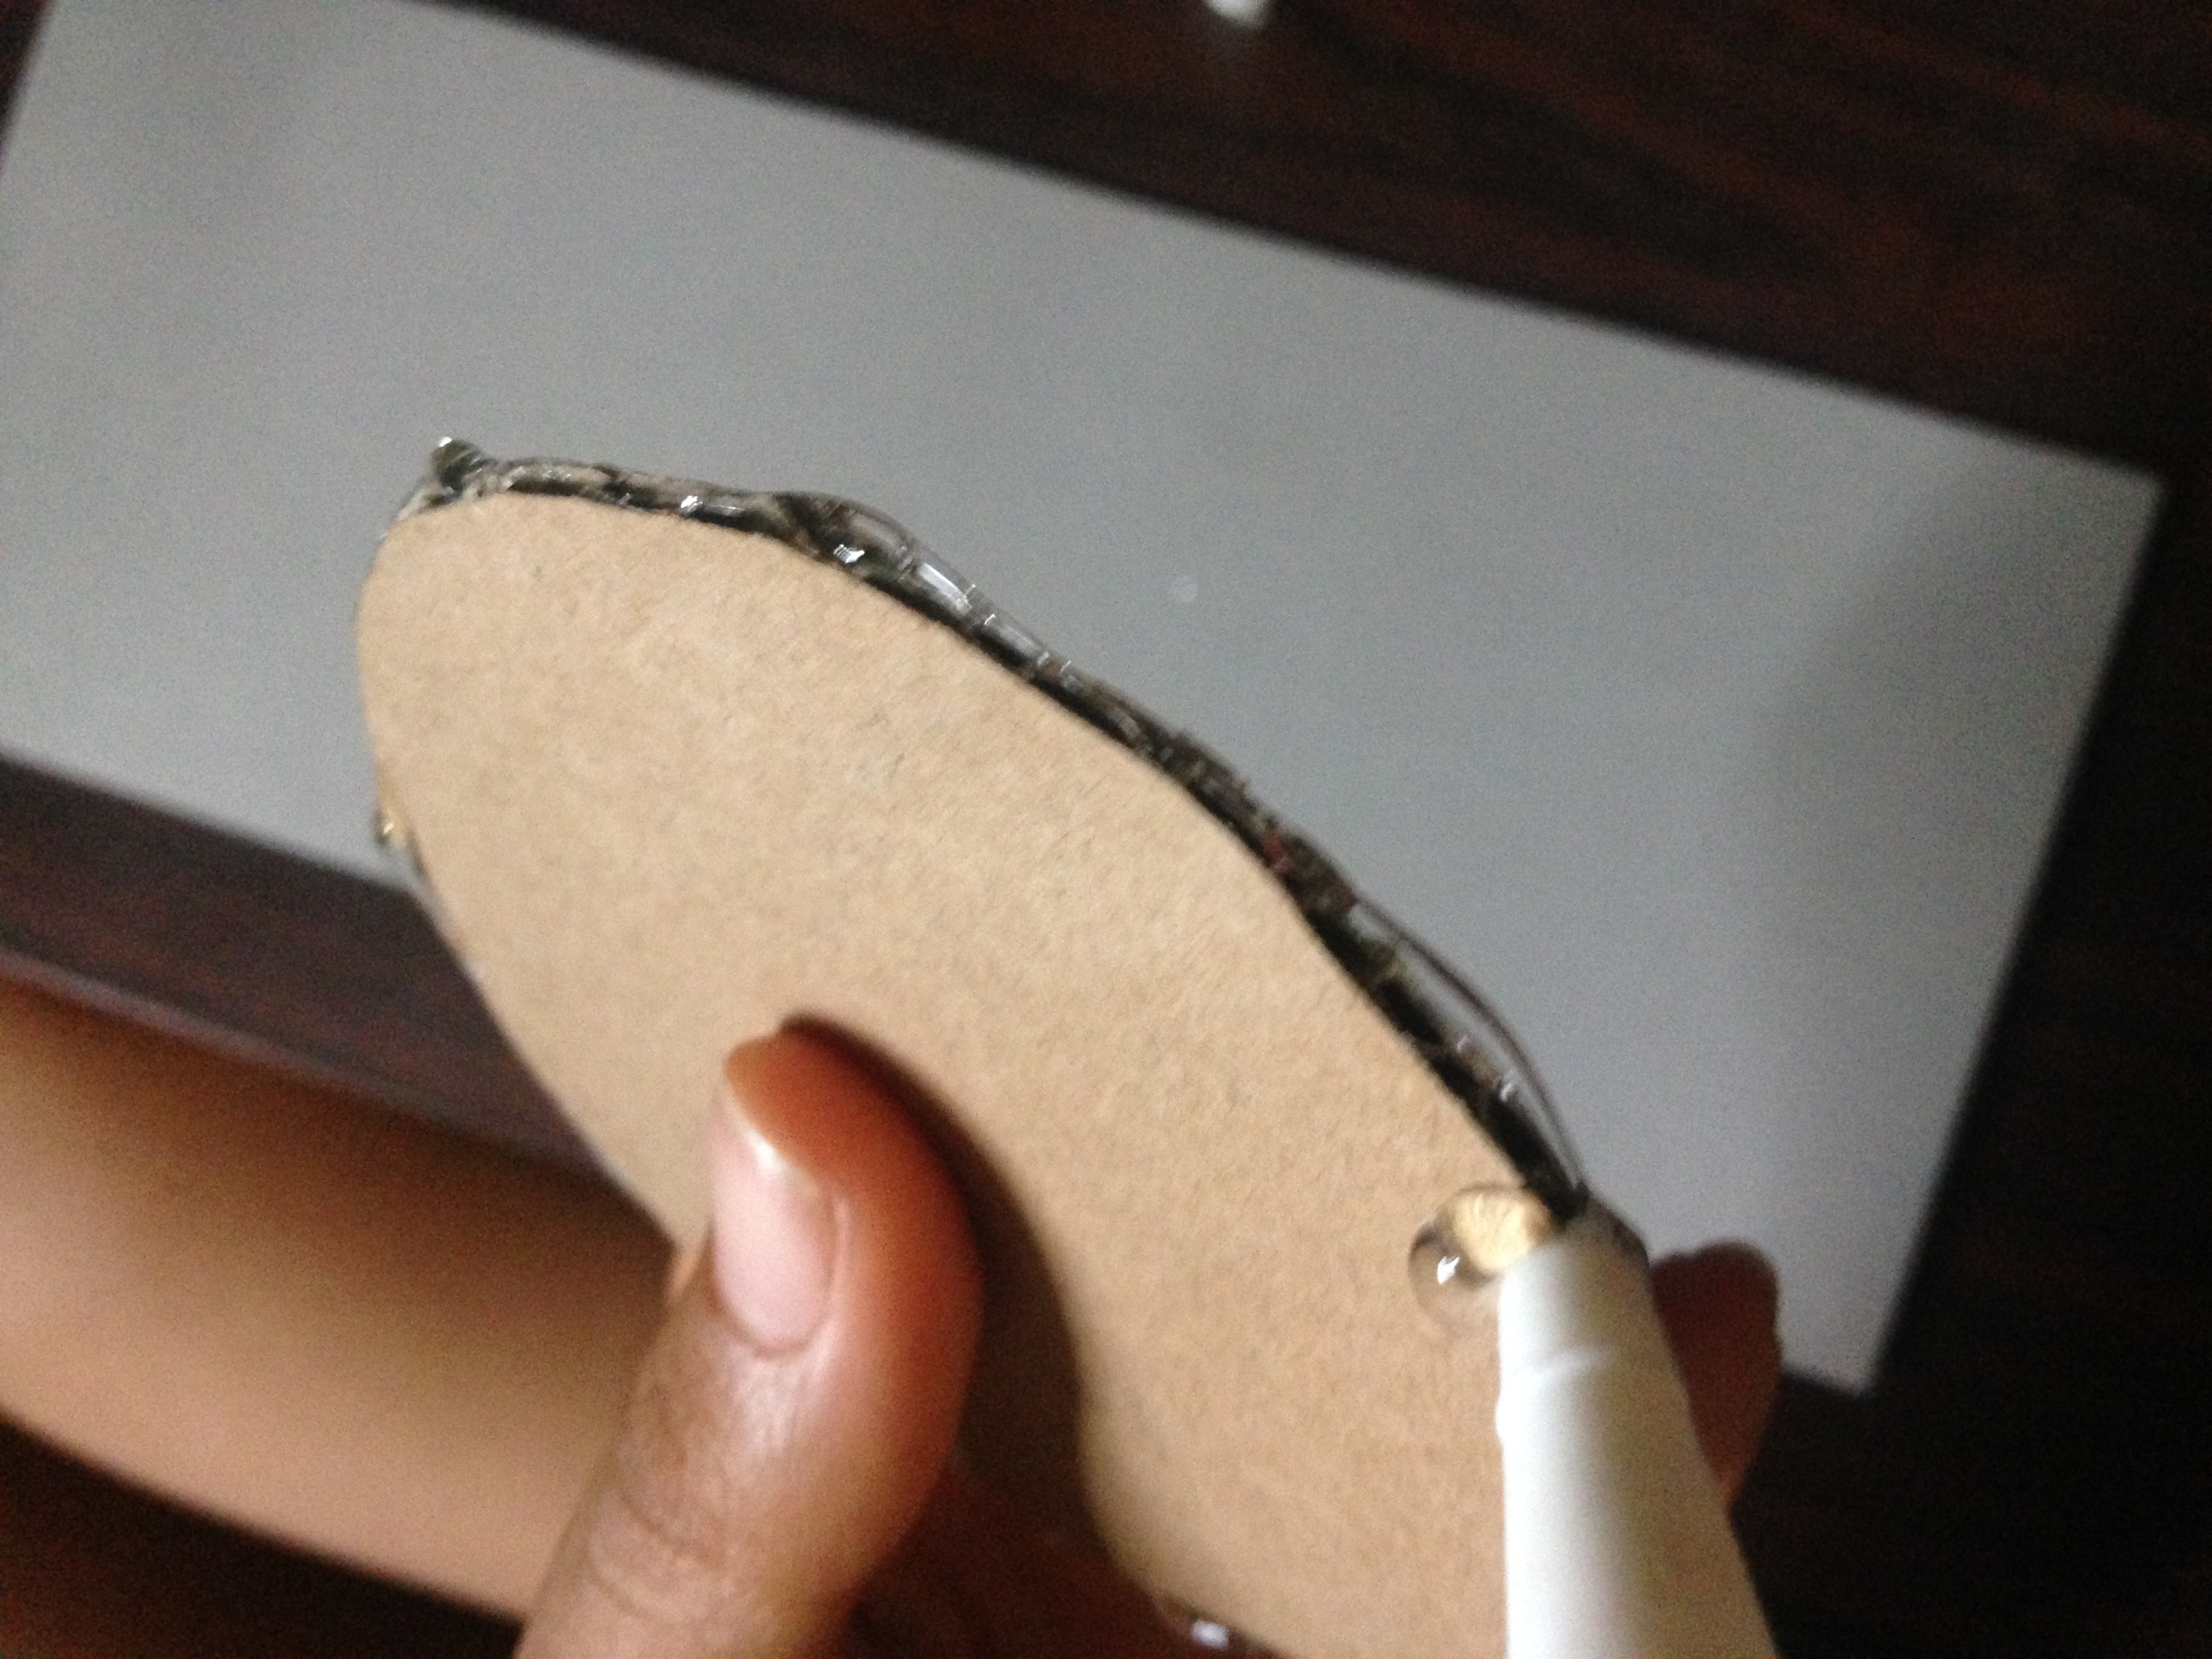
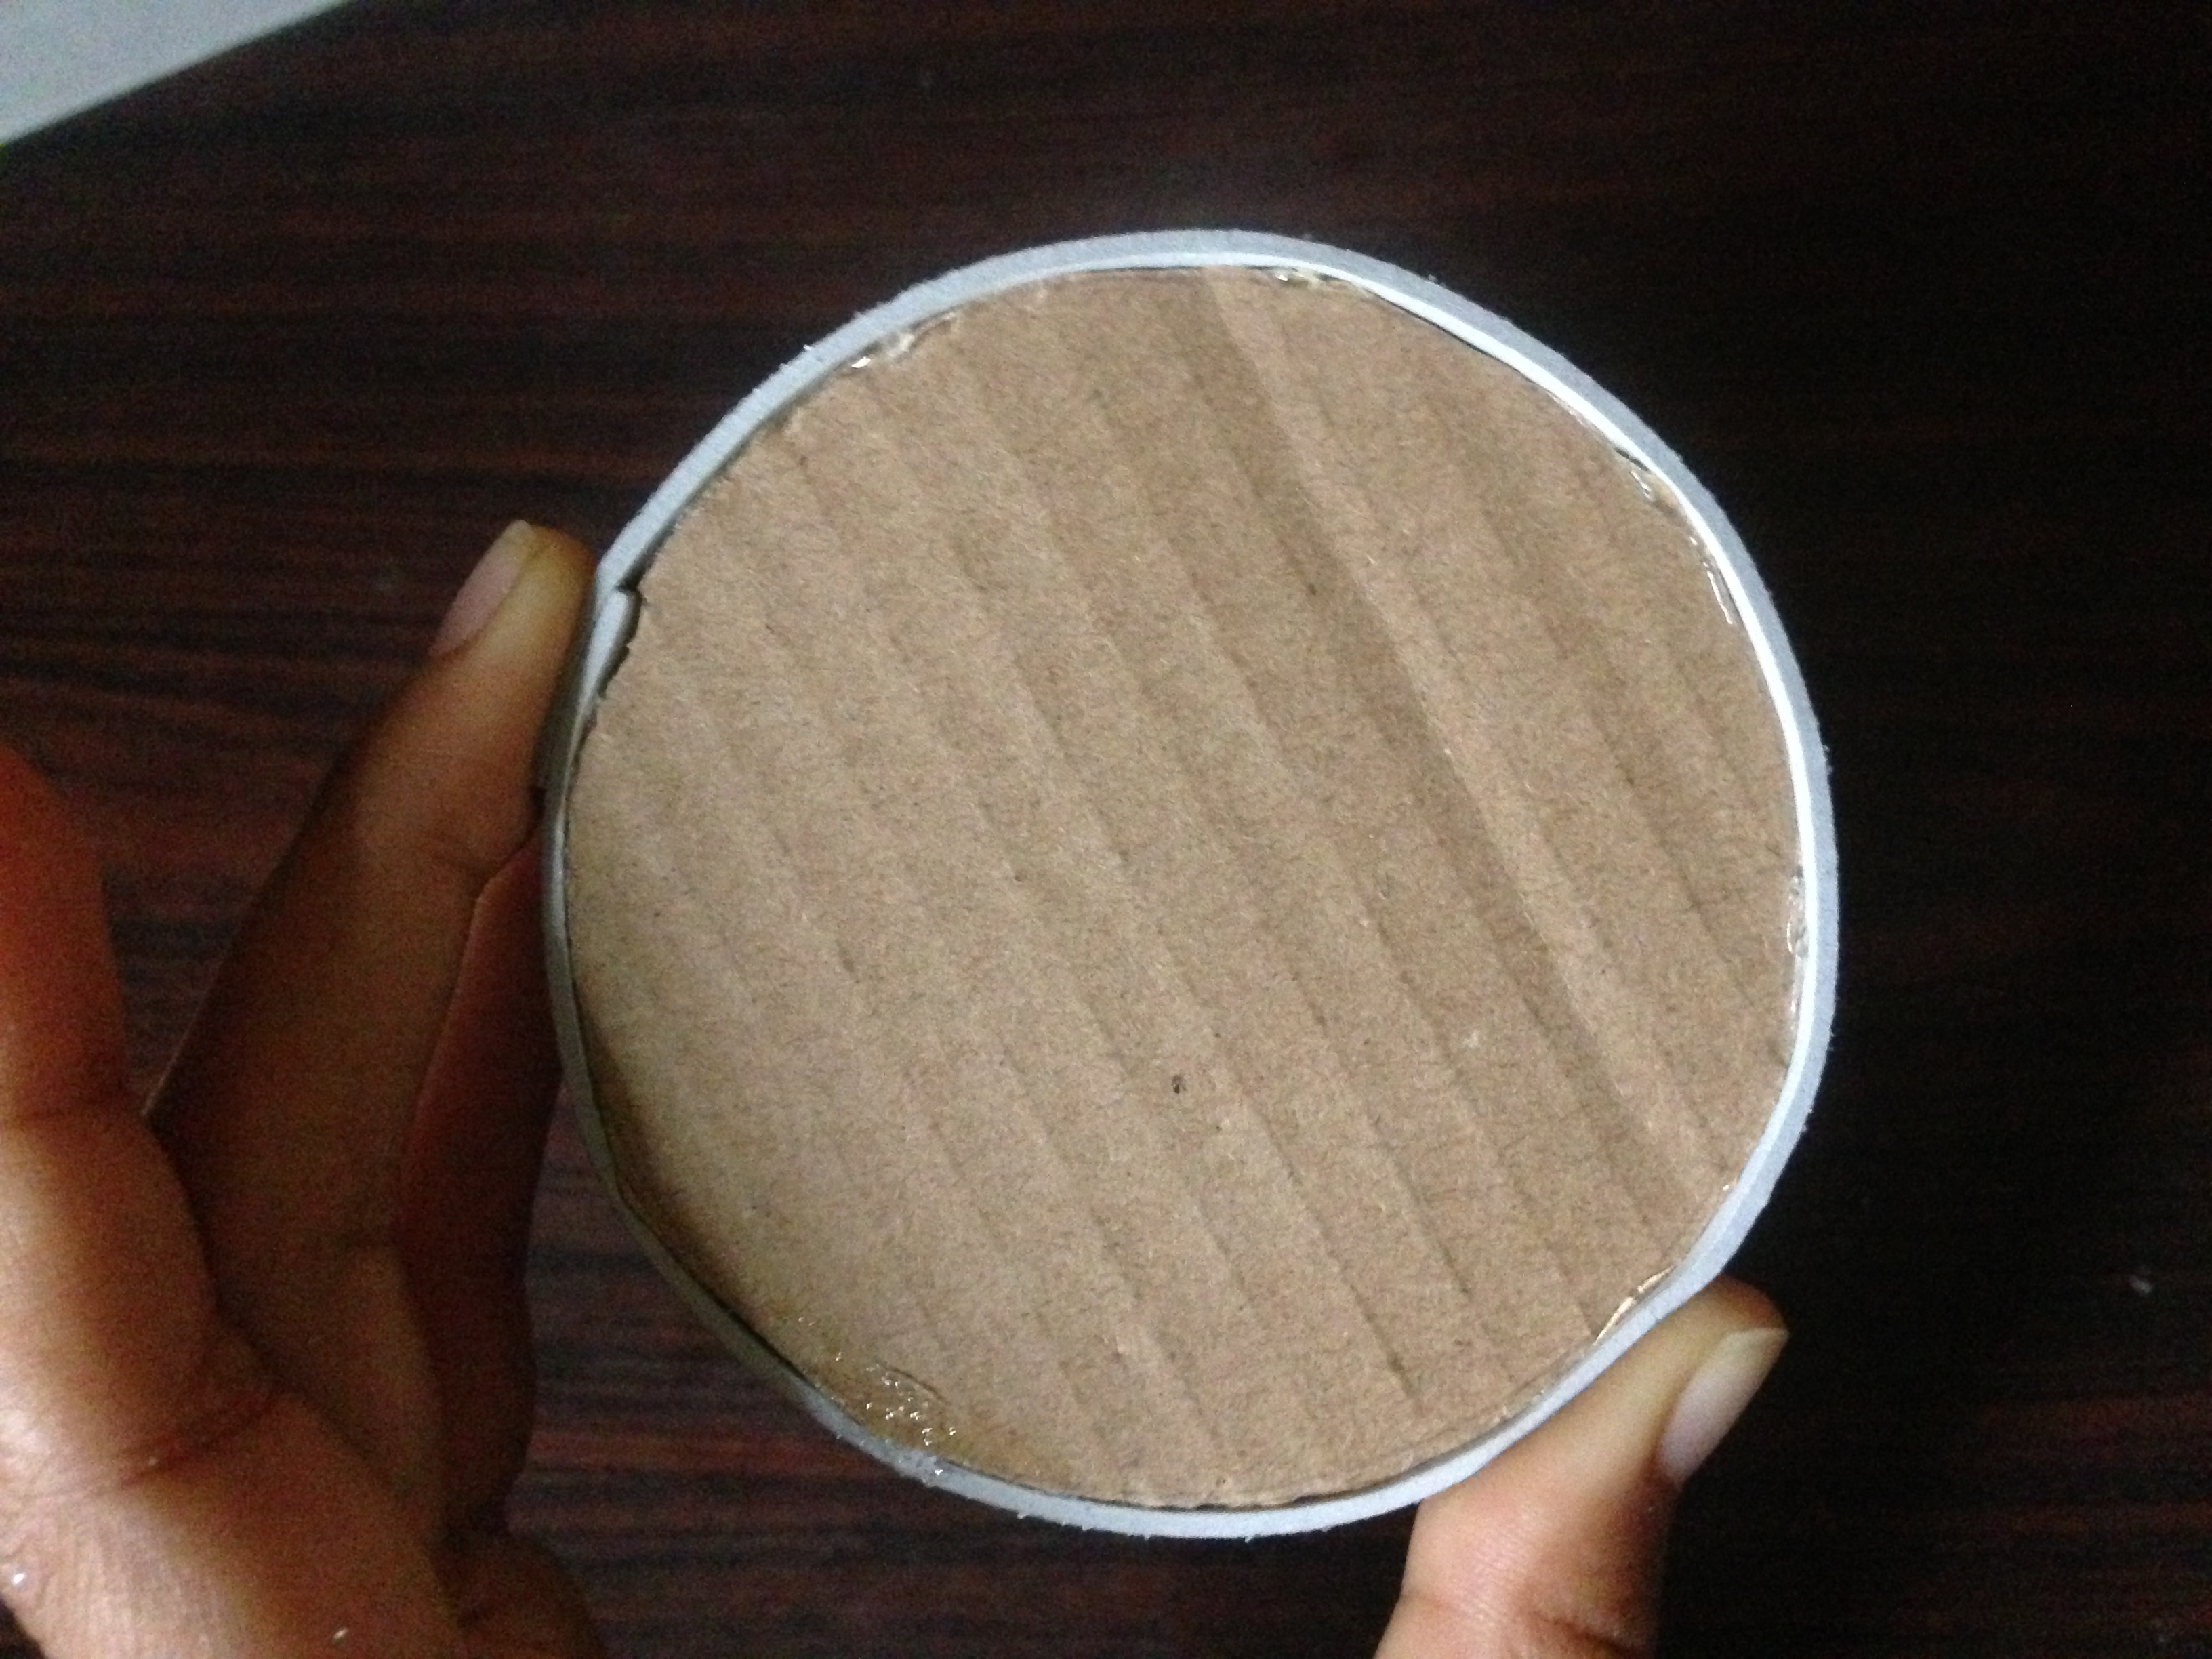
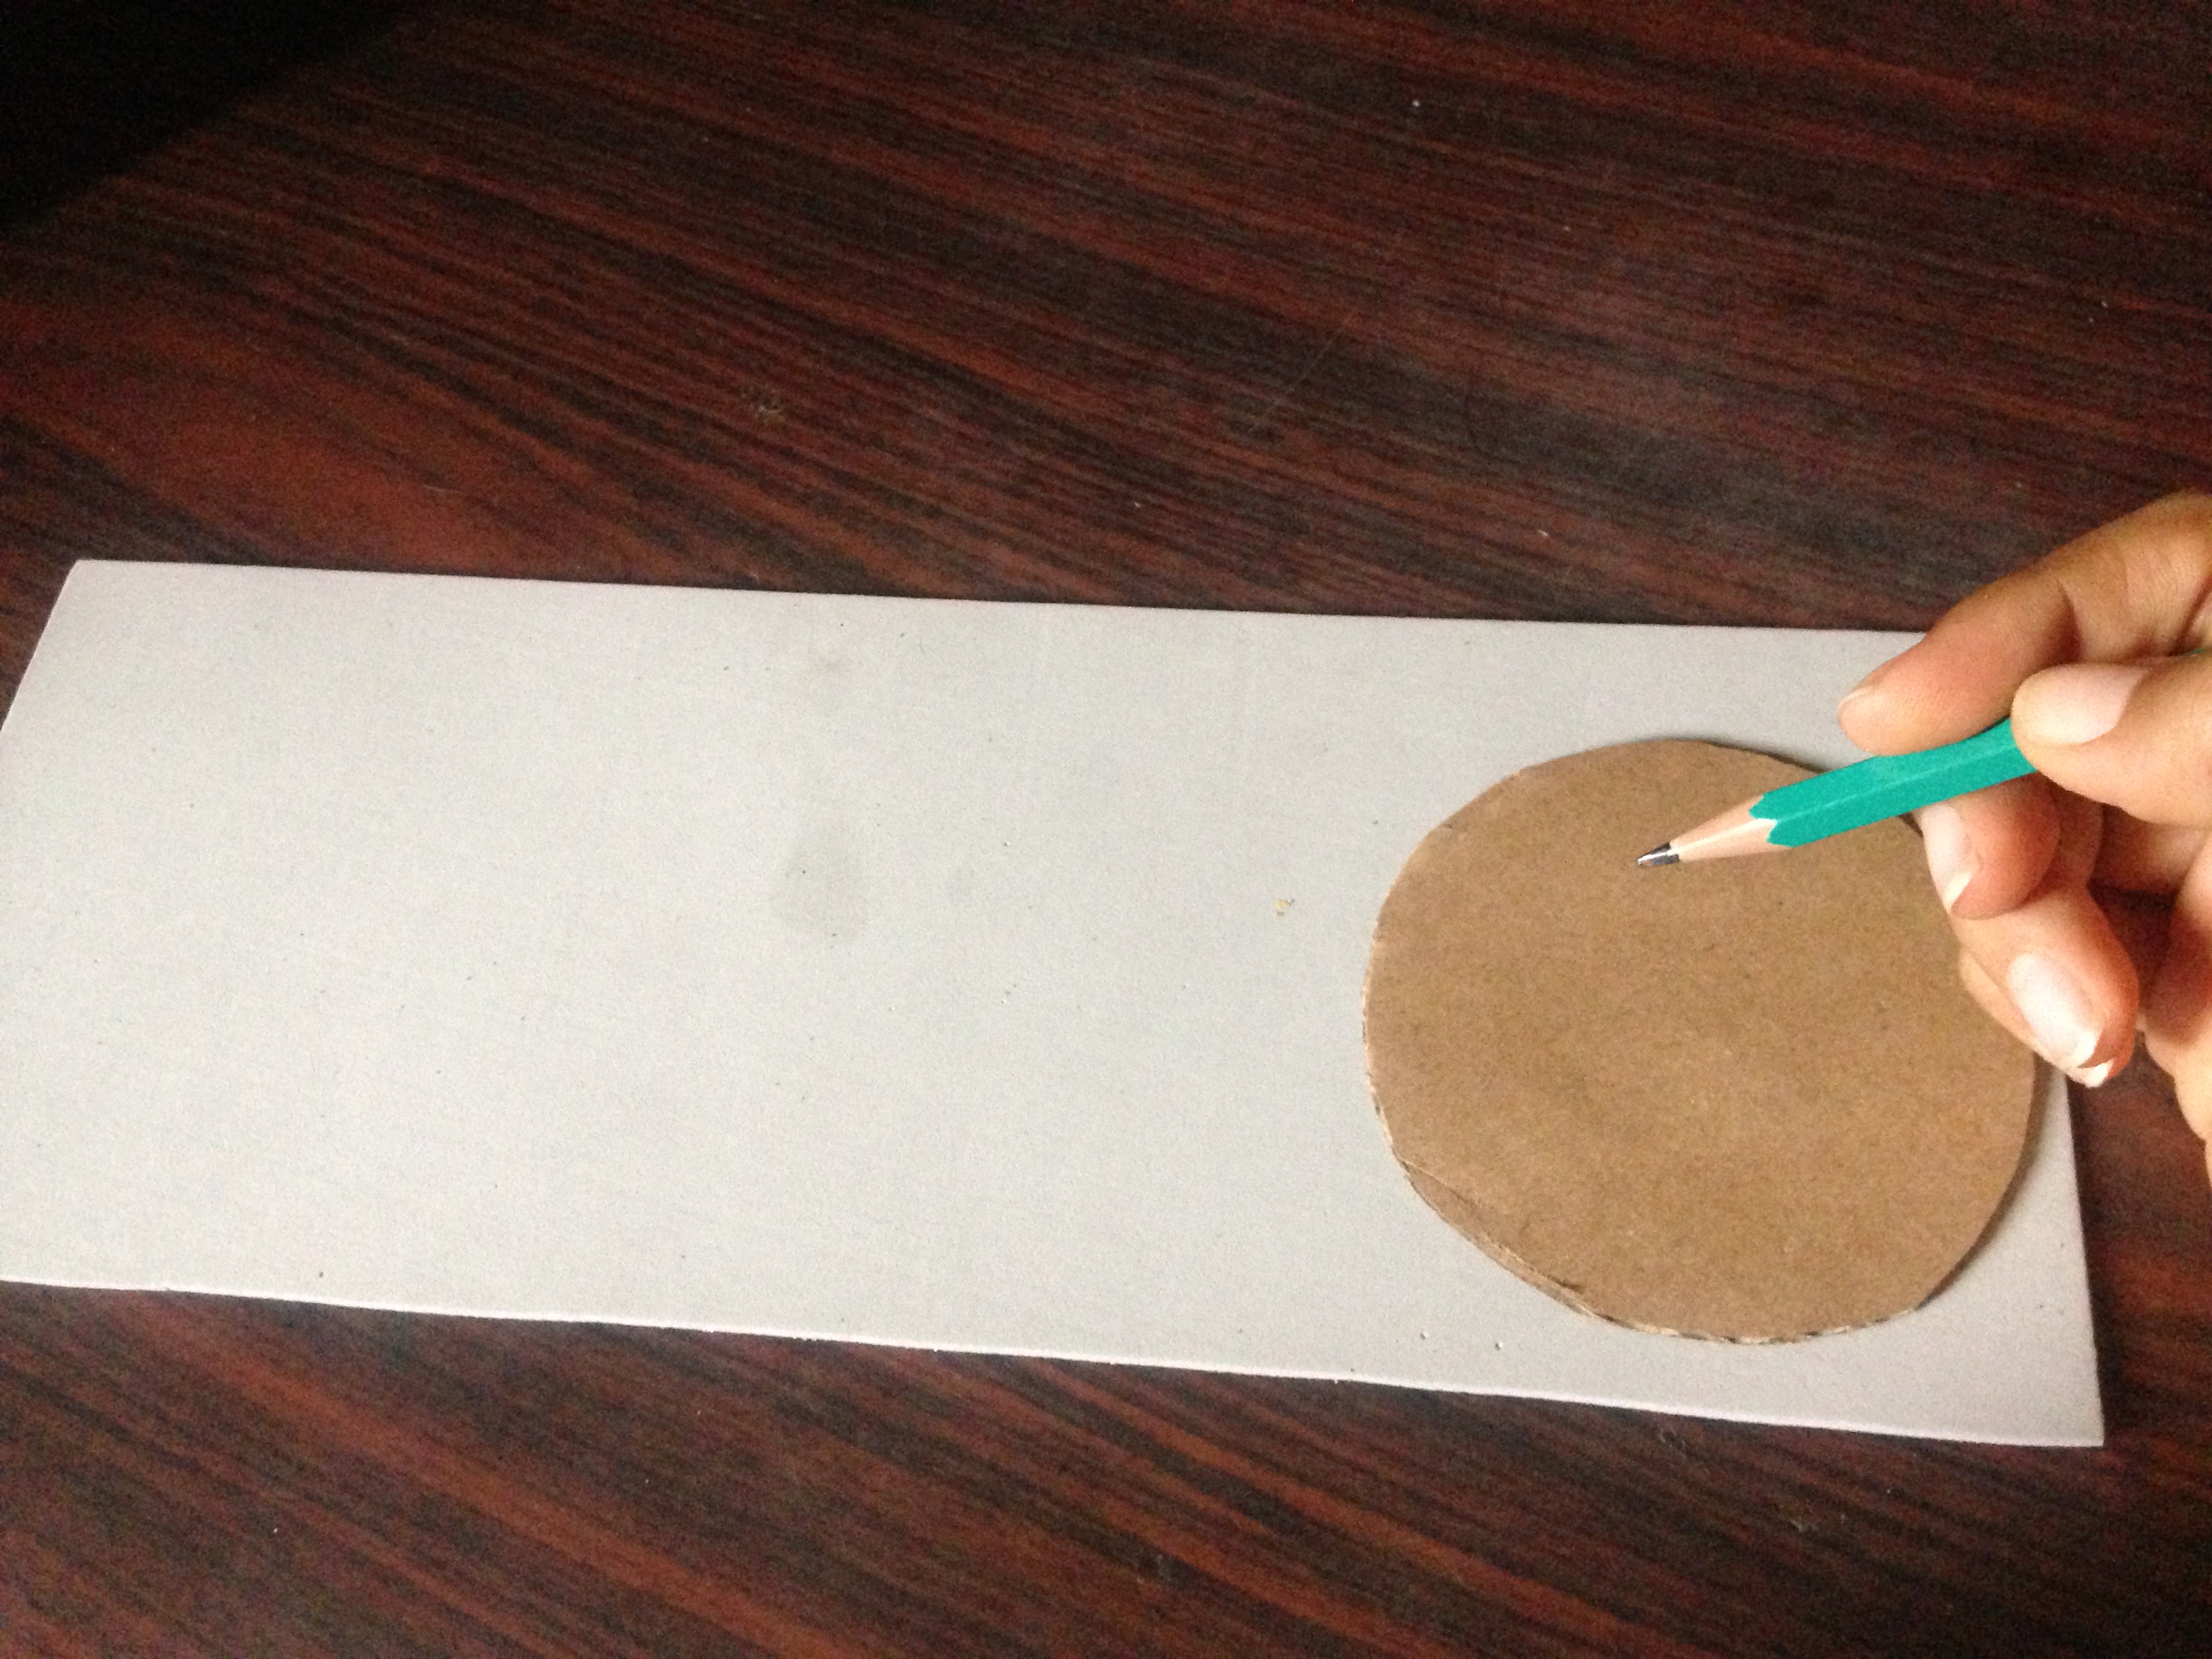
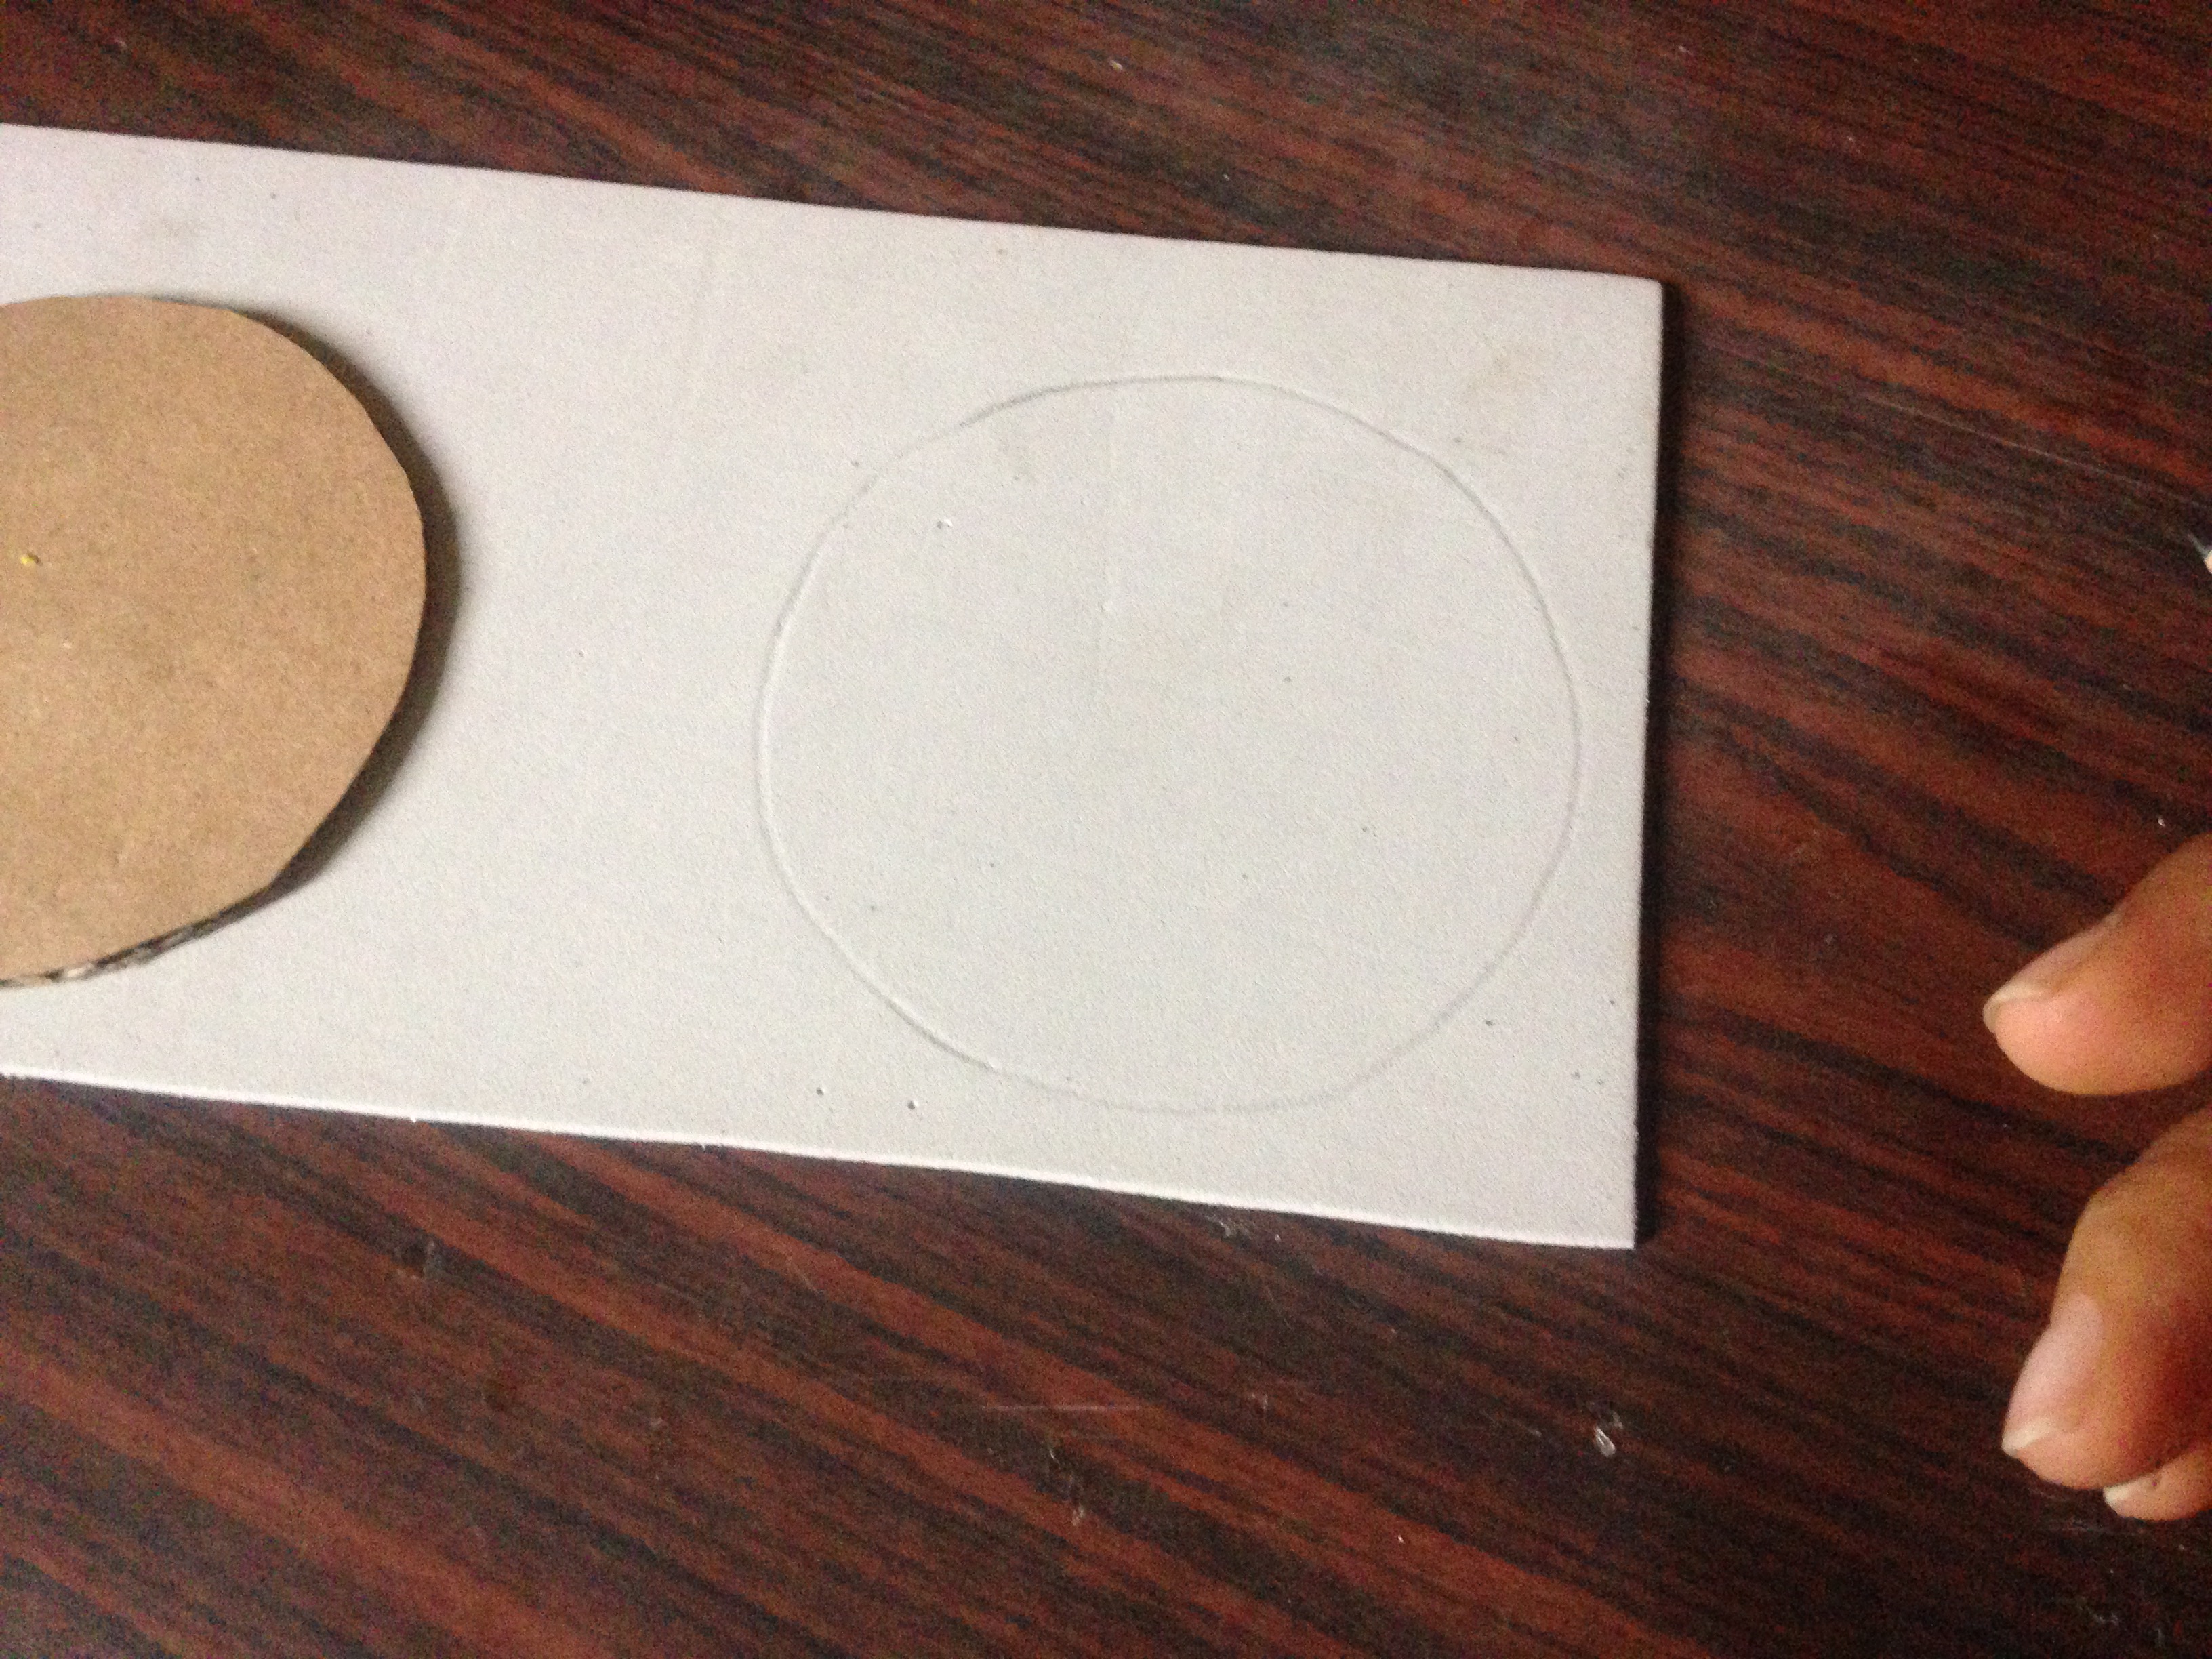
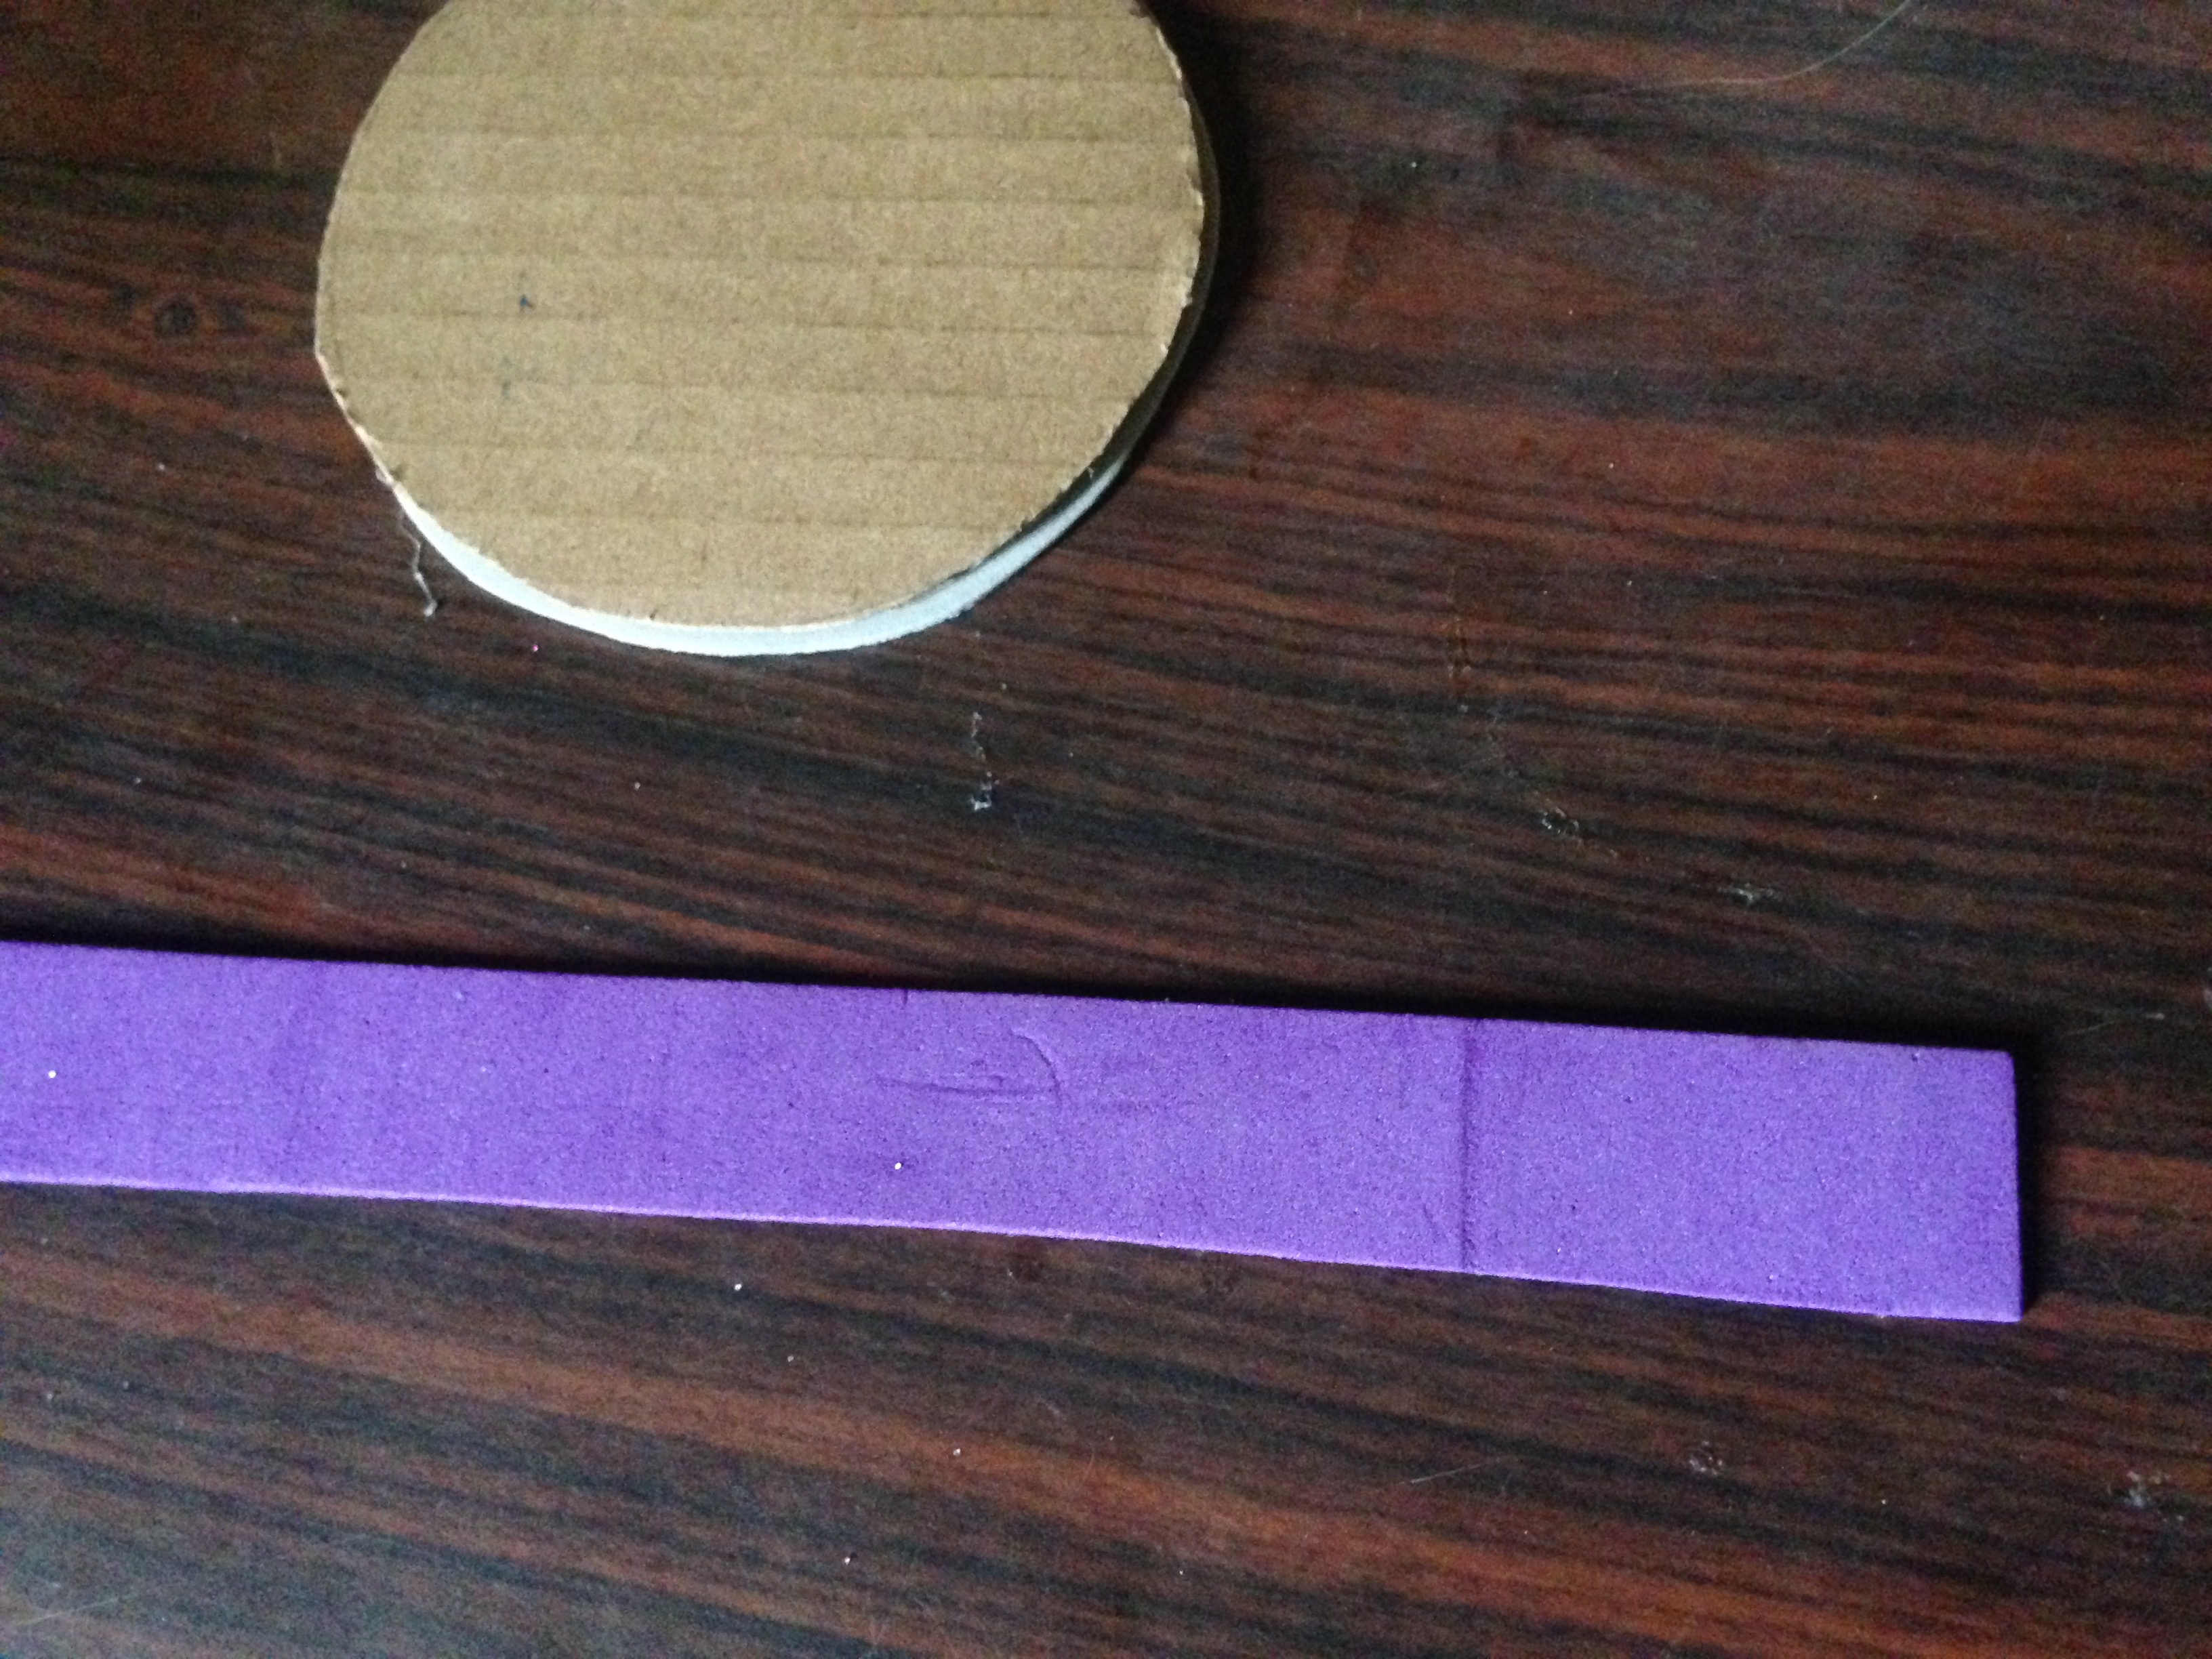
Paso 1
Vamos a buscar un vaso de tamaño mediano o algo con que marcar un circulo mediano para marcarlo en el cartón, vamos a marcar dos círculos que posteriormente recortaremos
Step 1
We are going to look for a medium-sized glass or something to mark a medium circle to mark on the cardboard, we are going to mark two circles that we will later cut out
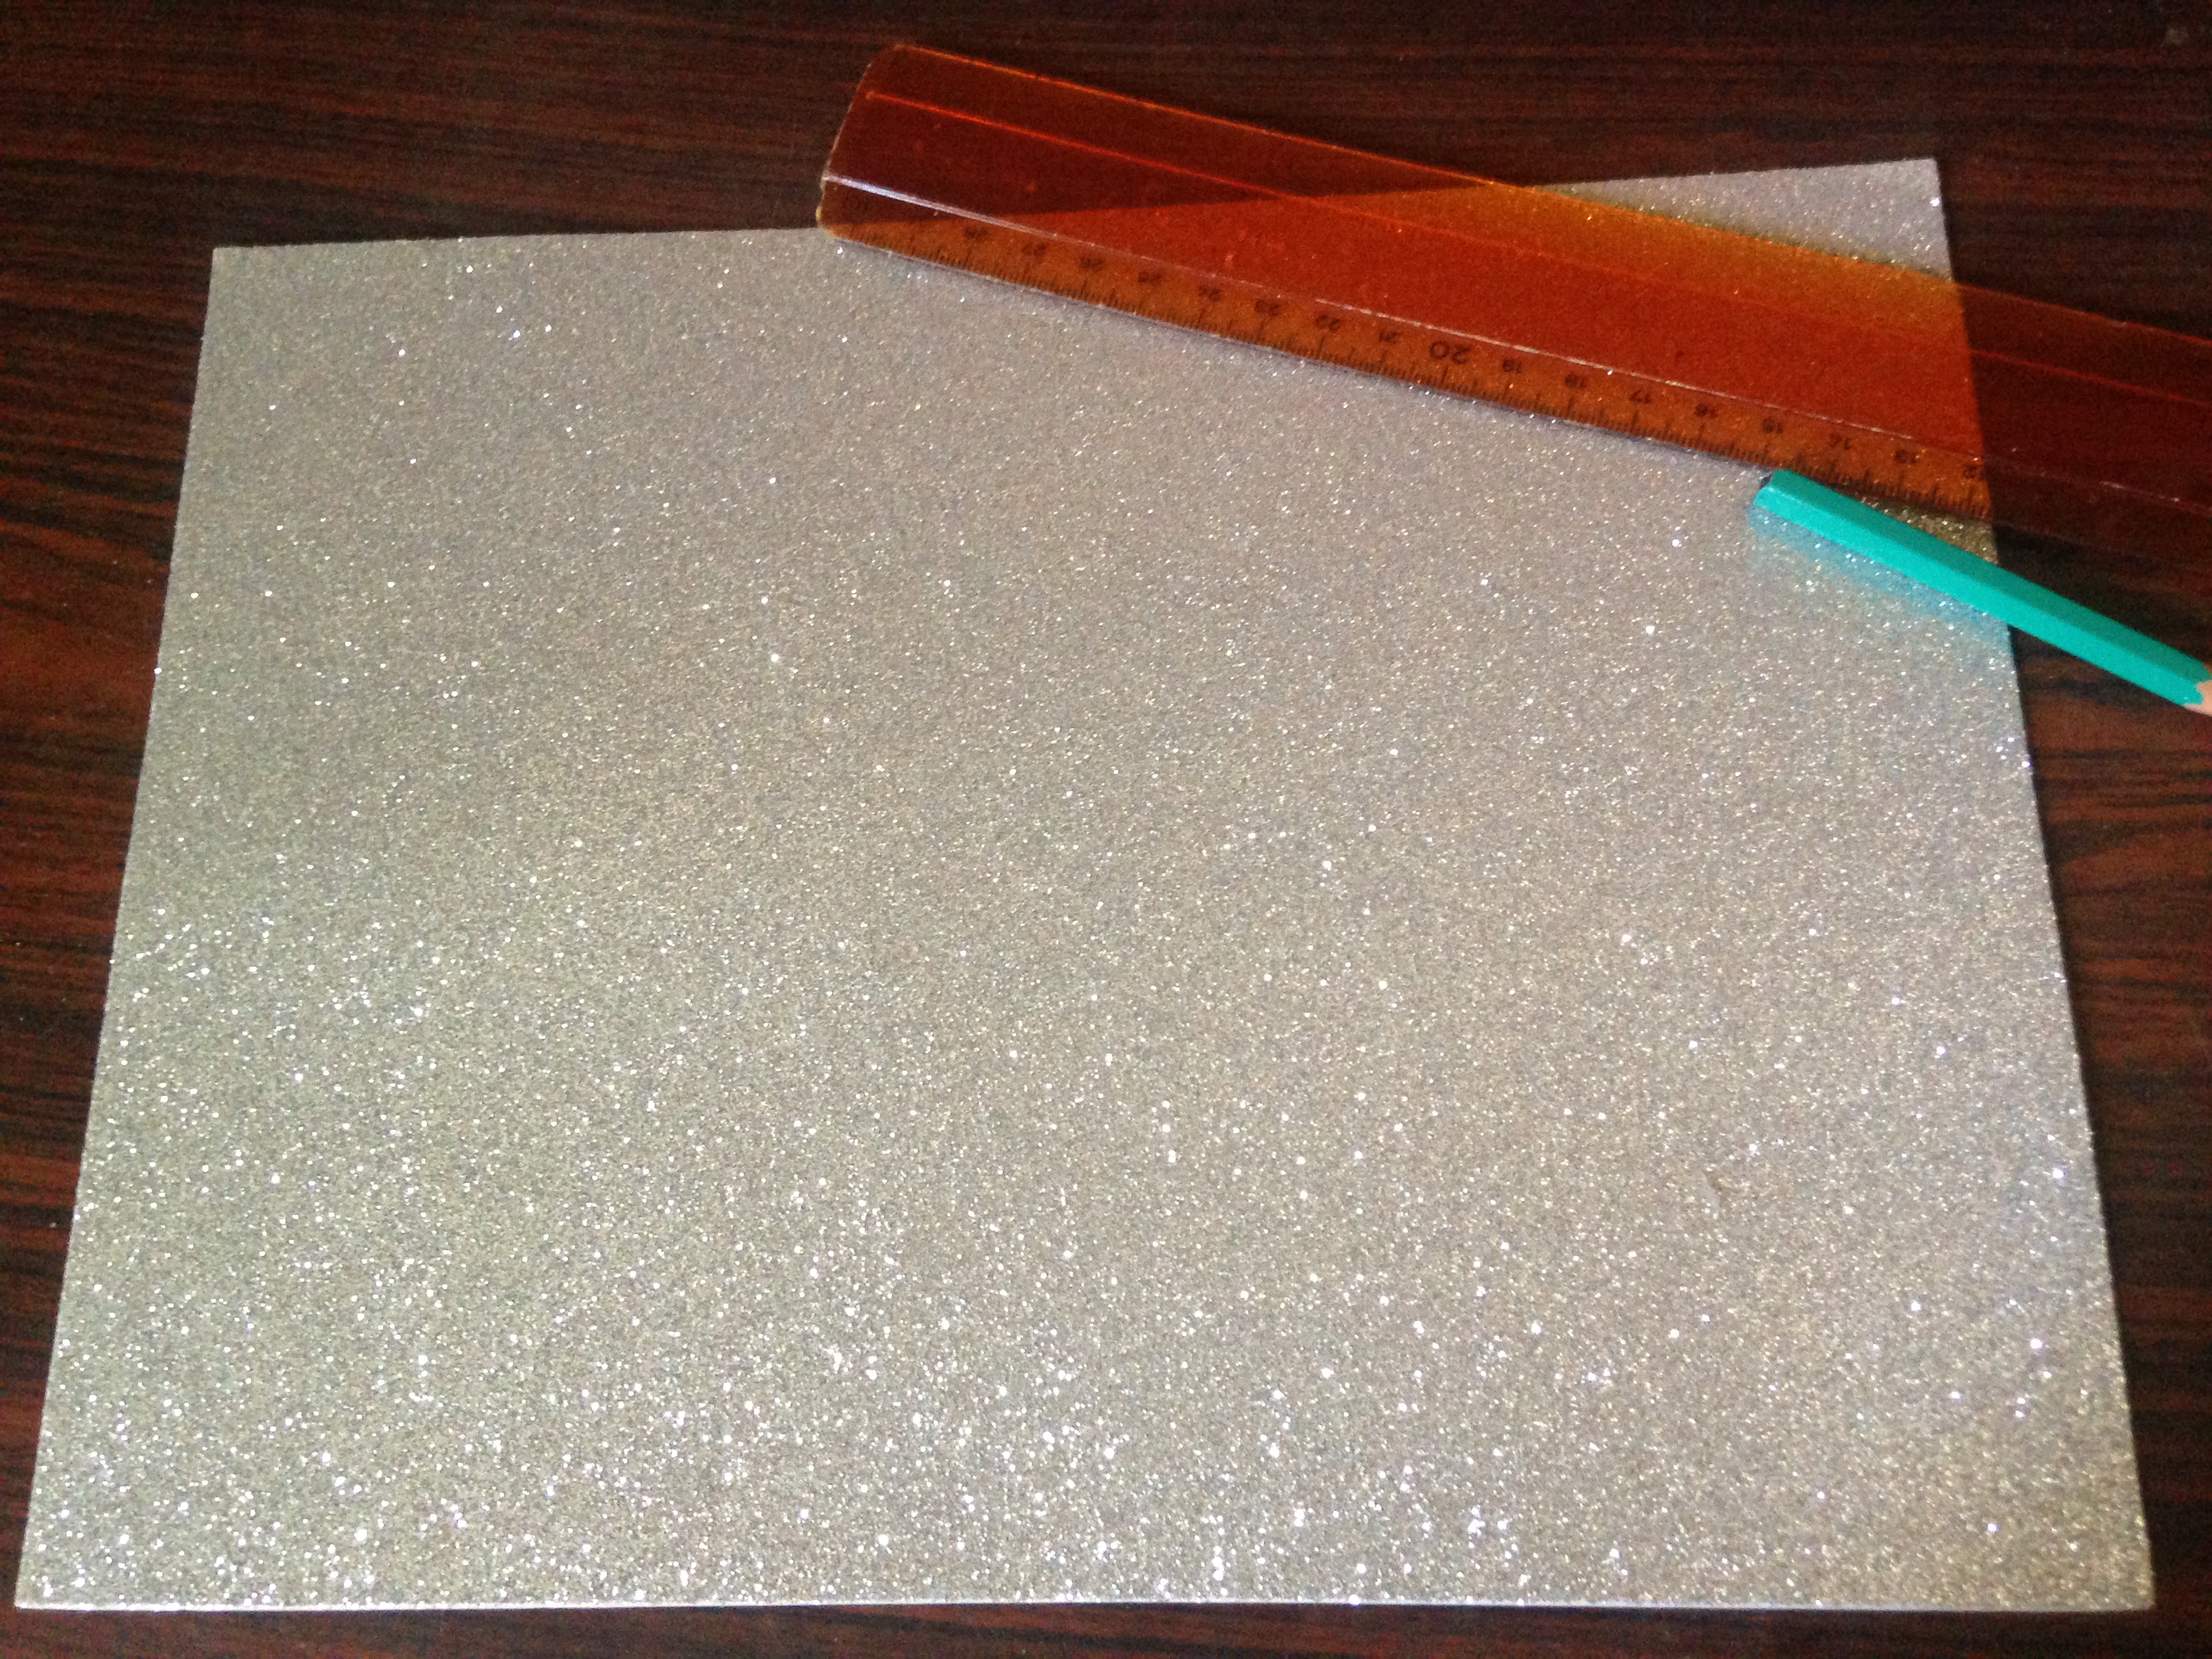
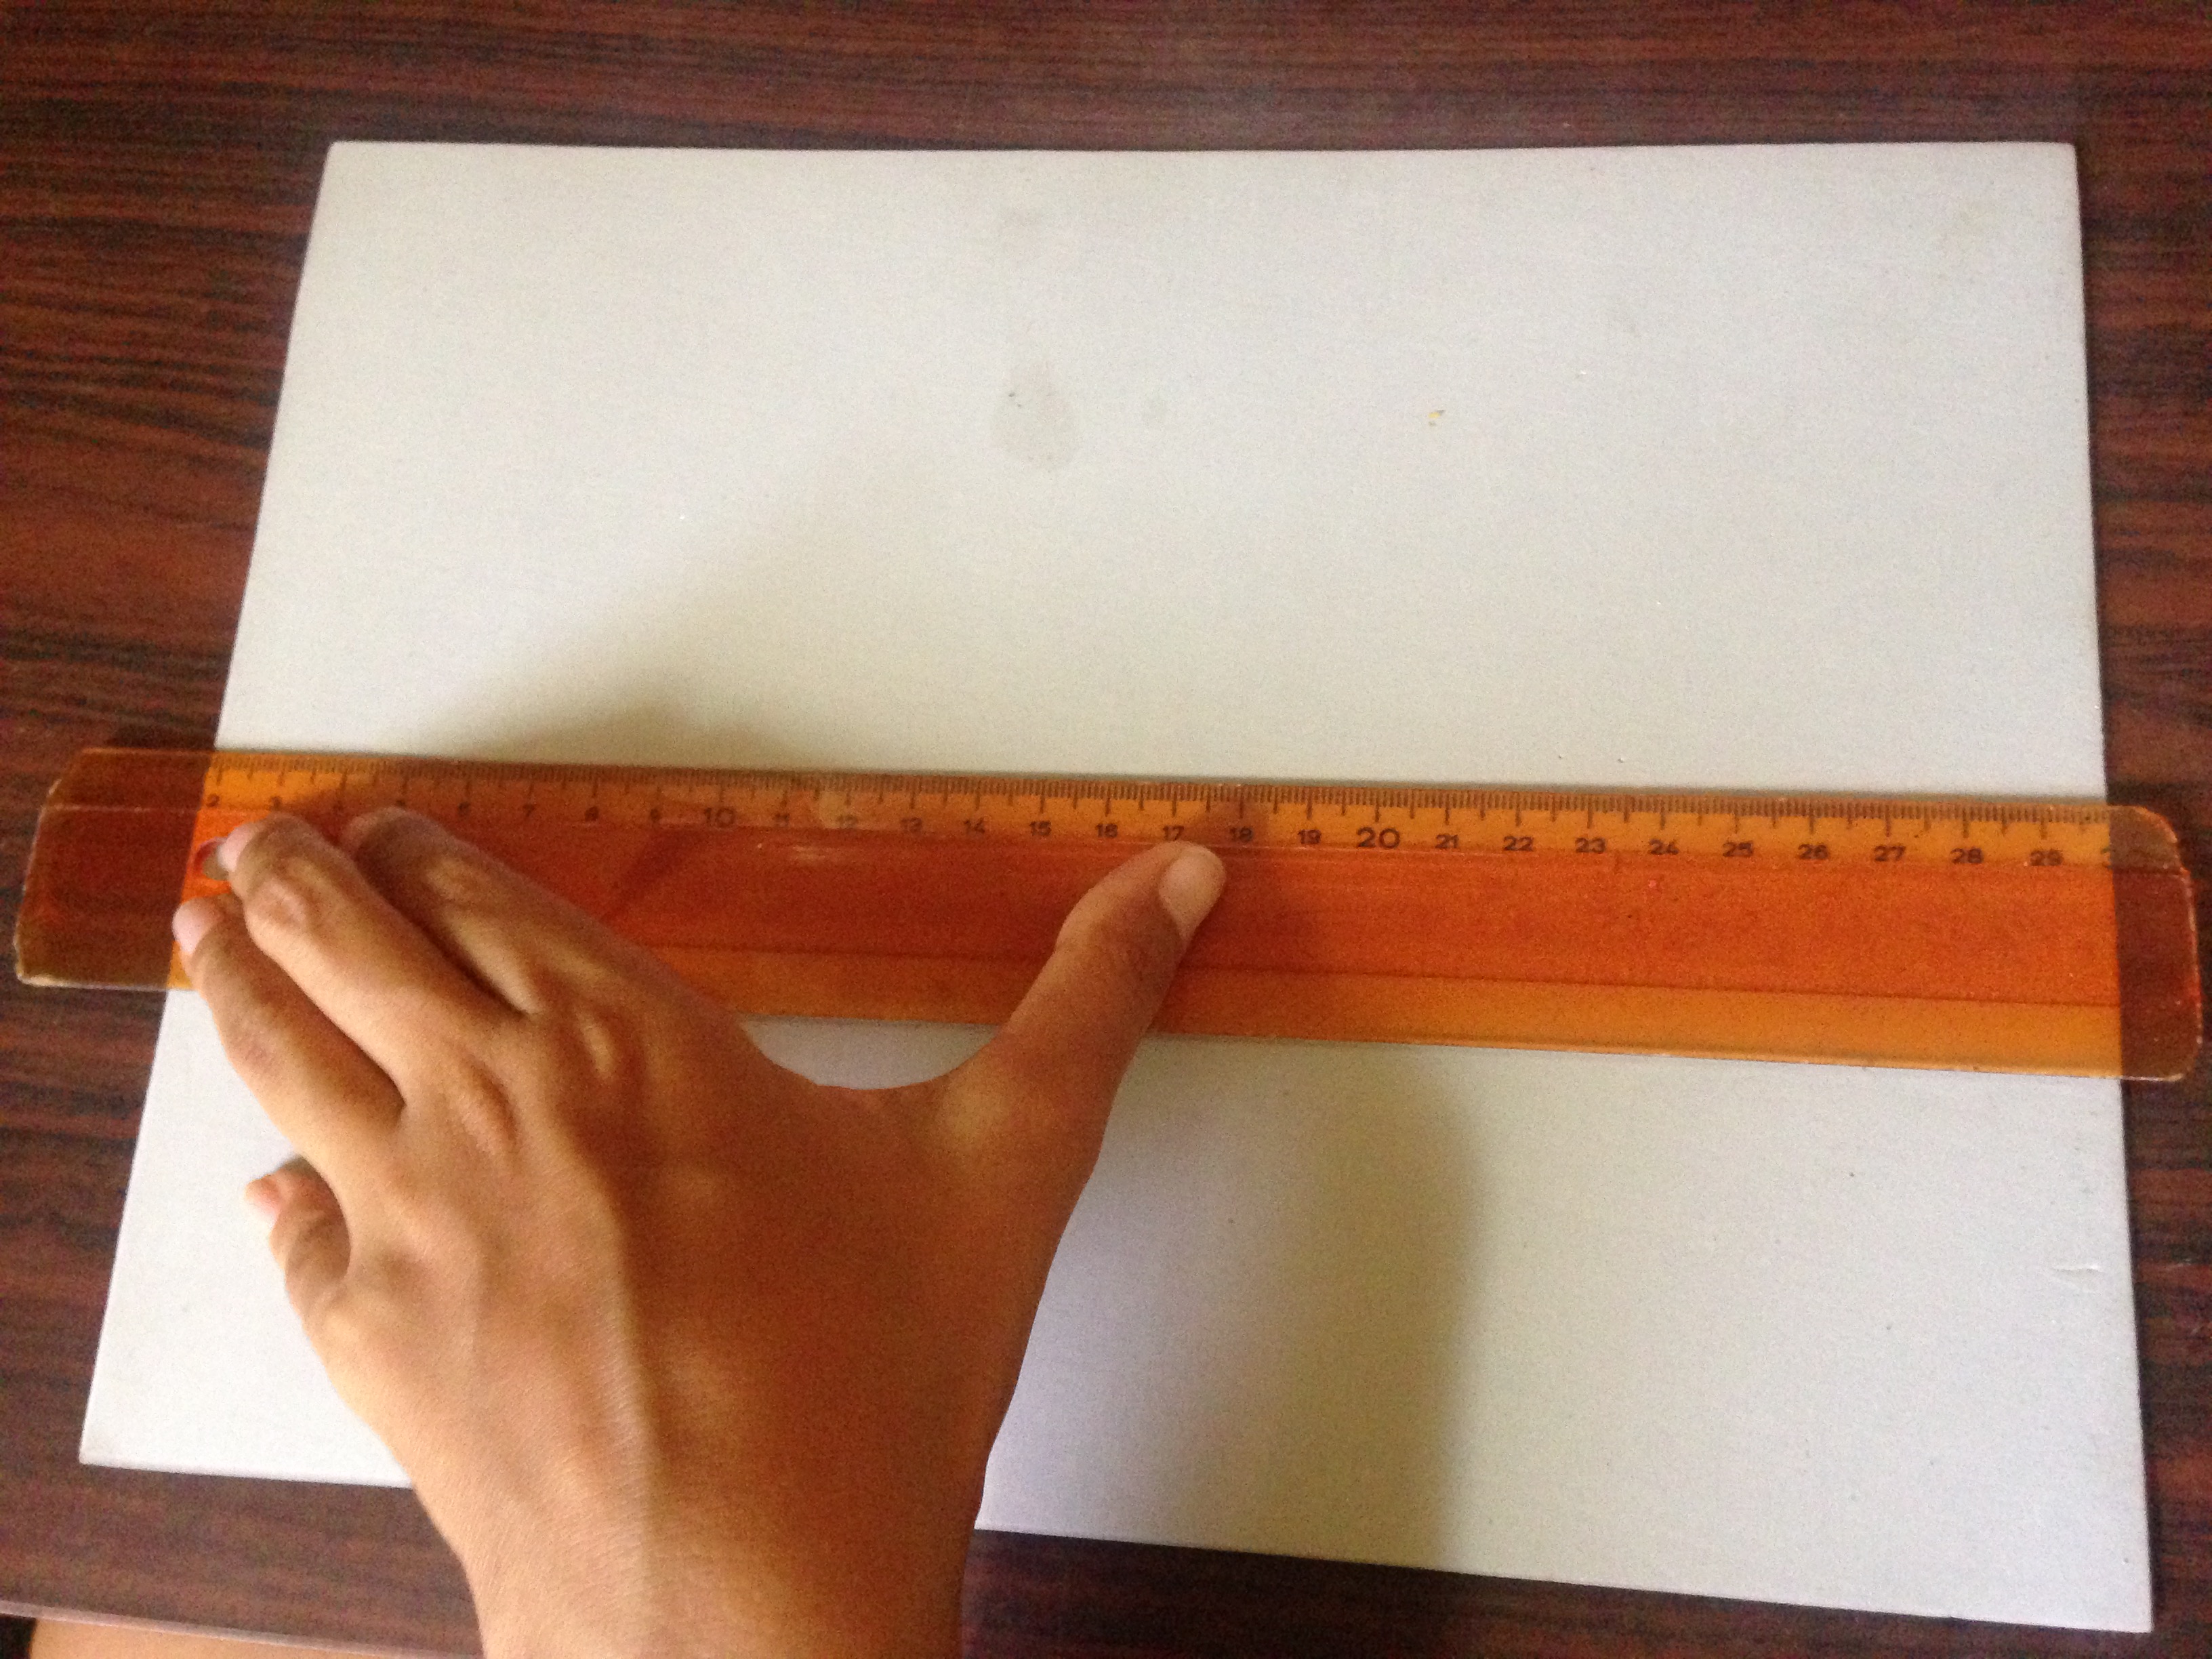
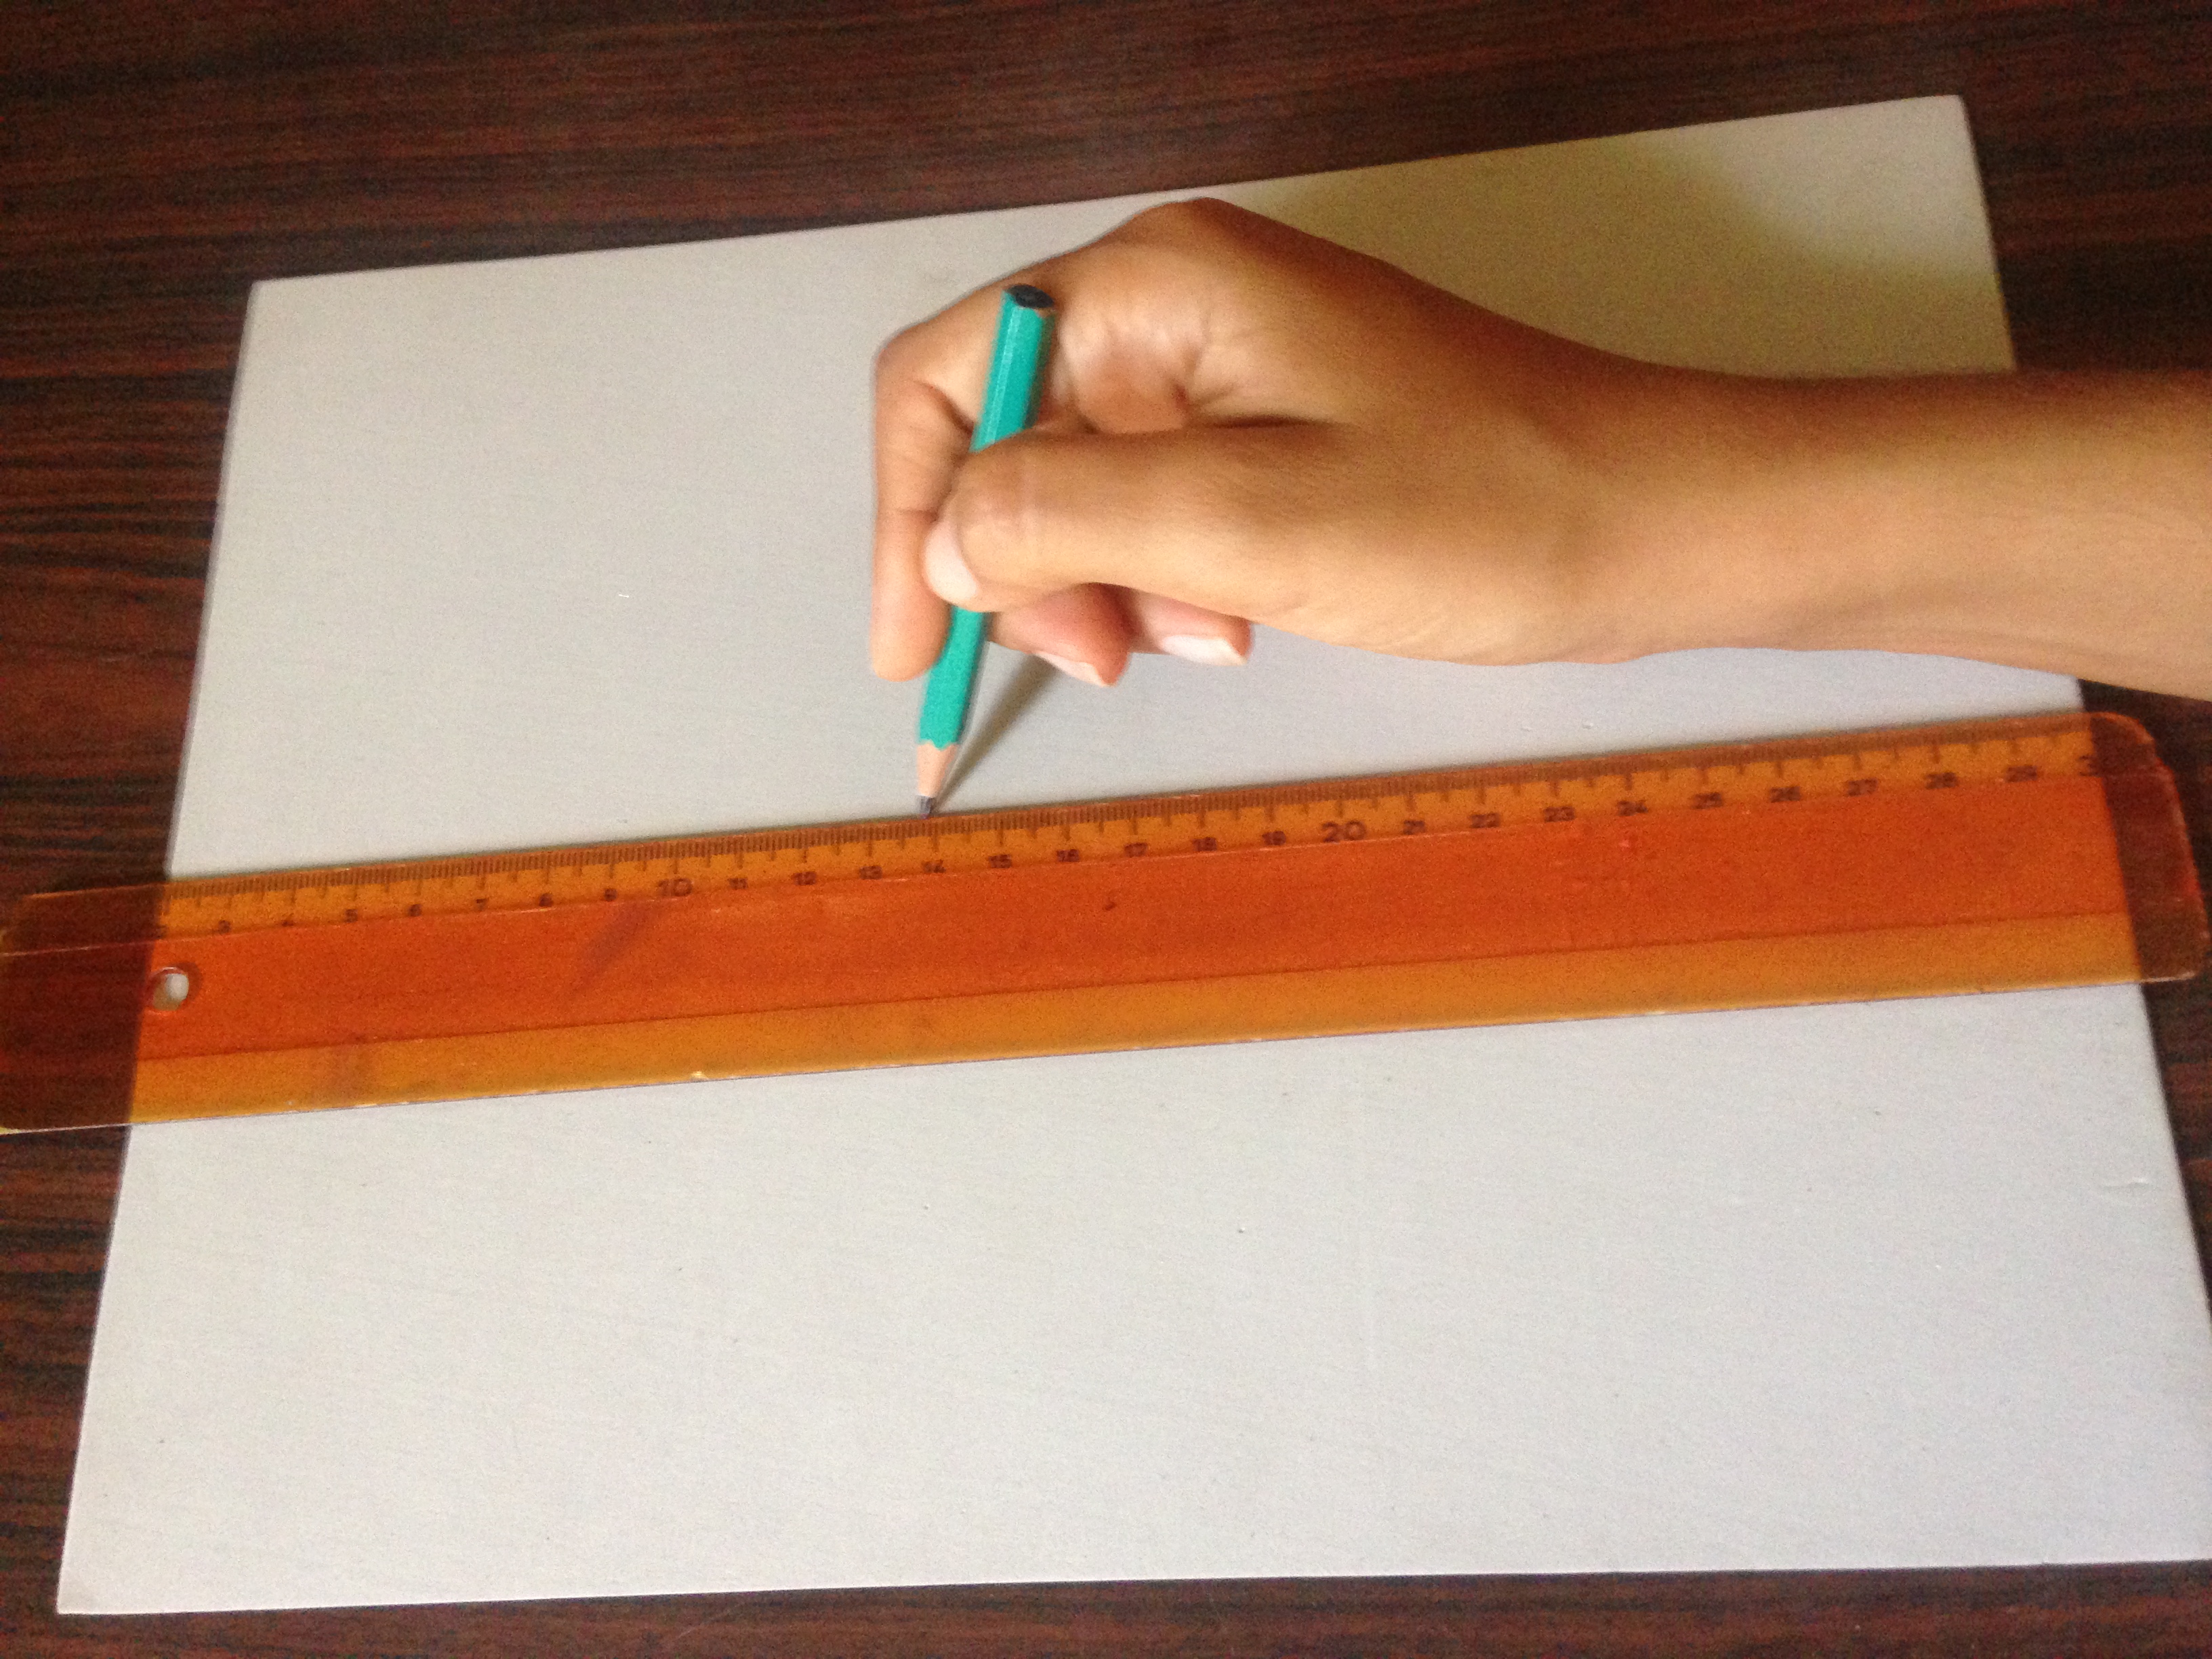
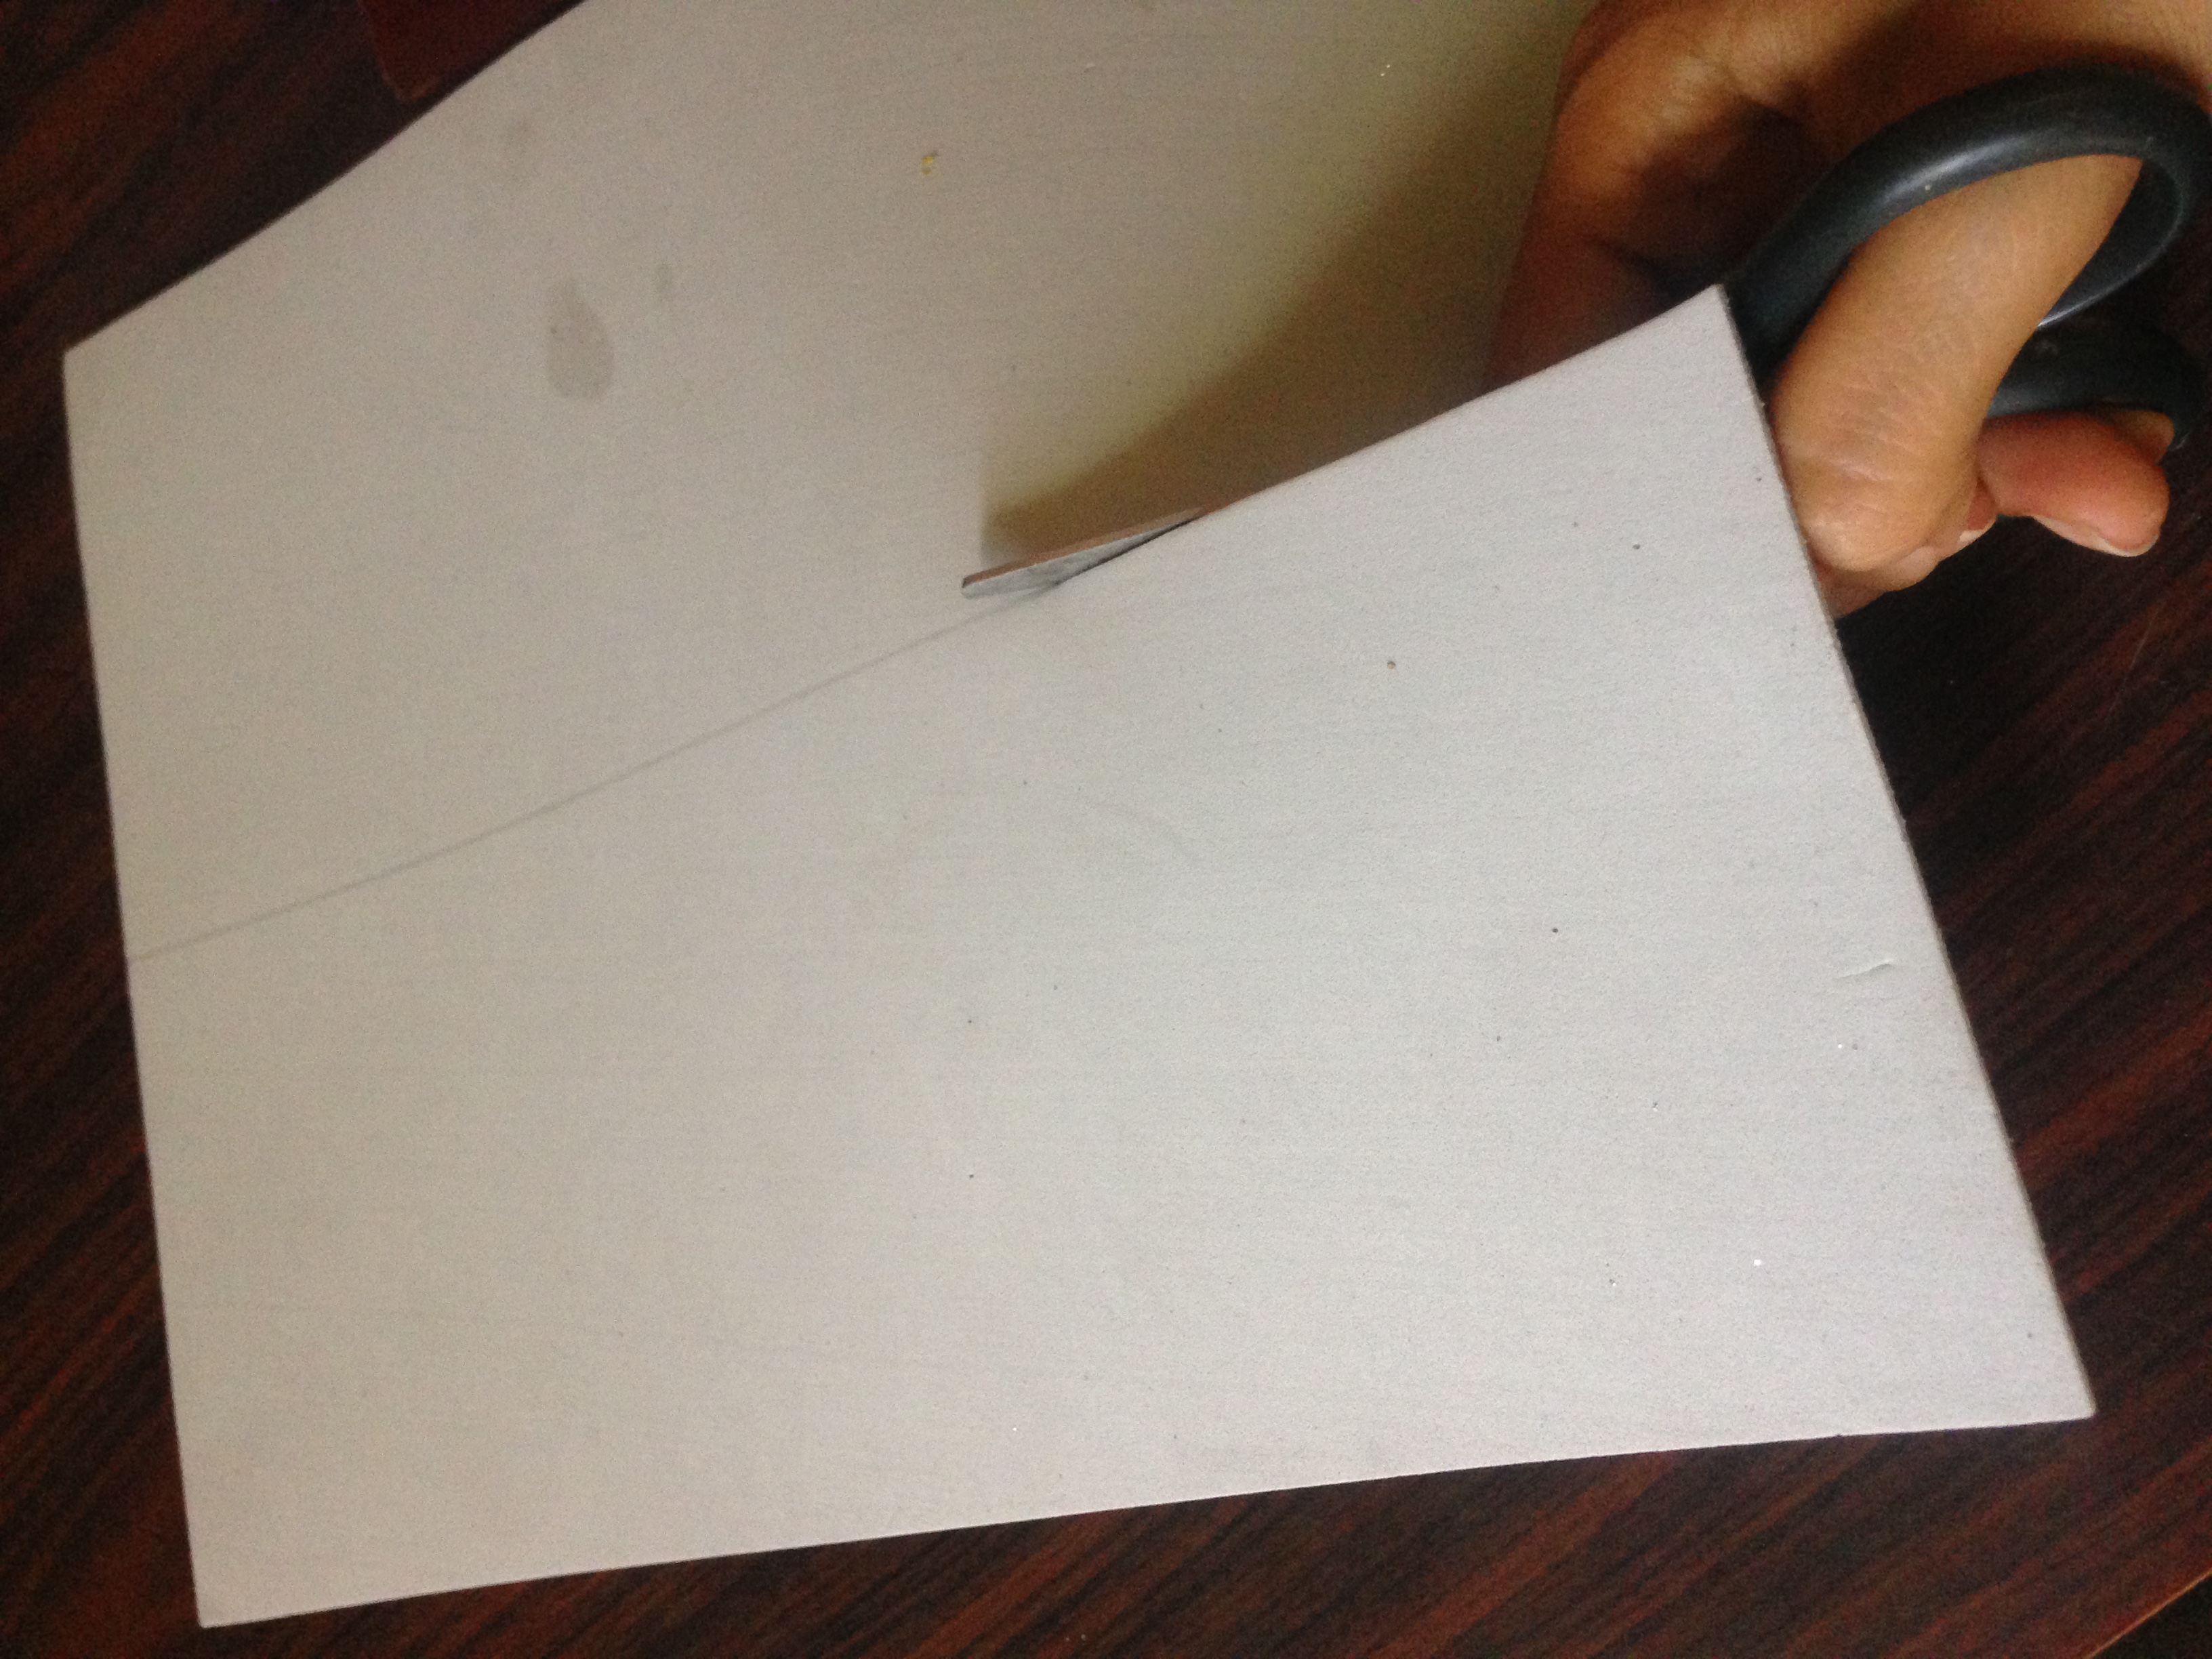
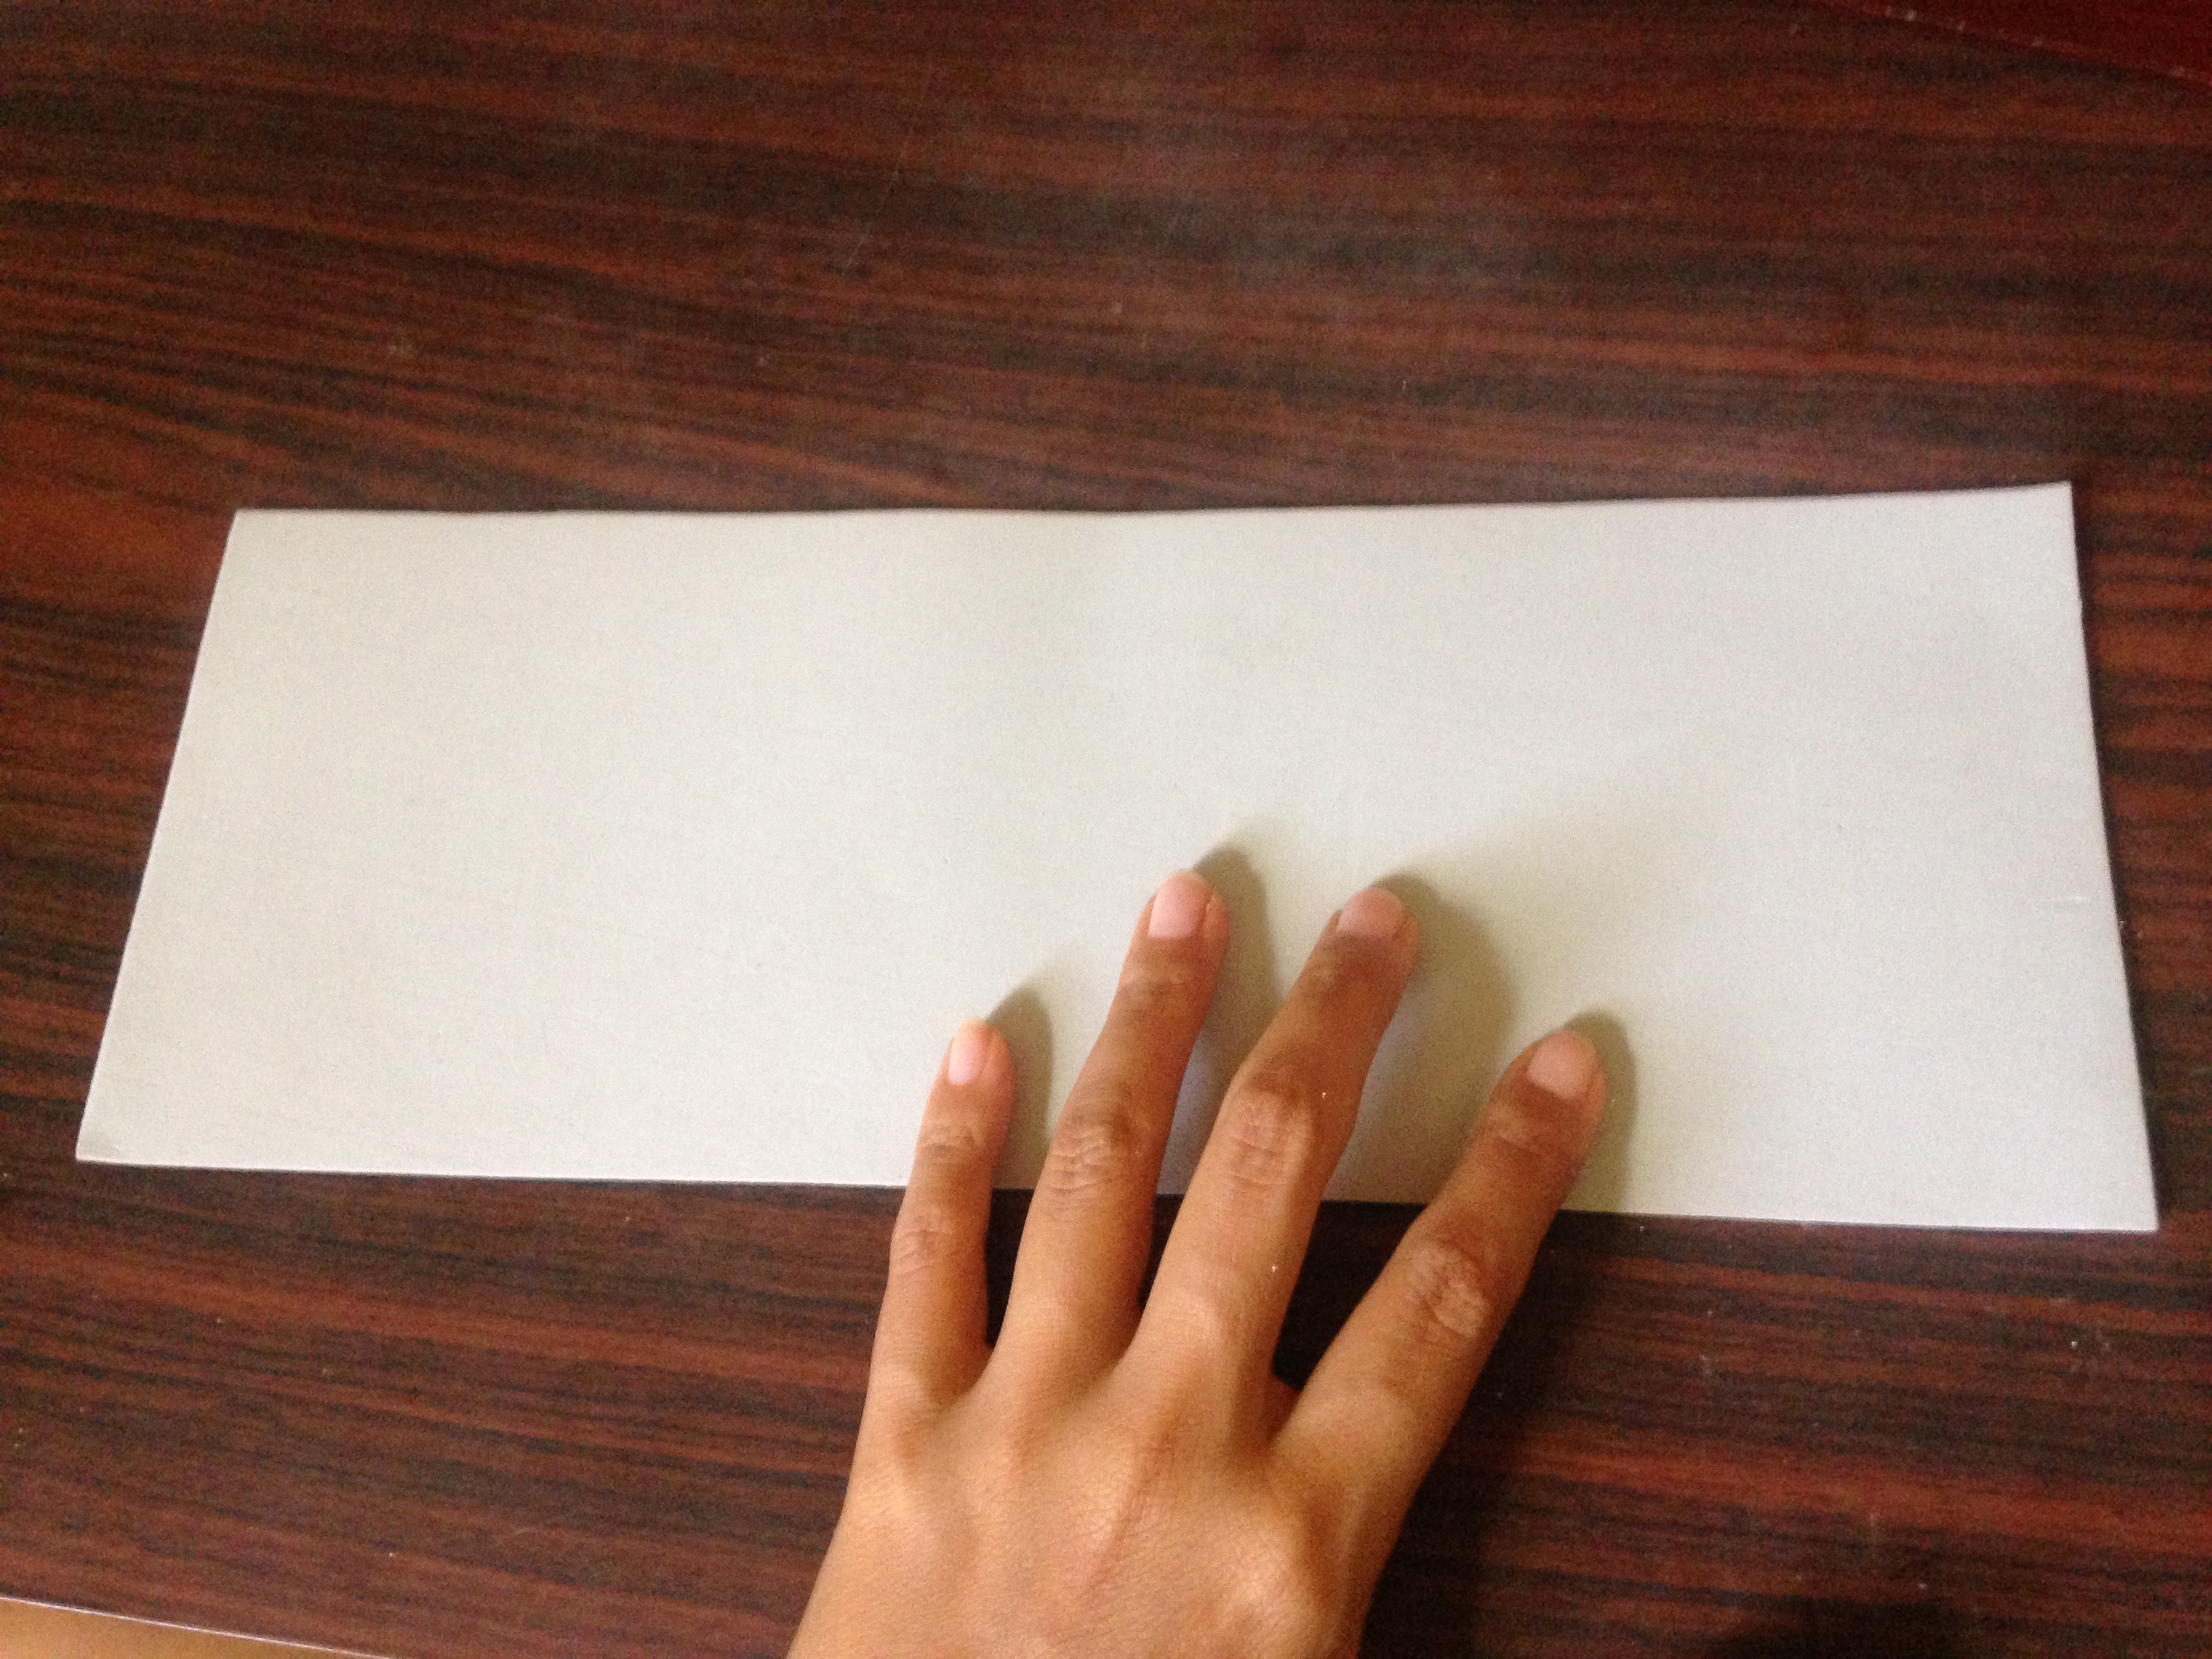
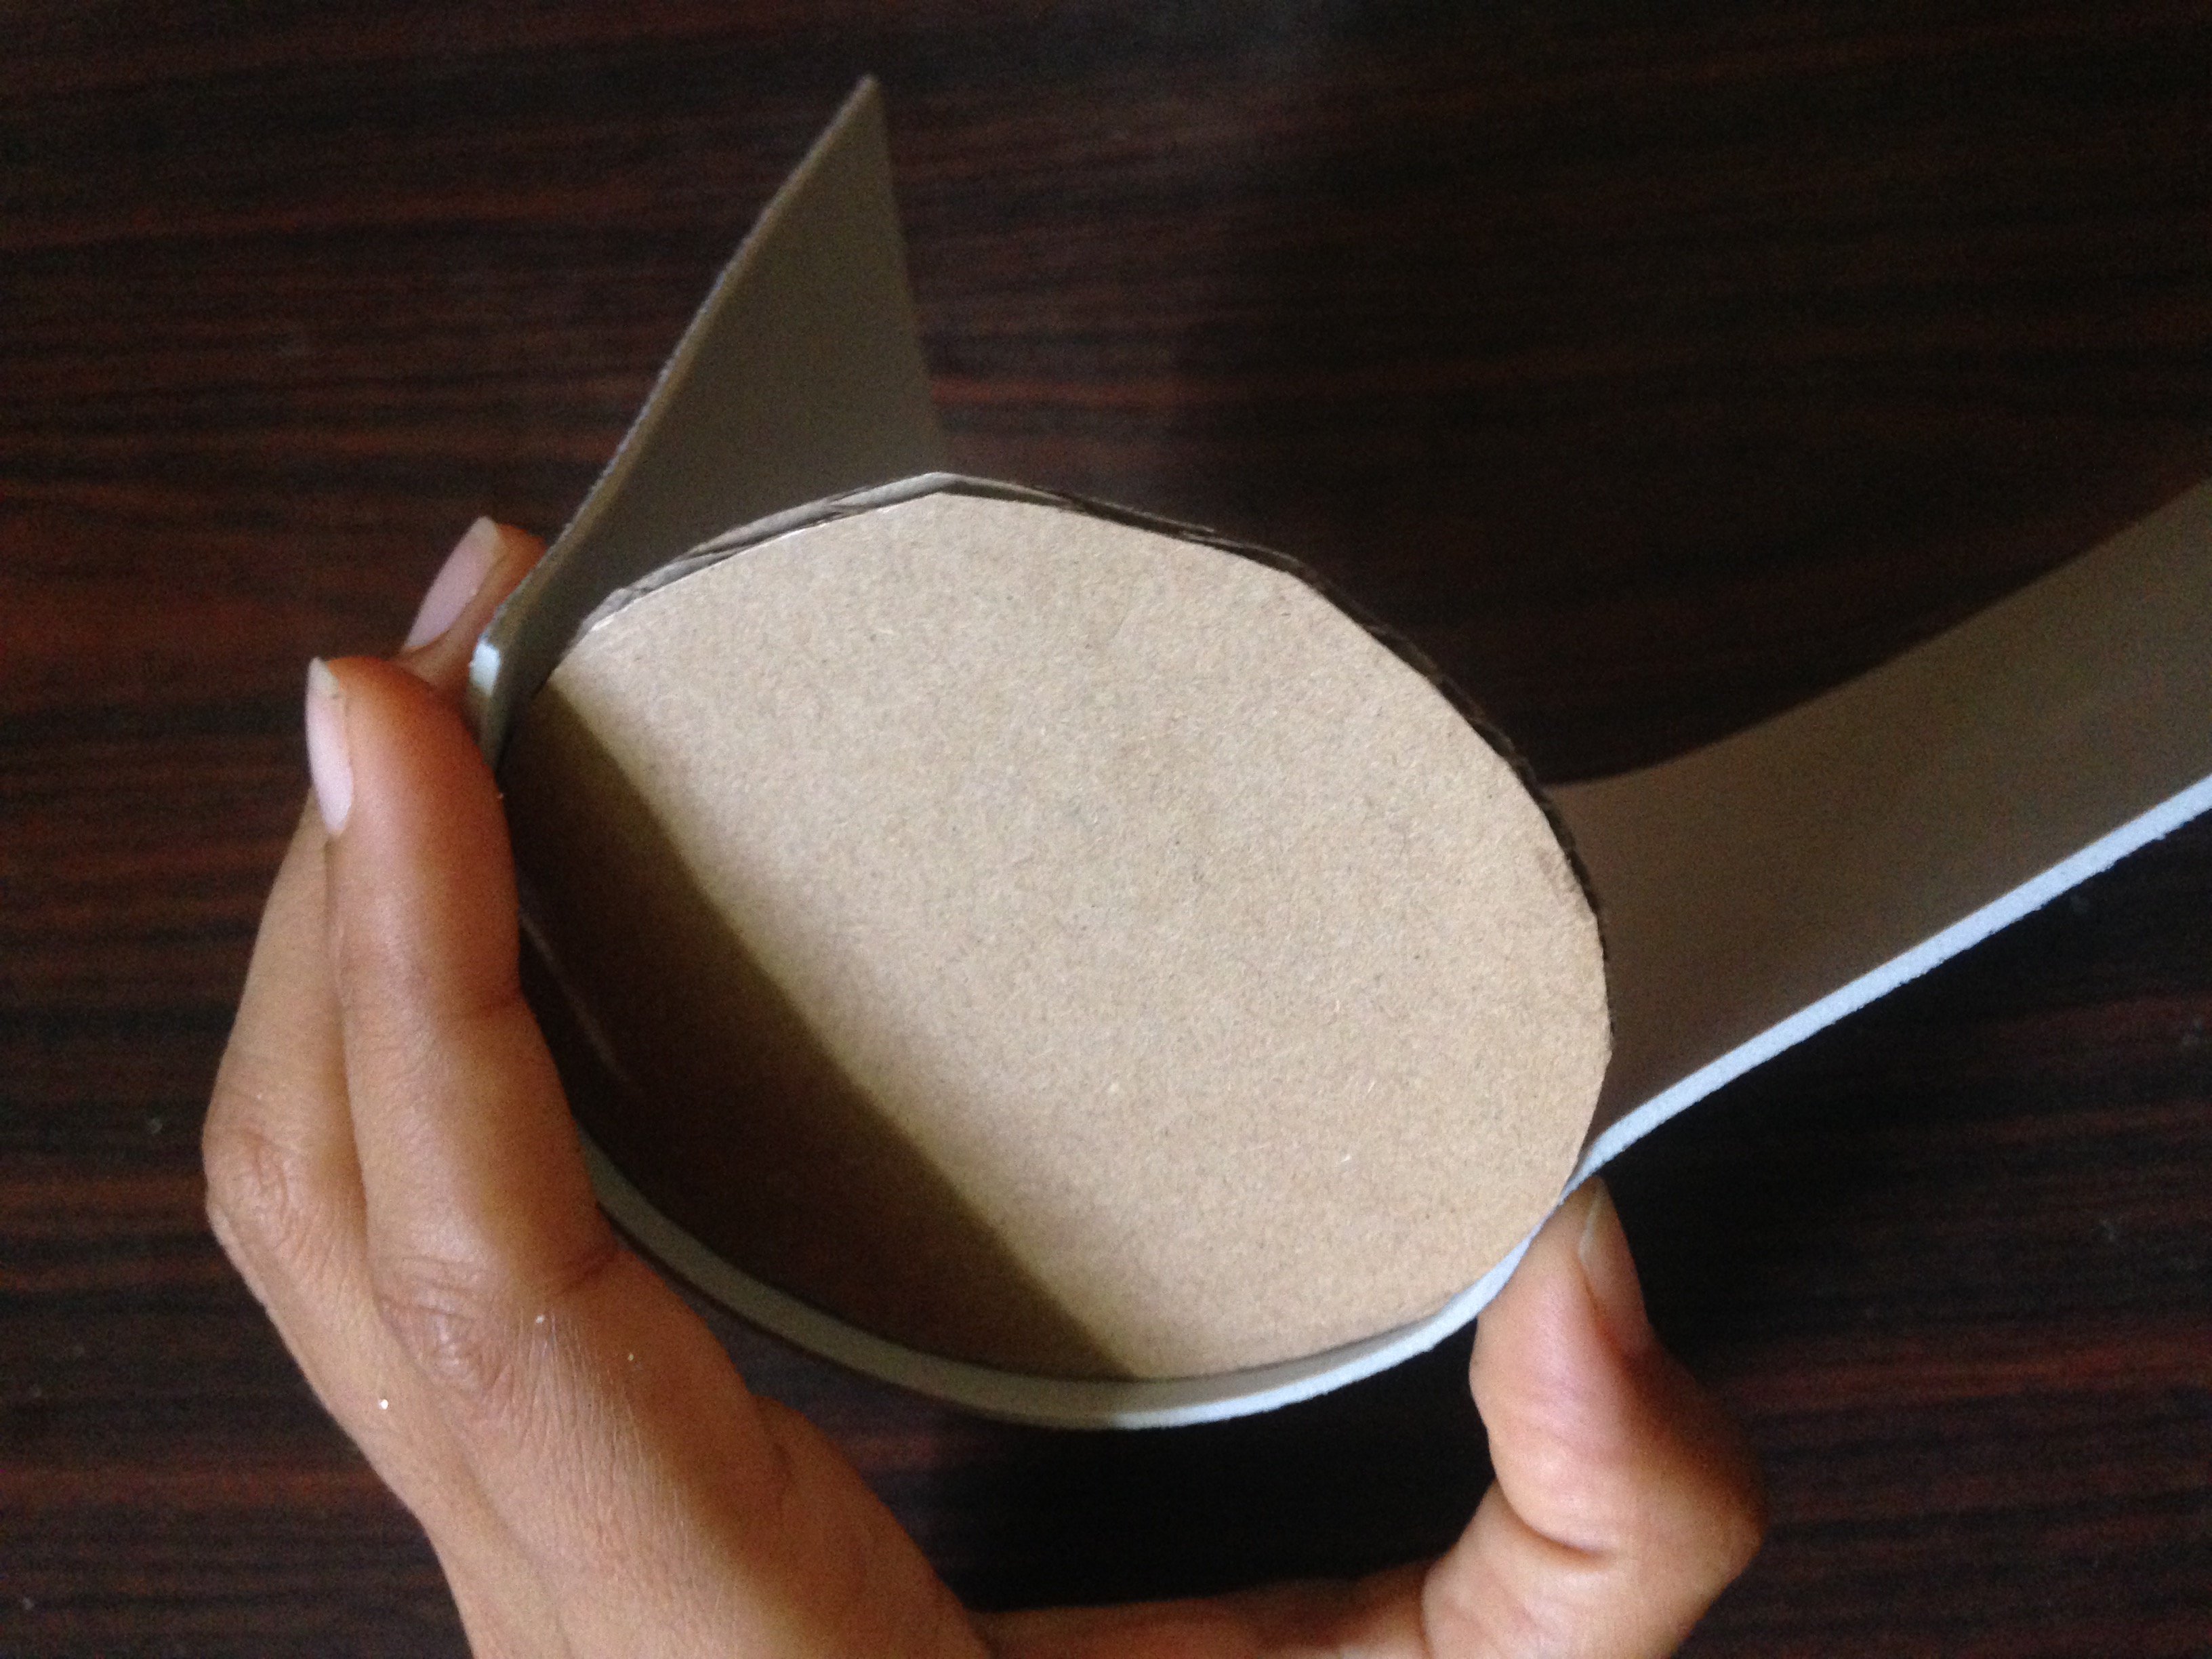
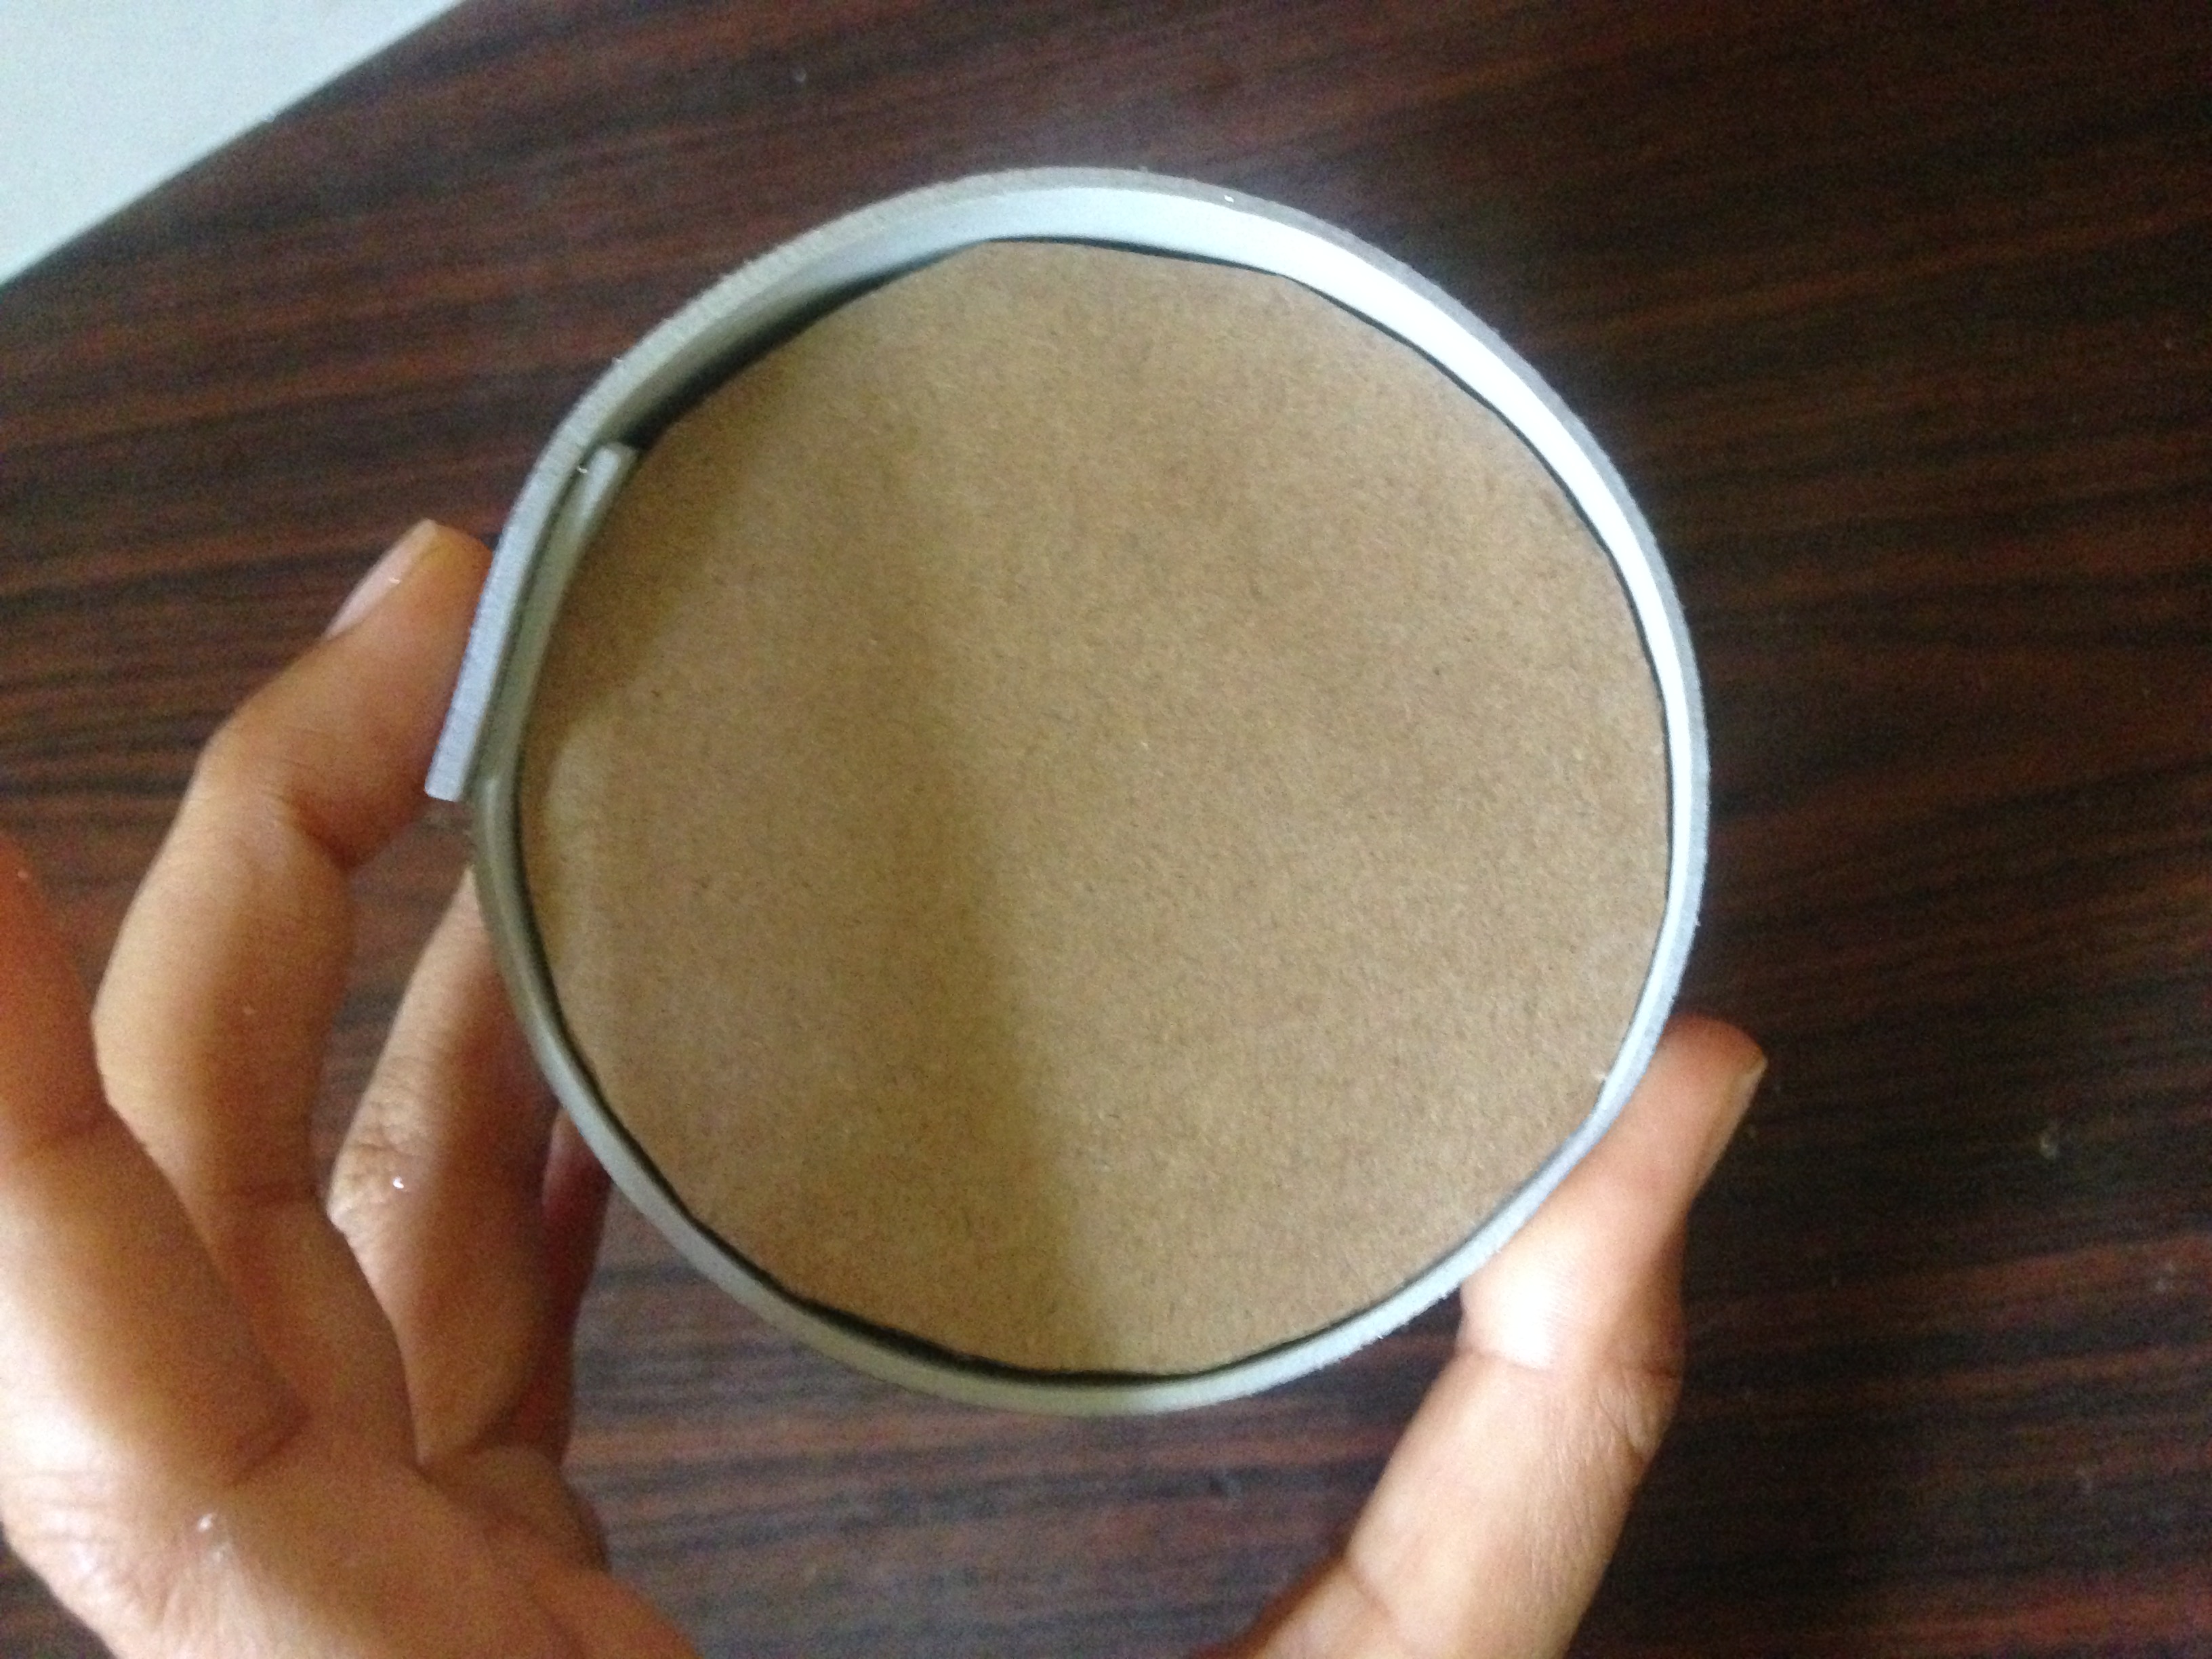
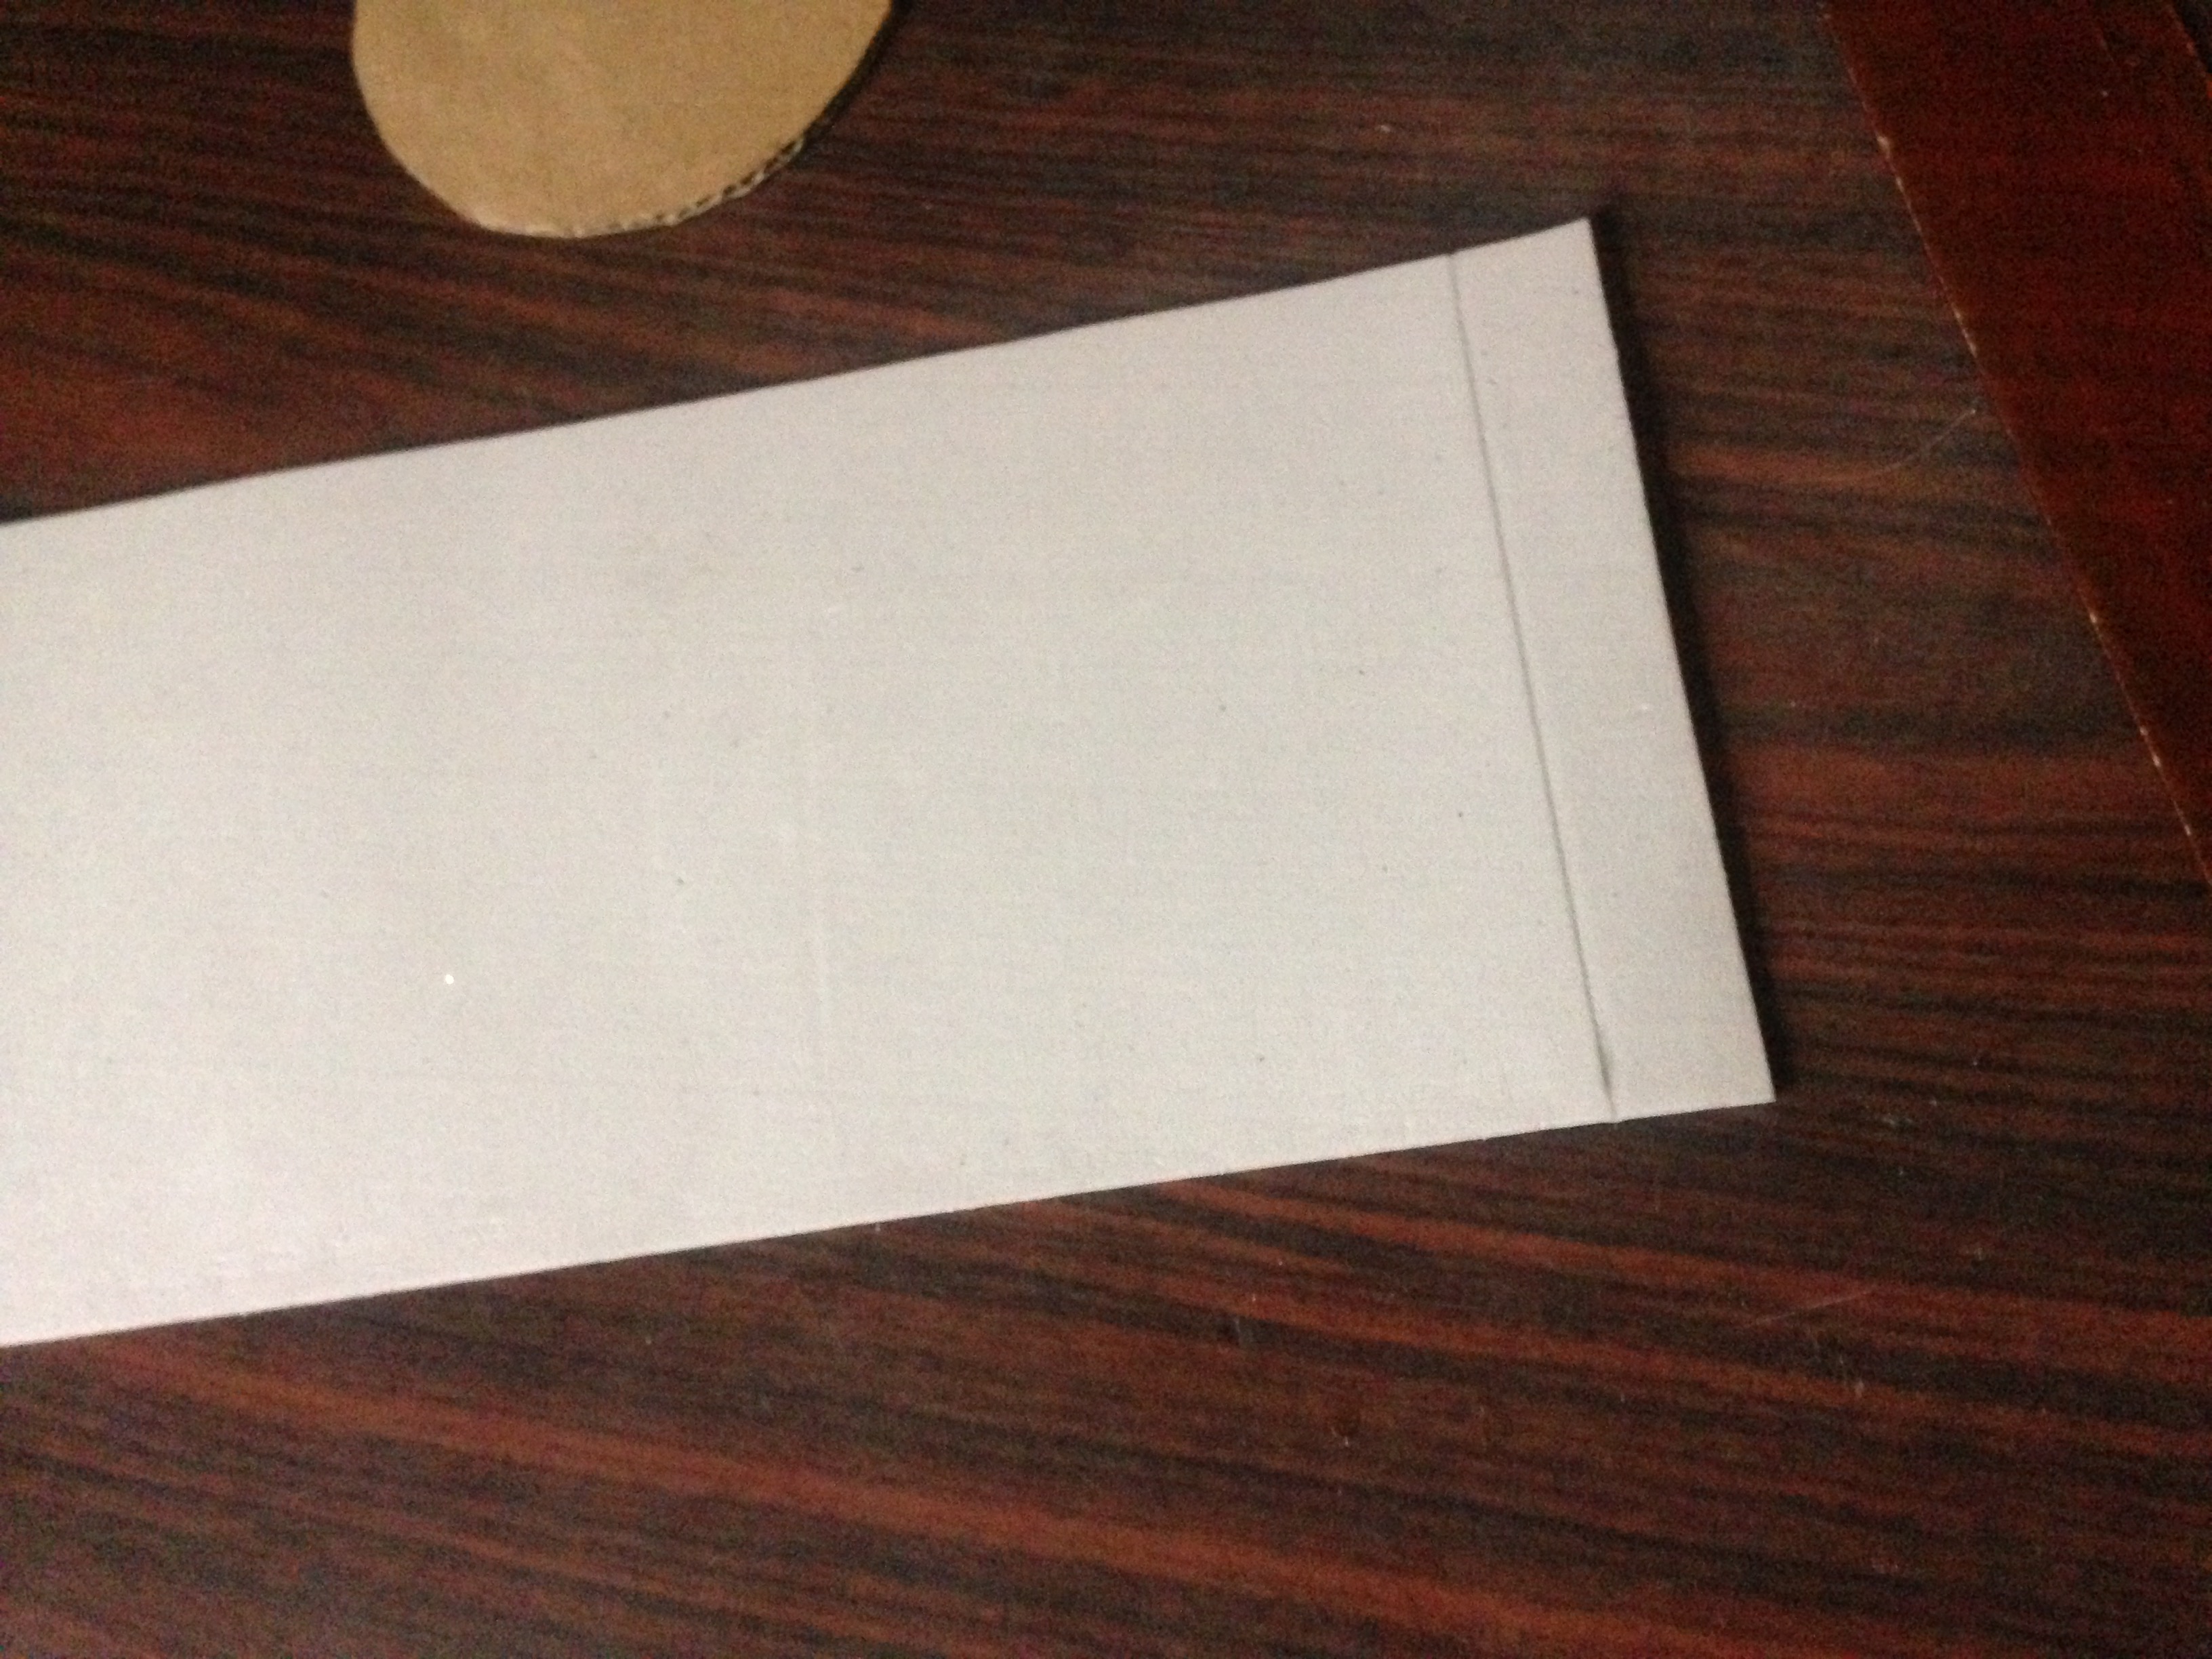
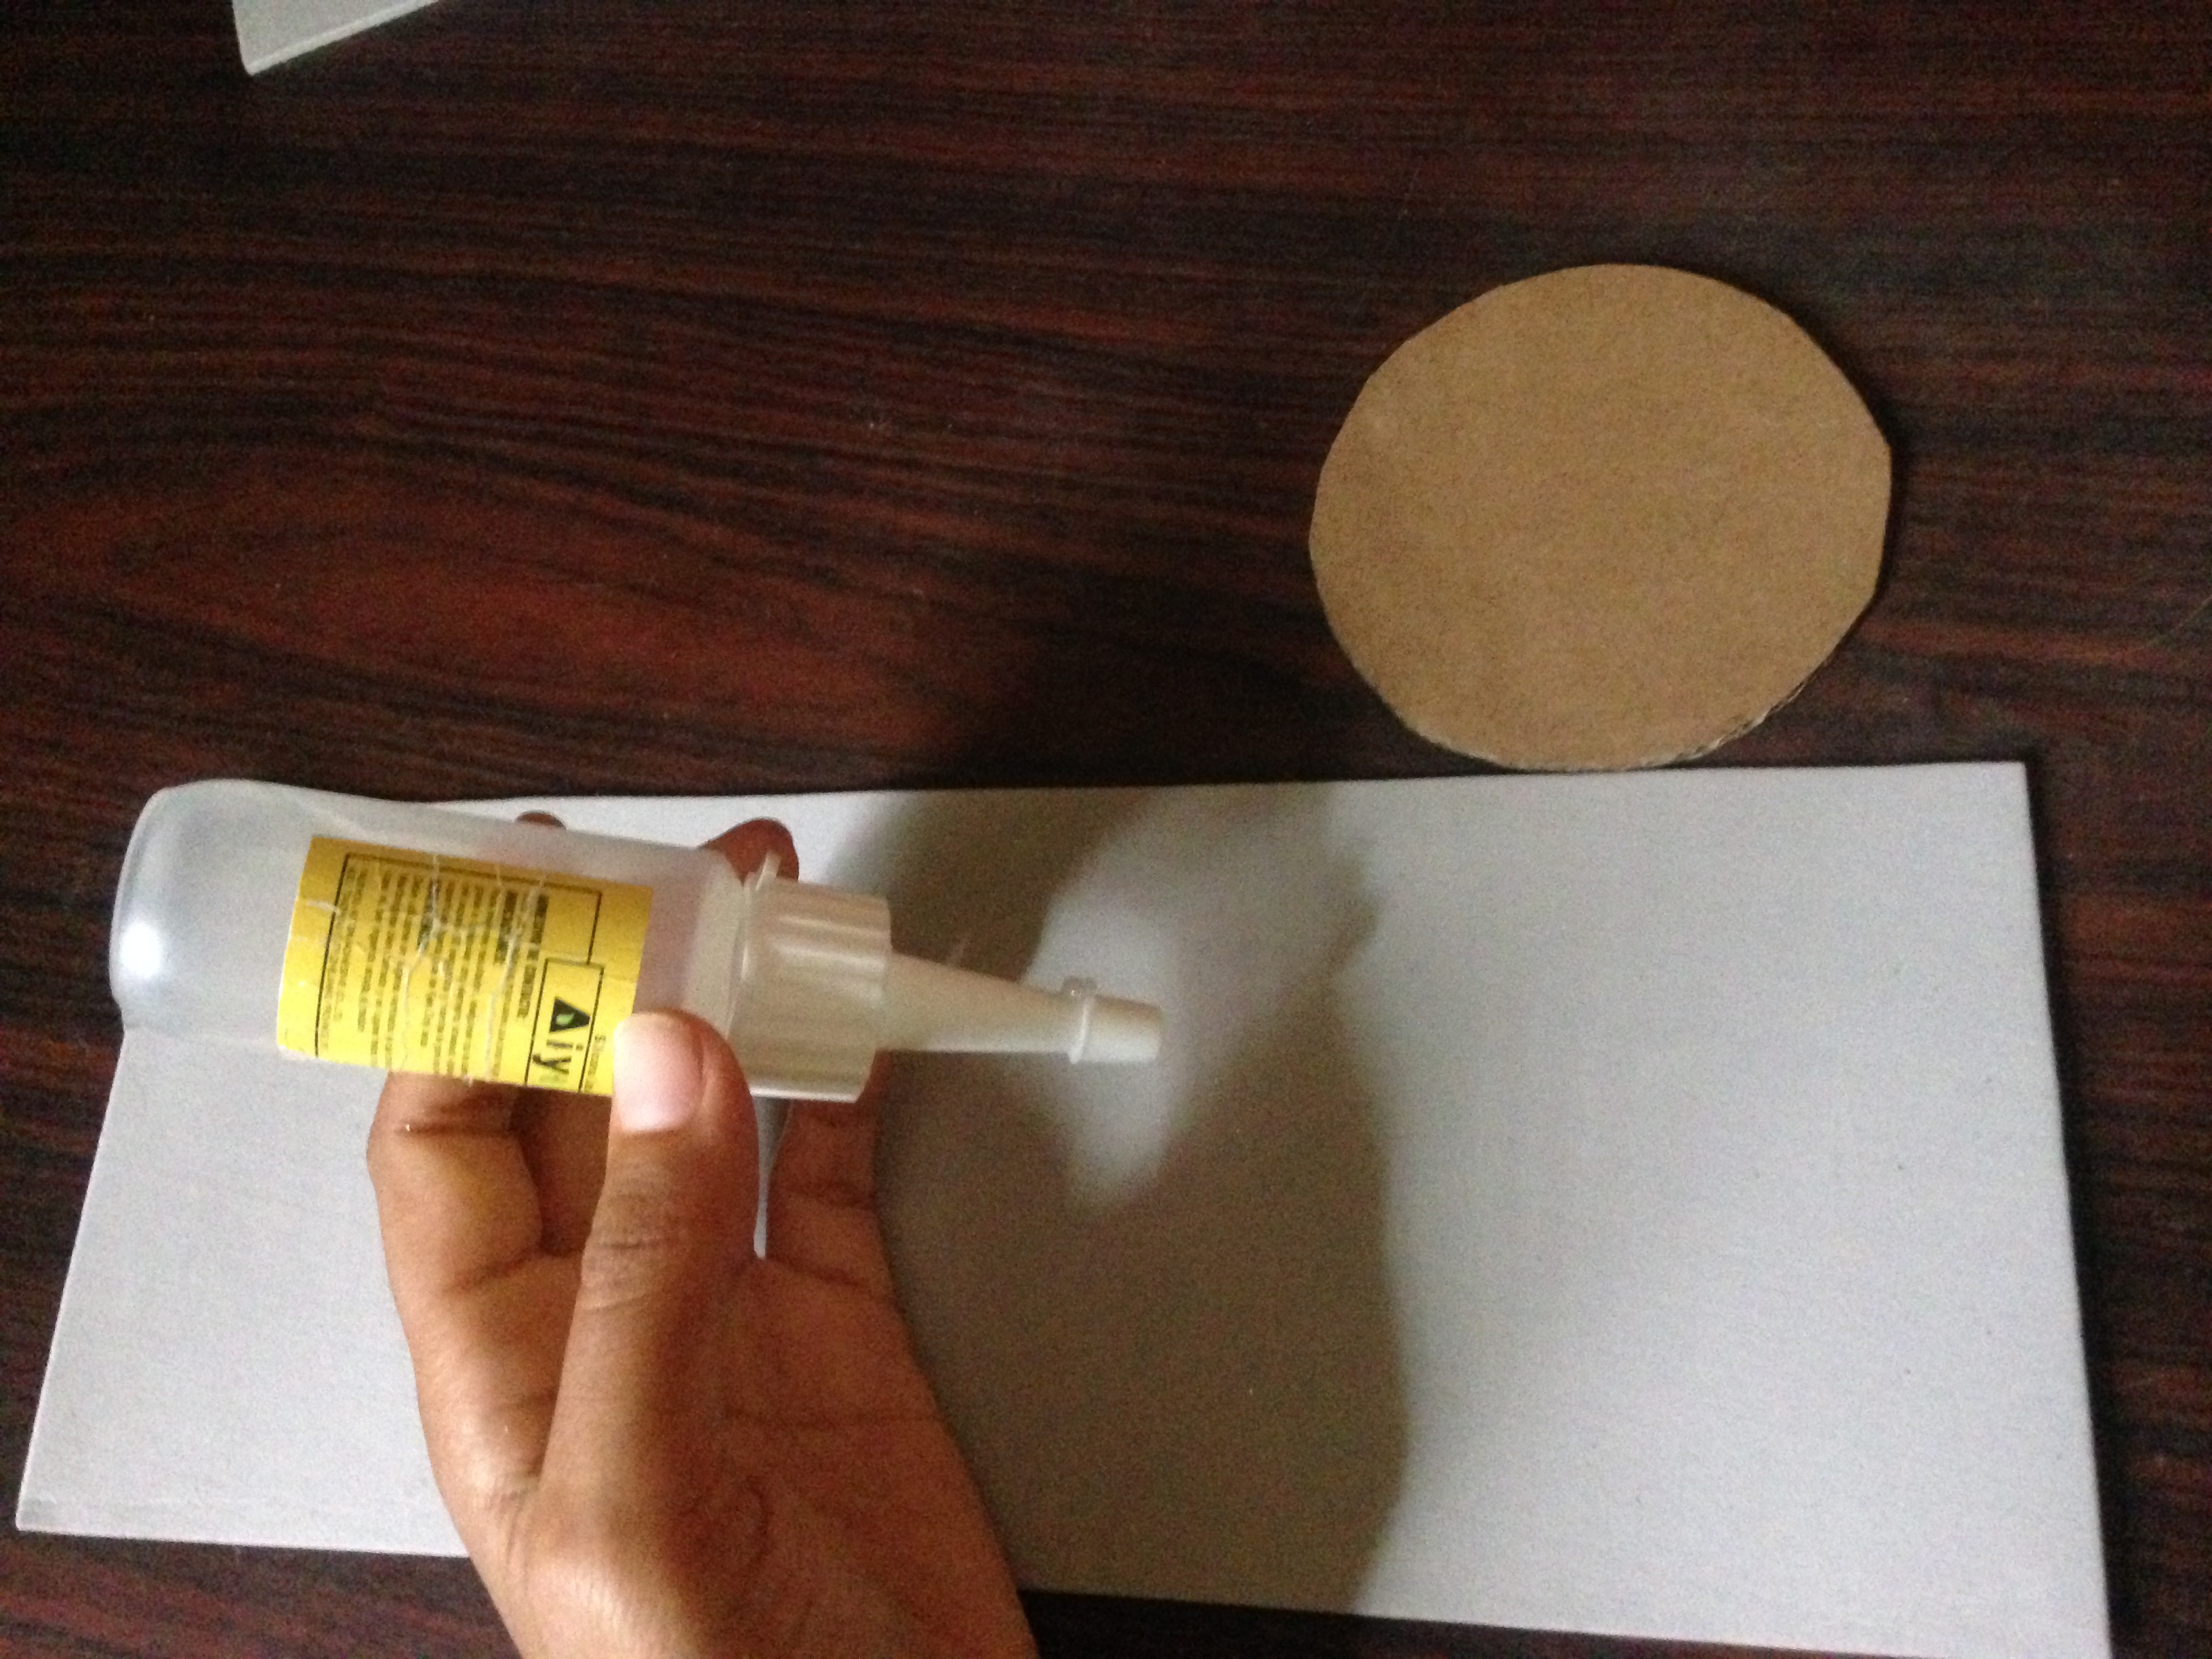
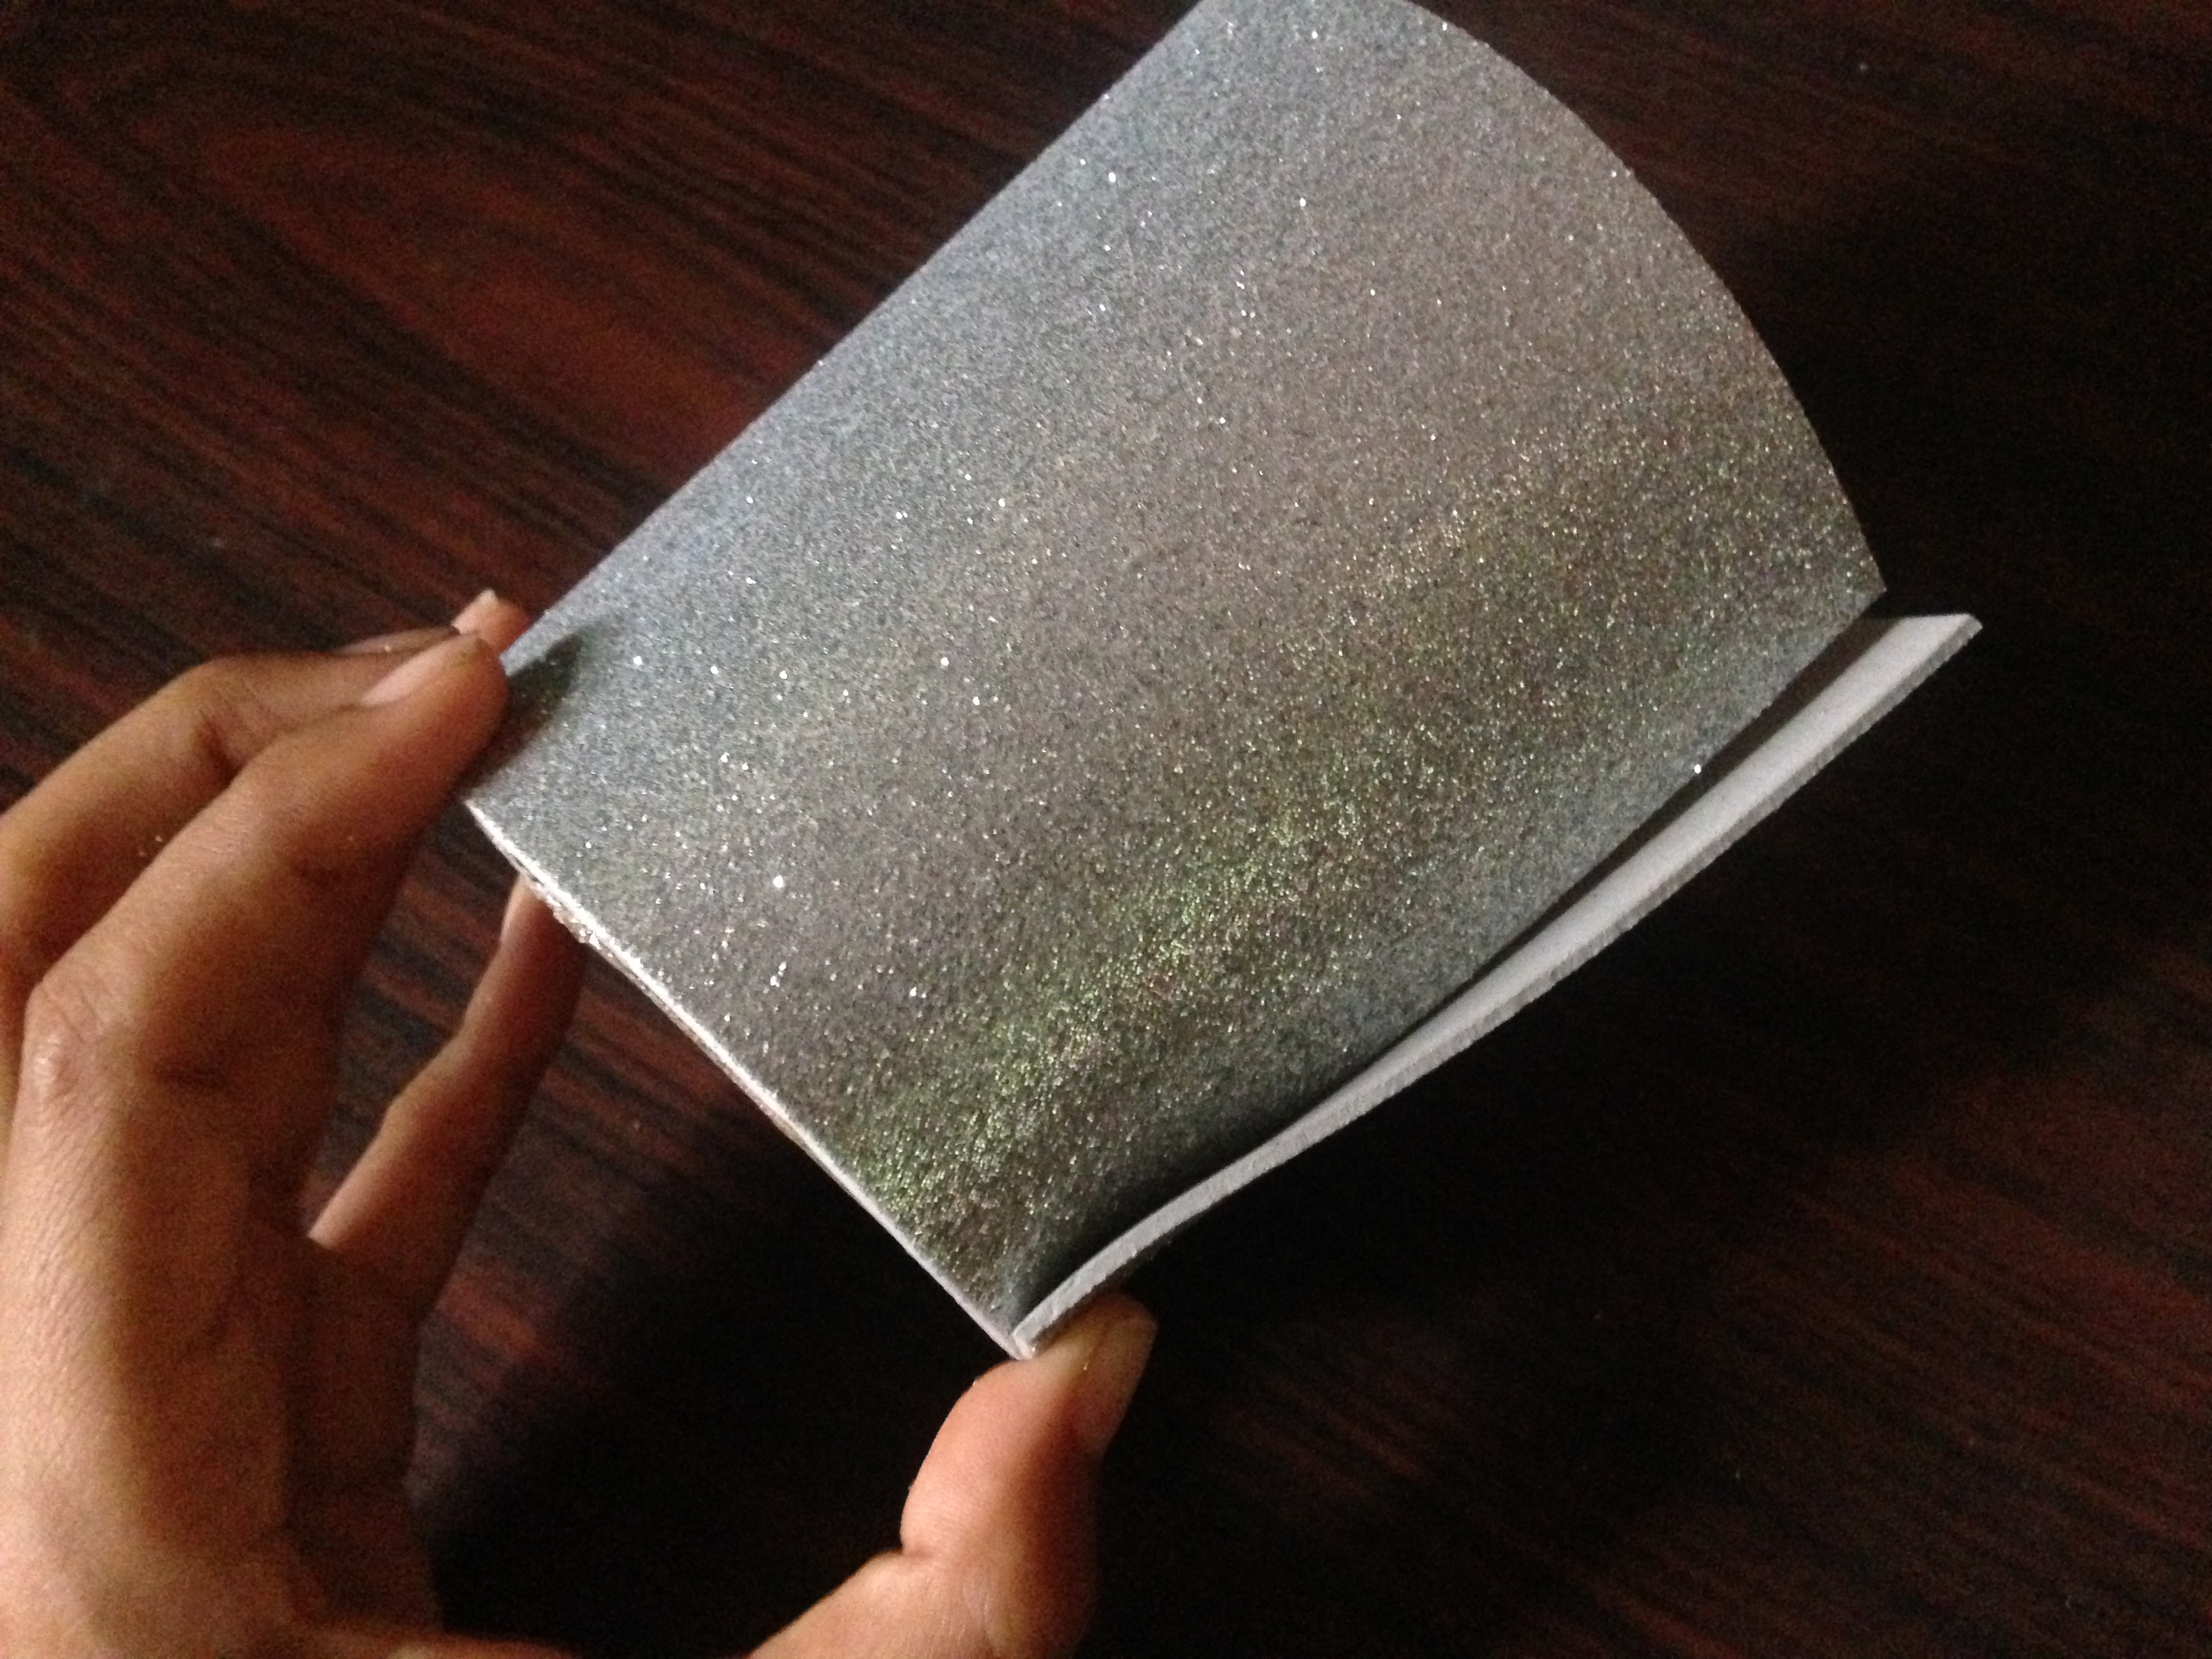
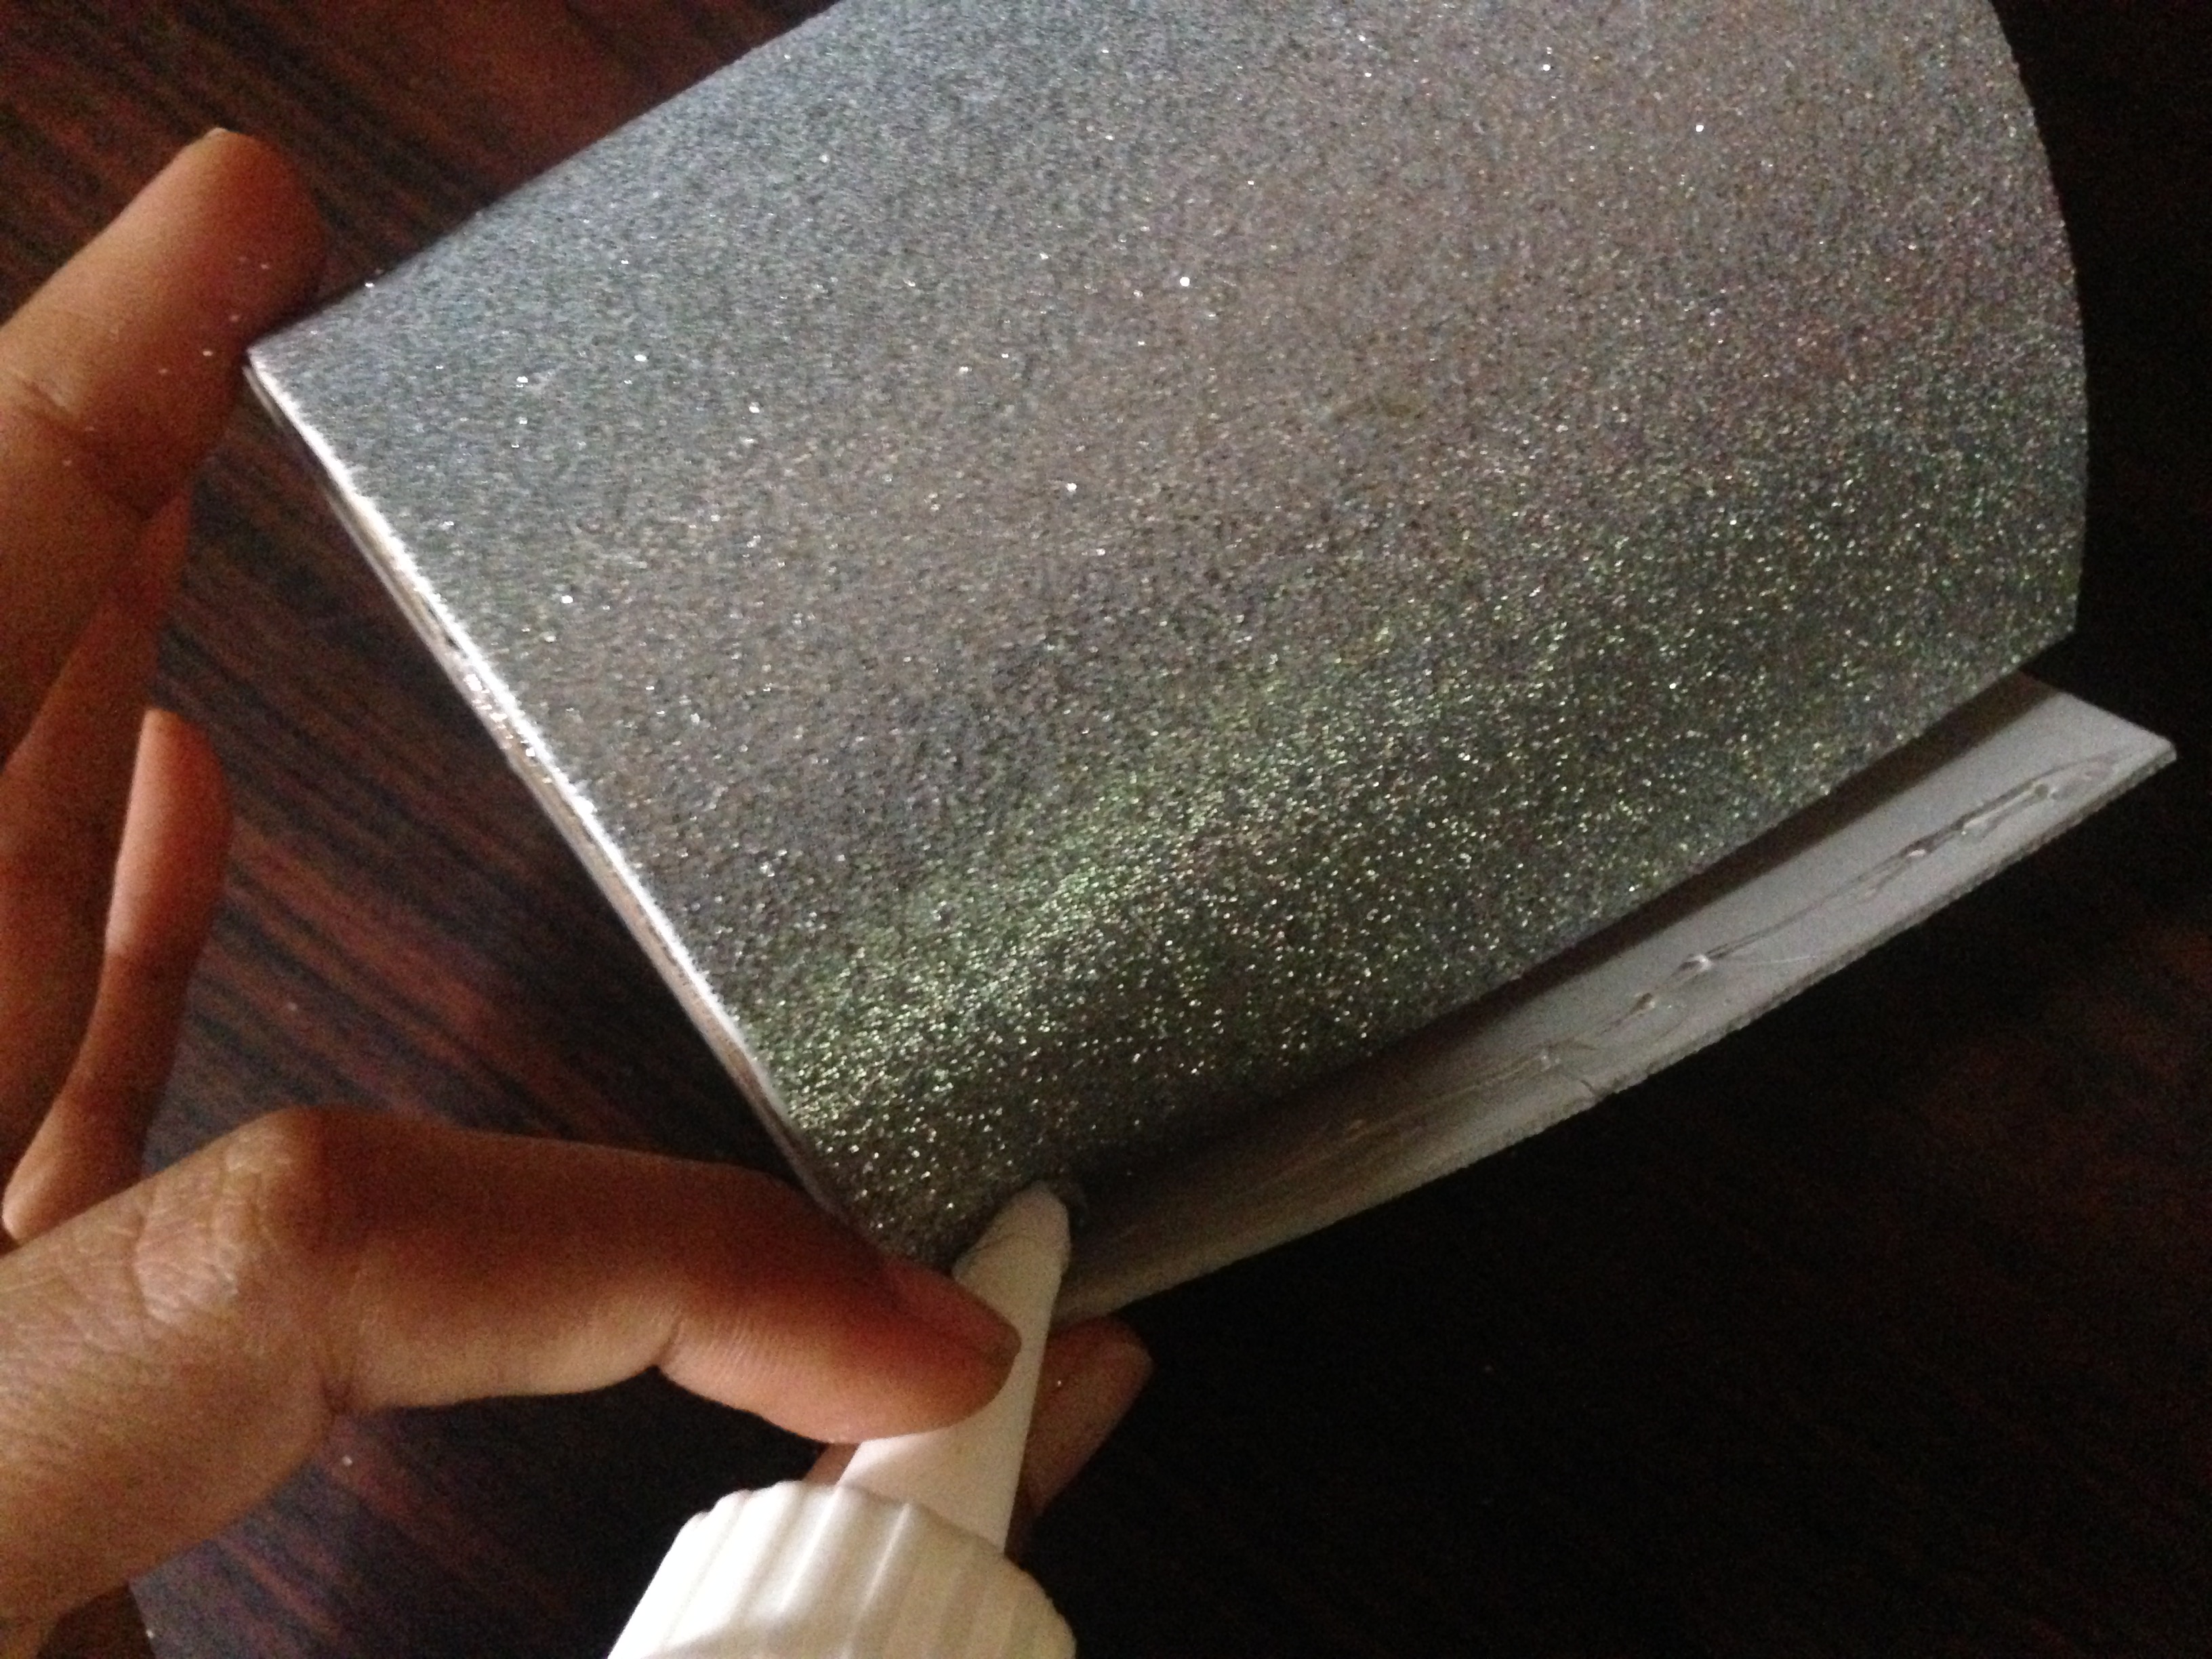
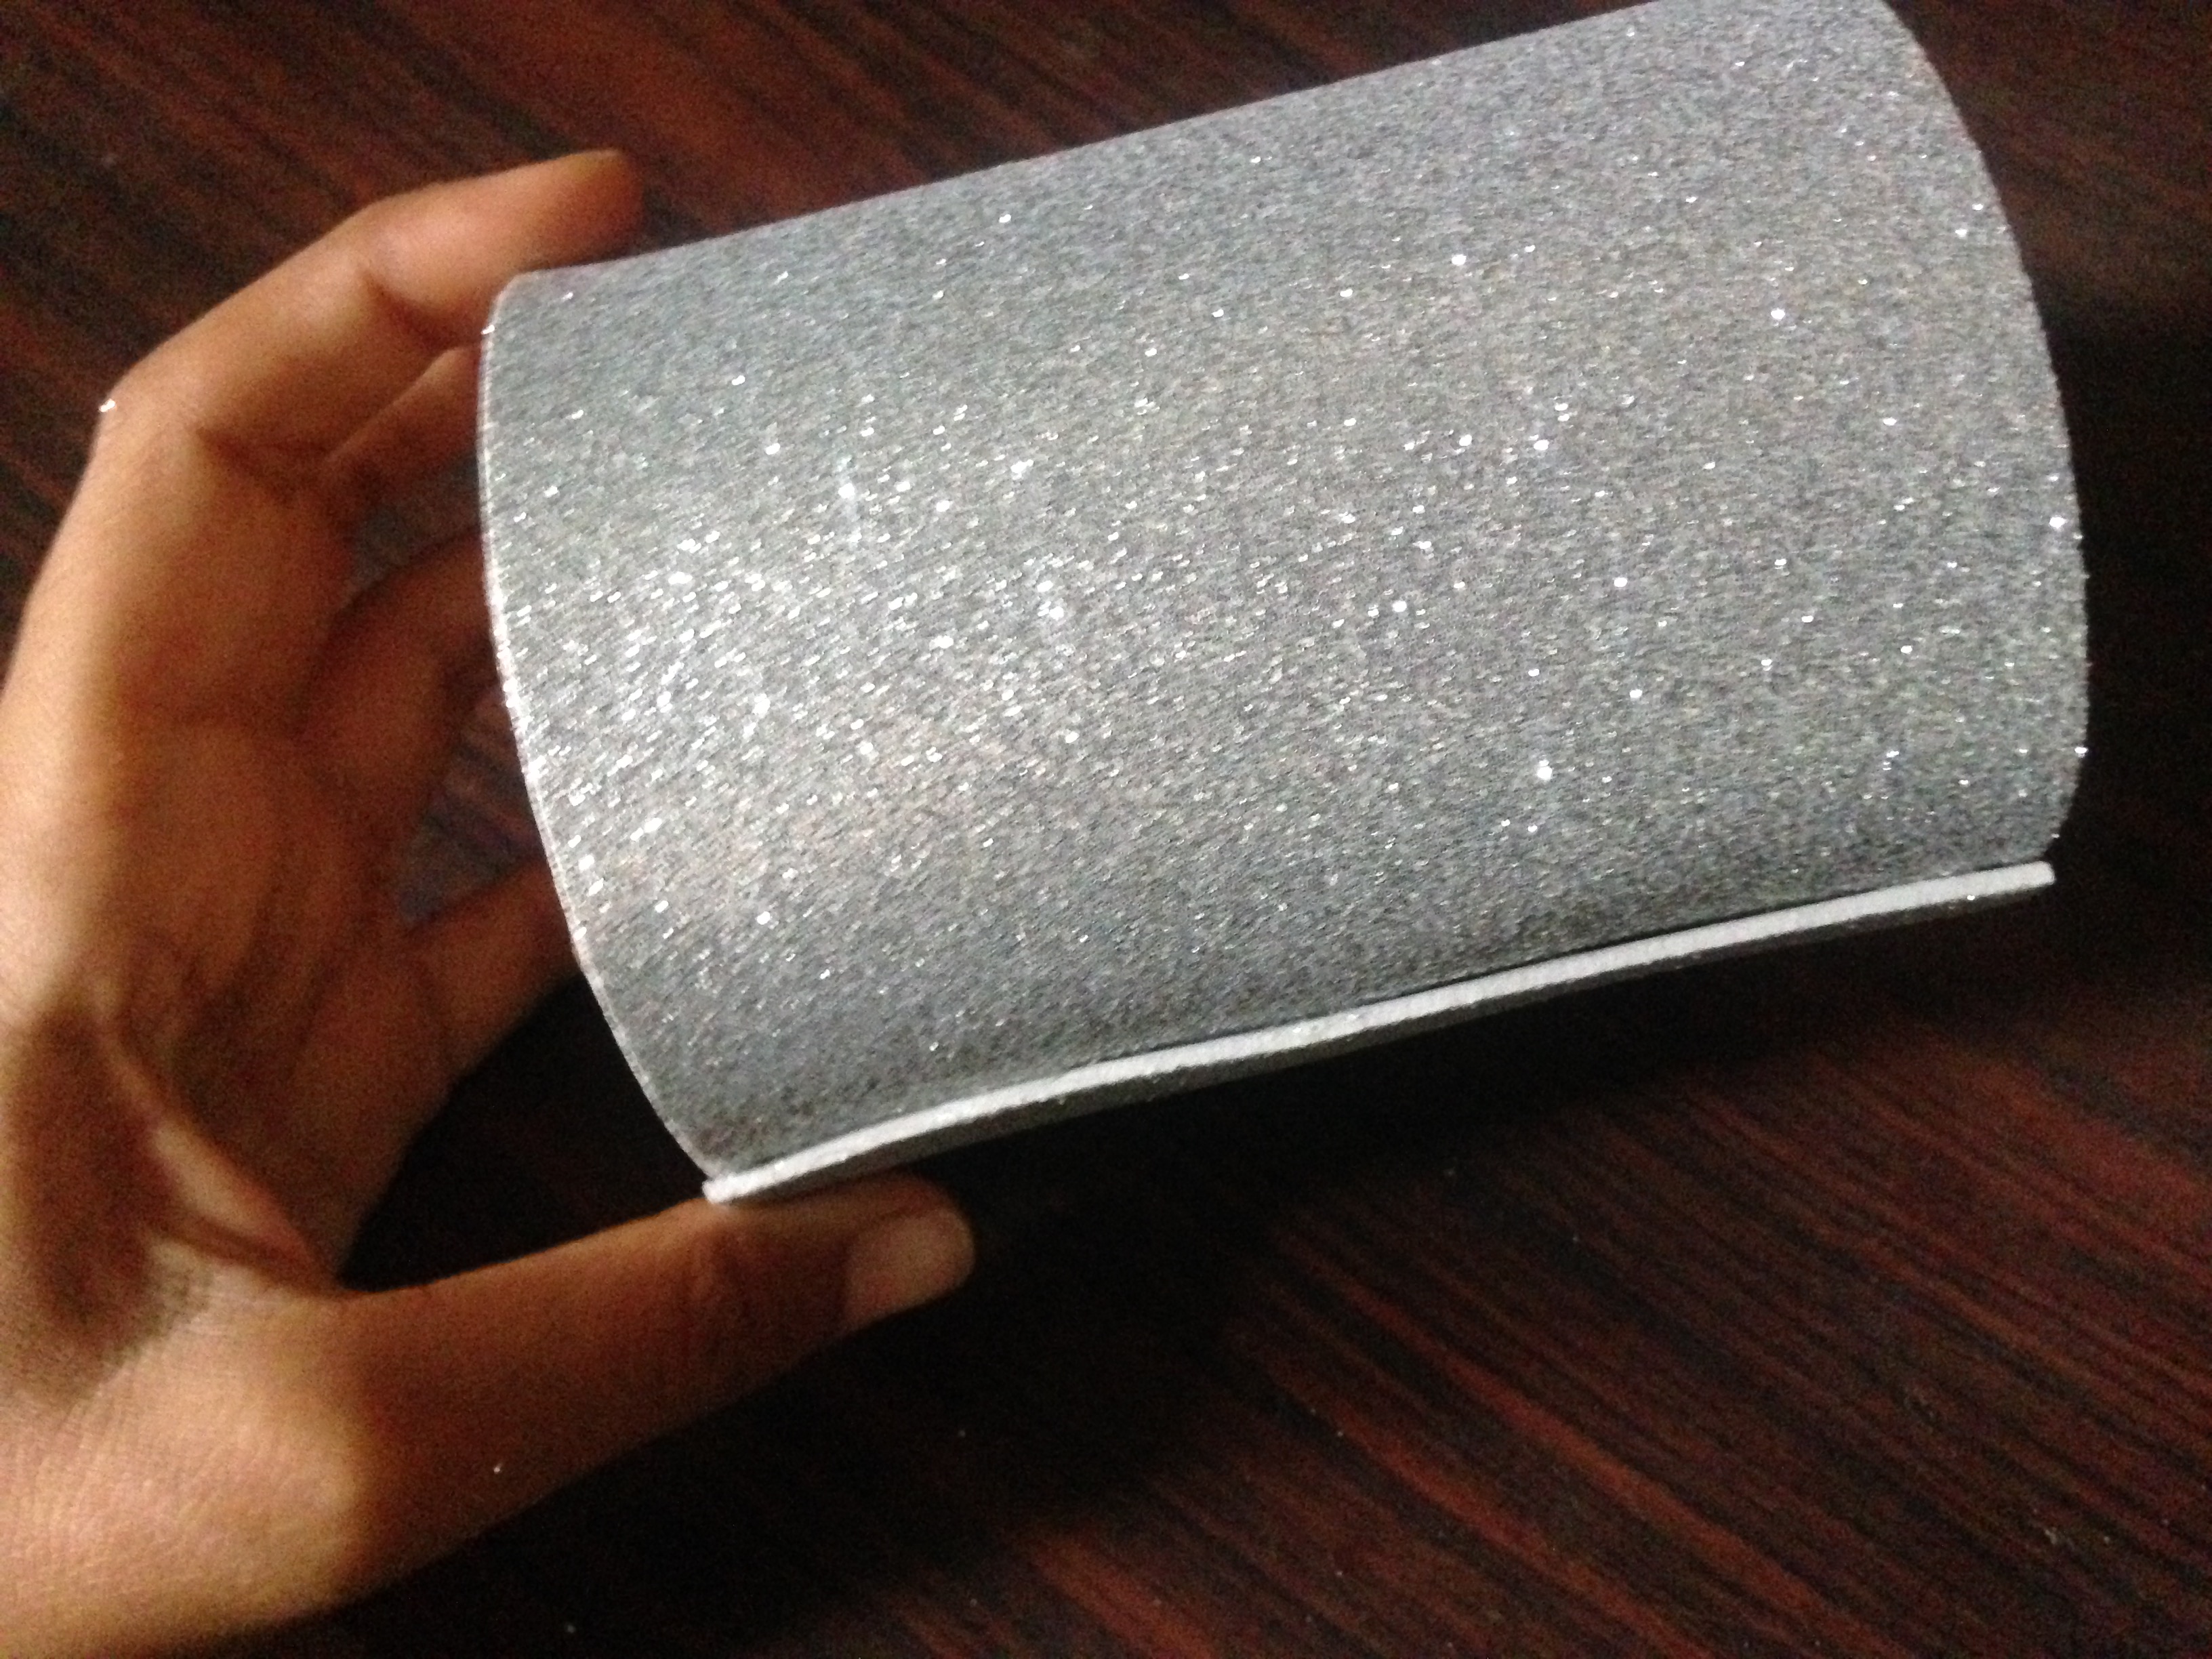
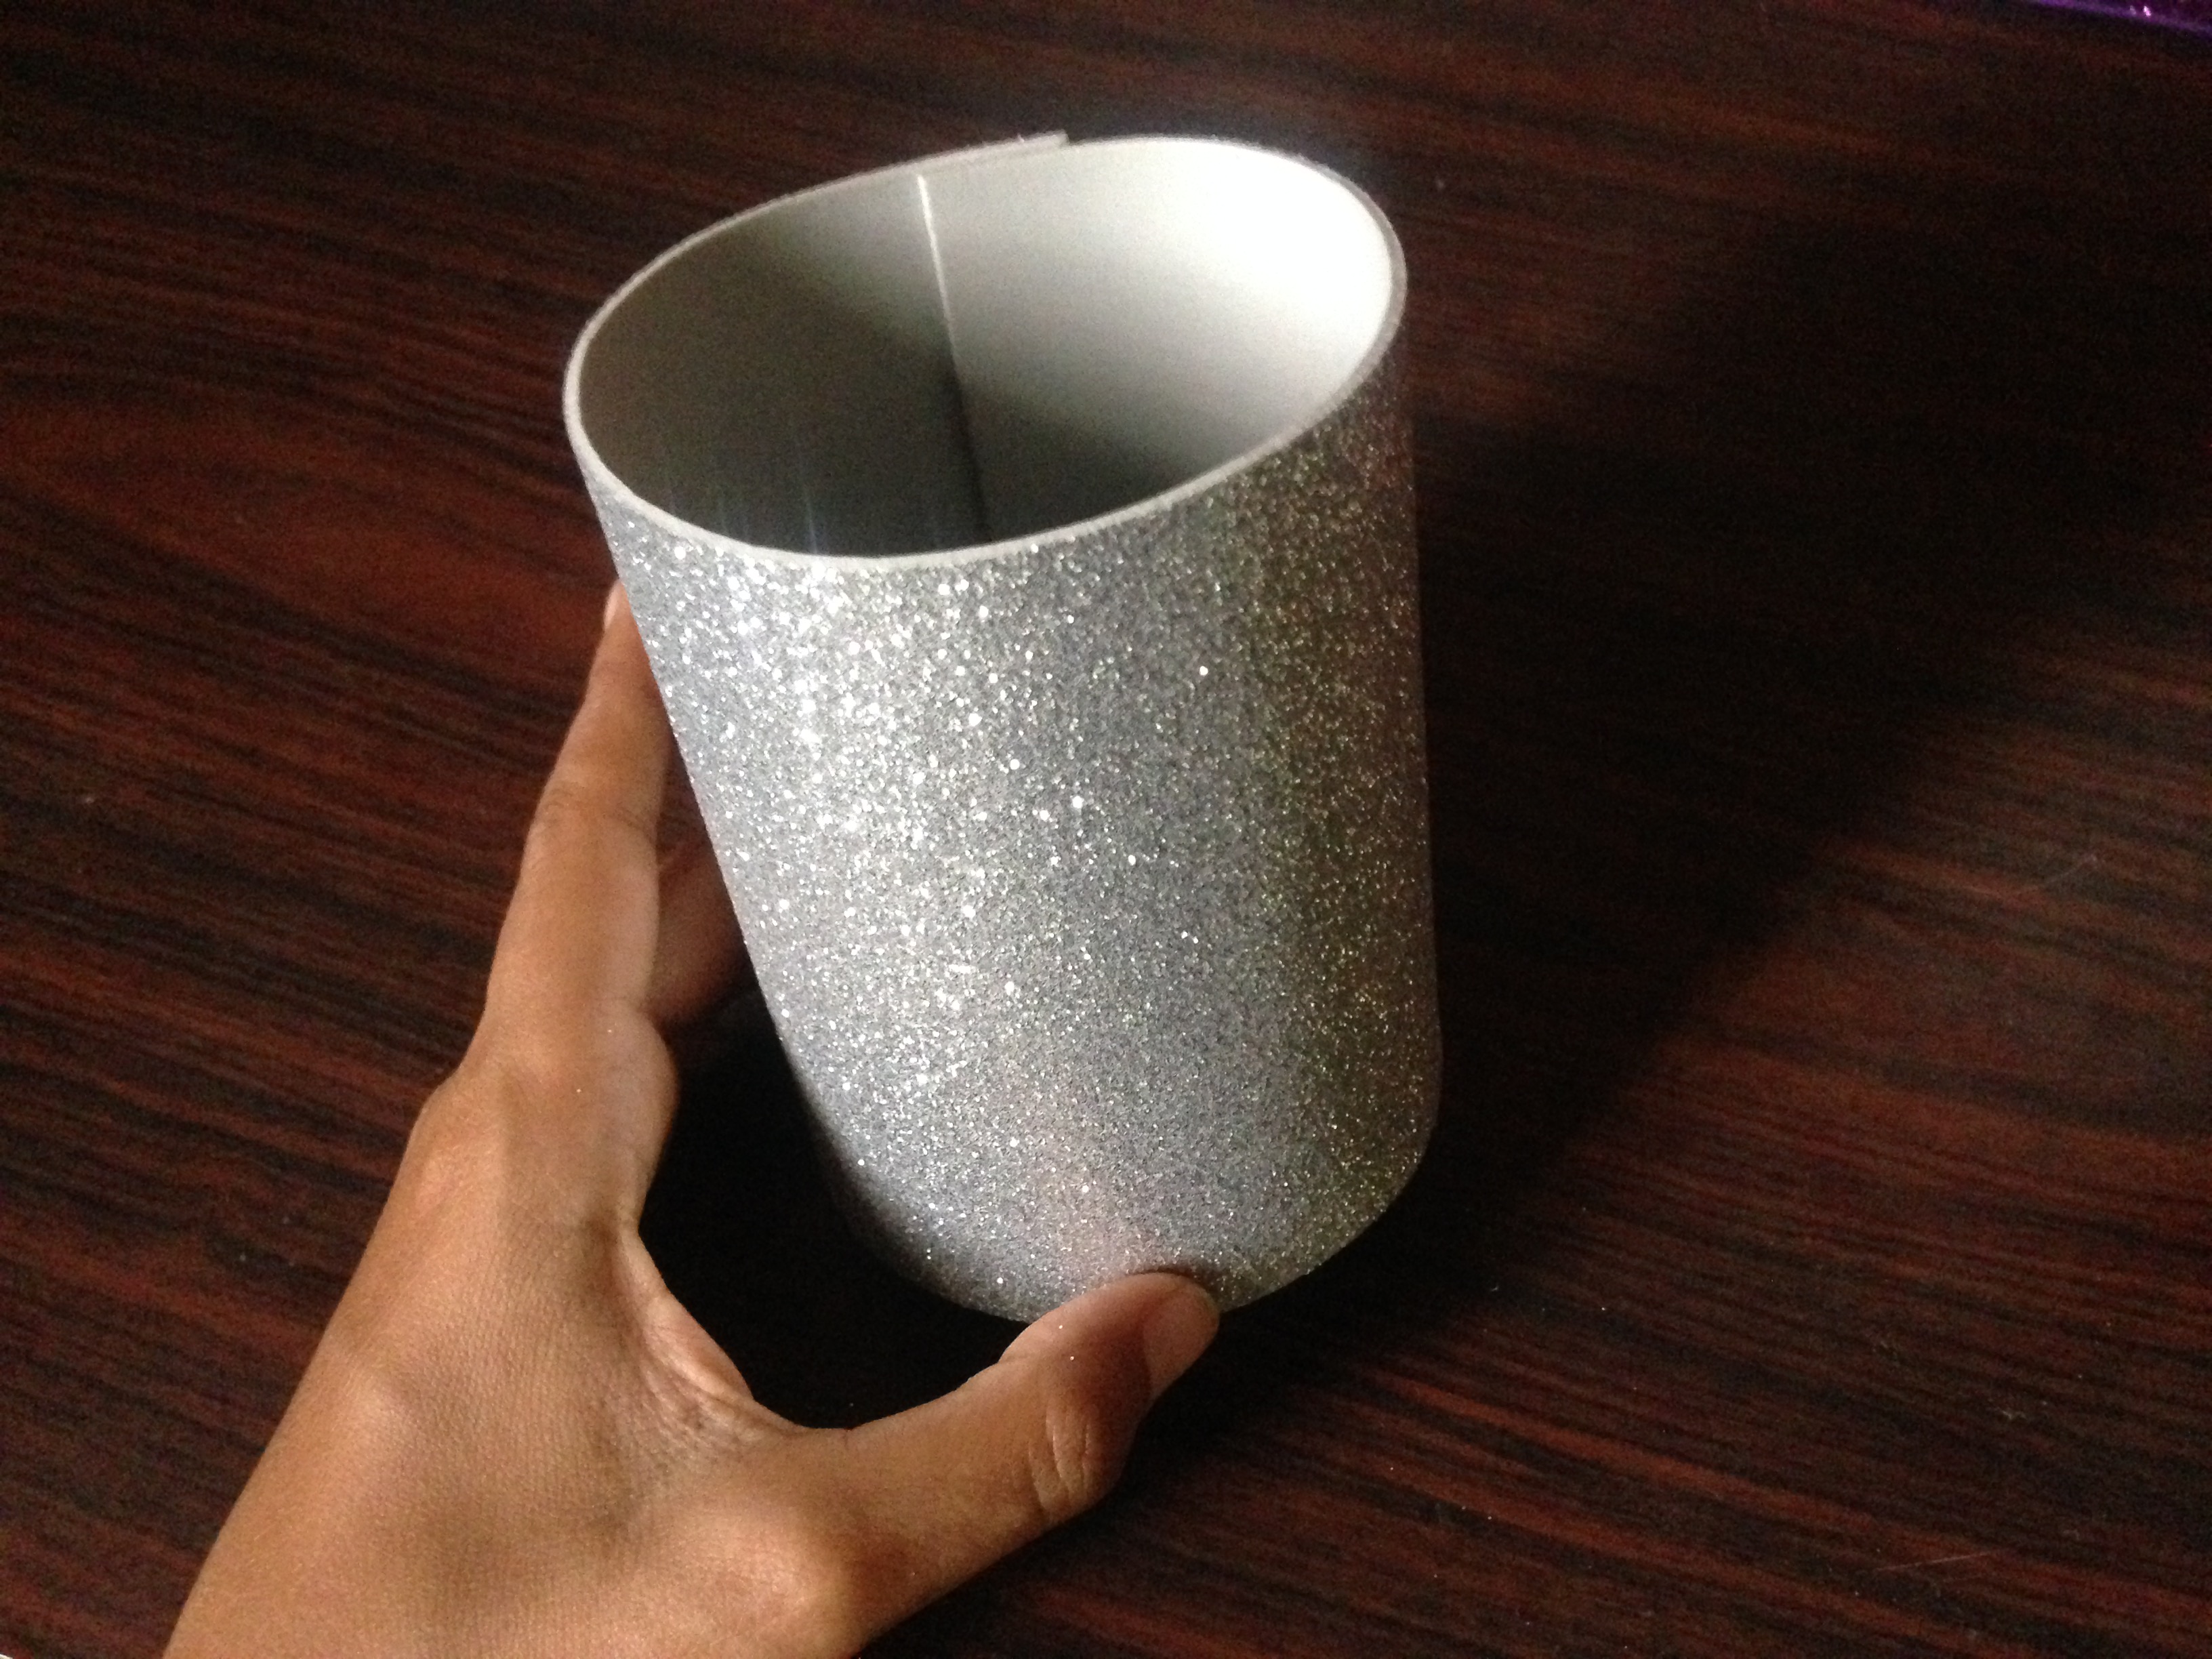
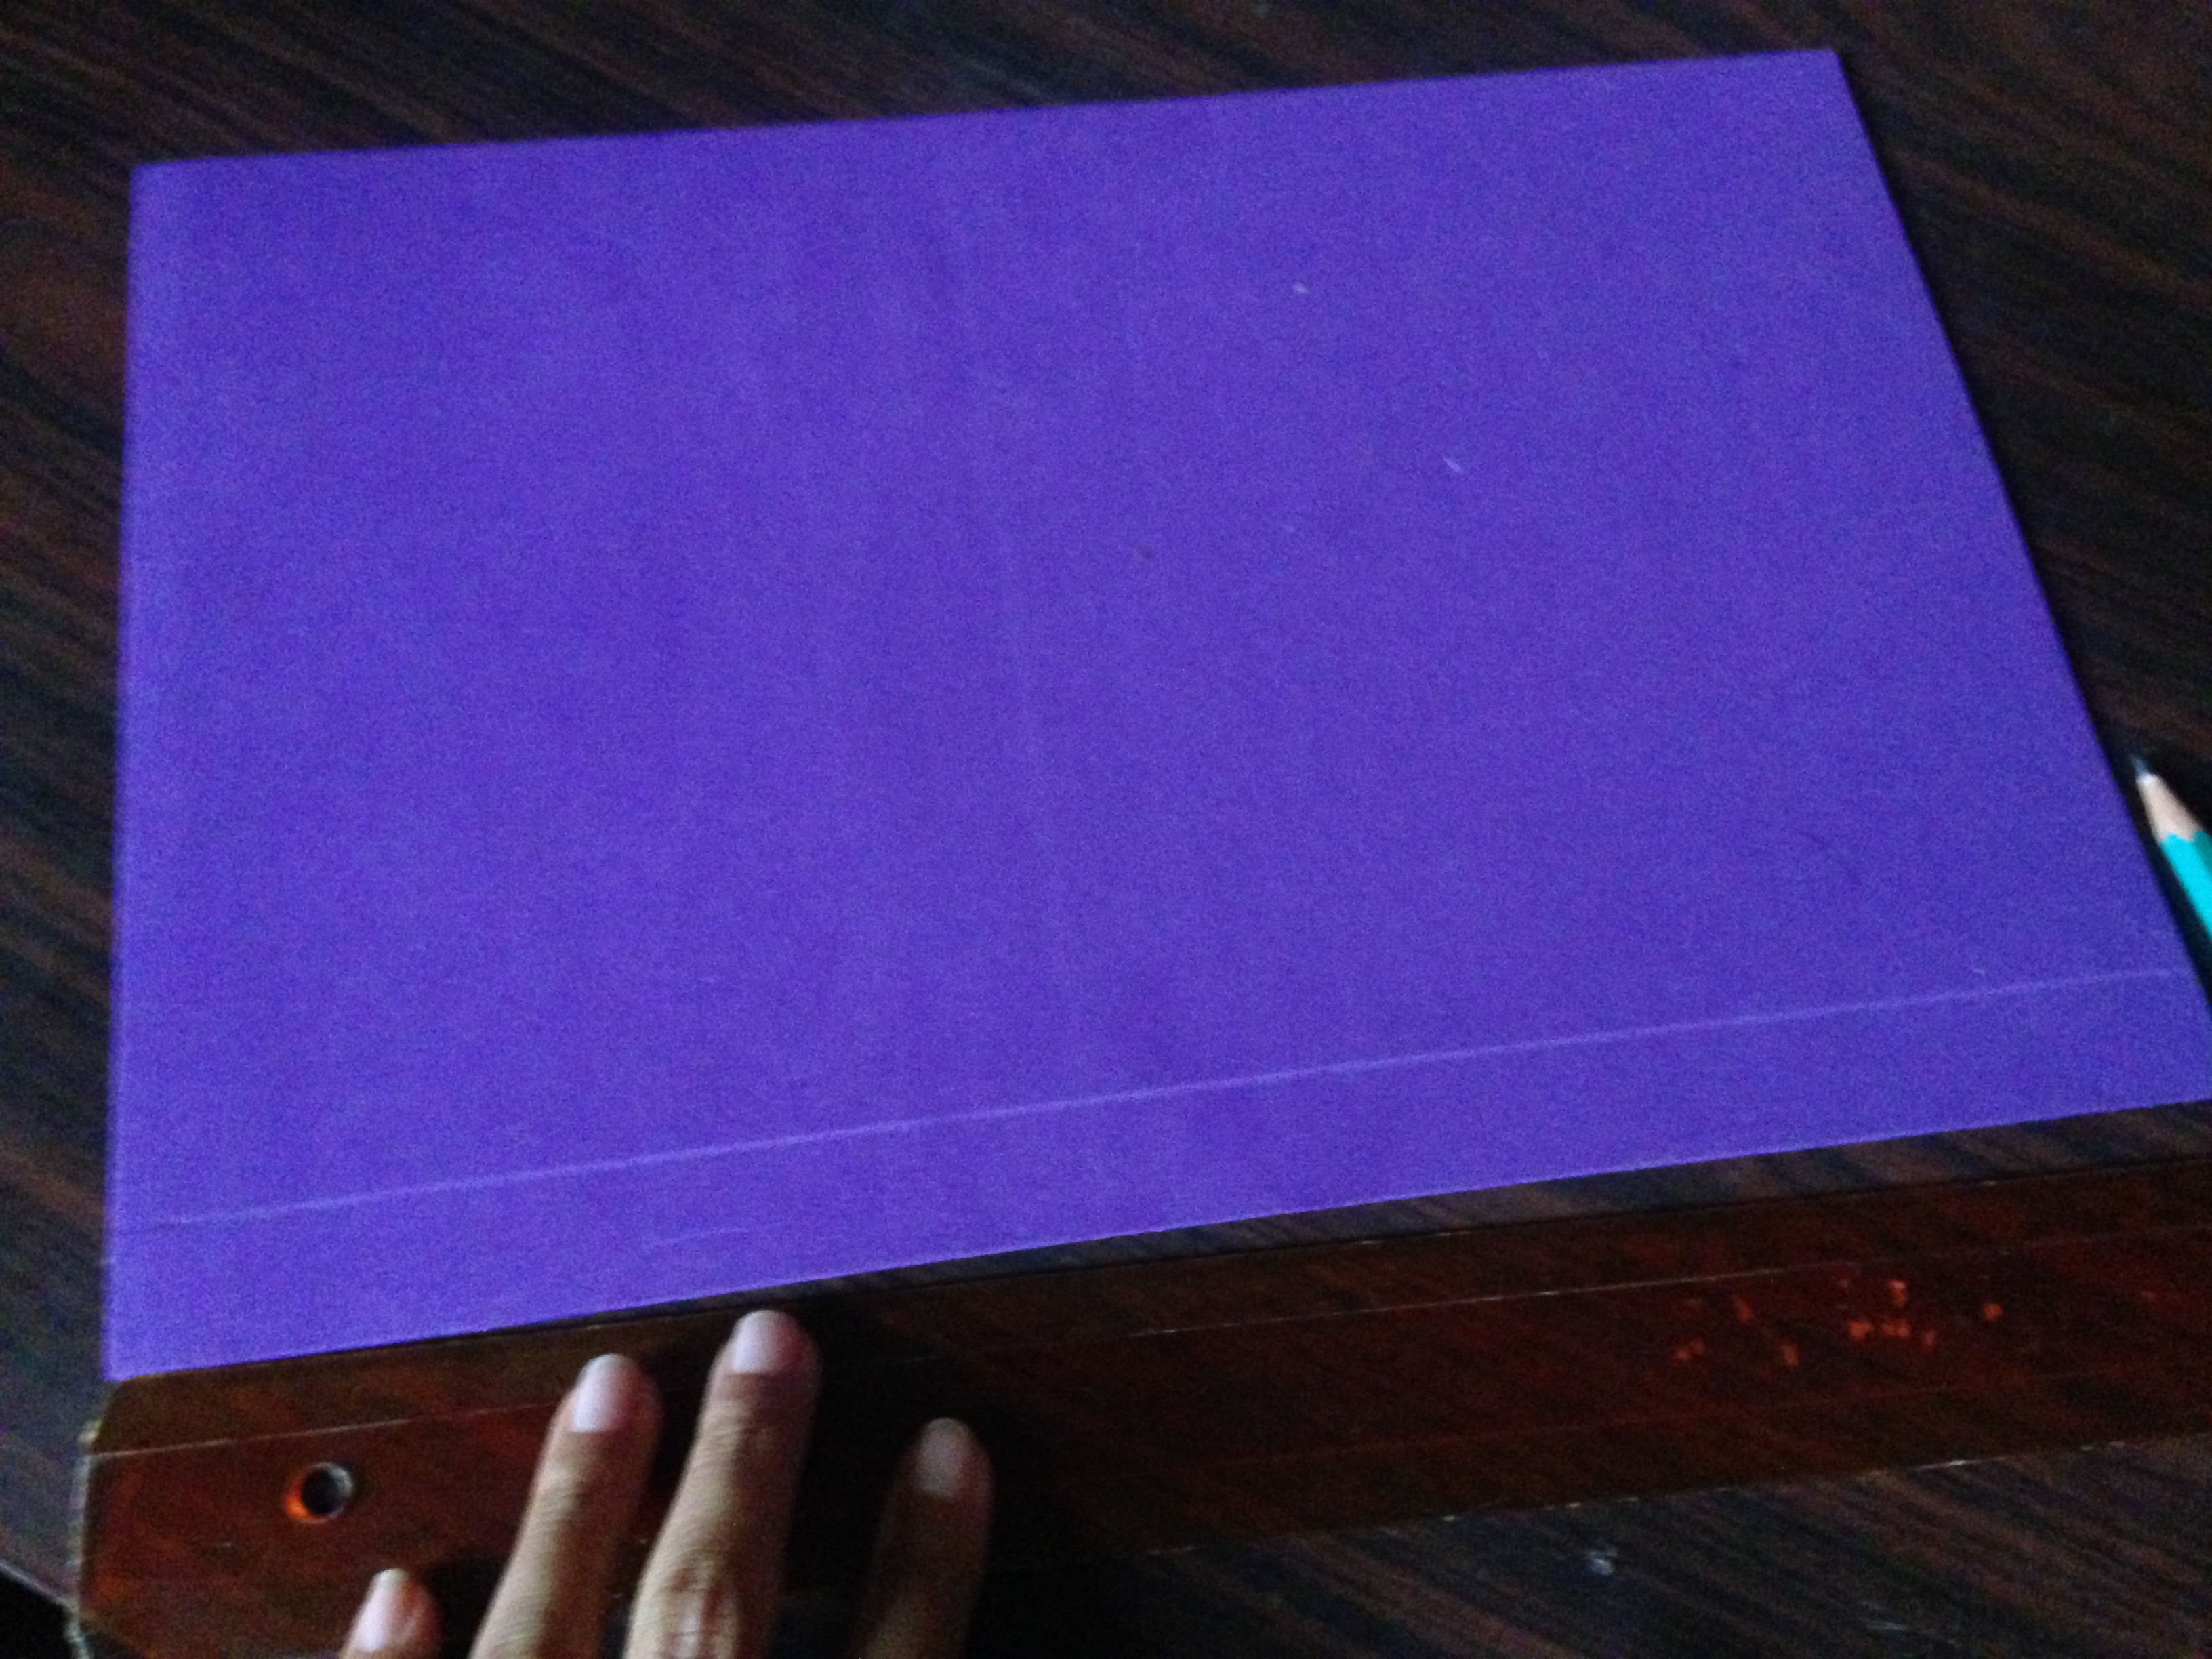
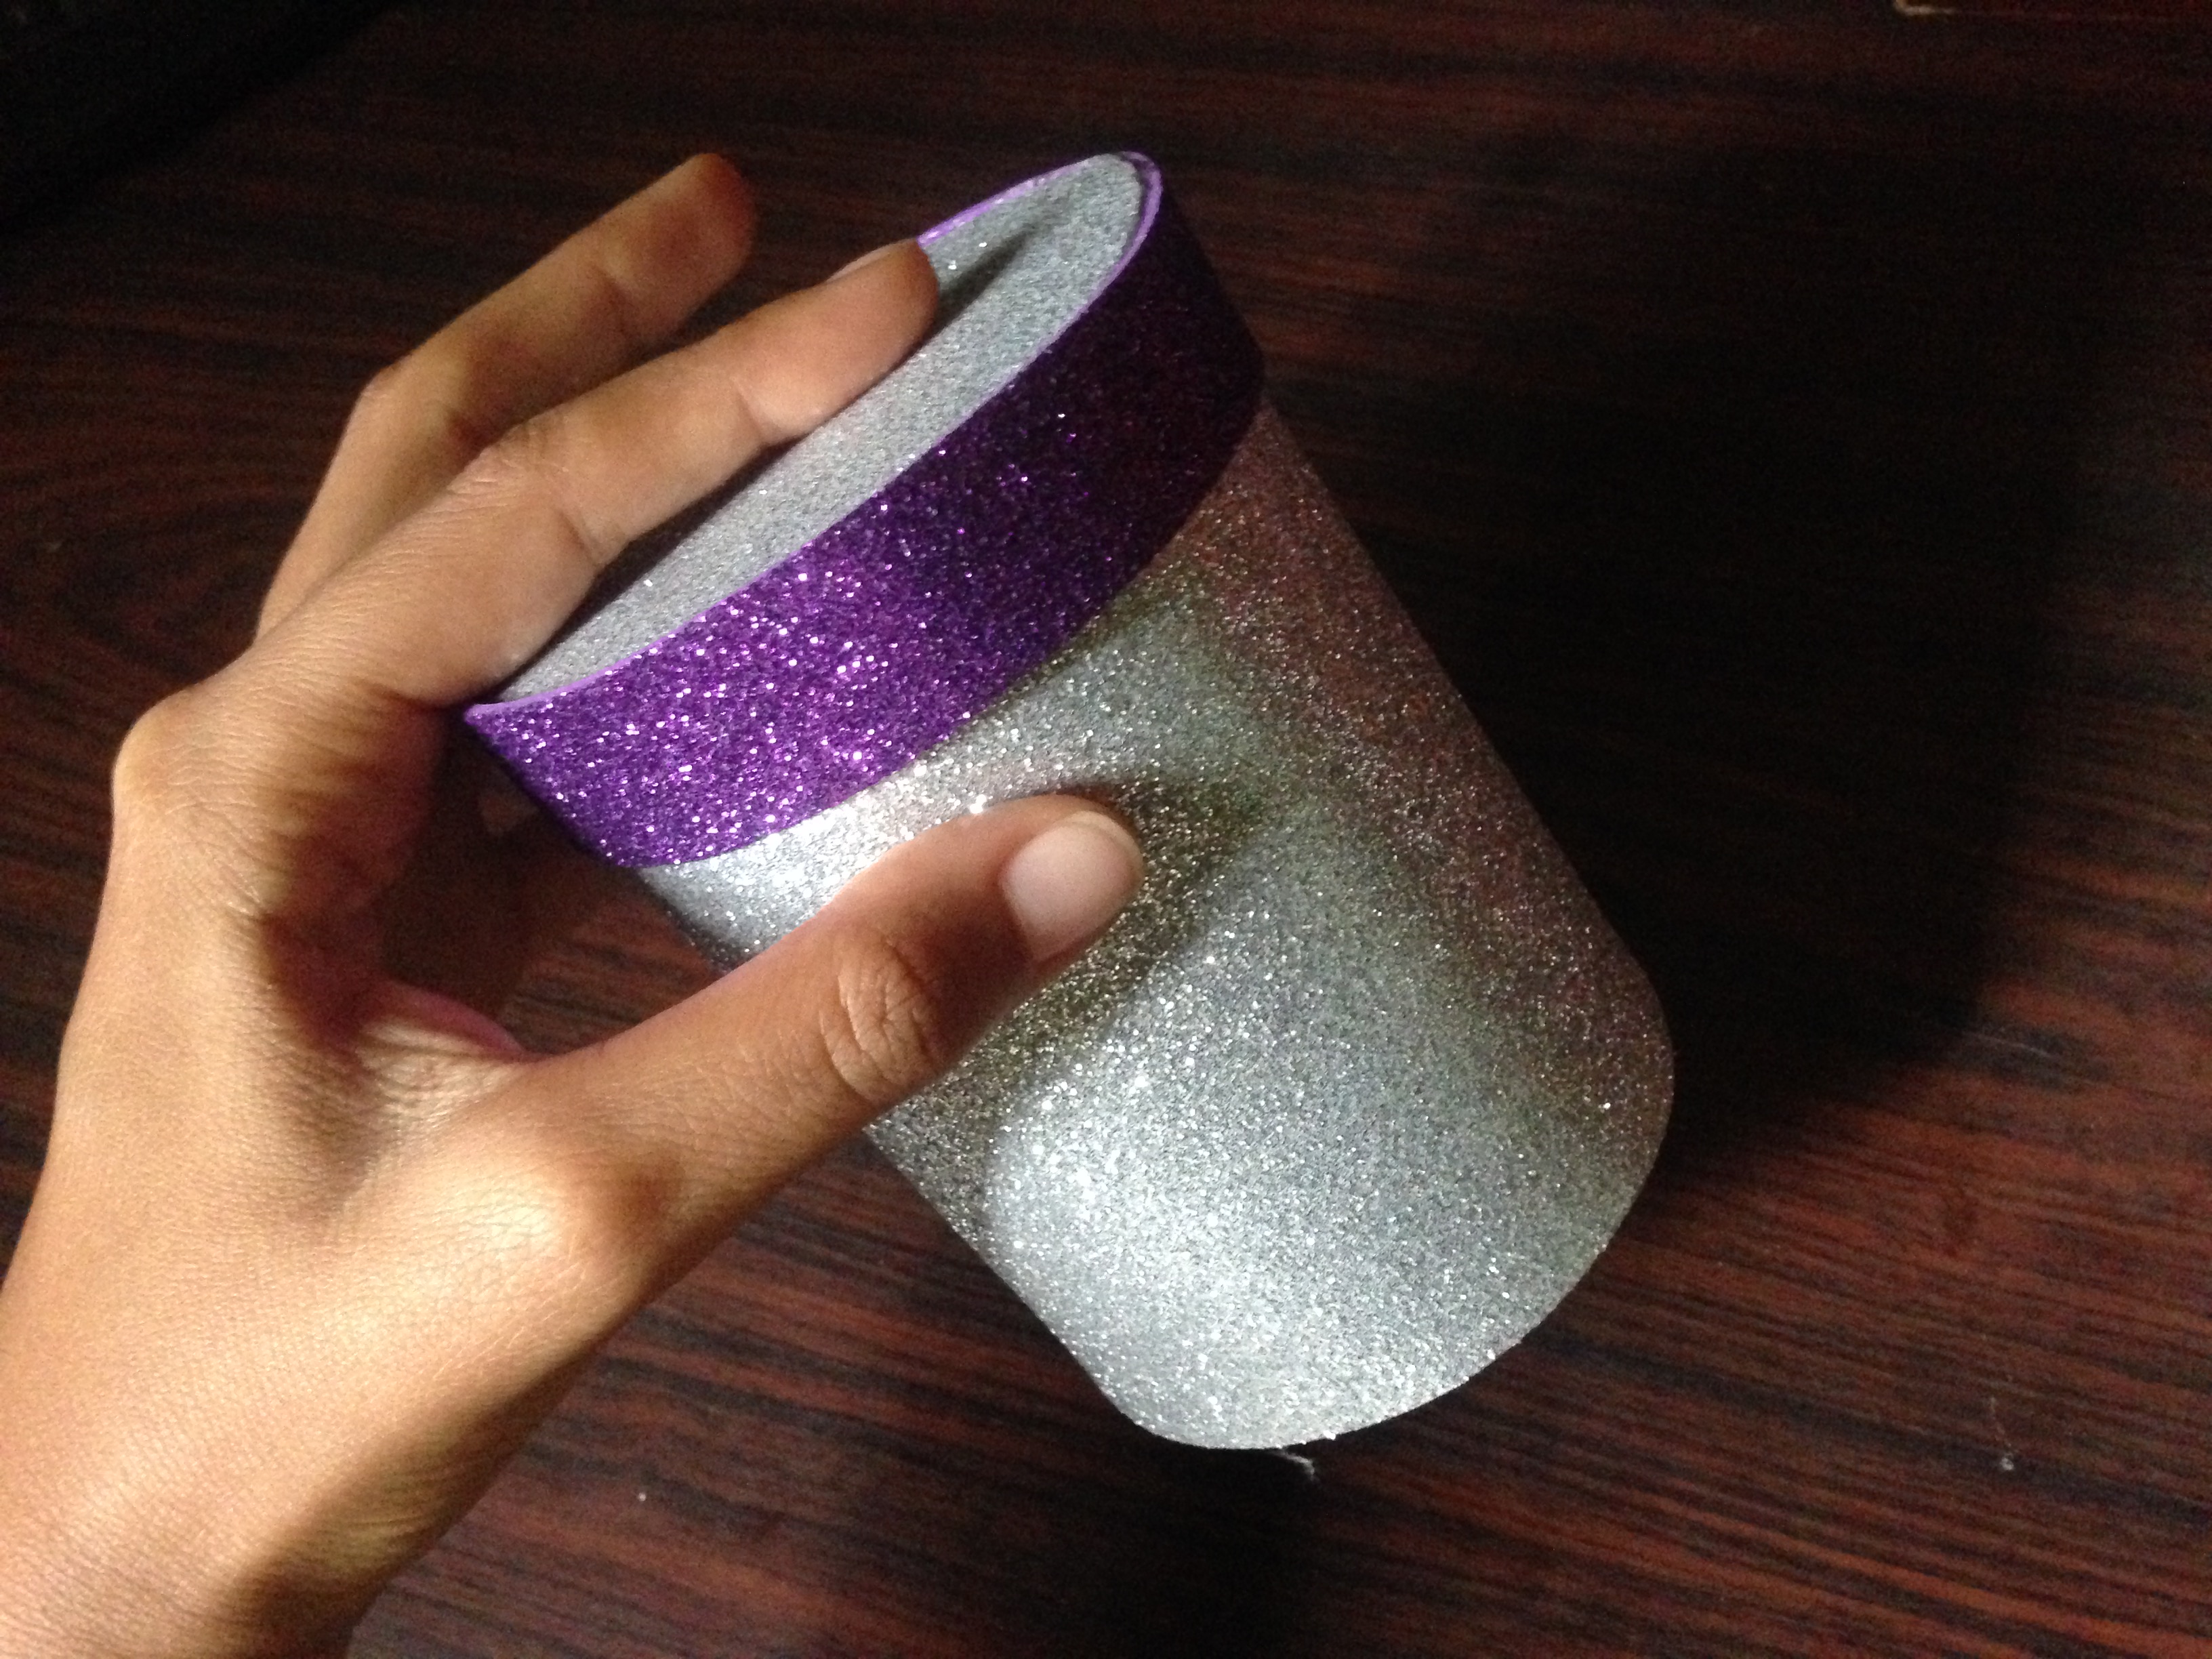
Paso 2
Ahora en el foamy plateado marcaremos la parte central de nuestra caja, de aproximadamente 13 centímetros de alto, el cual recortaremos y posteriormente lo pegaremos a uno de nuestros circulos , el cual sera la base de nuestra caja
Step 2
Now in the silver foamy we will mark the central part of our box, approximately 13 centimeters high, which we will cut out and later we will glue it to one of our circles, which will be the base of our box
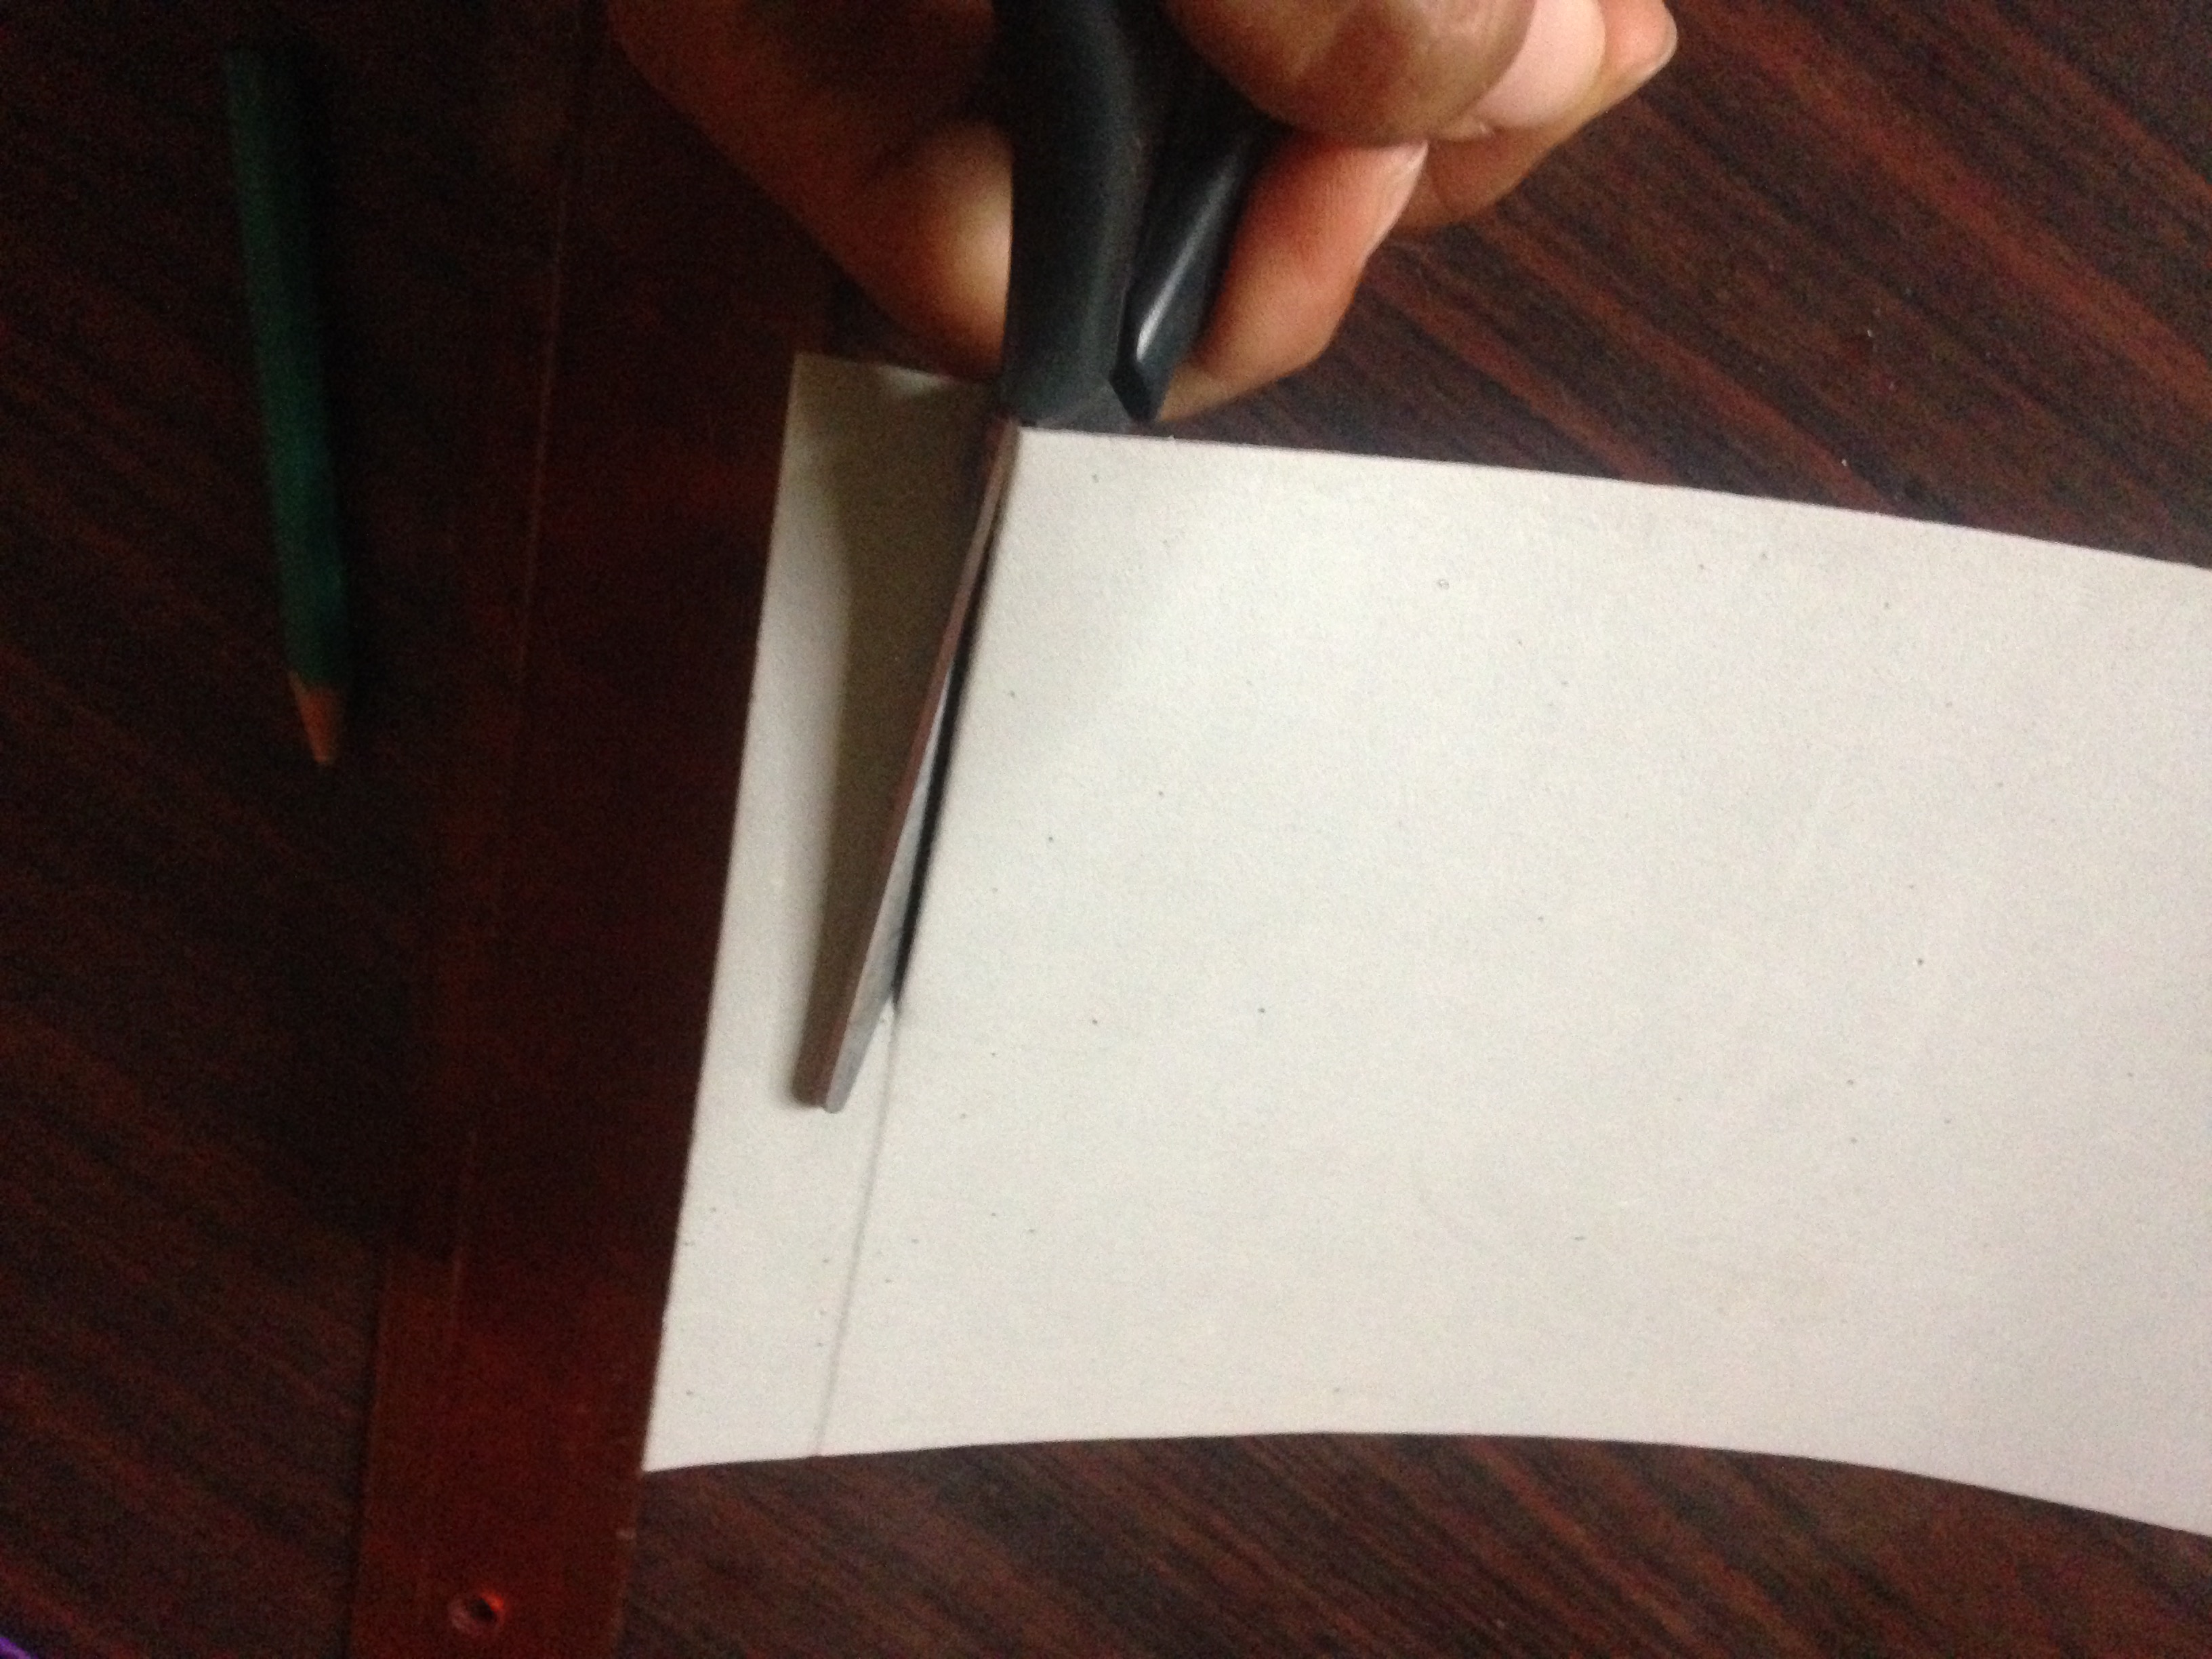
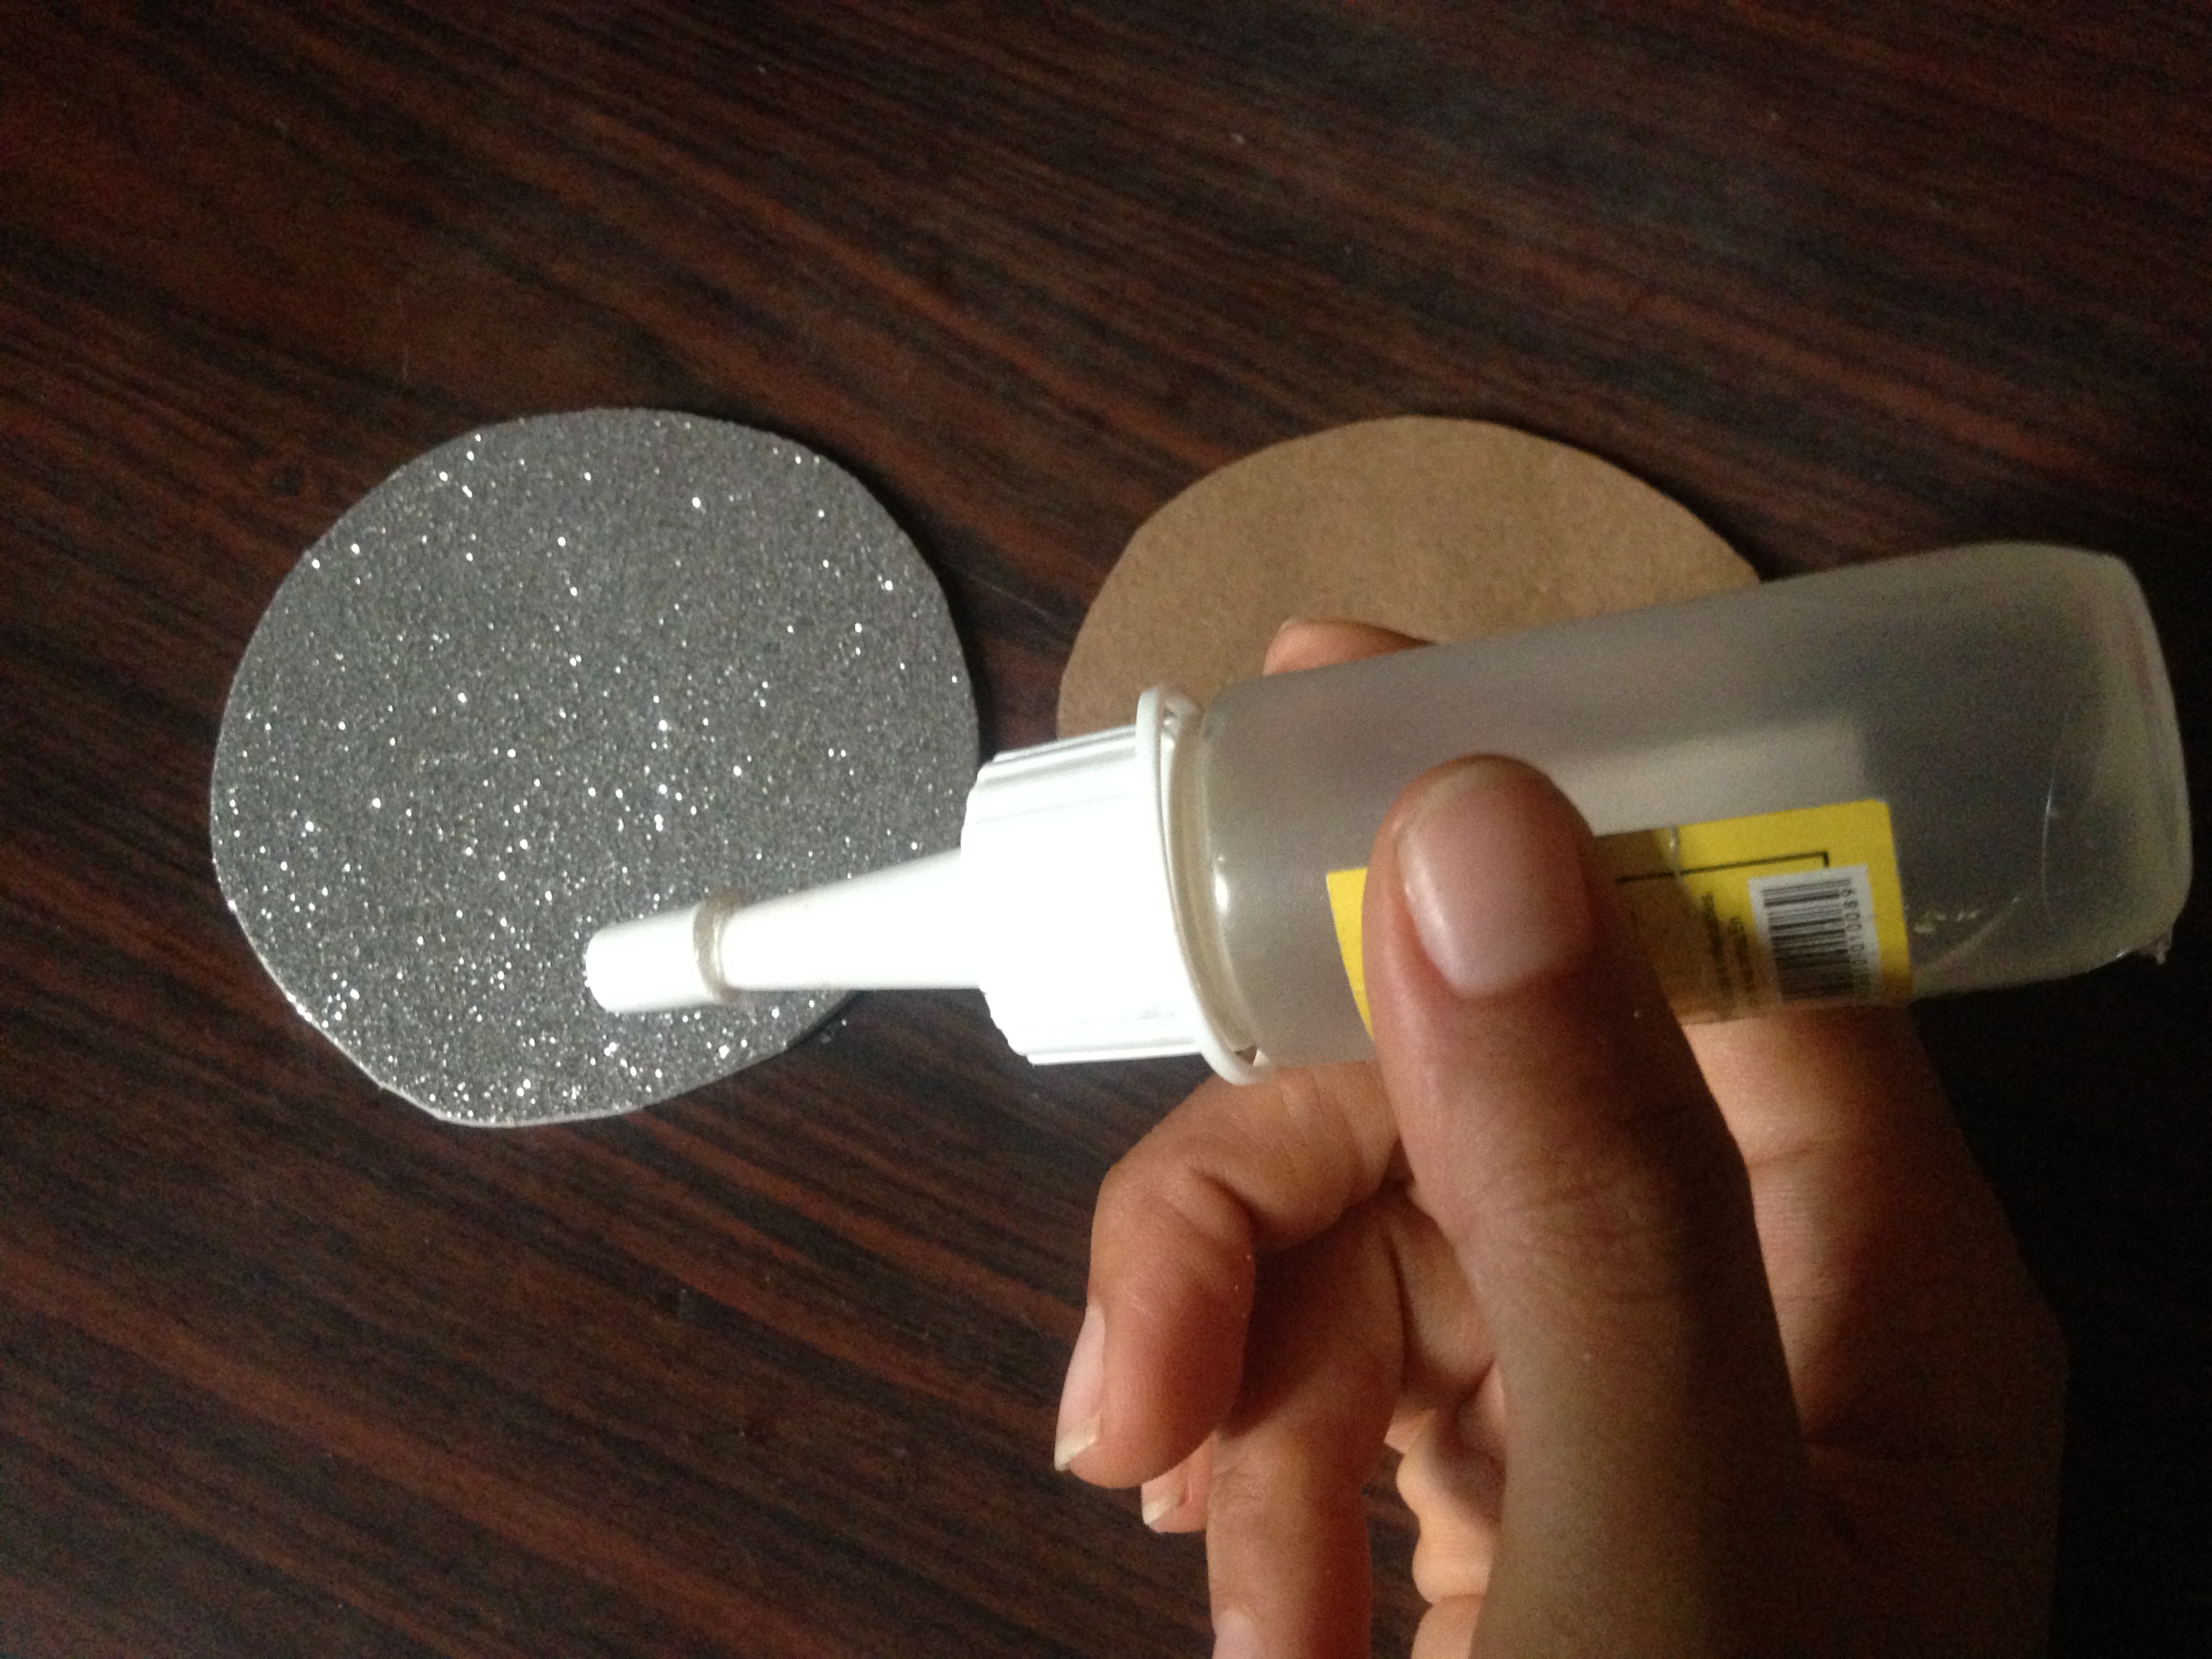
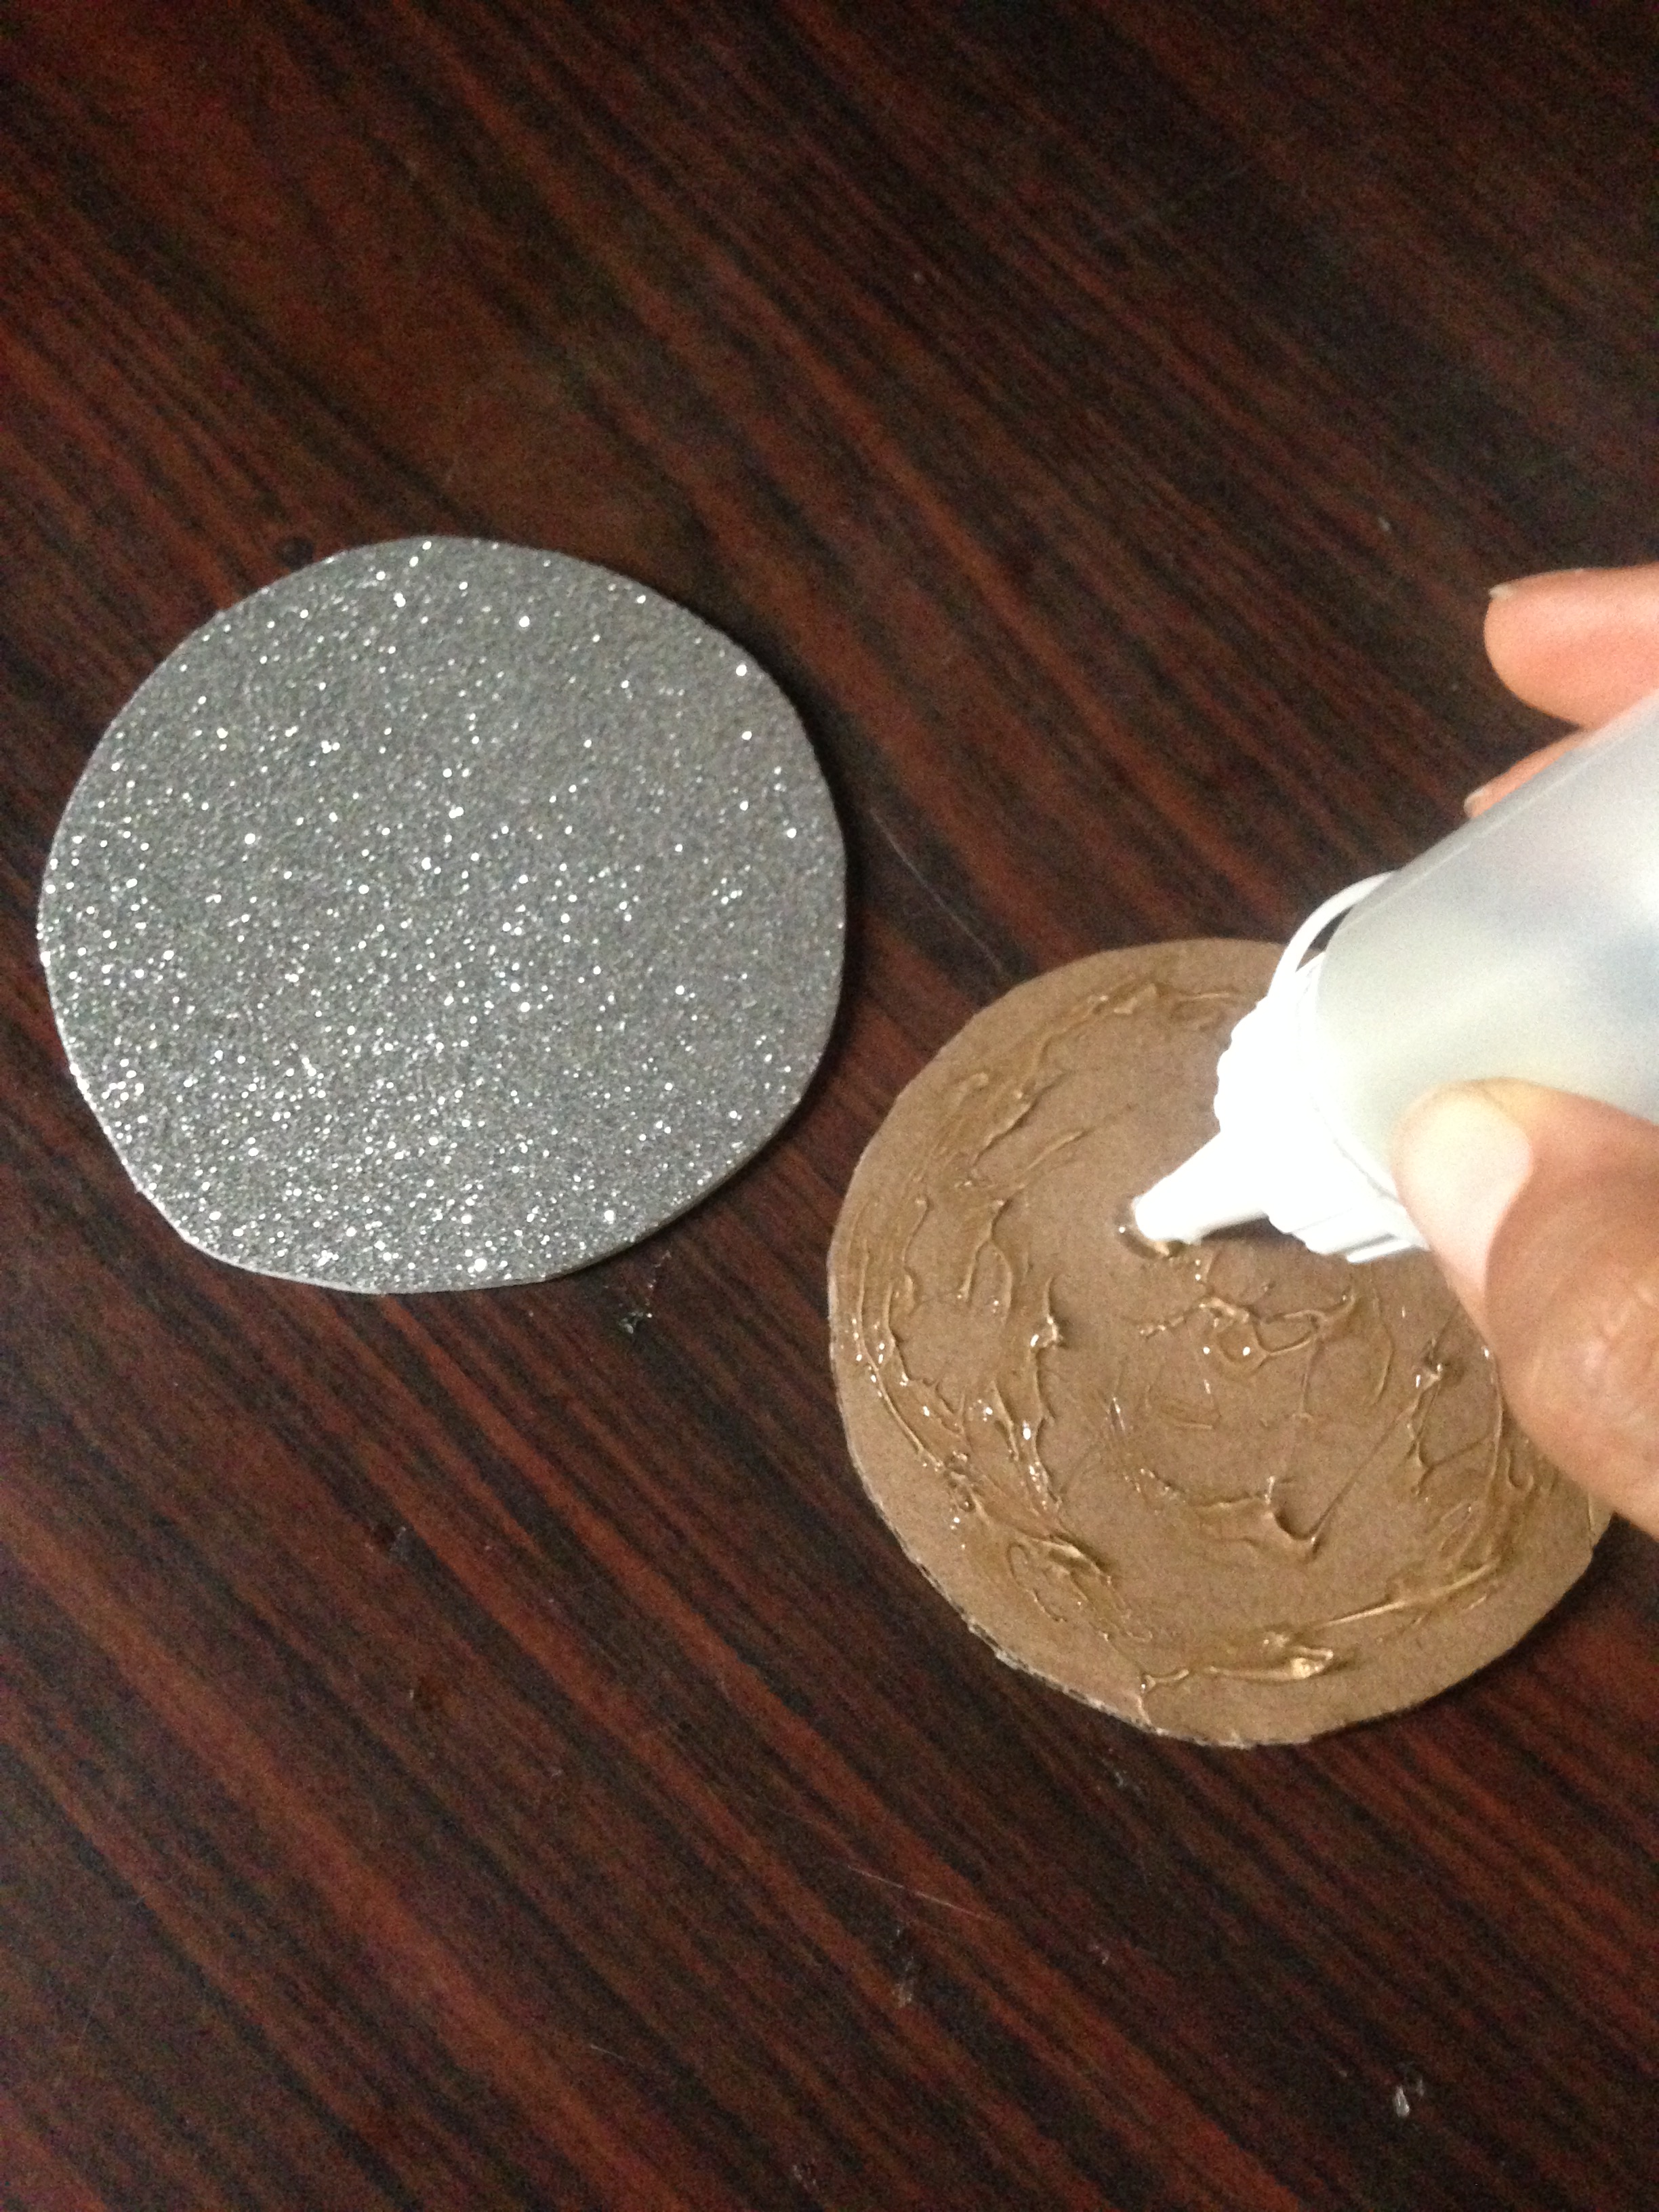
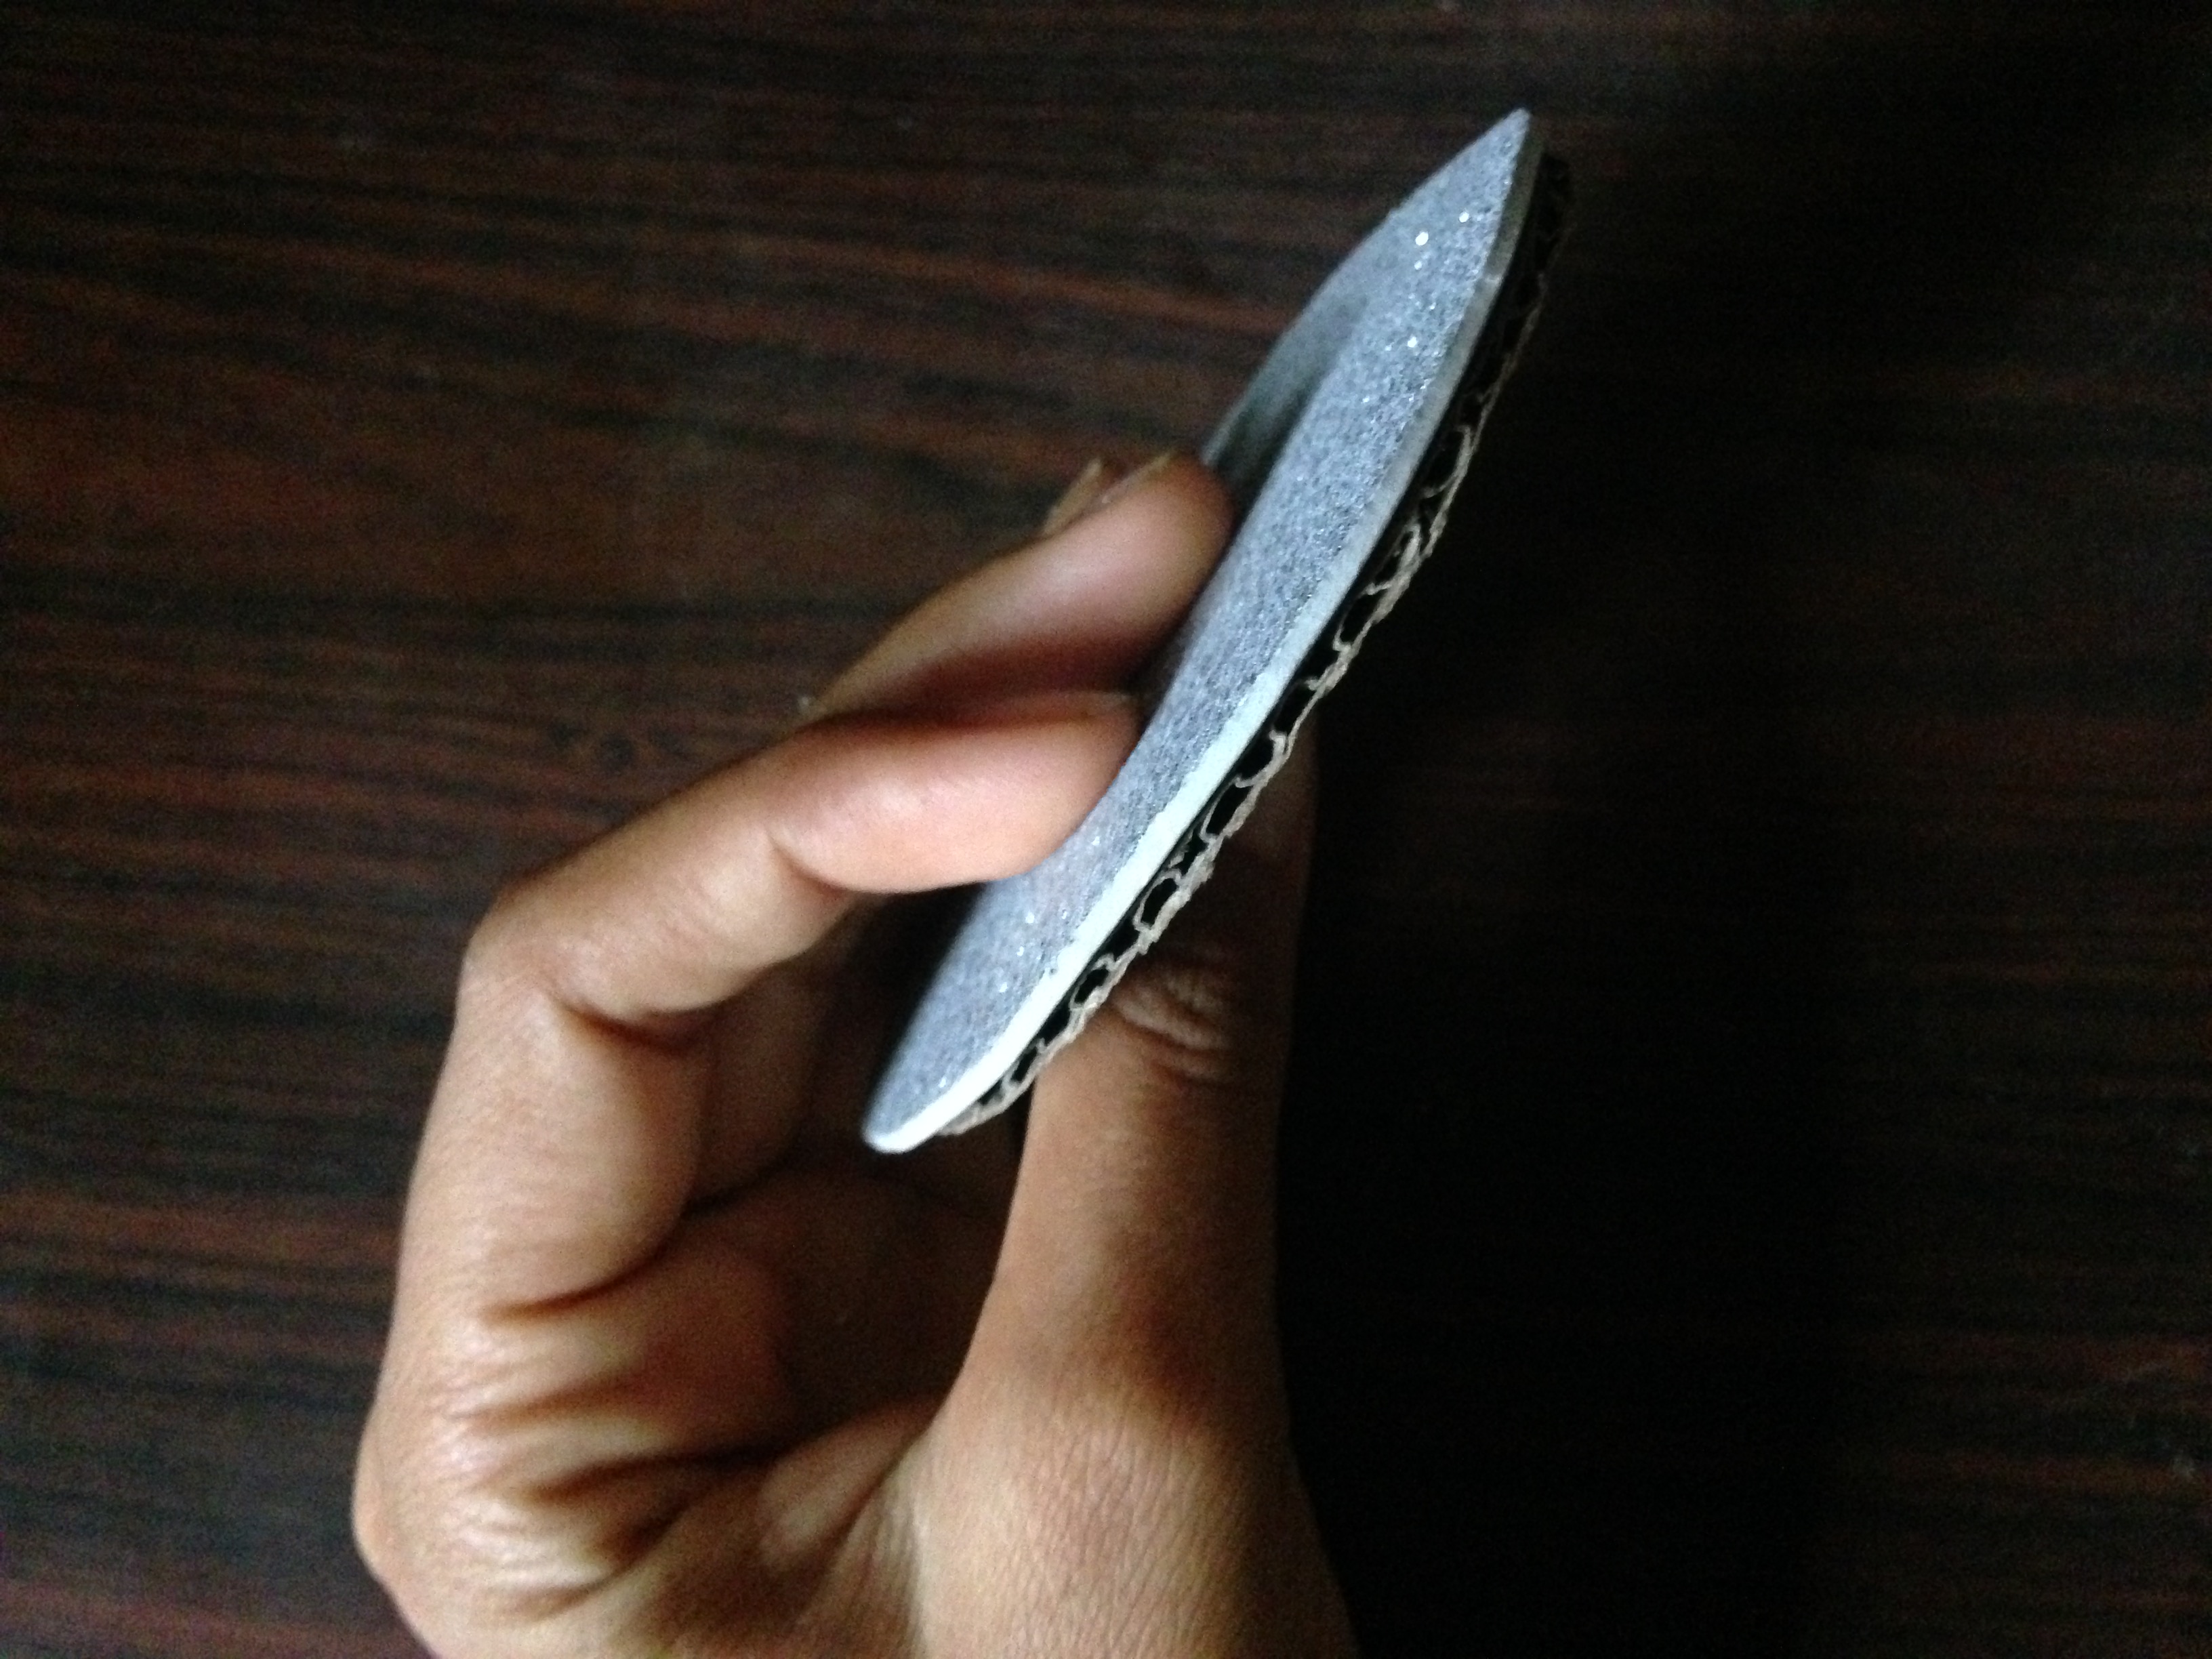
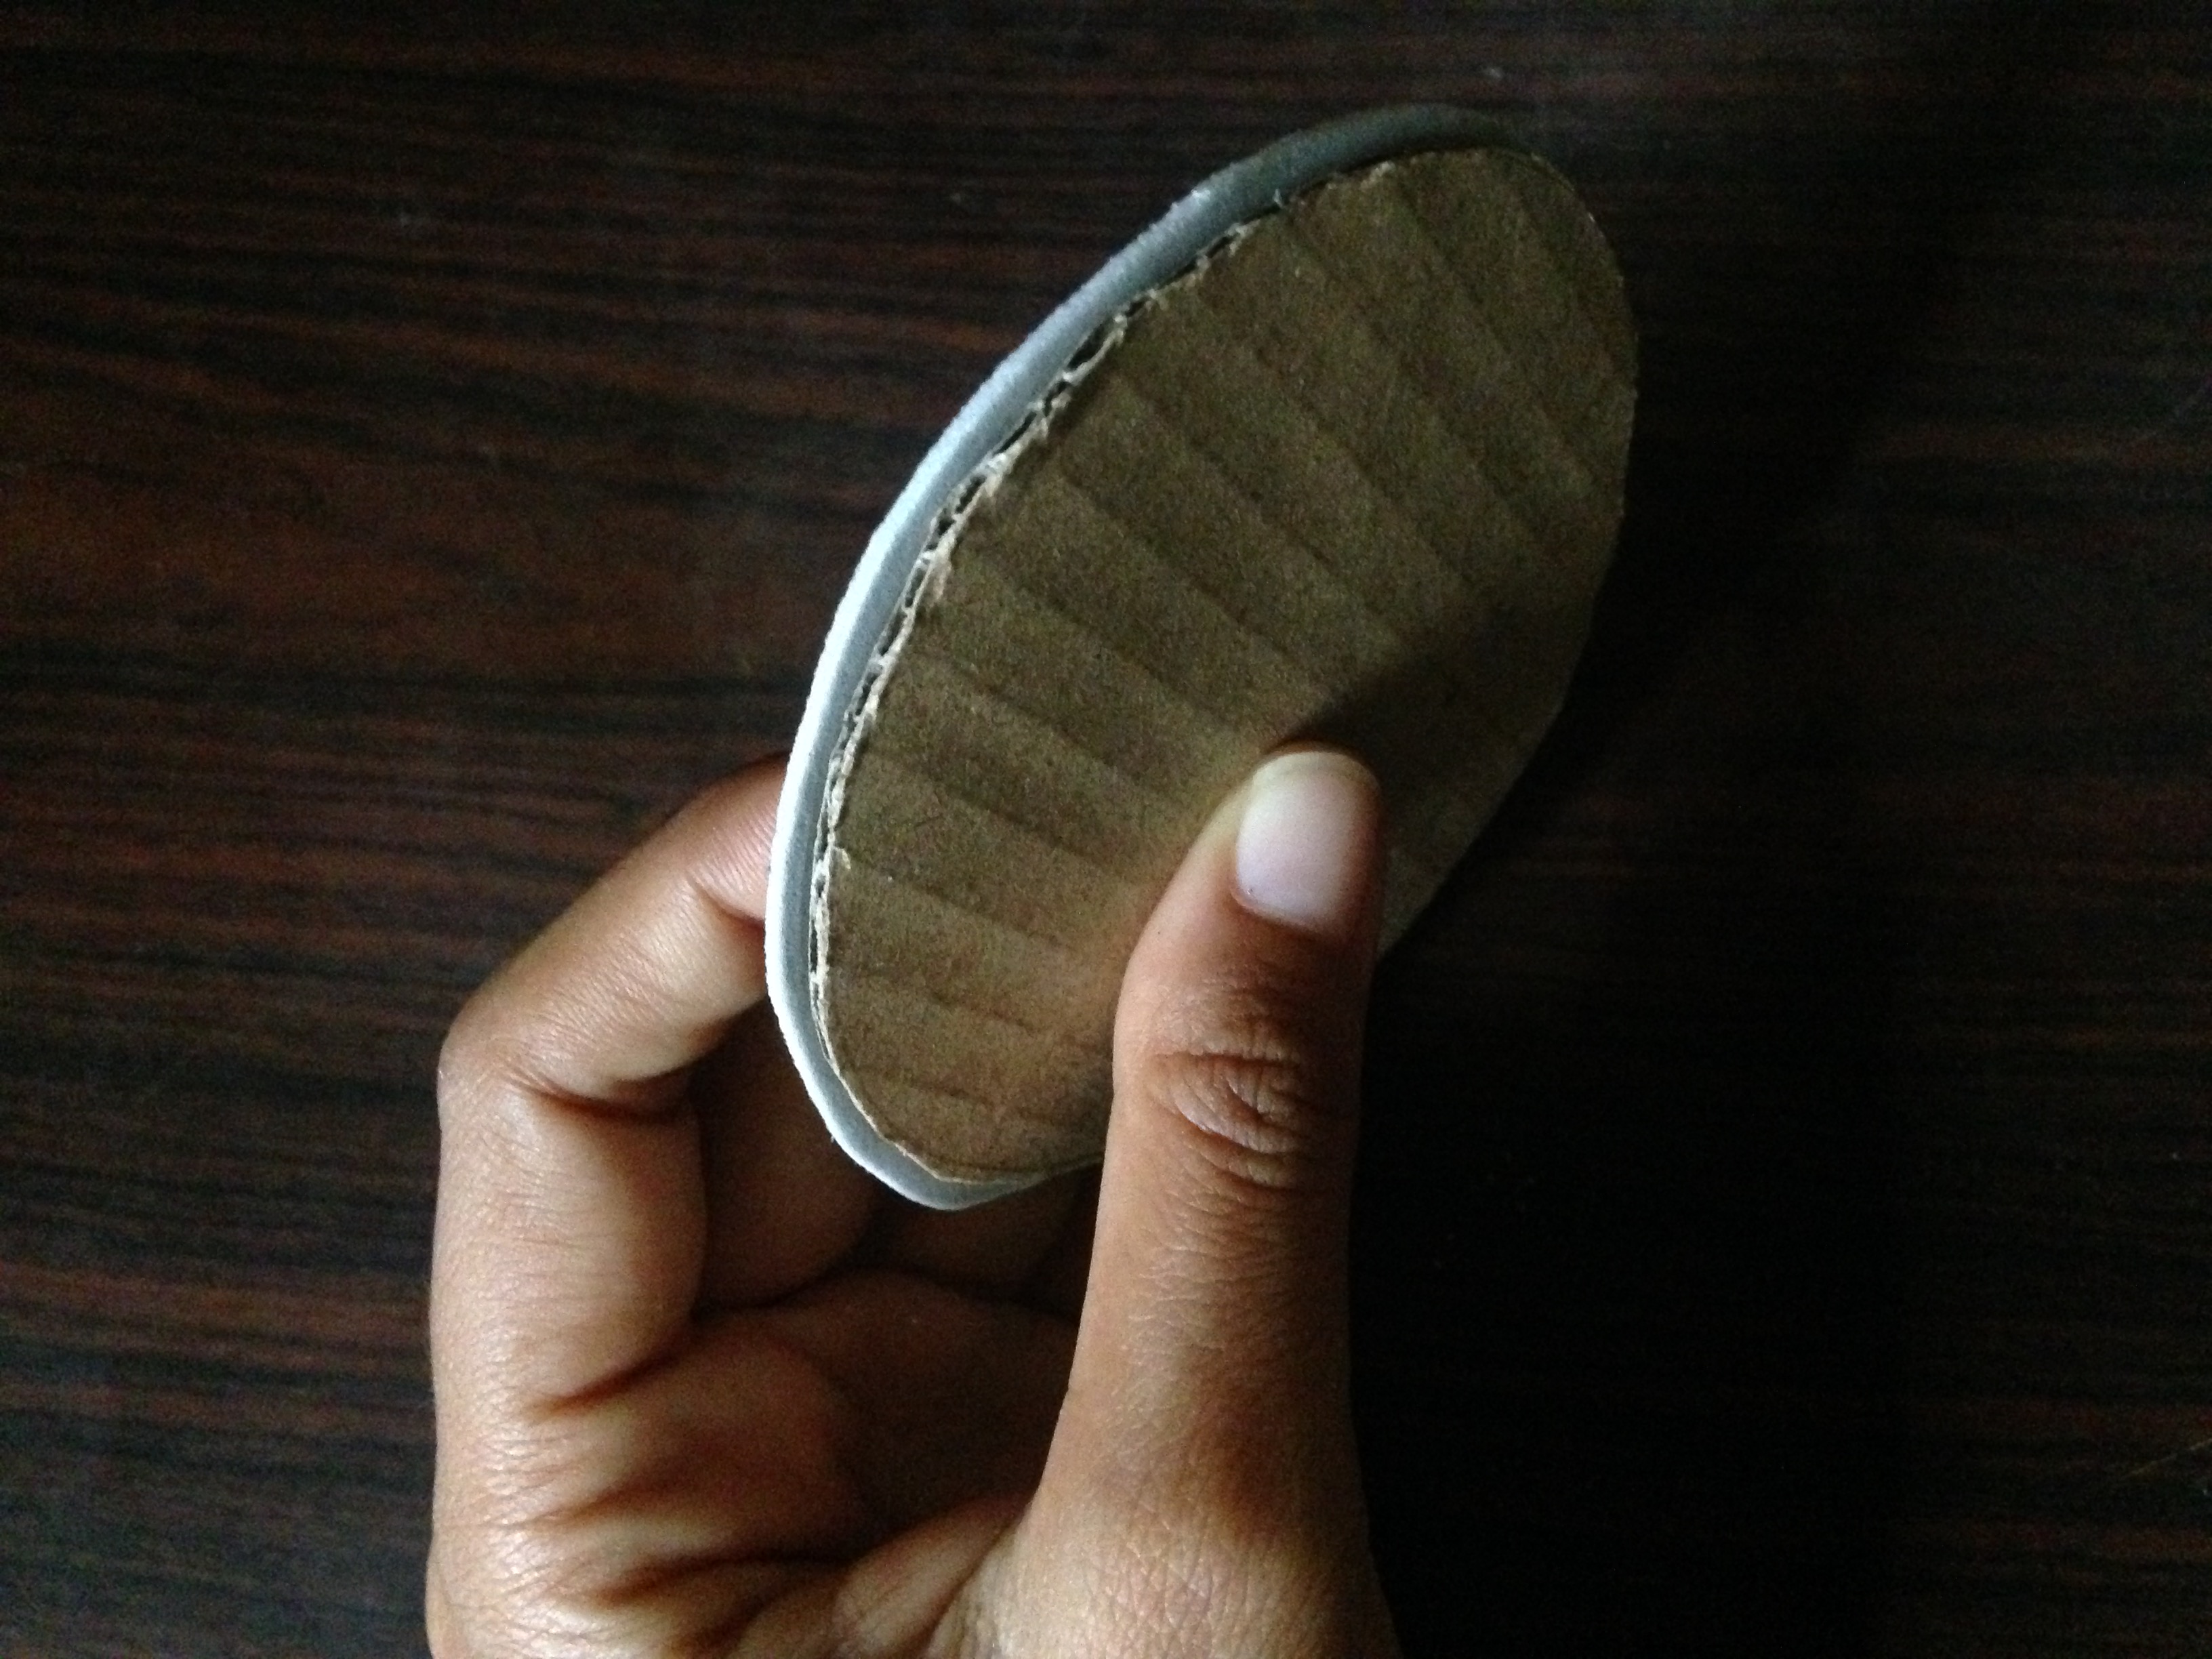
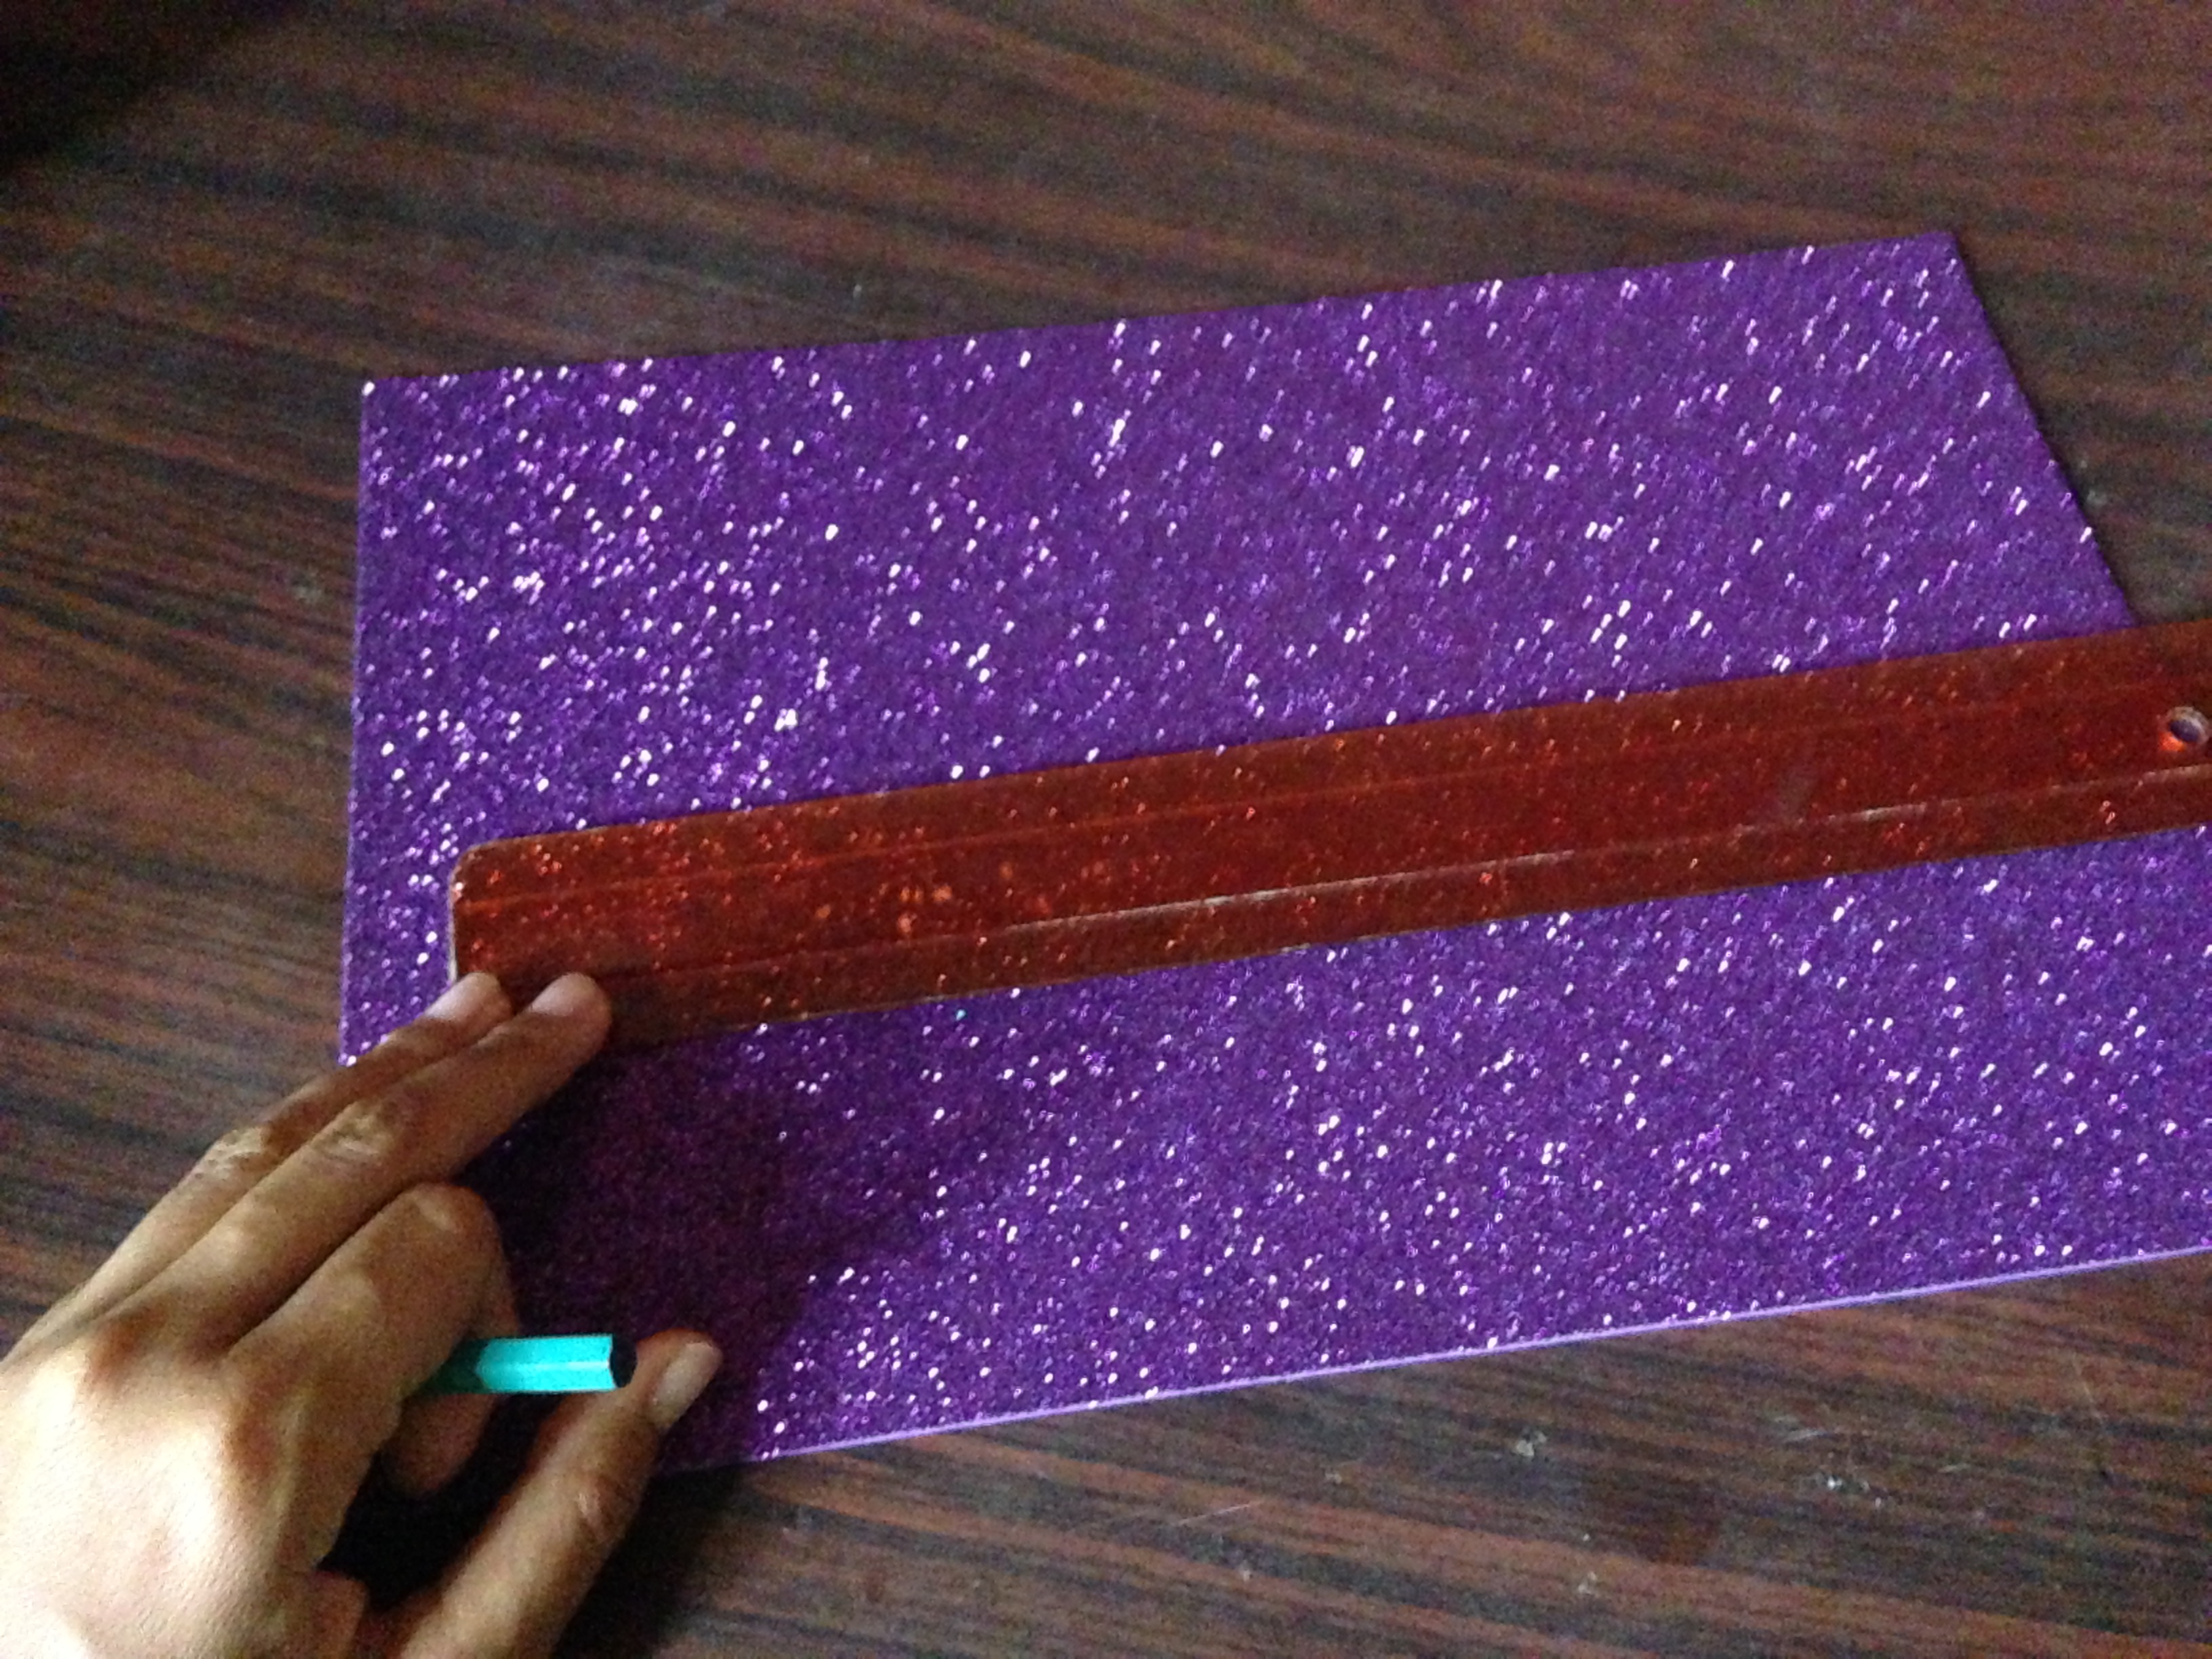
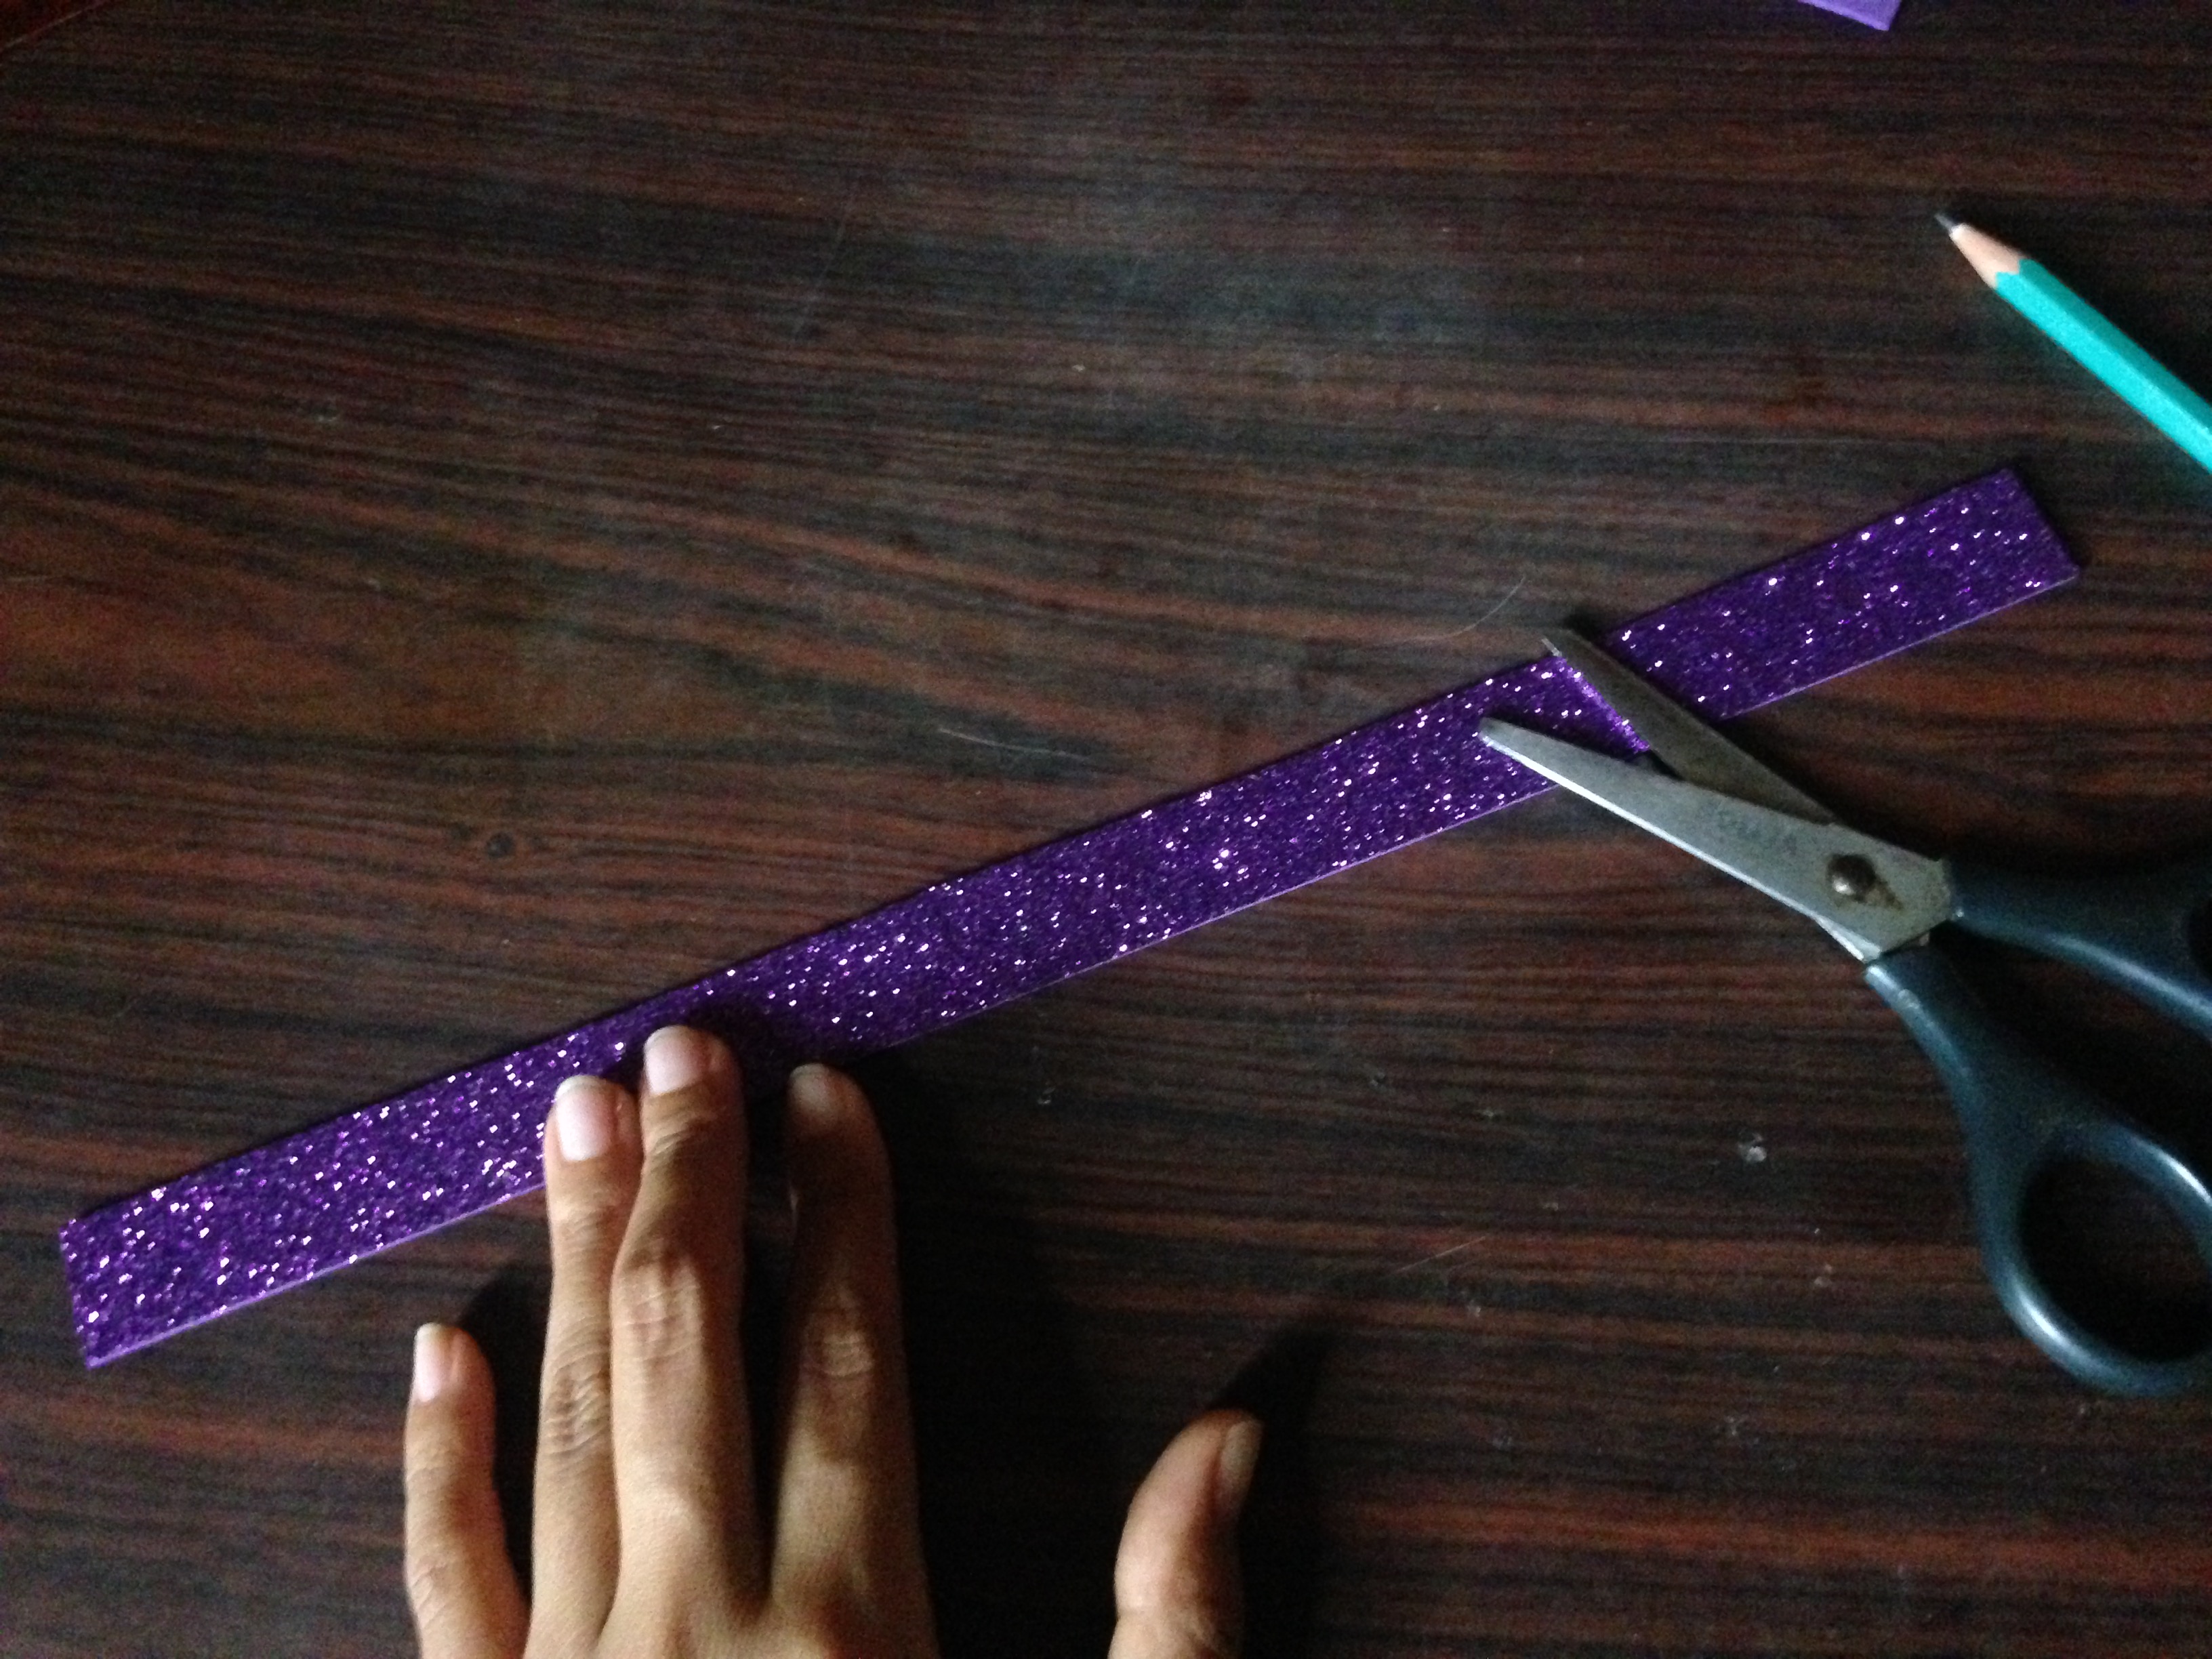
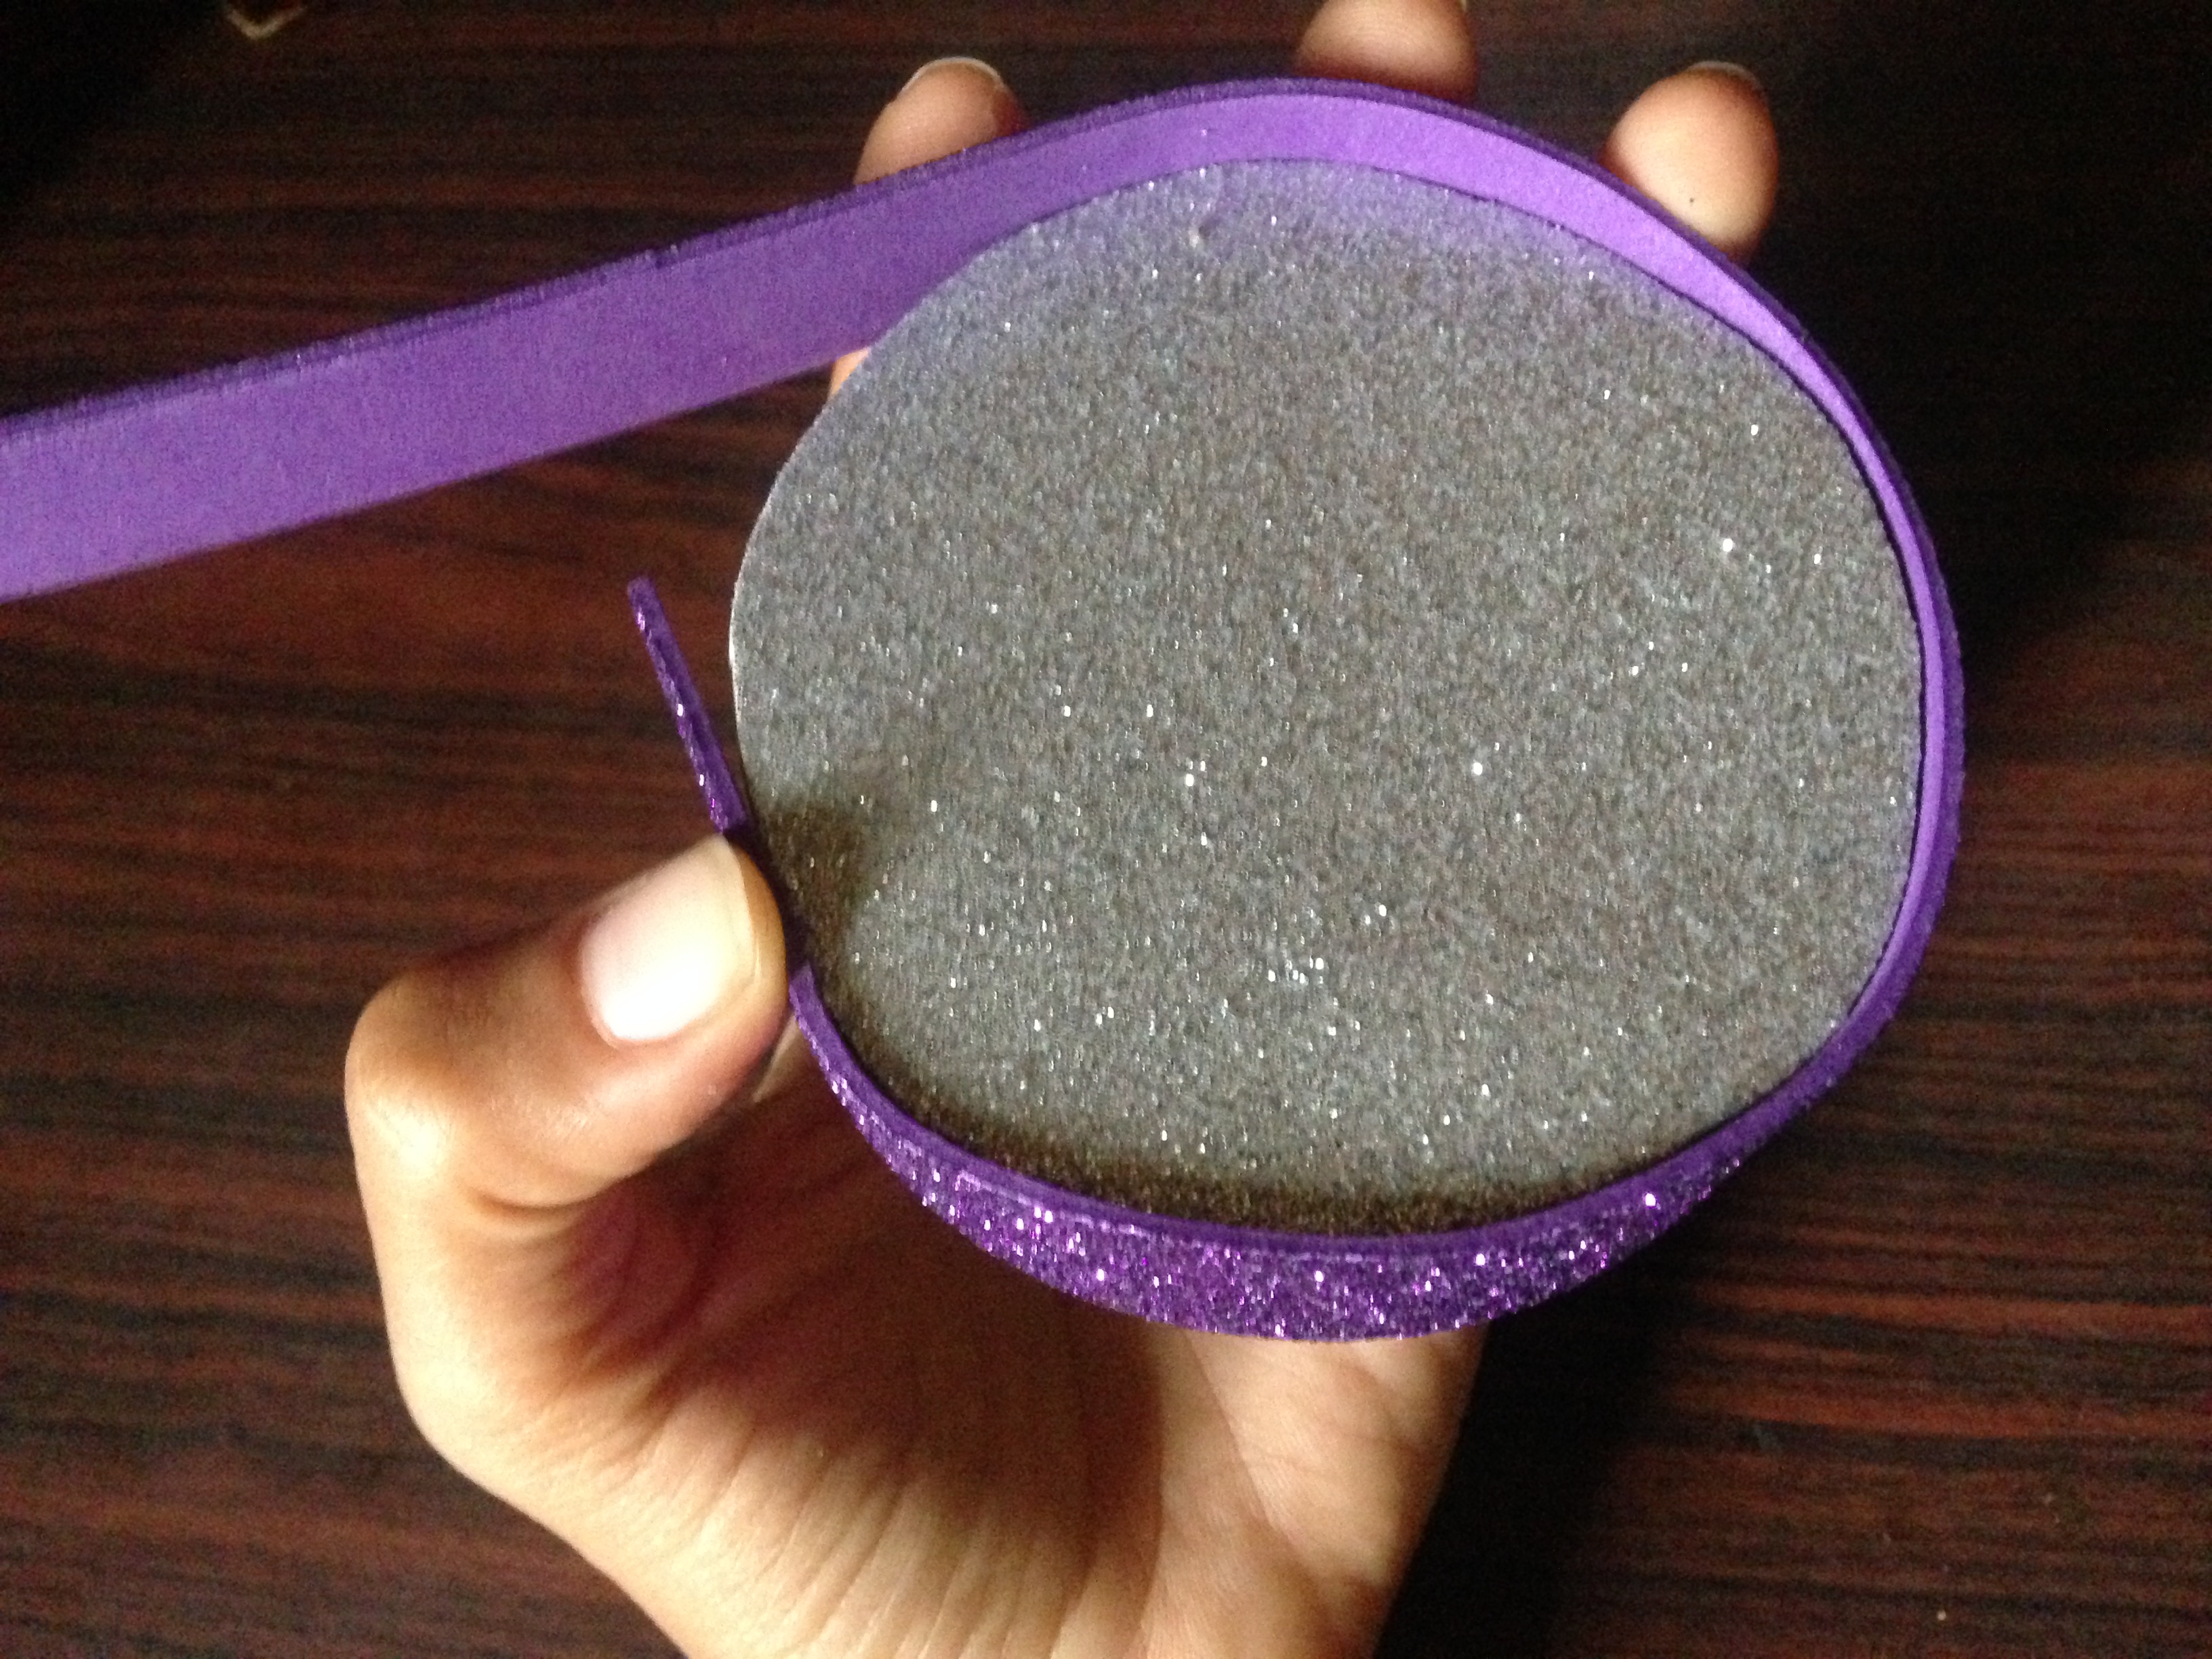
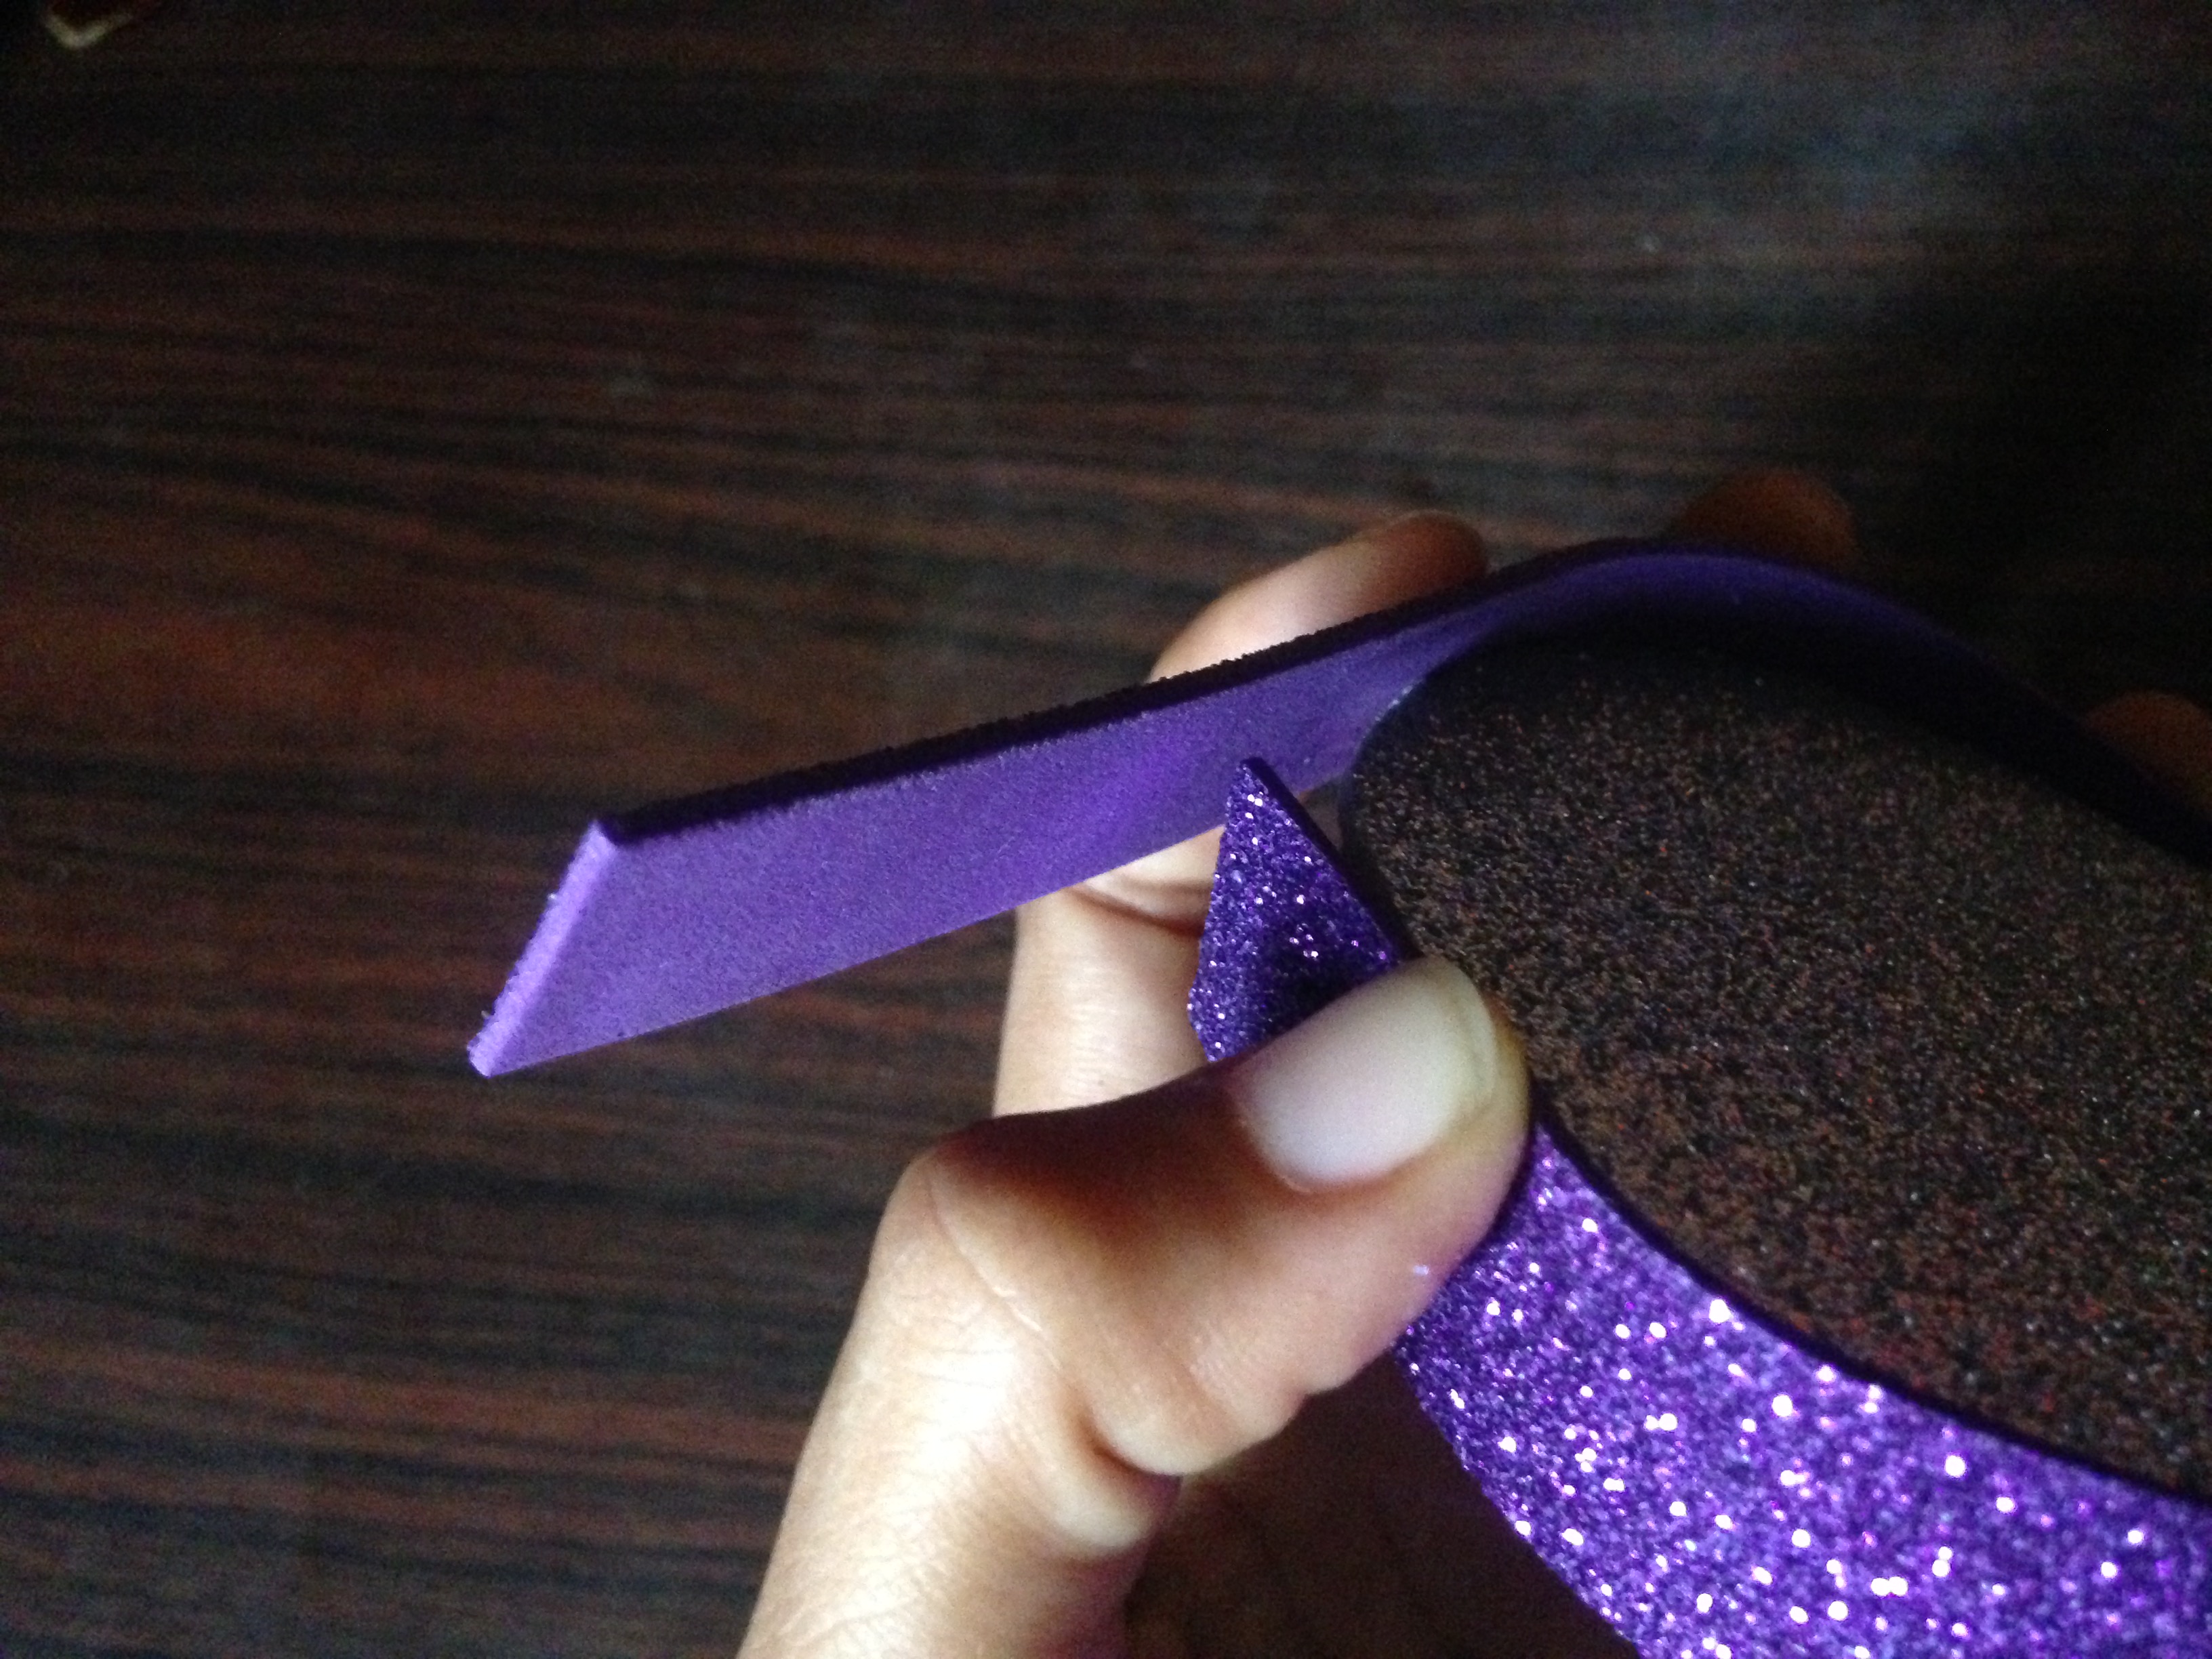
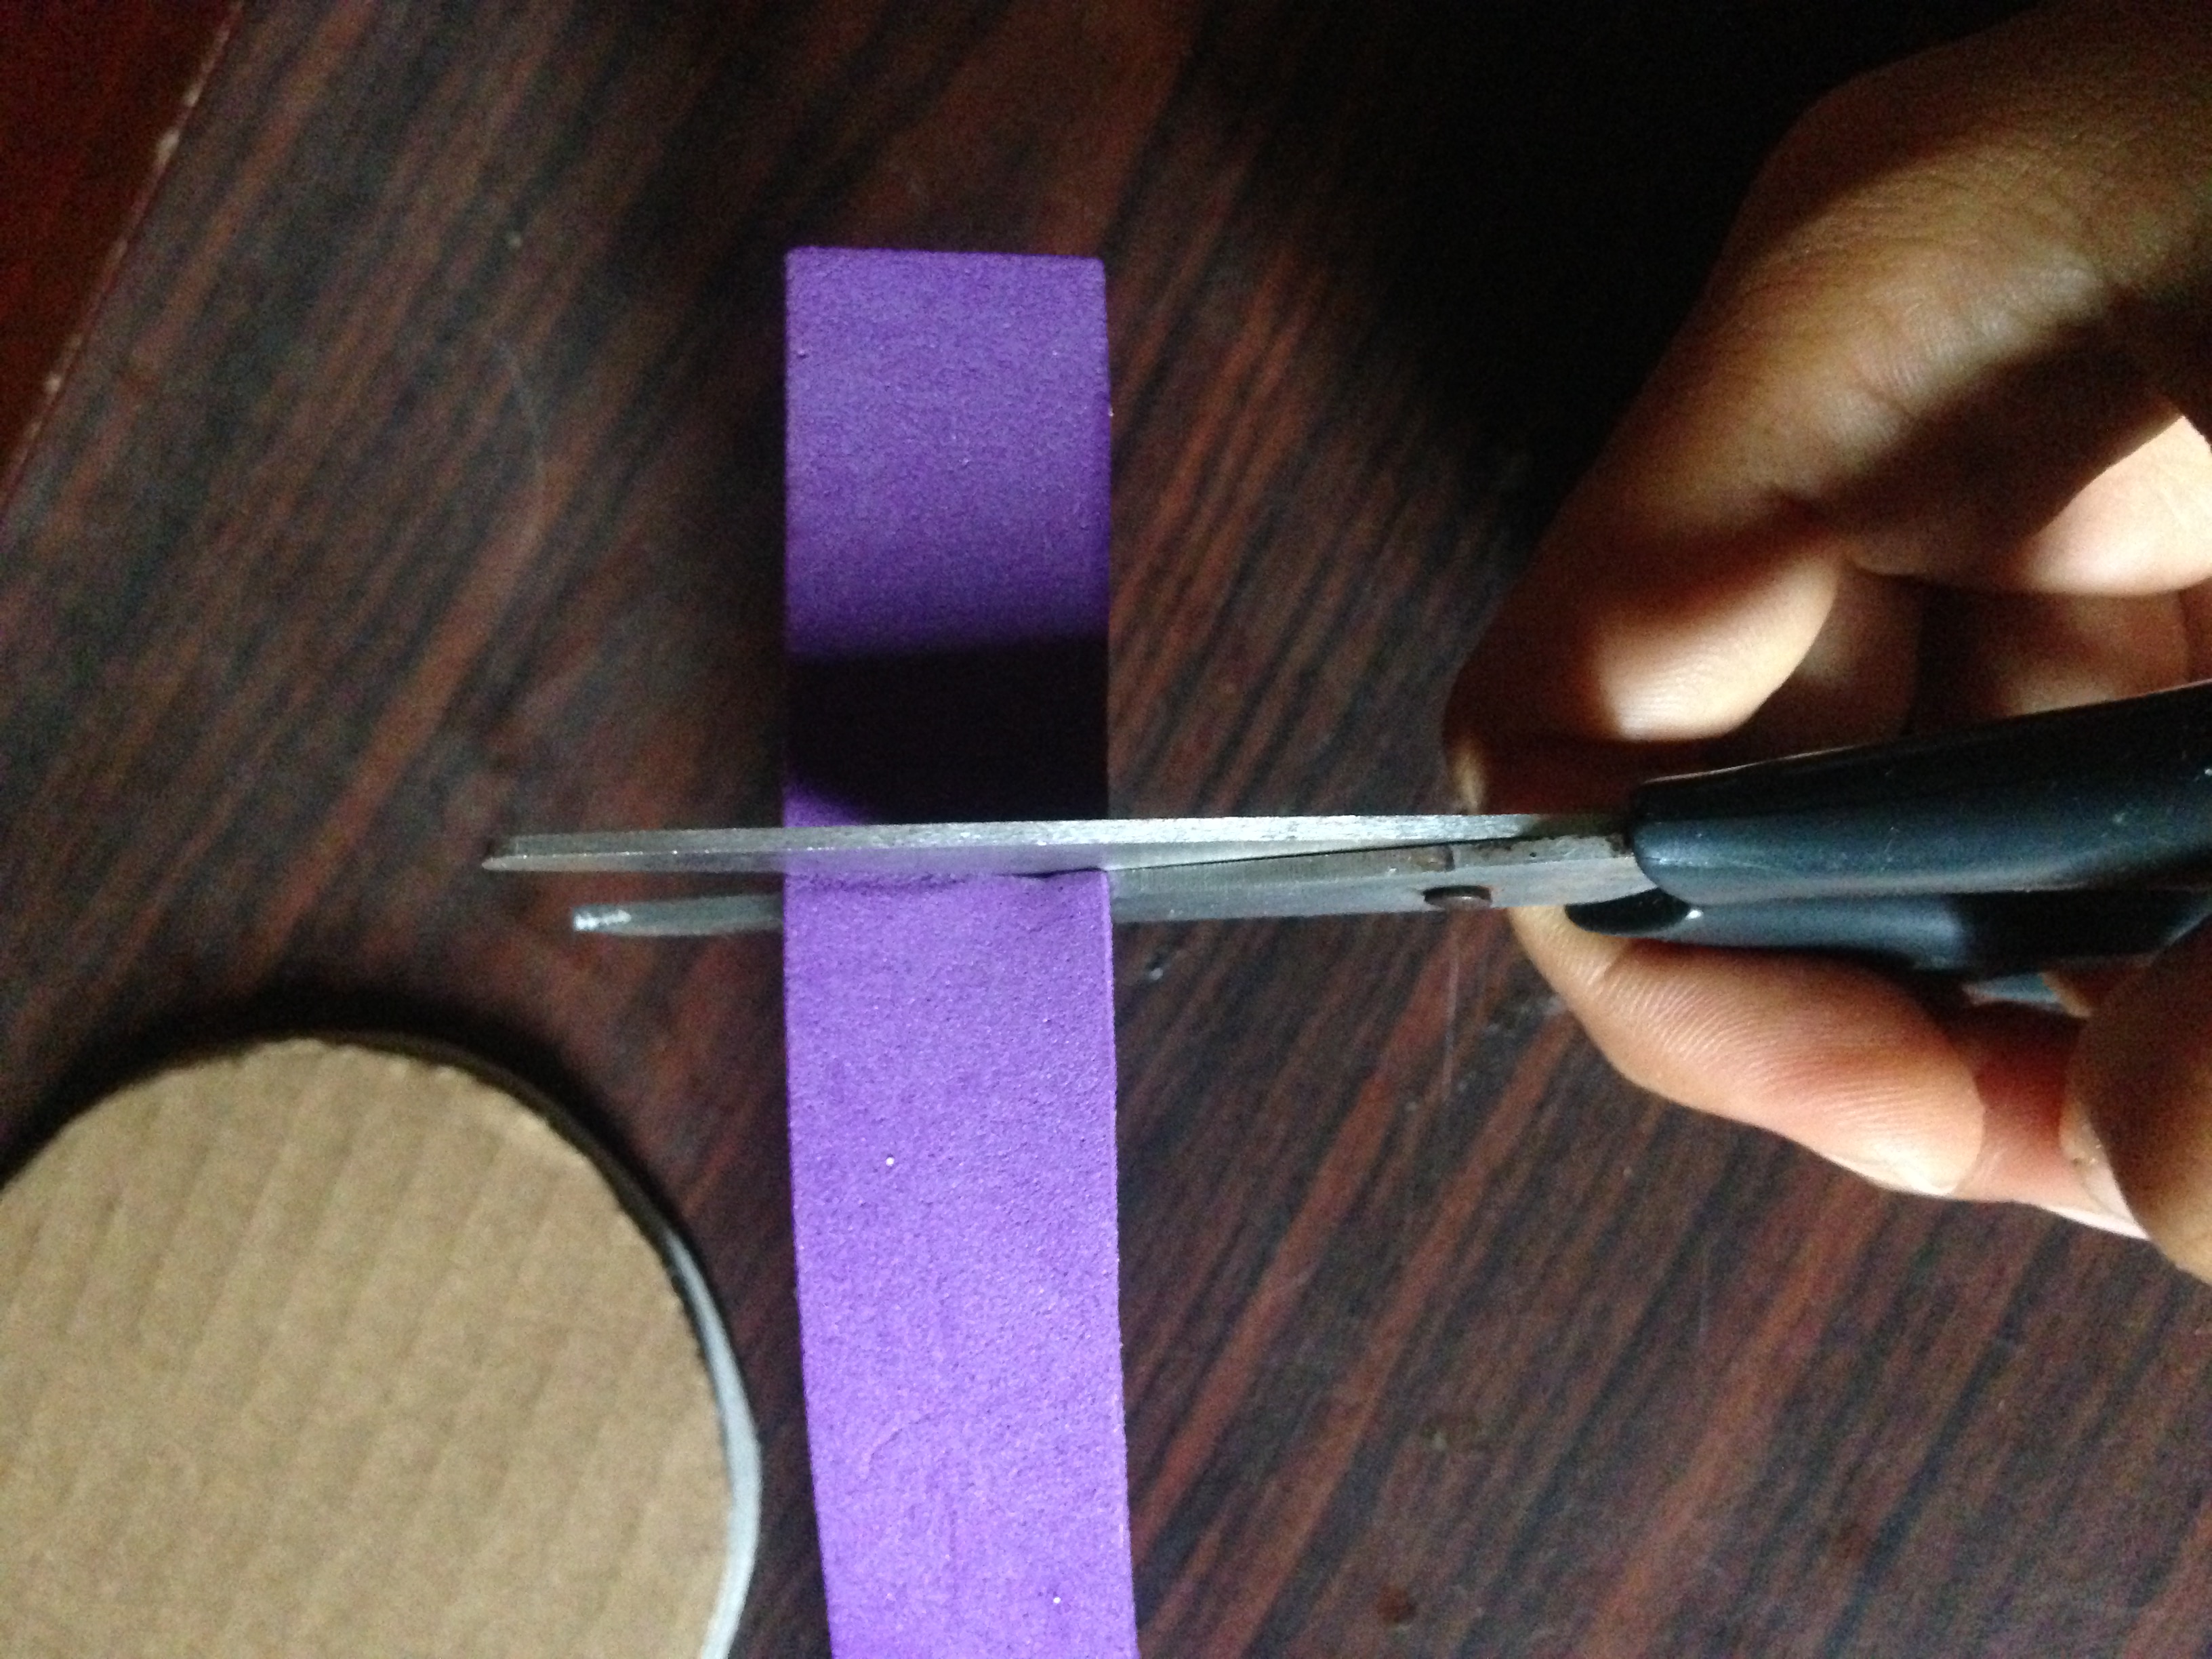
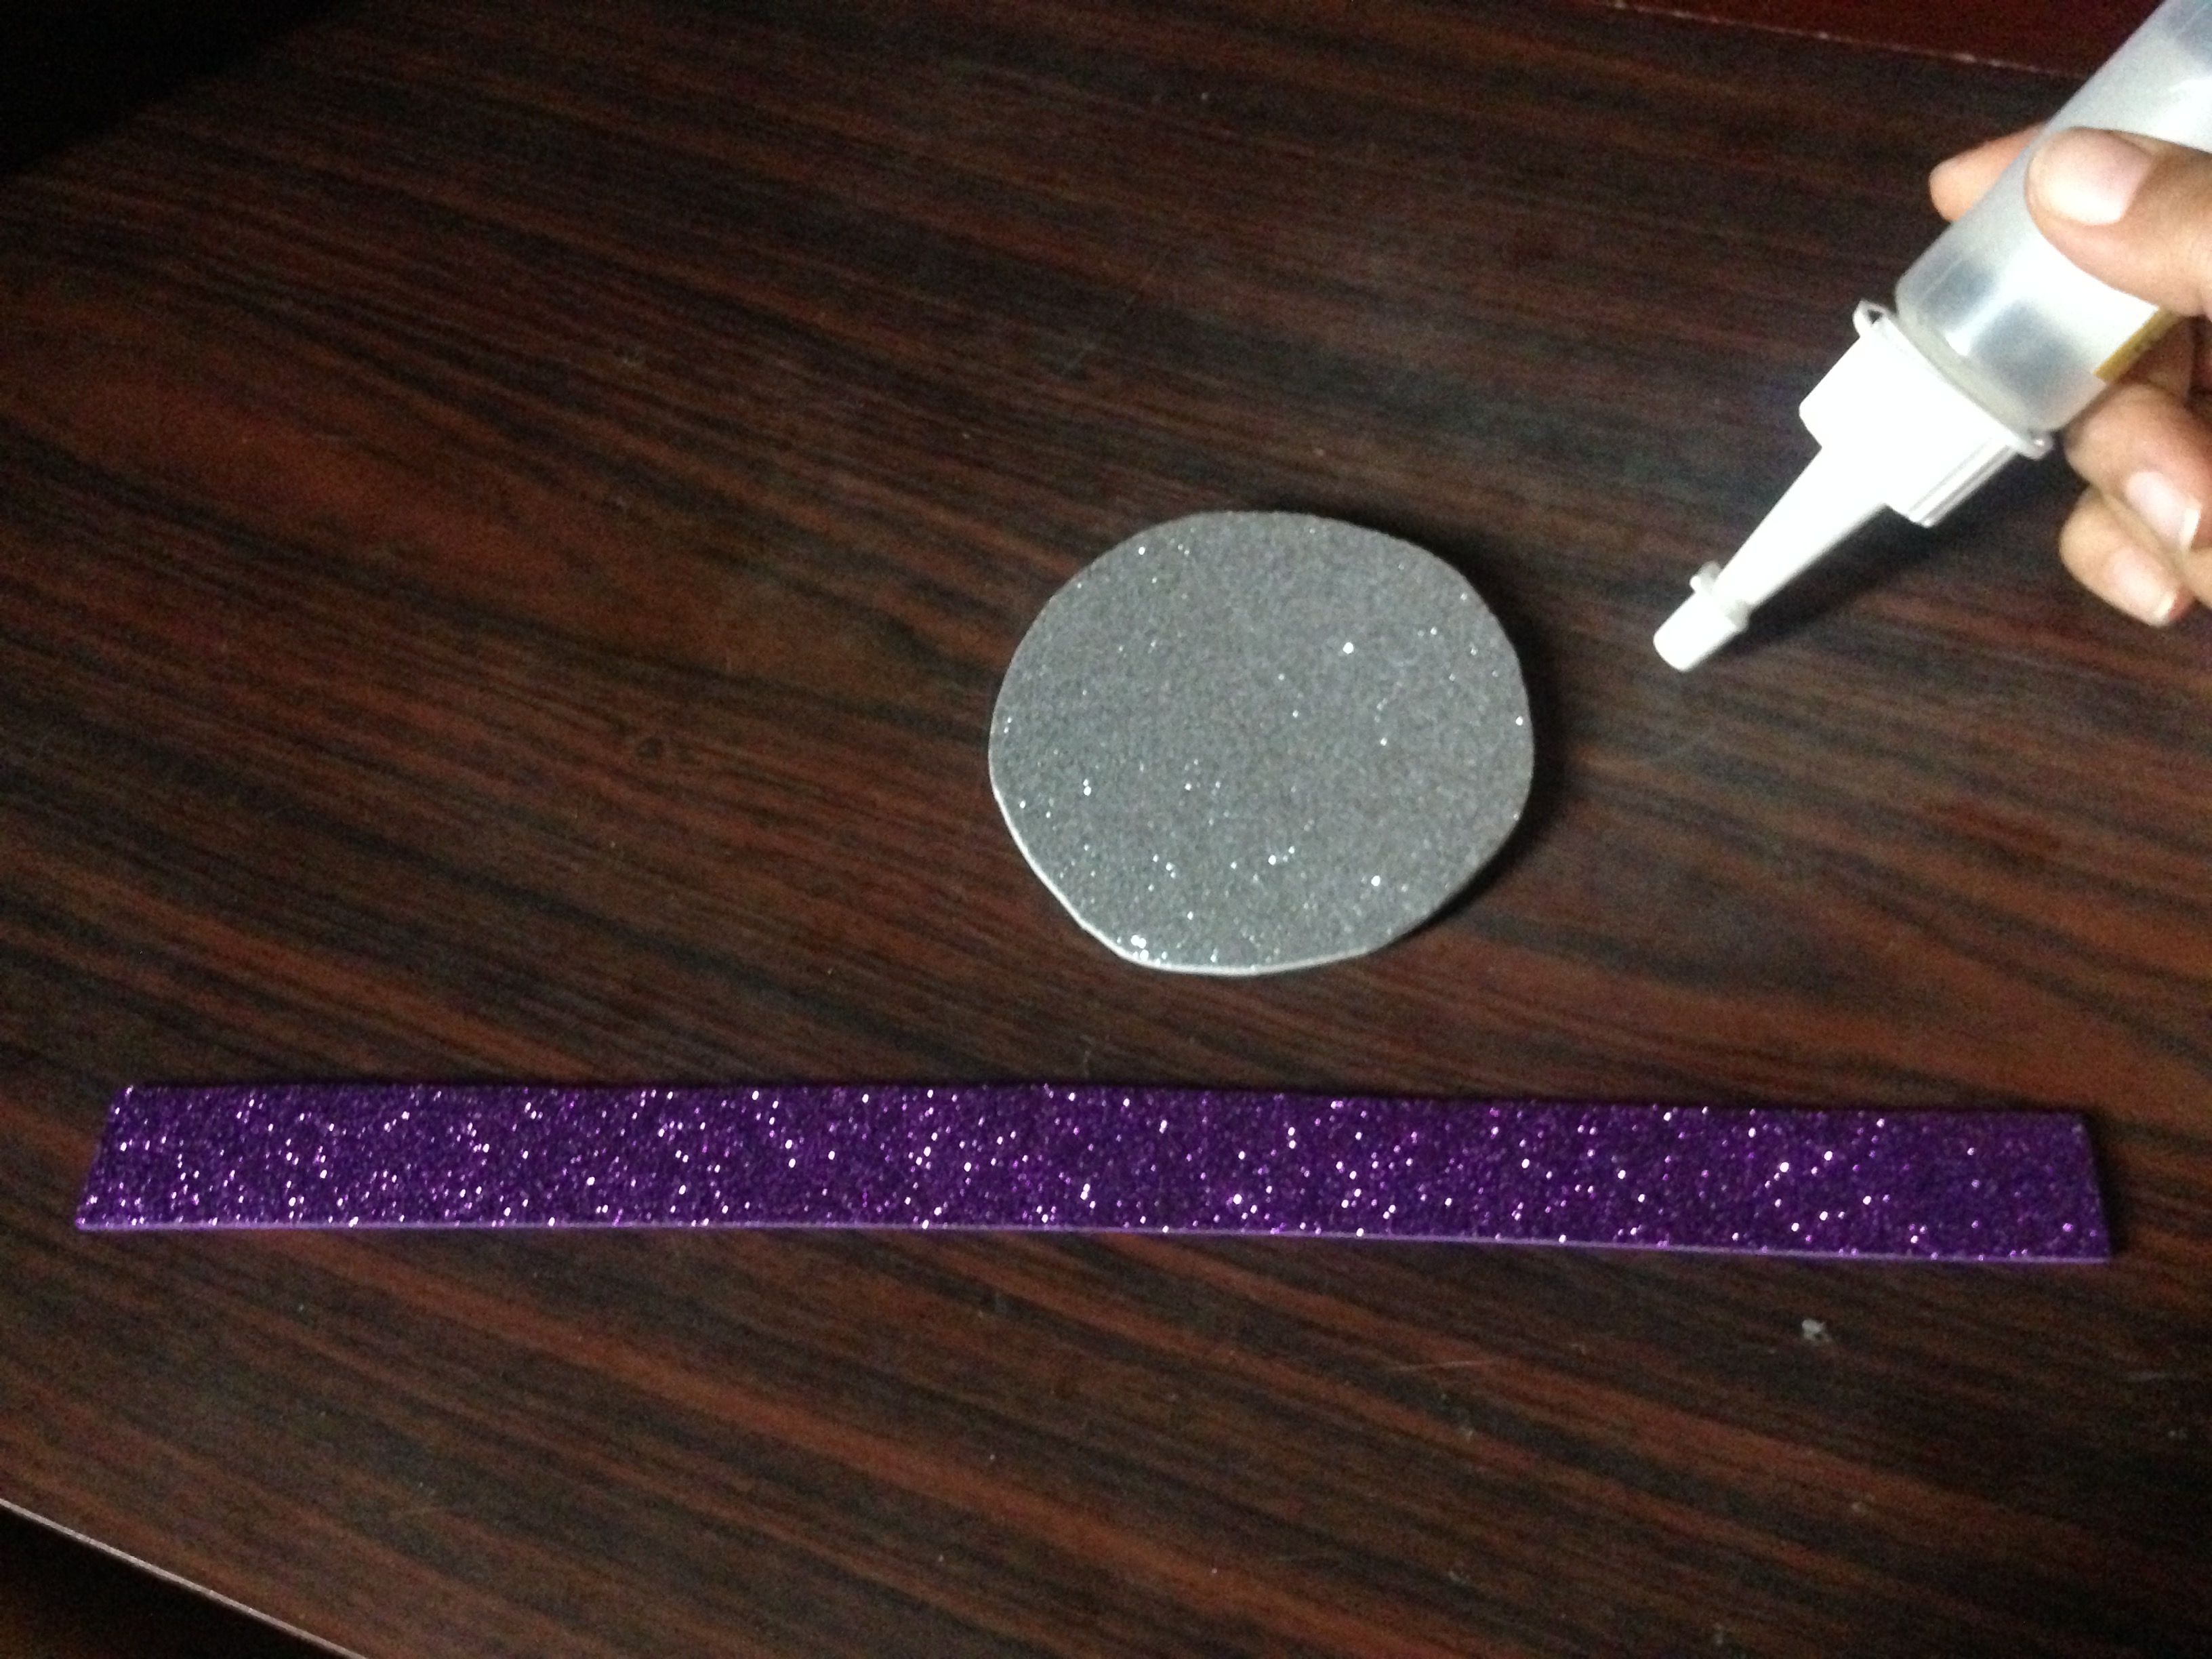
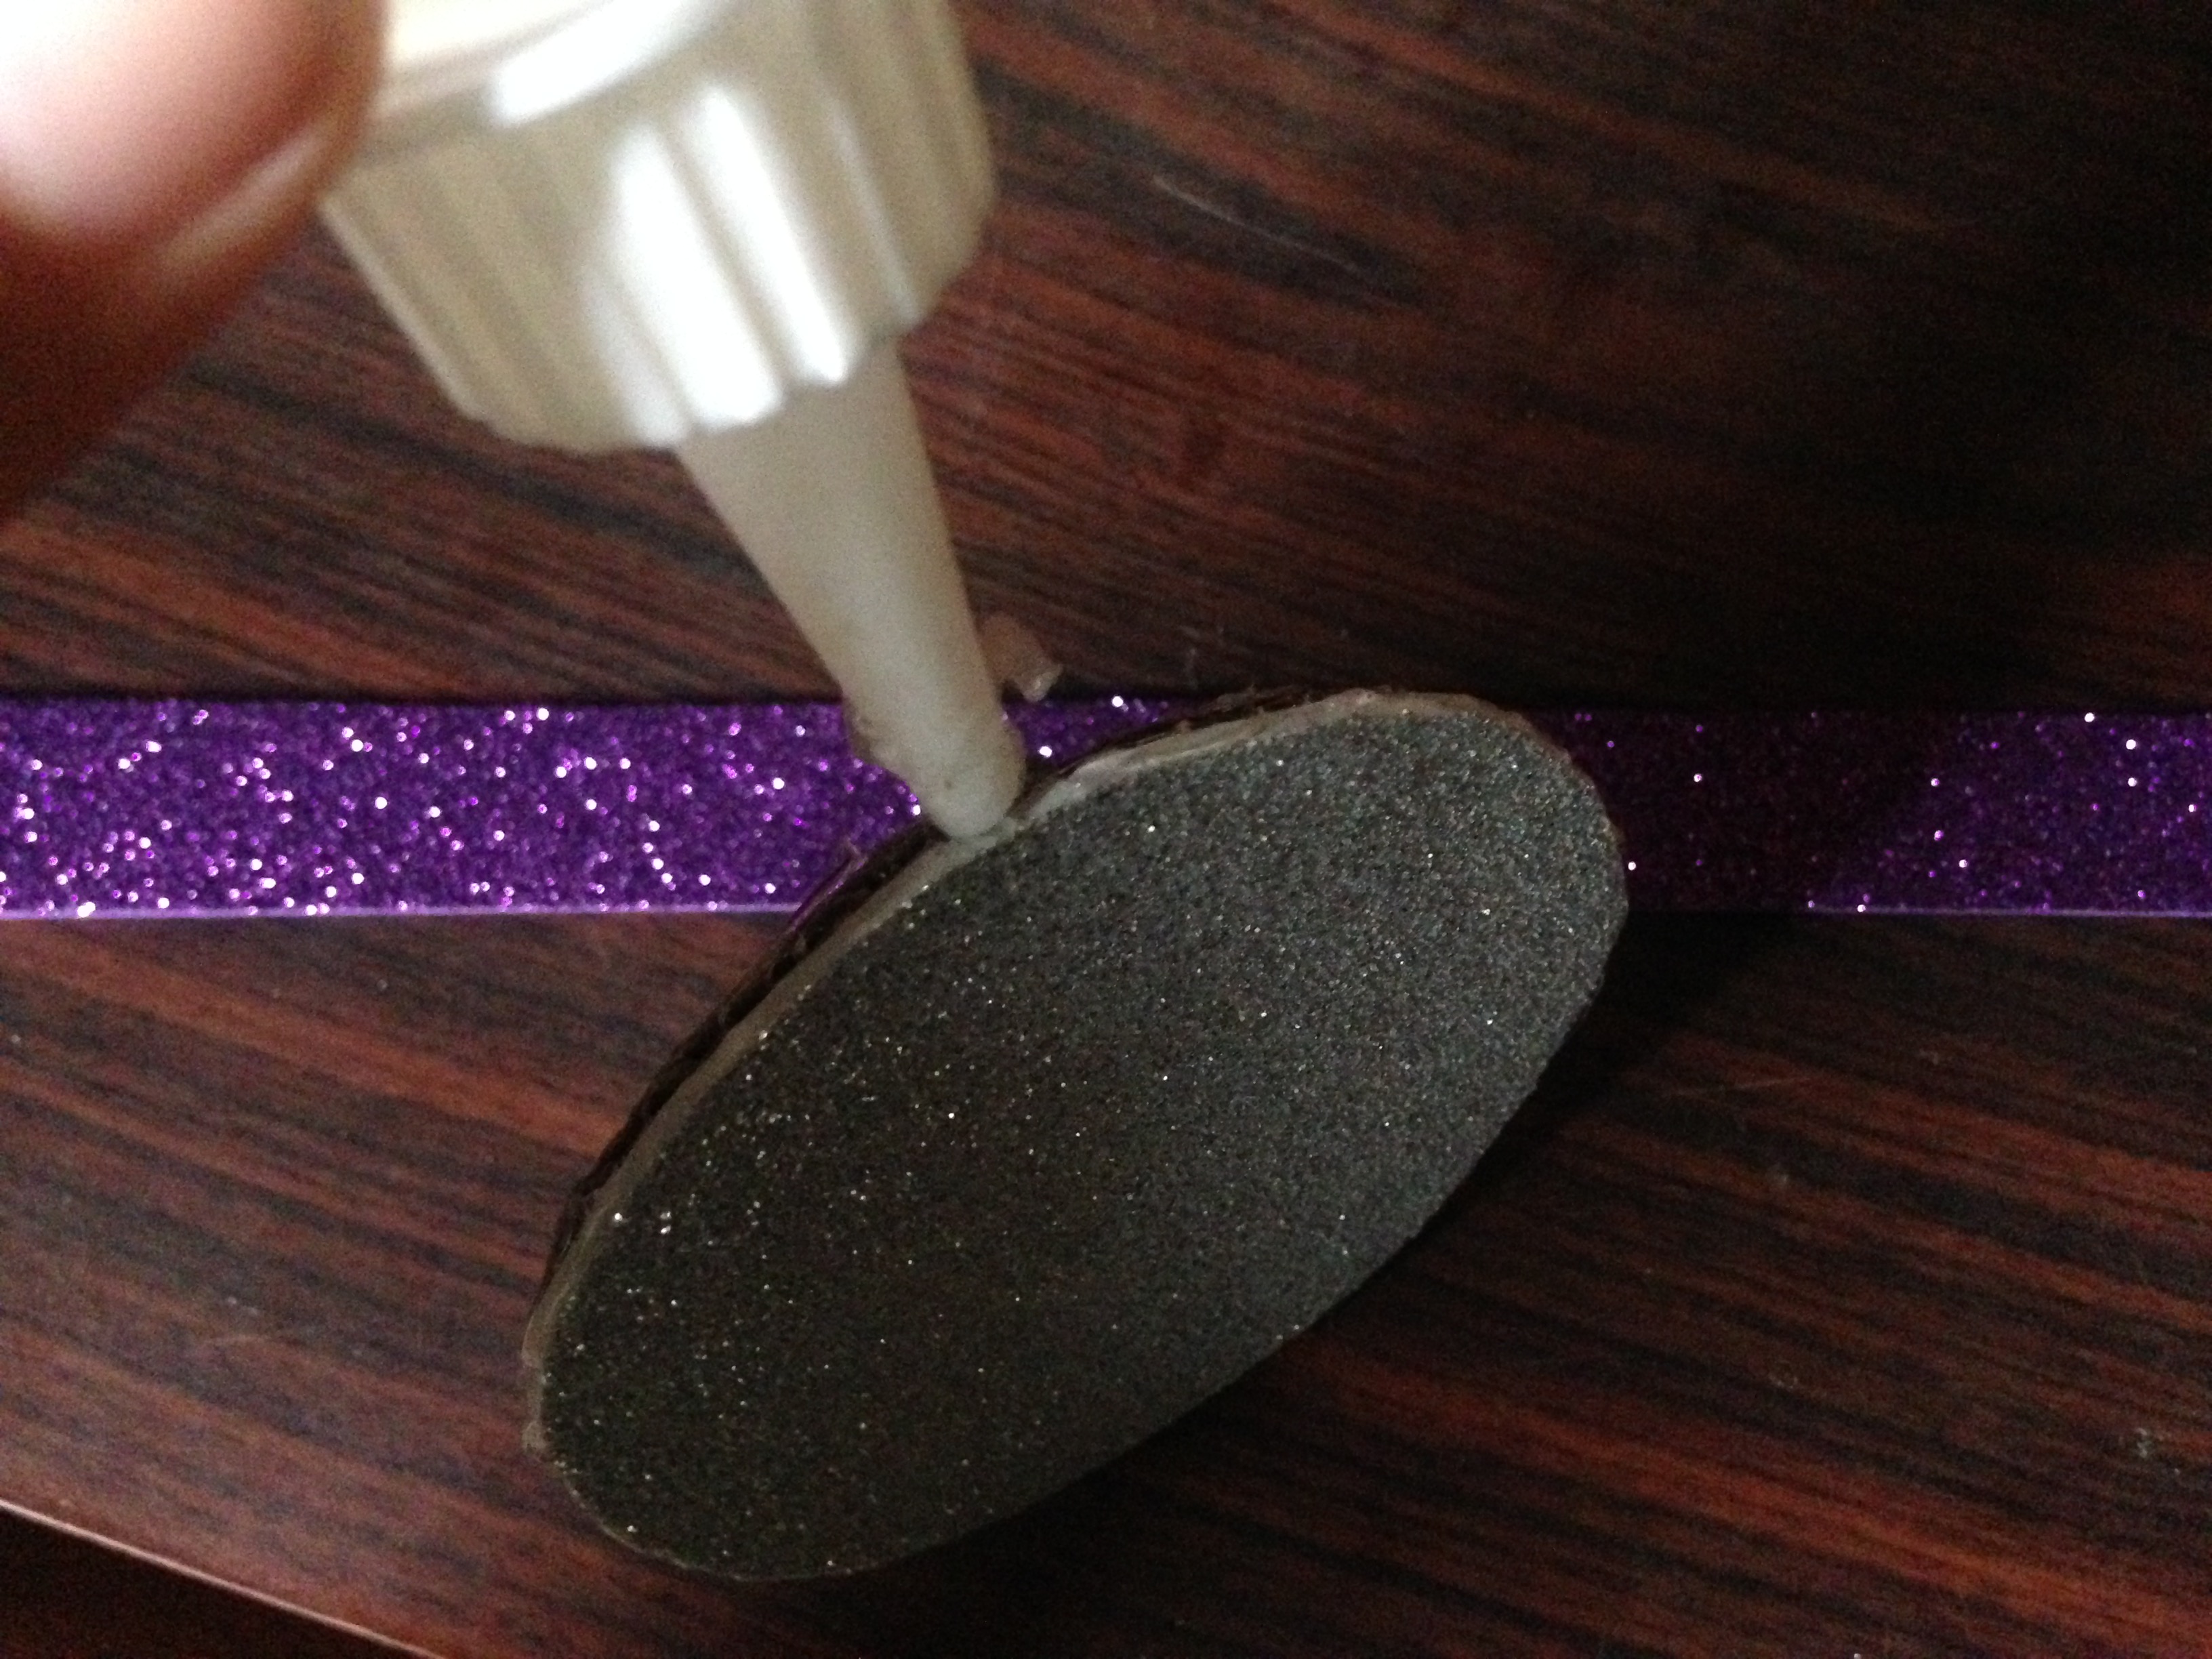
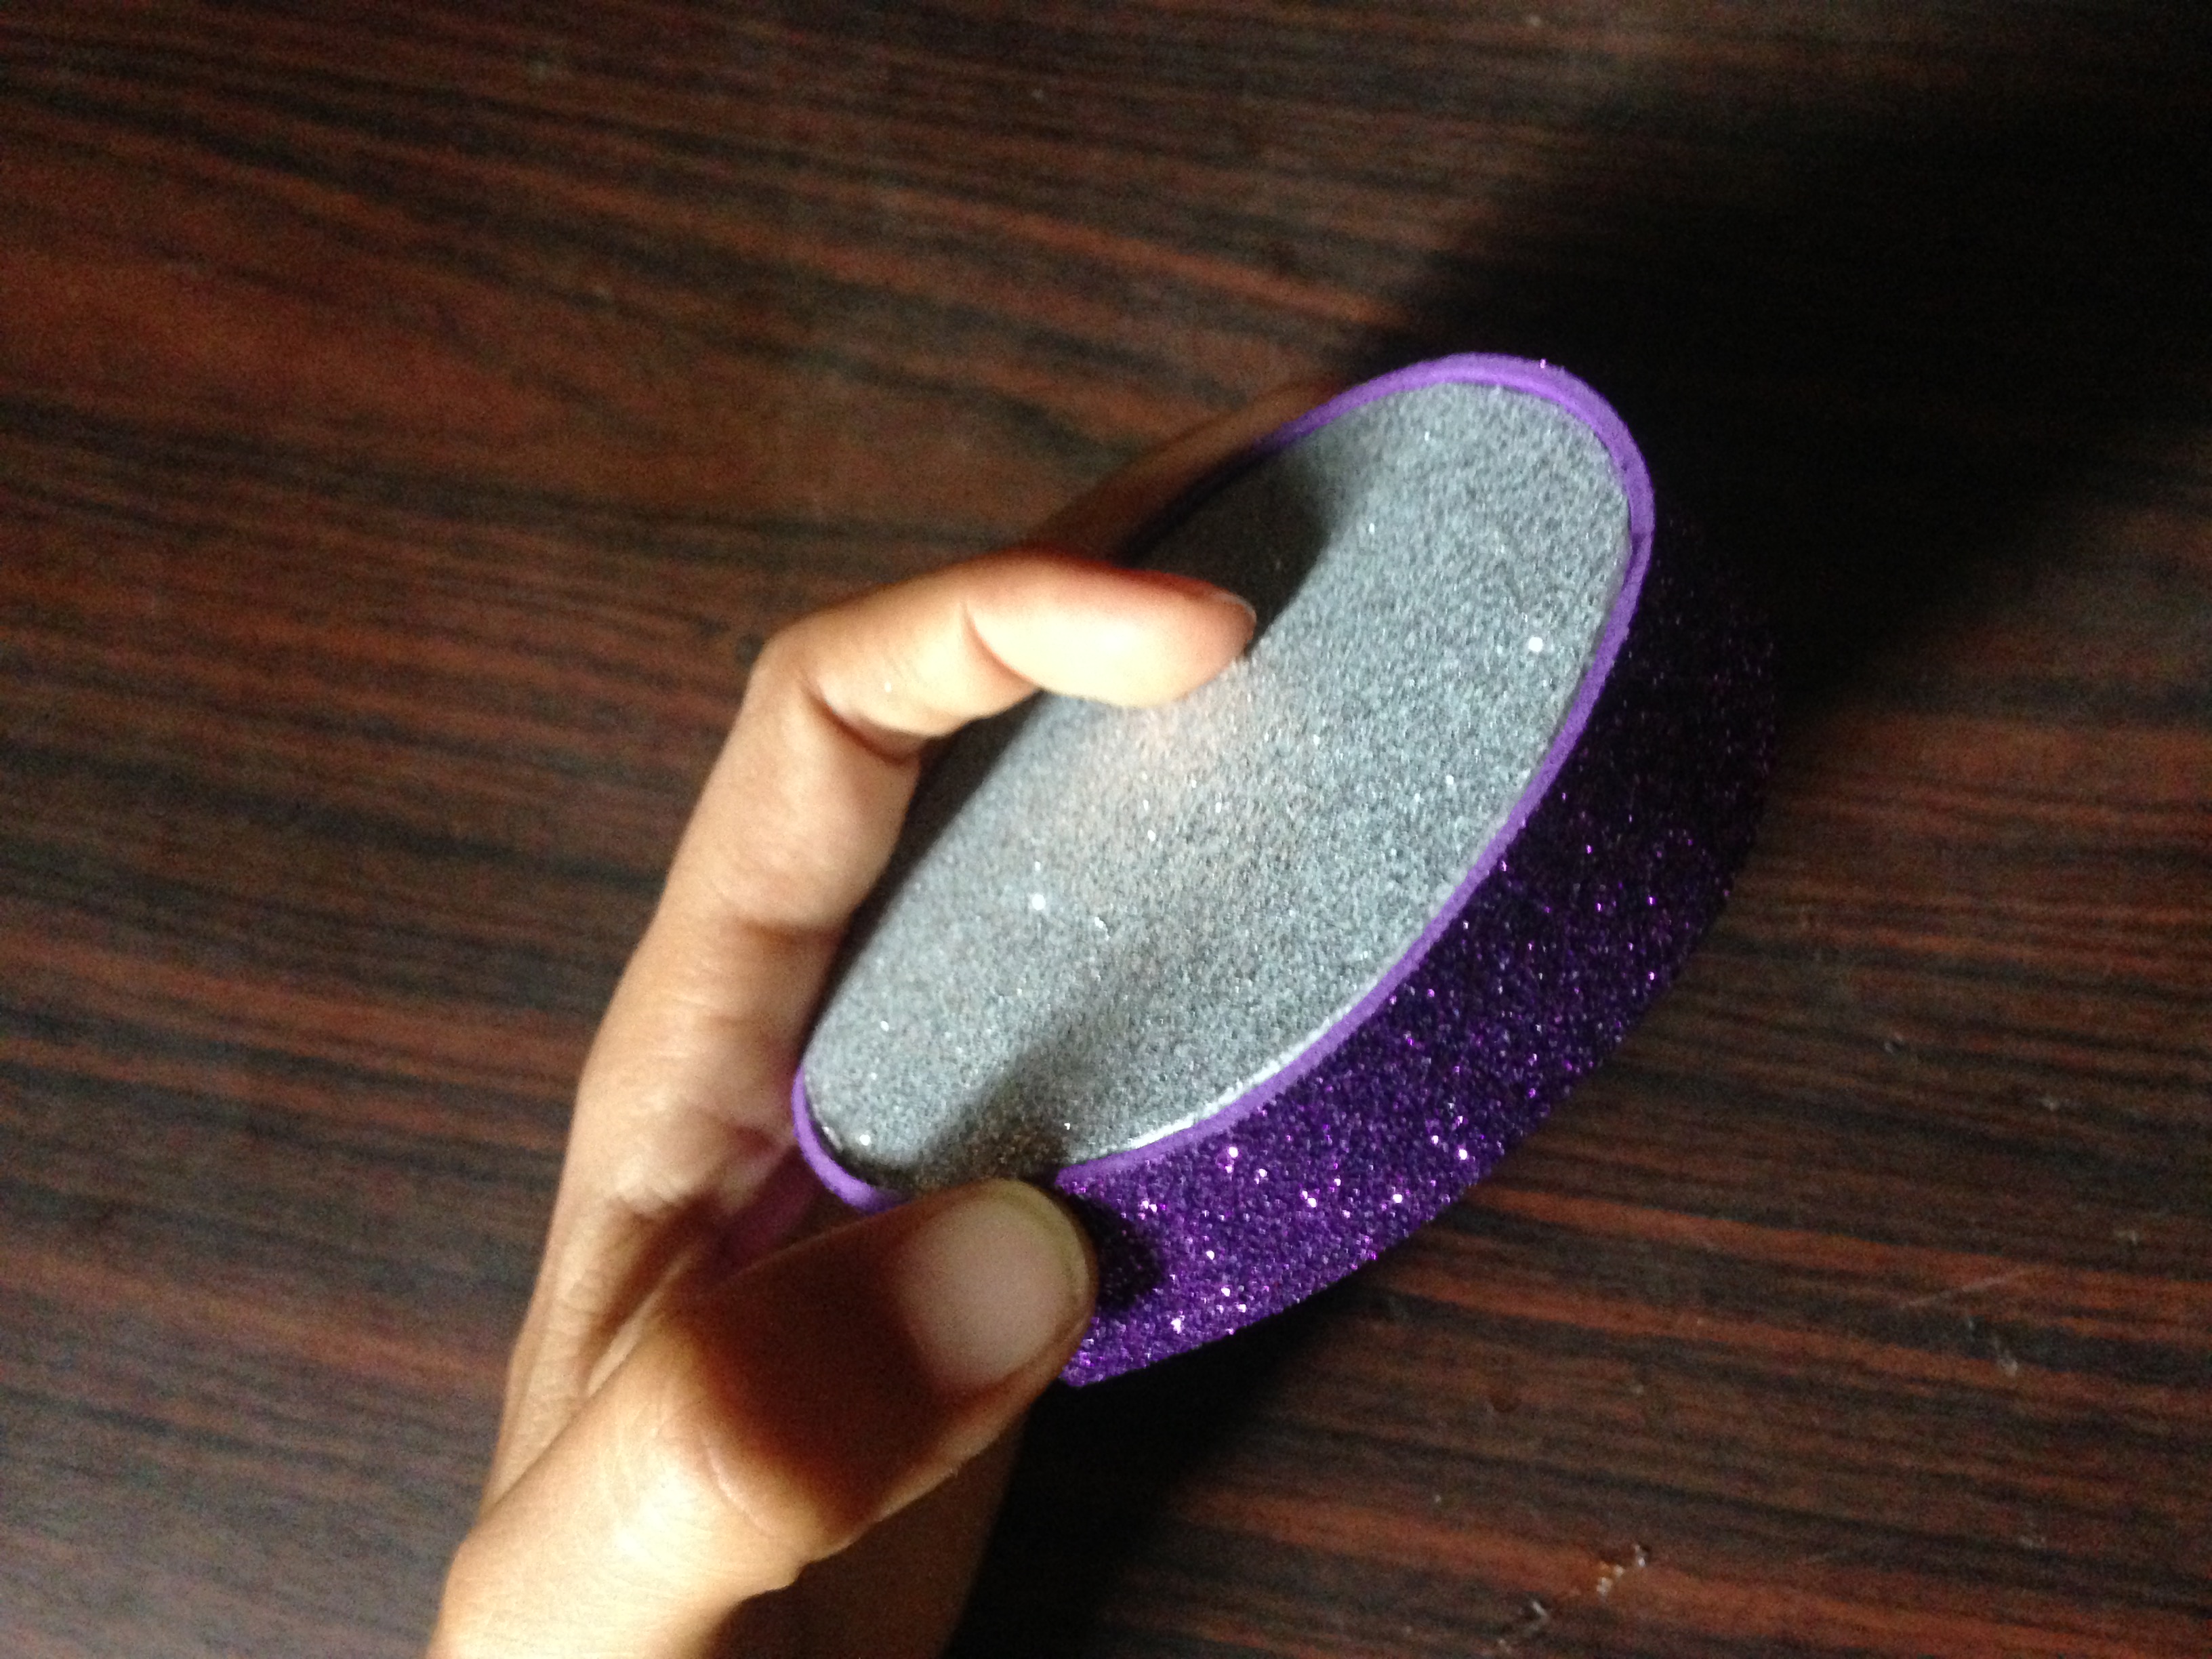
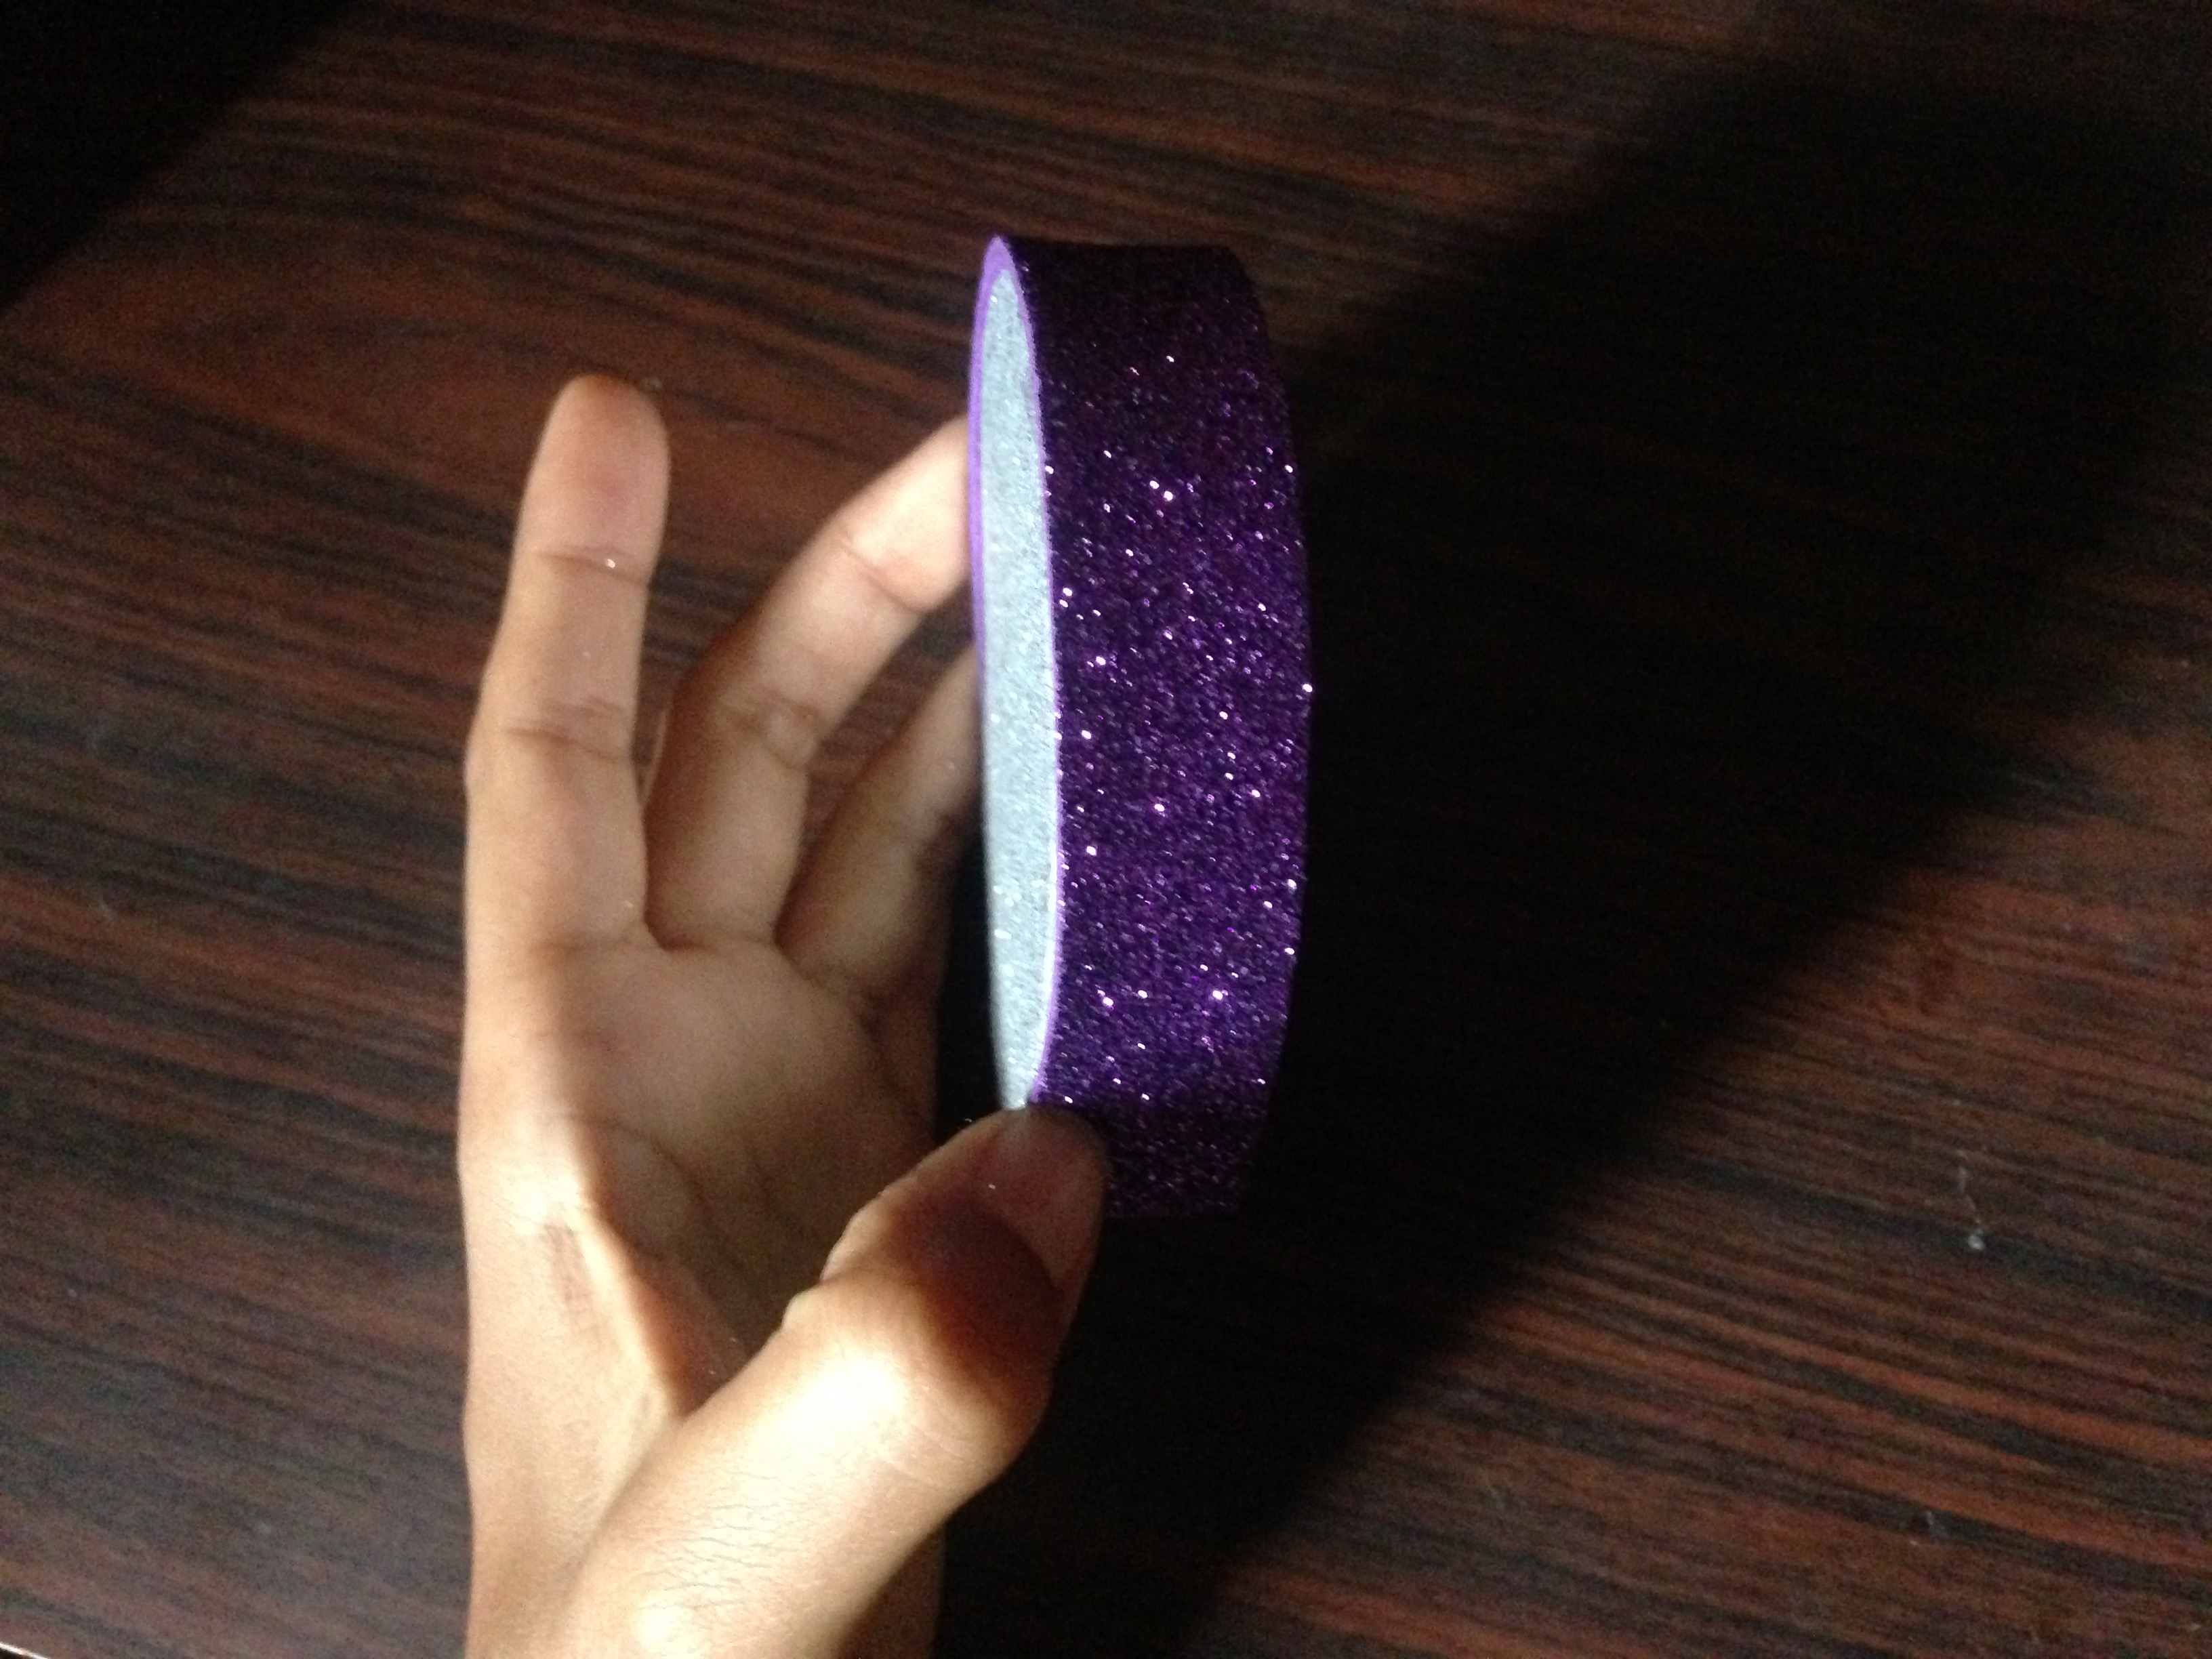
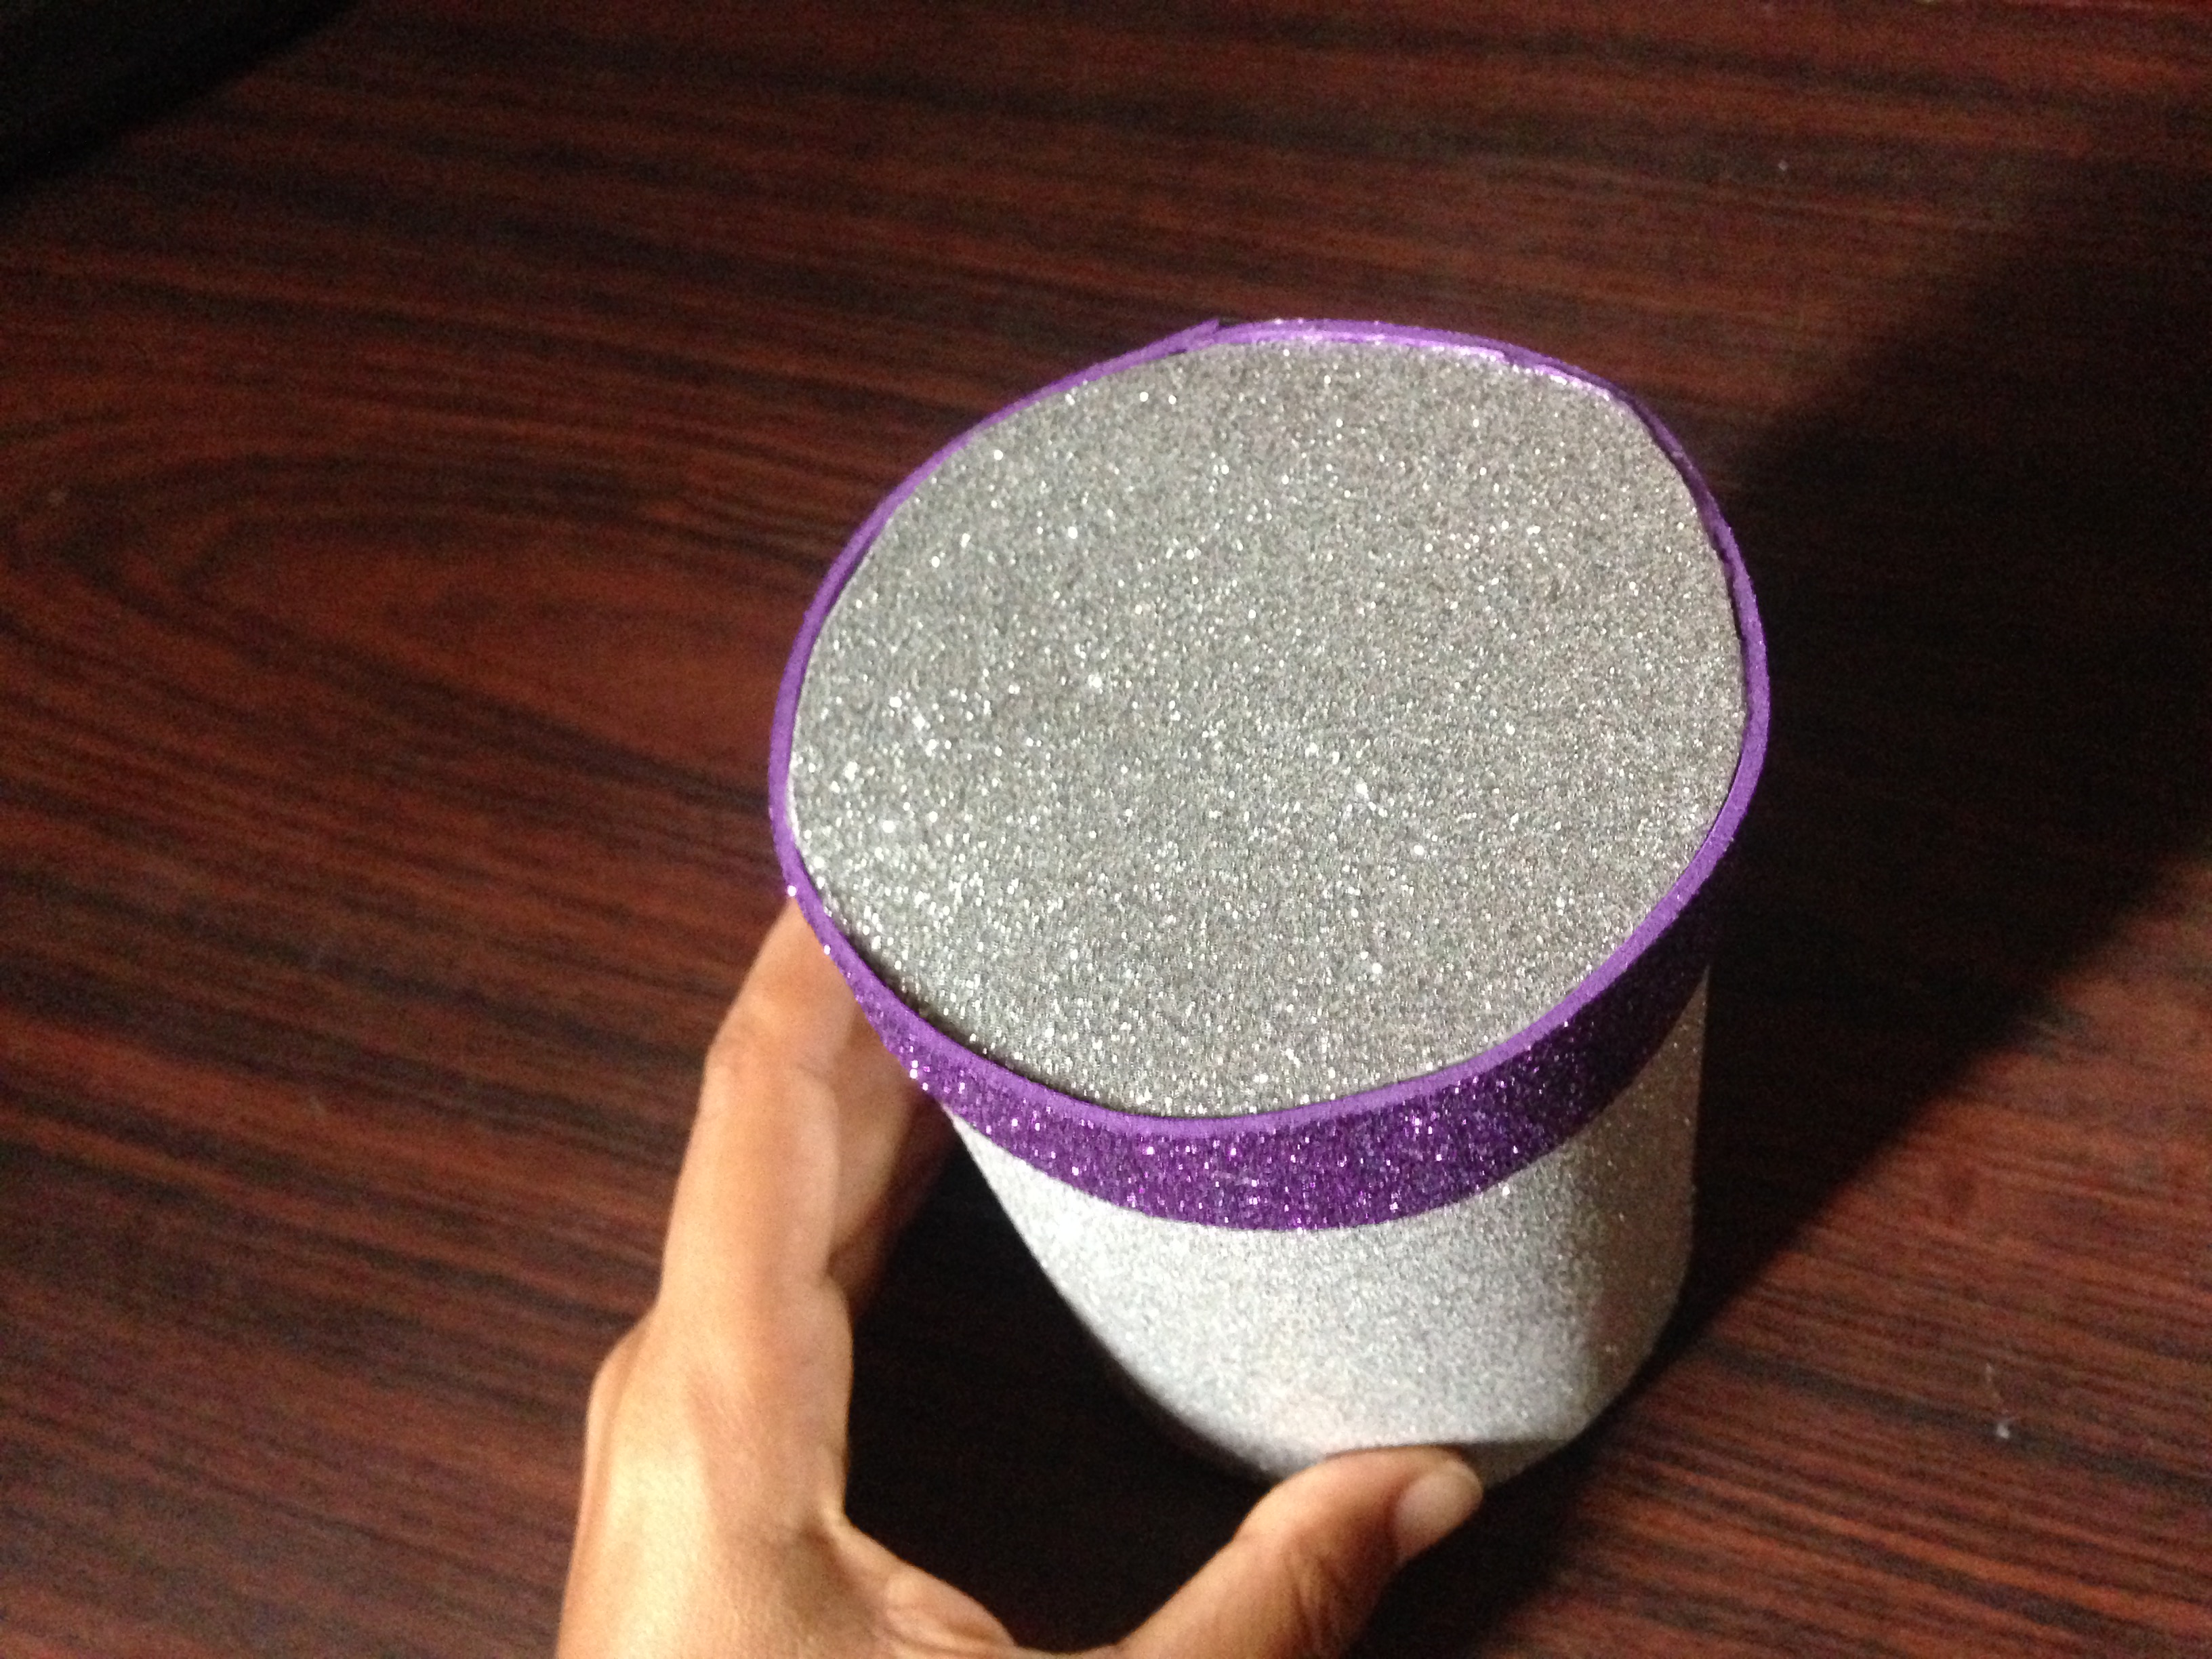
Paso 3
Haremos la tapa de nuestra caja, para eso marcaremos un circulo del mismo circulo de cartón en el foamy plateado y luego de recortarlo y pegarlo al circulo de cartón, marcaremos una tira de grosor de 2 centímetros de ancho en el foamy morado, lo mediremos en el circulo restante de cartón y le cortemos lo sobrante, para así pegarlo alrededor del circulo
Step 3
We will make the lid of our box, for that we will mark a circle of the same cardboard circle on the silver foamy and after cutting it and gluing it to the cardboard circle, we will mark a strip of thickness of 2 centimeters wide on the purple foamy, we will measure it in the remaining cardboard circle and cut the rest, to stick it around the circle


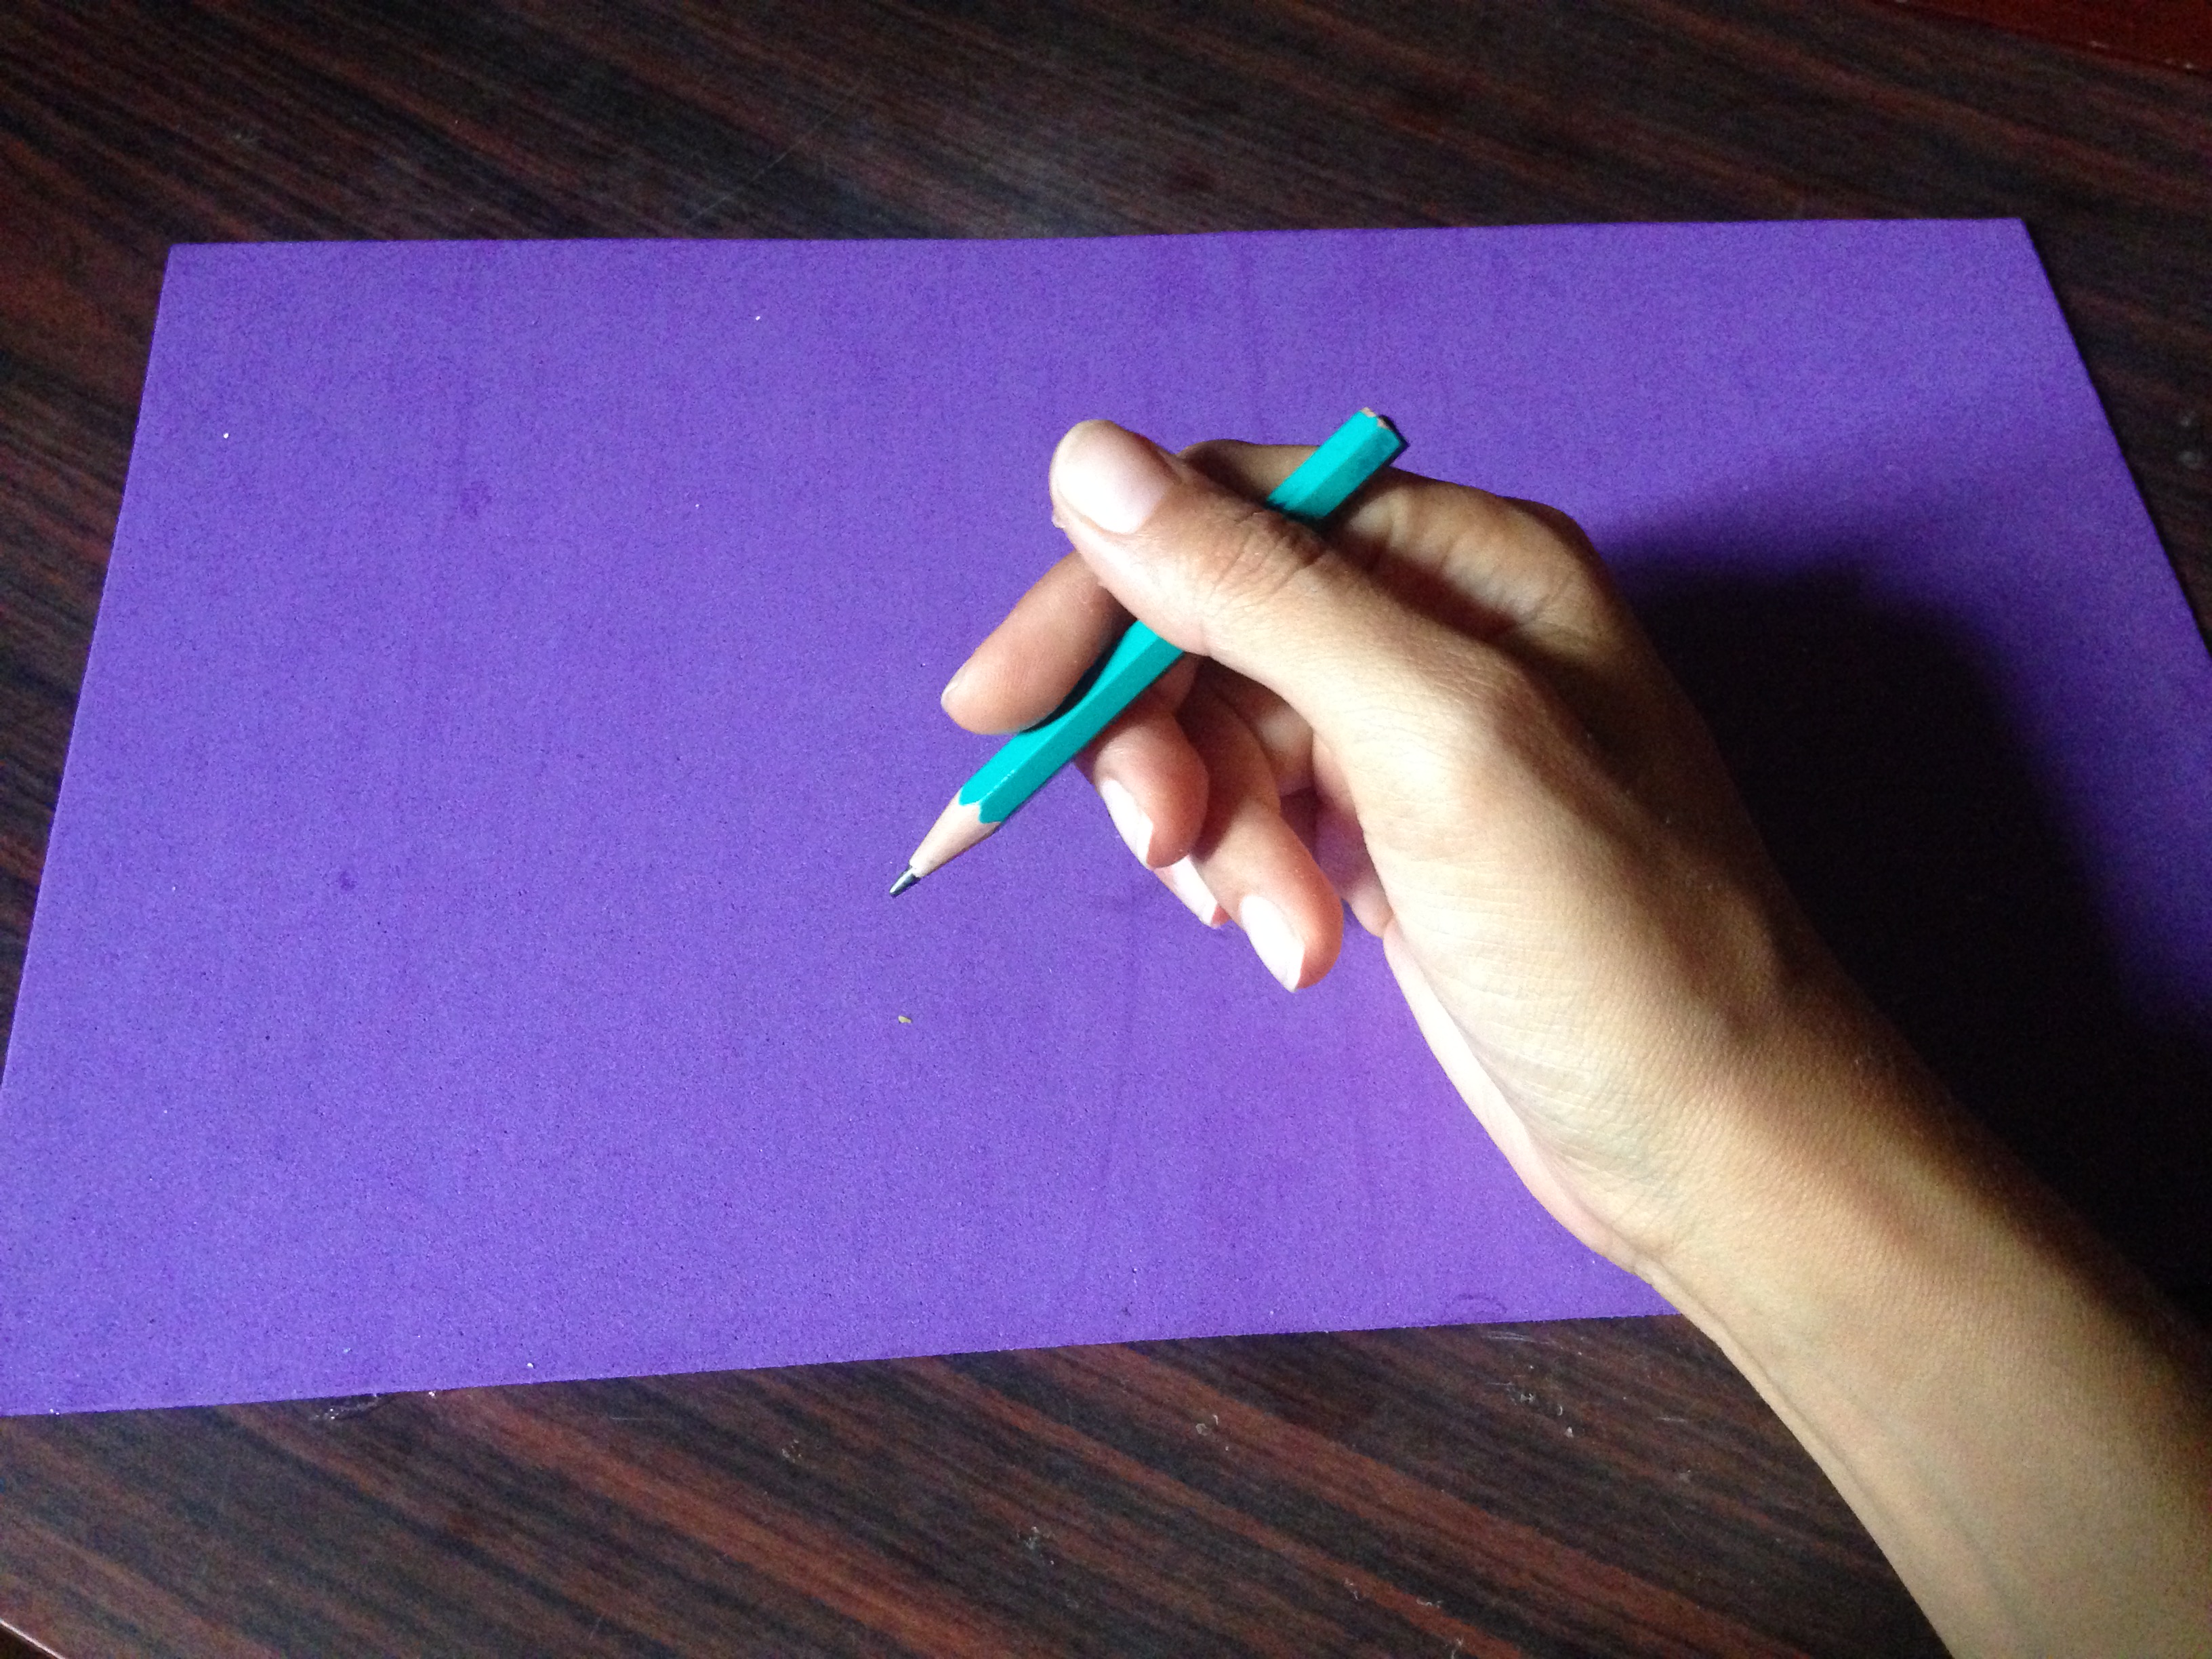
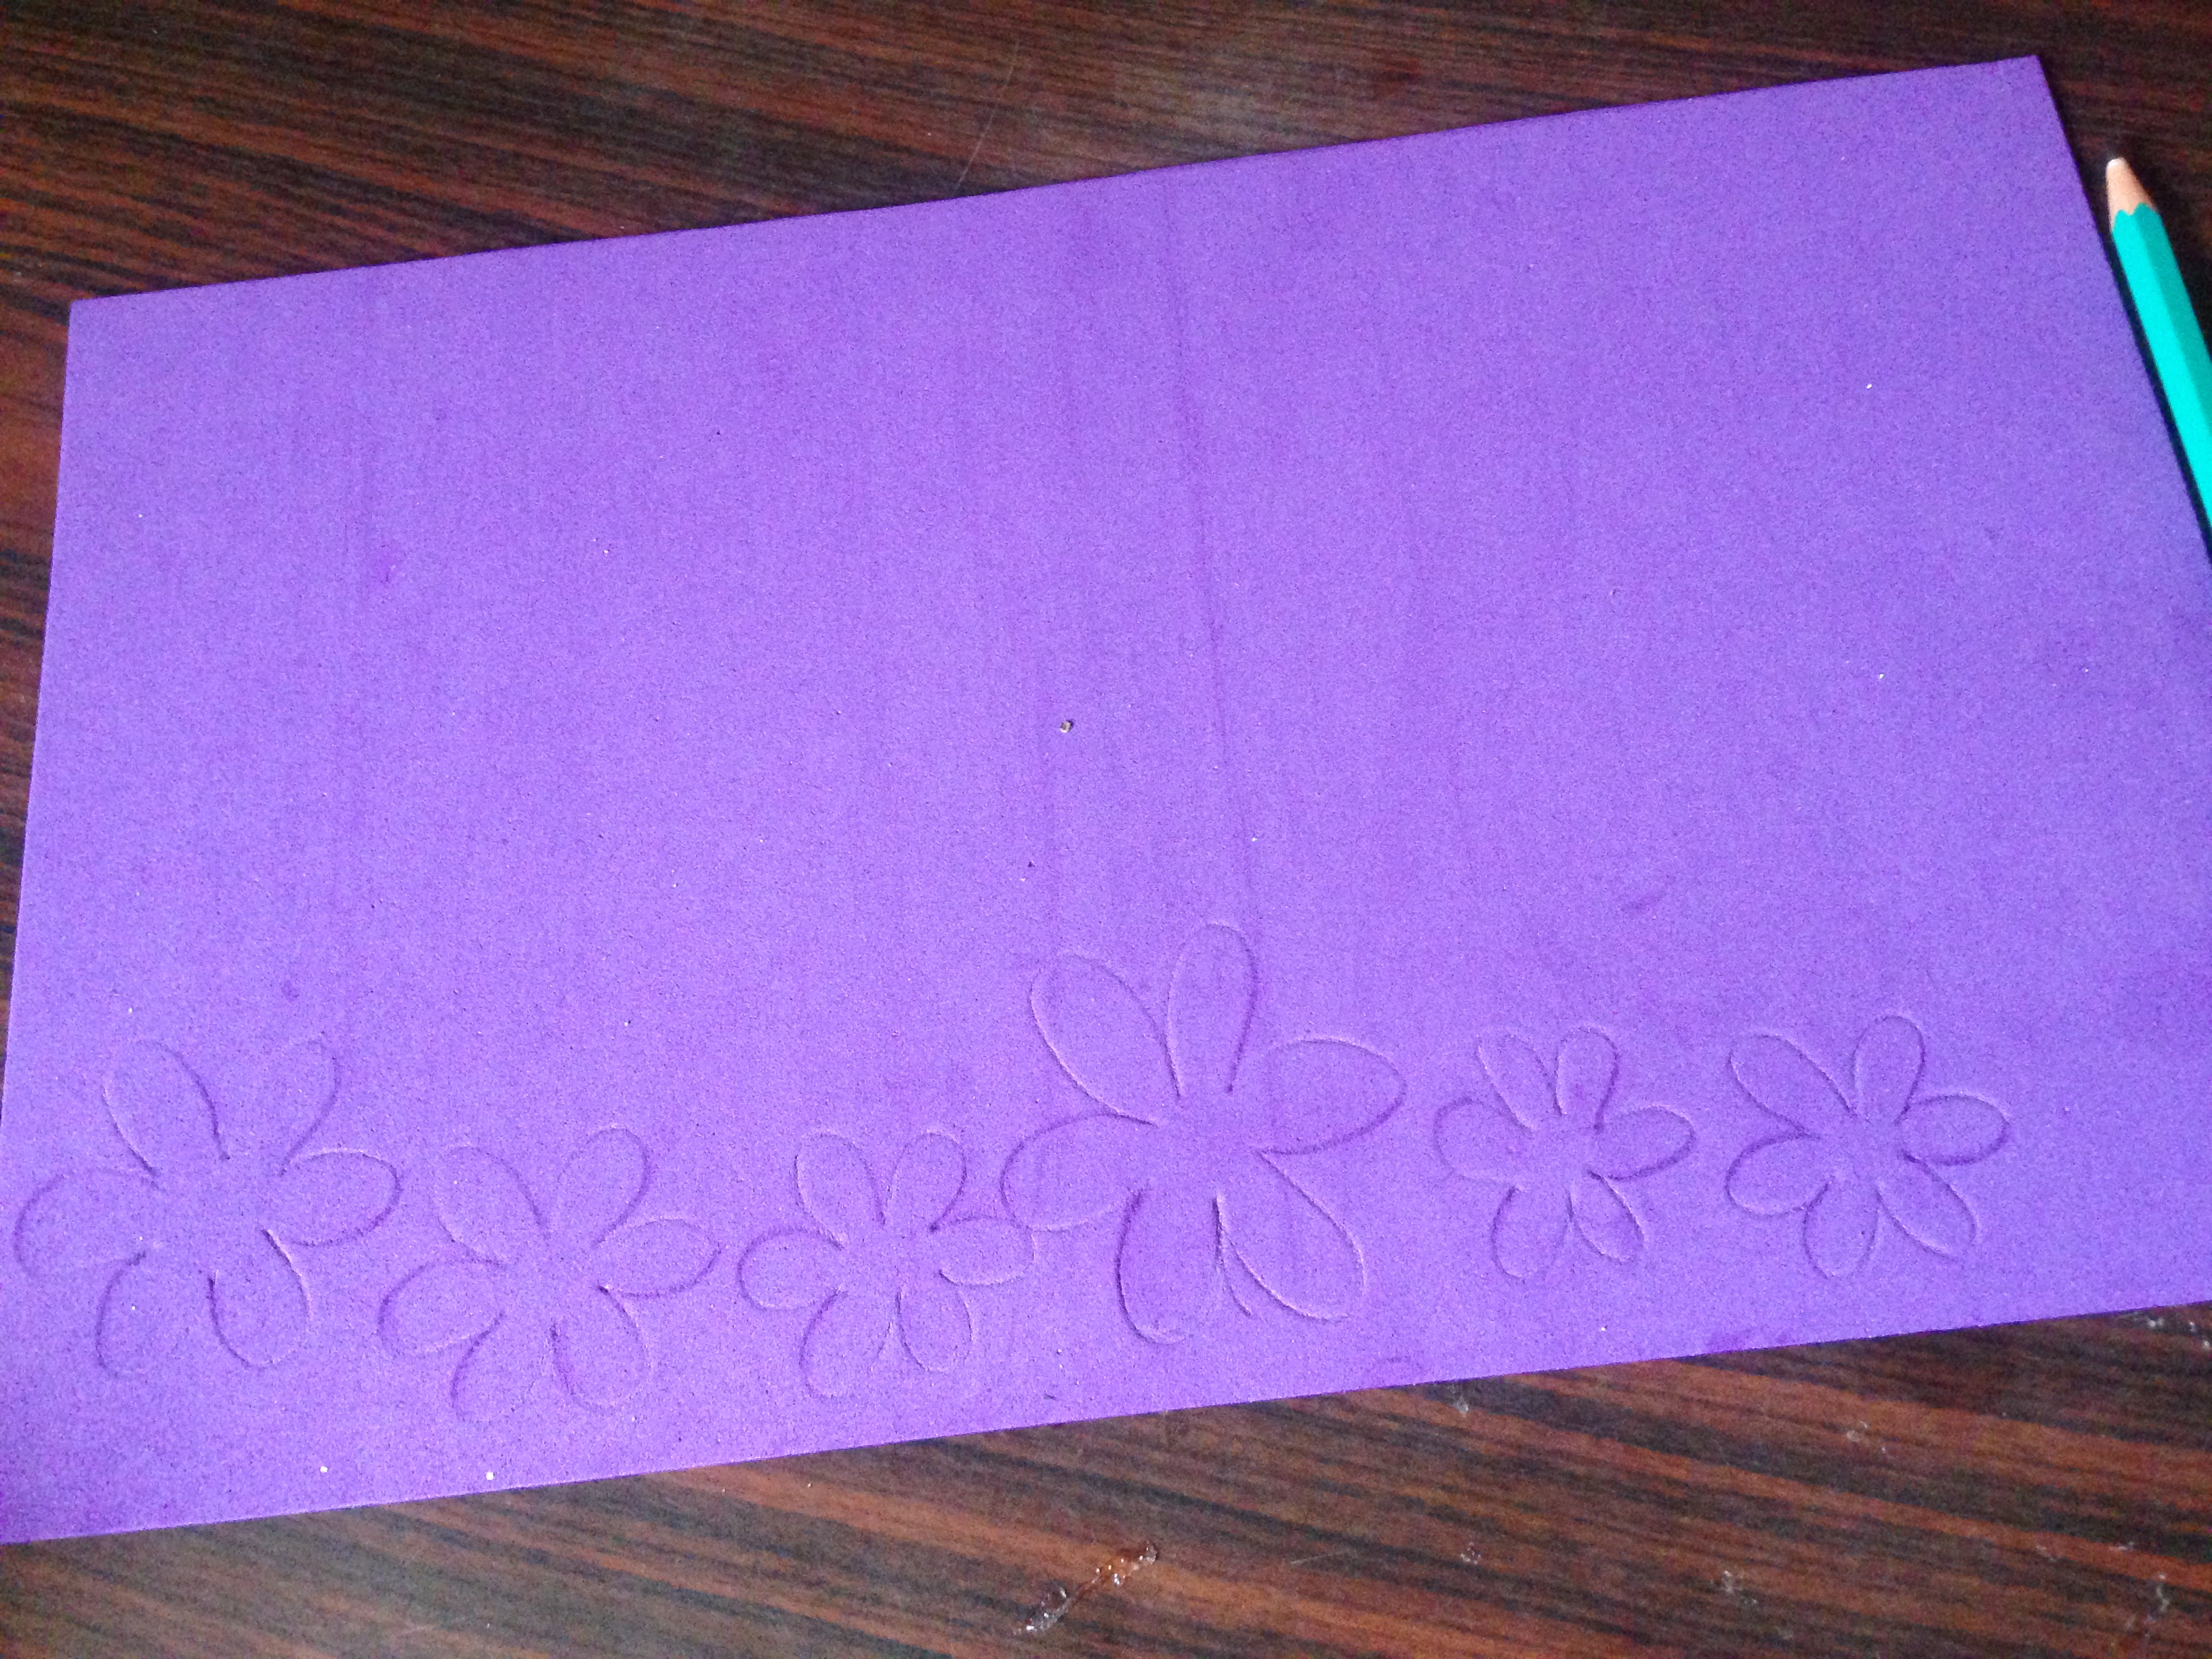
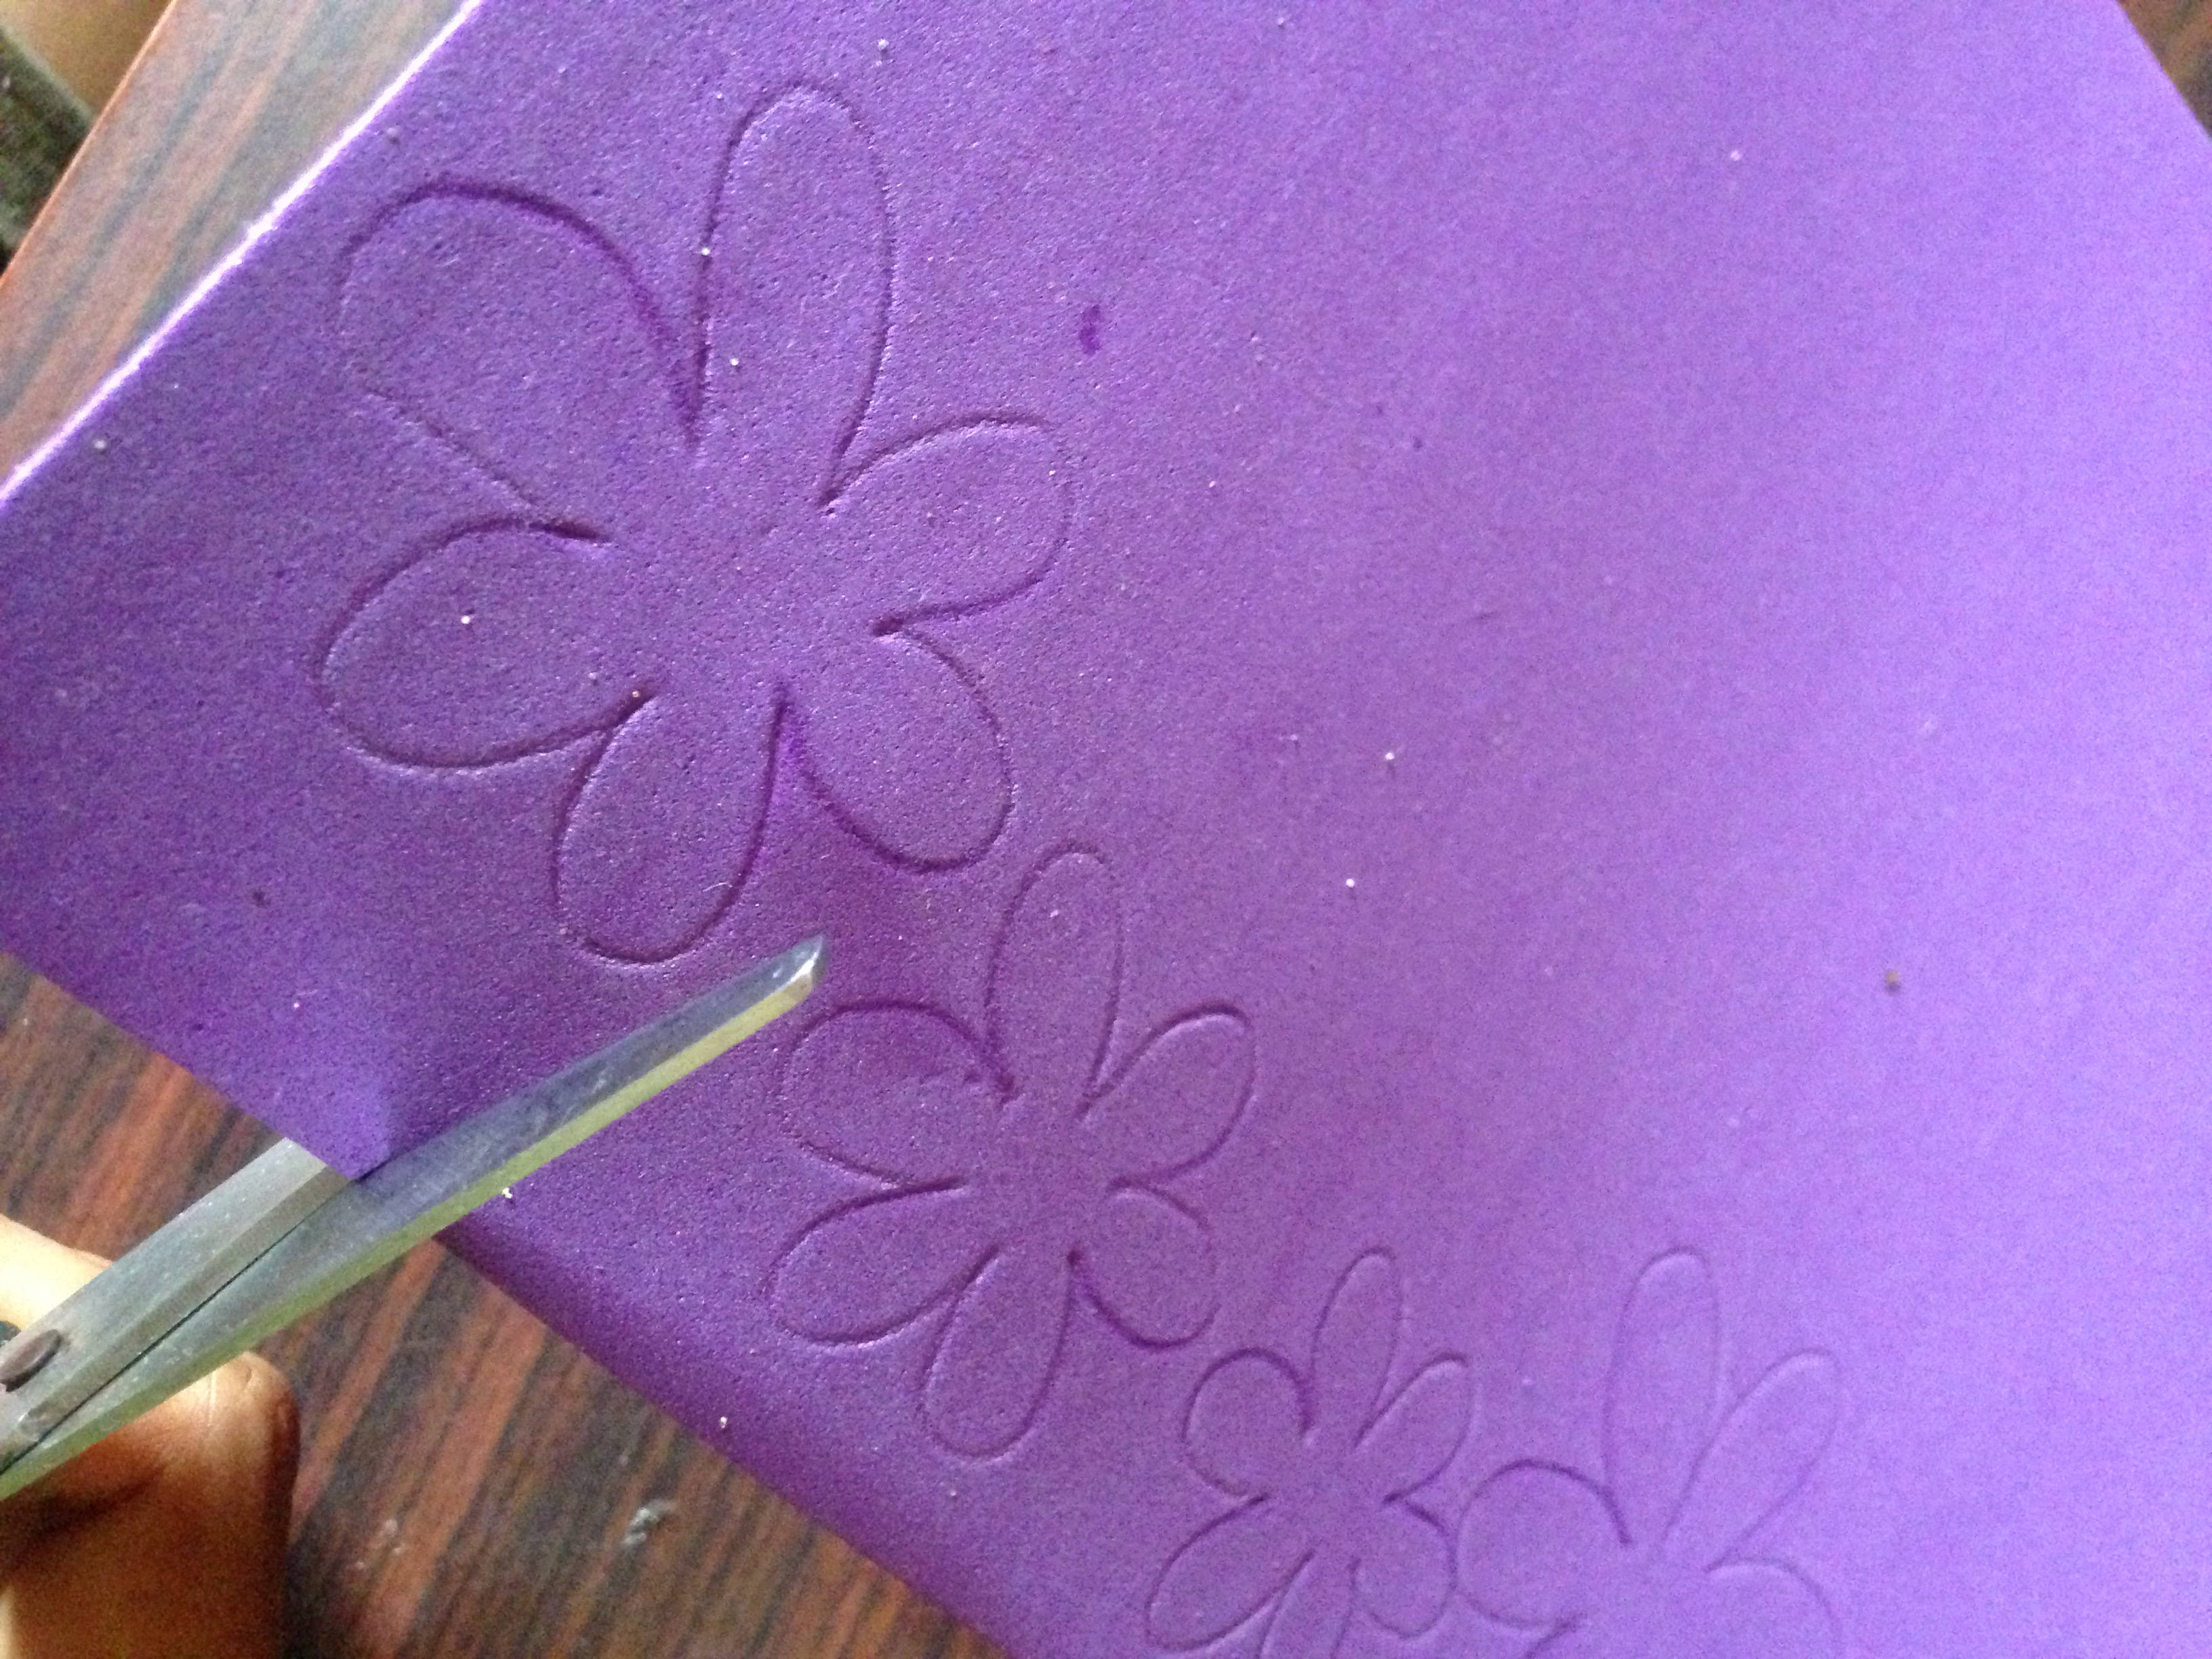
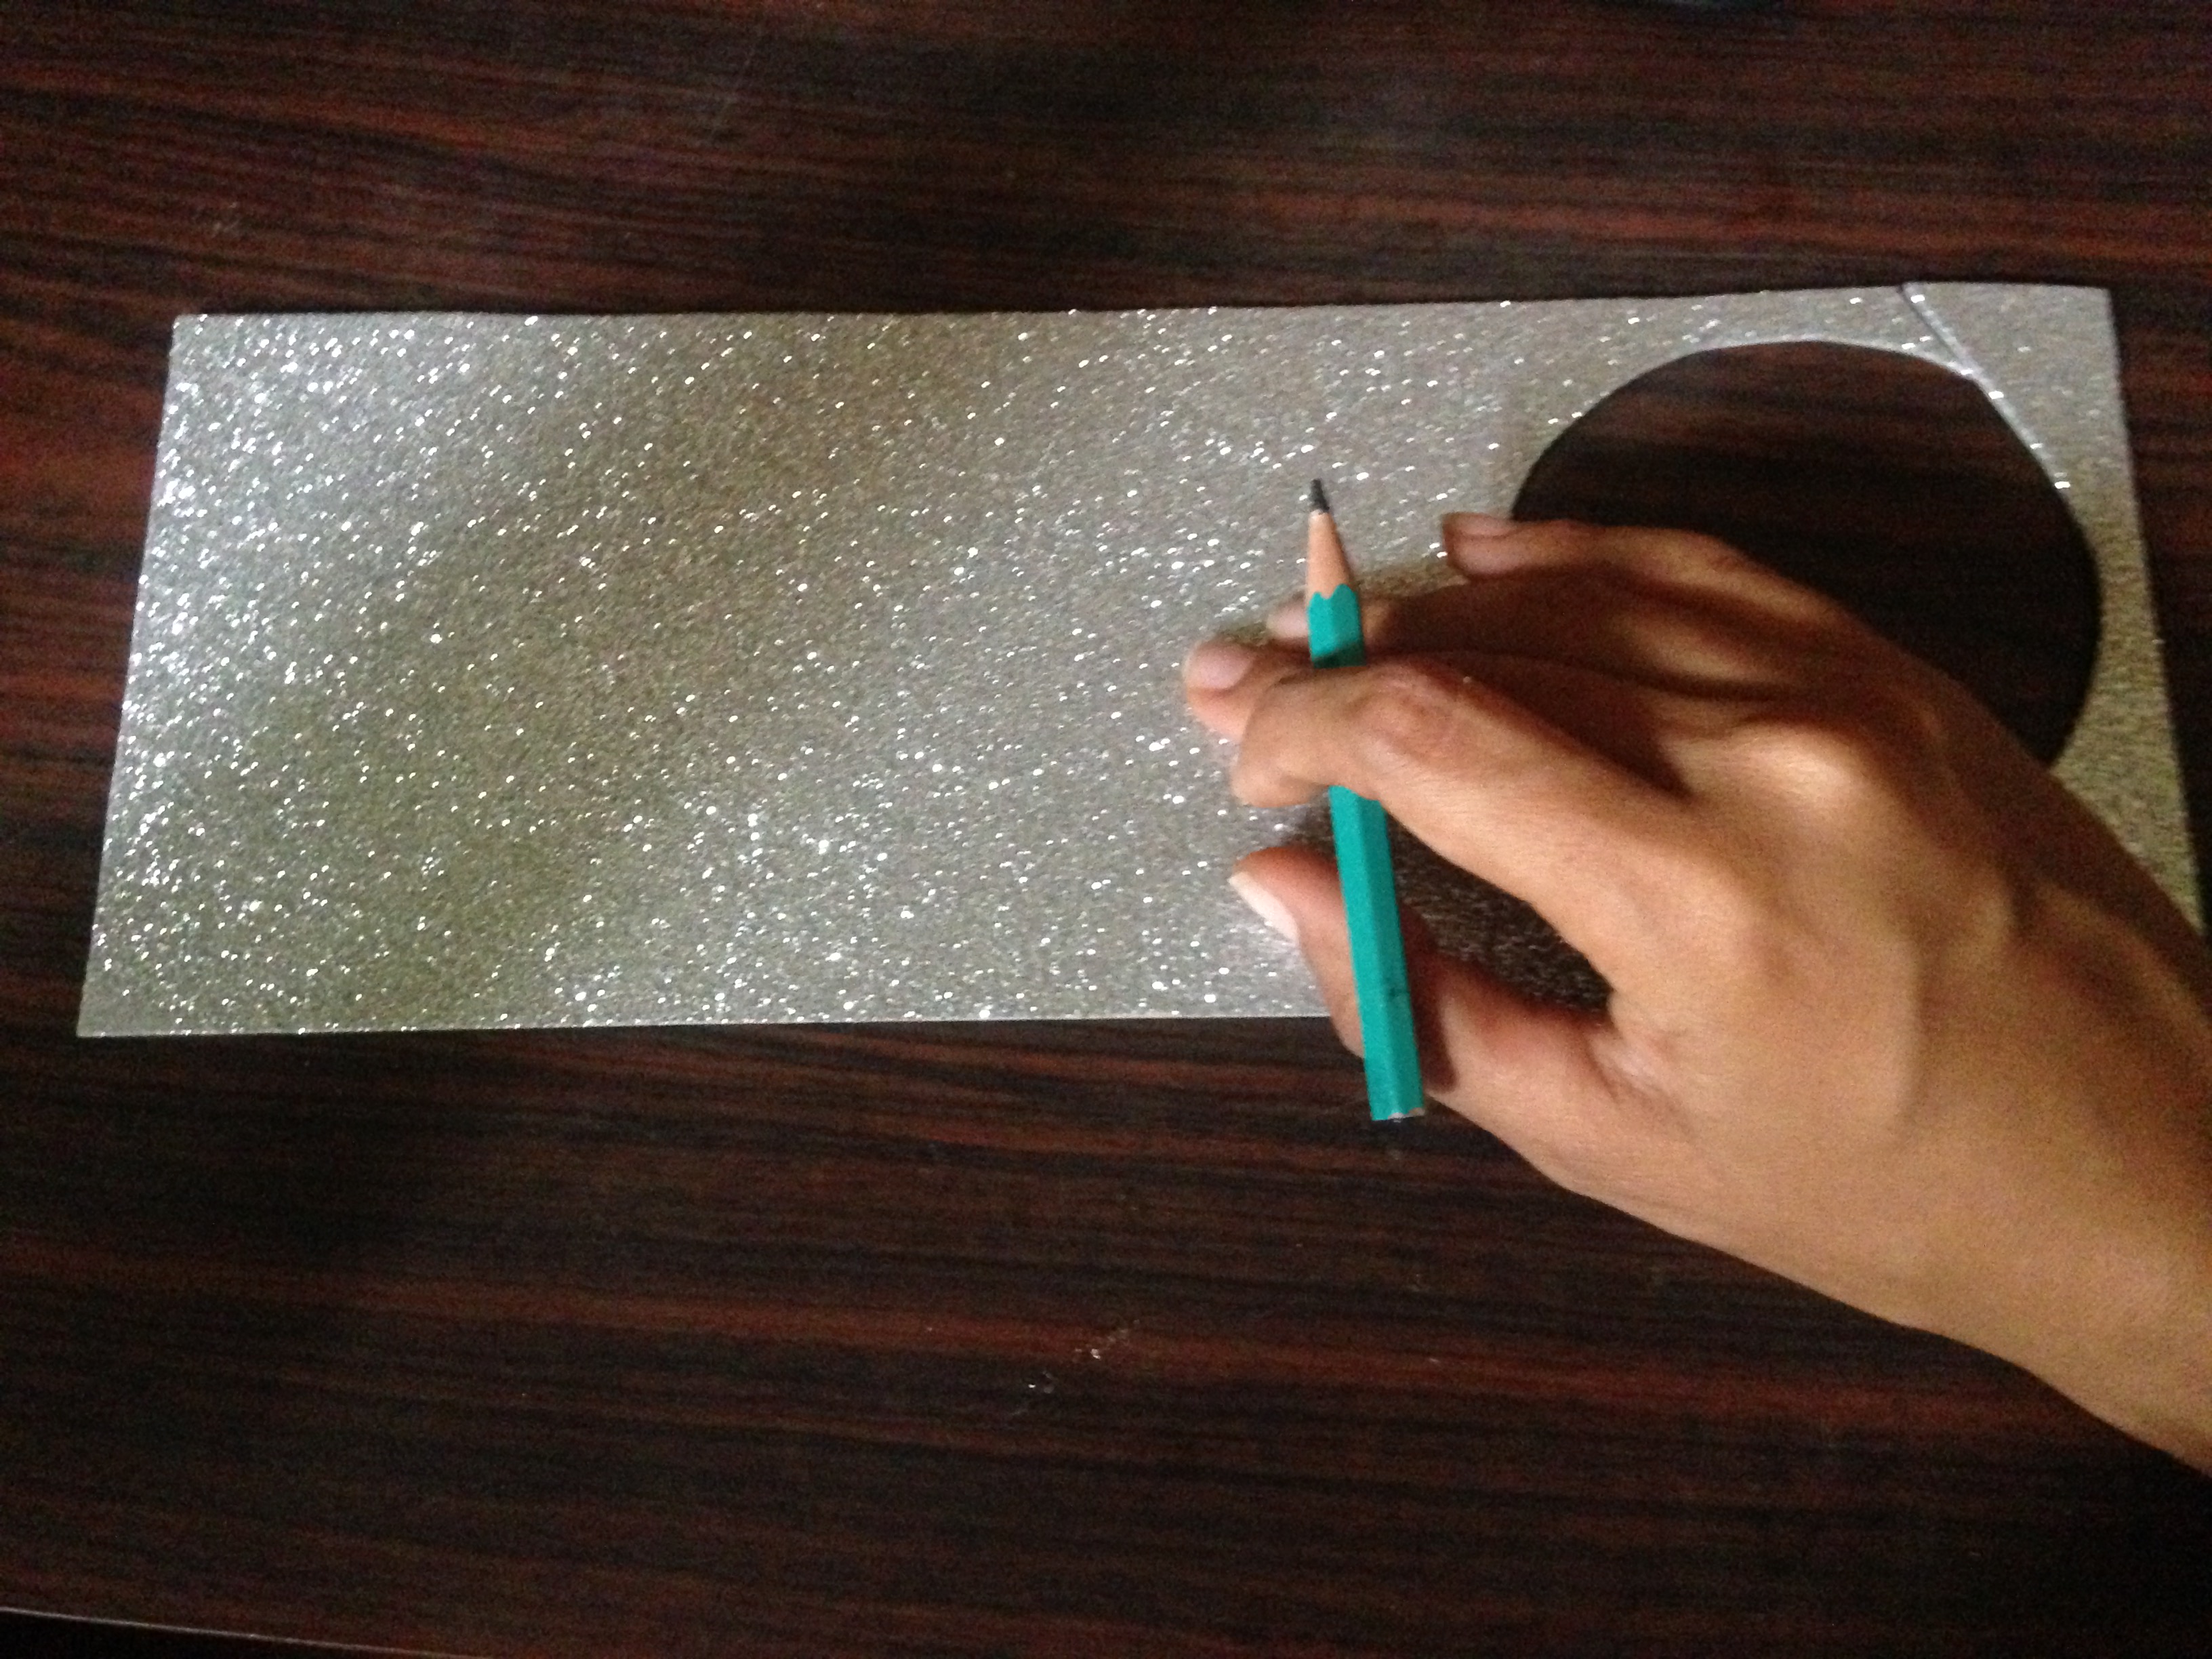
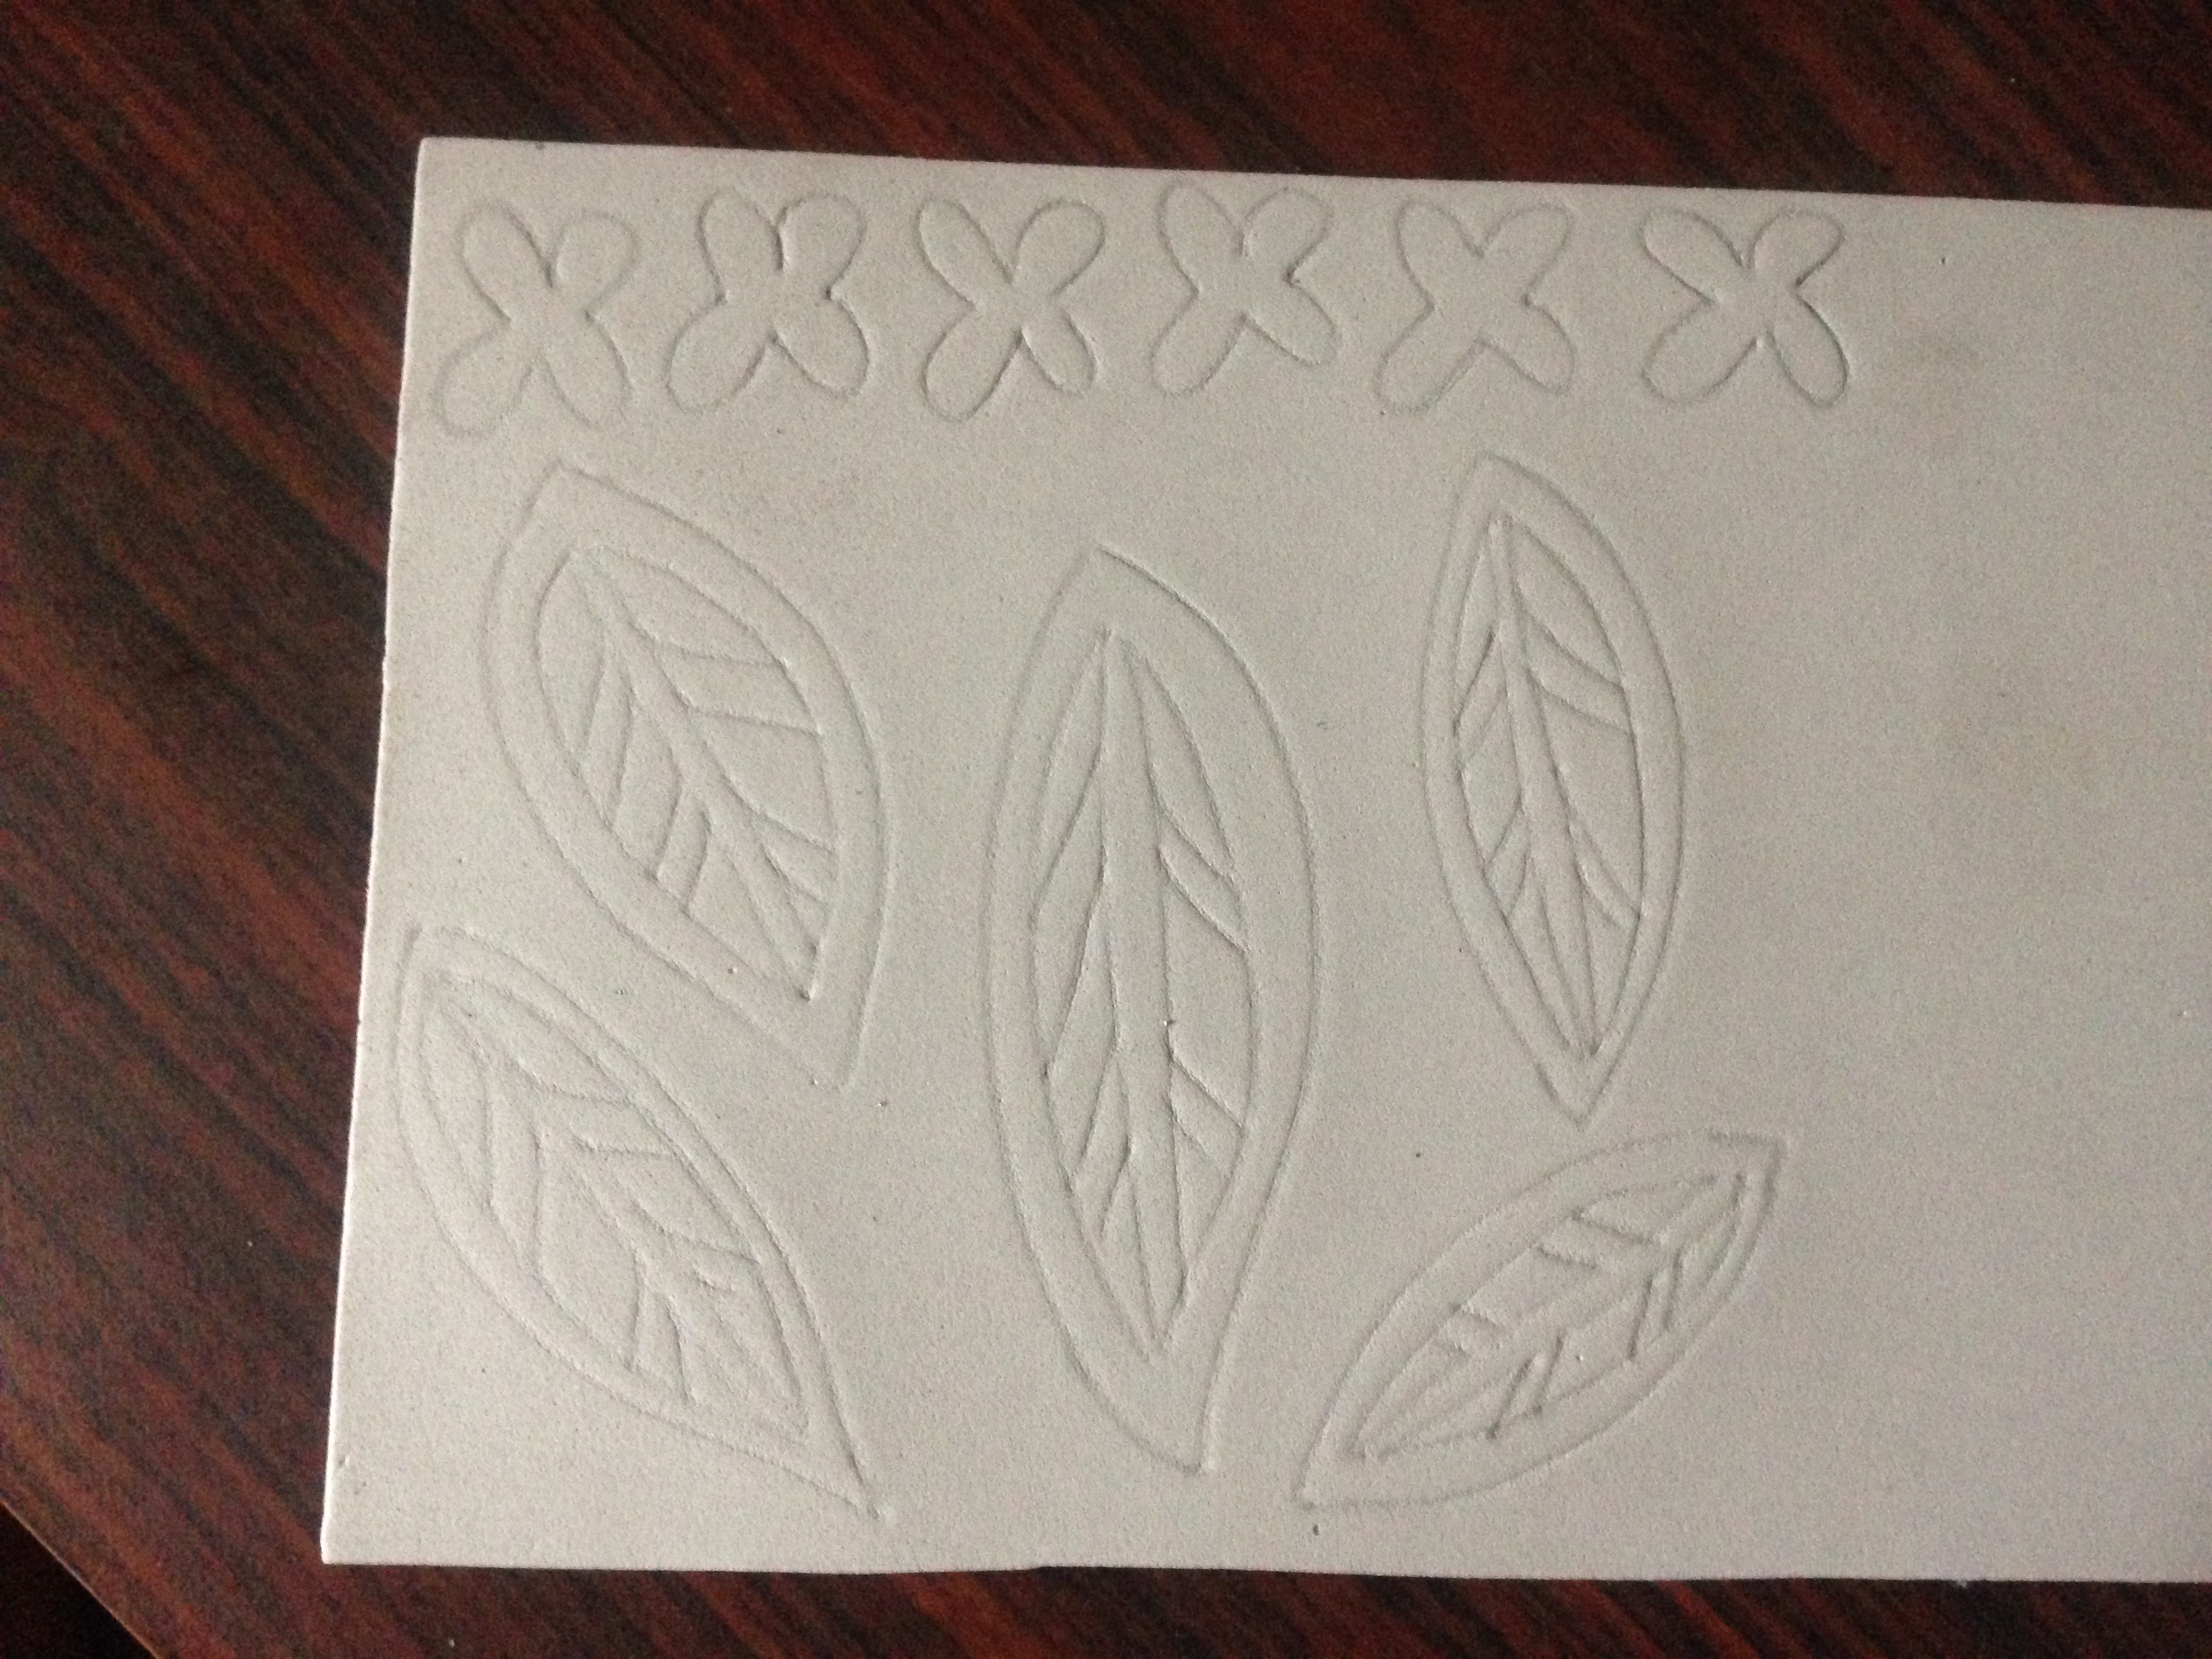
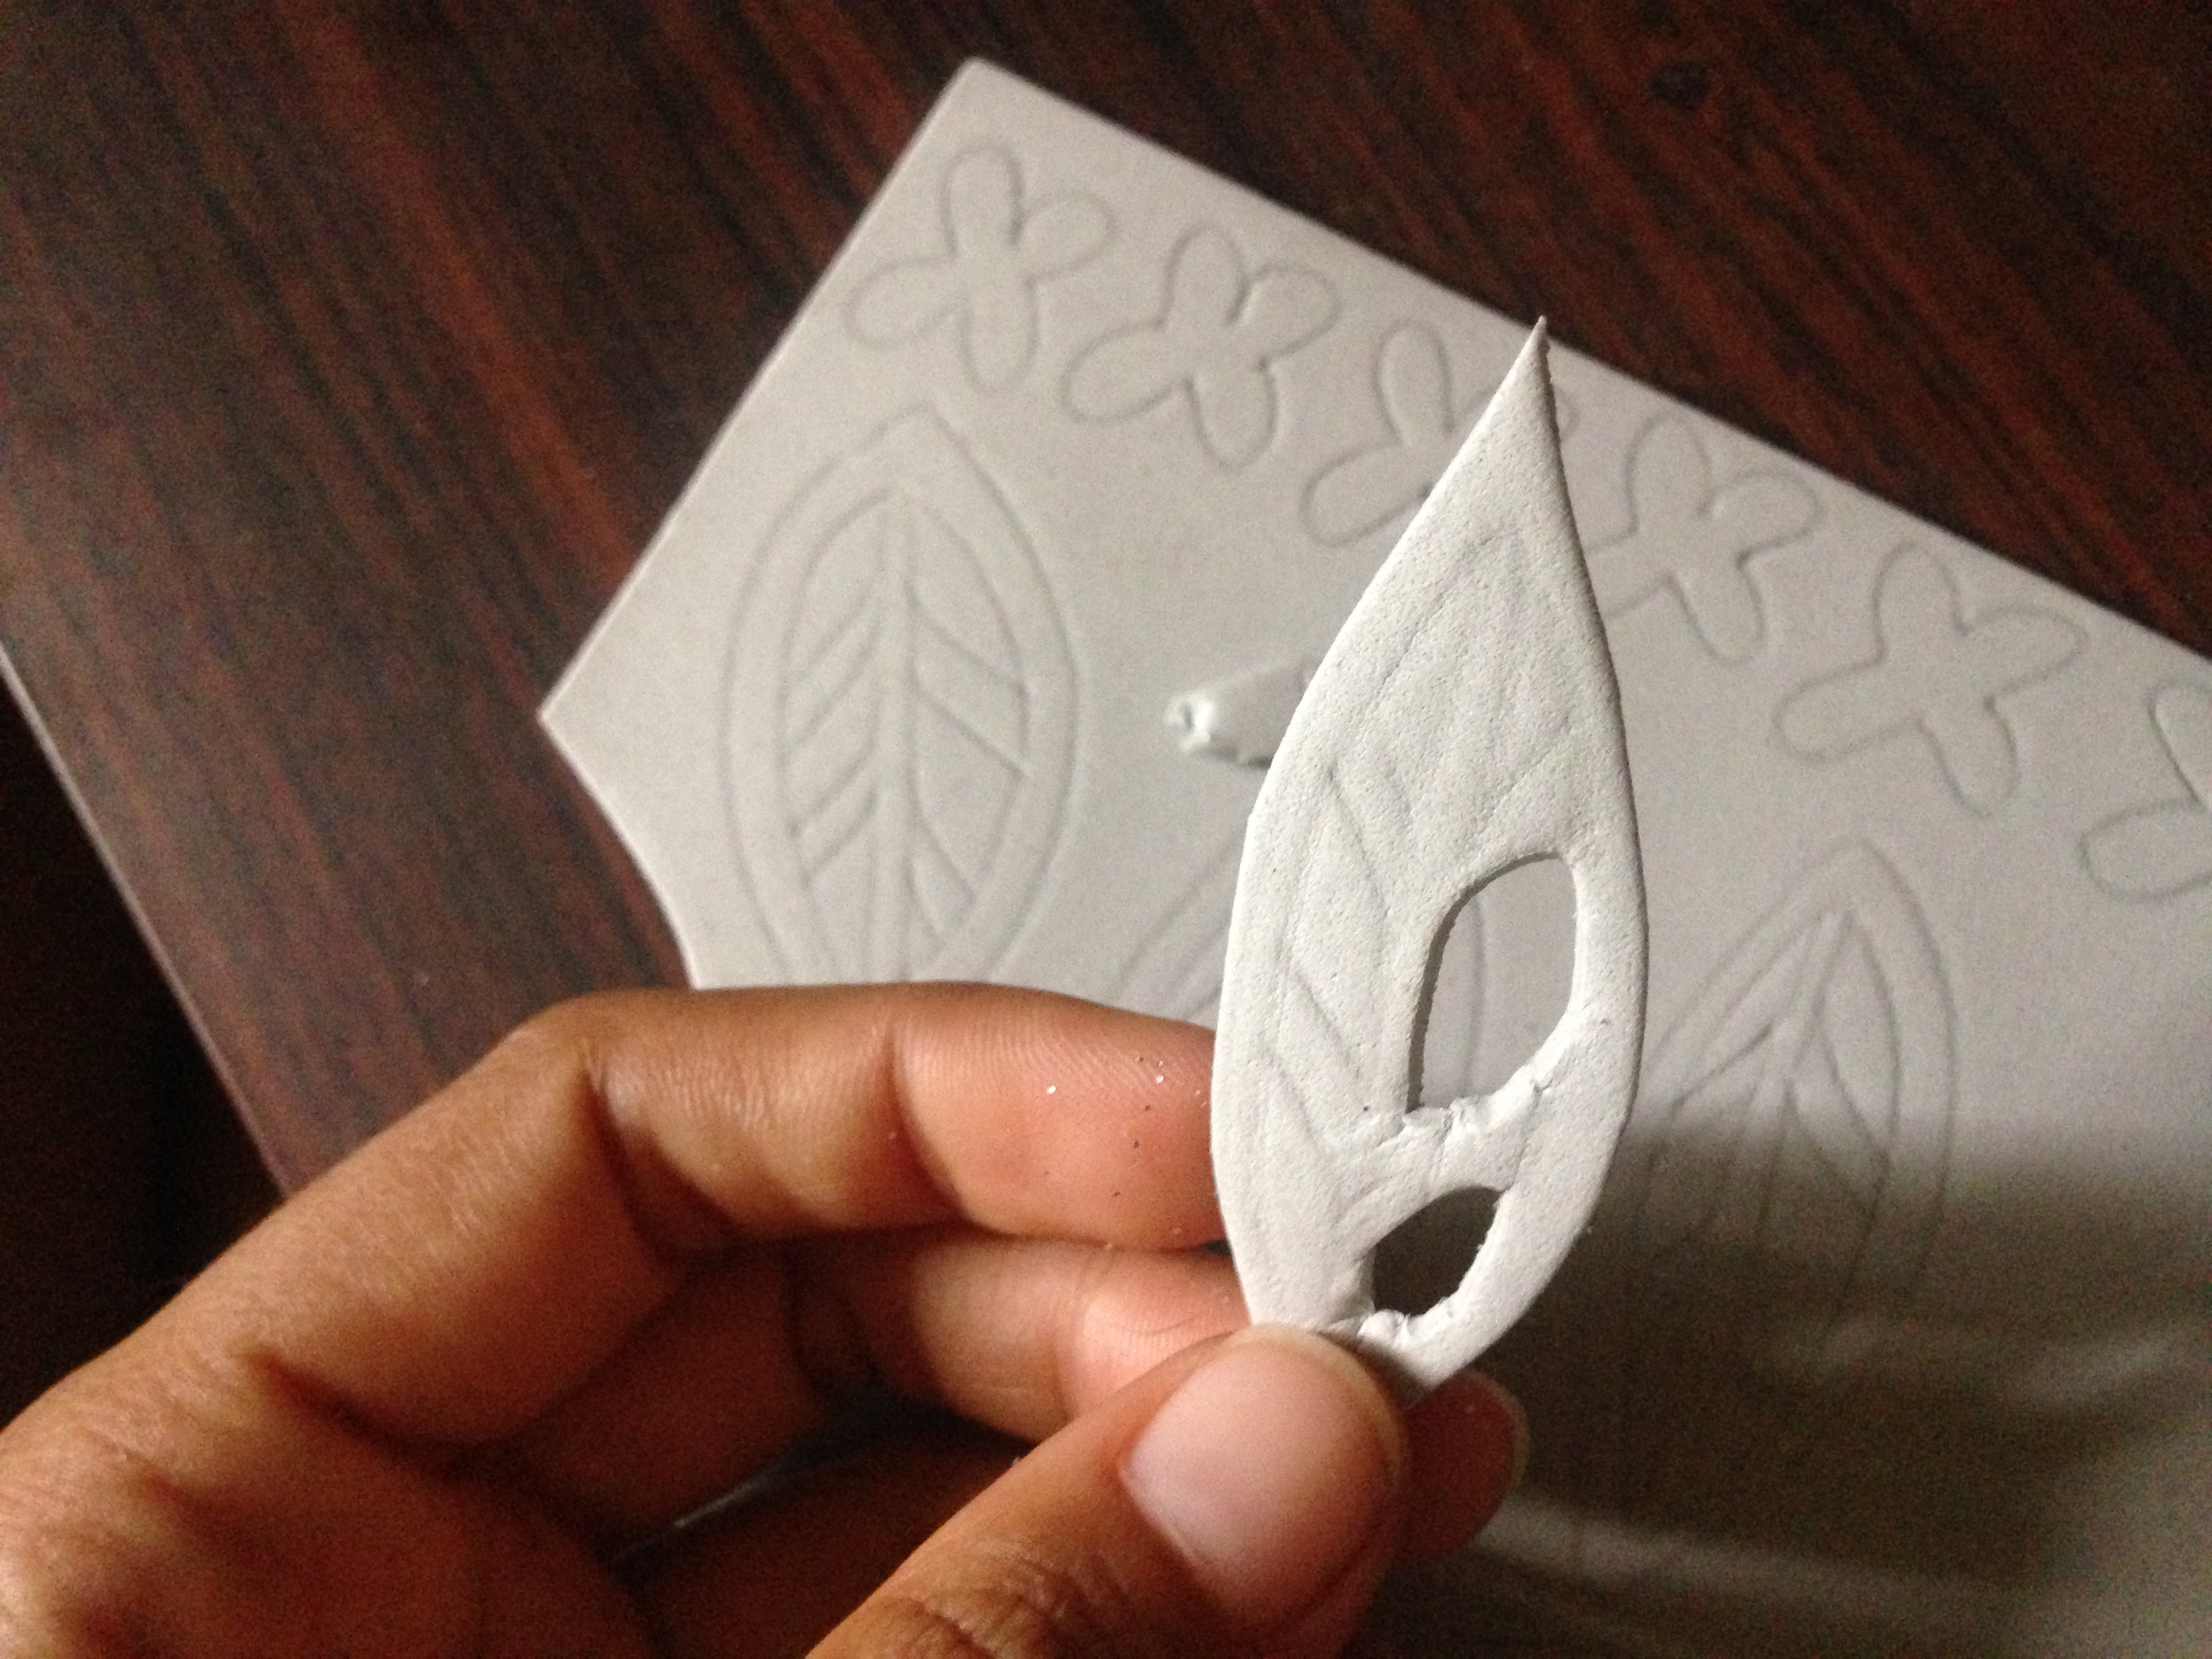
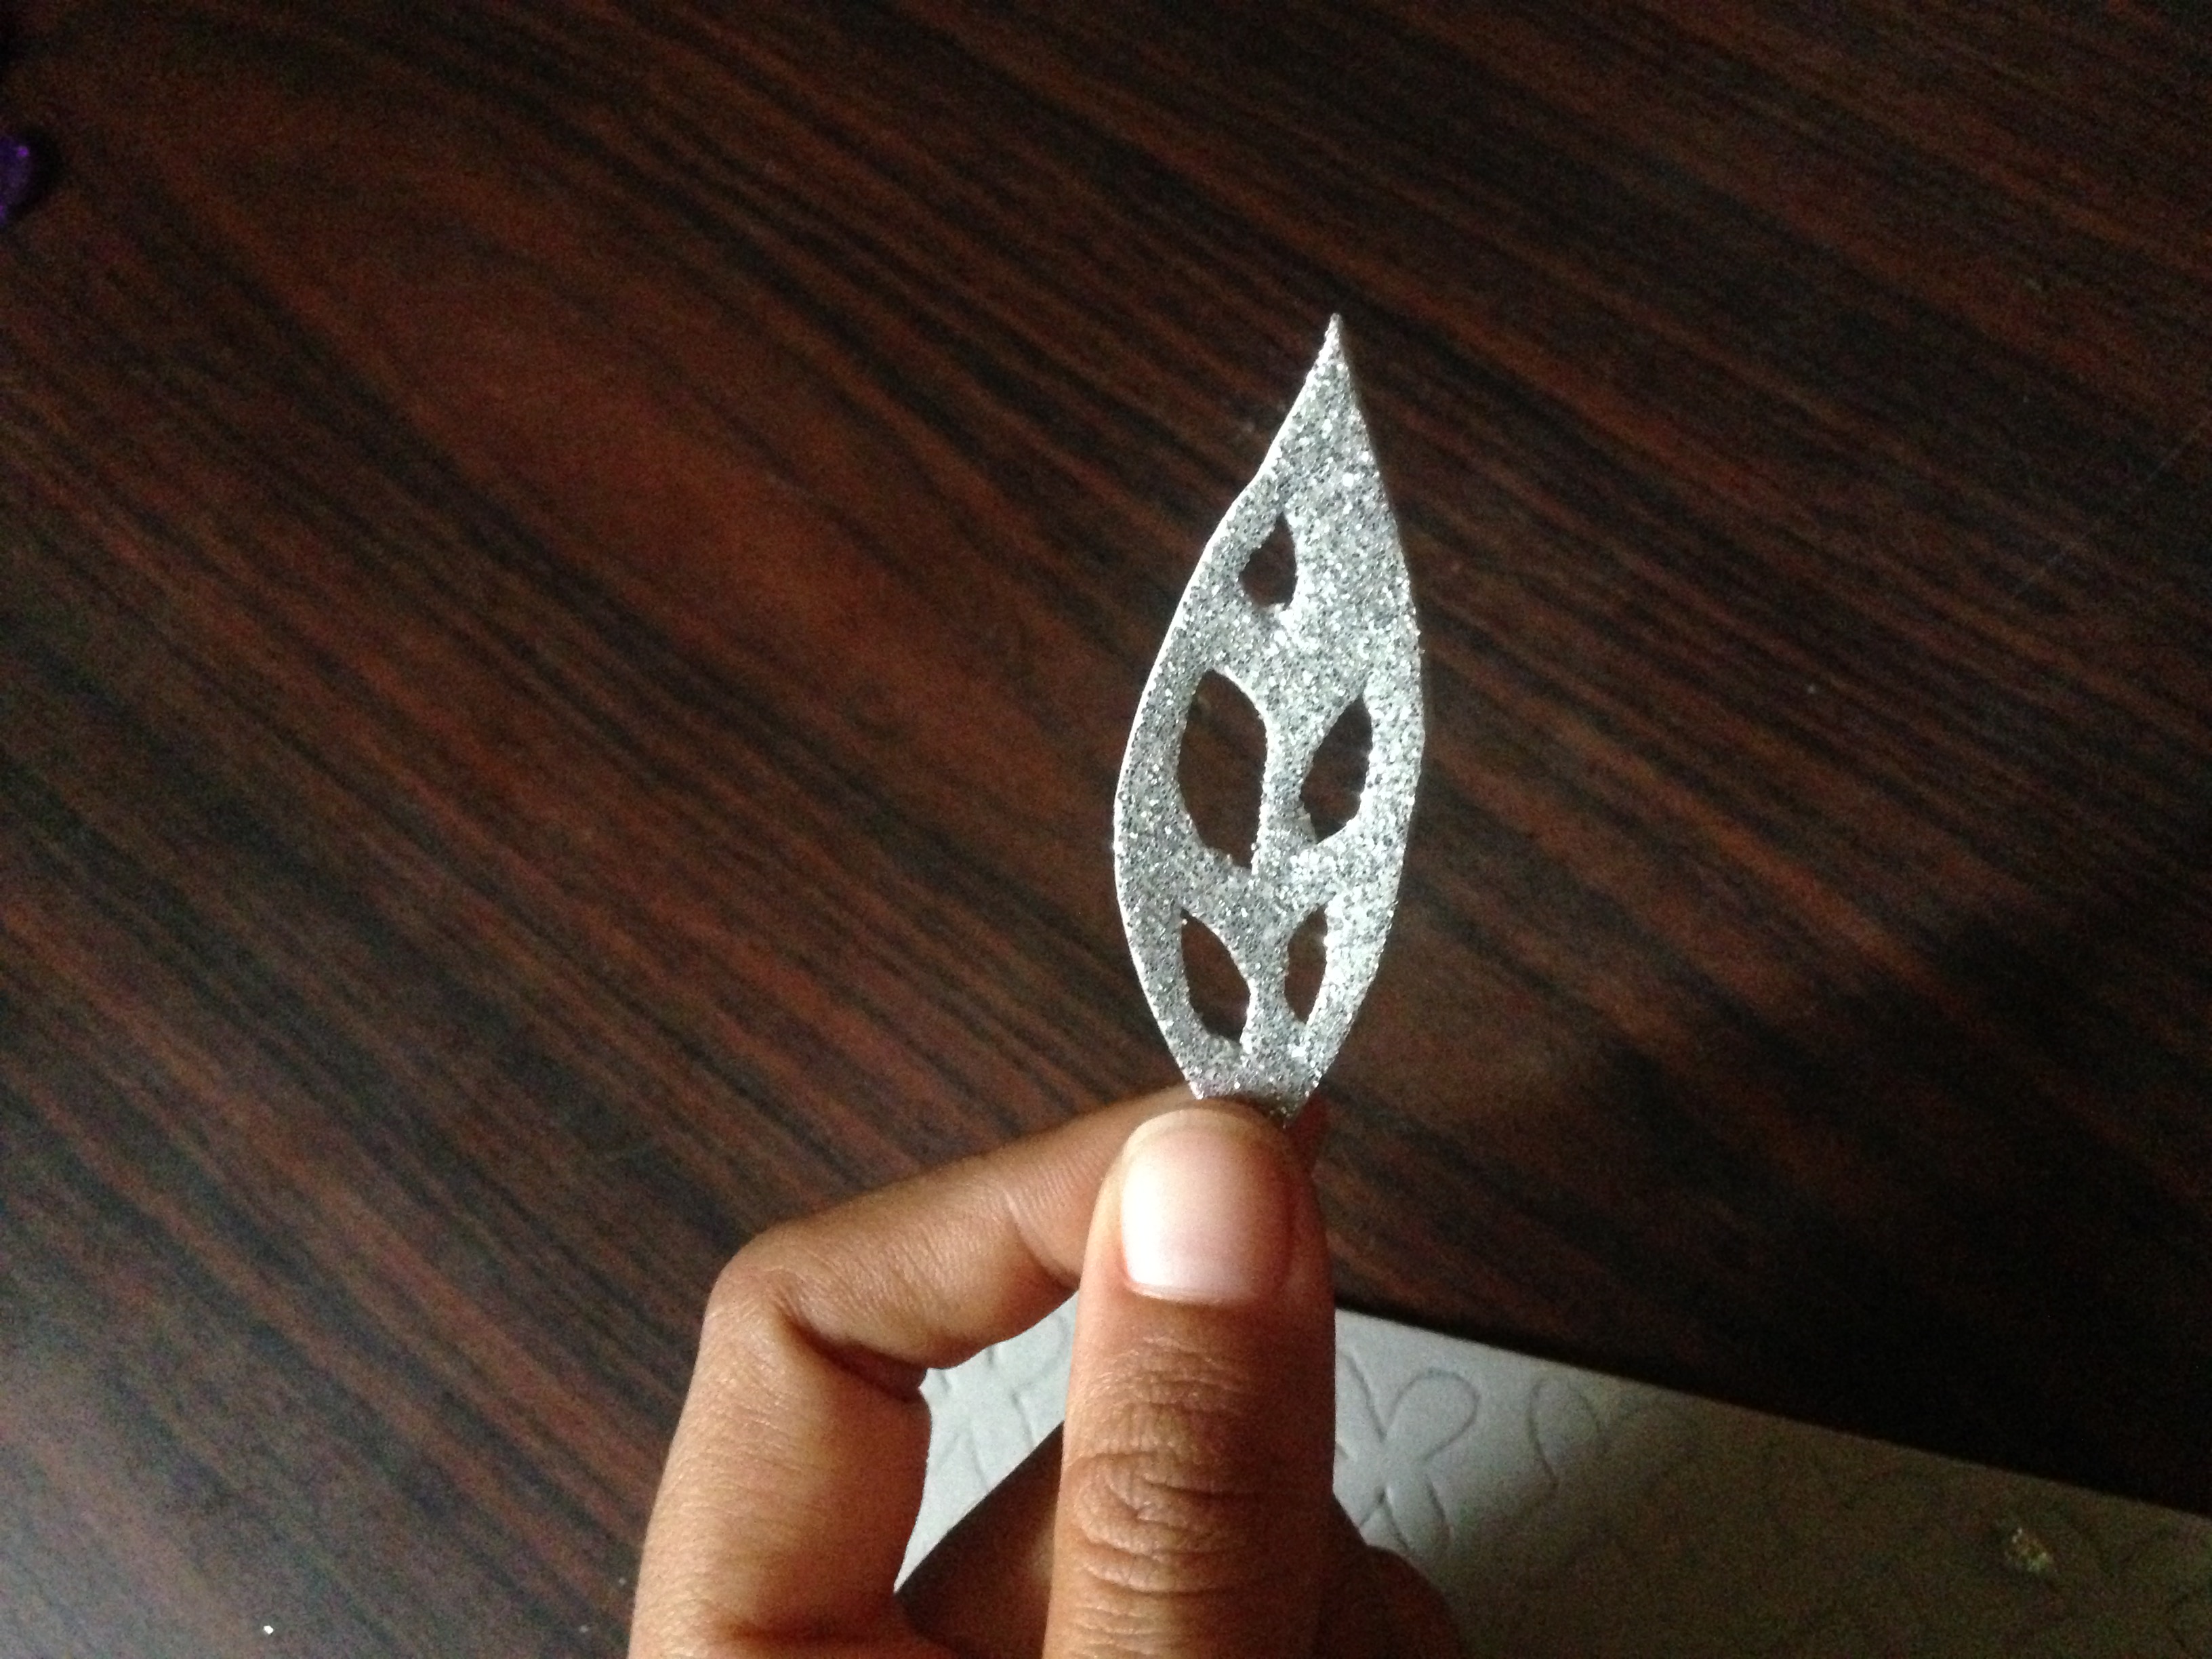
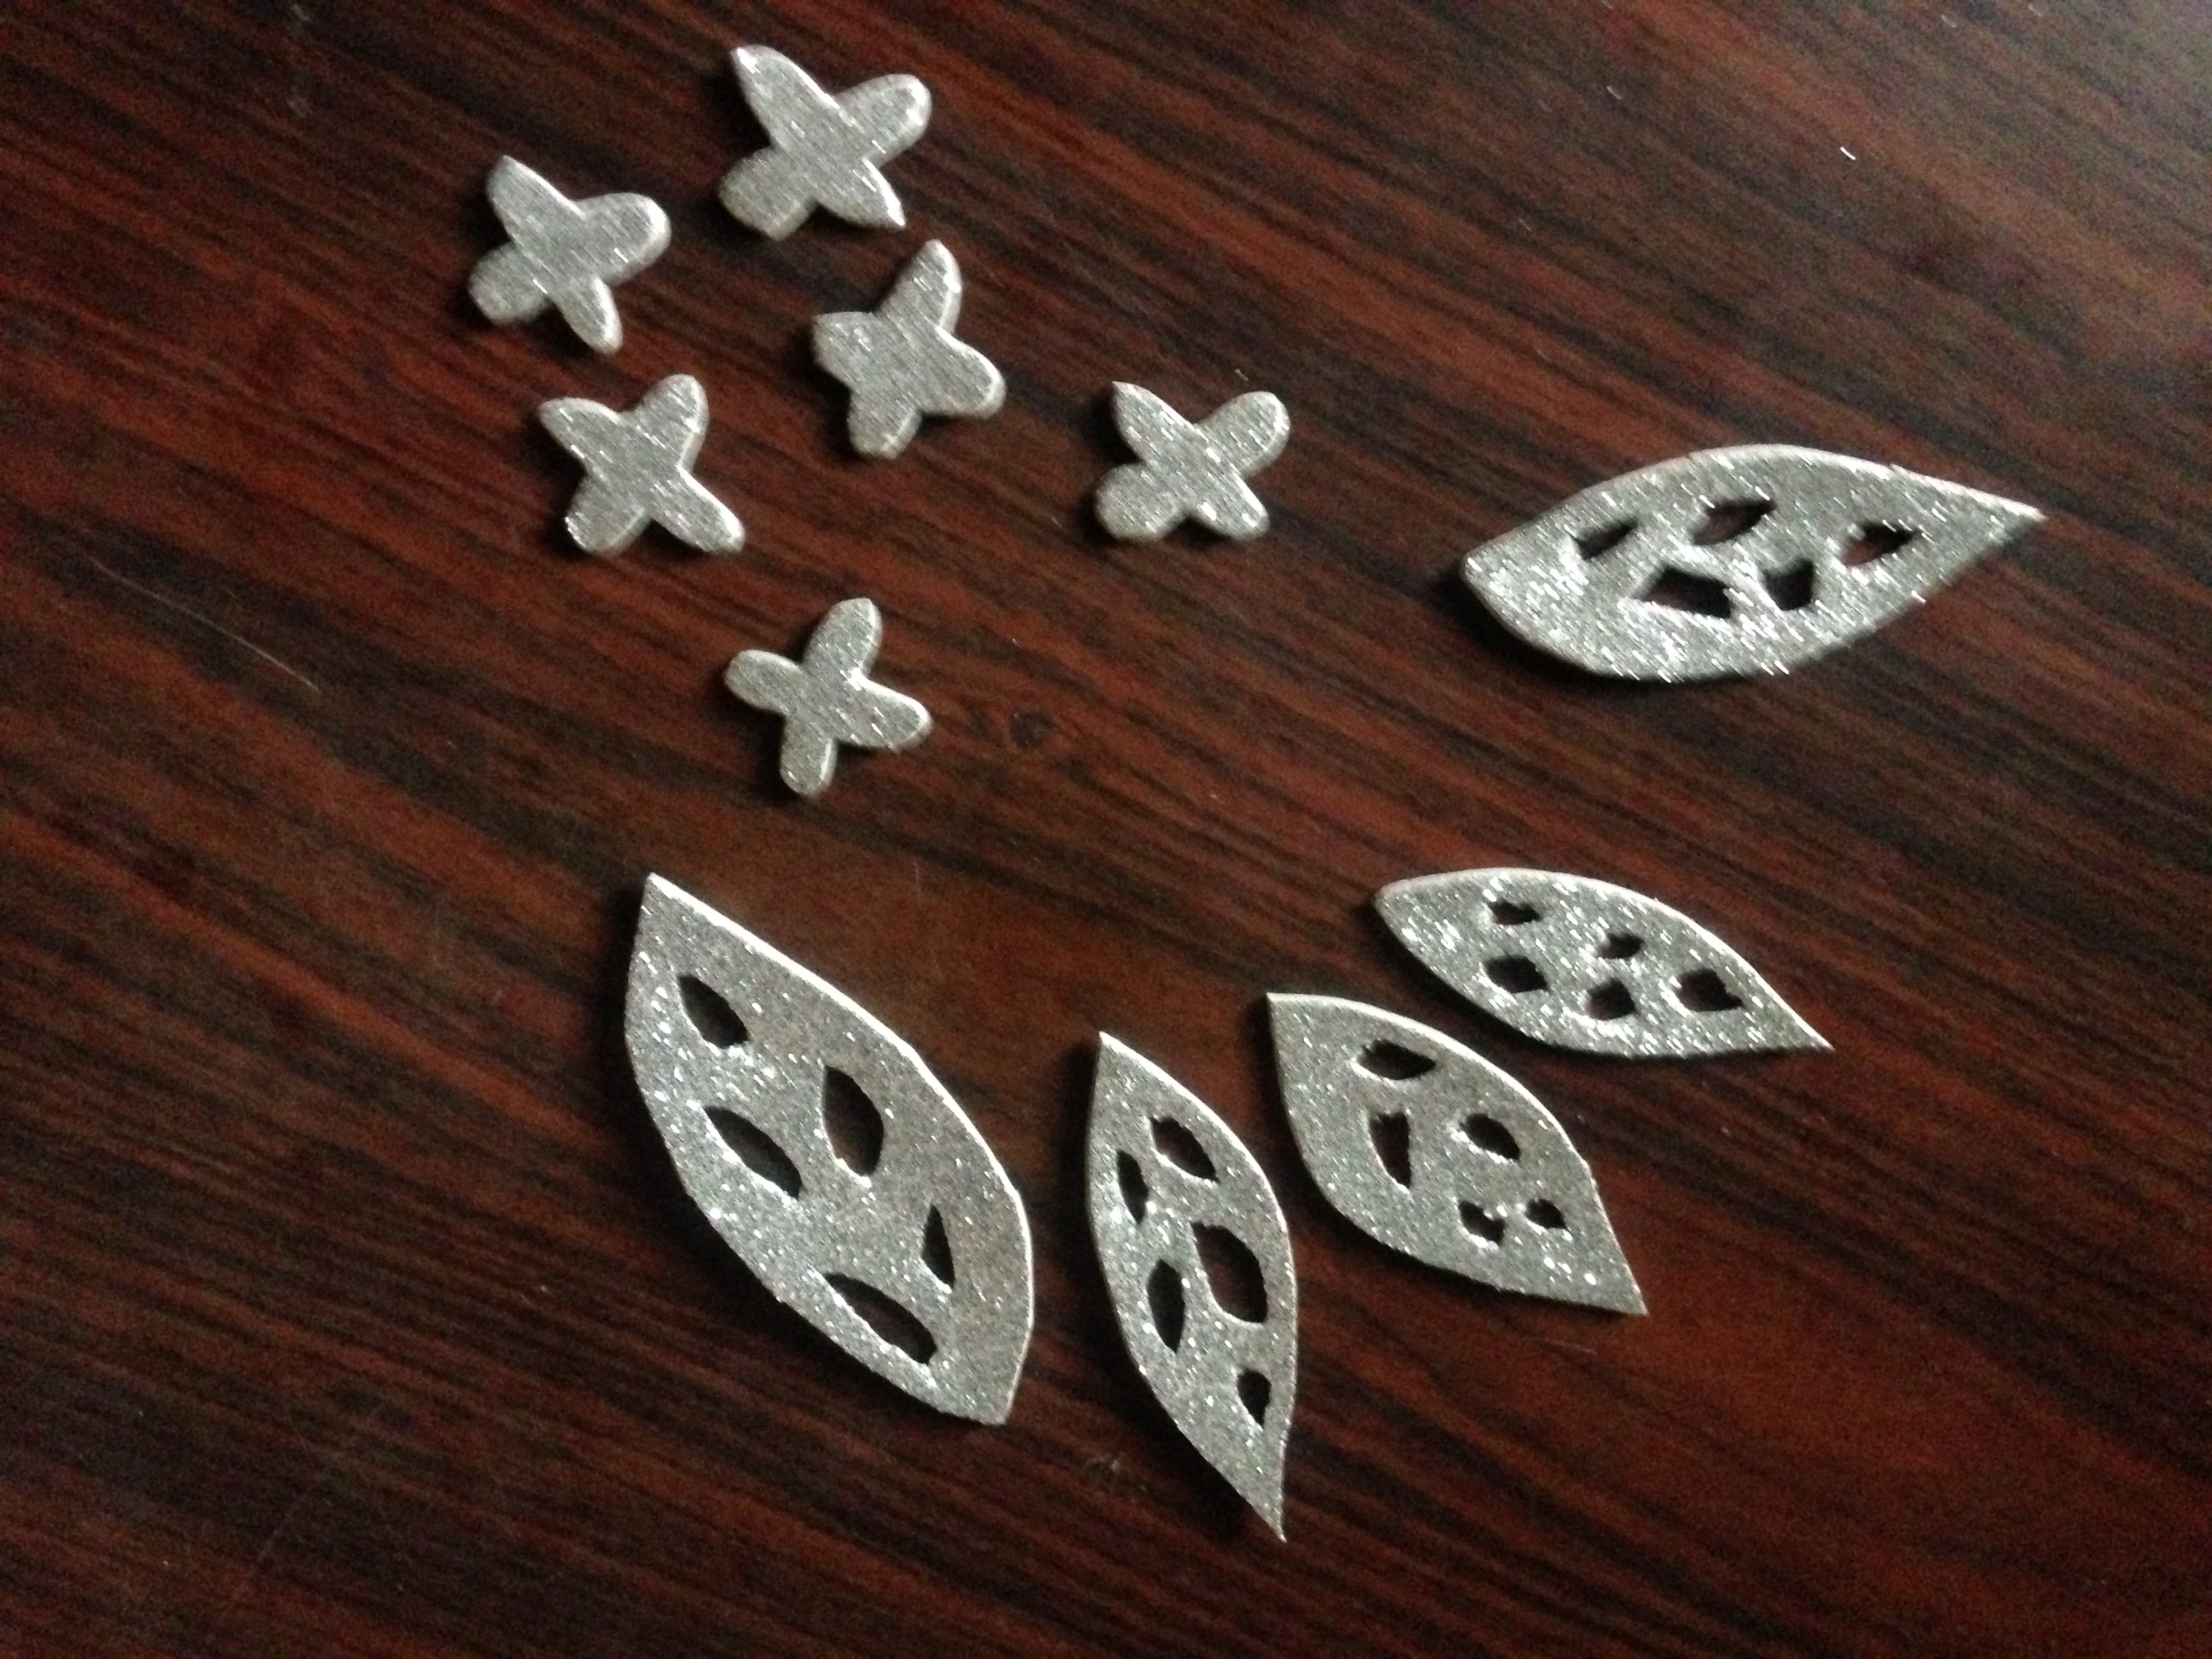
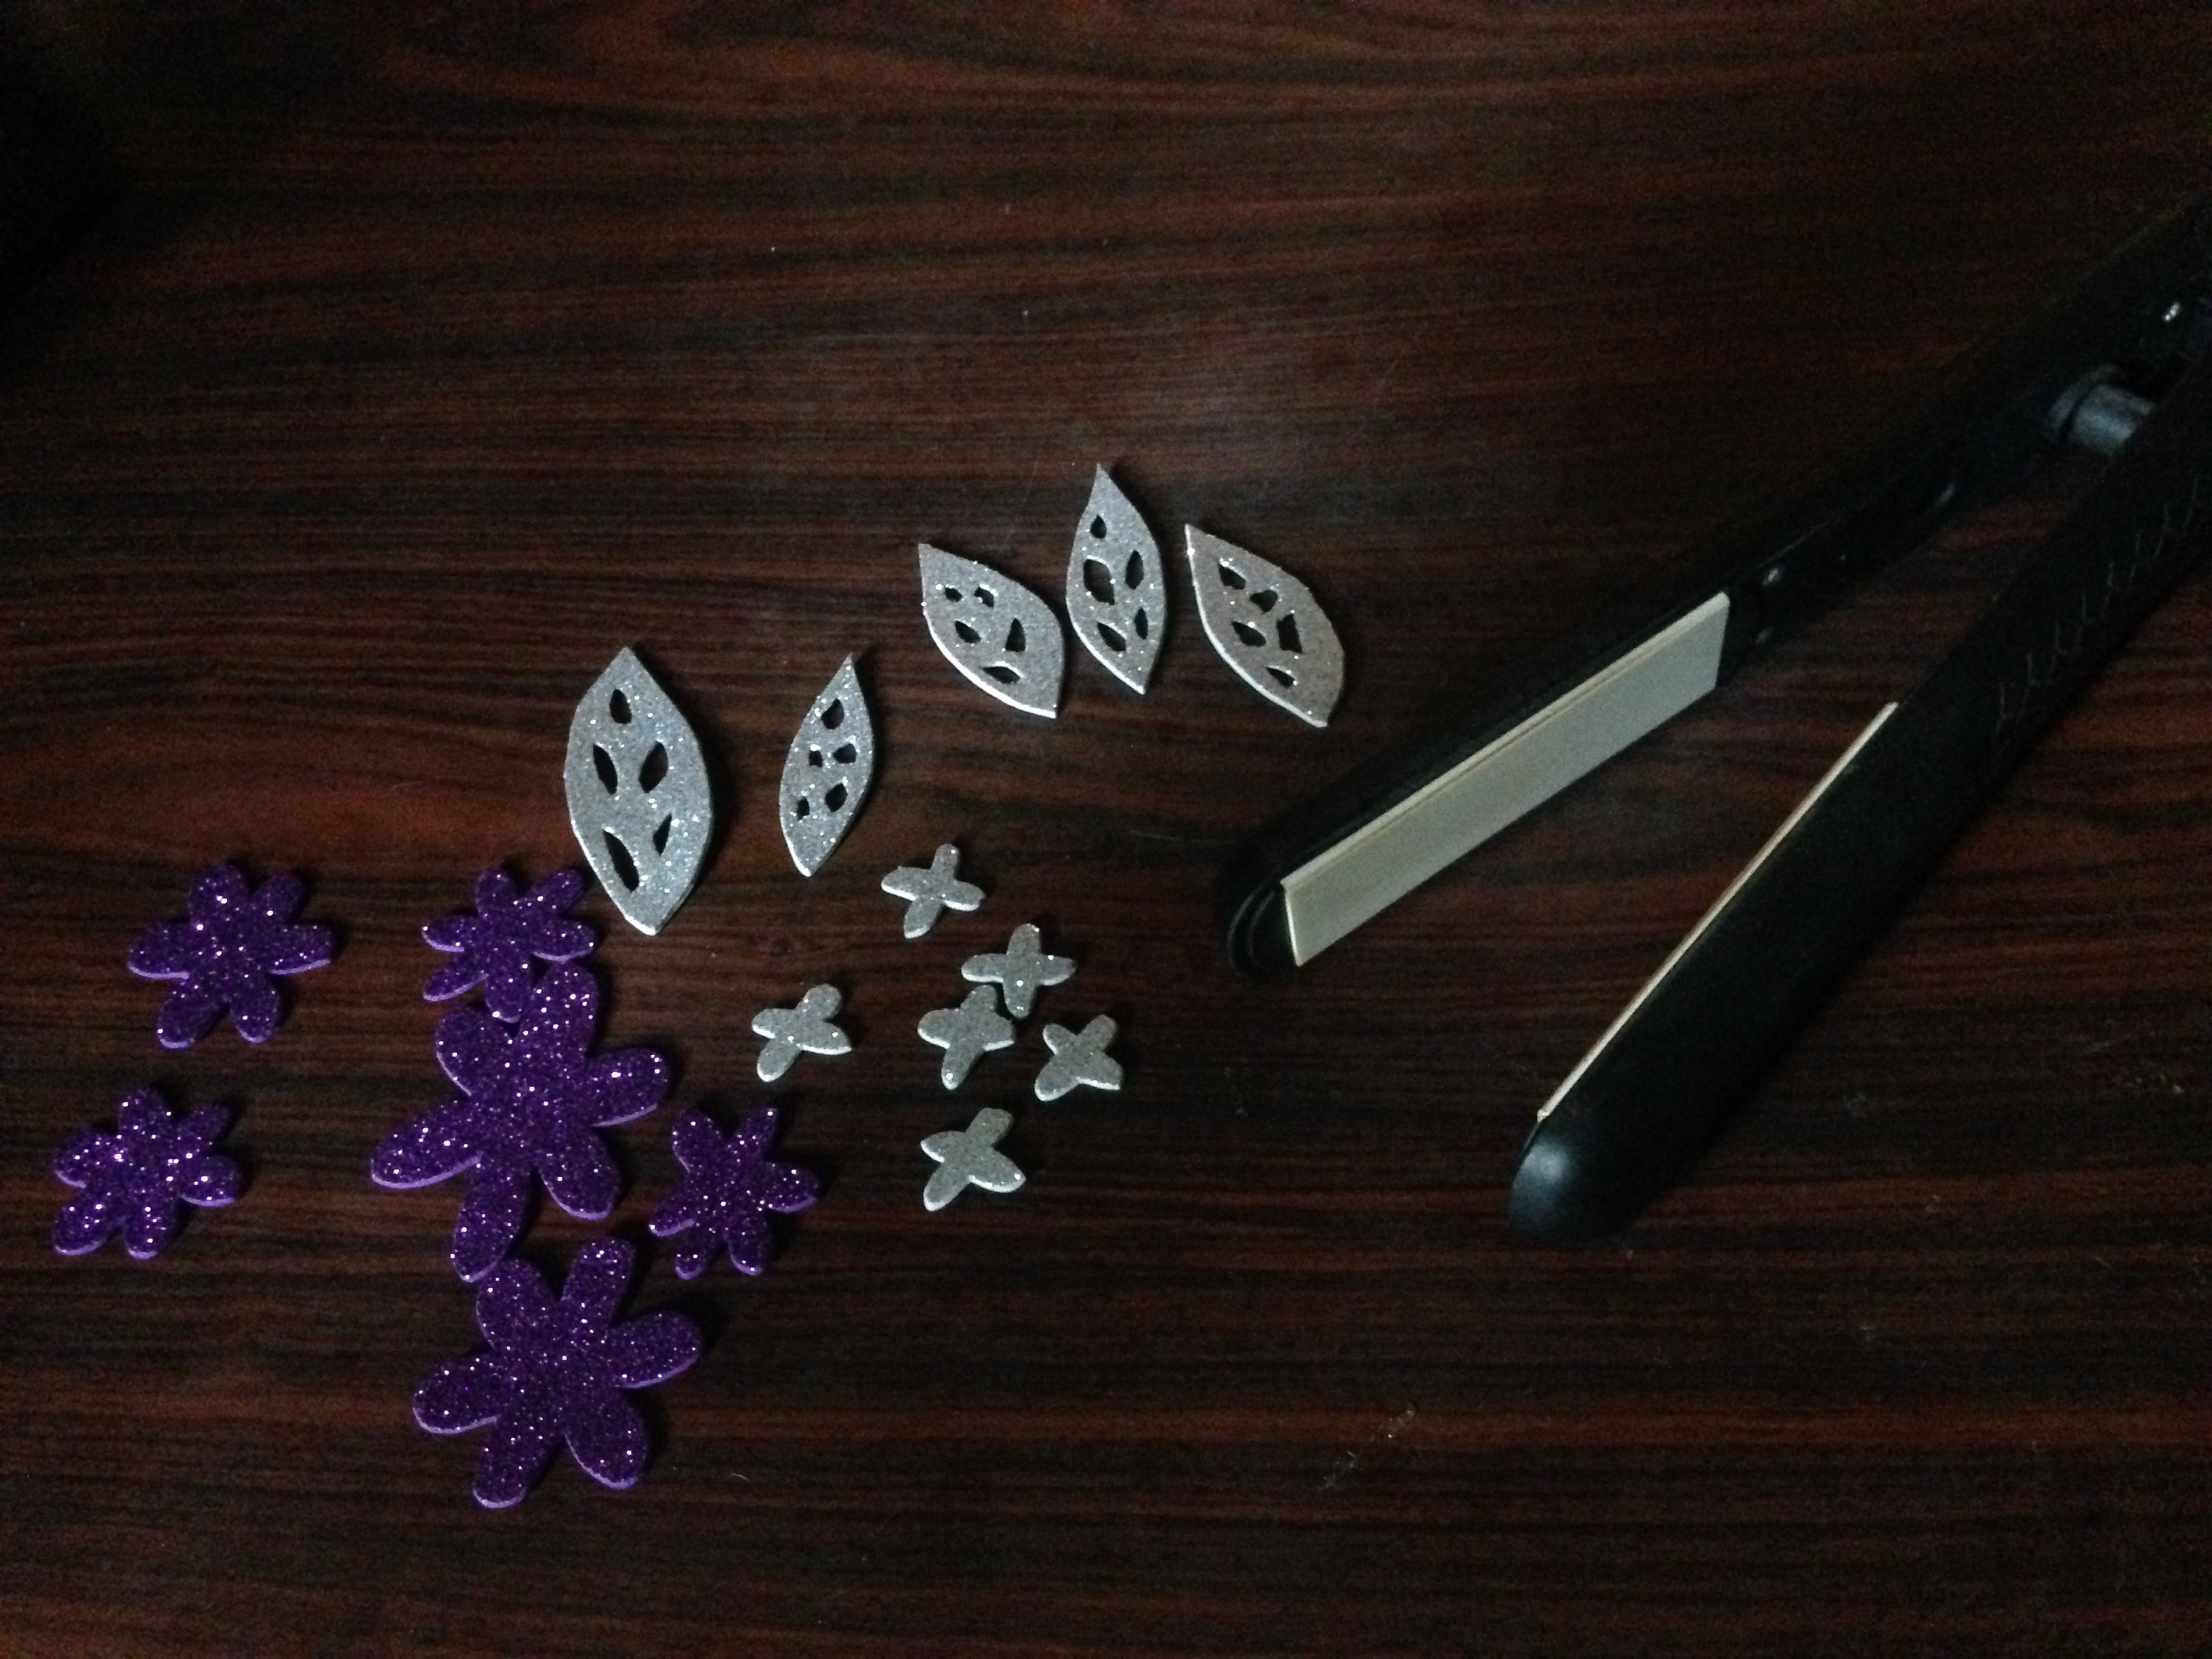
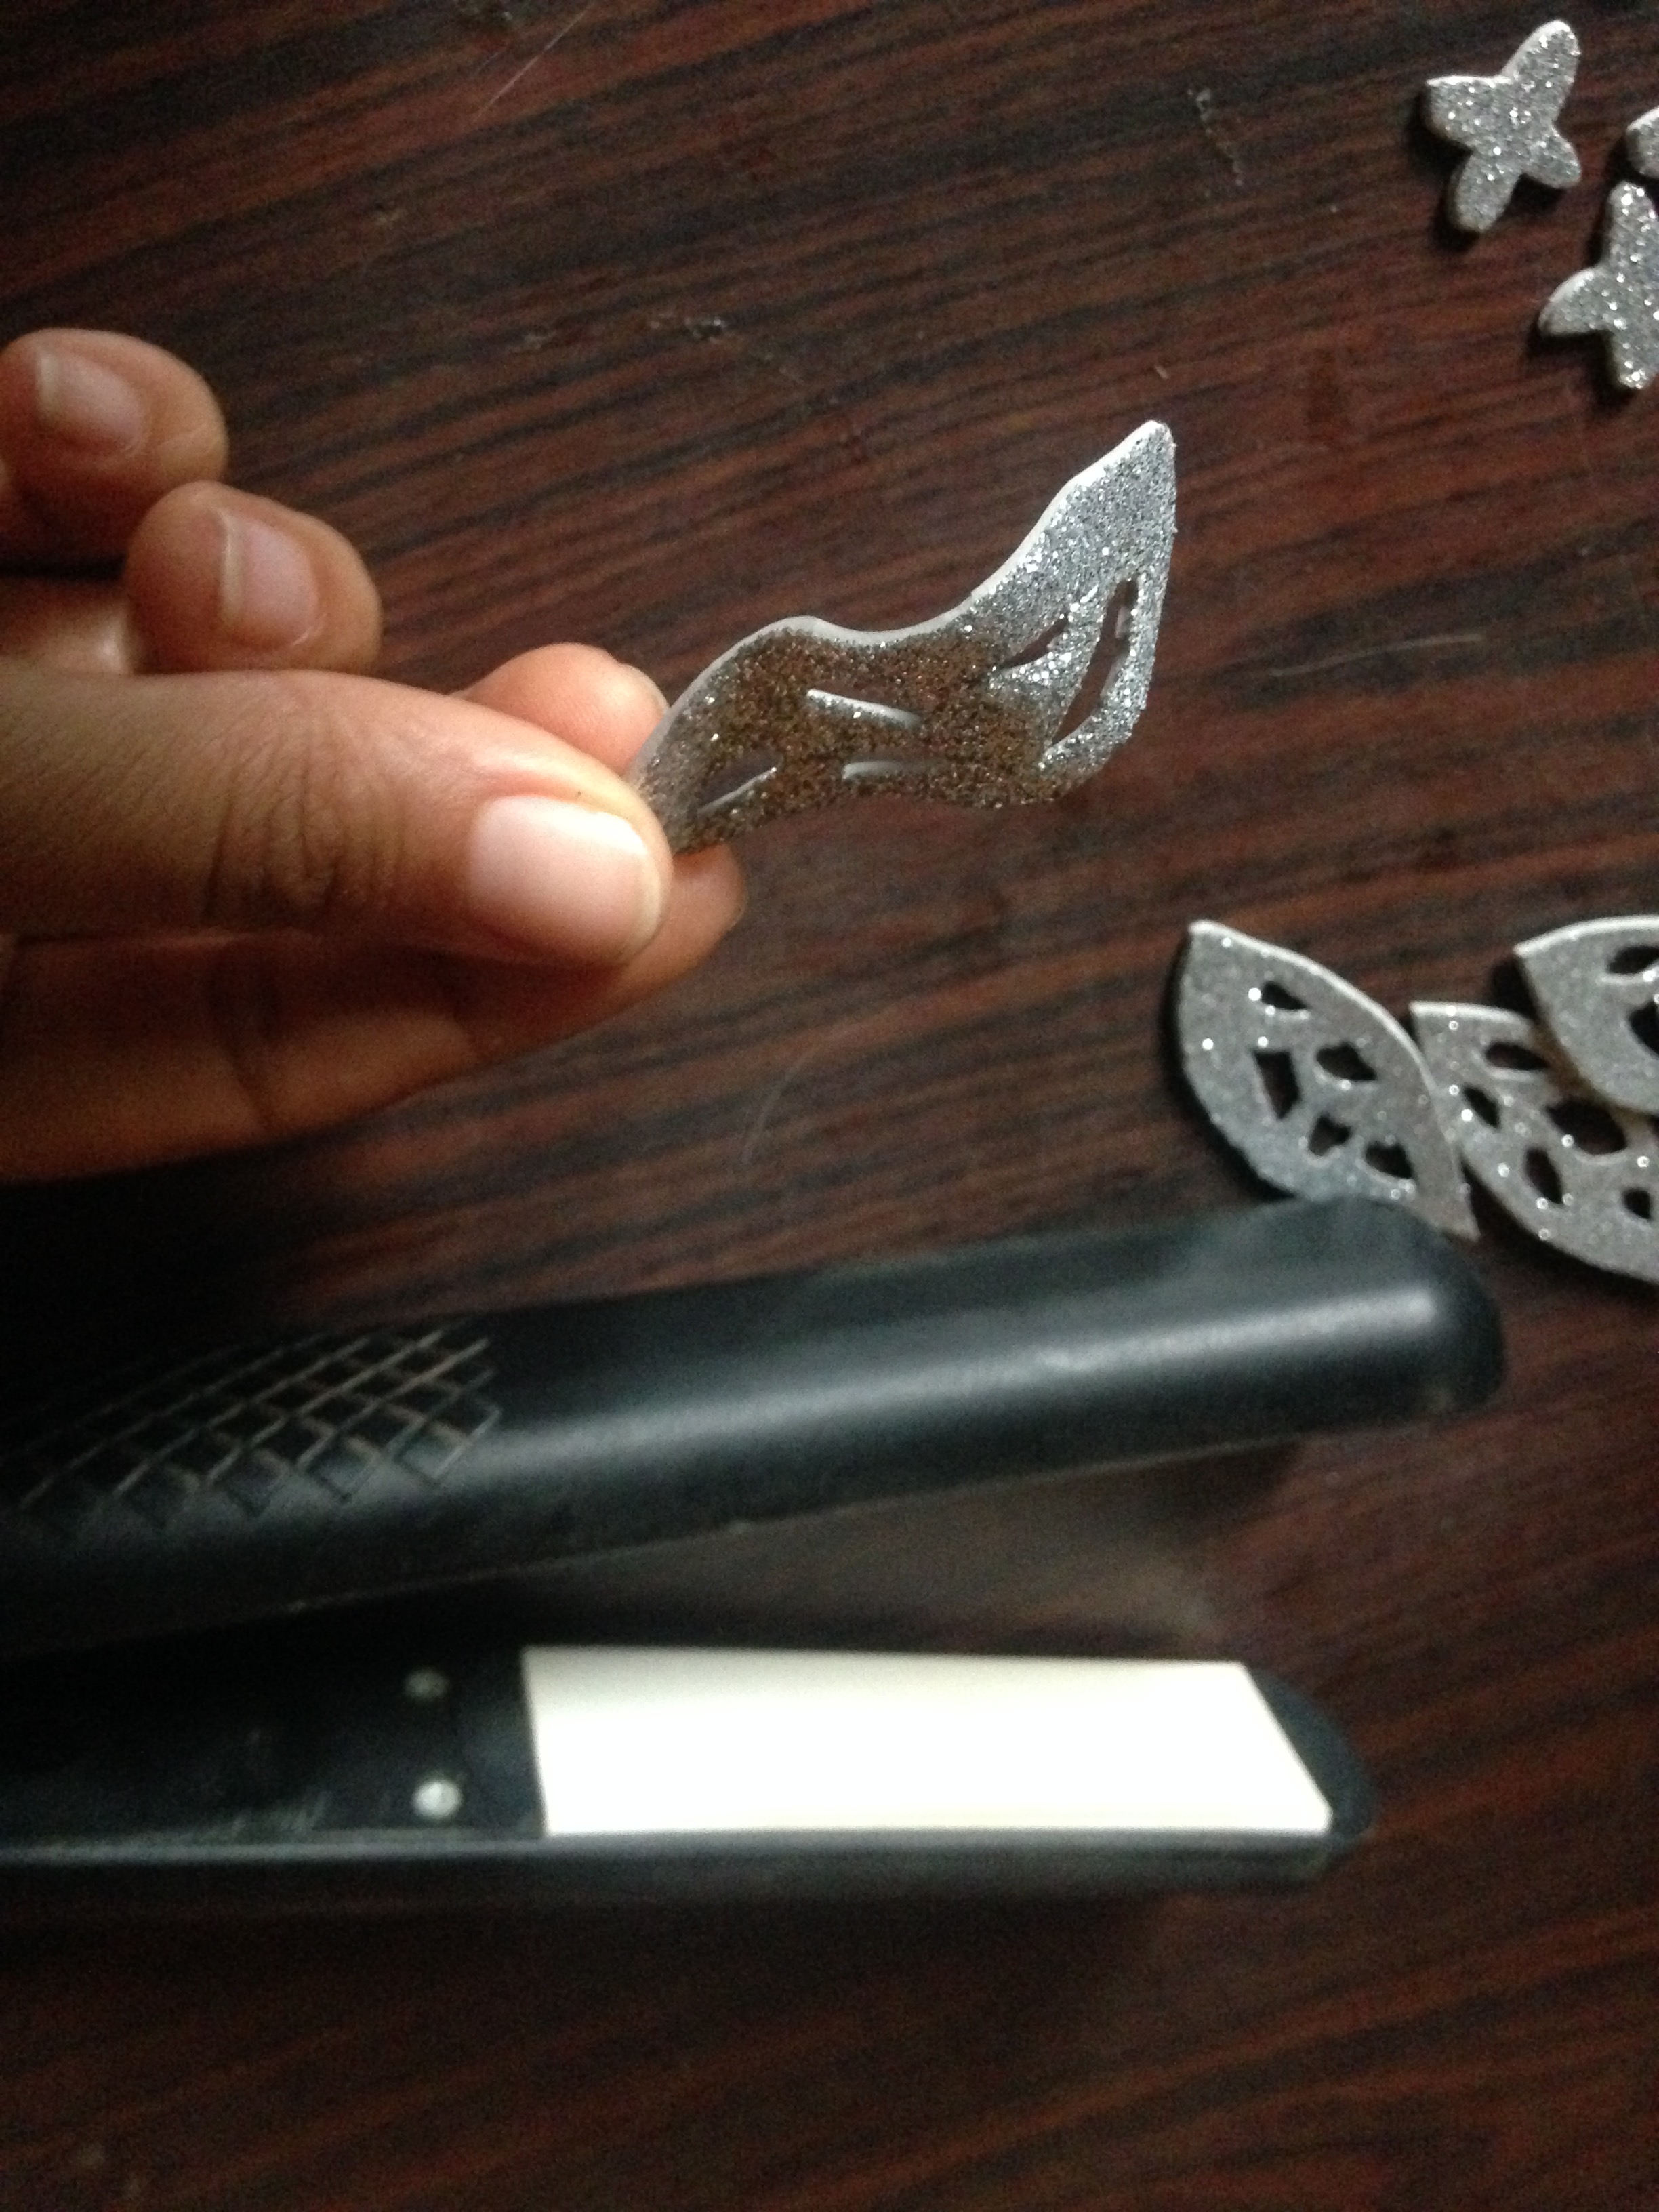
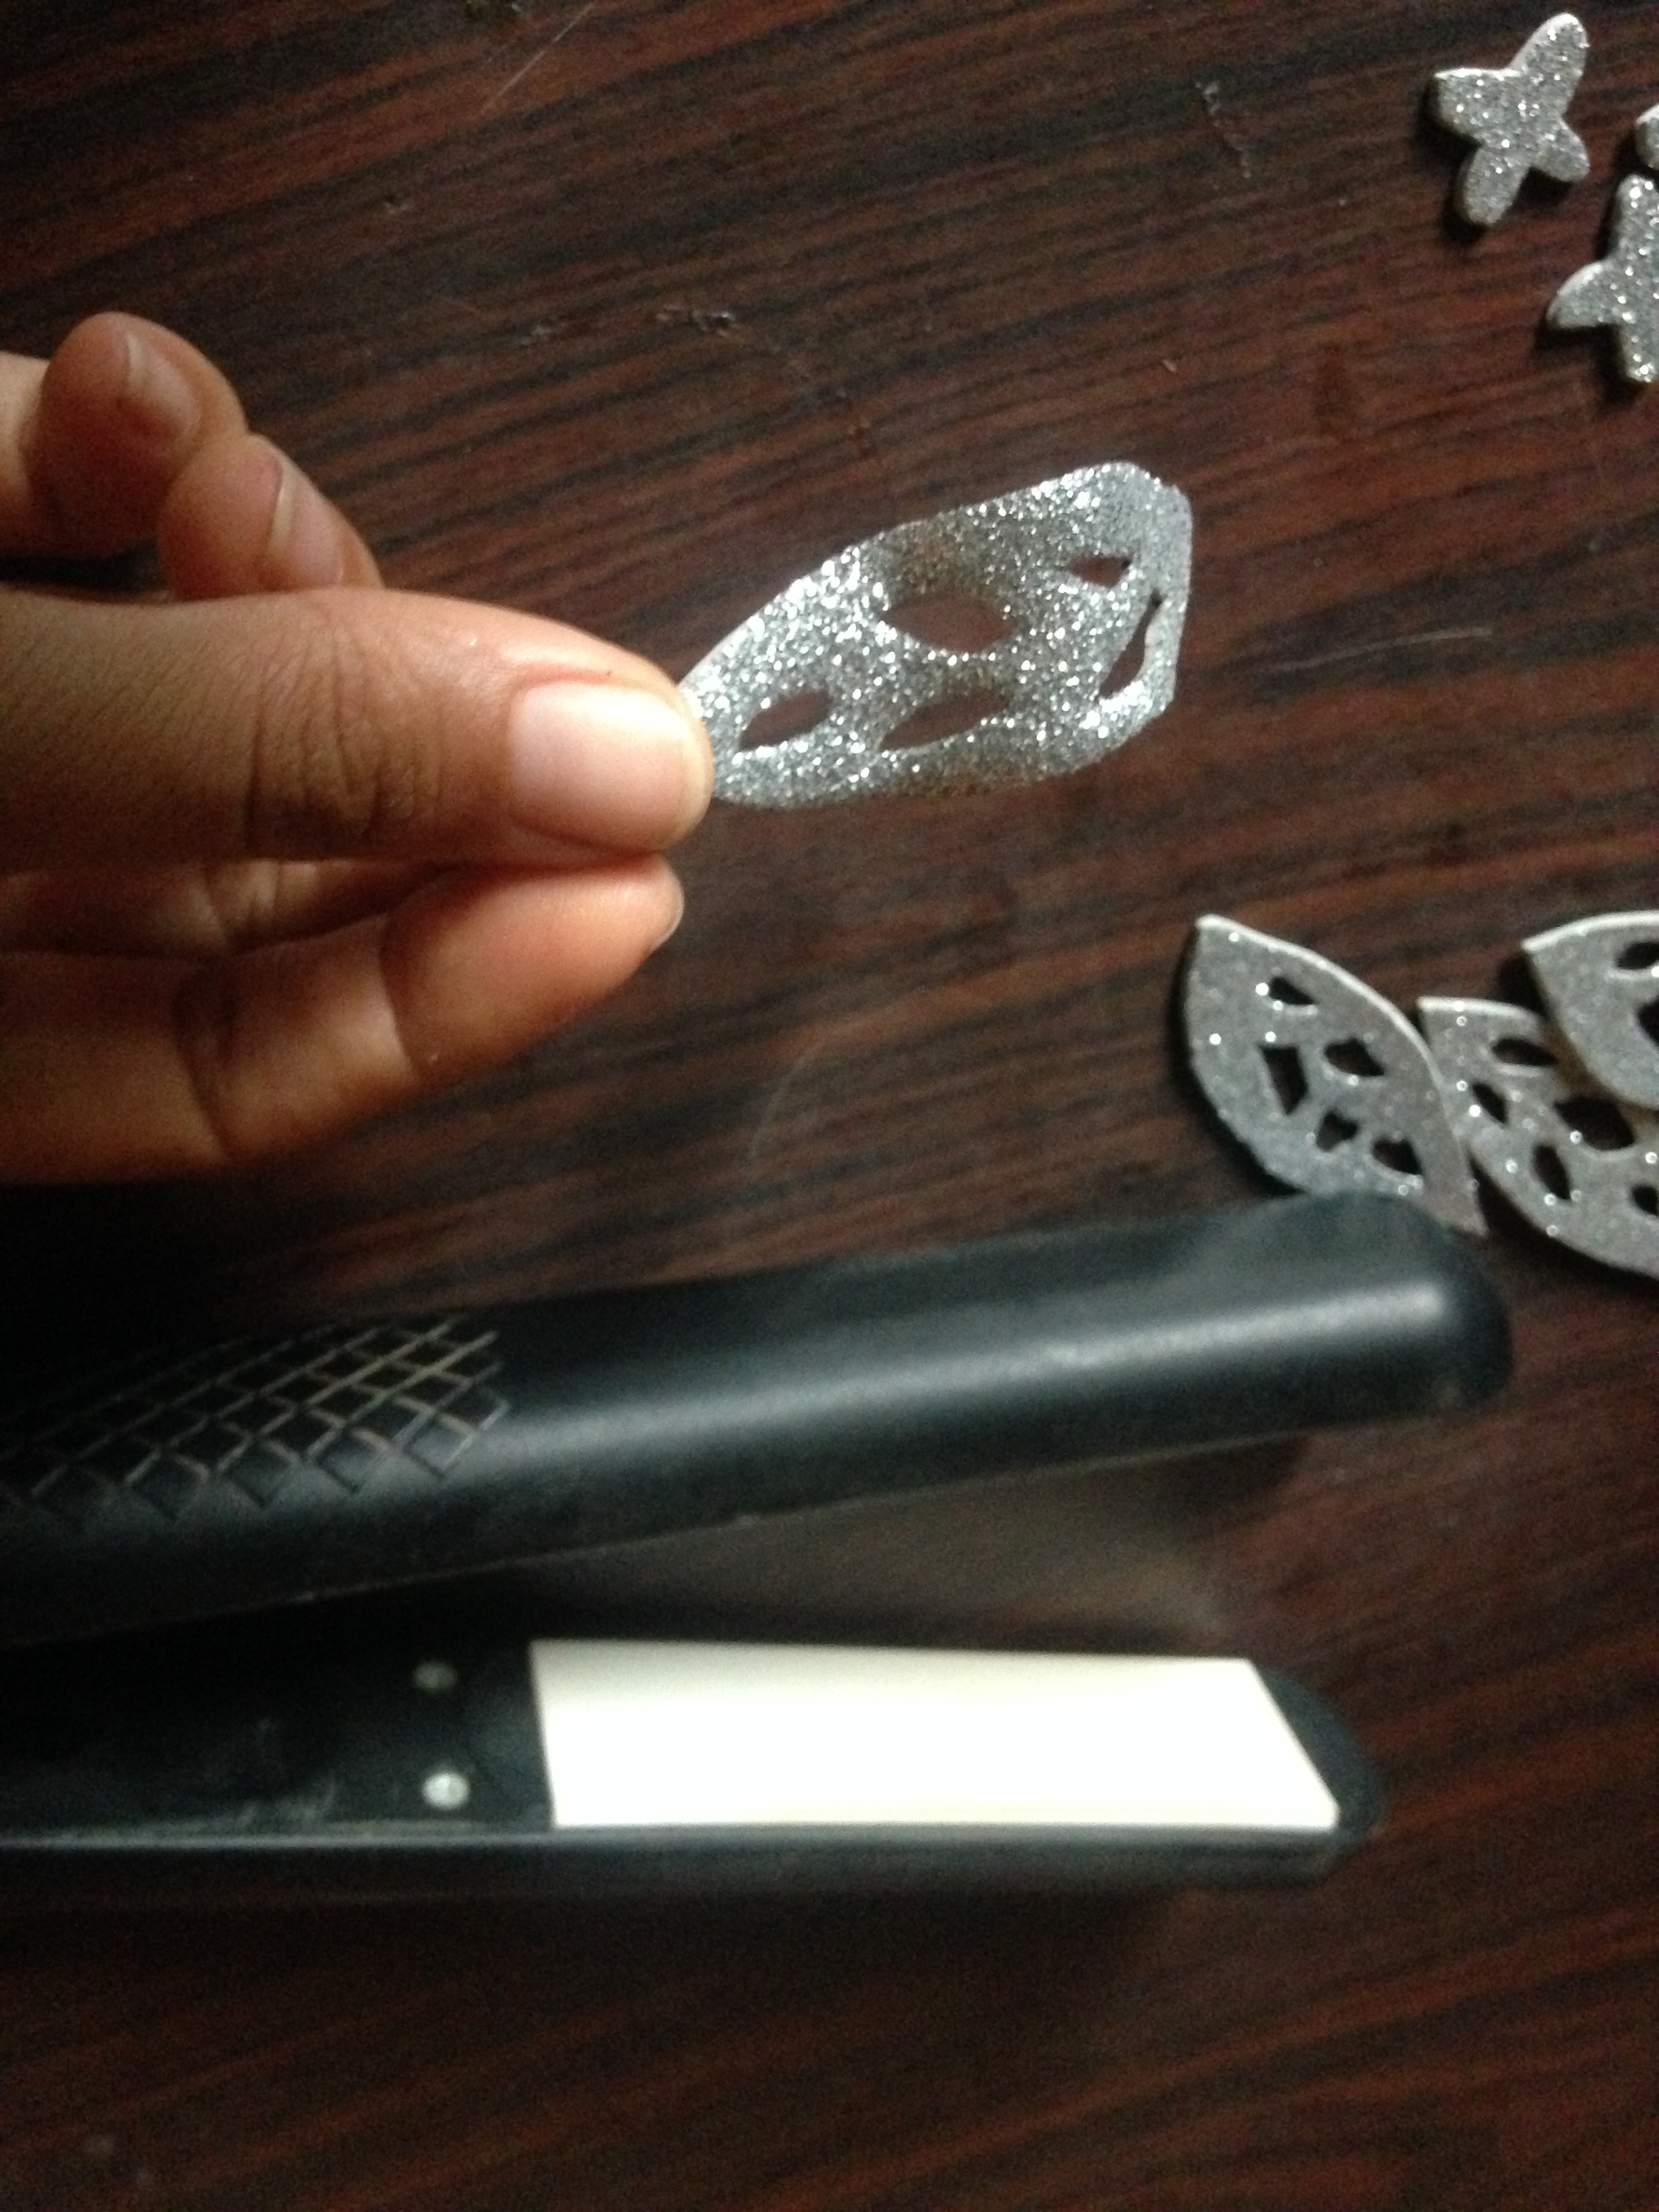
Paso 4
En el foamy morado vamos a dibujar 6 flores de diferentes tamaños, las cuales recortaremos, luego en el foamy plateado dibujaremos 6 flores mas pero pequeñas y después las recortamos, y haremos también 5 hojas las cuales recortaremos por dentro para darles una forma bonita
Step 4
In the purple foamy we are going to draw 6 flowers of different sizes, which we will cut, then in the silver foamy we will draw 6 more but small flowers and then we cut them, and we will also make 5 leaves which we will cut inside to give them a beautiful shape

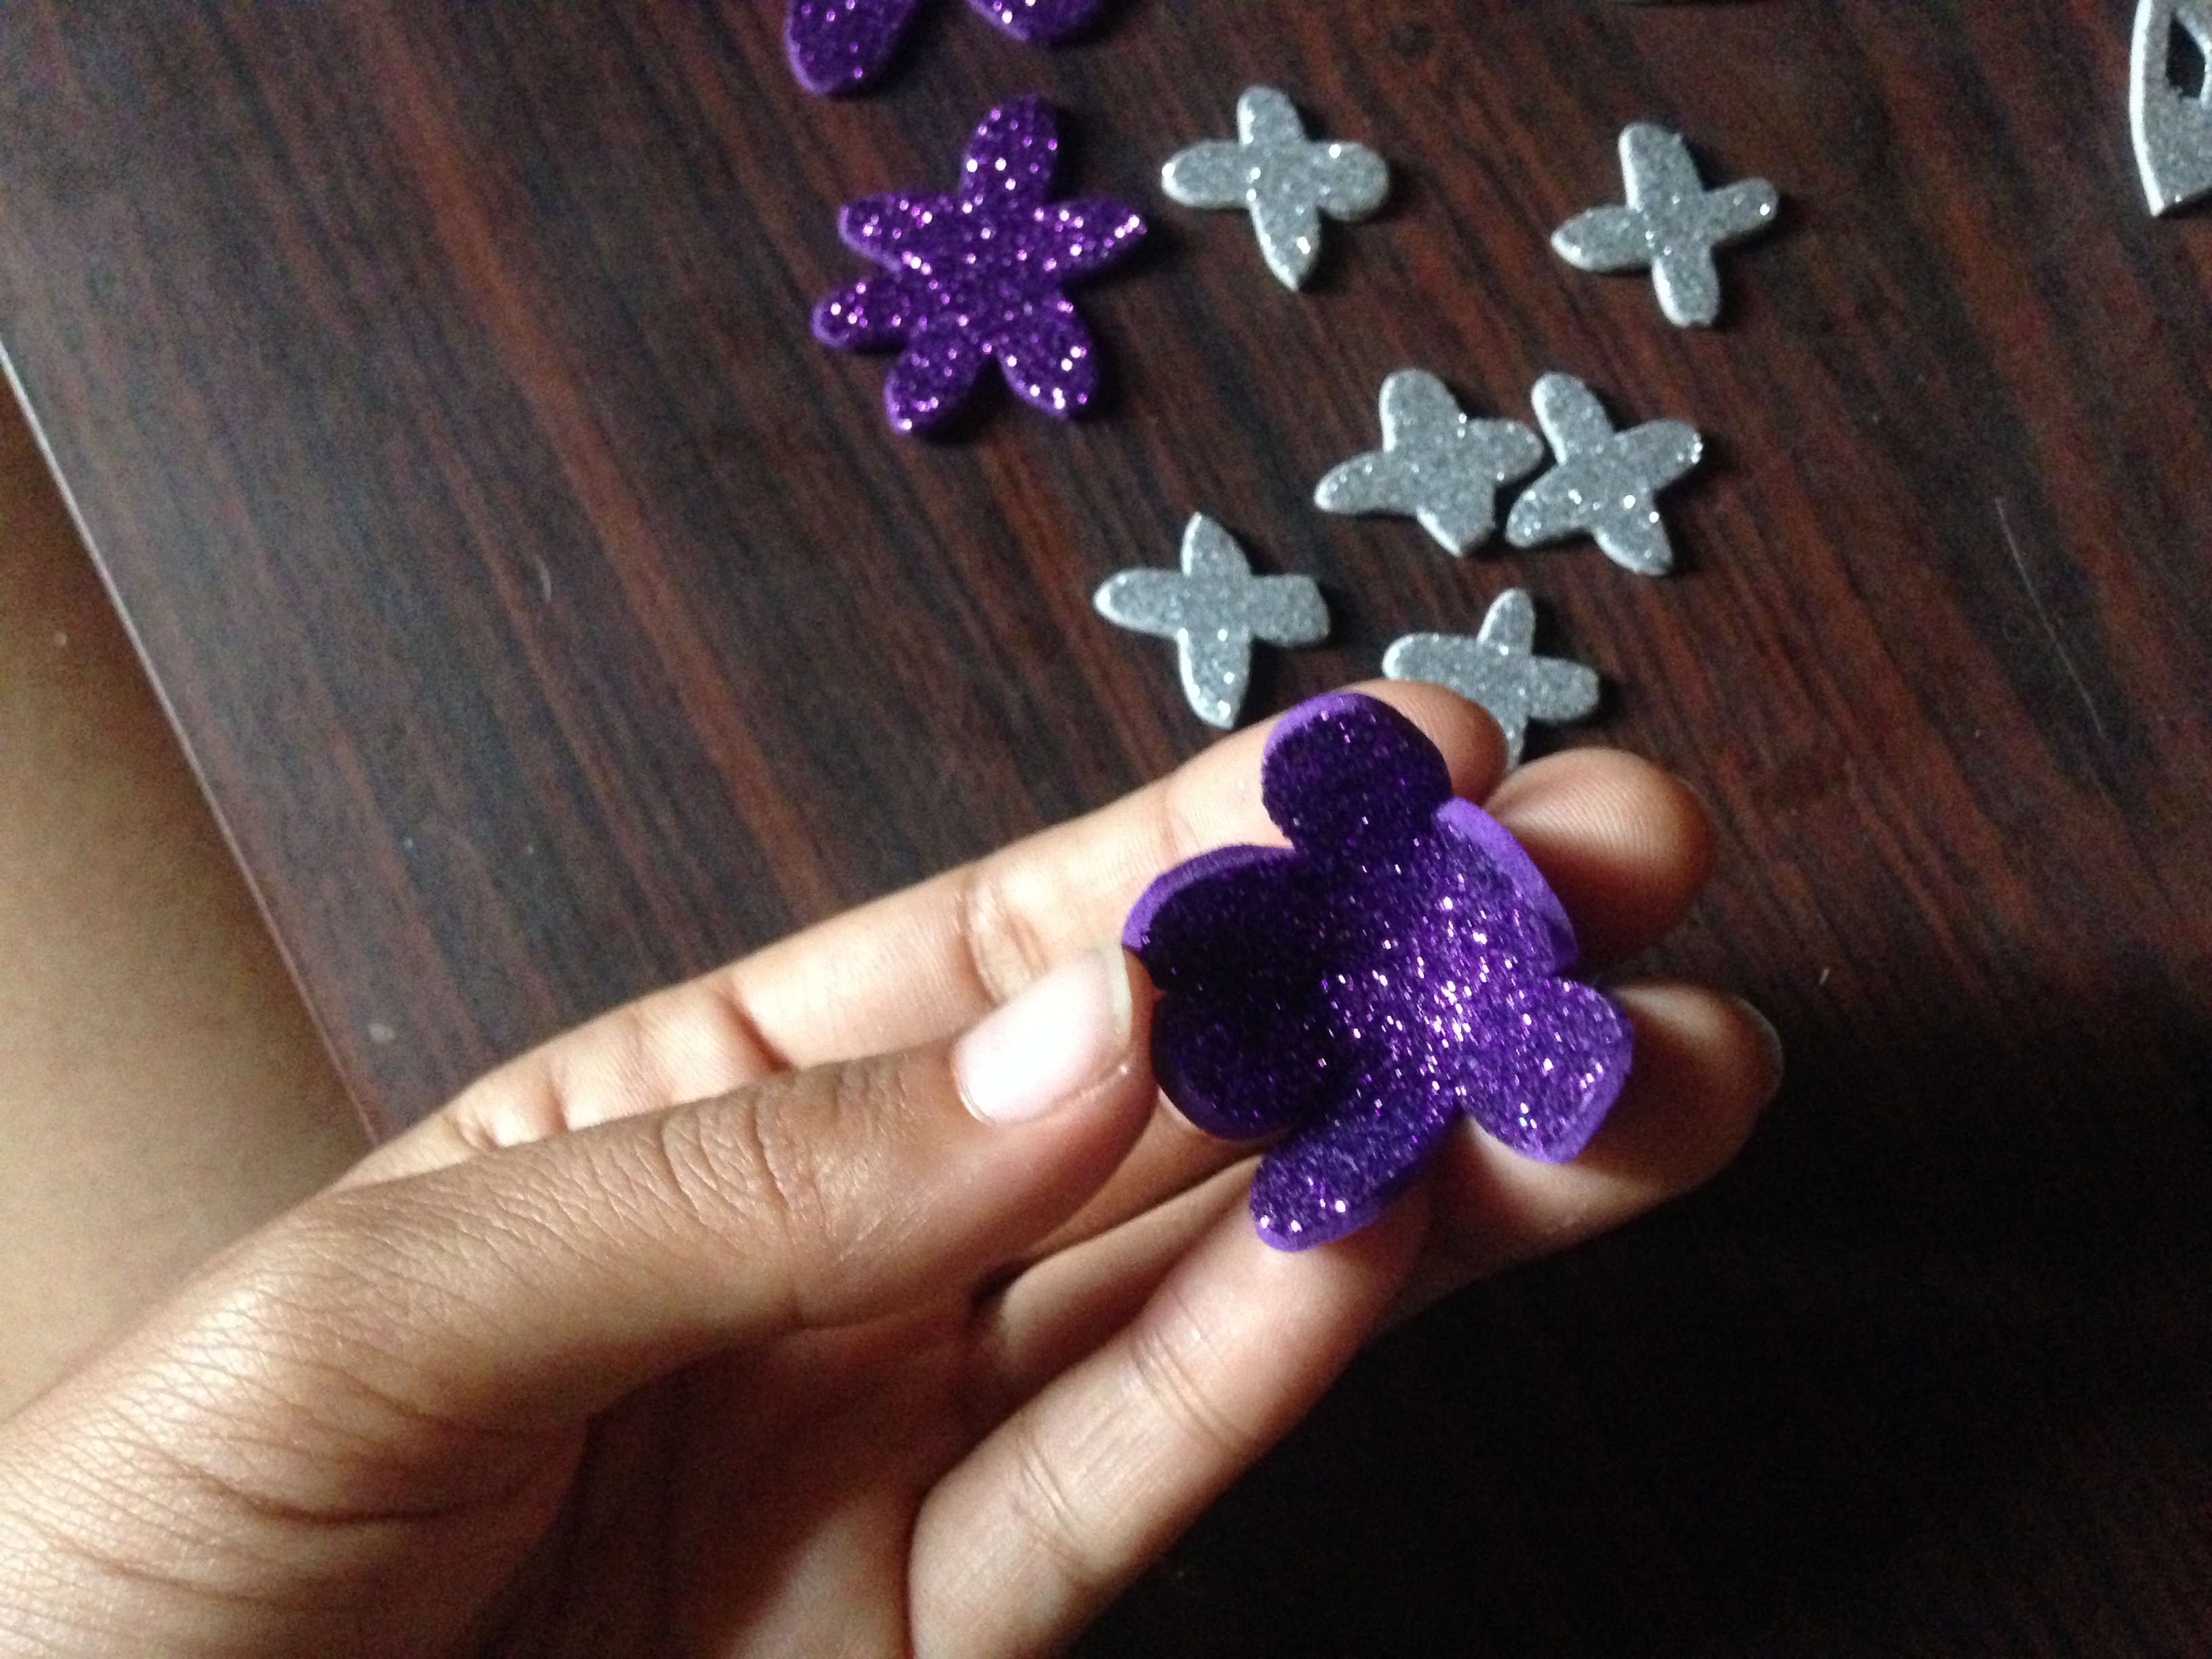
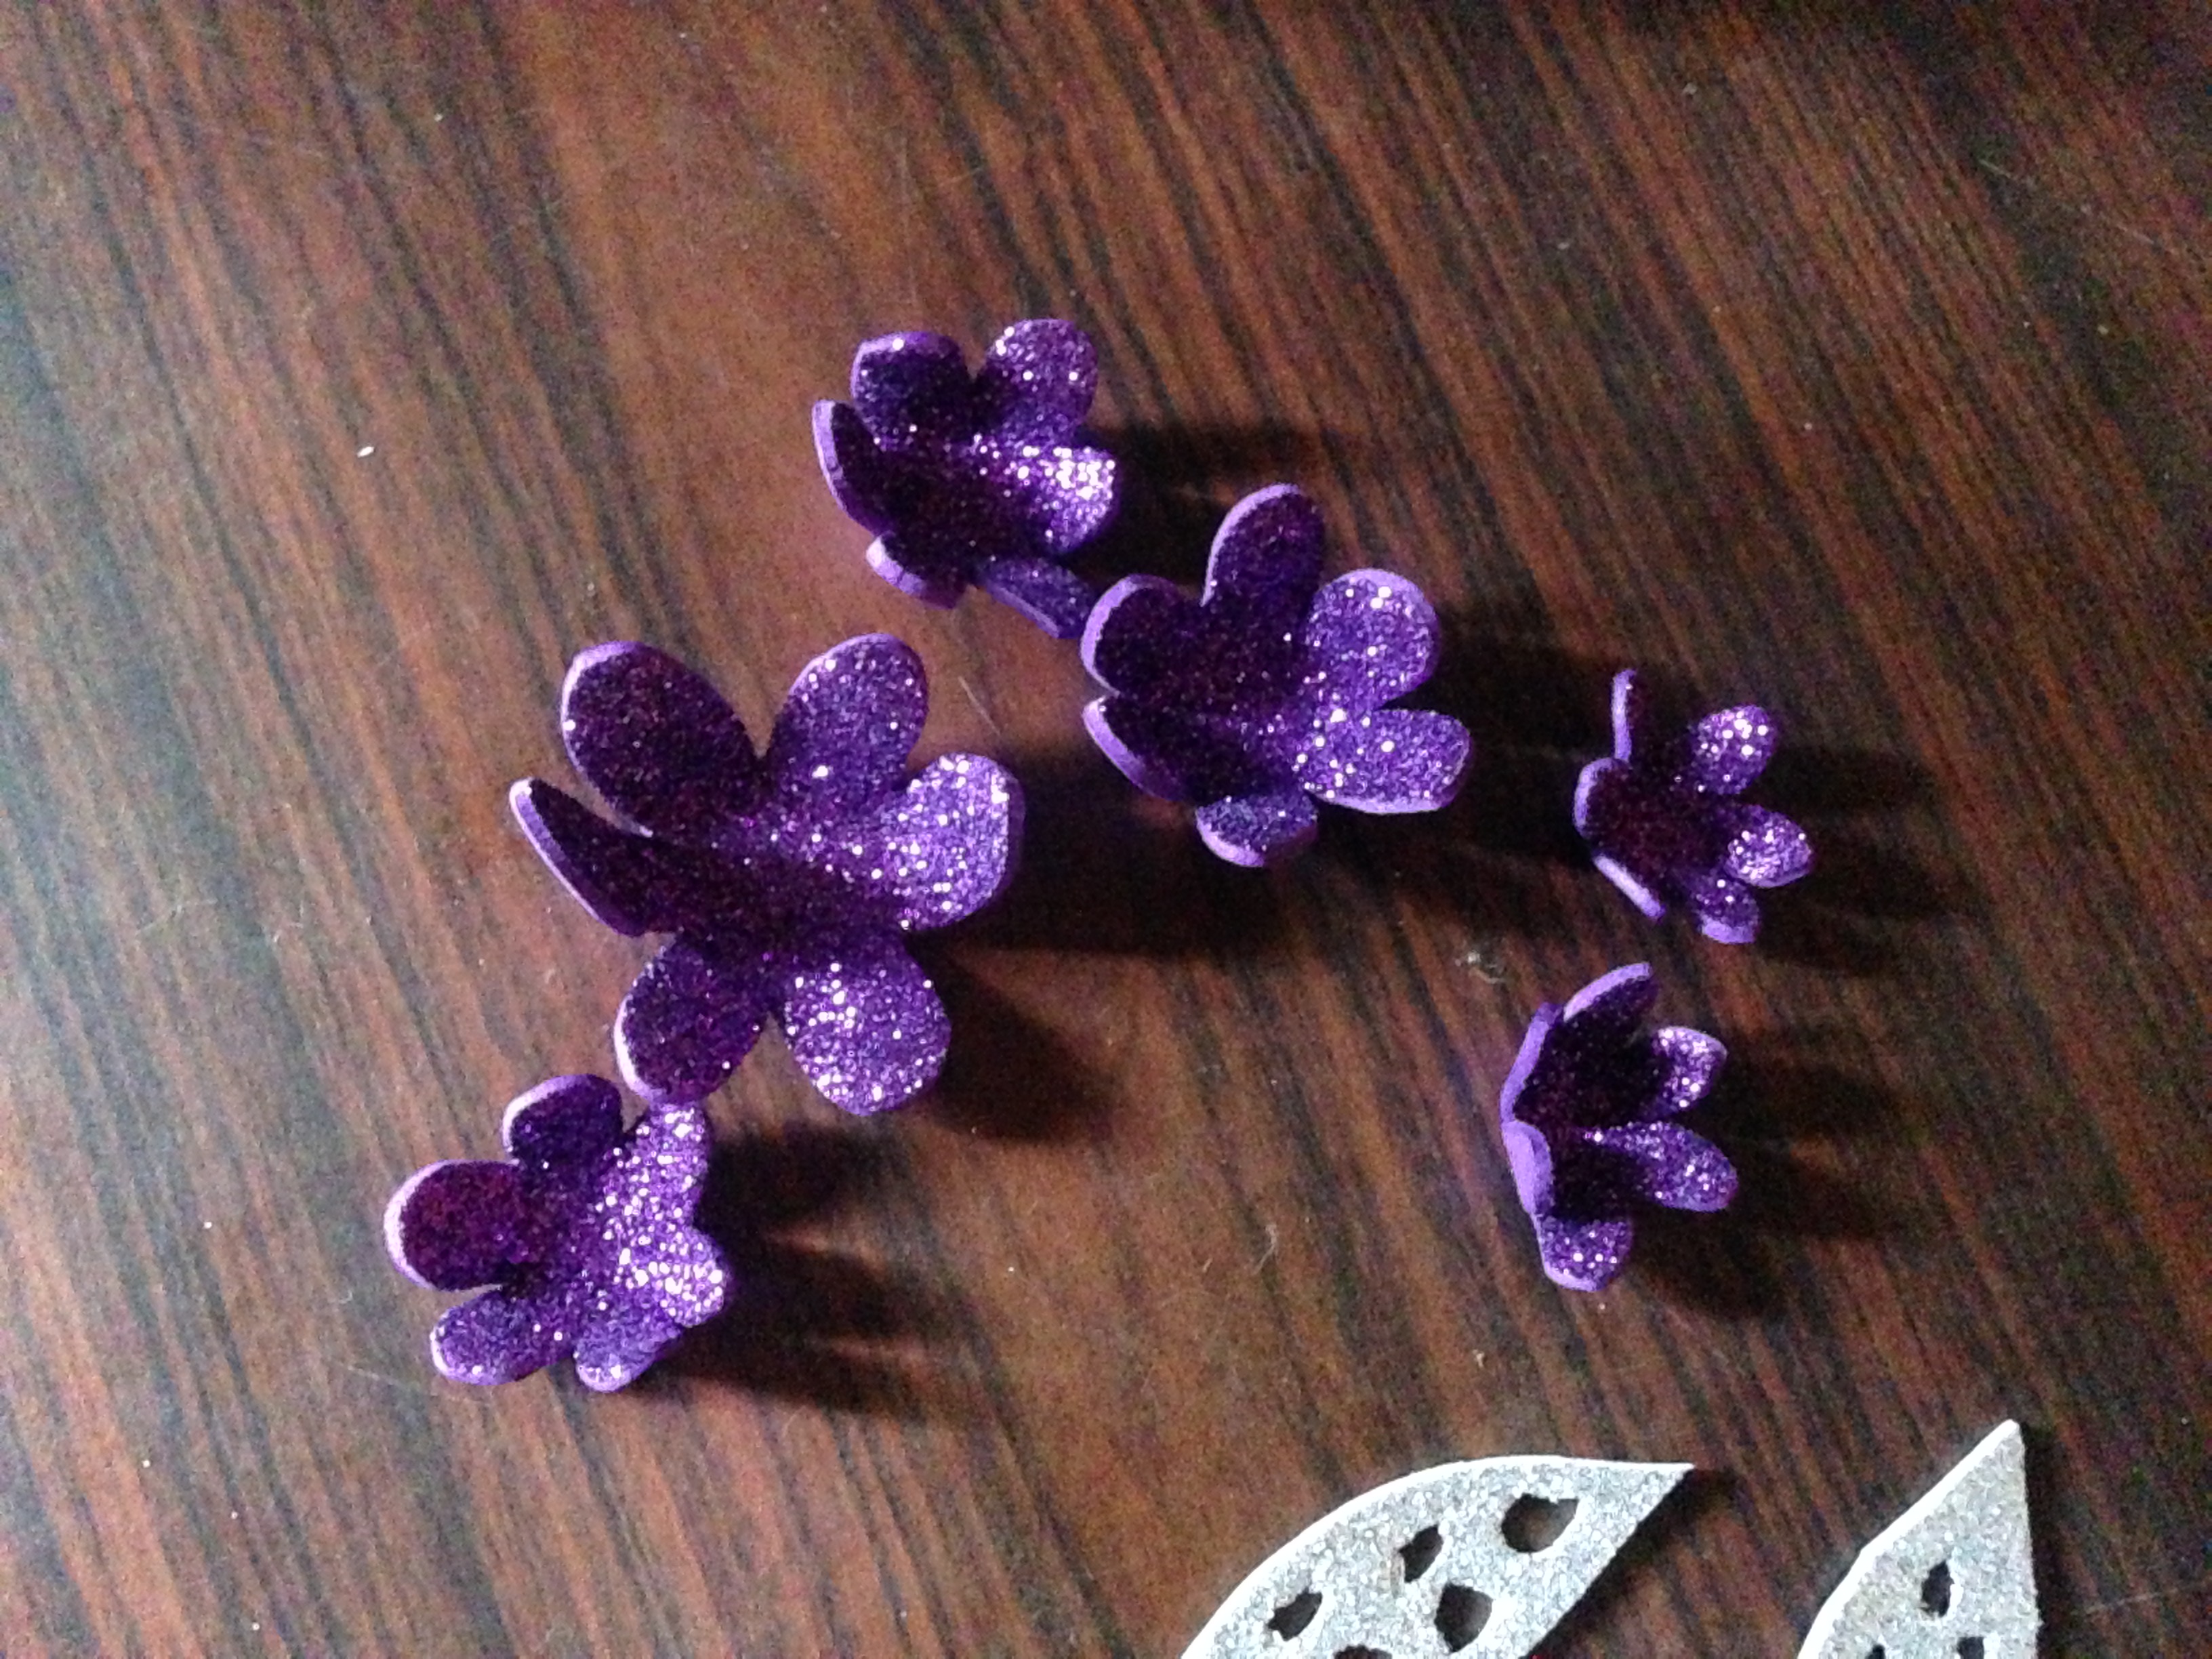
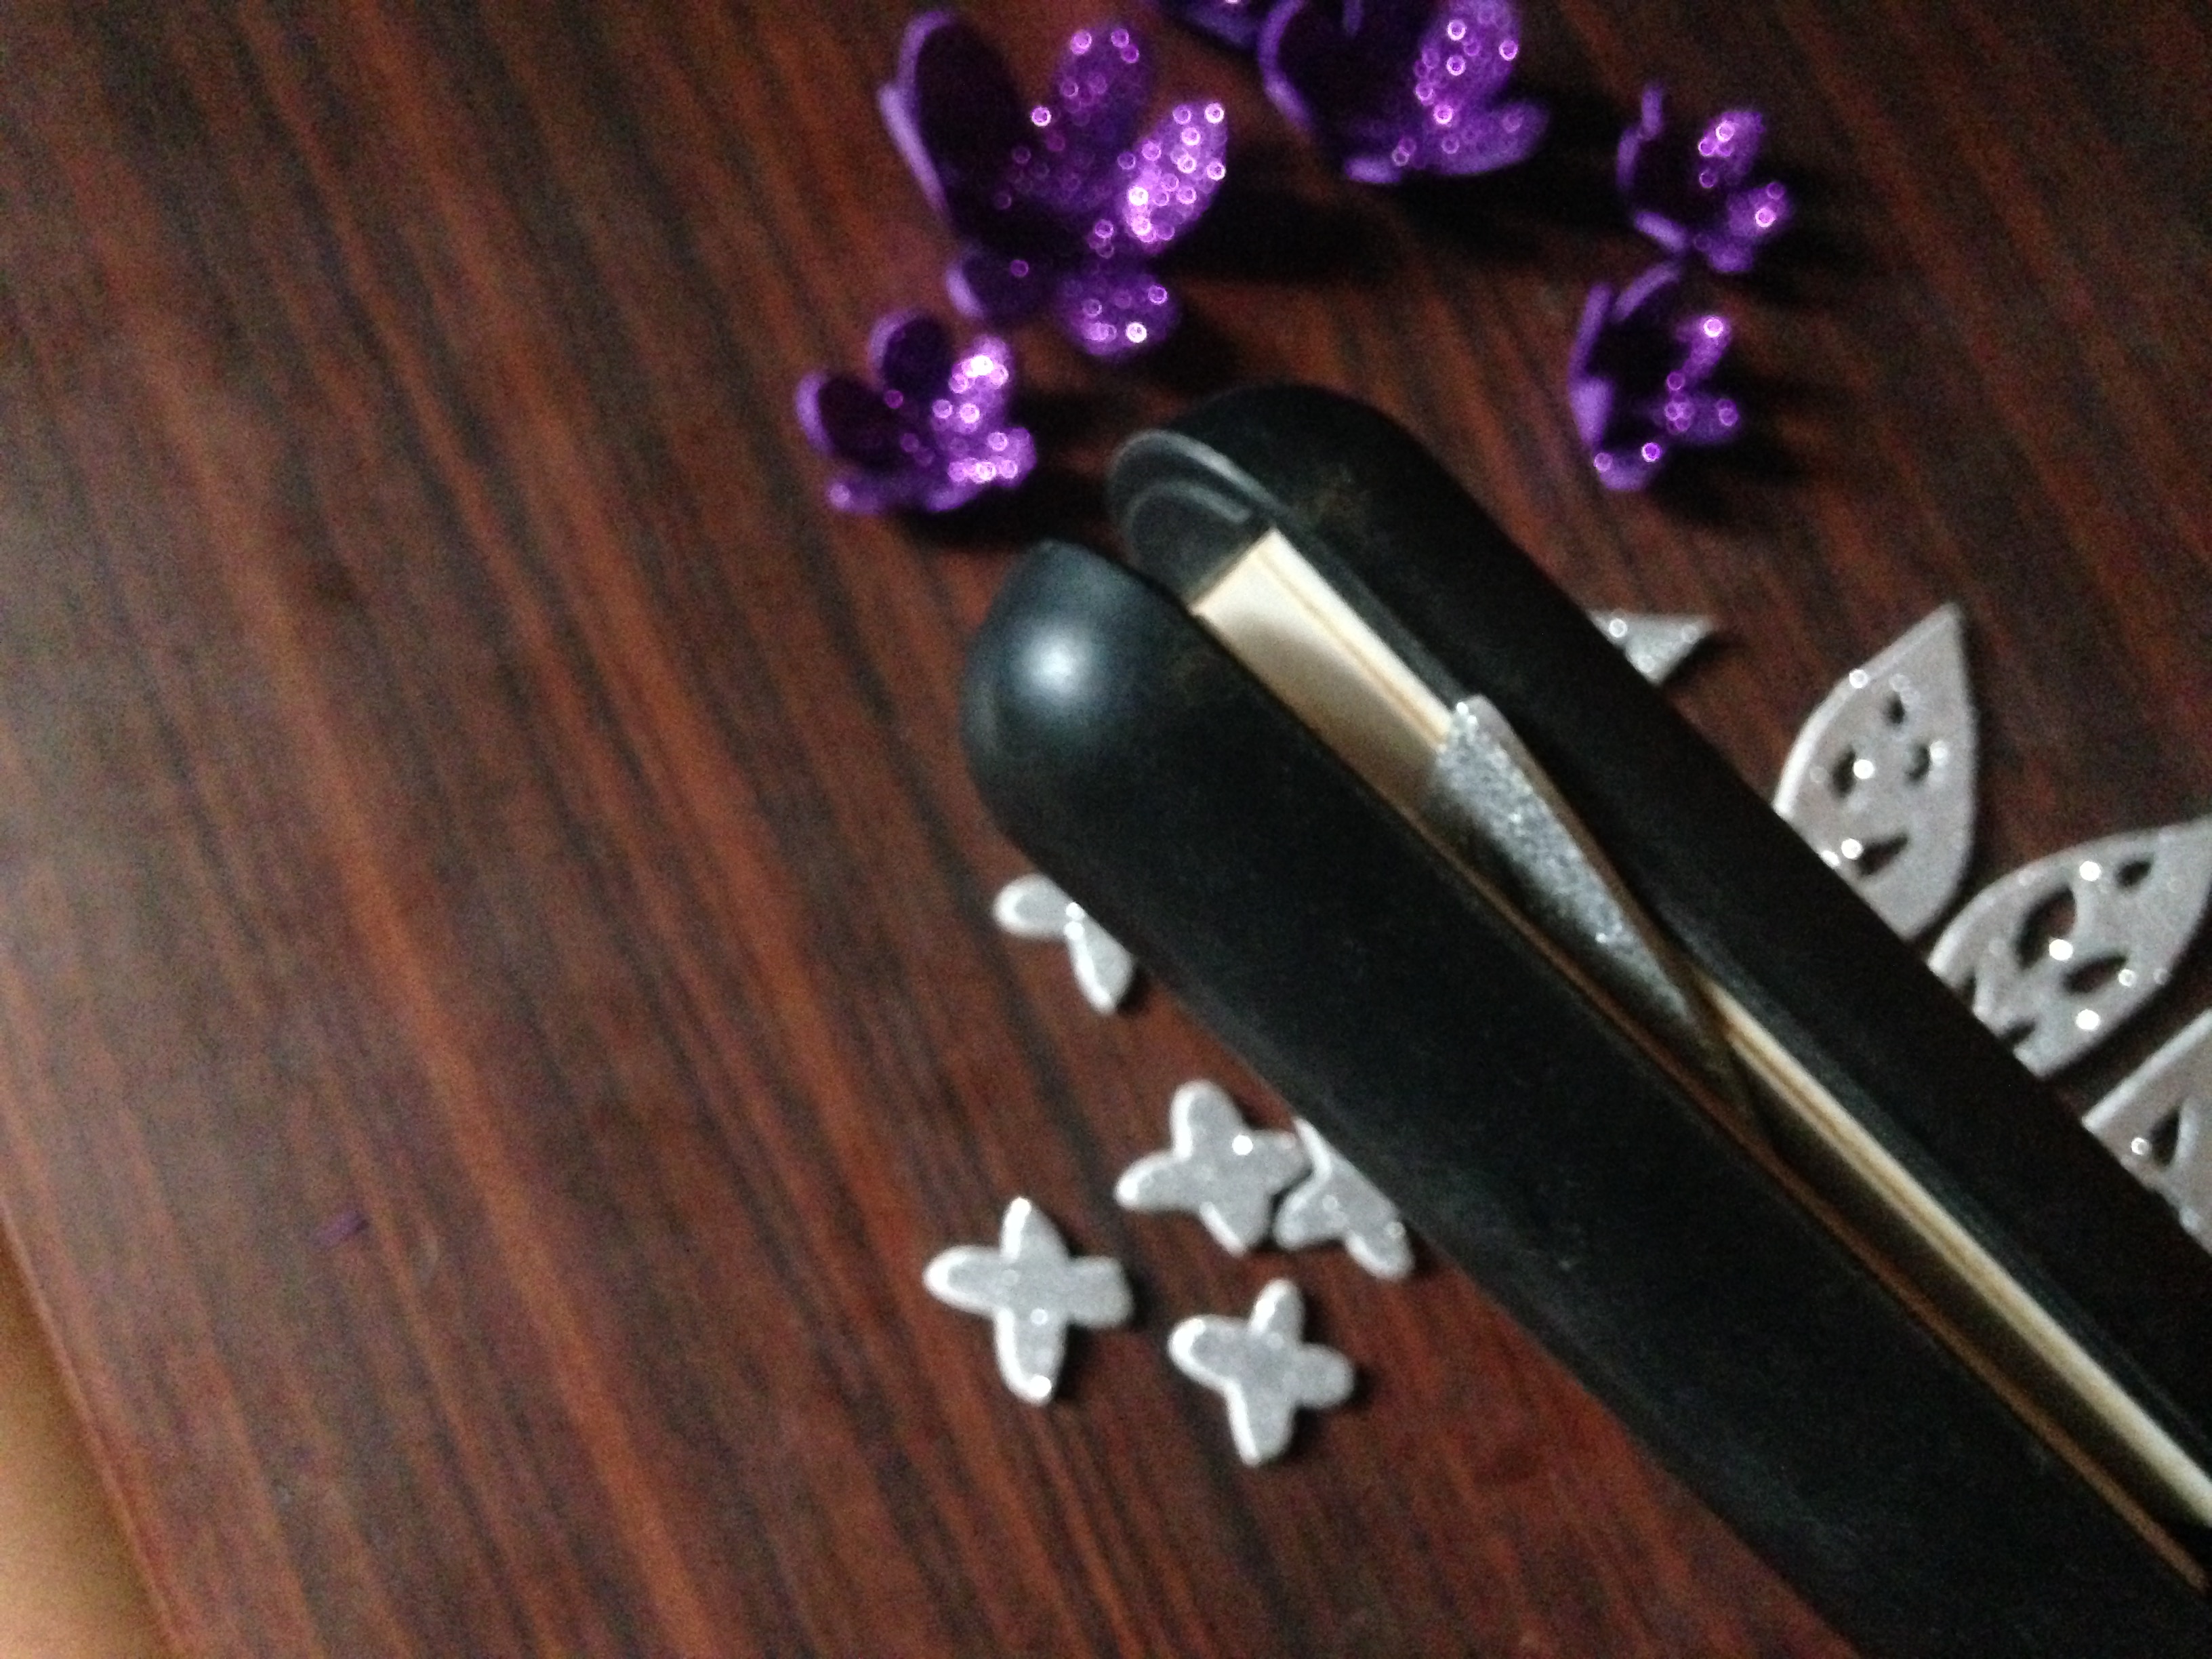
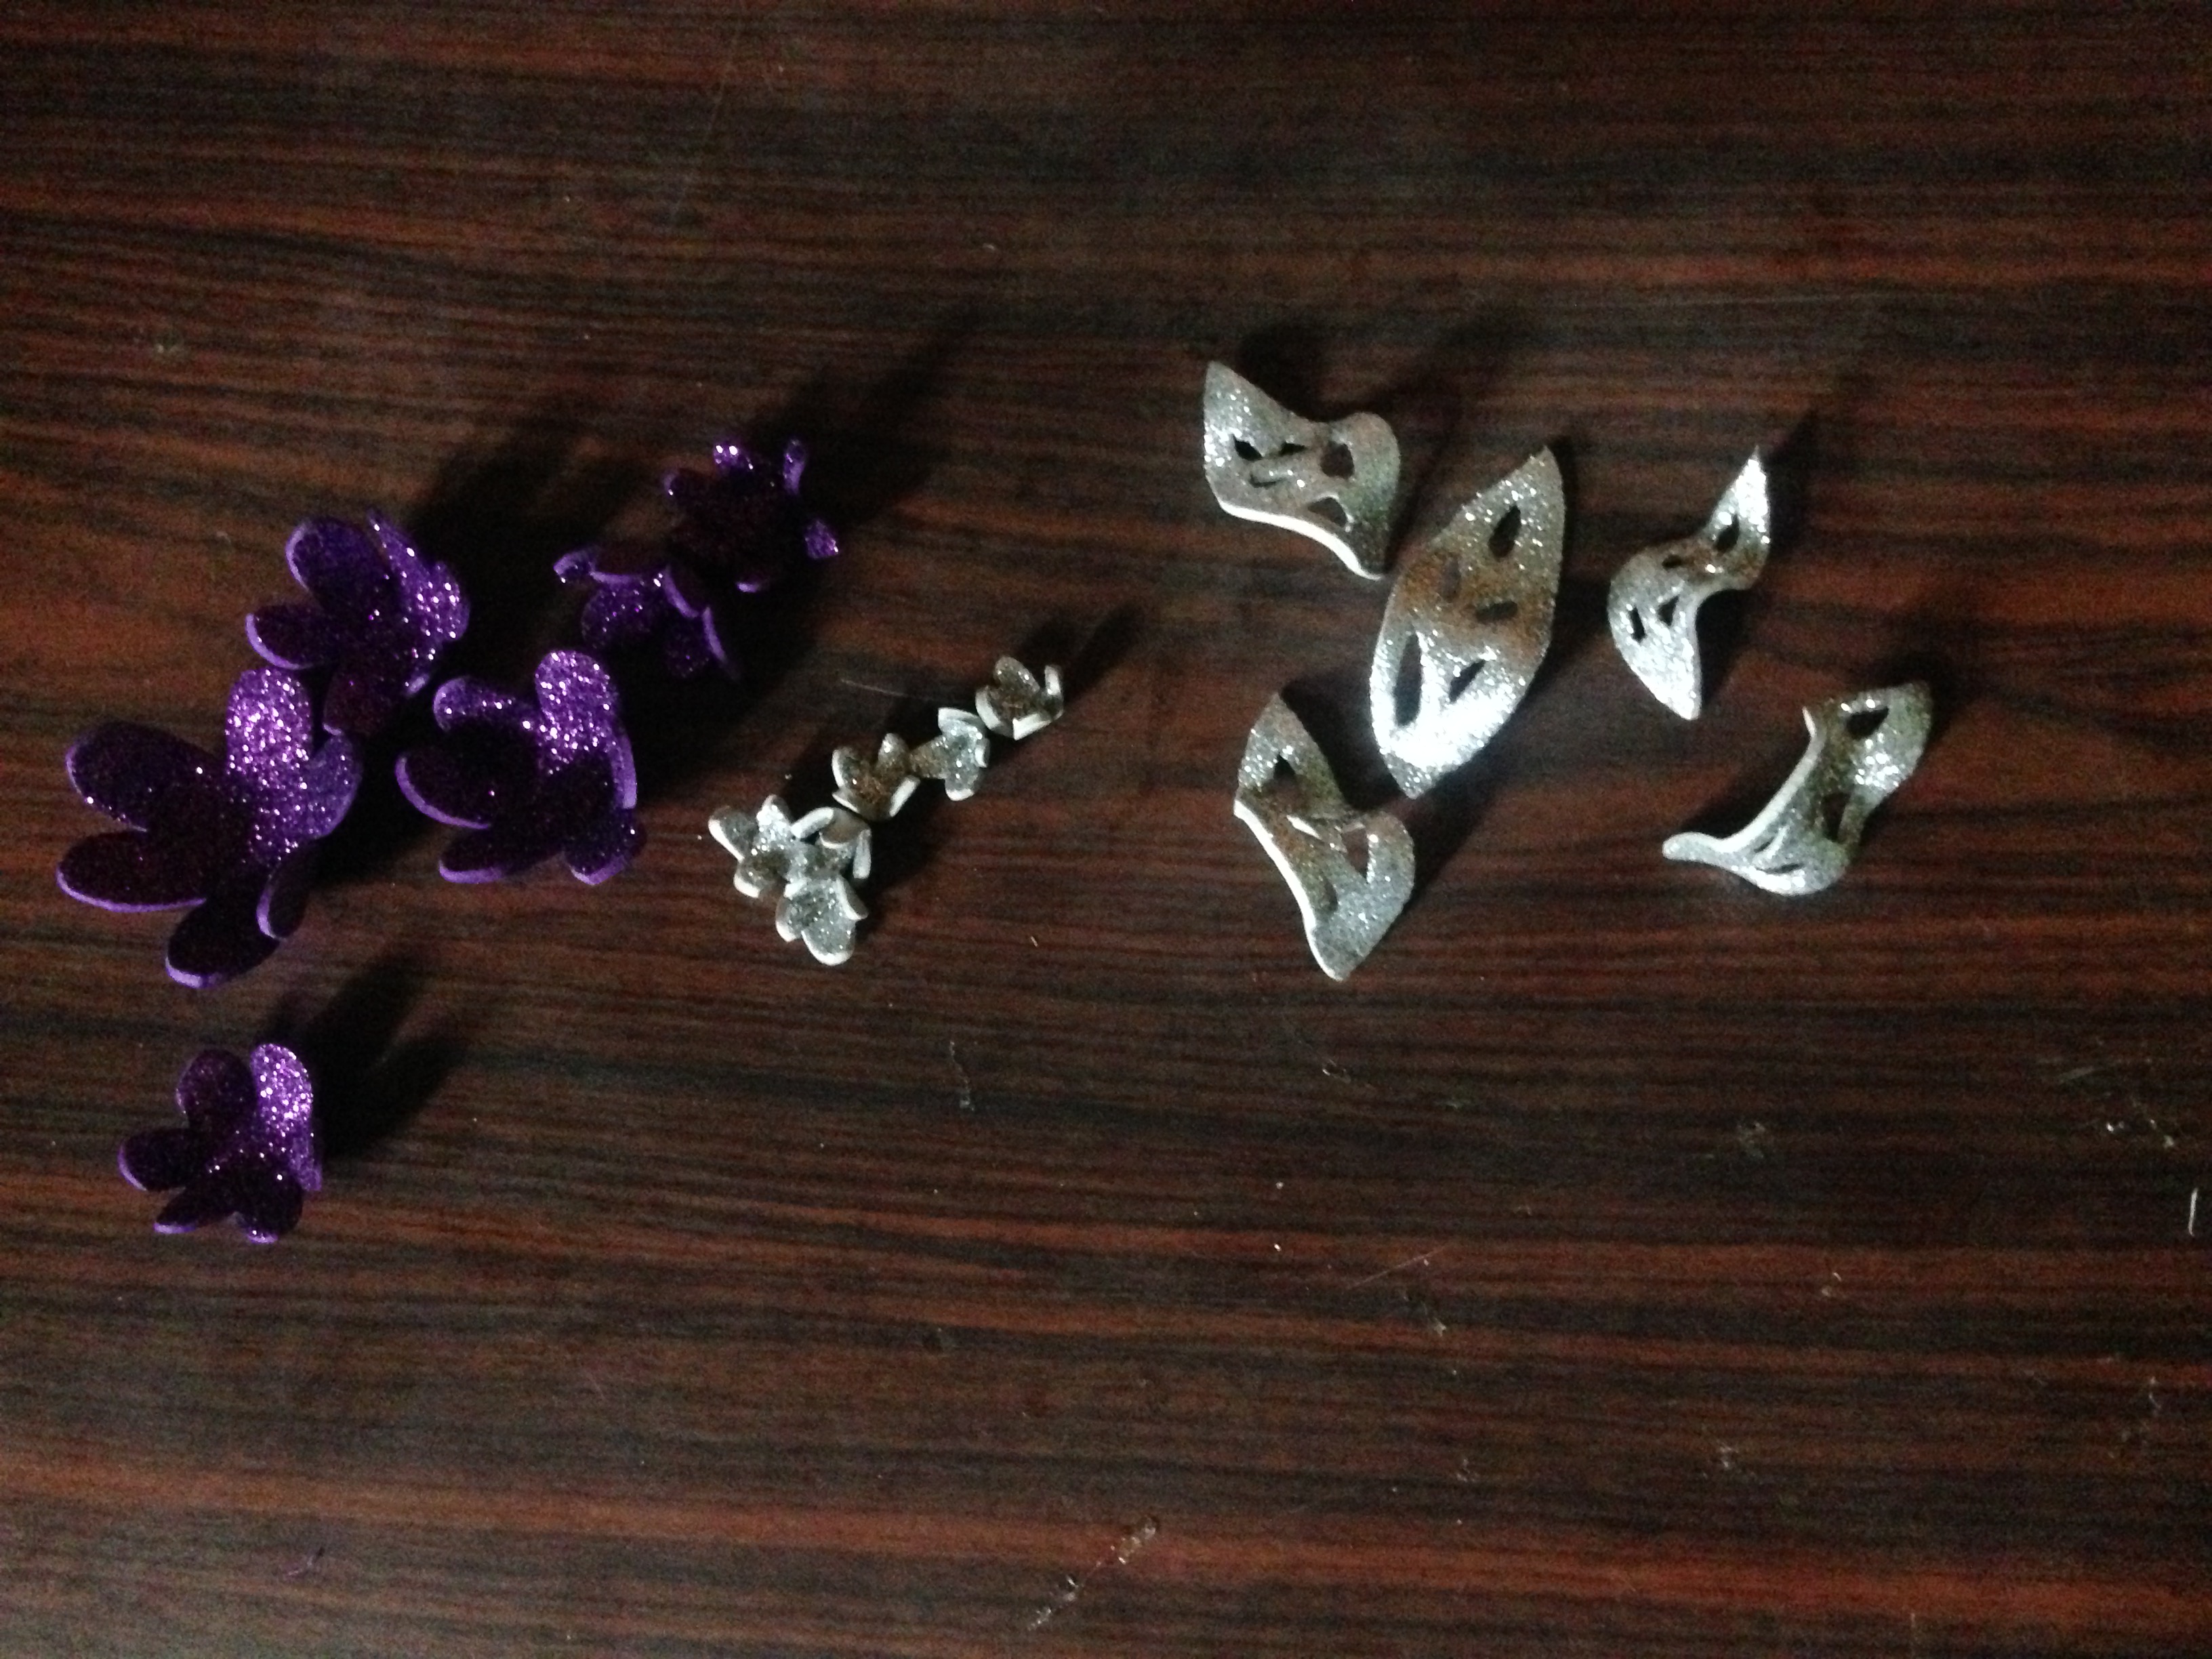
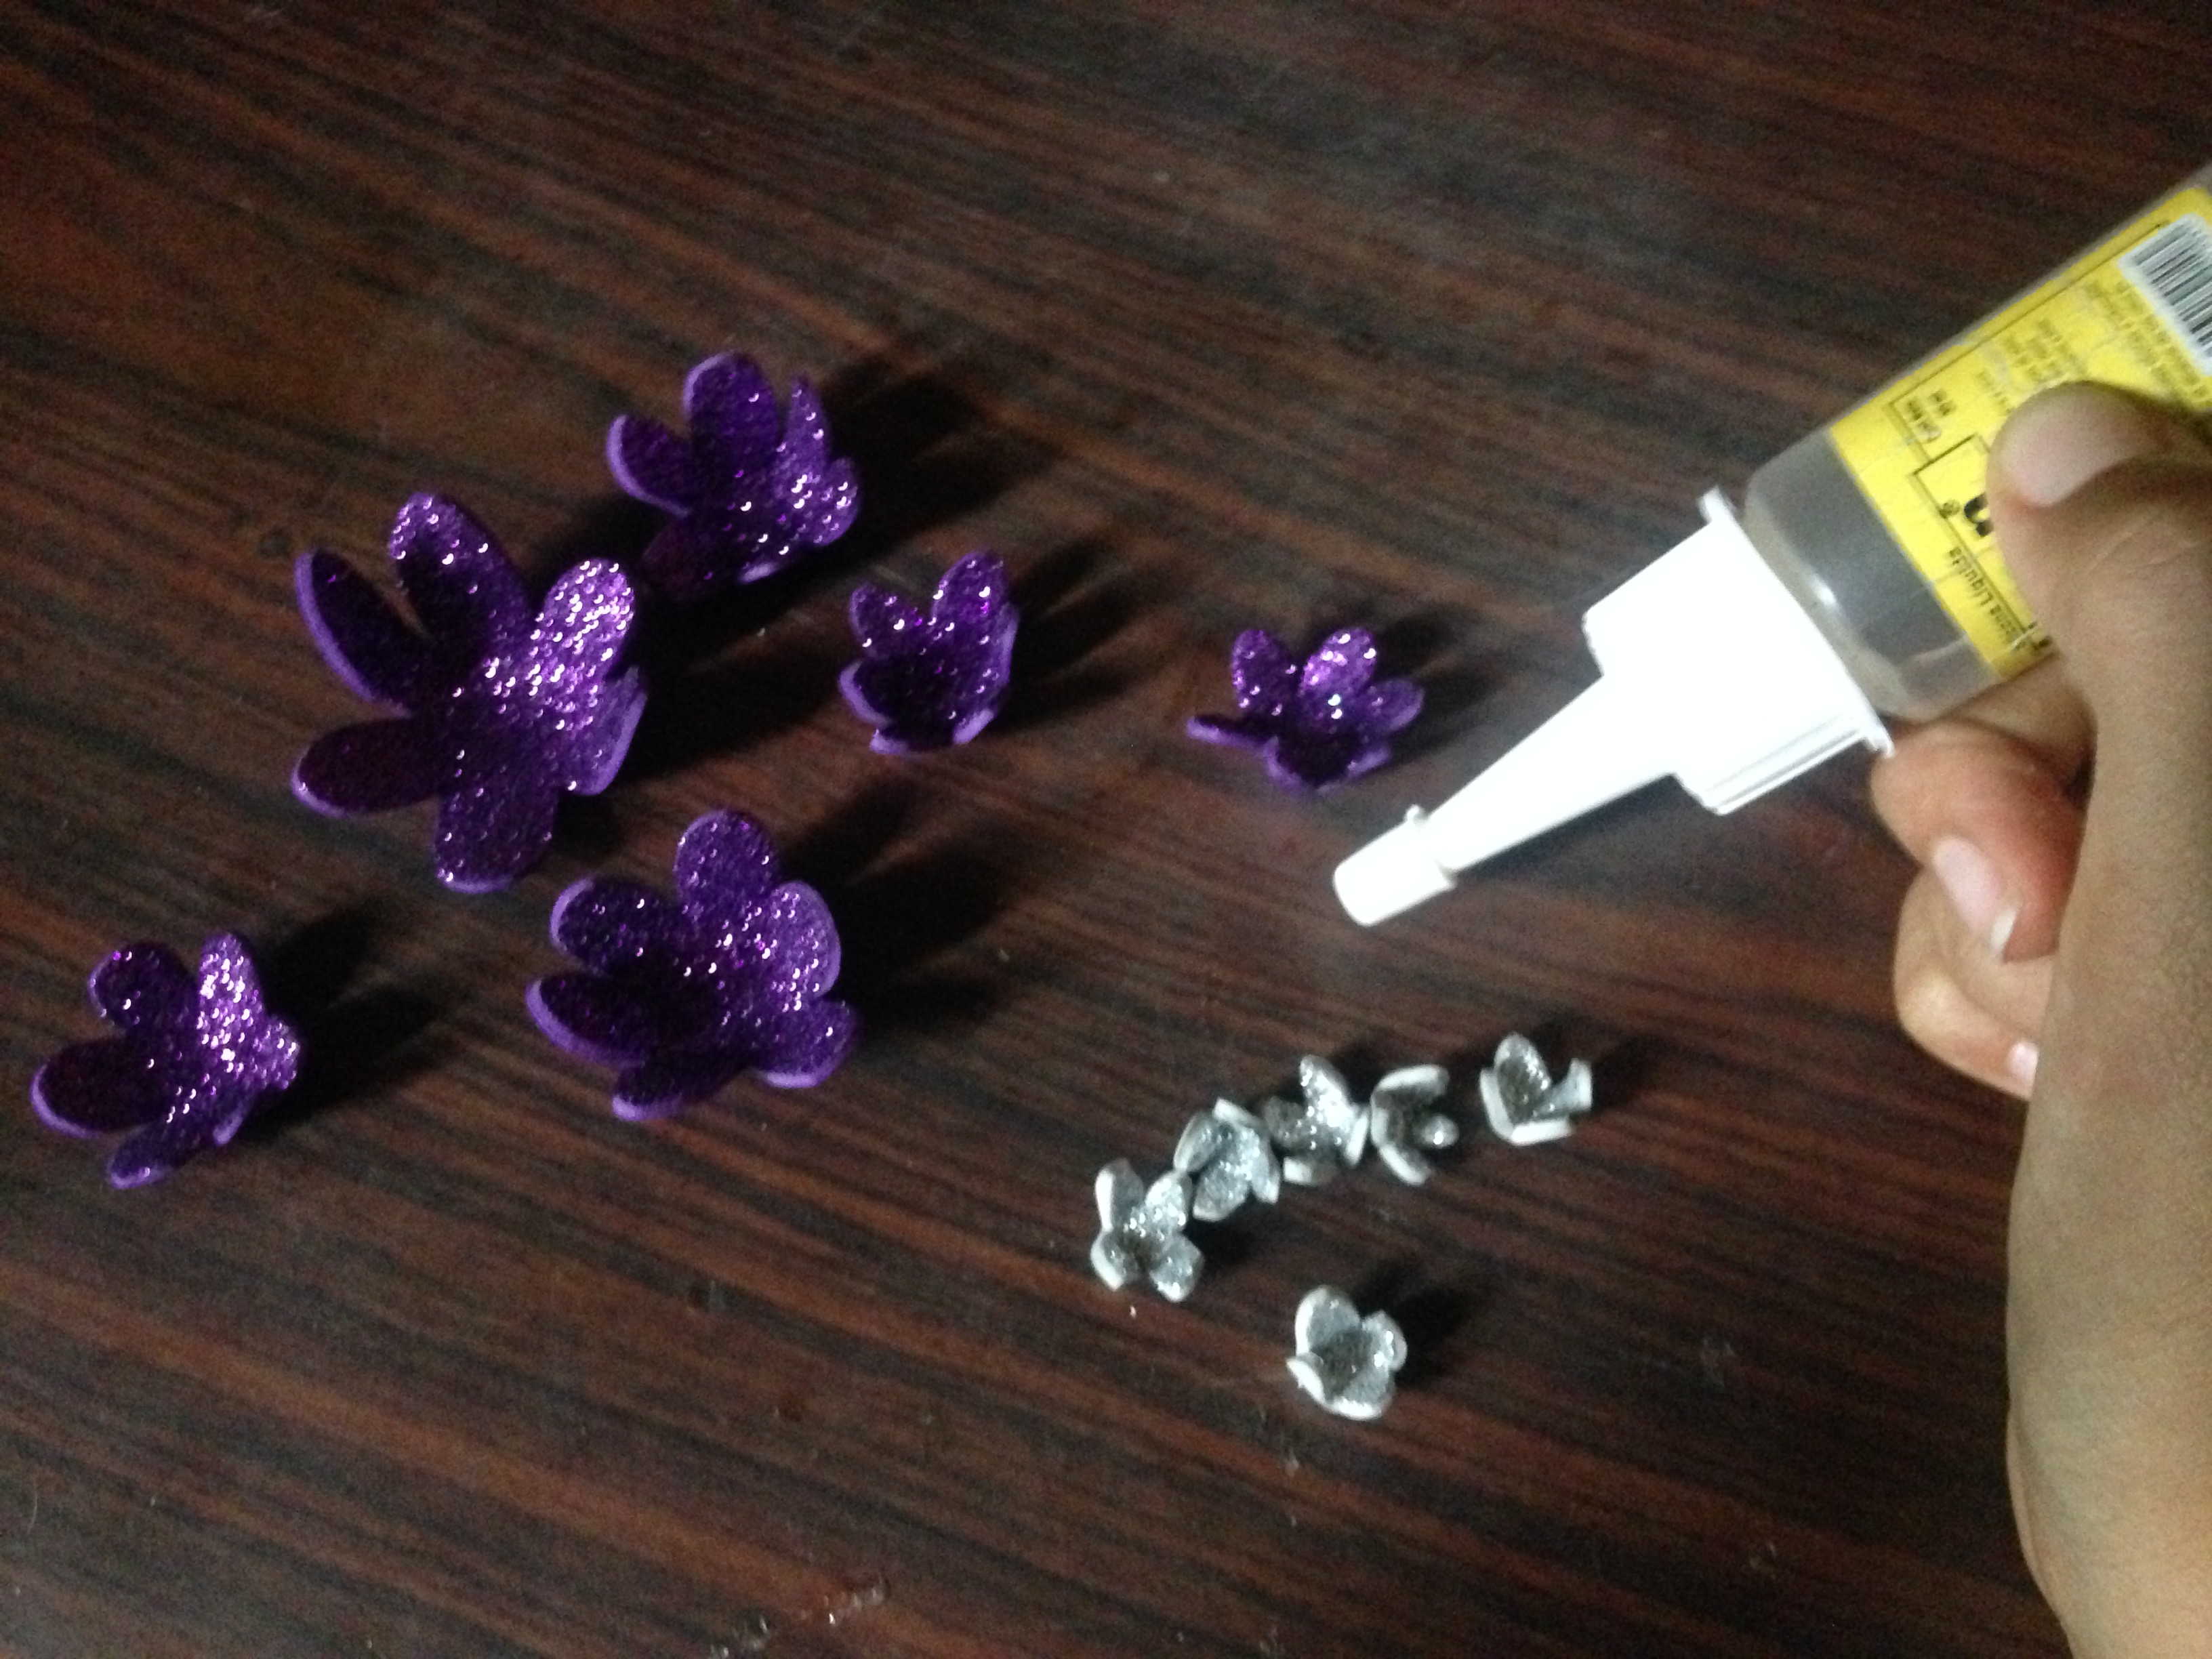
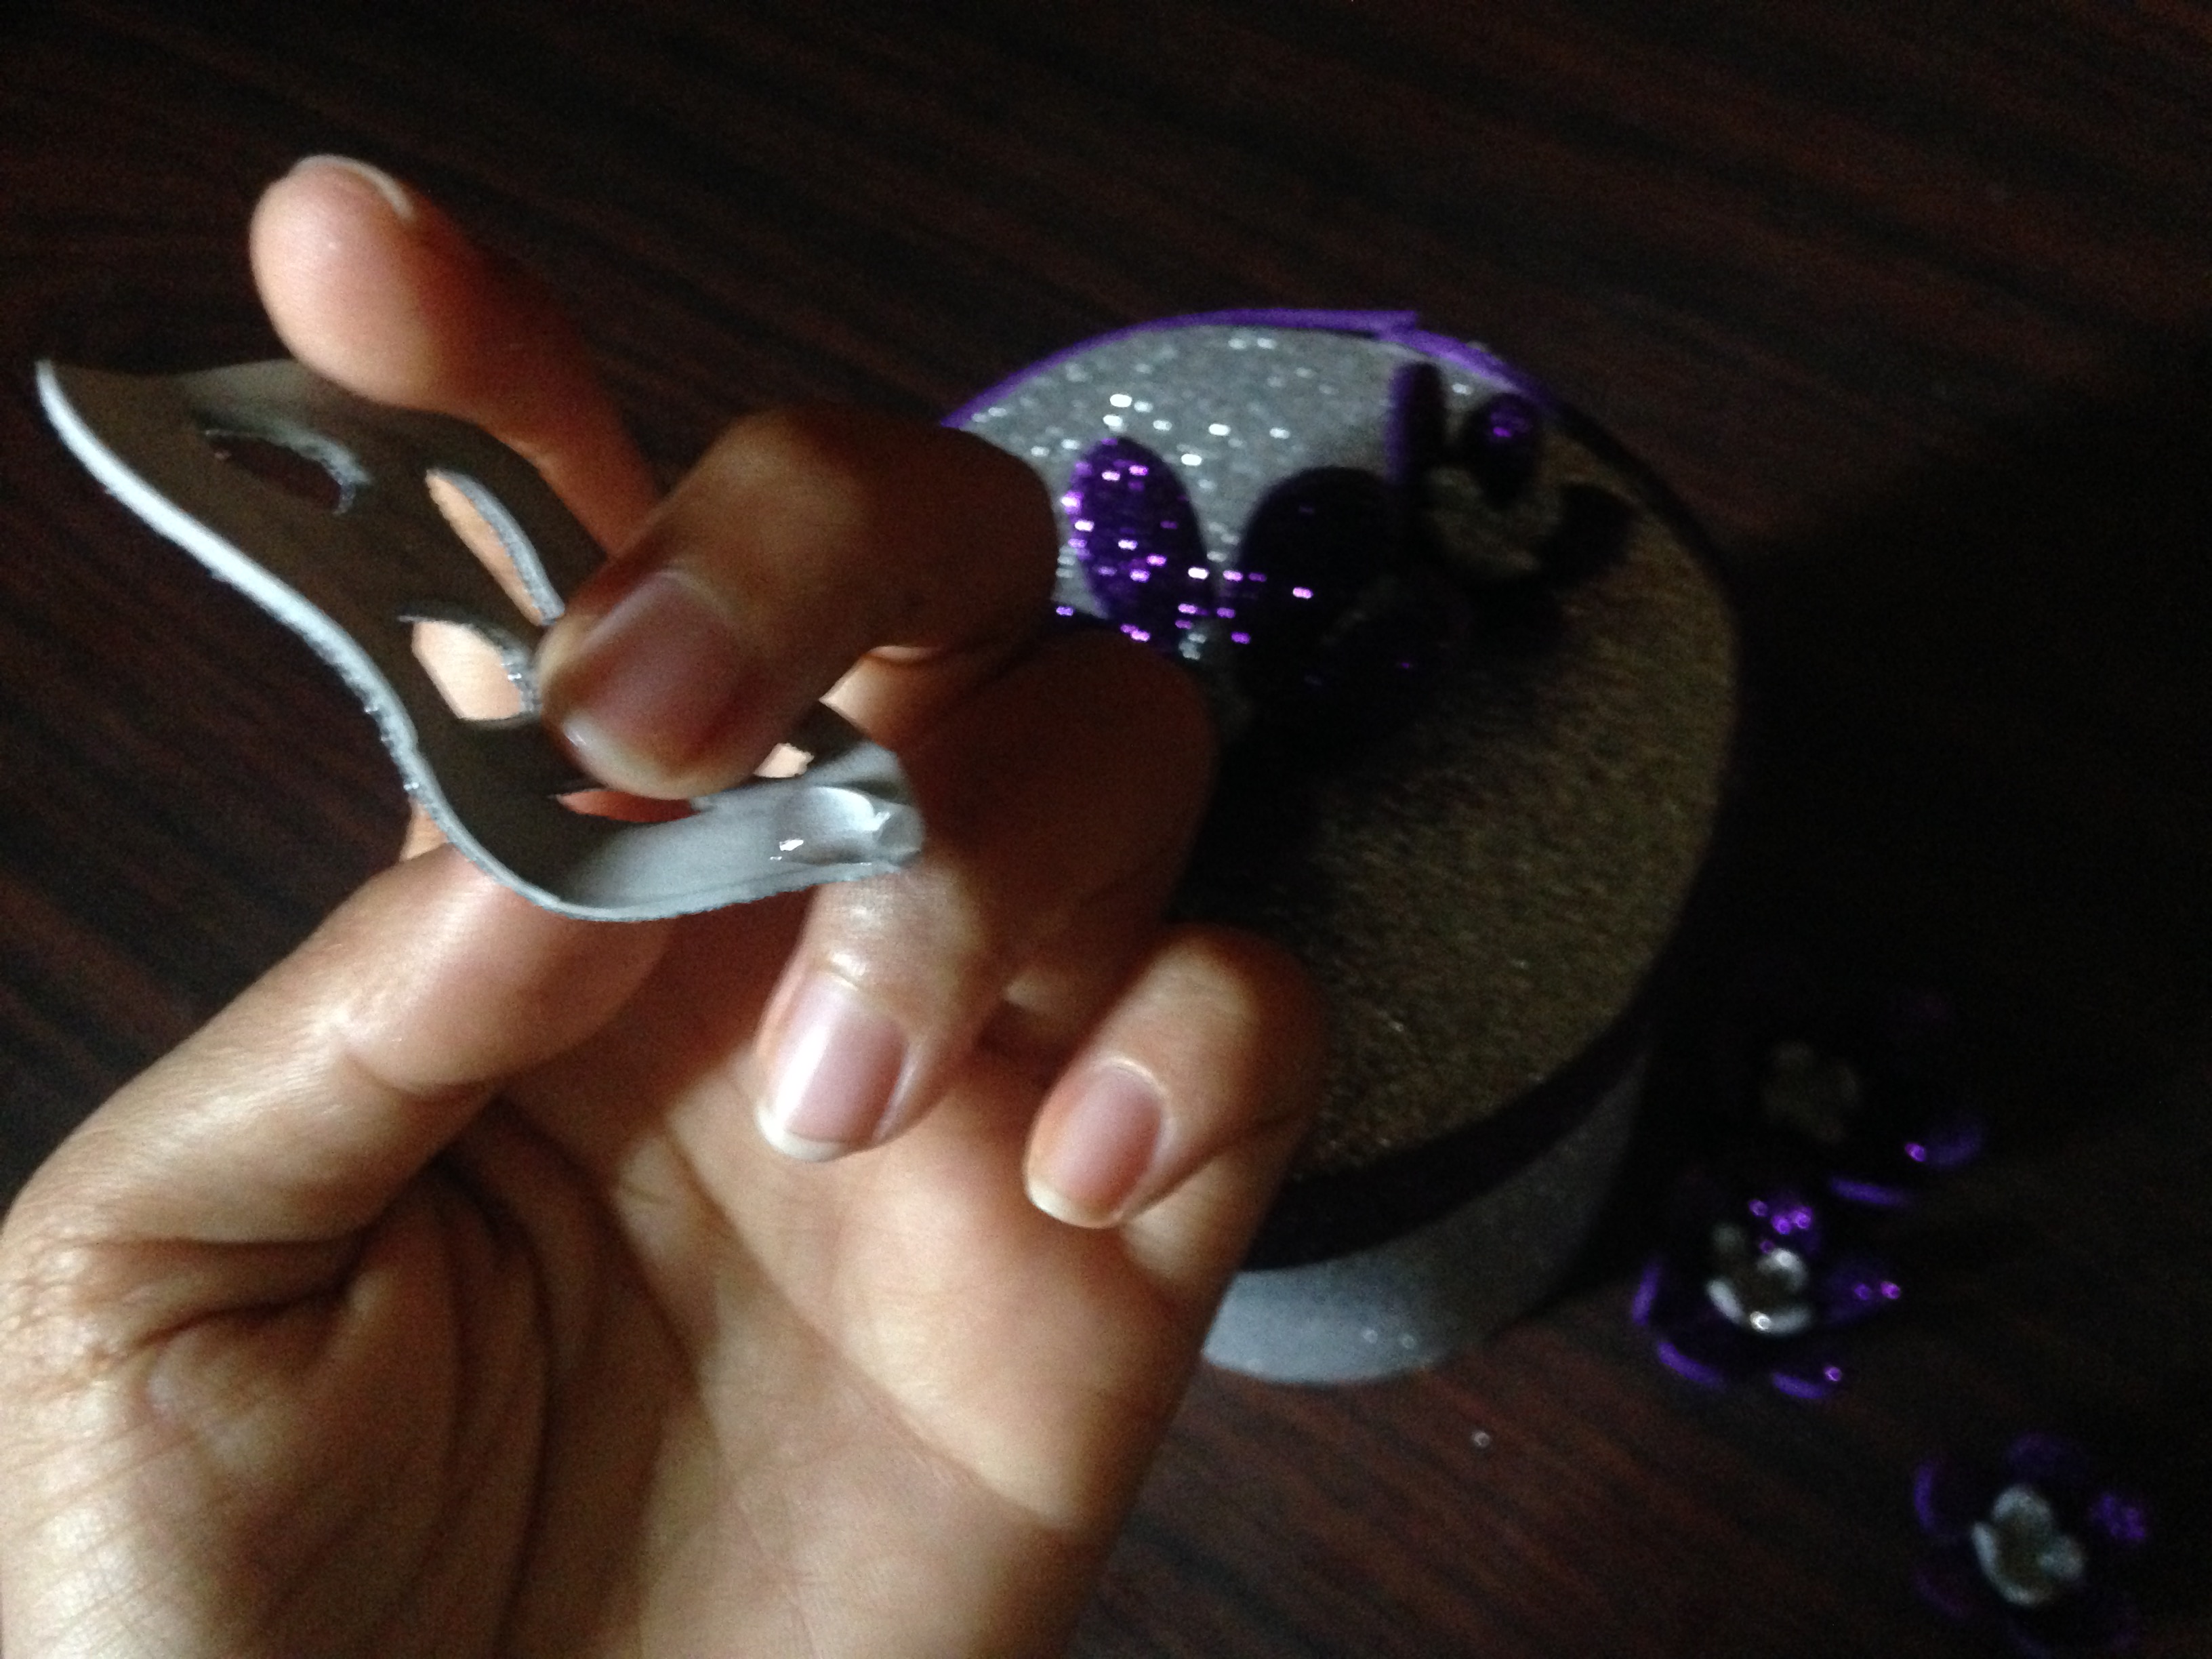
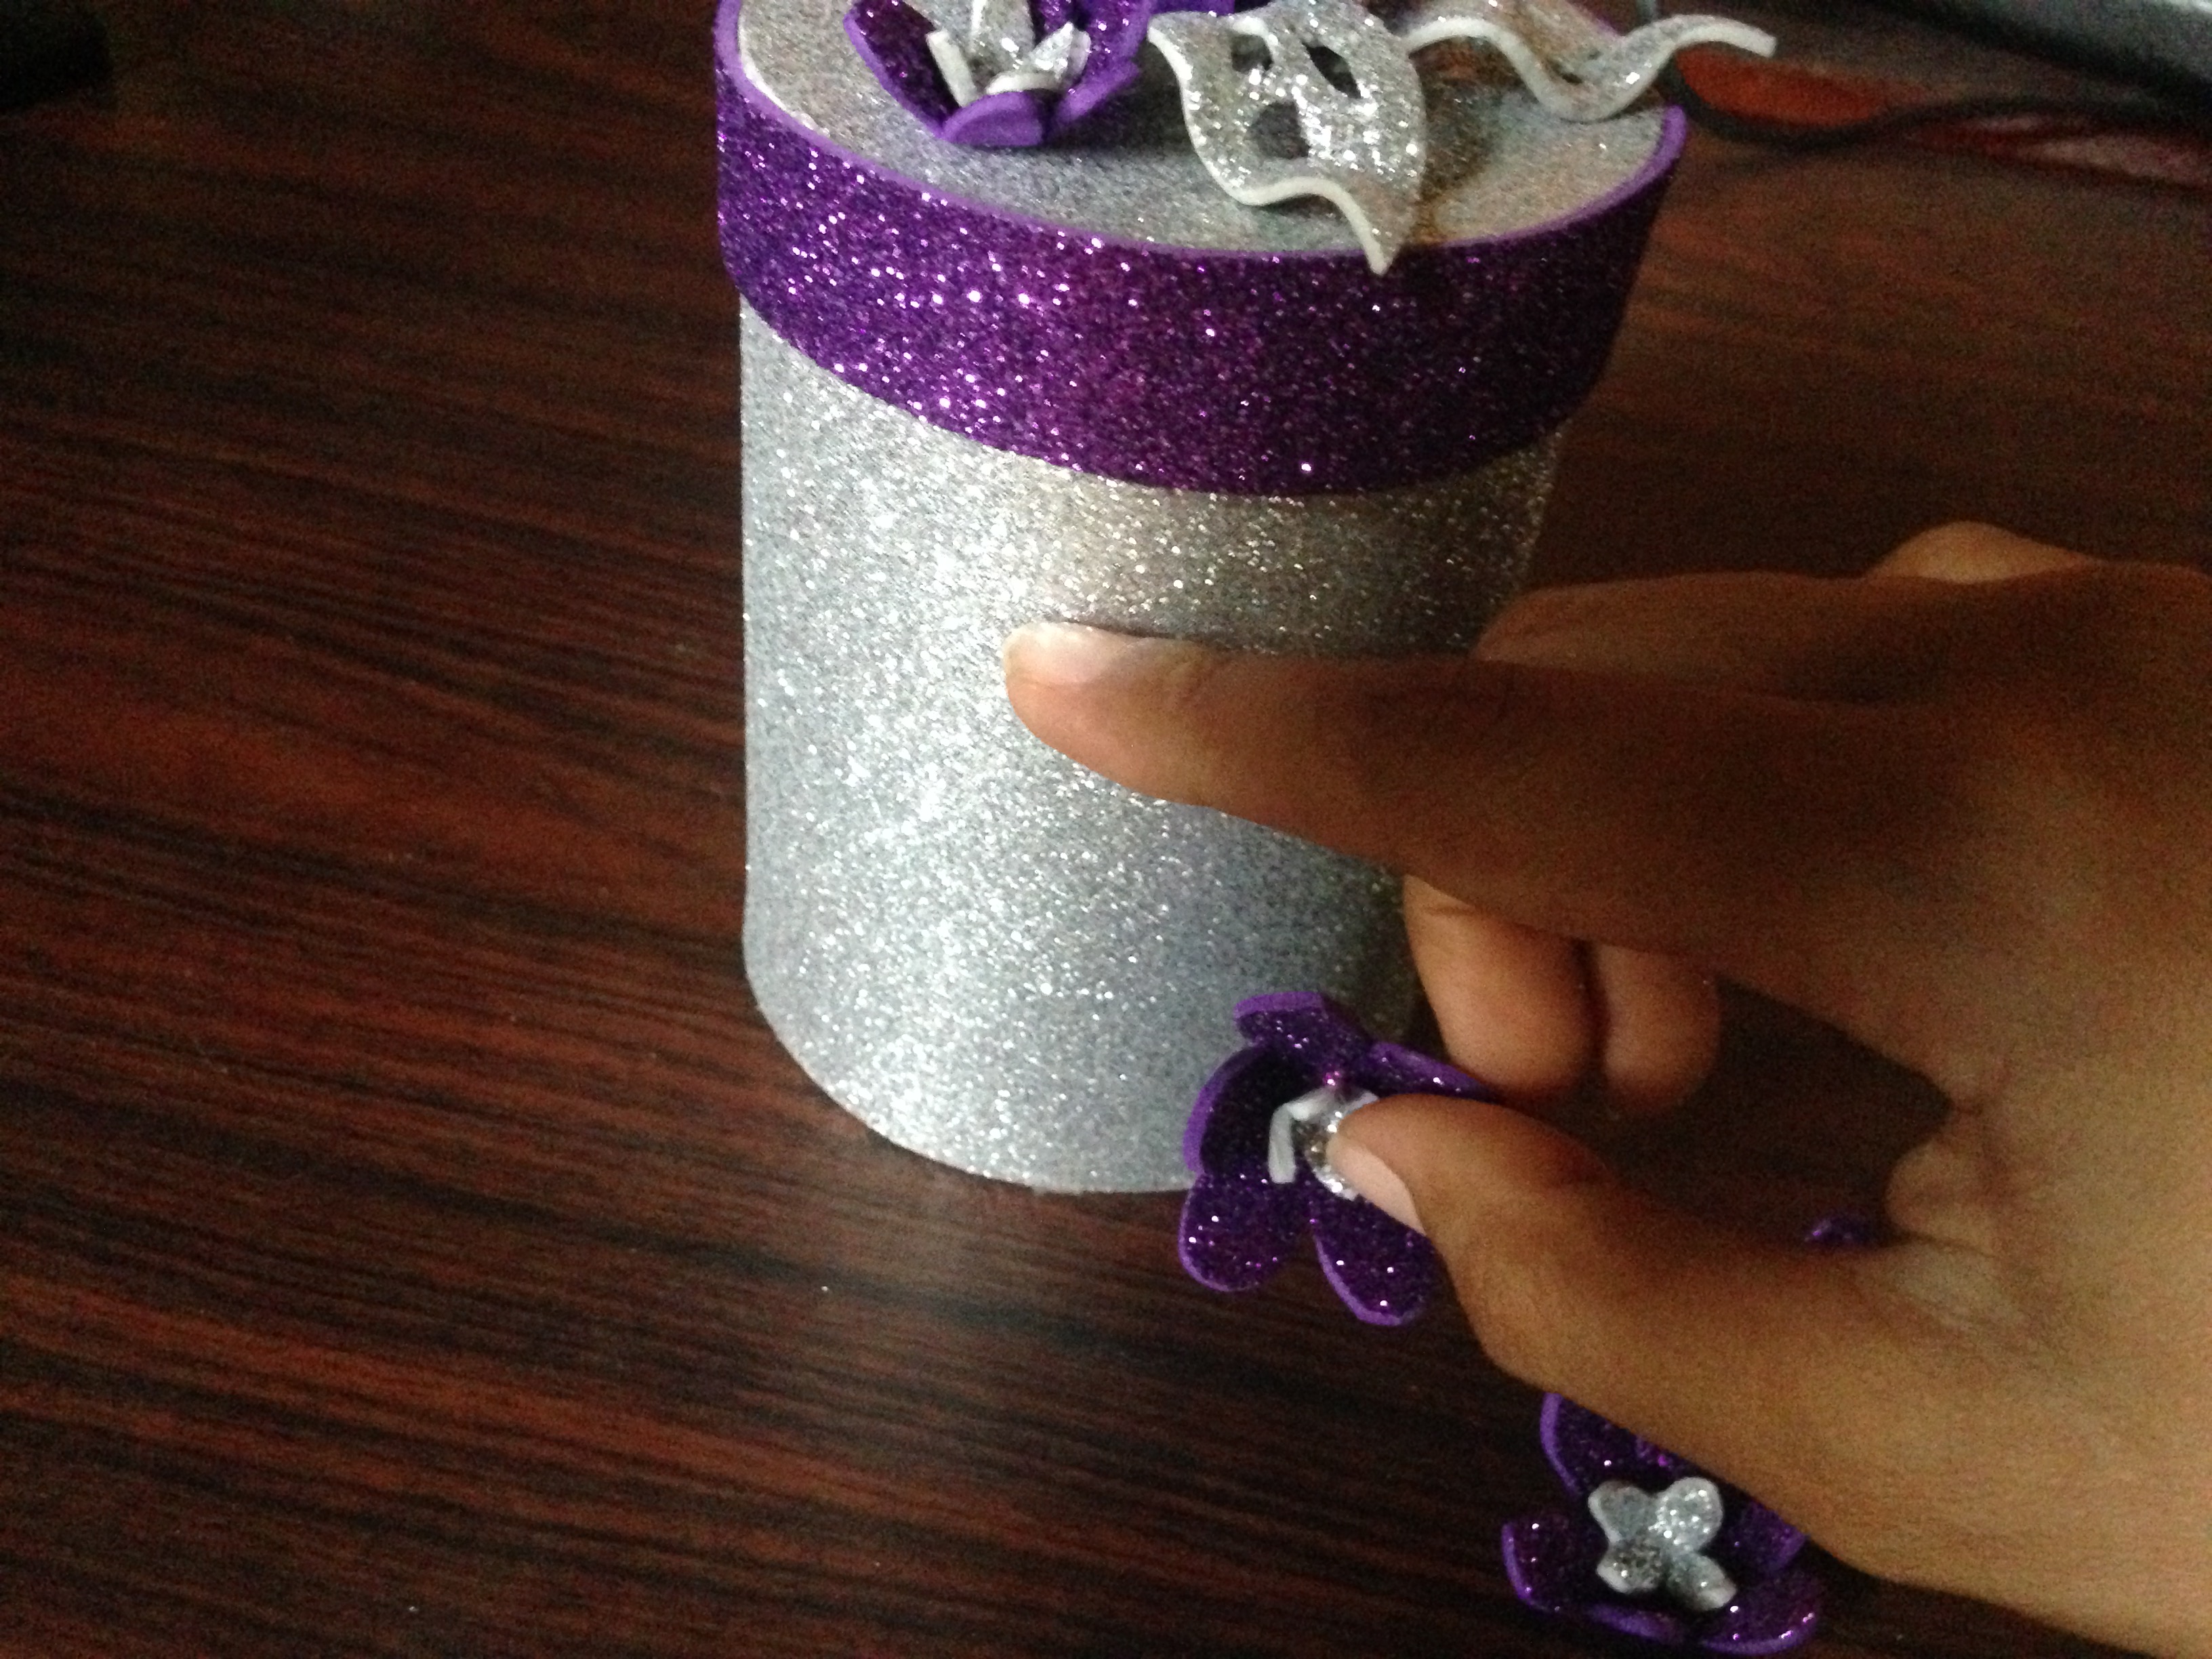
Paso 5
Para darle forma a nuestras flores grandes, las calentaremos con la plancha y les daremos la forma con la mano hacia dentro, al igual haremos eso con las flores pequeñas y también con las hojas
Step 5
To give shape to our large flowers, we will heat them with the iron and we will shape them with the hand inwards, just as we will do that with the small flowers and also with the leaves.

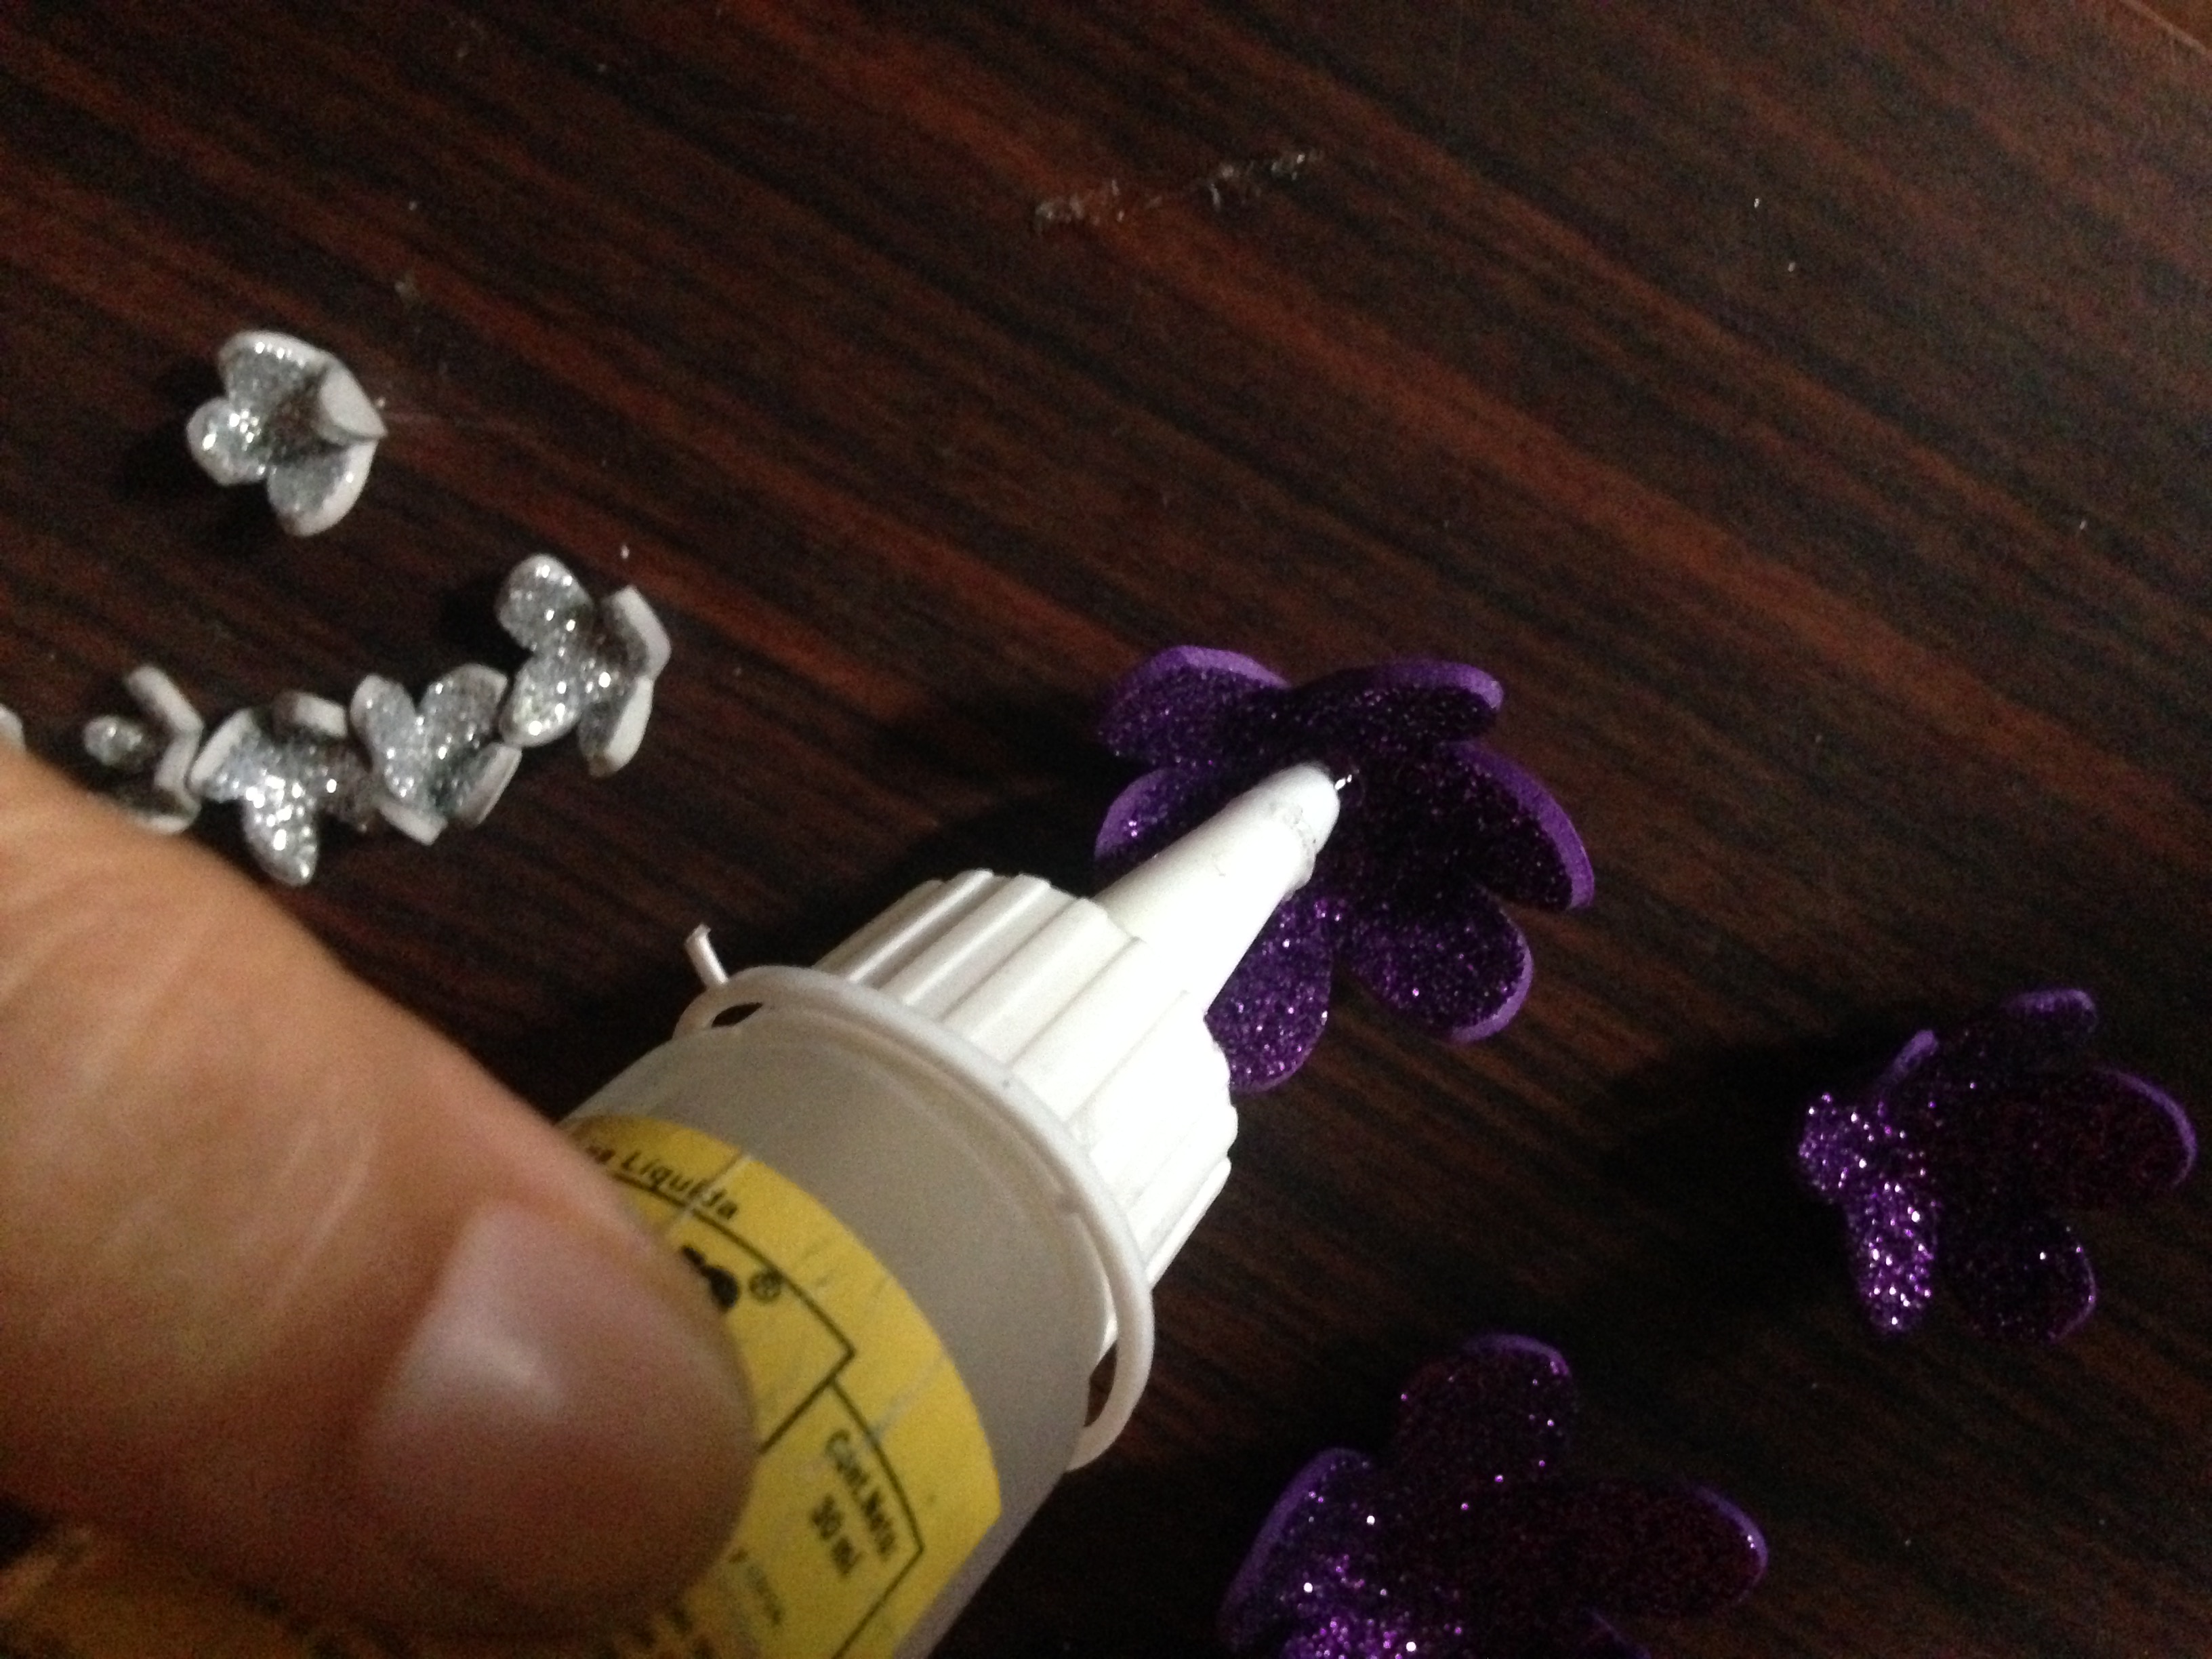
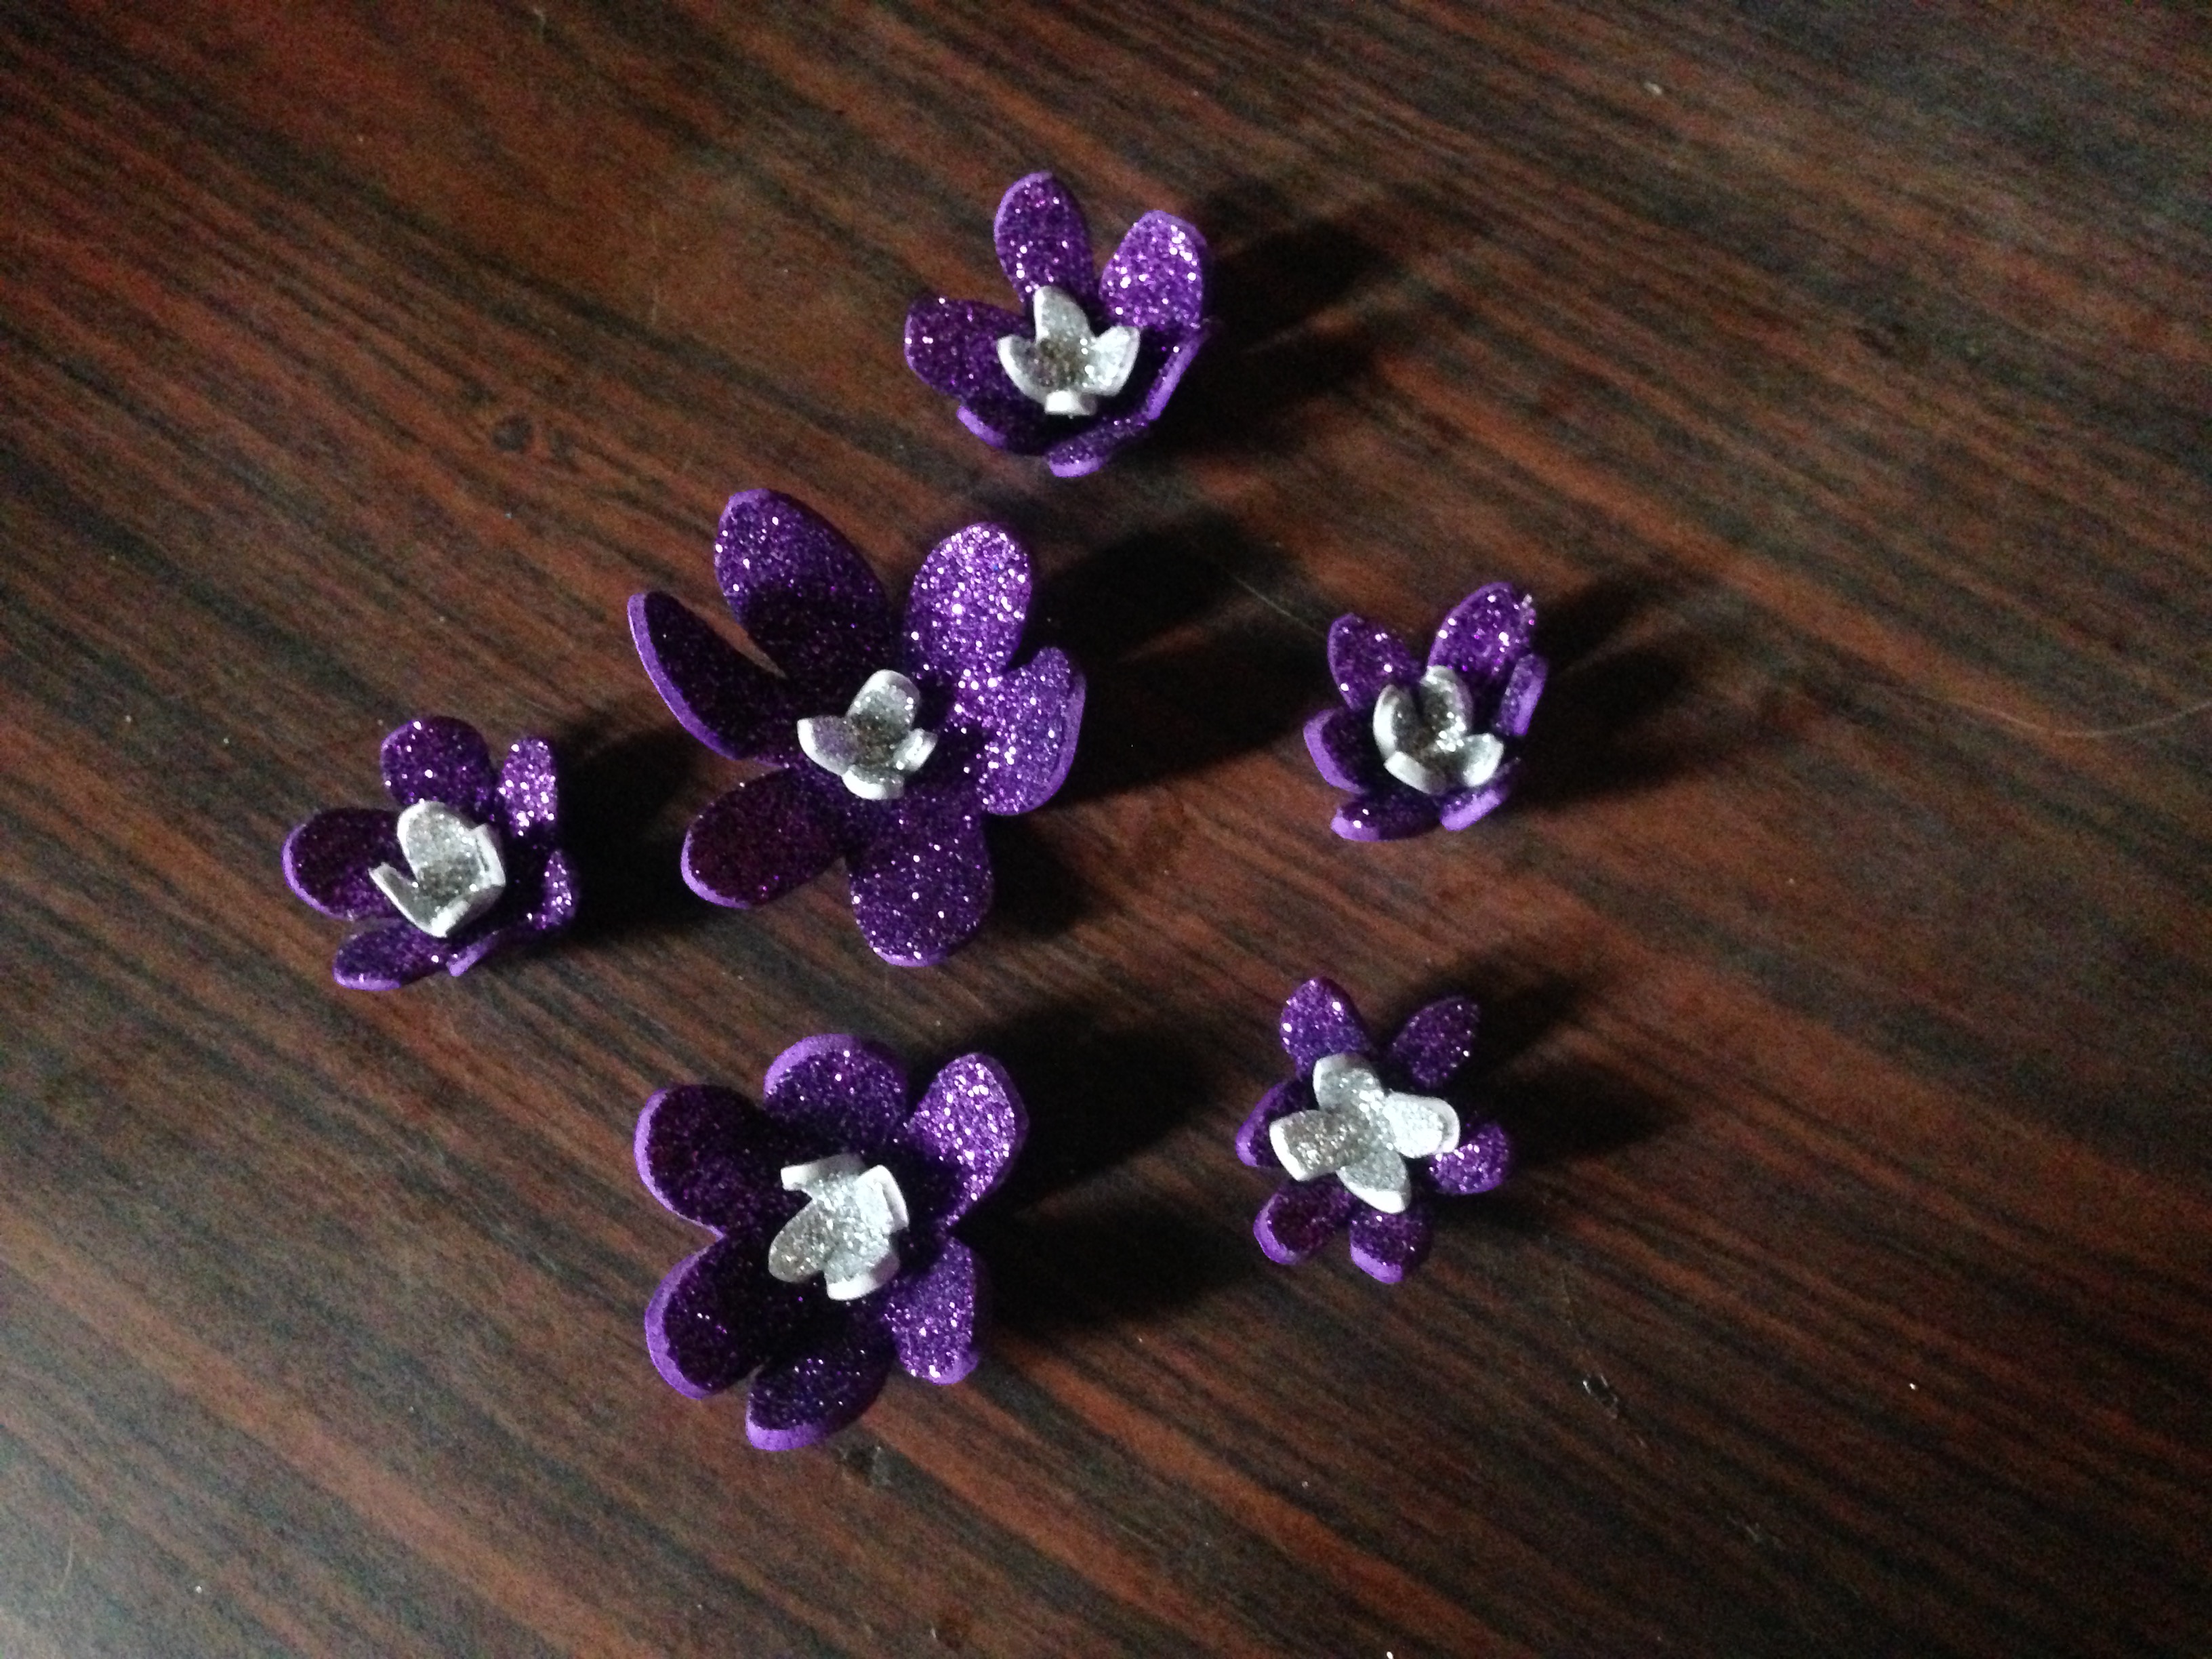
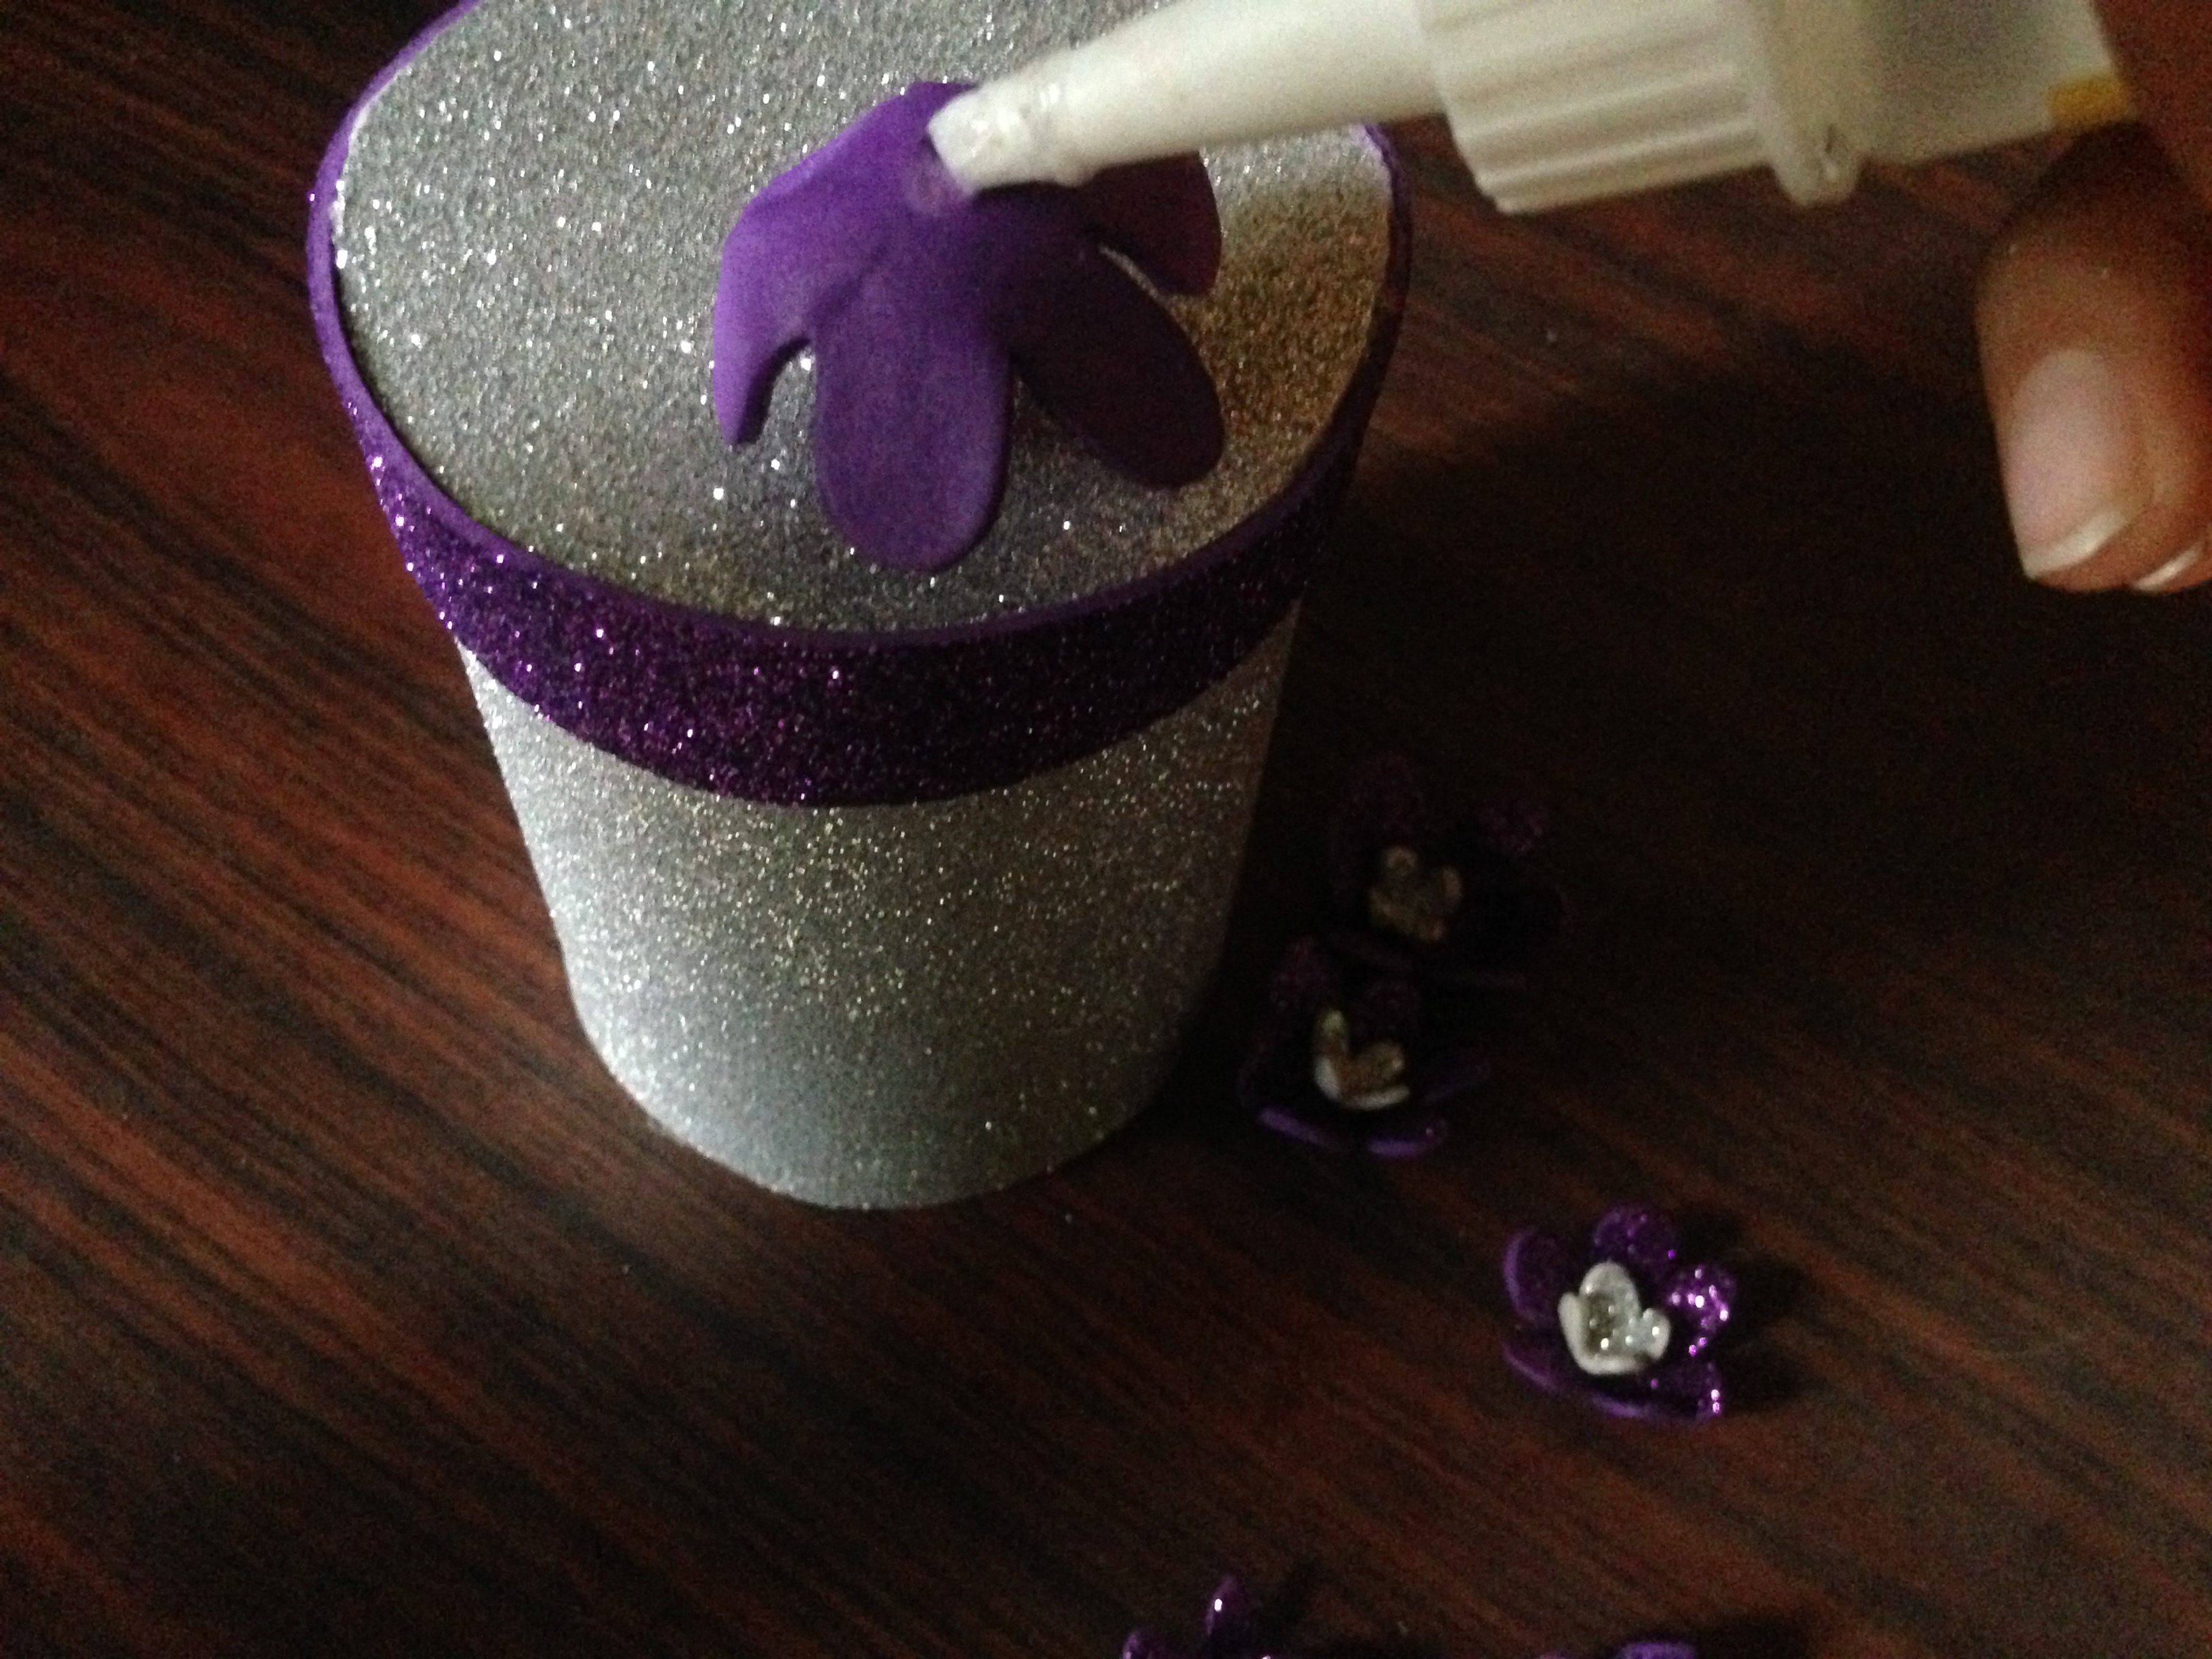
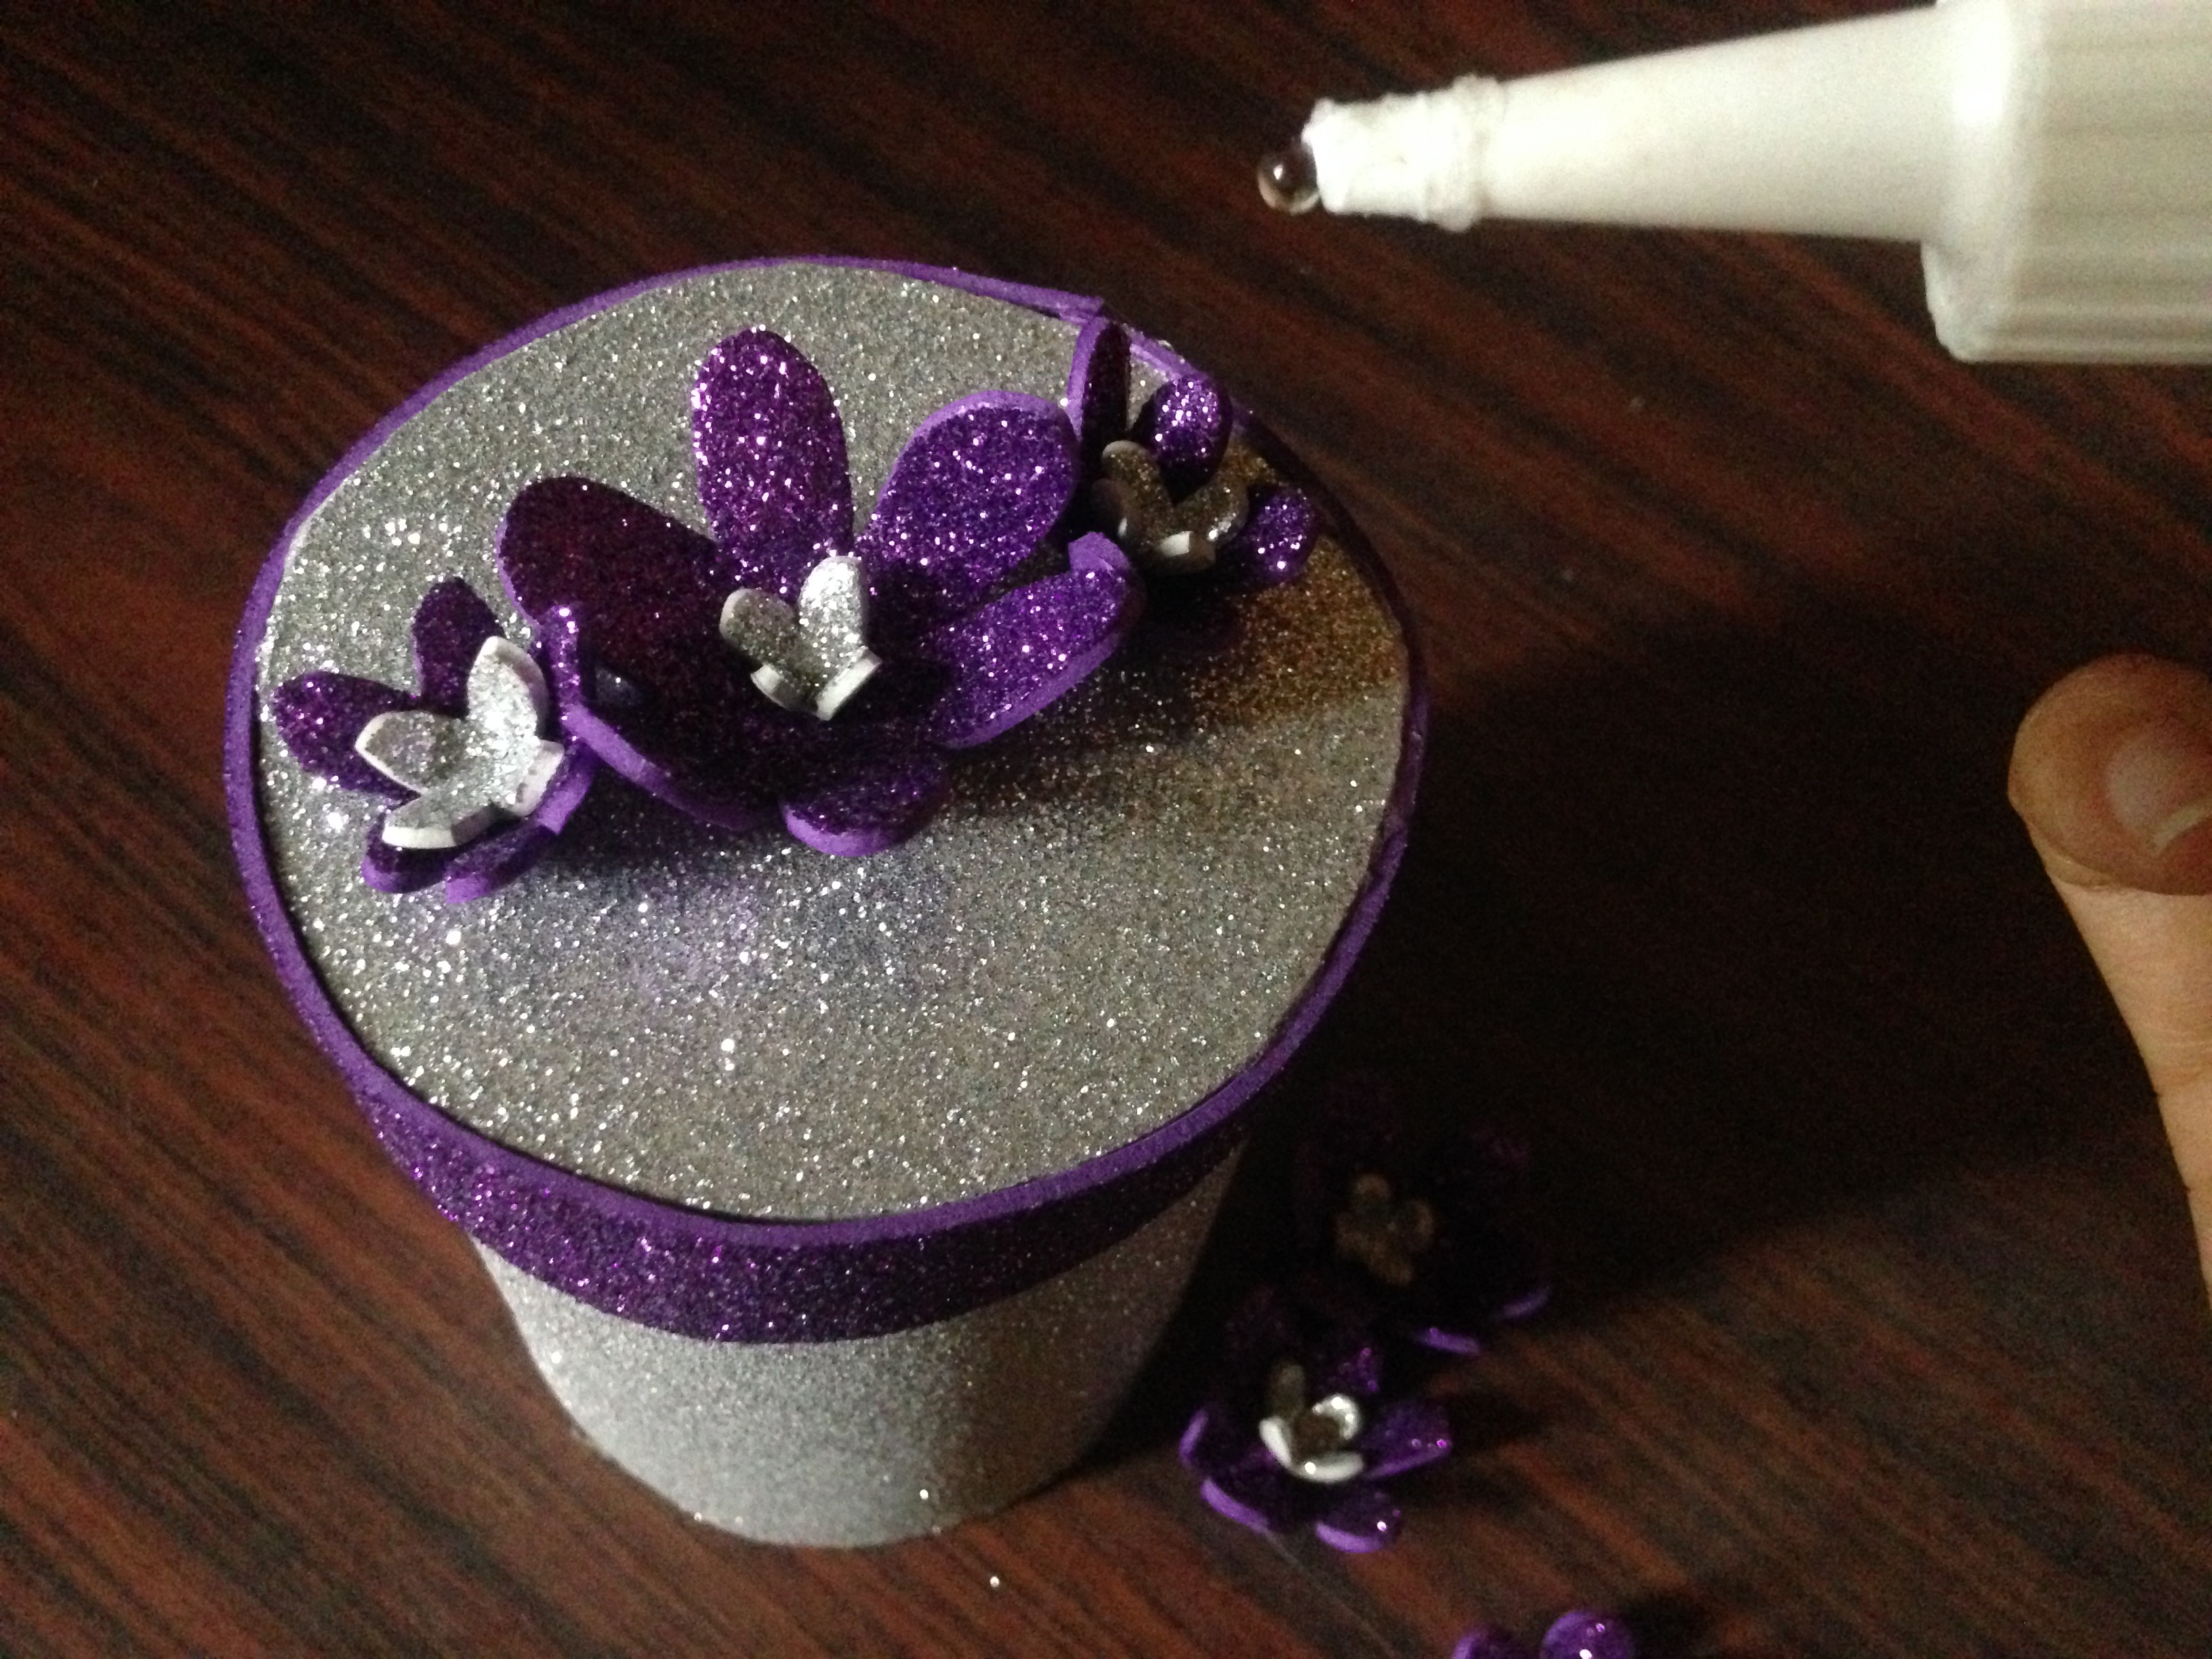
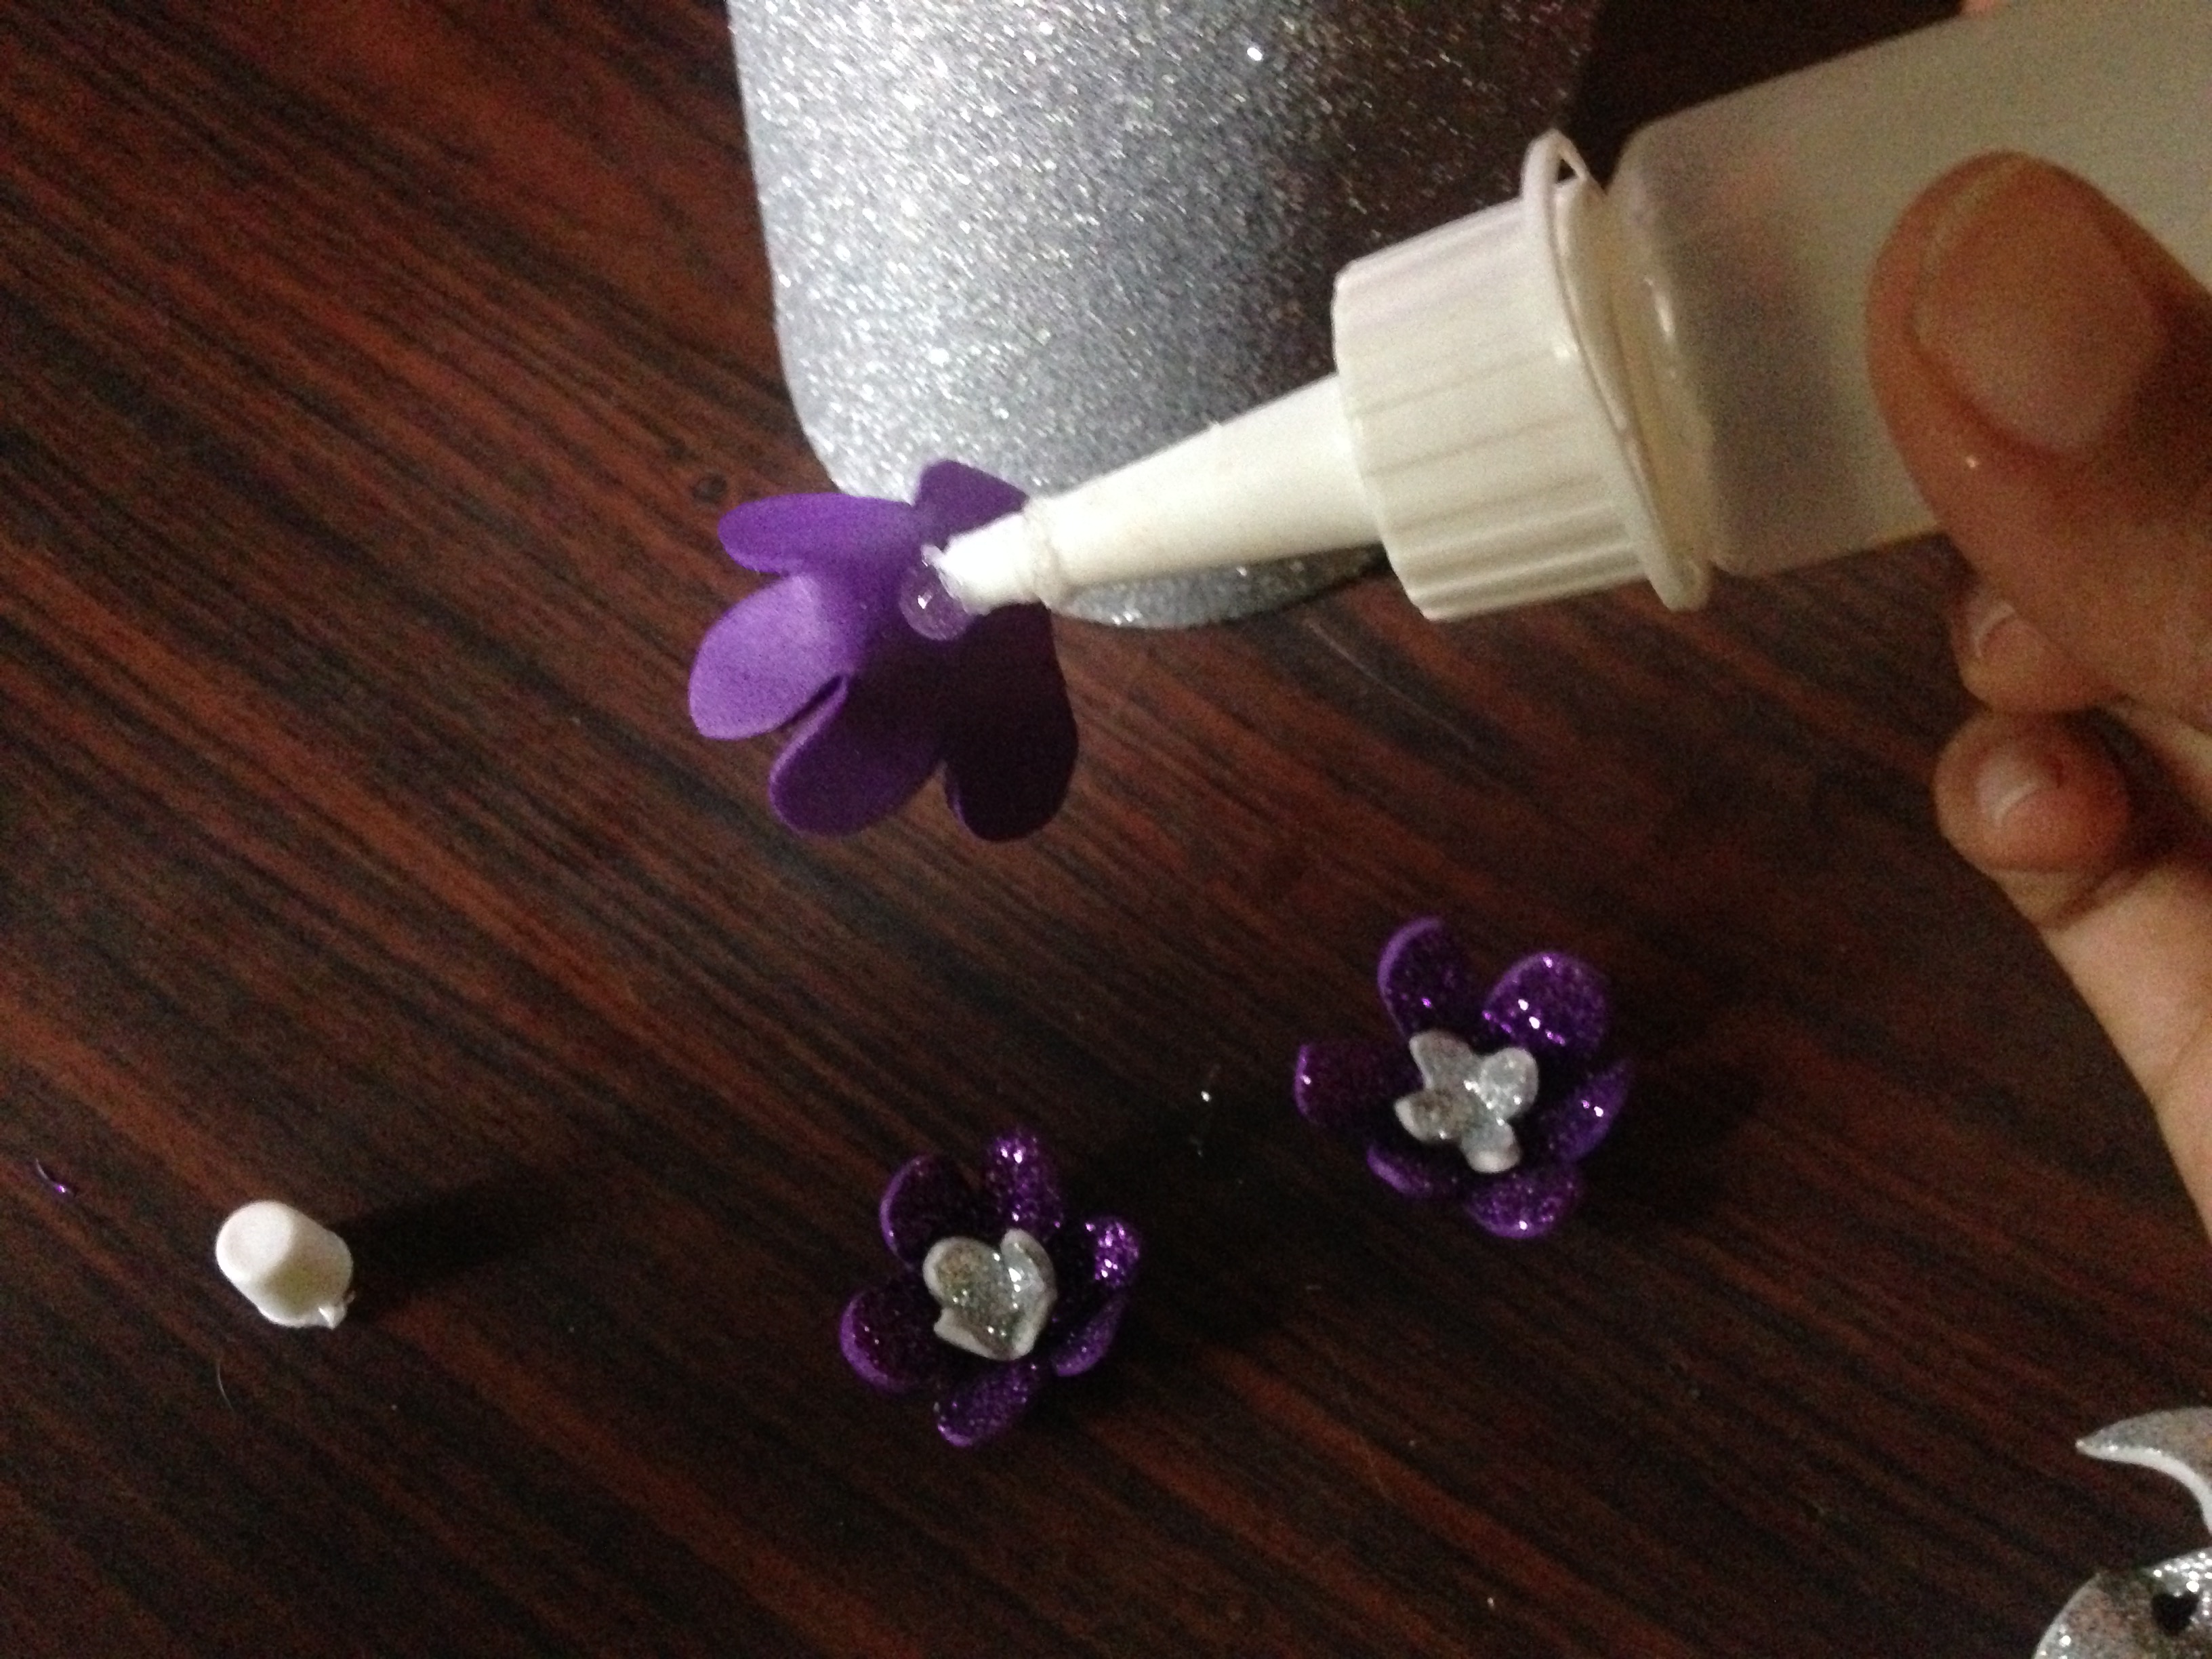
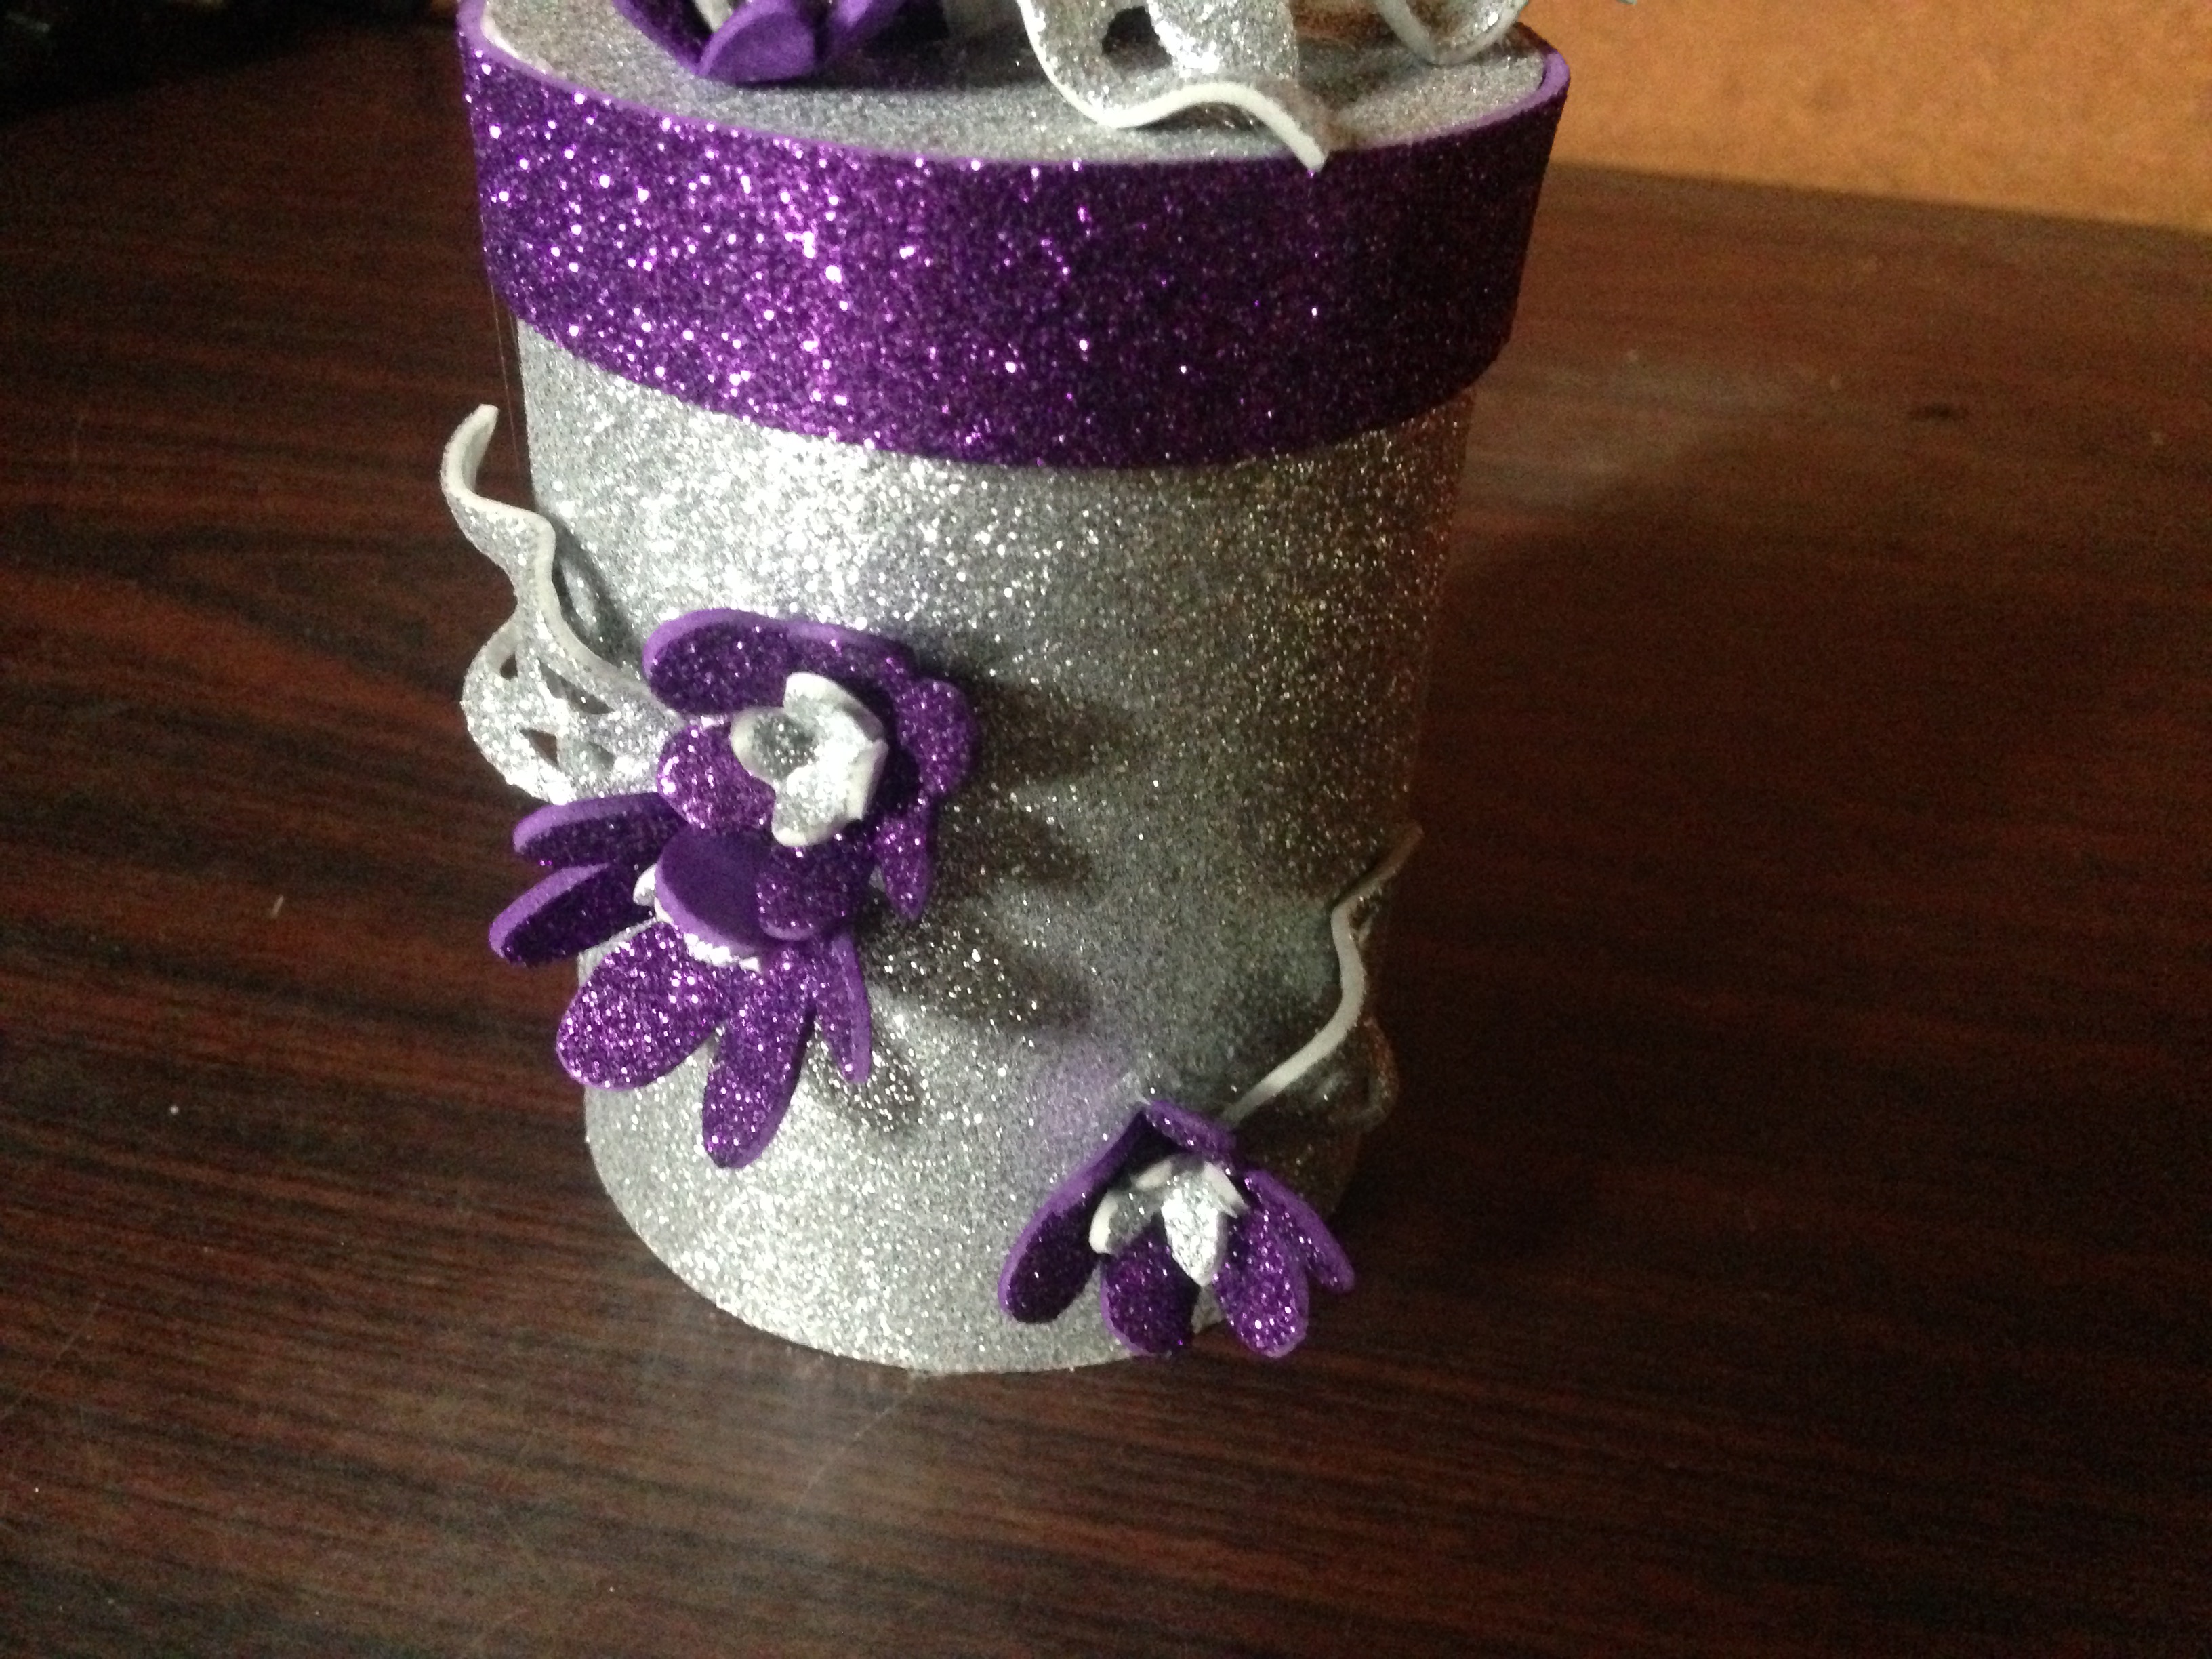
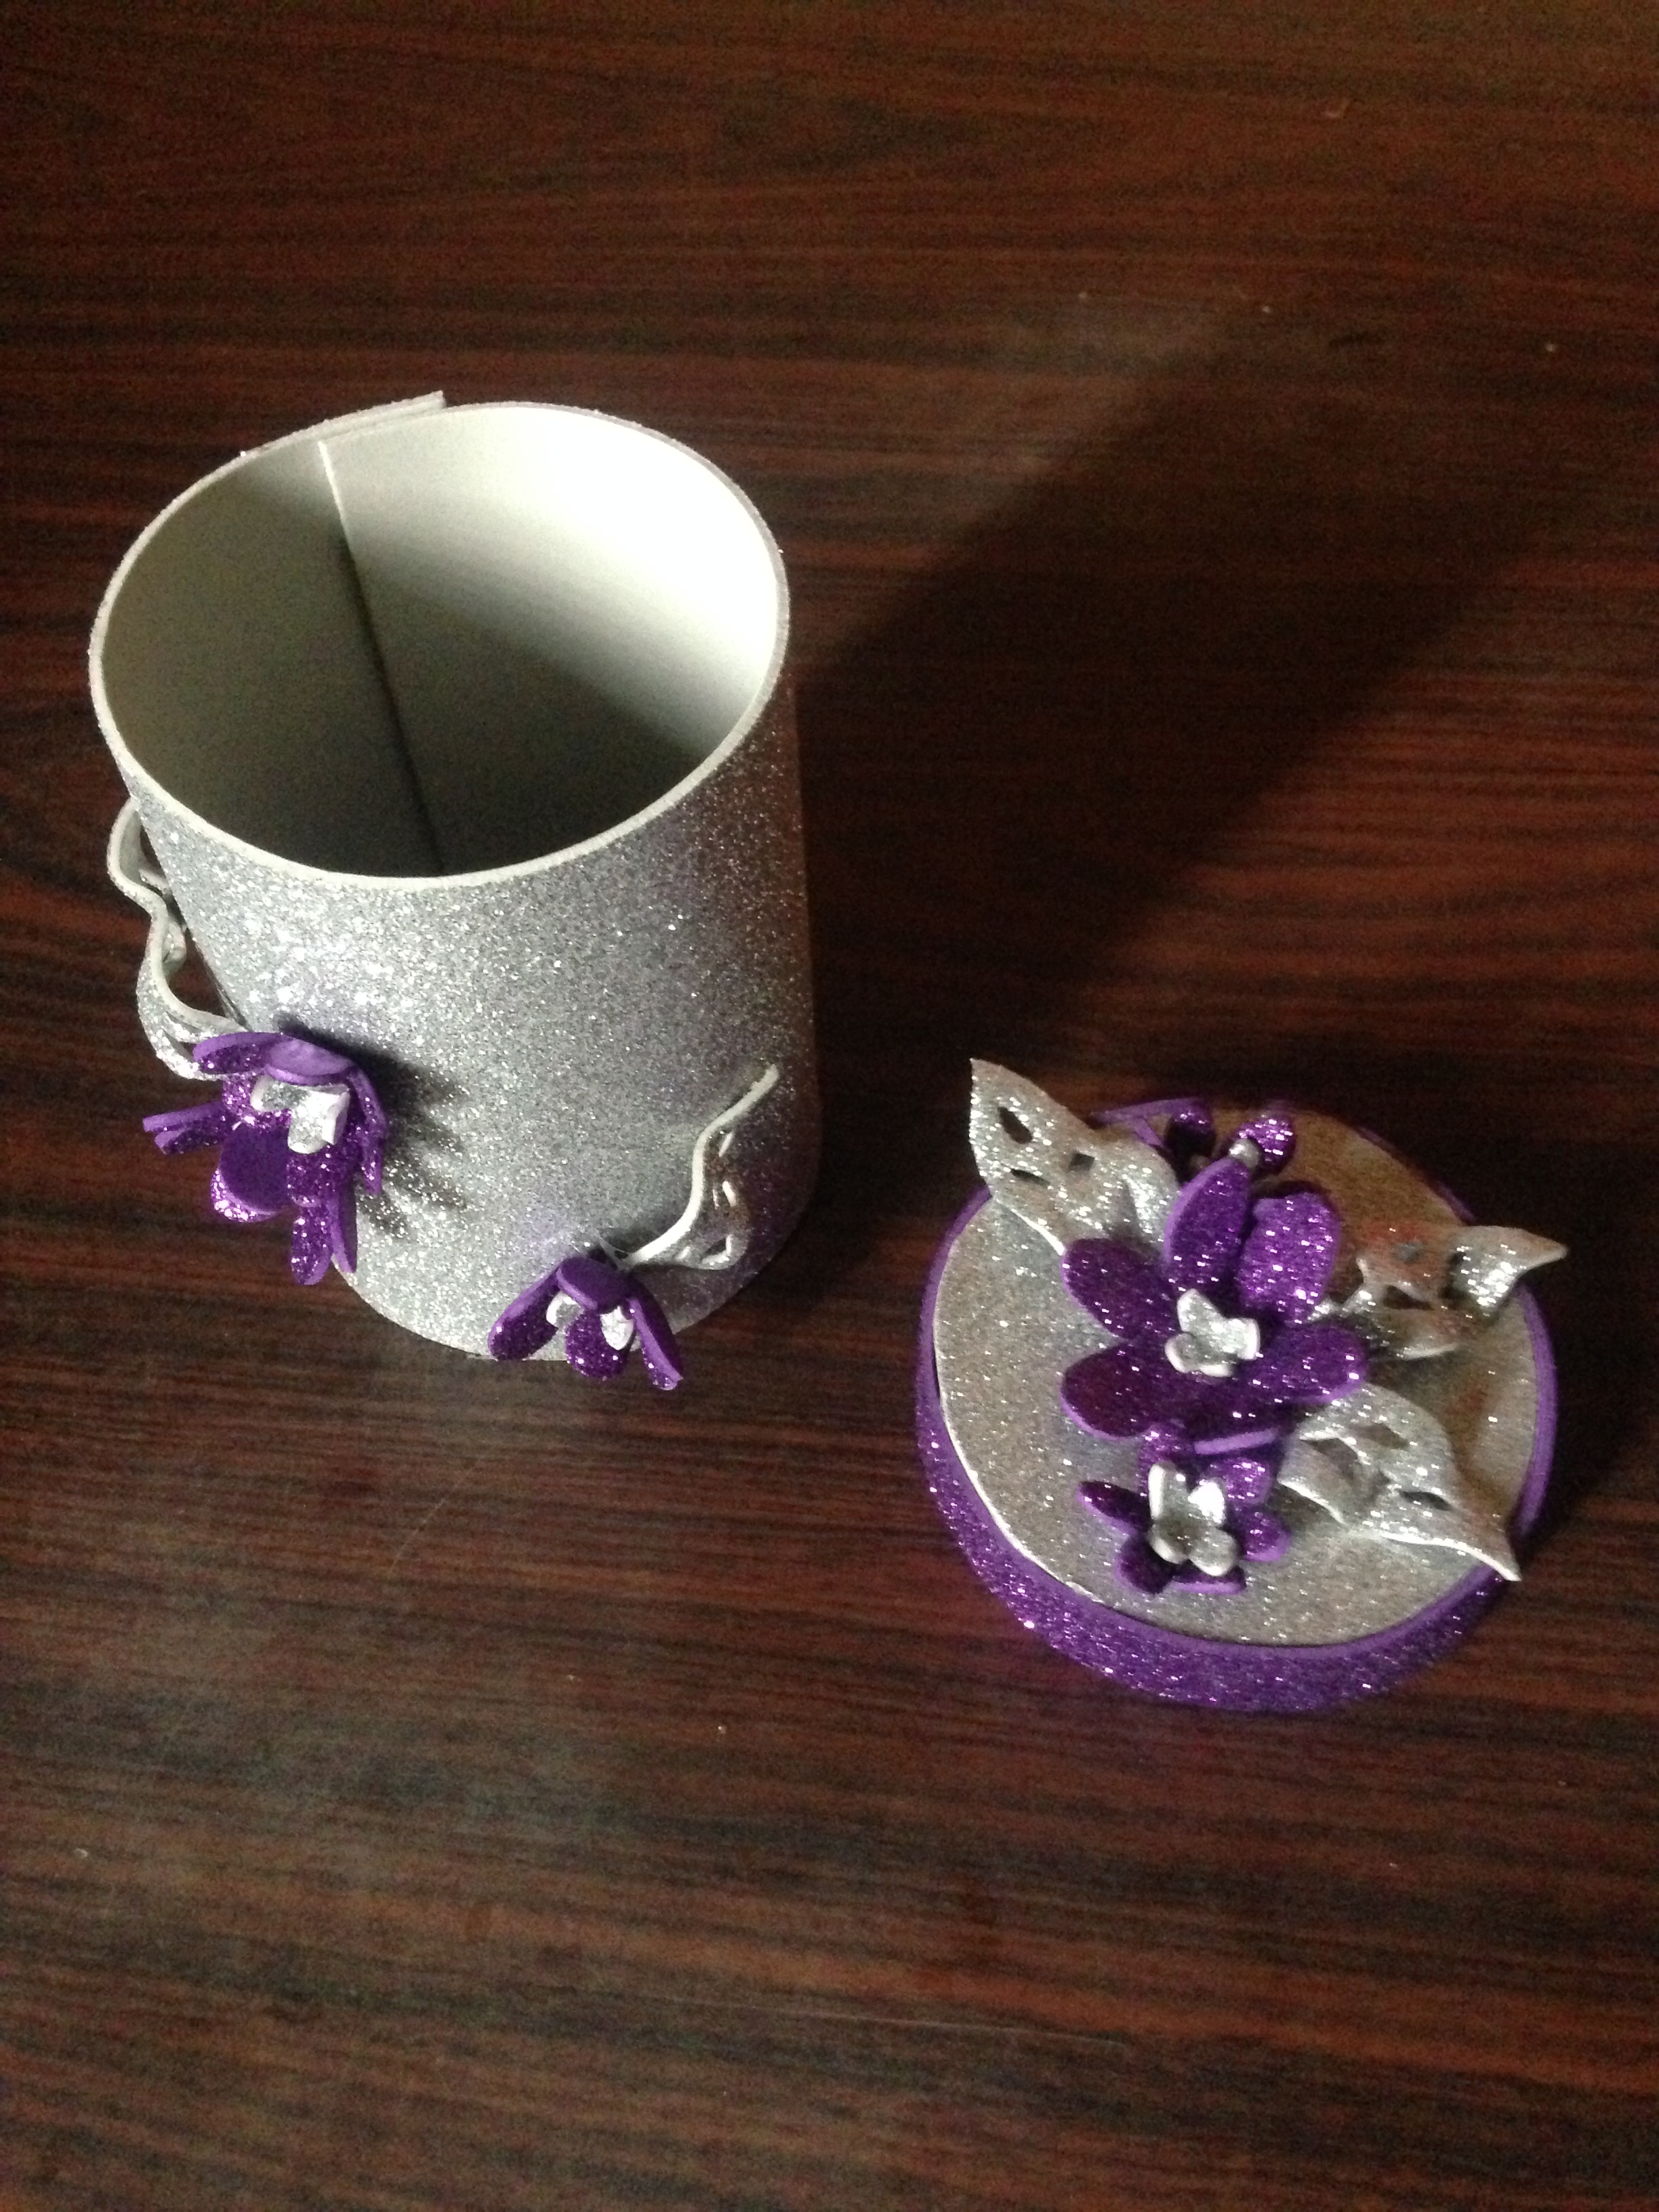
Paso 6
Ahora vamos a pegar las flores pequeñas dentro de las flores mas grandes que son las moradas, luego decoraremos nuestra caja, comenzando por la tapa, donde pegaremos 3 flores y 3 hojas, luego las demás flores y hoja en la parte central, así como se muestra en la imagen
Step 6
Now we are going to paste the small flowers inside the larger flowers that are the purple ones, then we will decorate our box, starting with the lid, where we will paste 3 floes and 3 leaves, then the other floes and leaves in the central part, as well as show in the picture
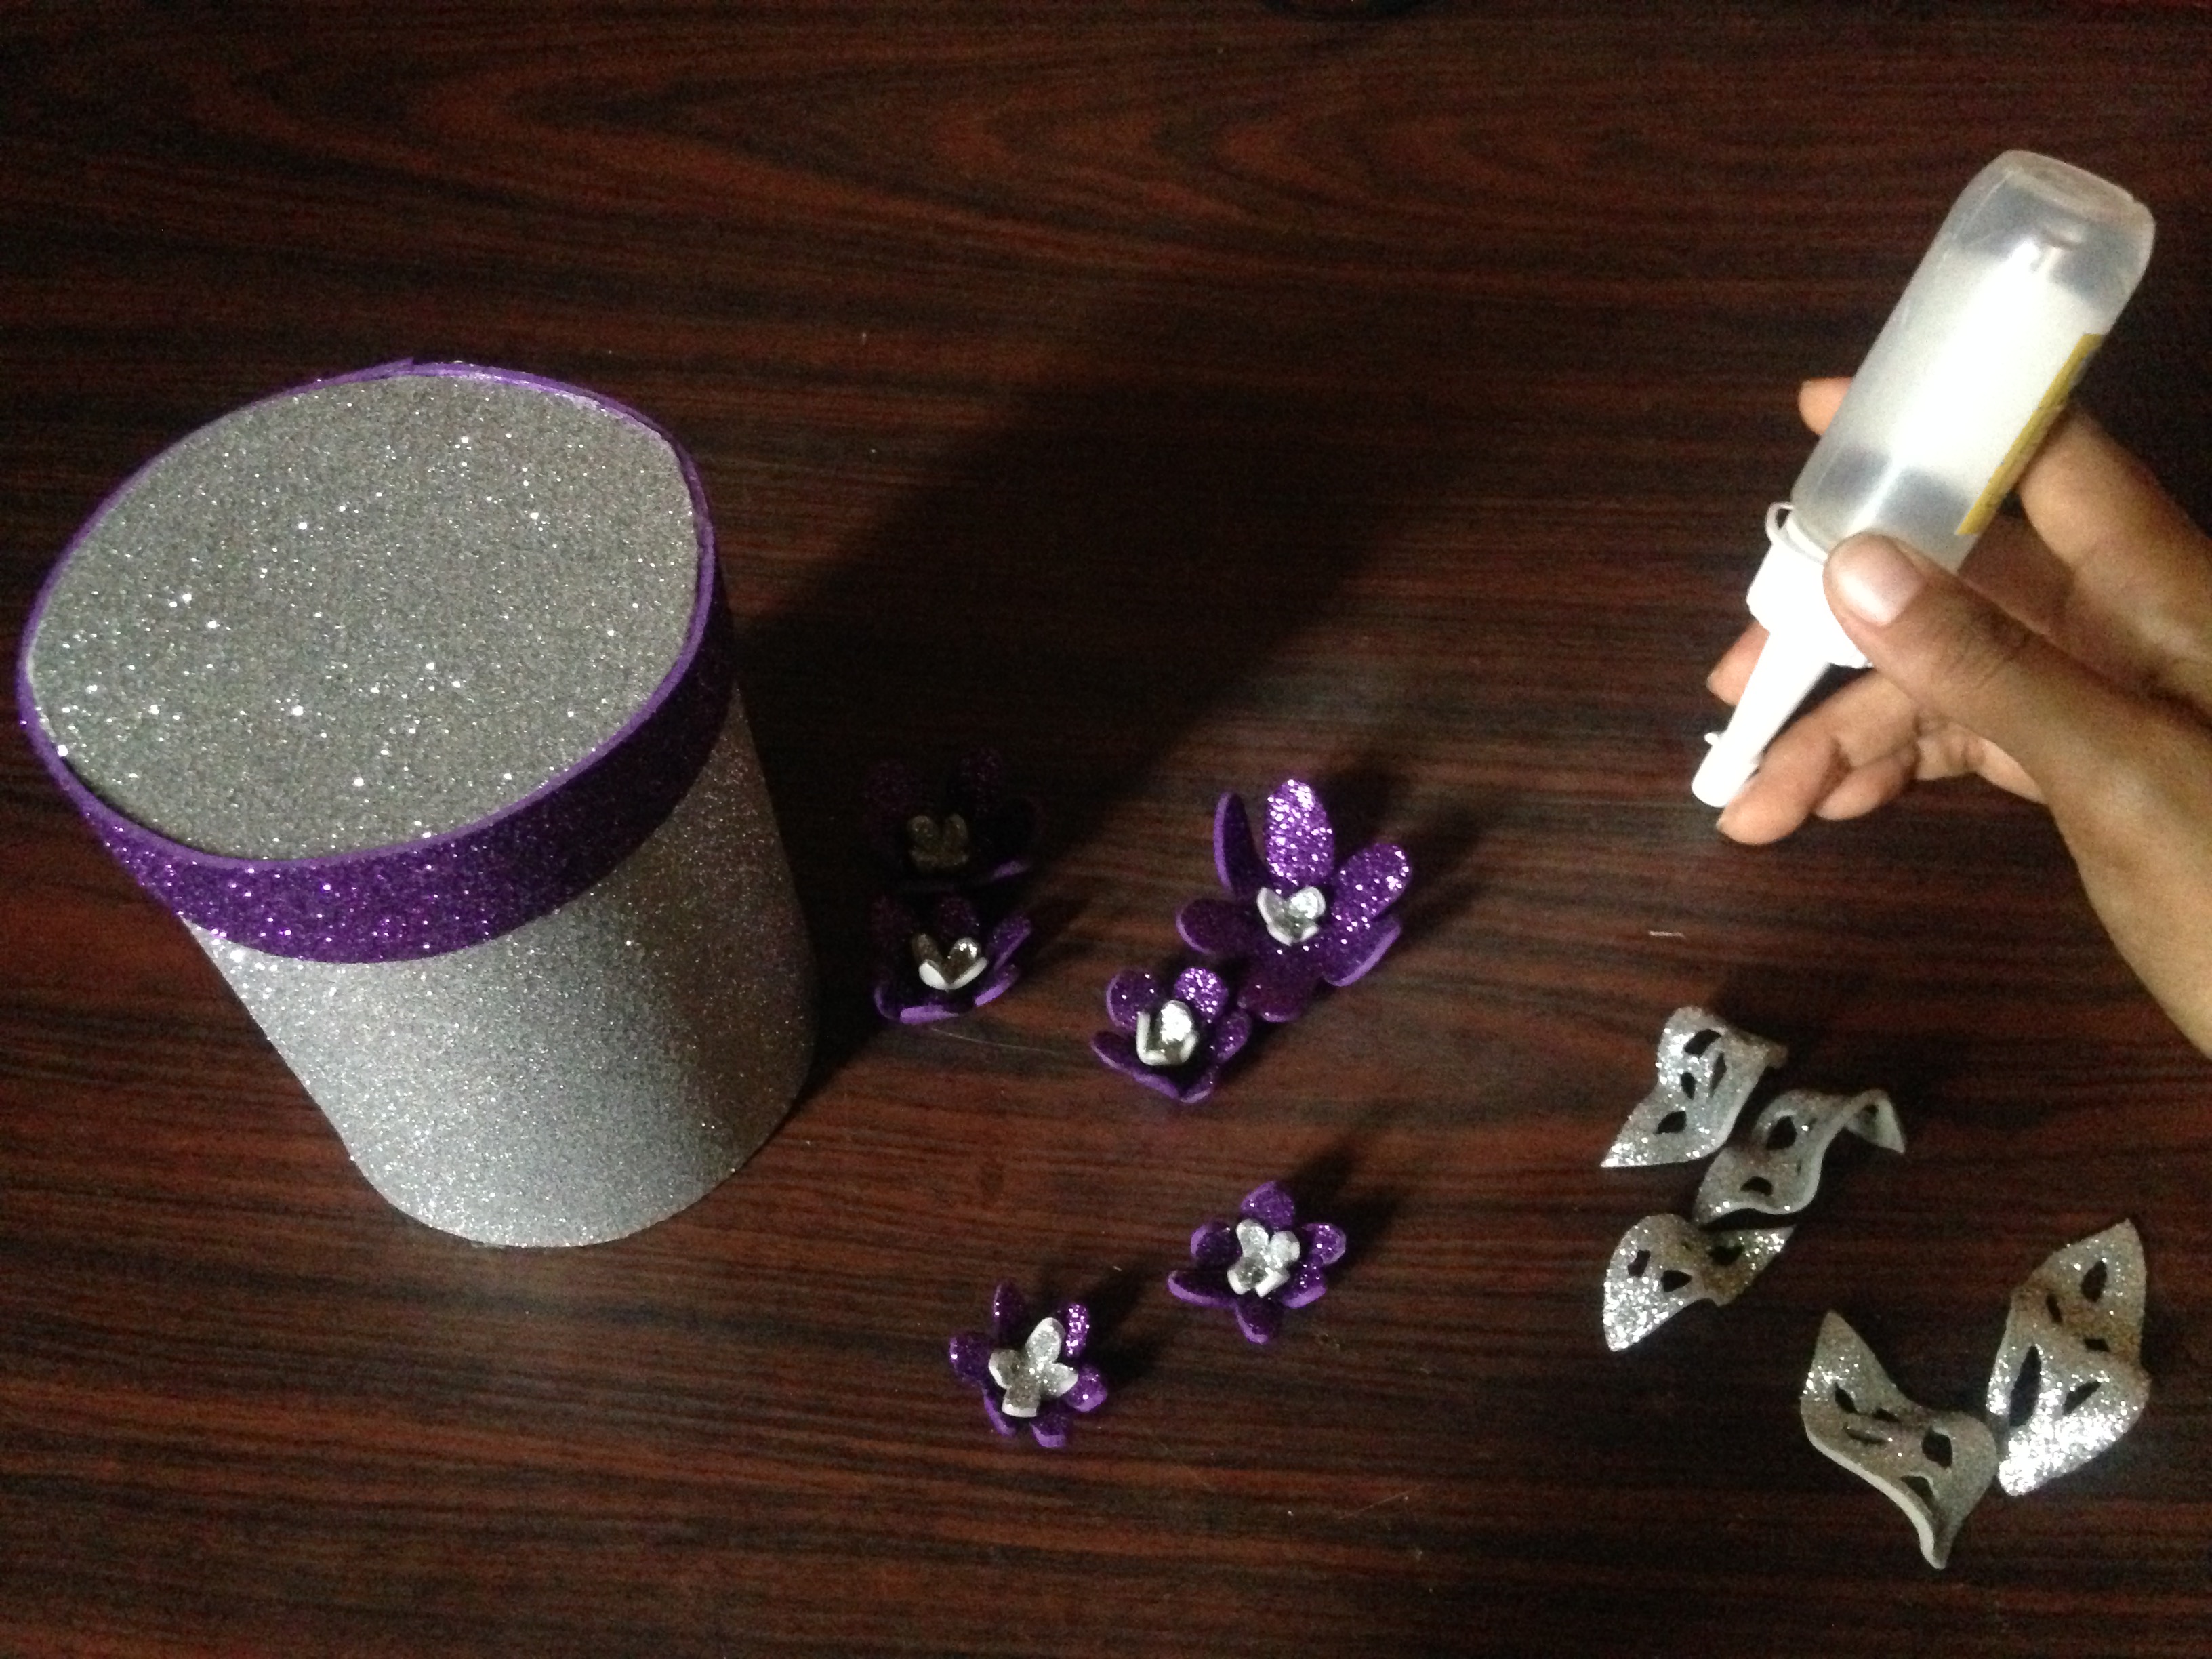
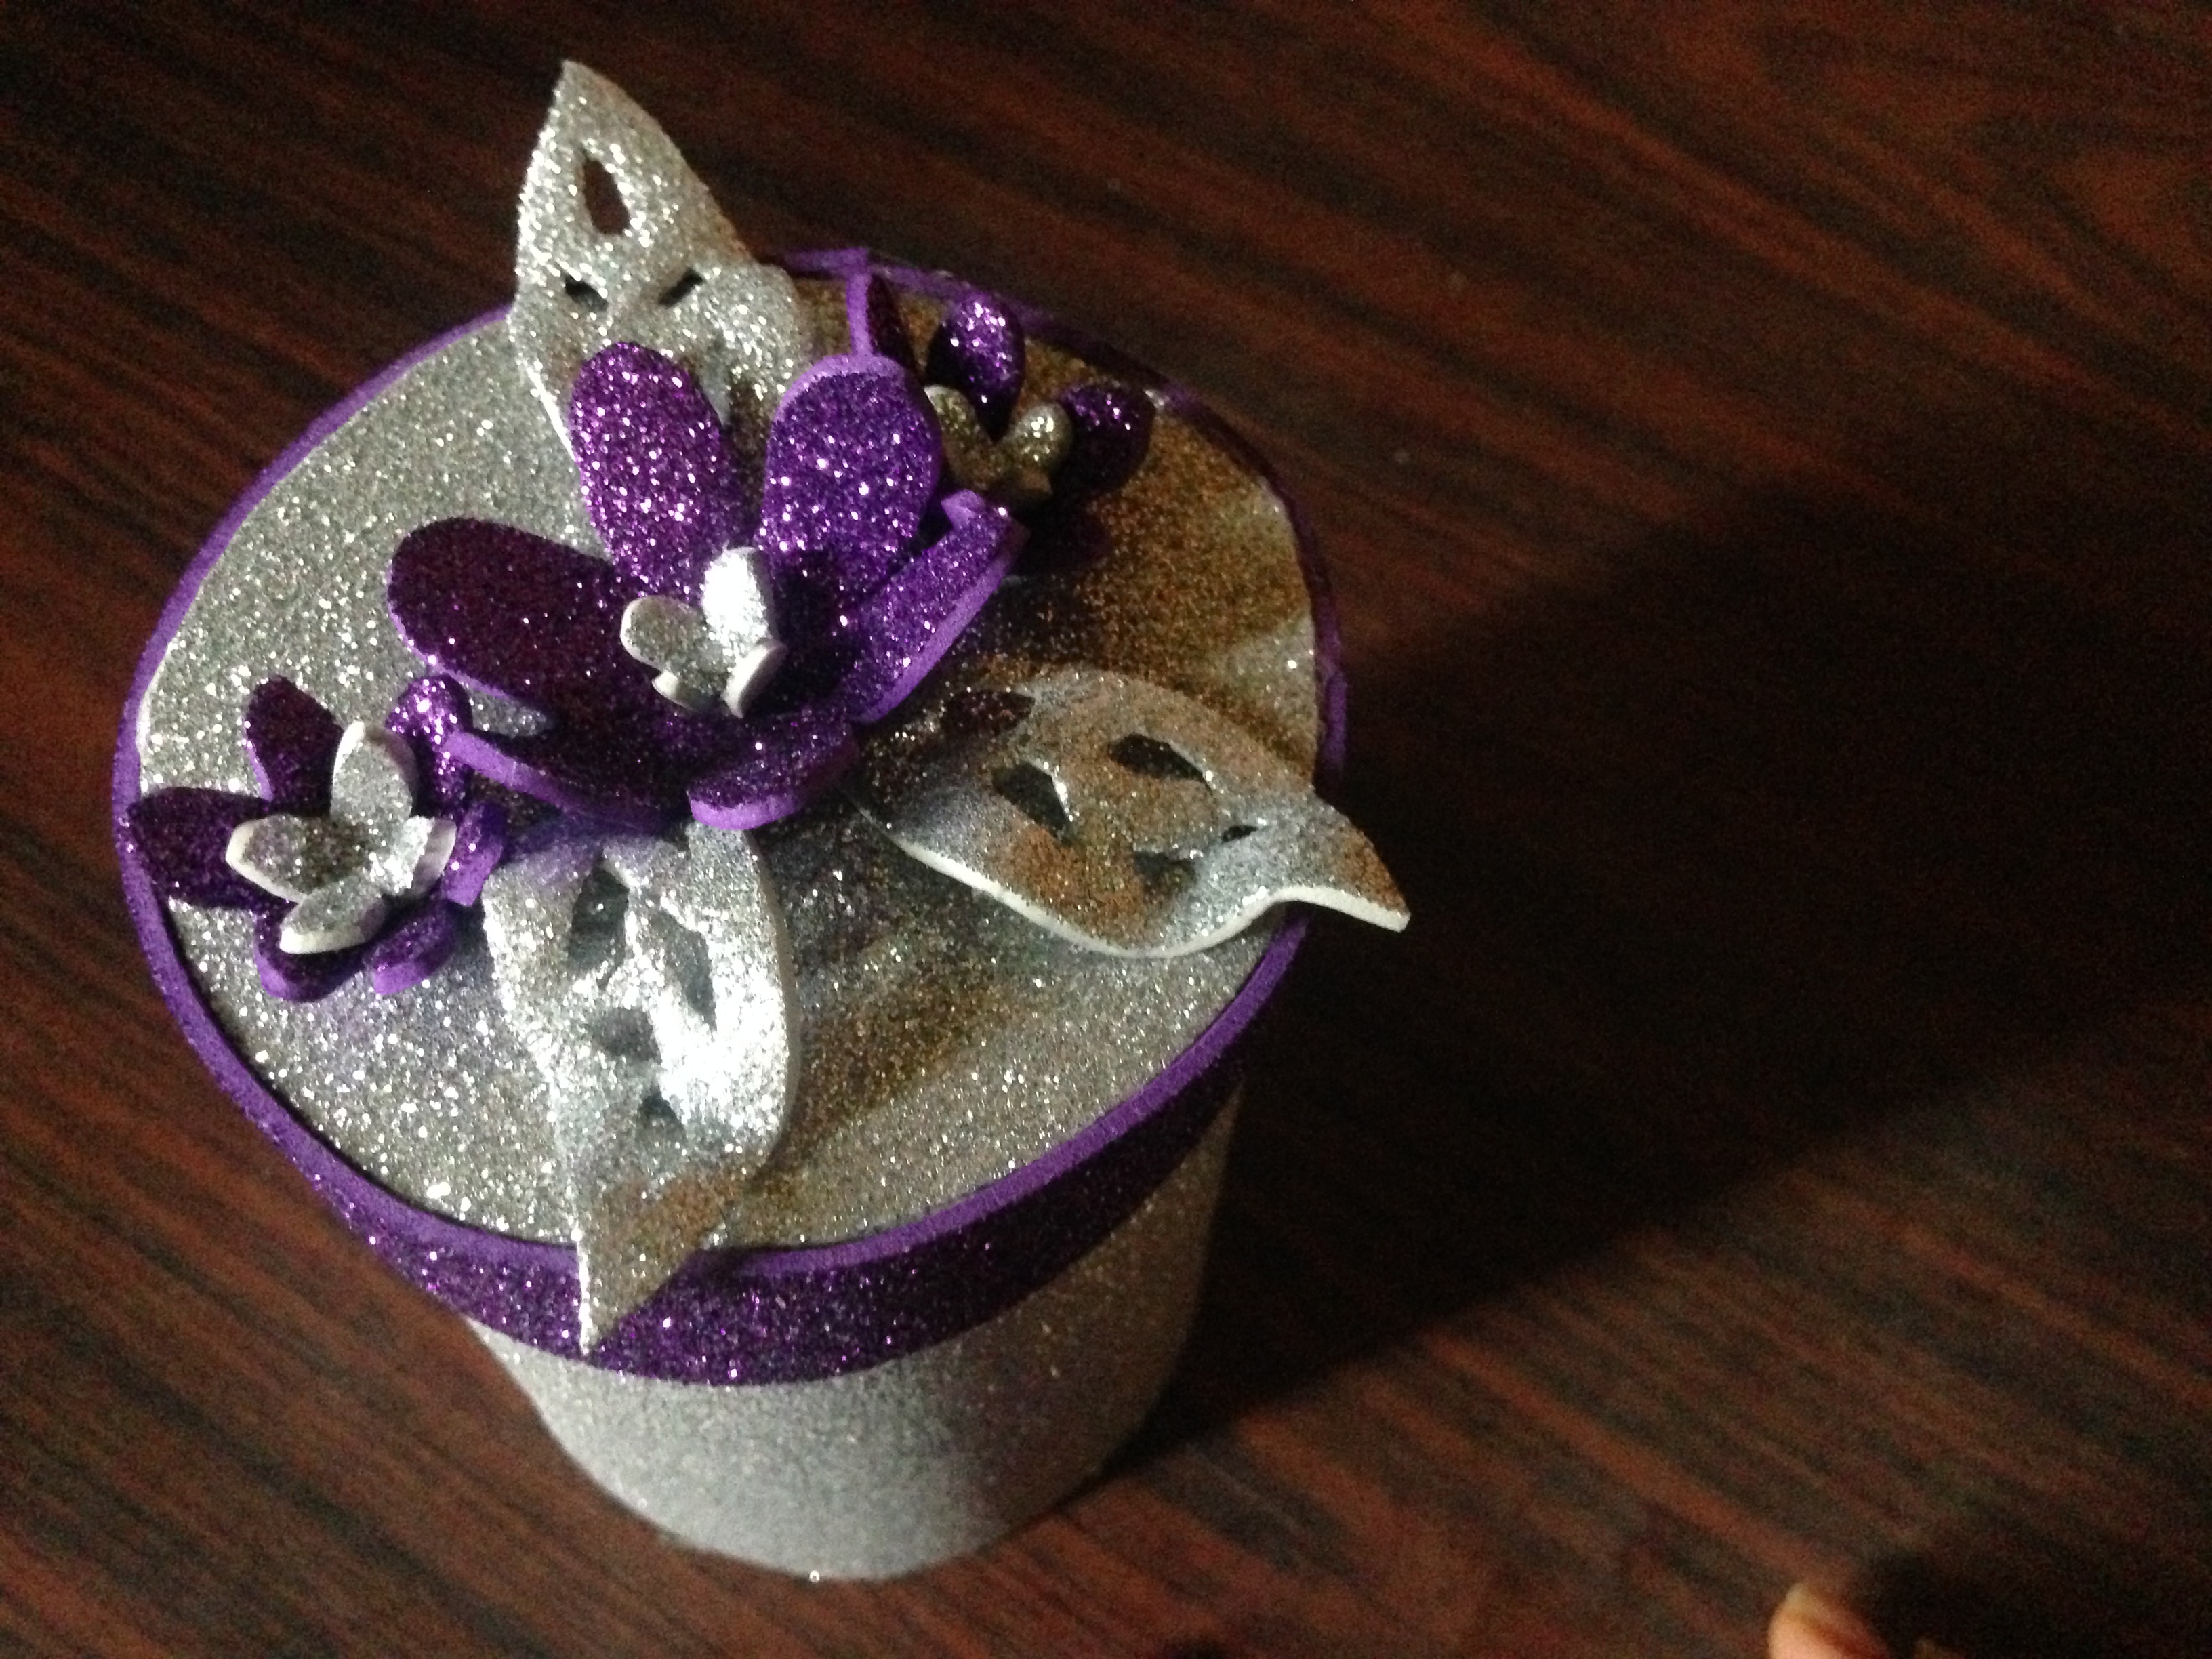

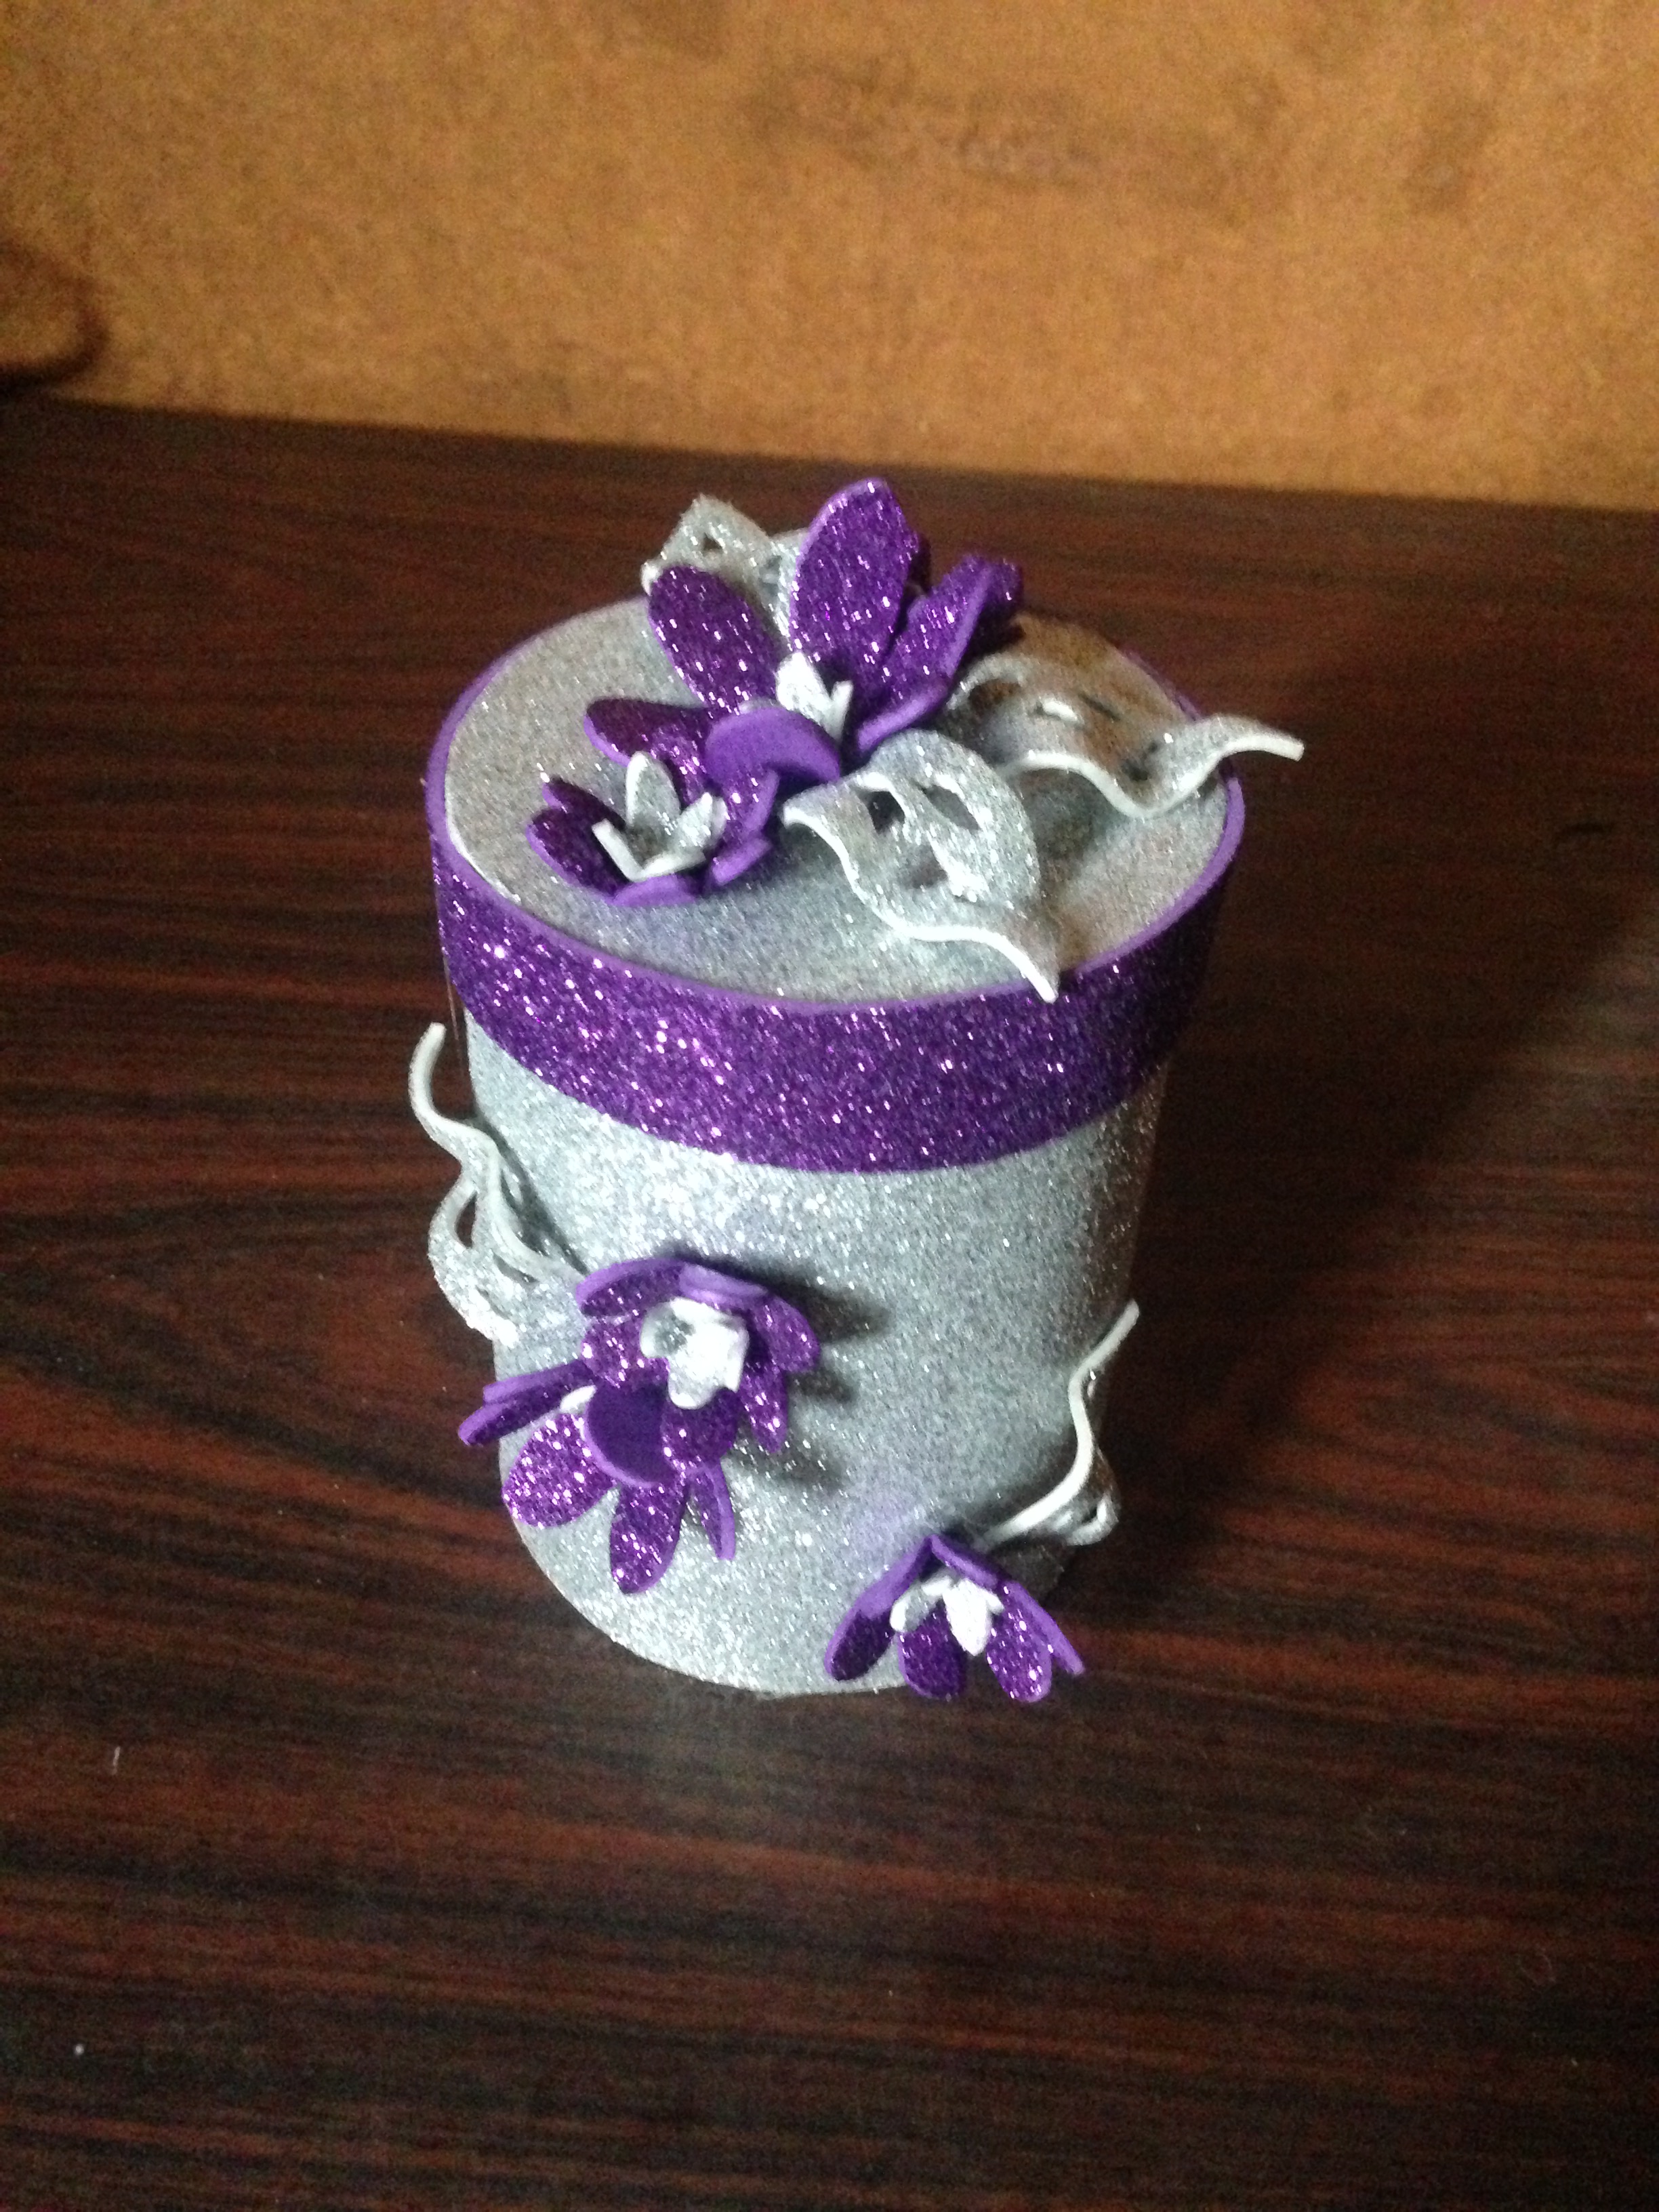
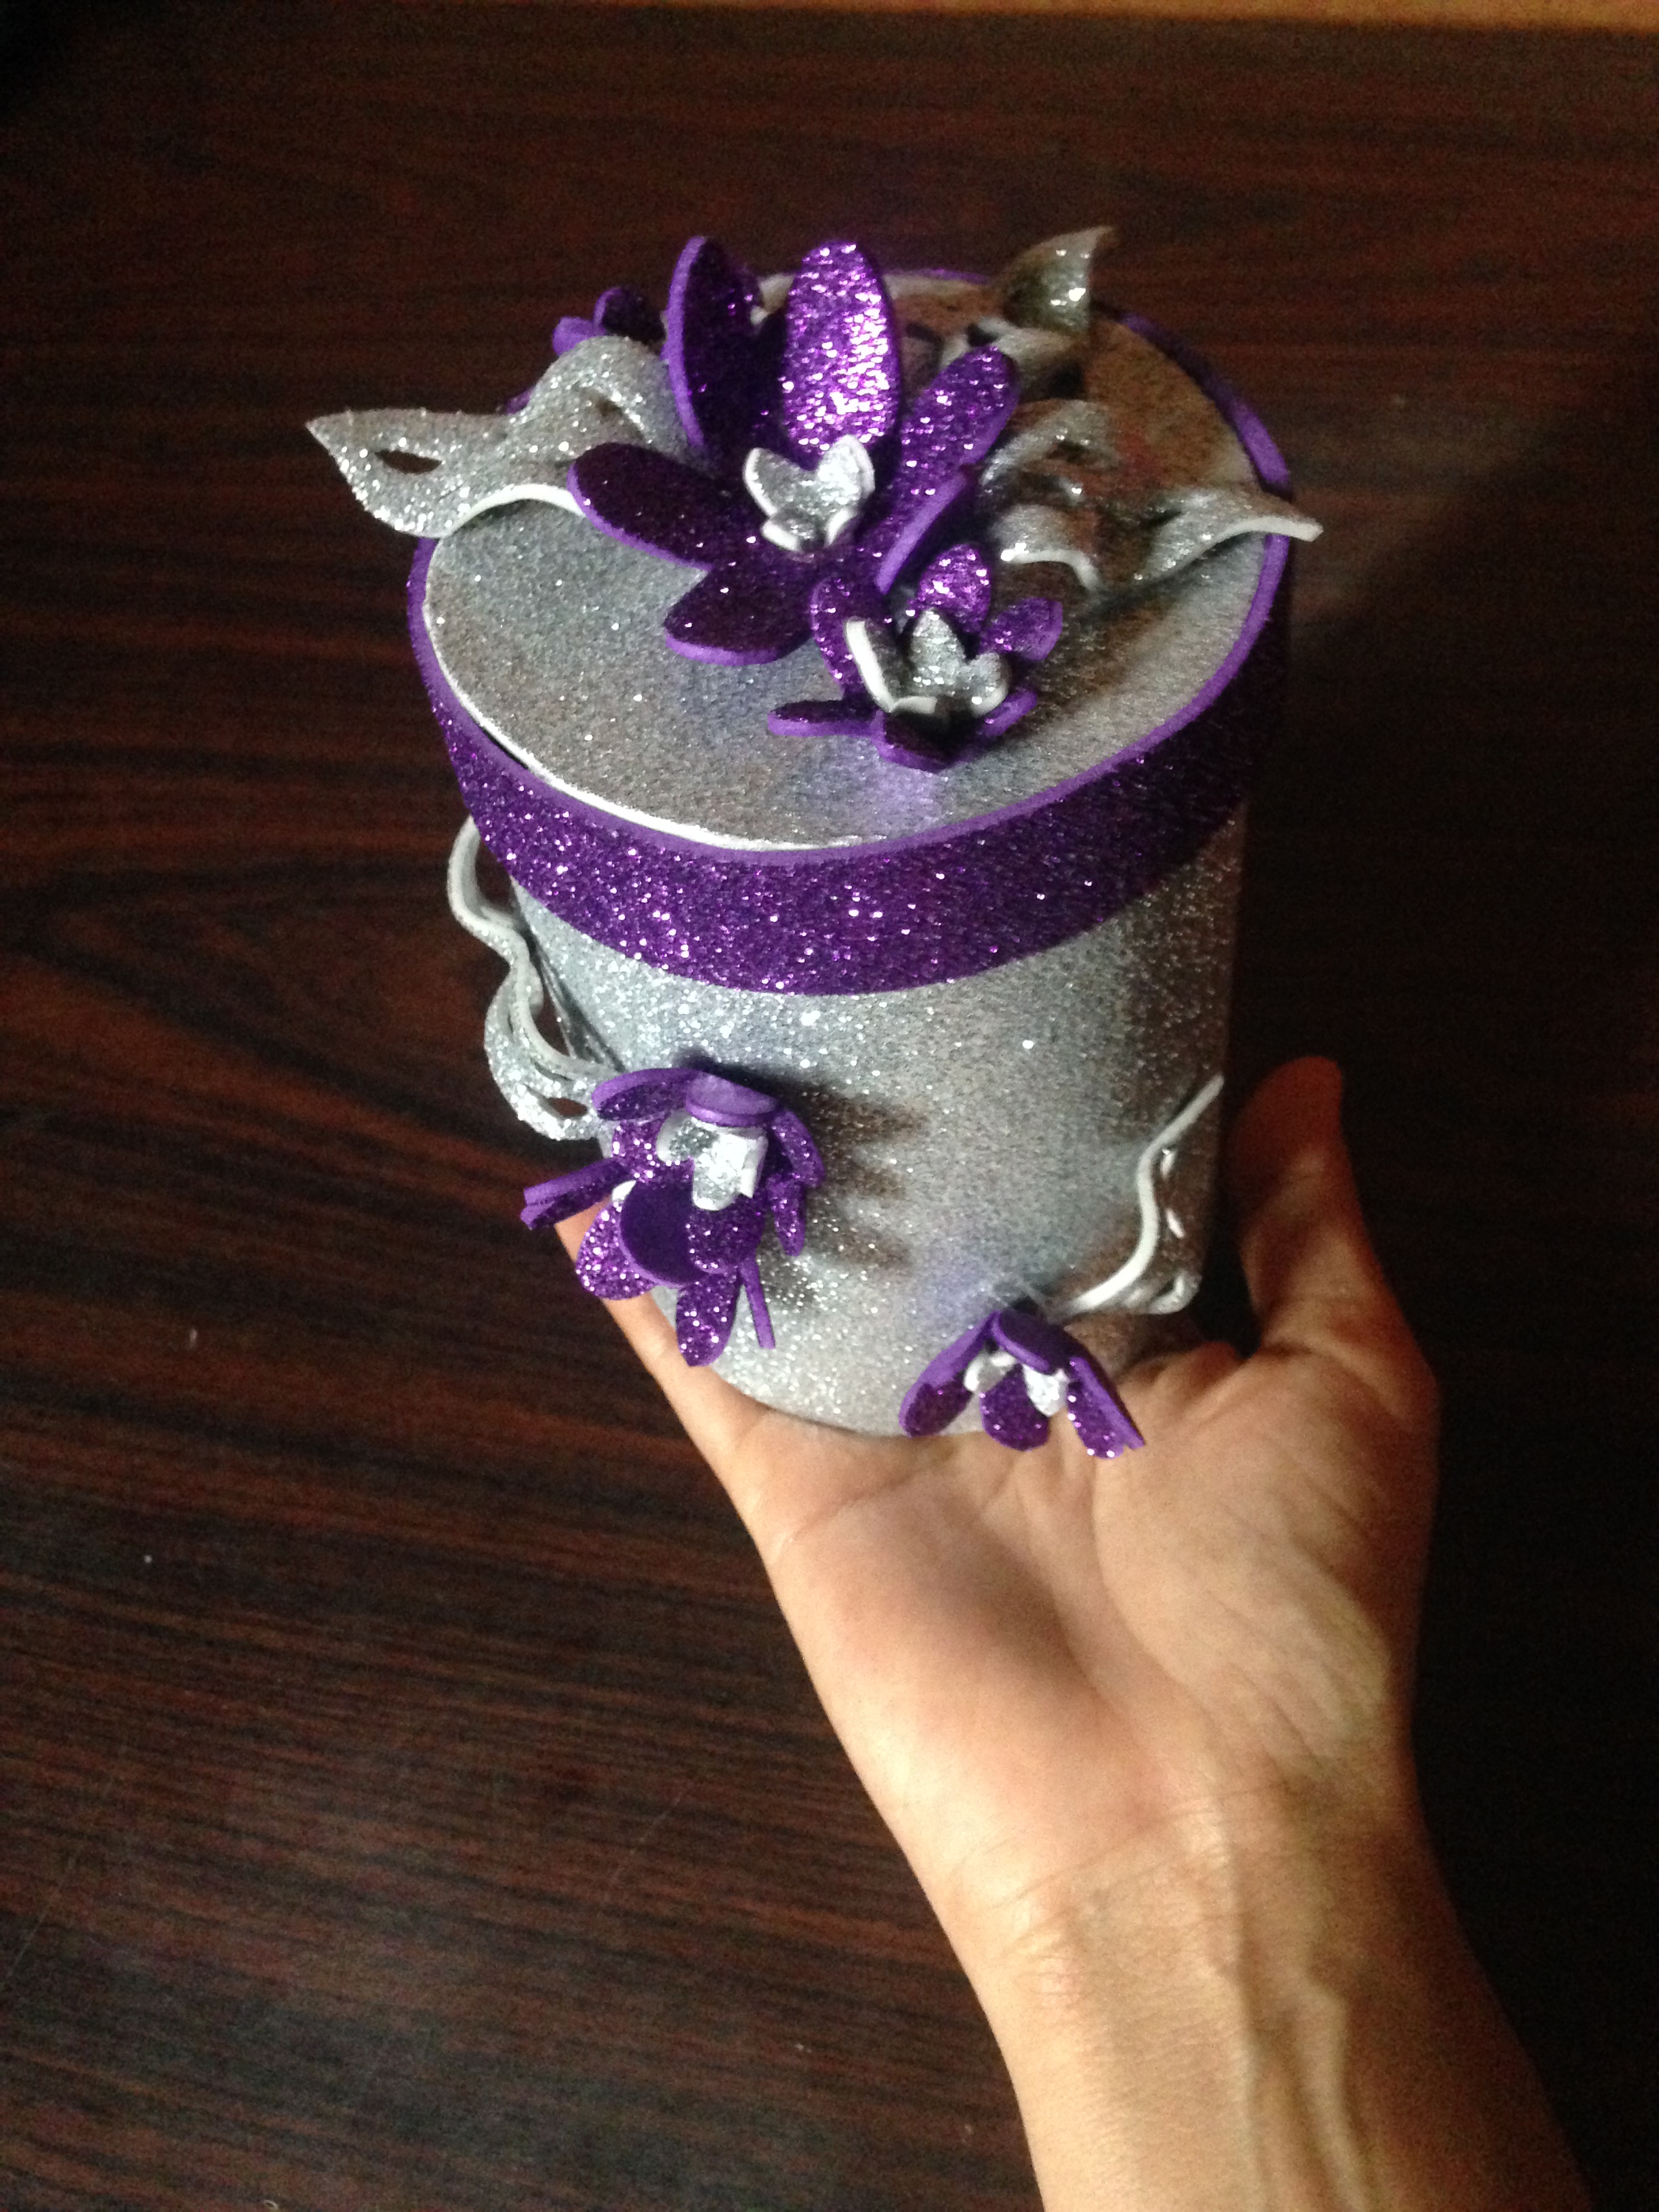
Hemos terminado la elaboración de esta hermosa caja de flores, ideal para regalar en una ocasión especial, espero les sea de provecho
We have finished the elaboration of this beautiful flower box, ideal to give on a special occasion, I hope it will be of benefit to you
.png)
Bye Bye