Un saludo a todos los miembros de esta hermosa comunidad. Un abrazo especial a todos mis seguidores y a los usuarios que siempre apoyan mis publicaciones con un voto positivo e incluso un comentario.
Hoy quiero compartir con ustedes una figura en Kusudama que es prácticamente lo mismo que el Origami. El Kusudama es el arte de crear figuras u objetos con hojas de papel, a diferencia del origami en esta se pueden usar varias hojas de papel .
La figura que realizare hoy es un Cuboctaedro, esta figura la haré con papel iris y luego haré otra con papel reciclado para contribuir con el medio ambiente, si tu la deseas hacer la puedes crear con cualquier tipo de papel.
Greetings to all members of this beautiful community. A special hug to all my followers and users who always support my posts with a positive vote and even a comment.
Today I want to share with you a figure in Kusudama that is practically the same as Origami. Kusudama is the art of creating figures or objects with sheets of paper, unlike origami, multiple sheets of paper can be used.
The figure I will make today is a Cuboctahedron, this figure I will make with iris paper and then I will make another with recycled paper to contribute to the environment, if you want to do it you can create it with any type of paper.
Origami - Kusudama de Cuboctaedro
Origami - Kusudama of Cuboctahedron
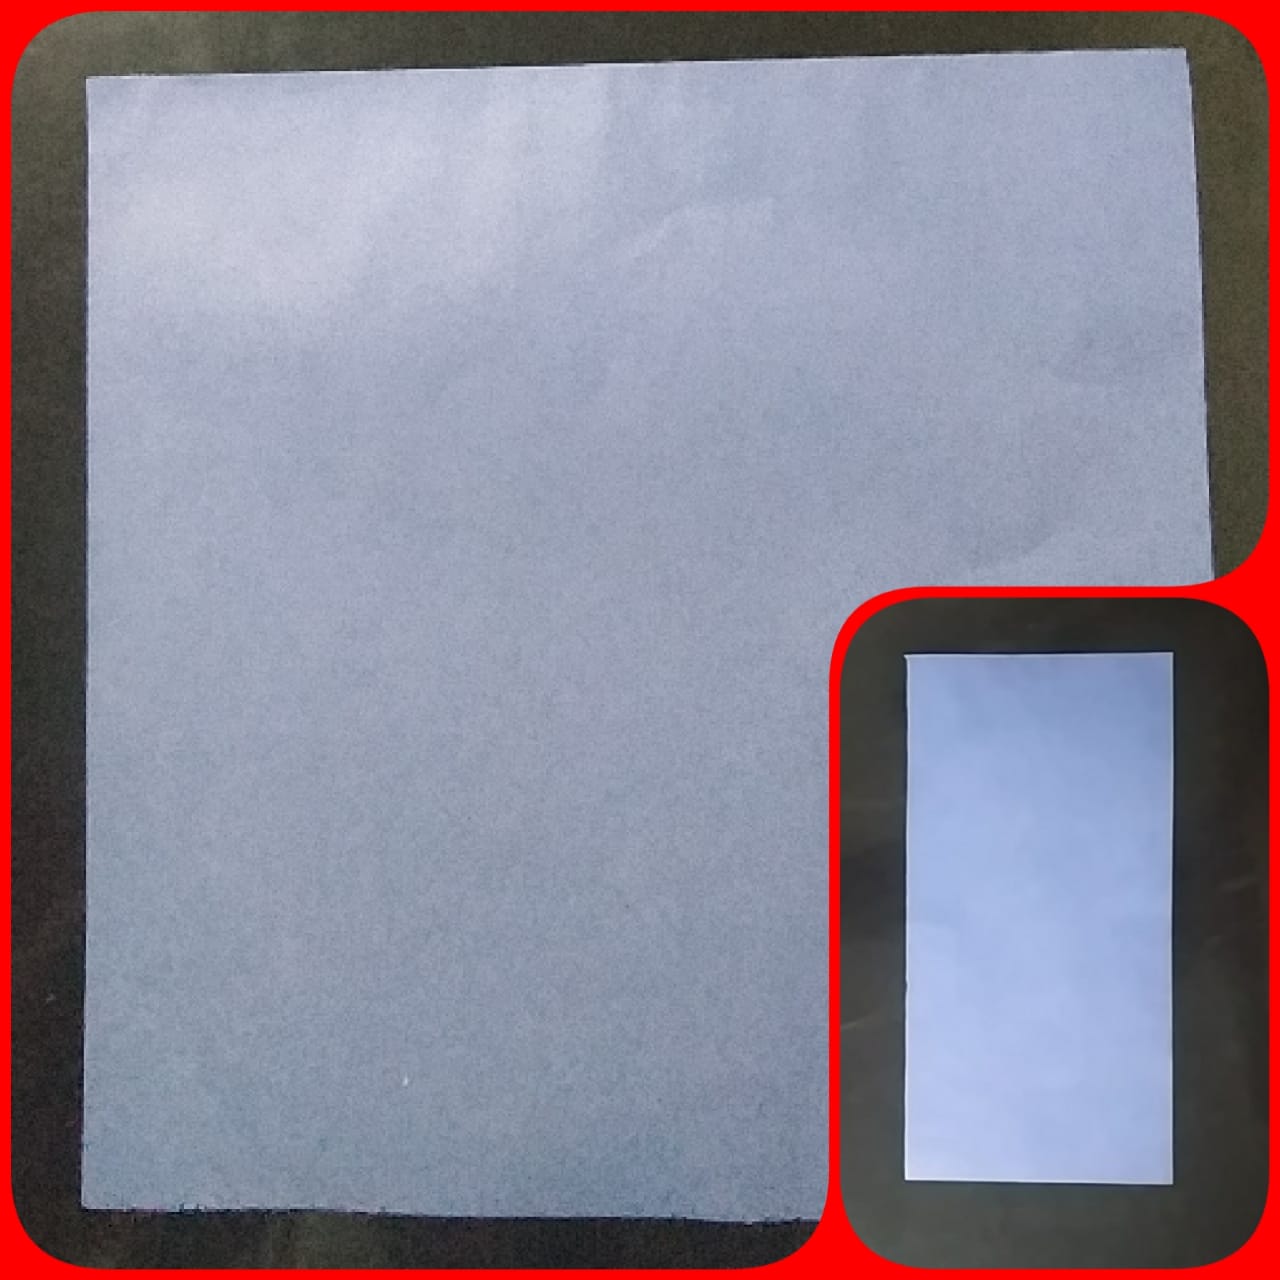
Lo primero que debemos hacer es disponer de tres hojas de cualquier tamaño pero deben ser cuadradas, en este caso haré el Cuboctaedro con hojas iris y luego con hojas recicladas. A continuación el paso a paso del Cuboctaedro:
- Primero debemos cortar las tres hojas por la mitad, de esta manera nos quedaran seis rectángulos y con ellos empezaremos a trabajar. A continuación en la parte inferior derecha veras como deben quedar los seis rectángulos.
The first thing we must do is have three sheets of any size but they must be square, in this case I will make the Cuboctahedron with iris leaves and then with recycled leaves. Here is the step by step of the Cuboctahedron:
- First we must cut the three sheets in half, in this way we will have six rectangles and with them we will begin to work. Then at the bottom right you will see how the six rectangles should look.
- Luego debemos tomar una de las puntas de la hoja y llevarla hacia el centro haciendo un corte diagonal en media hoja y repetimos el proceso con la punta opuesta así formando un triangulo. Después debemos hacer exactamente lo mismo con las puntas opuestas, nos deben quedar dos cortes en X, uno en cada mitad. A continuación los gifs explicativos de como se debe hacer correctamente.
- Then we must take one of the tips of the sheet and bring it towards the center making a diagonal cut in half a sheet and repeat the process with the opposite tip thus forming a triangle. Then we must do exactly the same with the opposite ends, we should have two cuts in X, one in each half. Below are the explanatory gifs of how to do it correctly.
- En el siguiente paso debemos tomar la hoja por el lado contrario y llevaremos uno de los extremos de la hoja y lo llevaremos hacia el centro, repetiremos el proceso con el extremo opuesto. Luego debemos doblar la hoja por los cortes que le hicimos anteriormente como lo podrás ver en los siguientes gifs explicativos.
- In the next step we must take the sheet from the opposite side and we will take one of the ends of the sheet and take it towards the center, we will repeat the process with the opposite end. Then we must fold the sheet for the cuts we made earlier as you can see in the following explanatory gifs.
- Luego debemos repetir exactamente los mismos pasos con los cinco rectángulos restantes.
- Then we must repeat exactly the same steps with the remaining five rectangles.
- En este paso debemos poner uno de los papeles que va a constituir una cara de nuestro Cuboctaedro, la ponemos de forma horizontal y podemos ver que en el centro se forma un rombo, luego tomamos otro de los lados y pondremos uno de los triángulos que se forma en el extremo y lo pondremos en el rombo con el extremo del triangulo en el centro y repetiremos este paso con otra cara pero en el sentido opuesto. Luego debemos poner otra cara pero en la parte superior en el mismo sentido de la cara contraria como podrás ver en los siguientes gifs explicativos de como se debe hacer correctamente.
- In this step we must put one of the papers that will constitute a face of our Cuboctahedron, we put it horizontally and we can see that a rhomb is formed in the center, then we take another of the sides and we will put one of the triangles that it forms at the end and we will put it on the rhombus with the end of the triangle in the center and we will repeat this step with another face but in the opposite direction. Then we must put another face but at the top in the same direction as the opposite face as you can see in the following explanatory gifs of how to do it correctly.
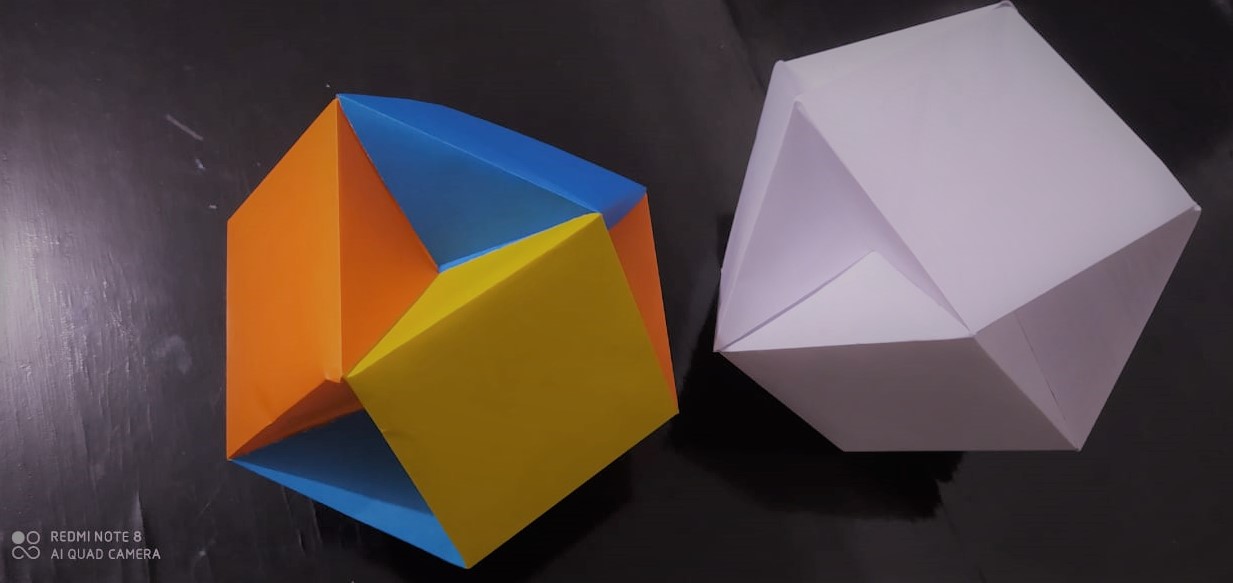
- Ya tenemos cuatro lados armados faltan dos y son los mas complejos. Debemos poner una de las caras en sentido opuesto a la primer cara, luego debemos meter uno de los triángulos por una ranura que se forma en la segunda cara, repetimos esto con la cara contraria y ya tendremos casi terminado nuestro Cuboctaedro. Repetimos exactamente igual el proceso en la ultima cara y finalmente tendremos nuestro Cuboctaedro terminado como se que es algo confuso podrás guiarte de los siguientes gifs explicativos.
- We already have four armed sides, two are missing and they are the most complex. We must put one of the faces in the opposite direction to the first face, then we must put one of the triangles through a slot that forms on the second face, we repeat this with the opposite face and we will have almost finished our Cuboctahedron. We repeat the process exactly the same on the last face and finally we will have our Cuboctahedron finished as I know that it is somewhat confusing you can be guided by the following explanatory gifs.
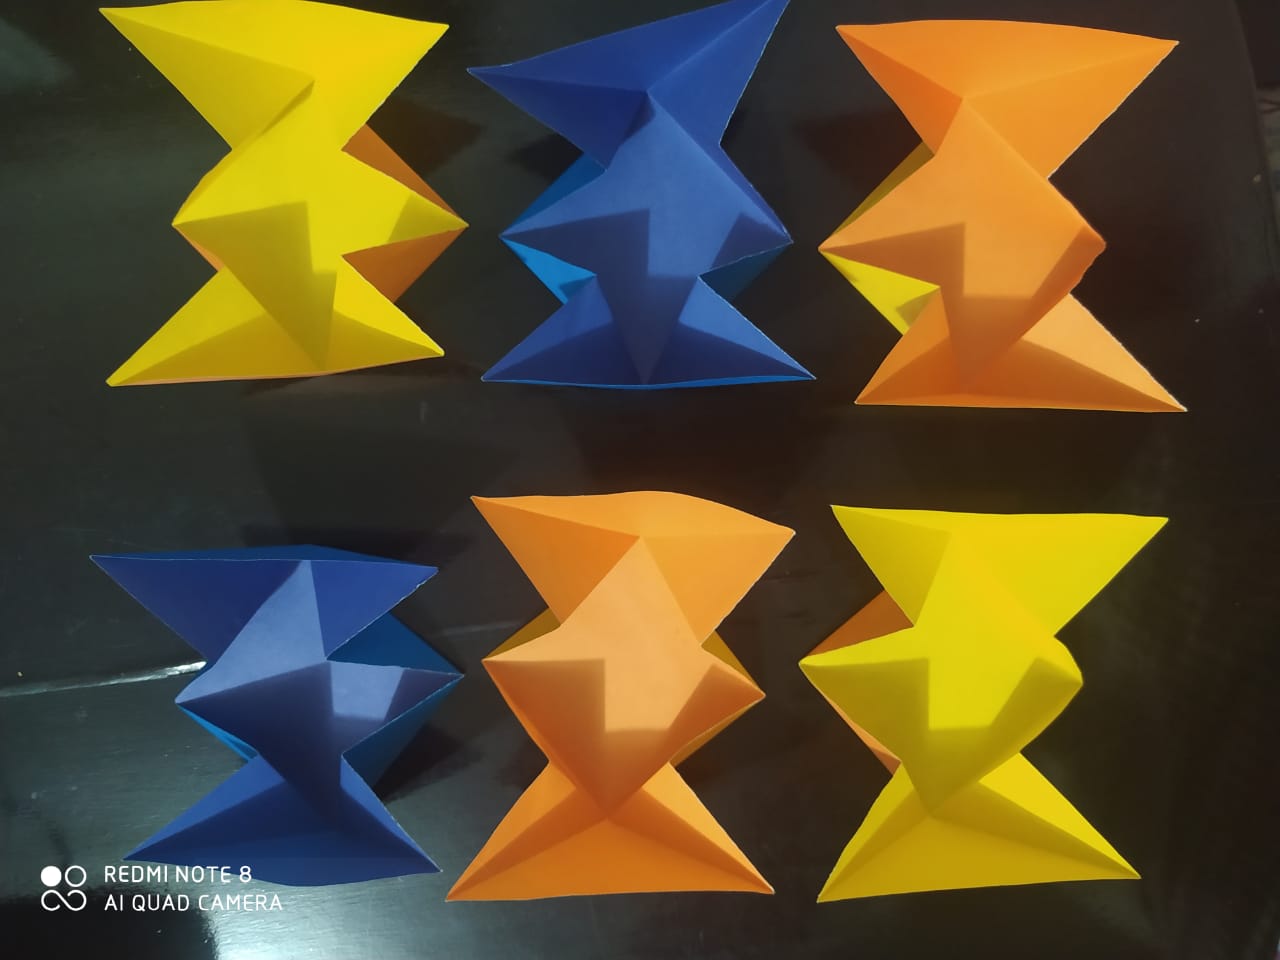
Here we have already finished our Cuboctahedron and this is how it looks finished.
Aquí podemos ver el proceso completo con papel reciclado de la creación de la figura en Kusudama del Cuboctaedro.
Here we can see the complete process with recycled paper of the creation of the figure in Kusudama of the Cuboctahedron.
Espero les haya gustado la figura del día de hoy, si deseas puedes apoyarme con un voto positivo y un reblogueo. Espero la hayan disfrutado y puedan hacerlo en casa. NO OLVIDES COMENTAR.
Si quieres ver mas trabajos como este puedes visitar los siguientes artículos.
I hope you liked the figure of today, if you want you can support me with a positive vote and a sticker. I hope you enjoyed it and can do it at home. DON'T FORGET TO COMMENT.
If you want to see more works like this you can visit the following articles.
MUCHAS GRACIAS POR SU ATENCION Y TIEMPO PRESTADO EN ESTA PUBLICACION.
THANK YOU VERY MUCH FOR YOUR ATTENTION AND TIME PROVIDED IN THIS PUBLICATION.
Lo hice, lo practique aquí en casa, gracias por compartir
Hola @pauli0606. Eso está muy bien, espero hayas podido hacer fácilmente la figura. Saludos desde Colombia.