Hola que tal mis queridos gente de HIVE, el día de hoy les muestro como hacer en pocos pasos un isotipo a partir del triángulo como figura base de construcción.
Hello there, my dear HIVE people, today I show you how to make in a few steps an isotype from the triangle as a base construction figure.
Programa utilizado: Adobe Illustrator 2020/ Program used: Adobe Illustrator 2020.

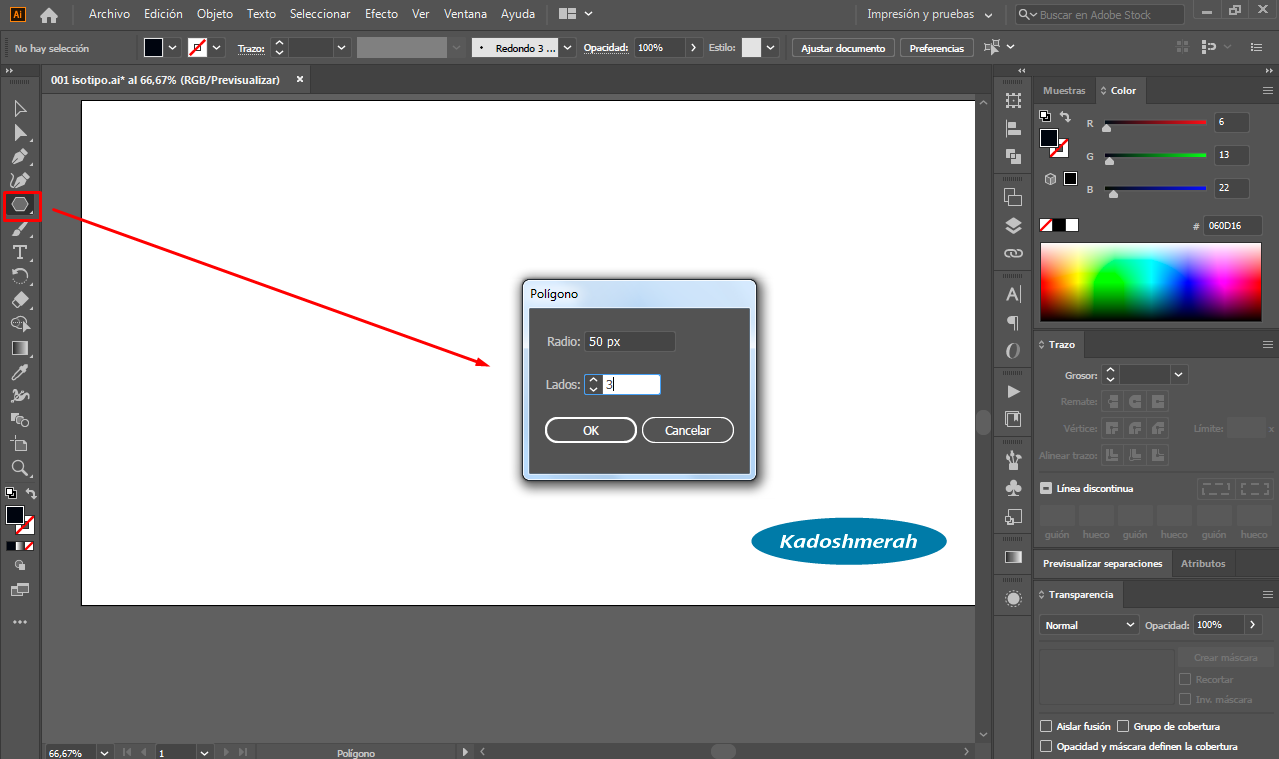
PASO 1 / STEP 1
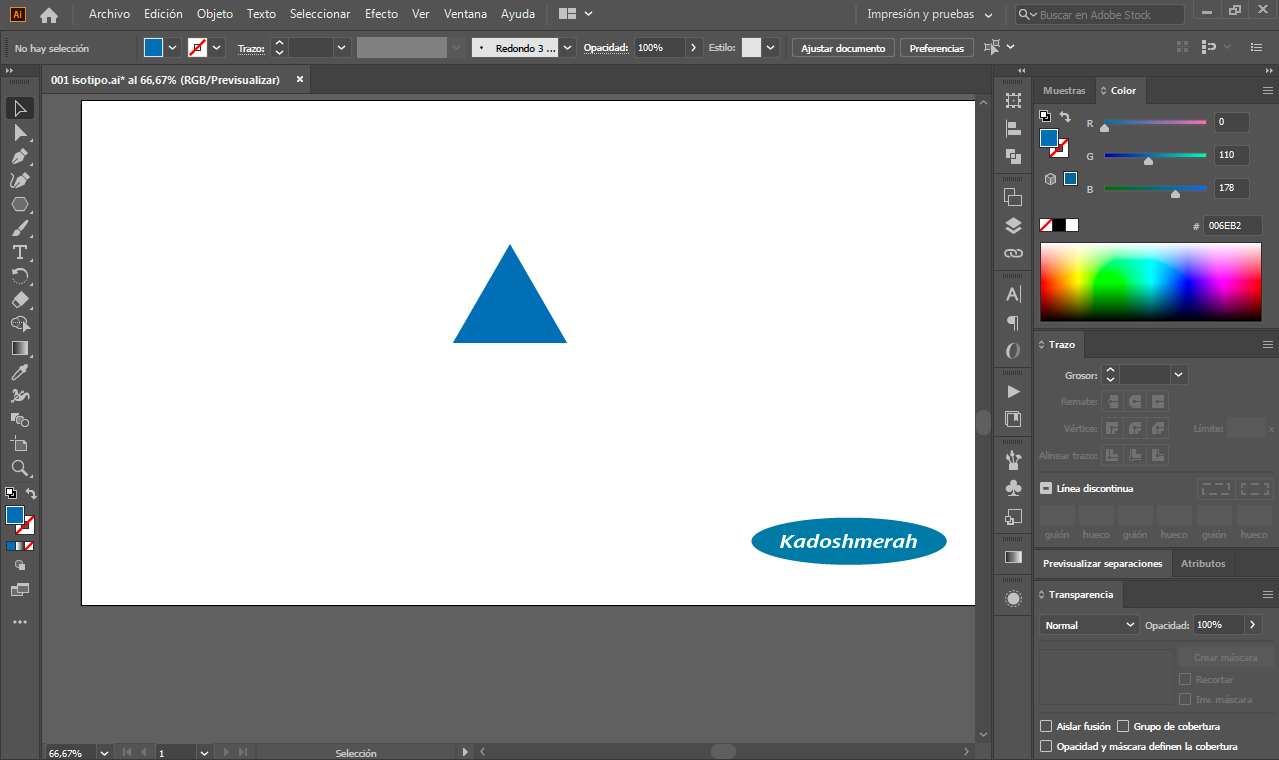
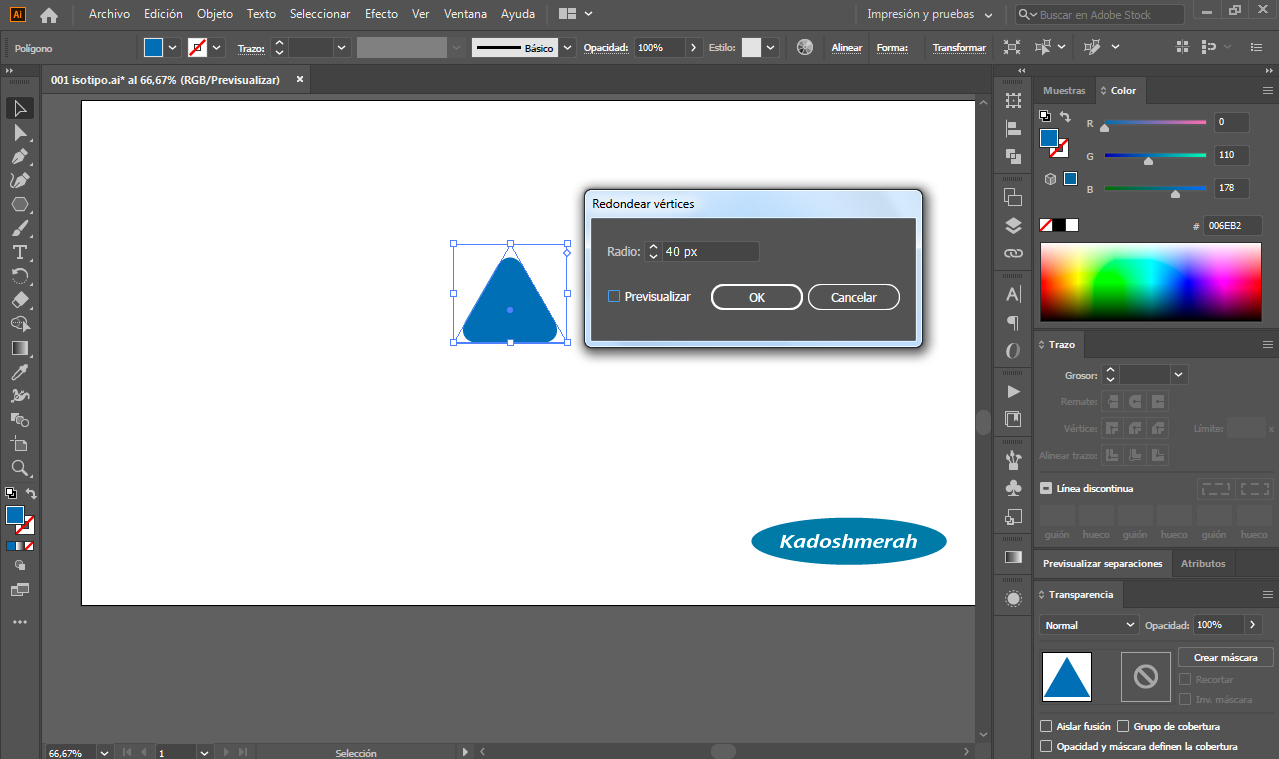
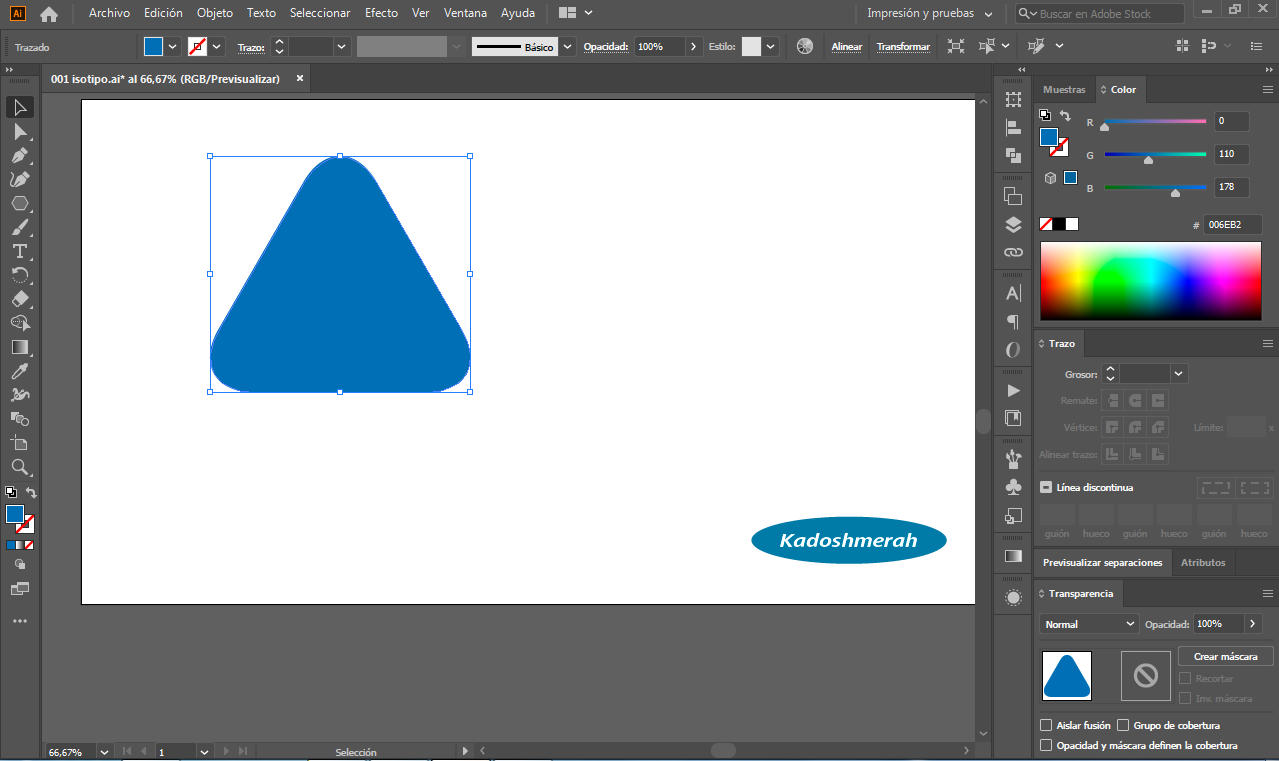
Con la herramienta polígono, dibujamos un triángulo y redondeamos los vértices.
With the polygon tool, we draw a triangle and round off the vertices.
PASO 2/ STEP 2
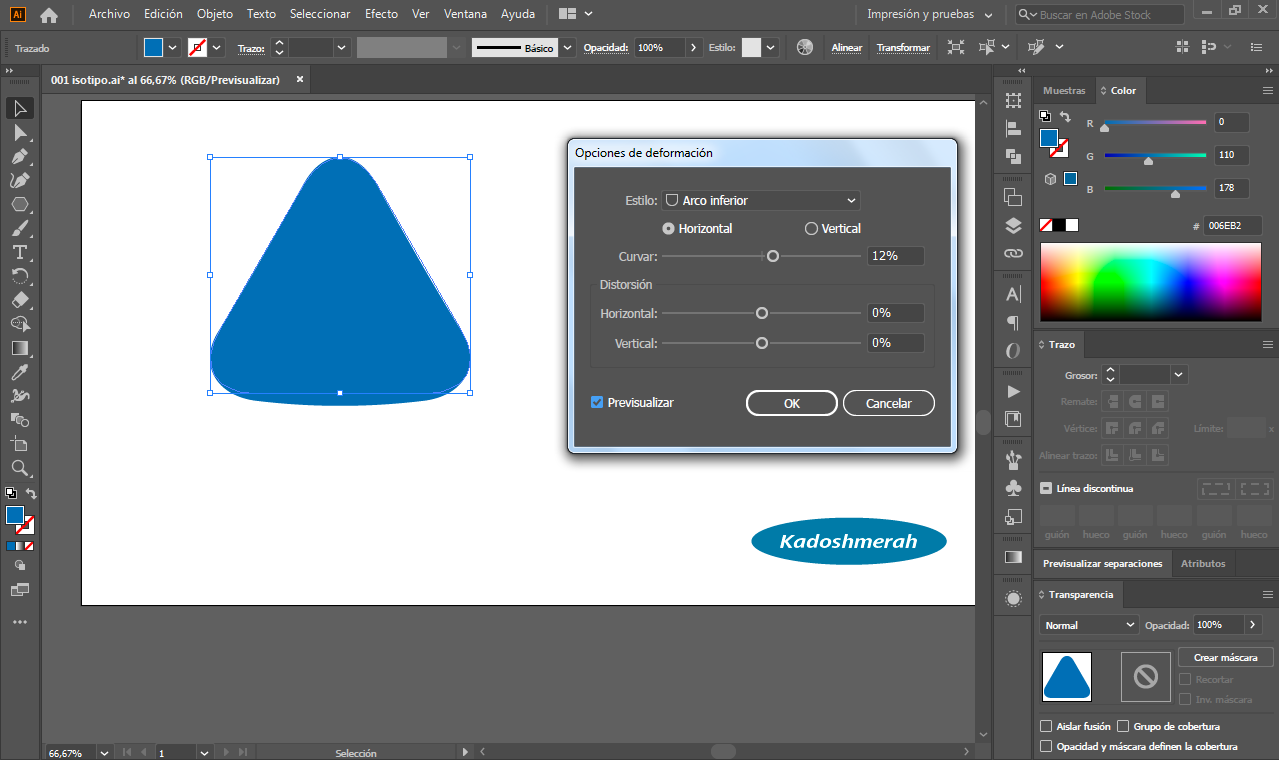
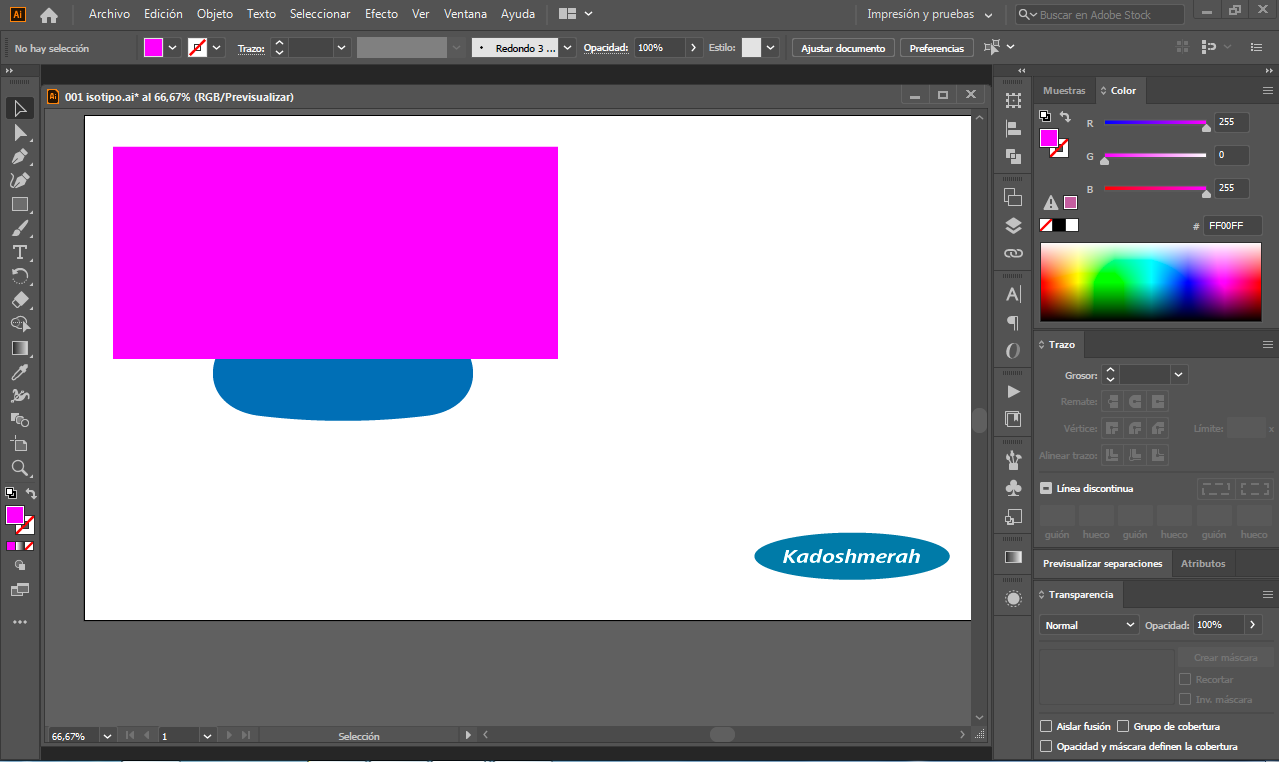
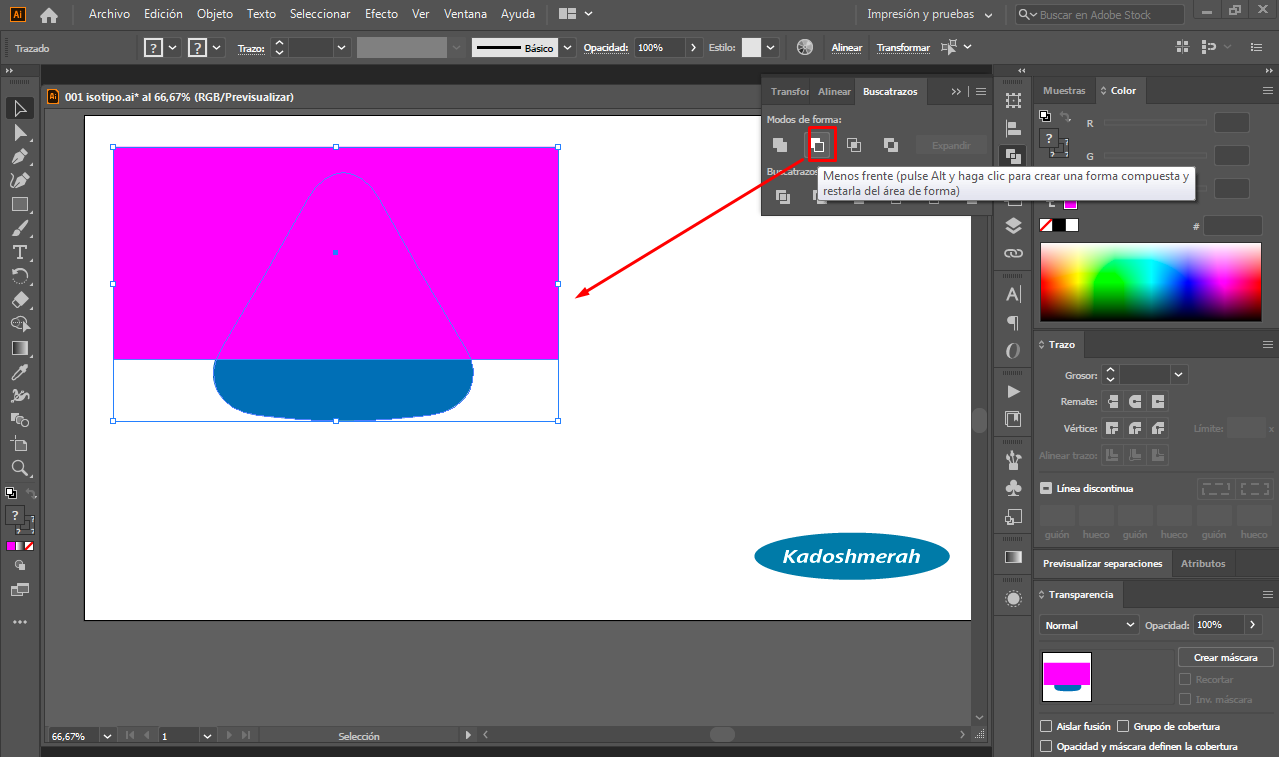
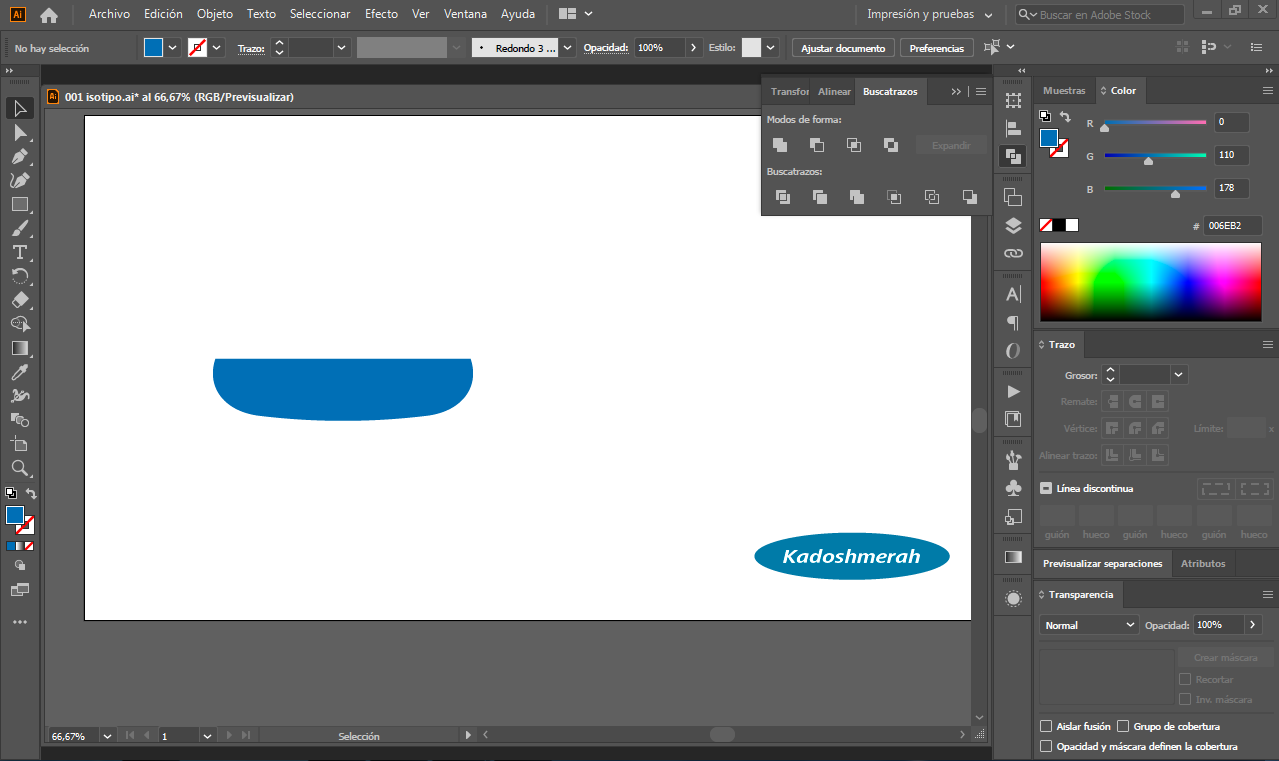
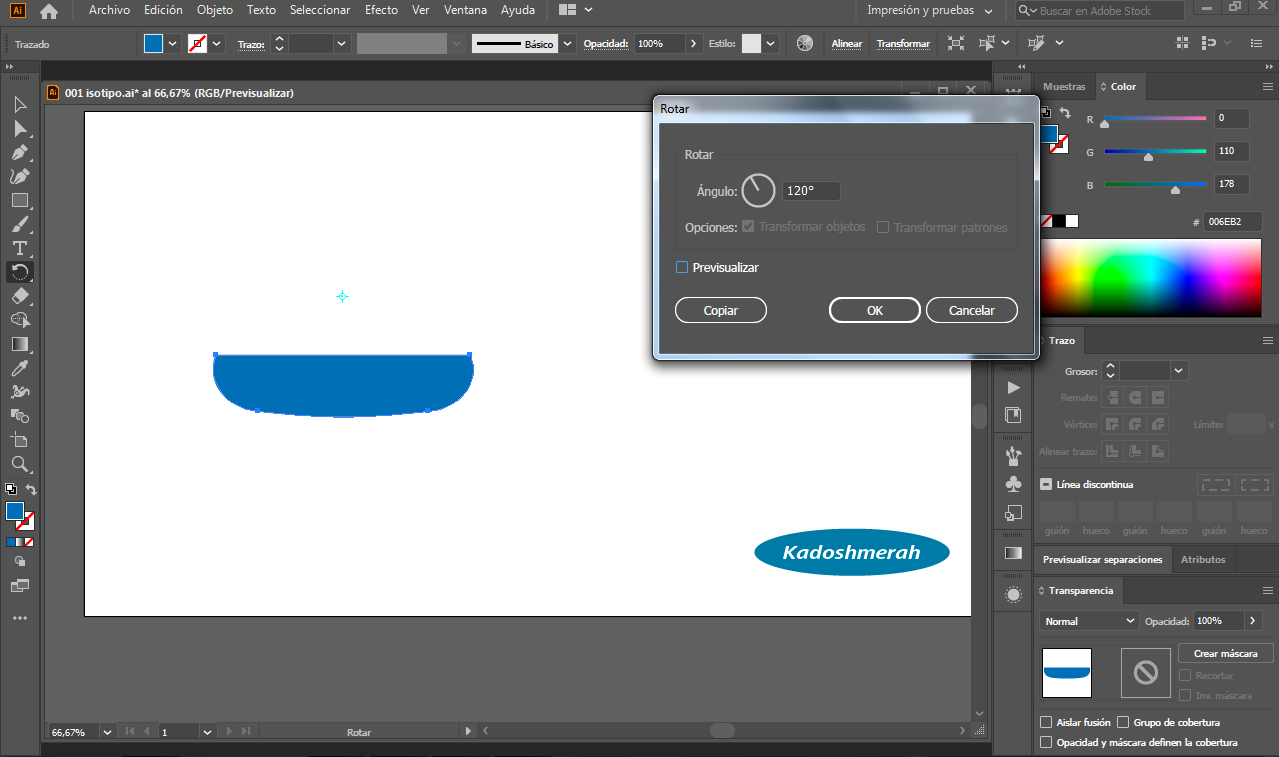
Deformamos la parte inferior. Para ello vamos a efecto>deformar>arco…Luego trazamos un rectángulo y con ayuda del buscatrazos eliminamos la parte superior; luego creamos dos copias en un ángulo de rotación de 120°
We deformed the bottom. To do this, go to effect>deform>arc...Then draw a rectangle and with the help of the scribbler remove the upper part; then create two copies at a rotation angle of 120°.
PASO 3/ STEP 3
Aplicamos color y un fondo y listo.
We apply color and a background and that's it.

Soy kadoshmenorah y hasta una próxima oportunidad y no olvides dejar tus comentarios acá abajo.

Hola que tal mis queridos gente de HIVE, el día de hoy les muestro como hacer en pocos pasos un isotipo a partir del triángulo como figura base de construcción.
Hello there, my dear HIVE people, today I show you how to make in a few steps an isotype from the triangle as a base construction figure.
Programa utilizado: Adobe Illustrator 2020/ Program used: Adobe Illustrator 2020.
PASO 1 / STEP 1
Con la herramienta polígono, dibujamos un triángulo y redondeamos los vértices.
With the polygon tool, we draw a triangle and round off the vertices.
PASO 2/ STEP 2
Deformamos la parte inferior. Para ello vamos a efecto>deformar>arco…Luego trazamos un rectángulo y con ayuda del buscatrazos eliminamos la parte superior; luego creamos dos copias en un ángulo de rotación de 120°
We deformed the bottom. To do this, go to effect>deform>arc...Then draw a rectangle and with the help of the scribbler remove the upper part; then create two copies at a rotation angle of 120°.
PASO 3/ STEP 3
Aplicamos color y un fondo y listo.
We apply color and a background and that's it.
Soy kadoshmenorah y hasta una próxima oportunidad y no olvides dejar tus comentarios acá abajo.