Feliz dia Hivers, bienvenidos a mi blog!!
Happy hivers day, welcome to my blog!!
Feliz viernes, y feliz inicio de fin de semana!!
Happy Friday, and happy start to the weekend!!
Lo primero es darle gracias a Dios por un nuevo, por darnos la bendición de abrir los ojos y poder levantarnos sanos de la cama,, llenos de salud y de vida. GRACIAS DIOS!!.
The first thing is to thank God for a new one, for giving us the blessing of opening our eyes and being able to get out of bed healthy, full of health and life. THANKS GOD!!.
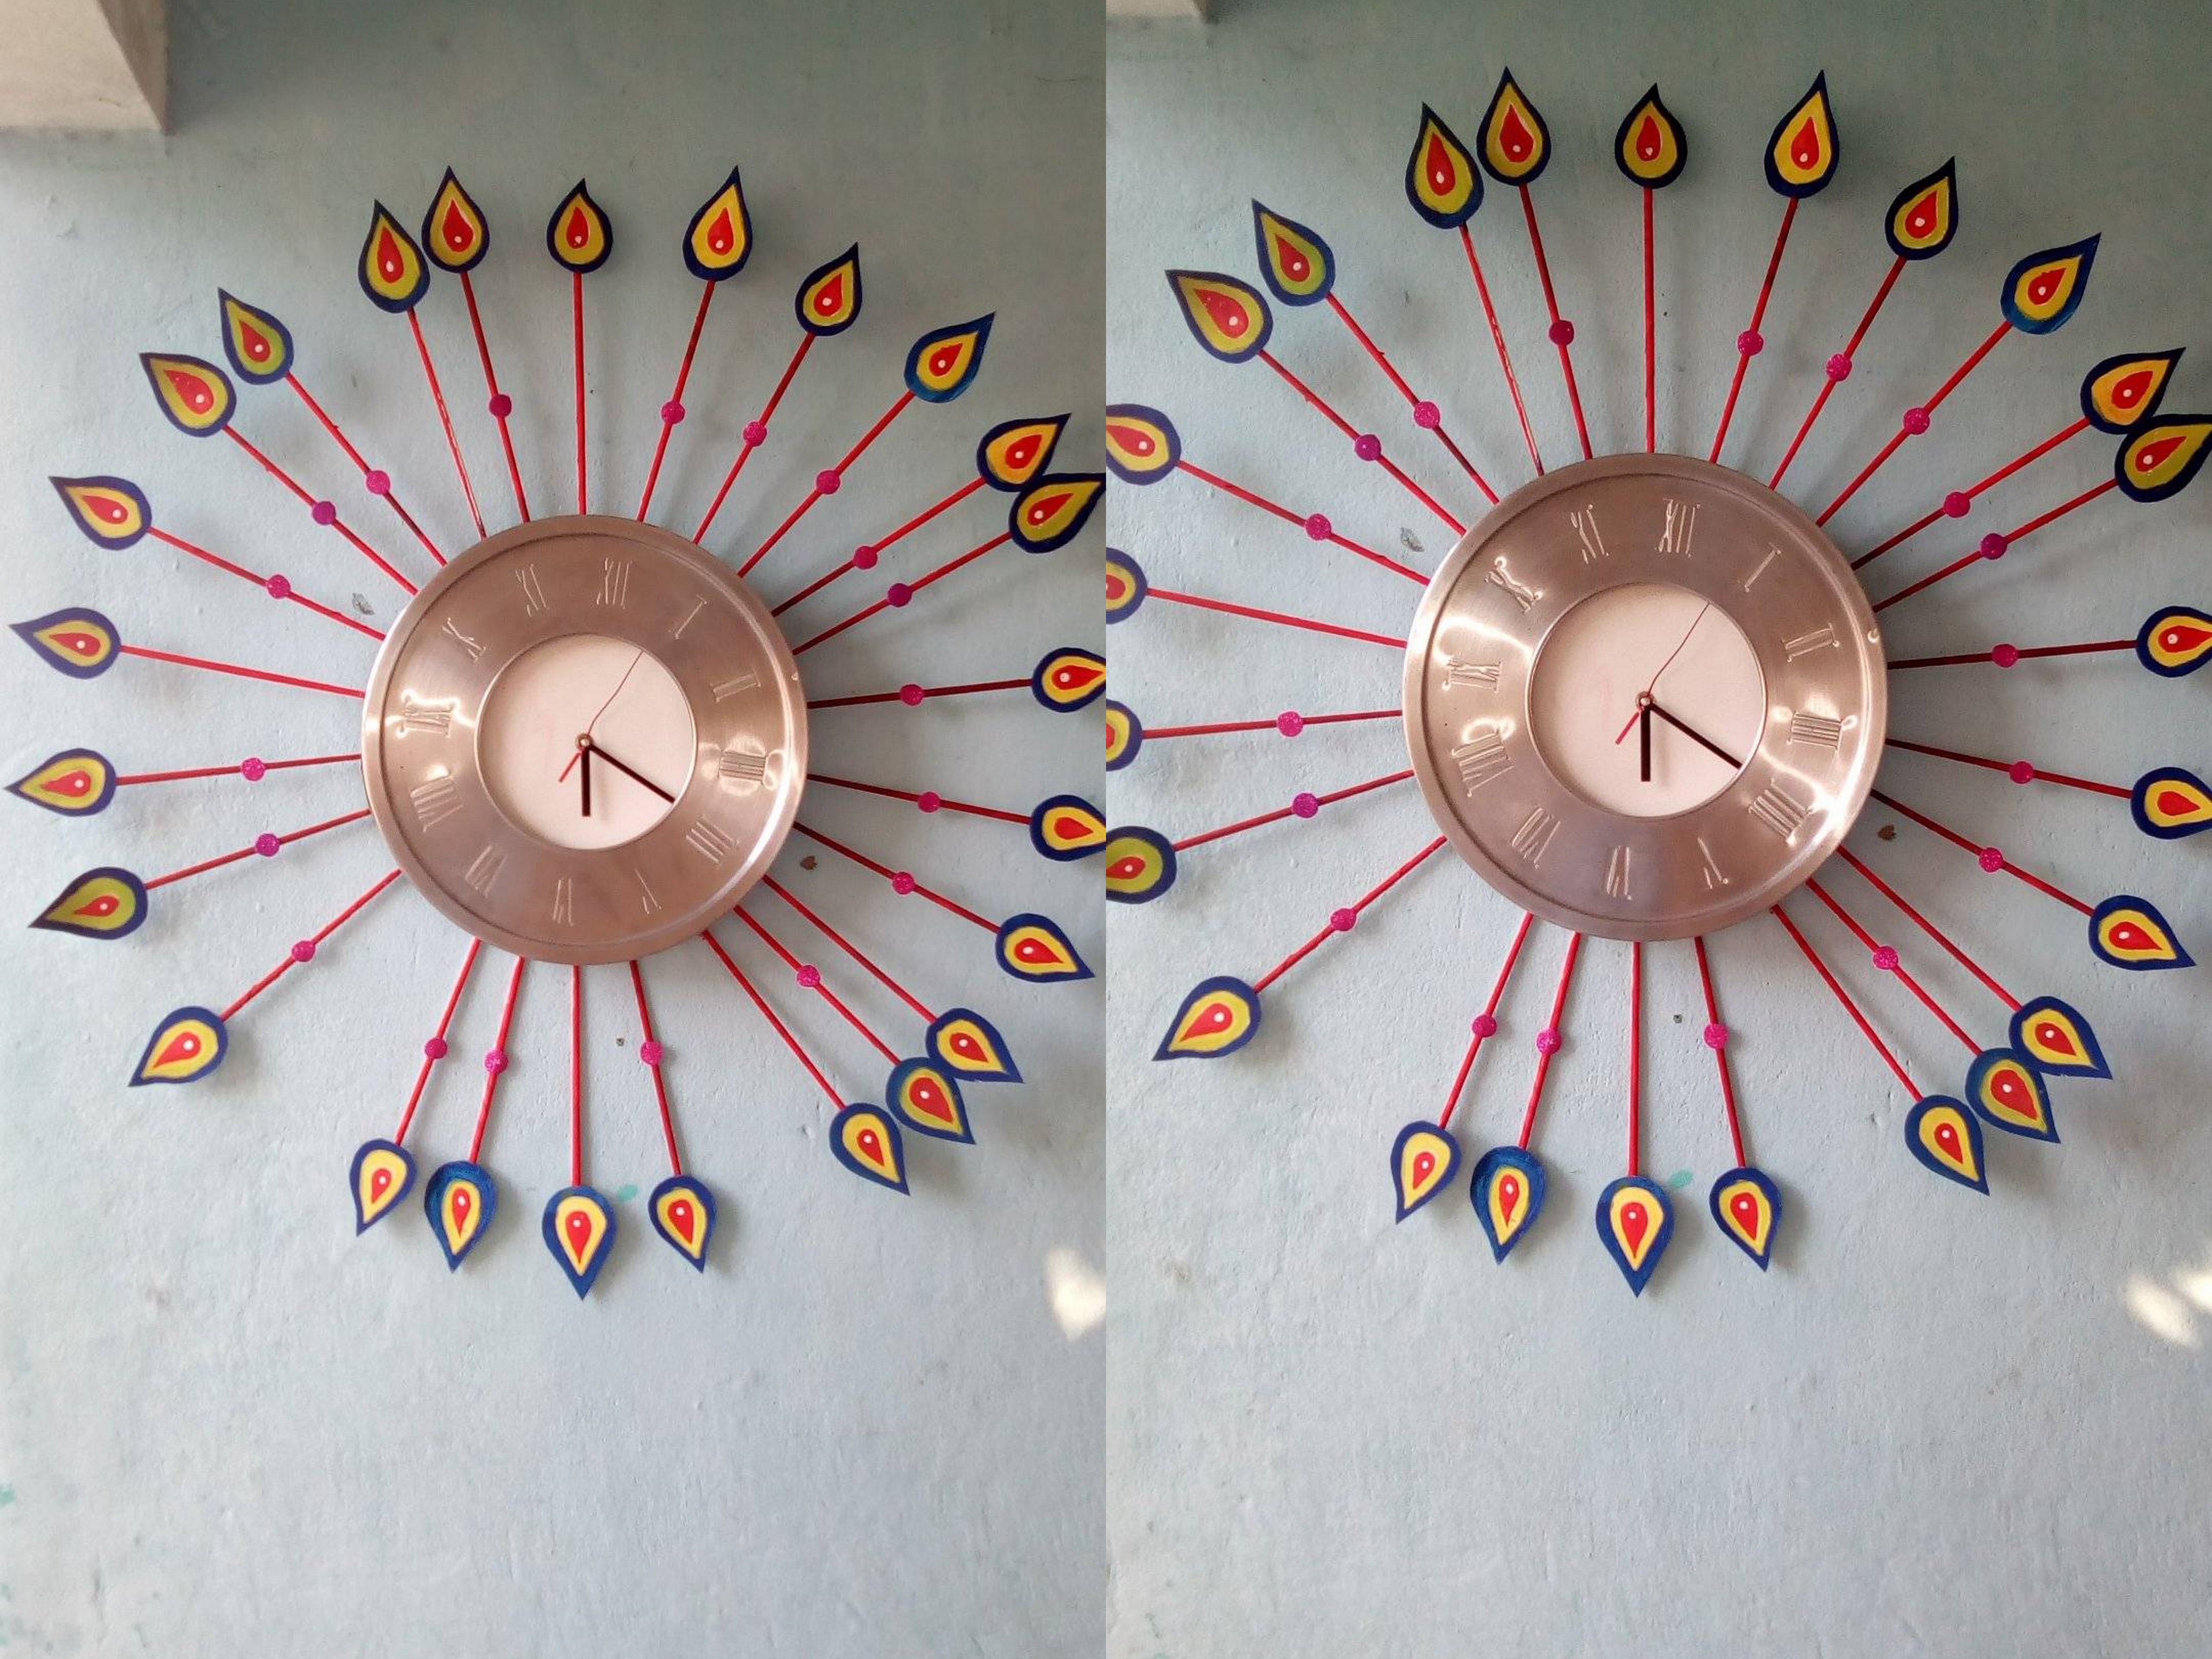
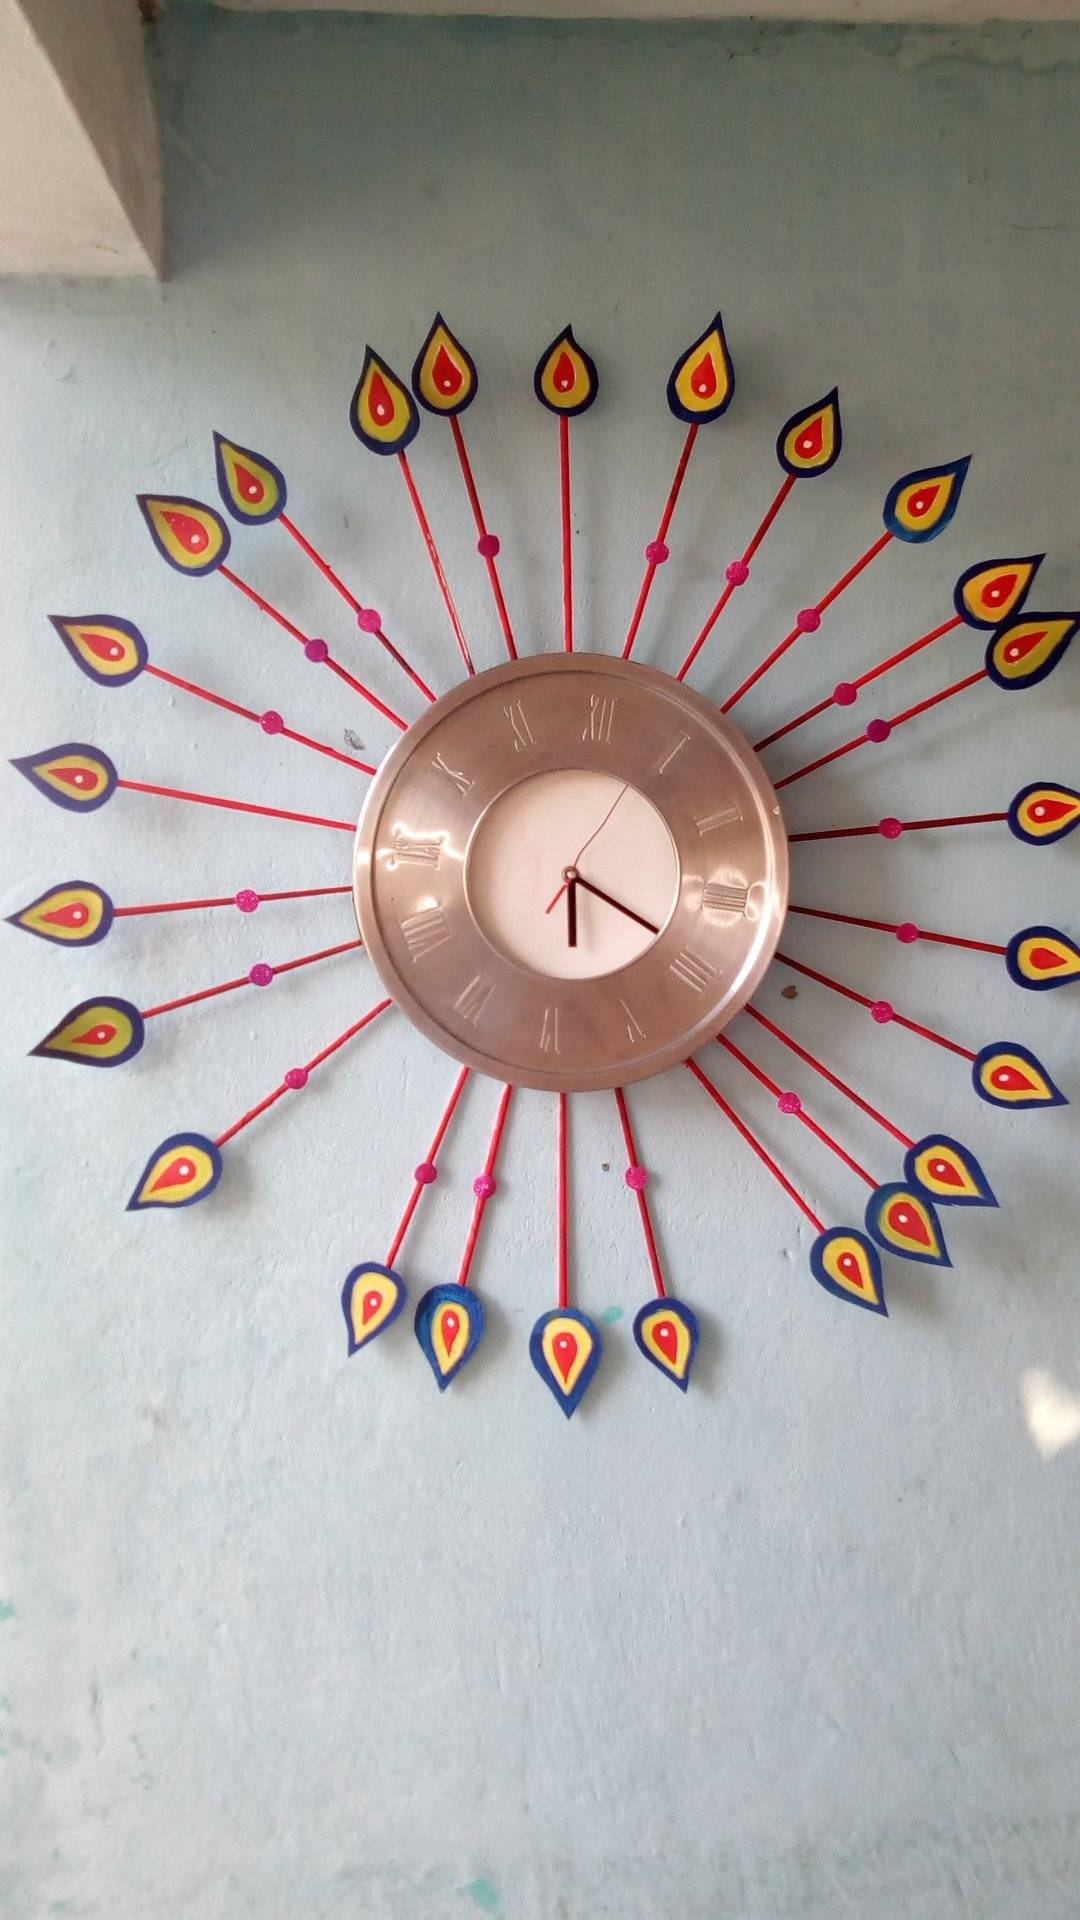
El dia hoy mi amigos quiero compartir el paso a paso de la restauración de un reloj de pared, el cual recogí de la basura y quise recuperarlo y decorarlo, inspirado en las plumas de un colorido pavo real, los invito a que me acompañen hasta el final para que puedan ver el paso a paso con sus respectivas fotos.
Recordemos que cada vez que RECICLAMOS, REHUSAMOS Y REDUCIMOS, estamos colaborando grandemente con nuestro planeta tierra.
Today my friends I want to share the step by step of the restoration of a wall clock, which I picked up from the garbage and wanted to recover and decorate it, inspired by the feathers of a colorful peacock, I invite you to accompany me until end so you can see the step by step with their respective photos.
Let us remember that every time we RECYCLE, REFUSE AND REDUCE, we are greatly collaborating with our planet earth.
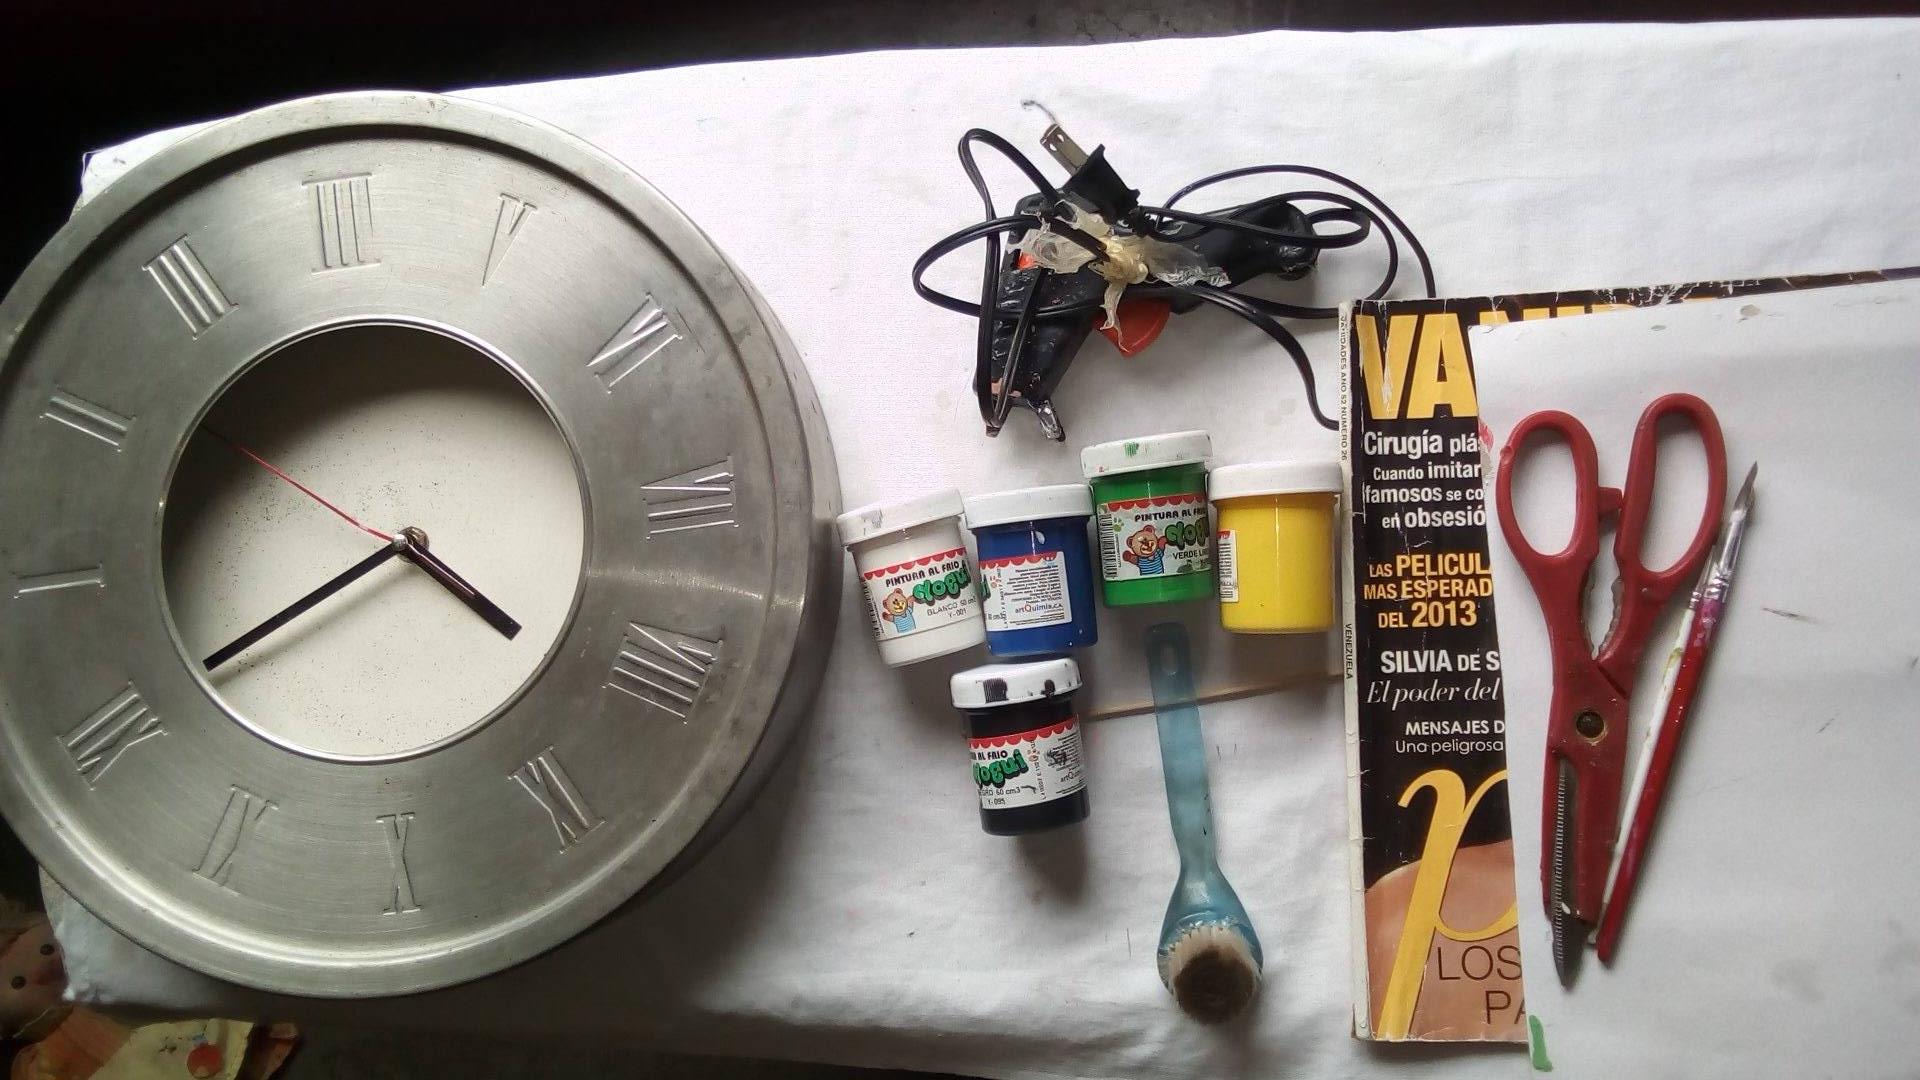
Materiales a utilizar:
- Un reloj de pared vejo.
- Cartulina.
- Revistas viejas.
- Palito de madera.
- Pega Blanca.
- Pinturas.
- Silicón caliente.
The materials to use:
- An old wall clock.
- Cardboard.
- Old magazines.
- Wooden stick.
- White Paste.
- Paintings.
- Hot silicone.
Paso a Paso:
Step by Step:
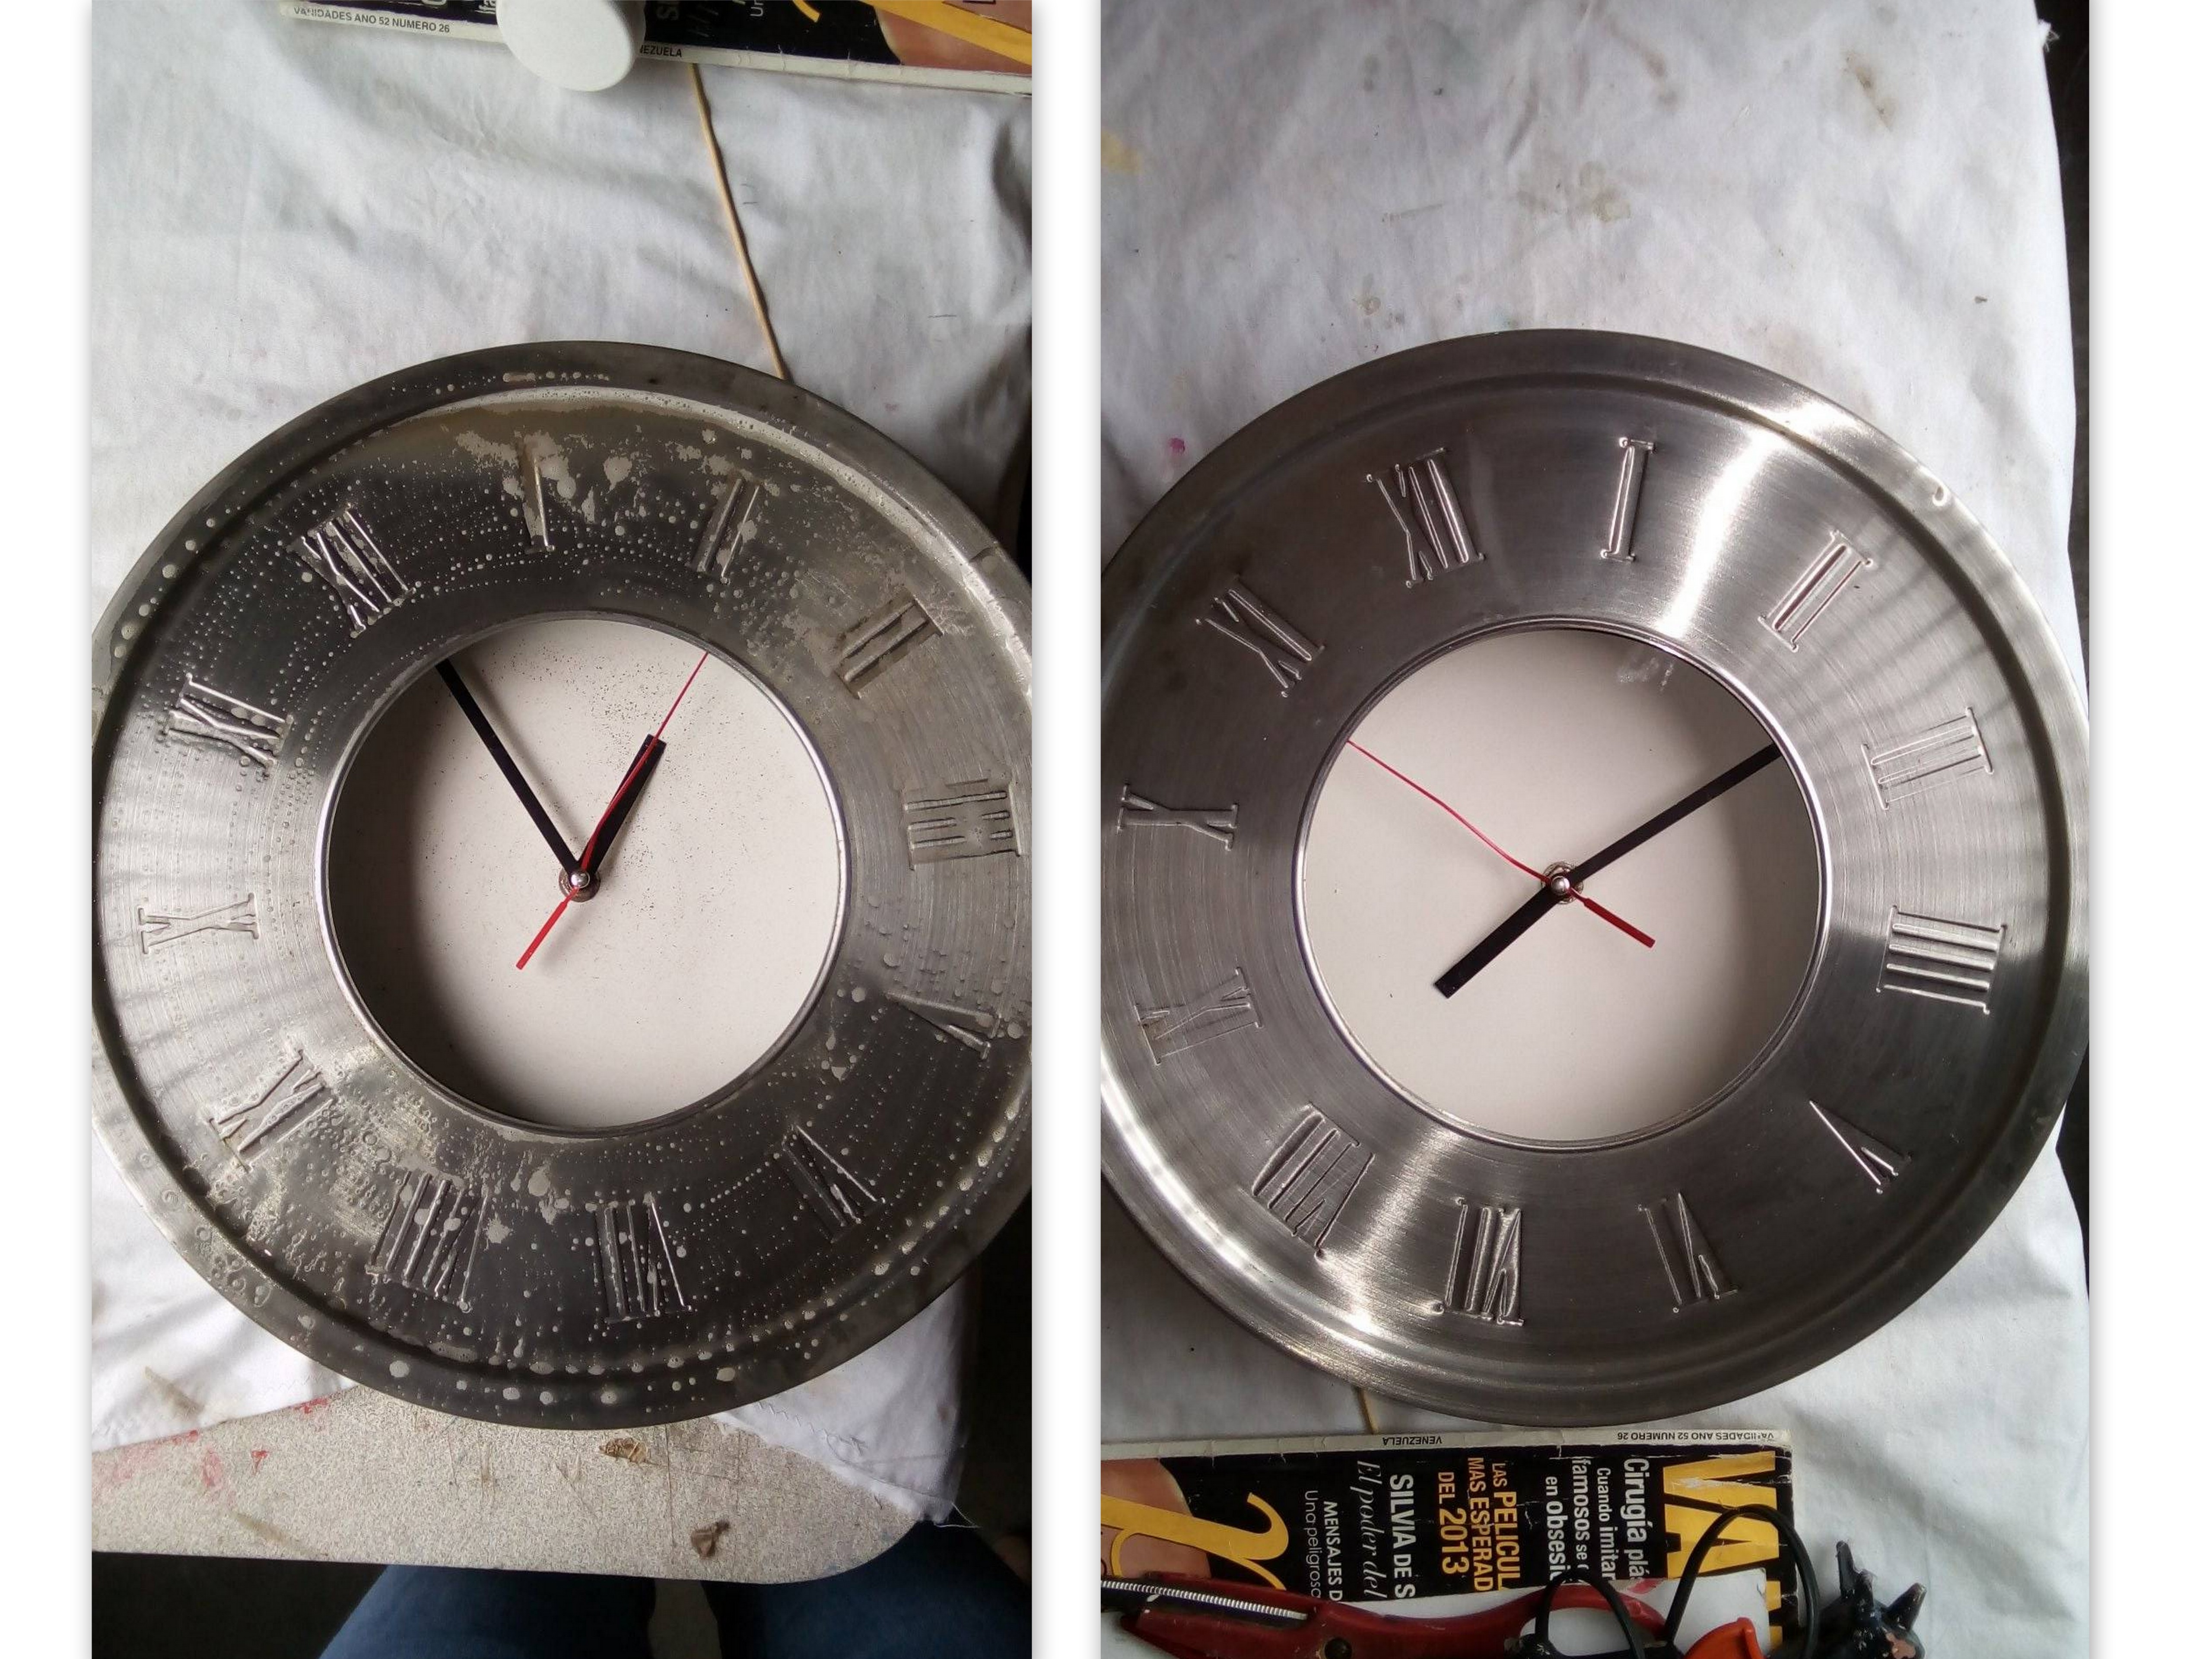
Paso 1:
Step 1:
Iniciamos nuestro proyecto creativo de la restauración del reloj, limpiandolo con ace y con la ayuda de un cepillito o una paño, lo que tengamos a la mano que nos pueda ayudar a limpiar muy bien nuestro reloj.
We start our creative project of restoring the clock, cleaning it with ace and with the help of a small brush or a cloth, whatever we have on hand that can help us clean our clock very well.
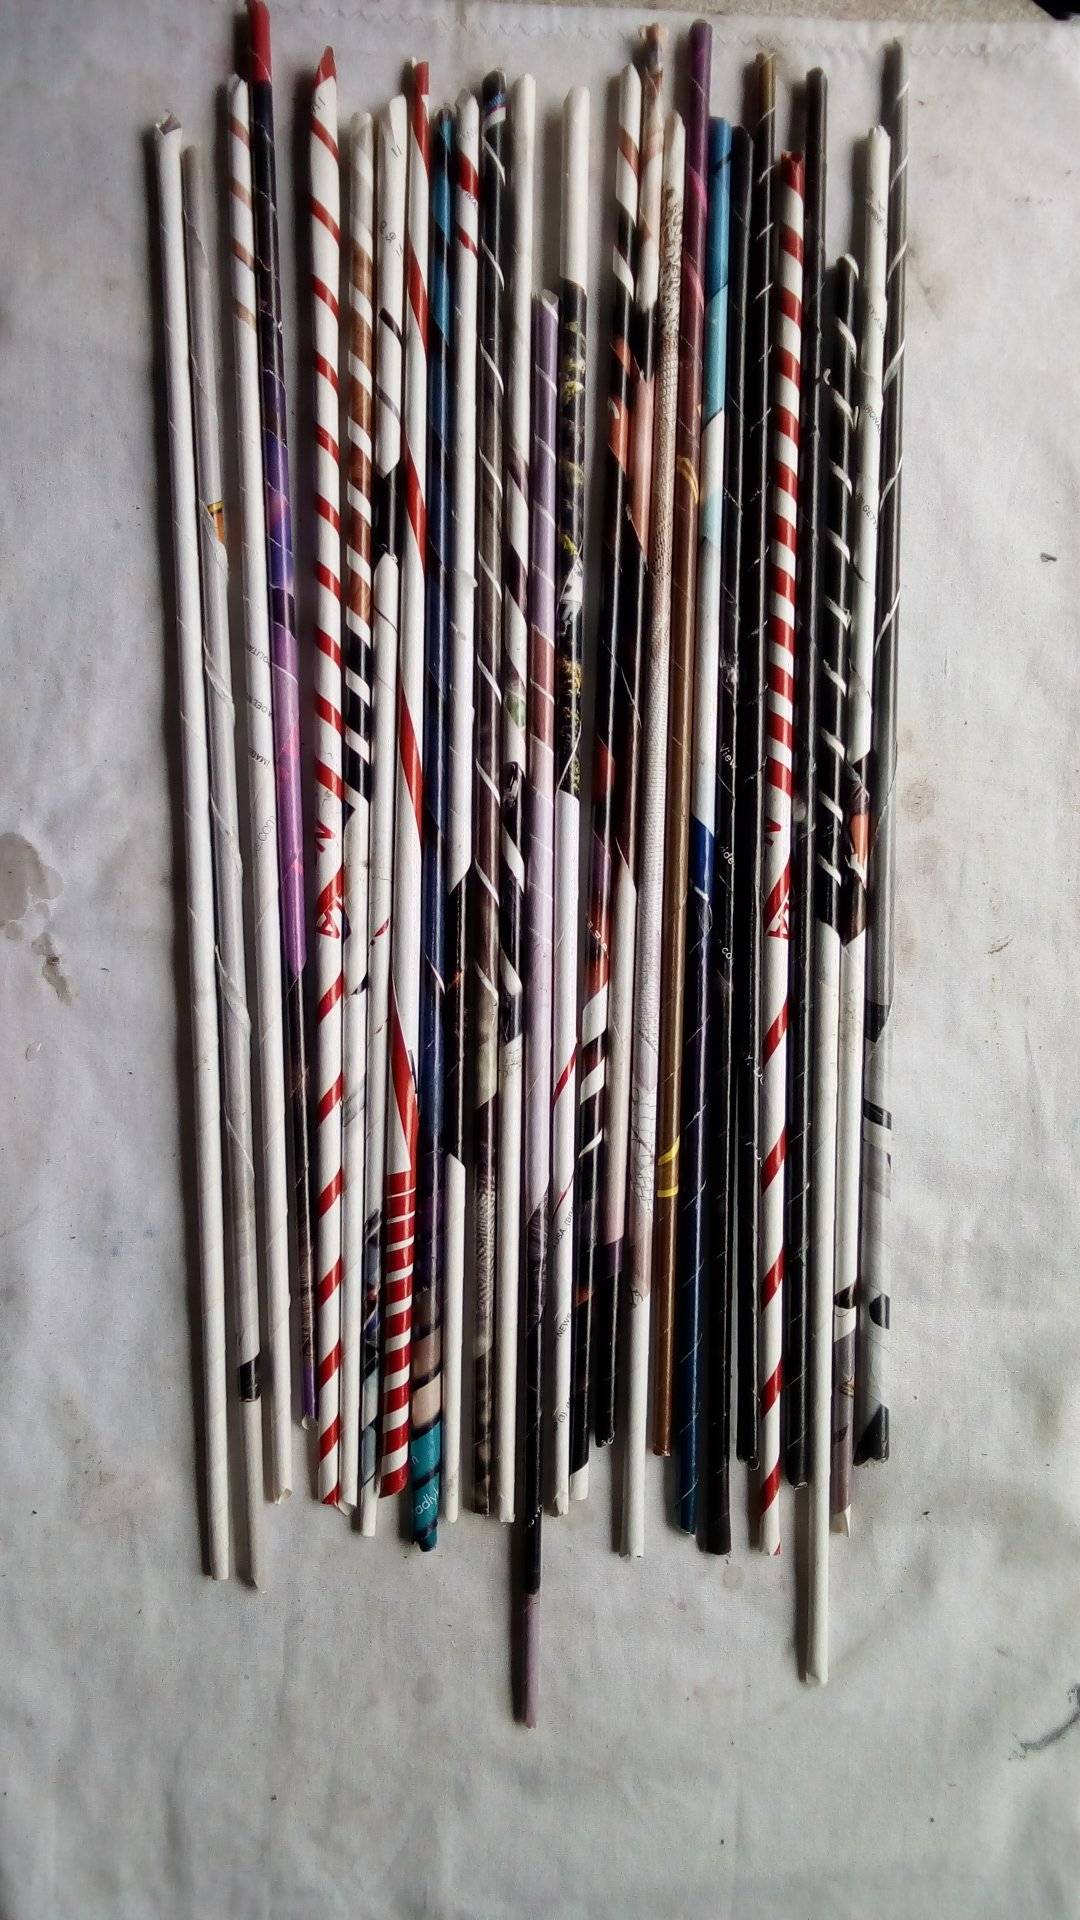
Paso 2:
Step 2:
El paso a seguir es empezar hacer los tubitos con el papel de revistas viejas, también podemos utilizar papel de periódicos, esta es una técnica que nos permite reciclar las revistas o periódicos viejos. Para realizar estos tubitos lo primero que debemos hacer es picar por la mitad en forma horizontal las hojas, y comenzamos a enrollar la hoja en el palito de altura de forma muy apretada, cuando te acerques al final de la hoja untas el papel con pegamento puede ser pega blanca o silicón para que tenga un buen sostén y no se desenrolle cuando lo cortes, debemos hacer 25 tubitos de papel.
The next step is to start making the tubes with the paper from old magazines, we can also use newsprint, this is a technique that allows us to recycle old magazines or newspapers. To make these little tubes, the first thing we must do is chop the leaves in half horizontally, and we begin to roll the leaf very tightly on the height stick. When you get close to the end of the leaf, spread the paper with glue. be white glue or silicone so that it has a good support and does not unroll when you cut it, we must make 25 paper tubes.
Paso 3:
Step 3:
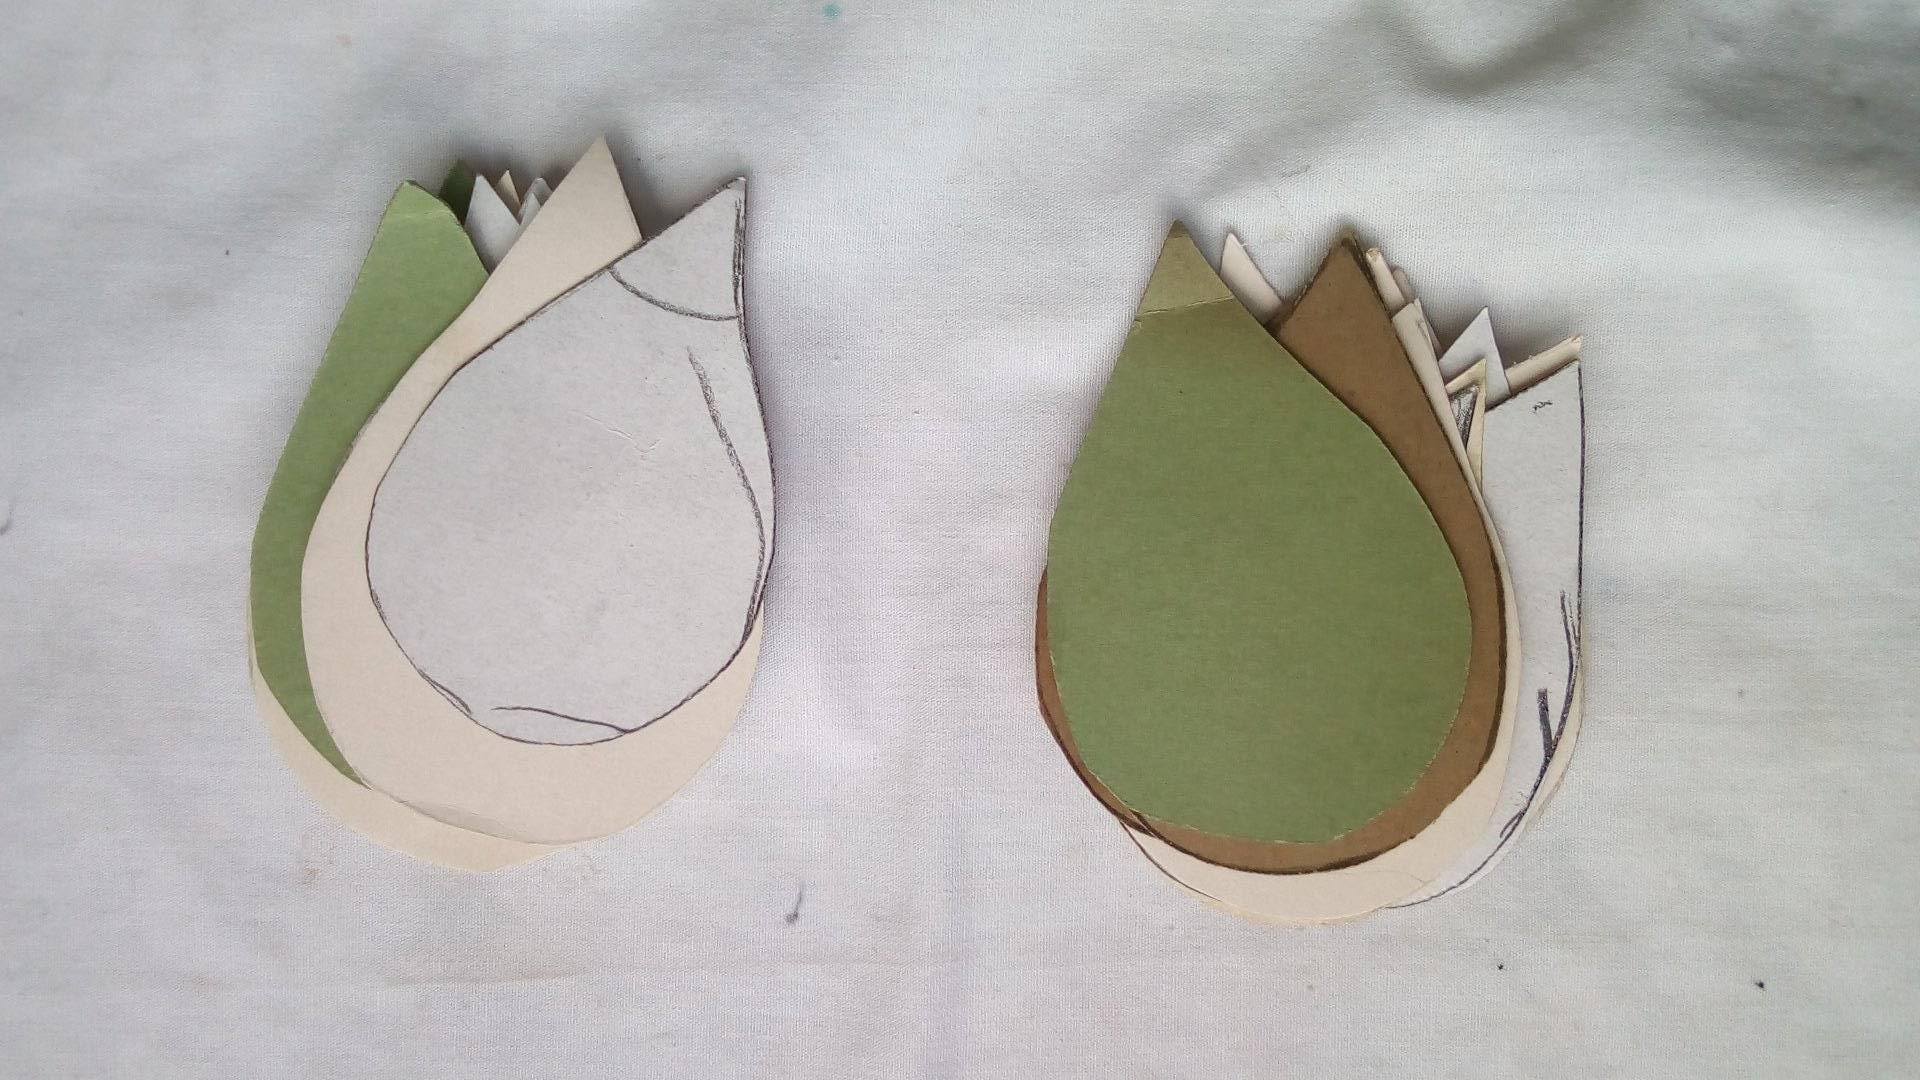
En cartón o cartulina, no importa cual de los dos materiales sea, hacemos el boceto de una gota de agua y la recortamos.
In cardboard or cardboard, it does not matter which of the two materials it is, we make the sketch of a drop of water and cut it out.
Paso 4:
Step 4:
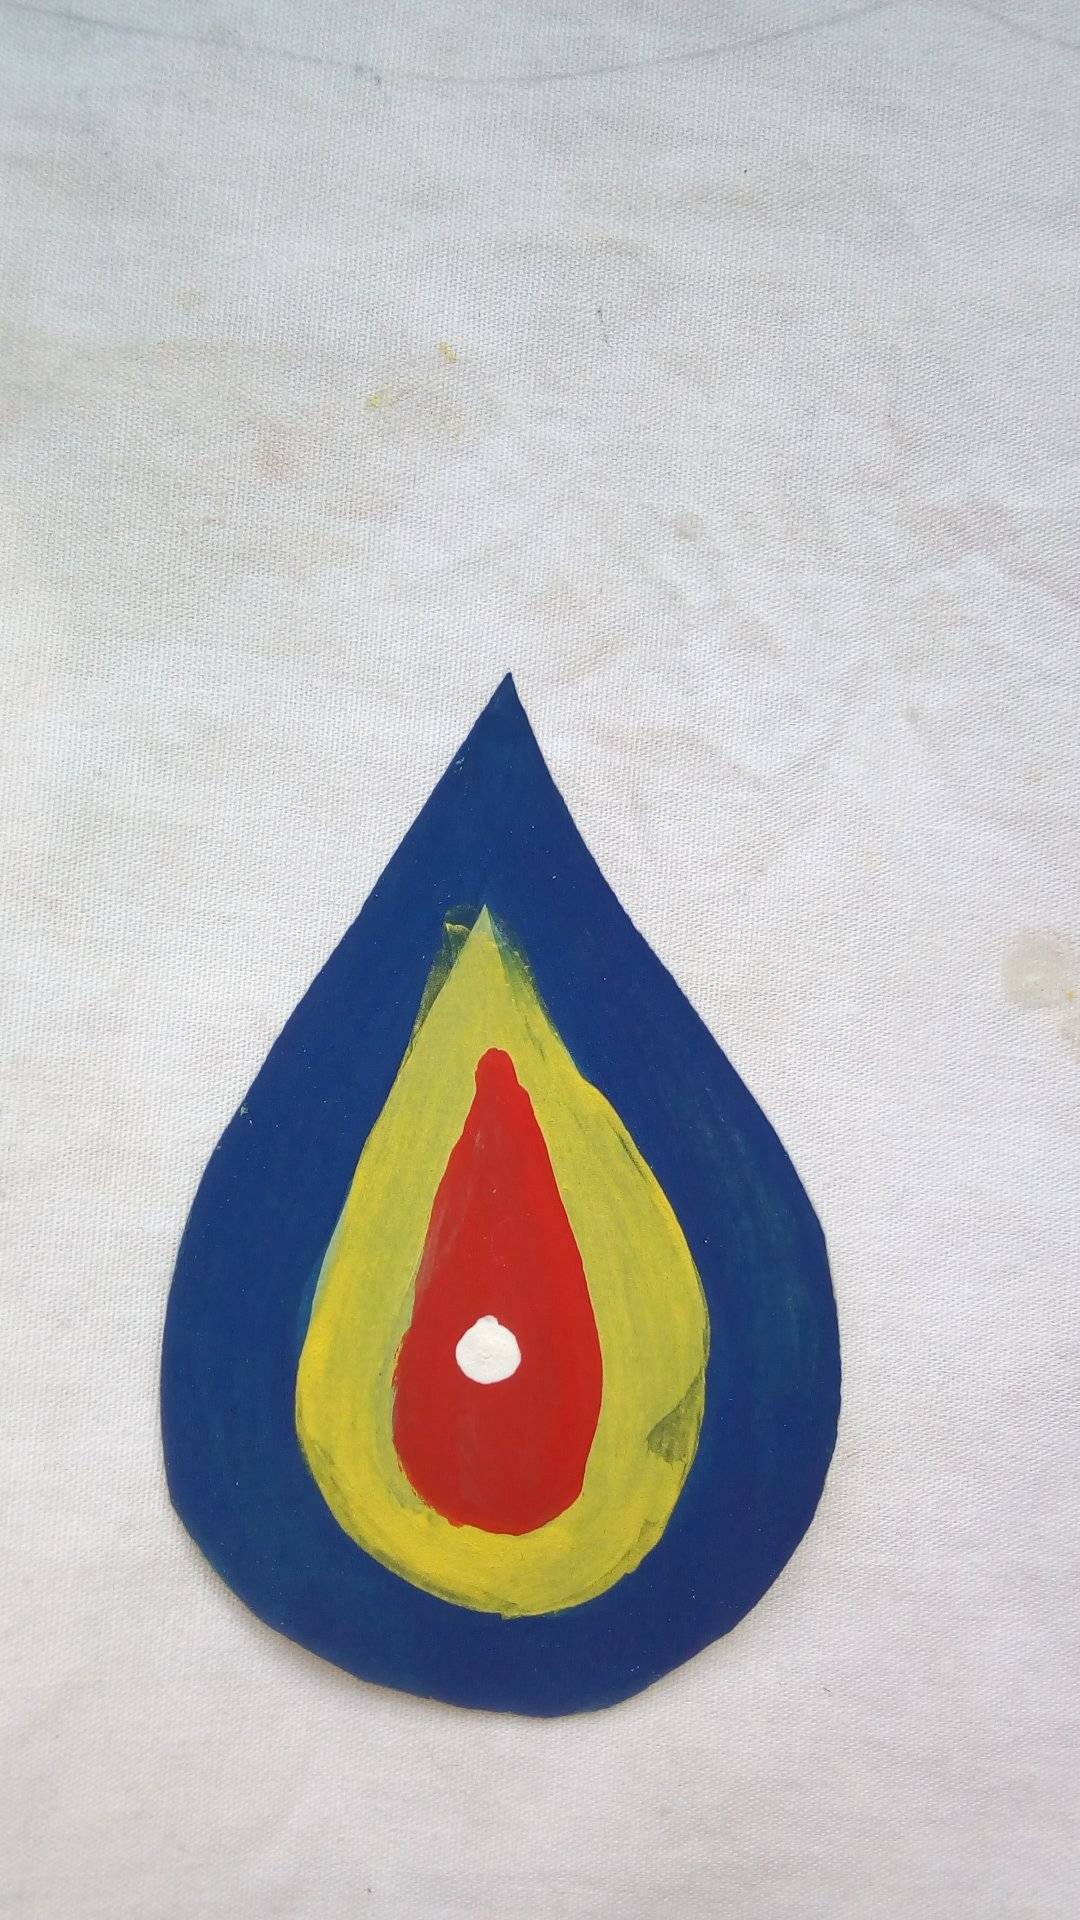
Con un pincel de punta plana mediana, comenzamos a pintar lo que serian unos ocelos, en los colores azul, amarillo y rojo.
With a medium flat tip brush, we begin to paint what would be some ocelli, in the colors blue, yellow and red.
Paso 5:
Step 5:
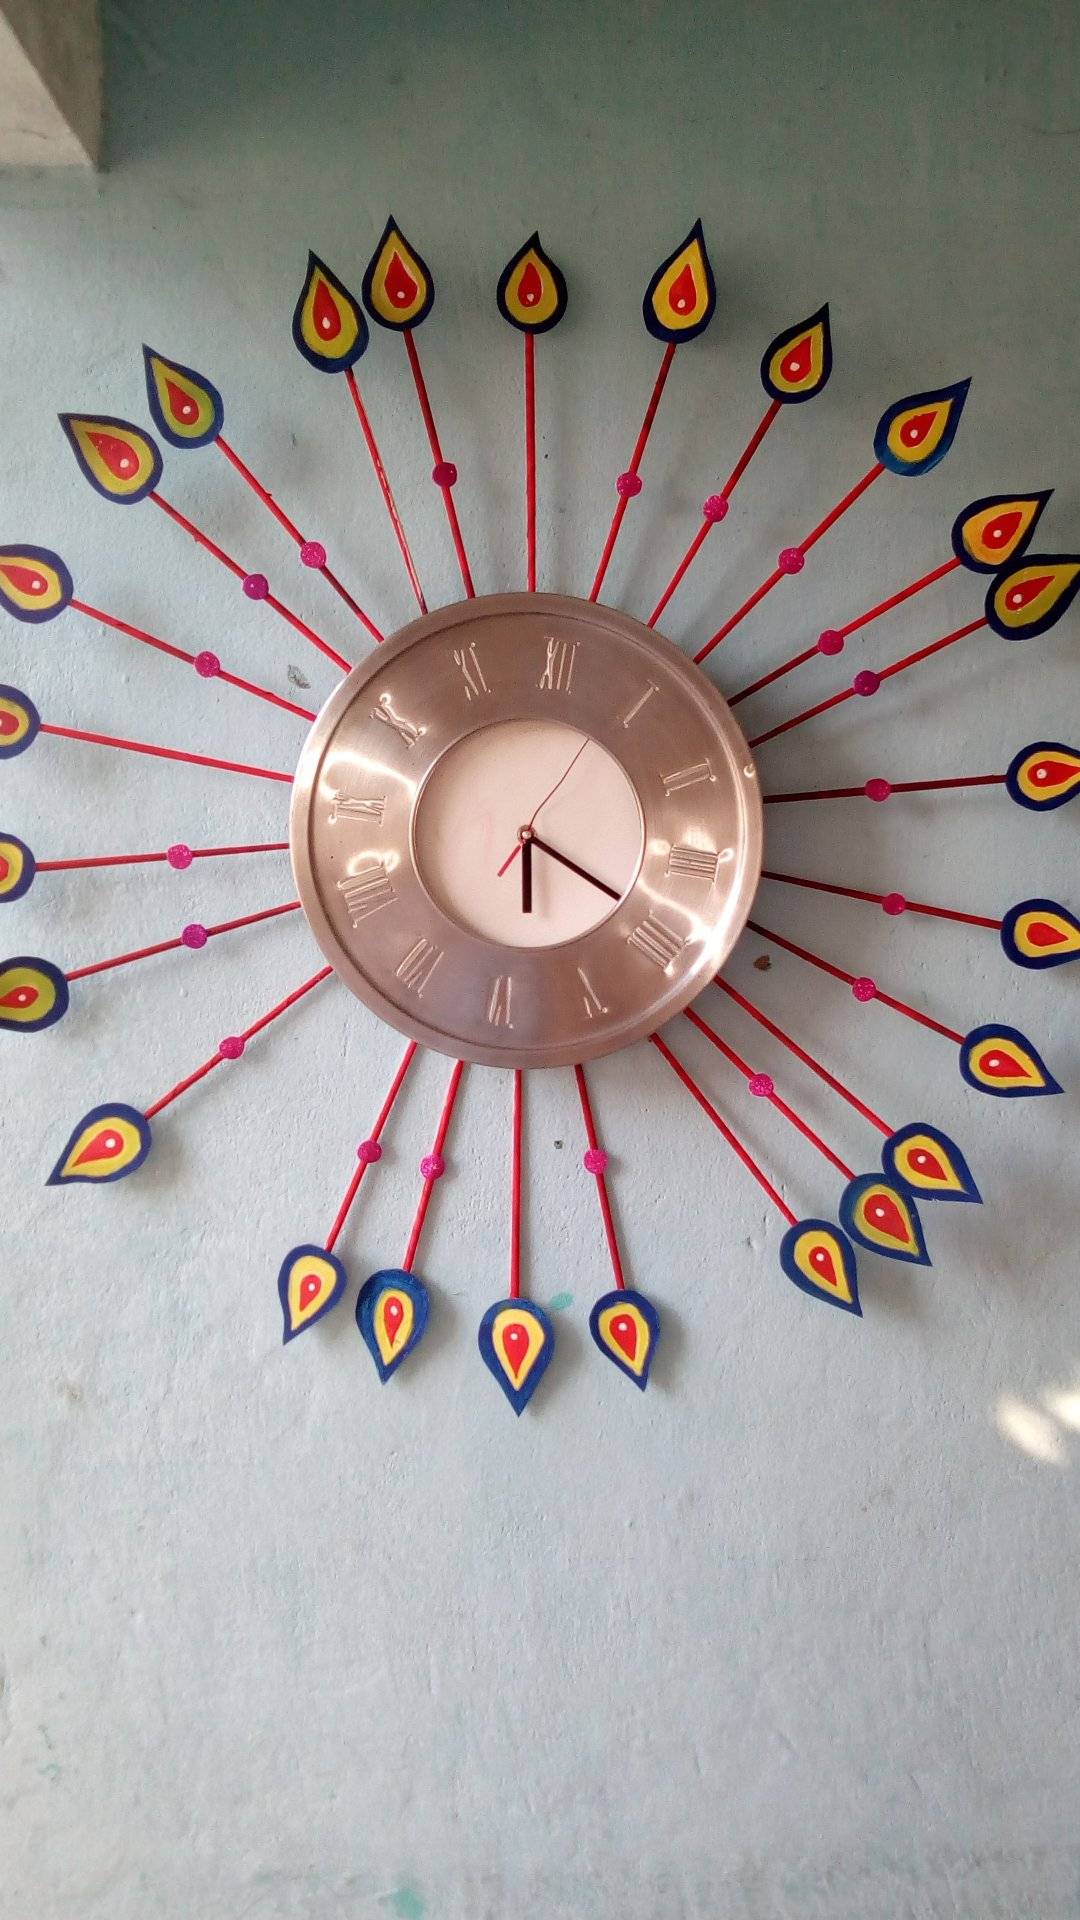
Luego alrededor del reloj con silicon caliente comenzamos a pegar cada uno de los tubos de papel que anteriormente habíamos hecho, y en la punta de cada tubo pegaremos los ocelos, y listo terminado nuestro reloj decorativo.
Then around the clock with hot silicone we begin to glue each of the paper tubes that we had previously made, and at the tip of each tube we will glue the ocelli, and our decorative clock is finished.
Mil gracias por visitar mi publicación, espero les guste. Hasta mañana.!!
Thank you very much for visiting my publication, I hope you like it. Until tomorrow.!!
Todas las fotos y texto son de mi autora, tomadas por mi desde la cámara de mi telefono BLU ADVANCE A6, Y editadas en mi computadora con la aplicación Picasa 3. Mi texto en español fue traducido al inglés mediante el traductor gratuito de Google.
All photos and text are my author, taken by me from the camera of my BLU ADVANCE A6 phone, and edited on my computer with the Picasa 3 application. My Spanish text was converted to English using the free google translate