¡Hola queridos usuarios de Hive ✨💕!
Hi dear Hive users ✨💕!
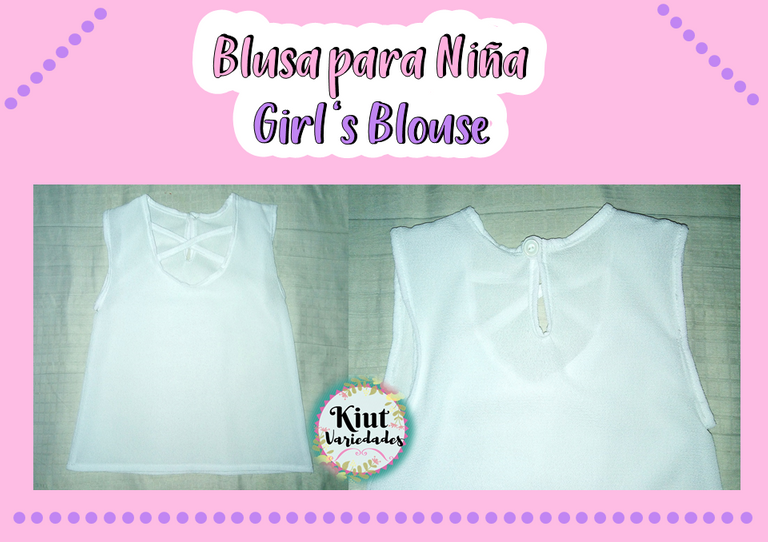
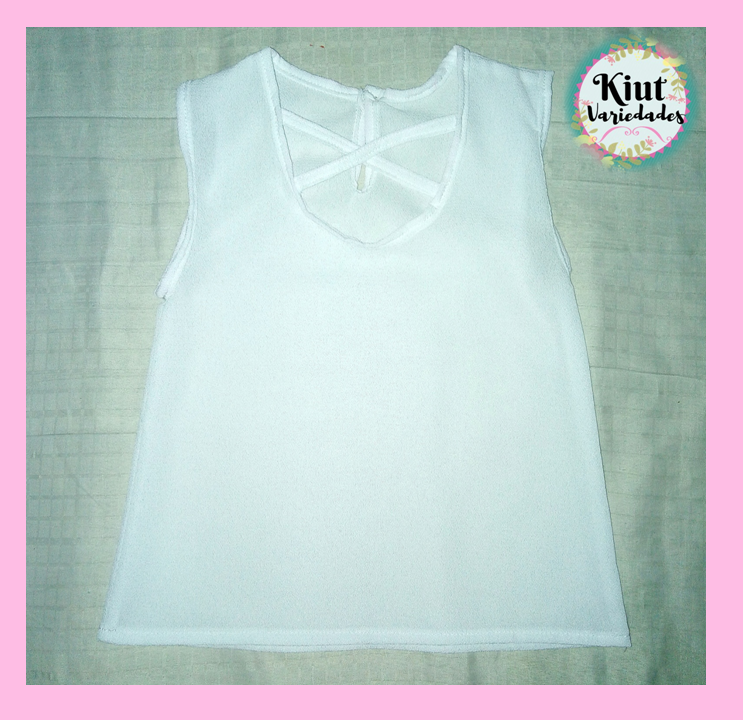
En la publicación anterior les estuve enseñando a realizar el patrón básico infantil 👧👦, el día de hoy les estaré enseñando a realizar un modelo de blusa muy sencillo para niñas 👏👧💕, que parte de ese patrón básico. Como ya mencione, es un modelo bastante sencillo pero que fácilmente se puede combinar con diferentes prendas y que además se ve muy coqueto en las niñas 😉.
In the previous publication I was teaching them how to make the basic pattern for children 👧👦, today I will be teaching them how to make a very simple blouse model for girls 👏👧💕, which is based on that basic pattern. As I mentioned, it's a pretty simple model but it can be easily combined with different clothes and it looks very cute on the girls 😉.

🧵 MATERIALES || MATERIALS 🧵
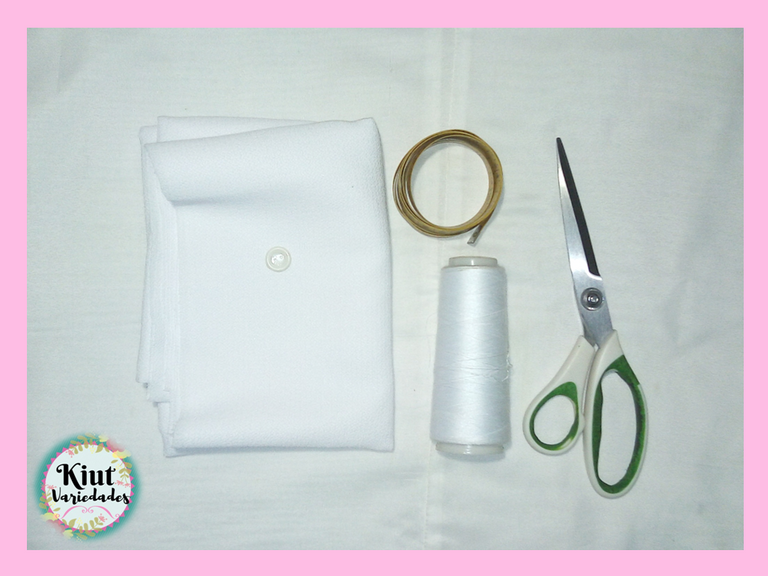
• Tela para la blusa (aquí utiliza la tela de tu preferencia, en mi caso utilice Tela Crepe).
• 1 botón (del color de la tela).
• Patrones Básicos Infantiles (los cuales vamos a transformar).
• Tijeras.
• Hilo y cinta Métrica.
• Máquina de Coser.
• Fabric for the blouse (here use the fabric of your preference, in my case use Crepe fabric).
• 1 button (of the color of the fabric).
• Basic Children's Patterns (which we are going to transform).
• Scissors.
• Thread and tape measure.
• Sewing machine.

📐✏ TRANSFORMACIÓN DE PATRÓN BÁSICO || BASIC PATTERN TRANSFORMATION 📐✏
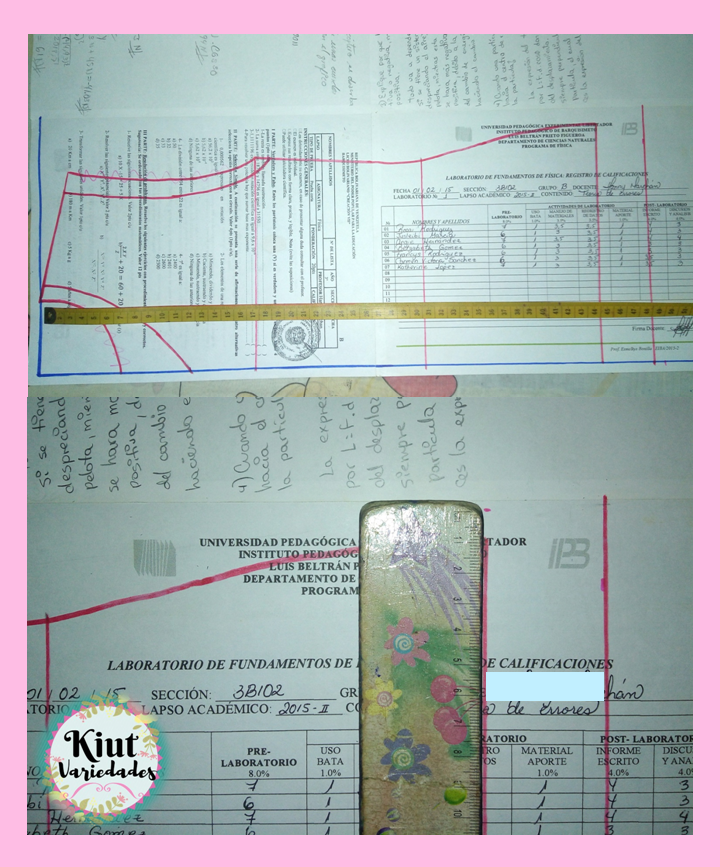
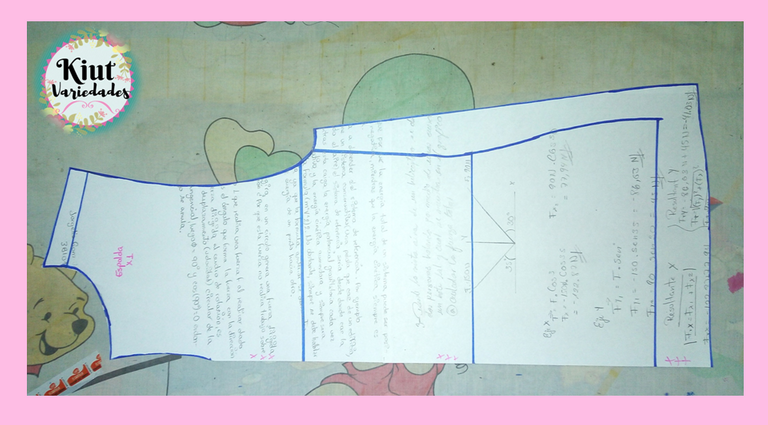
Comenzamos transformando los patrones básicos infantiles, para ello dibujaremos en el pape un ángulo recto, y calcaremos el patrón delantero, es importante también señalar todas las líneas guías, es decir, la línea de sisa y la línea de cintura.
We start by transforming the basic children's patterns, to do this we will draw a right angle on the pape, and trace the front pattern, it is also important to point out all the guide lines, i.e. the armhole line and the waist line.
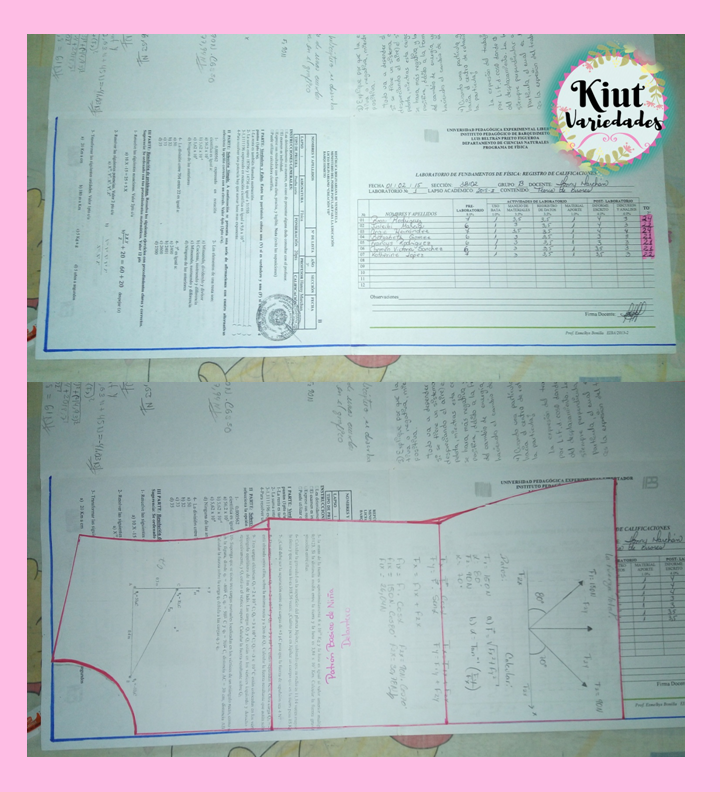
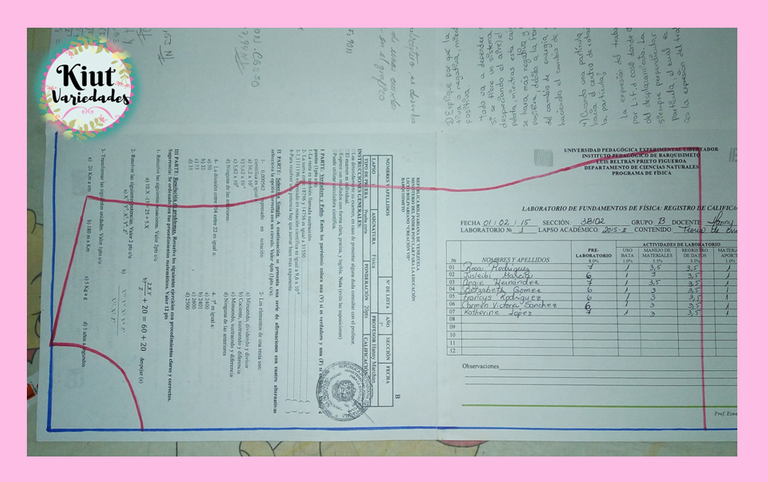
Vamos a realizar una marca a 5cm por encima de la línea de sisa, de igual forma vamos a marcar 1 cm hacia adentro en el vértice cuello-hombro, y formaremos la nueva curva del escote.
We will make a mark 5cm above the armhole line, in the same way we will mark 1cm inwards in the neck-shoulder vertex, and we will form the new curve of the neckline.
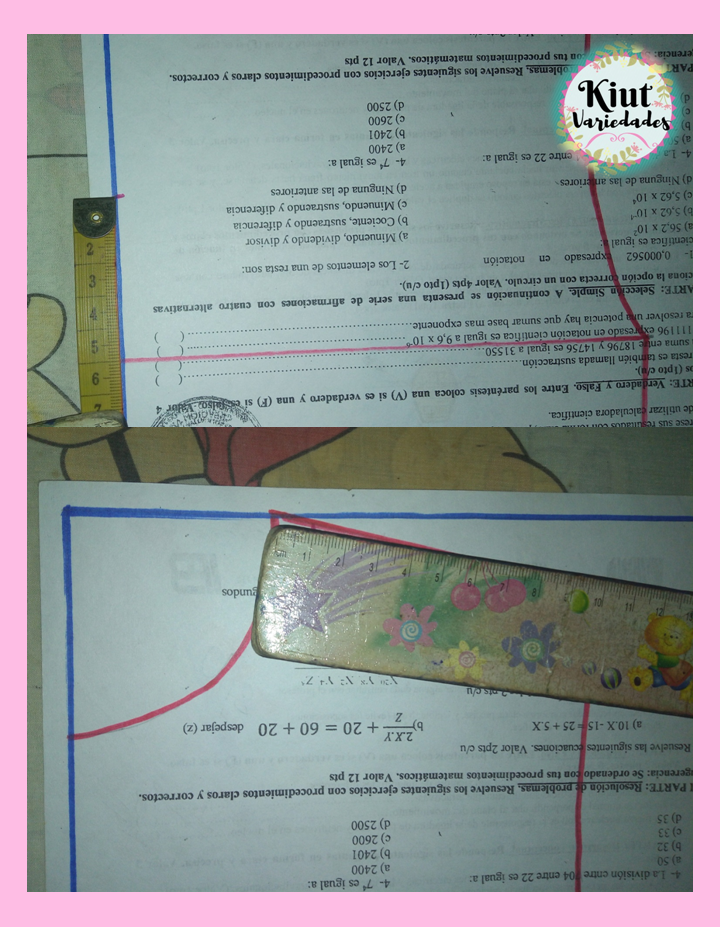
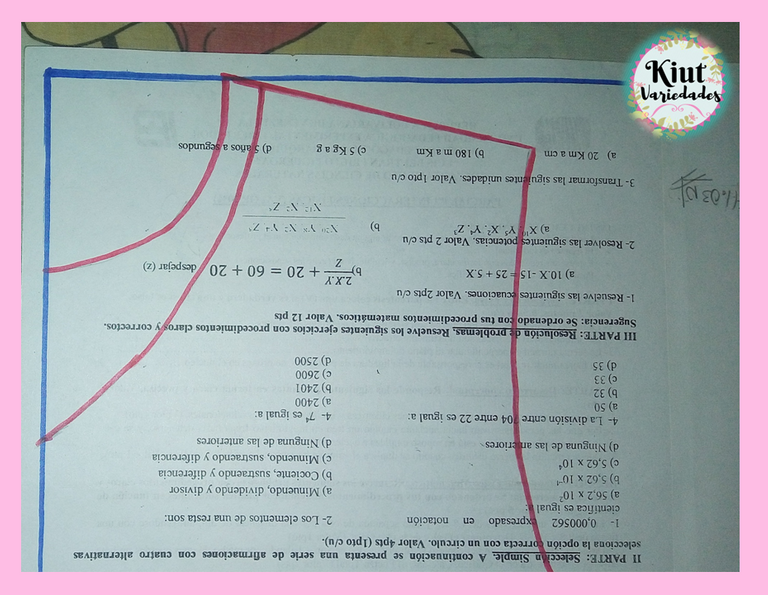
En la parte final de la línea de hombro vamos a marcar 1 cm hacia adentro y en la sisa vamos a bajar 1 cm, y formaremos así la nueva curva de a sisa.
At the end of the shoulder line we will mark 1 cm inwards and at the armhole we will go down 1 cm, thus forming the new curve of the armhole.
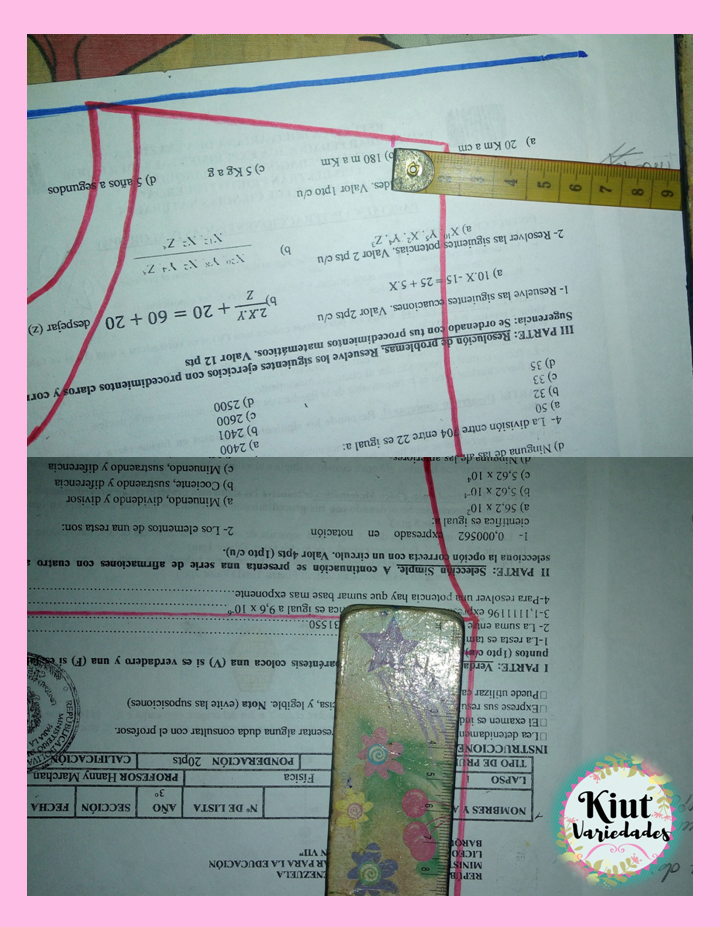
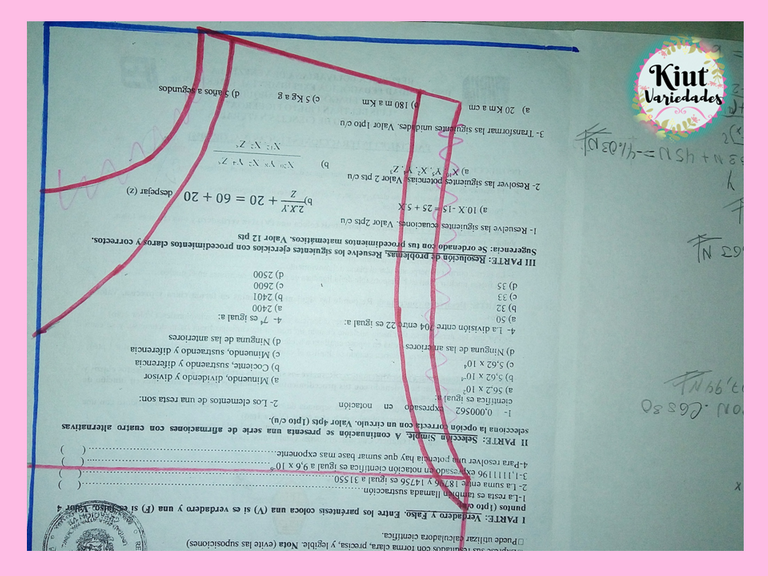
Marcaremos el largo total que queremos que tenga la blusa, esta medida ya debe incluir los 3 cm para el dobladillo, al mismo tiempo por la línea de la cadera vamos a marcar 1 cm hacia afuera y uniremos este punto con una línea a la sisa. Terminaremos de llegar a la parte final de la blusa con una curva muy suave.
We will mark the total length we want the blouse to have, this measure should already include the 3 cm for the hem, at the same time by the line of the hip we will mark 1 cm out and we will join this point with a line to the armhole. We will finish to reach the end of the blouse with a very smooth curve.
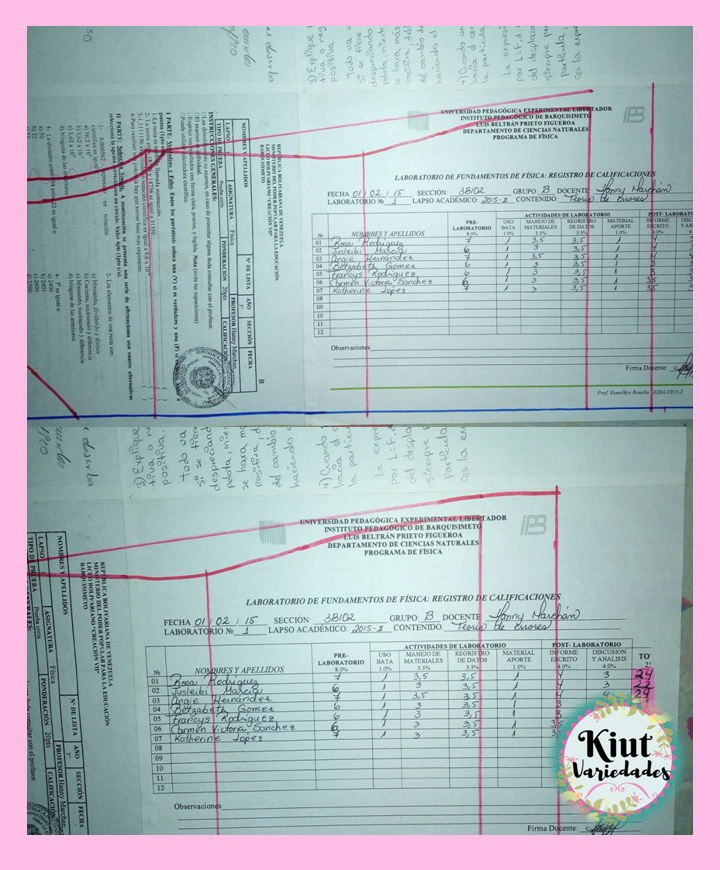
En la parte inferior del costado, vamos a subir 1 cm y este punto lo uniremos a la línea inferior con una curva. Añadimos 1,5 cm de margen de costura en el hombro y en el costado solamente, y así tendremos terminado nuestro patrón delantero.
At the bottom of the side, we will go up 1 cm and this point we will join it to the bottom line with a curve. We add 1.5 cm of seam margin on the shoulder and on the side only, and this way we will have our front pattern finished.
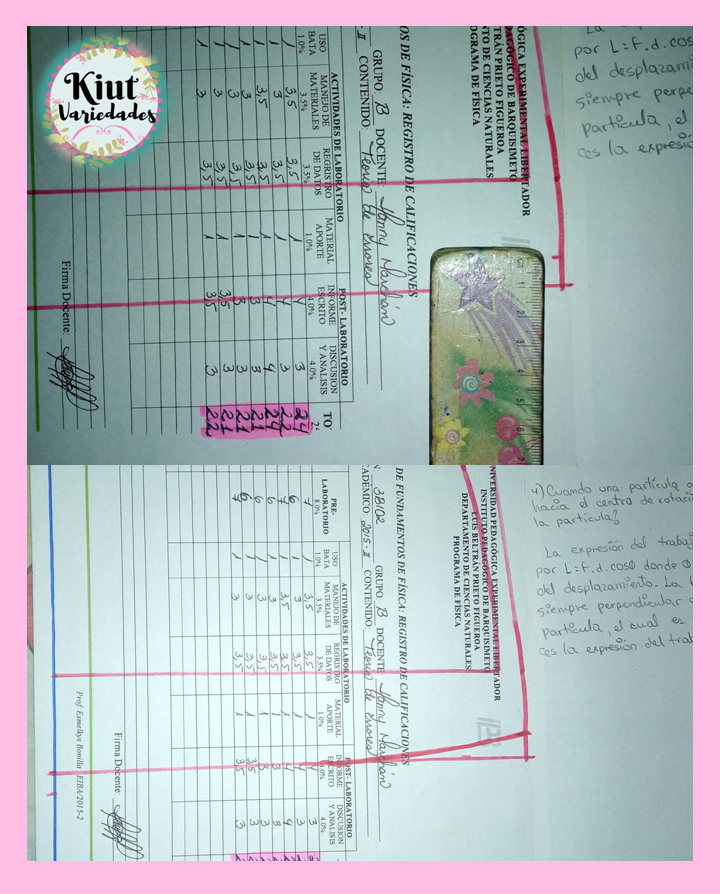
Para la espalda haremos básicamente lo mismo, igual vamos a calcar nuestro patrón básico de espalda con sus líneas guías. Usaremos el patrón delantero para marcar la sisa, el costado y el largo total.
For the back we will do basically the same thing, but we will still trace our basic back pattern with its guide lines. We will use the front pattern to mark the armhole, the side and the overall length.
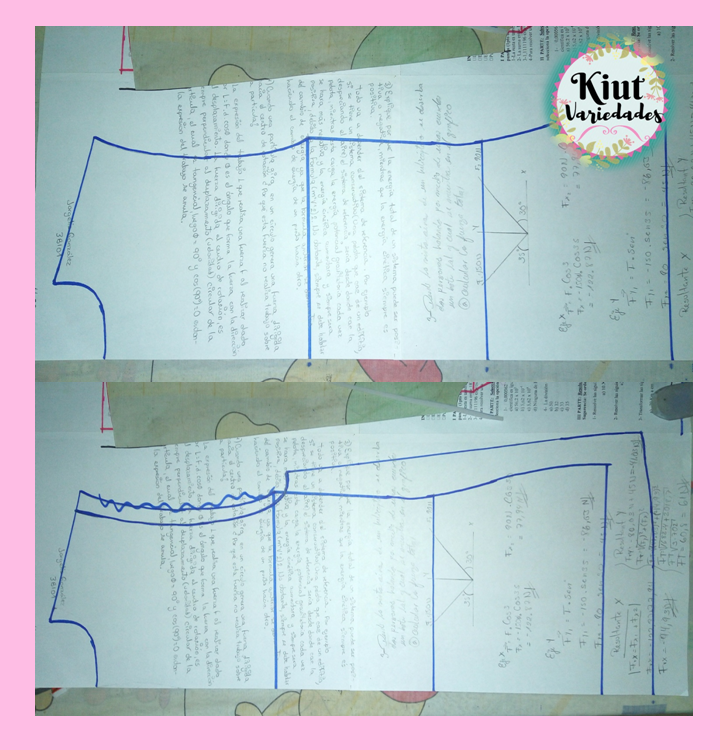
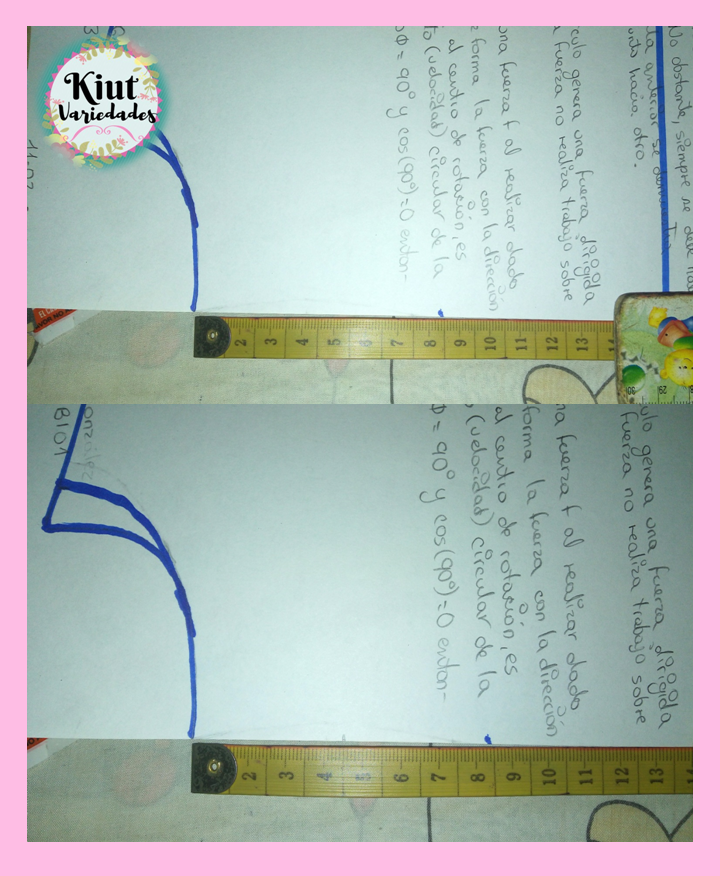
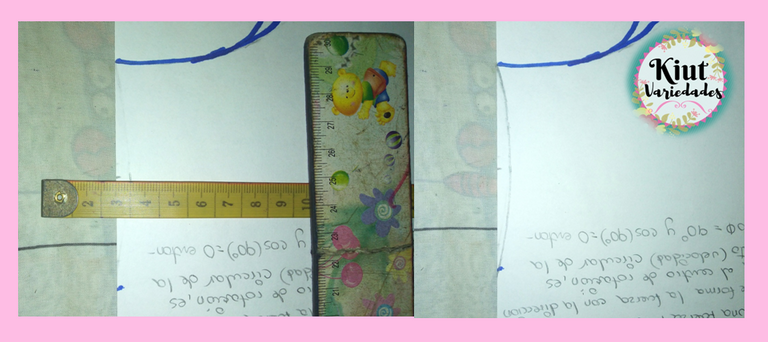
En la parte del cuello, solo vamos a quitar el cm en el vértice cuello-hombro. Desde el vértice del cuello vamos a medir 8 cm hacia abajo, igualmente haremos una marca a la mitad de esta medida y justamente en este punto nos vamos a meter 0,5cm, y haremos una curva uniendo estos puntos.
In the neck part, we will only remove the cm at the neck-shoulder vertex. From the vertex of the neck we will measure 8 cm down, also we will make a mark in the middle of this measurement and just at this point we will get 0.5 cm, and we will make a curve joining these points.
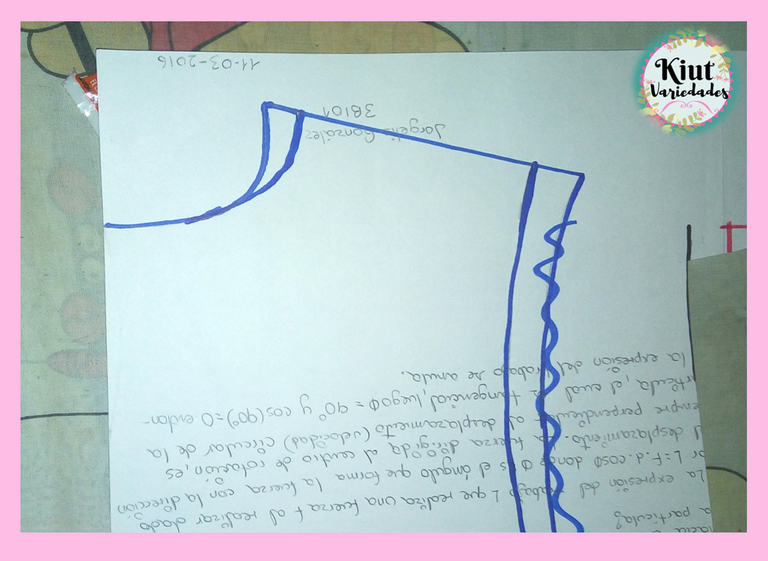
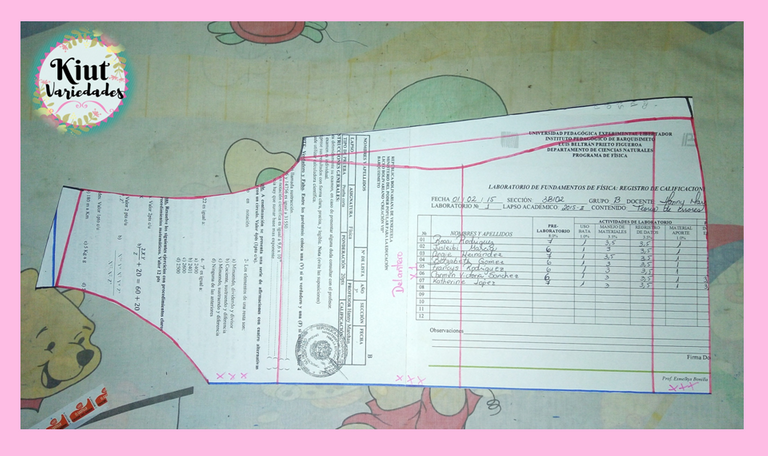
Añadimos el margen de costura correspondiente en el hombre, y tenemos nuestro patrón terminado.
We add the corresponding sewing margin on the man, and we have our finished pattern.

👕👧 CONFECCIÓN DE LA BLUSA || MAKING OF THE BLOUSE 👕👧
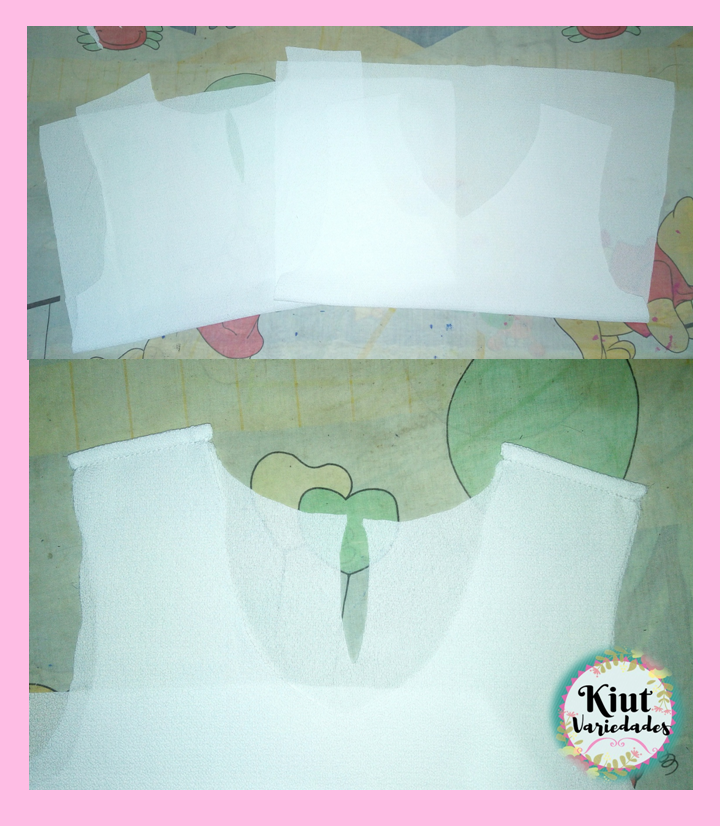
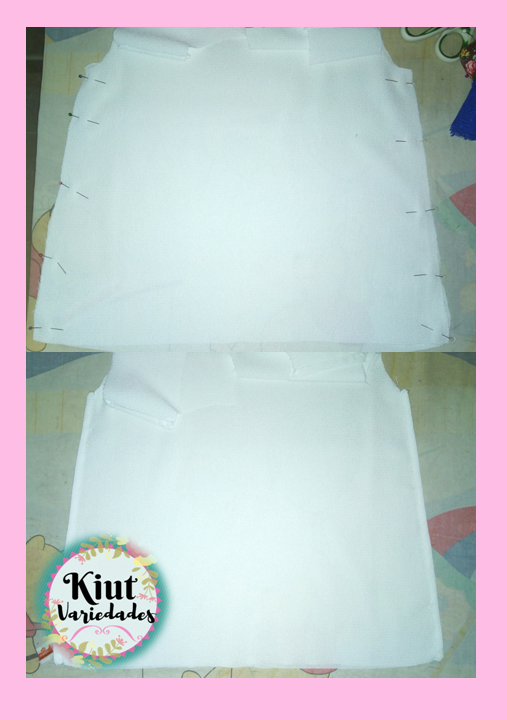
Cortamos las piezas en la tela, y comenzaremos uniendo los hombros con costura francesa. Luego coseremos los laterales de la misma forma.
We cut the pieces in the fabric, and start by joining the shoulders with French stitching. Then we will sew the sides in the same way.
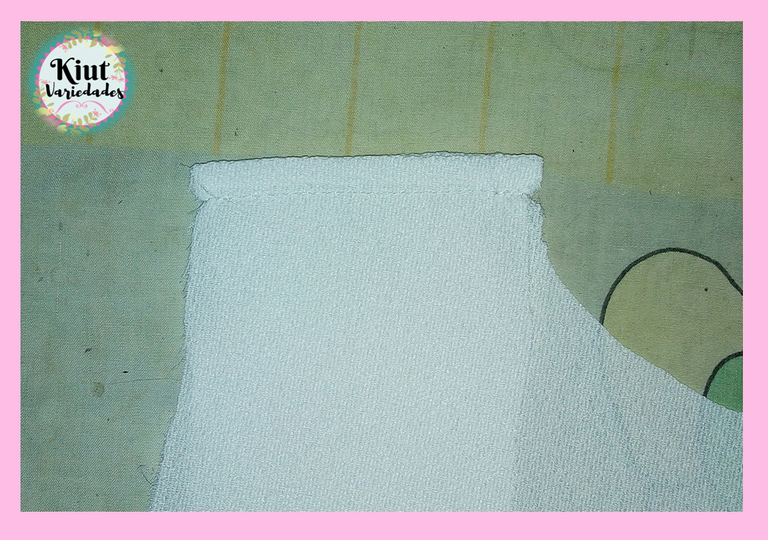
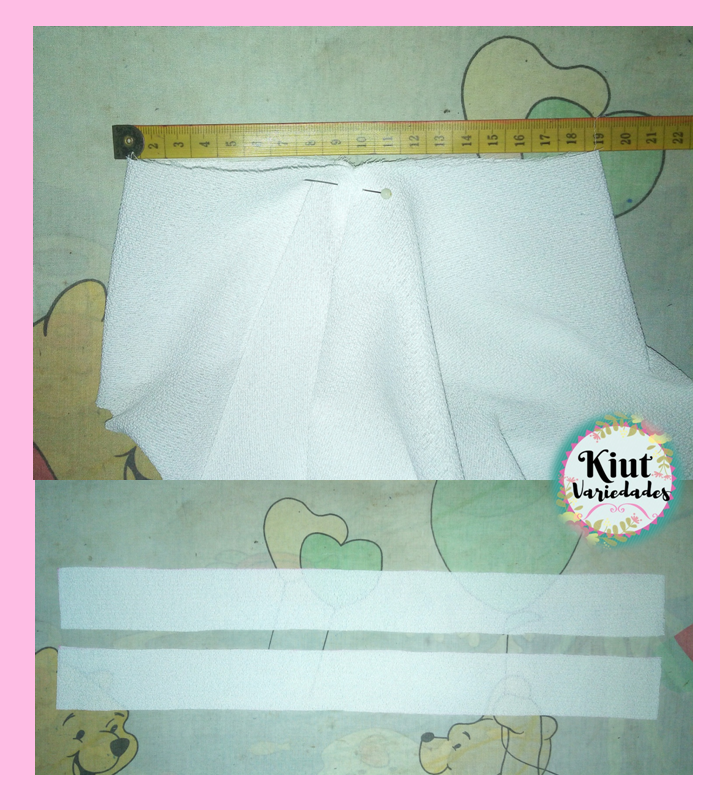
Medimos el contorno de la sisa de la blusa, y cortaremos una tira de tela que tenga 4cm de ancho. Cerraremos las tiras para formar círculos y las coseremos a la sisa como sesgo.
We measure the contour of the armhole of the blouse, and cut a strip of fabric that is 4cm wide. We will close the strips to form circles and sew them to the armhole as a bias.
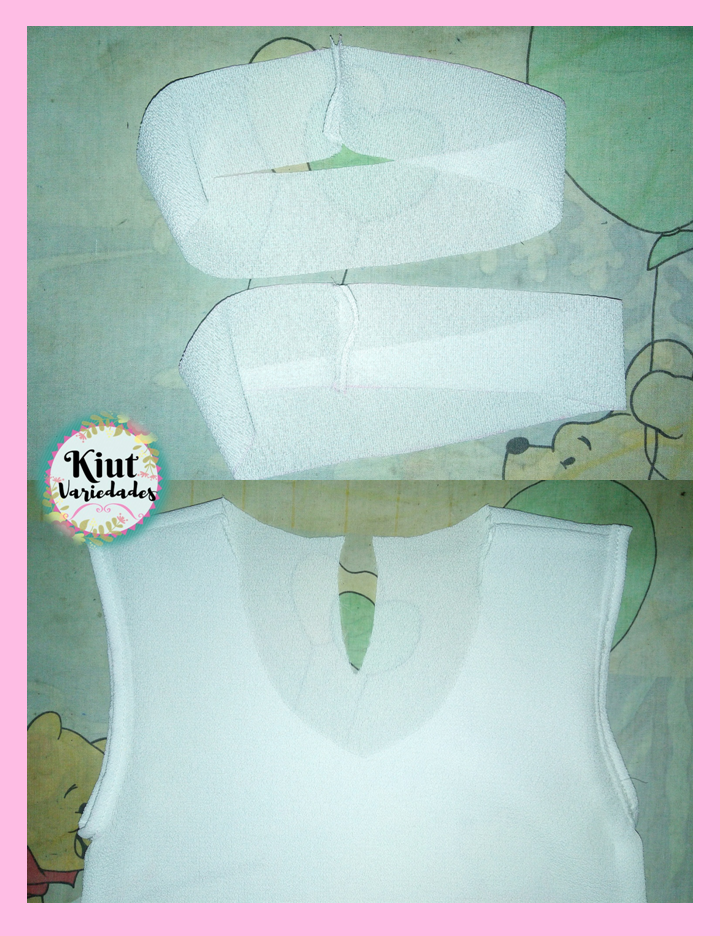
Aparte también cortaremos dos tiras más de 4 cm de ancho, y que tengan el largo suficiente para que una cubra todo el contorno del cuello, y la otra para la abertura de la espalda. Ambas tiras las coseremos como sesgo, y en el cuello dejaremos un sobrante de unos 8 cm aproximadamente.
We will also cut two strips more than 4 cm wide, and long enough for one to cover the entire contour of the neck, and the other for the opening of the back. Both strips will be sewn as a bias, and in the neck we will leave a surplus of about 8 cm.
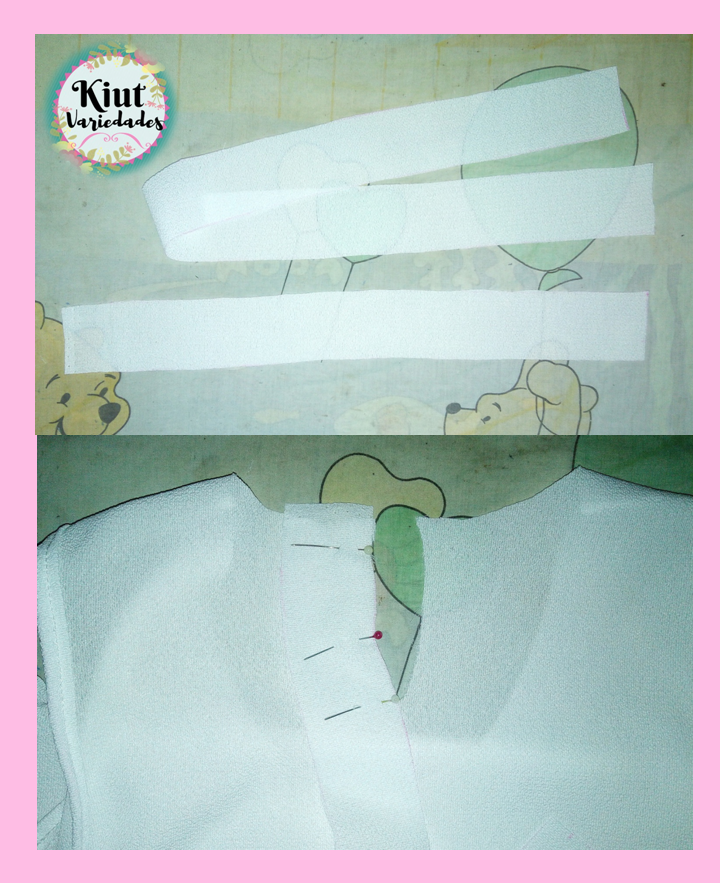
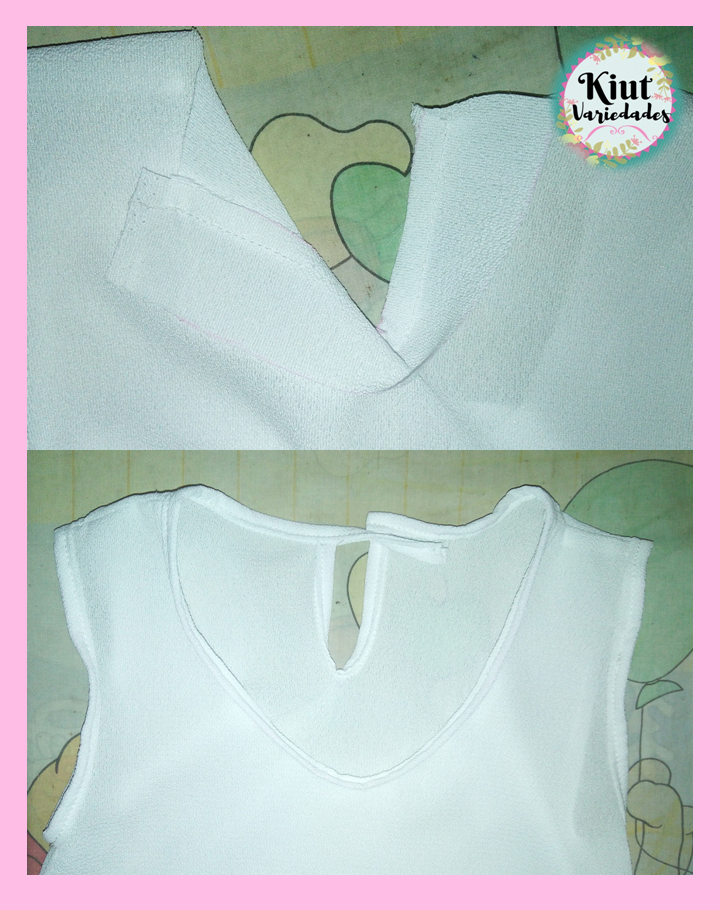
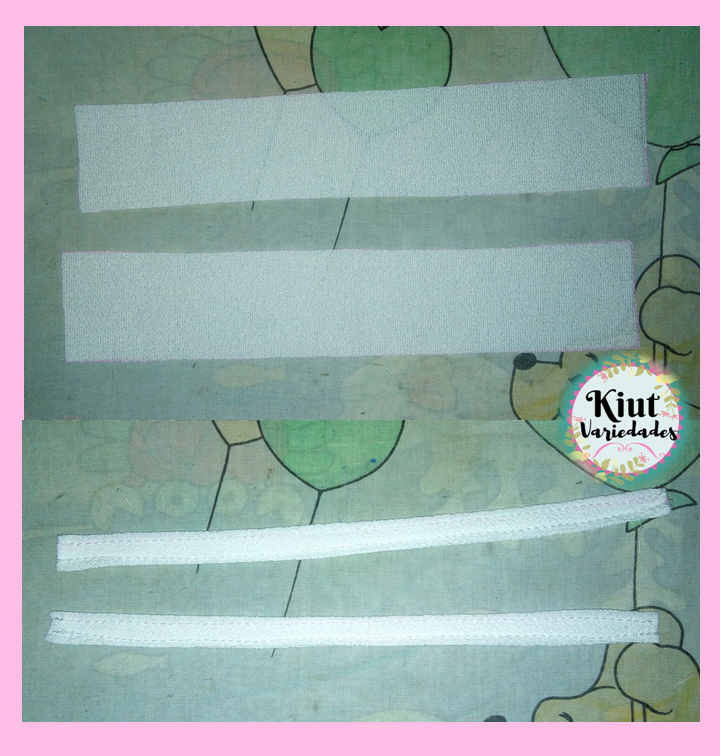
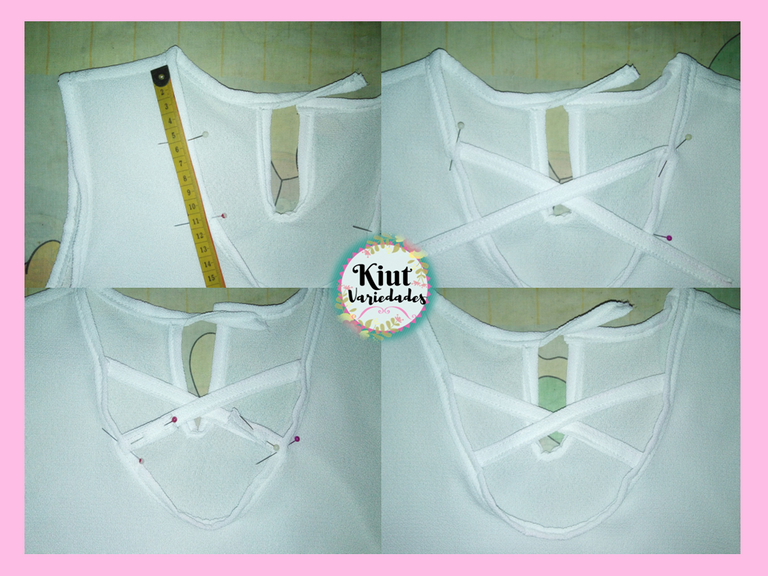
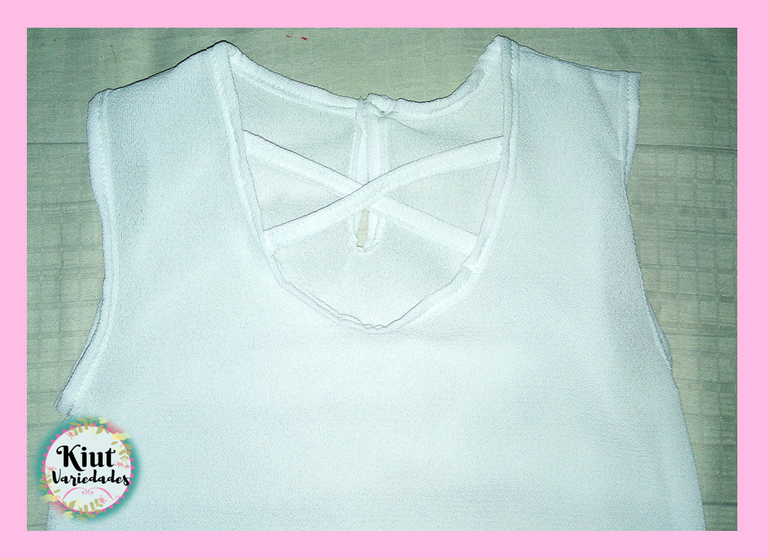
Cortaremos dos tiras más de 4cm de ancho y del largo suficiente para que se crucen en el escote. Formamos las tiras como lo hemos hecho en otros tutoriales, y para coserlas al escote vamos a medir 5 cm desde la línea del hombro hacia abajo por todo el escote, y desde esta marca mediremos aproximadamente 5,5 cm (pero estas medidas dependen de la distancia que tú quieras que tengan los cruces).En estas marcas coseremos las tiras, primero en la parte superior, y luego en la parte inferior. Cortamos los excedentes.
We will cut two more strips of 4cm wide and long enough to cross at the neckline. We form the strips as we have done in other tutorials, and to sew them to the neckline we will measure 5 cm from the shoulder line down the entire neckline, and from this mark we will measure approximately 5.5 cm (but these measures depend on the distance you want the crosses). At these marks we will sew the strips, first at the top, and then at the bottom. We cut off the excess.
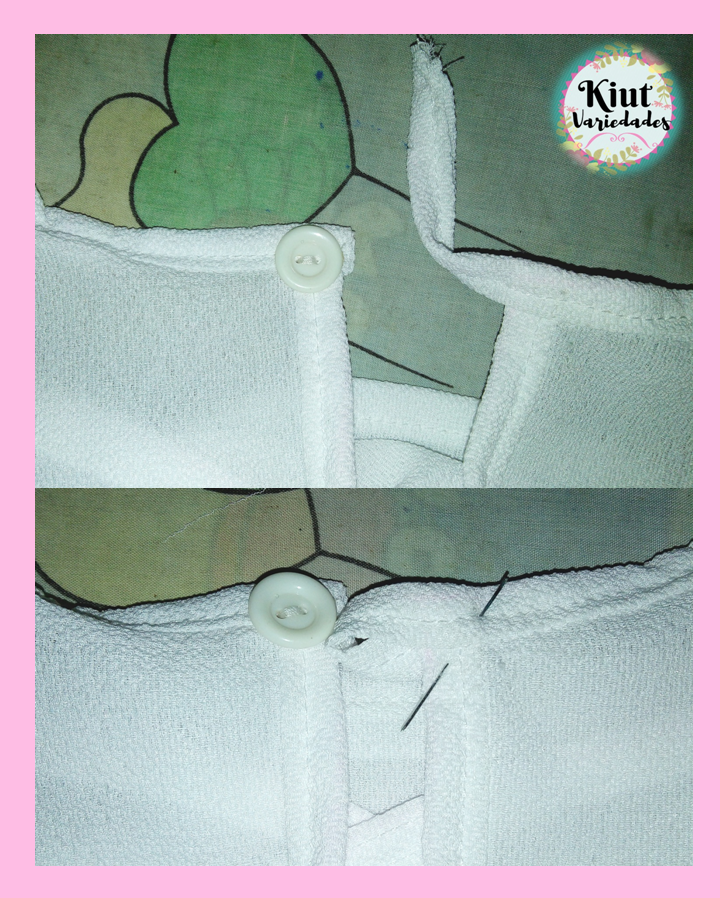
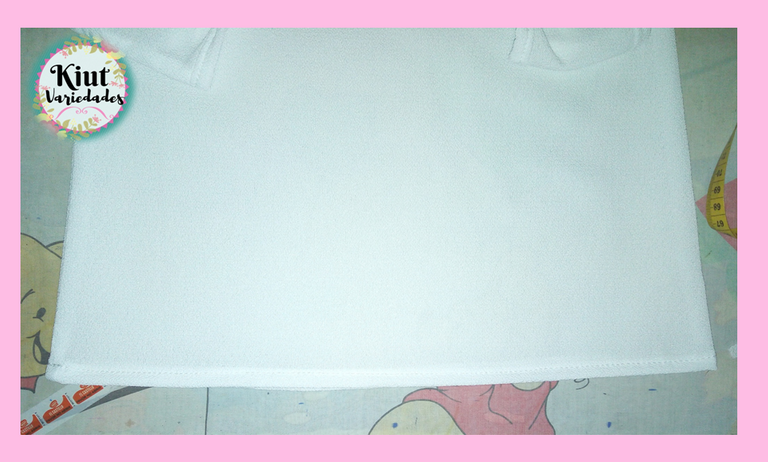
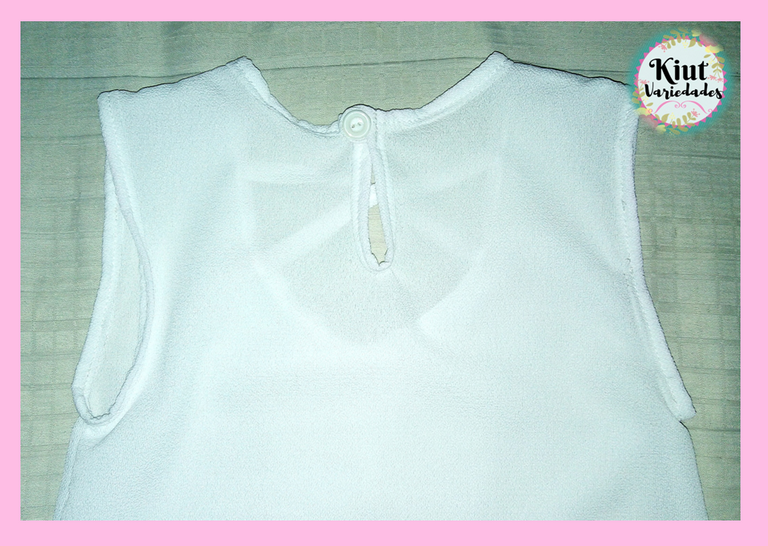
Cosemos el botón en la parte de la espalda, y con el sobrante de sesgo que habíamos dejado, formaremos la argollita para cerrar la blusa. Finalmente, haremos el ruedo en la parte inferior.


Te invitamos igual que siempre a que intentes este proyecto por tu cuenta y nos cuentes en los comentarios 👇 como es tu experiencia.
We invite you as always to try this project on your own and tell us in the comments 👇 as is your experience..


Síguenos en todas nuestras redes sociales… || Follow us on all our social networks ...
Facebook:KiutVariedades
Instagram:@Kiut_variedades
Twitter:@Kiut_variedades