¡Hola queridos usuarios de Hive ✨💕!
Hi dear Hive users ✨💕!
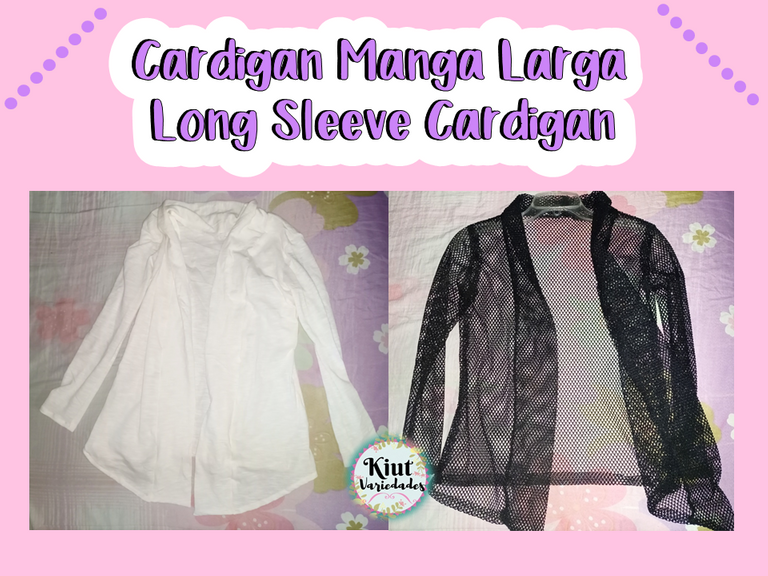
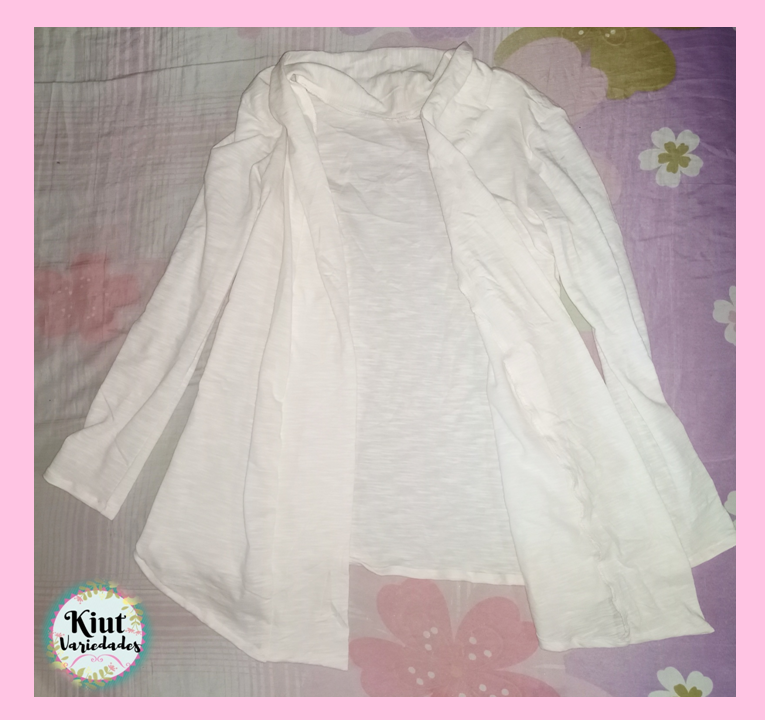
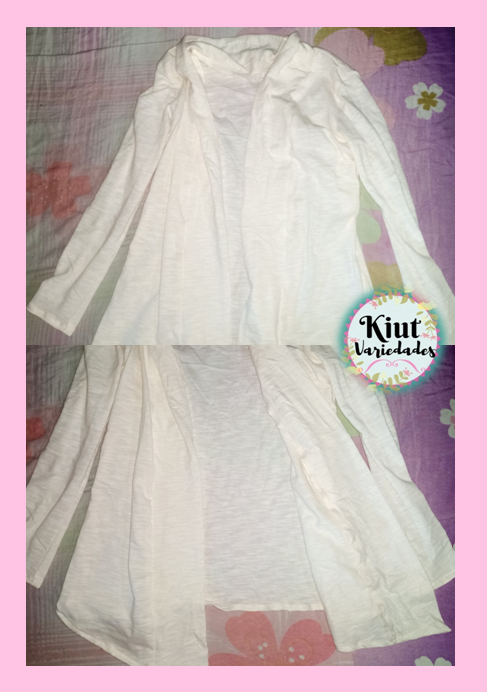
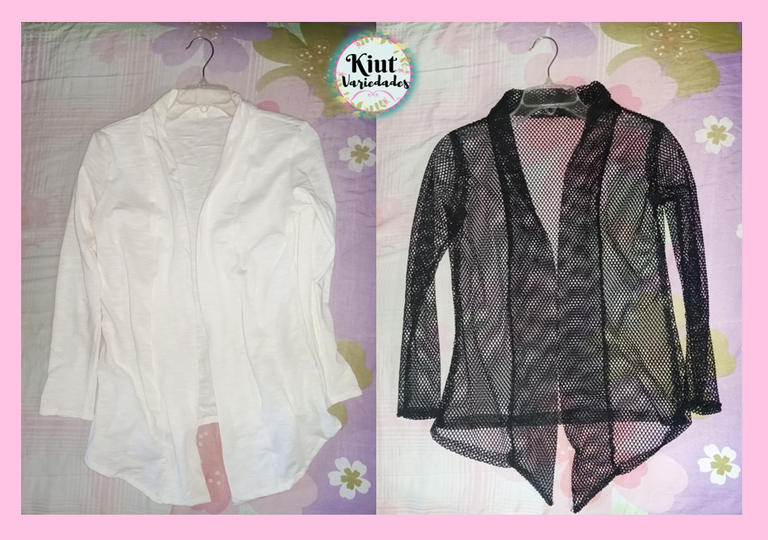
El cardigan, es una especie de suéter ligero que debe quedar abierto, por lo general en la parte delantera cuentan con volumen, aunque también los podemos encontrar completamente lisos, esta es una prenda muy versátil que además da un toque precioso a los outfits y que en más de una ocasión nos puede salvar cualquier atuendo, el día de hoy les estaré enseñando a realizar uno de una manera muy sencilla.
The cardigan, is a kind of light sweater that should be open, usually in the front have volume, although we can also find them completely smooth, this is a very versatile garment that also gives a beautiful touch to the outfits and that on more than one occasion we can save any outfit, today I will be teaching you how to make one in a very simple way.

🧵 MATERIALES || MATERIALS 🧵
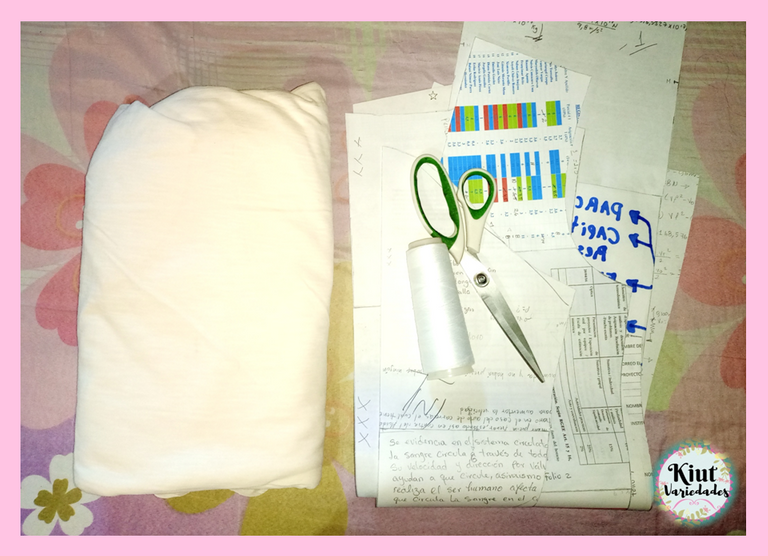
- Tela preferiblemente elástica y de tejido muy ligero.
- Patrones (los patrones no son de mi propiedad).
- Tijera e hilo.
- Máquina de coser.
- Fabric preferably elastic and of very light weave.
- Patterns (the patterns are not my property).
- Scissors and thread.
- Sewing machine.
🧵 COMENCEMOS || LET'S GET STARTED 🧵
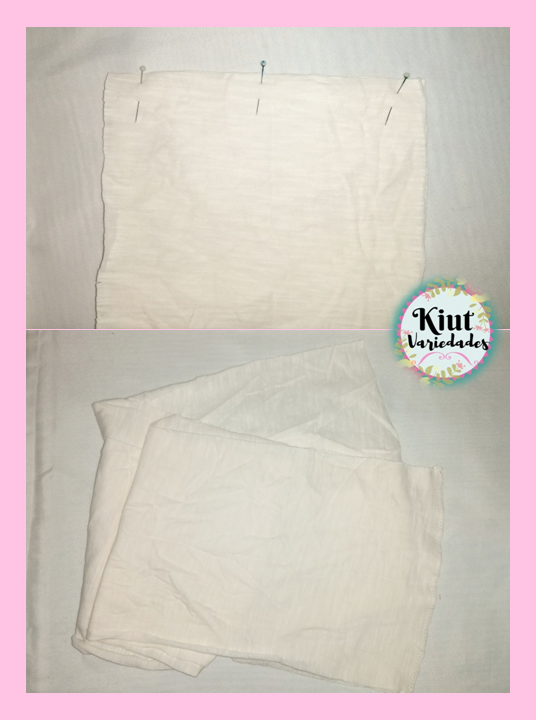
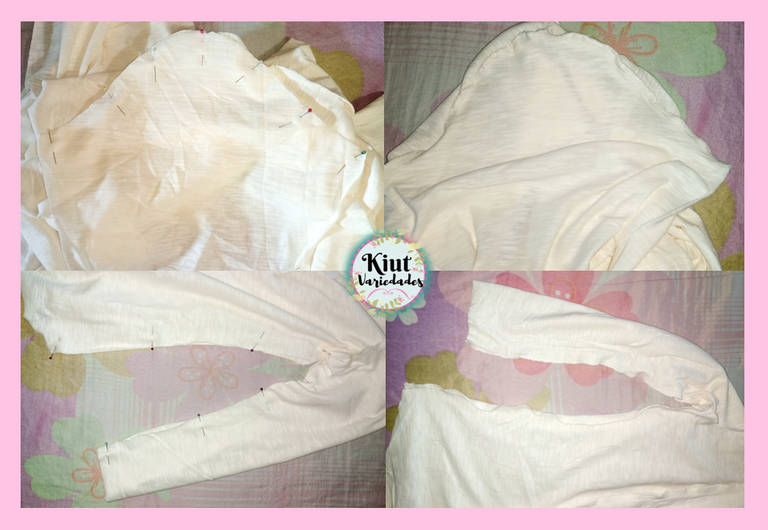
Una vez tengamos los patrones impresos o calcados procedemos a cortar cada una de las piezas, y empezaremos a coser las piezas delanteras con la espalda uniéndolas por los hombros.
Once we have the printed or traced patterns we proceed to cut each of the pieces, and we will start sewing the front pieces with the back, joining them at the shoulders.
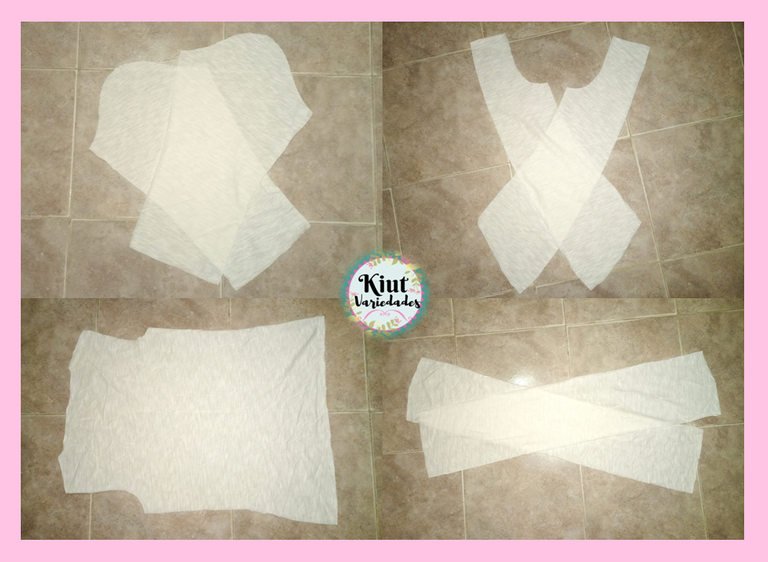
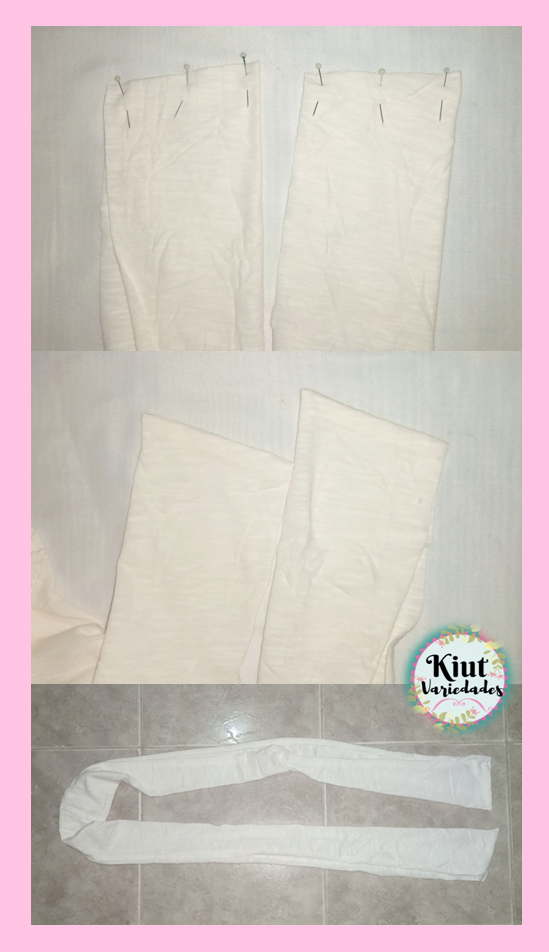
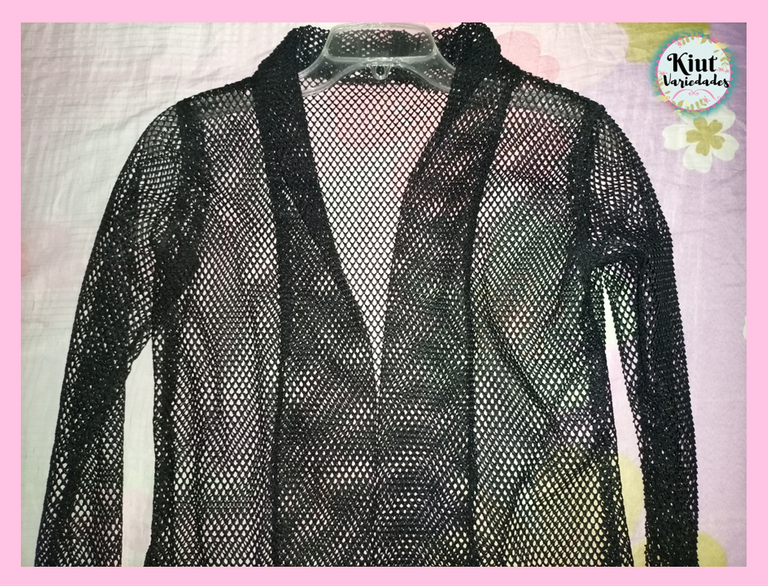
Tomamos las piezas centrales y las uniremos entre ellas por el lado más recto formando así una tira larga. El otro extremo (que está ligeramente en punta) lo vamos a doblar enfrentando los derechos de tela y coseremos en diagonal, de la manera en que se nuestra en la imagen. Luego lo voltearemos.
We take the center pieces and join them together on the straight side forming a long strip. The other end (which is slightly pointed) we will fold it facing the right sides of the fabric and sew diagonally, as shown in the picture. Then we will flip it over.
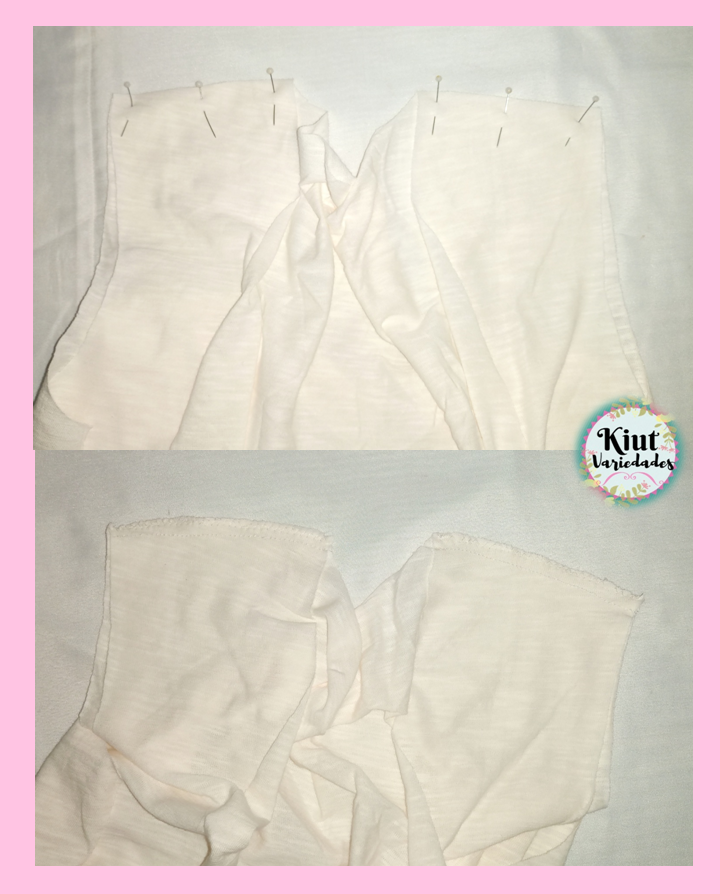
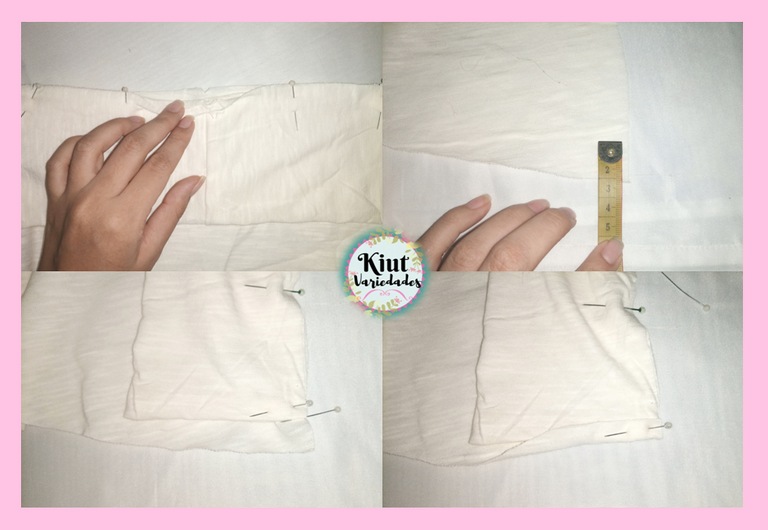
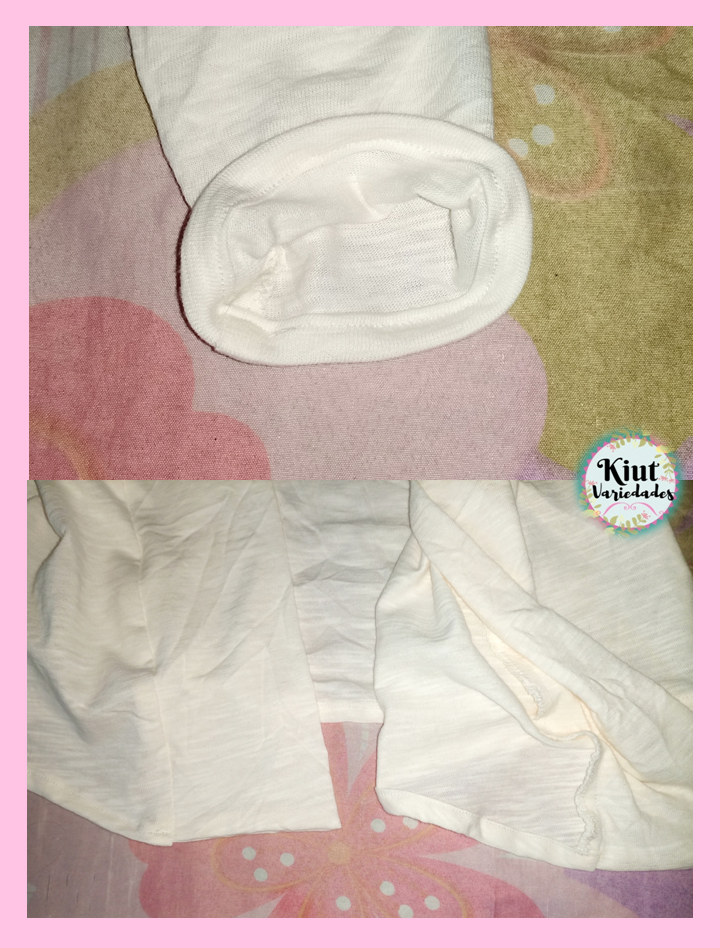
Ahora vamos a coser esta tira a la pieza principal, ubicamos la costura de la tira con el centro de la espalda y nos vamos por todo el borde de los delanteros, en la parte inferior vamos a medir 2cm y hasta ese punto llegara la tira (pieza central), esos 2cm los doblaremos cubriendo el extremo de la tira.
Now we are going to sew this strip to the main piece, we locate the seam of the strip with the center of the back and we go all along the edge of the fronts, at the bottom we will measure 2cm and up to that point will reach the strip (center piece), those 2cm we will fold them covering the end of the strip.
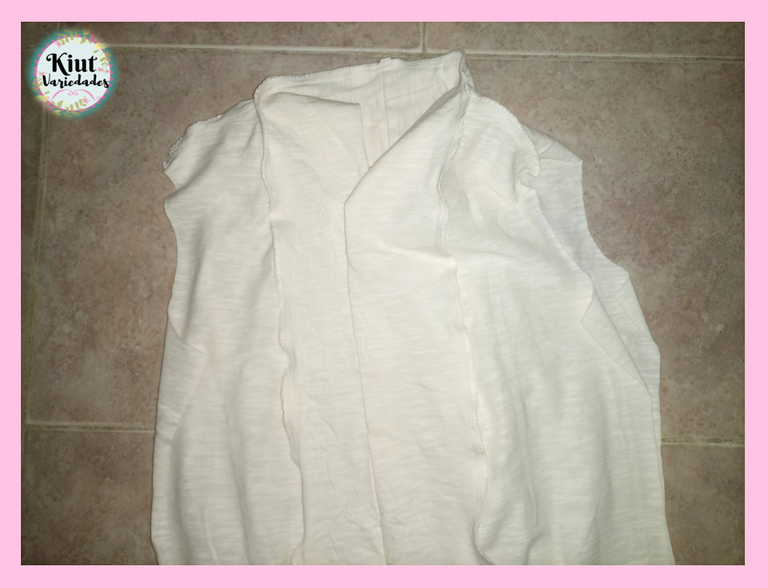
Con esto listo, nos pasaremos a coser las mangas y luego coseremos todo el lateral, asegurándonos de que las costuras de las sisas queden perfectamente alineadas.
With this ready, we will move on to sew the sleeves and then sew the entire side, making sure that the armhole seams are perfectly aligned.
Finalmente haremos el ruedo de los puños, y el ruedo de la parte inferior del cardigan.
Finally, we will make the hem of the cuffs and the hem of the lower part of the cardigan.

Te invitamos igual que siempre a que intentes este proyecto por tu cuenta y nos cuentes en los comentarios 👇 como es tu experiencia.
We invite you as always to try this project on your own and tell us in the comments 👇 as is your experience..


Síguenos en todas nuestras redes sociales… || Follow us on all our social networks ...
Facebook:KiutVariedades
Instagram:@Kiut_variedades
Twitter:@Kiut_variedades
Me gusto cada paso de este importantísimo tutorial. Se vio tú esfuerzo y dedicación.
¿En cuanto tiempo lo terminaste?
¡Muchísimas gracias! Duré exactamente 1 día haciéndolo, contando aquí el tiempo de corte, en el que yo personalmente tardo un bastante, y el tiempo de confección.
Congratulations @kiutvariedades! You have completed the following achievement on the Hive blockchain and have been rewarded with new badge(s) :
Your next target is to reach 25000 upvotes.
You can view your badges on your board and compare yourself to others in the Ranking
If you no longer want to receive notifications, reply to this comment with the word
STOPCheck out the last post from @hivebuzz: