¡Hola queridos usuarios de Hive ✨💕!
Hi dear Hive users ✨💕!
Hi dear Hive users ✨💕!
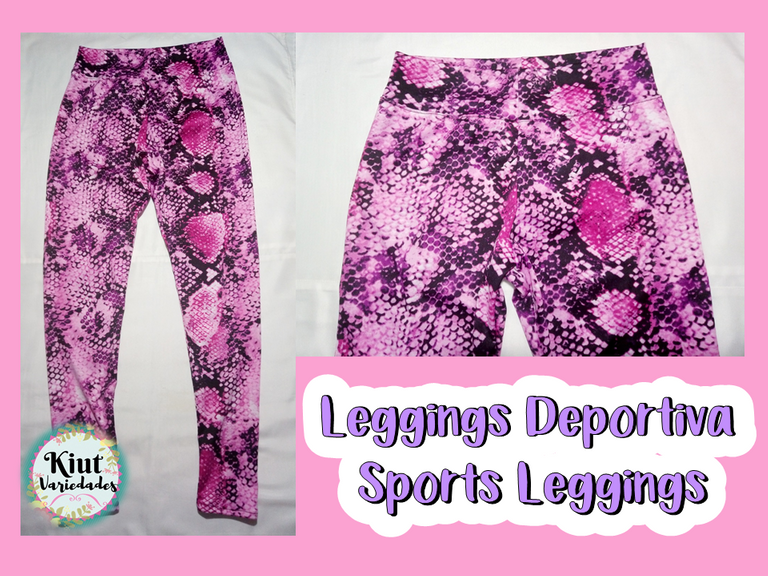
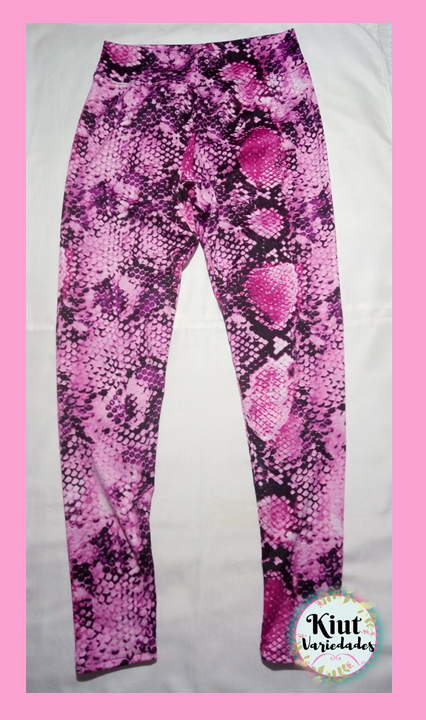
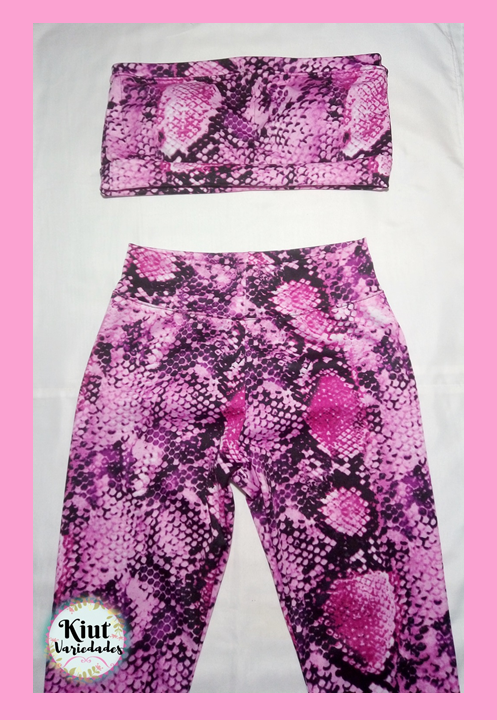
El día de hoy vengo con la segunda y última parte de la confección de este conjunto deportivo, en el post anterior les mostré como realizar un brasier deportivo strapless, y hoy le enseñare a realizar desde cero (o sea desde los patrones) una hermosa licra tipo leggings, es muy fácil de hacer y lleva poco materiales, así que espero les guste y les sea útil el post, y sin más que decir vamos a comenzar.
Today I come with the second and last part of the making of this sport set, in the previous post I showed you how to make a strapless sport bra, and today I'll show you how to make from scratch (that is from the patterns) a beautiful lycra type leggings, it's very easy to make and takes little materials, so I hope you like it and find the post useful, and without more to say we'll start.

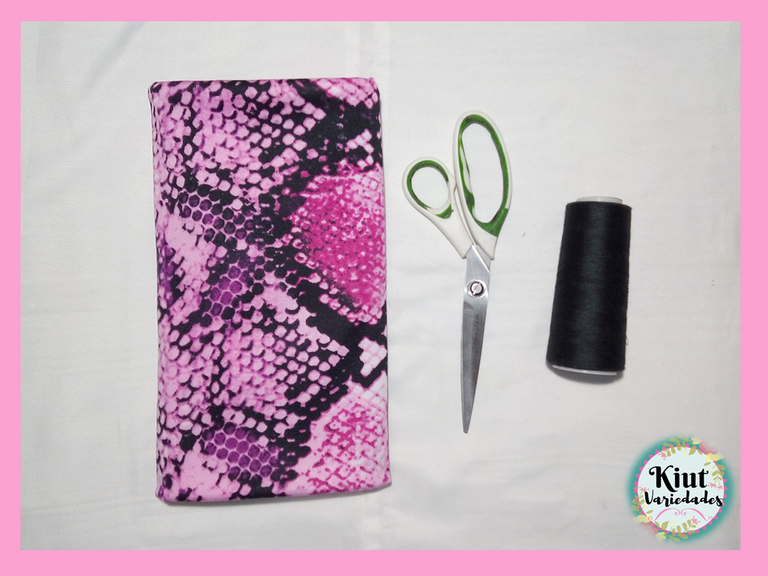
🧵 MATERIALES || MATERIALS 🧵
• Tela elástica (preferiblemente tela de licra).
• Cinta Métrica.
• Tijera e Hilo.
• Máquina de coser.
• Elastic fabric (preferably Lycra fabric).
• Measuring tape.
• Scissors and Thread.
• Sewing machine.
🧵 PATRONES || PATTERN 🧵
Para la realización de este patrón vamos a necesitar las siguientes medidas.
- Contorno de Cintura: que se toma por la parte más delgada de nuestra cintura
- Contorno de Cadera: que se toma por la parte más prominente de nuestra cadera.
- Altura de cadera: que va desde la cintura hasta el sitio donde hemos tomado el contorno de cadera.
- Largo de Tiro: esta medida se puede obtener al dividir en 4 el contorno de cadera, o sentándose en una superficie totalmente plana y midiendo desde la cintura hasta la base en donde estamos sentados.
- Altura de Rodilla: se toma desde la cintura hasta la rodilla.
- Contorno de Rodilla: se obtiene midiendo por la parte mas alta de la rodilla y sin dejar ningún tipo de holgura
- Contorno de Tobillo: se toma por el alrededor del tobillo, nuevamente sin dejar holguras.
- Largo Total: se obtiene midiendo desde la cintura hasta la altura deseada.
A todas las medidas de contorno (cintura, cadera, rodilla y tobillo), le vamos a restar el 17%, aunque este porcentaje puede variar dependiendo de la elasticidad que tenga la tela que estemos utilizando.
For the realization of this pattern we will need the following measures.
- Waist Contour: taken by the thinnest part of our waist
- Hip Contour: taken by the most prominent part of our hip.
- Hip height: that goes from the waist to the place where we have taken the hip contour.
- Length of shot: this measure can be obtained by dividing in 4 the contour of hip, or sitting in a totally flat surface and measuring from the waist up to the base where we are sitting.
- Knee Height: is taken from the waist to the knee.
- Knee Height: is obtained by measuring from the highest part of the knee and without leaving any kind of slack
- Ankle contour: is taken around the ankle, again without leaving any slack.
- Total length: is obtained by measuring from the waist to the desired height.
To all contour measurements (waist, hip, knee and ankle), we will subtract 17%, although this percentage may vary depending on the elasticity of the fabric we are using.
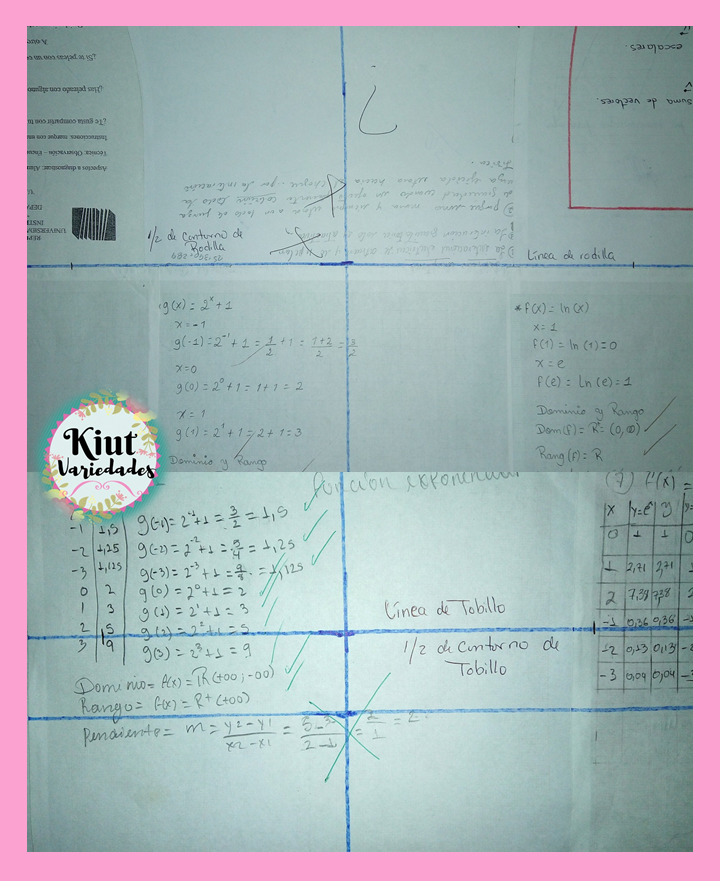
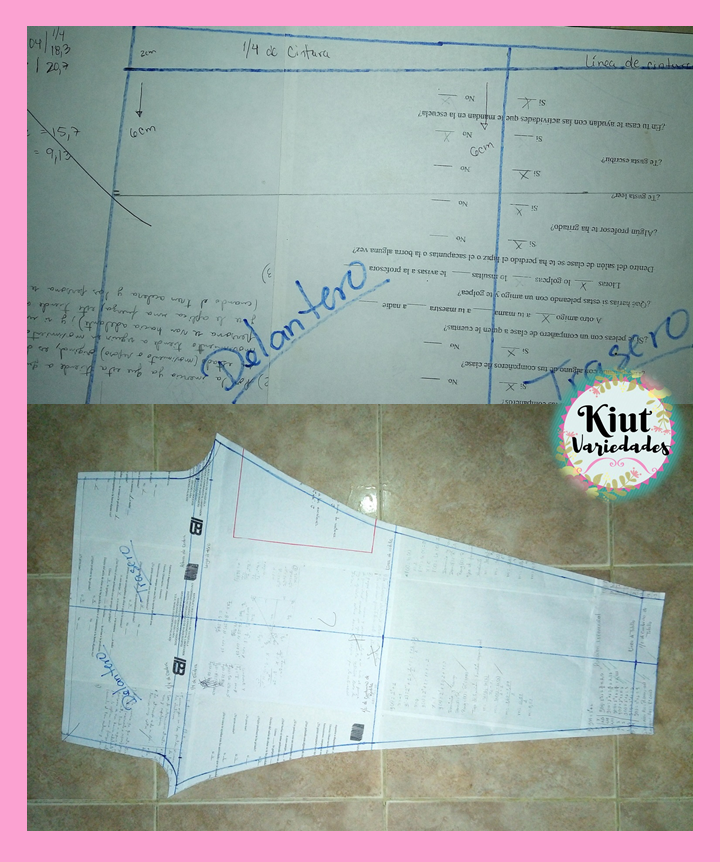
Comenzamos realizando una línea en forma de T en el centro del papel, desde el punto central (que será nuestro punto principal), vamos a medir hacia abajo la altura de cadera y además el largo de tiro, así tendremos nuestra línea de cintura (que será la superior), la línea de cadera y la línea de largo de tiro. De igual forma vamos a medir desde este punto principal el largo de rodilla y el largo total, a este último le podemos añadir de una vez los 3cm de dobladillo.
We begin by making a T-shaped line in the center of the paper, from the center point (which will be our main point), we will measure downwards the hip height and also the length of the shot, so we will have our waist line (which will be the upper one), the hip line and the length of the shot. Similarly we will measure from this main point the knee length and total length, to the latter we can add at once the 3cm of hem.
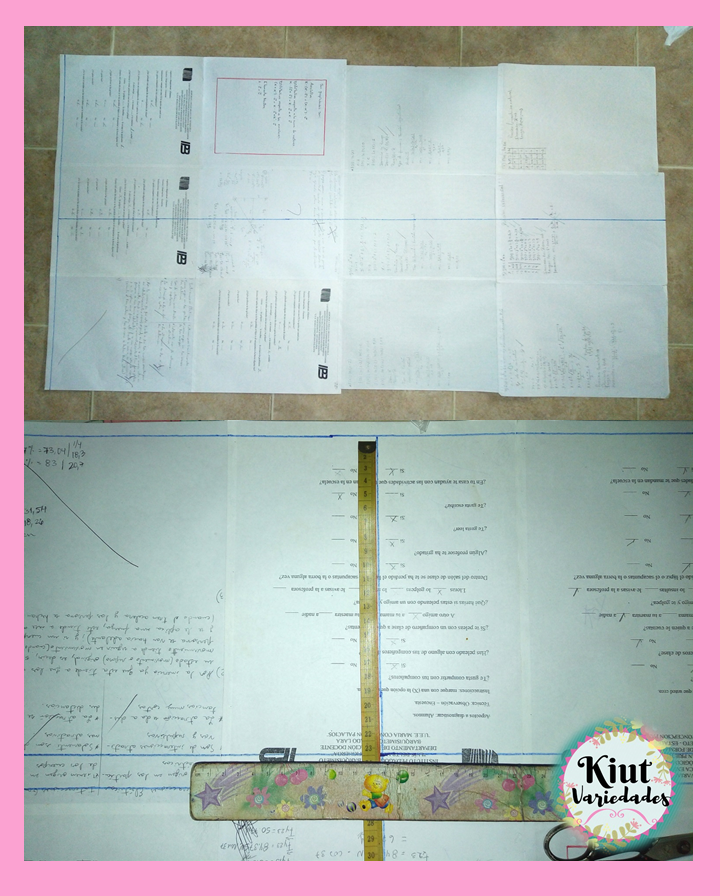
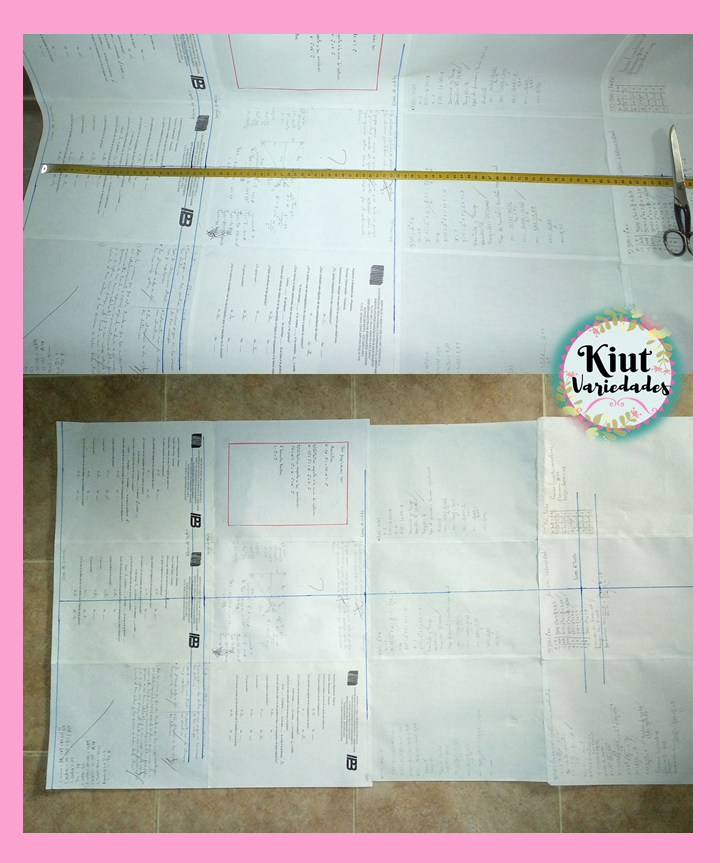
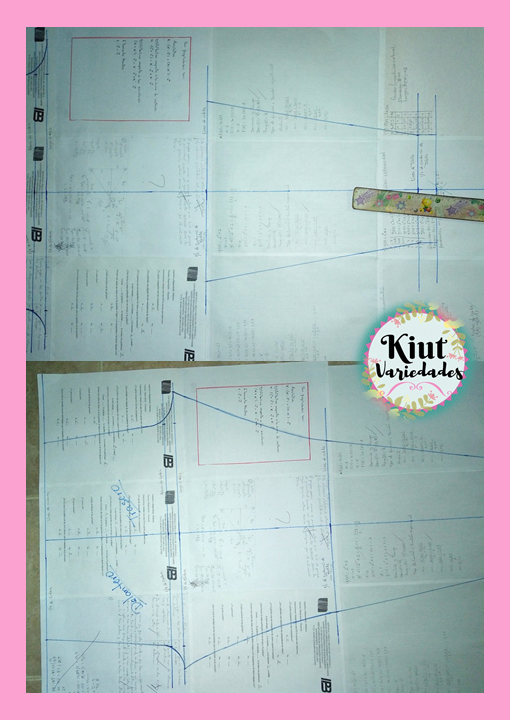
En la línea de la cintura vamos a medir a cada lado de la línea central ¼ del contorno de cintura (recordando que ya debe tener la reducción de 17%), y señalamos el lado delantero y el lado trasero. En la línea de la cadera y en la línea de tiro vamos a medir (a cada lado de la línea central) ¼ del contorno de cadera.
On the waist line we are going to measure on each side of the center line ¼ of the waist outline (remembering that it should already have the 17% reduction), and we point out the front side and the back side. In the hip line and the line of shot we will measure (on each side of the center line) ¼ of the hip contour.
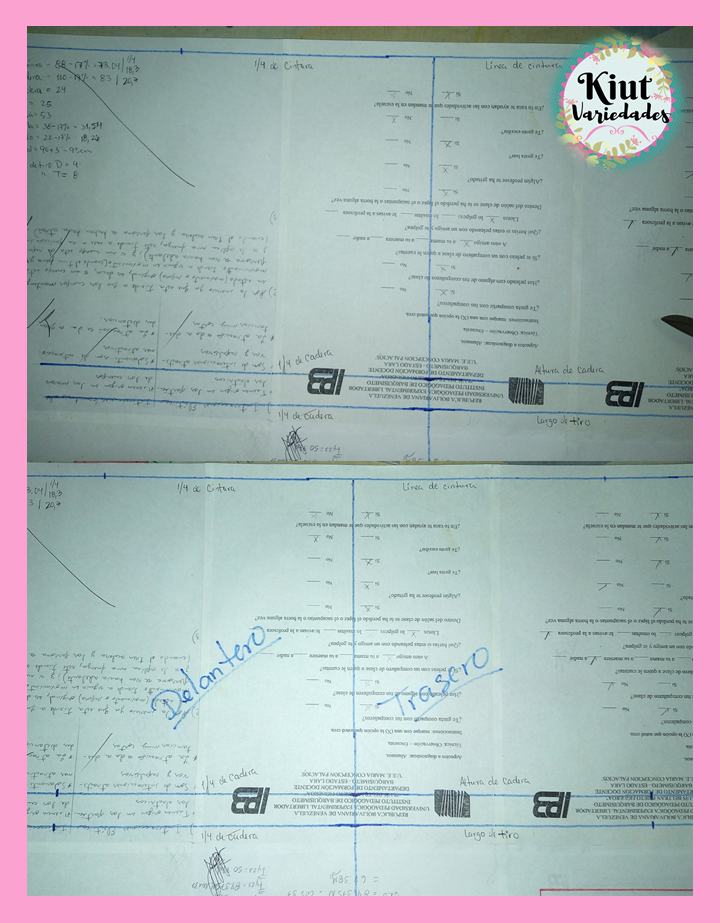
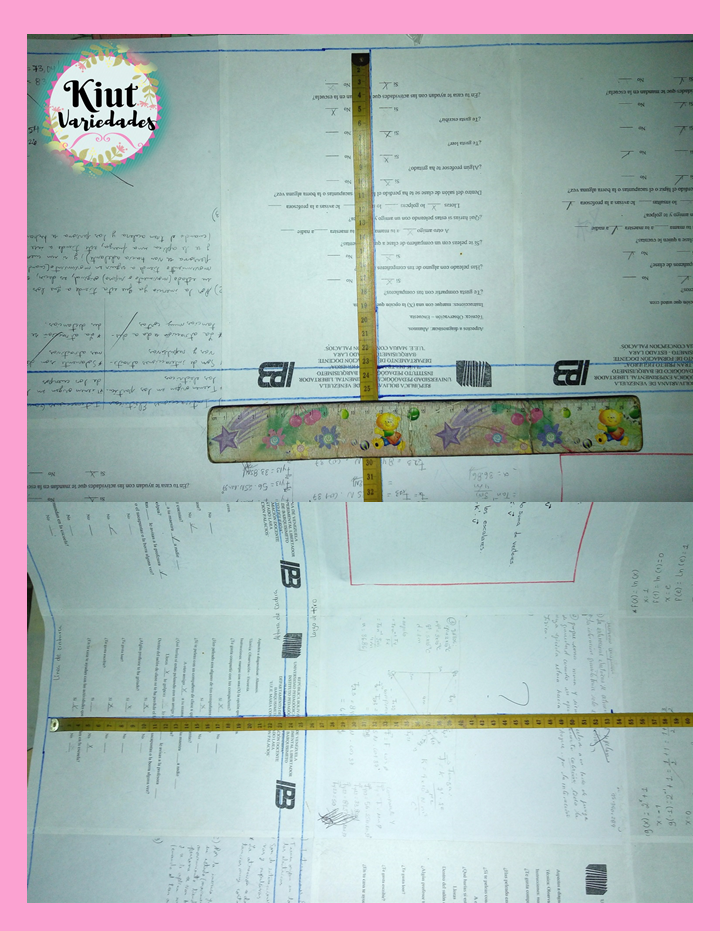
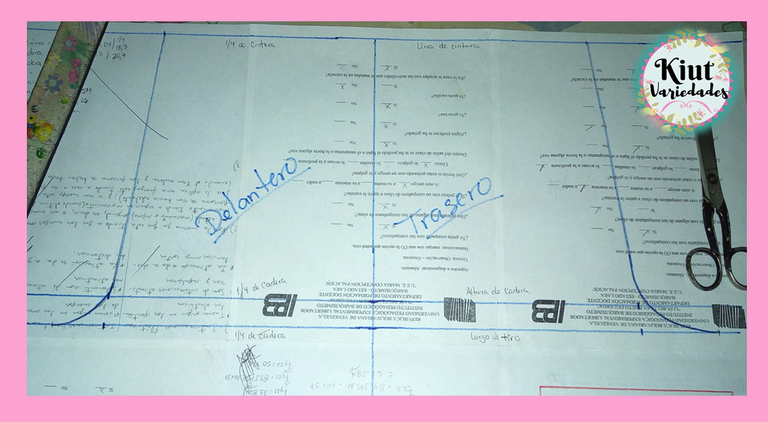
En la línea de tiro, desde la marca que realizamos en el paso anterior (1/4 de contorno de cadera) hacia afuera vamos a medir el avance o altura trasero (para la parte trasera) y en el delantero haremos lo mismo. Esta medida para la talla S es 3cm en el delantero y 6cm en el trasero, en la talla M es 4cm en el delantero y 8cm en el trasero, y en la talla G es 5cm en al delantero y 9cm en el trasero. Luego formamos las curvas del tiro.
In the line of fire, from the mark we made in the previous step (1/4 of hip contour) outwards we will measure the advance or rear height (for the rear) and in the front we will do the same. This measure for size S is 3cm in the front and 6cm in the rear, in size M is 4cm in the front and 8cm in the rear, and in size G is 5cm in the front and 9cm in the rear. Then we form the curves of the shot.
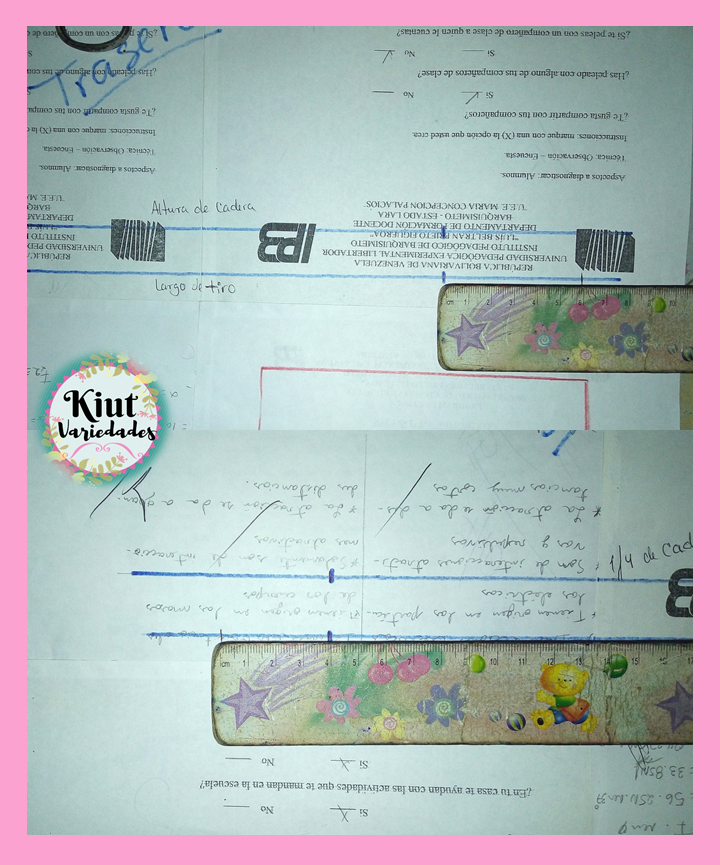
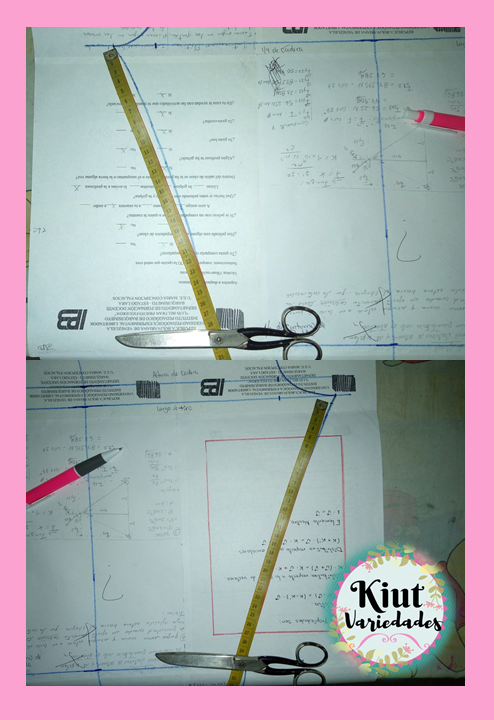
En la rodilla vamos a medir a cada lado de línea, la mitad del contorno de rodilla y lo mismo haremos en el tobillo. Uniremos estos puntos con líneas rectas, y con curva suave uniremos los tiros con la rodilla.
In knee we will measure on each side of the line, half the contour of the knee and the same will be done in the ankle. We will join these points with straight lines, and with soft curve we will join the shots with the knee.
Medimos cuanto hay desde el tiro delantero hasta la rodilla, y trasladamos esa medida al tiro trasero, de esta forma ambas partes medirán lo mismo.
We measure how much there is from the front shot to the knee, and we transfer that measurement to the rear shot, this way both parties will measure the same.
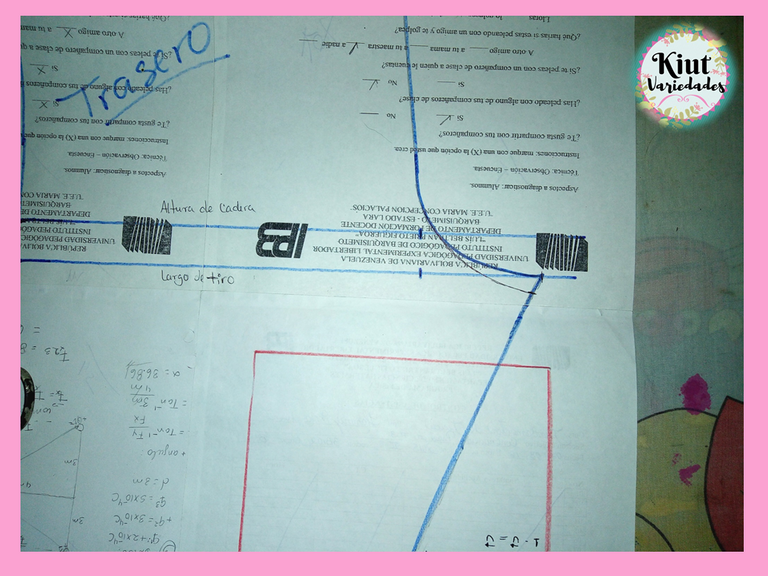
En la cintura delantera bajaremos 2cm, y uniremos este punto con la cintura trasera en una línea diagonal. Luego desde esta nueva línea bajaremos 6cm que serán los que luego aumentaremos con la pretina. Añadimos el margen de costura correspondiente.
At the front waist we will go down 2cm, and join this point with the back waist in a diagonal line. Then from this new line we will go down 6cm which will be the ones we will increase with the waistband. Add the corresponding seam margin.

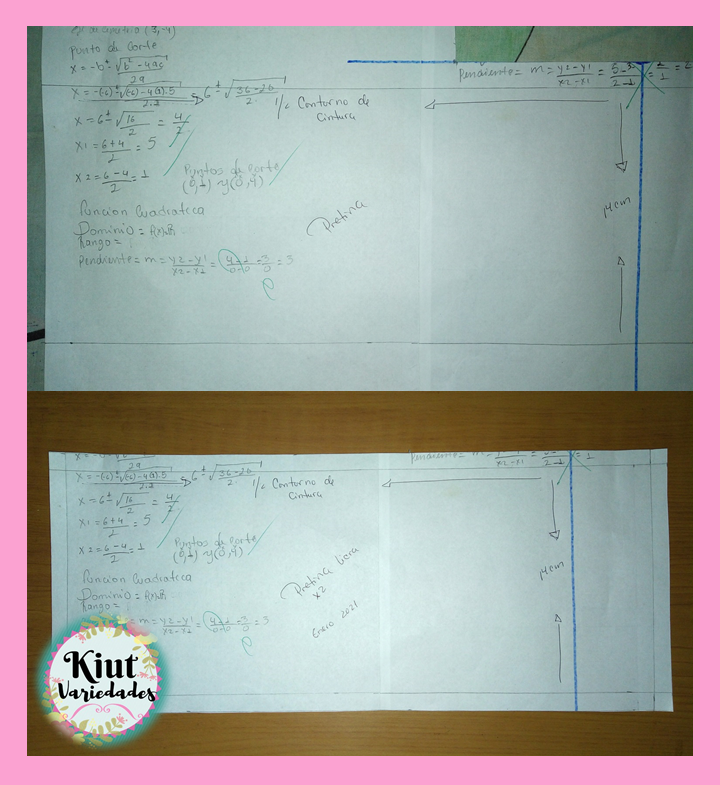
Aparte haremos un rectángulo que tenga de ancho 14cm y de largo la mitad del contorno de cintura – 6cm, y le añadimos los márgenes de costura necesarios. Esta pieza será la pretina.
We will make a rectangle 14cm wide and half the length of the contour of the waist - 6cm, and we will add the necessary sewing margins. This piece will be the waistband.
🧵 CONFECCIÓN DE LA LEGGINS || MAKING OF THE LEGGINS 🧵
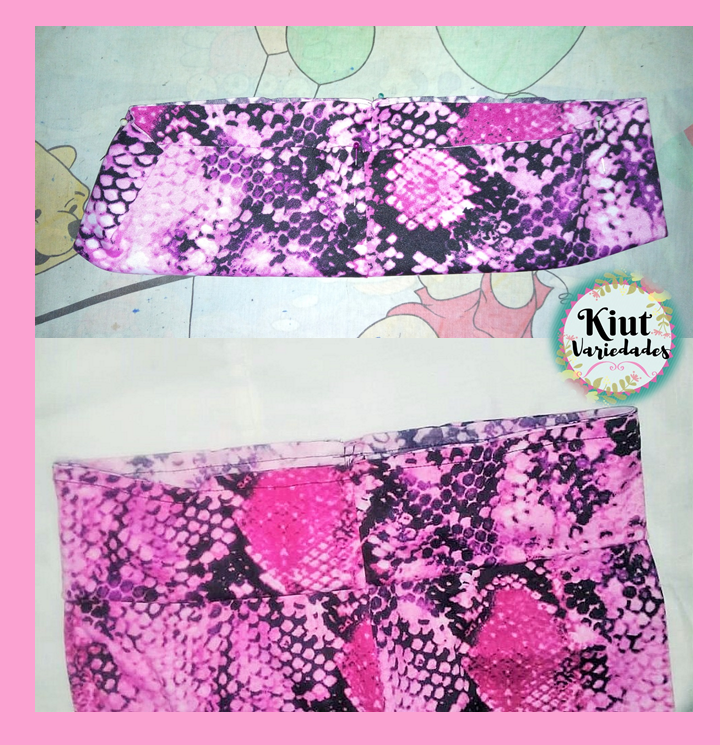
Cortamos dos piezas del patrón principal y dos piezas de la pretina. Comenzamos uniendo los tiros de la prenda, y posteriormente cosemos el entrepierna asegurándonos de que la costura del tiro coincida perfectamente.
We cut two pieces from the main pattern and two pieces from the waistband. We start by joining the shots of the garment, and then we sew the crotch making sure that the seam of the shot matches perfectly.
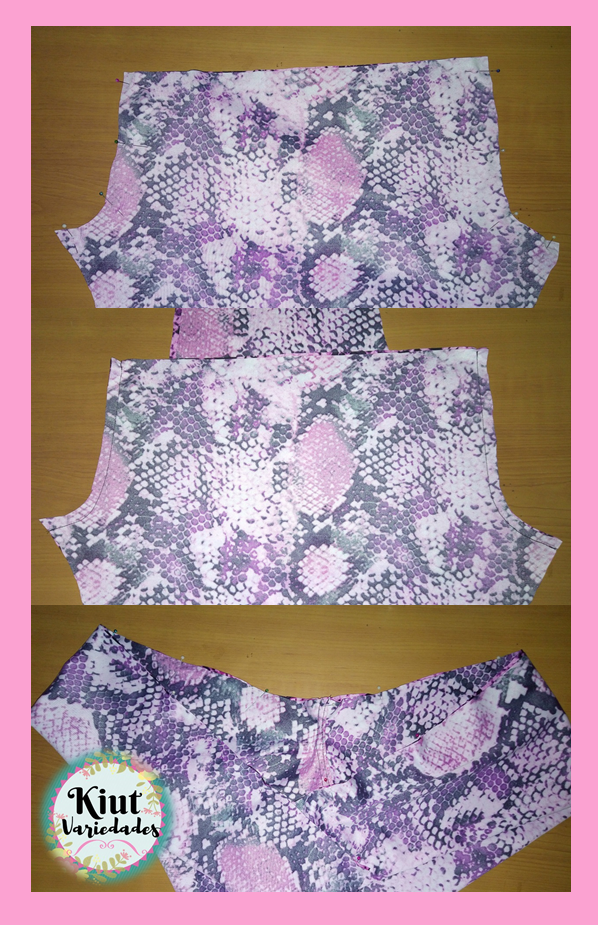

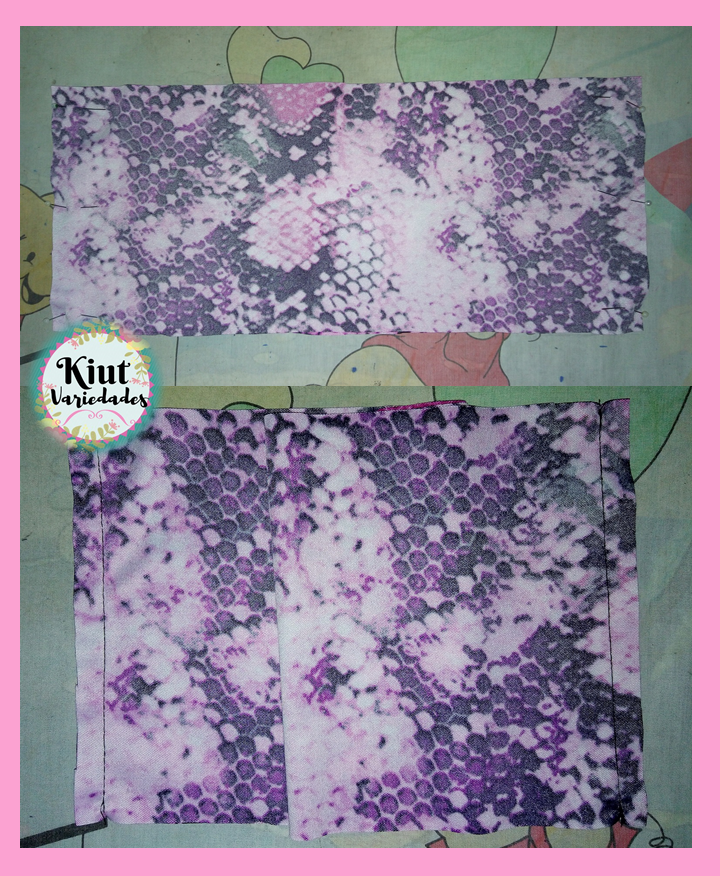
Enfrentamos el derecho de las dos piezas de la pretina y cosemos ambos extremos, volteamos y doblamos por la mitad para luego unirla a la pieza principal, nuevamente nos aseguramos que la costura central coincida perfectamente bien, y debemos recordar ir estirando las telas a medida que cosemos. Si es de nuestro agrado después podemos hacer una costura de asentamiento.
We face the right side of the two pieces of waistband and sew both ends, turn and fold in half and then join it to the main piece, again making sure that the central seam matches perfectly, and remembering to stretch the fabrics as we sew. If we like it, then we can make a settlement seam.
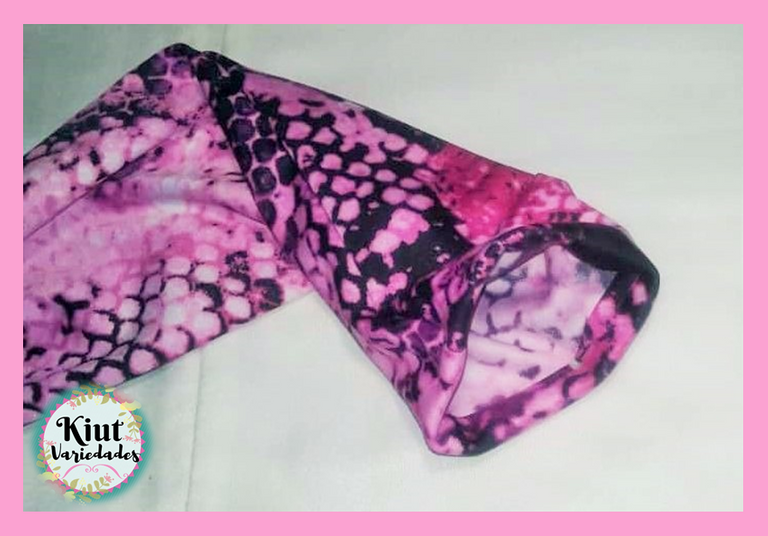
Finalmente hacemos el ruedo en ambas piernas, aquí también debemos estirar un poco la tela, pues recordemos que esta es una prenda que va muy ajustada al cuerpo, y para garantizar que el talón del pie pase sin contratiempos la tela debe ser capaz de estirar sin que el hilo se rompa.
Finally we make the roll in both legs, here we must also stretch the fabric a little, because remember that this is a garment that is very tight to the body, and to ensure that the heel of the foot passes smoothly the fabric must be able to stretch without the thread breaking.
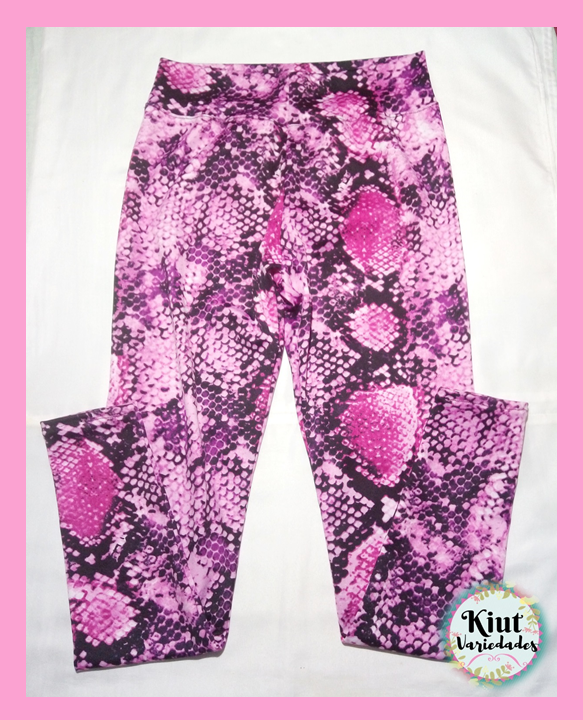
Te invitamos igual que siempre a que intentes este proyecto por tu cuenta y nos cuentes en los comentarios 👇 como es tu experiencia.
We invite you as always to try this project on your own and tell us in the comments 👇 as is your experience..

Síguenos en todas nuestras redes sociales… || Follow us on all our social networks ...
Facebook:KiutVariedades
Instagram:@Kiut_variedades
Twitter:@Kiut_variedades
Me encanta, felicidades :D hermosa publicacion y lo que hiciste esta genial <3
Muchísimas gracias, de verdad me contenta mucho que te haya gustado 💕.