Saludos amigos de #hive, Mi proyecto de hoy es ideal para decorar nuestras fiestas infantiles y dar como obsequios a nuestras pequeñas invitadas. Te invito a seguir este paso a paso de Cómo elaborar un linda cesta para dulces.
Greetings #hive friends, My project today is ideal to decorate our children's parties and give as gifts to our little guests. I invite you to follow this step by step of How to make a cute basket for sweets.
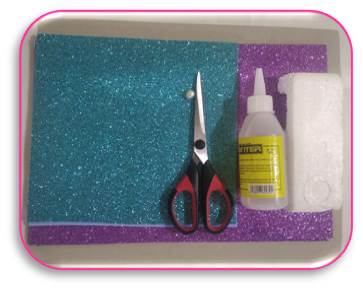
Materiales:
- Foami: morado, azul turqueza y blanco
- Cartón
- Silicón frío
- Tijeras
Materials:
- Foami: purple, turquoise blue and white
- Paperboard
- Cold sylicon
- Pair of scissors
Paso a paso:
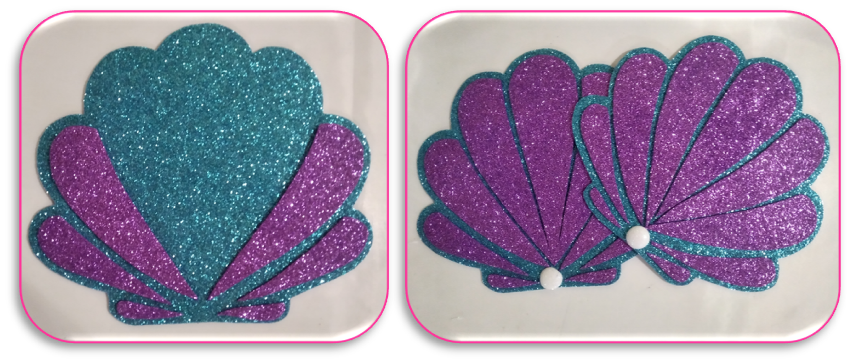
Dibujamos y recortamos en el foami azul dos patrones con forma de ostra. En el foami morado recortamos figuras con forma de pétalos de diferentes tamaños.
Step by Step:
We draw and cut two oyster-shaped patterns on the blue foami. In the purple foami we cut out shapes in the shape of petals of different sizes.
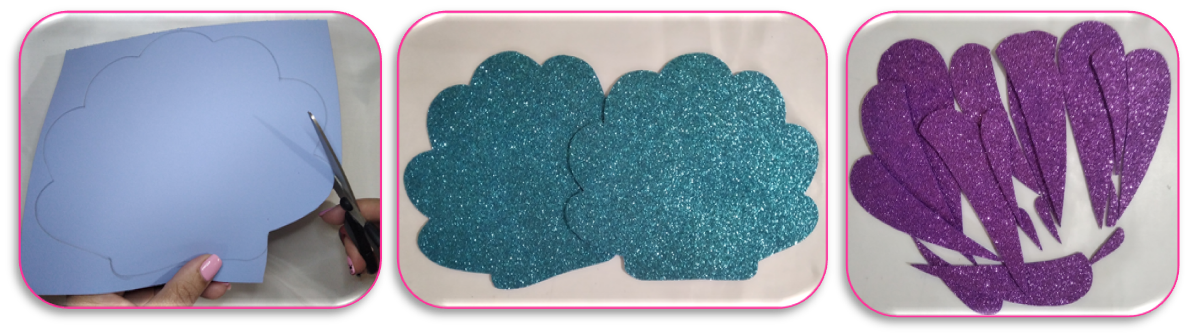
Luego vamos pegando cada pétalo morado en el foami azul, para ir dándole forma a la figura de la ostra. Con el foami blanco cortamos dos pequeños circulos y los calentamos con la plancha de manera que quede en relieve y simule la perla en la ostra.
Then we are gluing each purple petal on the blue foami, to give shape to the figure of the oyster. With the white foami we cut two small circles and heat them with the iron so that it is in relief and simulates the pearl in the oyster.
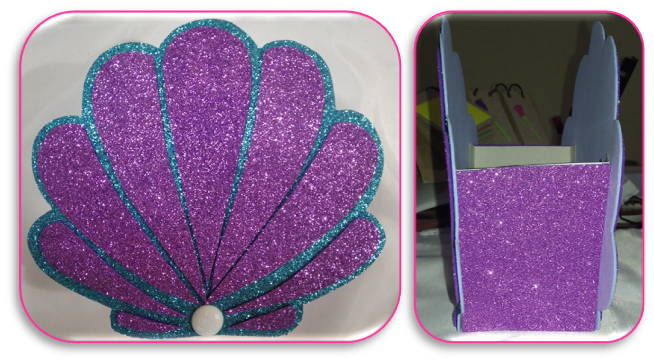
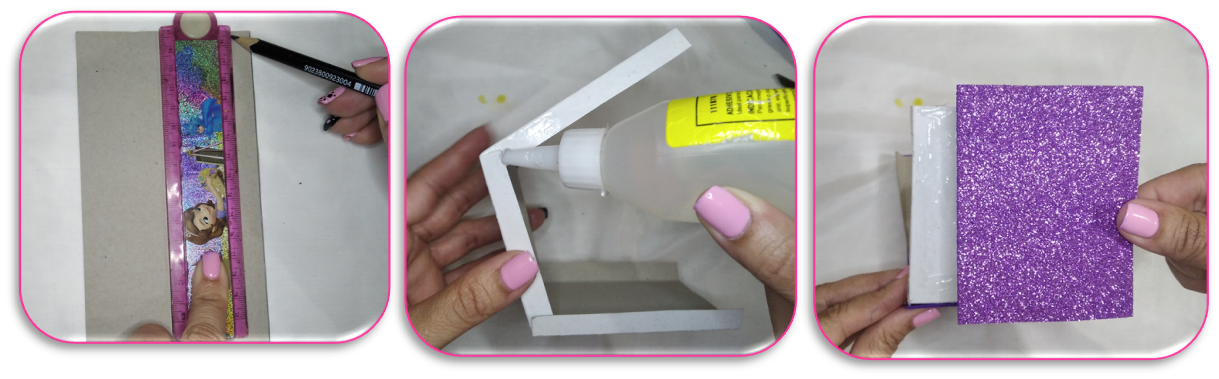
Recortamos una tira de cartón de 20 cm de largo y 10 cm de ancho. Doblamos 1 cm de cada lado y doblamos el cartón en 3 partes, haciendo pequeñas abertura en la parte inferior para luego pegarlas con el silicón y den la forma de cesta. Luego lo forramos con el foami morado.
We cut out a strip of cardboard 20 cm long and 10 cm wide. Fold 1 cm on each side and fold the cardboard into 3 parts, making small openings at the bottom and then stick them with the silicone and give the shape of a basket. Then we cover it with the purple foami.
Por último pegamos en la cesta de cartón en cada lado las figuras de las ostras ya elaboradas.
Finally, we stick the already prepared oyster figures on each side of the cardboard basket.
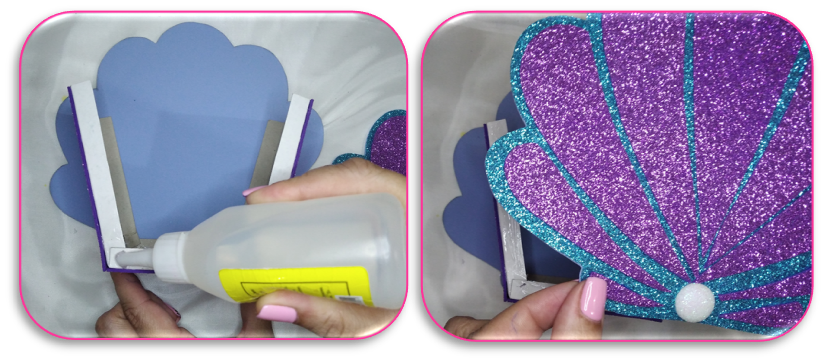
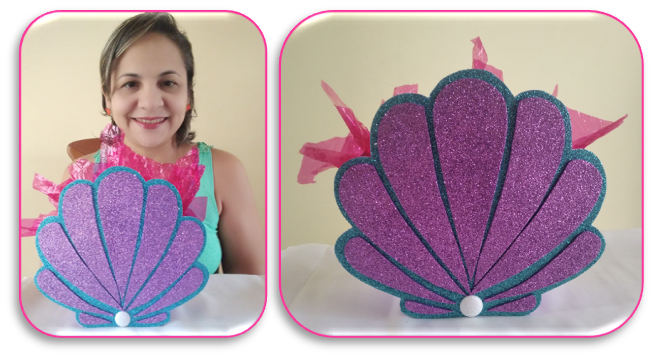
Y de esta manera fácil, rápida y sencilla tenemos lista nuestra cesta para rellenarla de dulces.
And in this easy, fast and simple way we have our basket ready to fill it with sweets.