Hello friends, happy afternoon
En este lindo domingo les traigo un tutorial para hacer un conejo con tubos de cartón y otros materiales, siendo esta mi participación en el Reciclaje Creativo Challlenge #5, iniciativa propuesta por la compañera @jennyzer con el fin de que los participantes realicen manualidades hechas con materiales de reciclaje y a su vez hacer conciencia sobre este tema.
Para mi participación tenía muchísimas ideas en mente pero finalmente me decidí por esta que les presento hoy, es muy fácil de elaborar y los materiales son muy sencillos de conseguir. Ya que se trata de reciclaje utilicé retazos de materiales que tenía guardados a la espera de utilizarlos en cualquier oportunidad que los necesitara y ese momento llegó hoy.
On this beautiful Sunday I bring you a tutorial to make a rabbit with cardboard tubes and other materials, this being my participation in the Creative Recycling Challlenge # 5), initiative proposed by colleague @jennyzer in order for participants to make crafts made with recycling materials and in turn raise awareness about this issue.
For my participation I had many ideas in mind but finally I decided on this one that I present to you today, it is very easy to develop and the materials are very easy to get. Since it is about recycling, I used scraps of materials that I had saved waiting to use them at any time that I needed them and that moment arrived today.
Materiales:
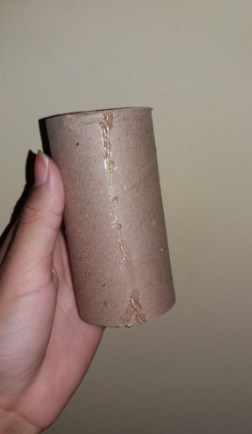
•2 Tubos de cartón.
•Cartulina azul.
•Cartulina negra.
•Foami blanco escarchado.
•Tijeras.
•Lápiz.
•Regla.
•Silicon.
•Pistola de silicon.
•Sacabocados.
Materials:
• 2 cardboard tubes.
• Blue cardboard.
• Black cardboard.
• Frosty white foam.
•Scissors.
•Pencil.
•Rule.
• Silicon.
•Silicone gun.
•Punch.
Procedimiento/Process
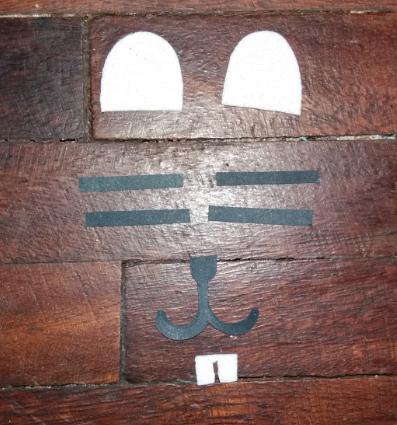
◉PASO 1. Hacer los ojos y dientes del conejo en foami blanco escarchado, y la nariz y bigotes en cartulina negra, acá te dejo una foto por si deseas hacerlo.
◉ STEP 1. Make the rabbit's eyes and teeth in frosted white foam, and the nose and whiskers in black cardboard, here is a photo if you want to do it.
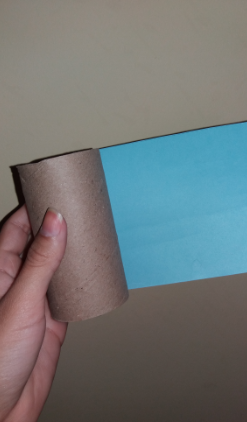
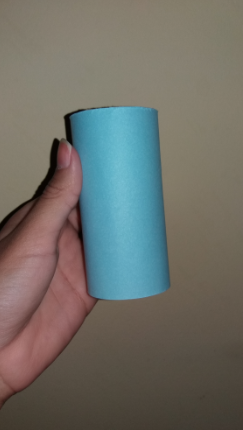
◉PASO 2. Forrar uno de los tubos de cartón con la cartulina azul utilizando el silicon. Para esto debes medir cuanta cartulina se necesita para forrar el tubo para que no te queden sobrante de cartulina.
◉ STEP 2. Line one of the cardboard tubes with the blue cardboard using the silicone. For this you must measure how much cardboard is needed to line the tube so that you do not have excess cardboard.
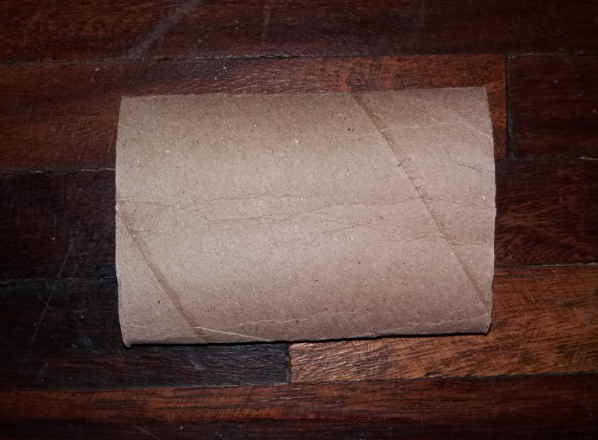
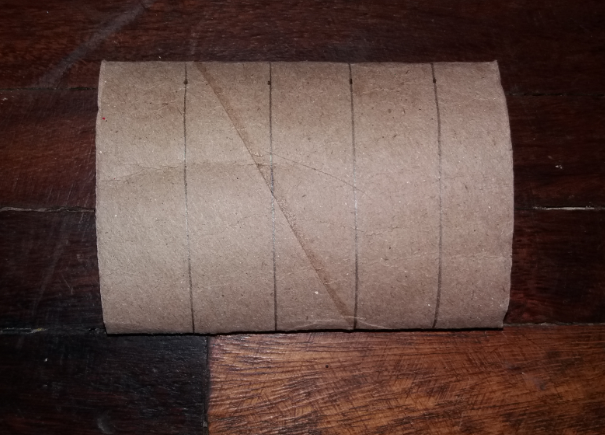
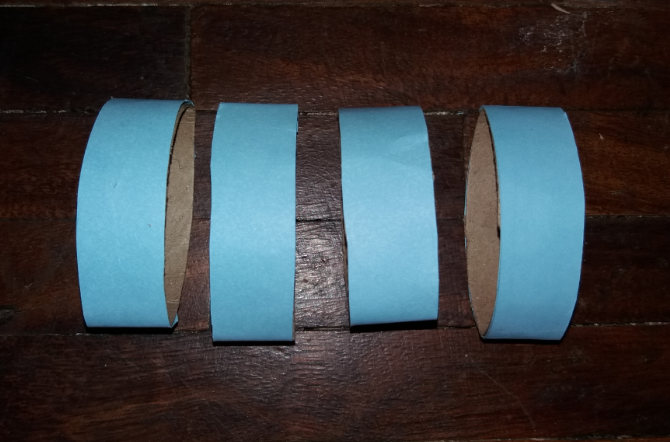
◉PASO 3. El otro tubo de cartón lo aplanamos y hacemos cuatro divisiones de 2cm cada una y recortamos.
◉ STEP 3. We flatten the other cardboard tube and make four divisions of 2cm each and cut.
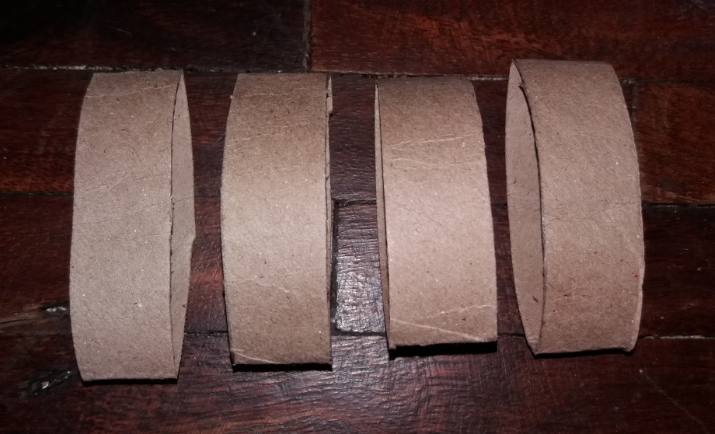
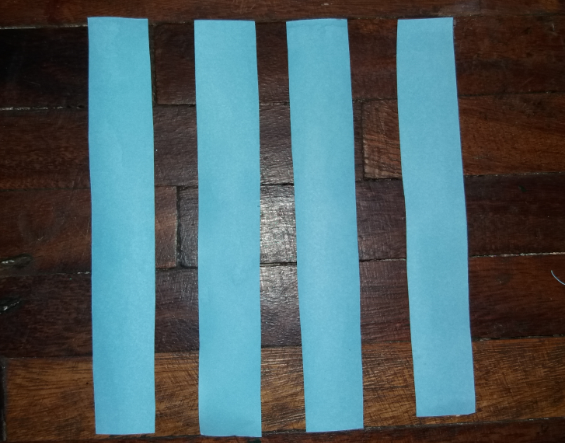
◉PASO 4. Medimos los 4 trozos de cartón que recortamos y en base a esas medidas recortamos 4 tiras de cartulina azul y forramos cada uno.
◉ STEP 4. We measure the 4 pieces of cardboard that we cut out and based on those measurements we cut out 4 strips of blue cardboard and cover each one.
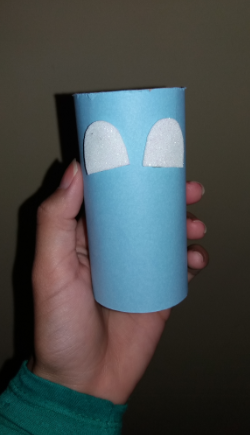
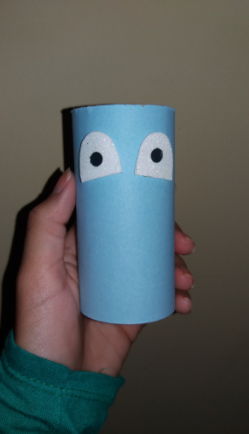
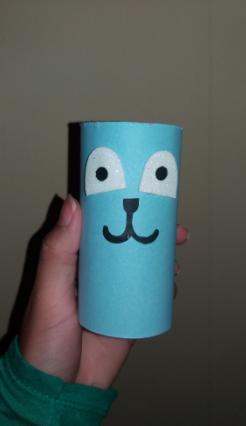
◉PASO 5. Comenzamos a formar el rostro del conejo pegando los ojos que hicimos anteriormente sobre el tubo de cartón forrado. Con el sacabocados hacemos dos círculos de cartulina negra y las pegamos en el centro de los ojos.
◉STEP 5. We begin to form the face of the rabbit by gluing the eyes that we made previously on the lined cardboard tube. With the punch we make two circles of black cardboard and stick them in the center of the eyes.
◉PASO 6. Ahora pegamos la nariz y sonrisa debajo de los ojos justo en el centro.
◉ STEP 6. Now we glue the nose and smile under the eyes right in the center.
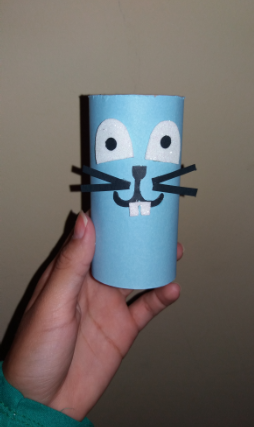
◉PASO 7. Pegamos los dientes debajo de la sonrisa.
◉ STEP 7. We glue the teeth under the smile.

◉PASO 8. Pegamos los bigotes a los lados de la nariz, 2 tiras de cada lado.
◉ STEP 8. We glue the whiskers to the sides of the nose, 2 strips on each side
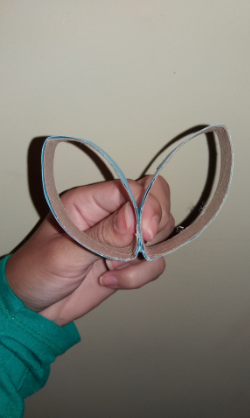
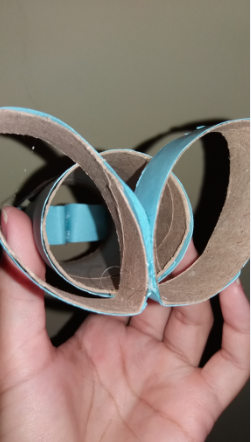
◉PASO 9. Tomamos 2 de las tiras del tubo de cartón y las unimos de la siguiente forma:
◉ STEP 9. We take 2 of the strips from the cardboard tube and join them as follows:
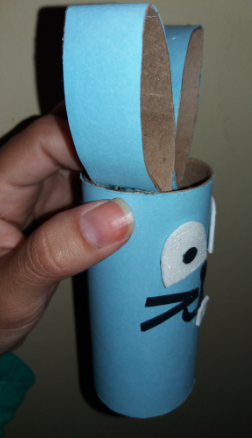
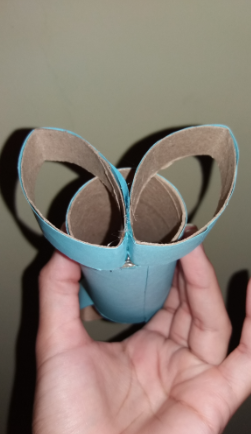
◉PASO 10. Una vez unidas las 2 tiras las pegamos por la parte interna superior del tubo de cartón y esas serán las orejas del conejo.
◉ STEP 10. Once the 2 strips are joined, we glue them on the upper internal part of the cardboard tube and these will be the rabbit's ears.
◉PASO 11. Tomamos las otras tiras de cartón y las unimos como las anteriores y las pegamos debajo del tubo de cartón y esos serán los pies del conejo.
◉ STEP 11. We take the other cardboard strips and join them like the previous ones and glue them under the cardboard tube and those will be the rabbit's feet.
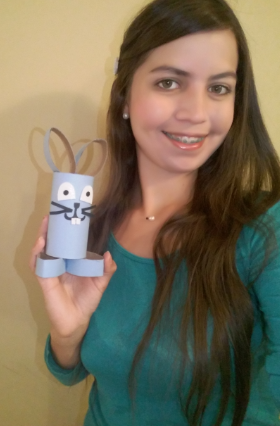
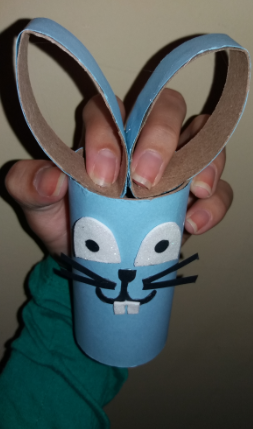
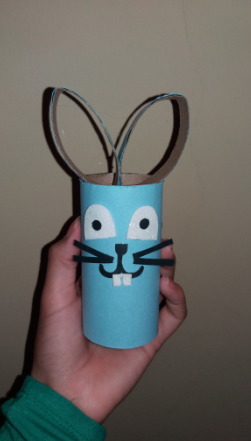
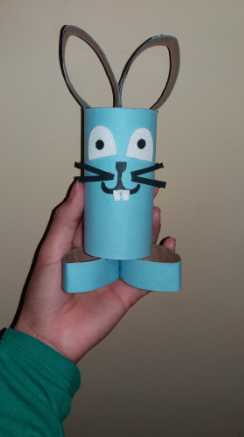
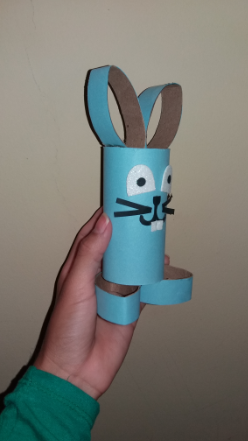
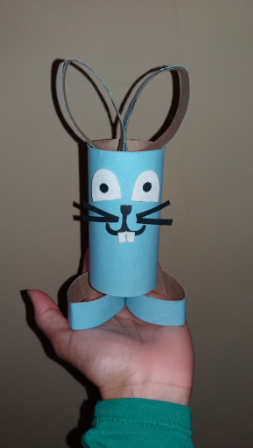
Finalmente tenemos nuestro conejo listo 🐰
We finally have our rabbit ready 🐰
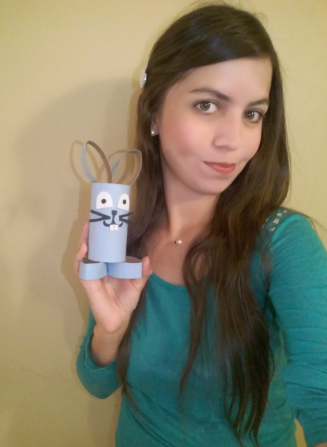
El proceso es muy fácil y es una actividad perfecta para llevar a cabo con los niños sirviendo como entretenimiento y a la vez enseñarles la importancia de reciclar y todas las cosas que pueden elaborar con simples materiales utilizando nuestra creatividad e imaginación. En lugar de cartulina también puedes utilizar pintura o tempera y puedes cambiar o agregar los detalles que desees. Espero que les haya gustado este tutorial y les pueda servir como idea para elaborar manualidades con tubos de cartón.
The process is very easy and it is a perfect activity to carry out with children serving as entertainment and at the same time teaching them the importance of recycling and all the things that they can make with simple materials using our creativity and imagination. Instead of cardboard you can also usear paint or tempera and you can change or add the details you want. I hope you liked this tutorial and it can serve as an idea for making crafts with cardboard tubes.
Todas las fotografías son de mi propiedad.
Nos vemos en mi próxima publicación.
Tengan un feliz día.
All photographs are my property.
See you in my next post.
Have a happy day.
Te quedó muy lindo ese conejito.
@safiro gracias 🙂
muy lindo y creativo
@lisbethseijas hola amiga muchas gracias 💞
Hello dearest friend @mariajcastro28, I was delighted to see your creativity. You have finally prepared a beautiful design from scrap materials. Children are especially fond of such creations, and if they can be used for such activities, they will be able to increase their creativity. By enhancing their imagination by doing a few such designs, they can create a variety of recycling. Many people today throw away a lot of things and do not expect to take advantage of them again. You have provided a very good example in that regard.
hello @madushanka thank you very much for reading my post. I'm very glad you liked my recycling work, it's certainly a good way to put our creativity to the test 🙂
Que hermosa creación lo más importante es que reciclaste. Gracias por participar.
@jennyzer gracias a ti por invitarme a participar. Ya quiero hacerlo de nuevo