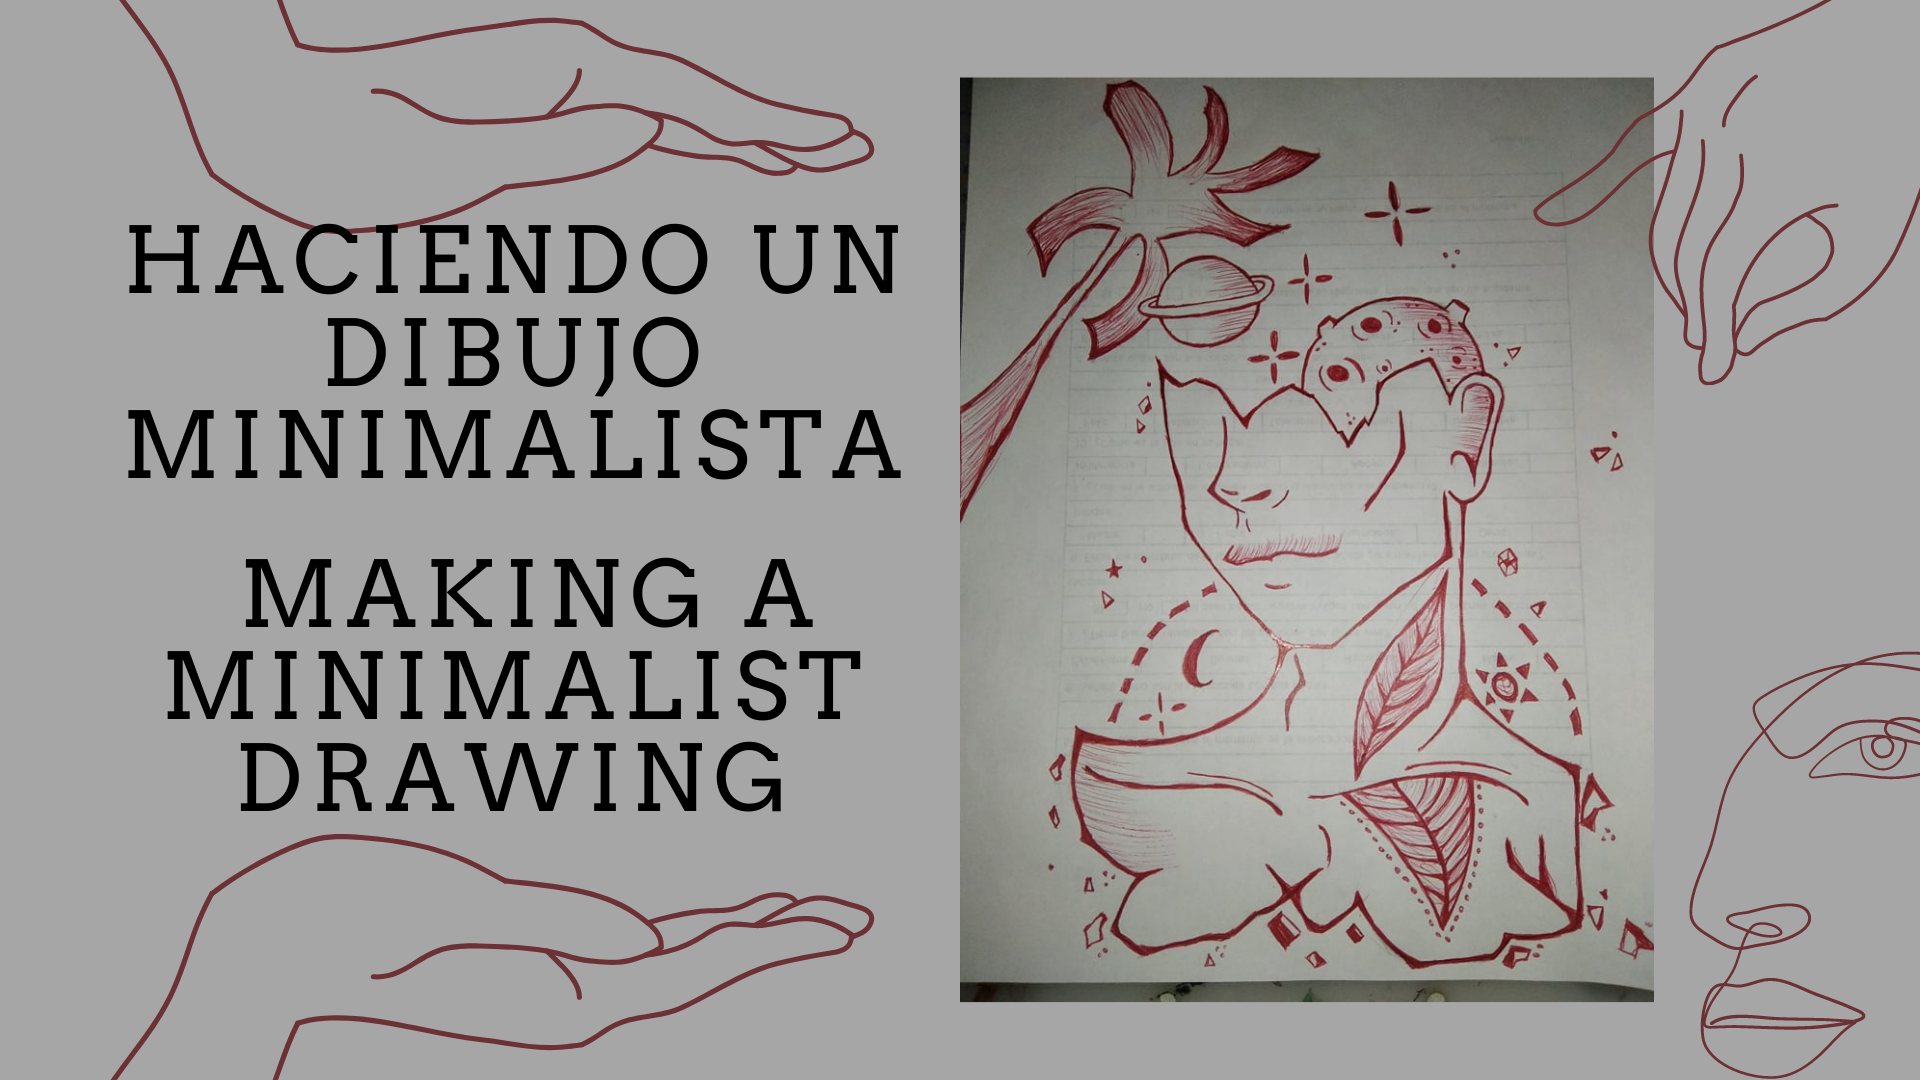
Hola gente bonita de hive, El día de hoy les quiero compartir cómo hice este bonito dibujo minimalista muy fácil de hacer, no soy una experta pero me gusto mucho el resultado así que esper que ha ustedes tambien les guste, sin más que decir, comencemos!!
Hello beautiful people of hive, Today I want to share with you how I made this beautiful minimalist drawing very easy to do, I'm not an expert but I really liked the result so I hope you like it too, without more to say, let's start!
| Materiales | Materials |
|---|---|
| Lápiz | Pencil |
| Hoja de papel | Sheet of paper |
| Lapicero rojo | Red pencil |
| Borrador | Draft |
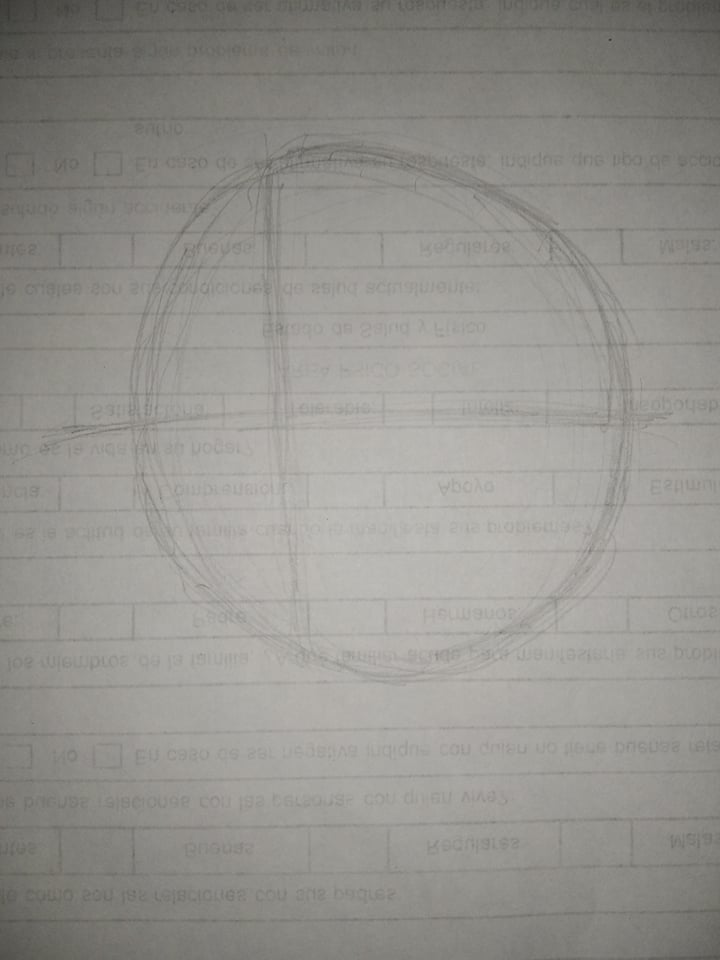
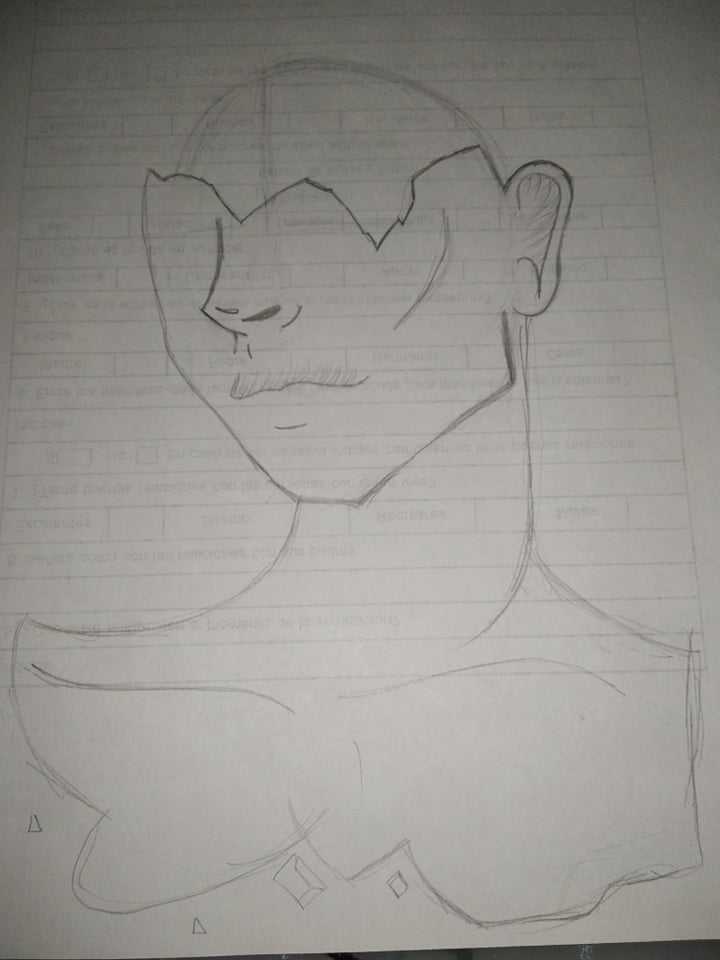
- Paso 1:
Comence haciendo un circulo y dividi el circulo haciendole una cruz en el centro.
- Step 1:
I started by making a circle and divided the circle by making a cross in the center of it.
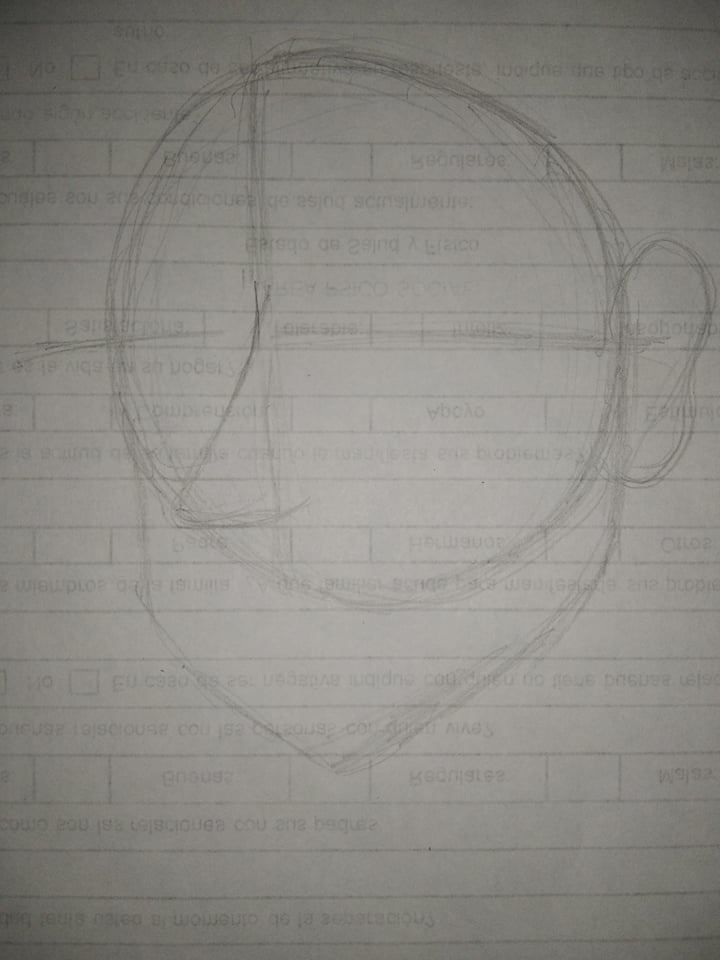
- Paso 2:
Segui haciendo las faciones del rostro, la nariz y las orejas.
- Step 2:
Continue making the face, nose and ears.
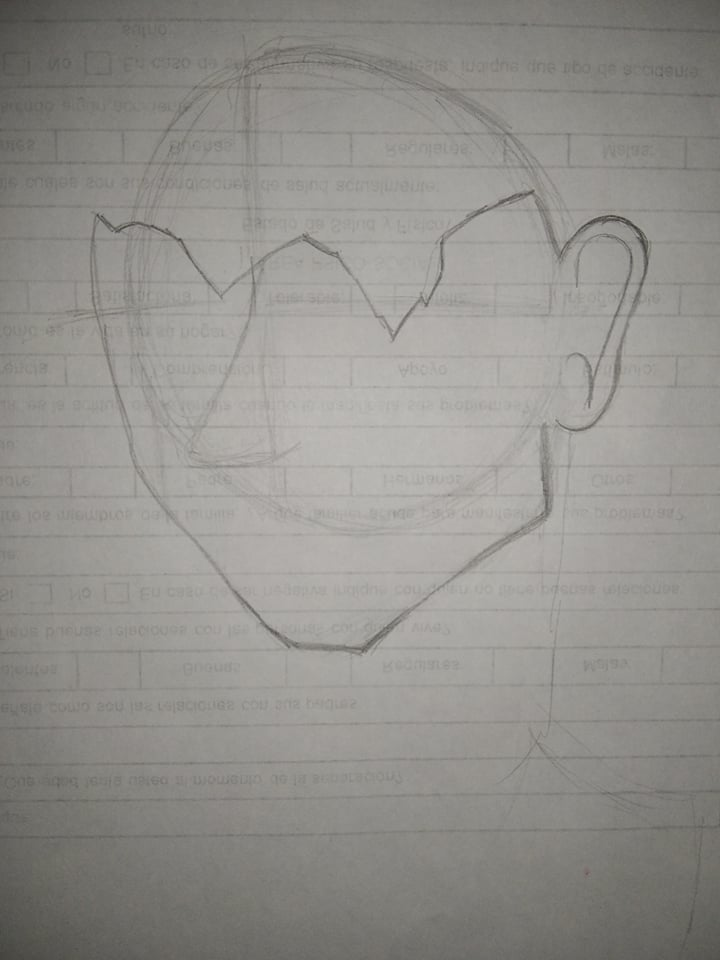
- Paso 3:
Perfeccione el rostro y le agregue unos cuantos detalles.
- Step 3:
I perfected the face and added a few details.
- Paso 4:
Hice la nariz y la boca.
- Step 4:
I made the nose and mouth.

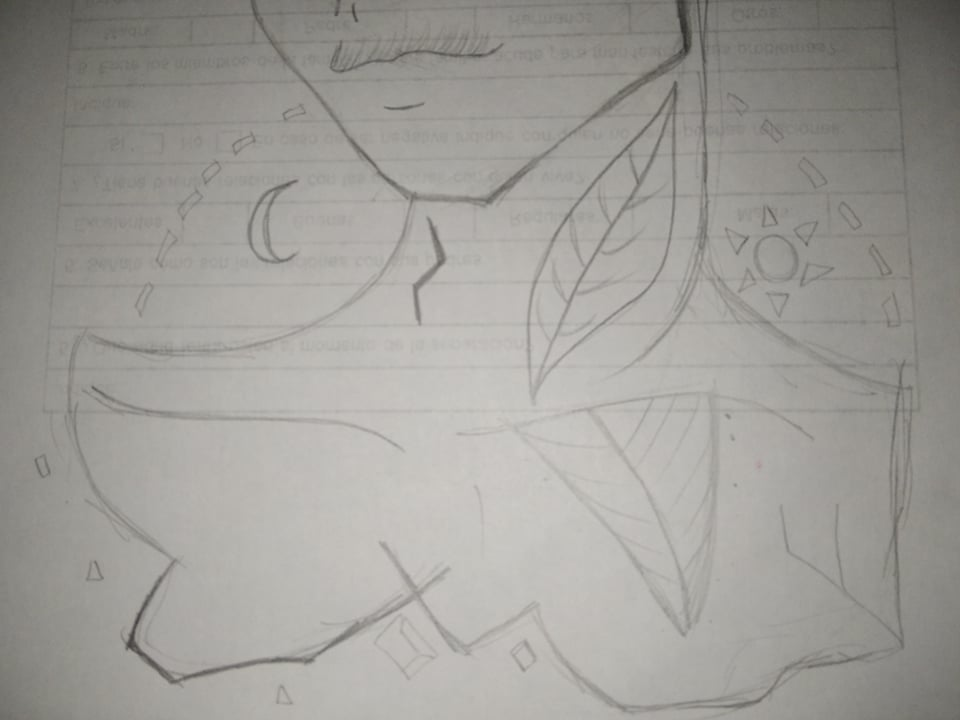
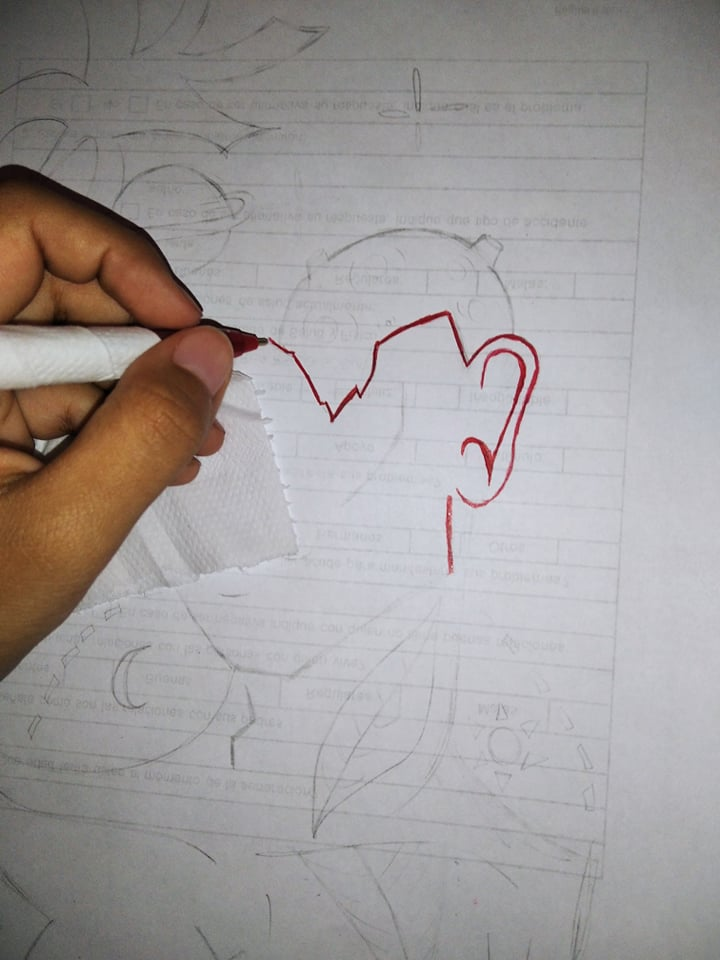
- Paso 5:
Prosedi a hacerle el cuello y la parte de las claviculas y darle un efecto como si estuviera roto.
- Step 5:
Prosedi to make the horn and the part of the clavicles and give it an effect as if it was broken.
- Paso 6:
Una vez más agregue unos cuantos detalles.
- Step 6:
Once again I added a few details.
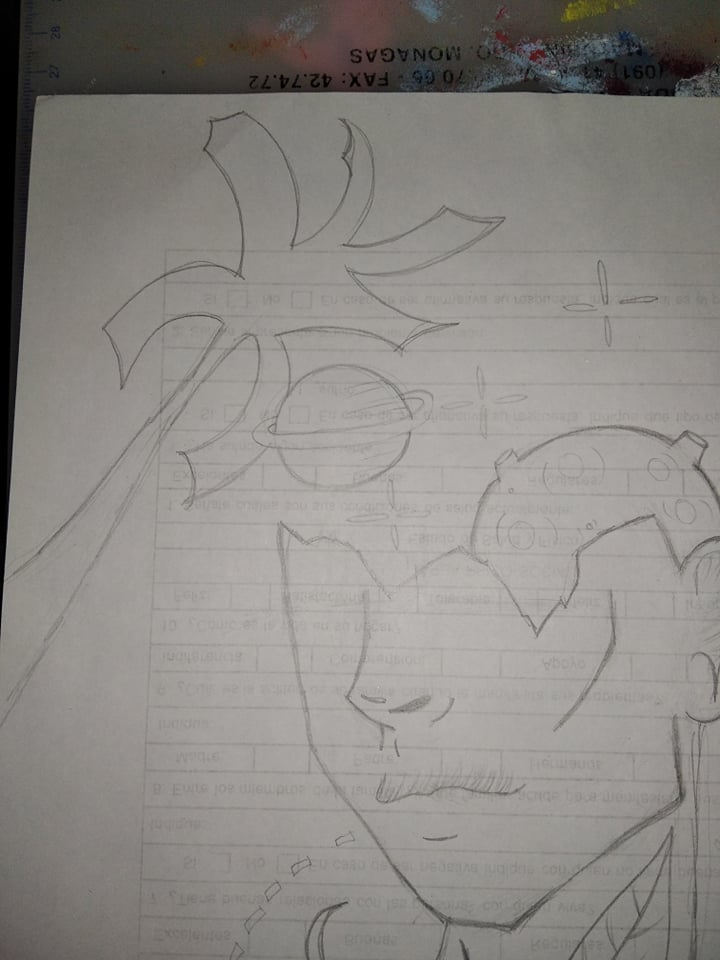
- Paso 7:
En la parte de la cabeza sin terminar hare un dos planetas y una palmera.
- Step 7:
On the unfinished part of the head I will make a two planets and a palm tree.
- Paso 8:
Borre un poco el dibujo para comenzar a pintarlo.
- Step 8:
Erase a little bit of the drawing to start painting it.
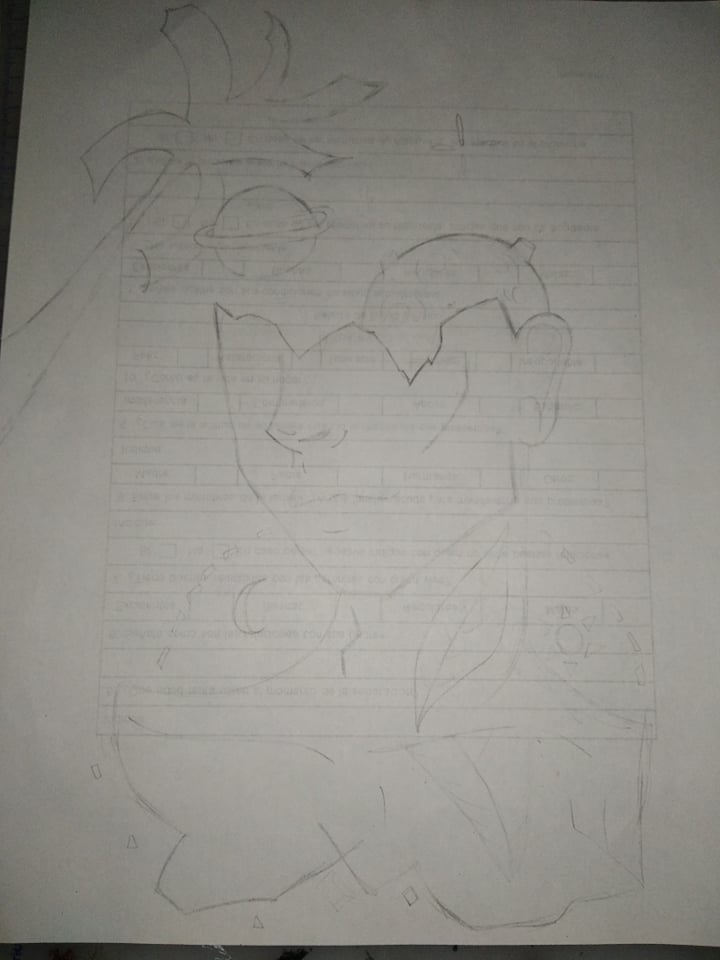
- Paso 9:
El lapicero rojo tiende a manchar la hoja así que envolvi el lapicero en papel y pe puse un un poquito en la muñeca y comence a pintar.
- Step 9:
The red pencil tends to stain the paper so I wrapped the pencil in paper and put a little bit on the wrist and started painting.

FINAL RESULT
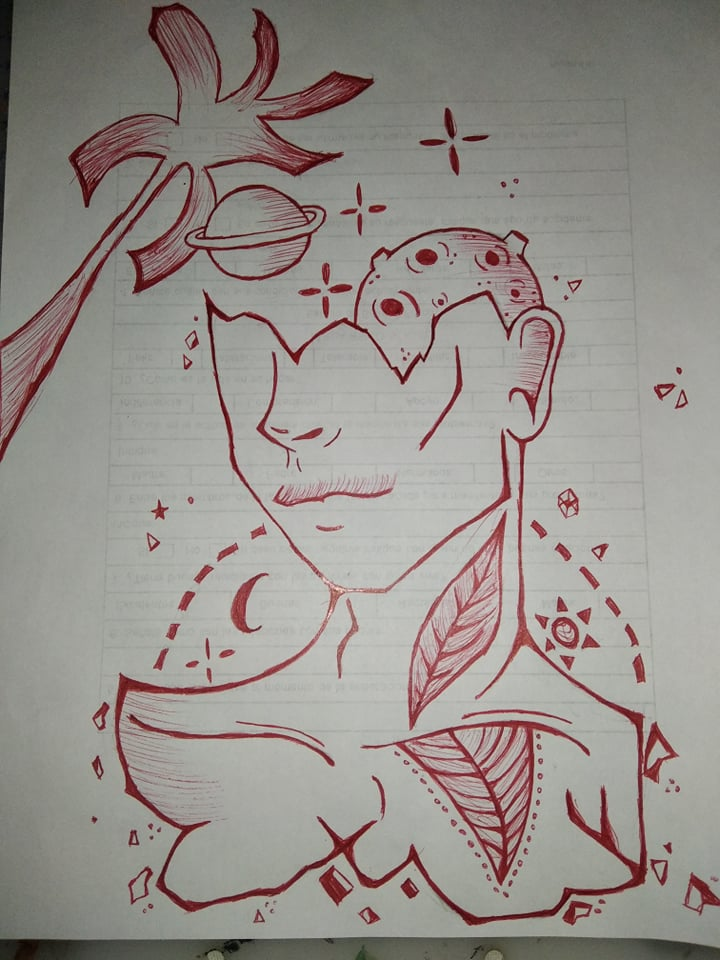
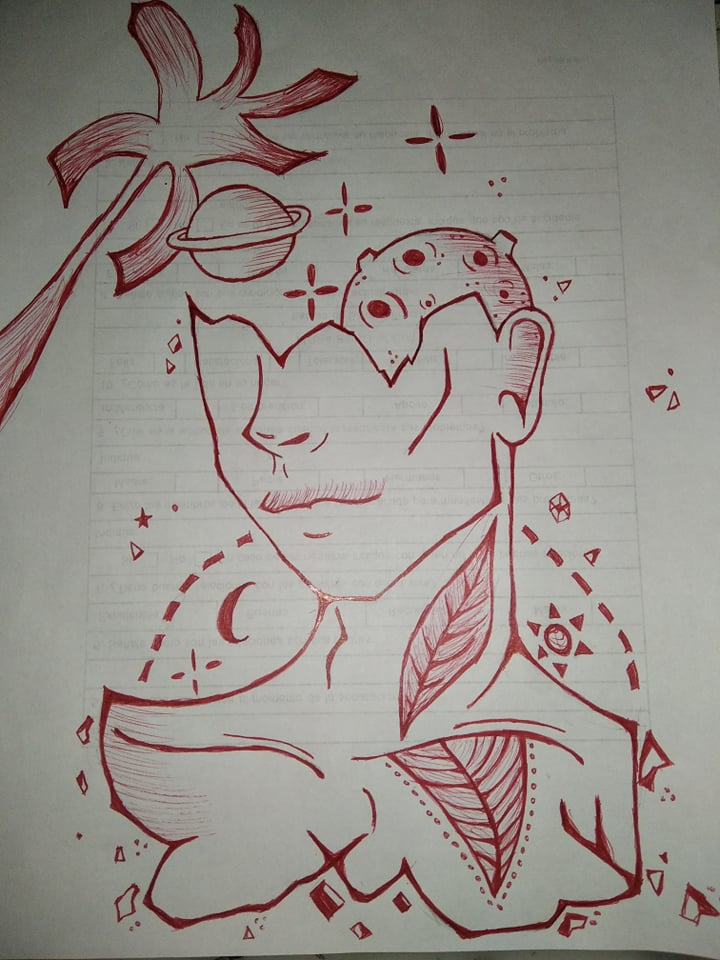
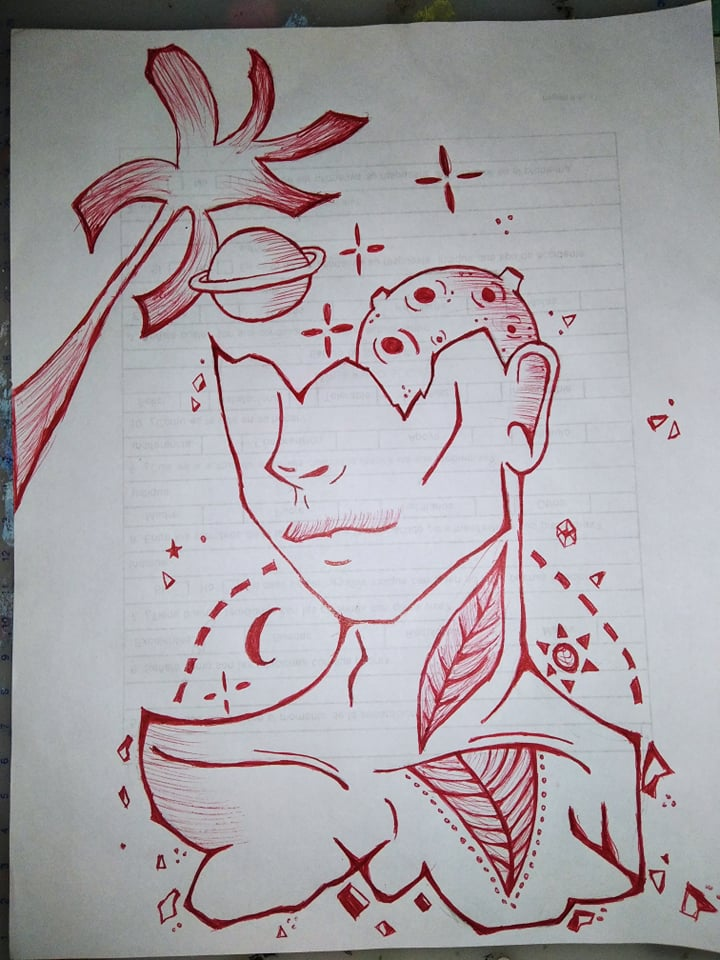
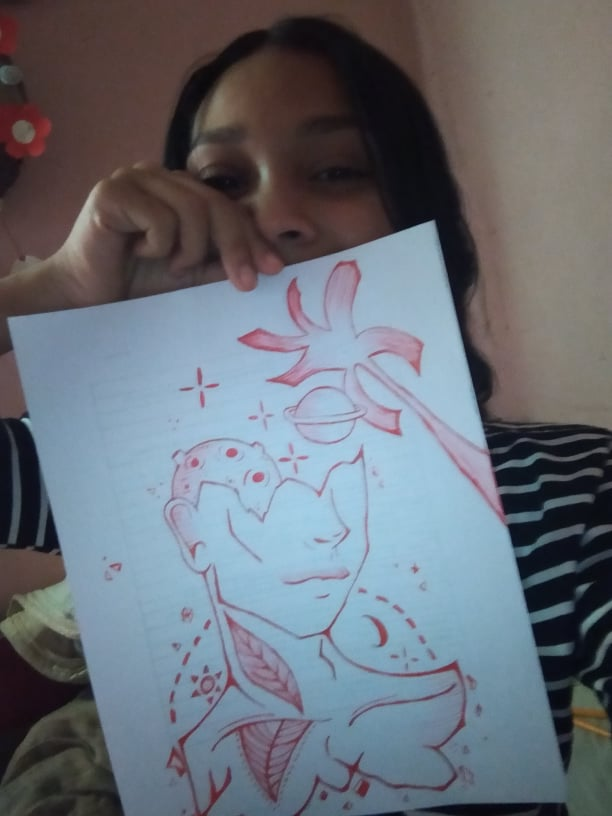
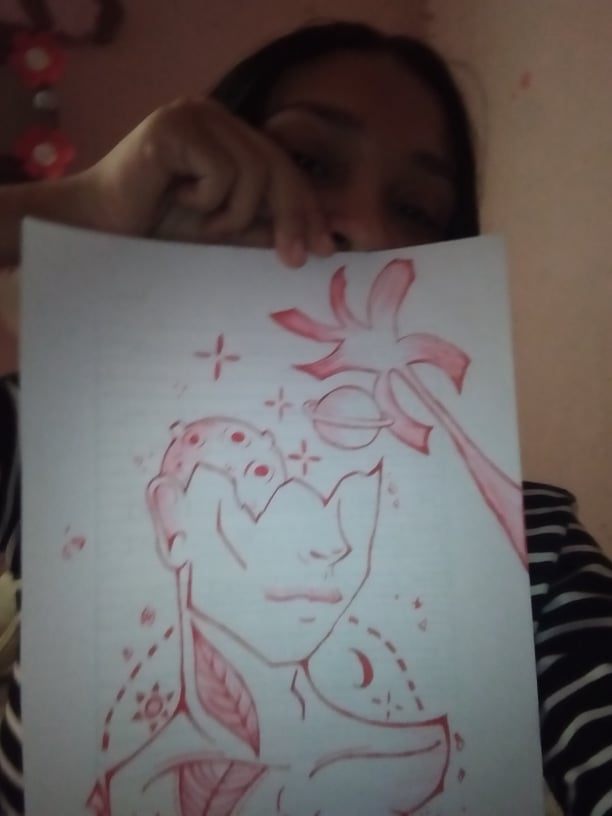
All photos are my own
¡Felicidades! Esta publicación obtuvo upvote y fue compartido por @la-colmena, un proyecto de Curación Manual para la comunidad hispana de Hive que cuenta con el respaldo de @curie.
Si te gusta el trabajo que hacemos, te invitamos a darle tu voto a este comentario y a votar como testigo por Curie.
Si quieres saber más sobre nuestro proyecto, acompáñanos en Discord: La Colmena.
Congratulations @marianaa21! You have completed the following achievement on the Hive blockchain and have been rewarded with new badge(s):
Your next target is to reach 8000 upvotes.
You can view your badges on your board and compare yourself to others in the Ranking
If you no longer want to receive notifications, reply to this comment with the word
STOPCheck out the last post from @hivebuzz:
Support the HiveBuzz project. Vote for our proposal!