¡Mis queridos amigos!
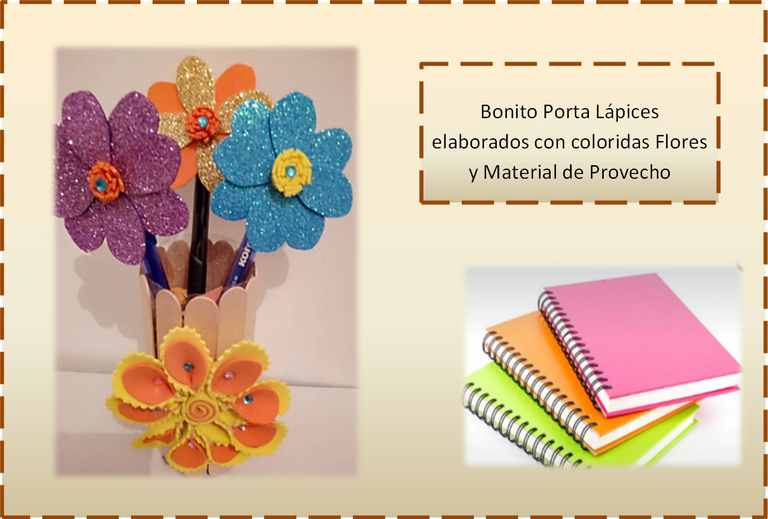
Muy Buenos día y Feliz inicio de semana para todos, y en especial a la comunidad de Hive Diy; que hoy sea un día de bendiciones y buenas energías. En el día de hoy les he traído un Bonito Porta Lapices elaborado con Lindas Flores y material de provecho como botella plástica, ideal para el inicio a clase en donde los niños podrán tener a mano sus lapices en el momento de hacer sus actividades; este porta lapices mi hija se lo va a regalar a sus profesores para colocarlo en el escritorio del salón de clases y se vera muy decorativo por sus coloridas flores. Comencemos.
My dear friends!
Good morning and Happy start to the week to everyone, and especially to the Hive Diy community; May today be a day of blessings and good energy. Today I have brought you a Nice Pencil Holder made with Pretty Flowers and useful material such as a plastic bottle, ideal for starting class where children can have their pencils at hand when doing their activities; This pencil holder my daughter is going to give it to her teachers to place on the classroom desk and it will look very decorative for its colorful flowers. Let's get started.
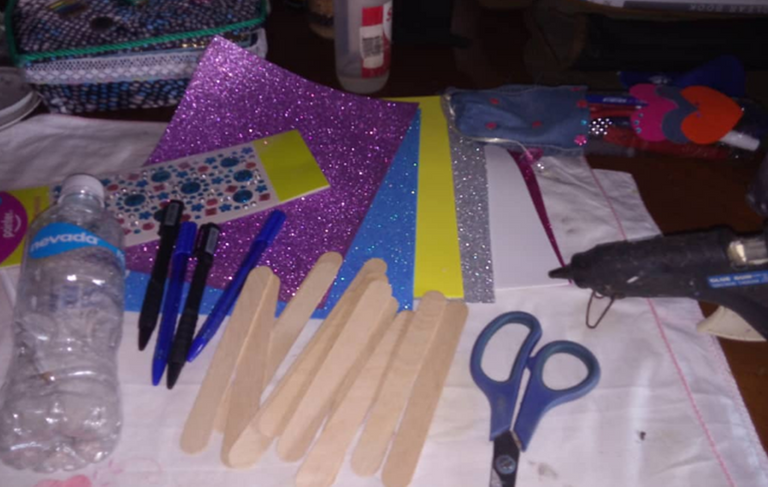
Materiales a utilizar:
Foami
Paletas
Botella Plástica
Lapices
Silicon Caliente
Accesorios plásticos
Tijera
Exacto
Materiales a utilizar:
Foami
Palettes
Plastic bottle
Pencils
Hot Silicon
Plastic accessories
Scissor
Exactly
Pasos a seguir:
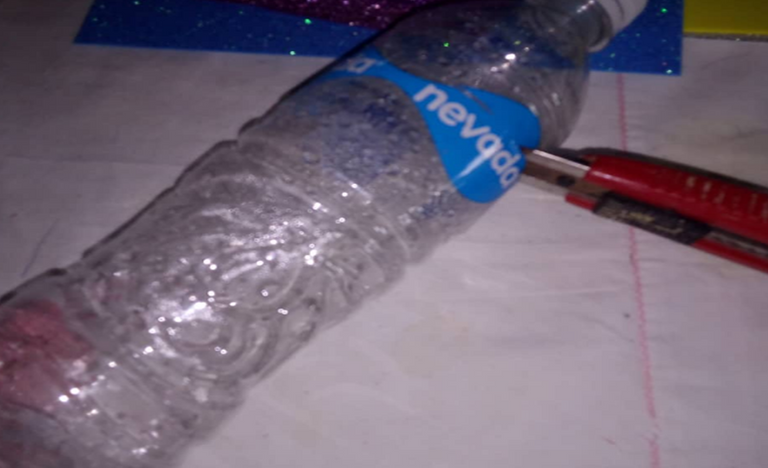
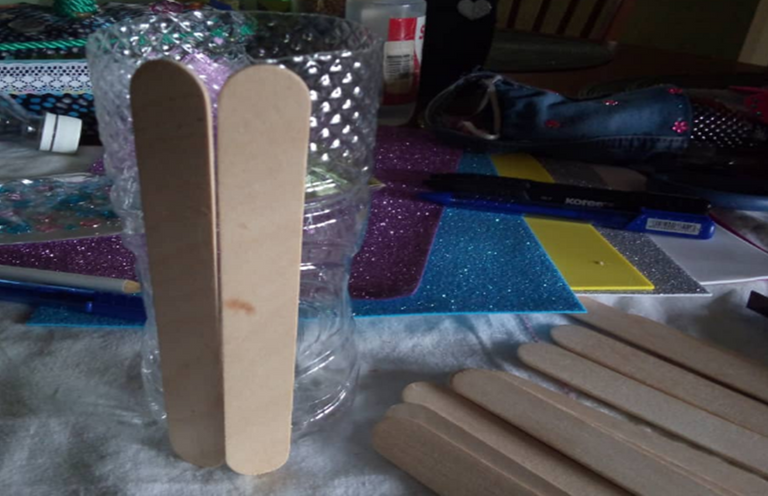
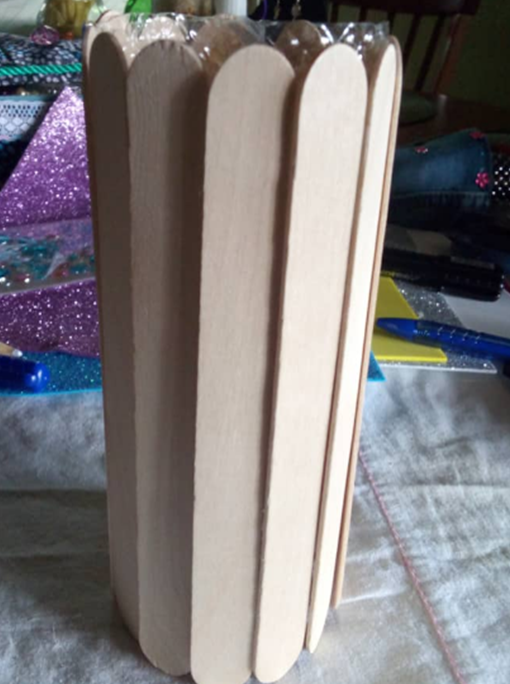
1.-Lo primero que vamos a hacer es cortar la botella por la parte de arriba a la altura de las paletas de madera, luego con ayuda del silicon vamos pegando una a una alrededor de la botella
.
Steps to follow:
1.-The first thing we are going to do is cut the bottle from the top at the height of the wooden pallets, then with the help of the silicone we are going to glue one by one around the bottle.

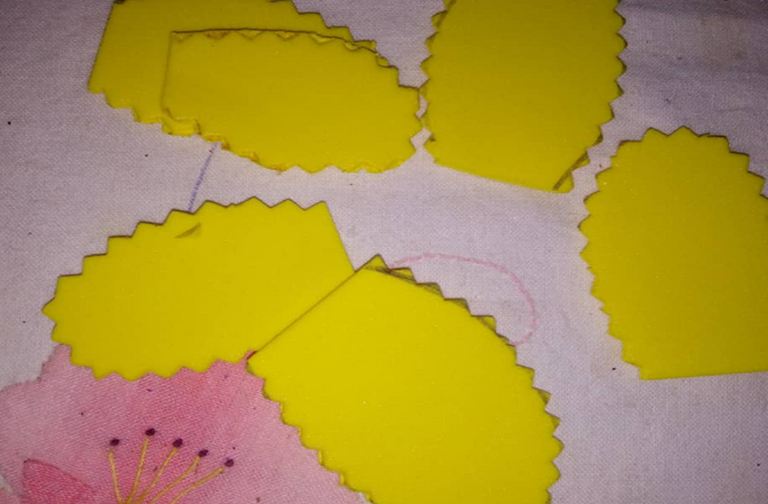
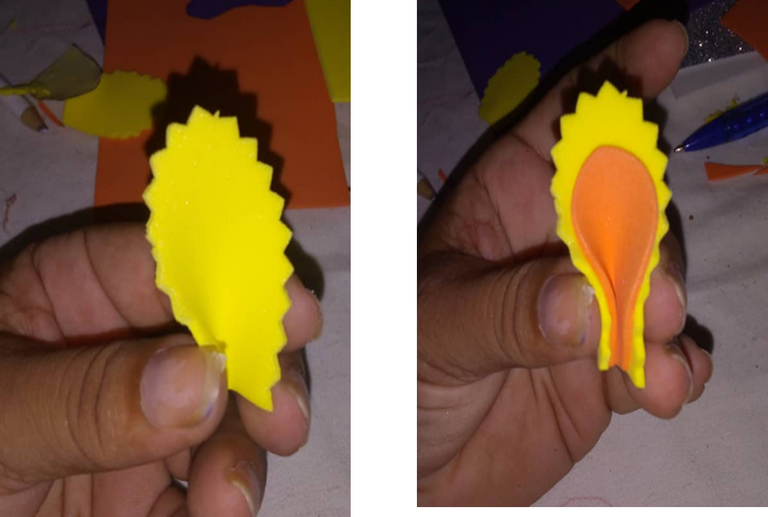
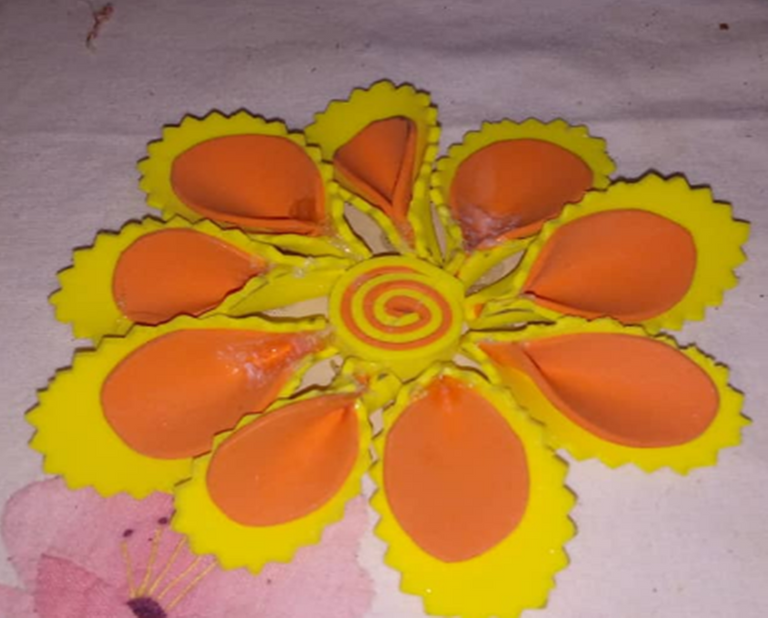
2.- Para la Flor Amarilla y Naranja hacemos 9 pétalos amarillo y los 9 naranjas un poco mas pequeños que los amarillos, luego los unimos y con la silicon le ponemos en las puntas y apretamos , luego con una tirita de foami amarillo y naranja hacemos en centro de la flor y con circulo echo en cartón vamos pegando uno a uno los pétalos y el centro de la flor.
2.-For the Yellow and Orange Flower we make 9 yellow and 9 orange petals a little smaller than the yellow ones, then we join them and with the silicone we put them on the tips and squeeze, then with a strip of yellow and orange foami we make in the center of the flower and with a circle made in cardboard we are gluing the petals and the center of the flower one by one..
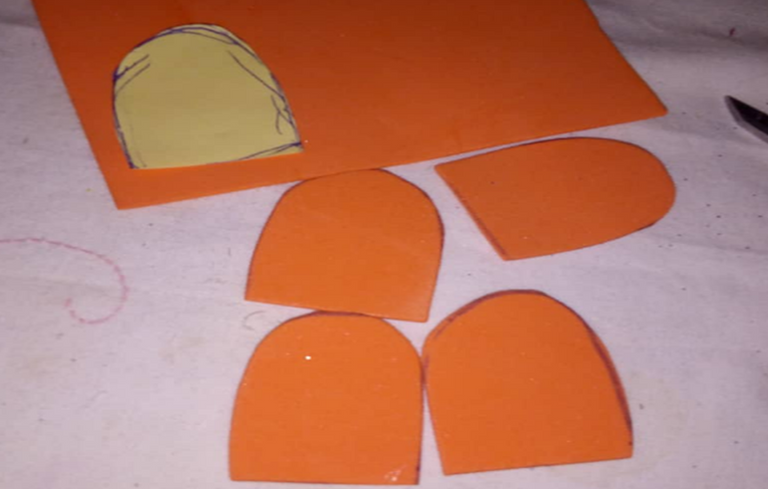
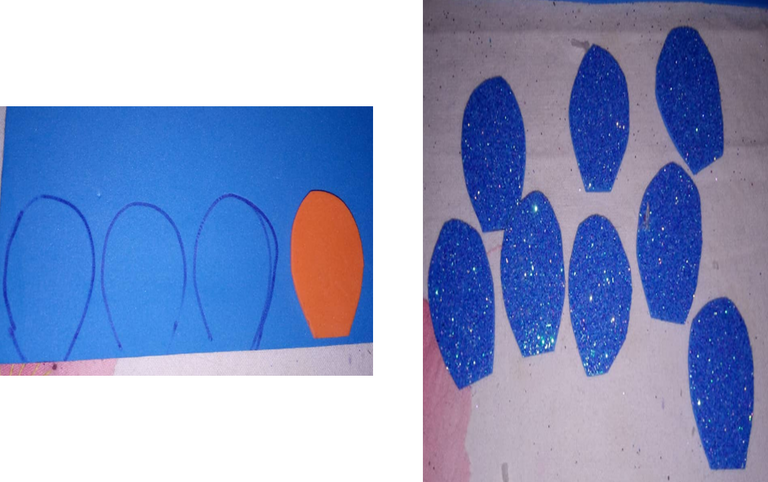
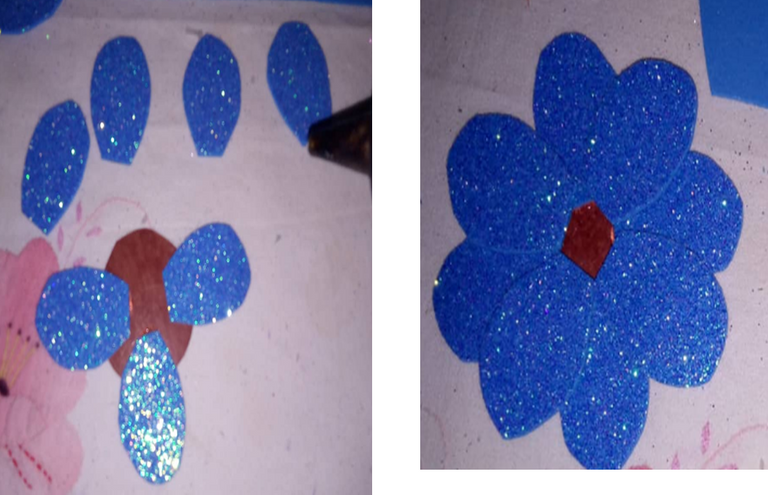
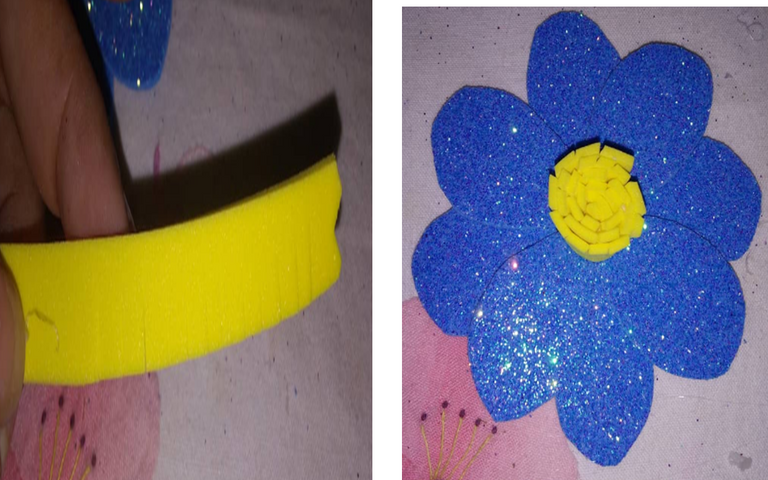
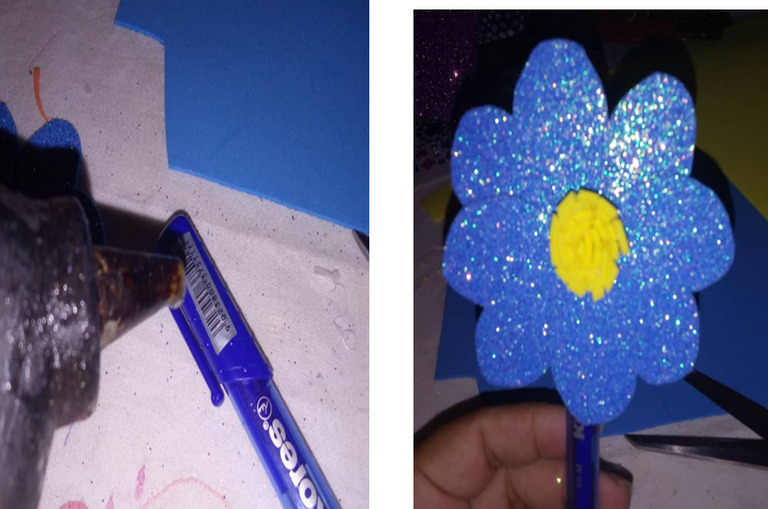
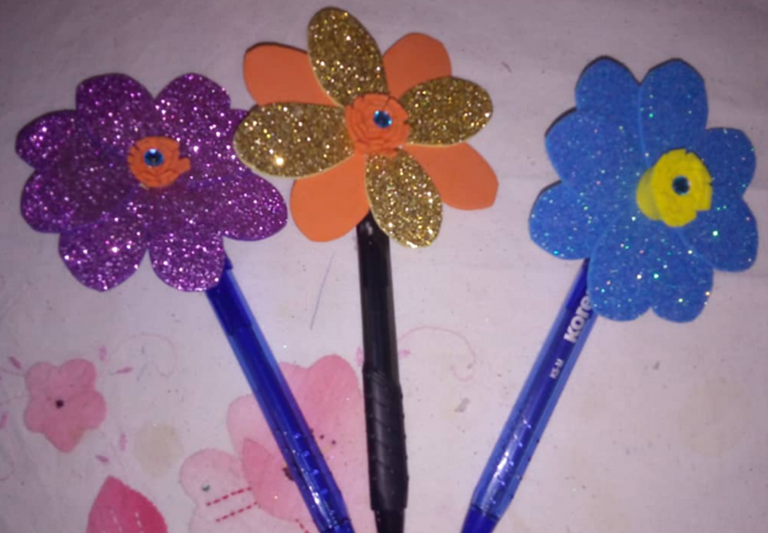
3.-Para hacer las flores en foami azul, morada y dorada y naranja, vamos a dibujar 8 pétalos y hacer un circulo pequeño con cartón en donde vamos a ir colocando los pétalos, luego recortamos foami naranja y amarillo de 0,5cm X 10cm los picamos (ver fotos) para hacer el centro de la flor, todo este pago aplica para las flores azul, dorado y naranja y amarilla y la morada.
3.-To make the flowers in blue, purple and gold and orange foami, we are going to draw 8 petals and make a small circle with cardboard where we are going to place the petals, then we cut orange and yellow foami of 0.5cm X 10cm We chop them (see photos) to make the center of the flower, all this payment applies to the blue, gold and orange and yellow flowers and the purple one.
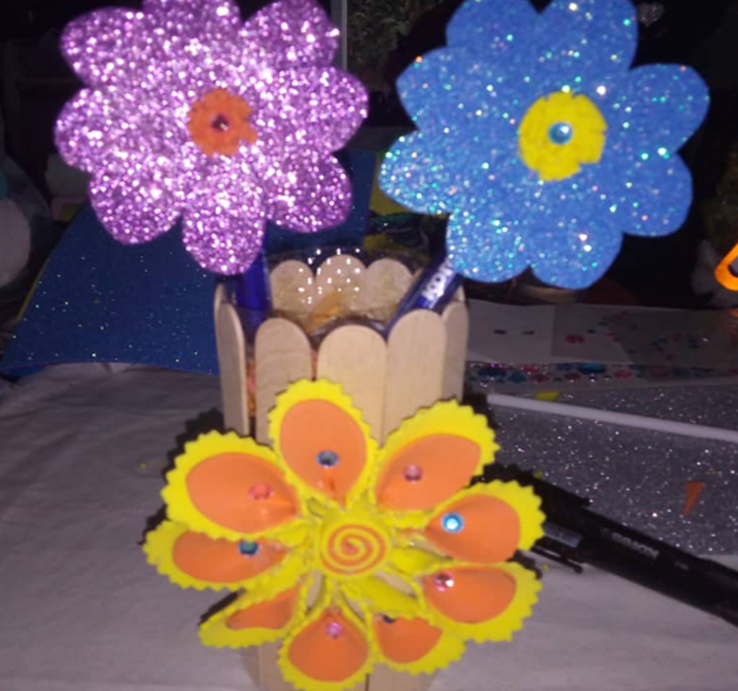
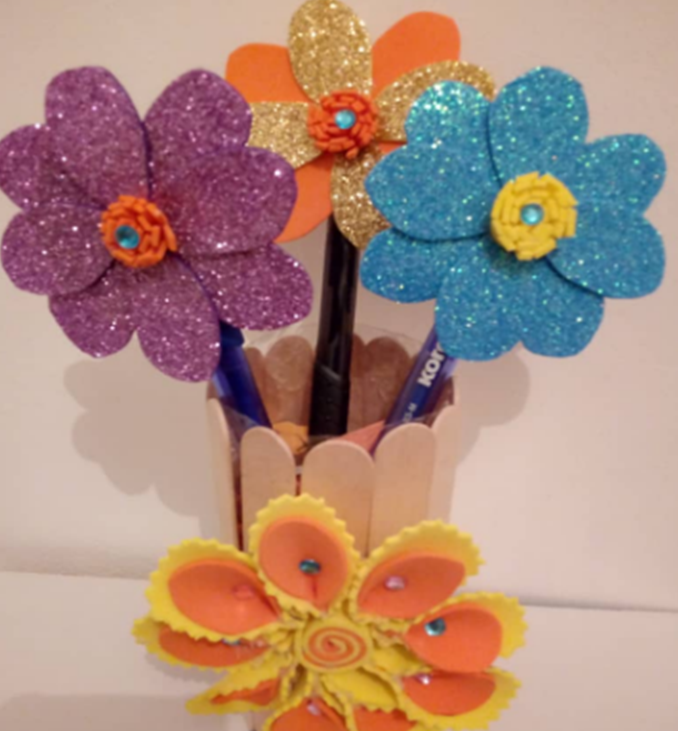
4.- Finalmente procedemos a pegar cada flor al Lapices y al envase realizado con botella plástica y paletas, los detalles de diamantes falsos (accesorios) y que lindo nos quedo.
4.-Finally we proceed to glue each flower to the Pencils and to the container made with plastic bottle and palettes, the details of false diamonds (accessories) and how beautiful it is.
Listo terminado mi proyecto del día de hoy, espero les haya gustado. !Hasta la próxima!
Ready finished my project today, I hope you liked it. ! until next time!
Las fotografías fueron tomadas con un teléfono inteligente HUAWE Y5, el texto fue traducido al inglés con el traductor de Google.
The photographs were taken with a HUAWE Y5 smartphone, the text was translated into English with the Google translator.