¡Feliz Noche!
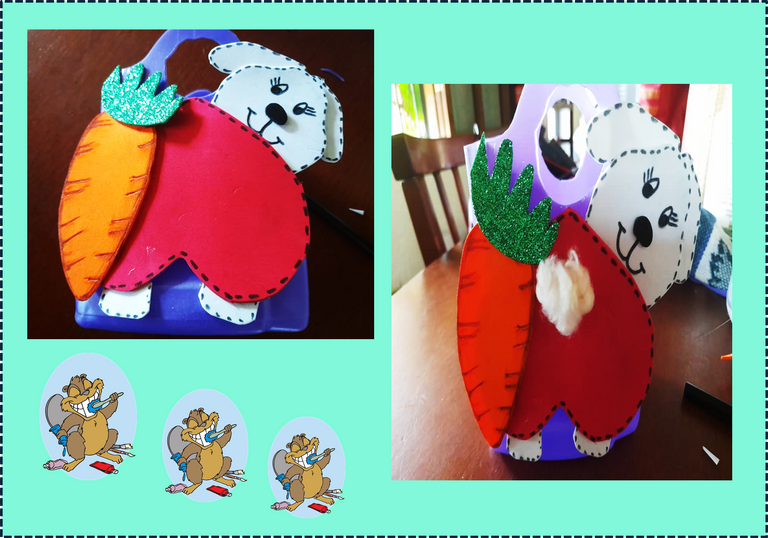
Un saludo especial para mis Amigos de la Gran Comunidad Hiive👨❤️👨 t A mis queridos Artesanos y Crafteros un saludo cordial a todos. Espero hayan tenido un día productivo y lleno de muchas buenas sorpresas. Estamos en el mes mas bonito del año, por que es el mes de las flores y mi mes en donde cumplo años, ya solo me faltan 4 días, espero recibir mucha salud e infinitas bendiciones de parte del universo. Los invito y son bienvenidos a visitar mi Blog, espero lean y dejen sus comentarios ya que de ellos aprendemos cada día mucho mas. Aprovecho la ocasión para mostrarle el paso a paso de como realice este Hermoso Organizador para el Baño, el cual lo elabore con un envase de suavizante, les enseñare lo fácil y económico de realizar, yo en particular lo utilizare para colocar la crema dental y los cepillos de dientes, igual lo puedes utilizar para colocar las cremas, tintes, cepillos para el cabello, peines
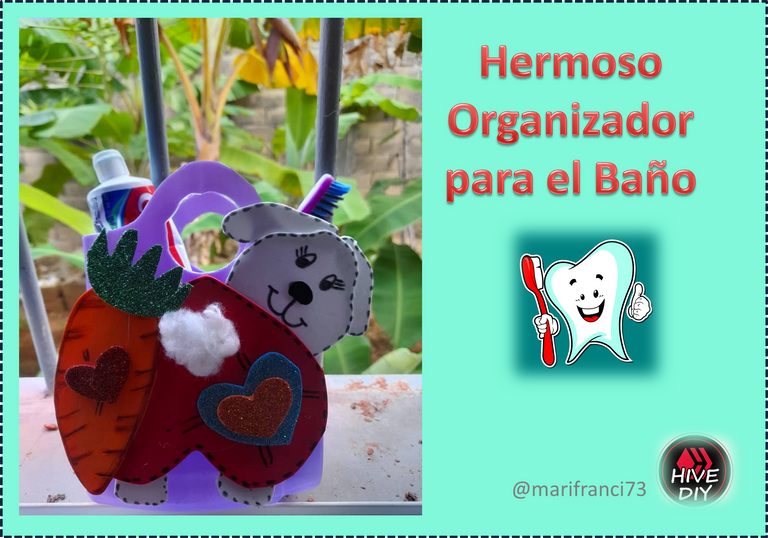
Este Hermoso Organizador para el Baño a parte que te sirve para colocar y mantener en un solo sitio las cosas, nos sirve de decoración para nuestro baño, debido a que le puedes colocar el motivo que quieras, yo lo realice de una o un lindo perrito (a) con un enorme corazón y la zanahoria es para darle un mensaje a los niños que es el siguiente "si mantenemos una buena salud e higiene bucal, tendremos dientes limpios y sanos".
Bueno mis queridos amigos, aquí vamos con el paso a paso no se lo pierdan. Manitas a trabajar.👩❤️💋👨
Goodnight!
A special greeting to my Friends of the Great Hiive Community👨❤️👨 t To my dear Artisans and Crafters, a cordial greeting to all. I hope you had a productive day and full of many good surprises. We are in the most beautiful month of the year, because it is the month of flowers and my birthday, I only have 4 days left, I hope to receive a lot of health and infinite blessings from the universe. I invite you and you are welcome to visit my Blog, I hope you read and leave your comments since we learn much more from them every day. I take this opportunity to show you the step by step of how to make this Beautiful Organizer for the Bathroom, which I made with a softener container, I will show you how easy and cheap to make it, I will use it in particular to place the toothpaste and the toothbrushes, you can also use it to place creams, dyes, hair brushes, combs
This Beautiful Organizer for the Bathroom apart from that serves to place and keep things in one place, it serves as decoration for our bathroom, because you can place the reason you want, I made it from one or a cute puppy (a) with a huge heart and carrot is to give a message to children that is the following "if we maintain good health and oral hygiene, we will have clean and healthy teeth".
Well my dear friends, here we go with the step by step, do not miss it. Handyman to work.👩❤️💋👨


Español☘️
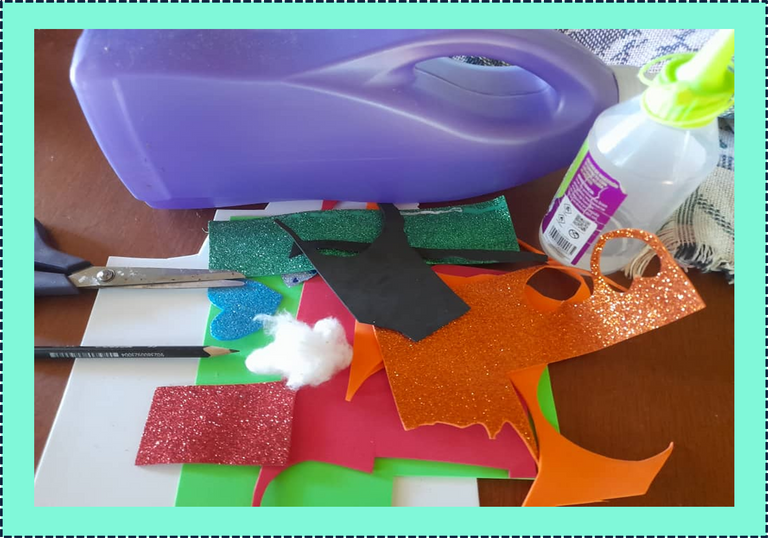
Los Materiales a utilizar son los siguientes; 
01 Envase de Suavizante Grande
Foami ( Rojo, Blanco, Naranja, Negro y Verde)
Marcador Negro y Naranja
Algodón
01 Tapita pequeña
01 Exacto o Bisturí
Regla
Silicon
Tijera
English☘️
The Materials to be used are the following;
01 Large Softener Container
Foami ( Red, White, Orange, Black and Green)
Black and Orange Marker
Cotton
01 small cap
01 Exact or Scalpel
Ruler
Silicon
Scissors

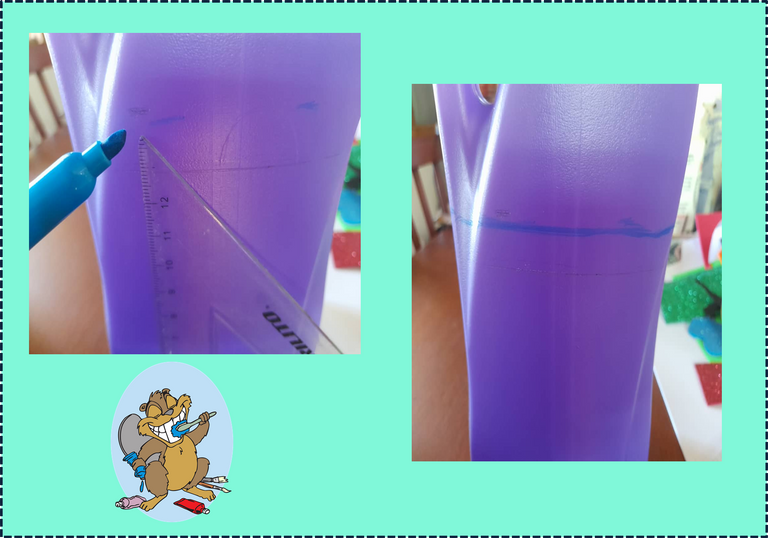
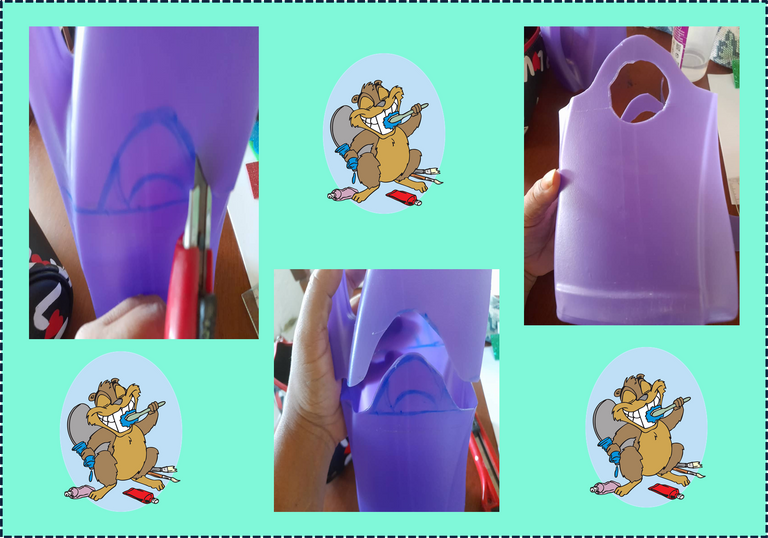
1.- Para empezar a la realización de nuestro Hermoso Organizador para el Baño, debemos retirar del envase todas las etiquetas y residuos de suavizante que tenga el envase. Ahora Procedemos a medir de que tamaño lo vamos a querer y medimos aproximadamente 15 cm de alto y con ayuda de un marcador vamos subrayando para luego pasar una raya que nos identificara por donde lo vamos a cortar.
1.- To start making our Beautiful Bathroom Organizer, we must remove all labels and fabric softener residues from the container. Now we proceed to measure what size we are going to want it and we measure approximately 15 cm high and with the help of a marker we underline and then pass a line that will identify where we are going to cut it
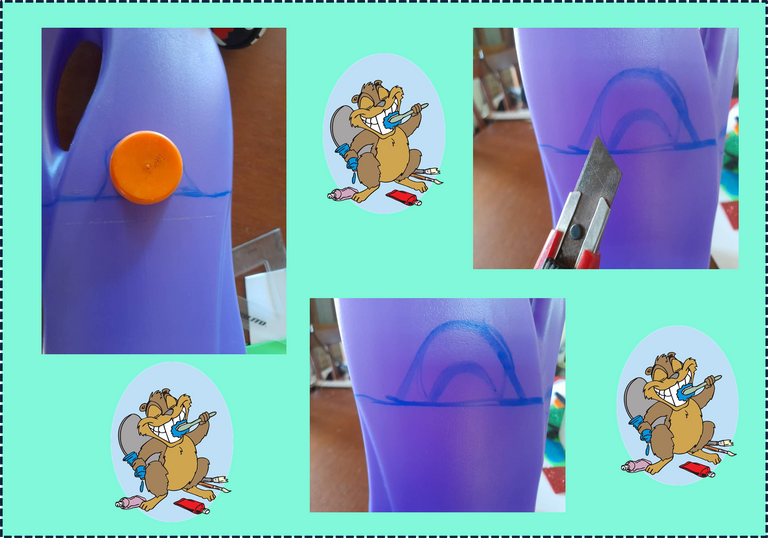
2.- Marcamos con ayuda de una tapita lo que va a ser el haza del organizador y dibujamos la forma que queremos como se puede observar en las imágenes y con ayuda del exacto lo cortamos.
2.- We mark with the help of a cap what is going to be the beam of the organizer and draw the shape we want as can be seen in the images and with the help of the exact one we cut it.
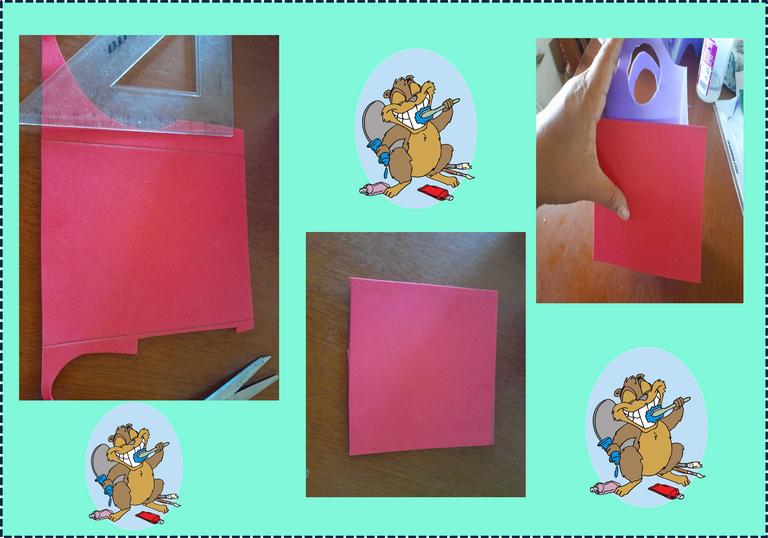
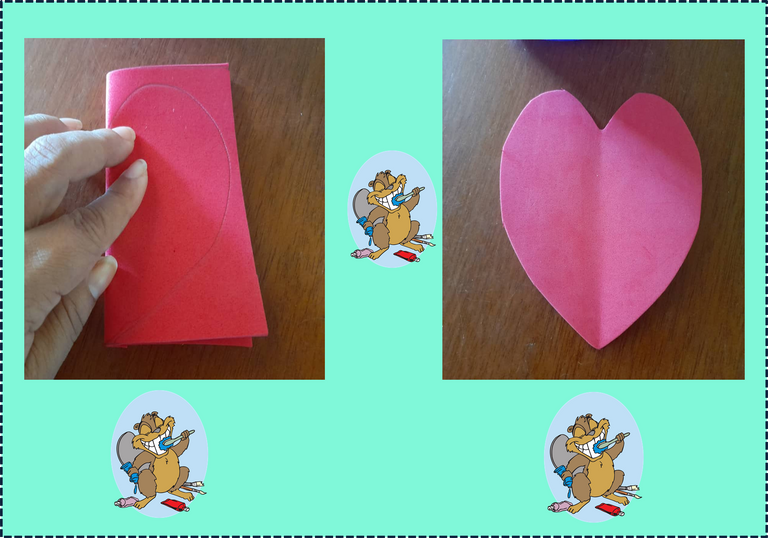
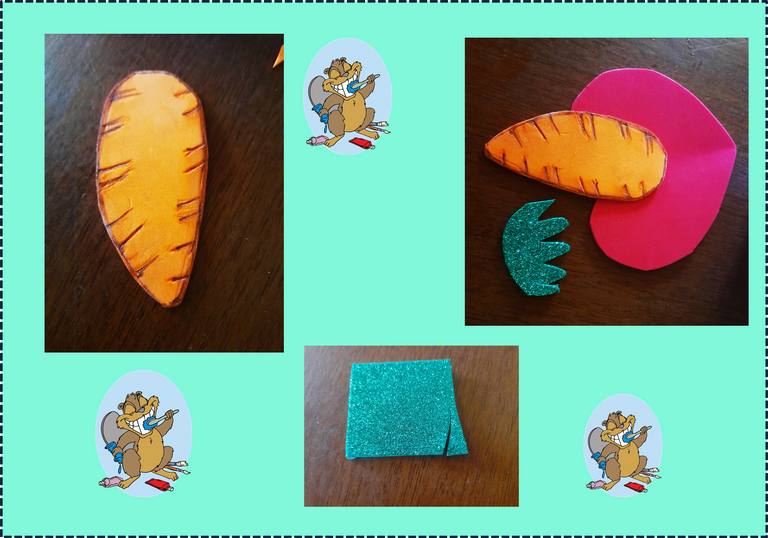
3.- Procedemos hacer con el foami rojo un corazón pero primero medimos y recortamos un cuadrado, doblamos , dibujamos y cortamos medio corazón, luego abrimos el foami y tenemos un gran corazón.
3.- We proceed to make a heart with the red foami but first we measure and cut out a square, fold, draw and cut half a heart, then we open the foami and we have a big heart.
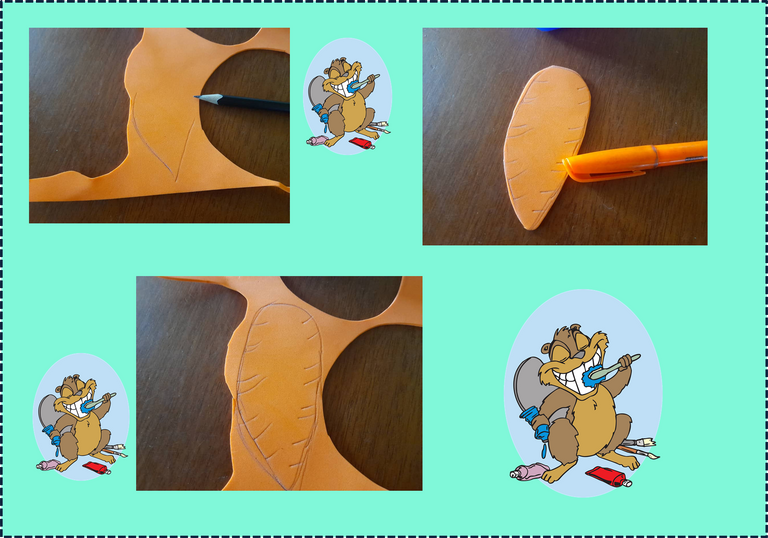
4.- Con un retacito de foami naranja dibujamos una zanahoria y con el lápiz y marcador naranja le hacemos unas rallitas por los lados e igualmente tomamos un pedacito de foami verde y le hacemos las hojitas y se la colocamos en la parte de arriba de la zanahoria.
4.- With a piece of orange foami we draw a carrot and with the orange pencil and marker we make some stripes on the sides and we also take a little piece of green foami and make the leaves and place it on the top of the carrot. carrot.
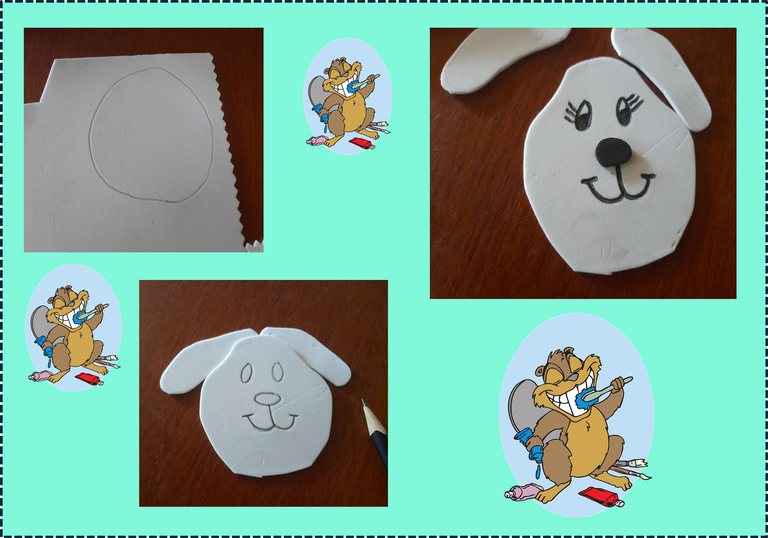
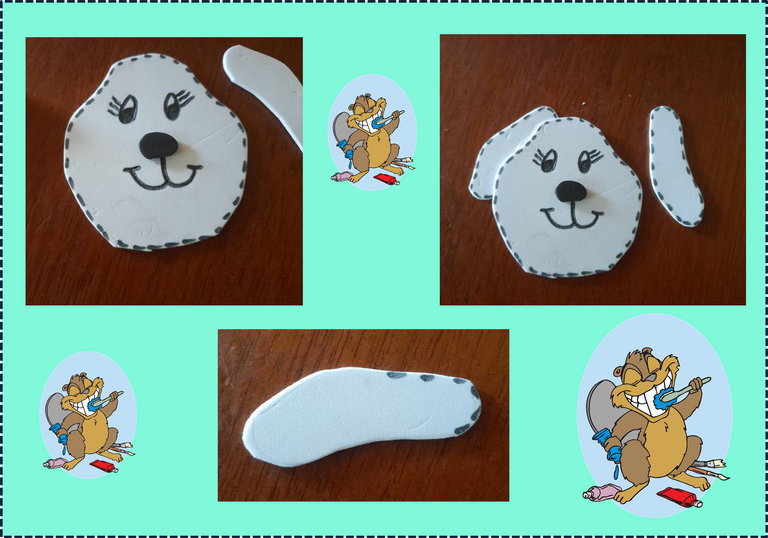
5.- Ahora dibujamos en el foami blanco la cara, las orejas y las patas de nuestro perrito, luego con marcador negro dibujamos sus ojos y hacemos marcar por toda la orilla de la cara y las patas y con foami negro hacemos una pequeña nariz.
5.- Now we draw on the white foami the face, the ears and the legs of our puppy, then with a black marker we draw its eyes and make marks along the entire edge of the face and the legs and with the black foami we make a small nose.
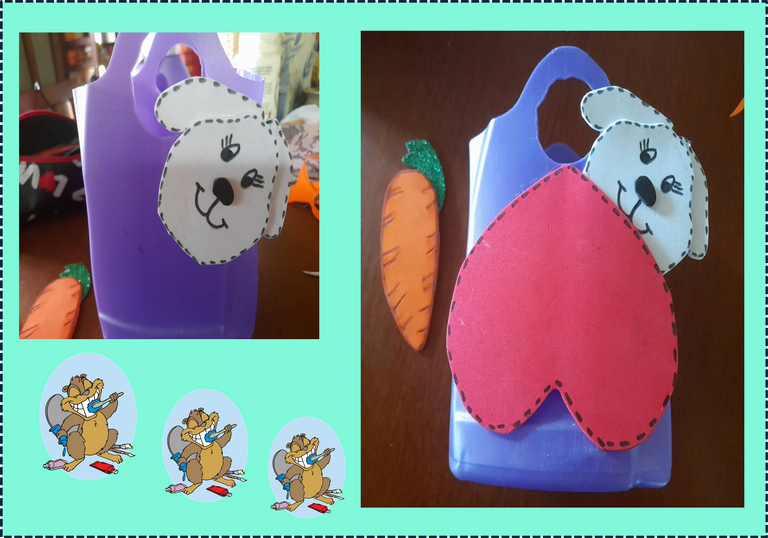
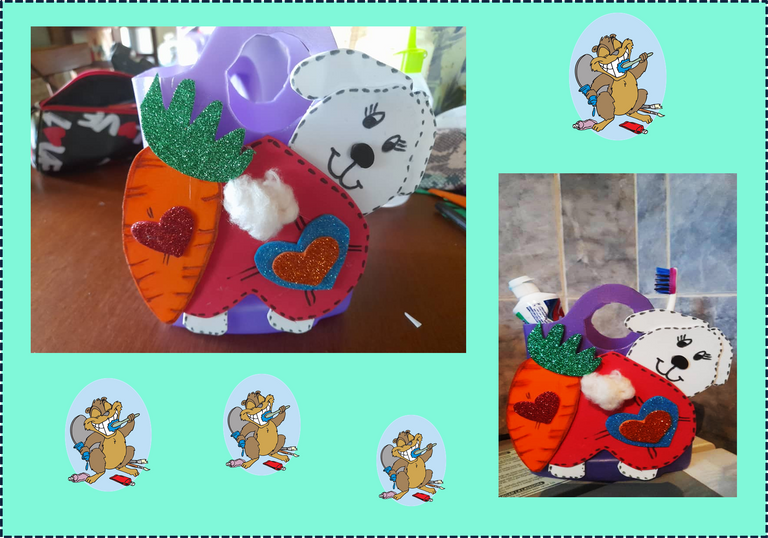
6.- Para finalizar comenzamos a pegar todas las partes al envase, comenzando con la cara del perrito, luego el corazón lo pegamos al revés y luego la zanahoria, y le pegamos un poco de algodón para la cola, hacemos unos corazones de color azul y rojo y se los colocamos en la zanahoria y al corazón. Y así nos quedo.
6.- To finish we begin to glue all the parts to the container, starting with the puppy's face, then we glue the heart upside down and then the carrot, and we glue a little cotton for the tail, we make some blue hearts and red and we put them on the carrot and the heart. And so we stayed.
Listo terminado mi proyecto del día de hoy, espero les haya gustado. !Hasta la próxima!
Ready finished my project today, I hope you liked it. !Until next time!
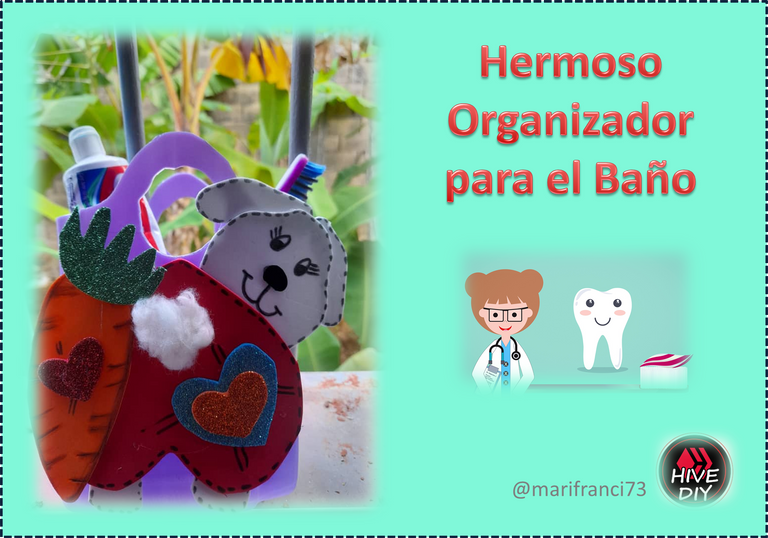
Imagen PortadaFuente
Imagen PortadaFuente
Imagen Separadores y presentaciones Fuente
Las fotografías fueron tomadas con un teléfono inteligente Samsung Galaxy A12, el texto fue traducido al inglés con el traductor de Google.
The photographs were taken with a Samsung Galaxy A12 smartphone, the text was translated into English with the Google translator.