Hola mis queridos amigos de hive, Dios les bendiga, espero que puedan tener un exitoso día. Me alegra mucho poder seguir compartiendo con todos ustedes mi talento e ideas, creaciones entre otros. En este lindo día quiero presentarles un tutorial sobre cómo hacer una hermosa cajita de regalos realizada con material de provecho, espero que lo puedan disfrutar.
Hello my dear hive friends, God bless you, I hope you can have a successful day. I am very happy to continue sharing with all of you my talent and ideas, creations among others. On this beautiful day I want to present you a tutorial on how to make a beautiful gift box made with useful material, I hope you can enjoy it.
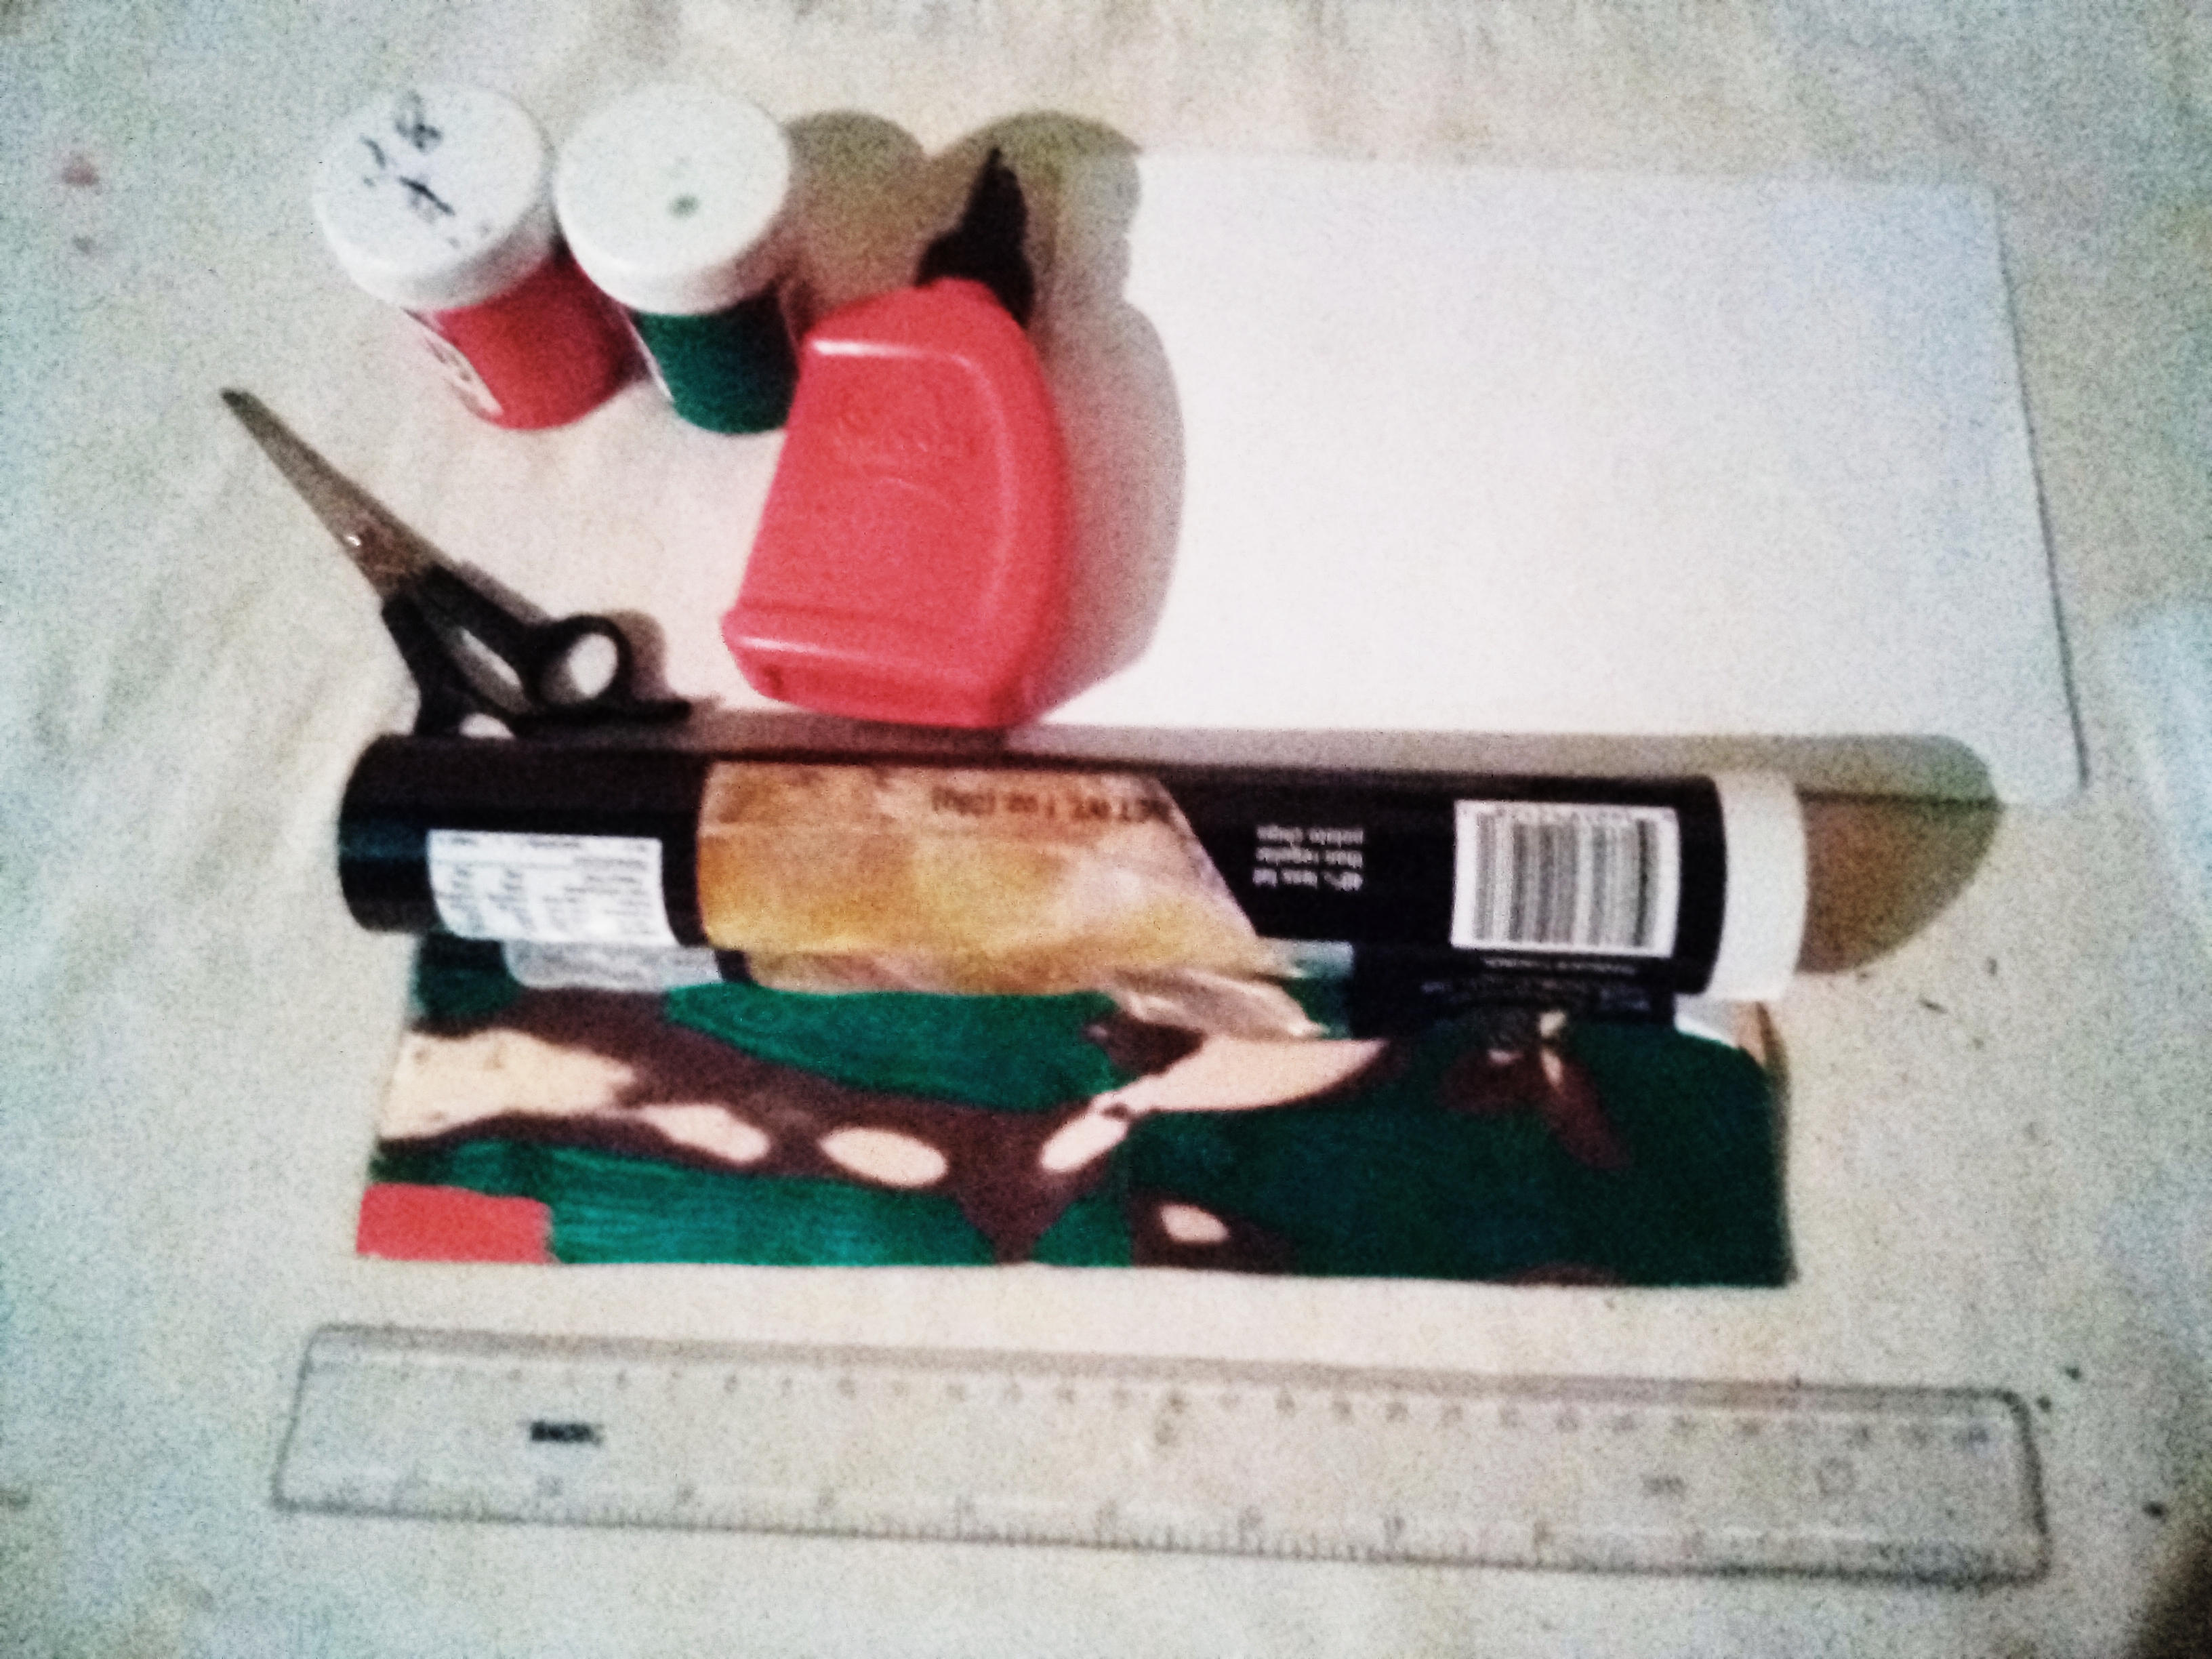
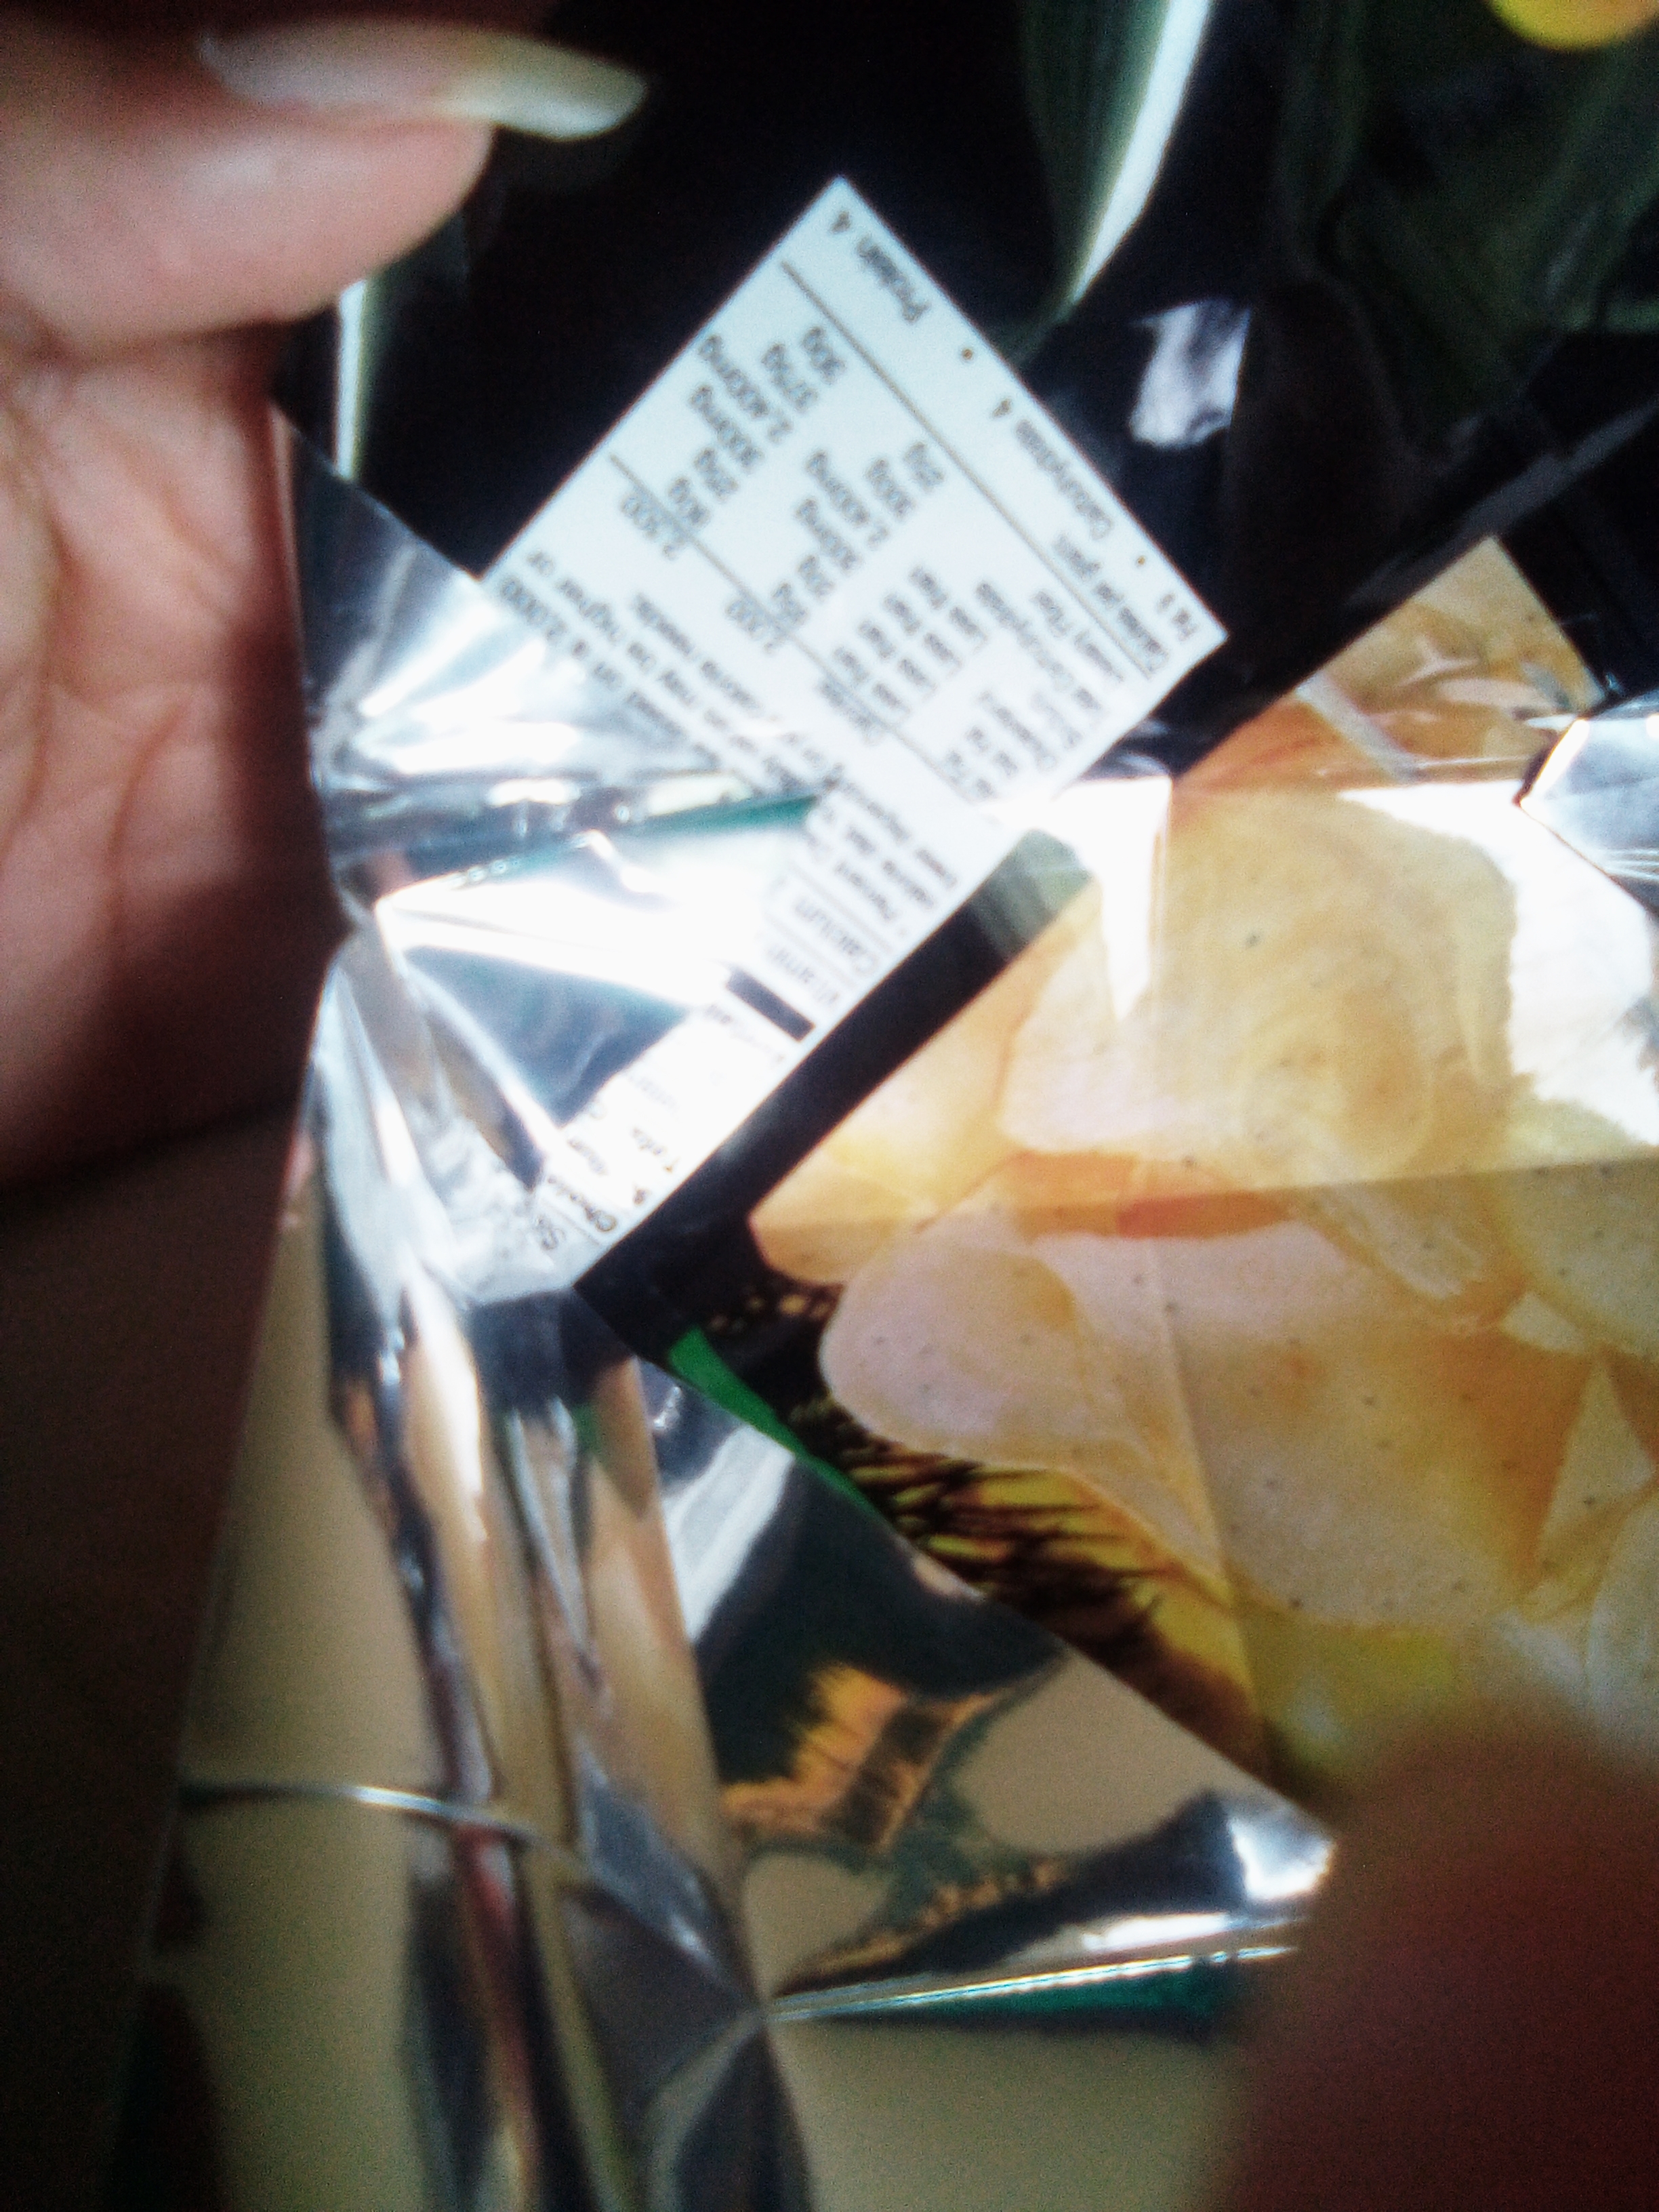
-Pelpel envolvente color plata
-Tijera
-Pega
-Pinturas al frio
-Pincel
-Hoja blanca
-Silver wrapper
-Scissor
-Job
-Cold paintings
-Brush
-White sheet
PASO#1
Comenzamos con un trazo cuadrado de papel envolvente color plata. Puede utilizar el papel que desee, luego recortamos asegurándonos de unir dos puntas para recortar esa medidacon (deben tener una medida similar) formando un cuadrado rectangular.
STEP # 1 We start with a square line of silver wrapping paper. You can use the paper you want, then we cut making sure to join two ends to cut that measure with (they should have a similar measure) forming a rectangular square.

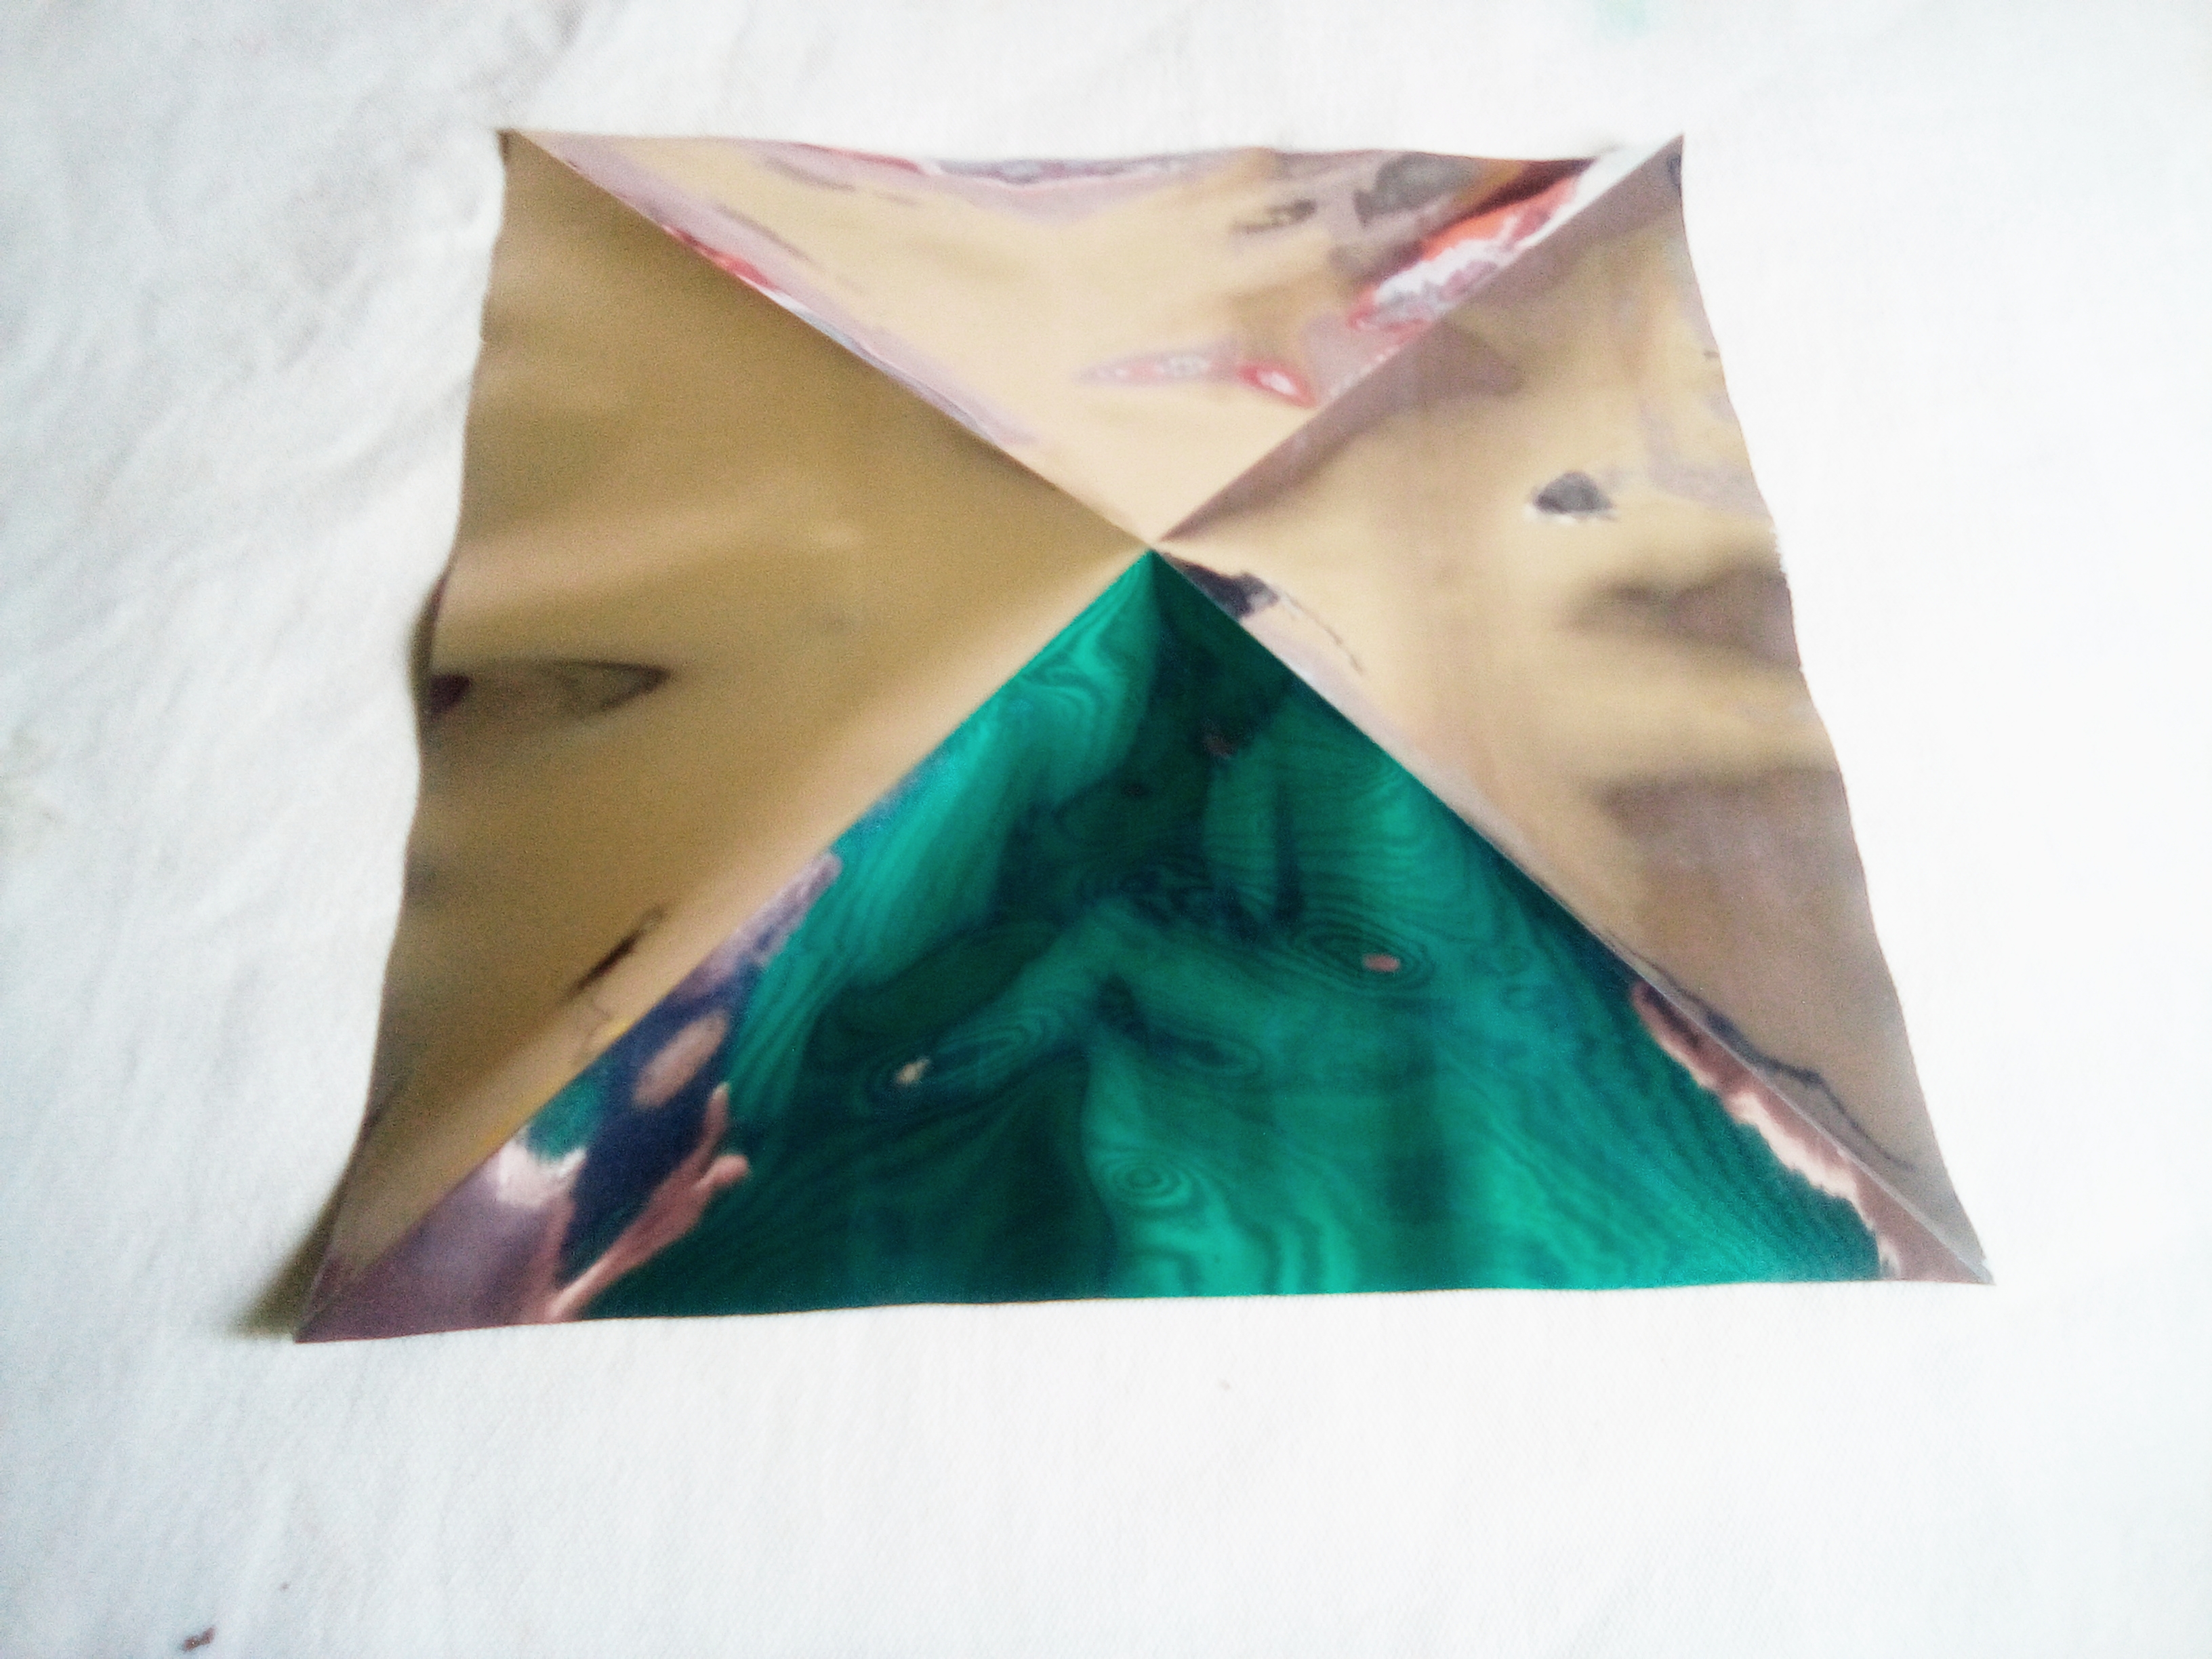
Paso#2
Doblamos diagonalmente a la mitad, es decir juntando una punta con la otra y volvemos a abrir, de igual forma lo hacemos con las otras dos puntas o esquinas que faltan con el objetivo de ir formando líneas que darán un dobles más fácil y fijo a nuestra cajita.
Step # 2 We fold diagonally in half, that is, joining one end to the other and re-open, in the same way we do it with the other two points or missing corners in order to form lines that will give an easier and more fixed double to our little box.

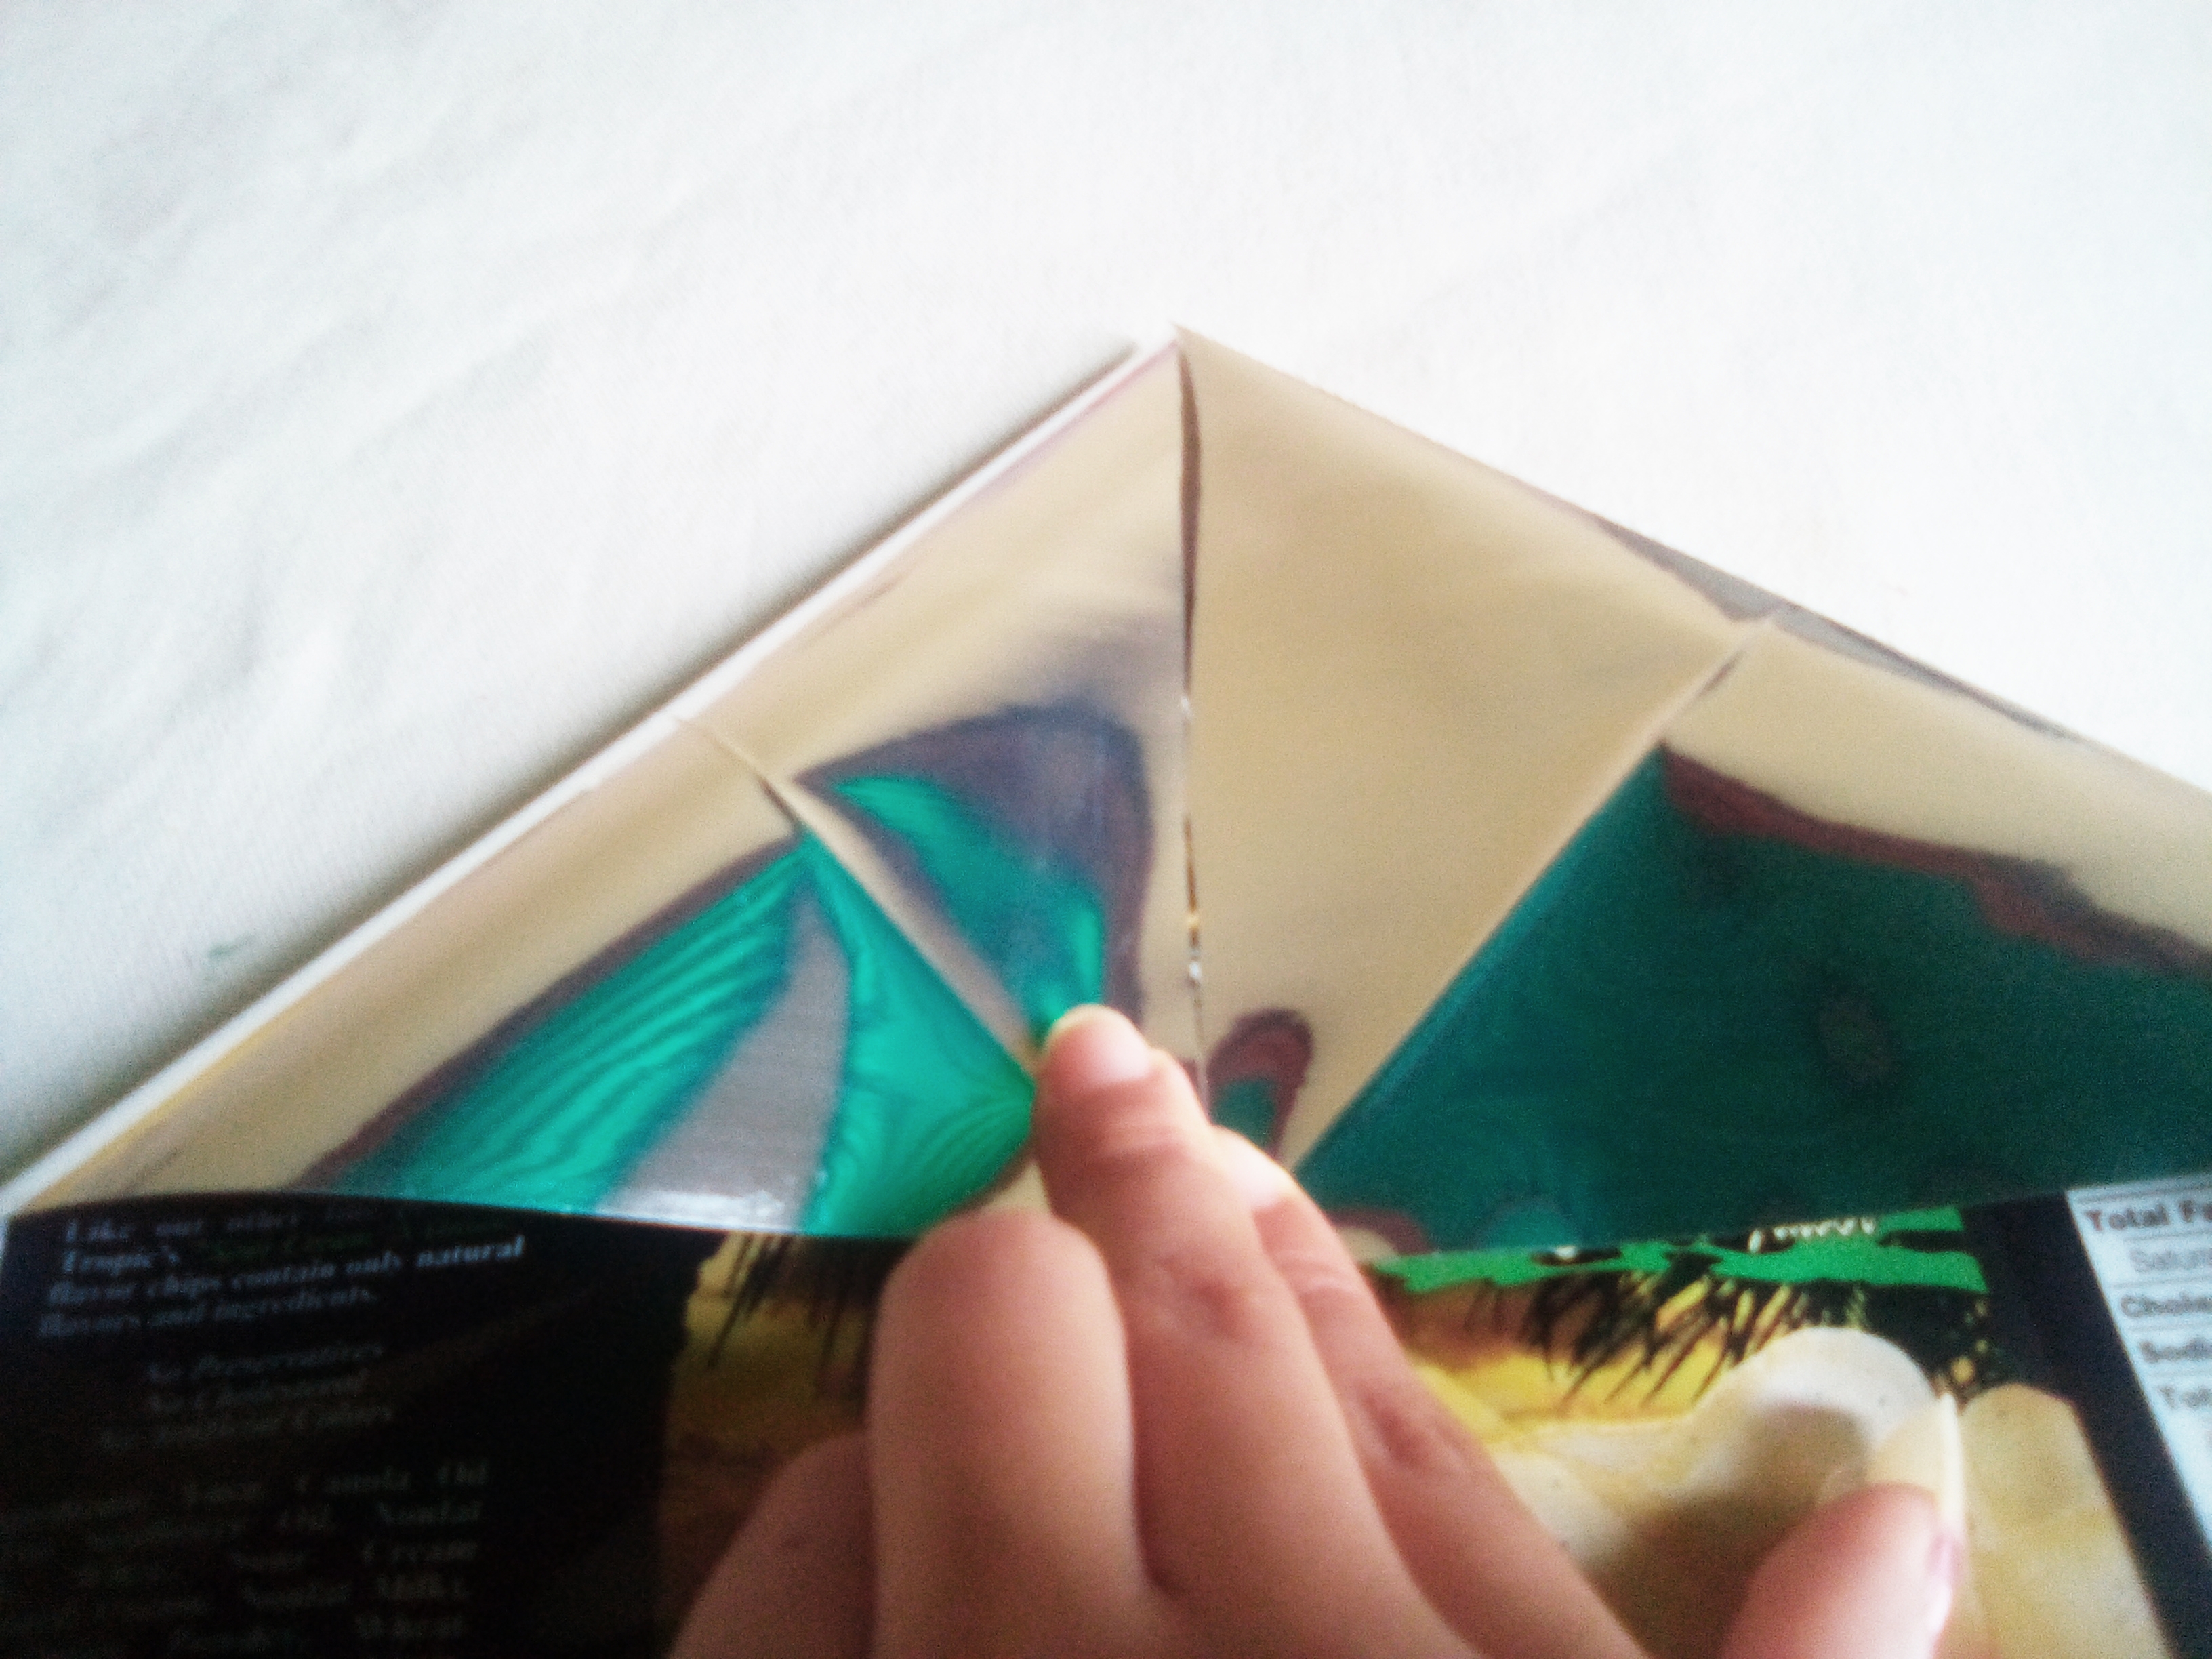
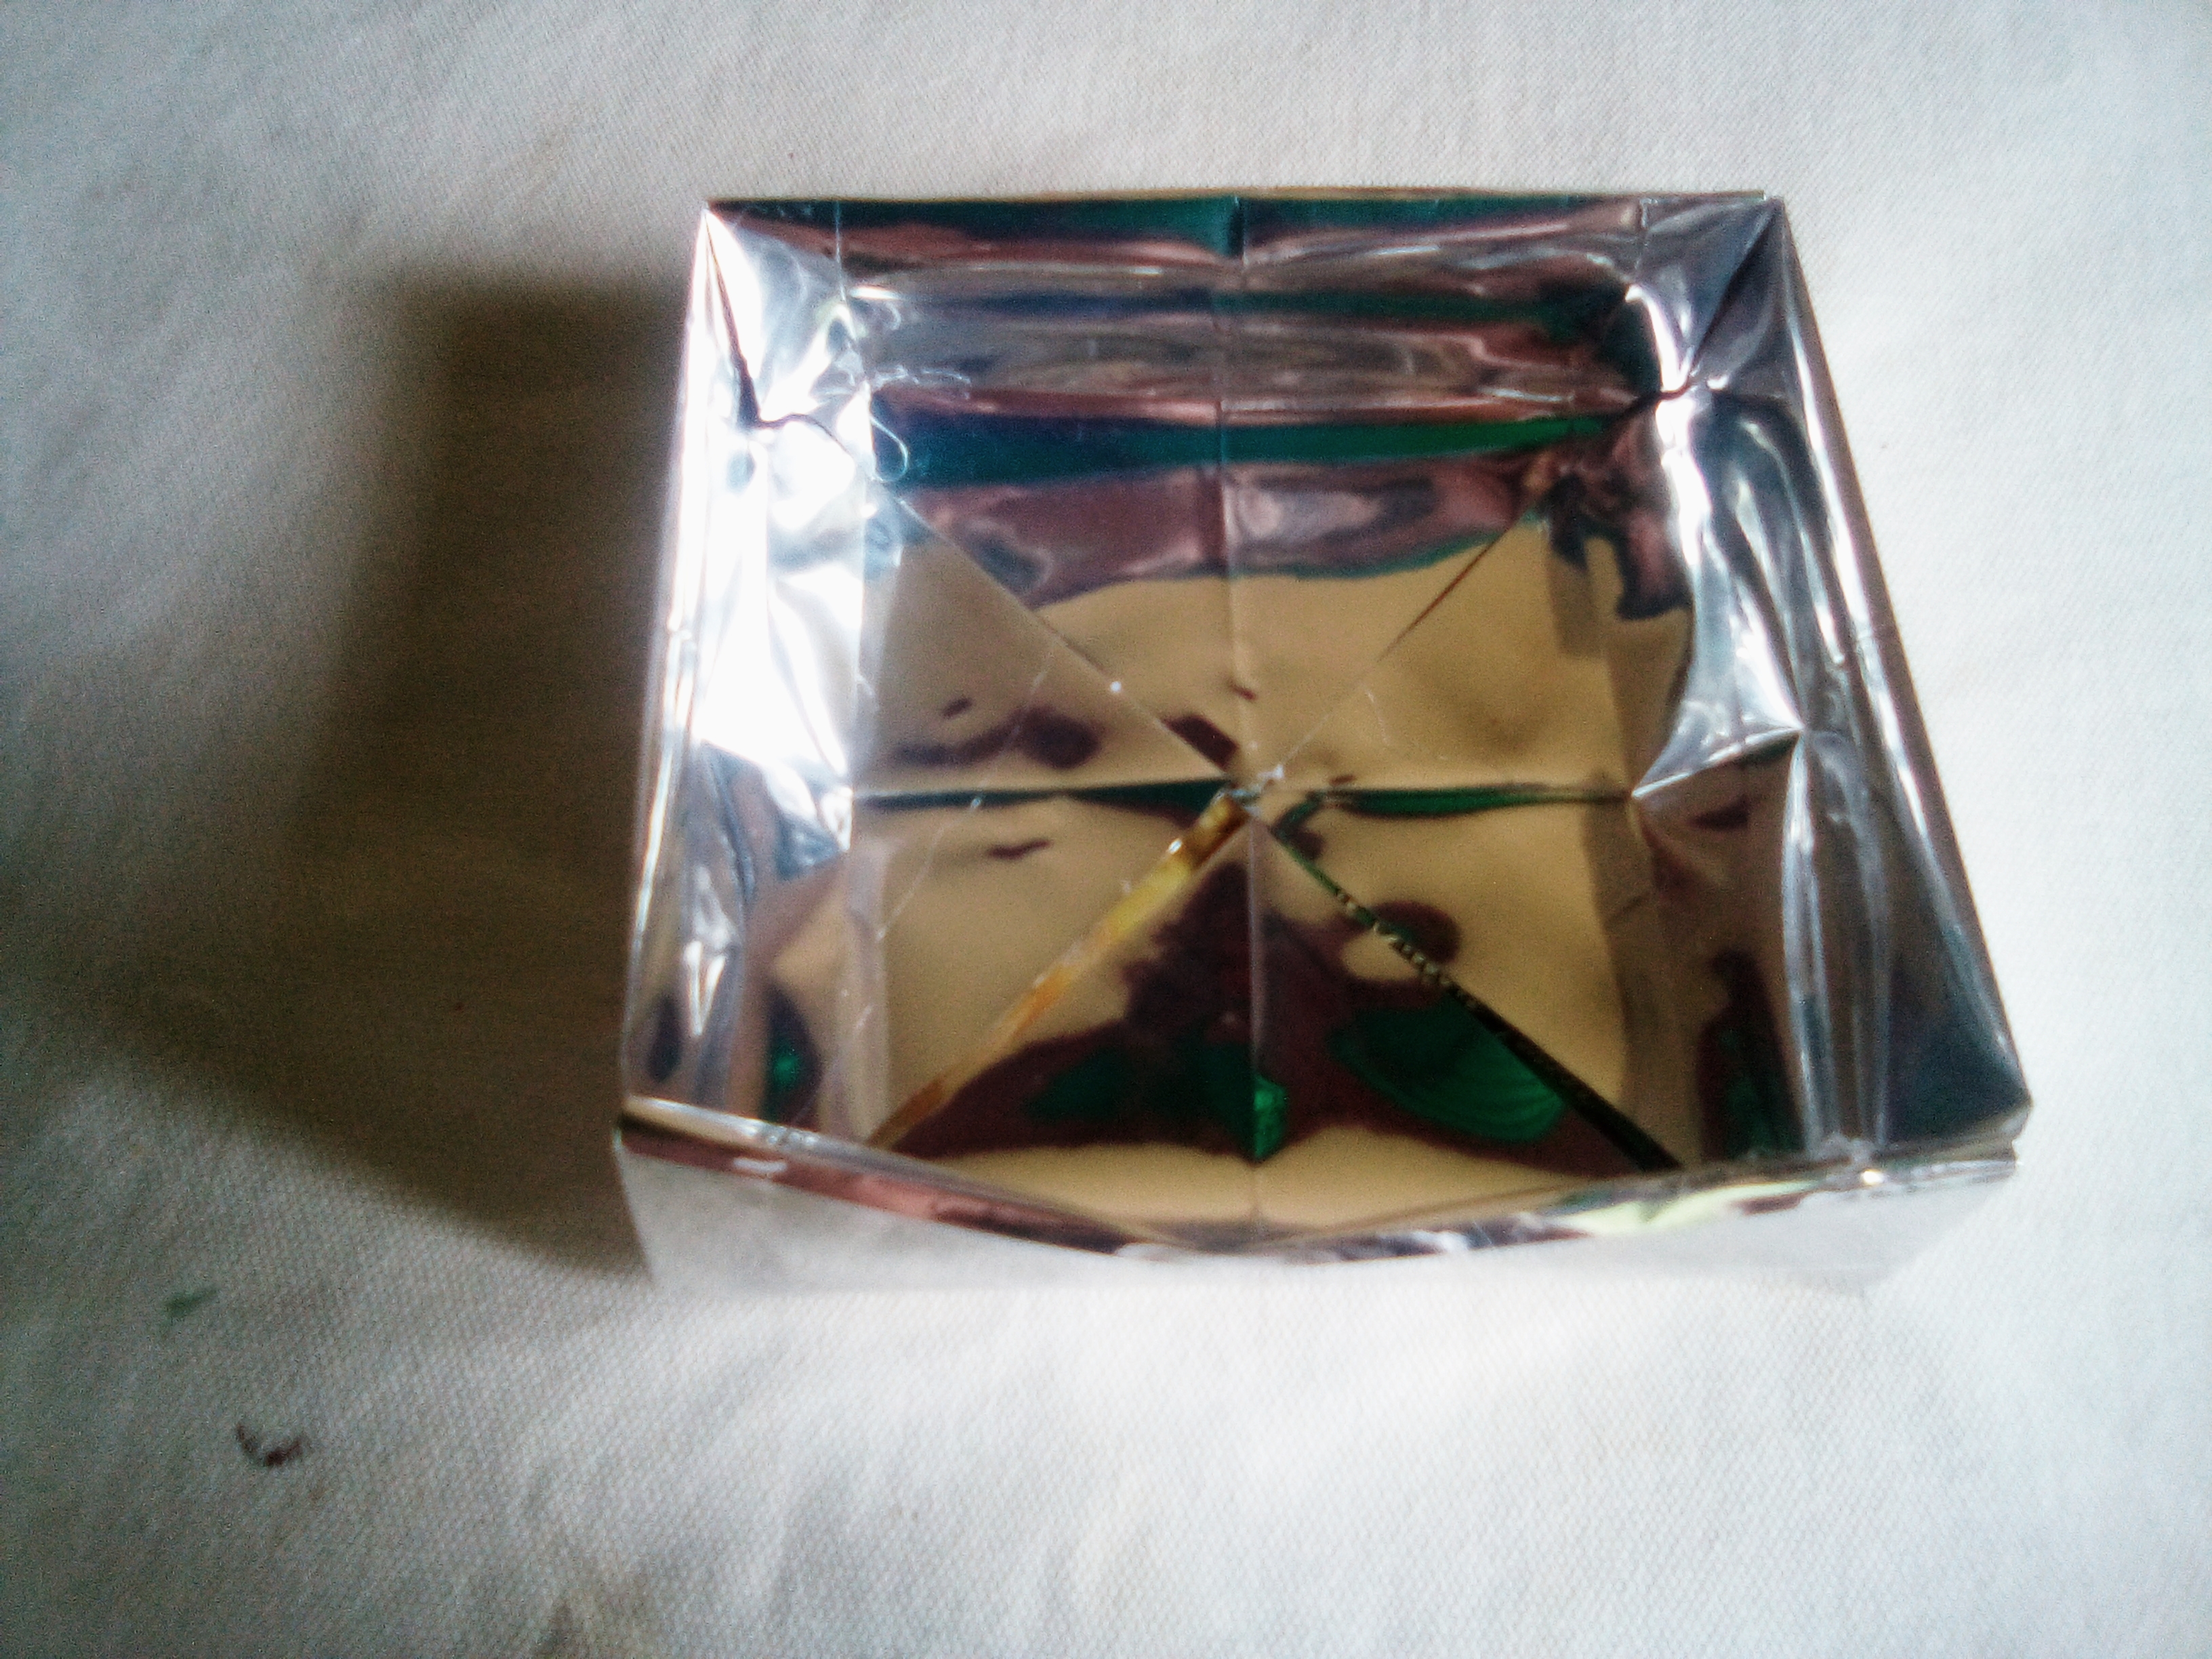
Paso#3
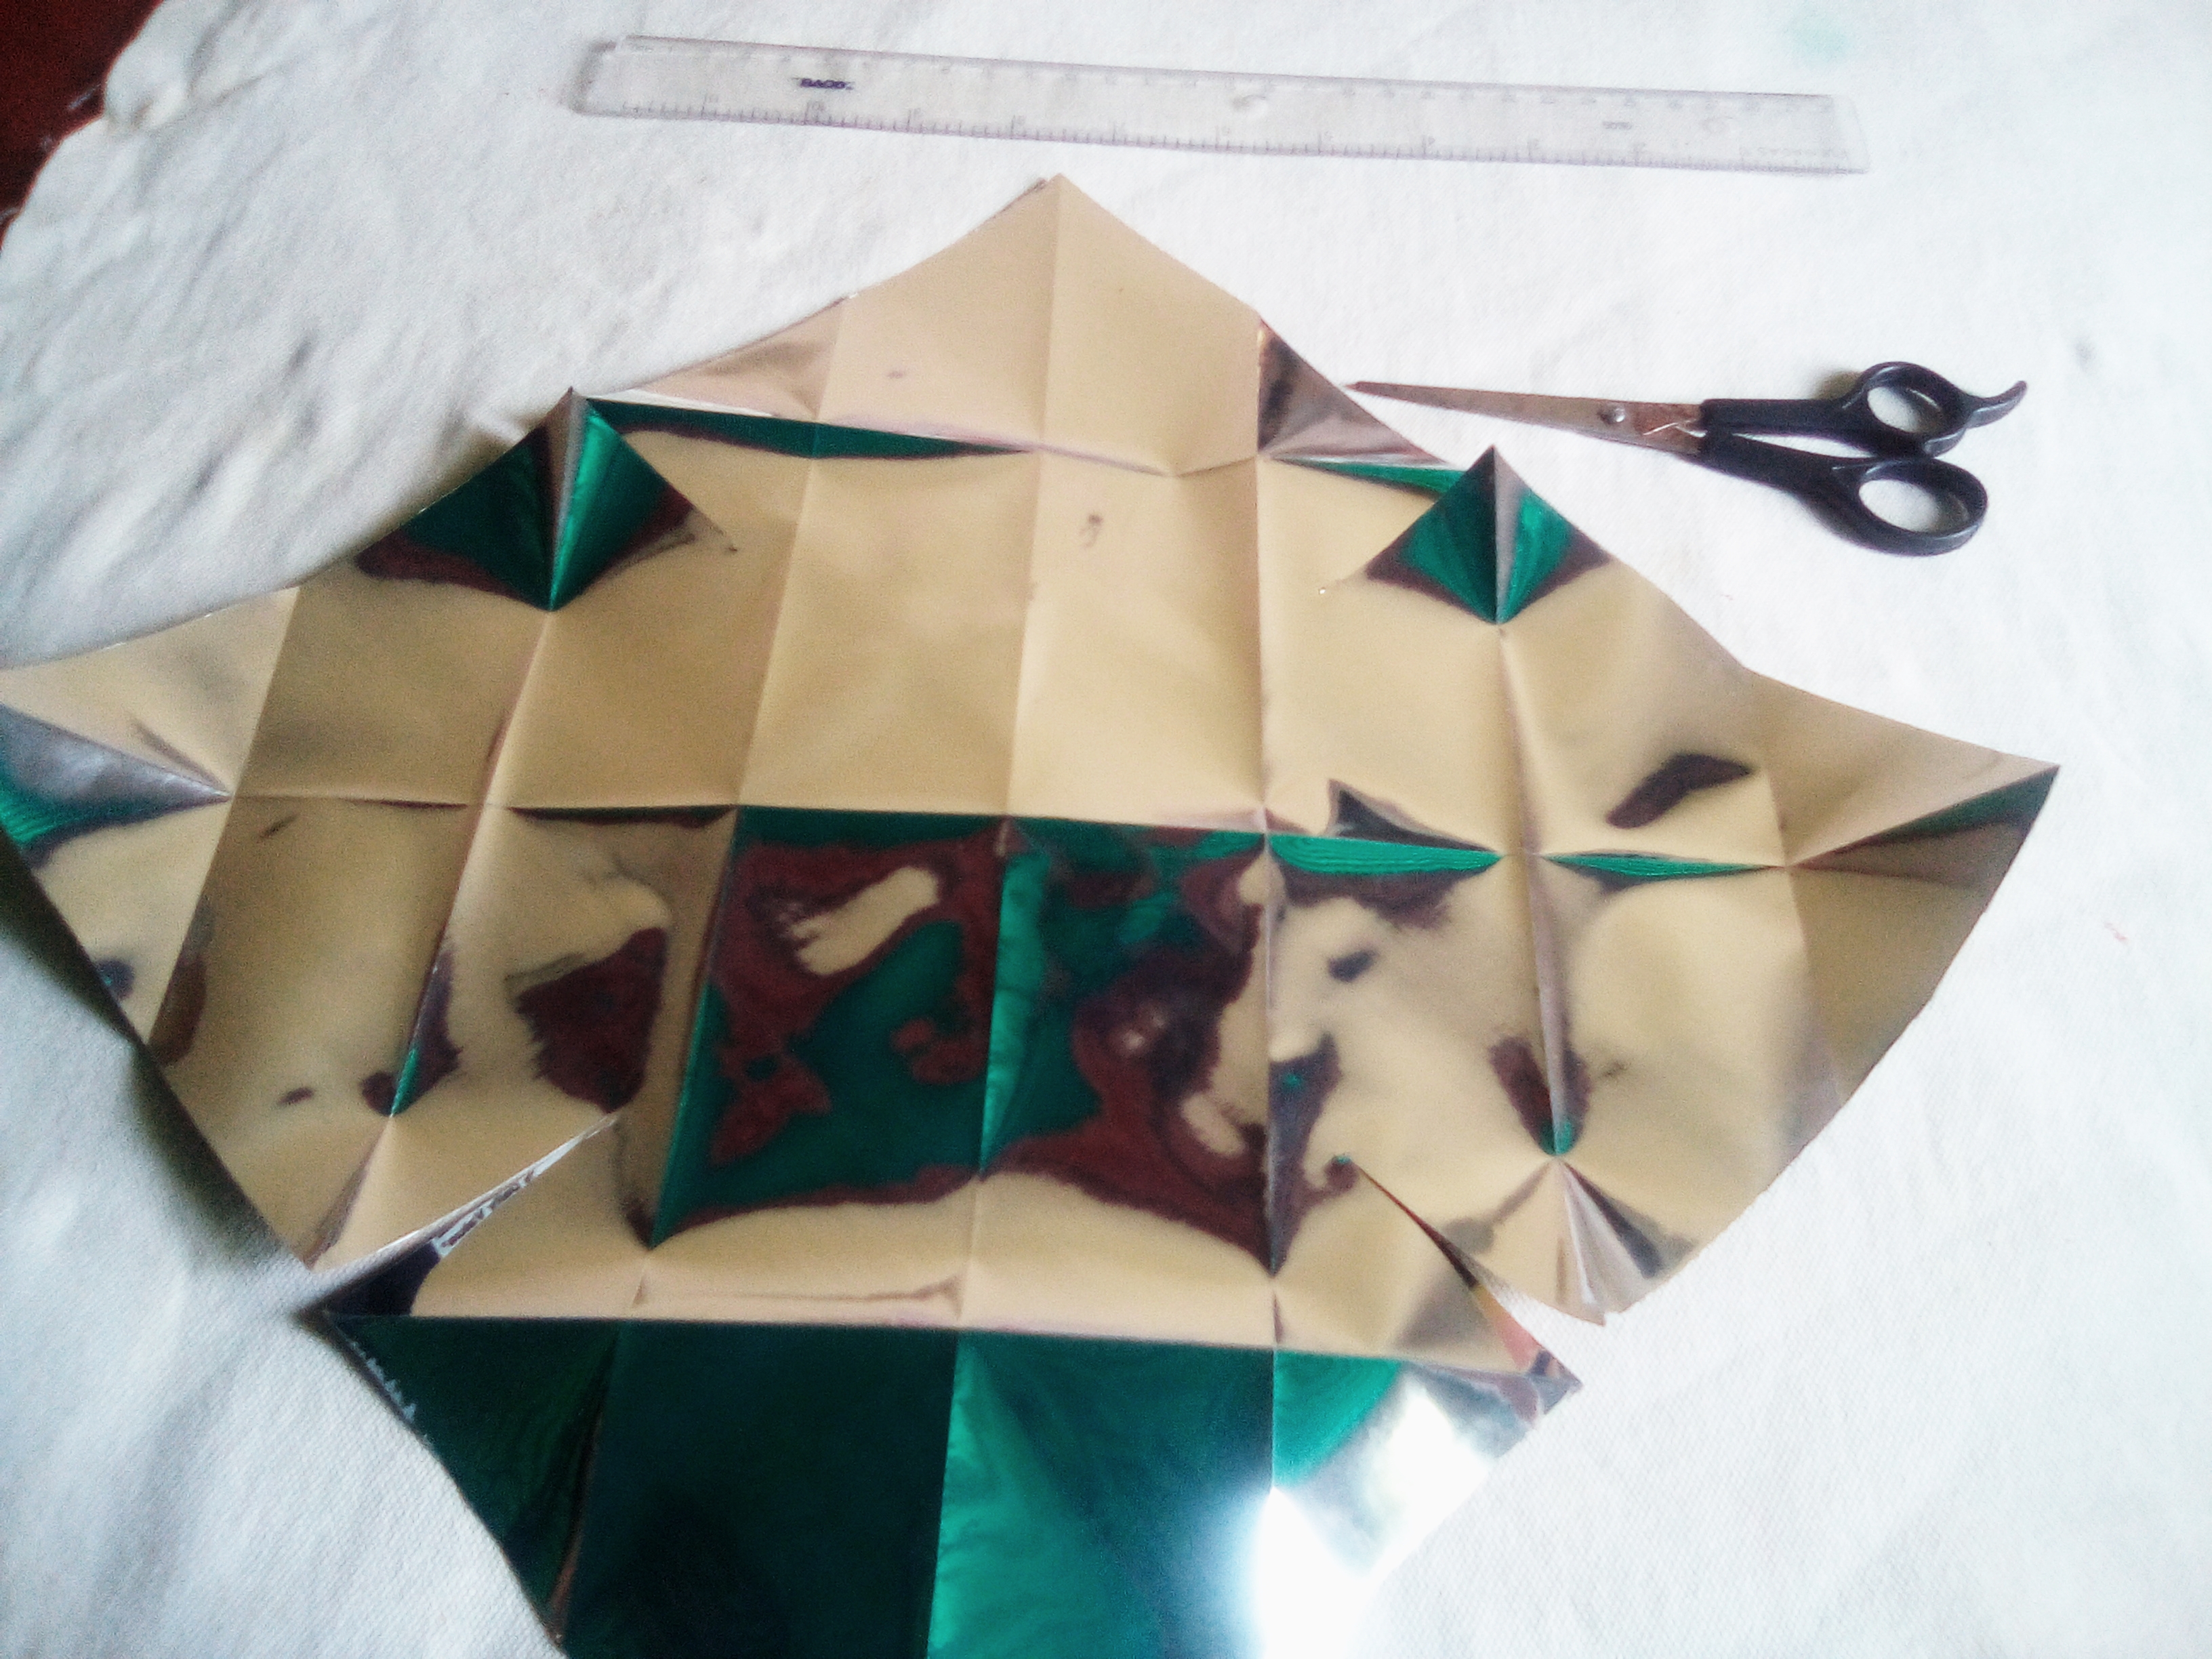
Doblamos cada esquina hacia el centro, donde los pliegues se cruzan se debería de terminar con un cuadrado más pequeño, luego se dobla un borde del cuadrado hacia adentro, de igual manera el otro borde.
Step # 3 We fold each corner towards the center, where the folds intersect, it should end with a smaller square, then one edge of the square is folded inwards, as well as the other edge.
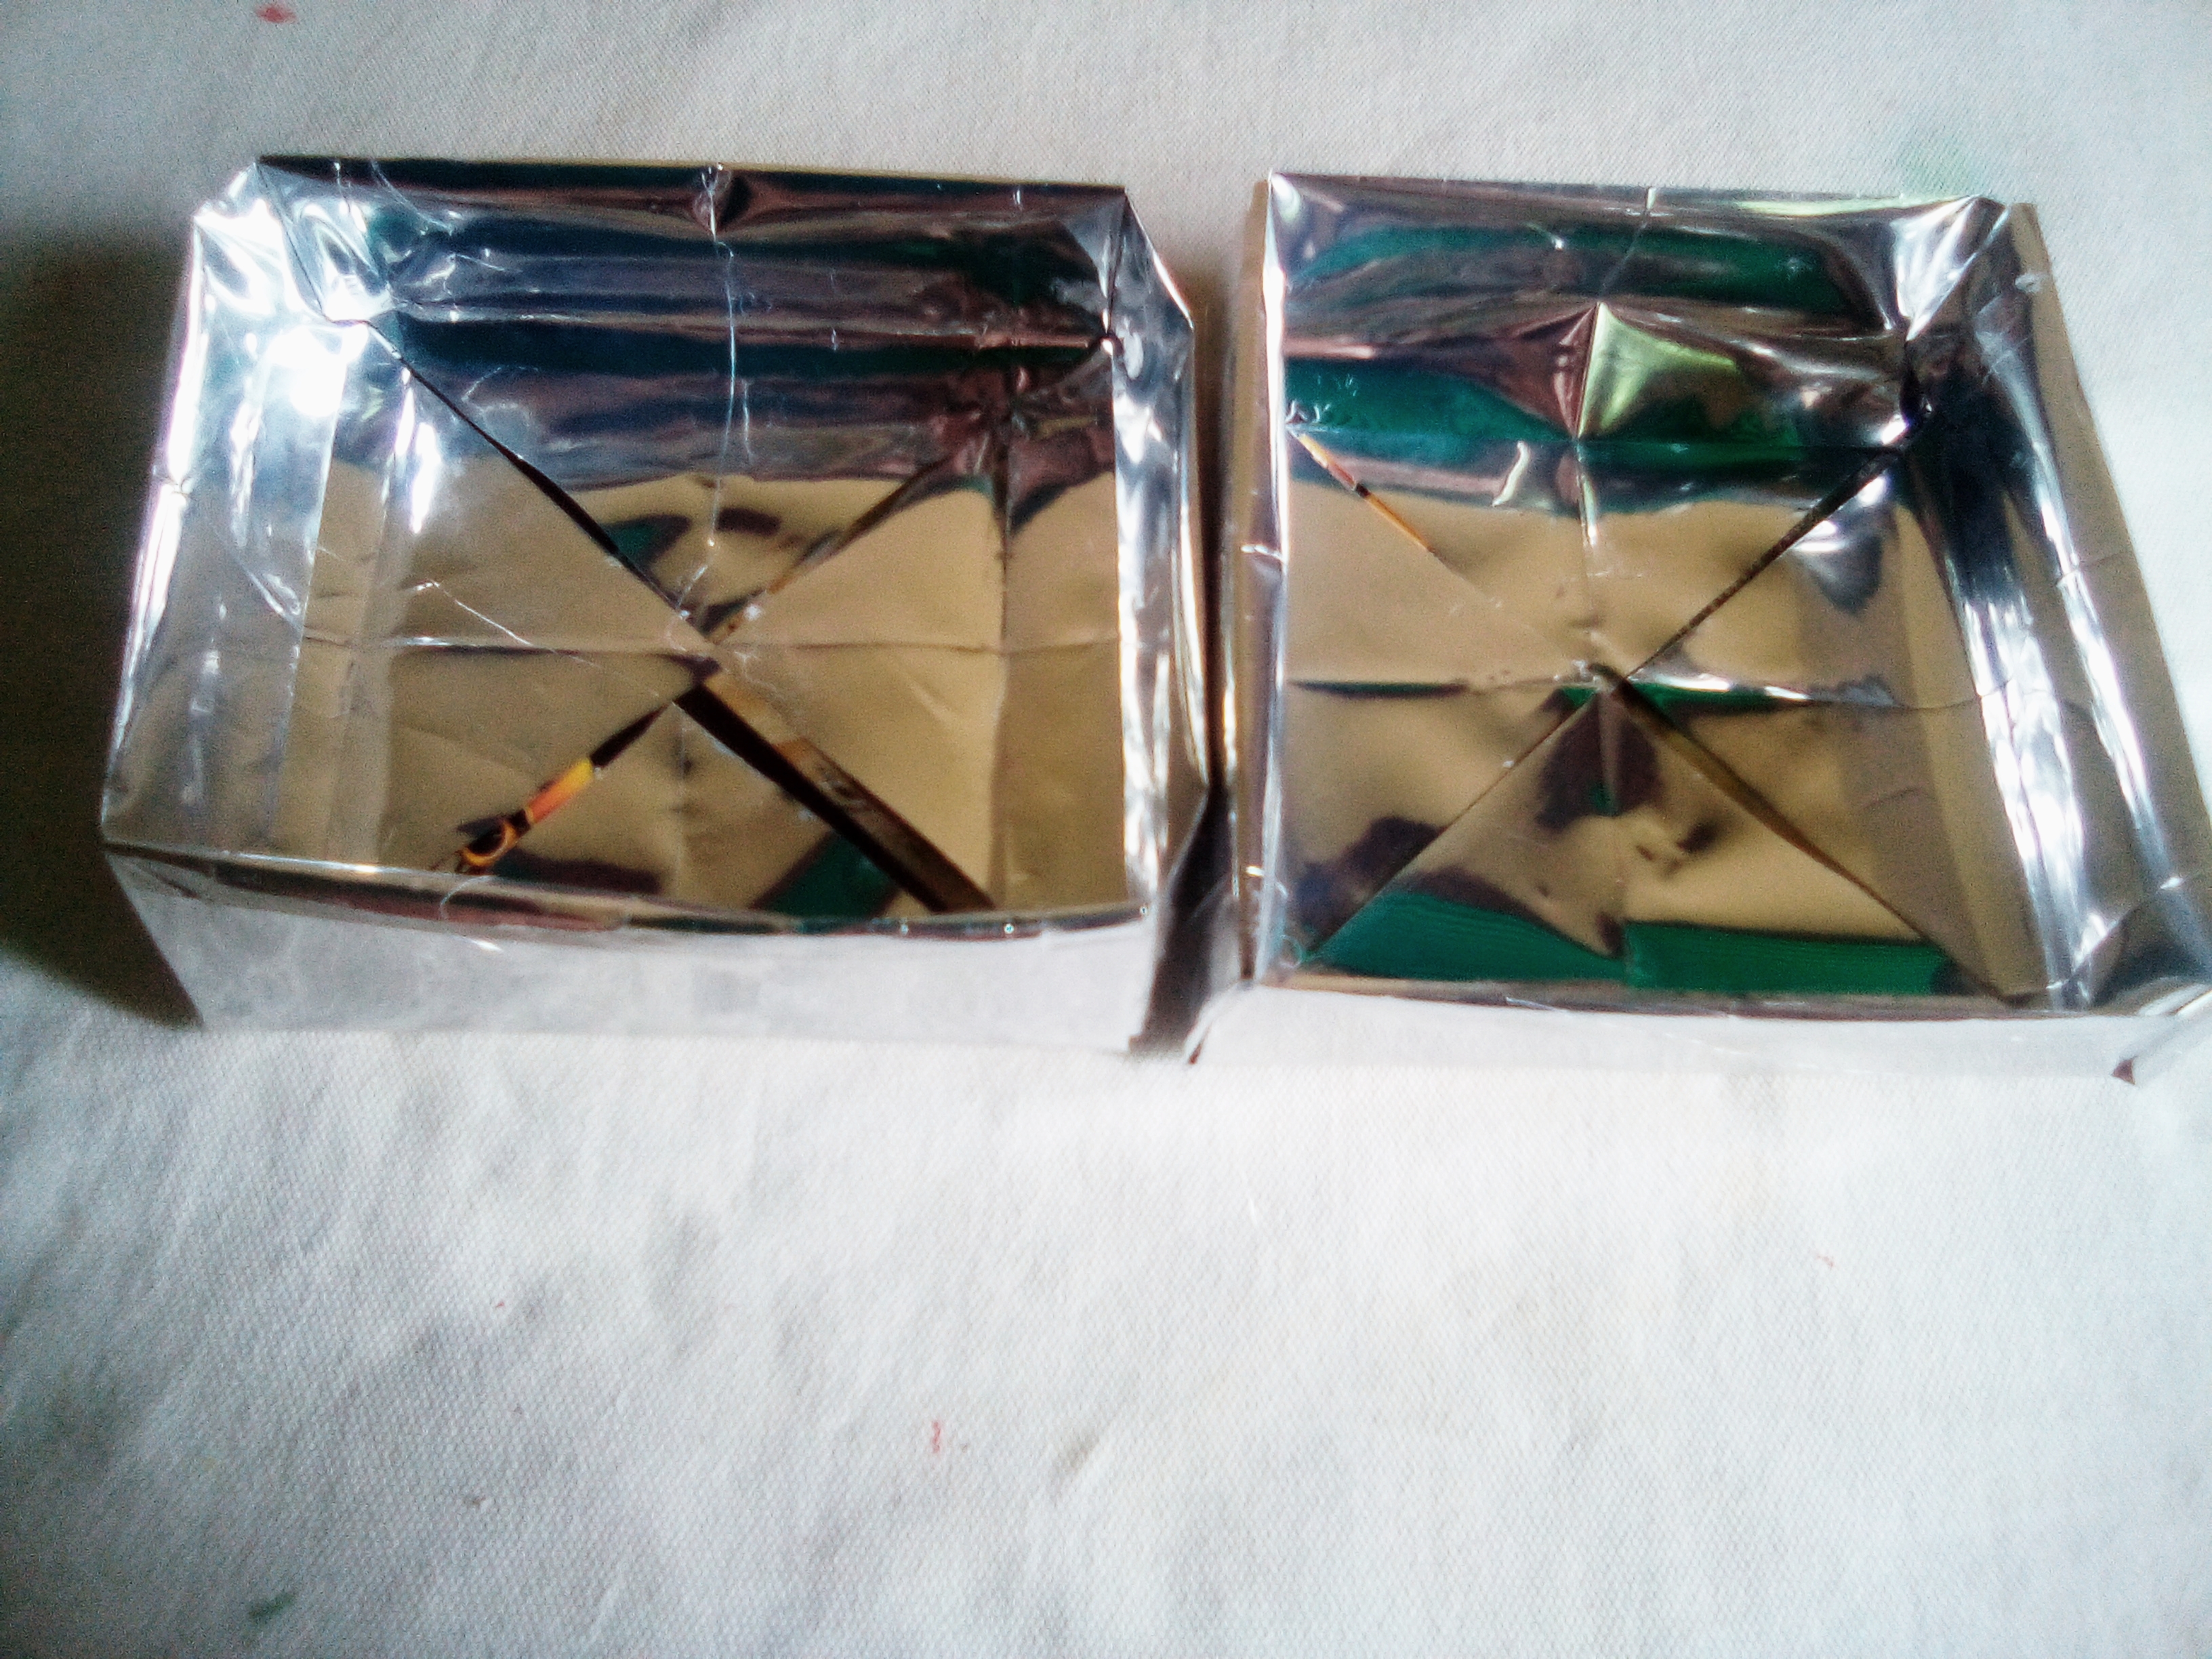
Paso#4
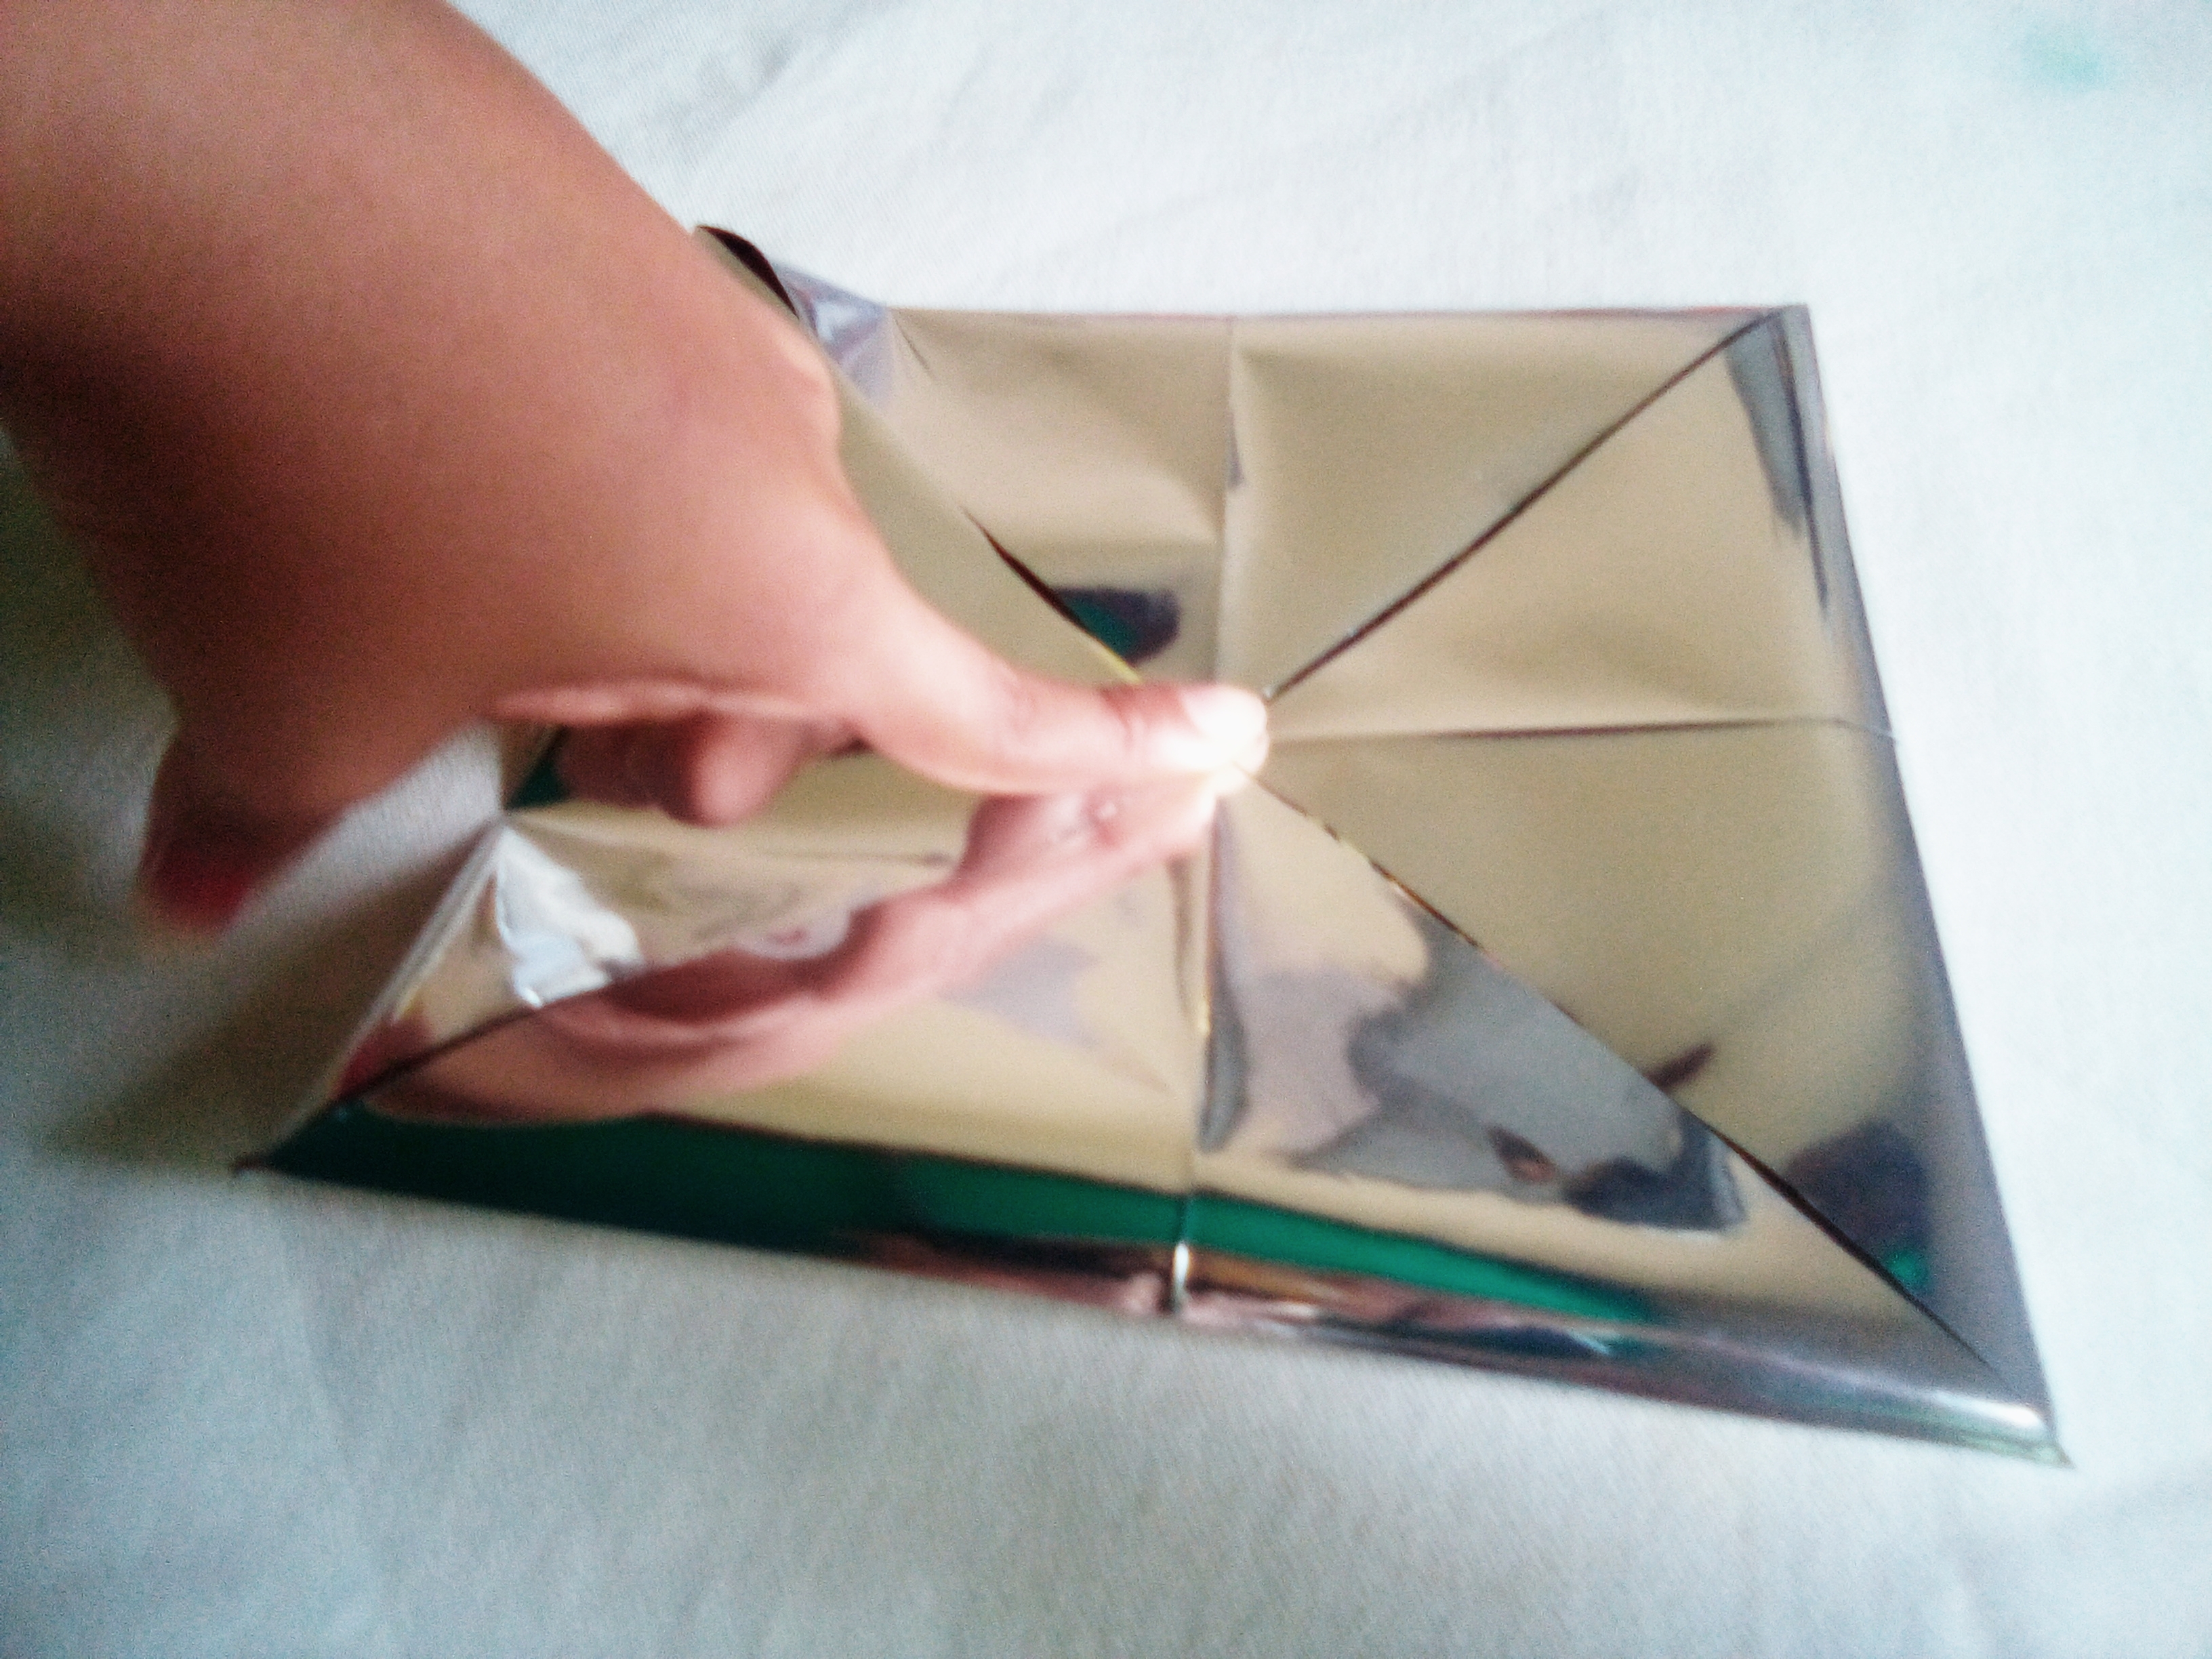
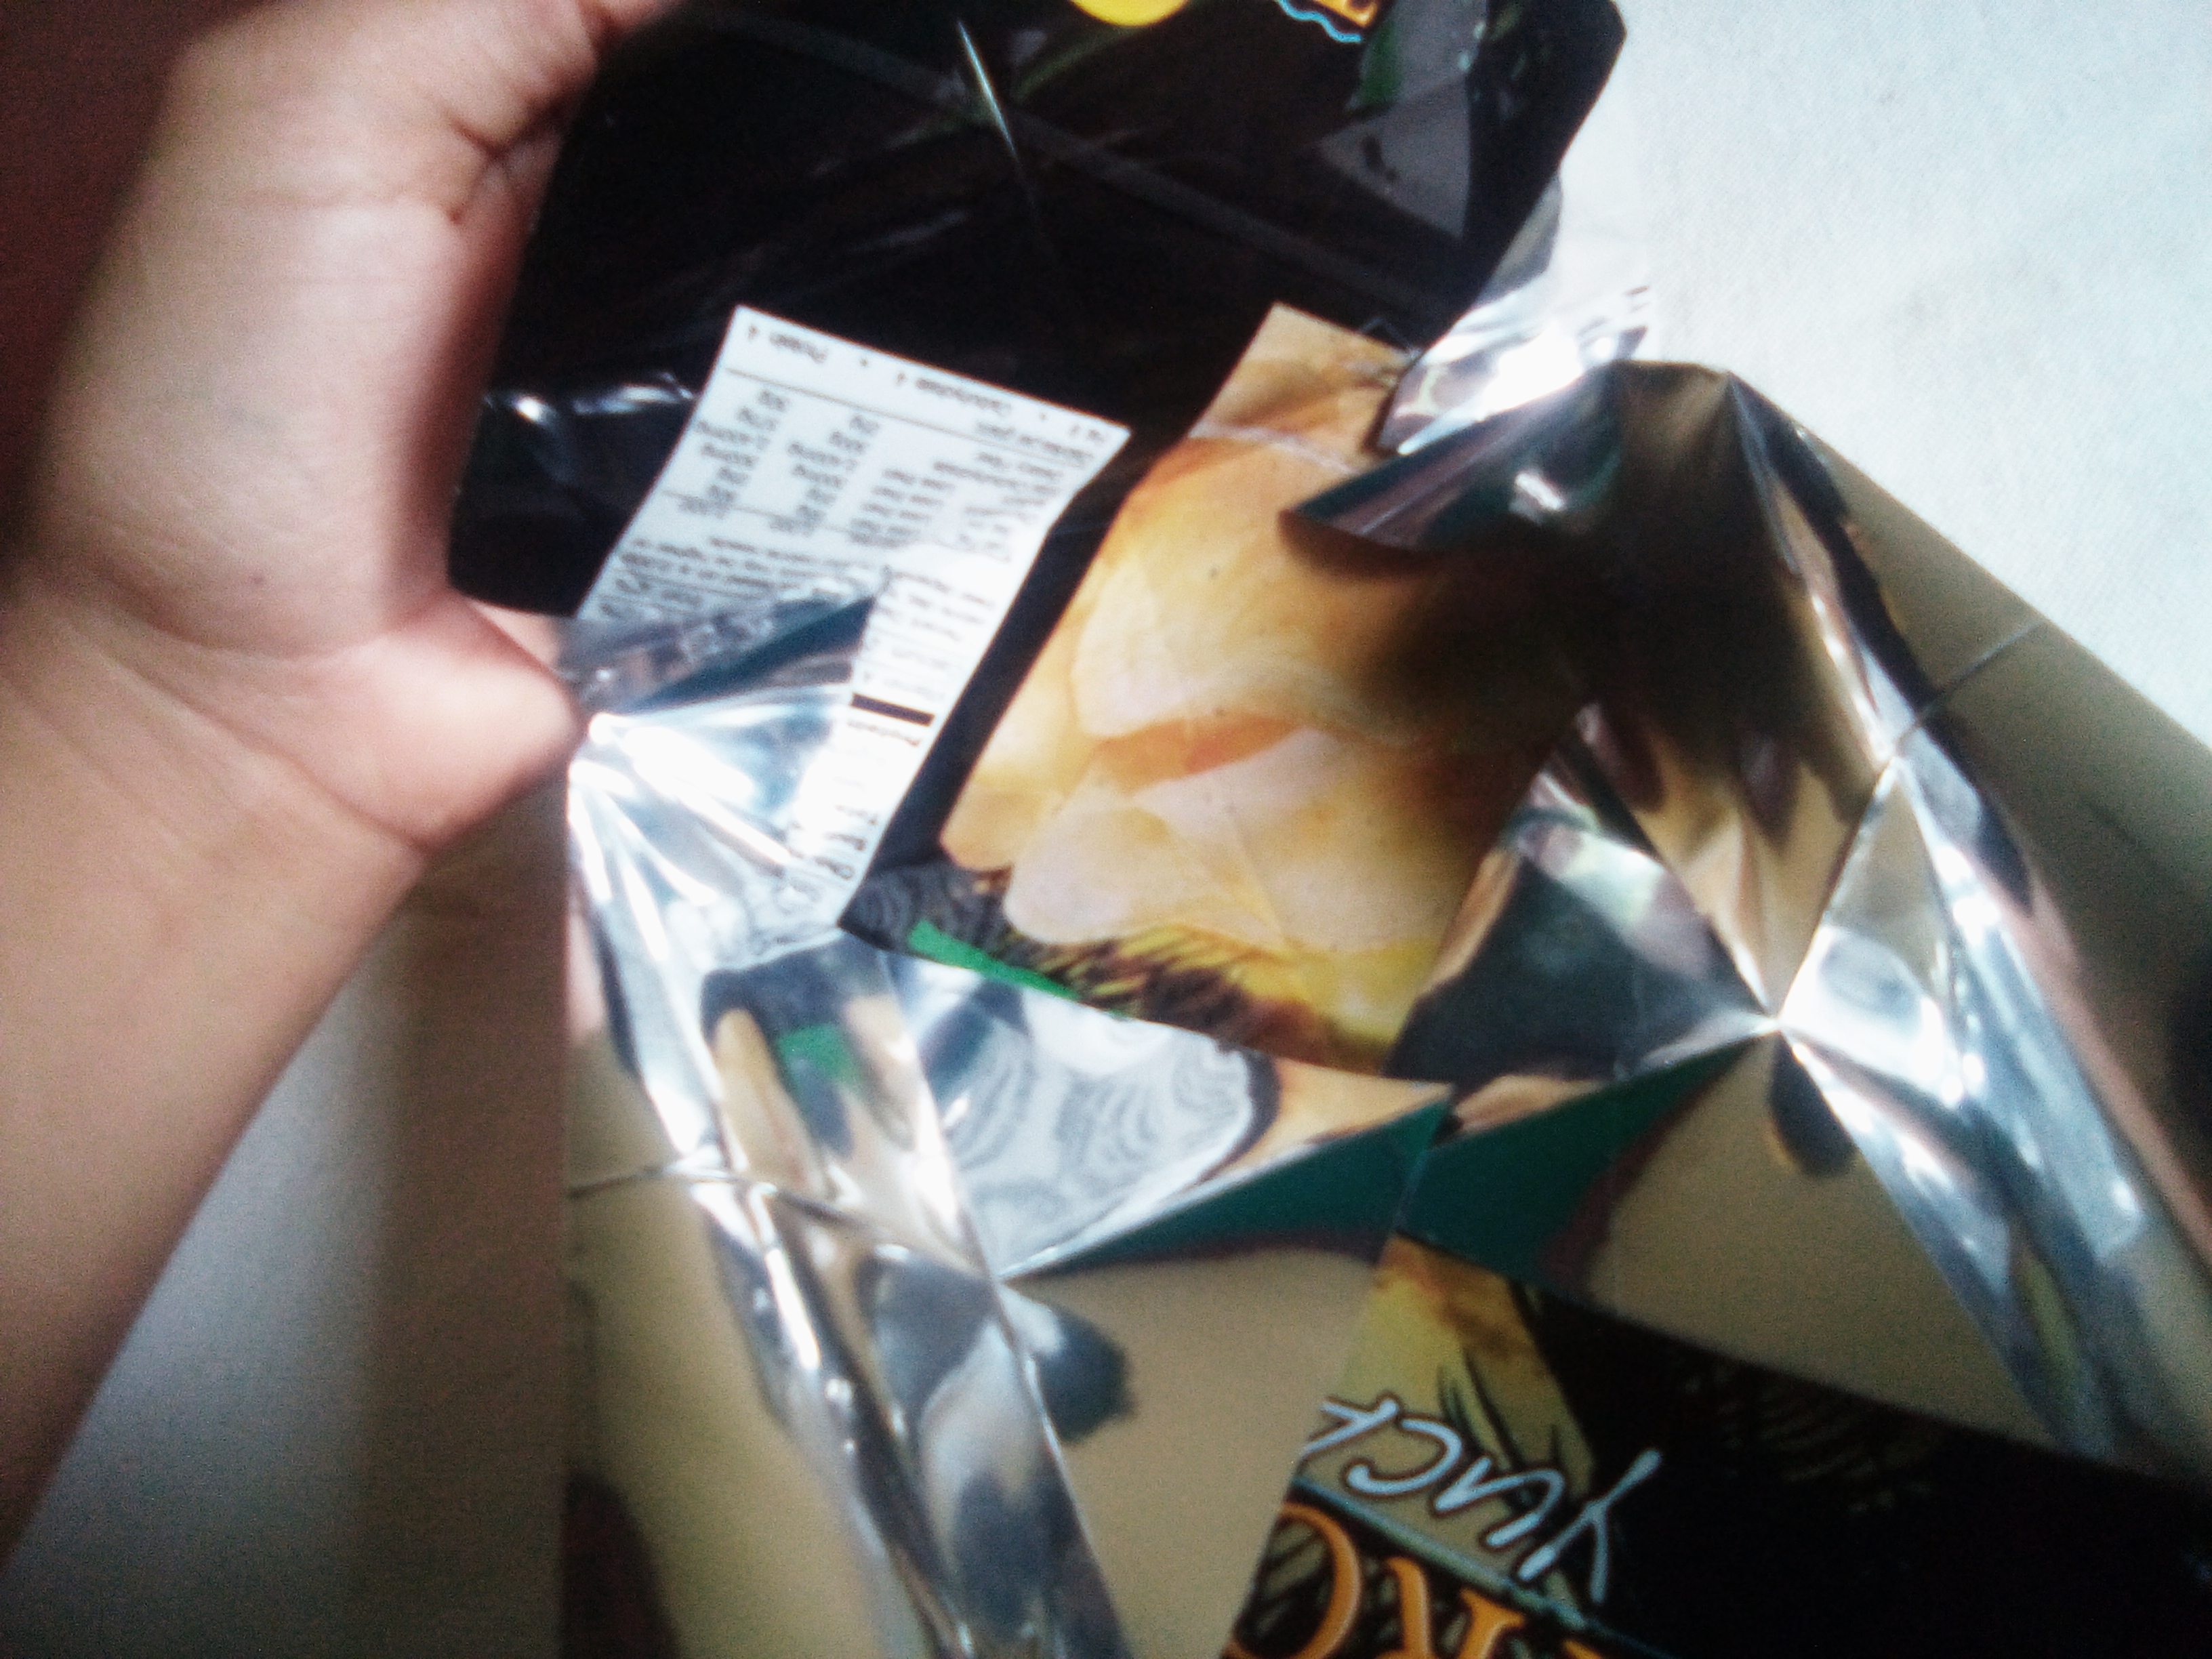
Abrimos totalmente dos de las esquinas que habíamos doblado, se observa en que dirección van los pliegues y abrimos solo esas dos esquinas, doblamos el borde superior en el centro como se muestra en la imagen dejando las dos esquinas abiertas, luego doblamos el inferior hacia el centro como en el paso anterior se abren los dos últimos pliegues doblados y tendremos tanto el piso y las paredes de nuestra caja.
Step # 4 We fully open two of the corners that we had folded, it is observed in which direction the folds go and we open only those two corners, we fold the upper edge in the center as shown in the image leaving the two corners open, then we fold the lower one towards the center as in the previous step, the last two folded folds are opened and we will have both the floor and the walls of our box.

Paso#5
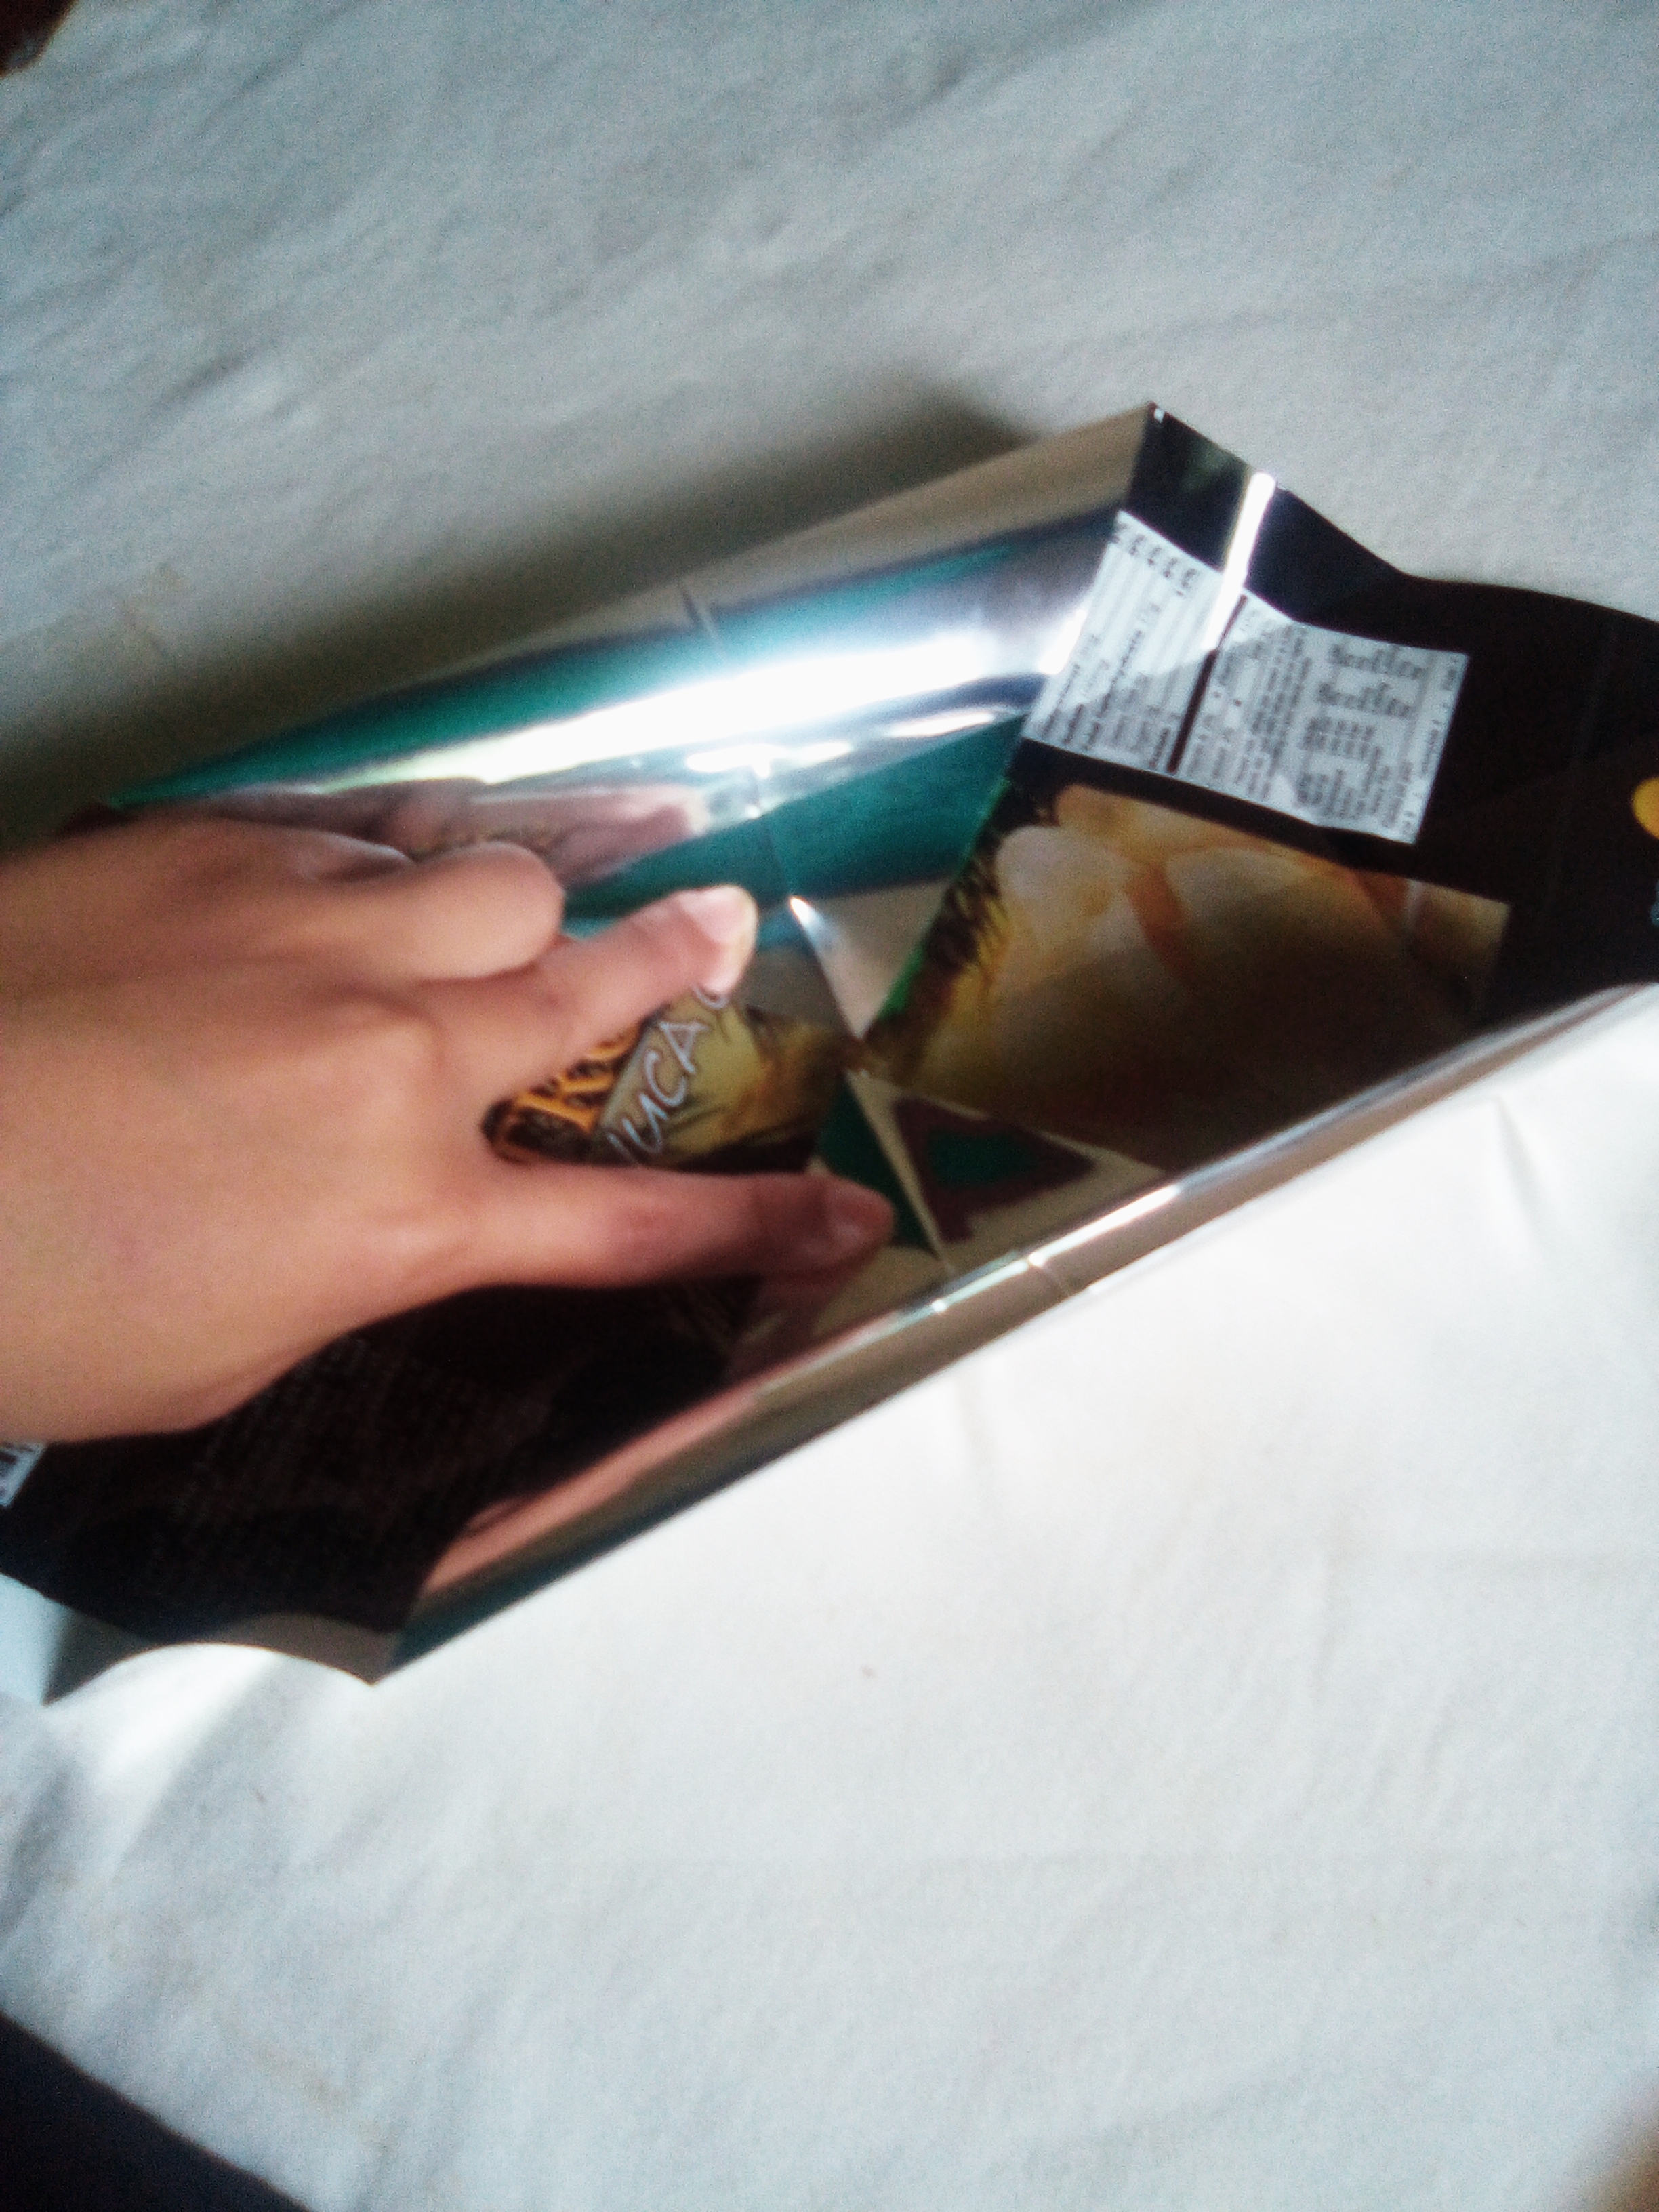
Recortamos un poco en los extremos y pegamos las puntas que salen de las esquinas como se muestra en la imagen, intenta que las esquinas te queden en el centro del piso de la caja junto con los otros dos, y se hace lo mismo con el otro lado encontrandote con las otras puntas en el centro.
Step # 5 We cut a little at the ends and glue the tips that come out of the corners as shown in the image, try that the corners are in the center of the floor of the box together with the other two, and do the same with the other side meeting the other tips in the center.
Paso#6
Luego haremos el mismo procedimiento que ya hemos hecho anteriormente para la tapa de la caja usando otro pedazo de papel del mismo tamaño.
Step # 6 Then we will do the same procedure that we have done previously for the lid of the box using another piece of paper of the same size.
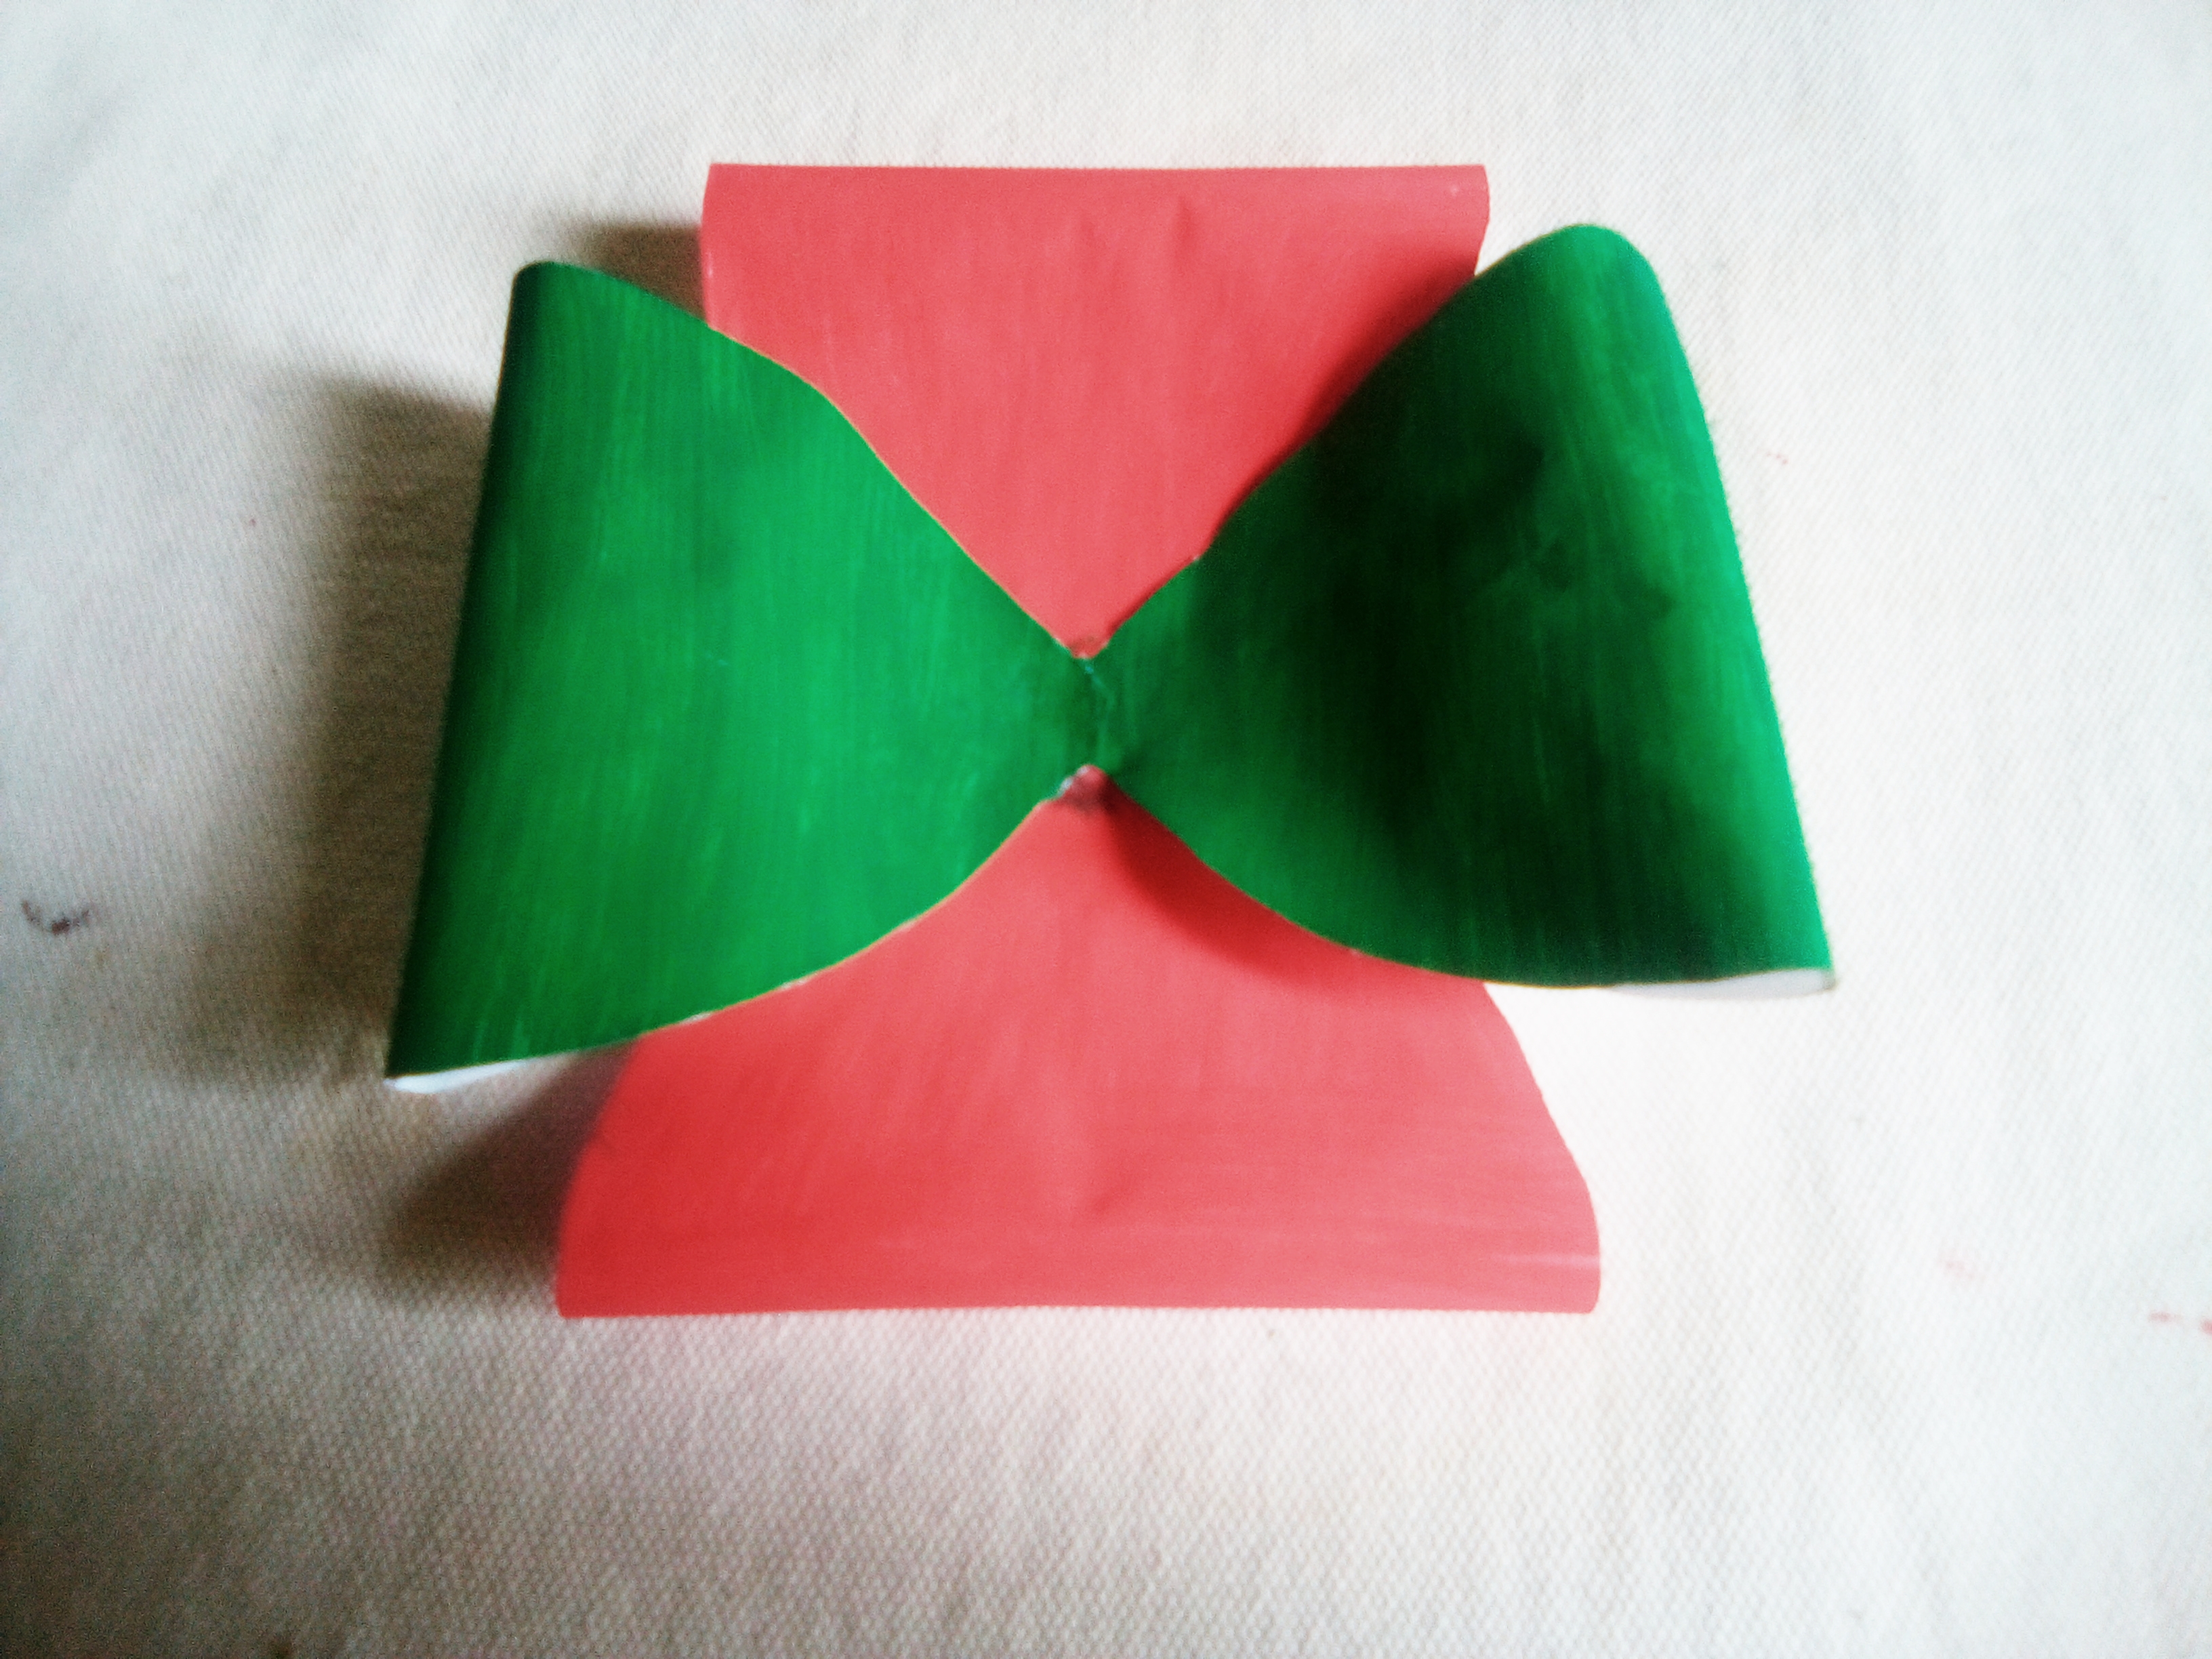
Paso#7
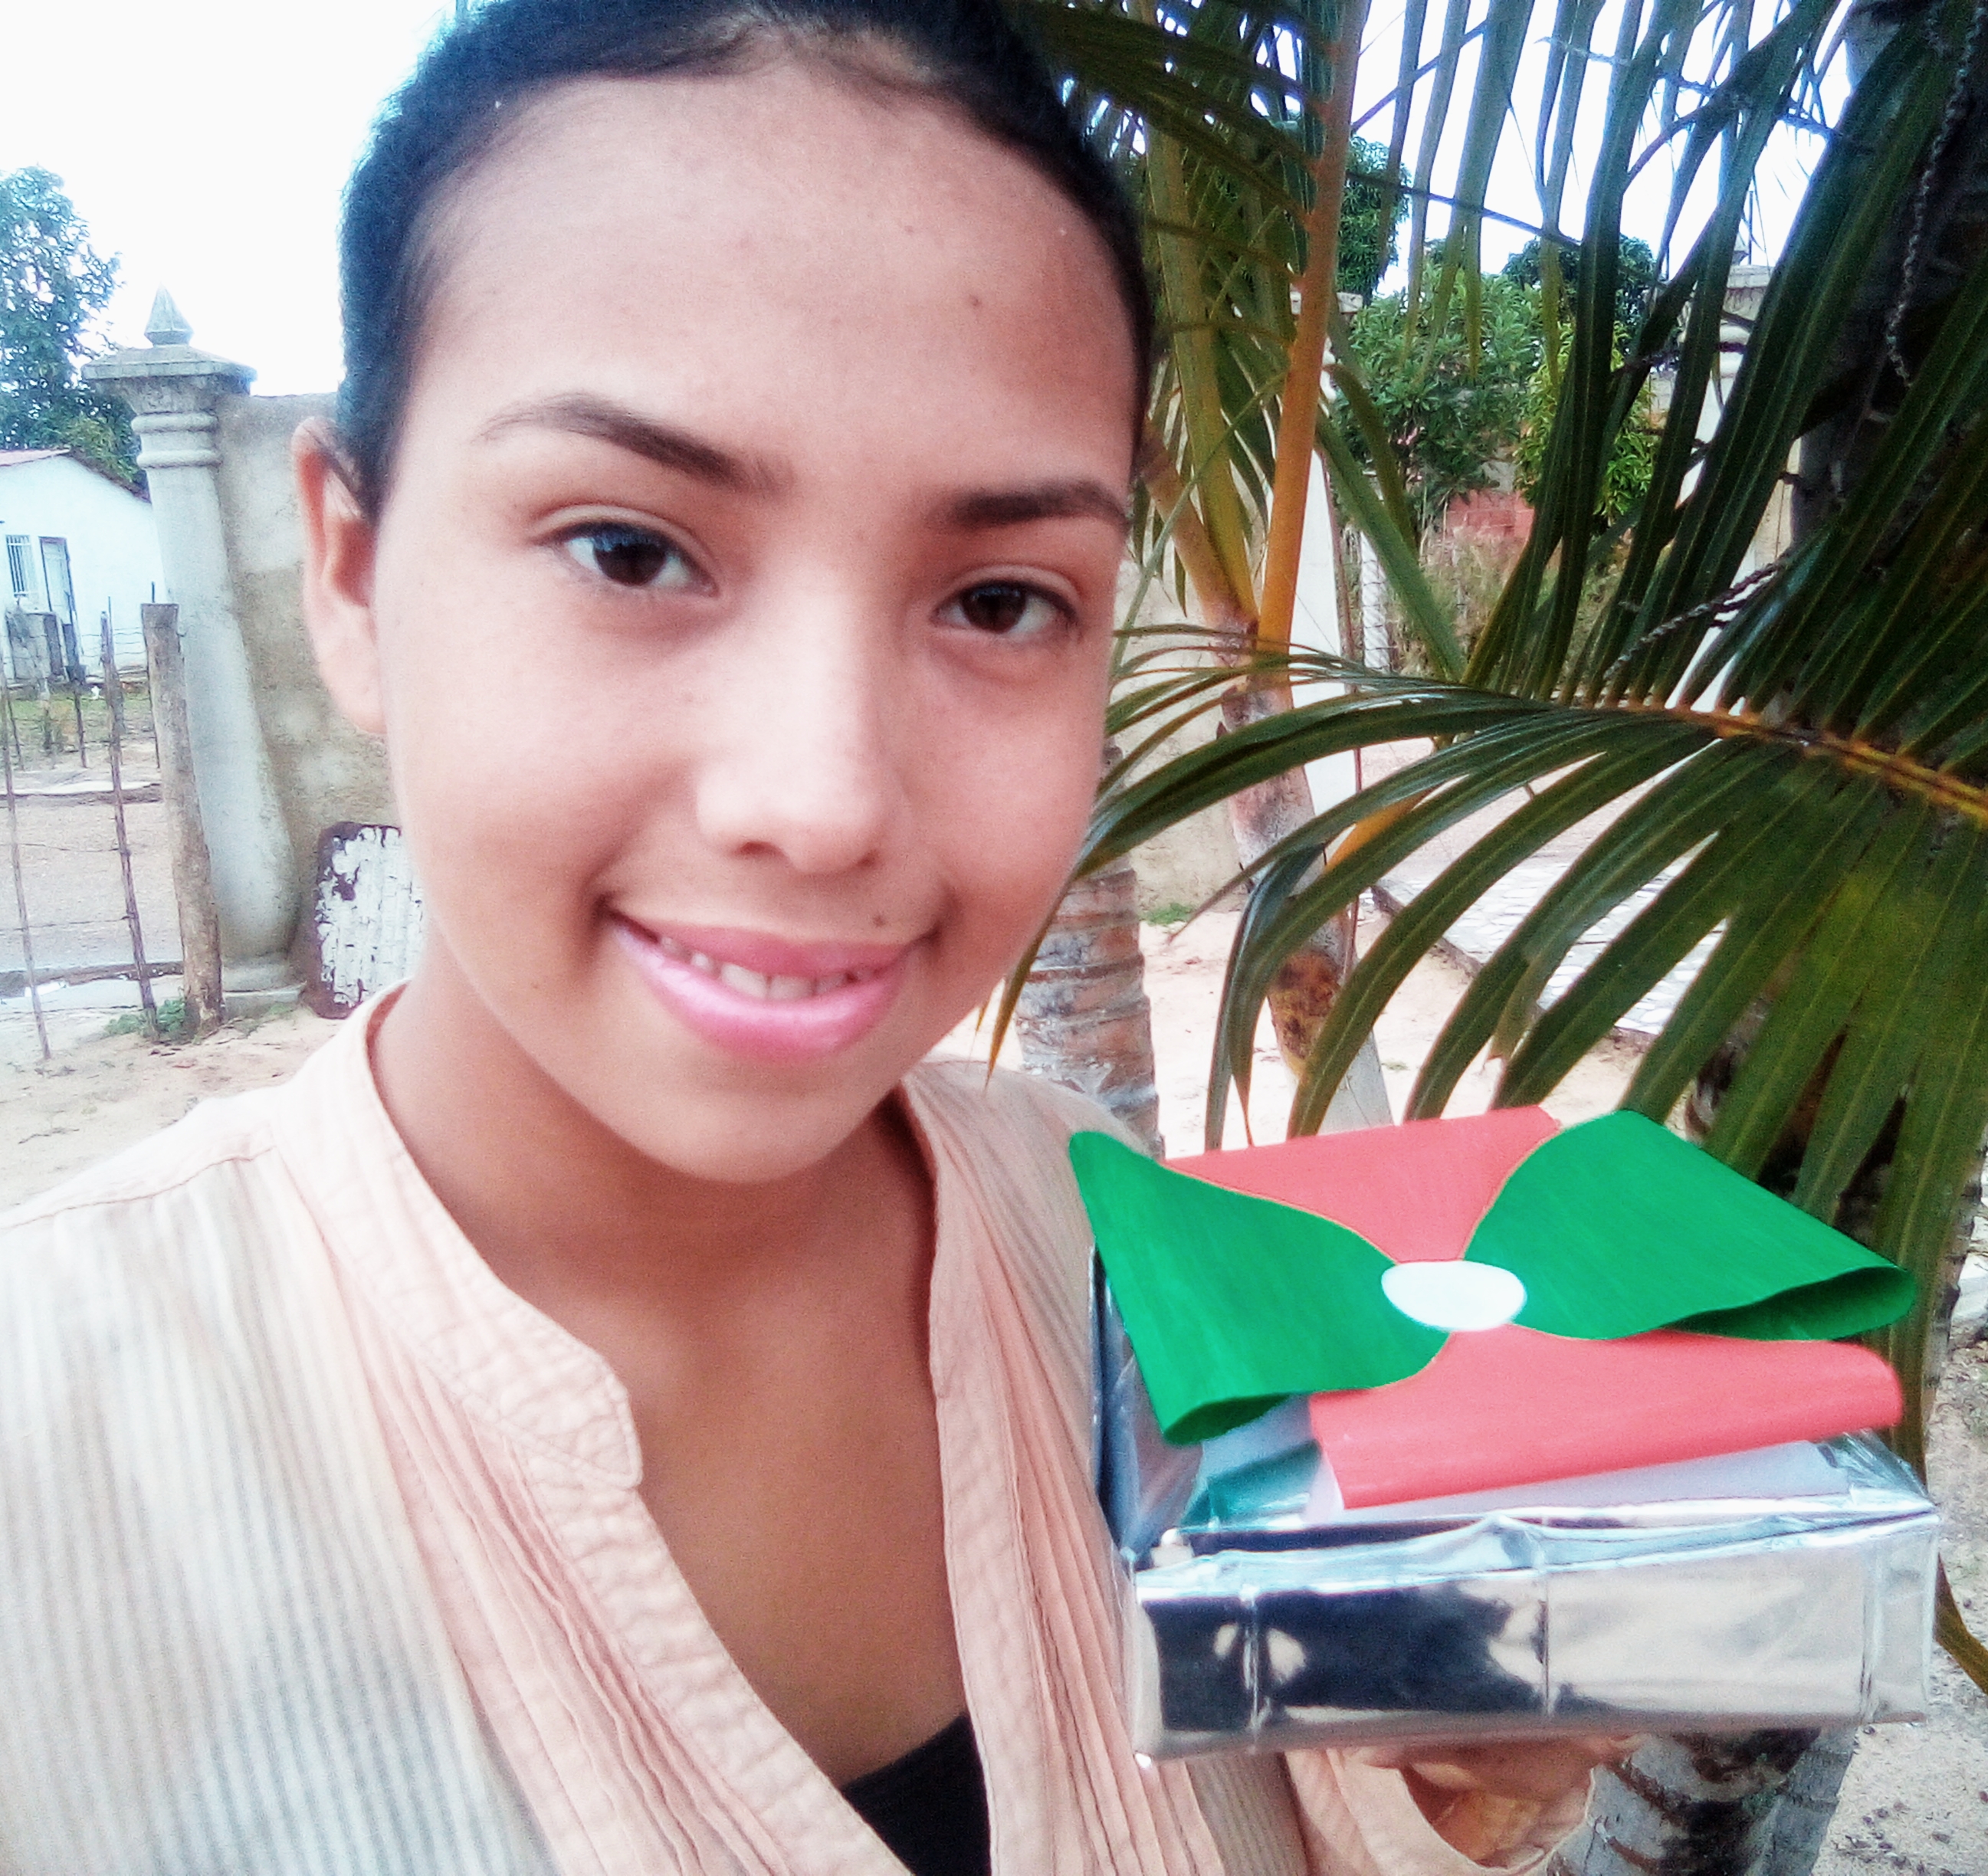
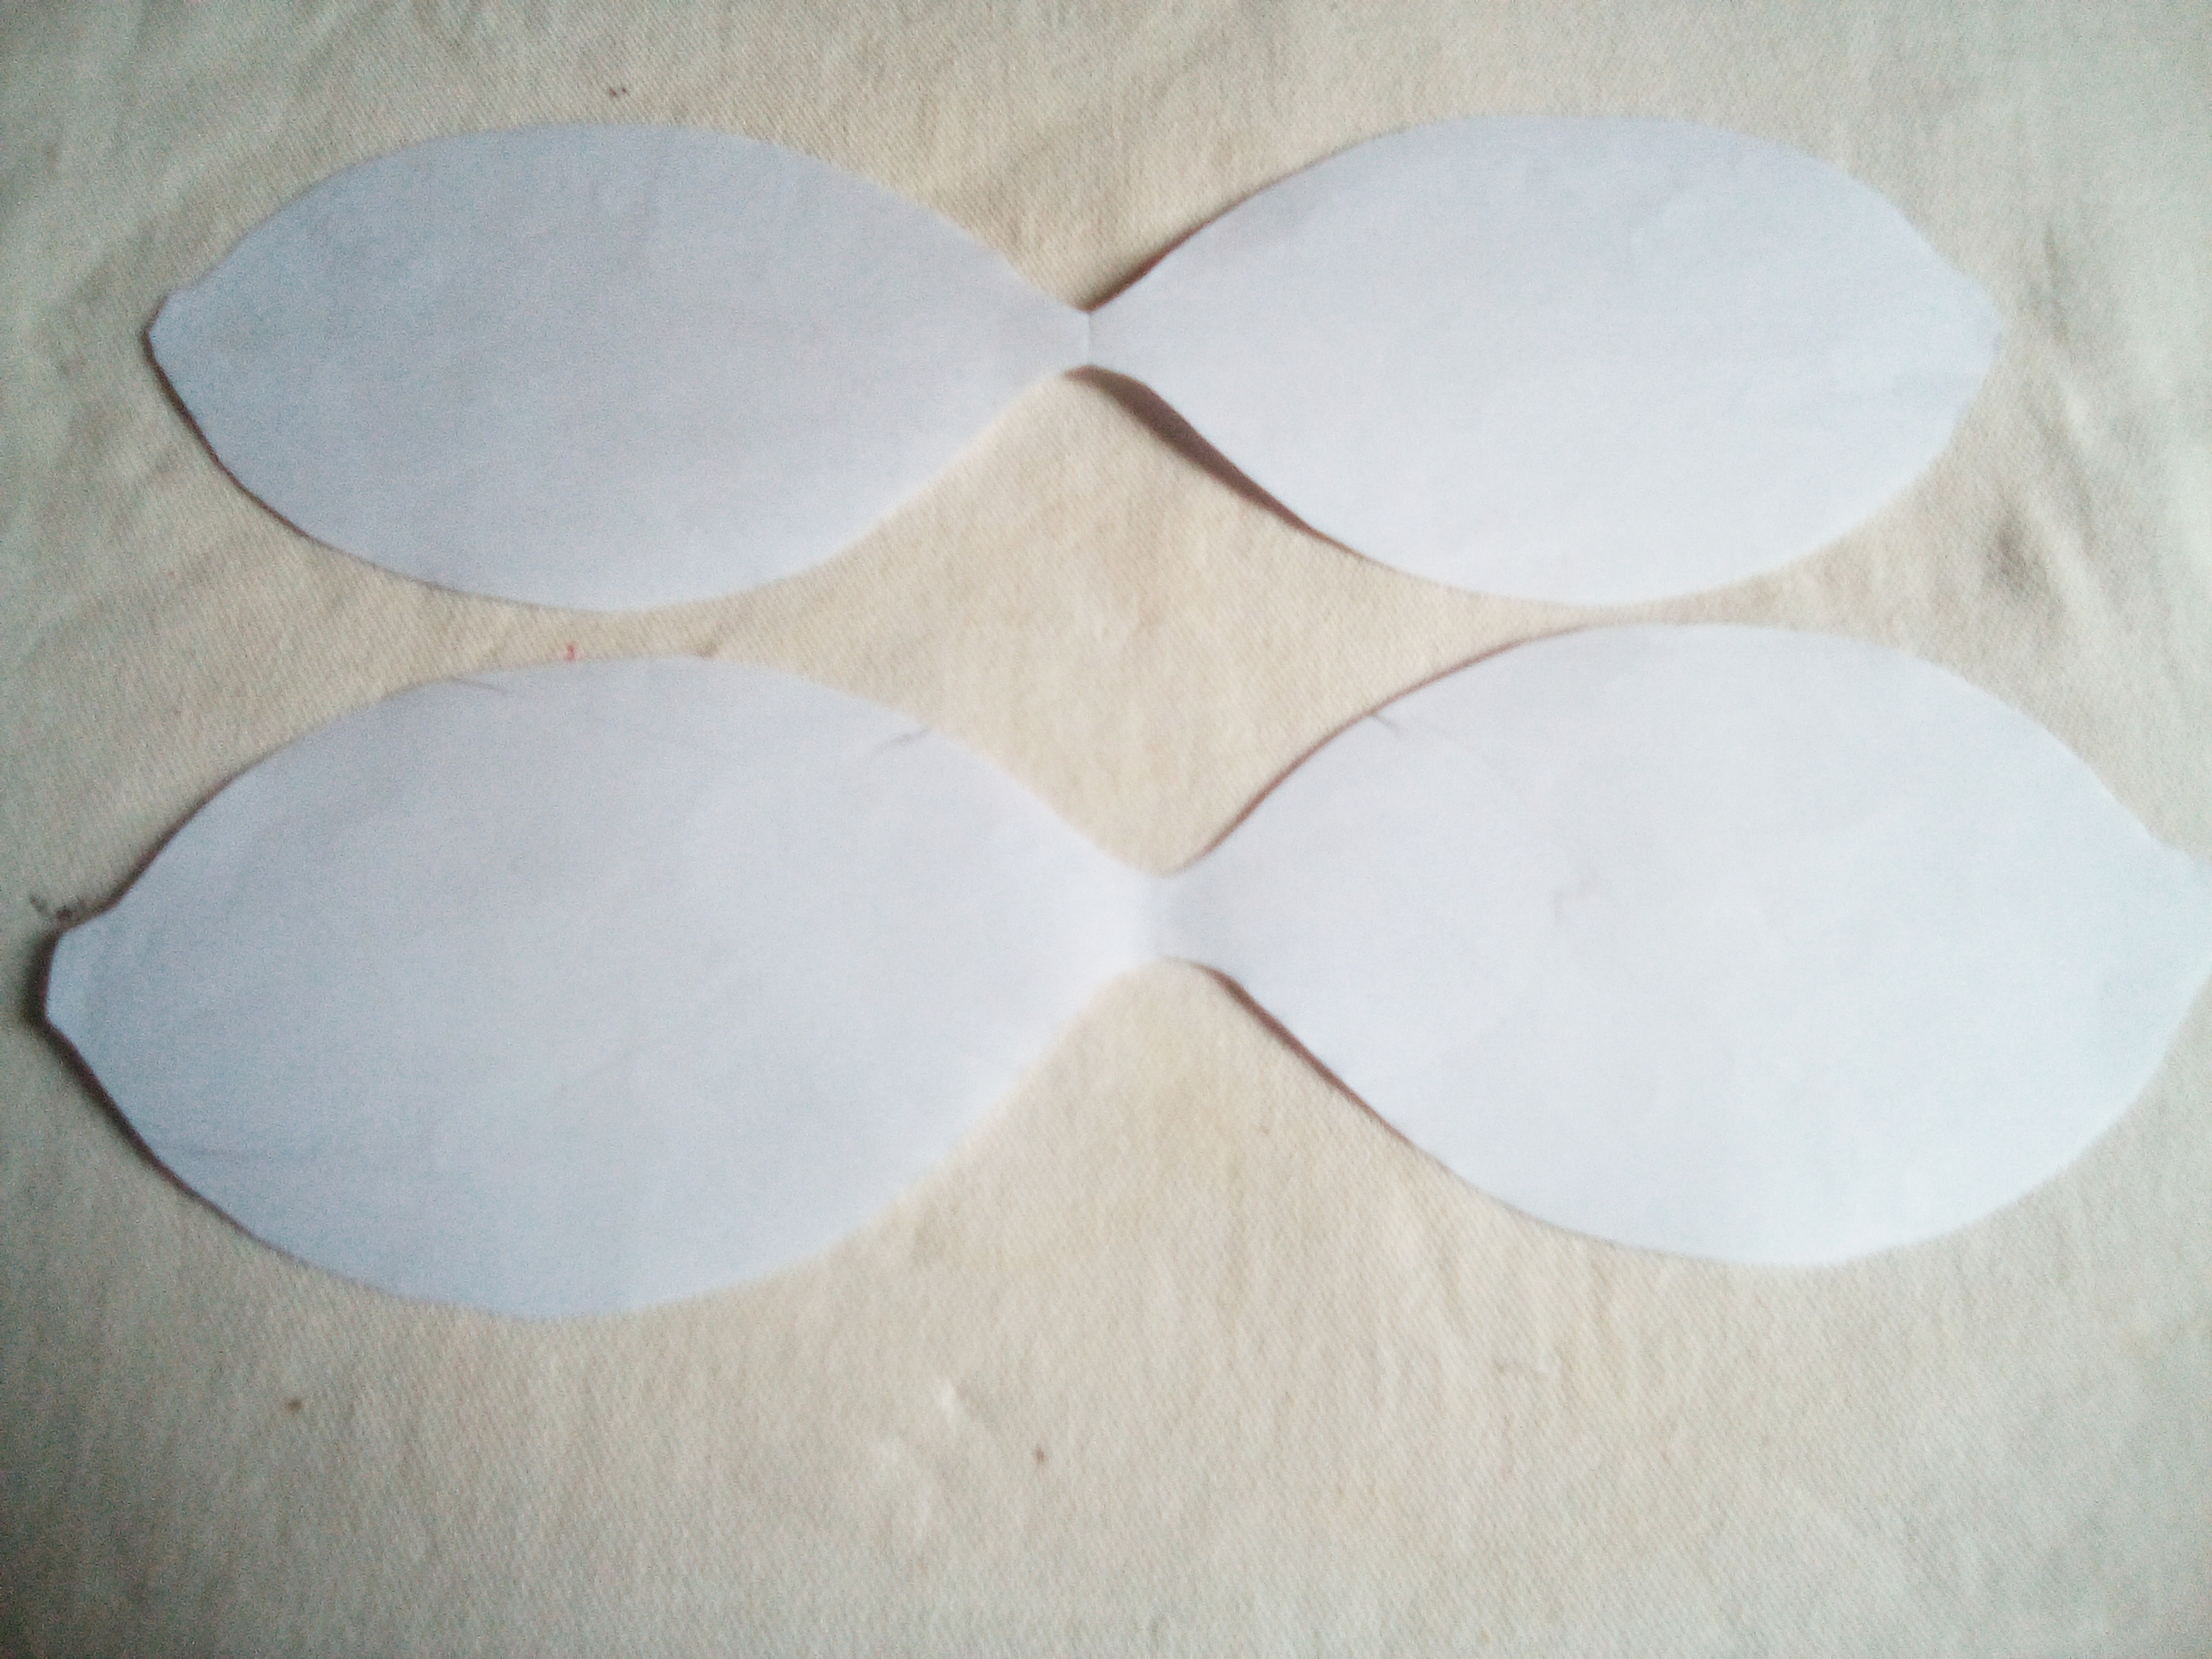
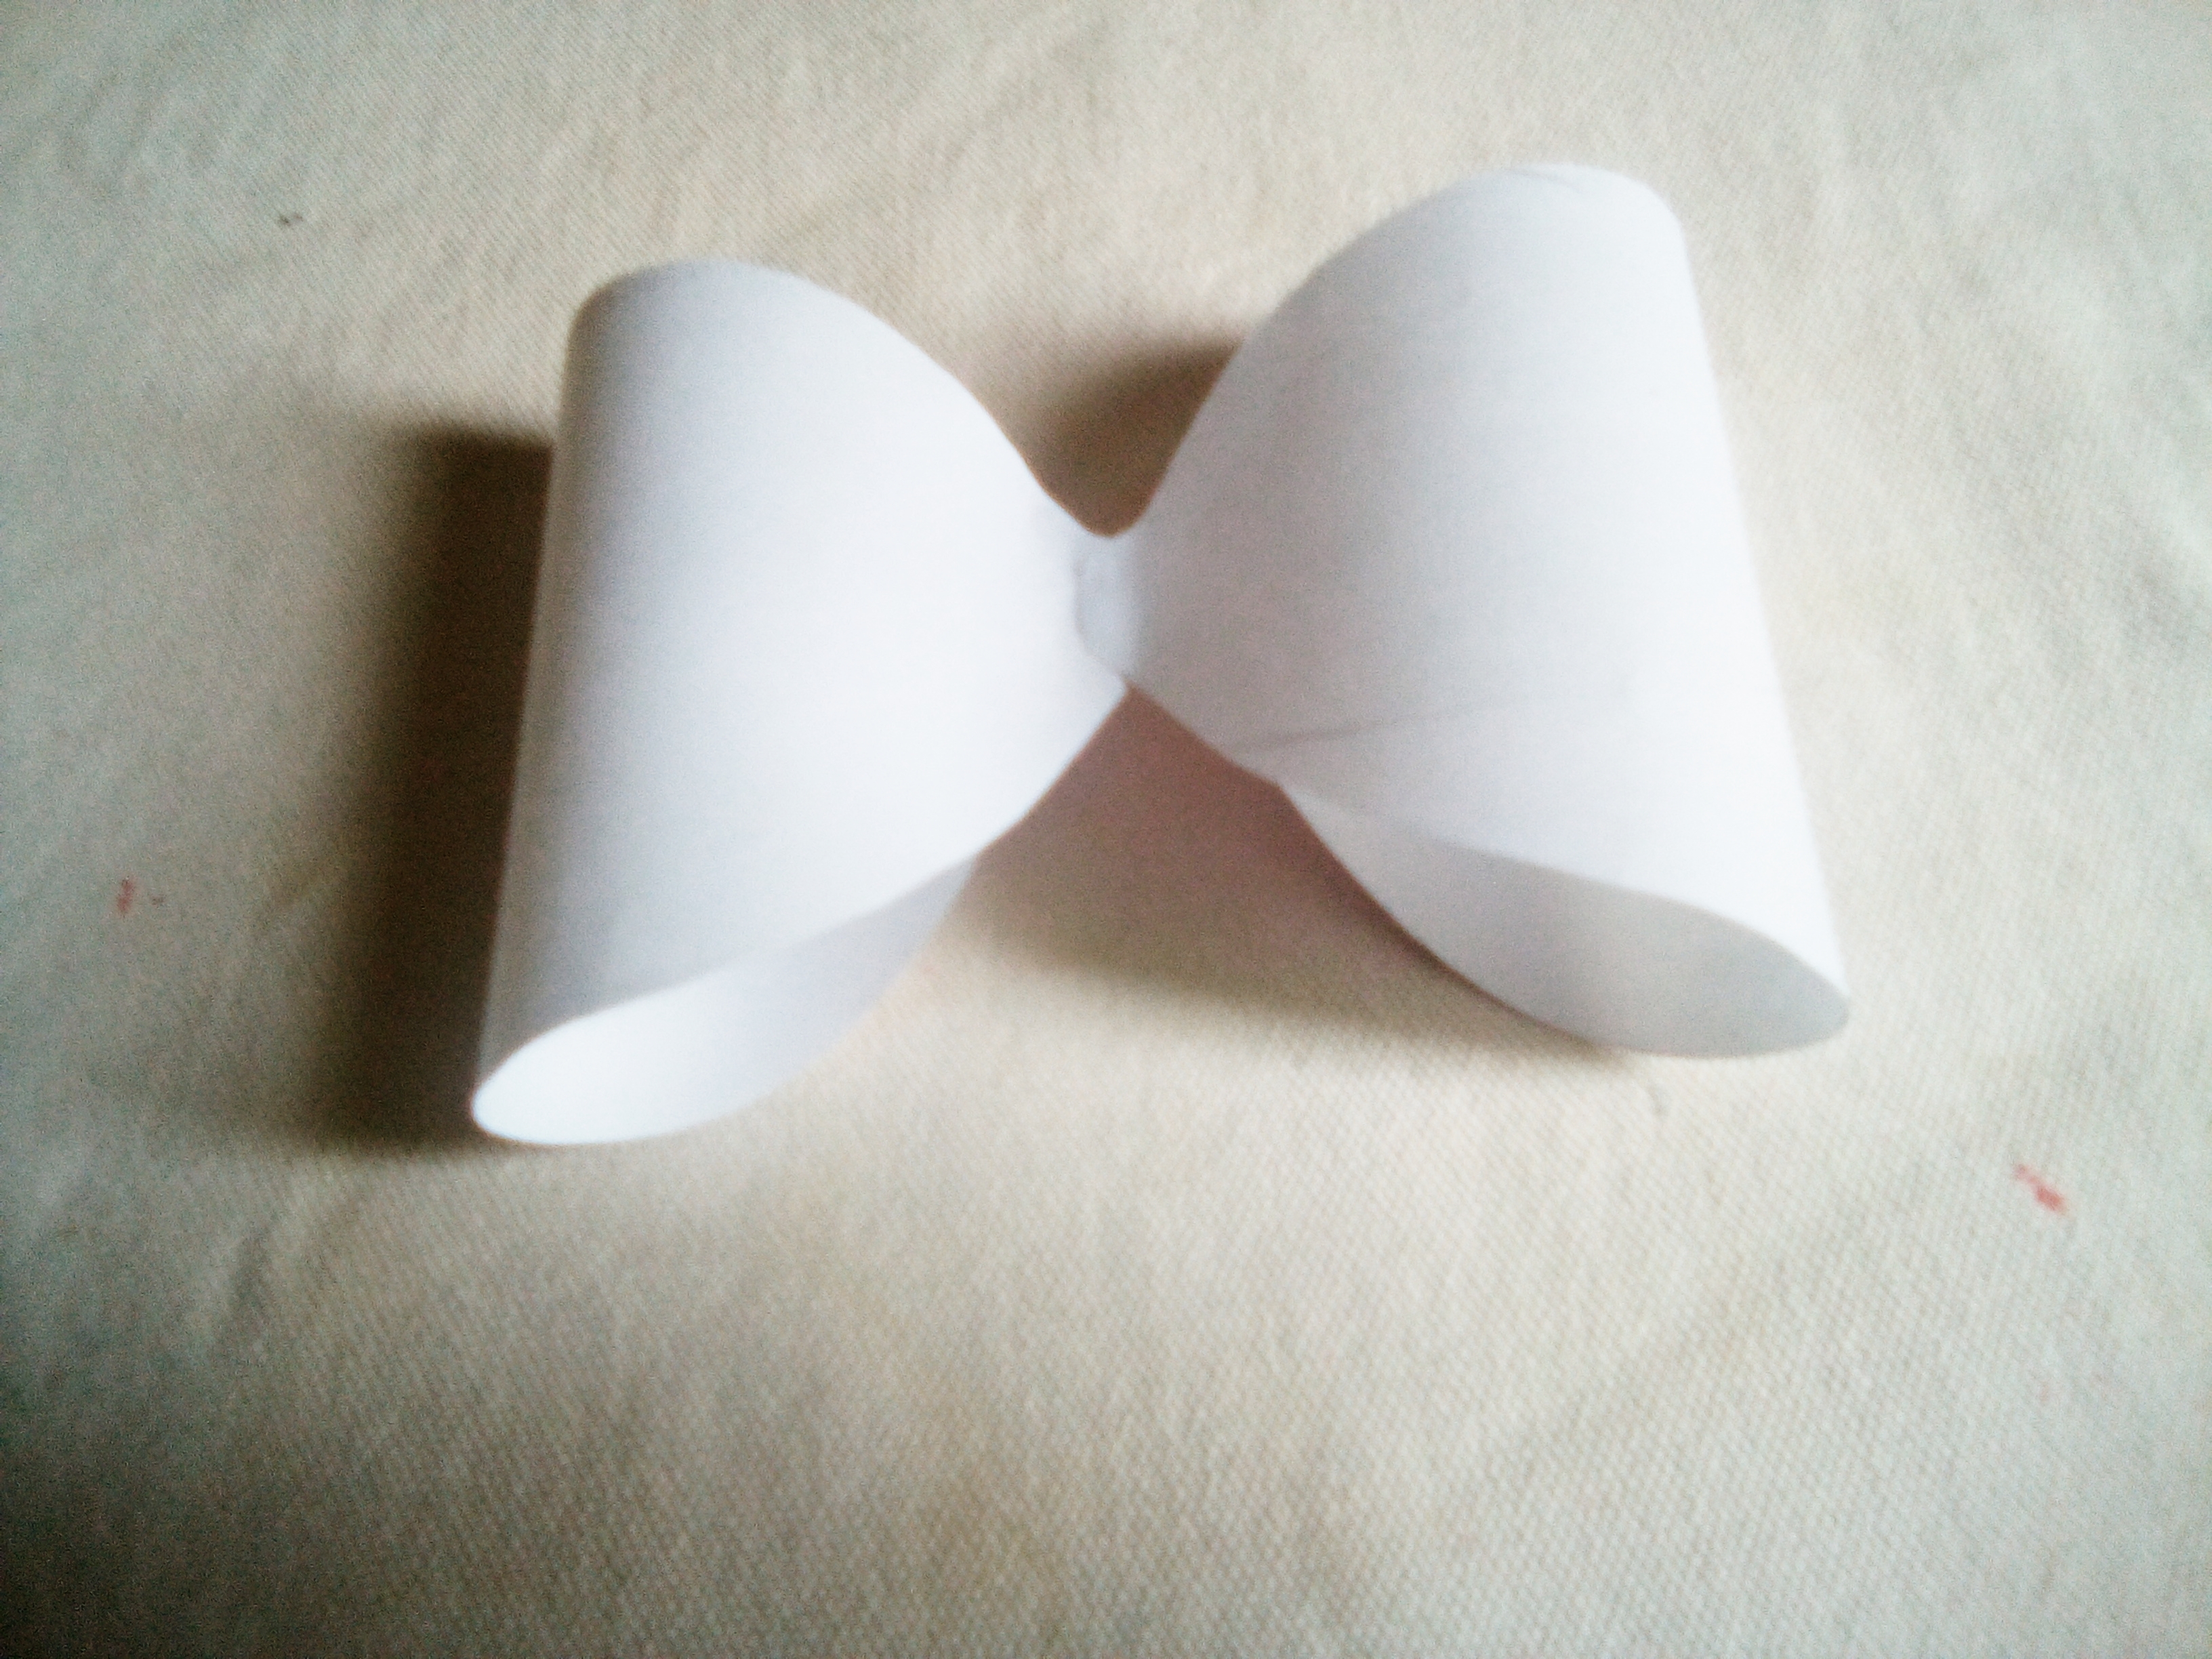
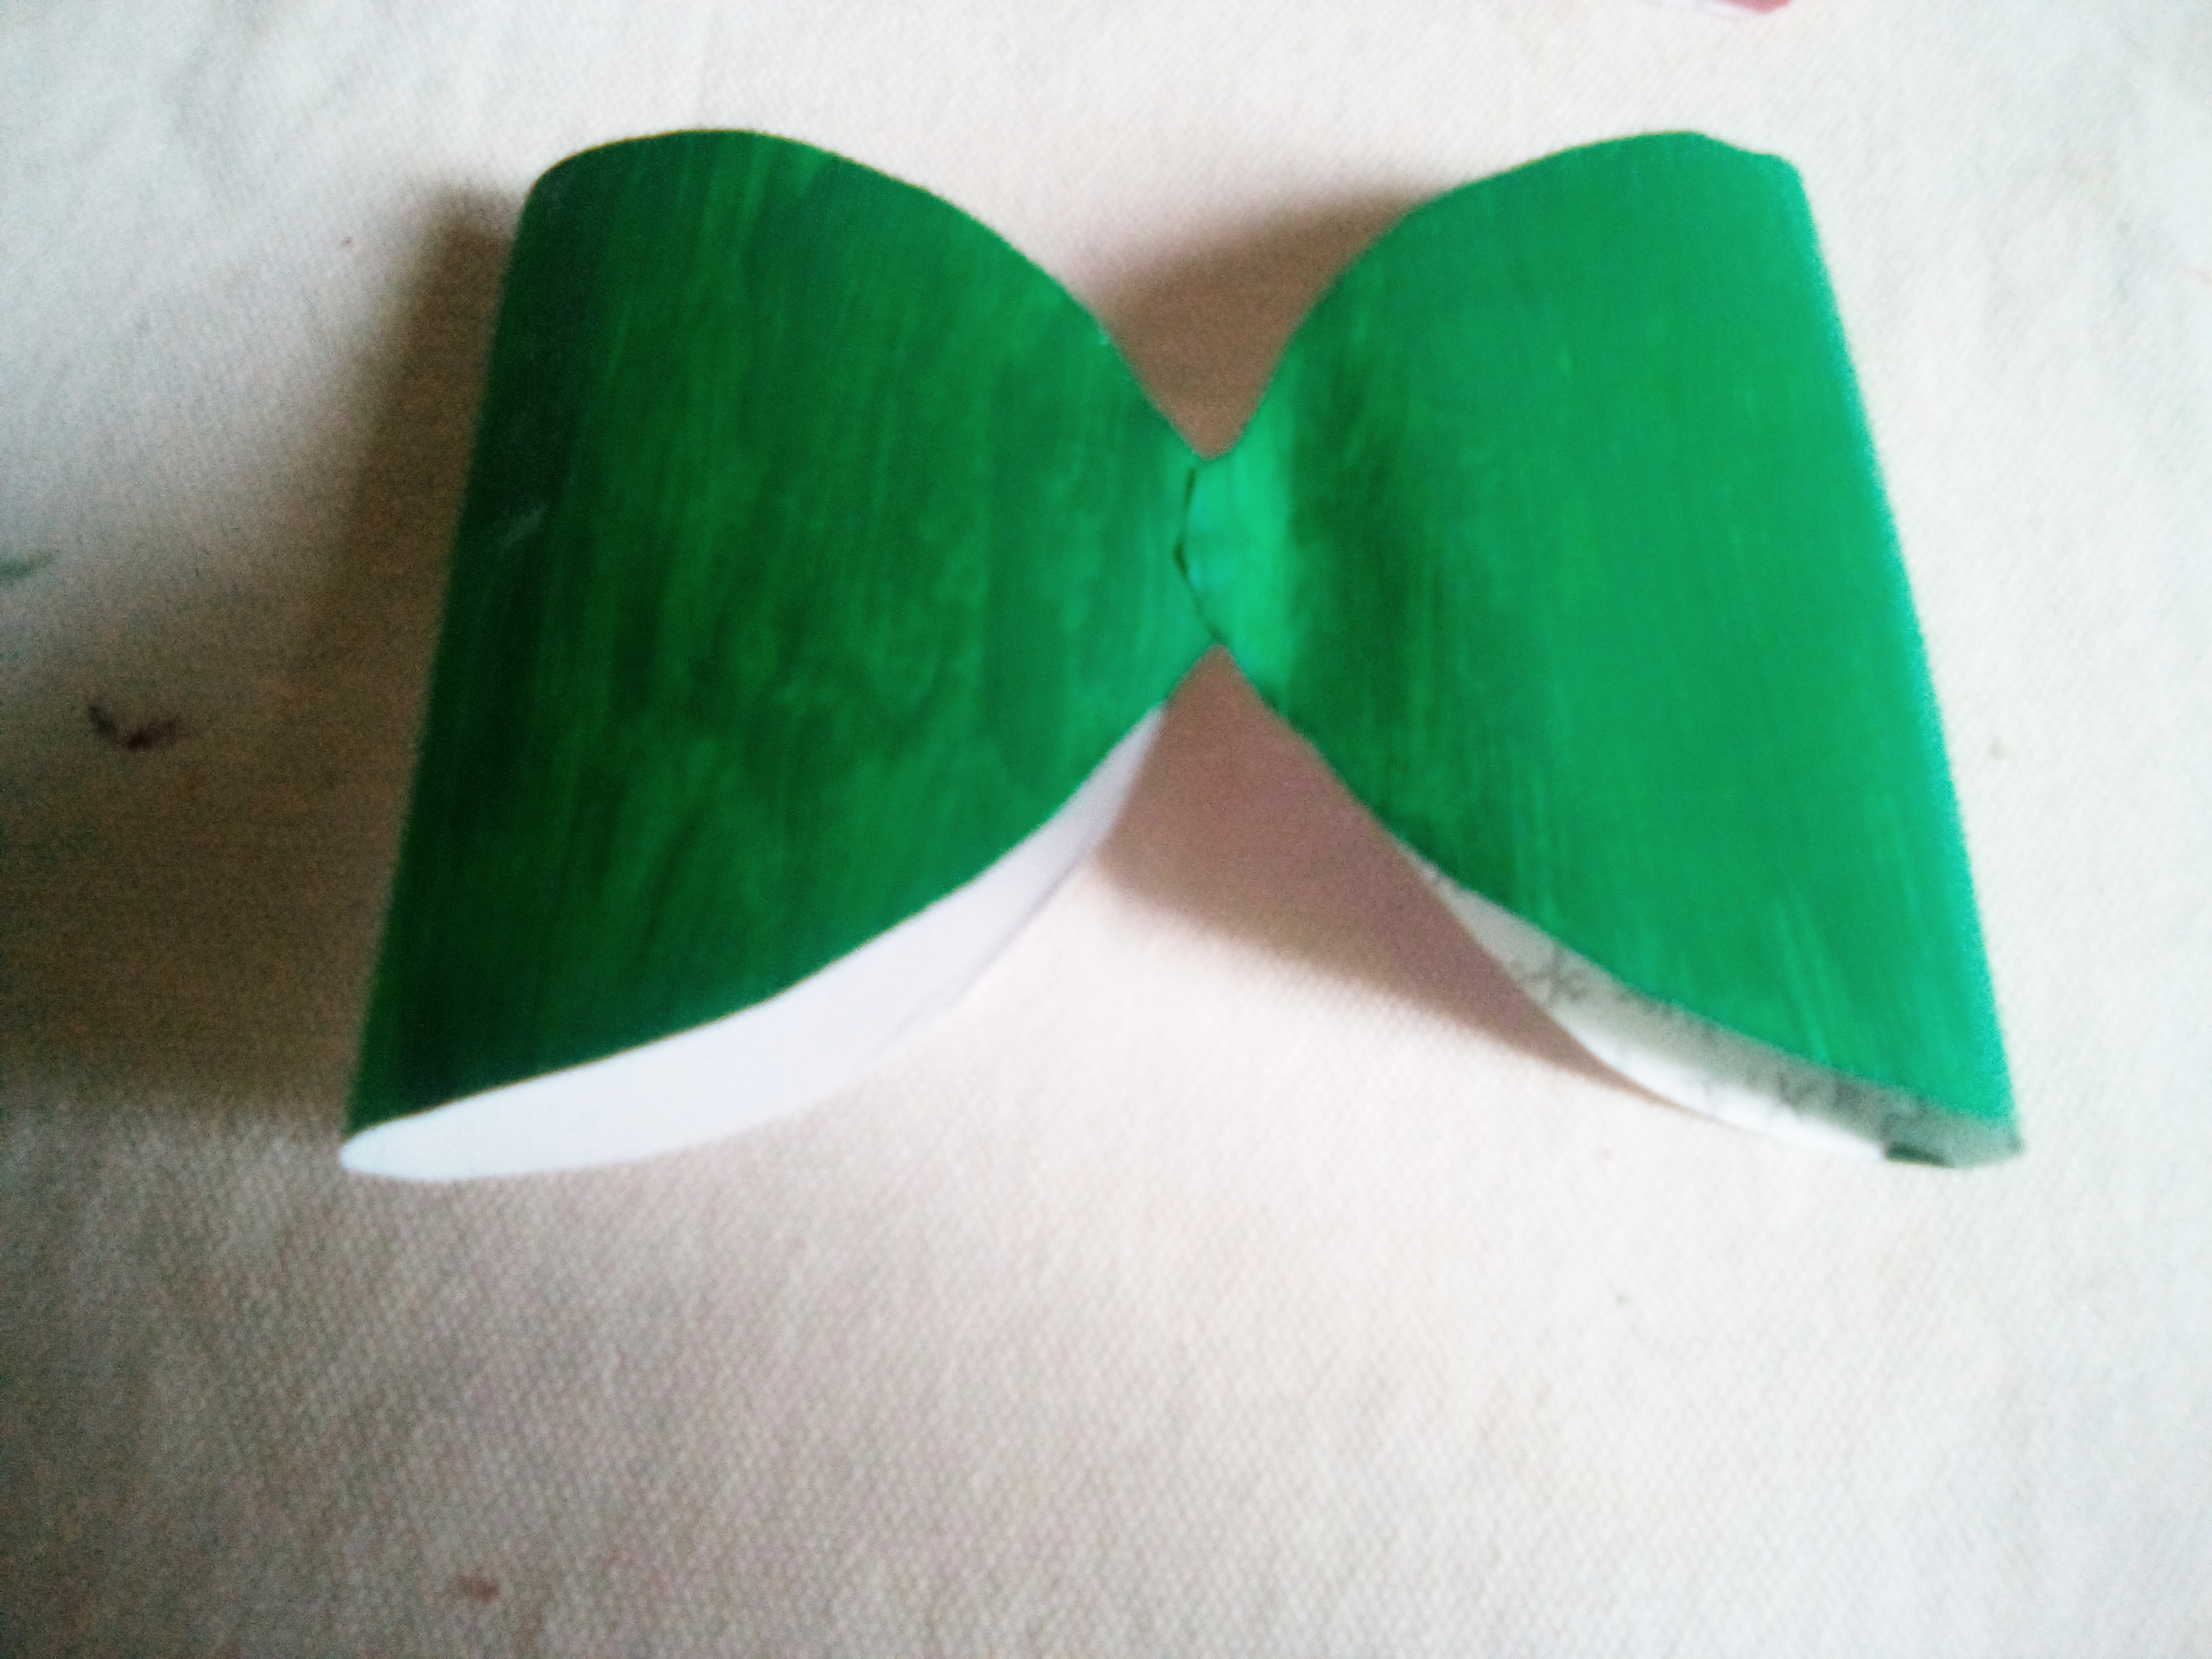
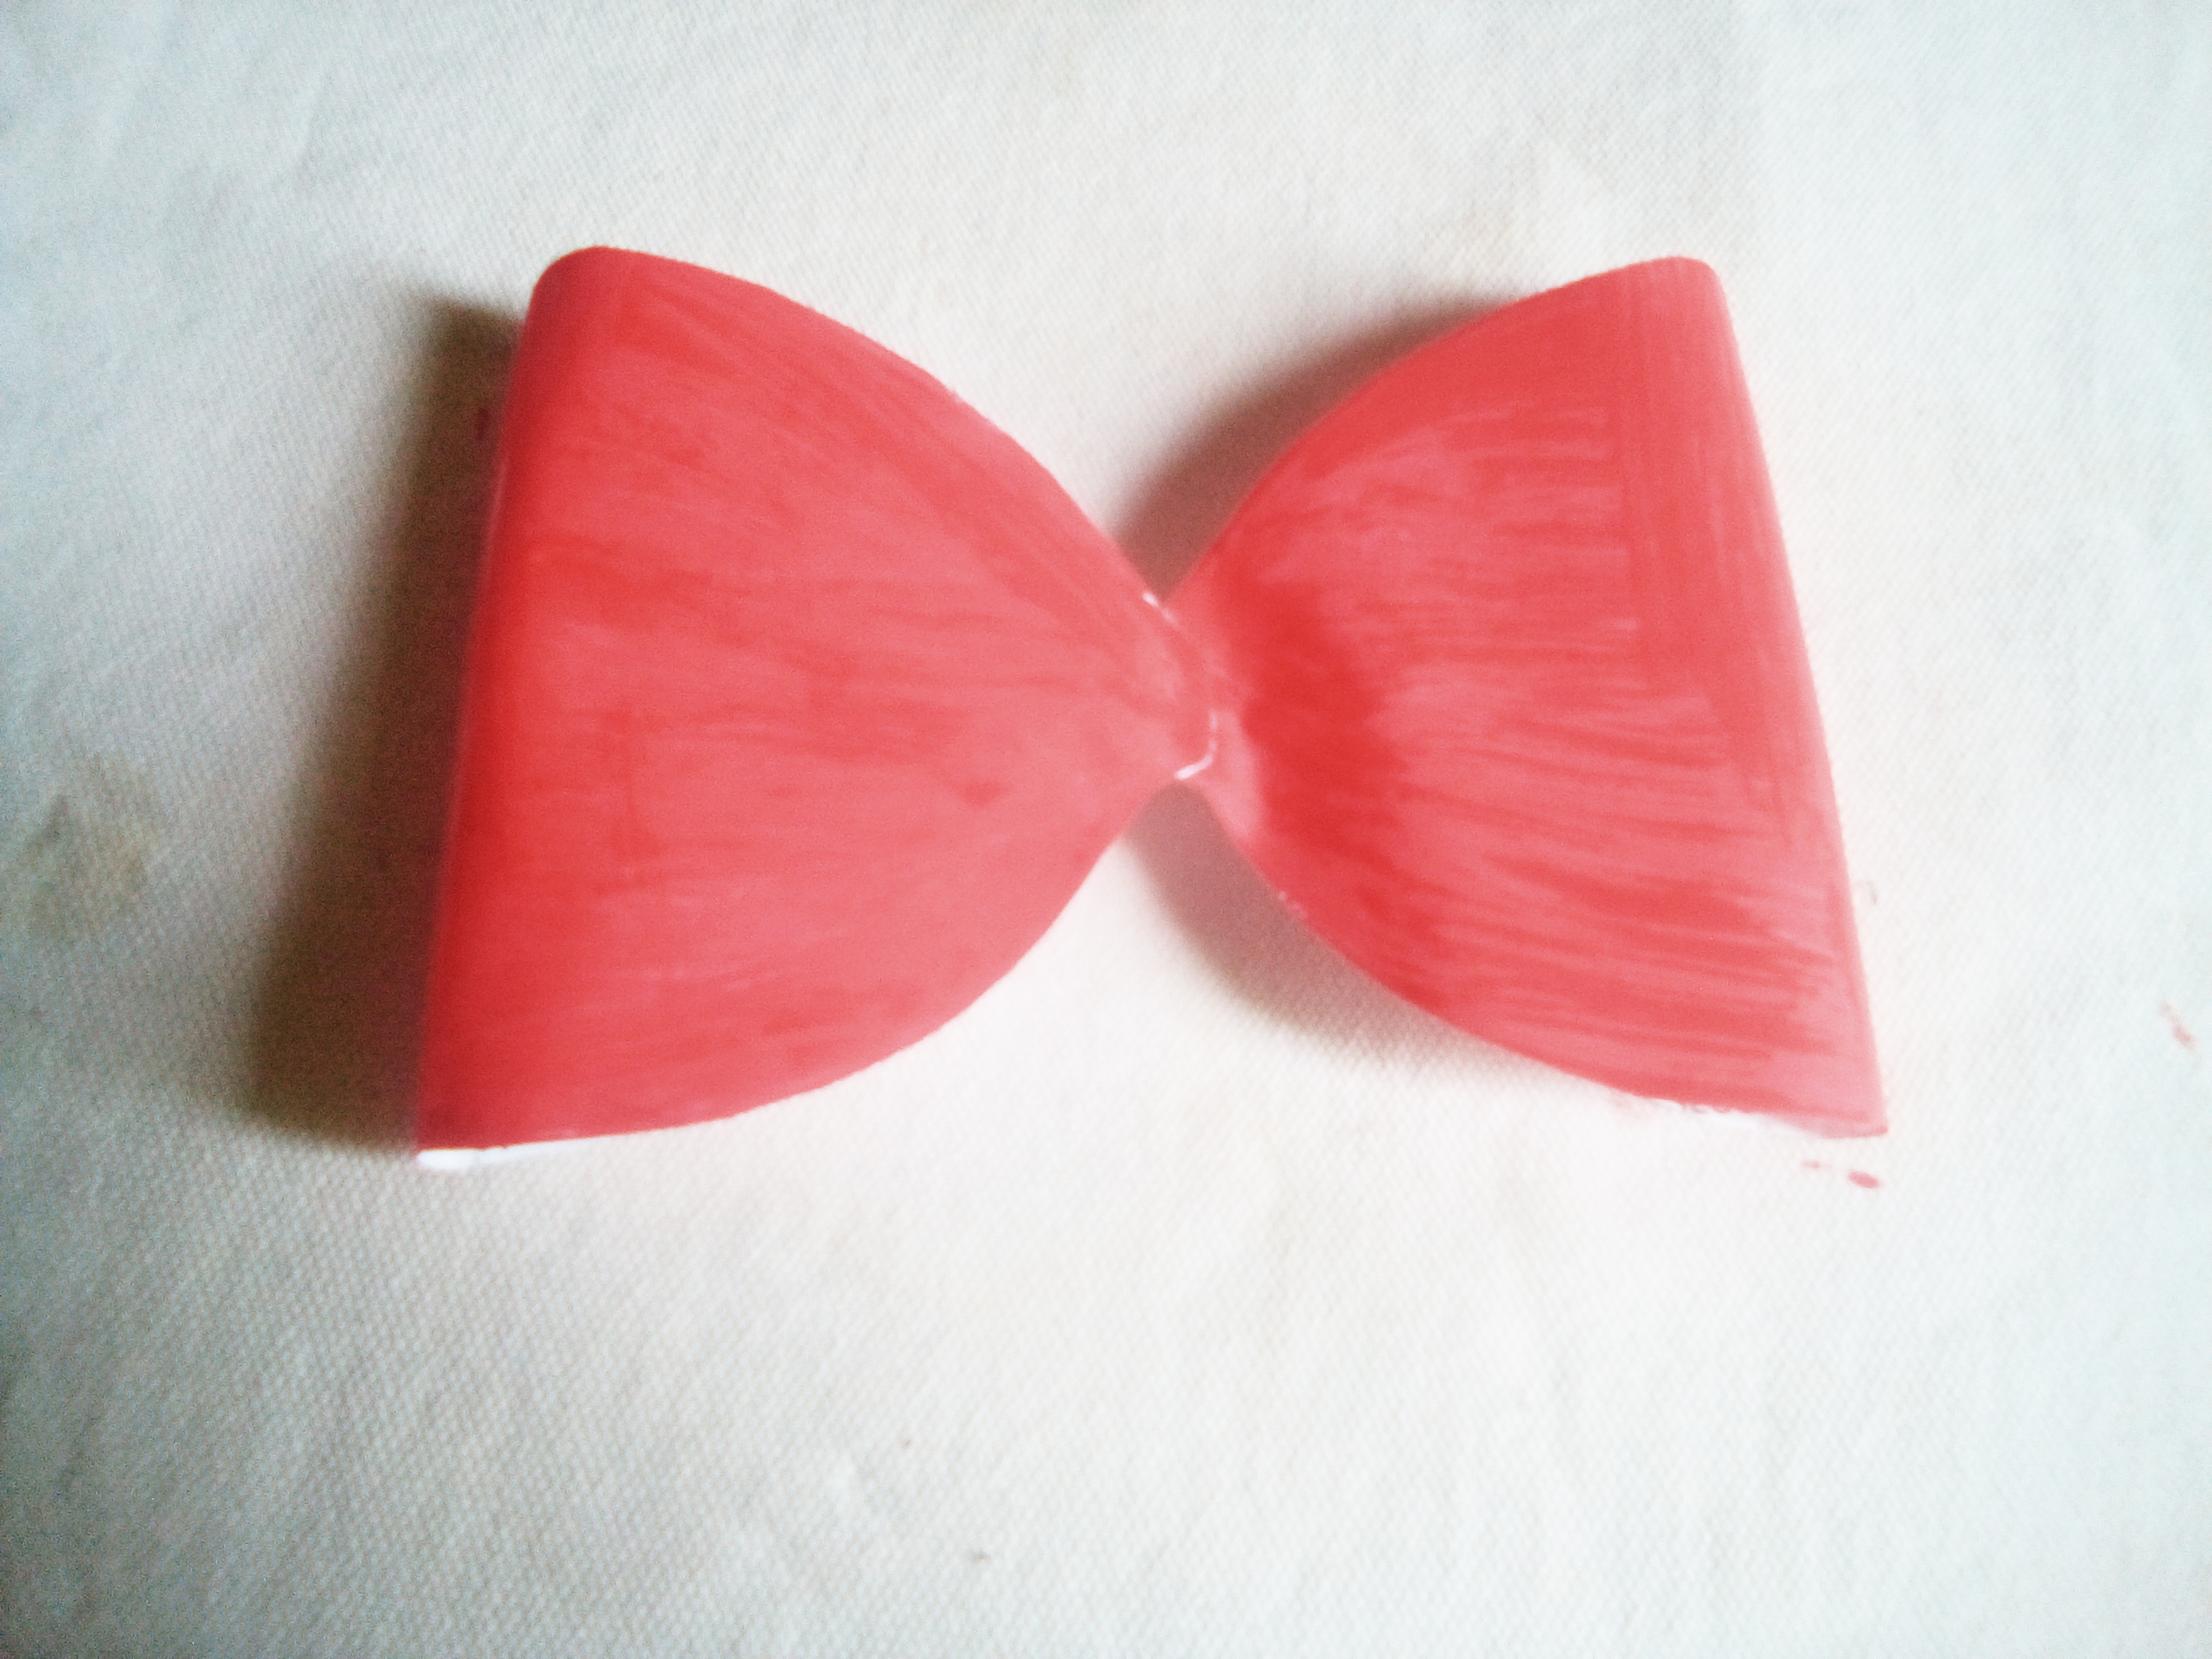
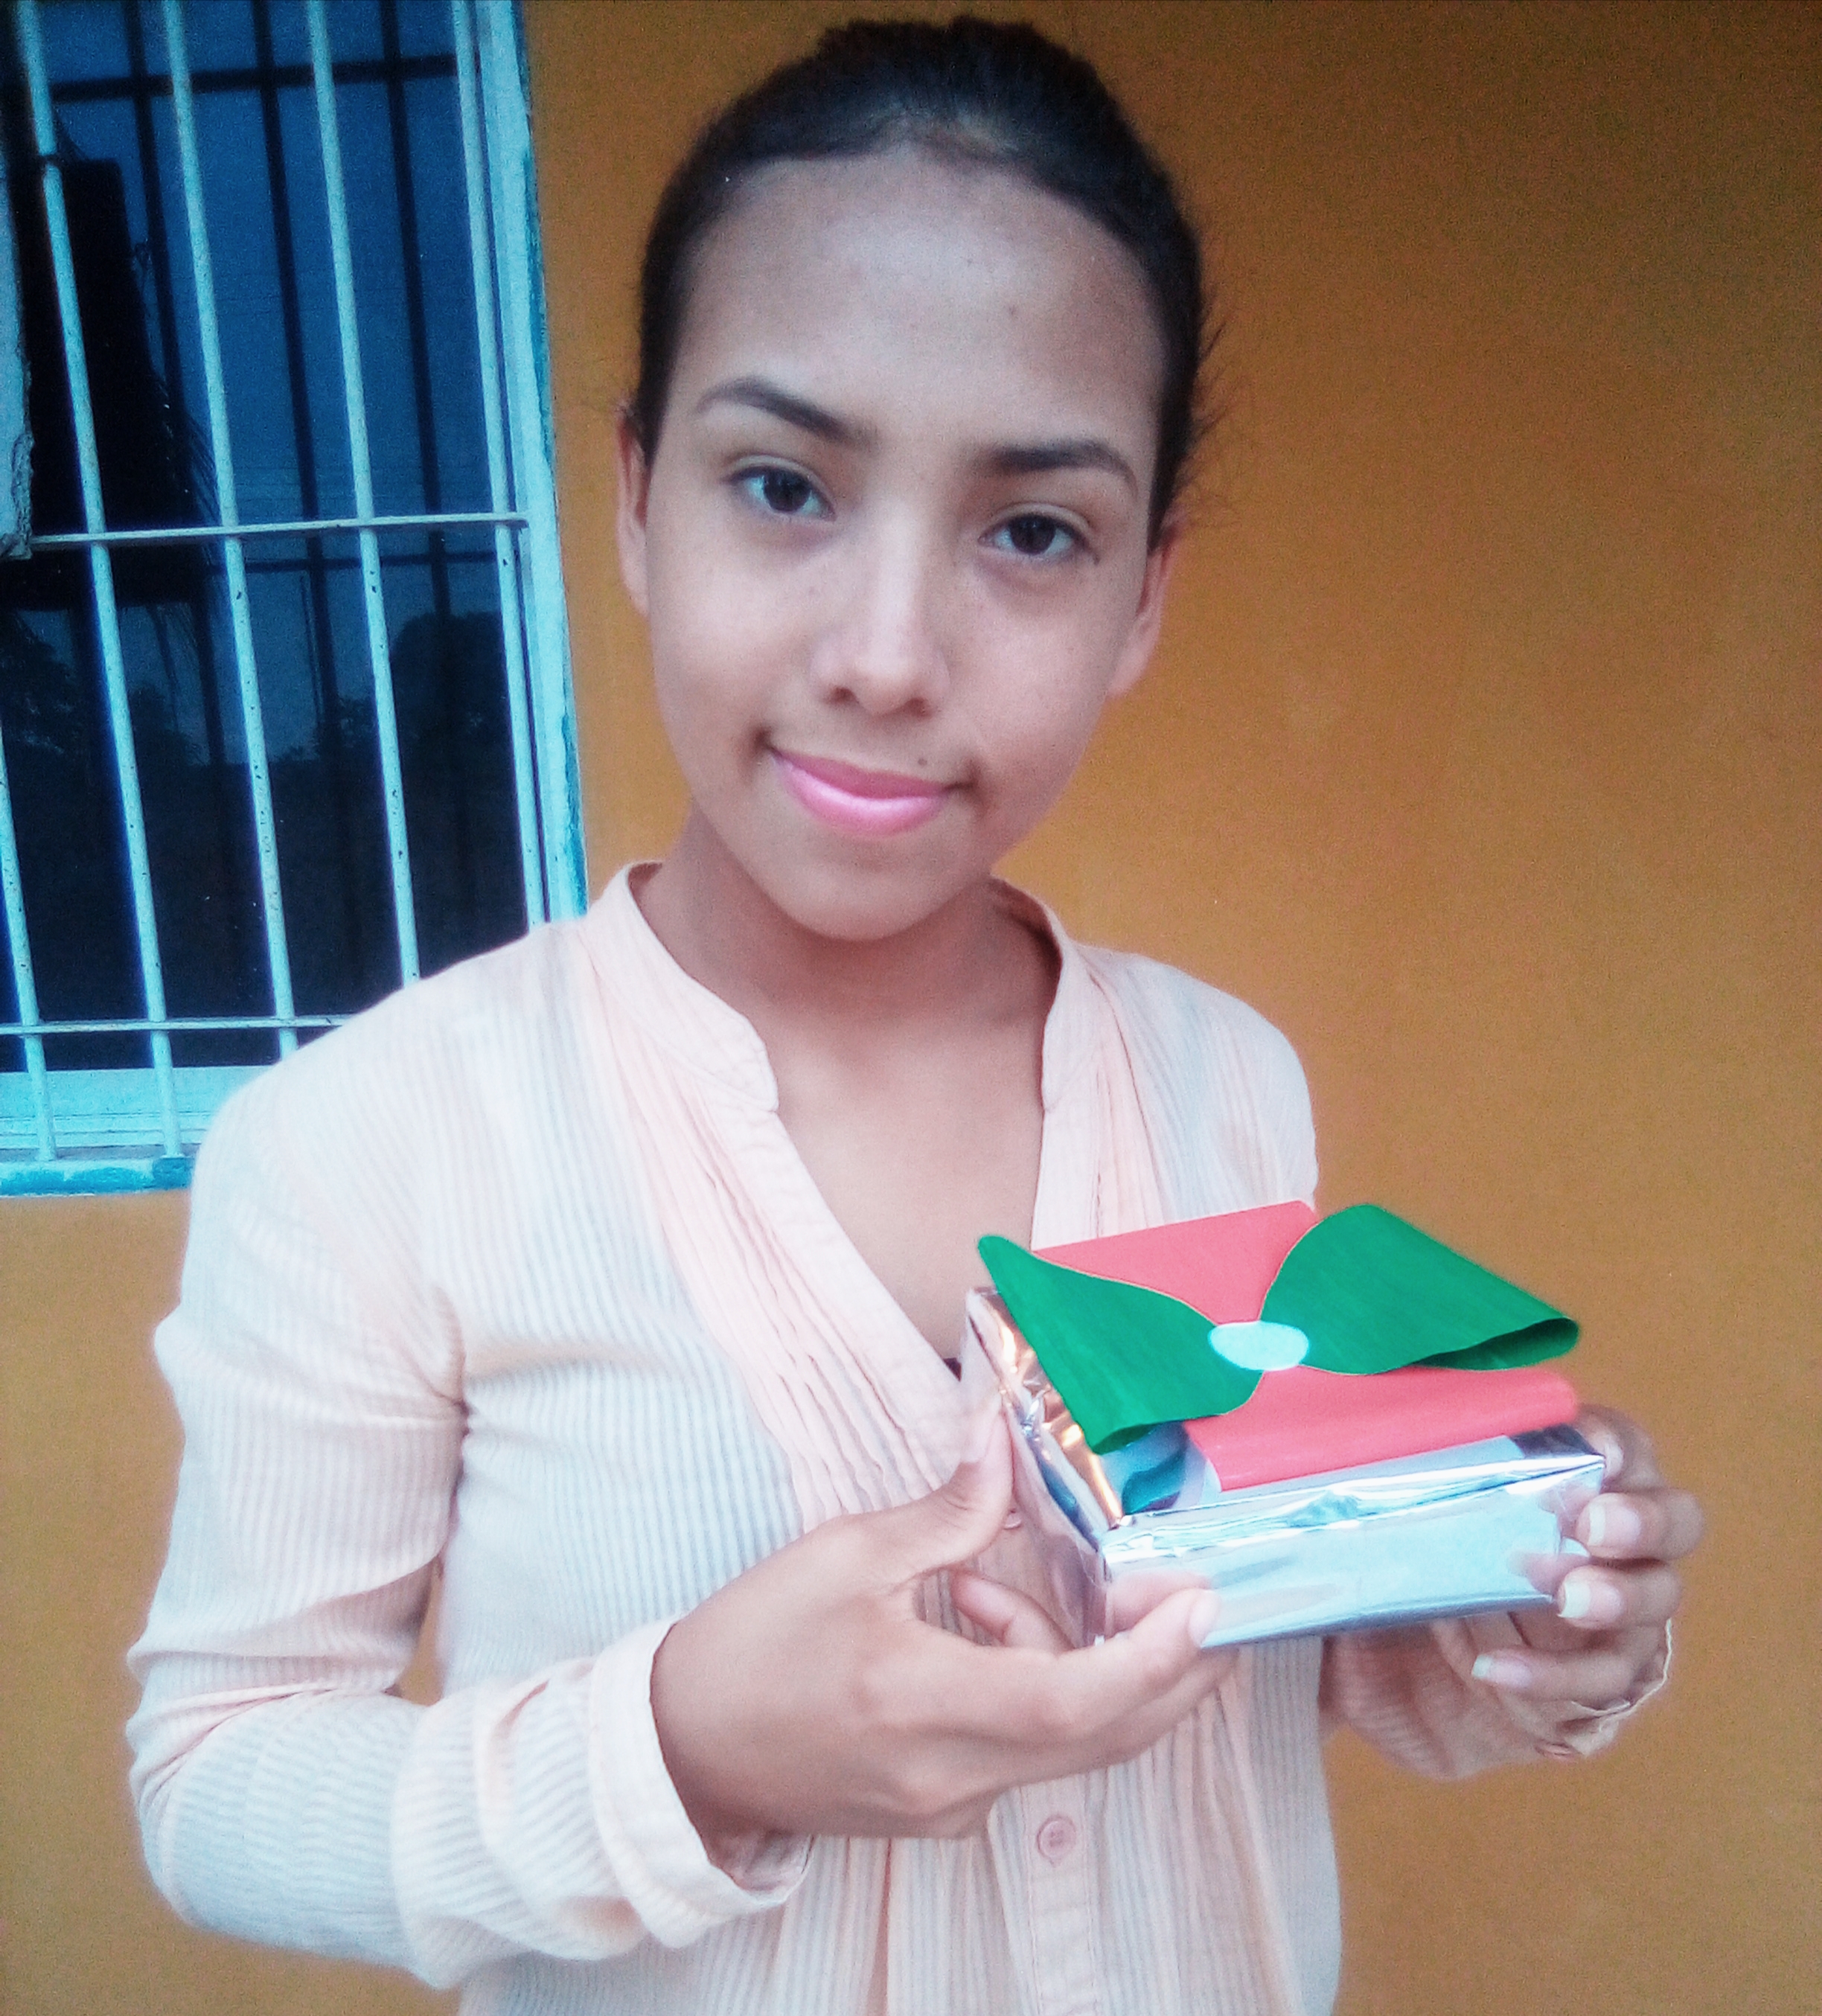
Ya hemos finalizado nuestra caja. Ahora procedemos a recortar lo que sería nuestro lazo, ya listo el recorte pintamos y pegamos en el centro de nuestra cajita de regalos.
Step # 7 We have already finalized our box. Now we proceed to cut out what would be our bow, the cutout is ready we paint and paste in the center of our gift box.

Gracias por haber visitado mi blog, espero les haya gustado de esta sencilla pero significativa creación, ya que se acerca un mes en el cual envolveremos muchos regalos y pues Aquí les dejé una idea, pueden seguirme por @mariisa1107 Dios les bendiga, Exito para todos.
Thank you for having visited my blog, I hope you liked this simple but significant creation, since a month is coming in which we will wrap many gifts and well, here I left you an idea, you can follow me by @ mariisa1107 God bless you, Success for all.
hello @mariisa1107! Very detailed tutorial! You are quite resourceful and creative! Keep it up.
Muchas gracias Dios te bendiga