Hola mis queridos amigos de hive Dios les bendiga, reciban un cordial saludo y abrazo a distancia desde Cantaura-Venezuela 🇻🇪. Hoy les quiero presentar un tutorial inspirado en los molinos eólicos o (molinos de vientos), que nos puede servir para una hermosa decoración, espero que disfruten lo disfruten.
Hello my dear friends from hive God bless you, receive a cordial greeting and hug from a distance from Cantaura-Venezuela 🇻🇪. Today I want to present a tutorial inspired by windmills or (windmills), which can be used for a beautiful decoration, I hope you enjoy it.
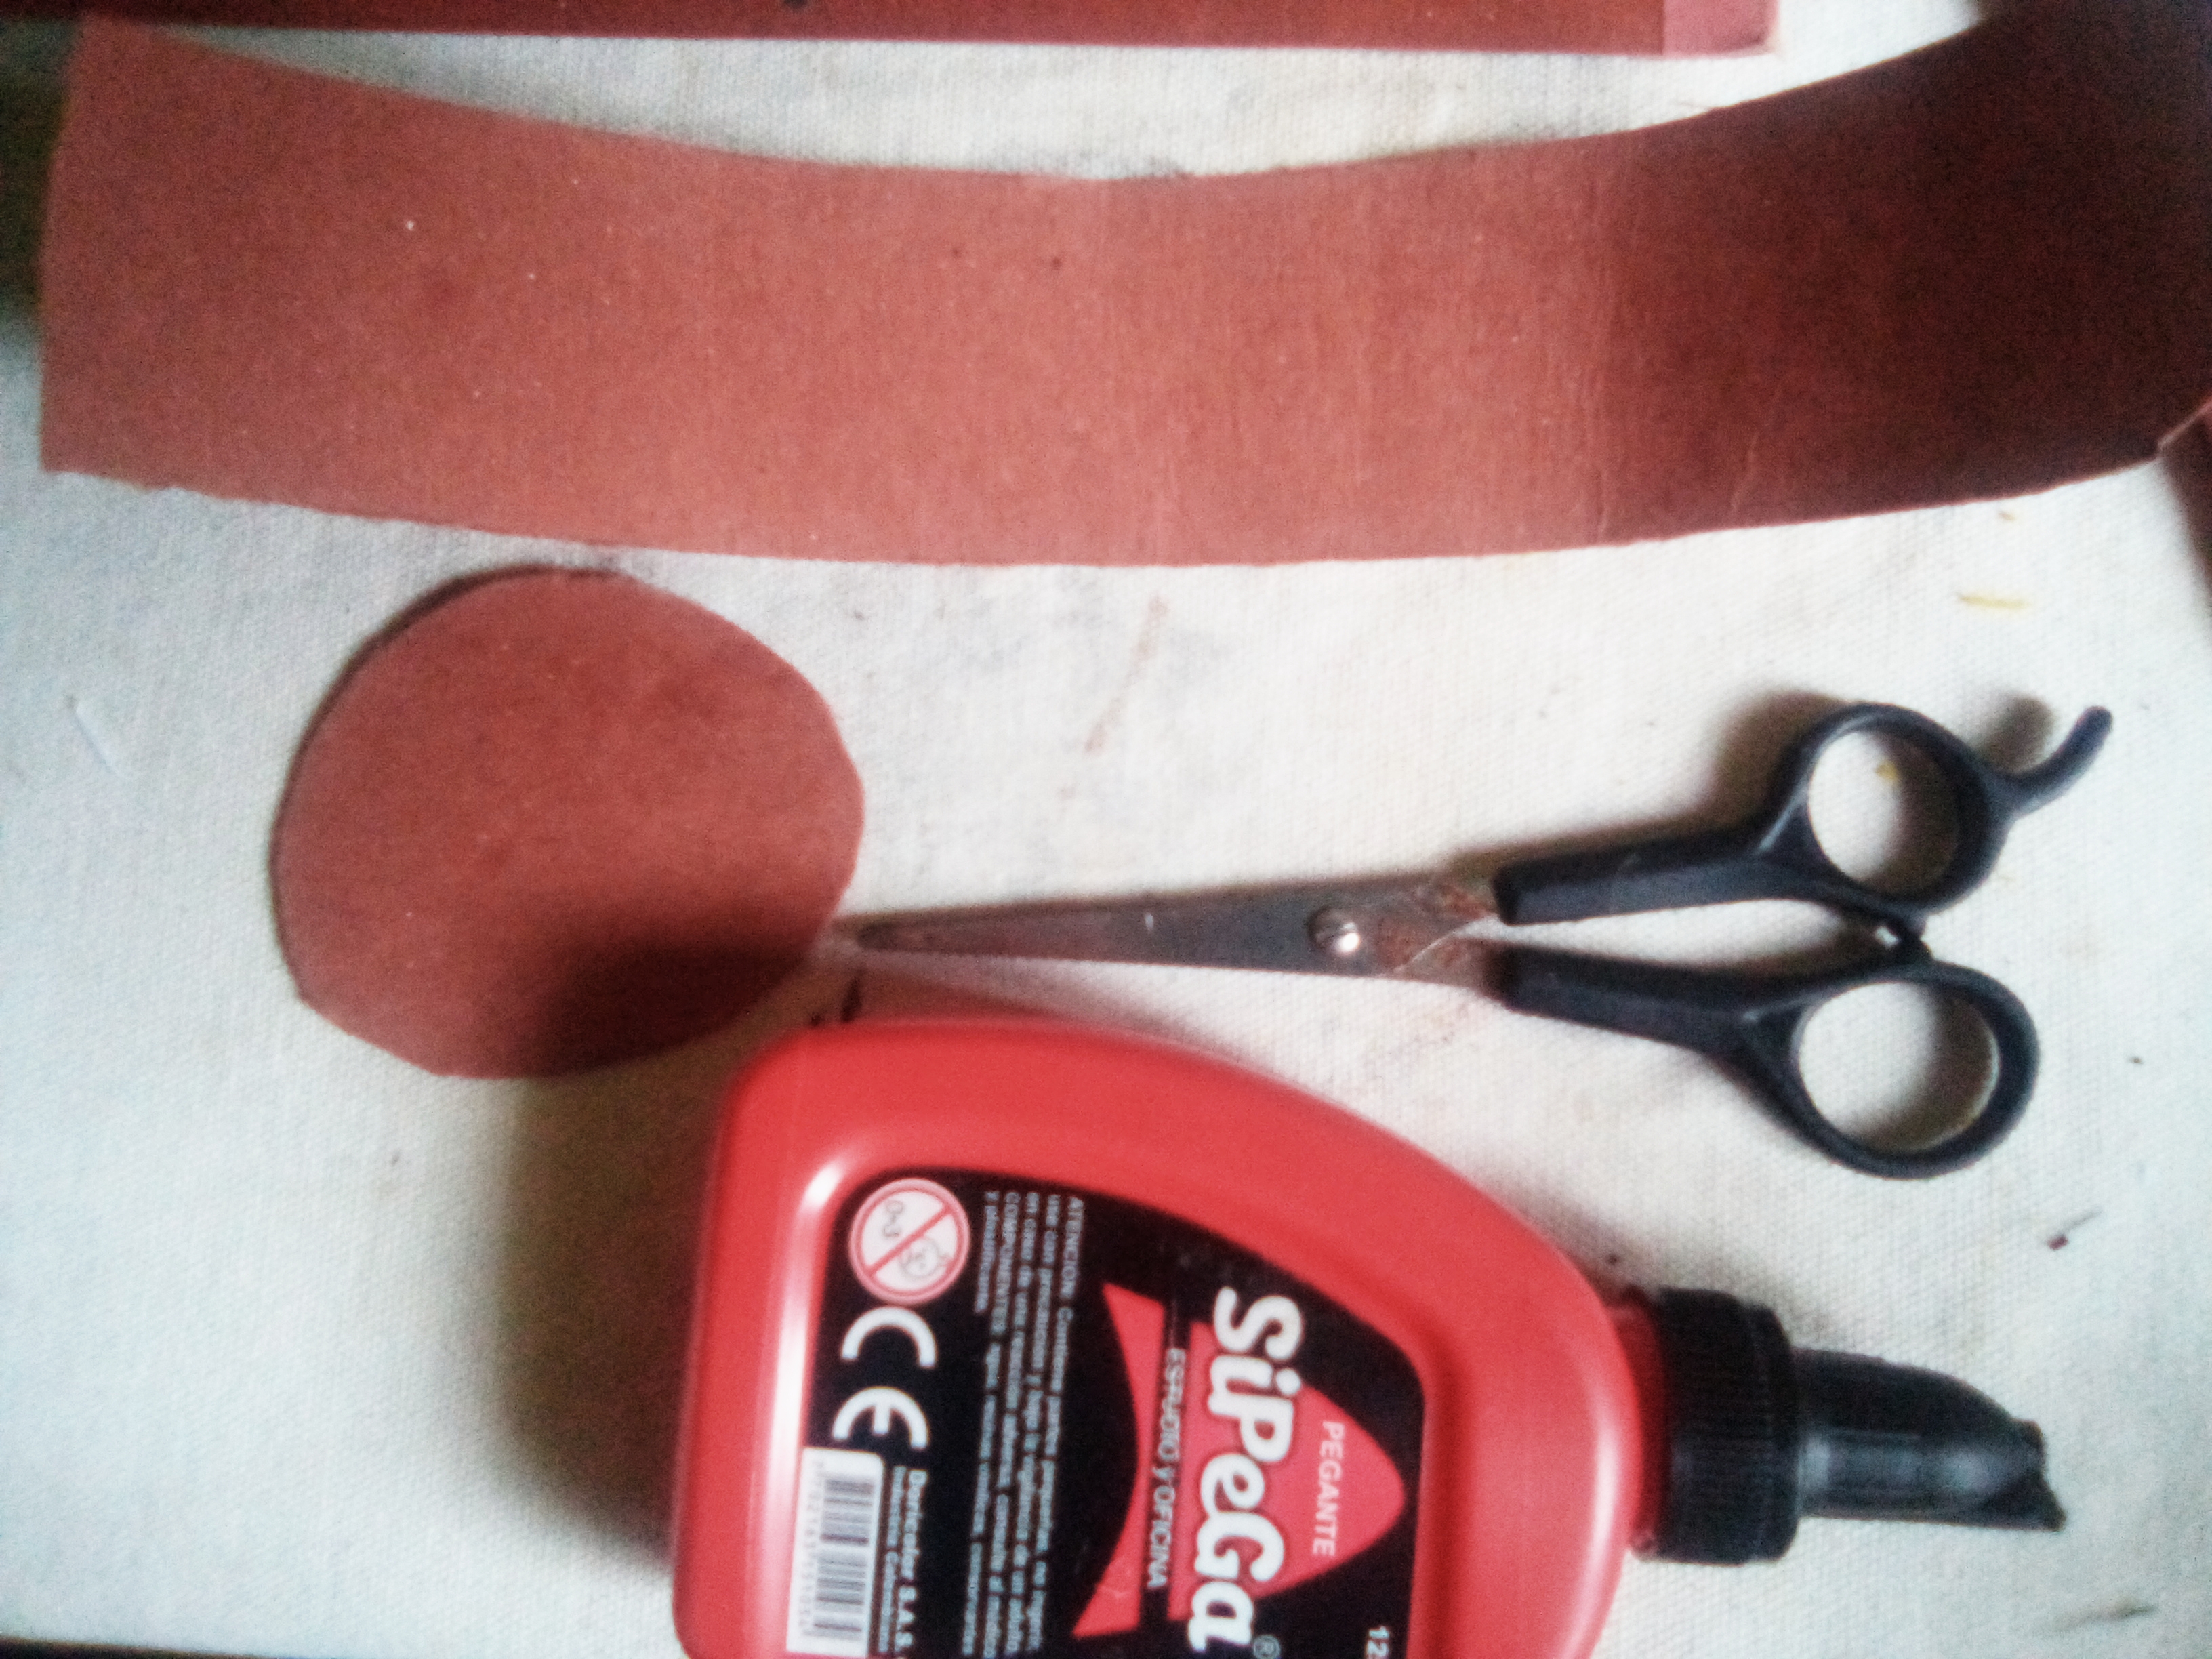
-Cartulina
-Tijera
-Pinturas al frió (Negro, Amarillo,rojo,verde)
-Pega
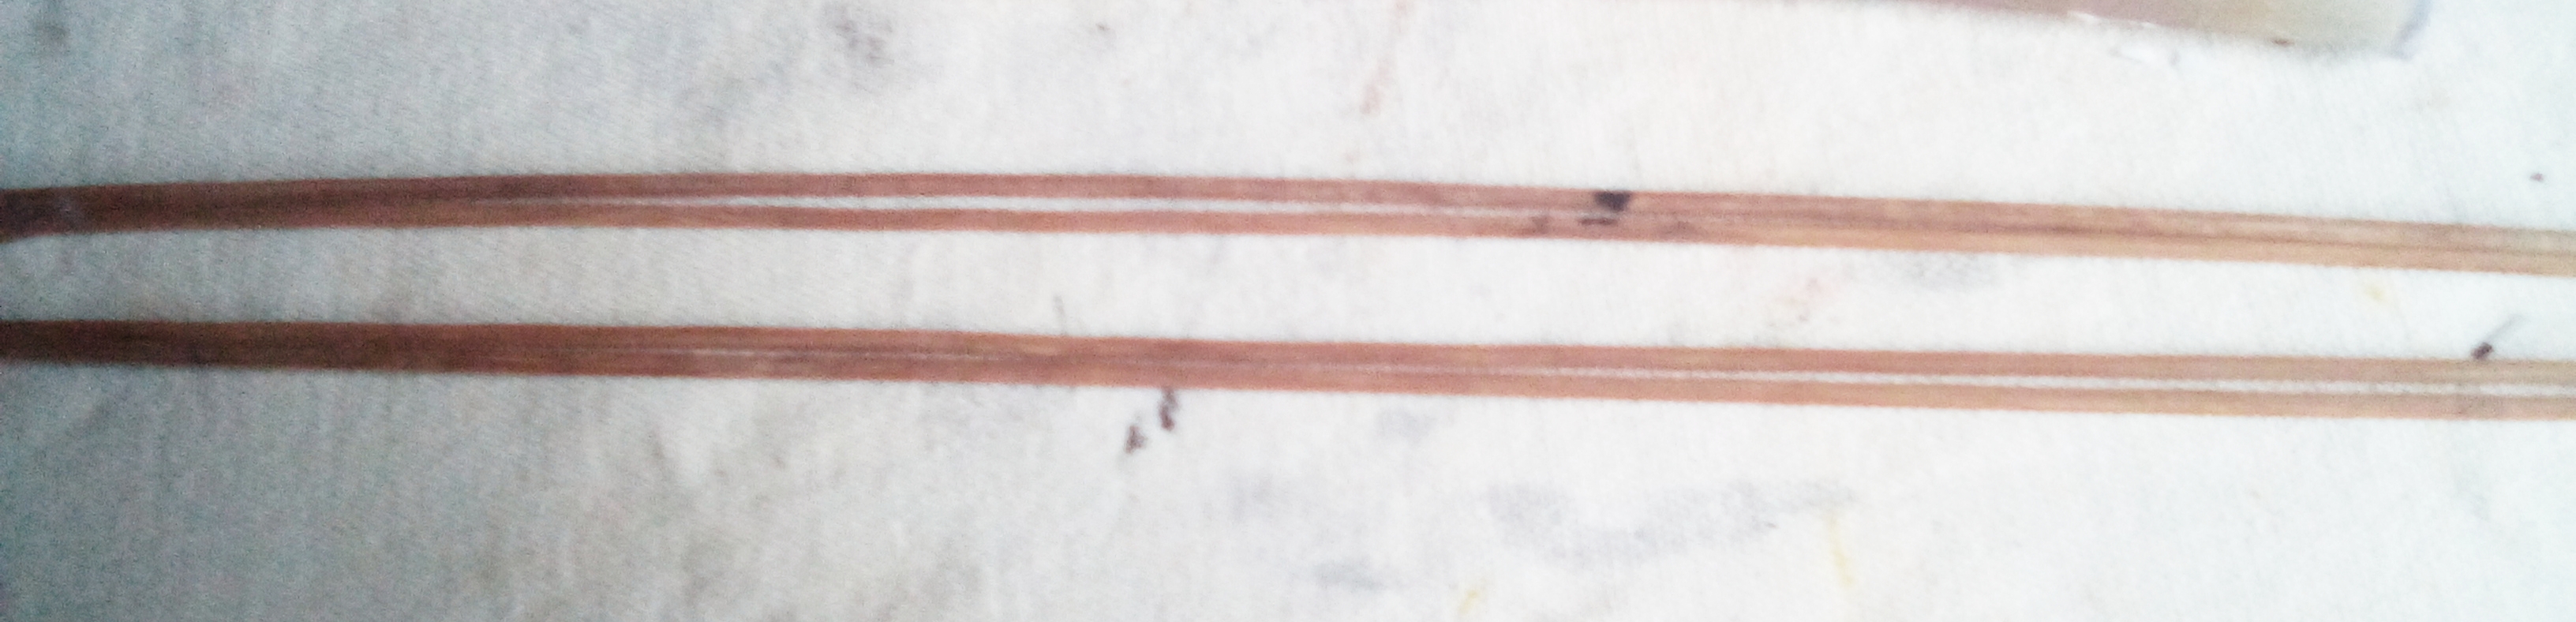
-Cuatro palillos
-Marcador
-Hoja de papel blanco
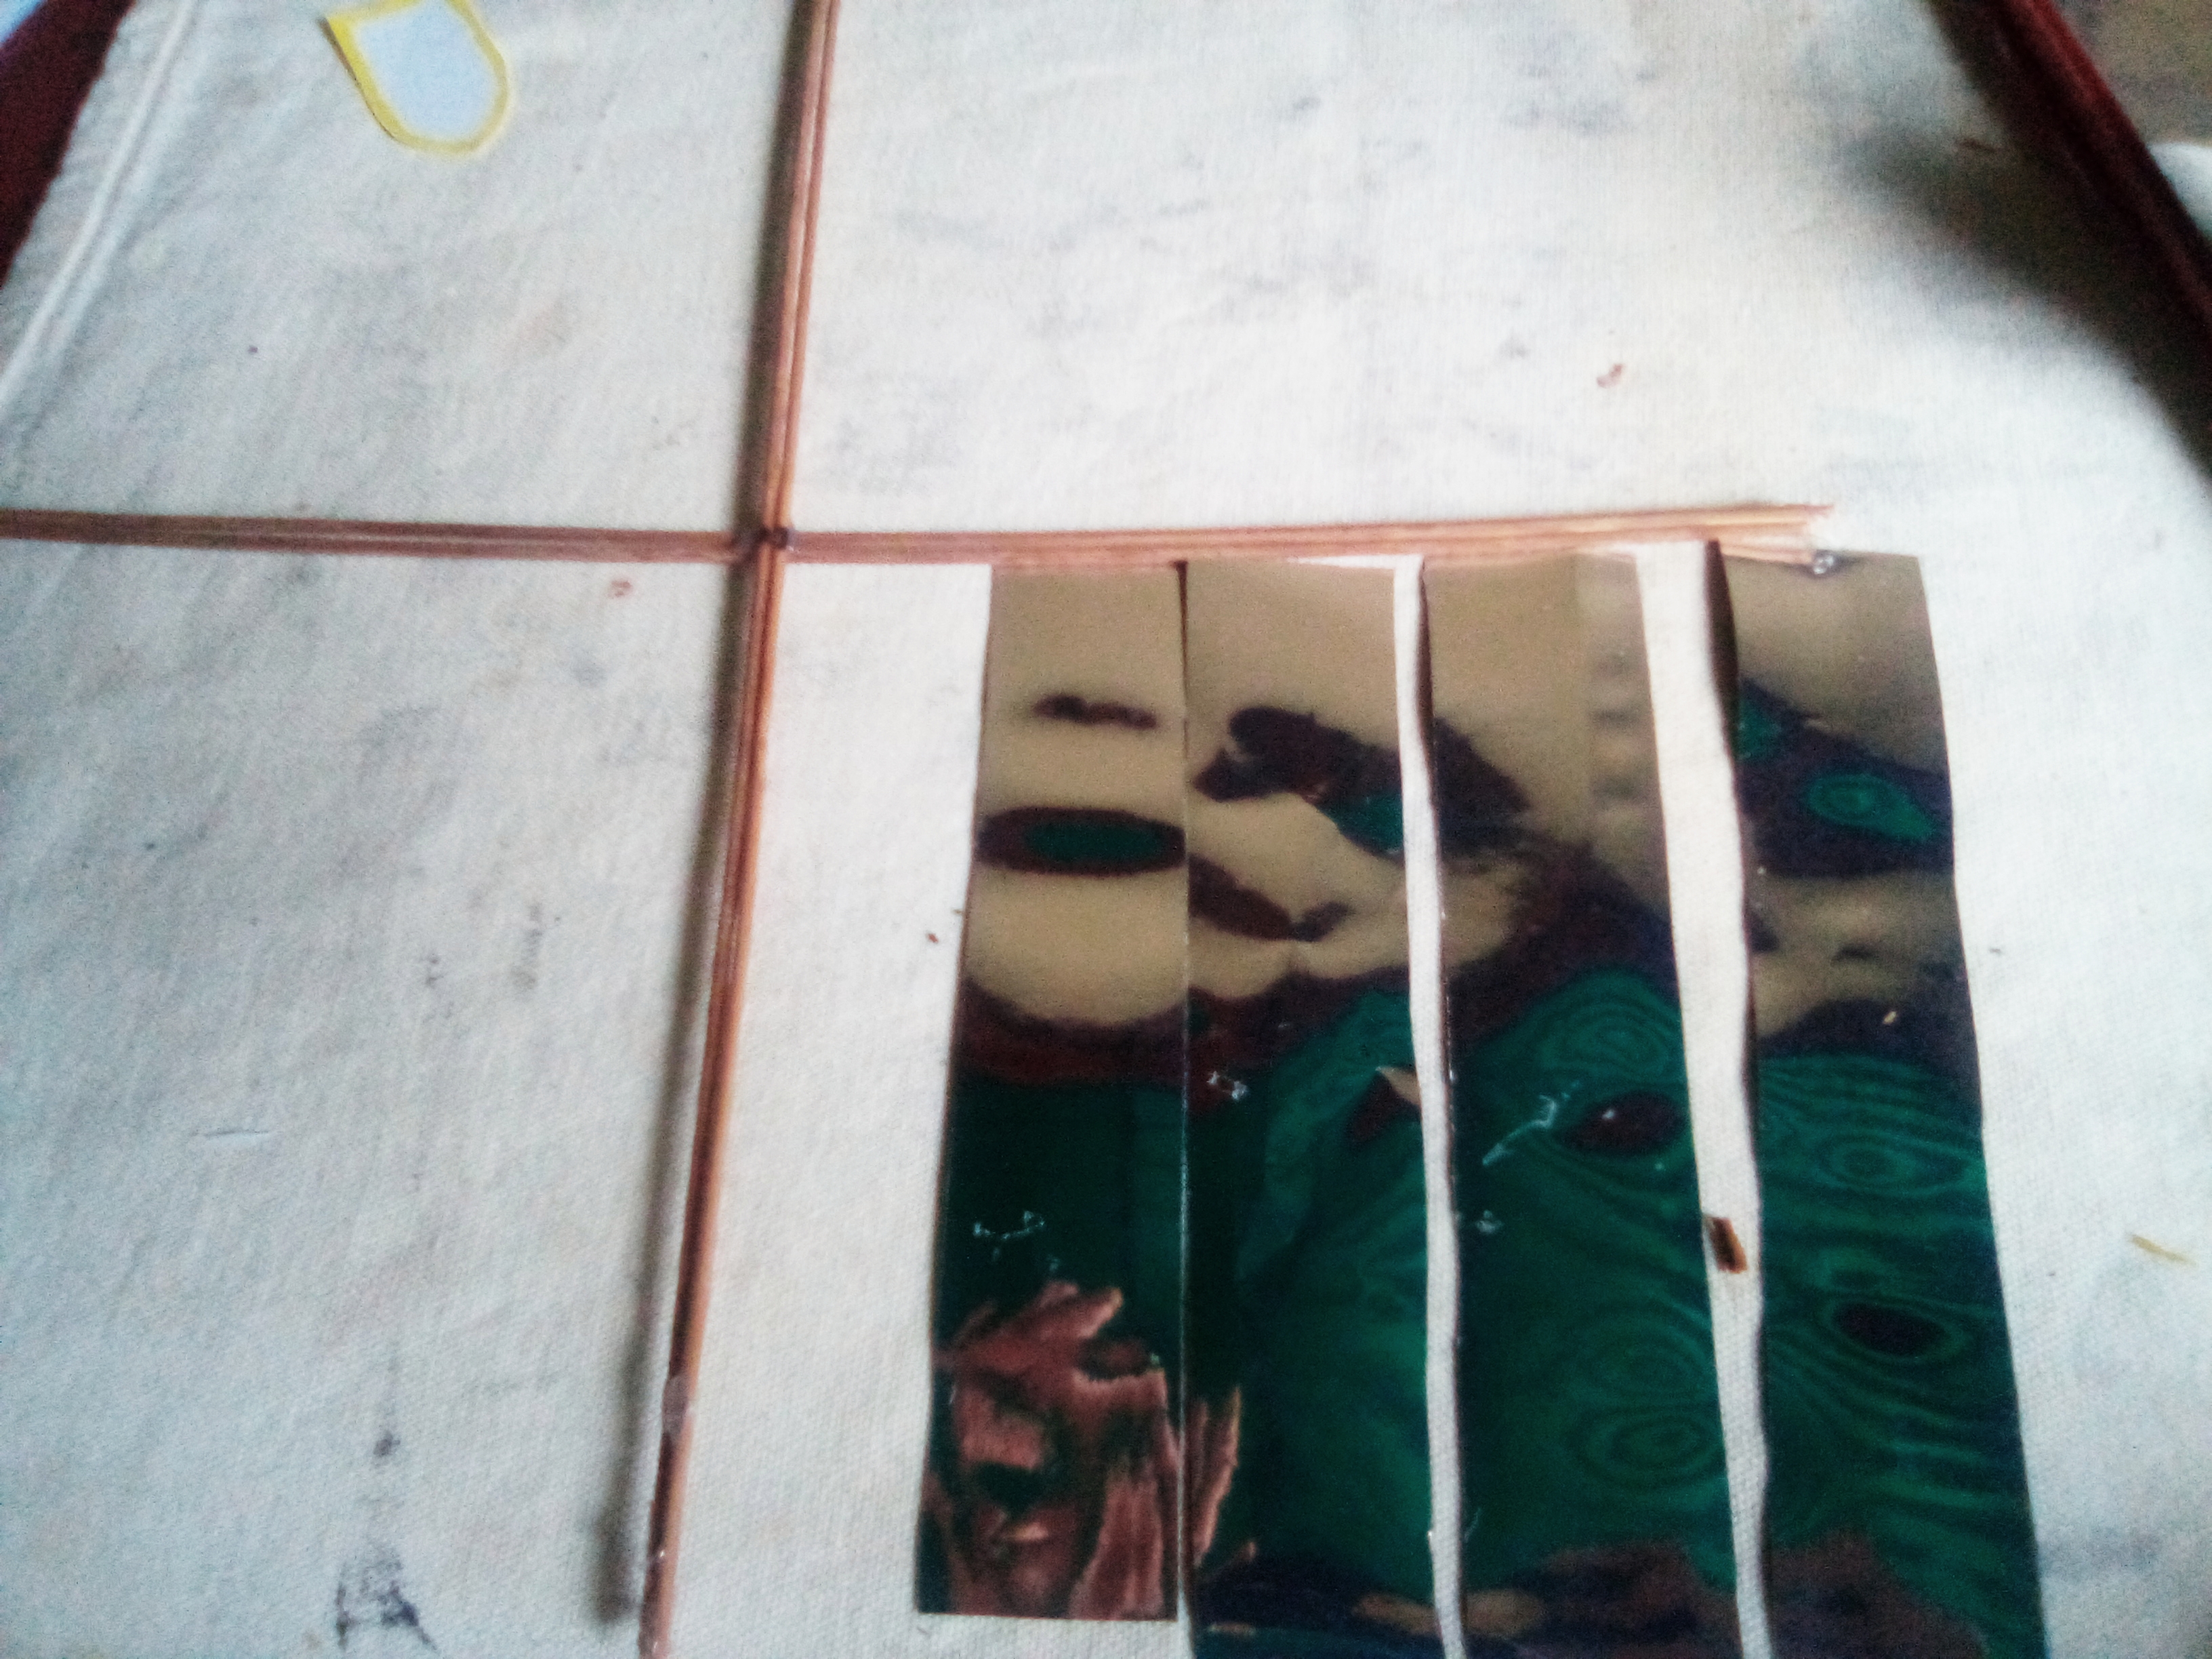
-Malla plastica
-Papel color plata
-Cardboard
-Scissor
-Cold paints (Black, Yellow, red, green)
-Job
-Four chopsticks
-Marker
-White sheet of paper
-Plastic mesh
-Silver colored paper

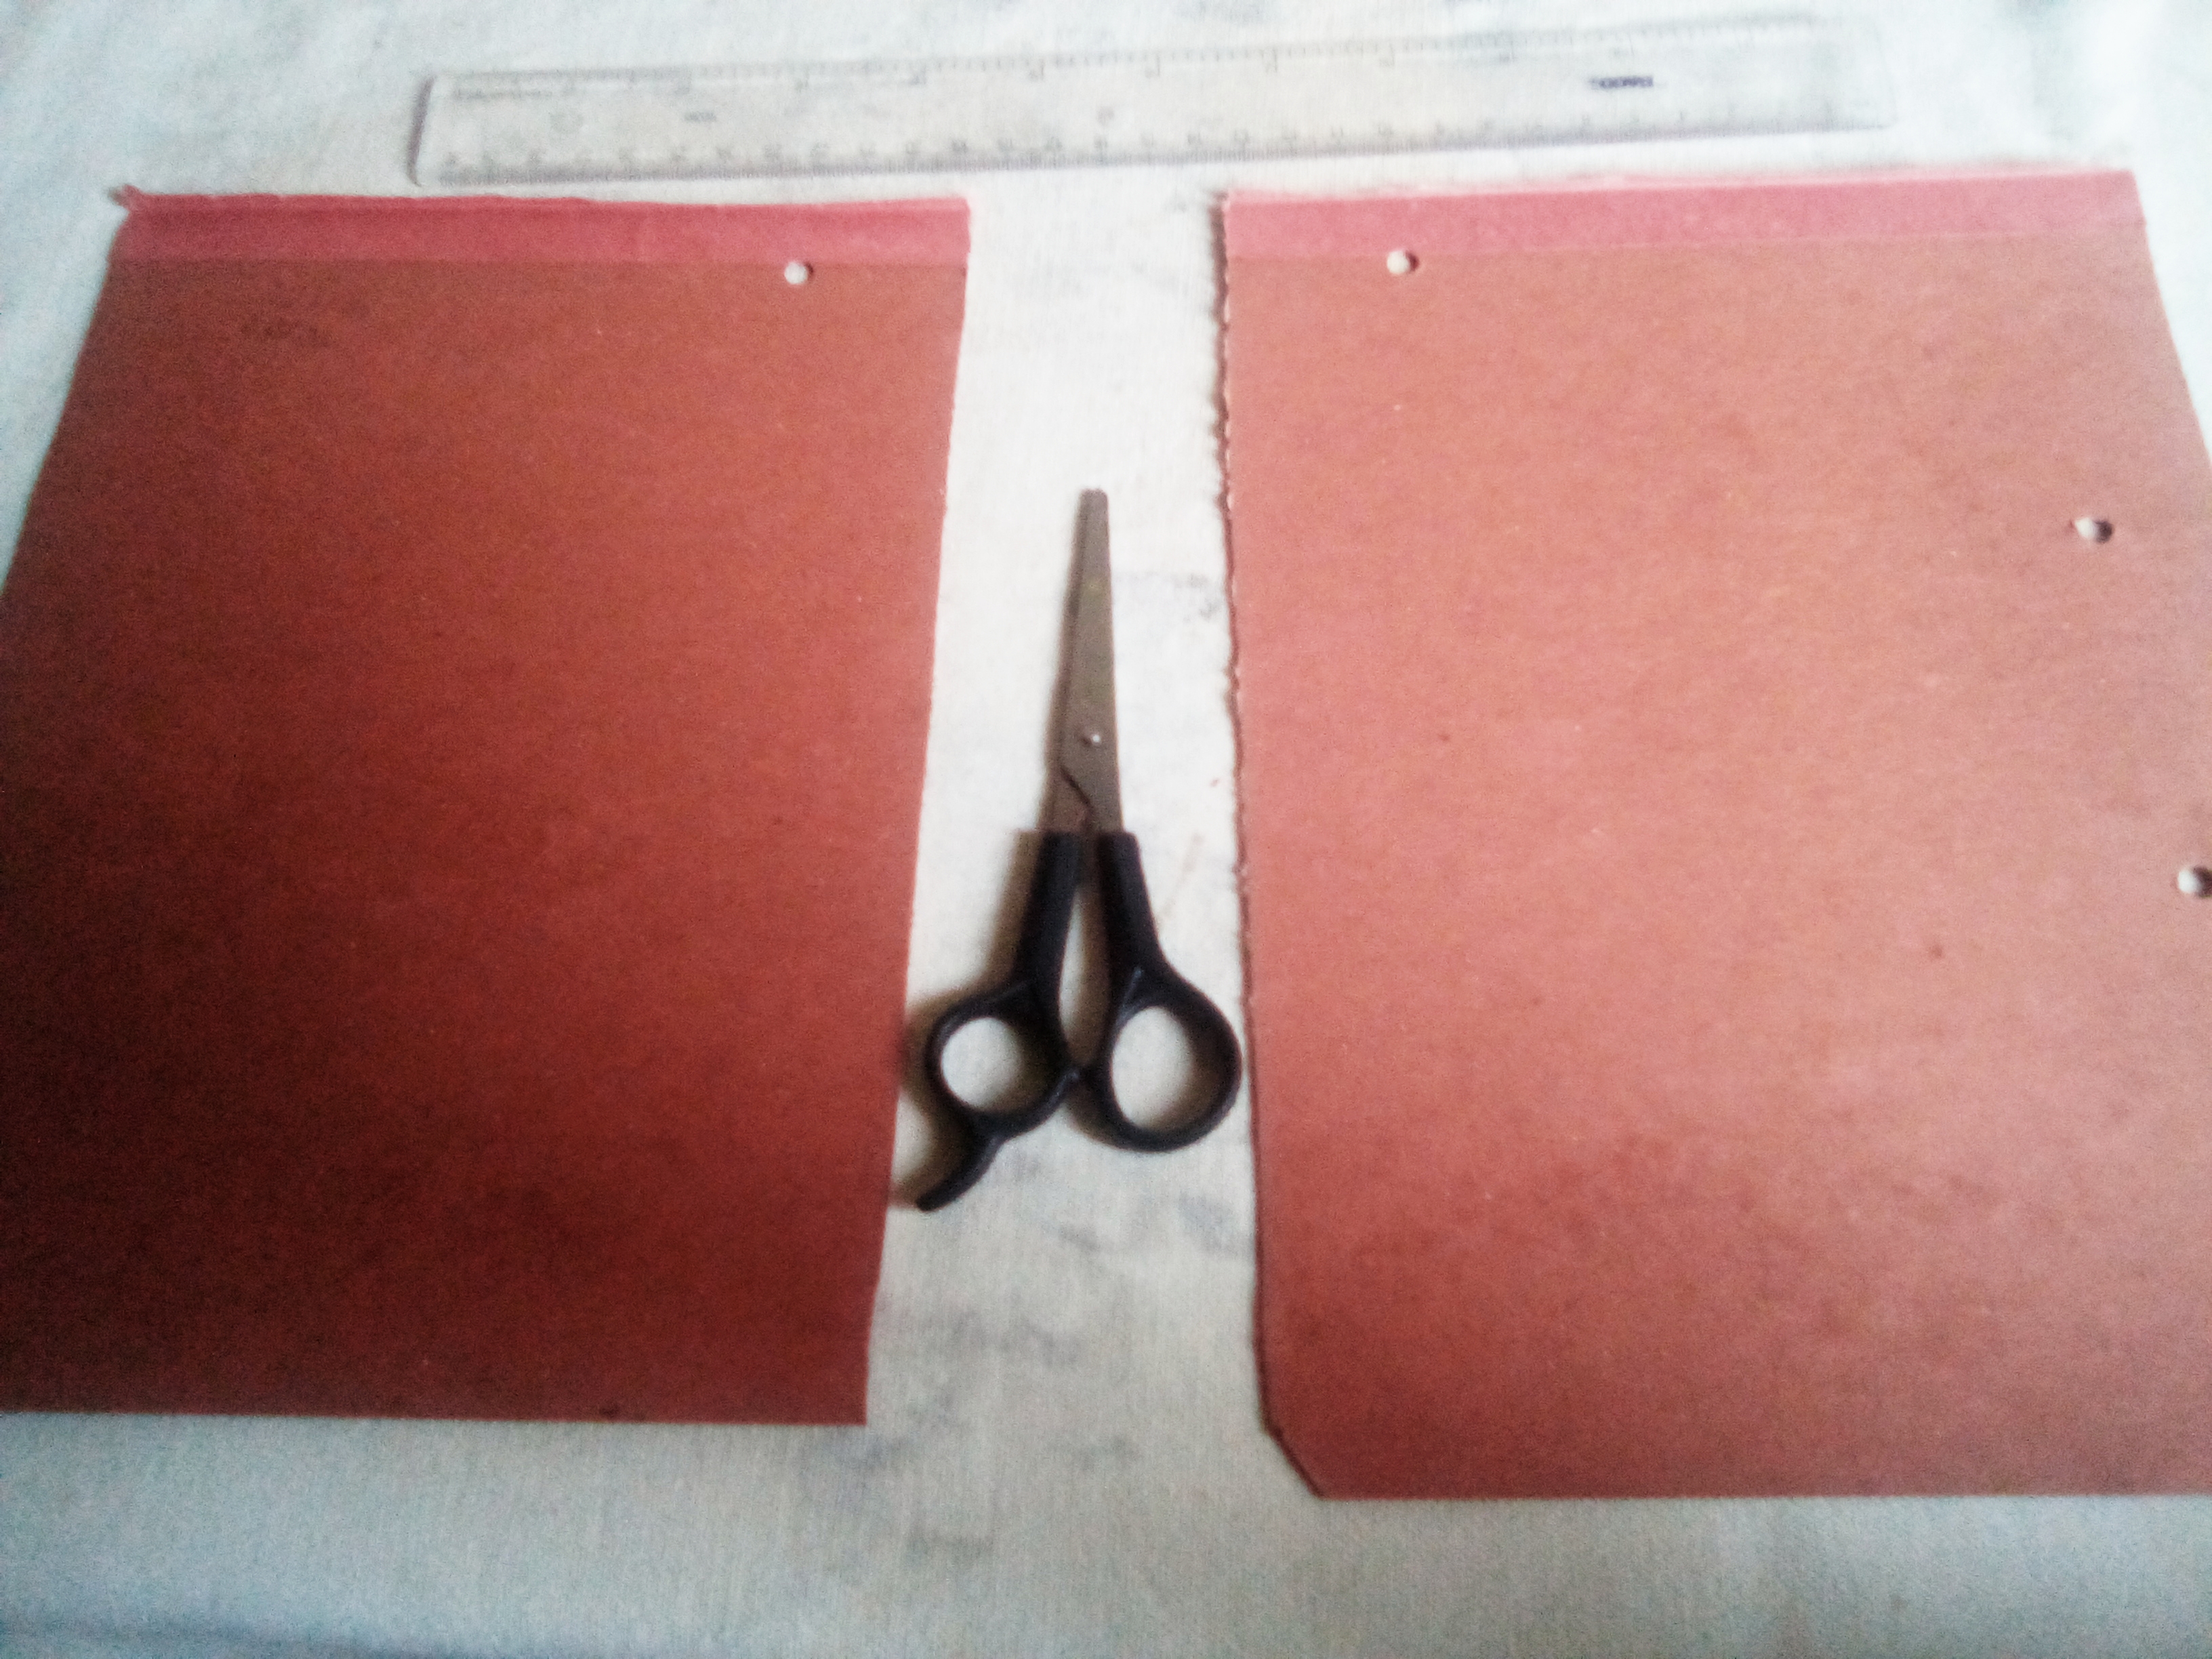
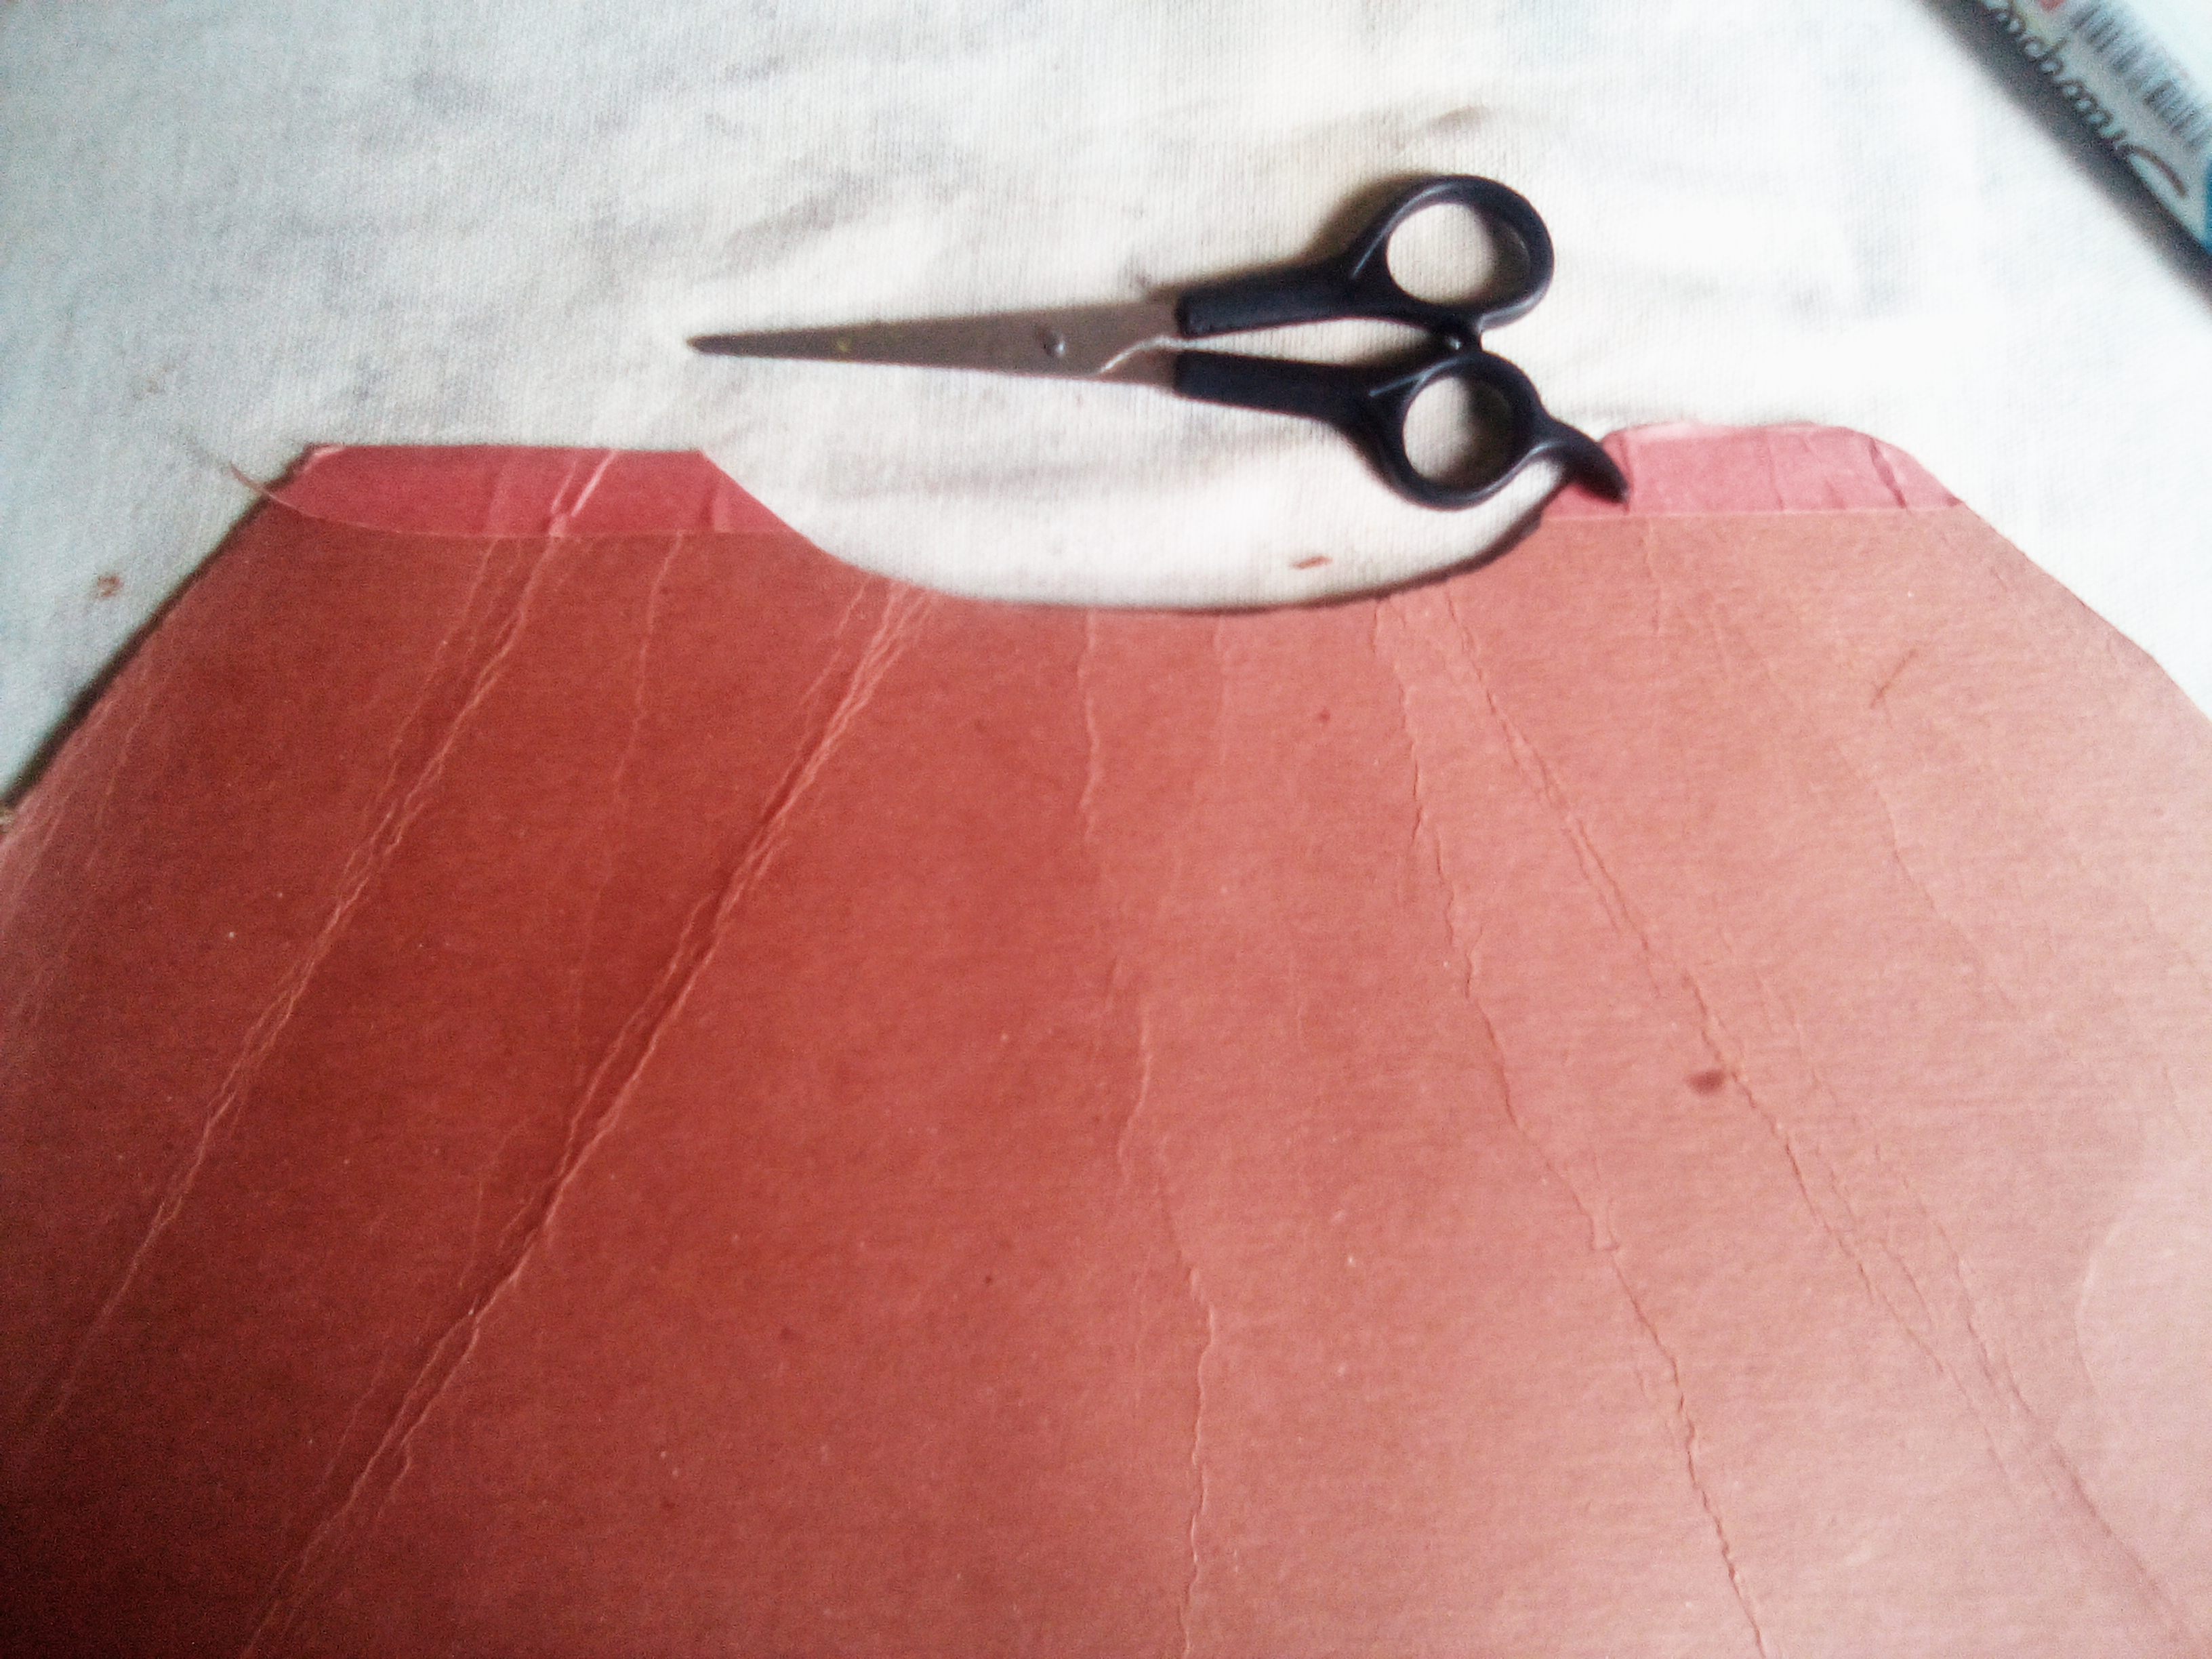
Paso#1
Principalmente recortamos la cartulina en dos partes, una de ellas debe ser más grande que la otra, ya que usaremos una parte pequeña como base (suelo) y la más grande para el molino, con la diferencia que la que usaremos para el molino le recortamos las puntas para ir formando un especie de cono.
Step # 1 Mainly we cut the cardboard into two parts, one of them must be larger than the other, since we will use a small part as a base (ground) and the larger one for the mill, with the difference that the one that we will use for the mill we cut the tips to form a kind of cone.
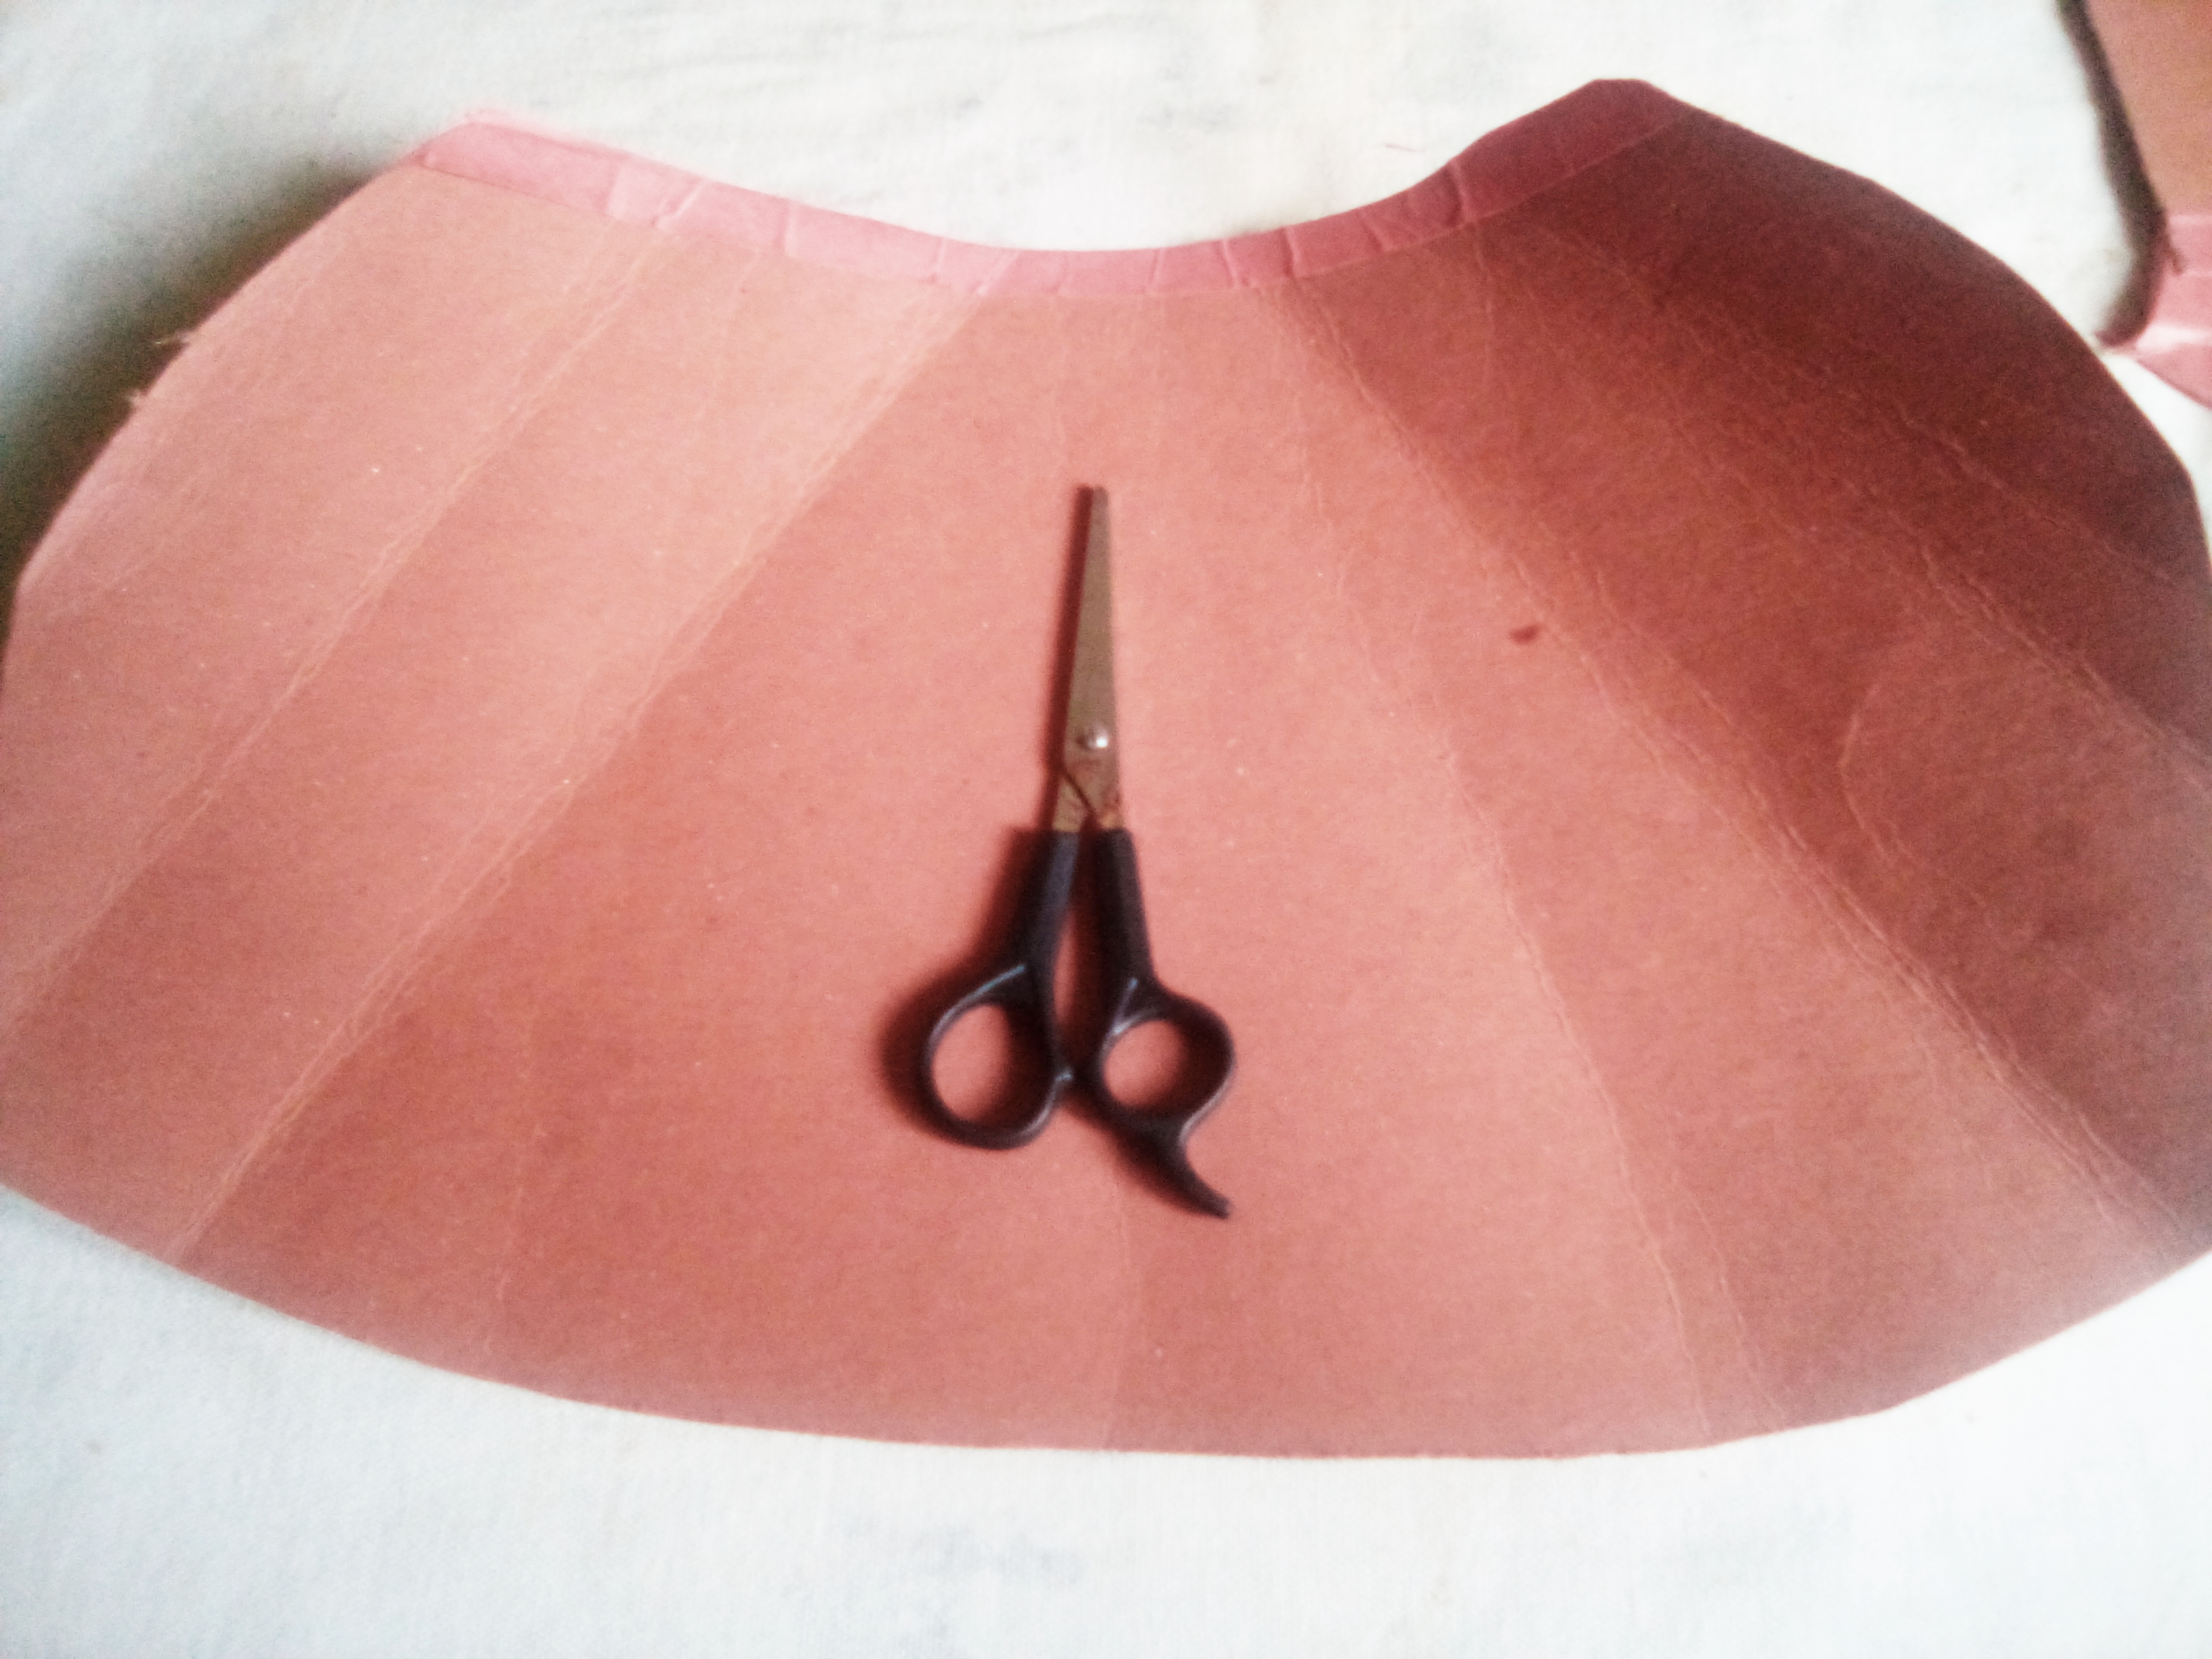
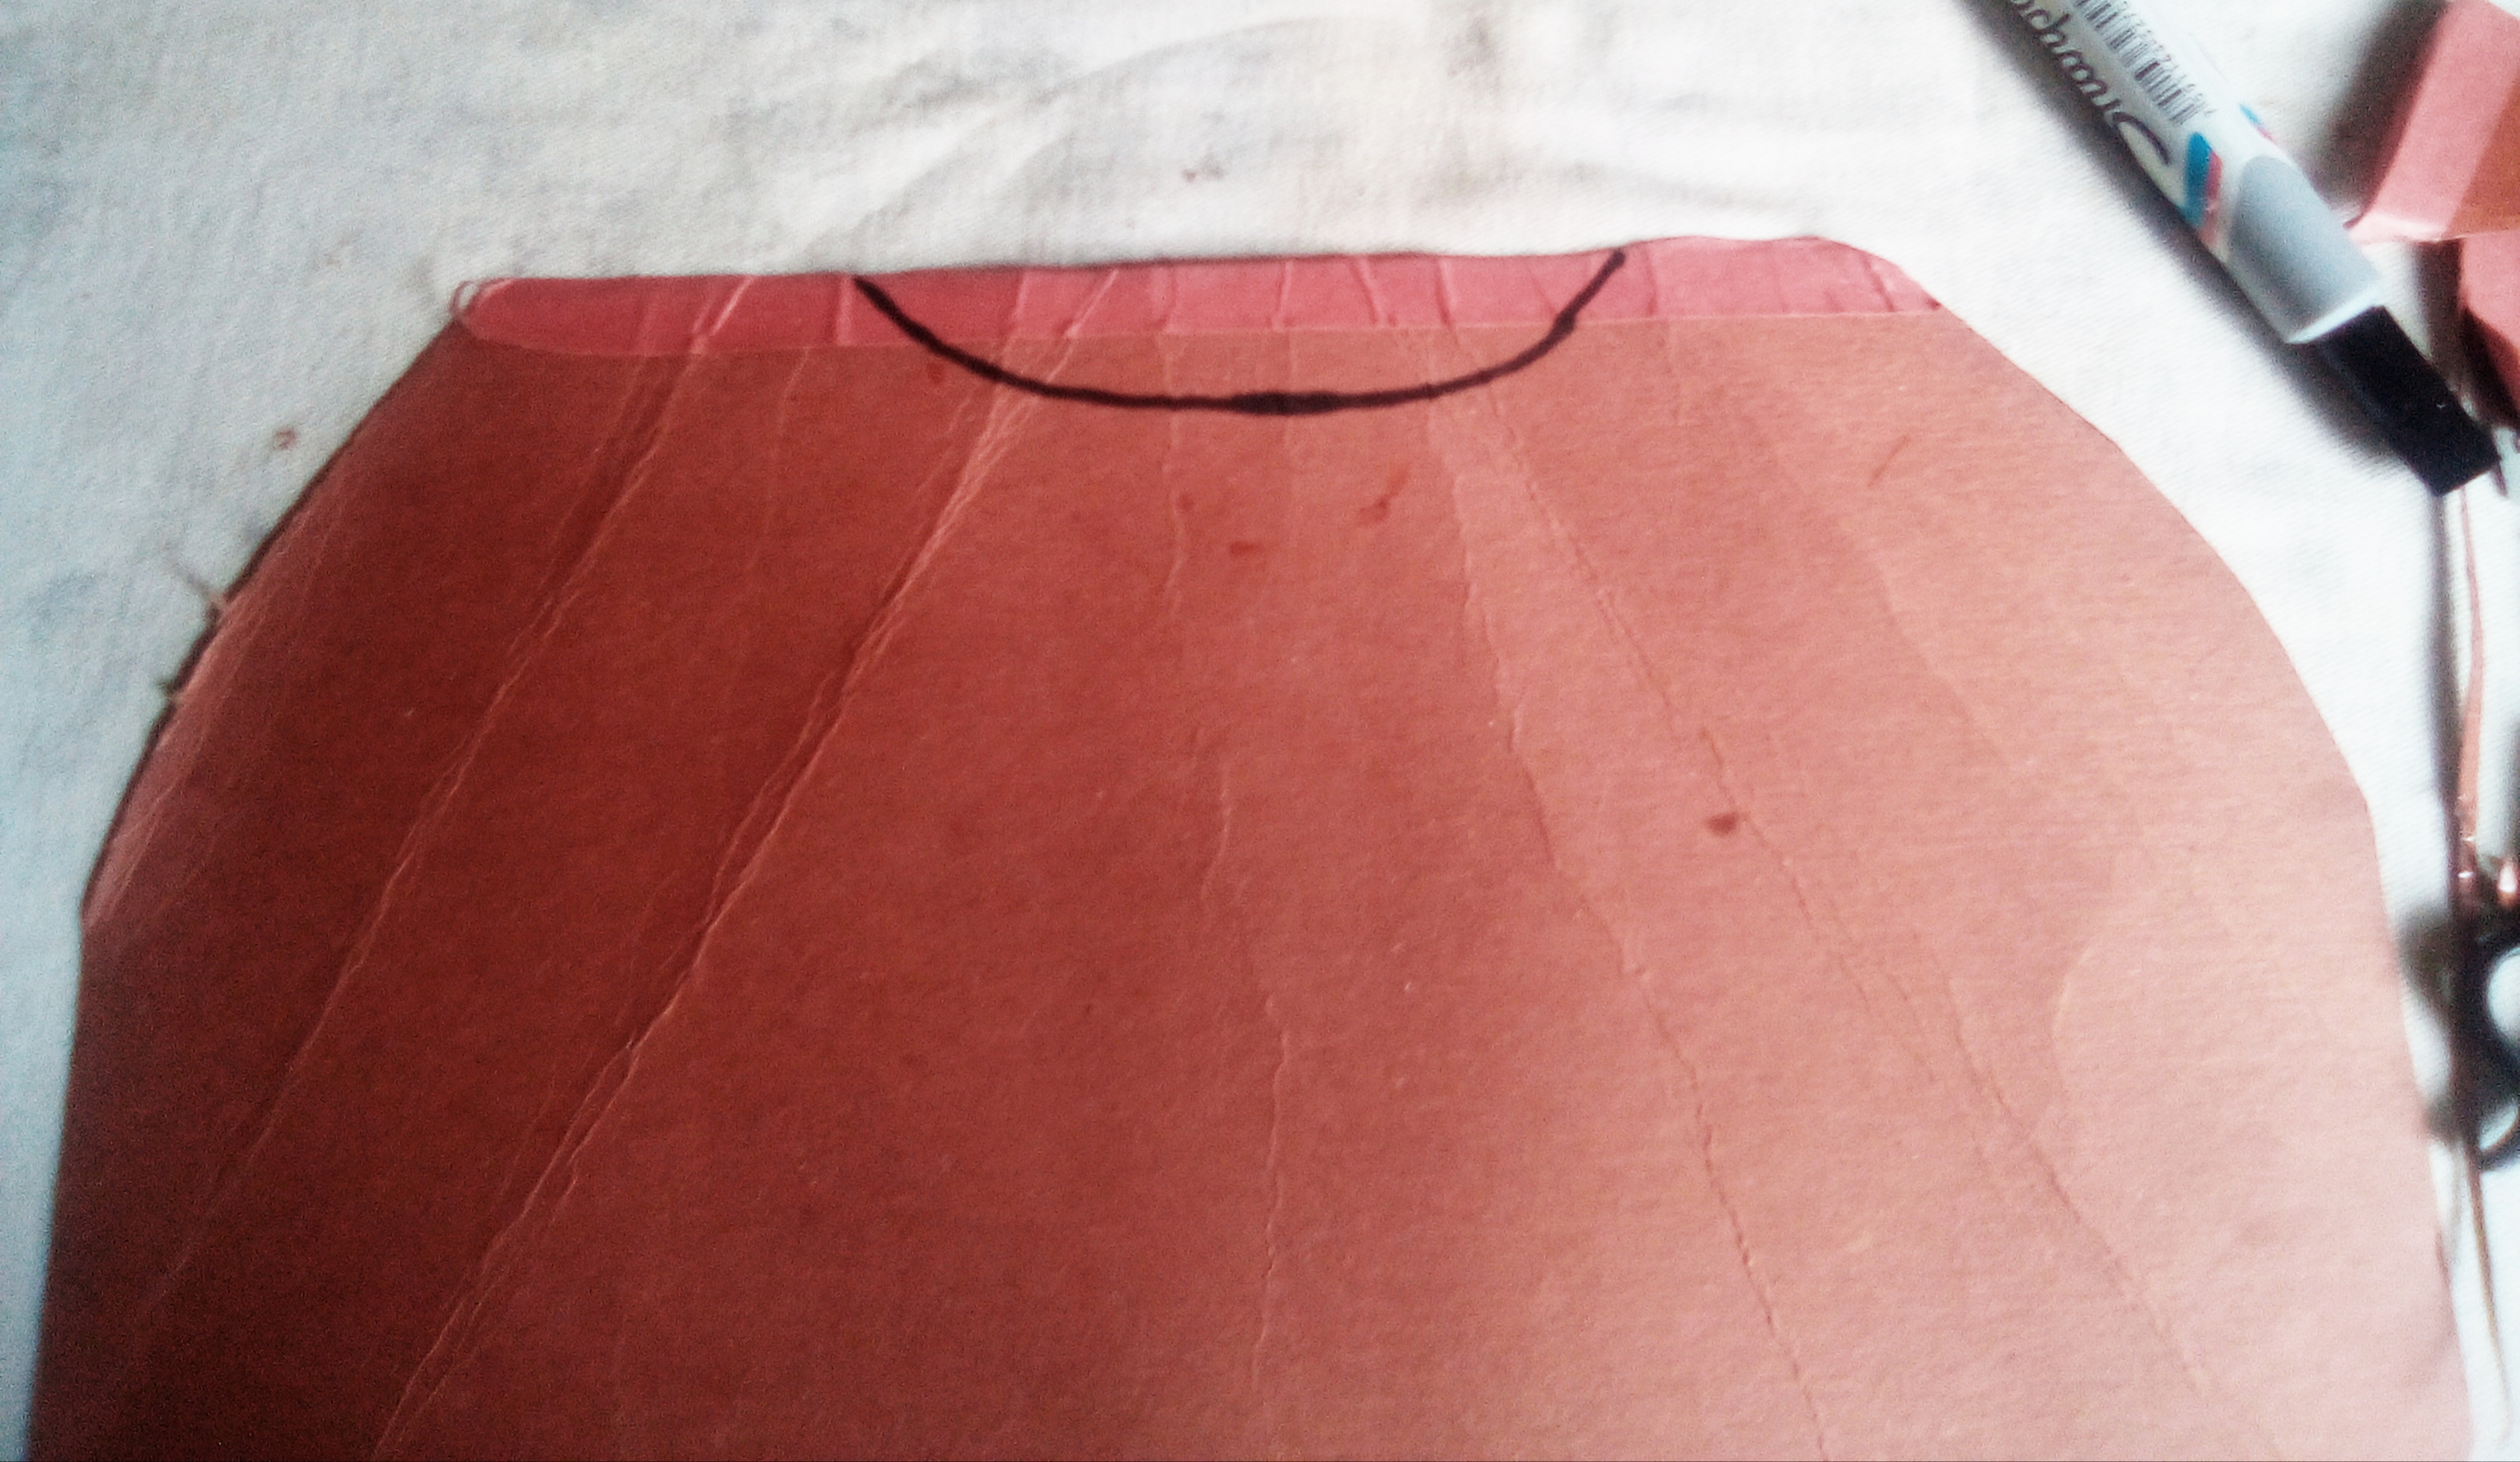
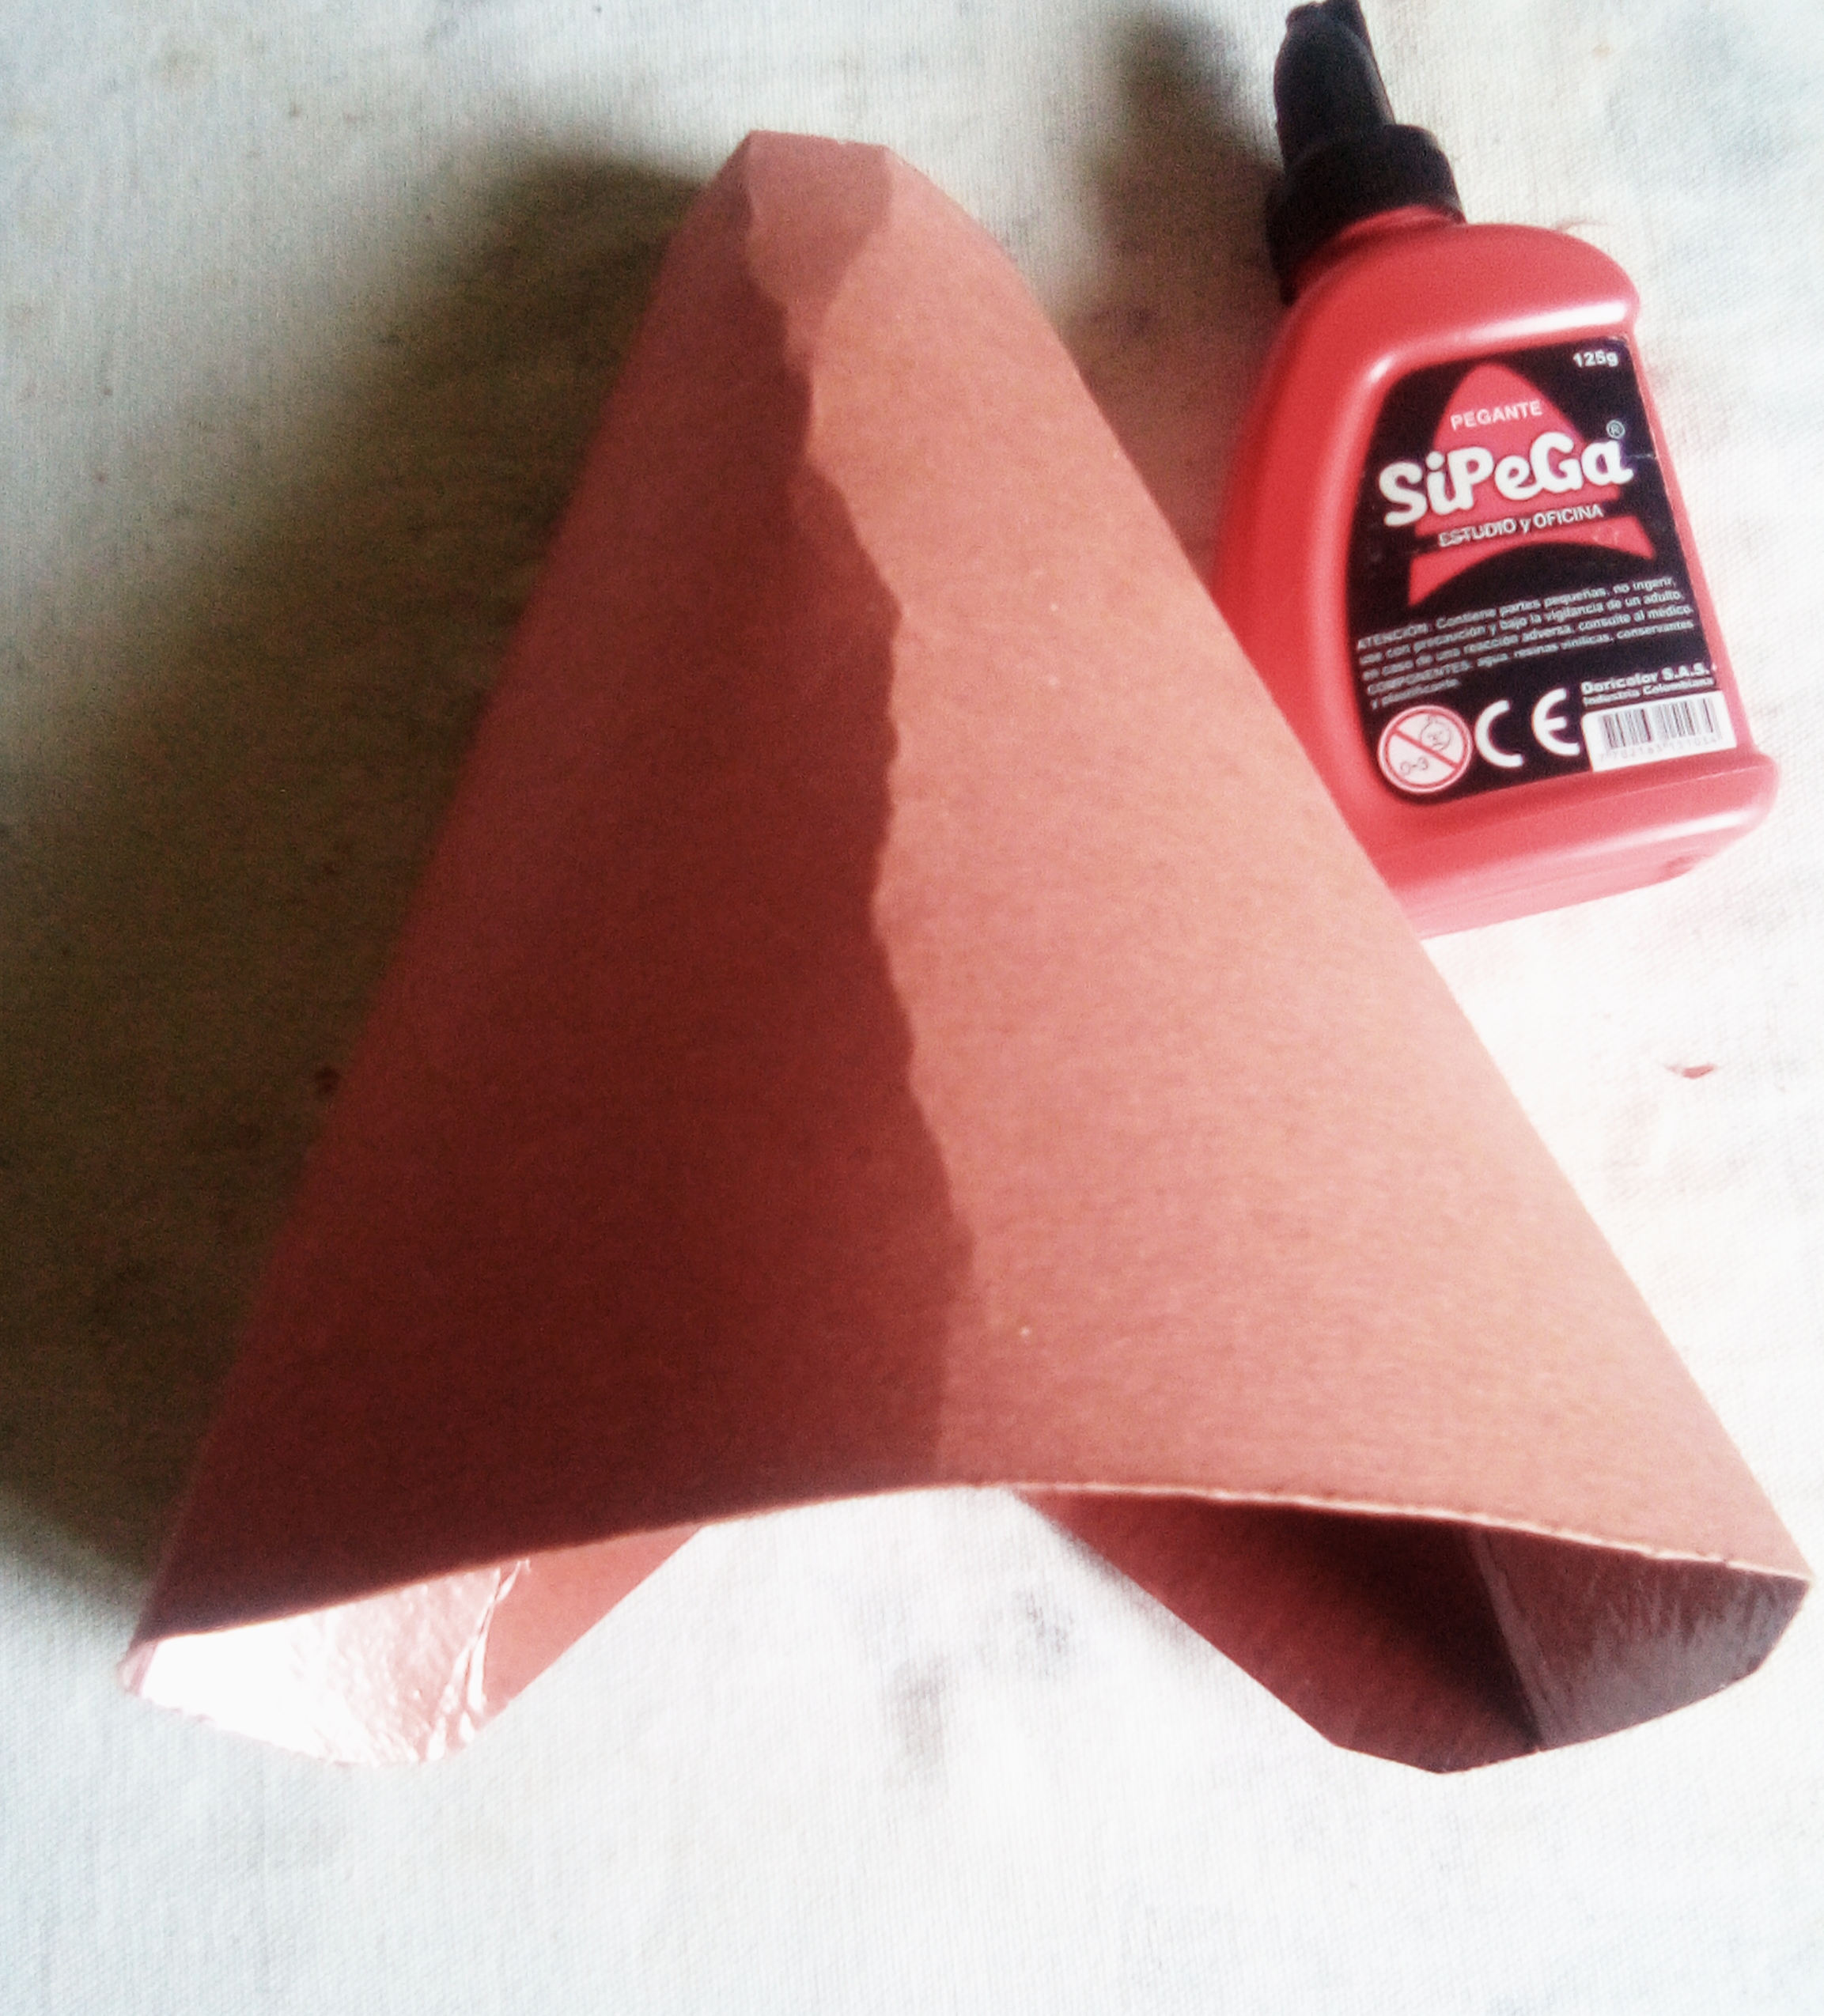
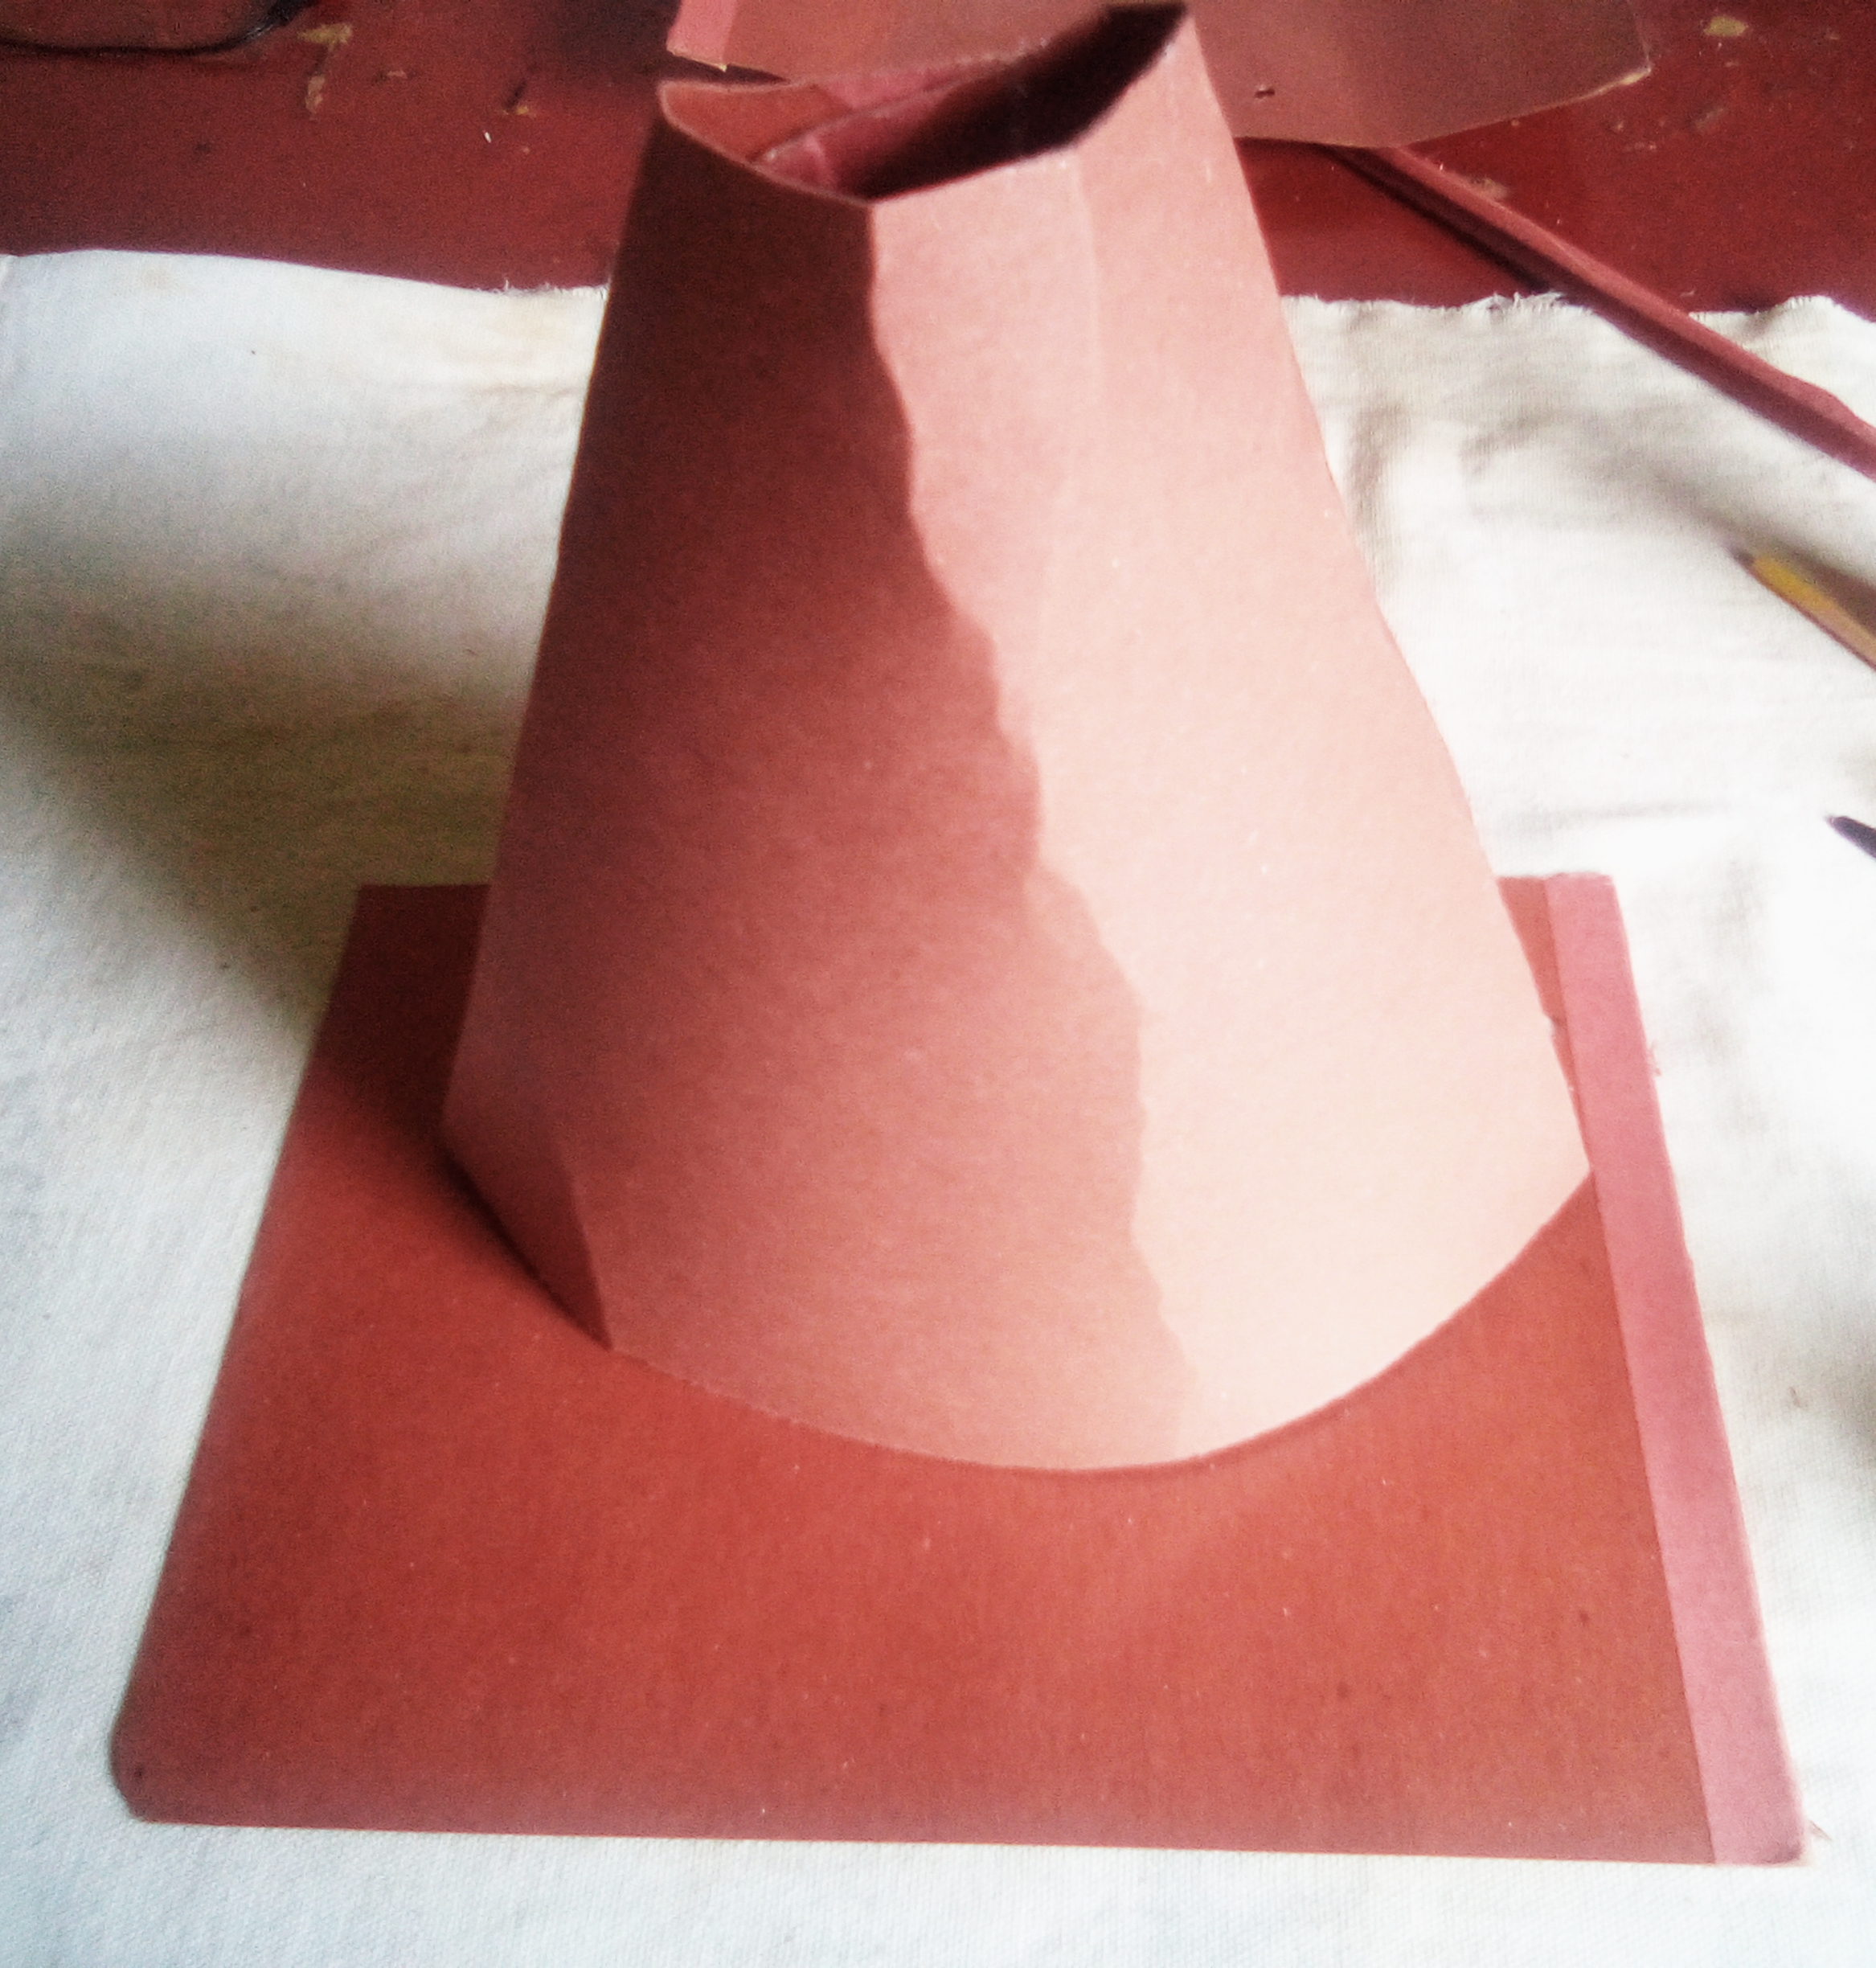
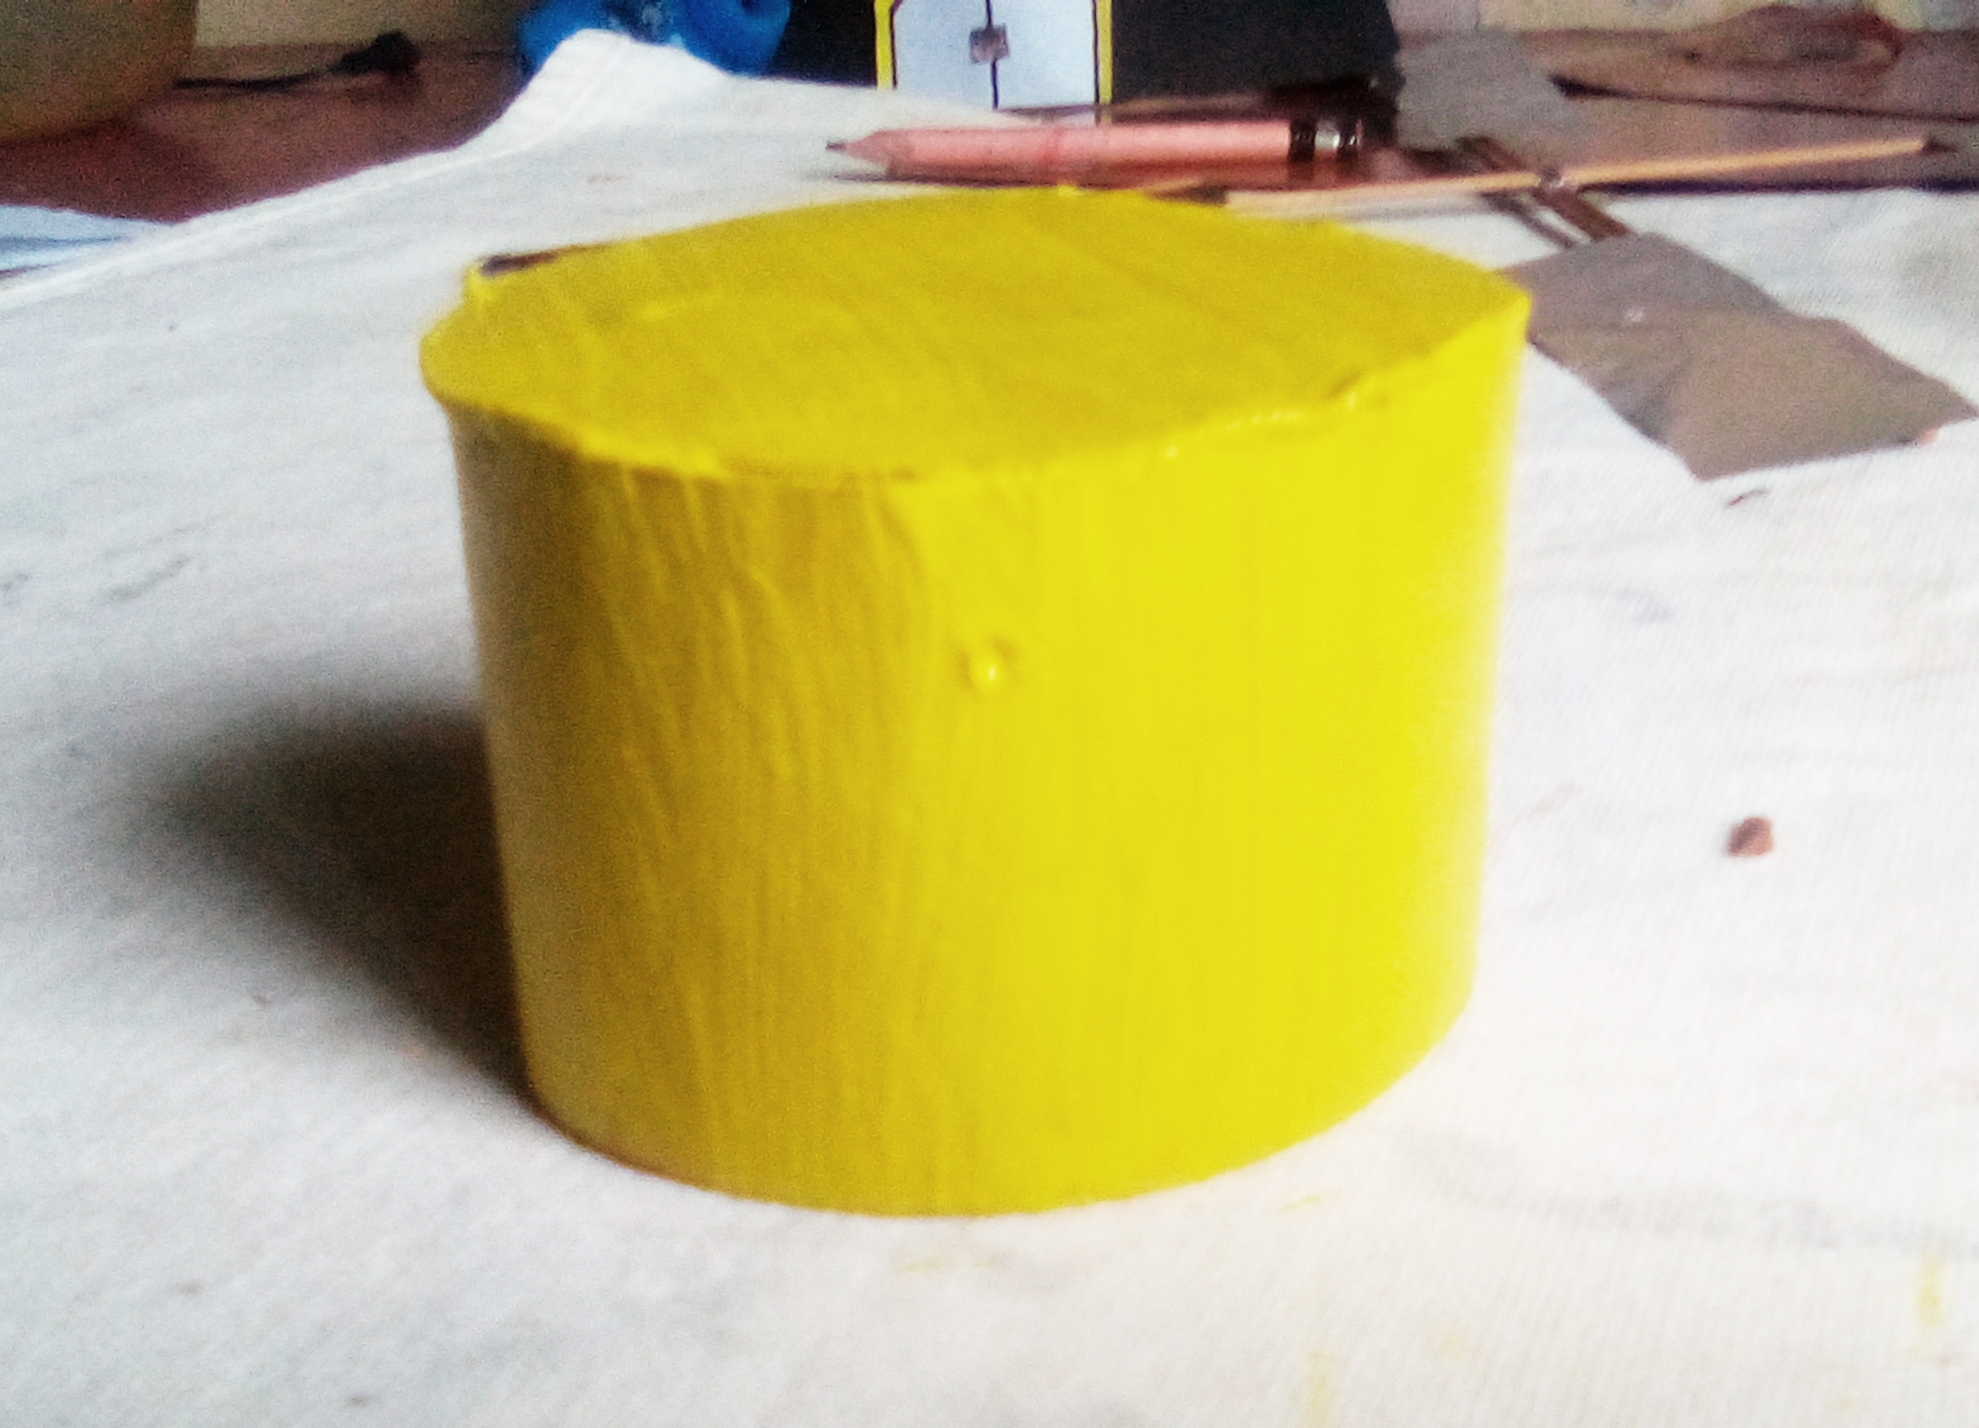
Paso#2
Luego procedemos a dar forma de cono al recorte del molino, pegamos sus puntas al obtener la forma deseada, y procedemos a pintarlo
Step # 2 Then we proceed to give the mill cutout a cone shape, glue its tips to obtain the desired shape, and proceed to paint it

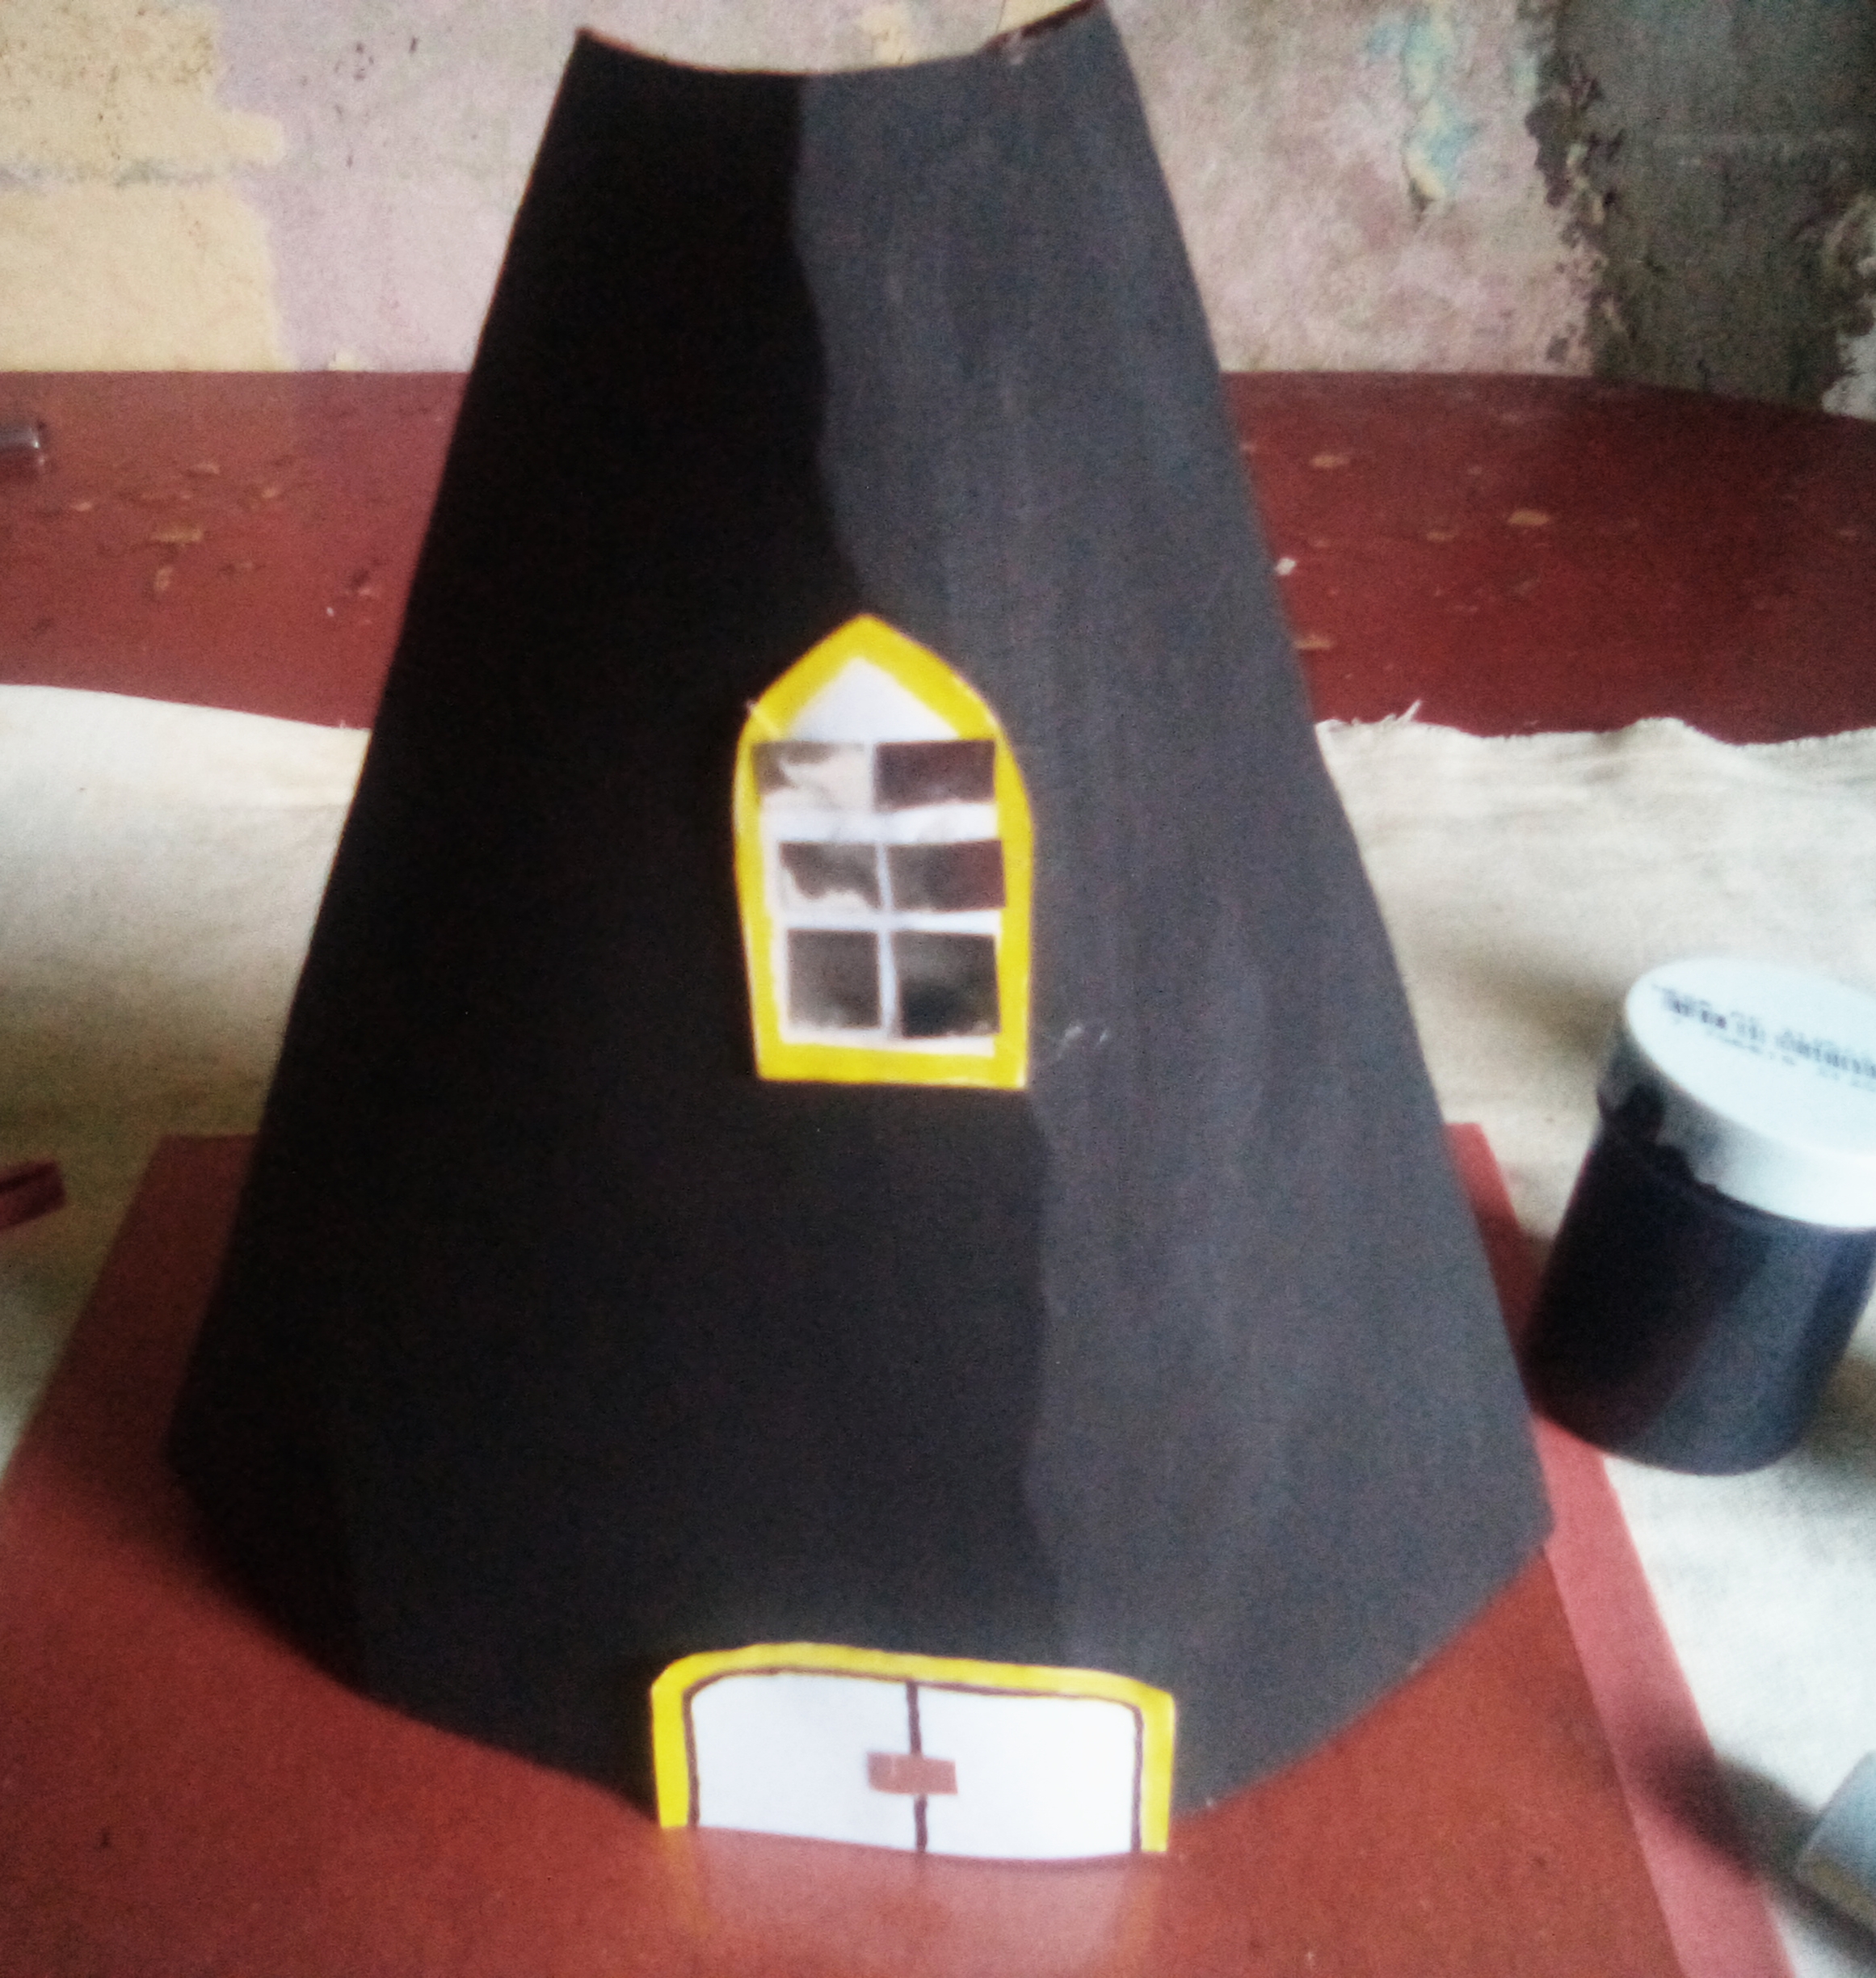
Paso#3
Procedemos a usar una hoja blanca y recortamos: puerta, ventana, y usamos un poquito de papel color plata, para decorar ambas partes, y un poquito de pintura al frio para darle un toque delicado.
Step # 3 We proceed to use a white sheet and cut out: door, window, and use a little silver-colored paper to decorate both parts, and a little cold paint to give it a delicate touch.

Paso#4
Recortamos nuevamente de la cartulina una tira de 15cm aproximadamente y un pedazo circular que juntos de esta forma podemos obtener la parte superior de nuestro molino👇y procedemos a pintar.
Step # 4 We cut again from the cardboard a strip of approximately 15cm and a circular piece that together in this way we can obtain the upper part of our mill👇and we proceed to paint.
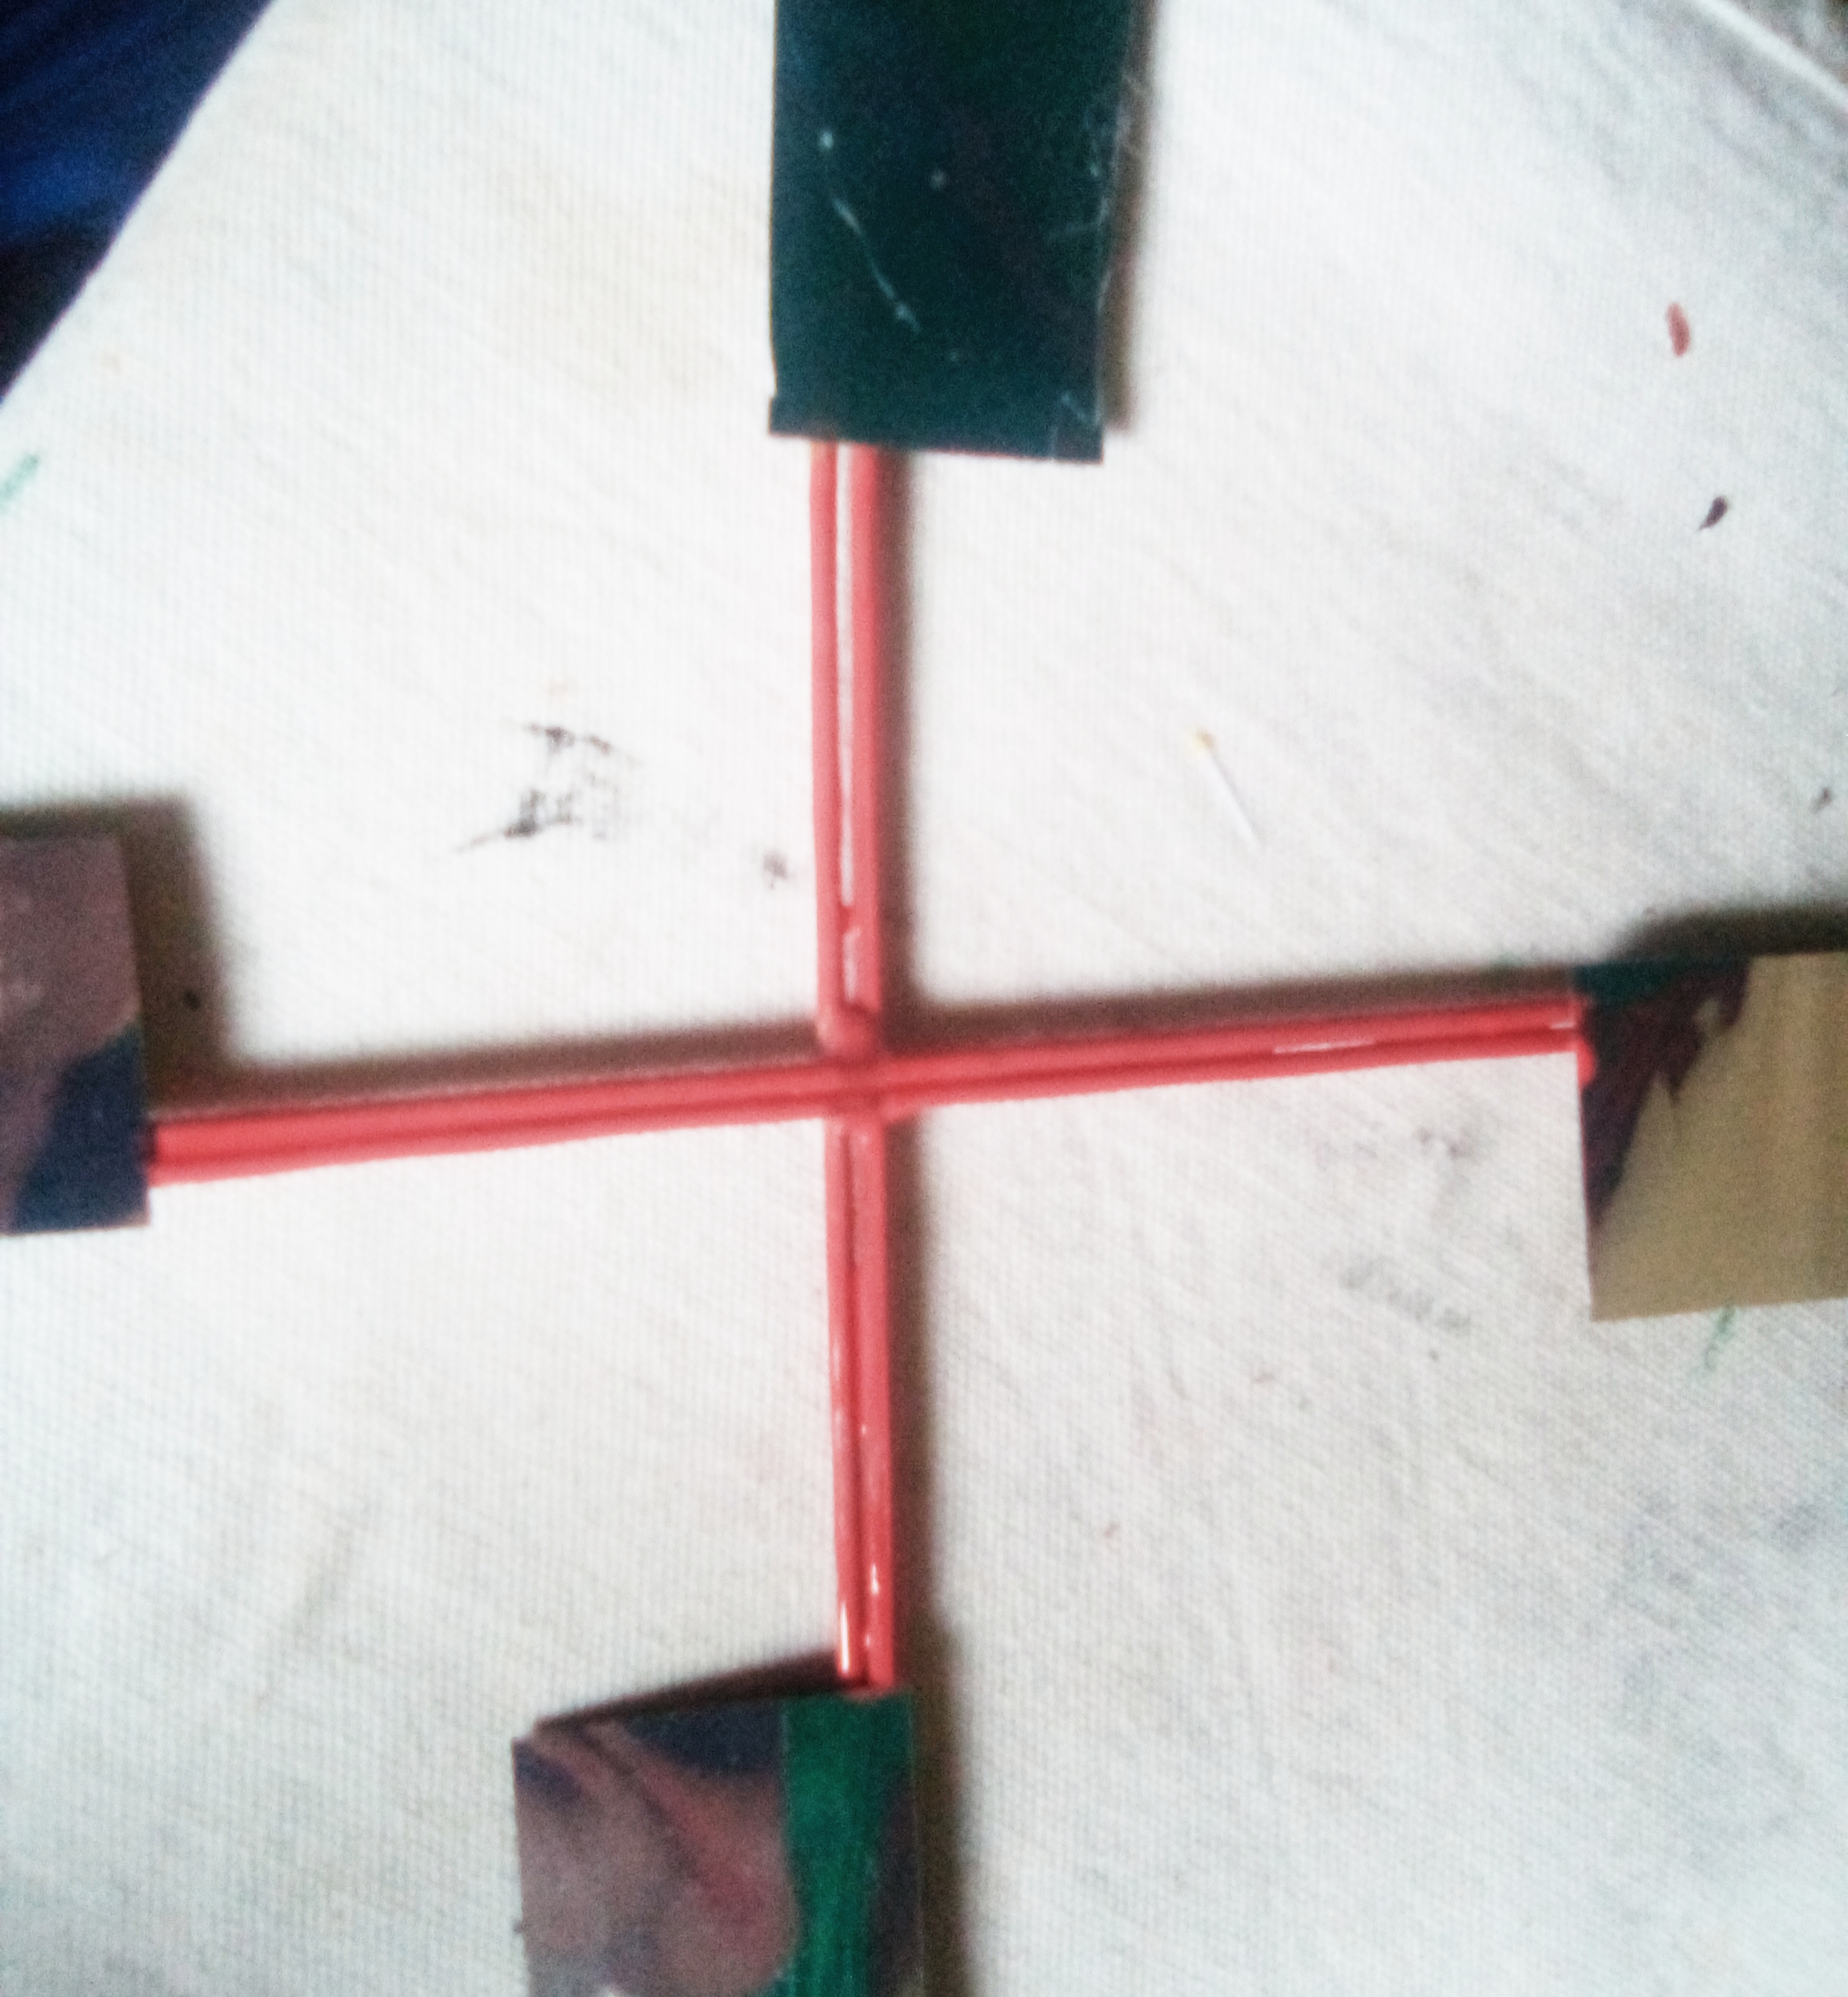
Paso#5
Para formar lo que vendría siendo sus Aspas o (aletas),hubicamos los palillos (todos de la misma medida) y unimos con pega formando dos pares, luego recortamos cuatro tiras del papel color plata y las pegamos en sus cuatro puntas y el resto que se ve de los palillos, pintamos para darle color, yo use el rojo.
Step # 5 To form what would become its Blades or (fins), we put the toothpicks (all of the same size) and glued together forming two pairs, then we cut four strips of the silver-colored paper and glued them on their four ends and the rest that You can see it from the sticks, we paint to give it color, I used red.

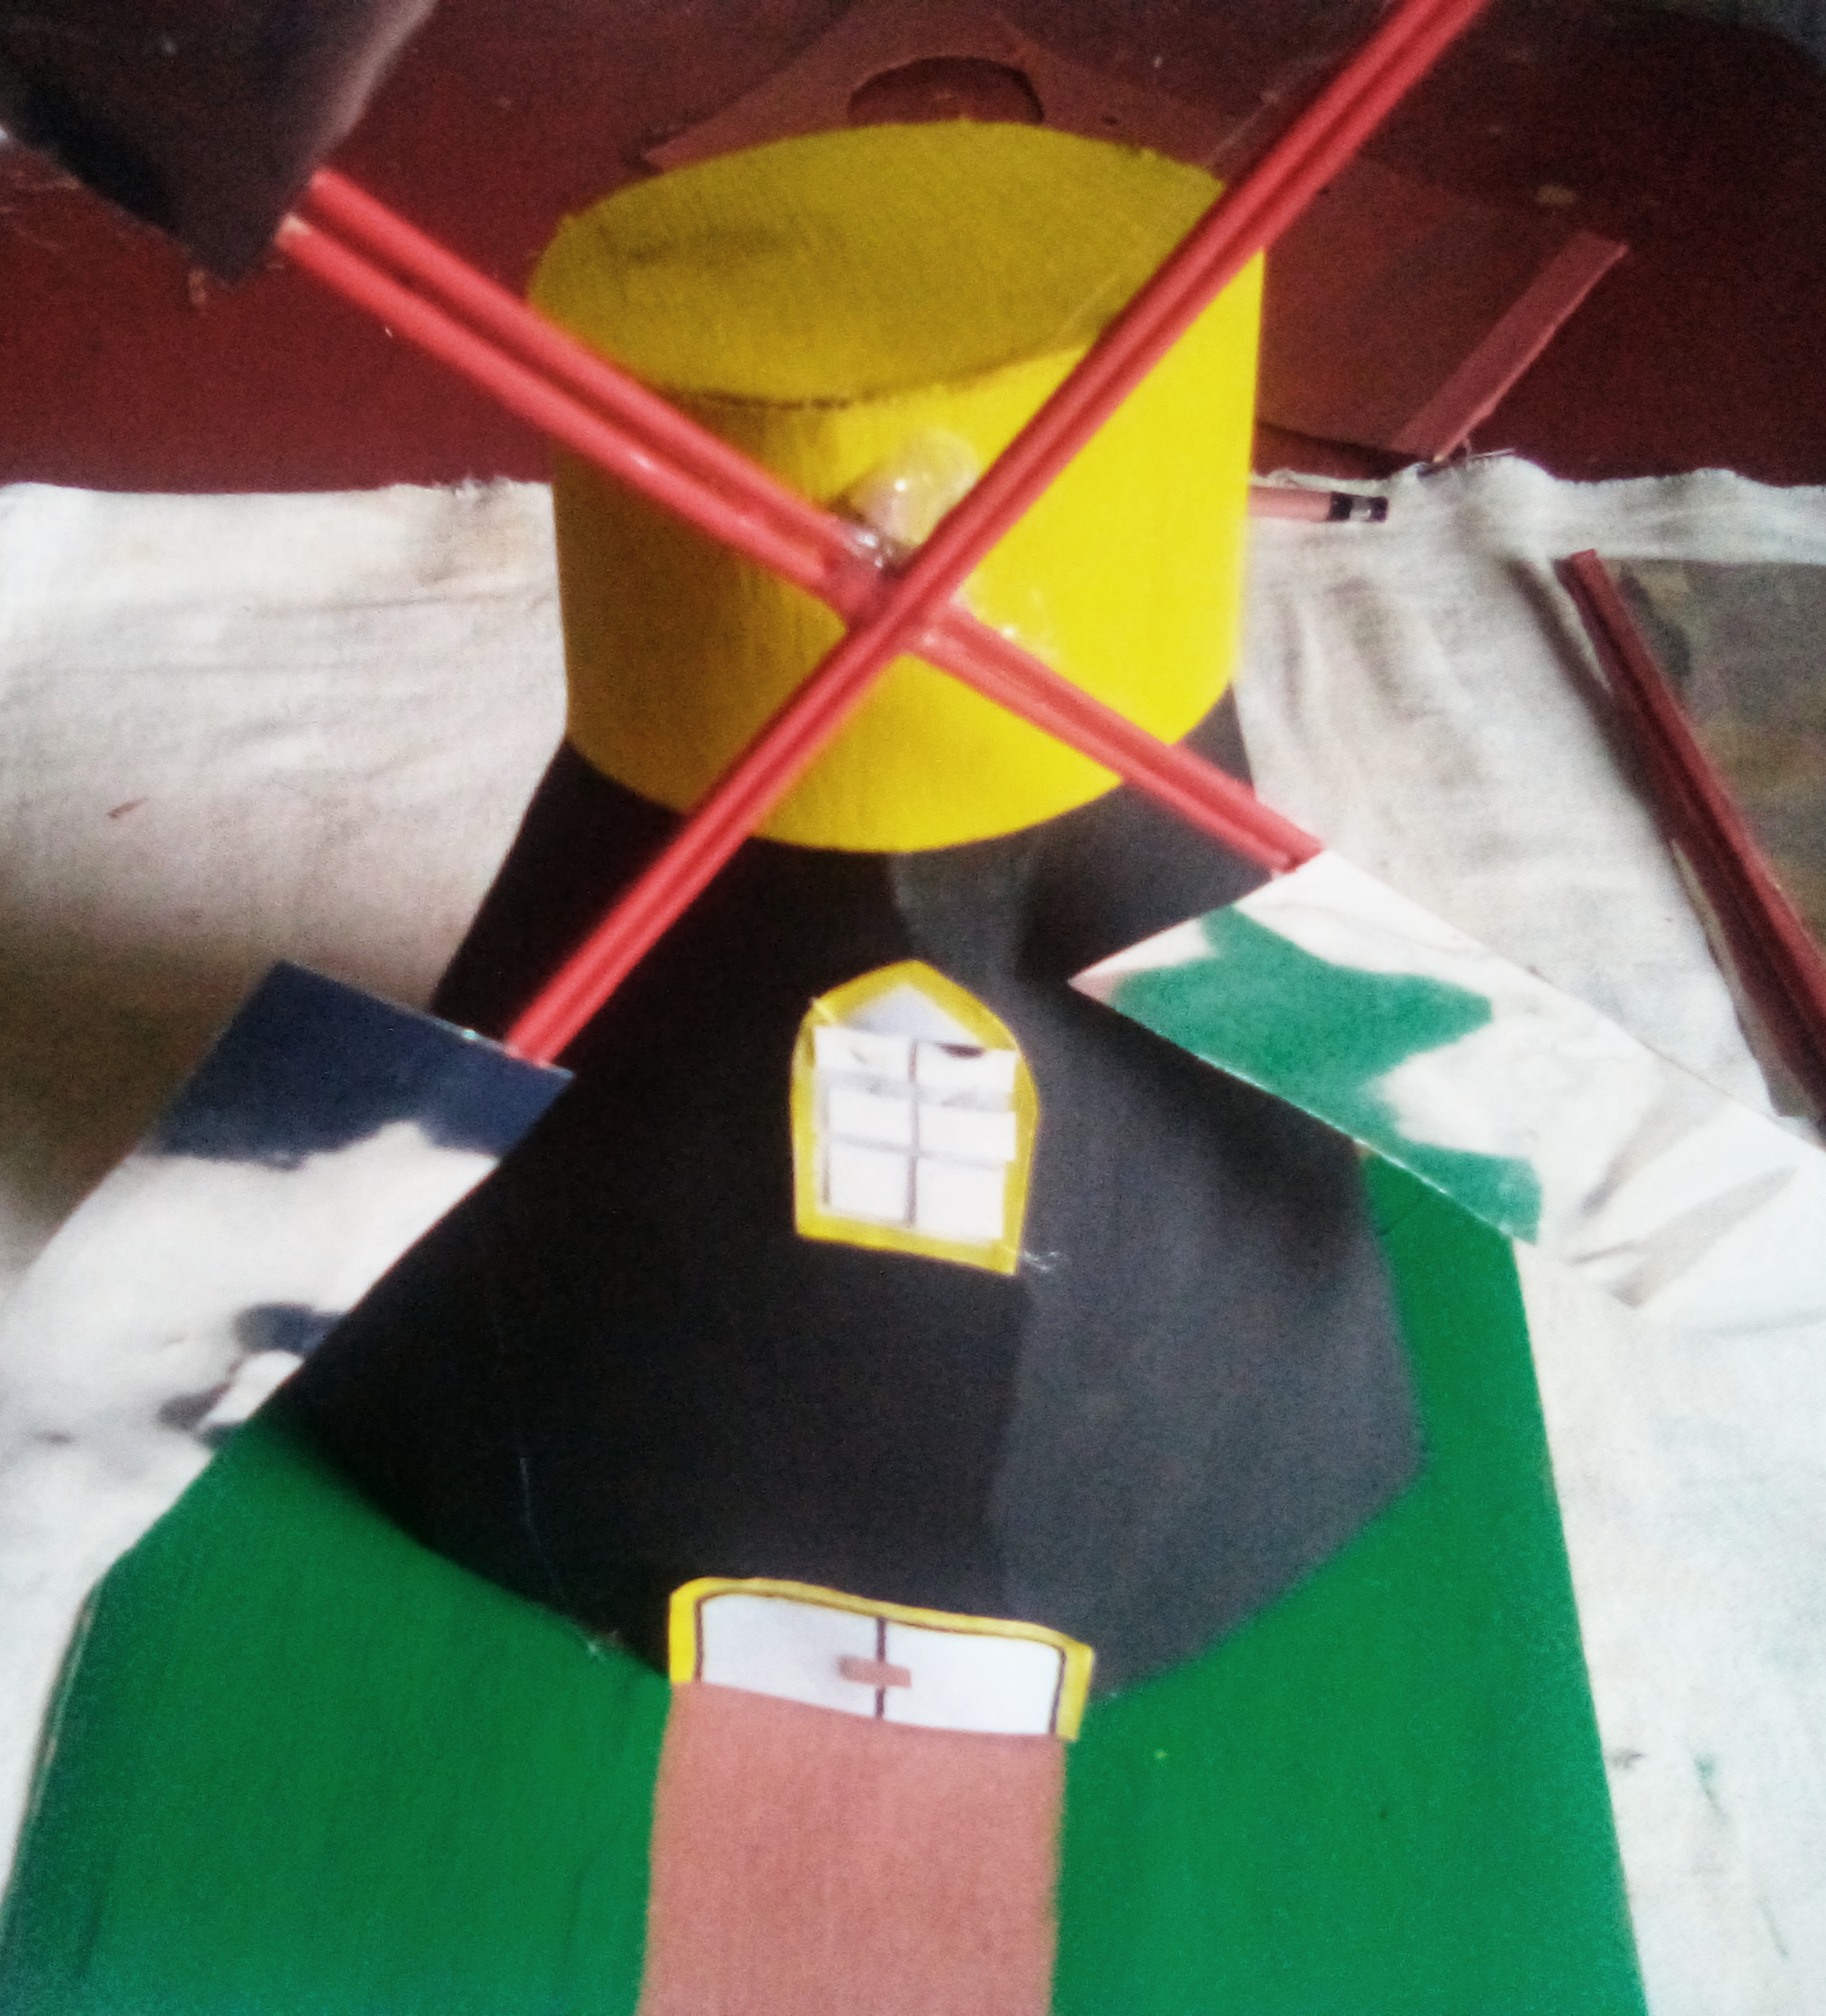
Paso#6
Luego procedemos a colocar las Aspas o (aletas) en la parte superior de nuestro molino, luego pegamos y pintamos la base o (suelo) de verde.
Step # 6 Then we proceed to place the Blades or (fins) on top of our mill, then we glue and paint the base or (ground) green.
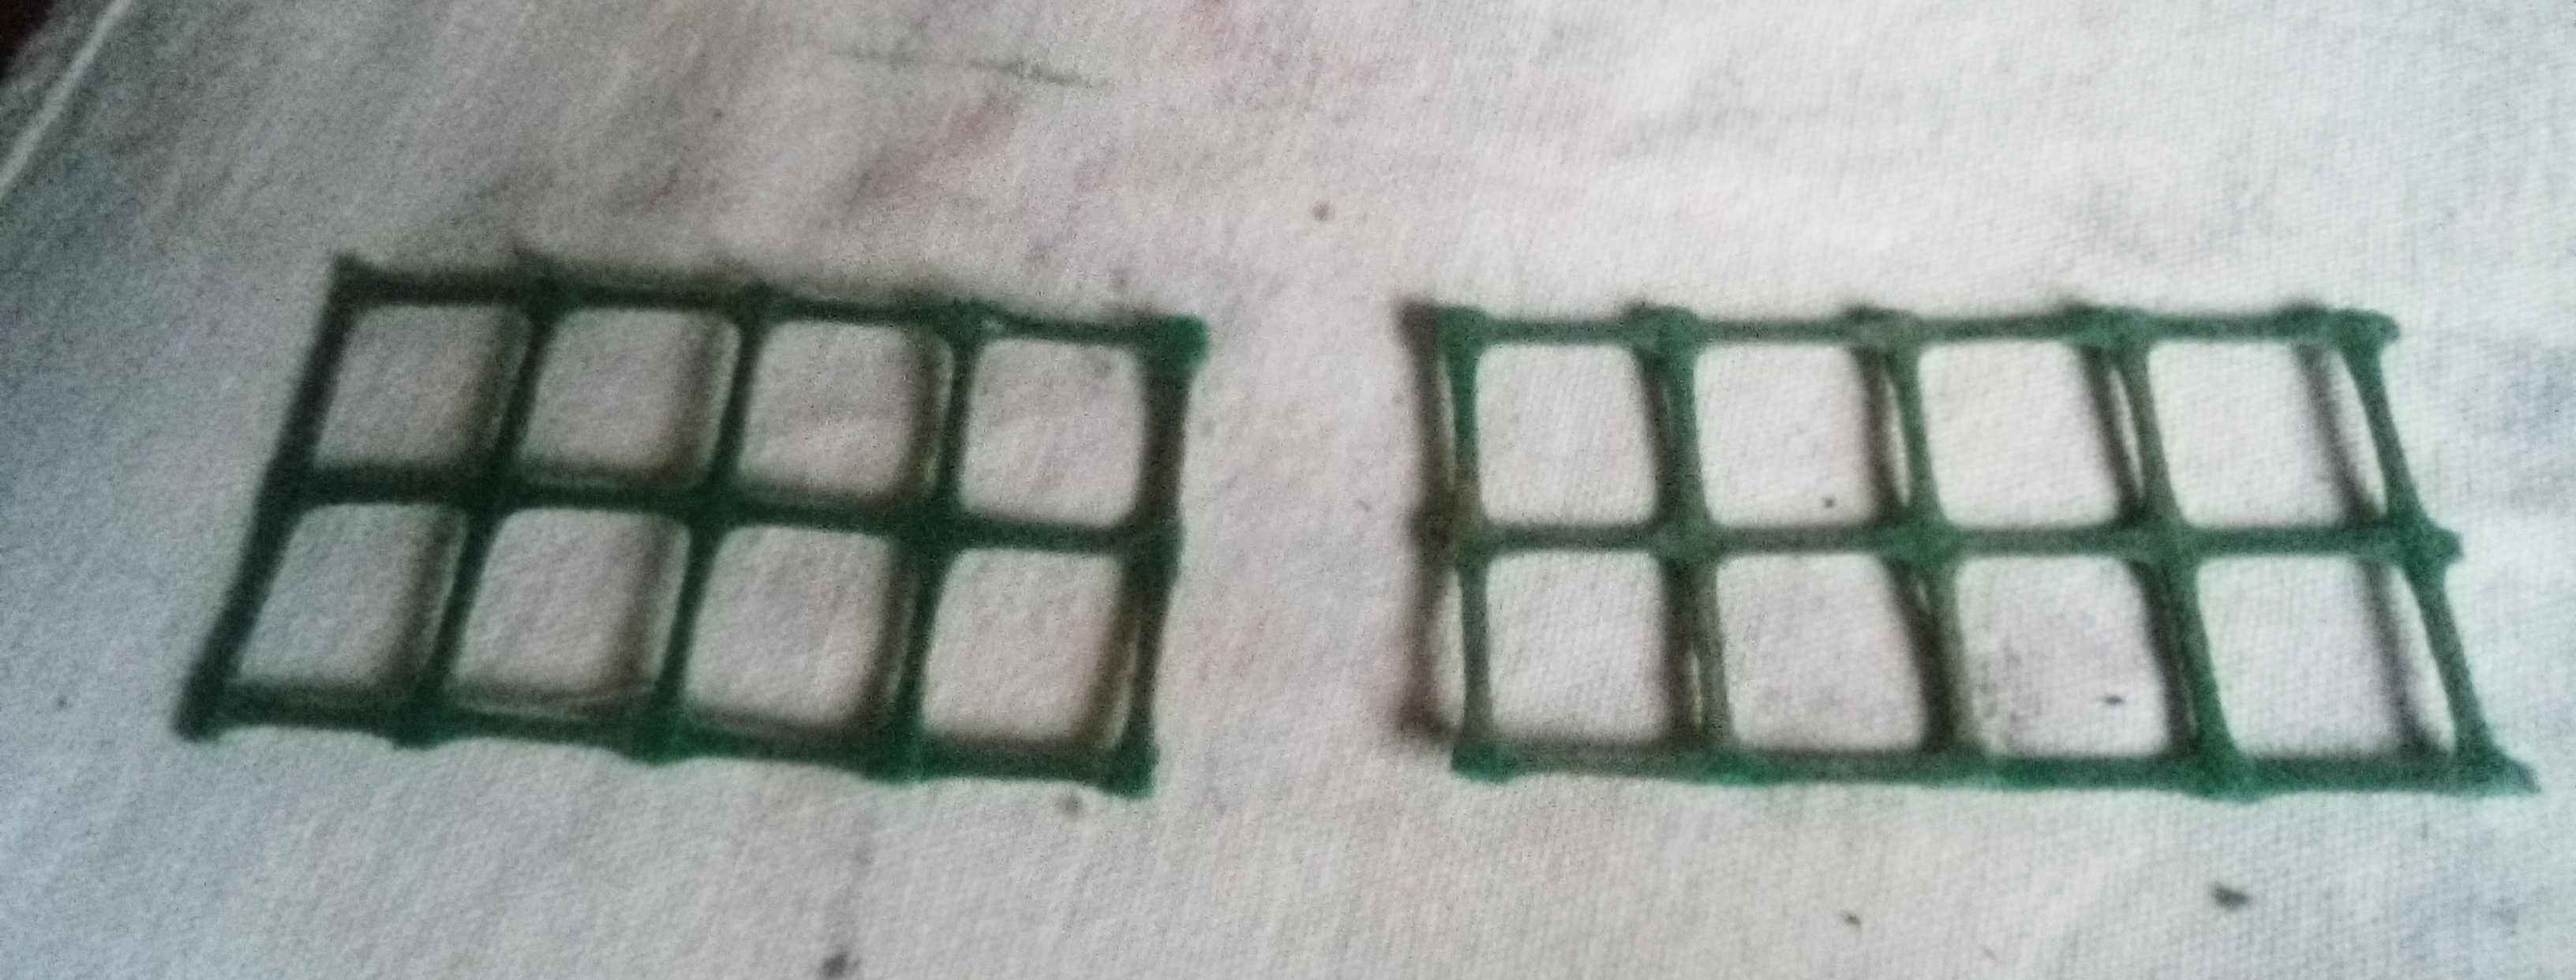
Paso#7
De inmediato hubicamos la malla y pegamos formando un cerco al frente de nuestro molino y pintamos.
Step # 7 Immediately we place the mesh and we glued forming a fence to the front of our mill and we painted.
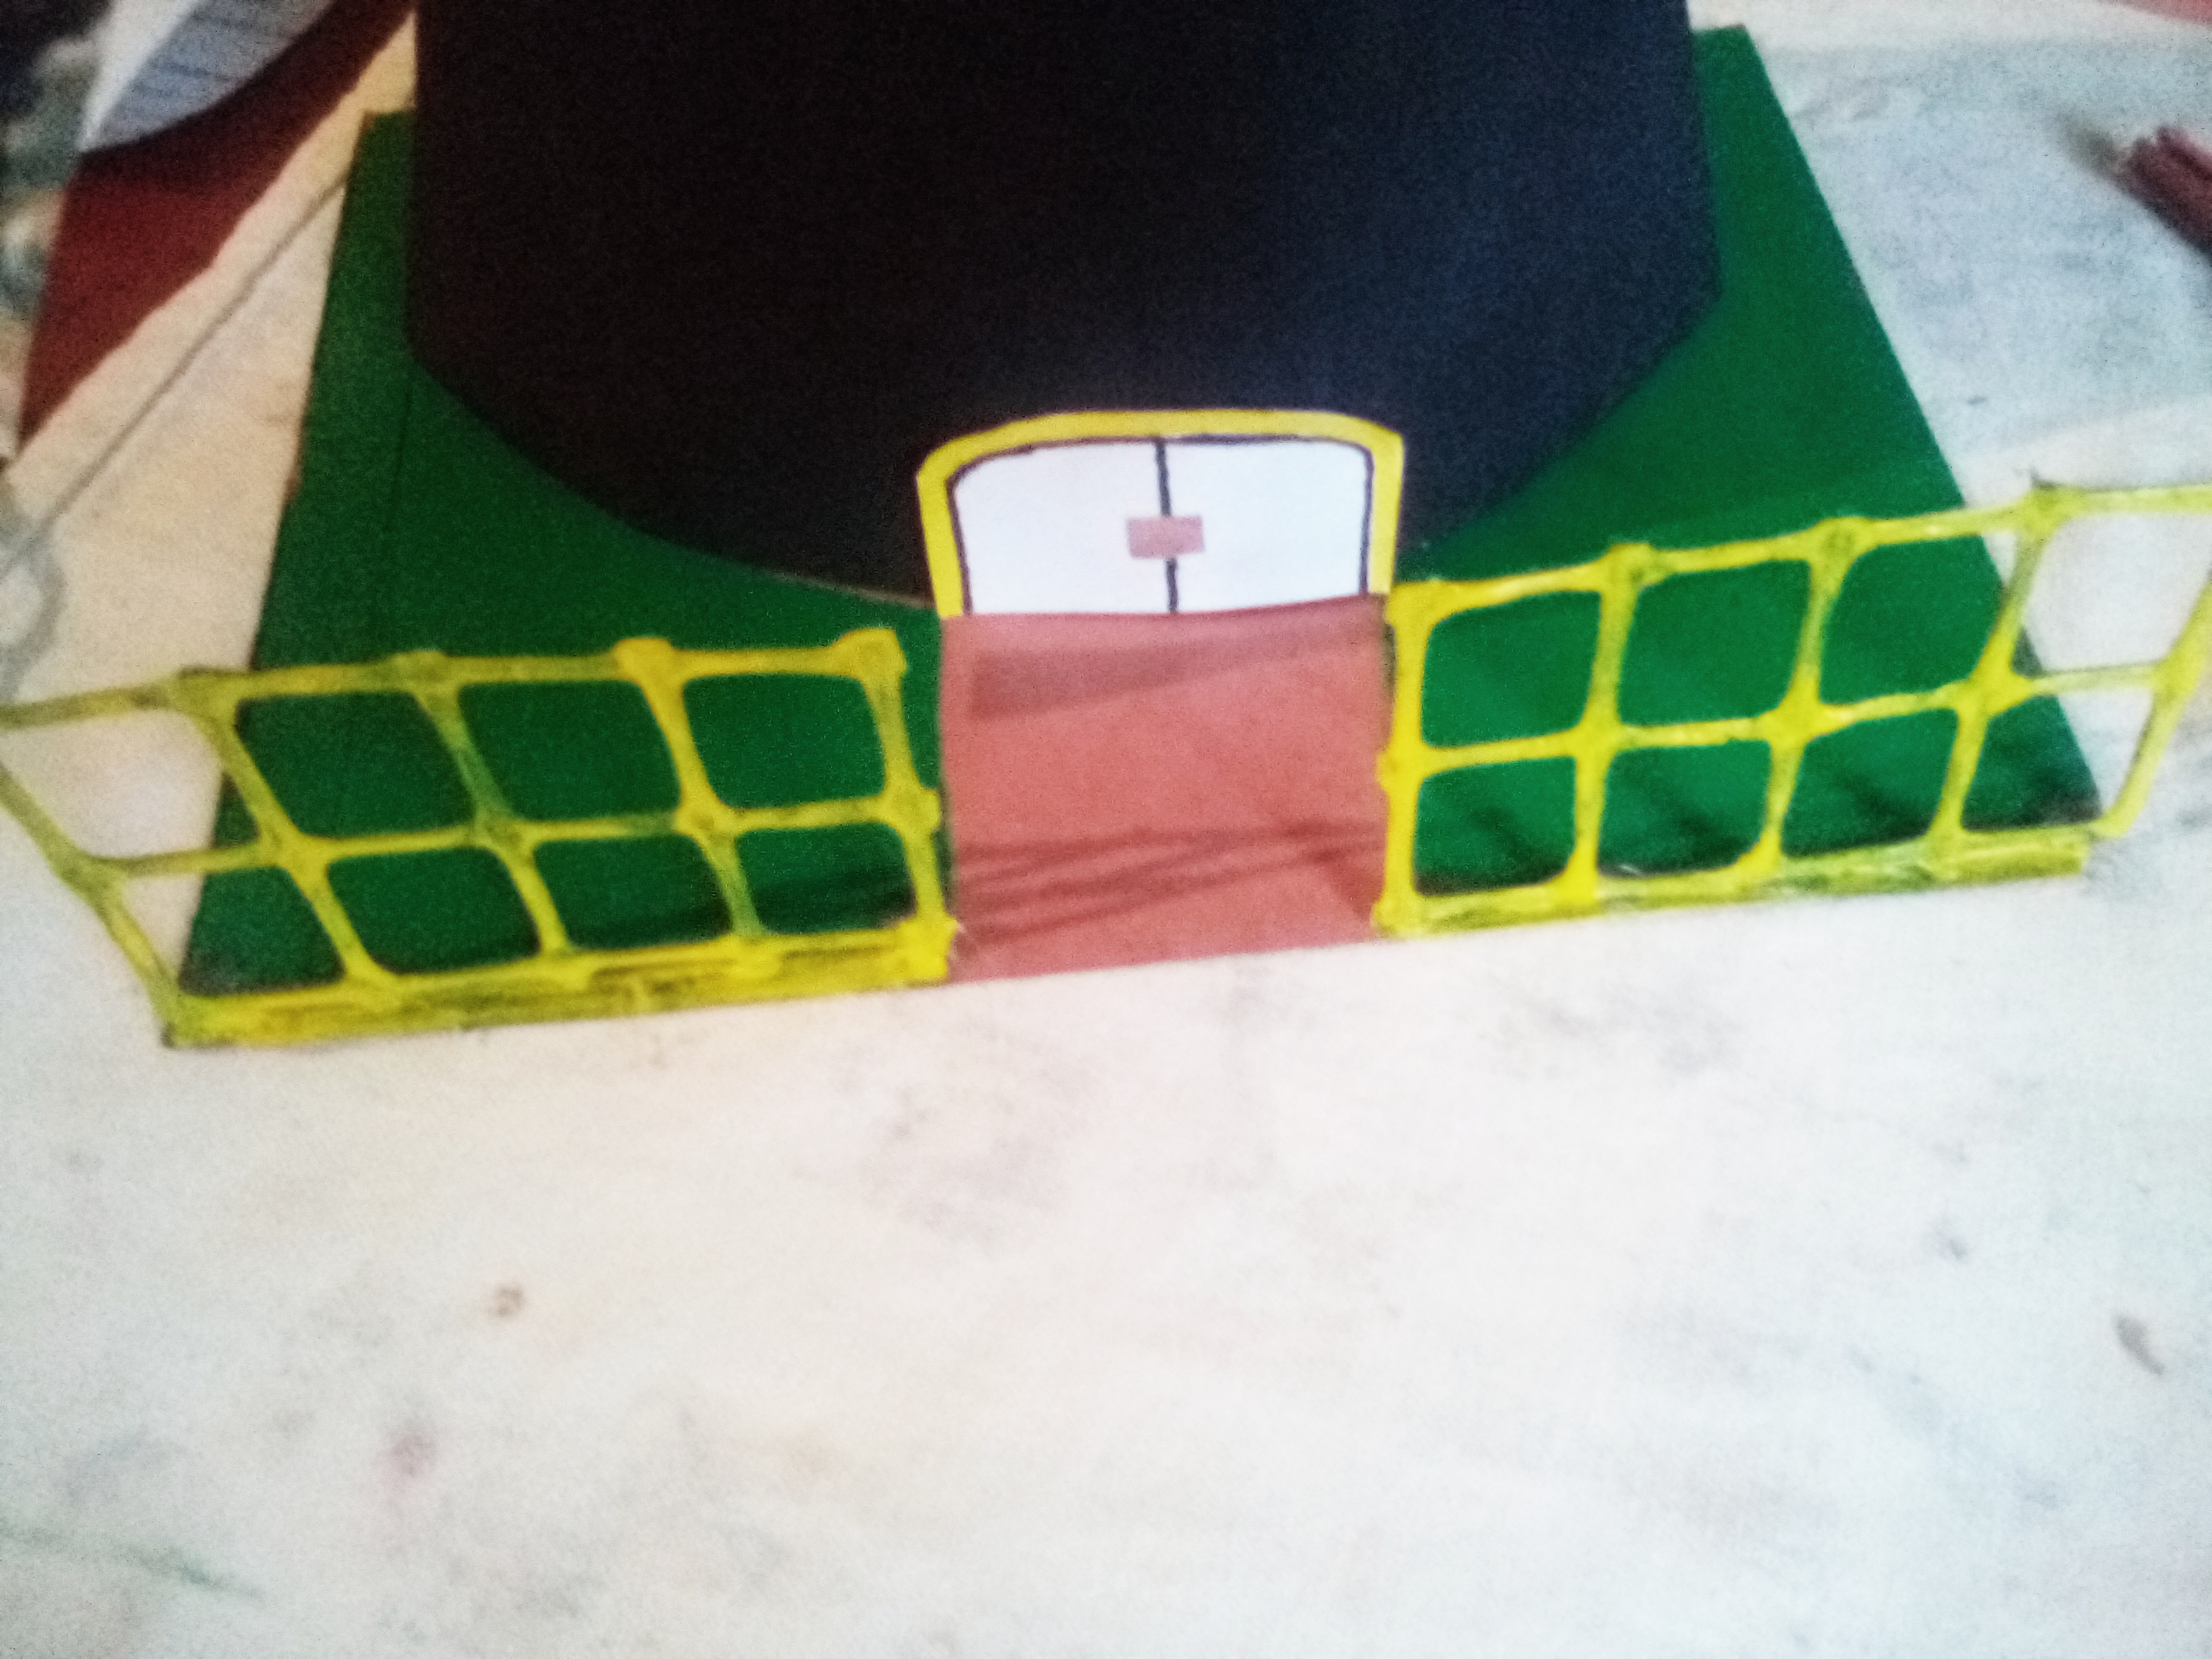
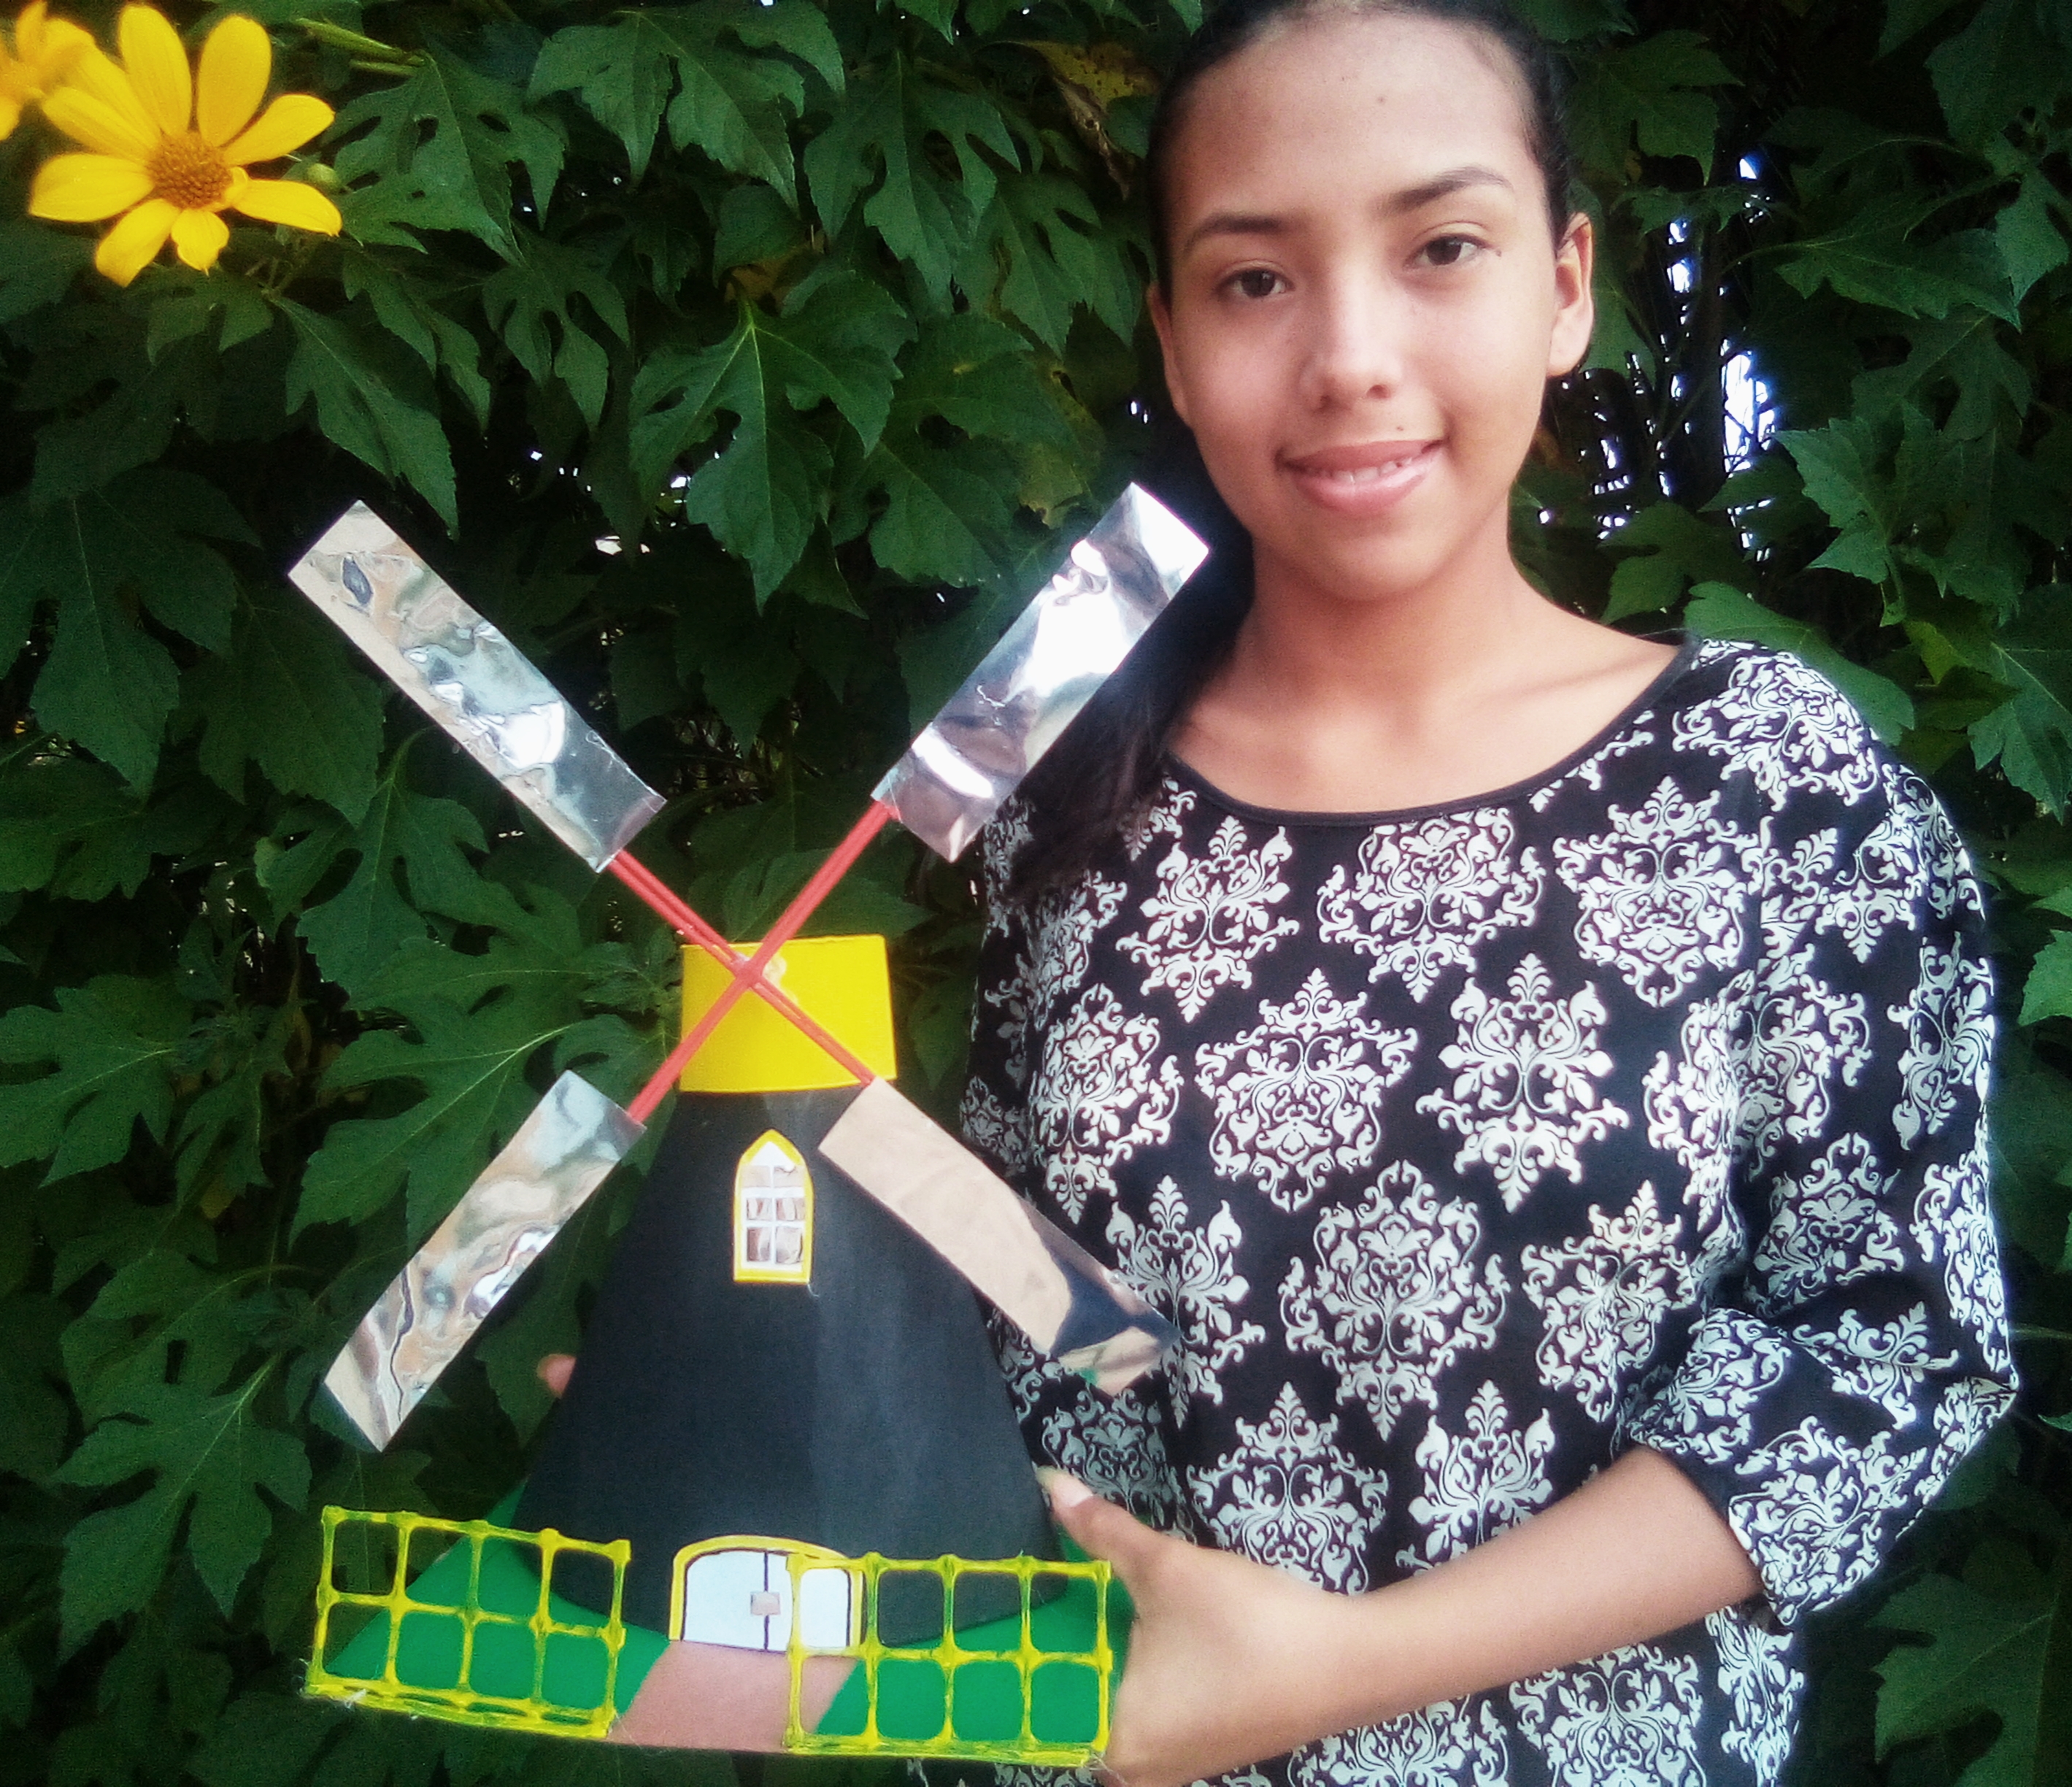
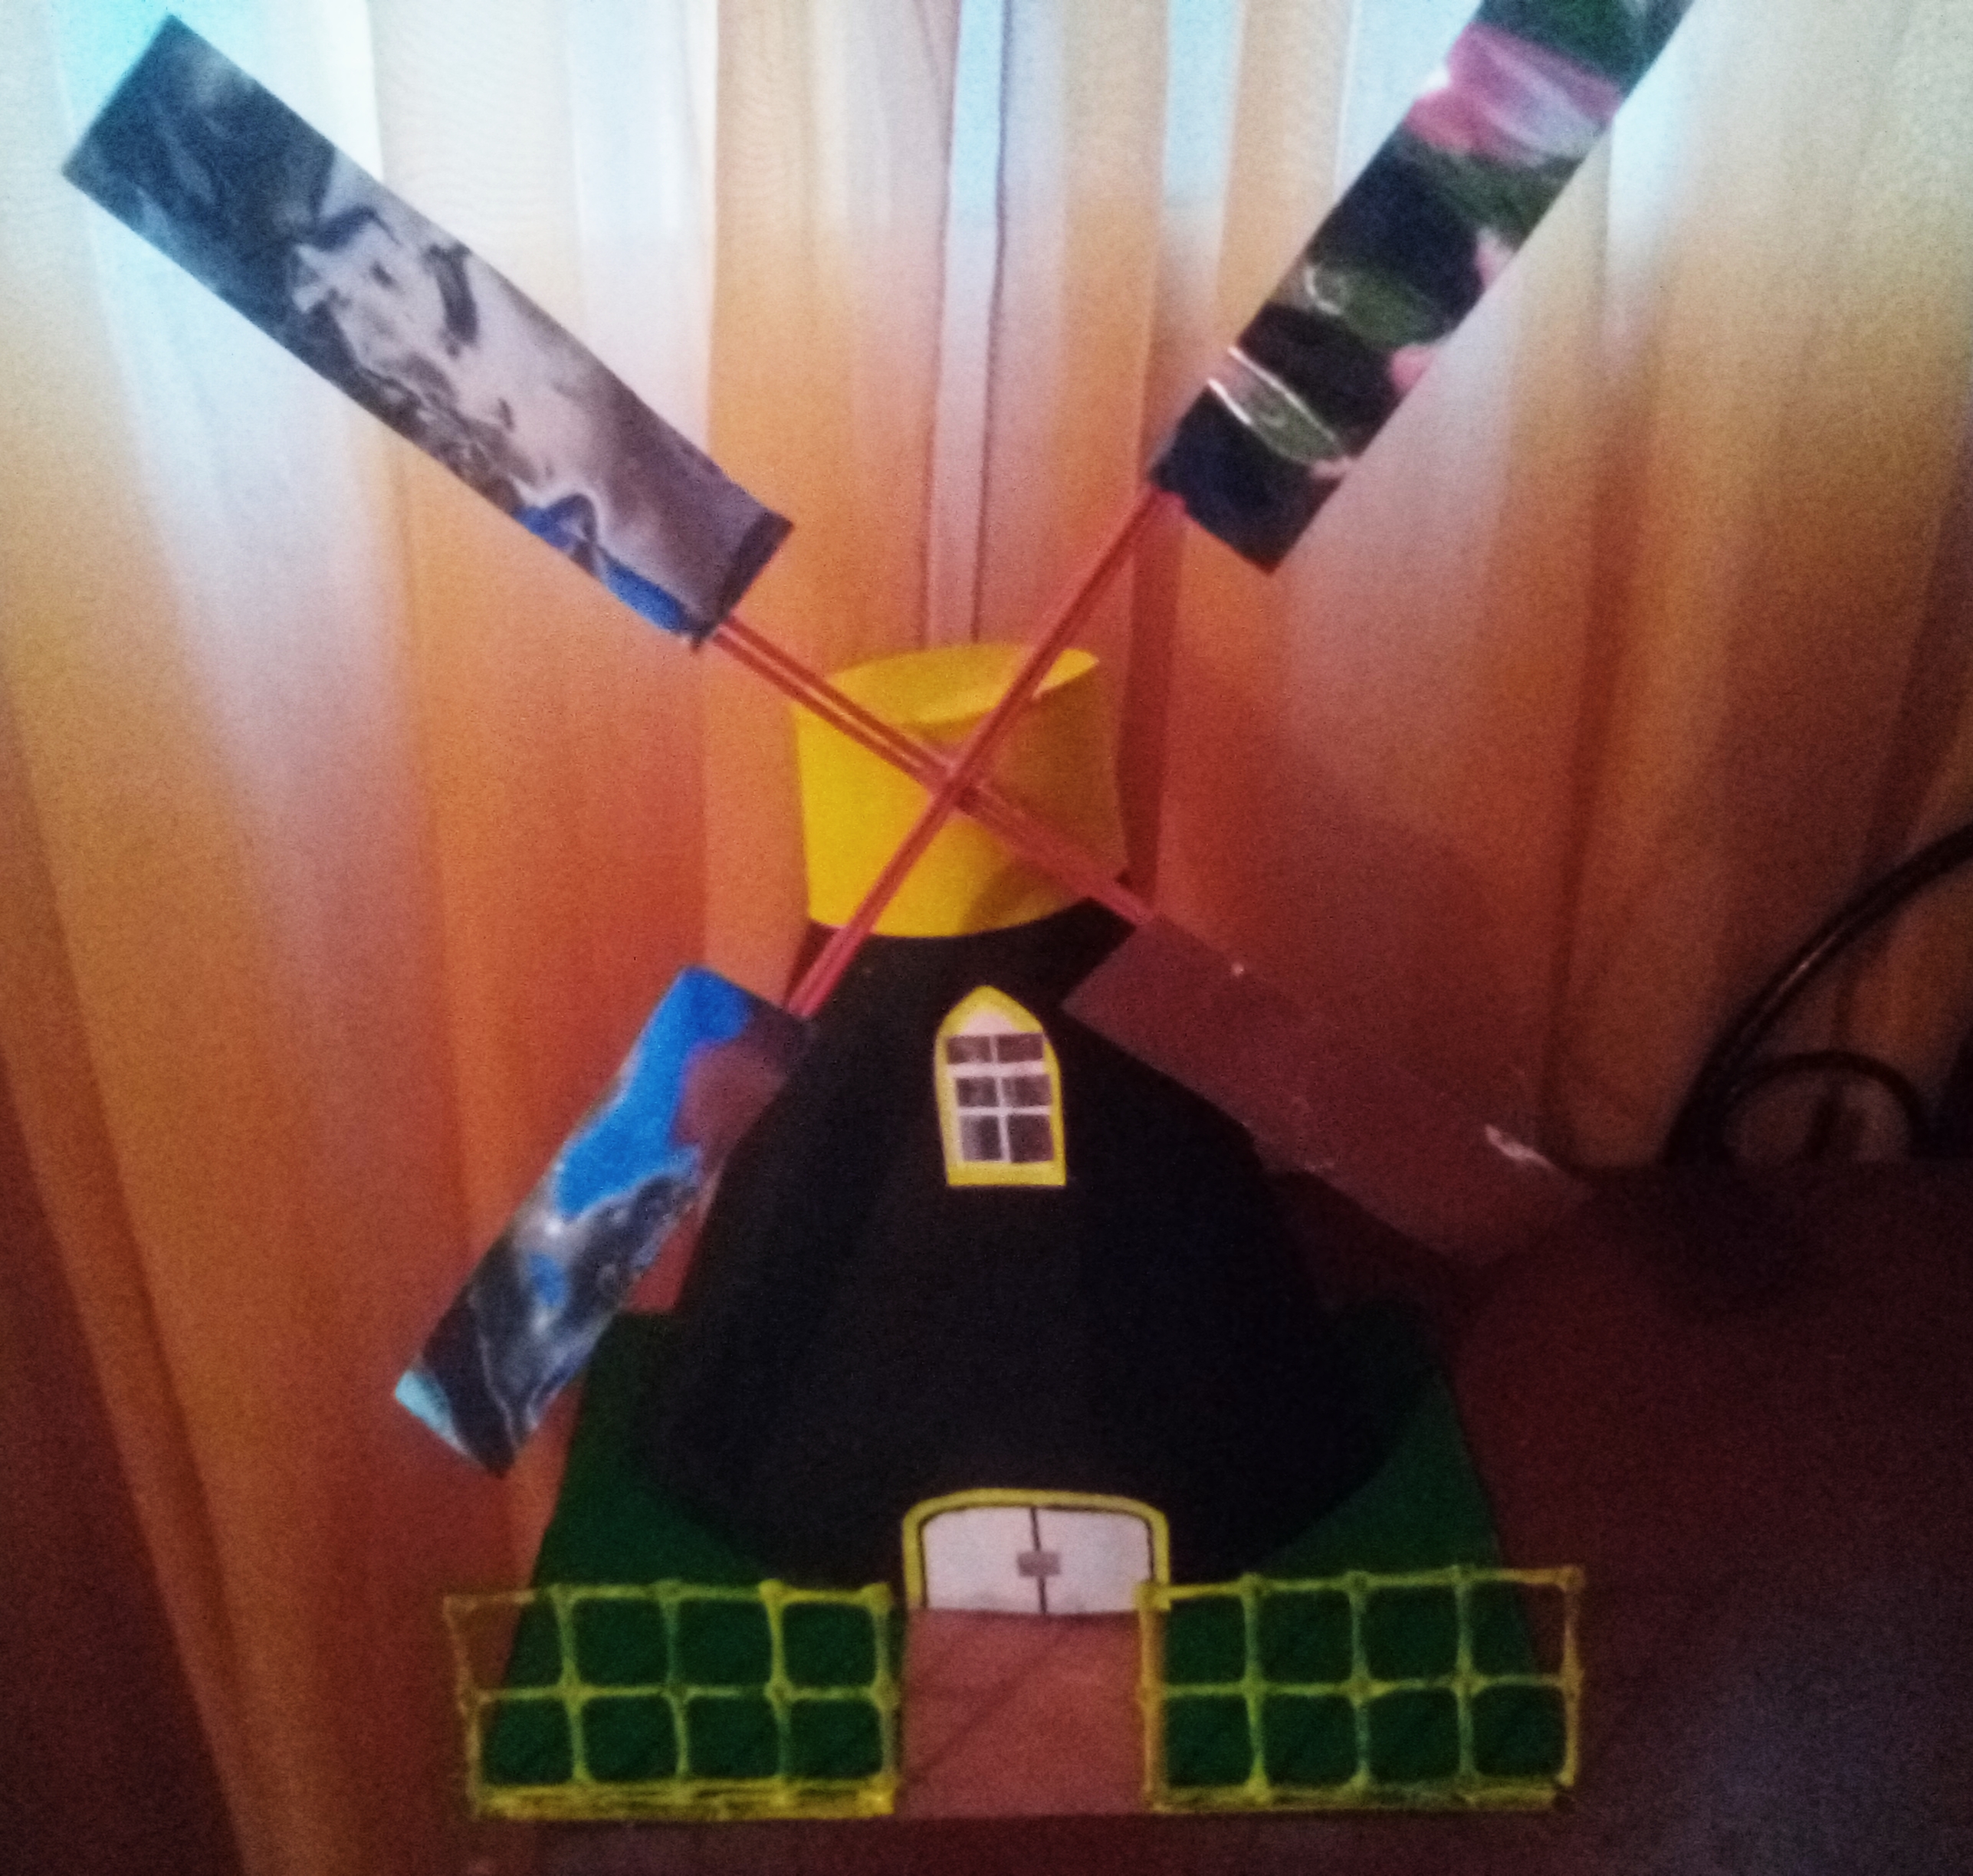
Y este sería nuestro resultado despues de haber seguido el paso a paso.
👇
And this would be our result after having followed the step by step.👇
Muchísimas gracias por haber visitado mi blog espero te haya gustado, puedes seguirme por @mariisa1107 un placer poder compartir con ustedes este post, bendiciones.
Thank you very much for visiting my blog I hope you liked it, you can follow me on @ mariisa1107 a pleasure to share this post with you, blessings.
Your post has been curated by us! Received 20.00% upvote from @opb. Do consider delegate to us to help support our project.
Do join our discord channel to give us feedback, https://discord.gg/bwb2ENt
* This bot is upvoting based on the criteria : 1. Not plagiarised, 2. Persistent previous quality posts, 3. Active engagement with other usersDo upvote this commment if you 💚 our service :)