
Hello and good day everyone!
Below are the photos of the processes I followed to design and completed my Wooden Design Wall-Cock
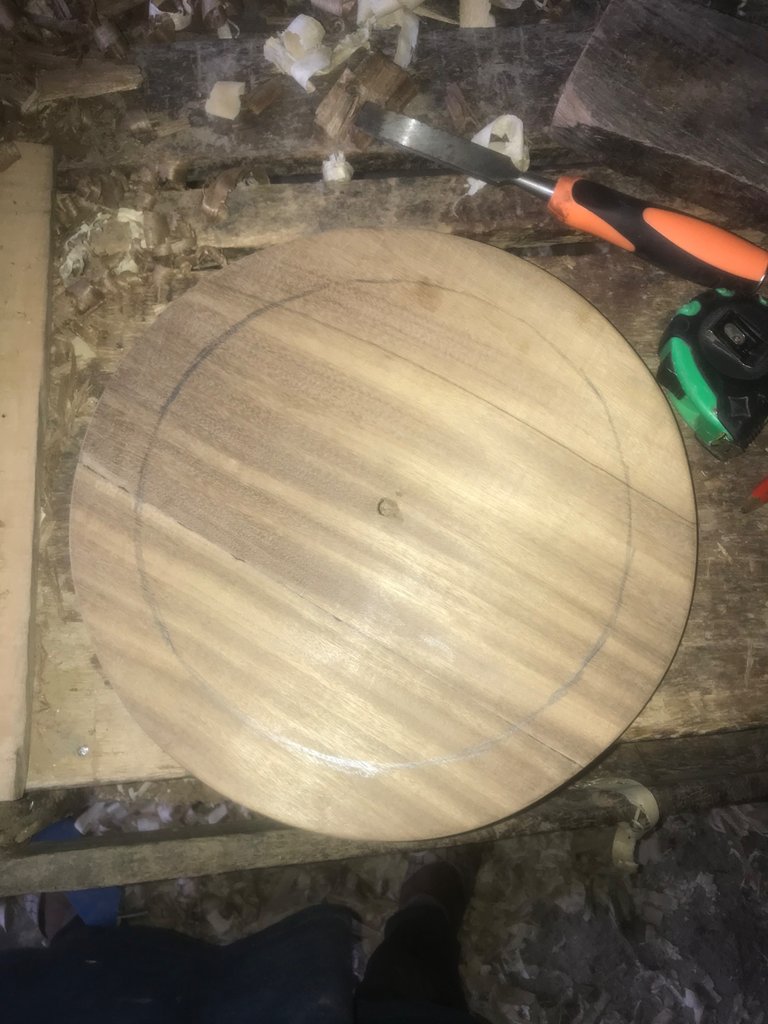
1. Drawing the Clock Circumference
This is simply to have a unique interface of your creative work.
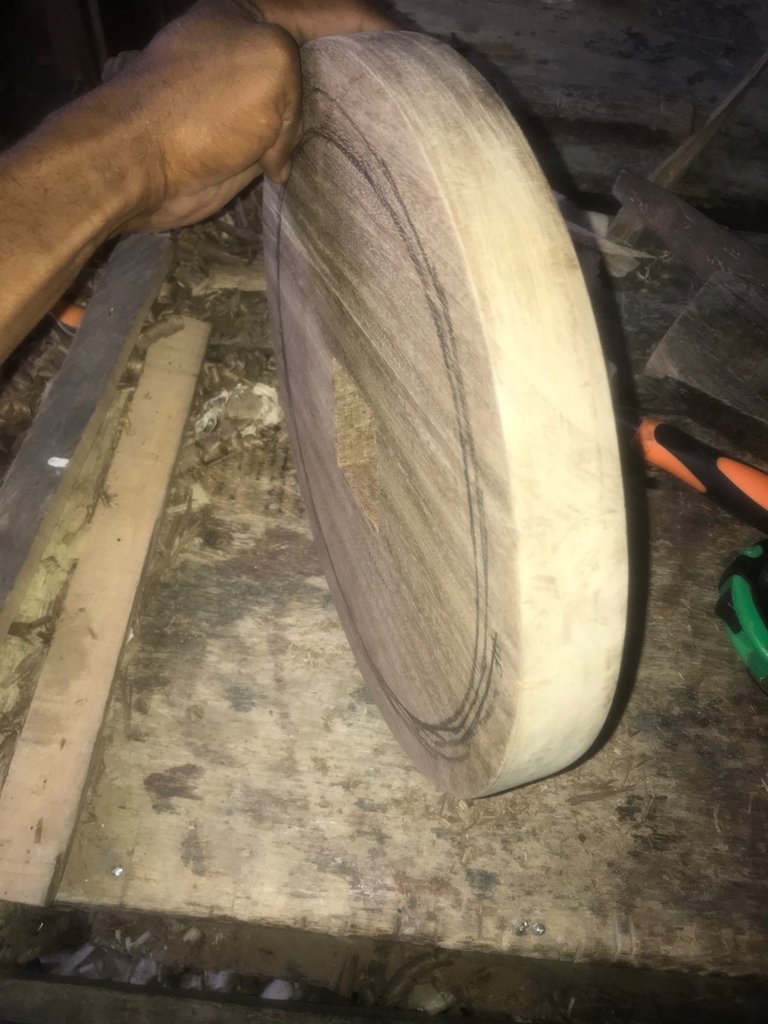
2. Rounding the Clock Sides
This will enable you to have a perfect and equal scale of the wood.
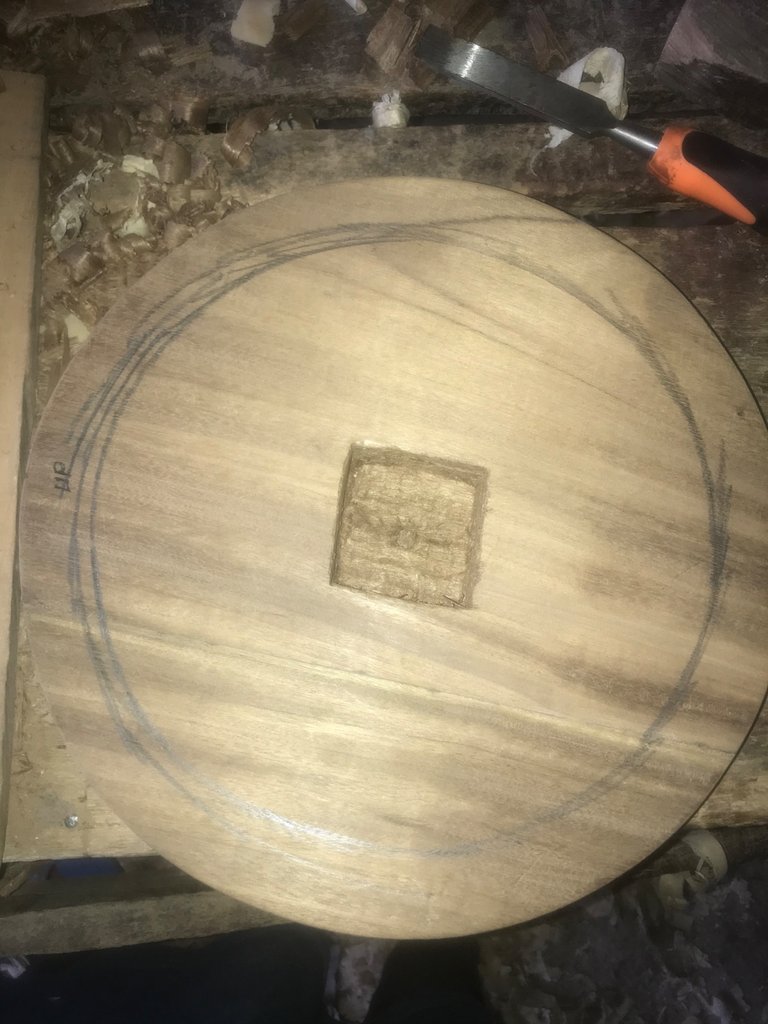
3. Creating the Clock Engineer Base
This process needs a perfect alignment in other to centralize the position of the clock engine on the rounded wood.
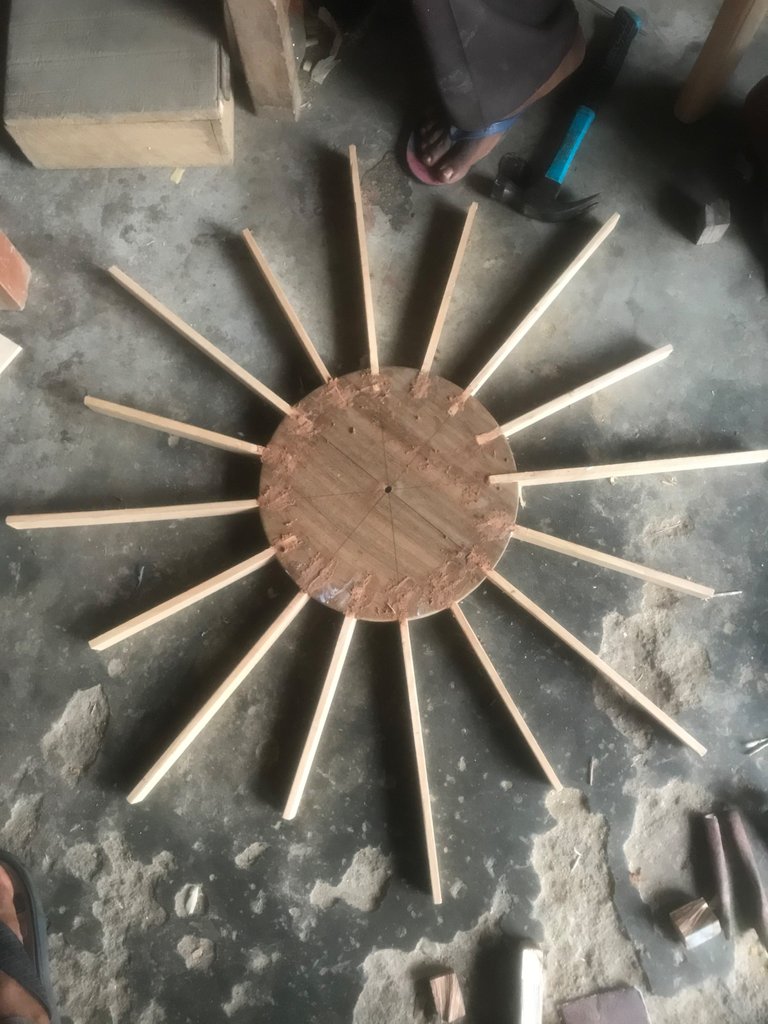
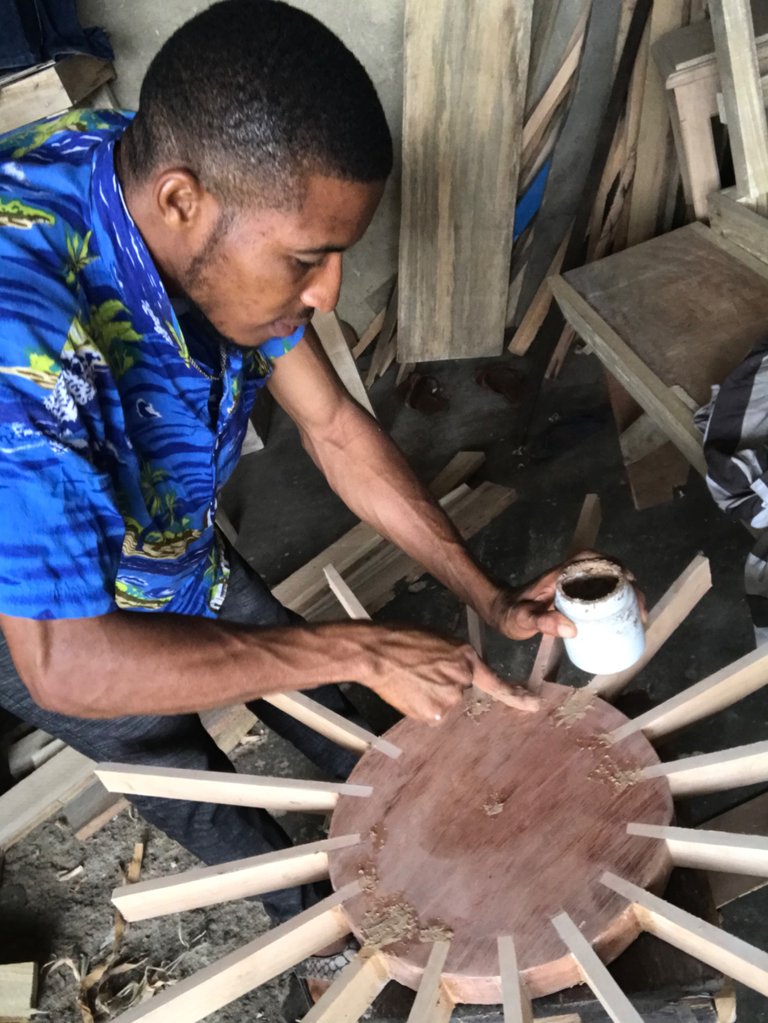
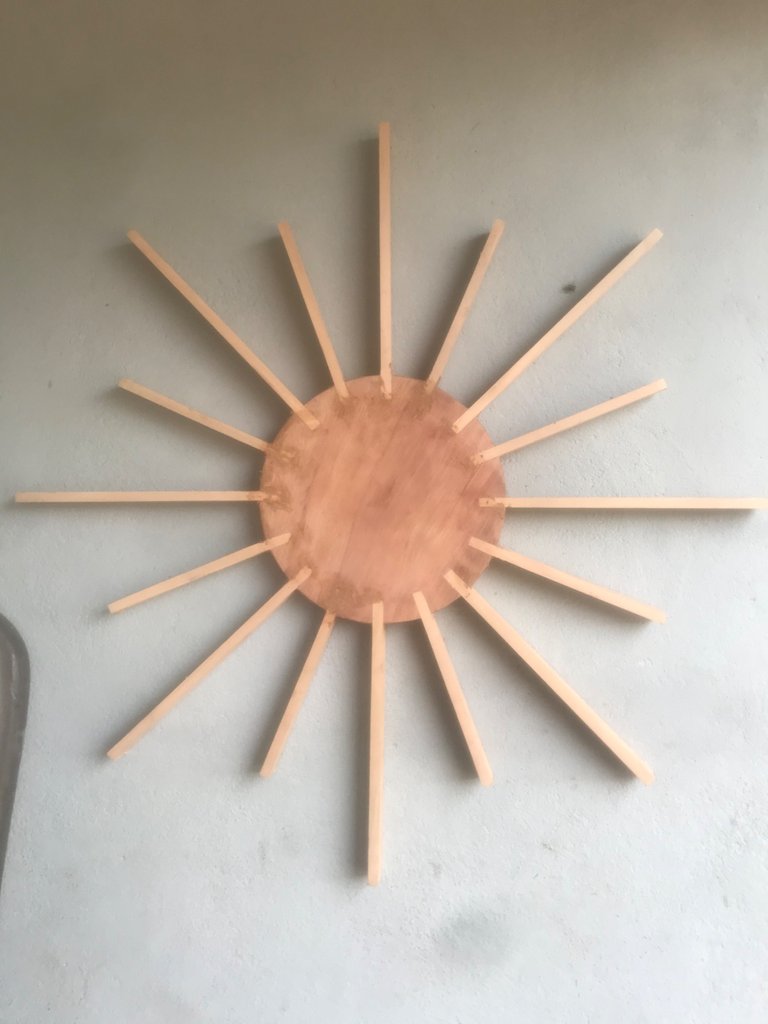
4. Joining the Wood together
This deals with purely calculations, you really need to understand the size of the circumference to calculate and divide it into smaller units for the handles to fit into the rounded wood equally.
5. Filling of holes and joining with filler gums
This is to ensure that all the joining are perfectly closed against gaps
This process of filling the joint holes is exclusively combined with sanding the wood to give it a smooth surface.
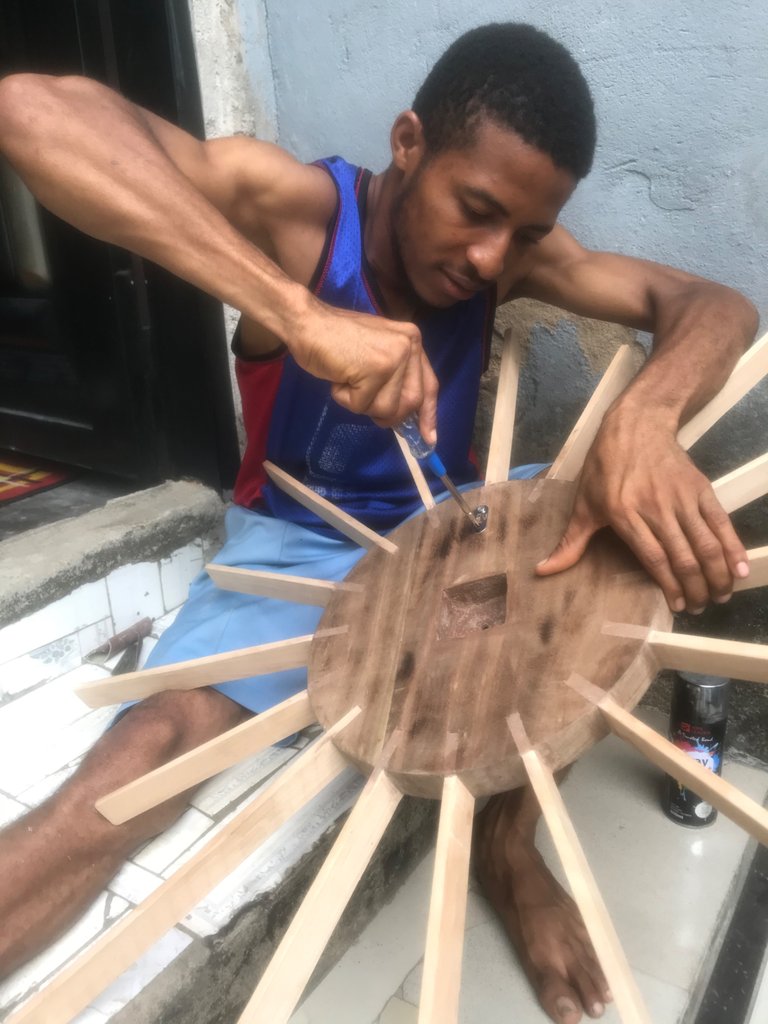
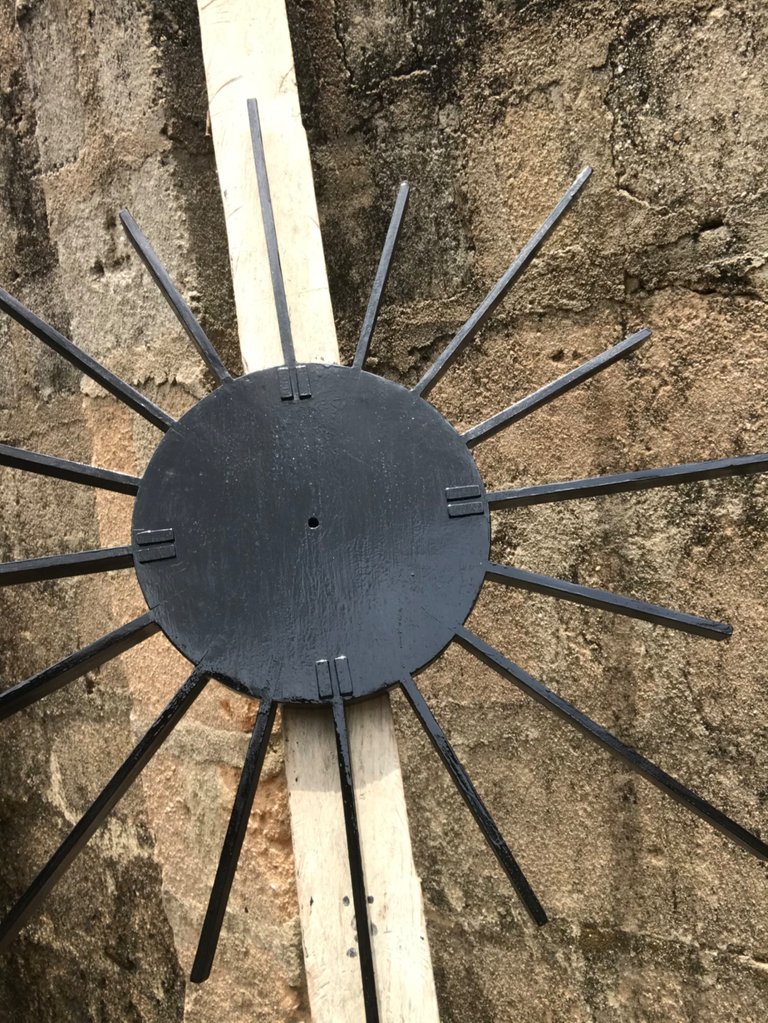
6. Installing the Clock Hooks Behind
This is what will hold the clock to the wall so you need to install it behind the clock not in from.
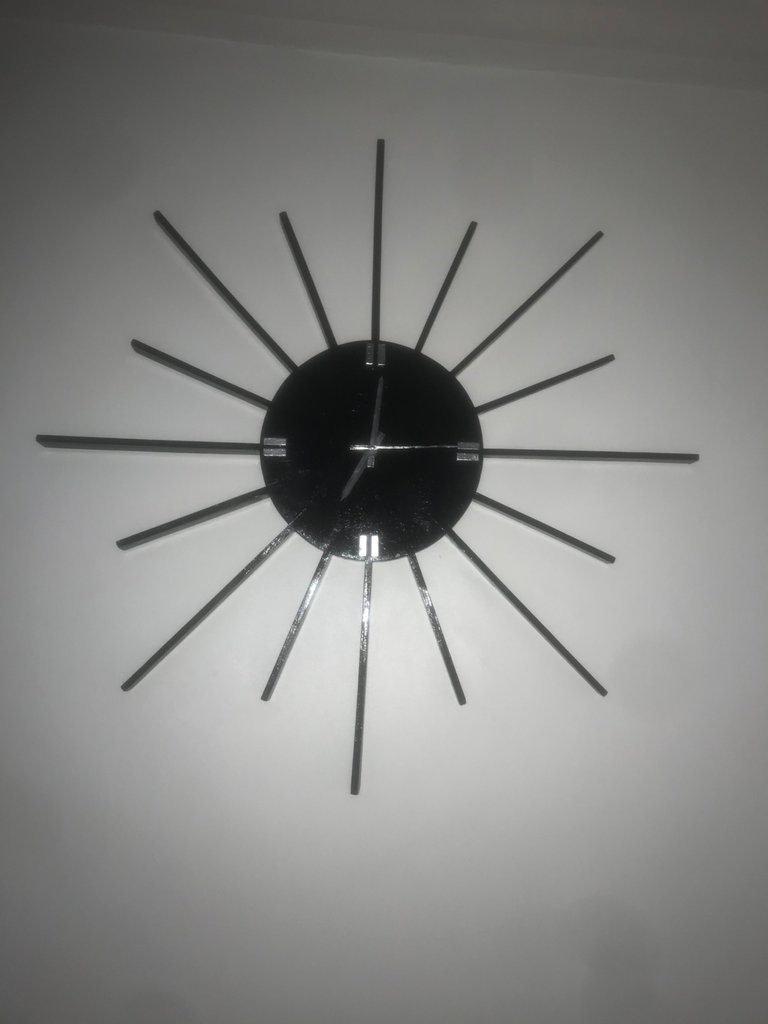
7. Painting the Clock
This is simply giving it a desirable color to bring out its uniqueness.
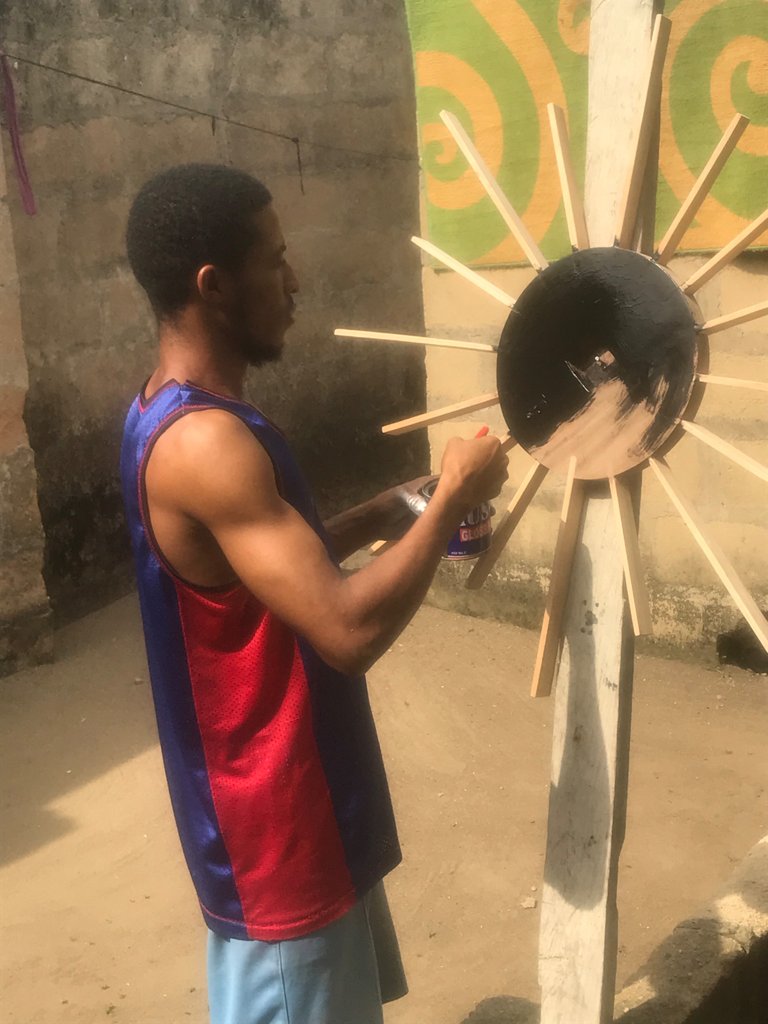
8. Drying the Clock after Painting
Using an oil or car paints will need a perfect drying time on the sun or heating room.
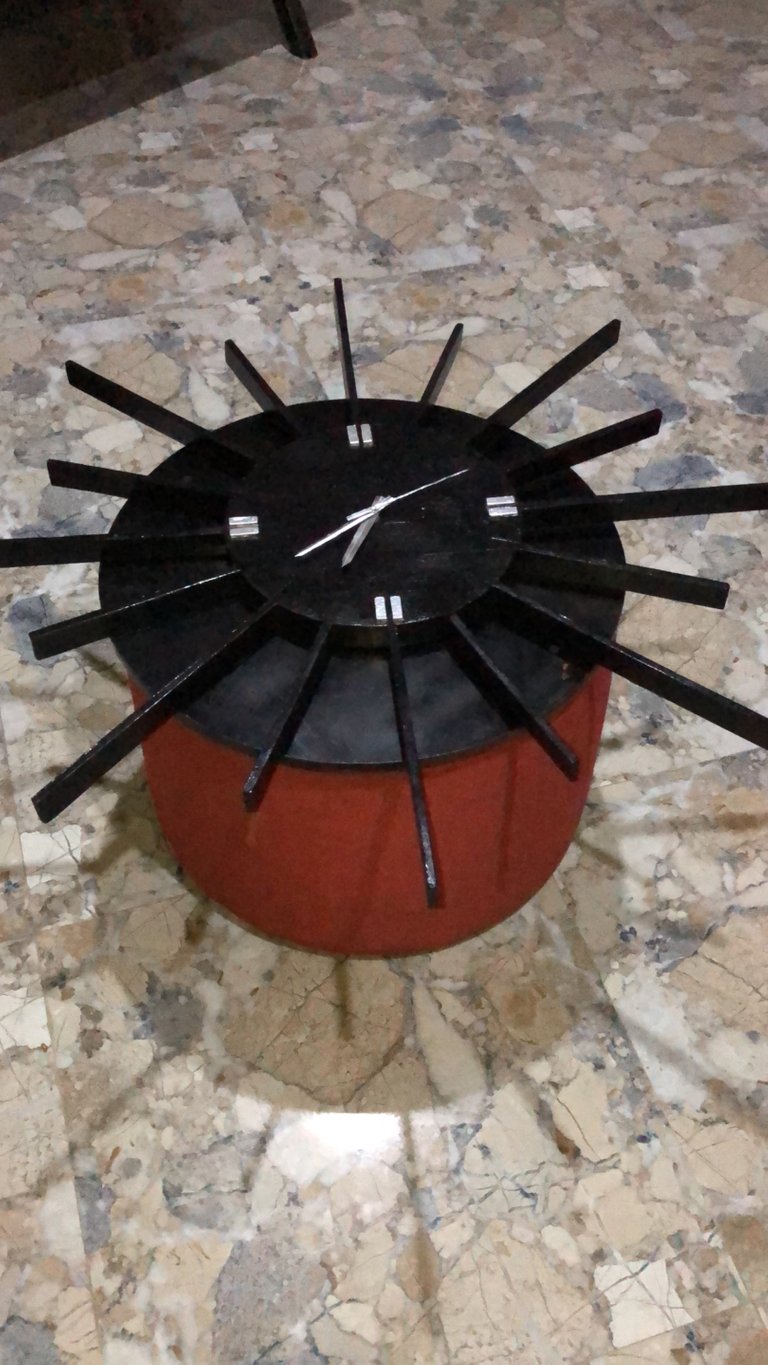
Installation of Clock Engineer and indicators
This is done after everything as the last installation in other for the clock indicator not to be damaged in the course of putting together the other components.
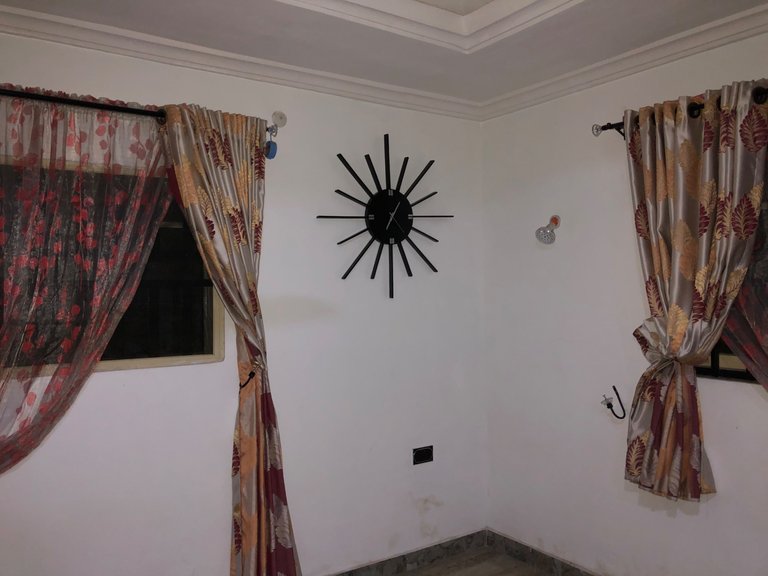
Mounting on the Wall
This is actually the last step of the work, at this point you need to install your fishing hole to the wall or insert a nail of about 3 inches into the wall to hang the clock hook on it.
After installation this is the Side Viewing of the Wall
Lastly a Selfie with the Clock
