Bienvenidos a mi blog ✨
Welcome to my blog✨
Nails in PolyGel Dual System
Le voy mostrar como hago las uñas PolyGel siendo este una fórmula de construcción de uñas combinado con lo mejor de los sistemas de construcción de uñas acrílicos y lo mejor de los sistemas de gel dando como resultado unas uñas ligeras, fuertes y flexibles. Sin monómeros, sin mezclas, ¡sin olor!
I am going to show you how I make PolyGel nails being a nail building formula combined with the best of acrylic nail building systems and the best of gel systems resulting in light, strong and flexible nails. No monomers, no mixing, no odor!
Utilizaremos los siguientes:
We will use the following:
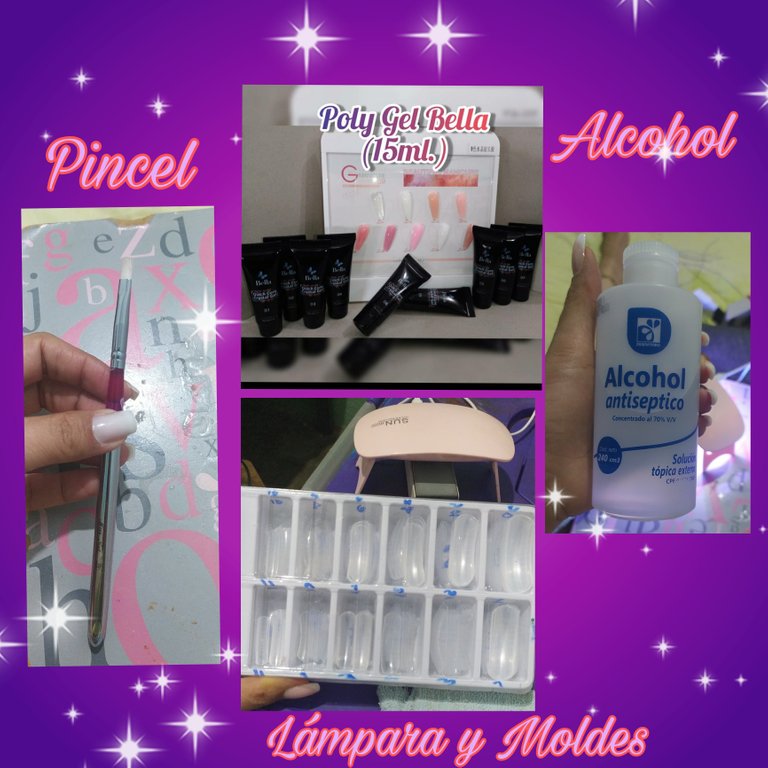 Brush, polygel lamp, mold and alcohol
Comenzamos preparando la uñas previamente con una manicura rusa preferiblemente que es lo que se recomienda a la hora de realizarse cualquiera tipo de sistema en uñas sean en Gel, Acrílico, PolyGel.
We begin by preparing the nails previously with a Russian manicure preferably which is what is recommended when performing any type of nail system whether in Gel, Acrylic, PolyGel.

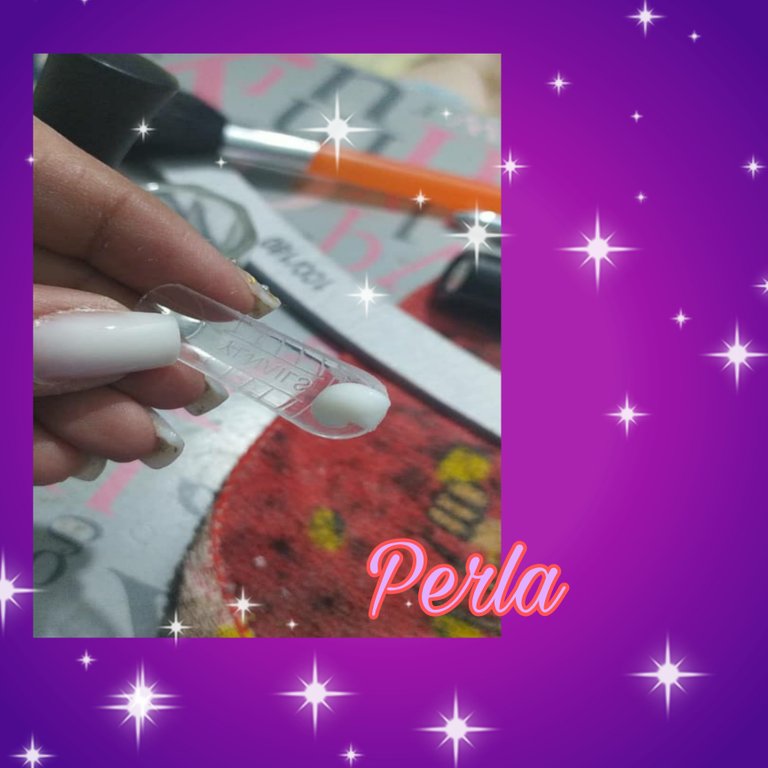
Procedemos a medir el molde correcto para cada uña 💅.
Tomamos una pequeña perla con la ayuda de una paletica o con la ayuda del mismo molde
We proceed to measure the correct mold for each nail 💅.
We take a small pearl with the help of a trowel or with the help of the mold itself.
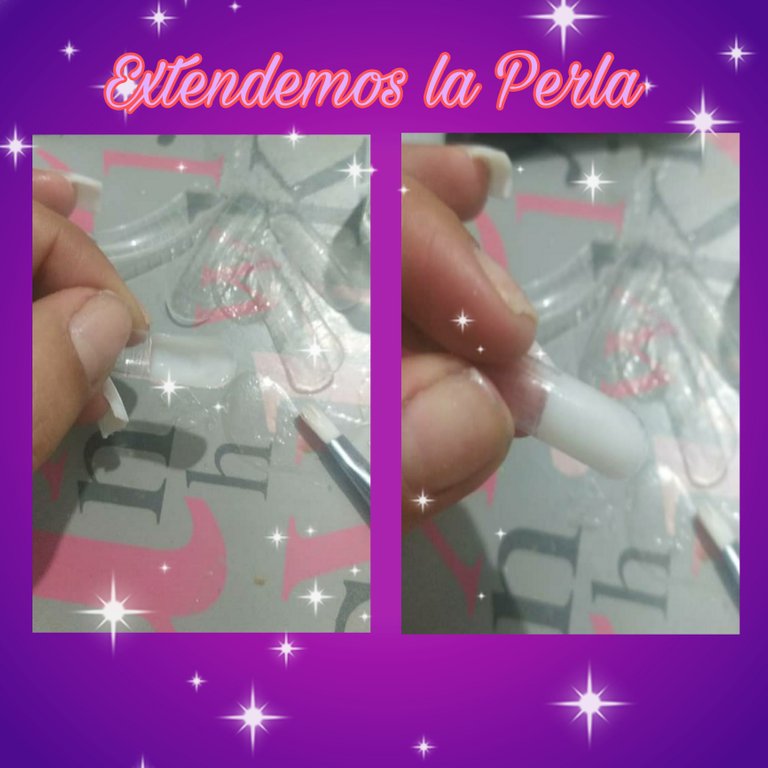
Extendemos la perla de PoliGel con ayuda del alcohol y nuestro pincel, tomando en cuenta que se extienda de manera uniforme y le damos el tamaño deseado a nuestra uñas... Se recomienda que no sea tan larga.
We spread the PolyGel bead with the help of alcohol and our brush, taking into account that it spreads evenly and we give the desired size to our nails... It is recommended that it is not so long.
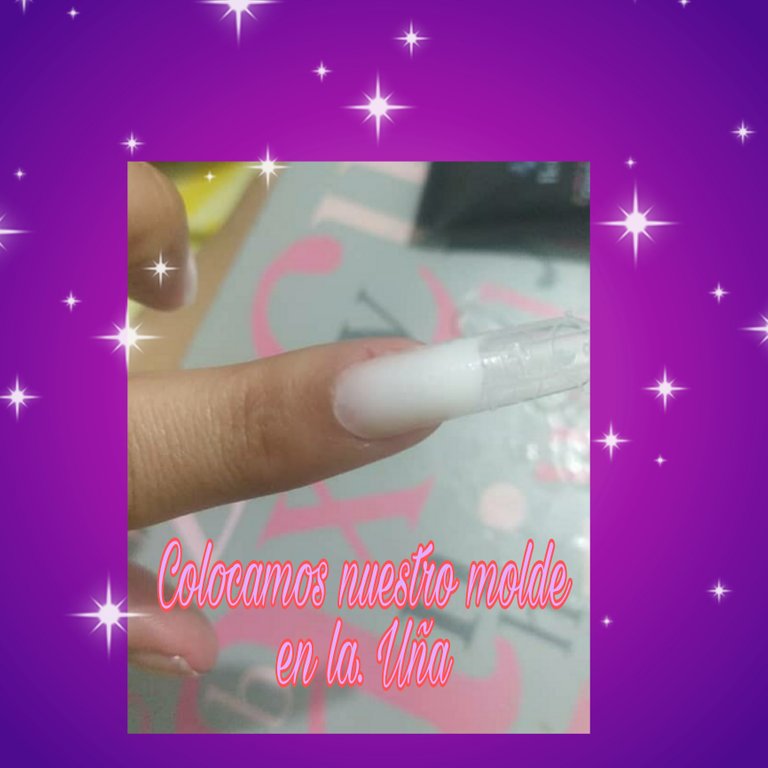
Luego colocamos el molde en la uña cubriendo la toda y haciendo un poco de presión desde un milímetros de la cutícula y apalancado el molde a la uña teniendo en cuenta que si se desborda producto por los lados lo retiramos con el pincel empapado de alcohol para dejar los borde limpios y asi tenga un buen acabado.
Then we place the mold on the nail covering the entire nail and making a little pressure from a millimeter of the cuticle and levering the mold to the nail taking into account that if the product overflows on the sides we remove it with the brush soaked in alcohol to leave the edges clean and thus have a good finish.
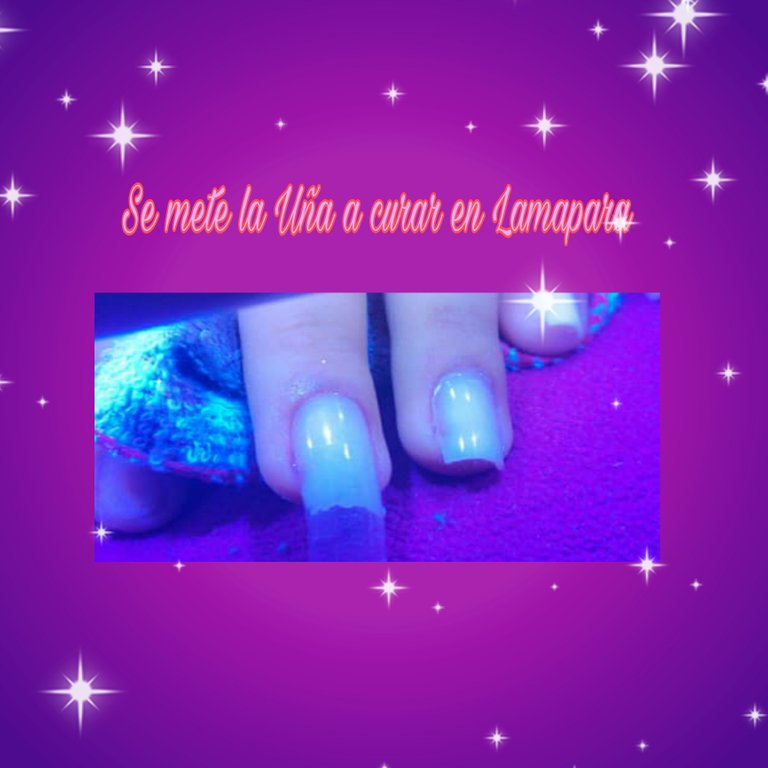
Metemos a curar la uña en lámpara por 60 segundo y retiramos suavemente el molde solo apretando hacia los lados.
We cure the nail in the lamp for 60 seconds and gently remove the mold only by pressing sideways.
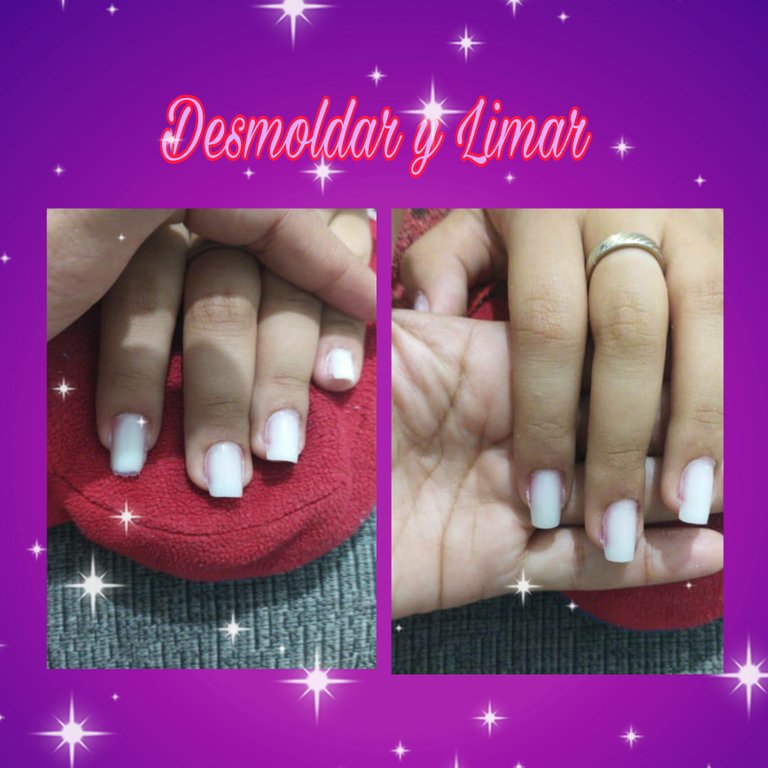
Luego desmoldamos y procedemos a limar la uña al estilo de nuestra preferencia usando una lima de granos de 100/180 y con la ayuda de un bledo o una brocha quitamos el exceso de polvo de las uñas y con un algodón empapado de alcohol retiramos todo el polvo y residuos dejando la uñas lista para la decoración.
Then we unmold and proceed to file the nail to the style of our preference using a 100/180 grit file and with the help of a nail file or a brush we remove the excess dust from the nails and with a cotton soaked in alcohol we remove all the dust and residues leaving the nails ready for decoration.
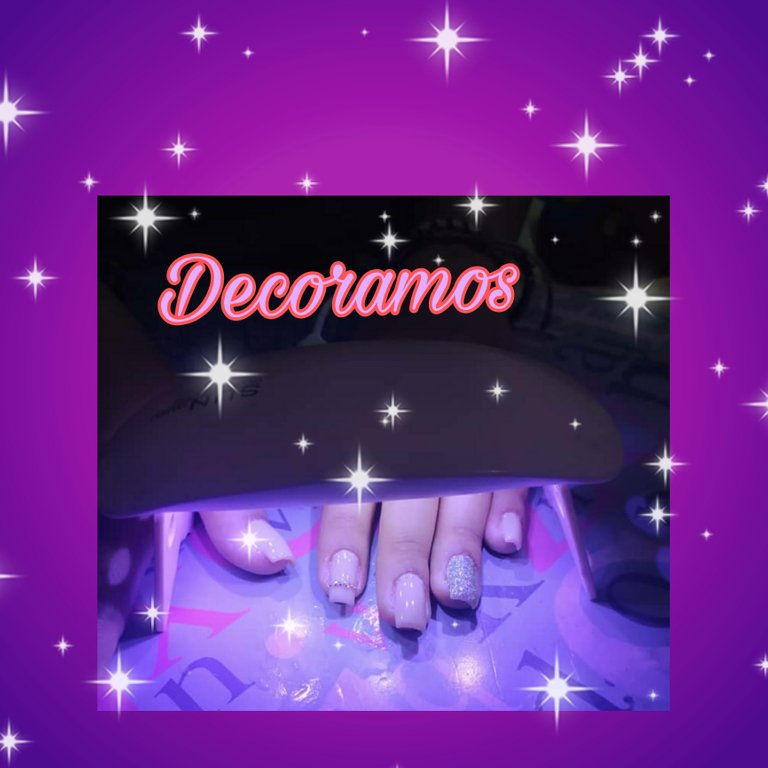
Aquí utilizamos para la decoración esmaltes semi permanente y glitter cola de sirena y unos cuantos Swarovski para decorar las uñas, aplicándolo y curando en lampara por 60 segundos mas.
Here we used semi permanent nail polish and glitter glitter mermaid glue and a few Swarovski to decorate the nails, applying it and curing it in the lamp for another 60 seconds.
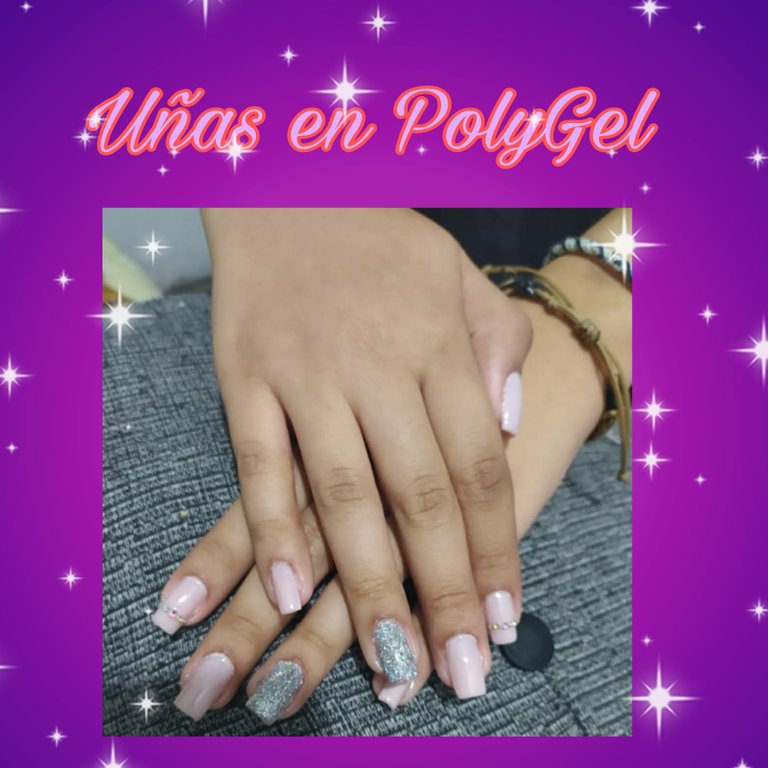
Aquí el resultado de nuestra uña en PolyGel
Here the result of our PolyGel nail
Espero que les haya gustado este paso a paso... 😉
I hope you liked this step-by-step... 😉
Nota: No soy profesional solo que me gusta el diseños de Uñas y quise compartirlos con uds. 💅💅💅

Muchísimas gracias por compartir tu tiempo y tu apoyo!!!
Thank you very much for sharing your time and your support !!!
𝔹𝕪 ℕ𝔸𝕐𝕄𝔸ℝ𝕂ℍ𝔸
Todas las fotos son originales y fueron tomadas con mi celular REDMI NOTE 8
All photos are original and were taken withmy REDMI NOTE 8 cellphone
Edicion: PicsArt
Edition: PicsArt
Congratulations @naymarkha! You have completed the following achievement on the Hive blockchain and have been rewarded with new badge(s) :
Your next target is to reach 300 upvotes.
You can view your badges on your board and compare yourself to others in the Ranking
If you no longer want to receive notifications, reply to this comment with the word
STOPCheck out the last post from @hivebuzz:
Support the HiveBuzz project. Vote for our proposal!
Congratulations @naymarkha! You have completed the following achievement on the Hive blockchain and have been rewarded with new badge(s) :
Your next target is to reach 2750 upvotes.
You can view your badges on your board and compare yourself to others in the Ranking
If you no longer want to receive notifications, reply to this comment with the word
STOPCheck out the last post from @hivebuzz:
Support the HiveBuzz project. Vote for our proposal!