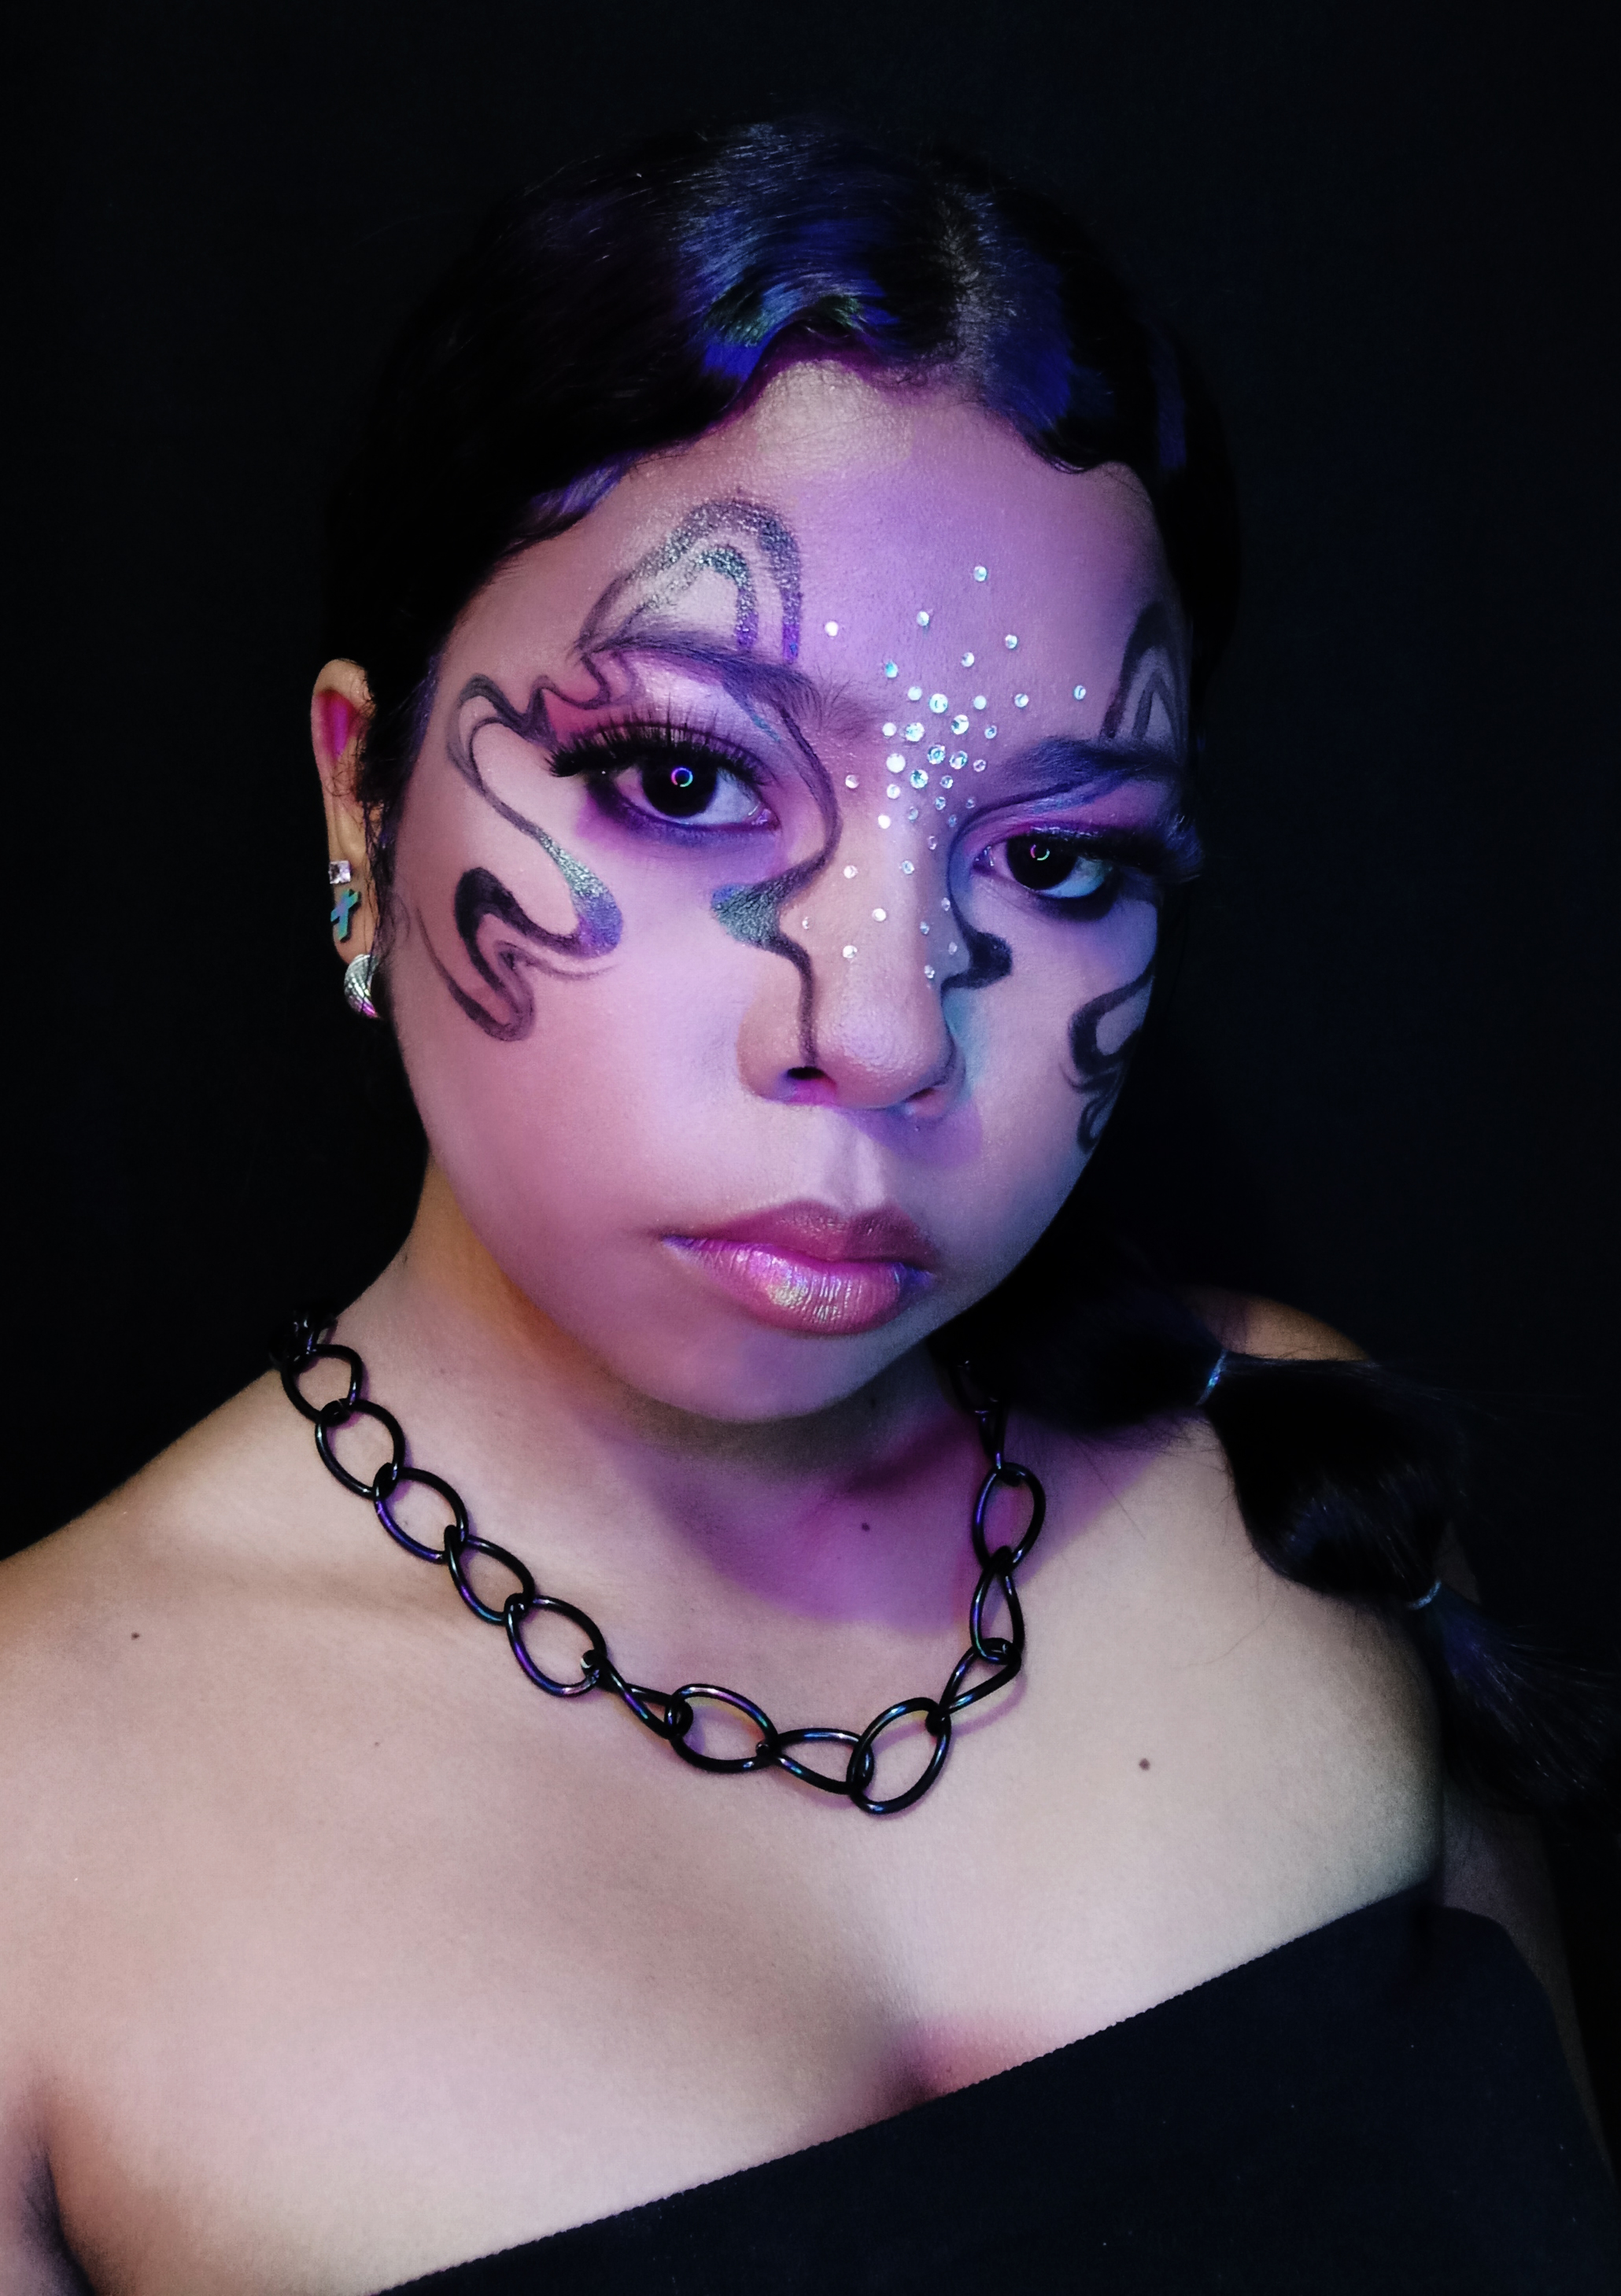
🔴 Hola una vez más, bienvenido a otro de mis blogs/tutorial donde te muestro los pasos para realizar un maquillaje con un estilo un poco más artístico, como saben mi estilo es un poco oscuro, siento que el color negro siempre queda bien y que las líneas y los delineados gráficos me encantan y he estado practicando lo máximo posible para que me puedan quedar perfectos, aún no lo domino, pero ya tengo un mejor control, así que este maquillaje será un poco de esto, es un diseño que me gusto bastante y quise recrearlo y mostrarles los paso para que ustedes también puedan hacerlo, ya que no es tan complicado como parece, espero te guste
🔘Hello once again, welcome to another of my blogs/tutorial where I show you the steps to make a makeup with a little more artistic style, as you know my style is a little dark, I feel that the black color always looks good and I love the lines and graphic outlines and I have been practicing as much as possible so they can be perfect for me, I haven't mastered it yet, but I already have a better control, so this makeup will be a little bit of this, it's a design that I liked a lot and I wanted to recreate it and show you the steps so you can do it too, it's not as complicated as it seems, I hope you like it.
.gif)

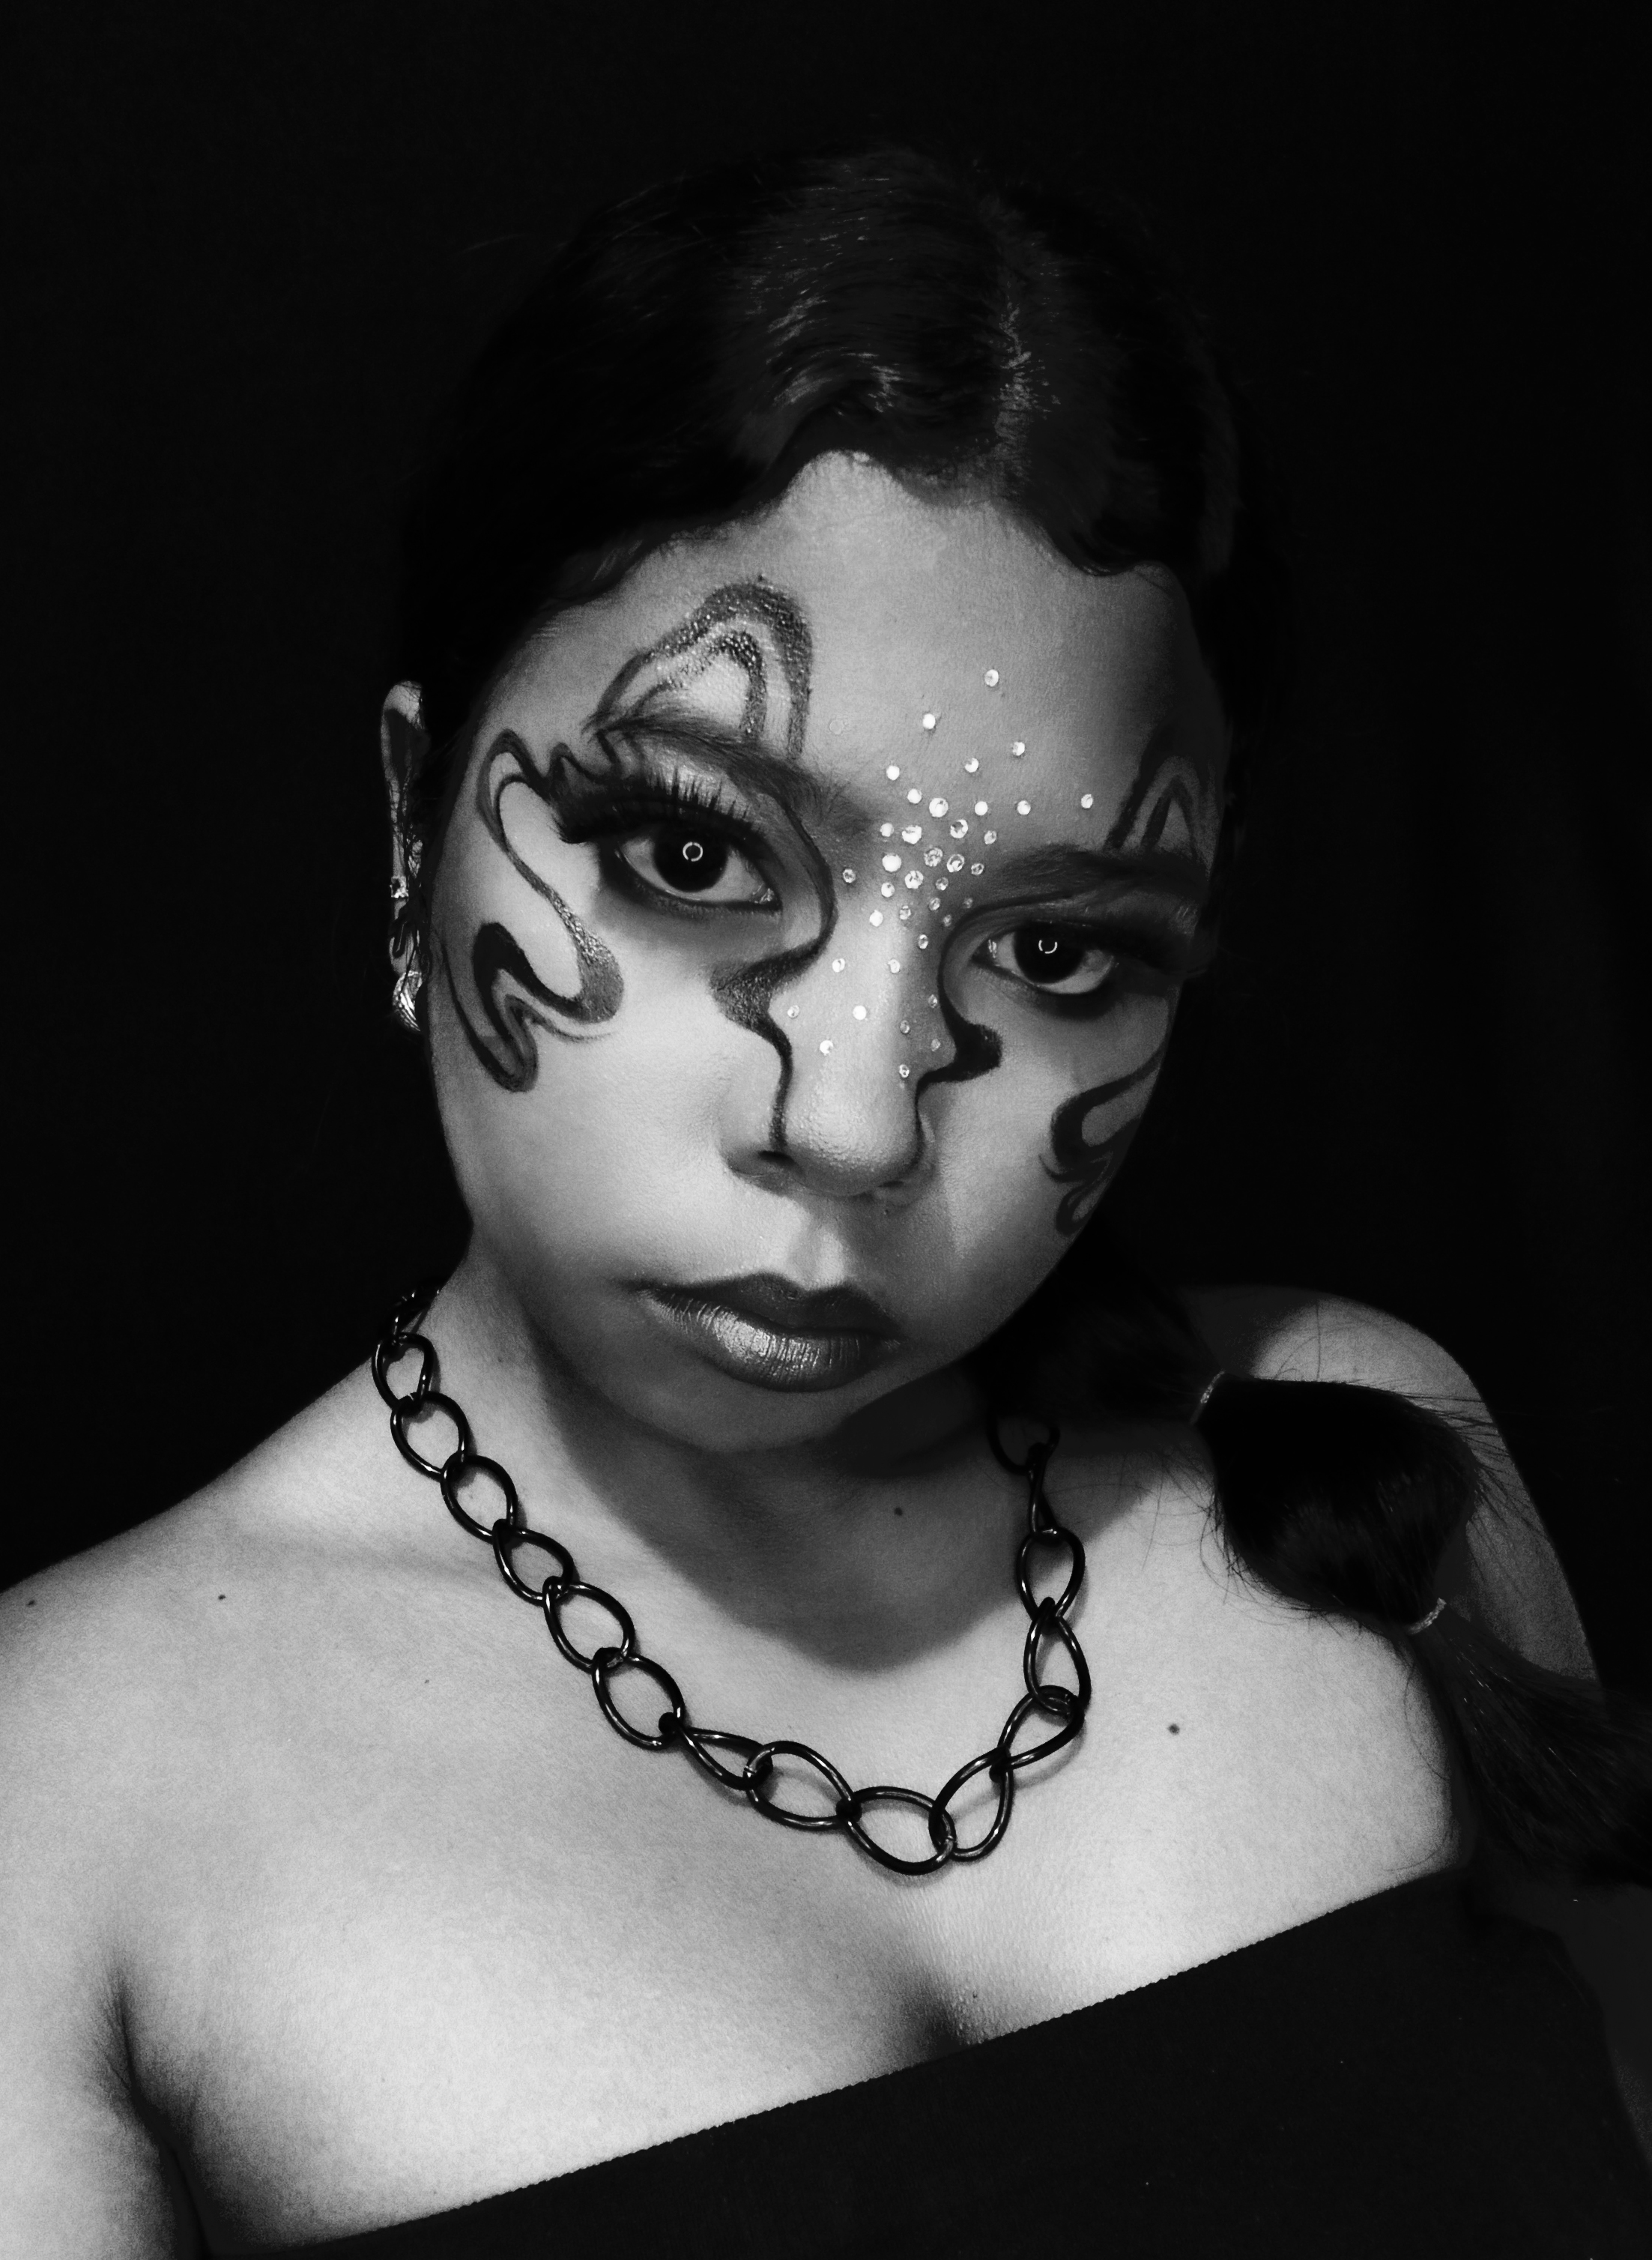
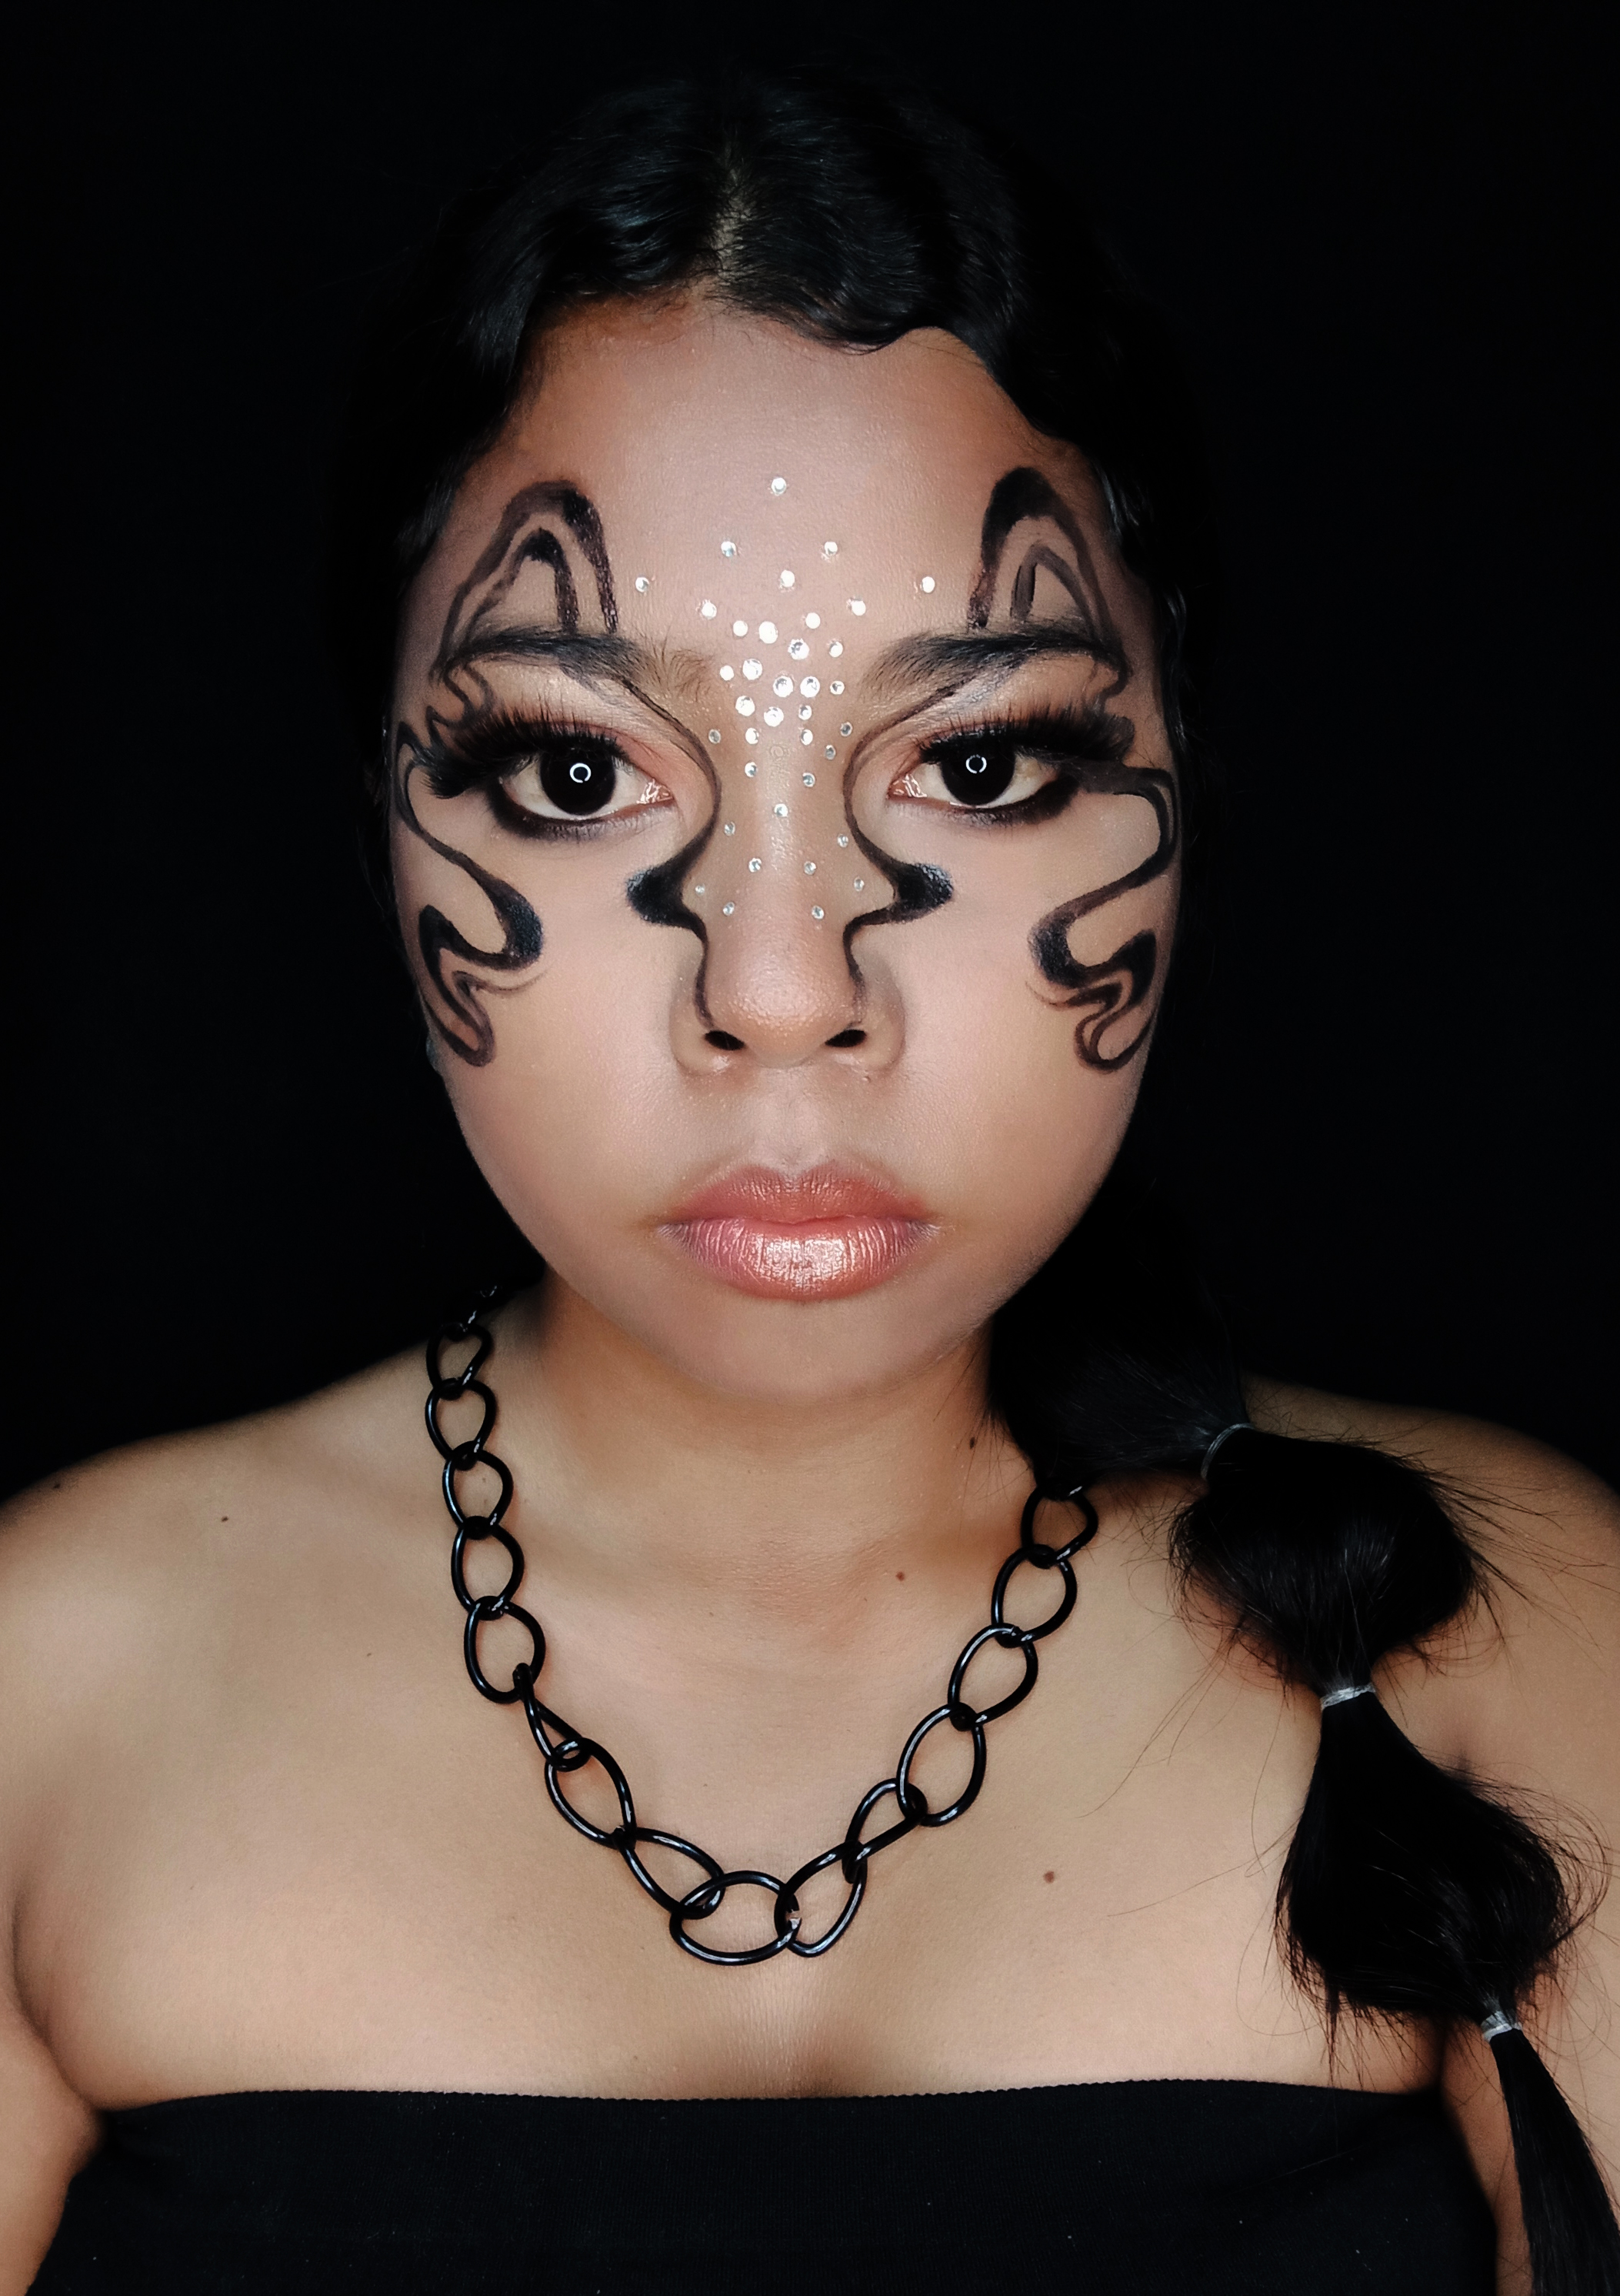
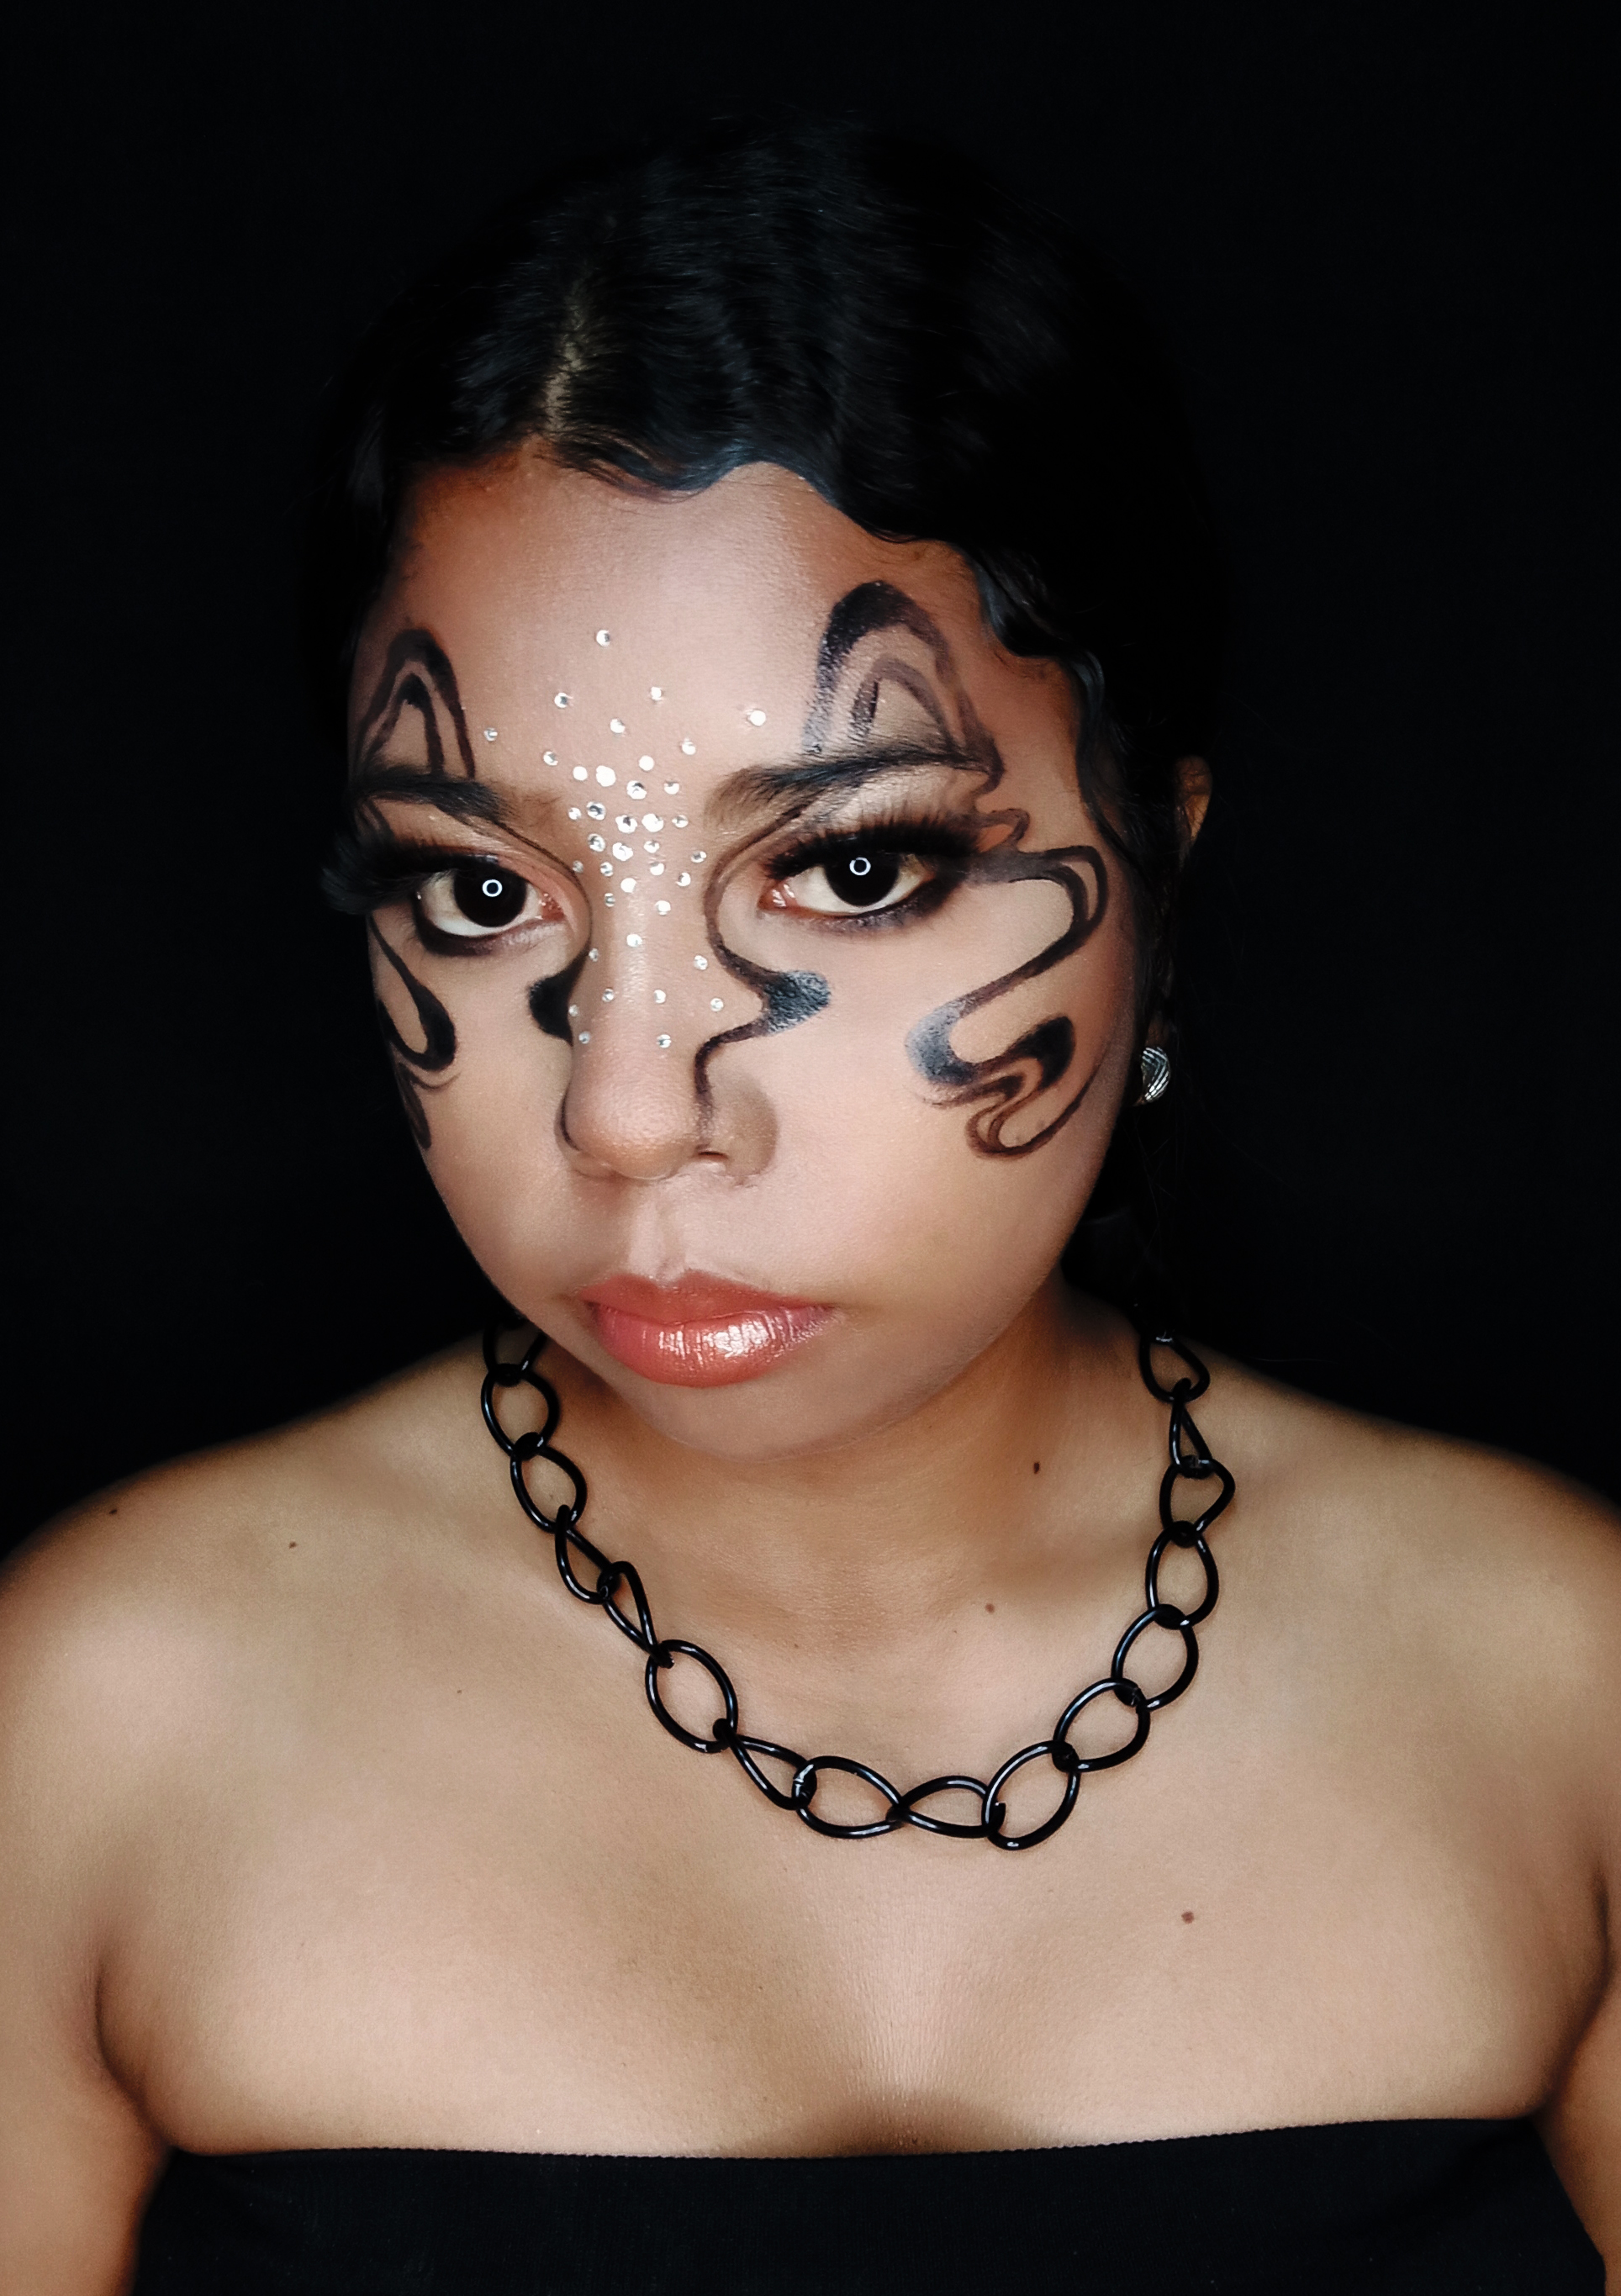
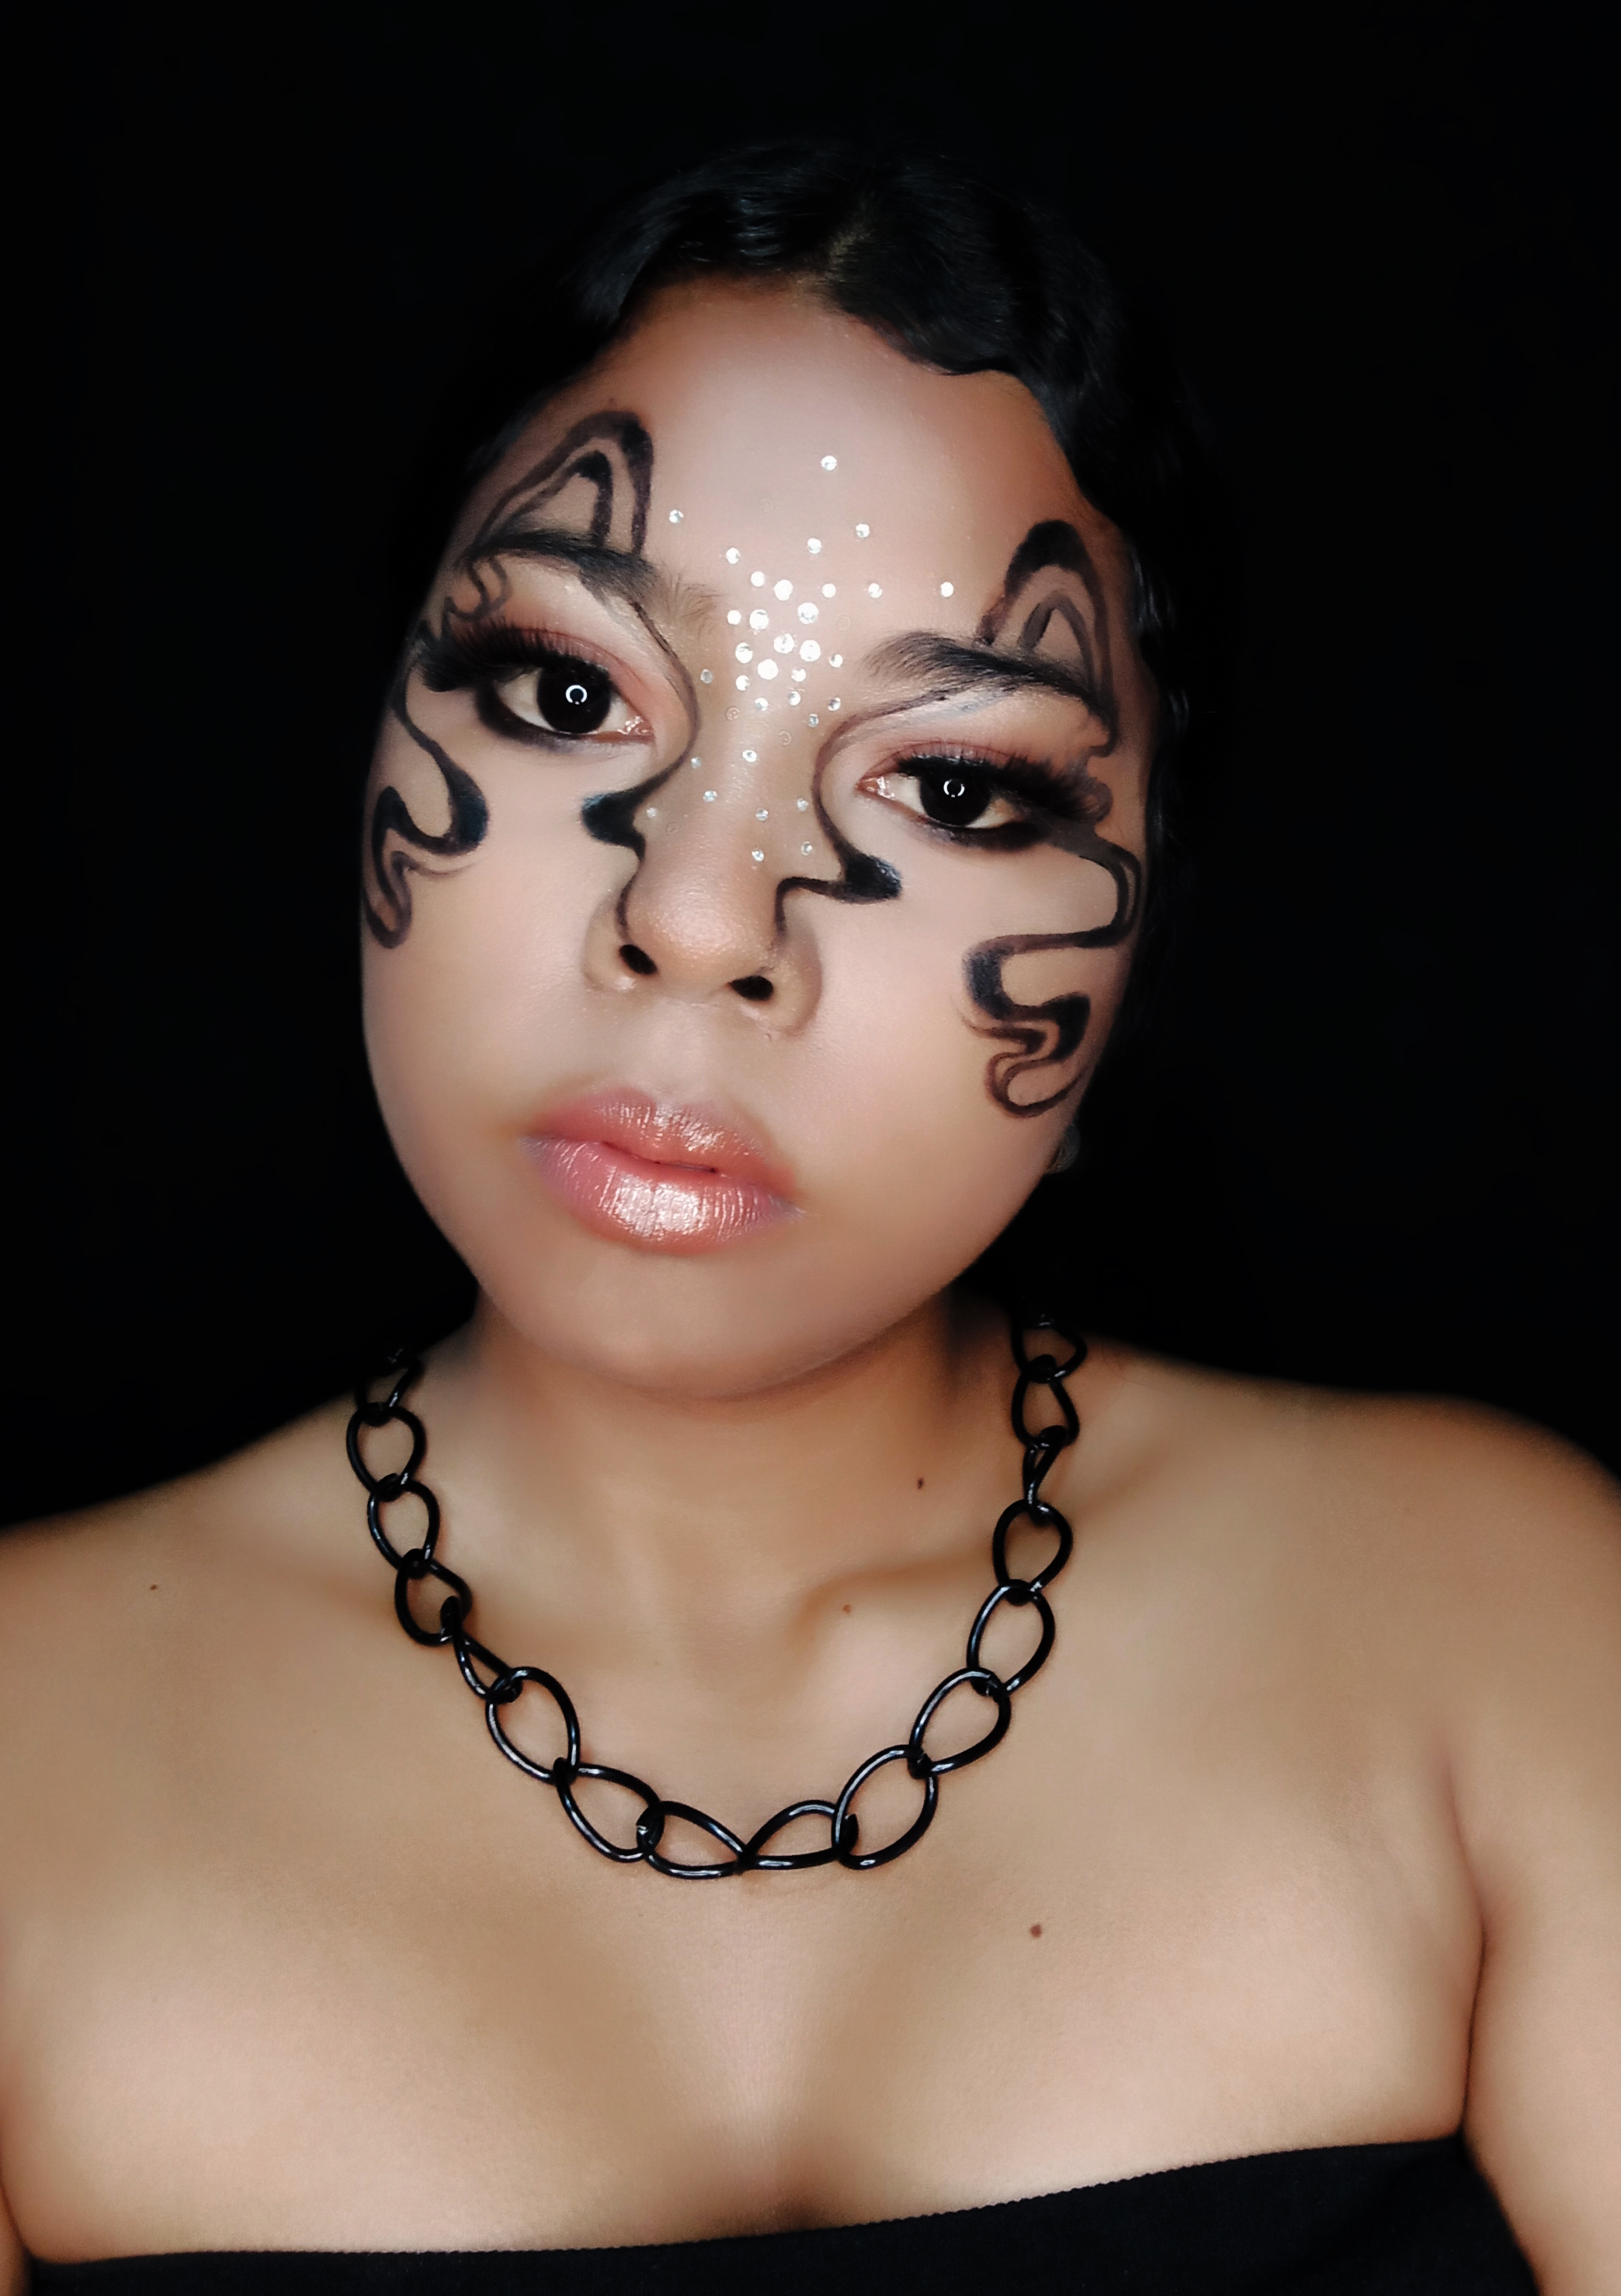
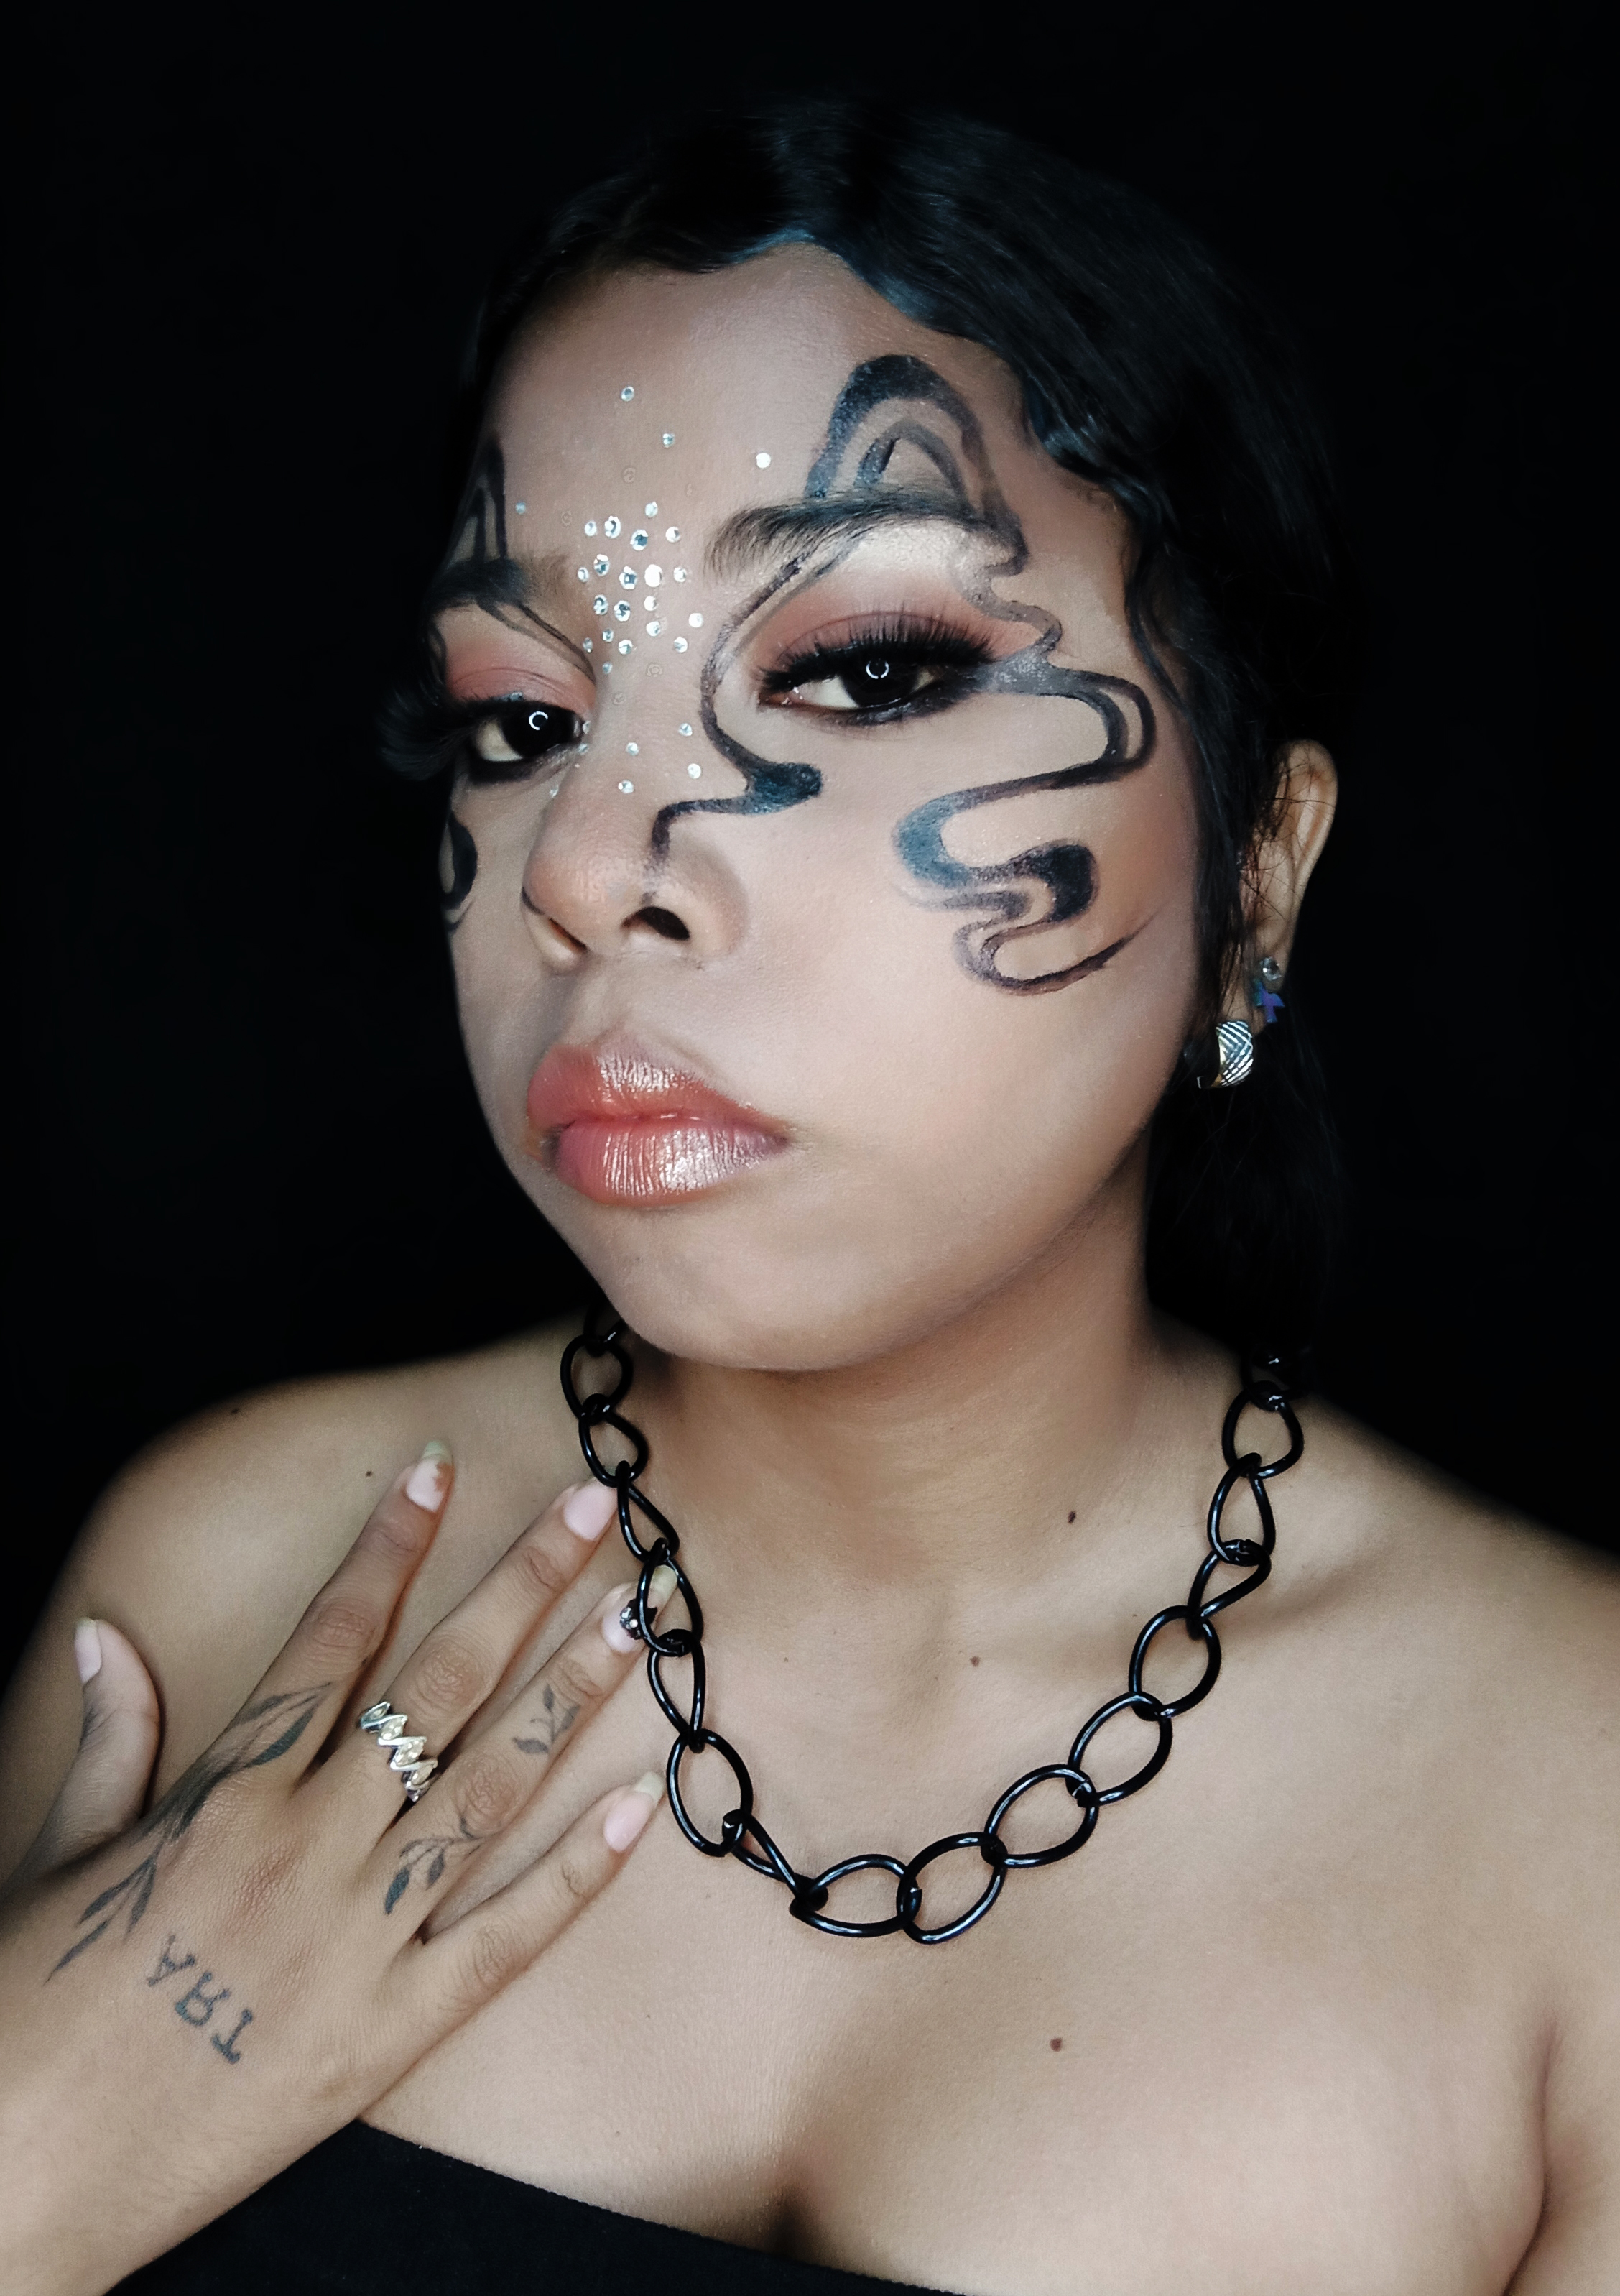
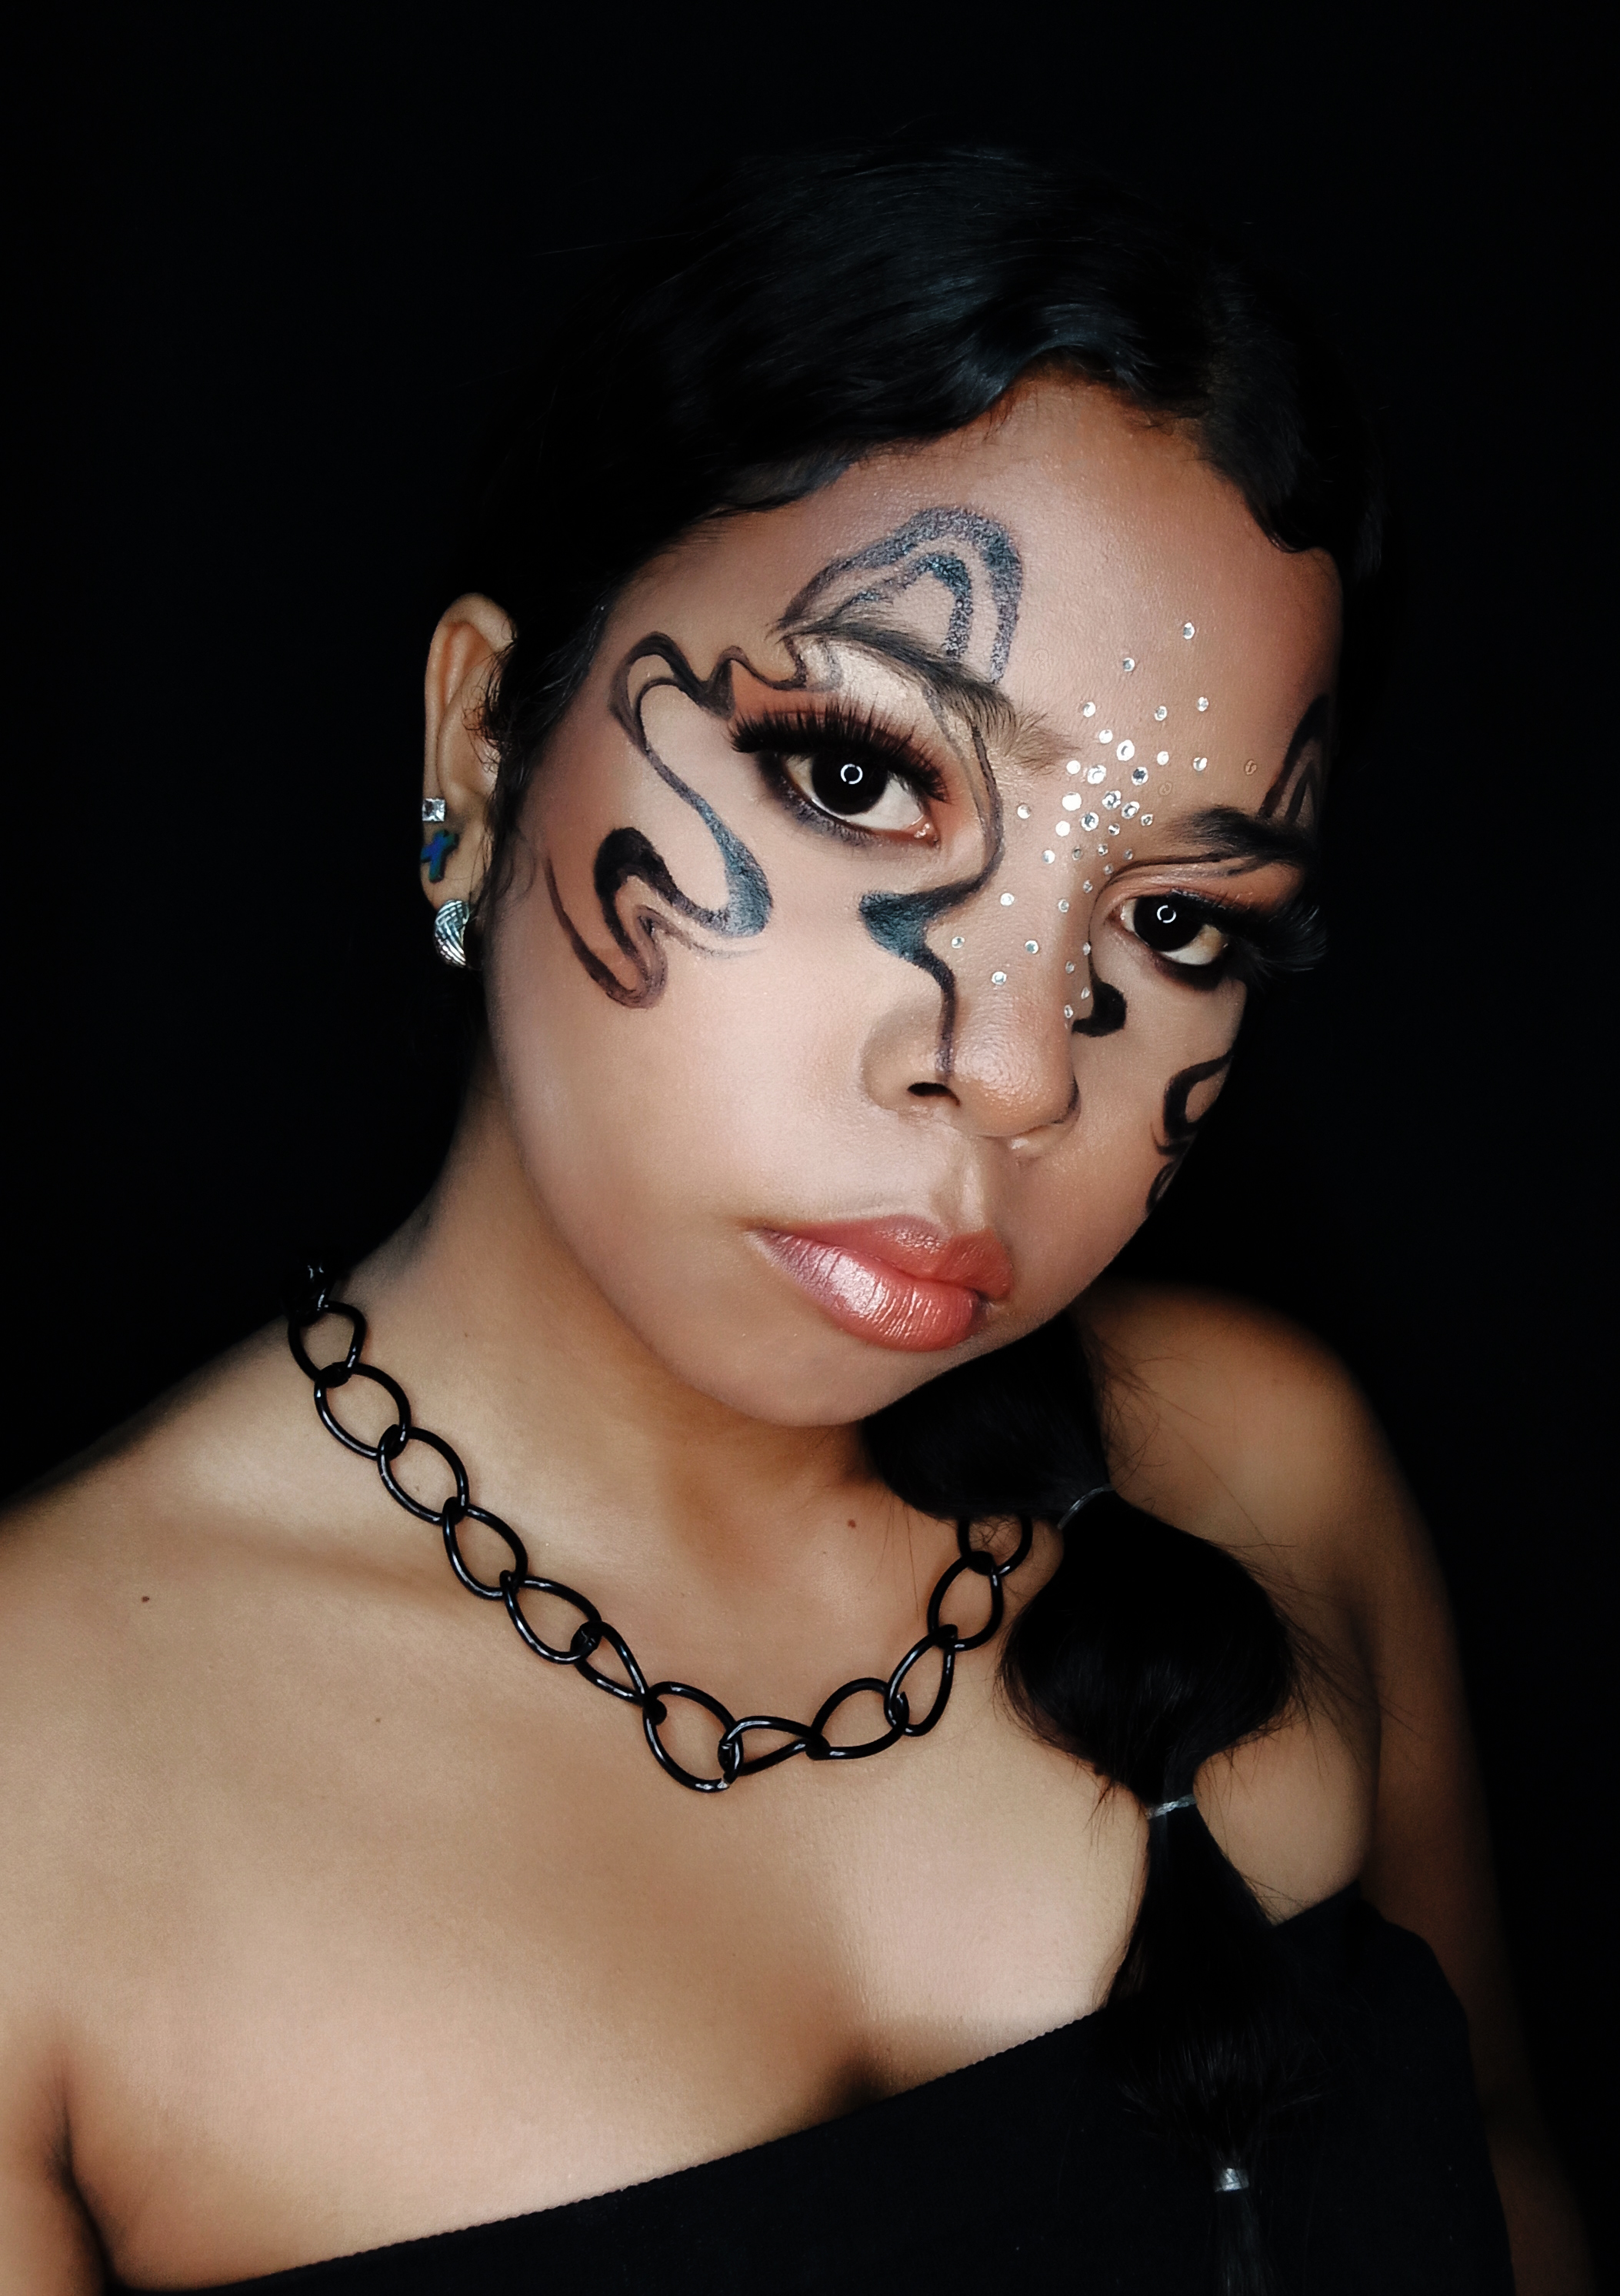
🔴 Primer paso: después de dejar mi rostro limpio para el maquillaje, limpiándolo e hidratándolo, aplique la base y corrector en mis ojeras, realice el beaking y selle el resto con polvo compacto. | 🔘 First step: after leaving my face clean for makeup, cleansing and moisturizing it, I applied foundation and concealer on my dark circles, did the beaking and sealed the rest with pressed powder.
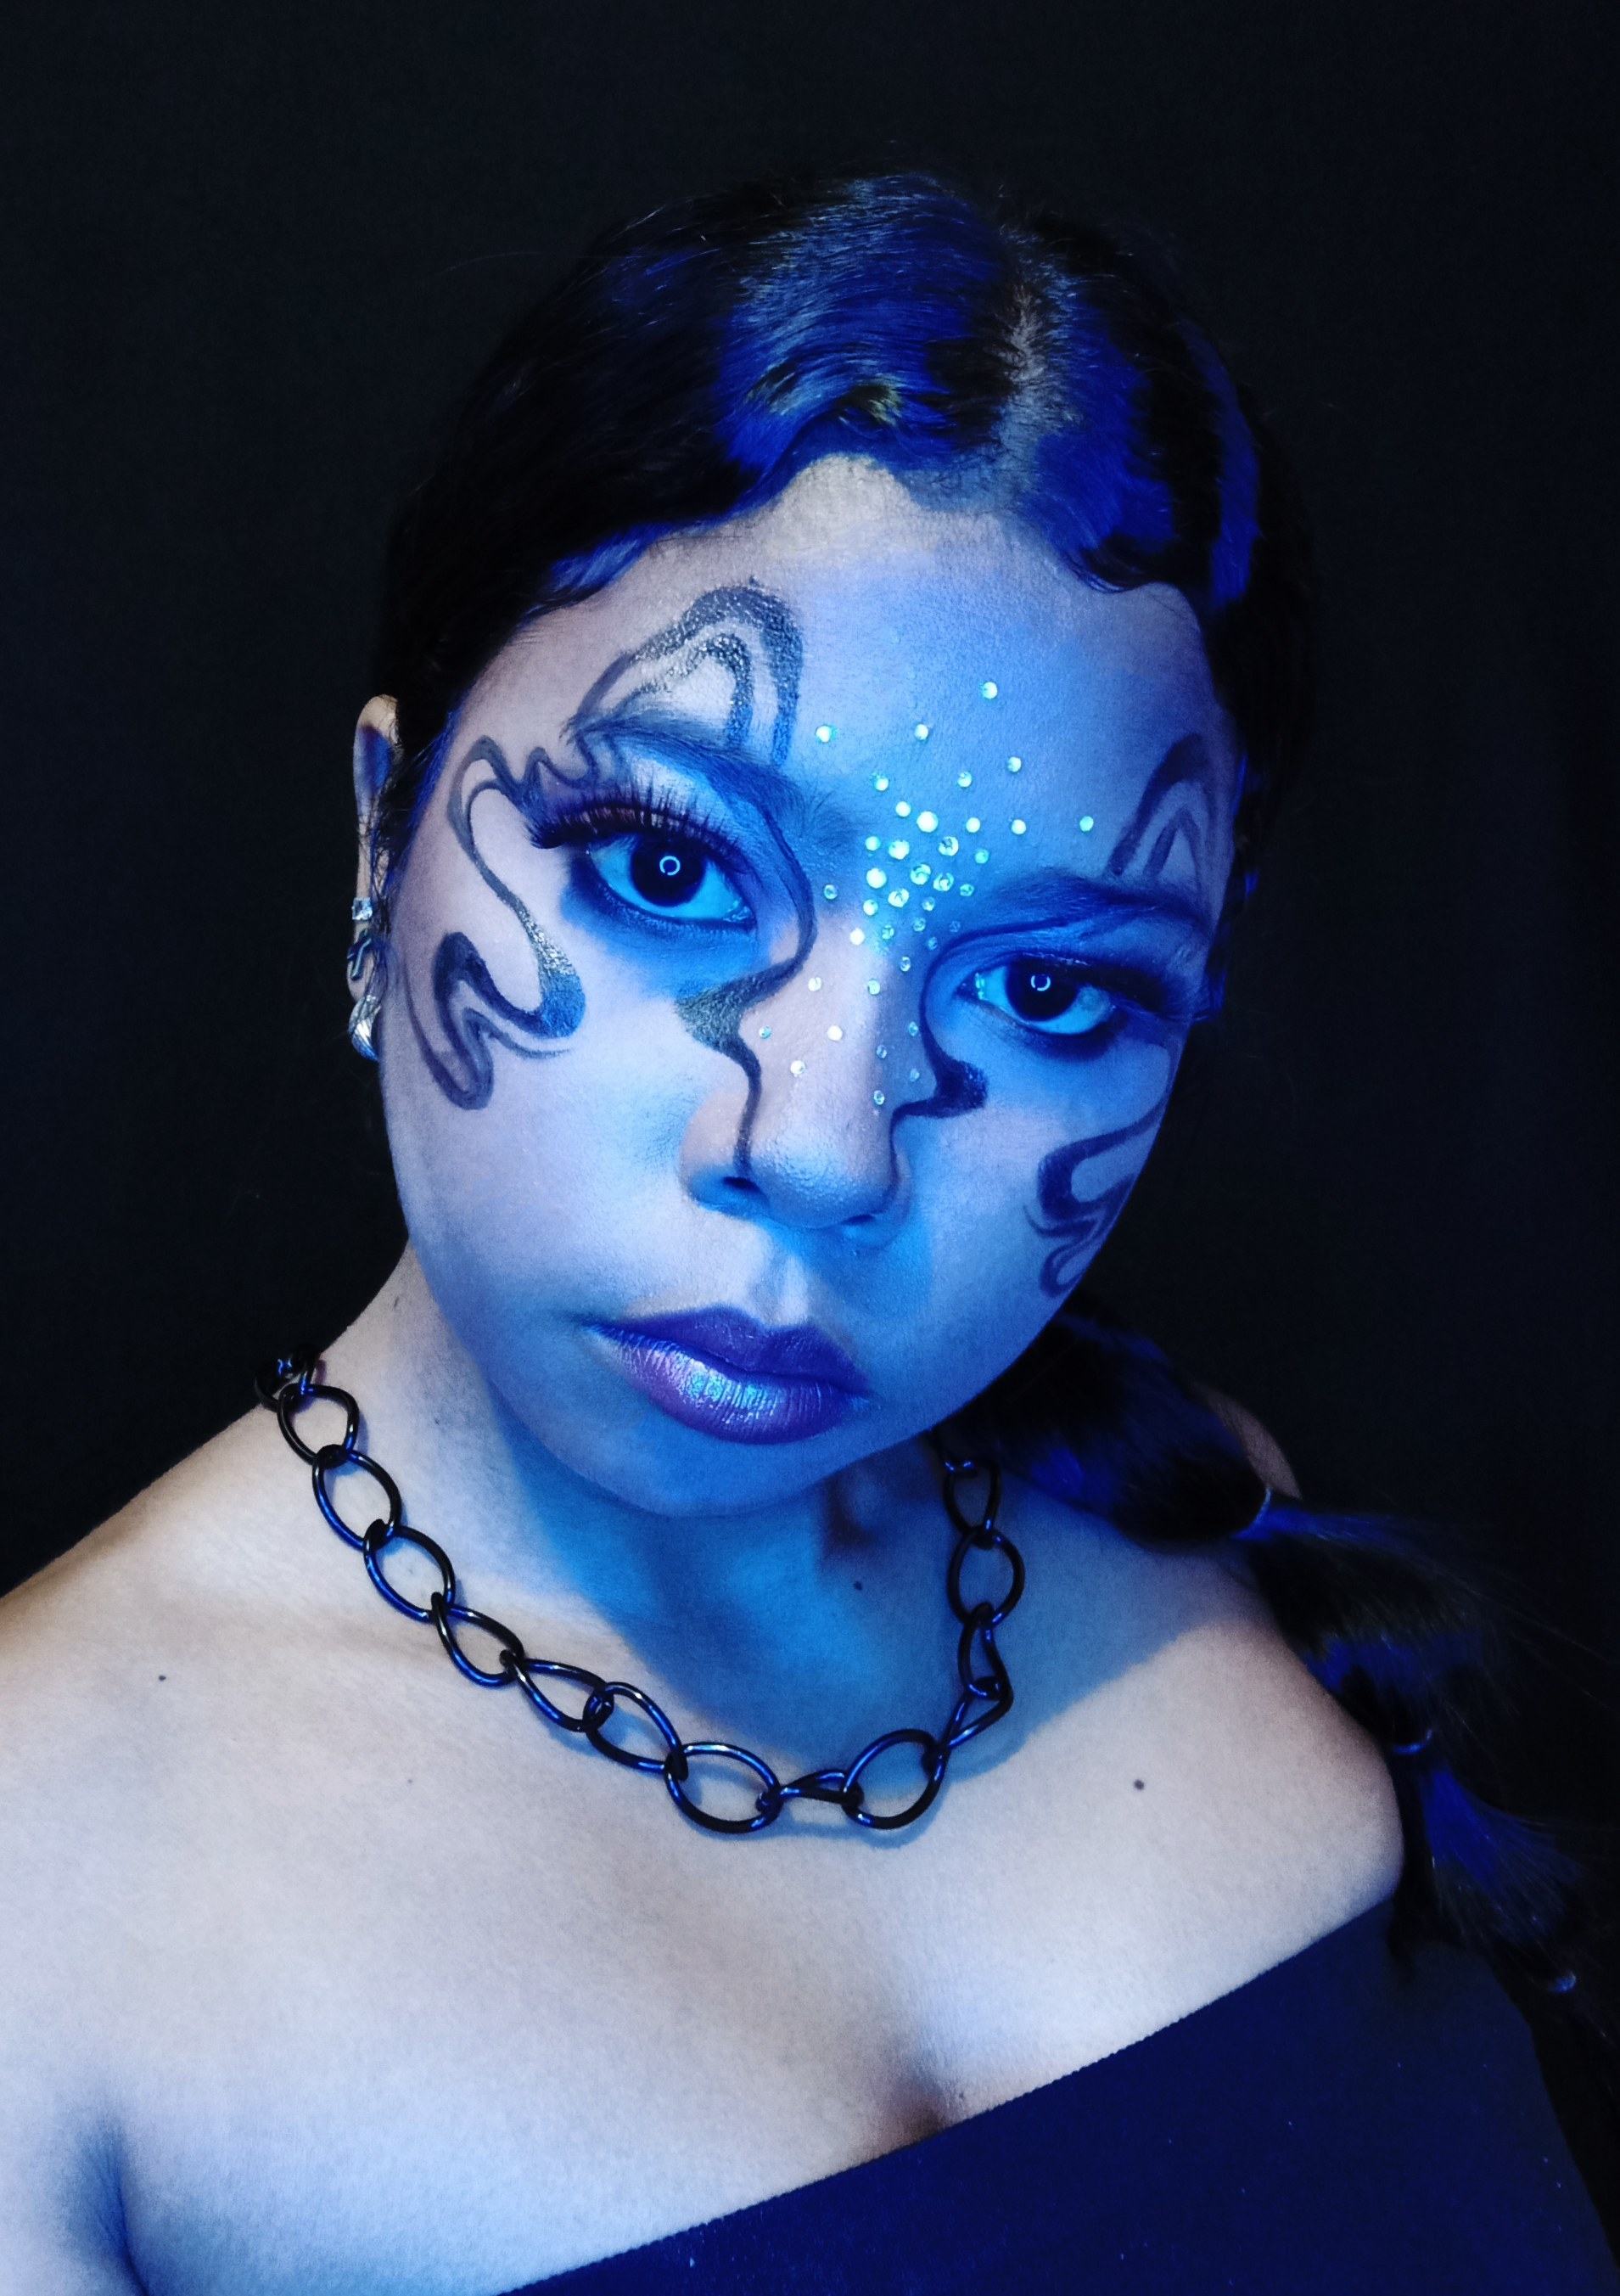
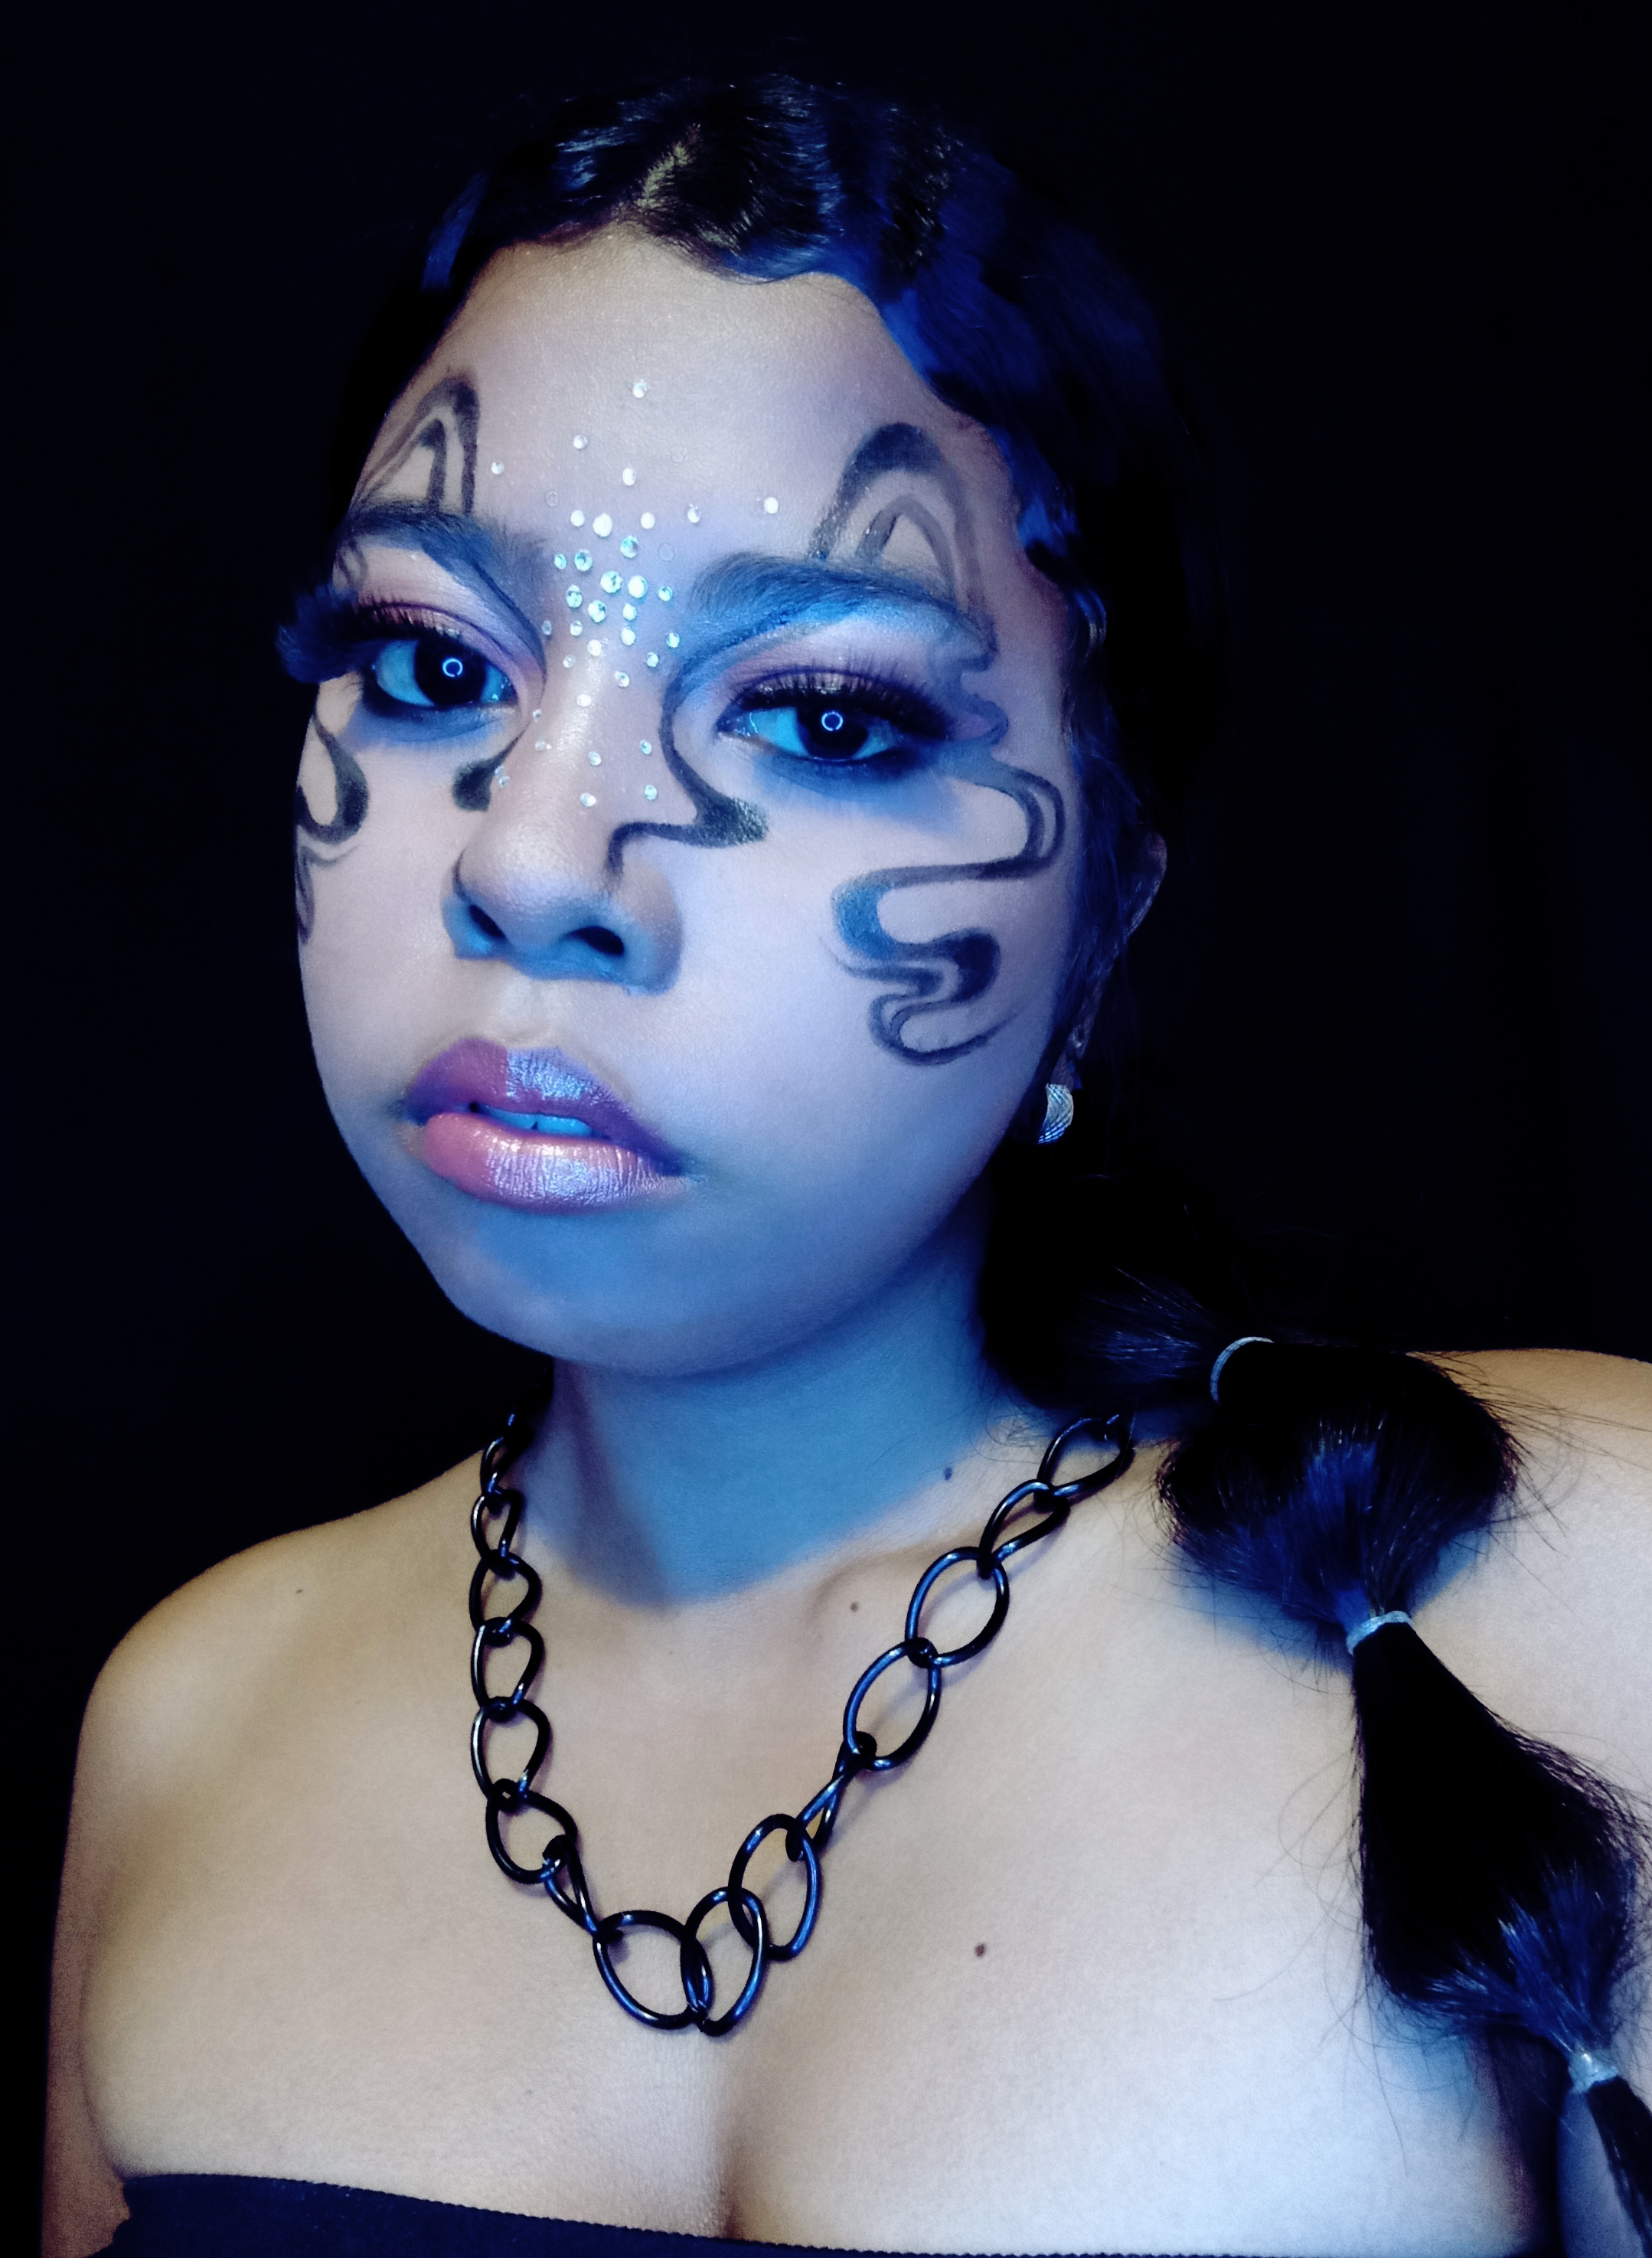
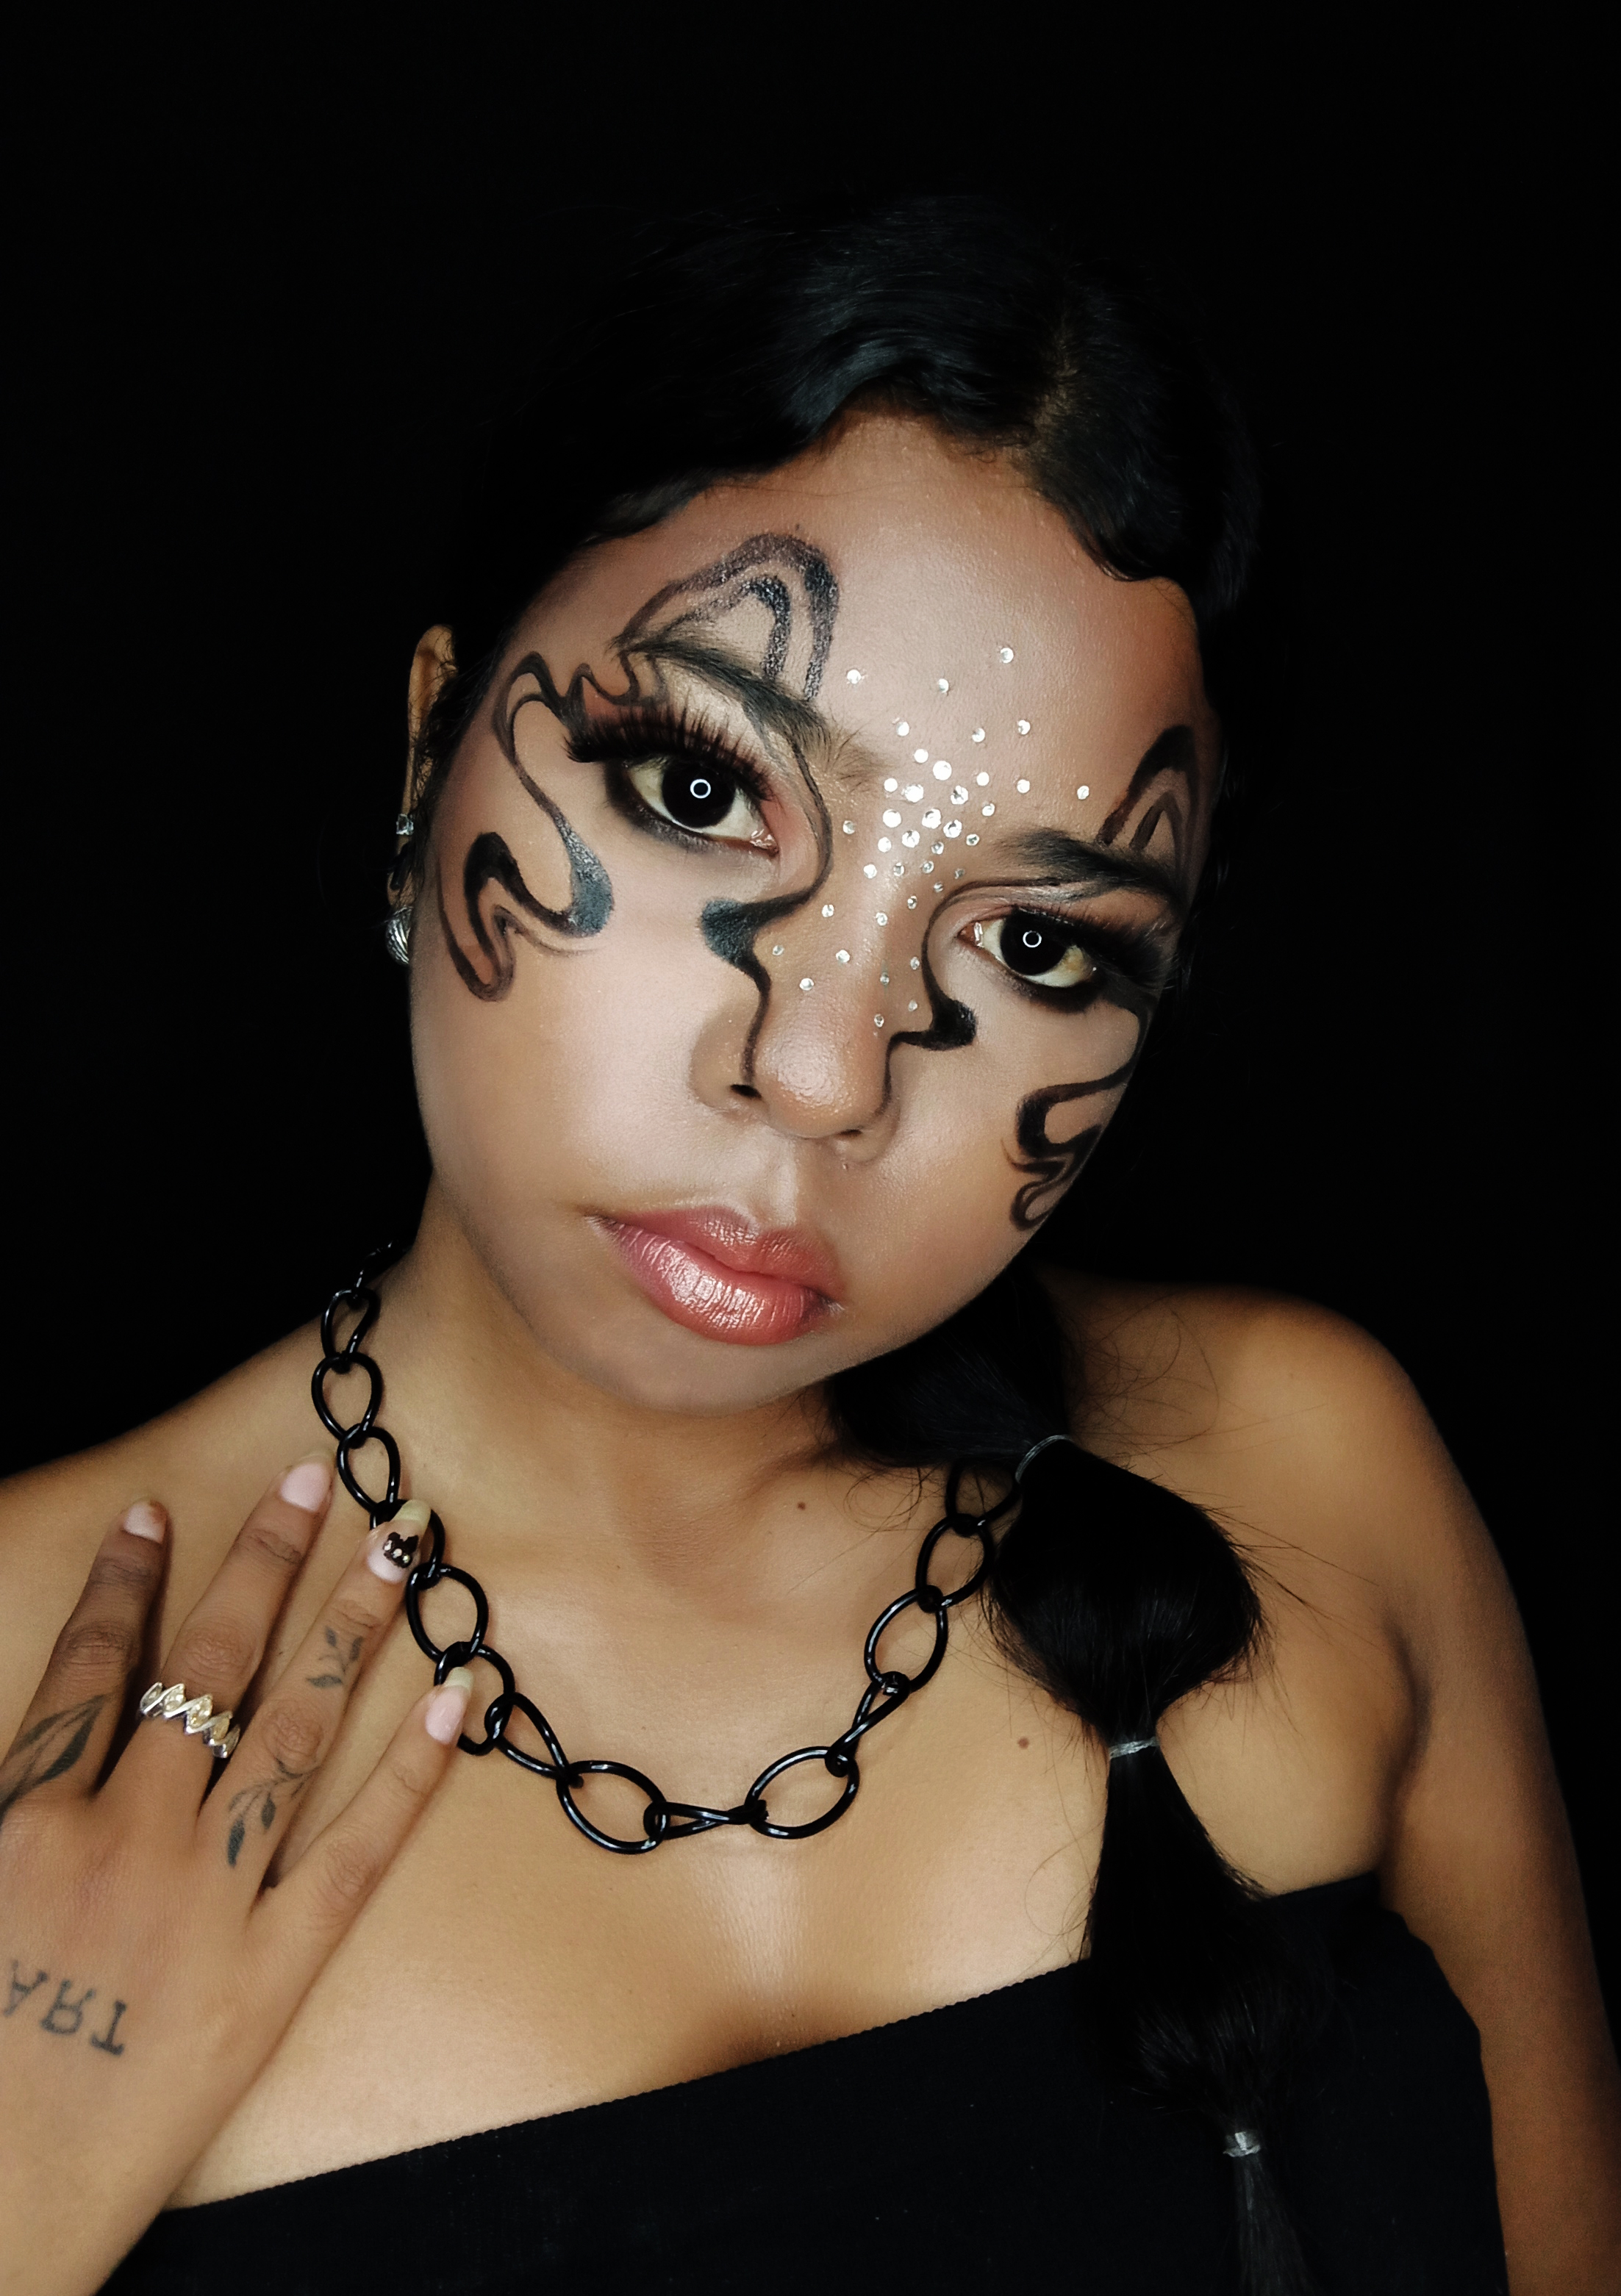
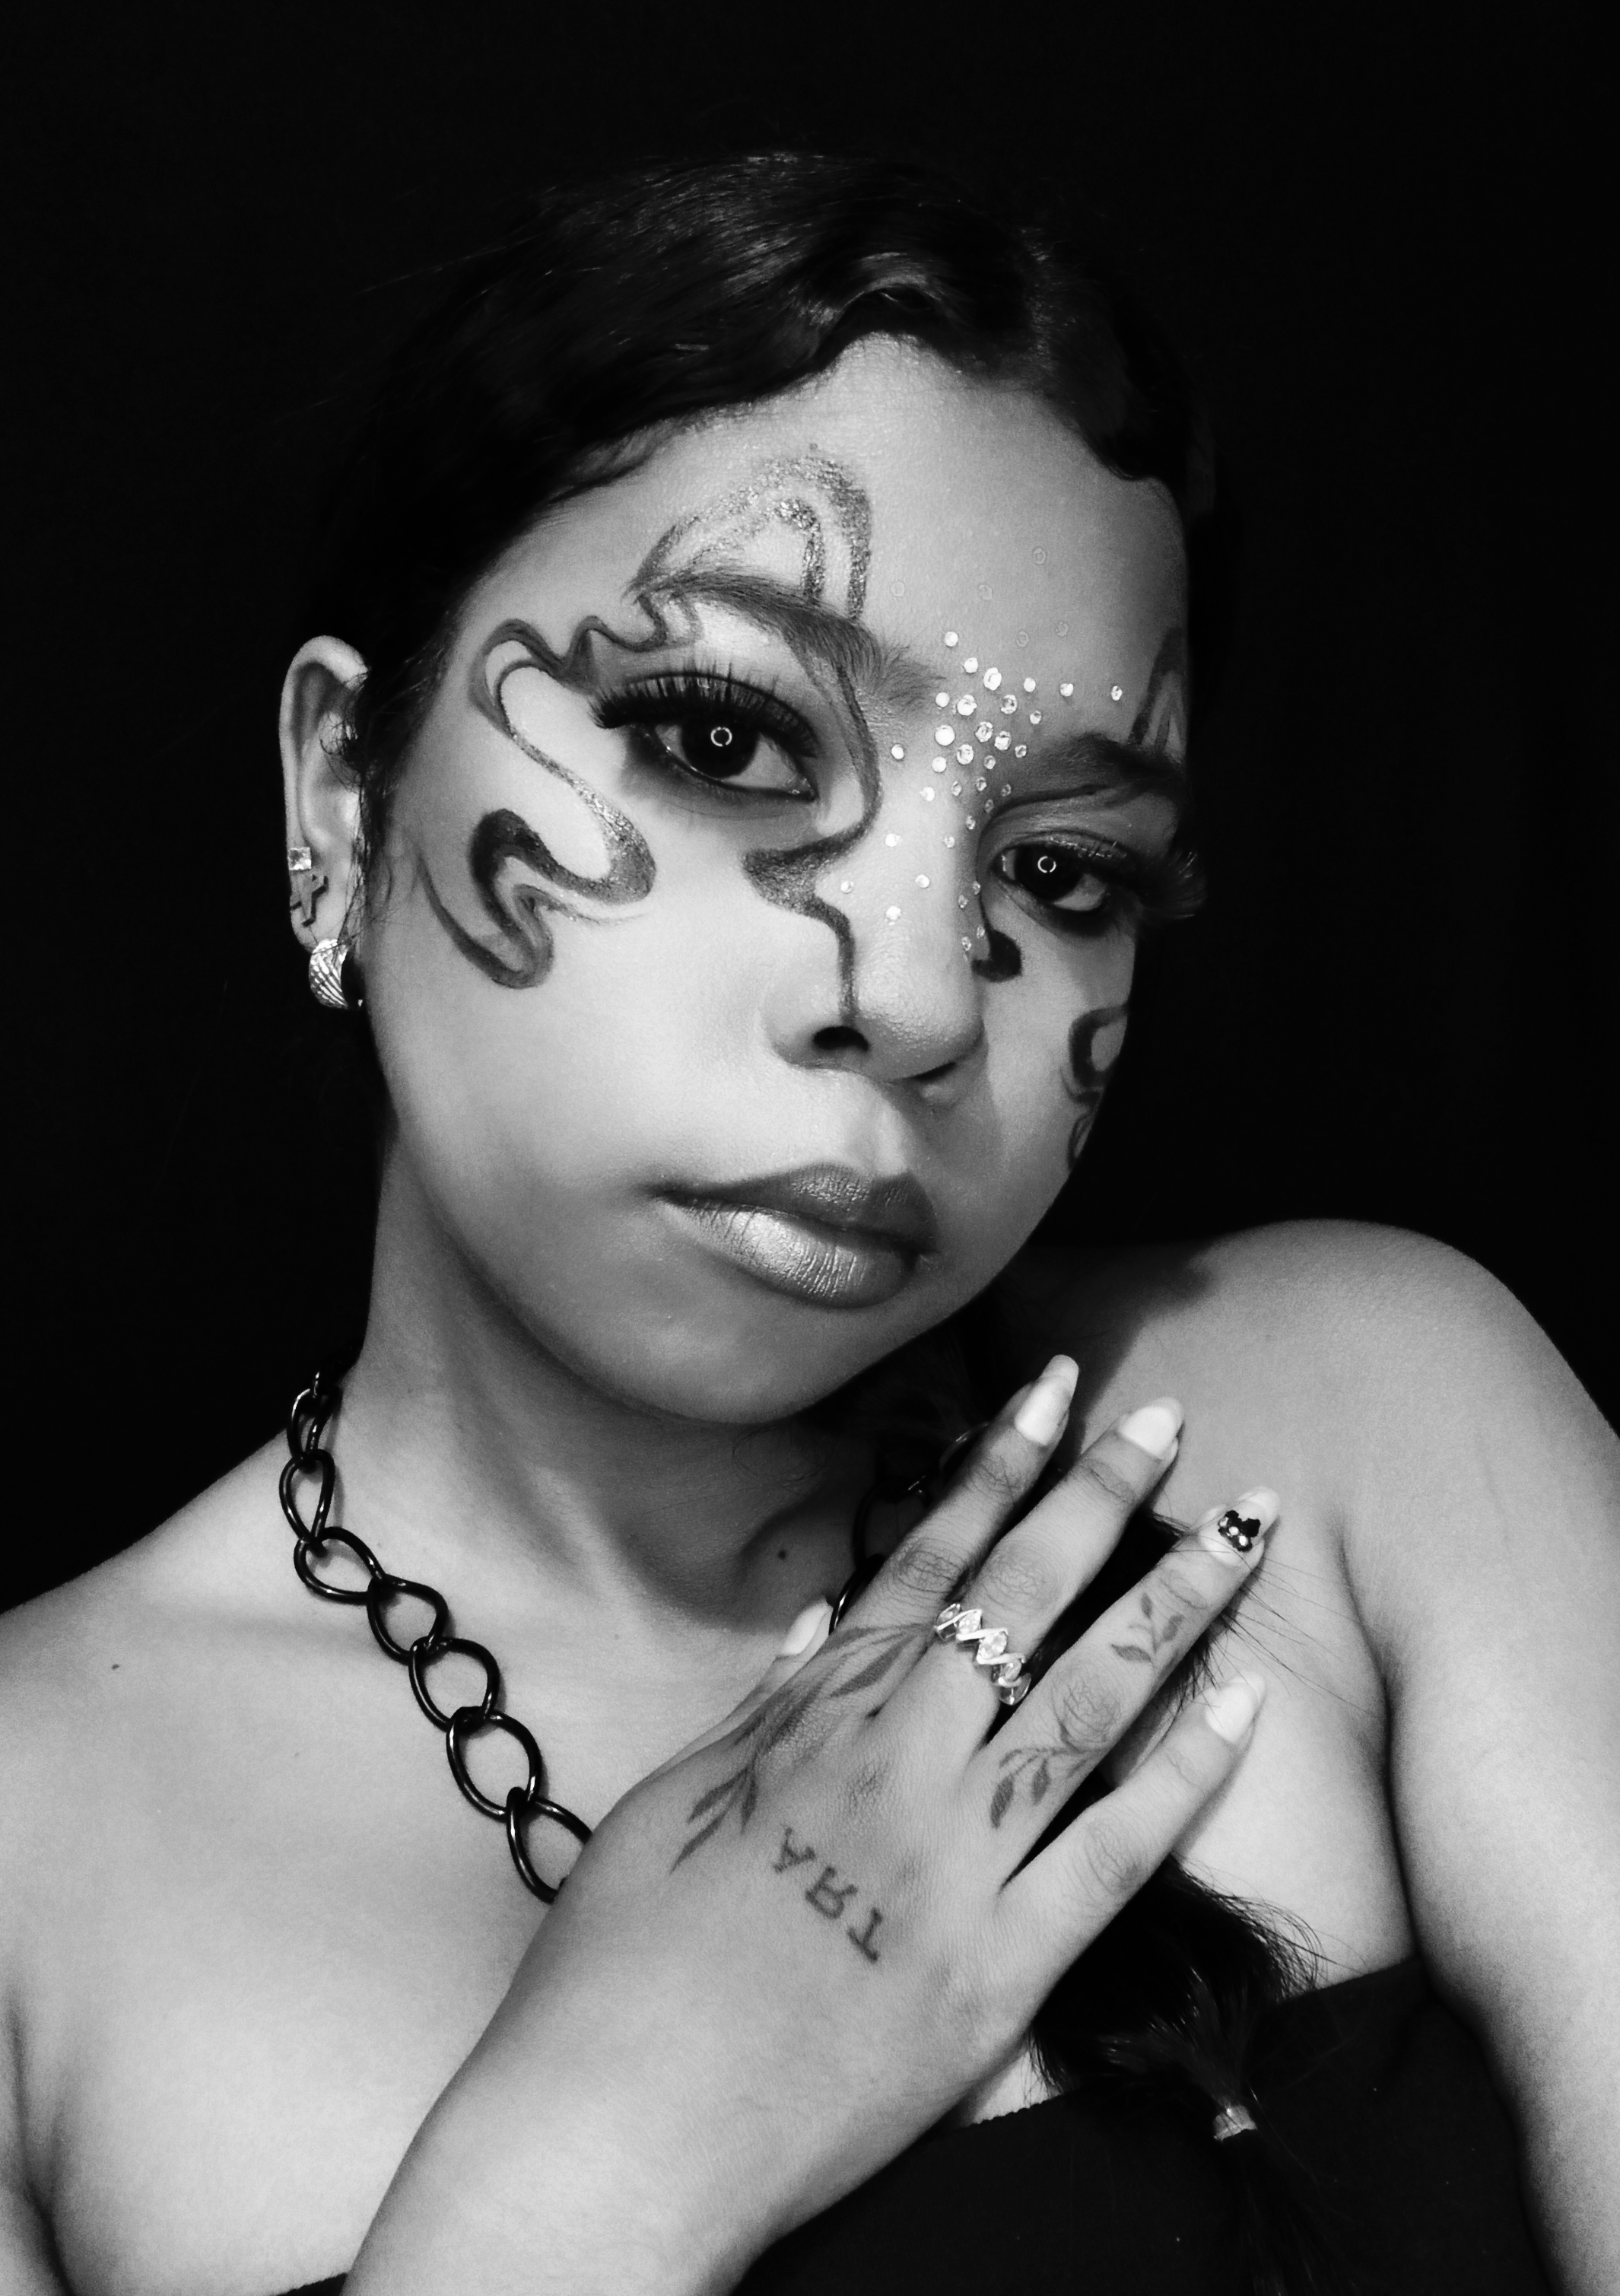
🔴 Segundo paso: mientras deje reposar el baking aproveche de aplicar el contorno, el bronce y el iluminador, una vez lista la base del maquillaje empecé a dibujar las líneas guías y luego las pinte de color negro. | 🔘 Second step: While I let the baking rest, I applied the contour, the bronze and the highlighter, once the base of the makeup was ready I started to draw the guide lines and then I painted them in black.
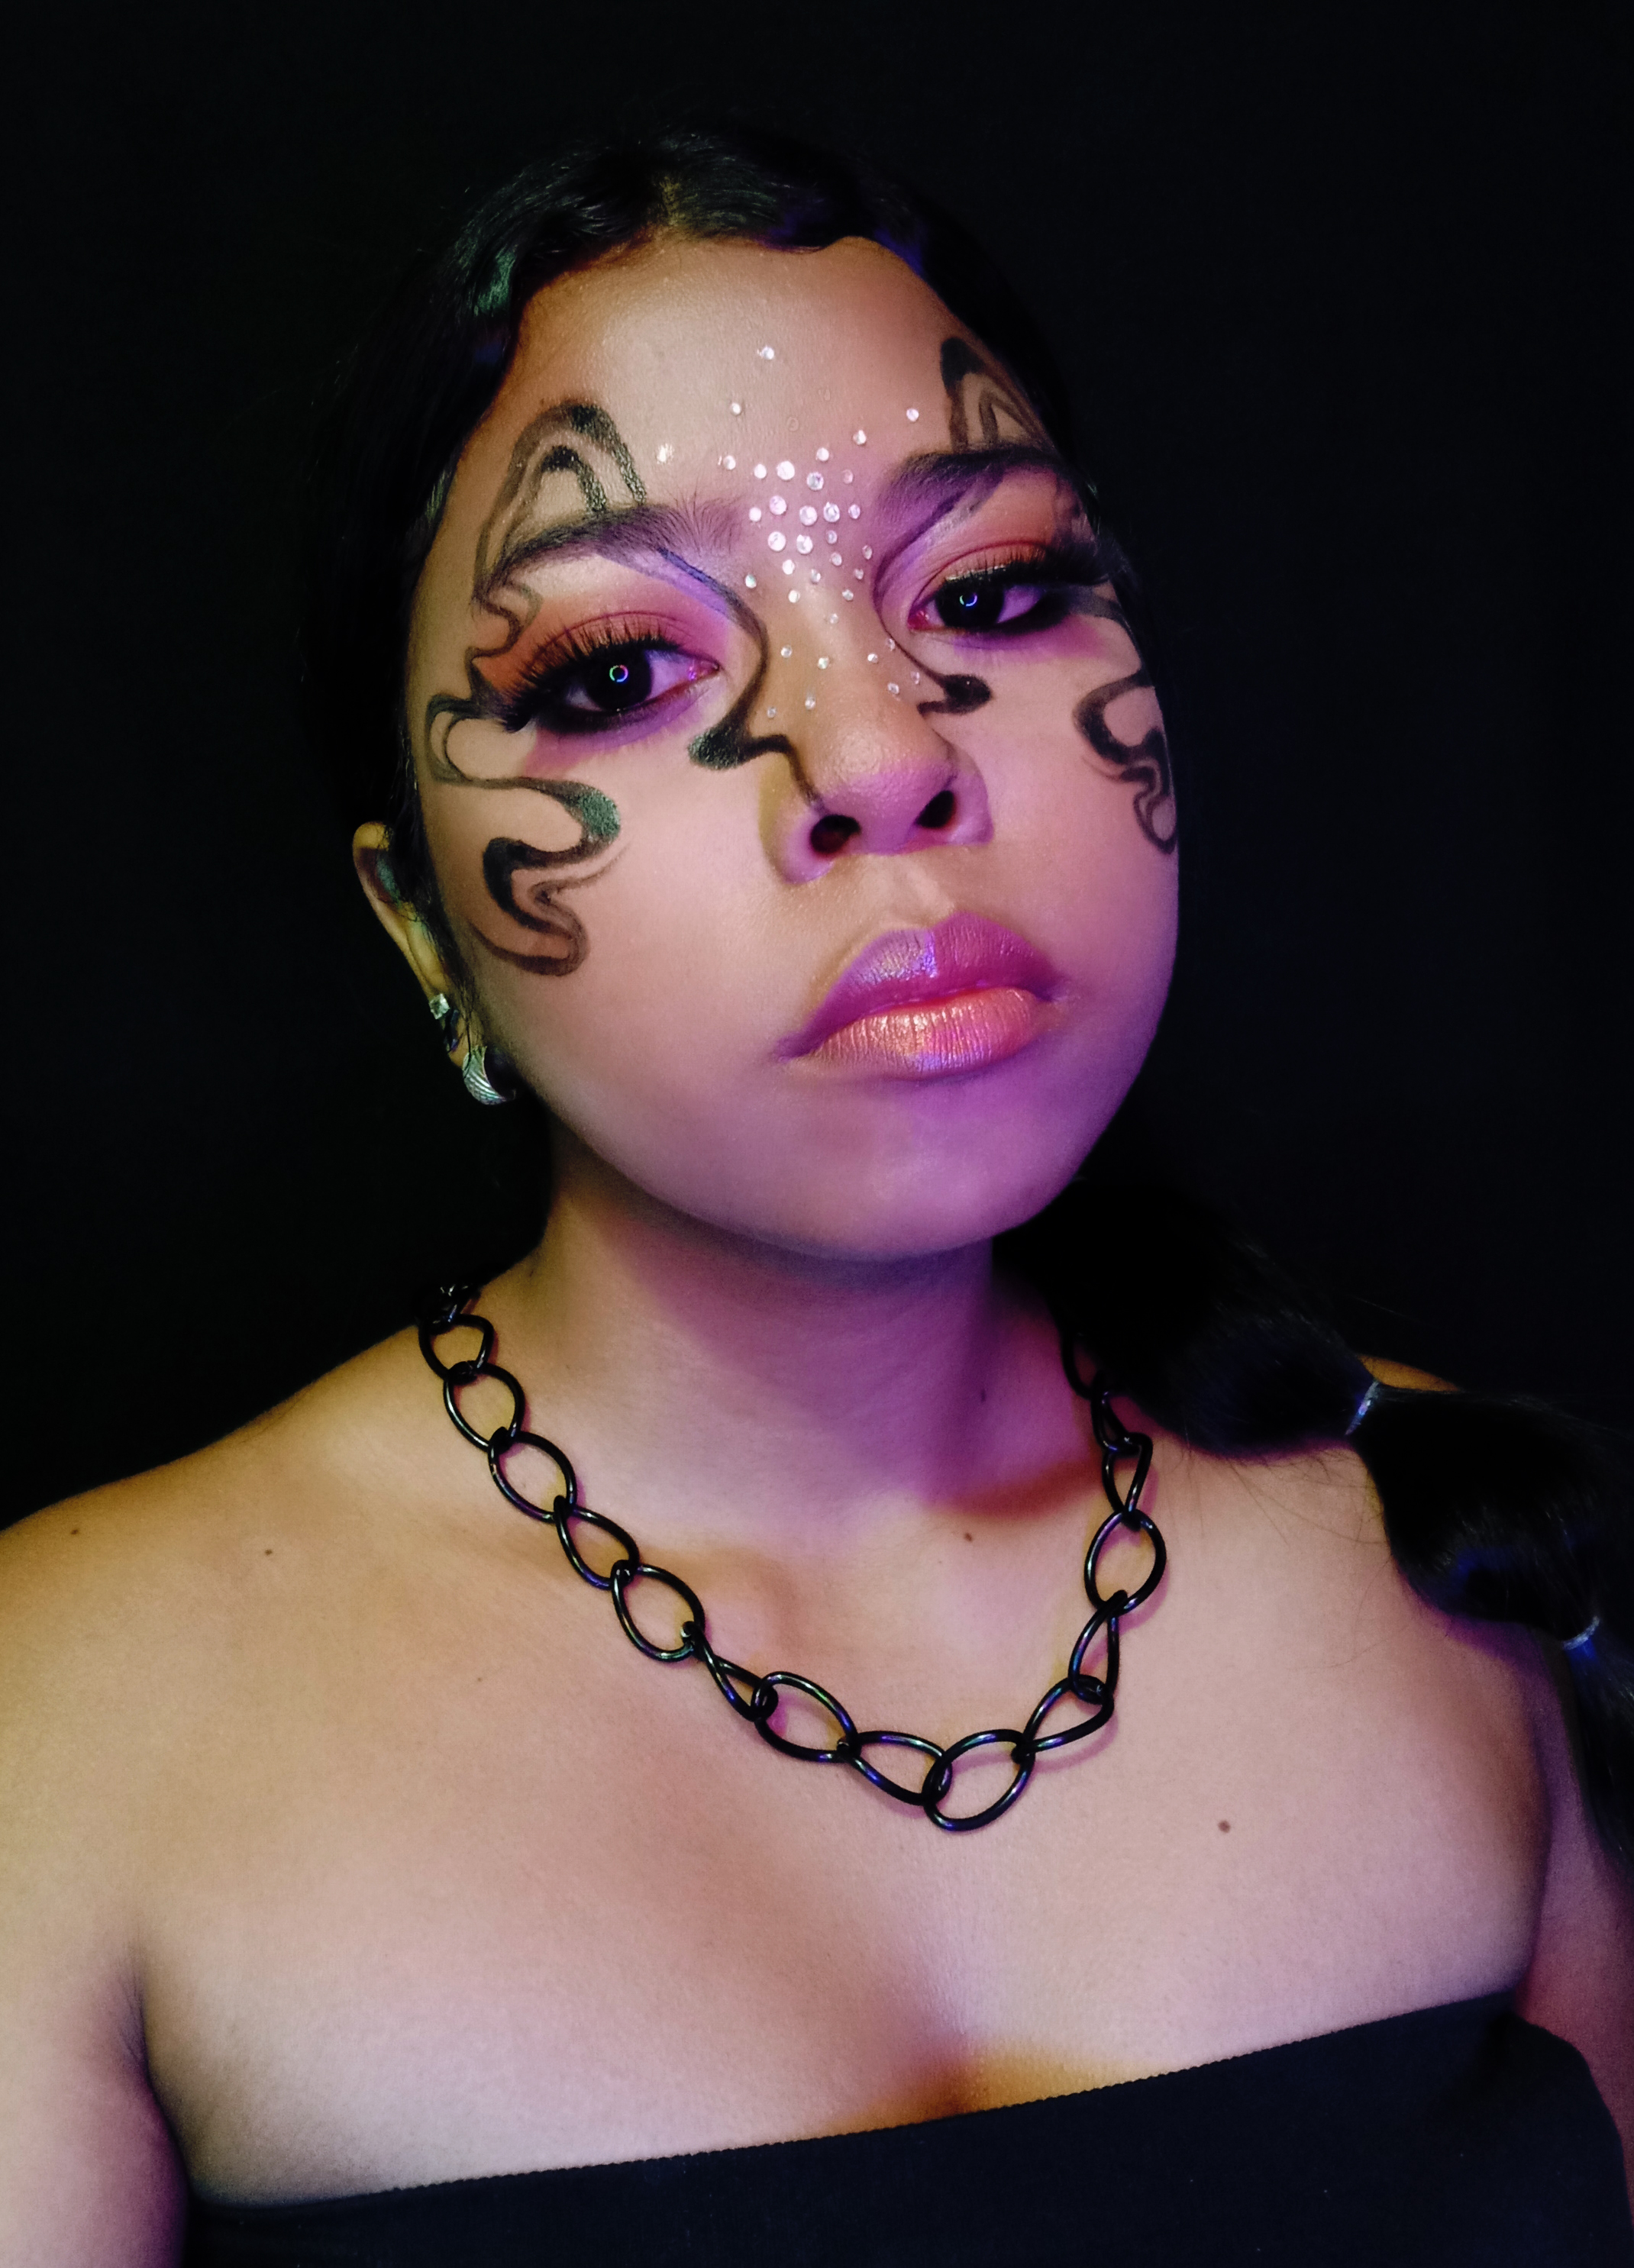
🔴 Tercer paso: aplique piedritas brillantes en el centro de mi rostro para complementar el diseño, aplique pestañas postizas y pinte mis labios de un color muy neutro pero brillante. | 🔘 Third step: I applied shiny pebbles in the center of my face to complement the design, applied false eyelashes and painted my lips in a very neutral but bright color.
.gif)
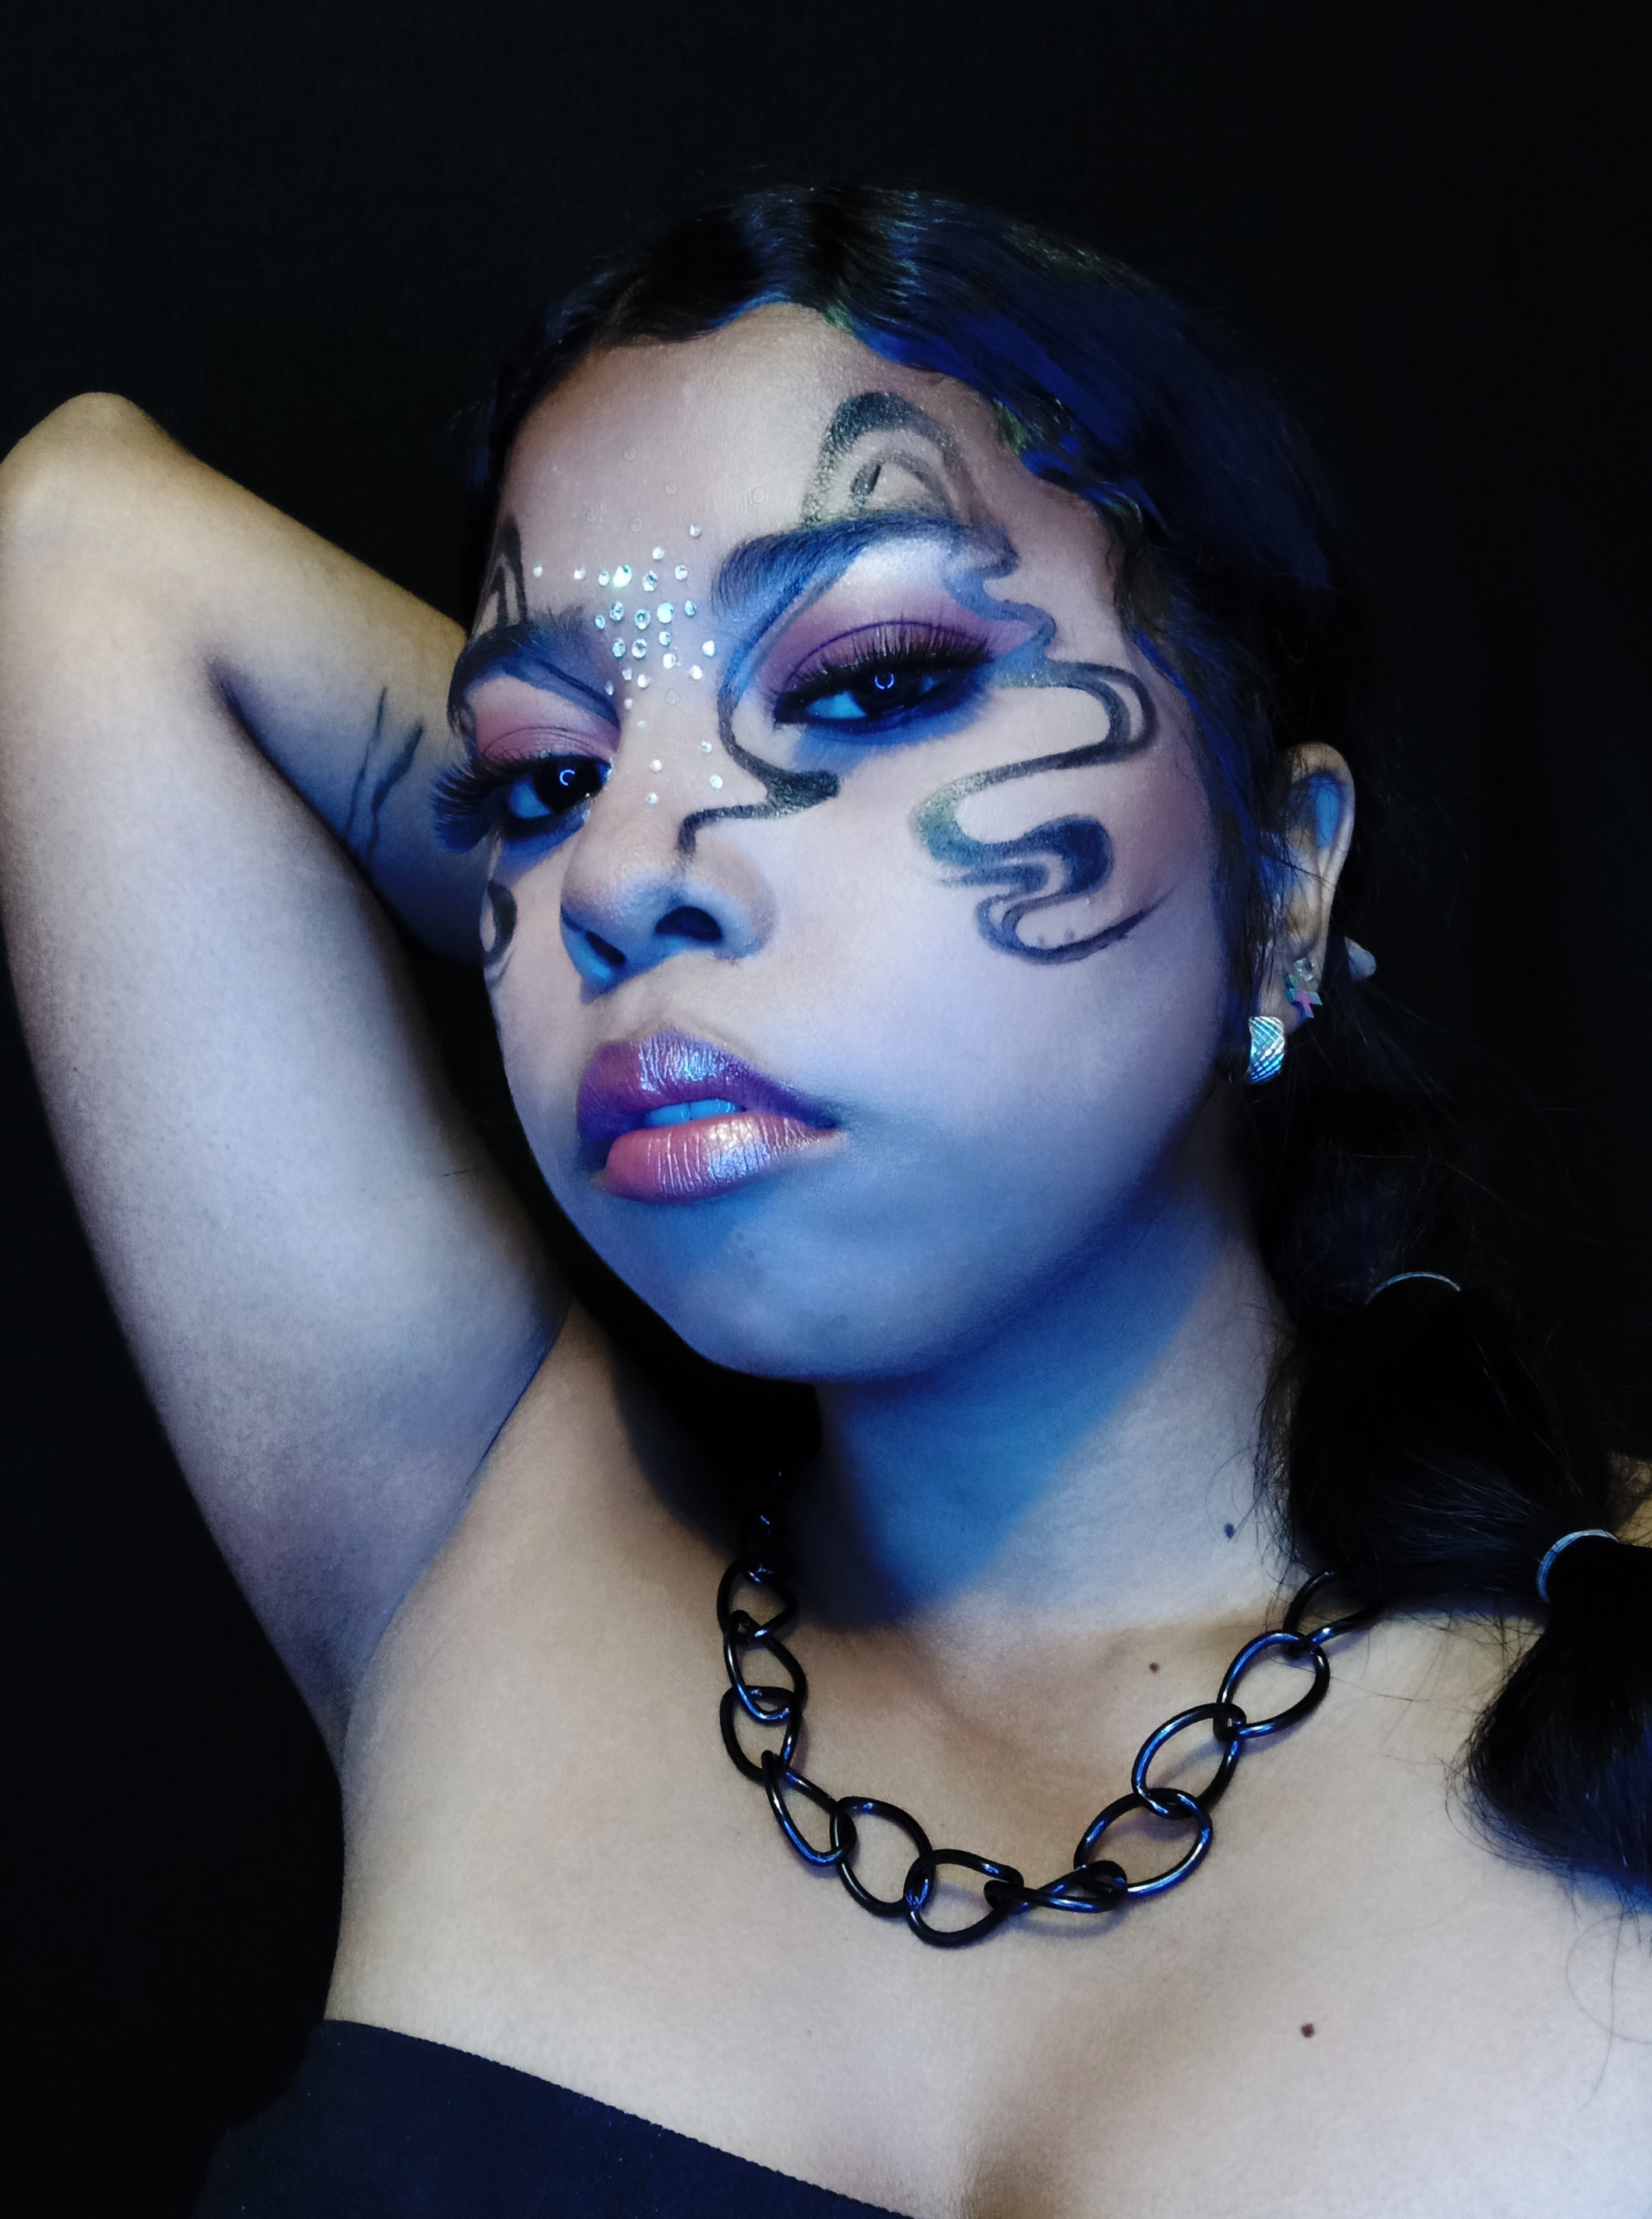
🔴 para realizar este maquillaje utilicé: base, corrector, polvo suelto, polvo compacto, piedras brillantes, pintura negra, labial, contorno, iluminador, broncer, delineador líquido, pestañas postizas, pinceles y accesorios.
🔘 To do this makeup I used: foundation, concealer, loose powder, pressed powder, glitter stones, black paint, lipstick, contour, highlighter, bronzer, liquid eyeliner, false eyelashes, brushes and accessories.


| |
| |
| |
|
The rewards earned on this comment will go directly to the person sharing the post on Twitter as long as they are registered with @poshtoken. Sign up at https://hiveposh.com.