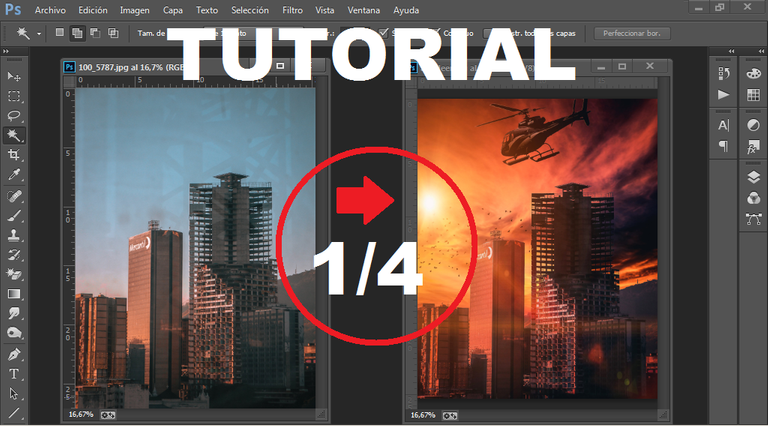
Hello, friends? I am Ramírez Reinaldo and today I come to bring you a tutorial on how we can give a dramatic scene to any of our urban photos, based on a favorite series or movie that we liked the most. Divide the tutorial into 4 parts and the procedure is a bit long. And I would consider as follows:
- Remove the sky from the photo with an almost perfect crop
- Integration of 2 different images simulating the same shades
- Add dynamism to the image to tell us a story
- Final touch-up, color touch-up.
In this first part I will tackle how we can cut the sky to our image very quickly and efficiently without being afraid of making mistakes. The tool you use will be the continuation of Adobe Photoshop CC. Before starting I want to comment that the process will also be left in video format on my YouTube channel to facilitate the tutorial and the fastest sea to apply to your photographs. The material you use is my own authority and what we will use throughout the process. Without further ado we start.
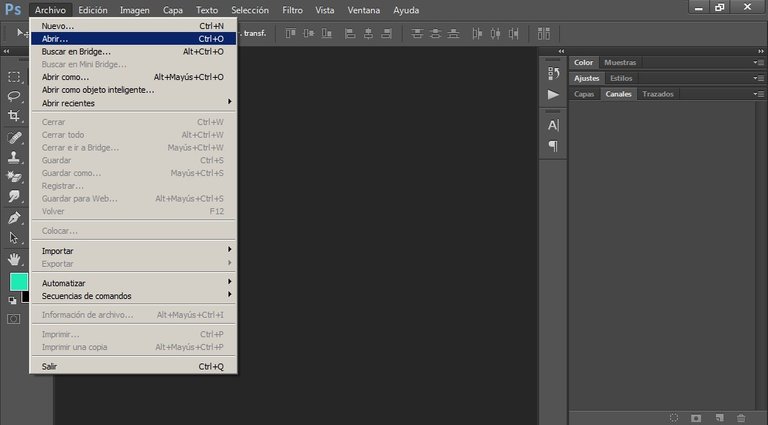
Step 1: Search the image.
In my case I worked with a photo I took of the David tower in my hometown of Caracas. To open the image we go to the file tag, open it and look for the photograph.
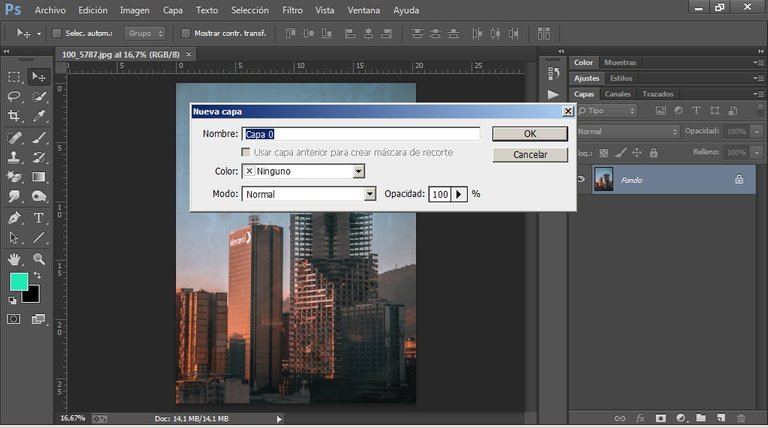
Step 2: Unlock Image.
When we first open an image in Photoshop. This is responsible for blocking the photograph to prevent the original photo from being damaged or manipulated incorrectly and thus avoid losing our previous work to modify.
There are three simple ways to unlock the layer. The first is by double-clicking the padlock that has the image, once we have clicked a window will appear making sure if we really want to unlock the layer, we click ok and ready we have our free image to edit. The other quickest and easiest way to do it is to make a copy by giving the keyboard commands (Ctrl + J) and a copy of the original image is created which we can use at will and the third and last is dragging the image to the New layer icon and ready. Those are the three fastest ways to unlock your photo.
Step 3: Crop image.
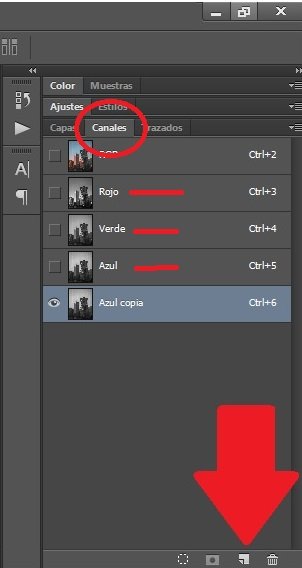
For this process we are going to use an advanced but easy to use cutout technique from Adobe Photoshop. We are going to work with the RGB channels of the photography and from there we will make a perfect cut that will facilitate the manipulation work later.
In our layer control panel next to us another option appears called channels there we will click and realize that only 4 titled layers are shown there (RGB, RED, GREEN AND BLUE) These layers only control the color of the image to 100%
When we disable the layers by clicking on the eyes, we realize that only the predominant color of the image we select is visible to us. In this case, the color that makes the most contrast in the photograph is blue and that is the one that we will use to make our cut.
For now we will leave the green and red layers inactive and we will only focus on the blue layer. Once the layer is selected. We proceed by dragging it to a new copy.
Now we deactivate the original blue layer and we will only work with the copy. We will go to images, adjustments, levels and we will play with the contrasts of the photo.
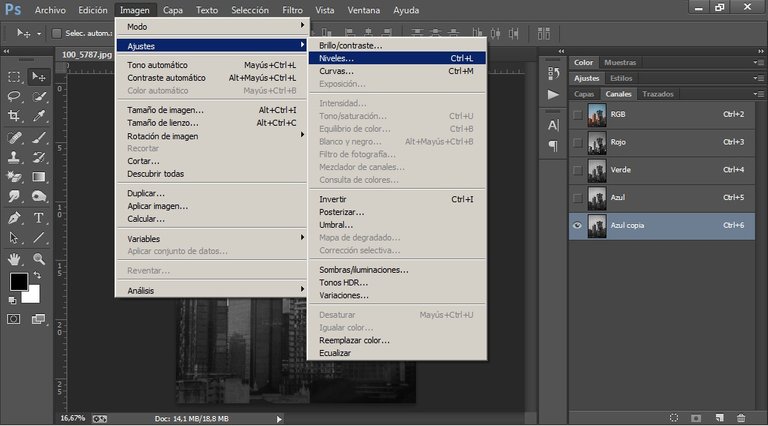
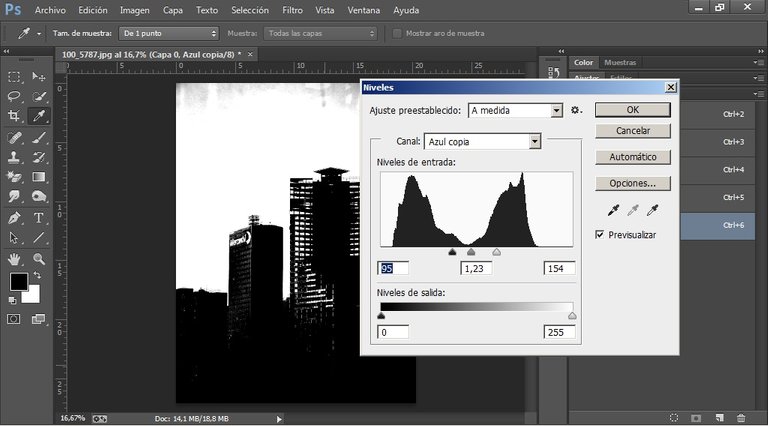
When we change the option of levels we will realize that it has three bars that control the luminosity of the image. In this case we will not focus on the value of each of them, but we will play with their value until we achieve a contrast as best as possible so that we can facilitate the trimming.
To further refine the contrast, we will use the brush tool (with 100% opacity) and paint with a black front color the white parts that will remain in the air in our photo.

We proceed to use the magic wand tool and select our photo by clicking on the entire black silhouette of the image. Once selected we go to layers and finally we click on layer mask. Ready we already have our cropped photograph.

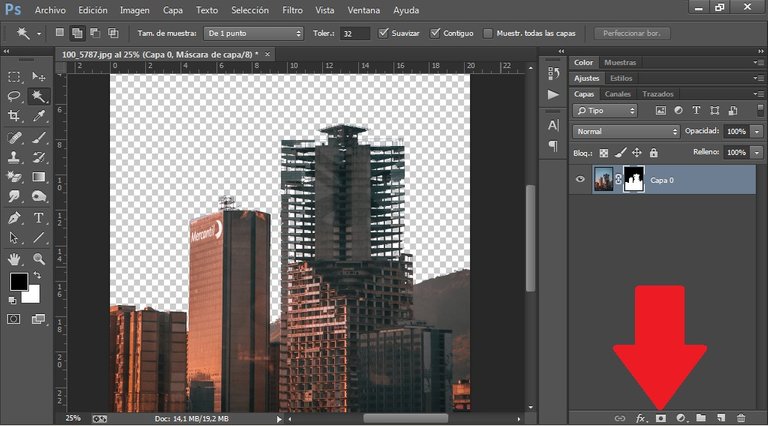
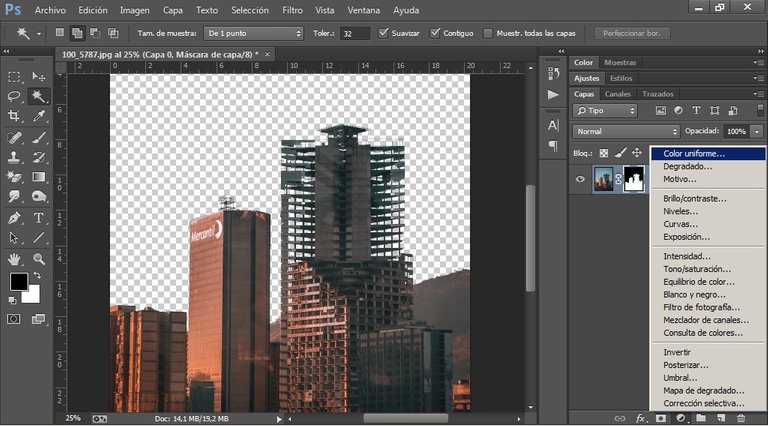
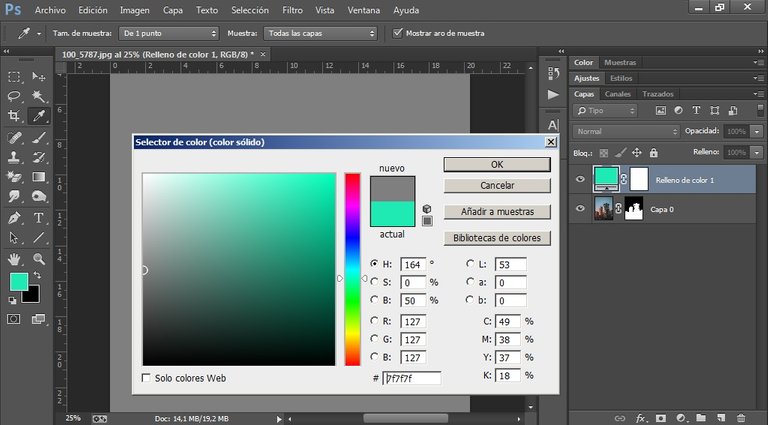
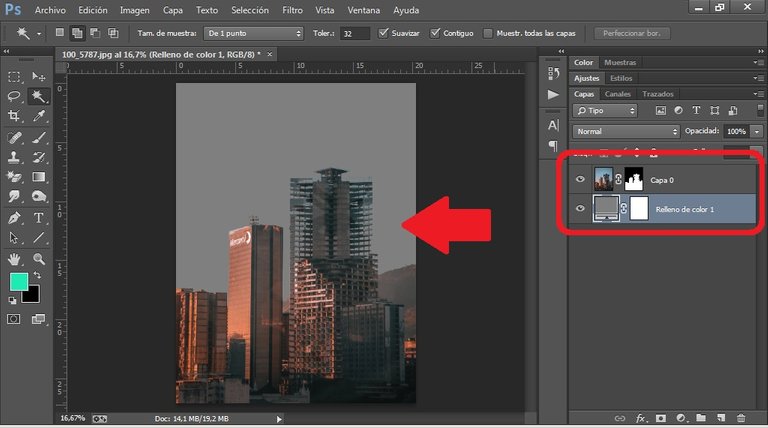
To make sure of our crop, we put a uniform gray color under the layer of our image to observe that we have not had any trace of the original sky.
And well friends, this is the end of the first part of this tutorial, I hope you liked it and in the second part, I am showing you how to match two different images in a single photo, to give more prominence to our photography. Cheers !!