Cómo están queridos amigos? espero hayan tenido una excelente semana y que estén disfrutándose su fin de semana. Saludos para todos!
Hoy les invito a que me acompañen hasta el final de este post, ya que quiero mostrarles una manera innovadora y sencilla de hacer una cajita para un presente con material de provecho, espero les sirva de ayuda.
How are you dear friends? I hope you had a great week and are enjoying your weekend. Greetings to all of you!
Today I invite you to join me until the end of this post, because I want to show you an innovative and simple way to make a box for a present with useful material, I hope it will help you.
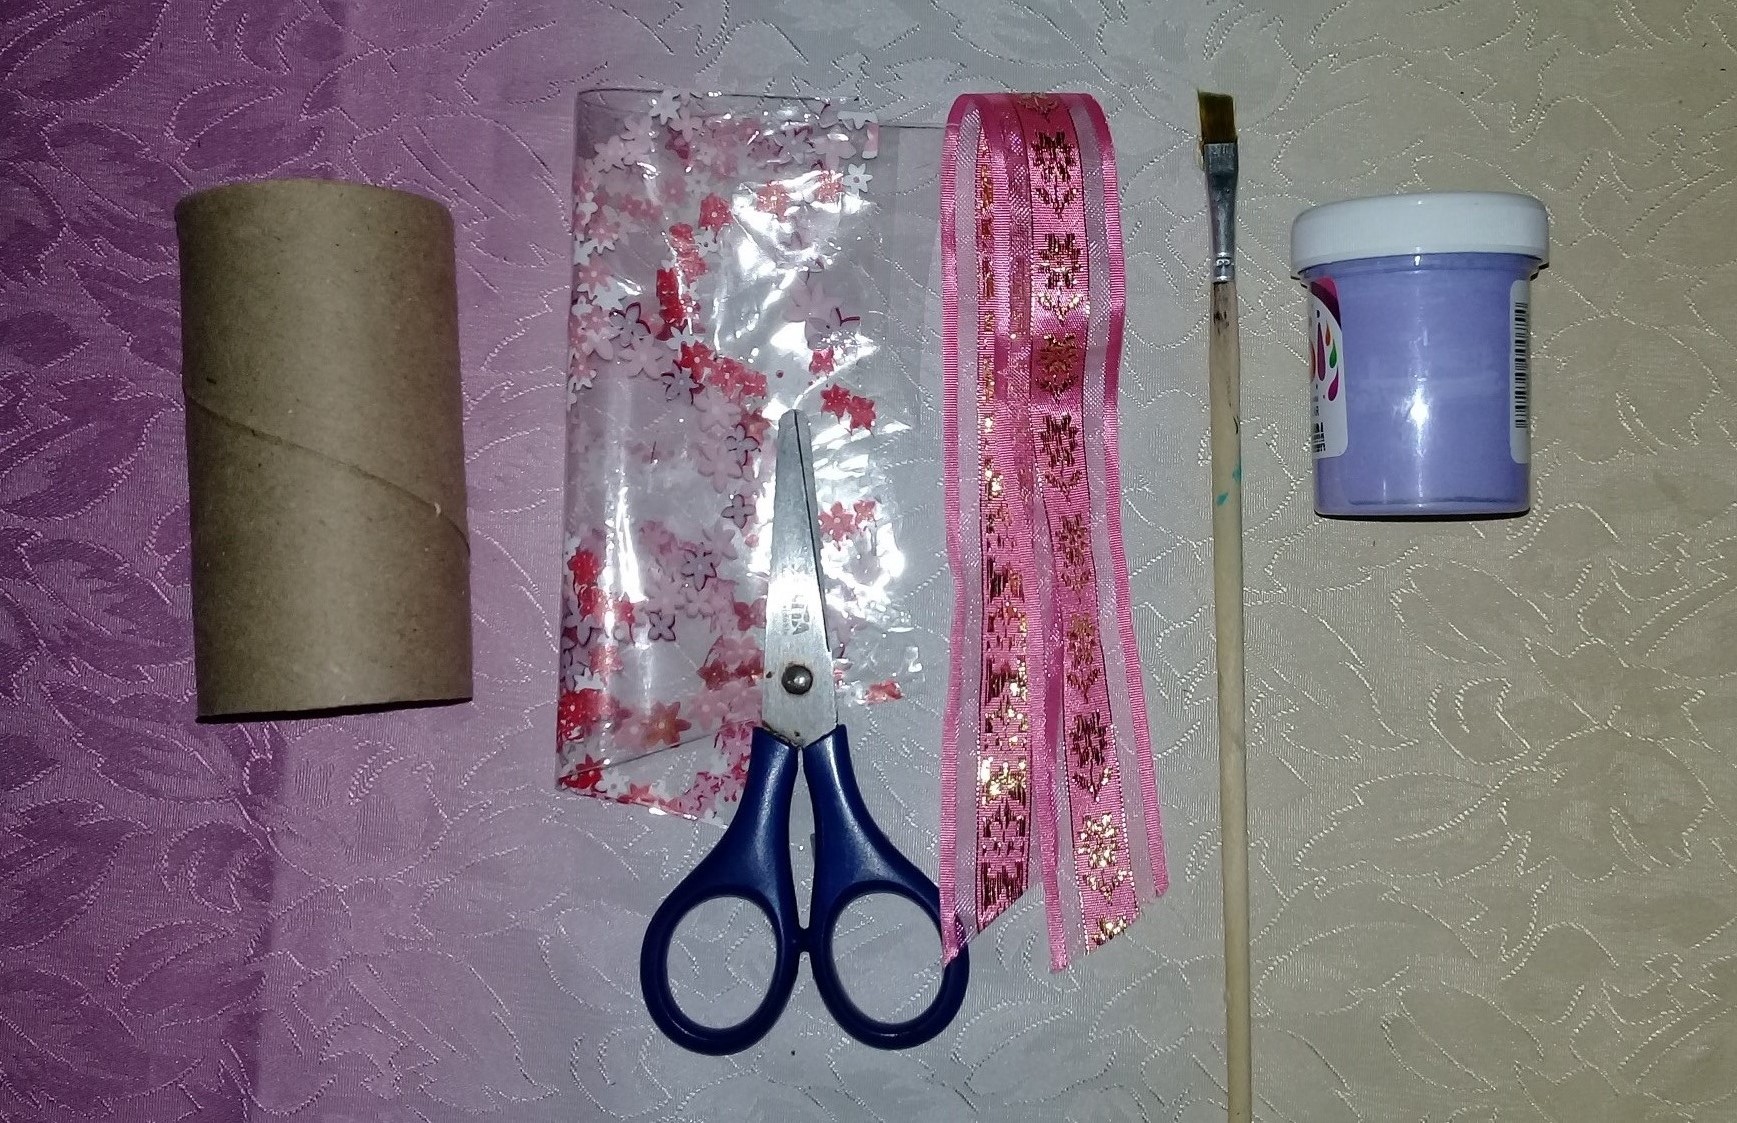
Los materiales a utilizar son // The materials to be used are
- Tubo de cartón pequeño
- 30 cm de cinta para decorar
- Pintura al frío color lila
- Pedazo de papel celofán
- Tijeras
- Pincel
- Small cardboard tube
- 30 cm of ribbon for decoration
- Lilac colored cold paint
- Piece of cellophane paper
- Scissors
- Paintbrush
Comencemos // Let's start
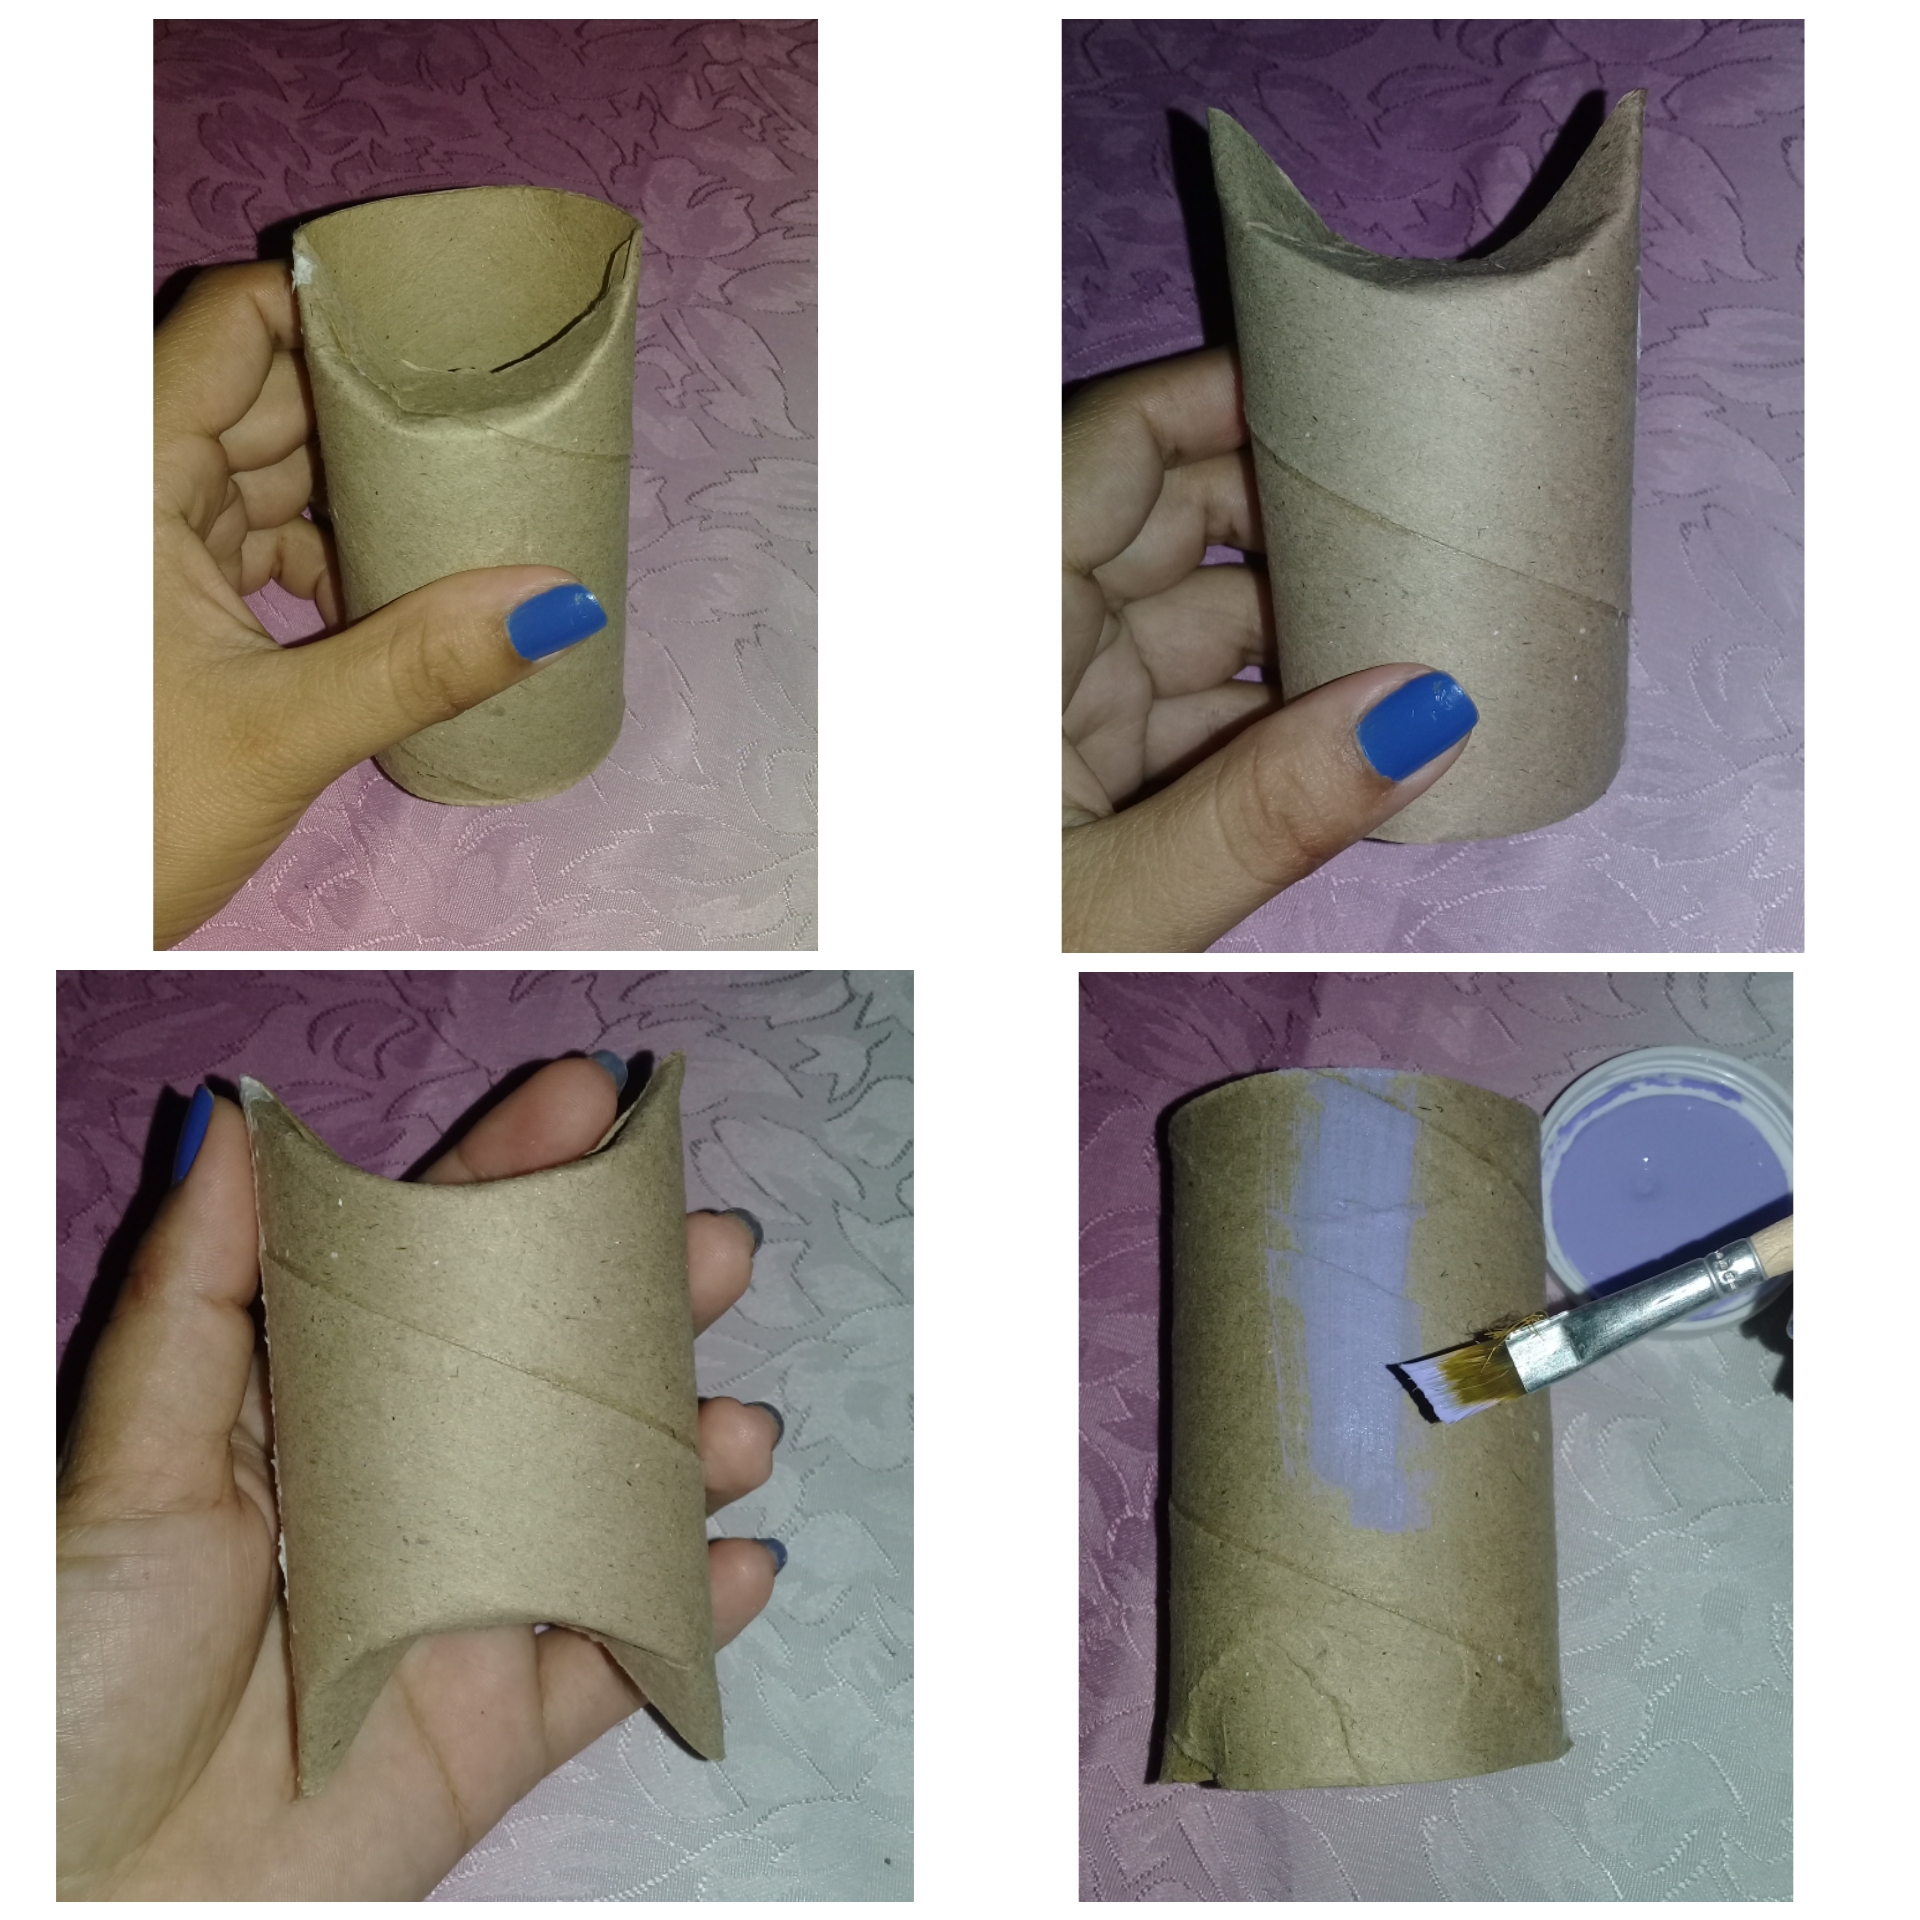
Lo primero que haremos será doblar los extremos del tubo de cartón hacia adentro como lo muestra la imagen y luego lo pintaremos y dejaremos secar, yo utilicé dos capas de pintura.
The first thing we will do is fold the ends of the cardboard tube inwards as shown in the image and then paint it and let it dry, I used two coats of paint.
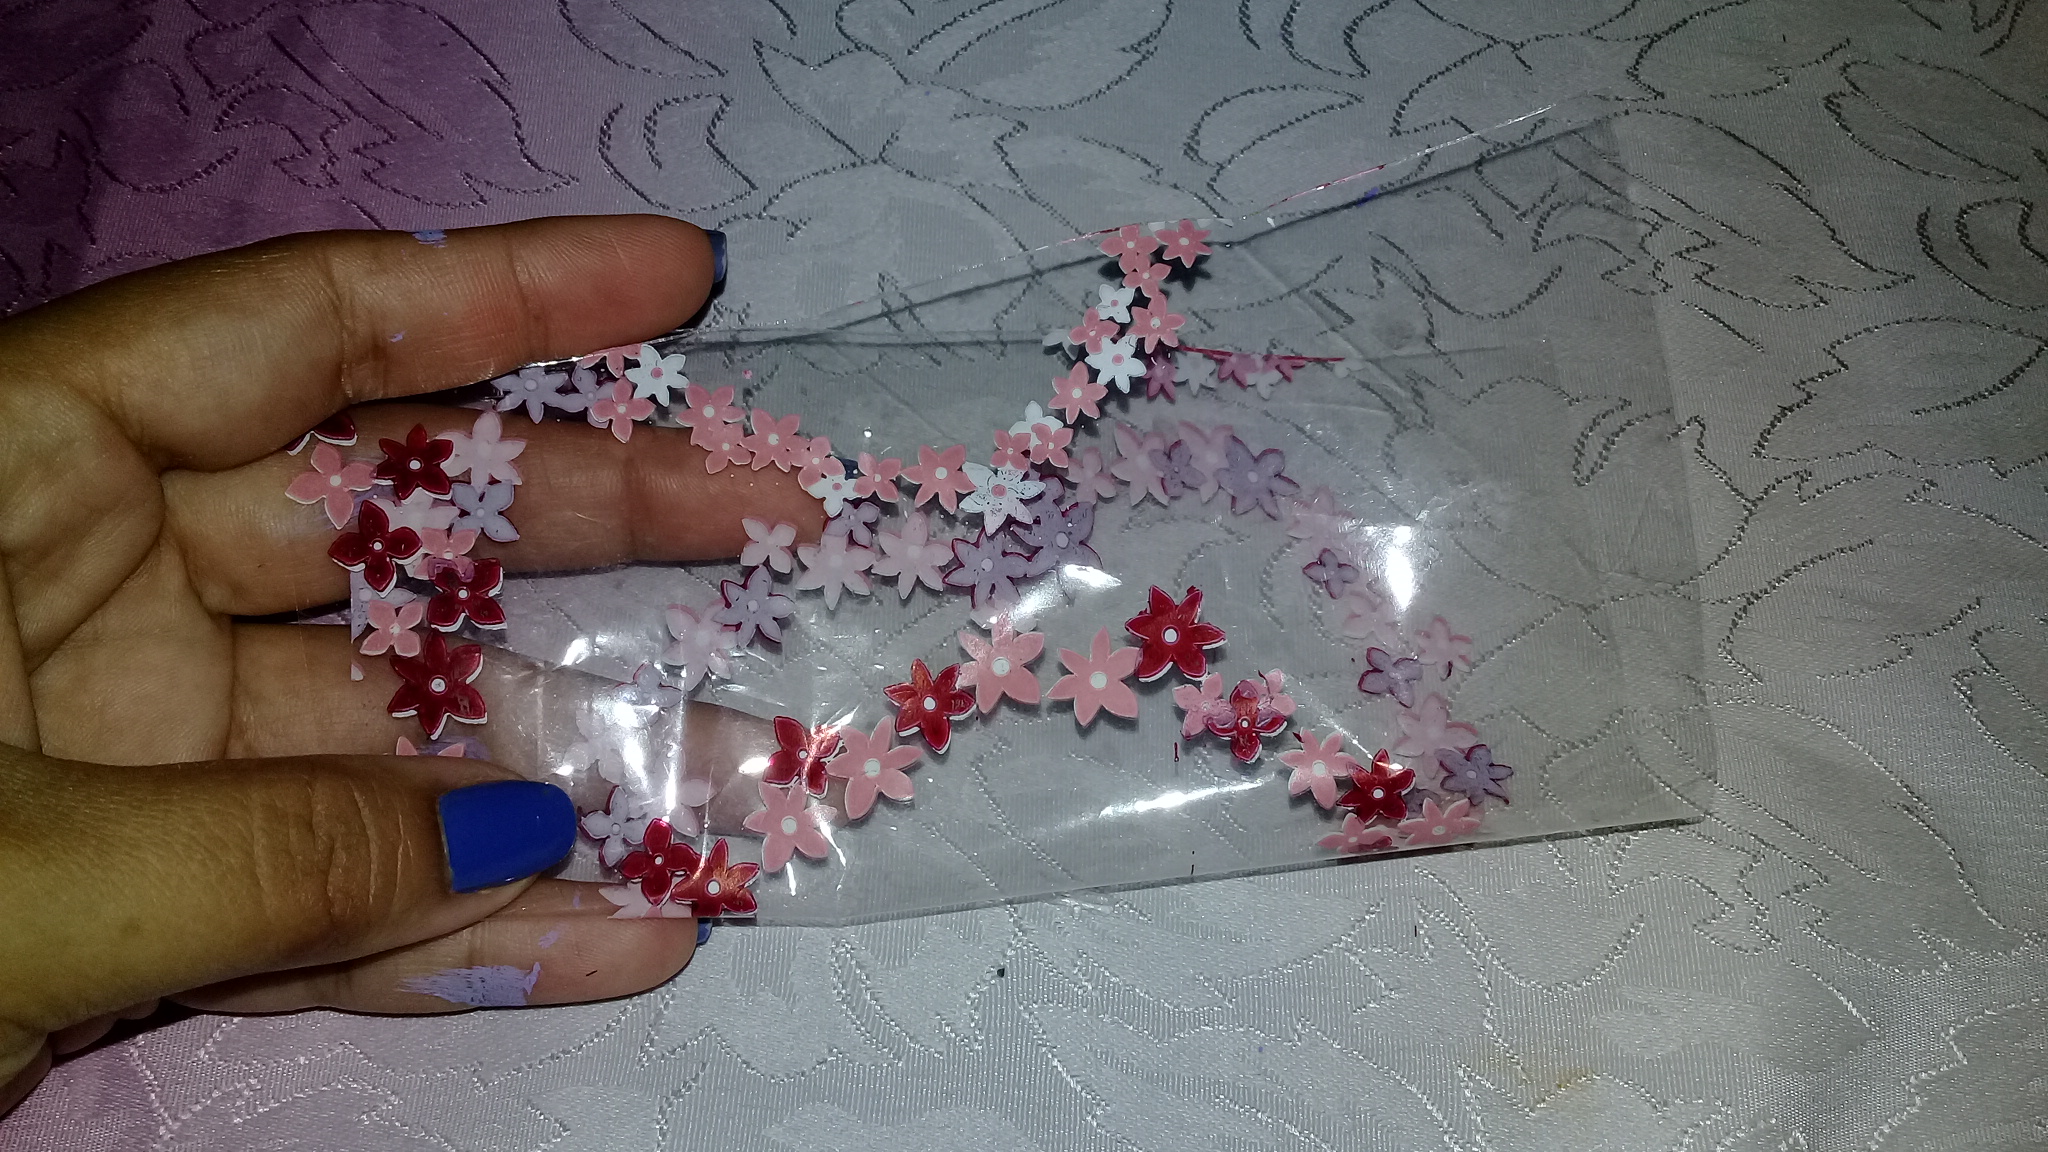
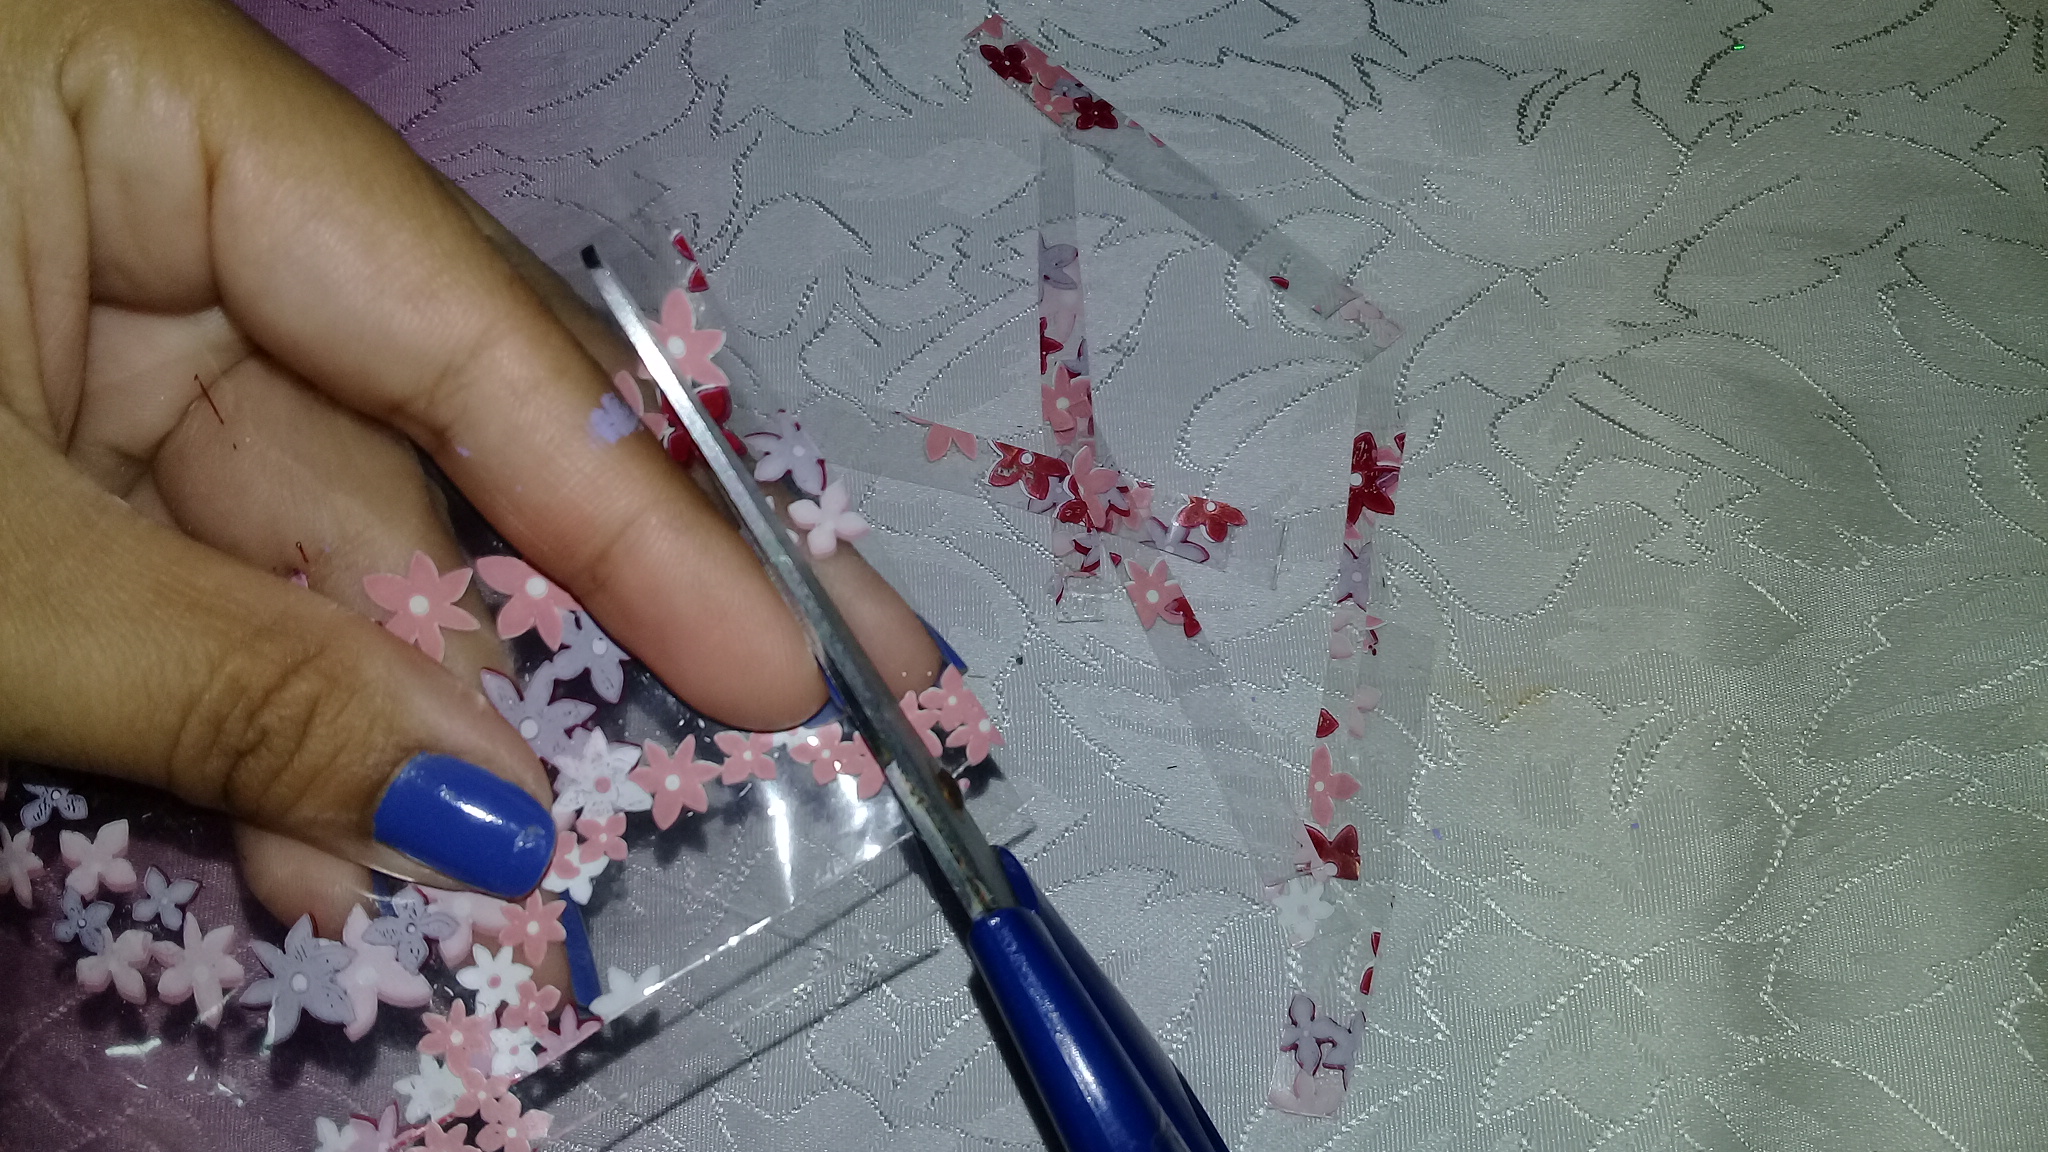
Ahora vamos a cortar el papel celofán en tiras para rellenar el tubo de cartón.
Now we are going to cut the cellophane paper into strips to fill the cardboard tube.

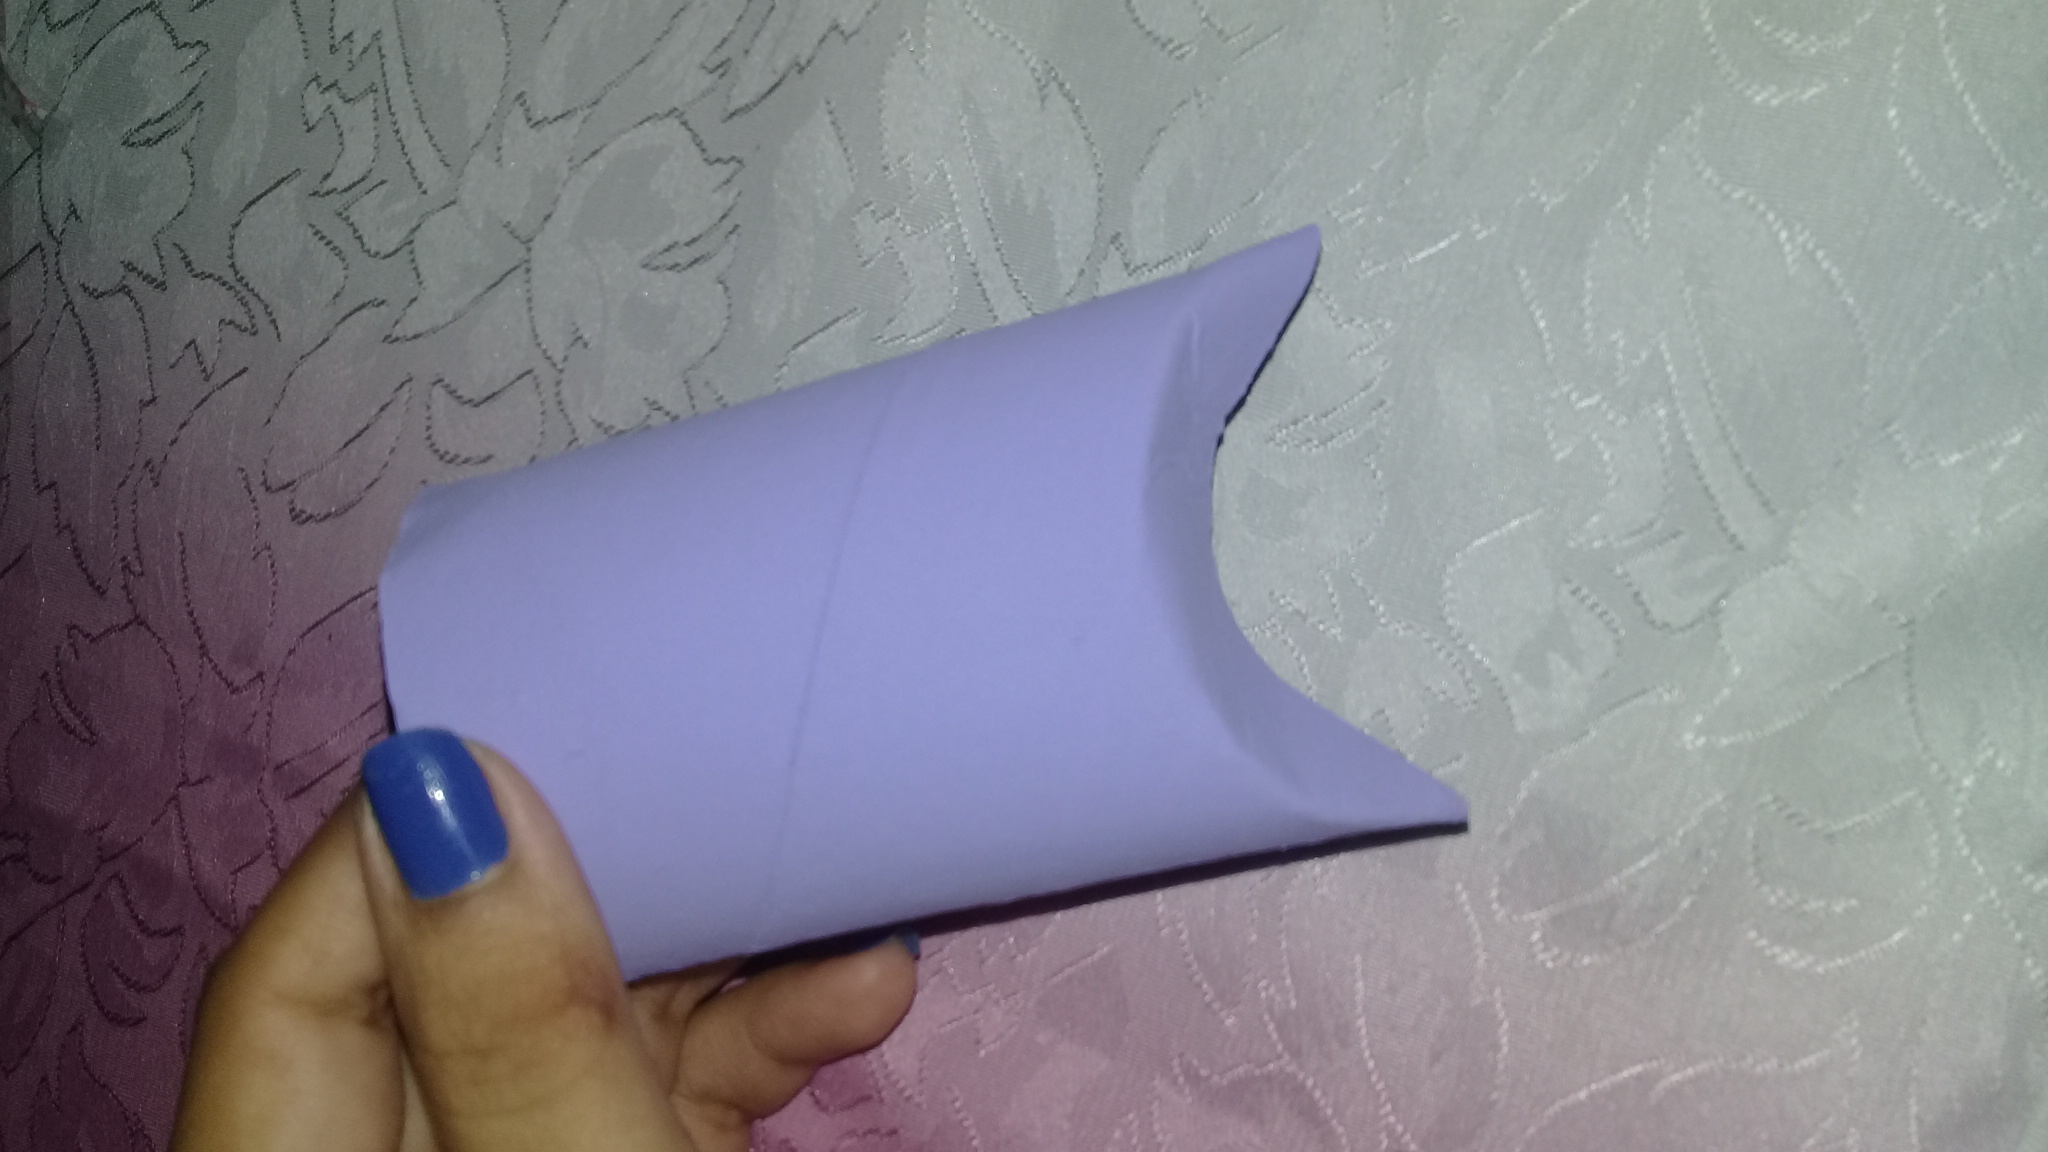
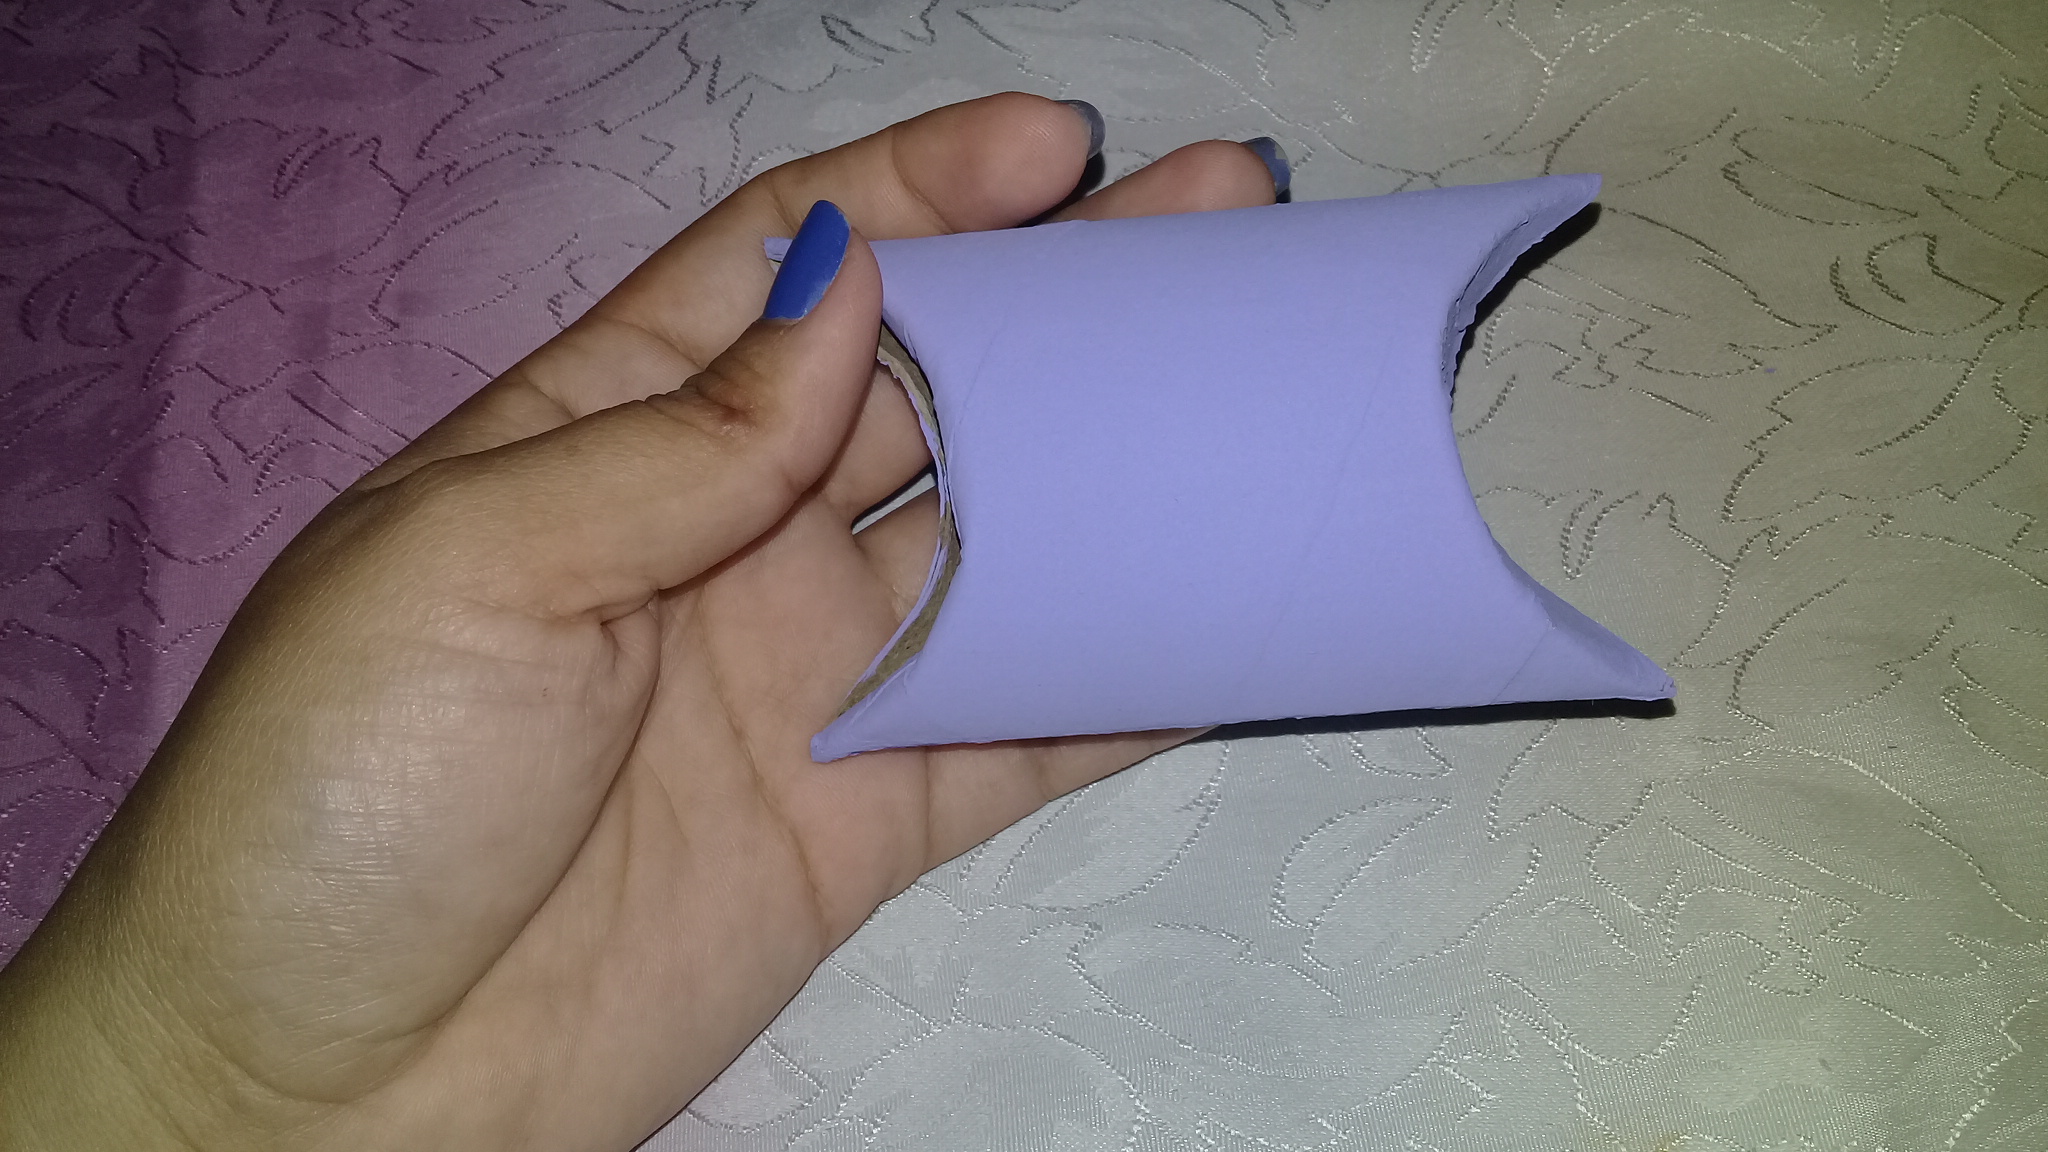
Una vez esté seca la pintura vamos a tomar el tubo de cartón y vamos a doblar uno de los extremos como aparece en la imagen.
Once the paint is dry, we will take the cardboard tube and bend one of the ends as shown in the image.
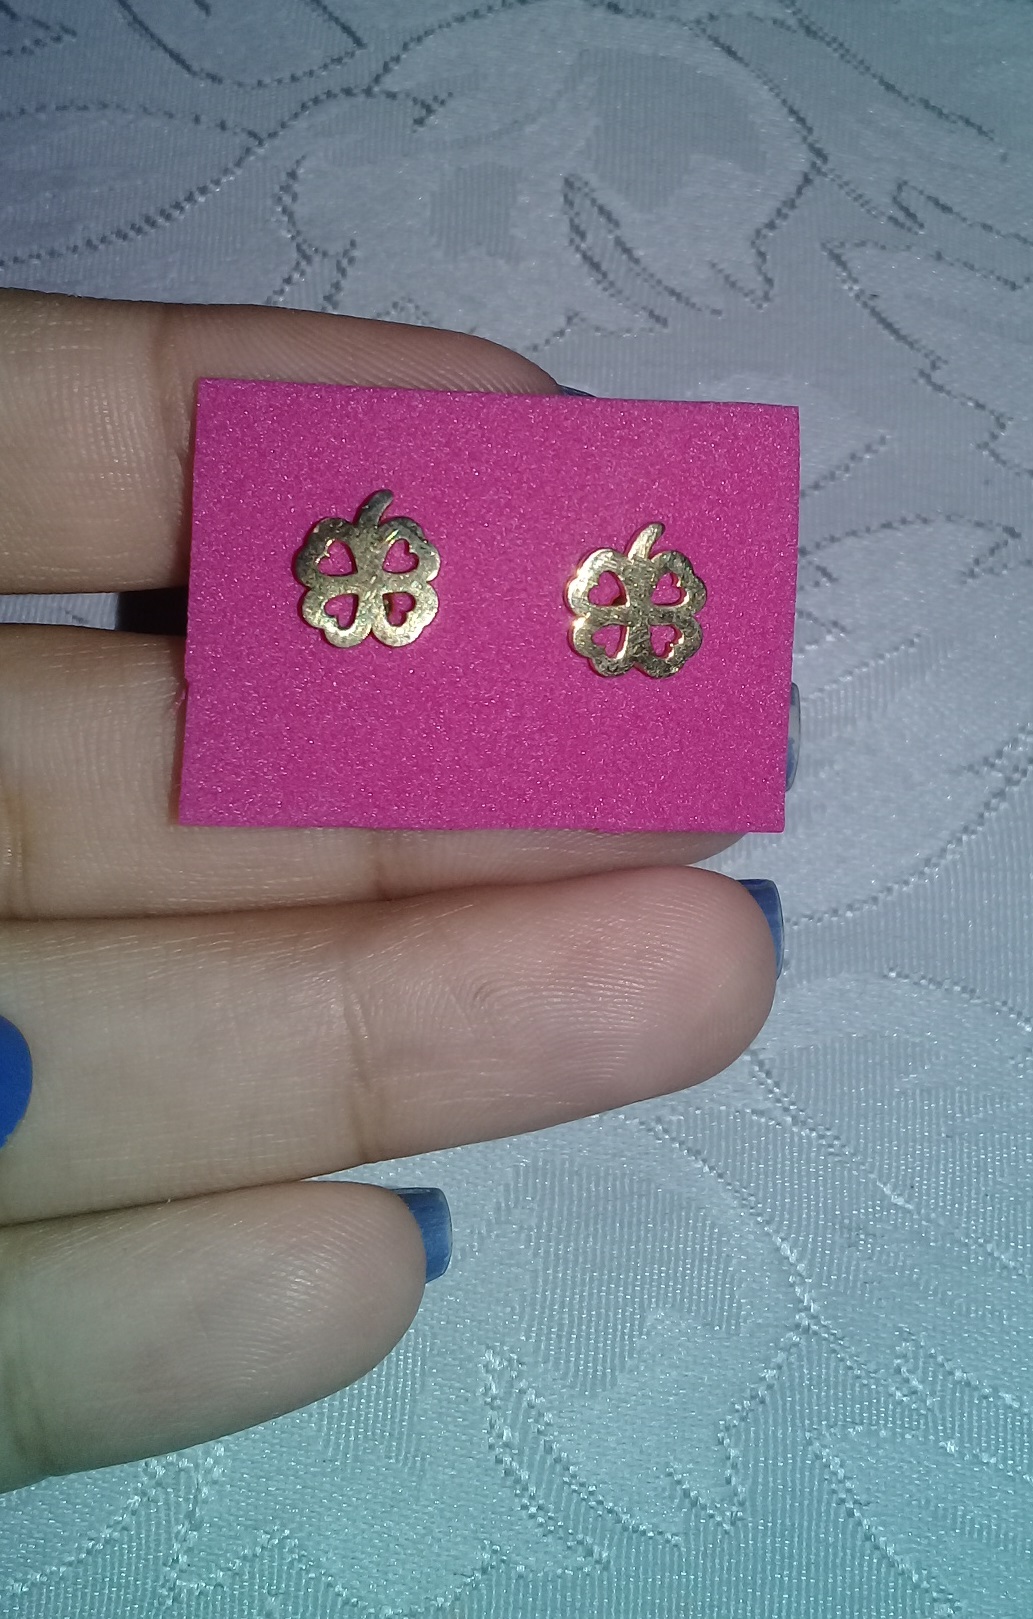
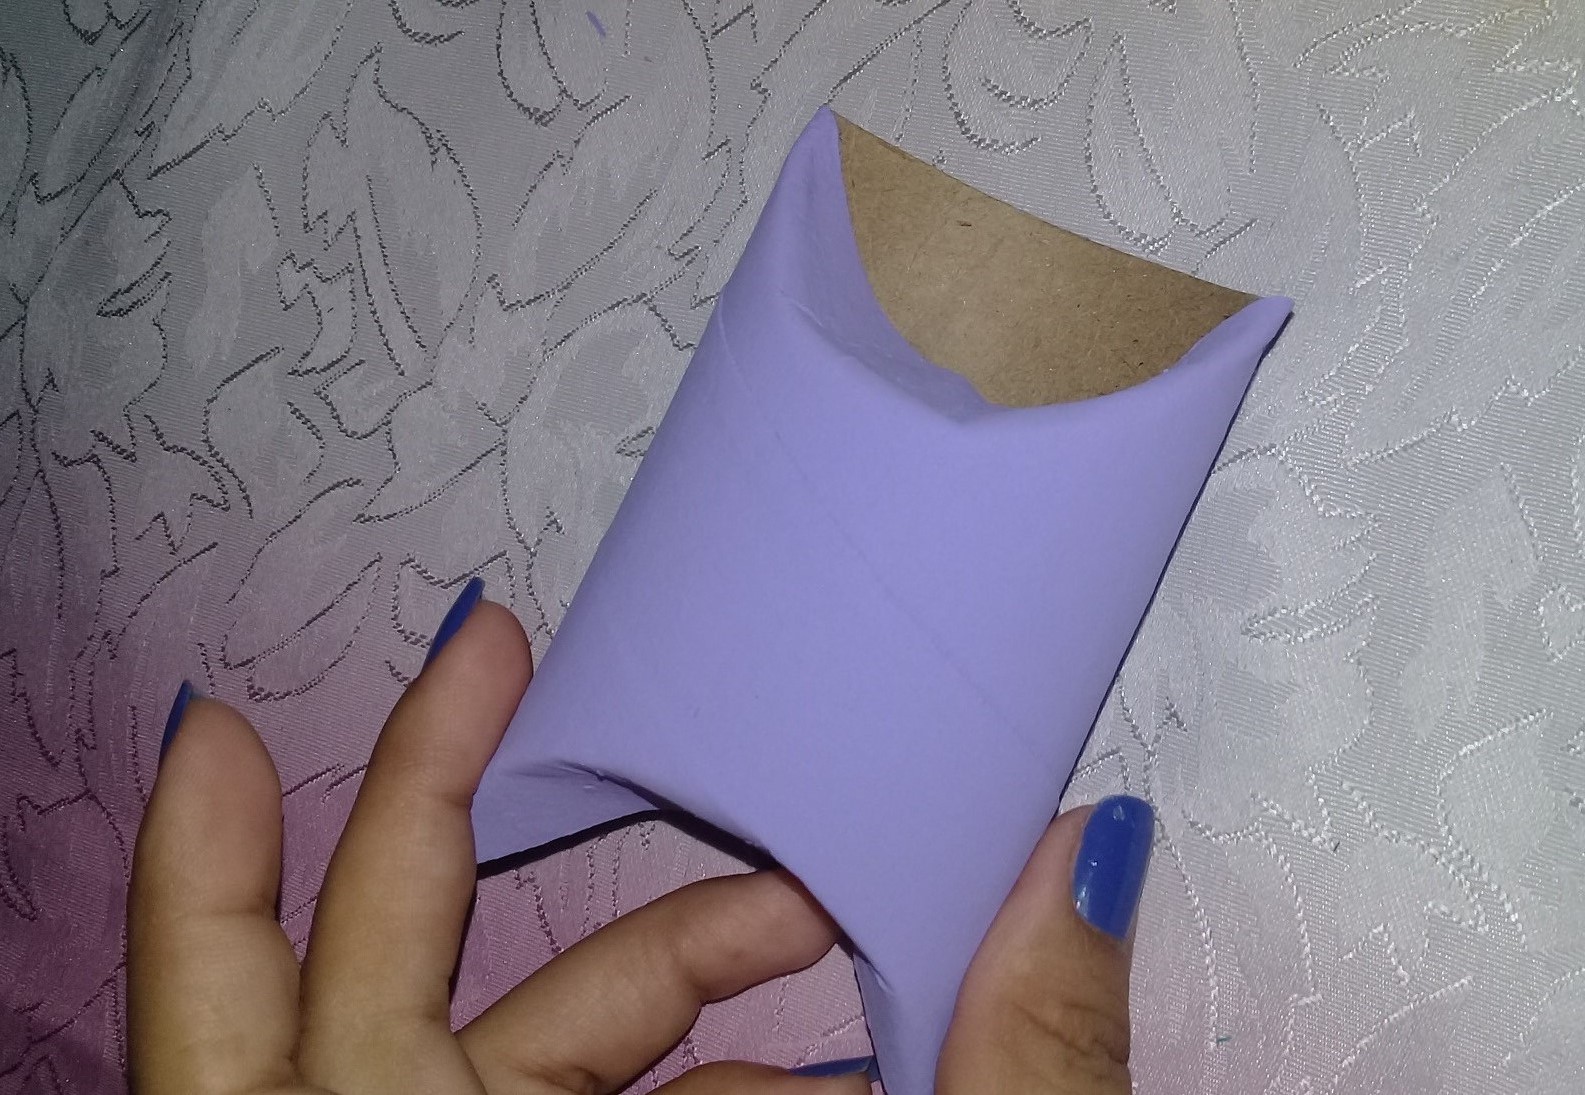
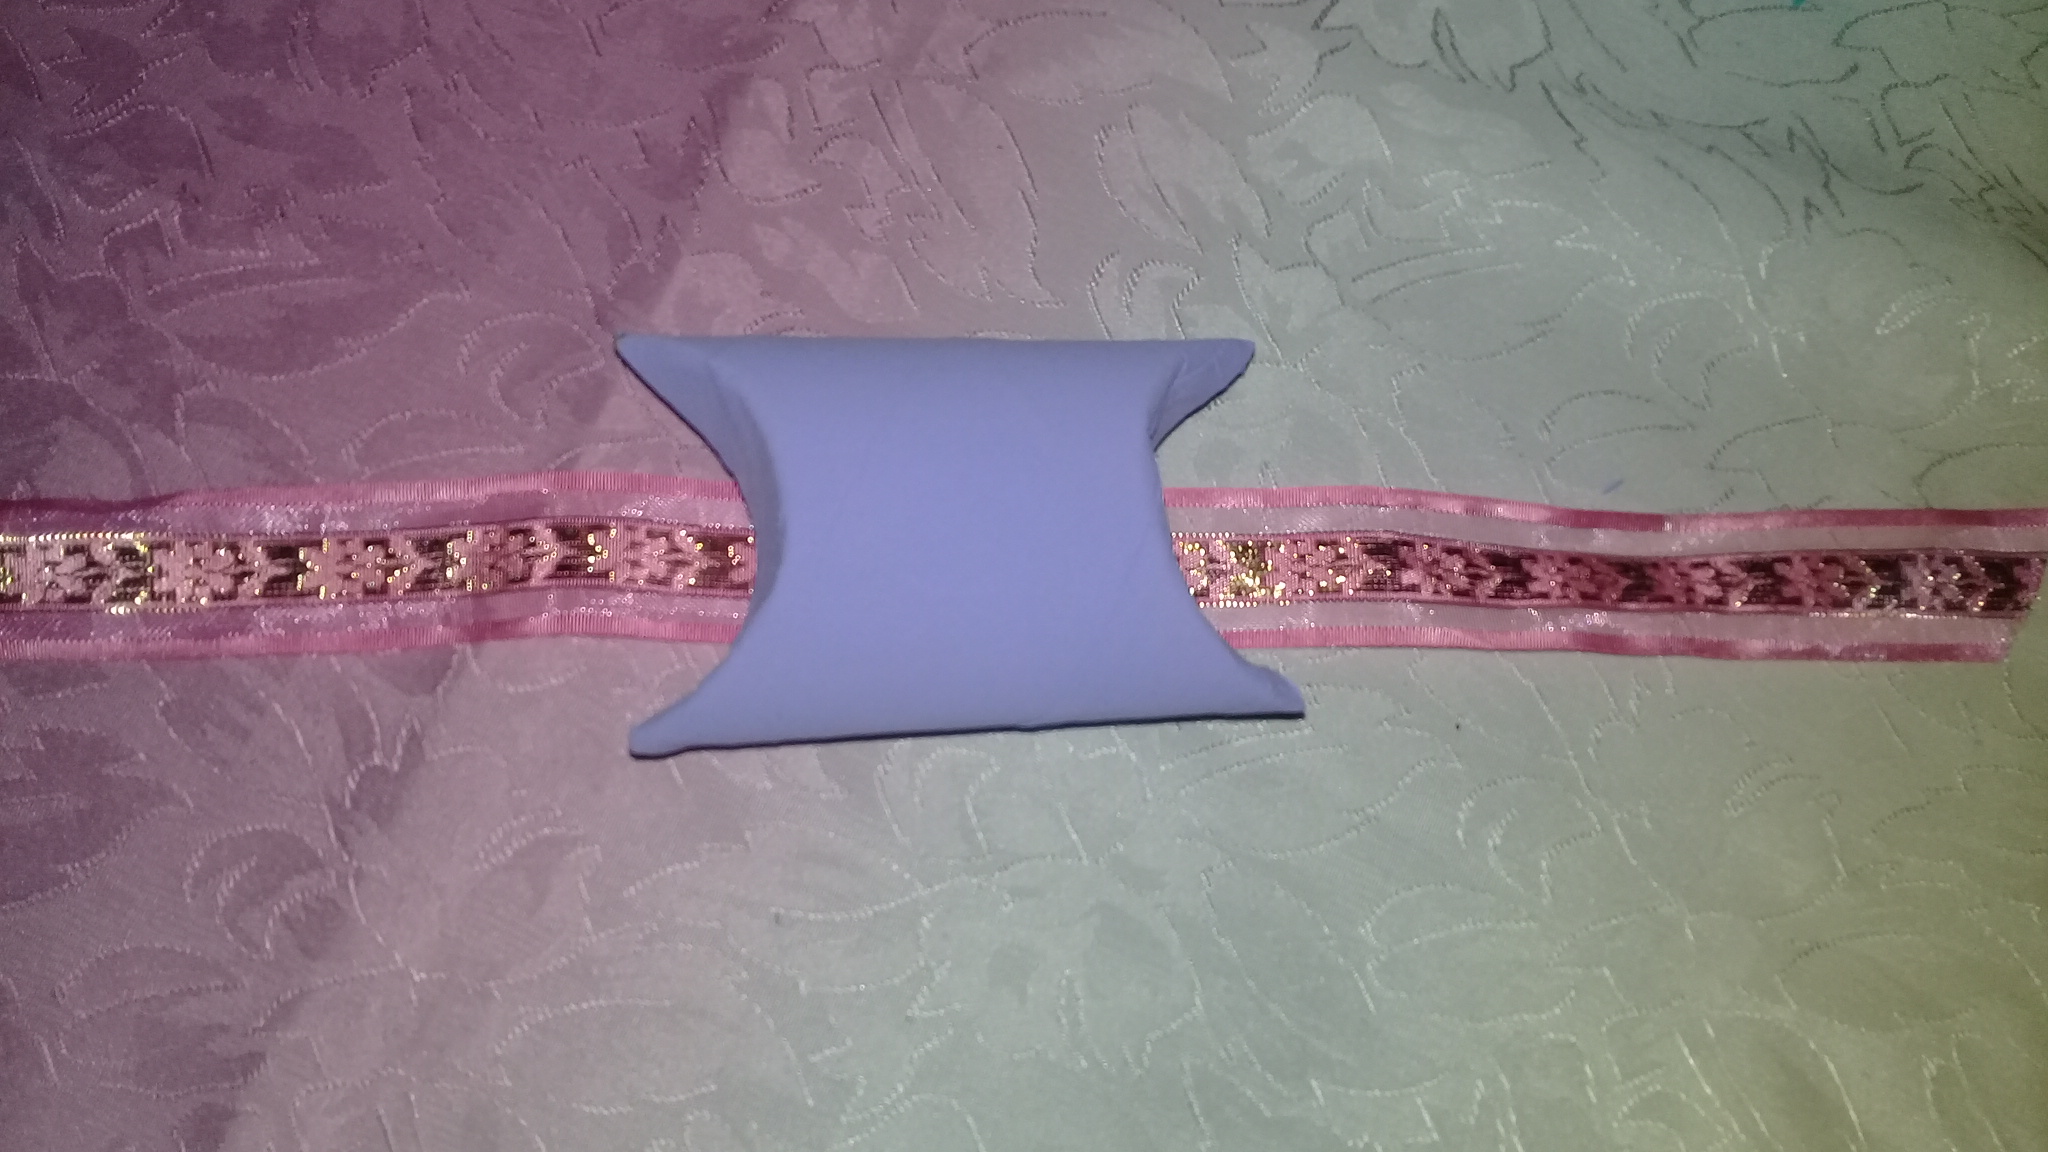
Lo vamos a rellenar con el papel celofán, esto es para que por dentro no quede tan vacío si lo que vamos a meter es pequeño, yo por mi parte voy a colocar dentro un par de zarcillos y va a quedar muy bien, lo pueden apreciar en las siguientes imágenes.
We are going to fill it with cellophane paper, this is so that the inside is not so empty if what we are going to put is small, for my part I am going to put inside a couple of tendrils and it will be very good, you can see it in the following images.


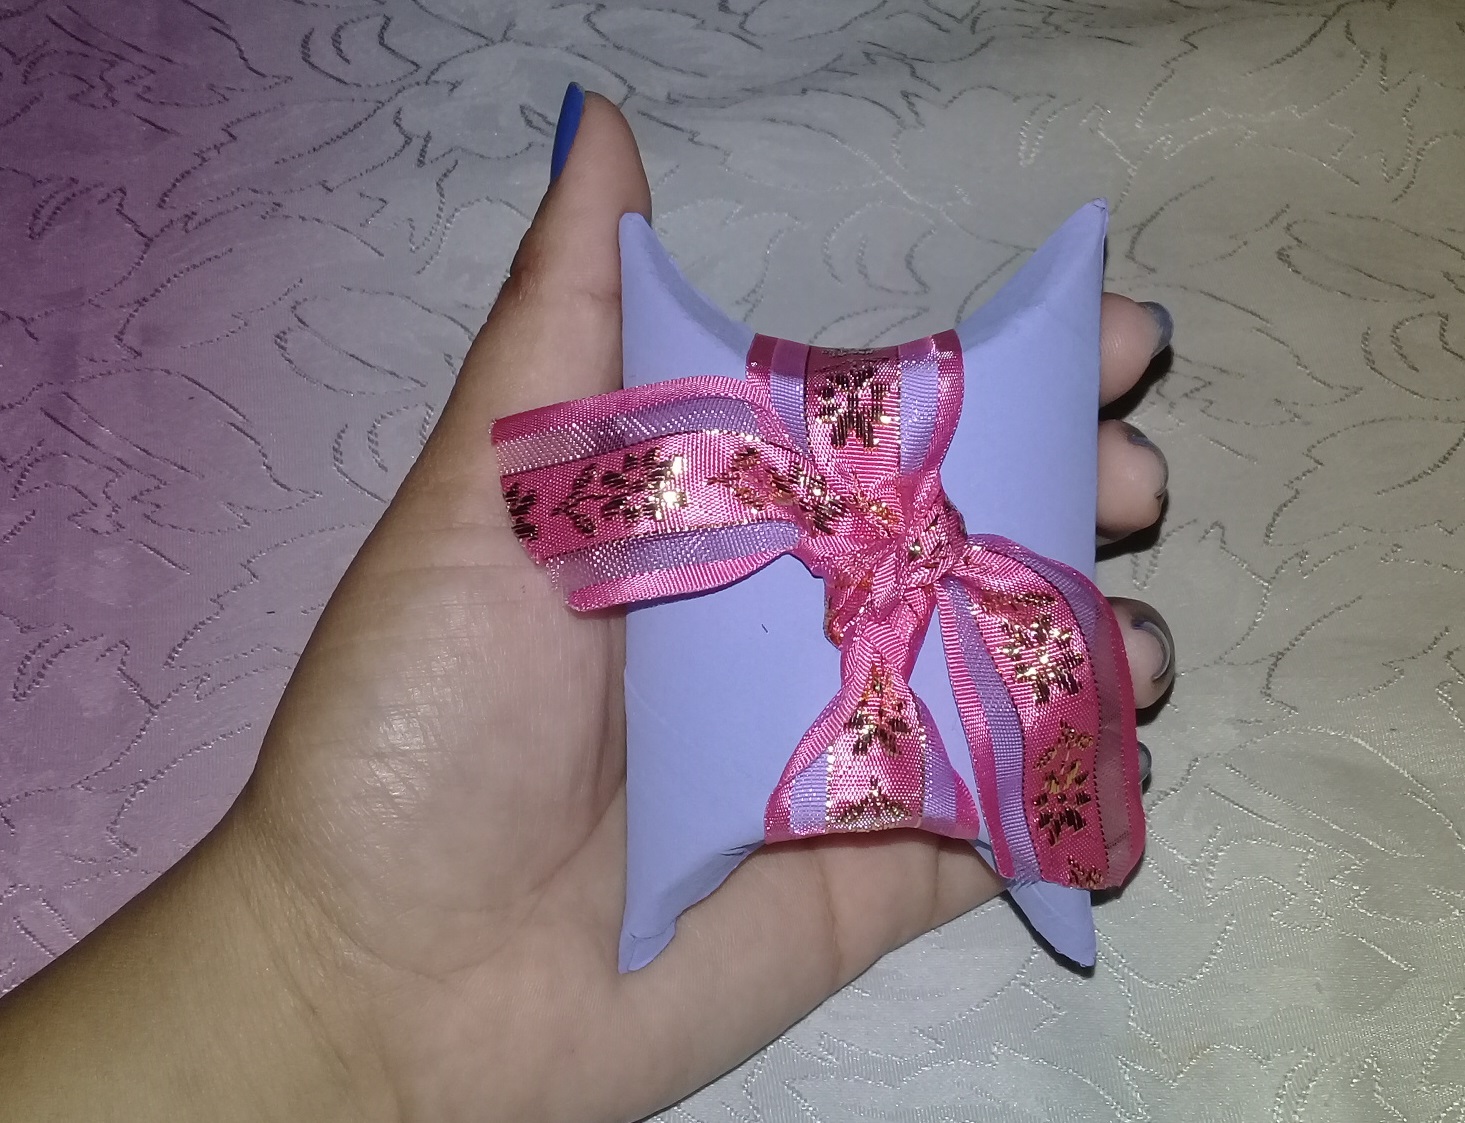
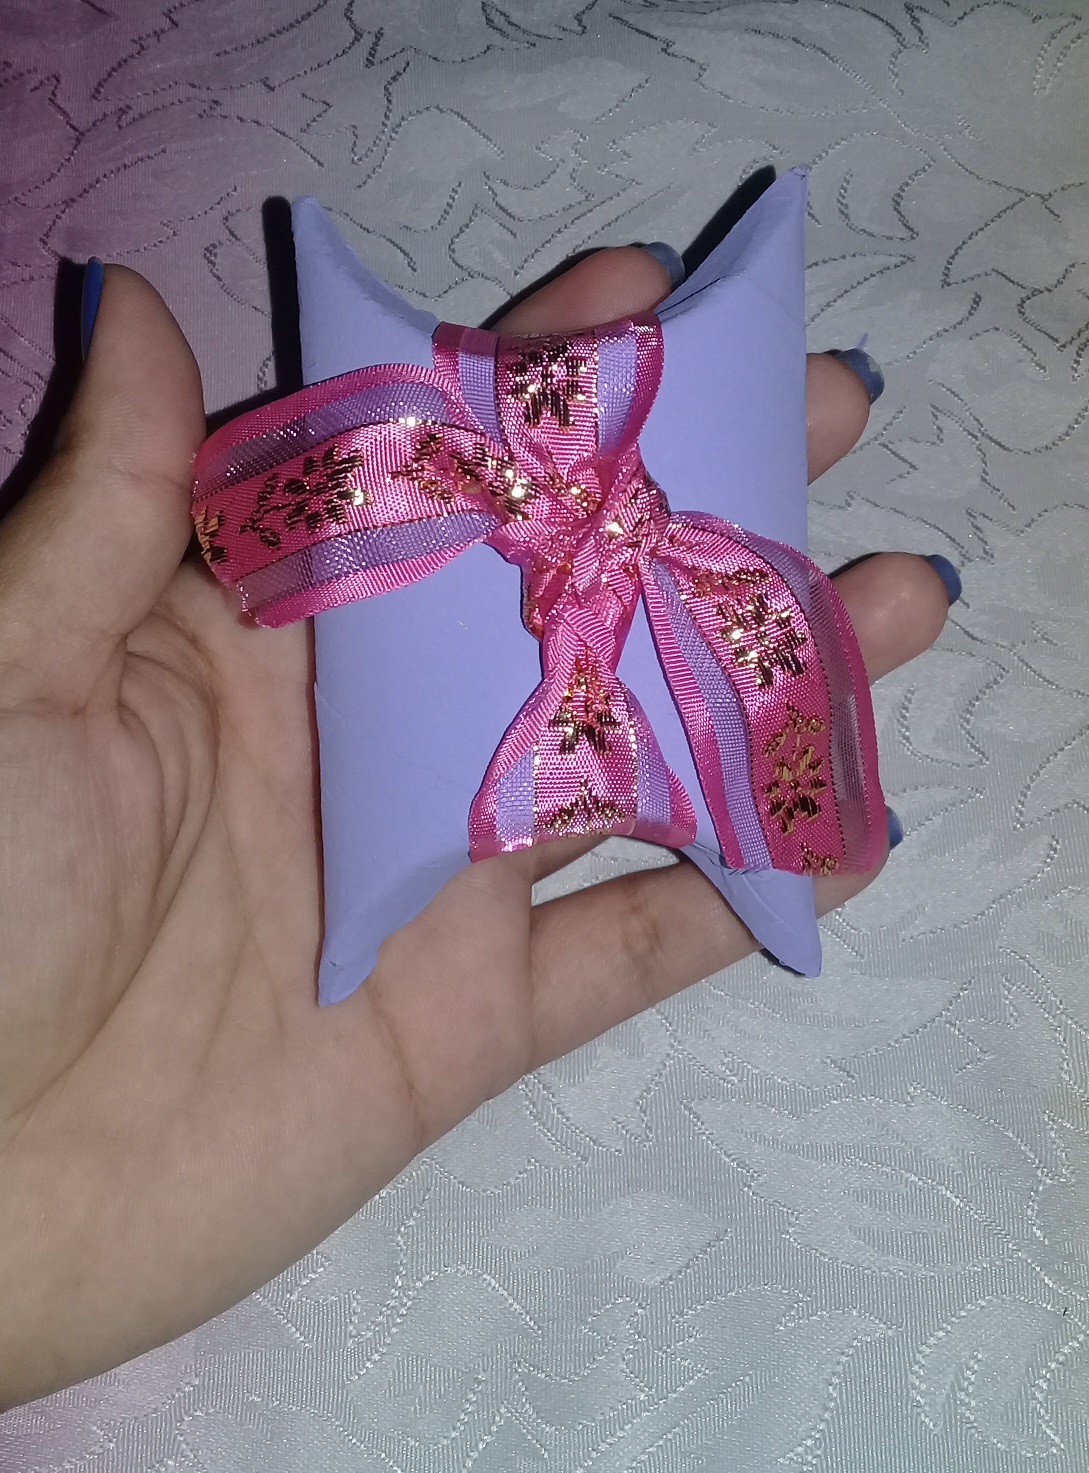
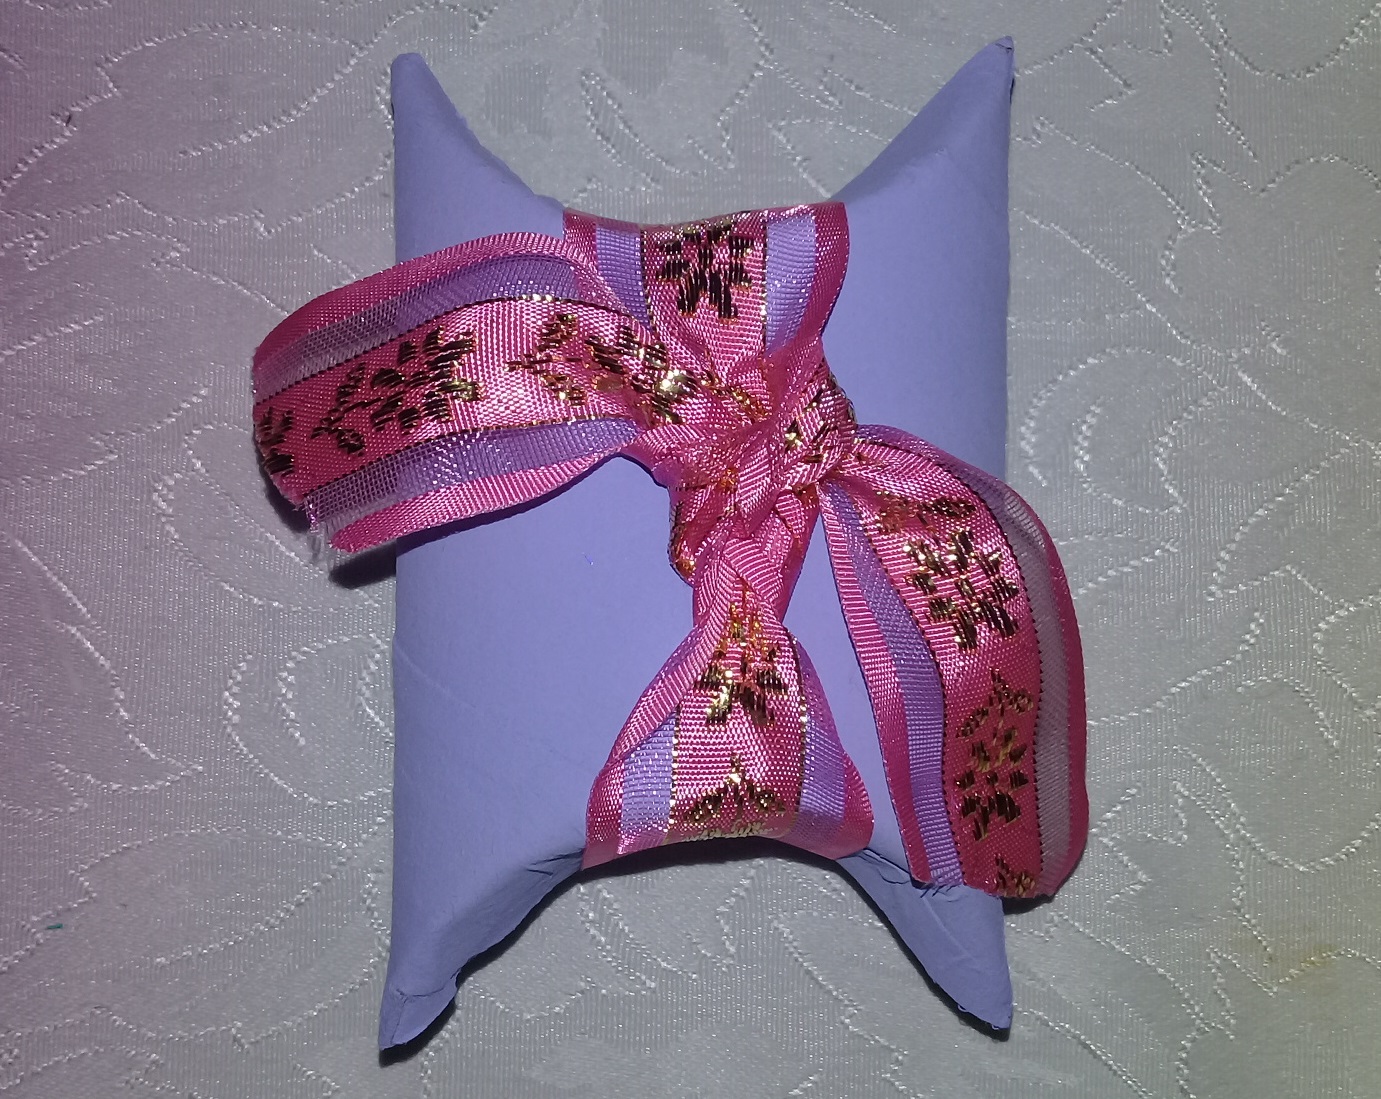
Ahora simplemente doblamos el extremo que estaba abierto y procedemos a amarrarlo con la cinta como se muestra en las imágenes, y listo! habremos terminado, muy fácil, una opción sencilla y muy linda.
Now we simply fold the end that was open and proceed to tie it with the ribbon as shown in the pictures, and that's it! we are done, very easy, a simple and very nice option.
Nuevamente gracias por visitar mi blog, espero les sea de mucha ayuda, seguiré trabajando para mostrarles lo que hago. Dios les bendiga, hasta la próxima amigos. todas las fotos son de mi autoría.
Thanks again for visiting my blog, I hope you find it helpful, I will keep working to show you what I do. God bless you, see you next time friends. all the pictures are of my authorship.

Congratulations @riccyfd! You have completed the following achievement on the Hive blockchain and have been rewarded with new badge(s) :
Your next payout target is 100 HP.
The unit is Hive Power equivalent because your rewards can be split into HP and HBD
You can view your badges on your board and compare yourself to others in the Ranking
If you no longer want to receive notifications, reply to this comment with the word
STOP