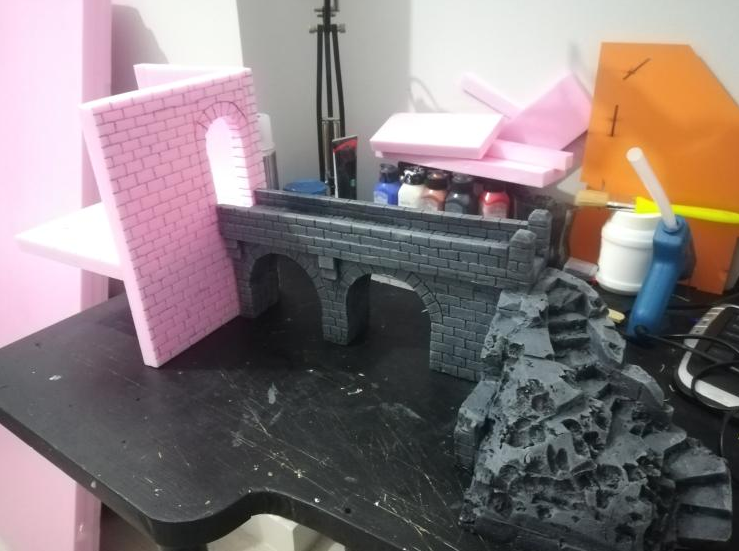
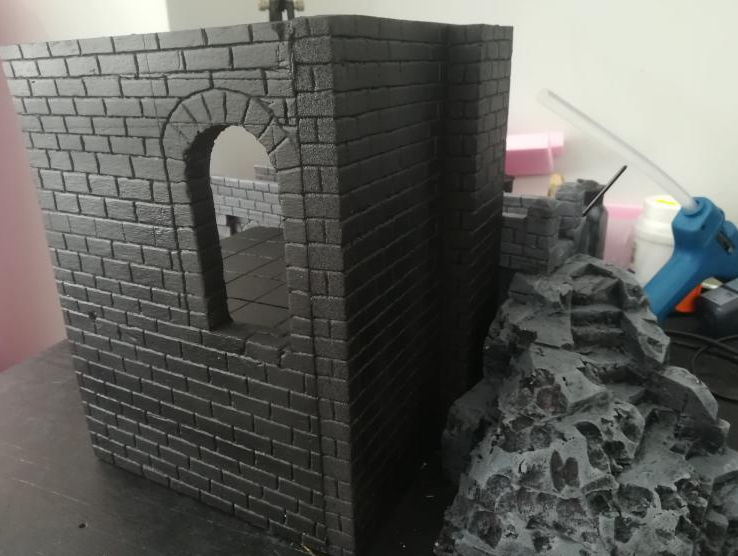
Welcome back with the part 2 of the castle terrain build. I finished the general shape of the building. Painted it with black as a primer and paint over it with a dark gray color. Other process will be applied once the whole project is finished. I am planning to add vegetation, soil etc.
The recipe for the black primer I used:
PVE Glue ( helps to seal the foam so that I can spray paint it , otherwise paint will melt the foam )
Drop of dish soap ( breaks the surface tension, helps to go into crevasses more easily )
Water
Black paint
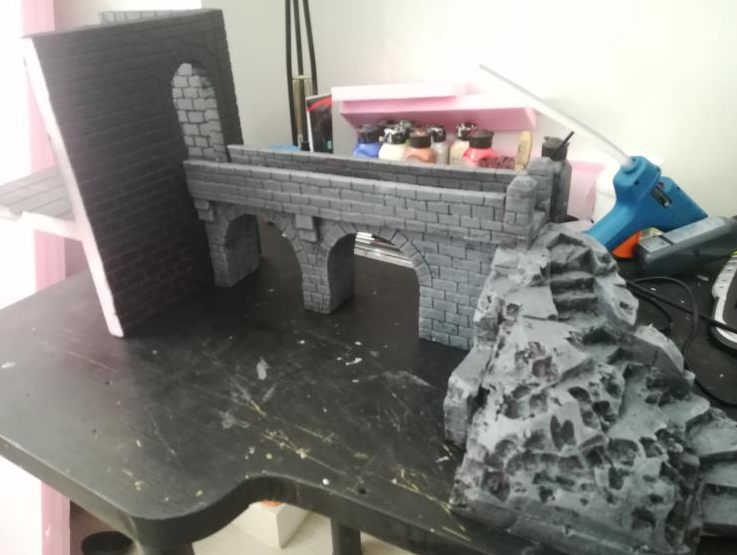
If you want to see how I build the bridge you can see my previous post Click Here
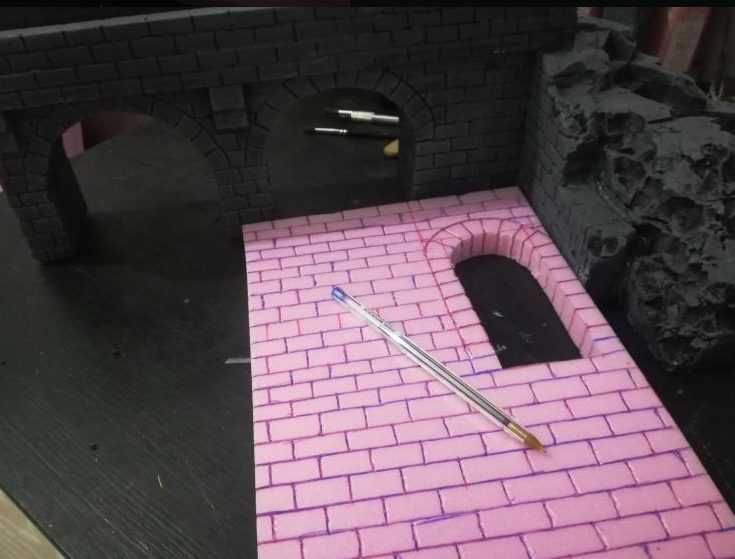
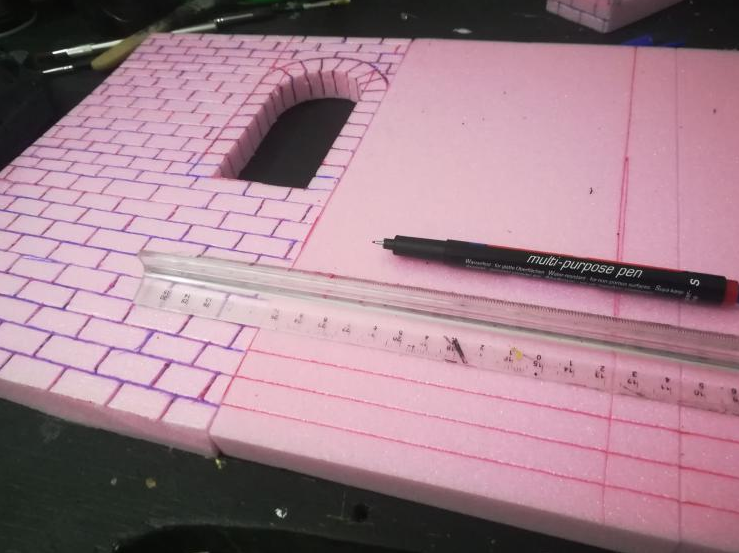
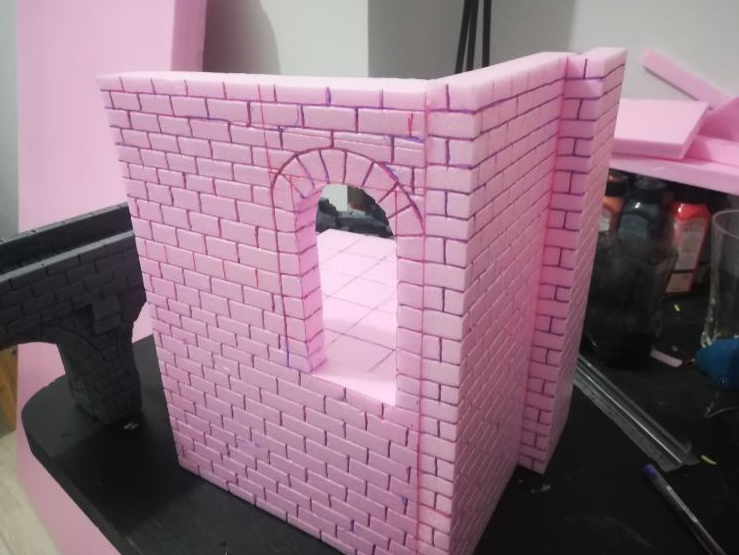
I use pretty much the same technique. Sketching the design on the foam and cutting it with a sharp knife. Then using ballpoint pen to make a deep mark to simulate stone bricks. If I had my hotwire table with me I would cut individual bricks but I had to work what I had.
I want to make the interior to be playable as well. So I cut a piece of foam to represent the floor in the entrance level. I am gonna make a stair for the upper floor. Eventually this will be a tower castle. I have a general idea of what I want to do but I design as I go. I admit its easier to do this in digital sculpting where you can undo and have symmetry. And in real life its much harder to design as I go. But it has some creative freedom. I dont want to plan everything before I start. If I know what i'll have at the and its not exciting.
Materials I use for the build
- Brush
- Prime mixture ( recipe above )
- Pen
- Ruler
- Sharp Knife
- XPS foam
- Hot Glue ( gluing foams together )
- Wood repair paste ( filling the gaps )
- Barbecue skewers ( it is used to stabilize the floor piece )
Here is the progress shots.

If we were playing dnd together I would definitely want to use this
Damn that looks awesome. I'll have to show youngest tomorrow.