Hermosa mini mochila/Beautiful mini backpack [Esp-Eng]

in GEMS3 years ago

Buenas noches, comunidad hive

Good evening hive community

195093510_280176637143561_8003045576049629083_n.jpg

Una vez más bienvenidos a mi blog, el día de hoy les quiero mostrar como realice esta linda mini mochila de foami paso a paso

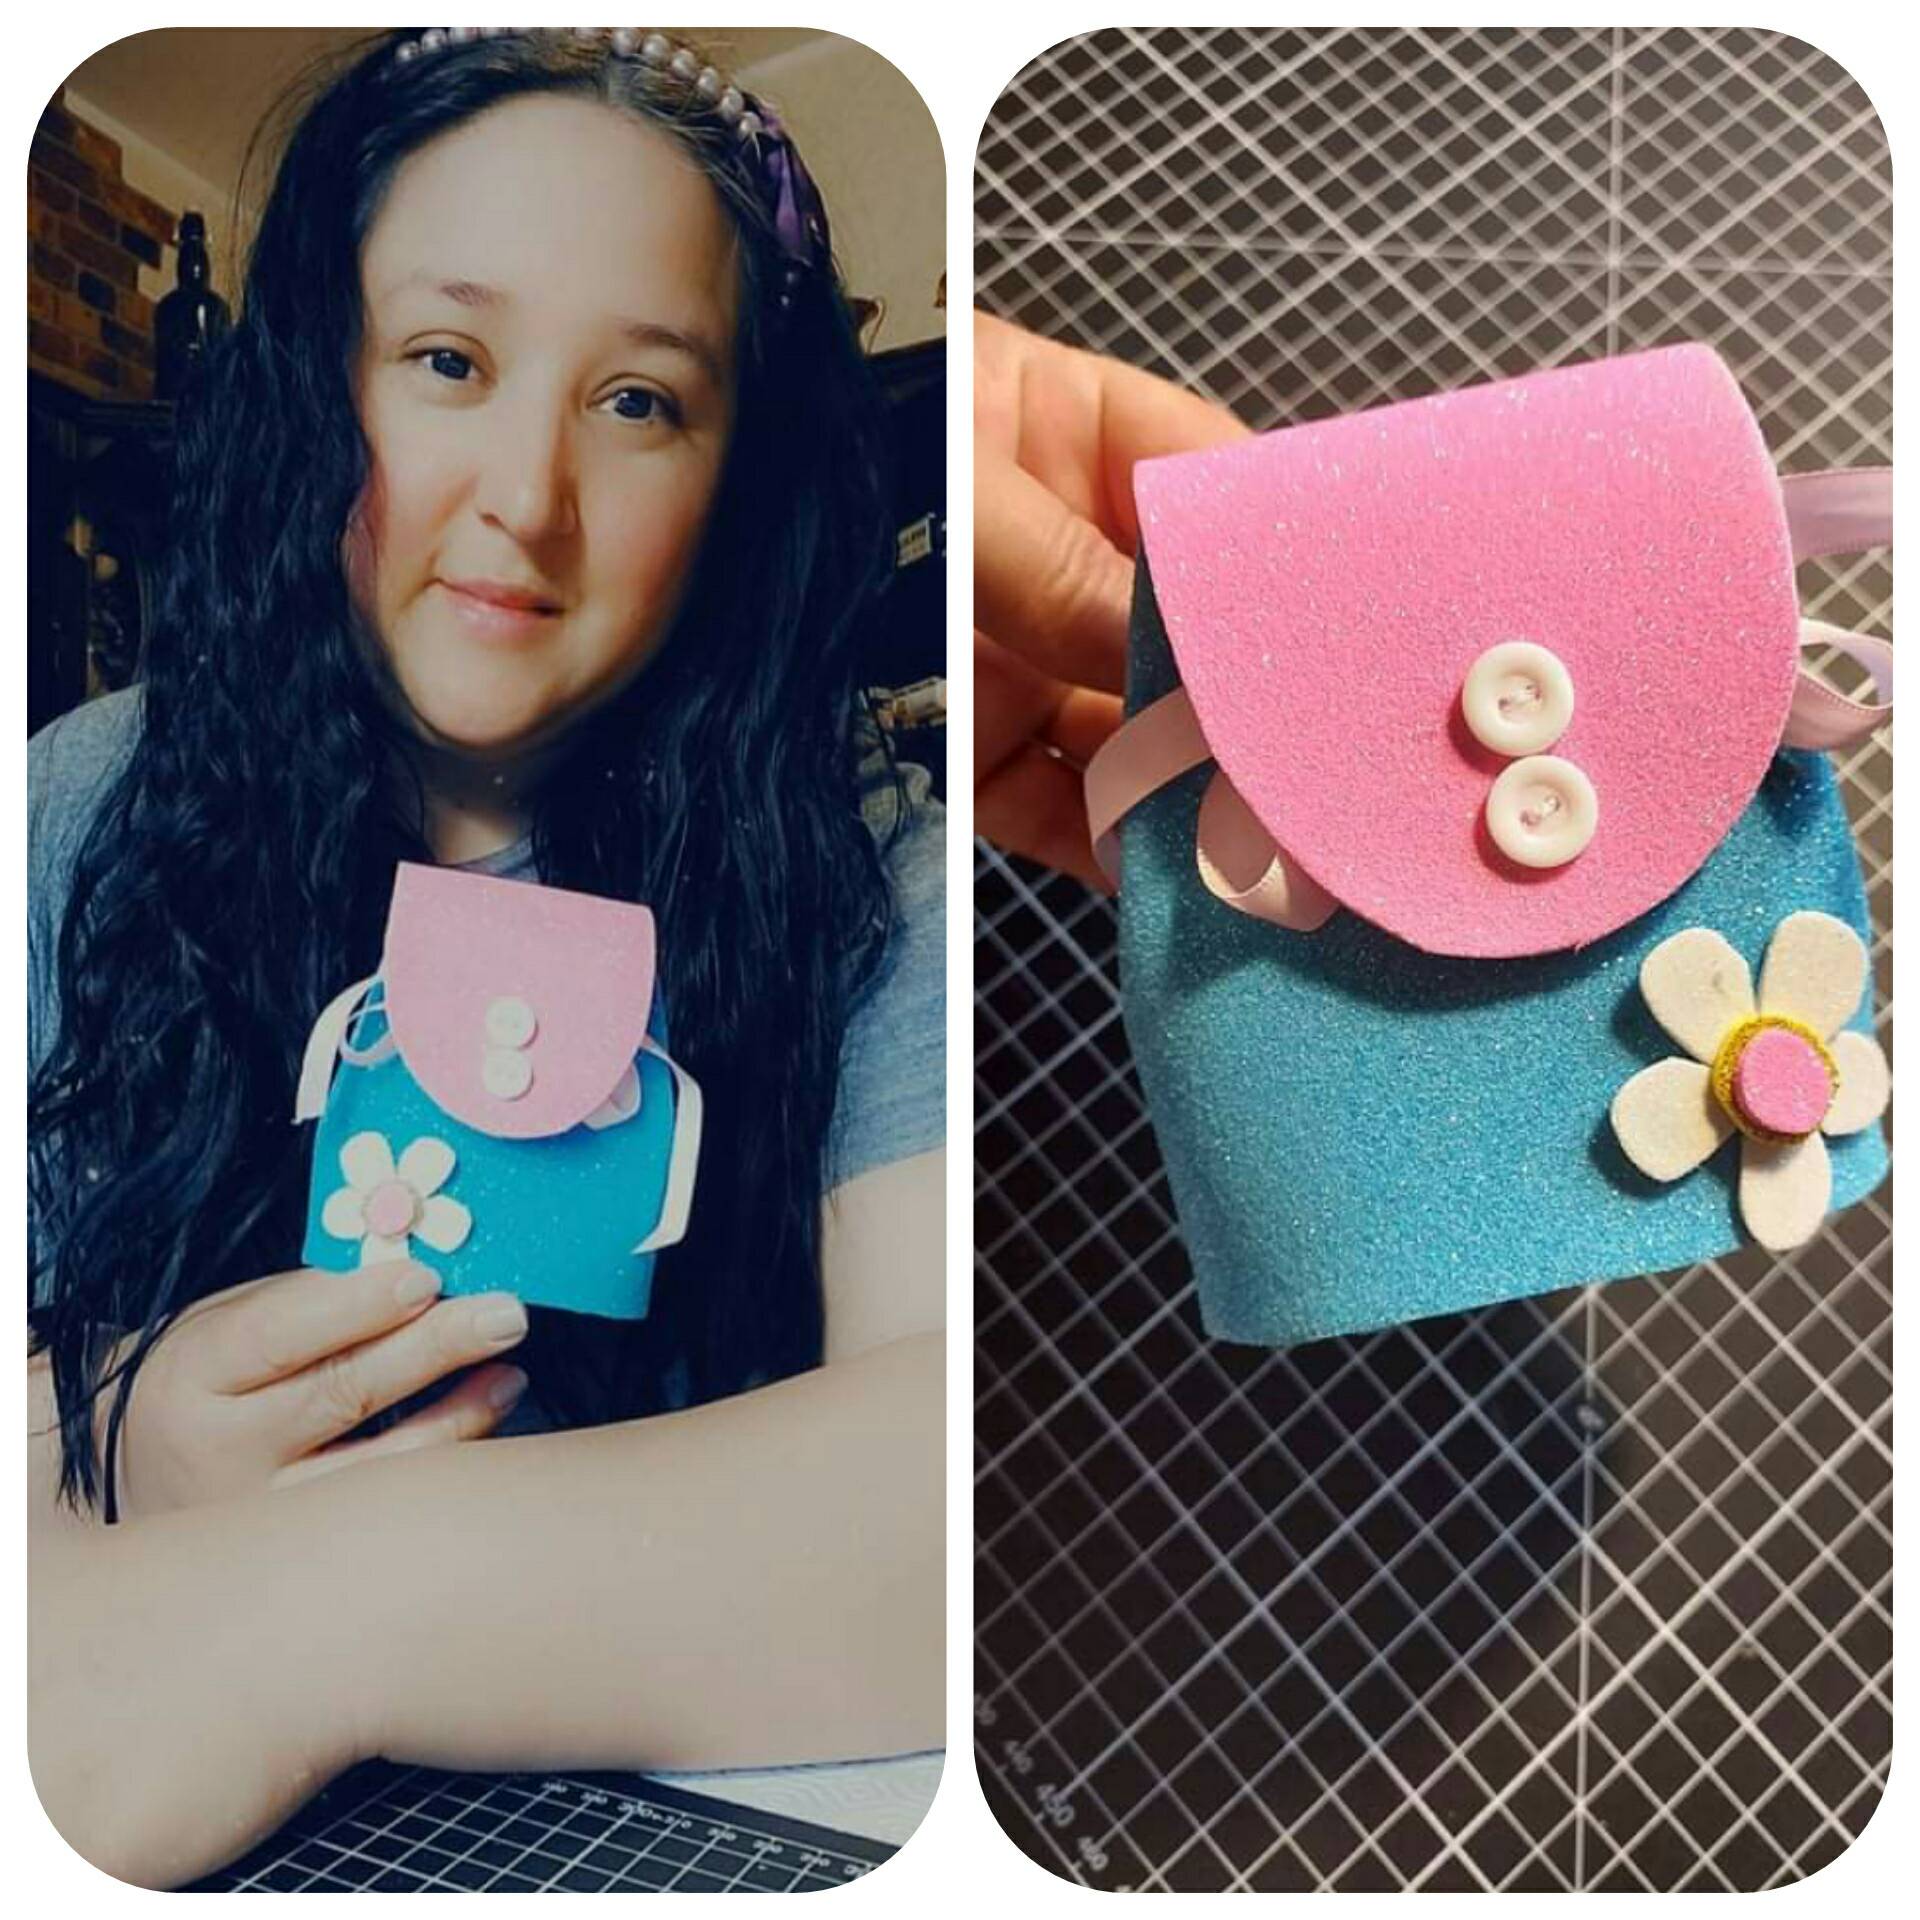
Once again welcome to my blog, today I want to show you how to make this cute mini foam backpack step by step
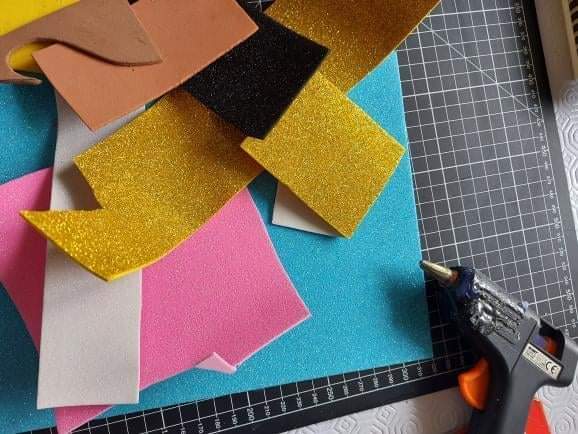
Materiales:
Retazos de foami
Silicon caliente
Tijeras
Regla medidora
Cinta

Materials:
Foami scraps
Hot silicon
Pair of scissors
Measuring ruler
Headband

195235528_110953244430353_1605888398795360171_n.jpg

Paso a paso

step by step

1. Marcamos y cortamos un ovalo en el foami, de 9×5,5cm, y por otra parte marcamos y cortamos un rectángulo de 25cm aproximadamente.

2. Con la silicona caliente pegamos el rectángulo de foami al borde de nuestro ovalo.

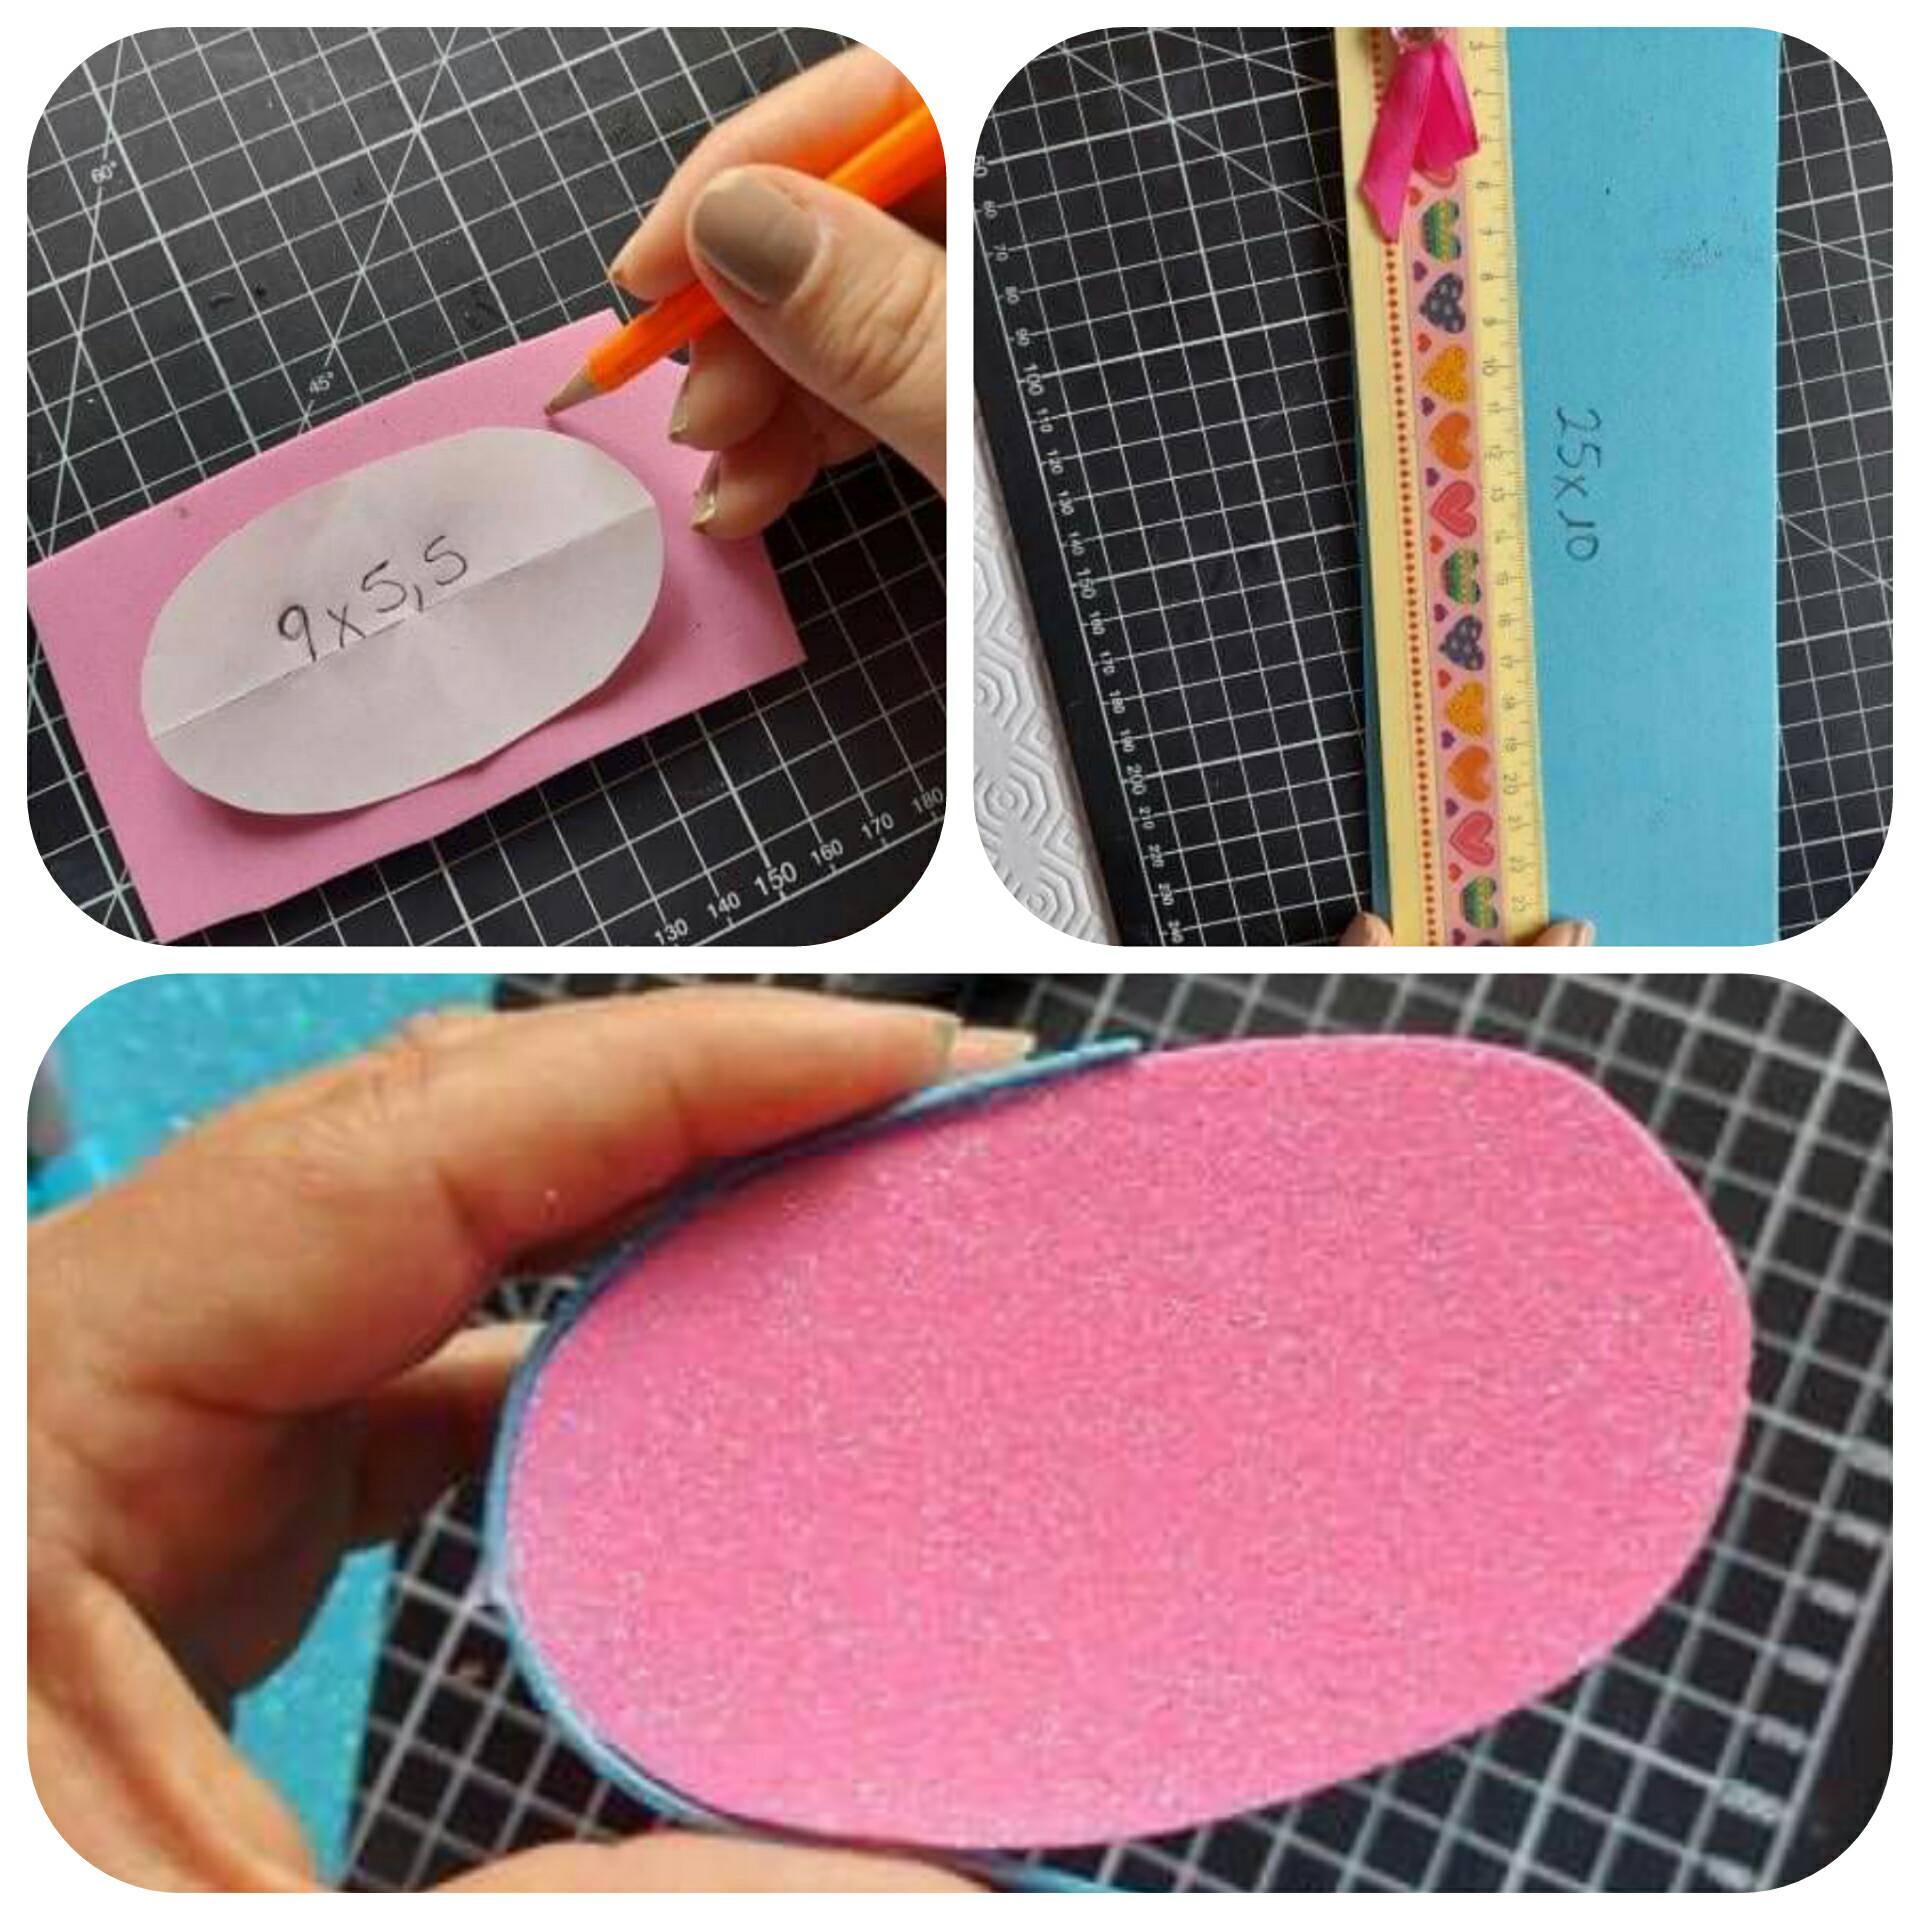
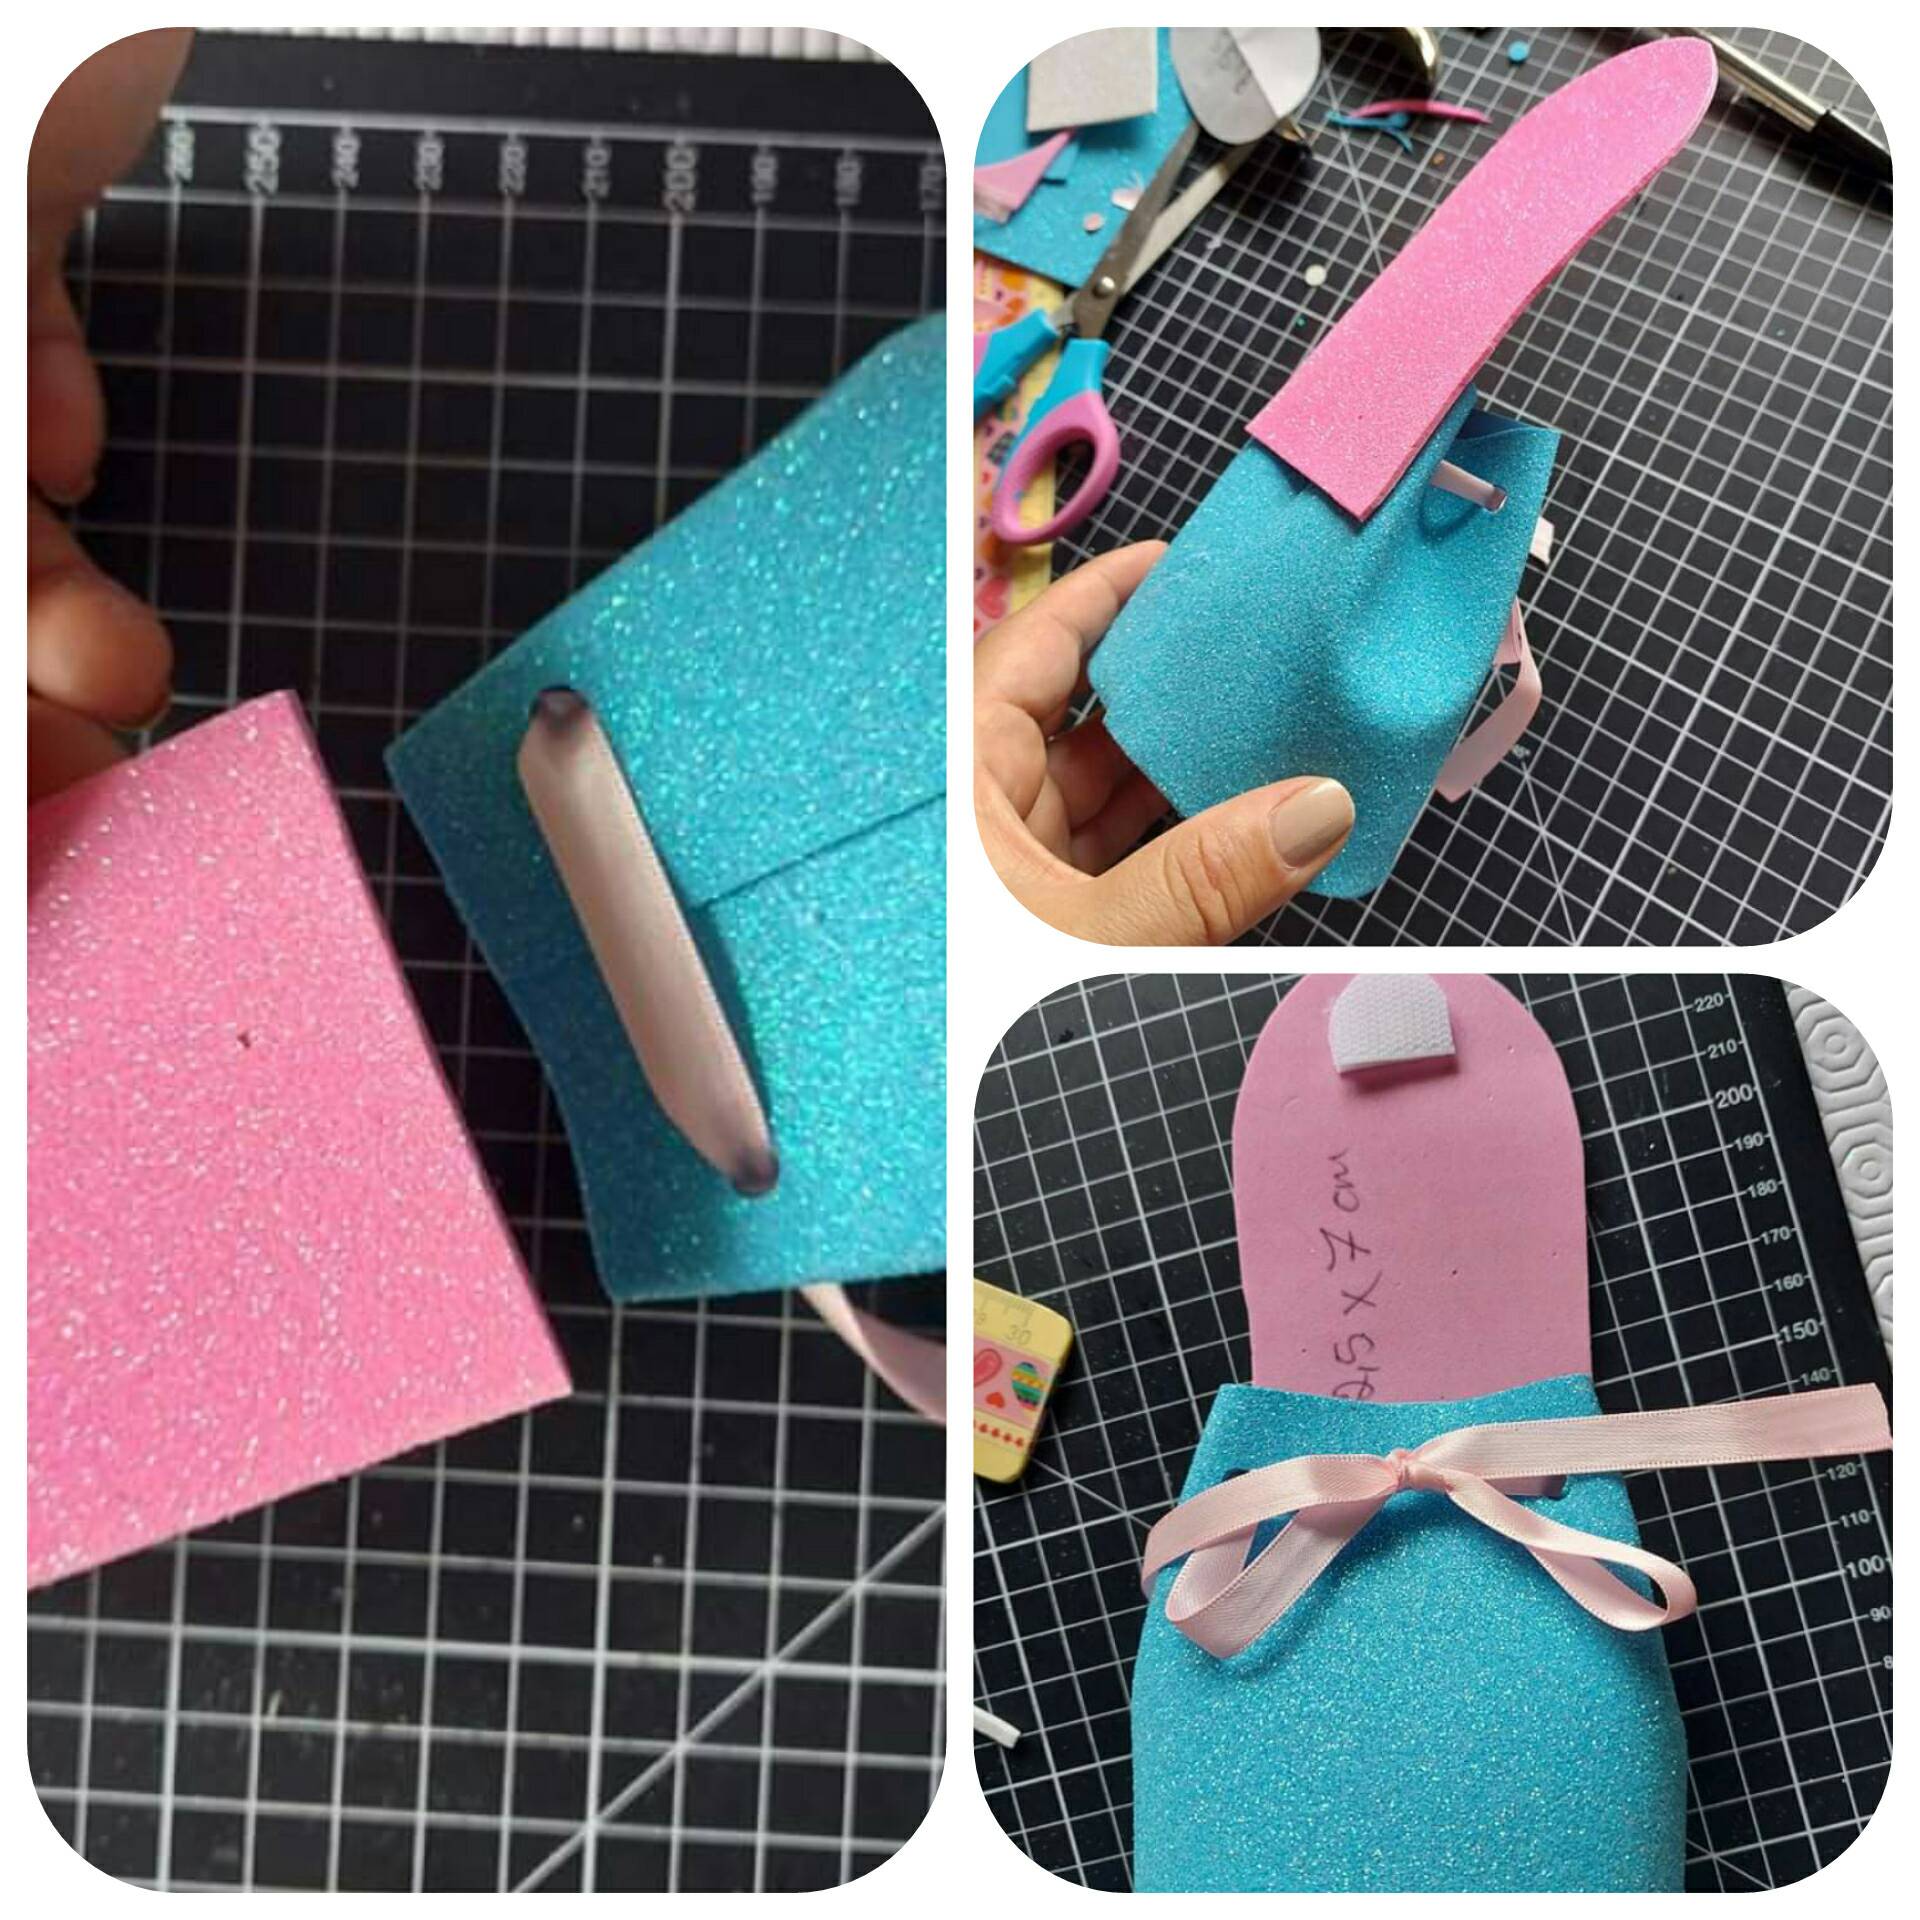
1. We mark and cut an oval in the foam, 9 × 5.5cm, and on the other hand we mark and cut a rectangle of approximately 25cm.

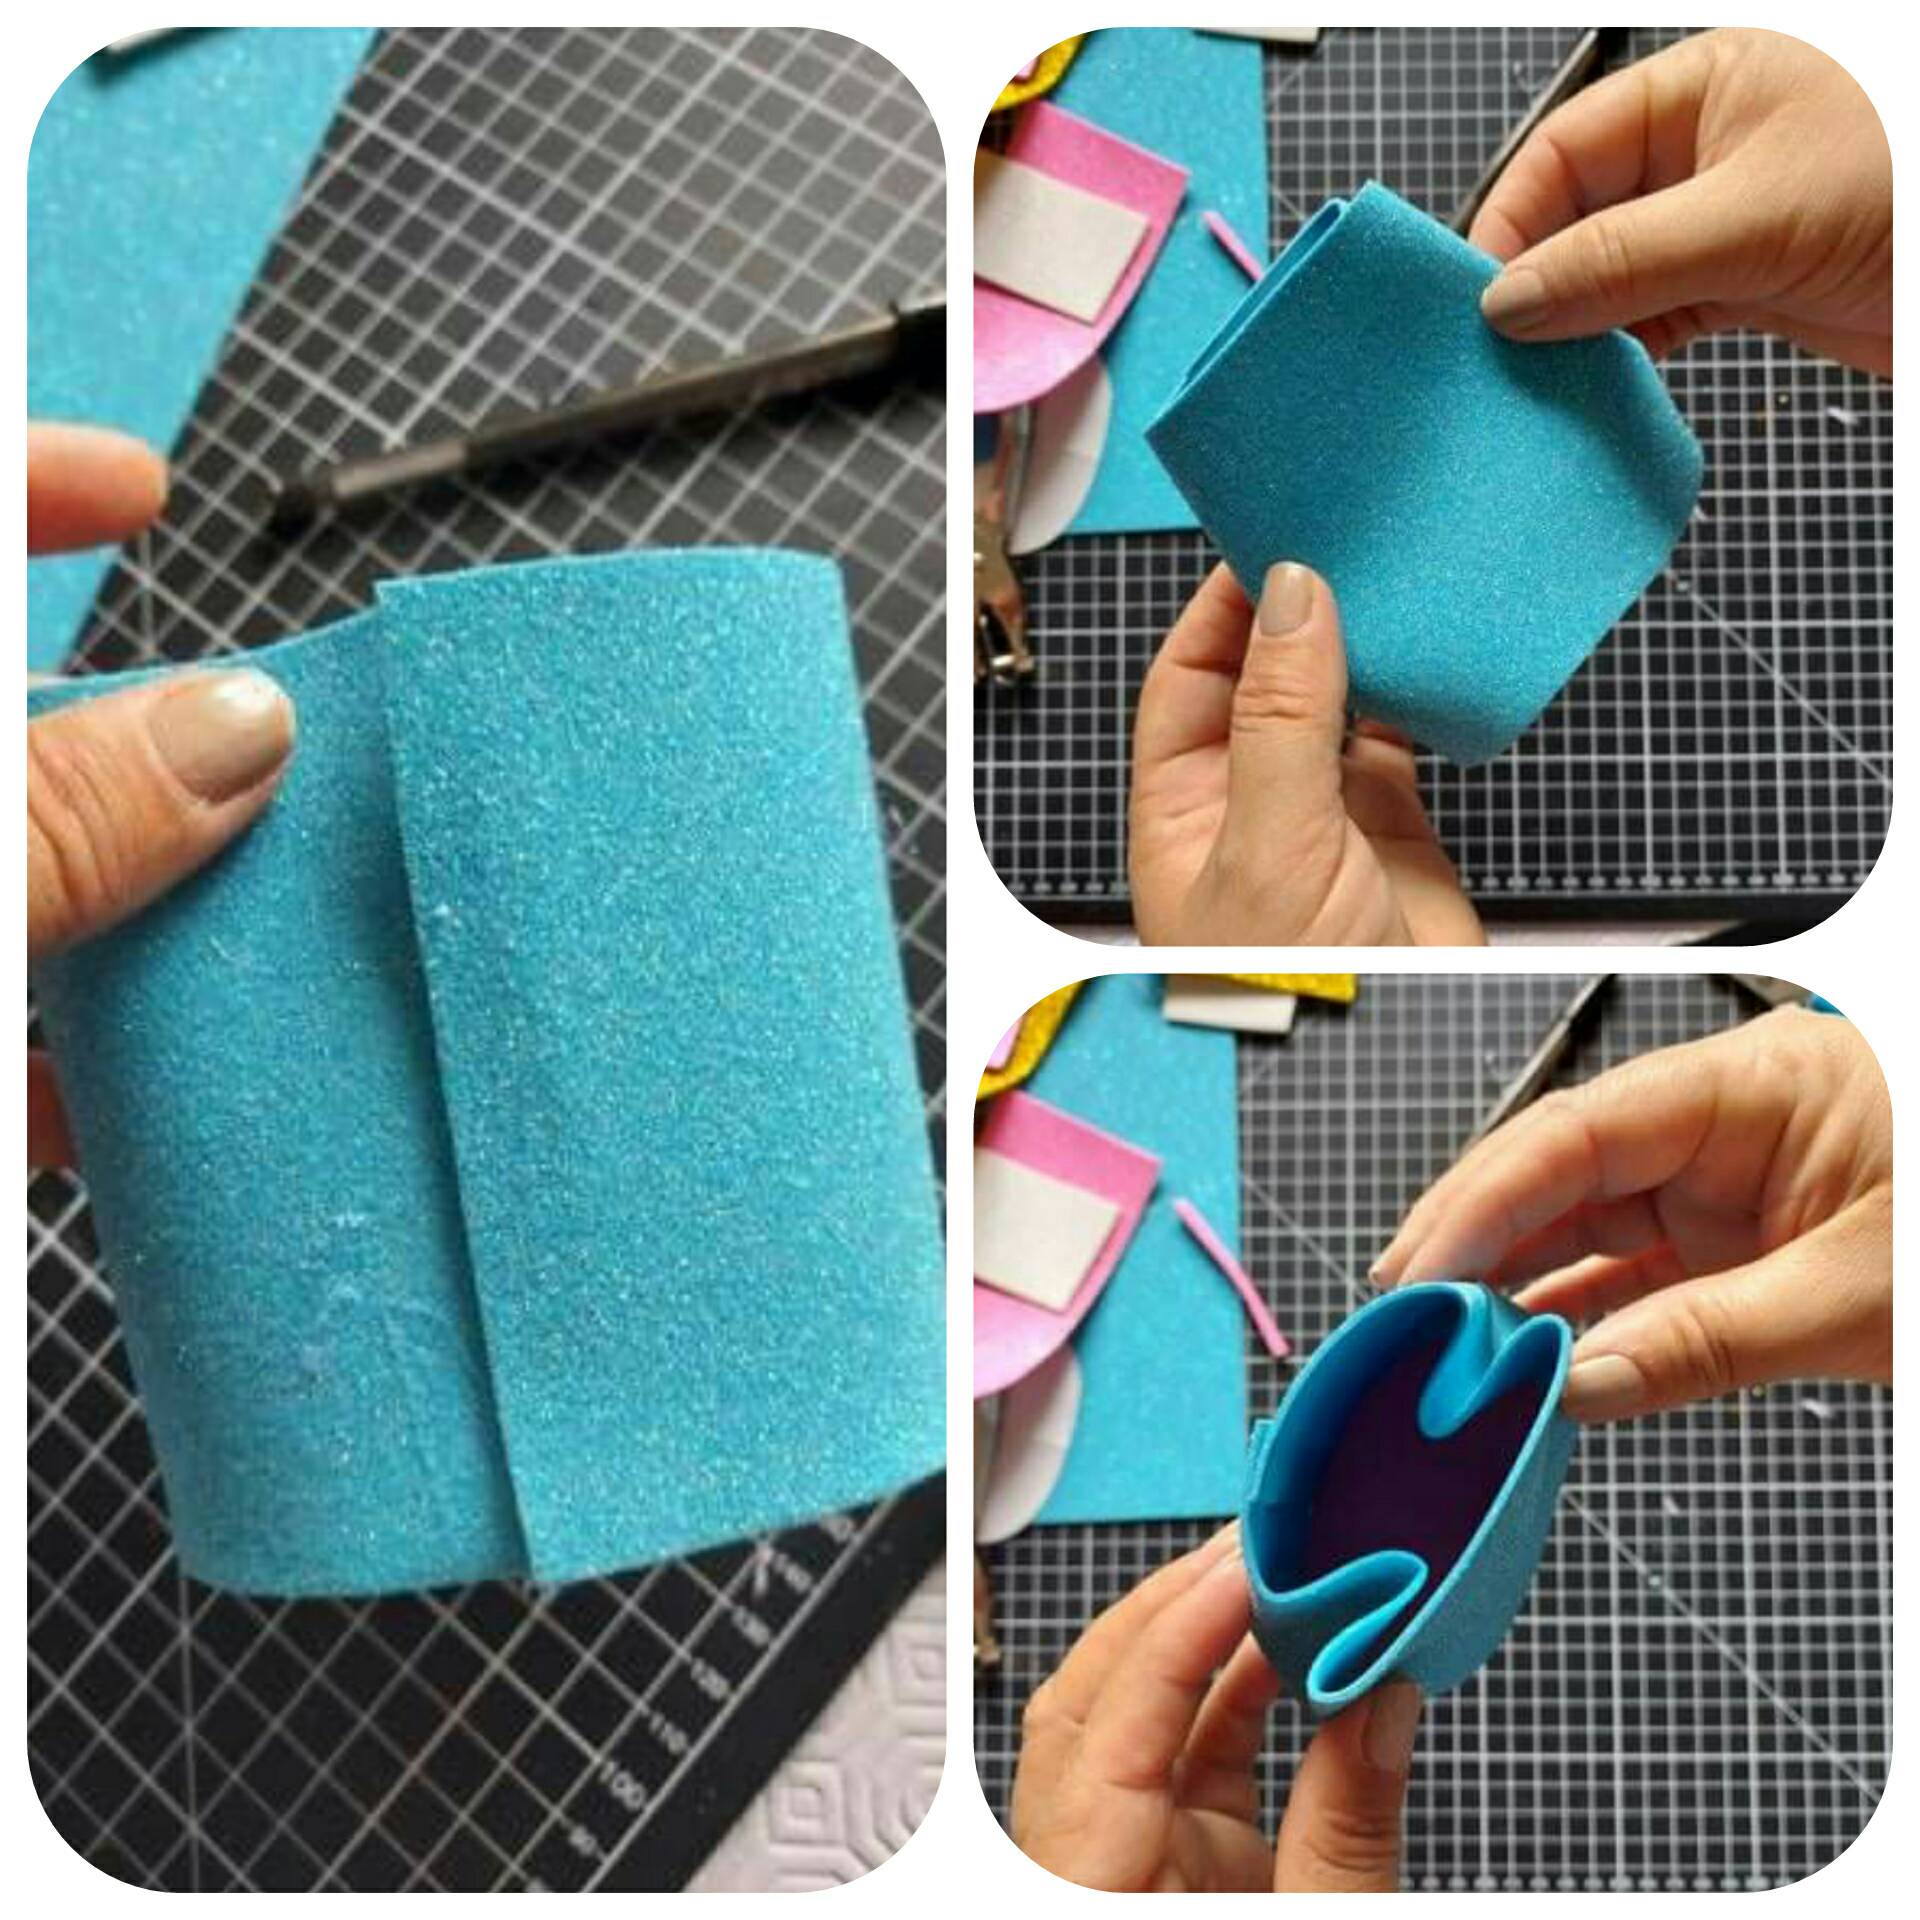
2. With the hot silicone we glue the rectangle of foam to the edge of our oval.

195371225_328137405485925_8875751910630422074_n.jpg

3. Luego de cerrar nuestro rectángulo, procedemos a darle forma a los ángulos del mismo, abrimos cuatro agujeros para insertar la cinta y dar forma al morral

3. After closing our rectangle, we proceed to shape the angles of it, we open four holes to insert the tape and shape the backpack

195444037_1575402679644703_555279736743146958_n.jpg

4. Ya colocada la cinta, cortamos un rectángulo y redondeamos la punta, lo pegaremos en la parte posterior del morral y colocaremos dos pedacitos de cierre mágico
.

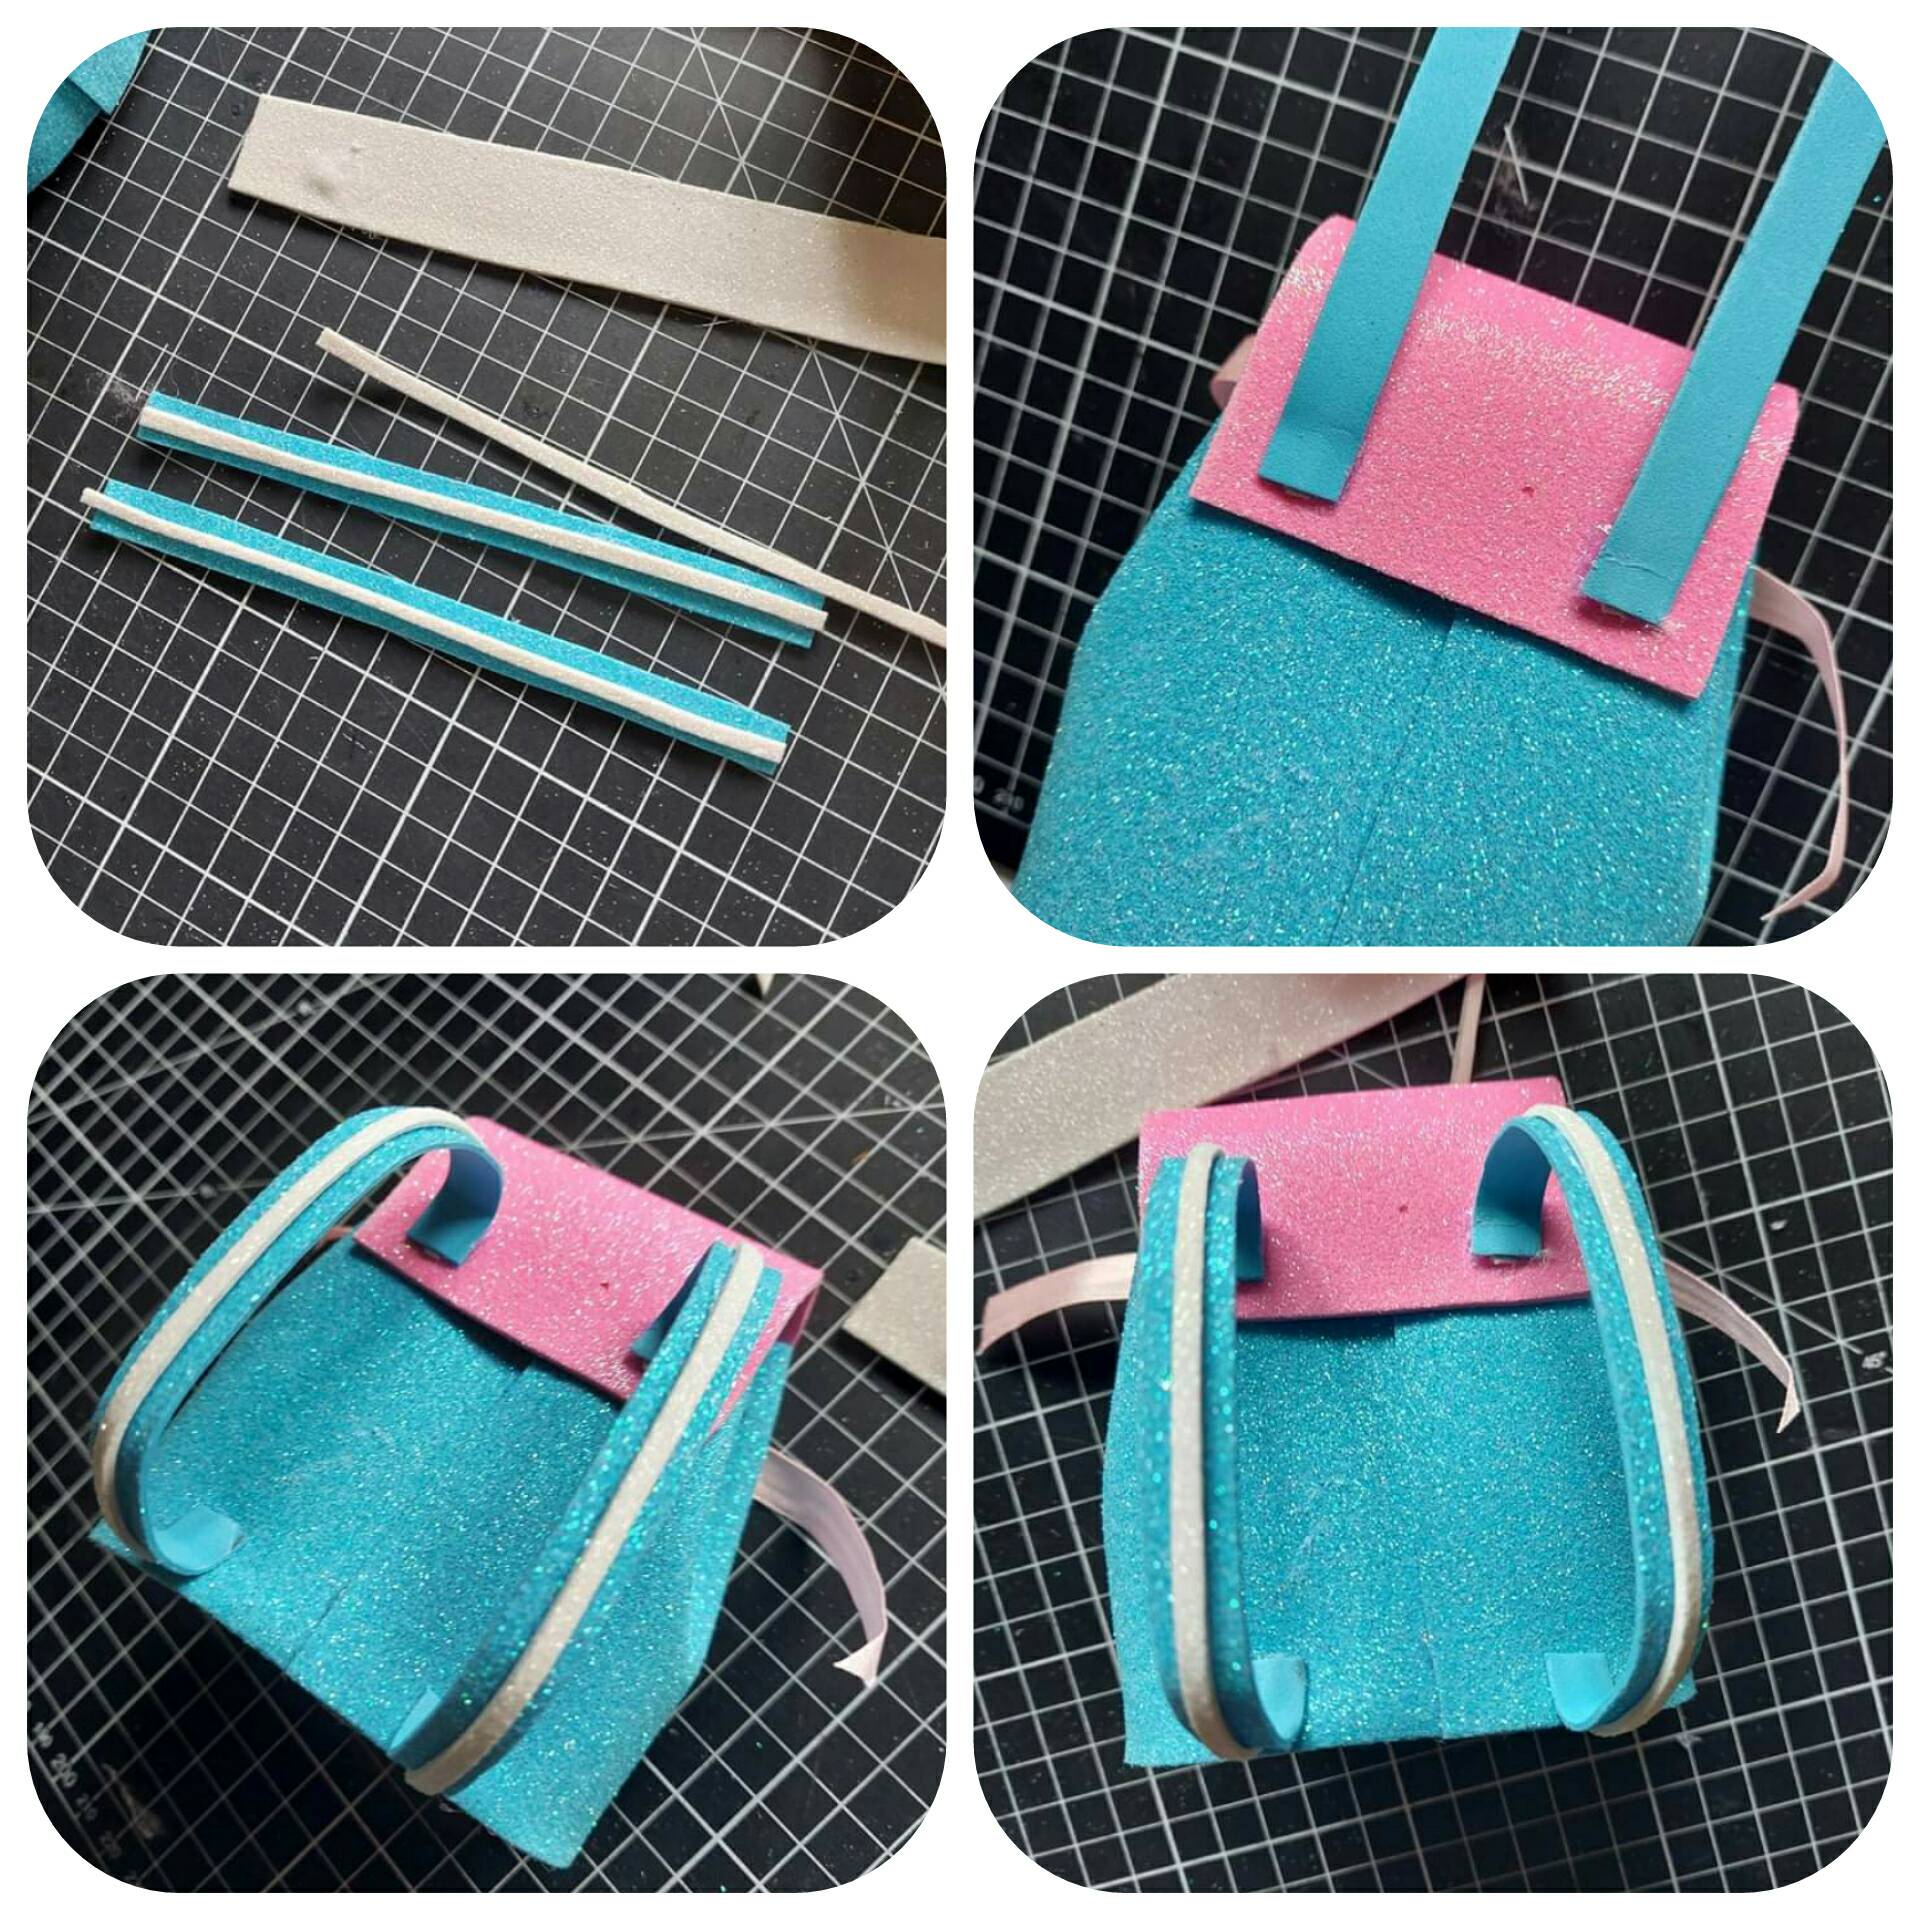
4. Once the ribbon is in place, we cut a rectangle and round the tip, we will glue it to the back of the backpack and we will place two pieces of magic closure
.

192636096_533086317692942_851518253409067451_n.jpg

5. Con dos tiras de foami haremos las asas del morral y las colocamos, luego colocamos los elementos decorativos.

5. With two strips of foam we will make the handles of the backpack and place them, then we place the decorative elements.

195273501_491137528759685_1735737611270042035_n.jpg

Y nuestro trabajo de hoy a quedado así de bonito, espero les haya gustado e lo intenten crear en casa

And our work today has been so beautiful, I hope you liked it and try to create it at home

194870949_157469879730608_8969220104835982086_n.jpg

GRACIAS POR VER MI POST (1).jpg

Sort:  

Jejeje, la palabra que mejor describe esa mochila es "cuchi" 😀

Jejeje, así es amigo @ylich

I admired your creativity. Thank you for sharing your output to us.

Thank you @Kallyane, although I do not receive much appreciation I am very encouraged by your comment, thanks and greetings