Hola queridos amigos hoy muy contenta de estar de nuevo en esta hermosa comunidad espero se encuentren muy bien , hoy les traigo un paso a paso de una repisa de pared realizada en cartón y muy fácil de hacer la puedes utilizar para el baño o el cuarto para algún juguete adorno o en mi caso coloque las pinturas de uñas y maquillajes pequeños , espero les guste y se animen a realizar una, bueno amigos sin más que decir amigos ,para realizar esta linda repisa utilizaremos los siguientes materiales:
Hello dear friends, today I am very happy to be back in this beautiful community I hope you are very well, today I bring you a step by step of a wall shelf made of cardboard and very easy to make you can use it for the bathroom or the room for some ornament toy or in my case put the nail paints and small makeup, I hope you like it and are encouraged to make one, well friends without more to say, to make this beautiful shelf we will use the following materials:
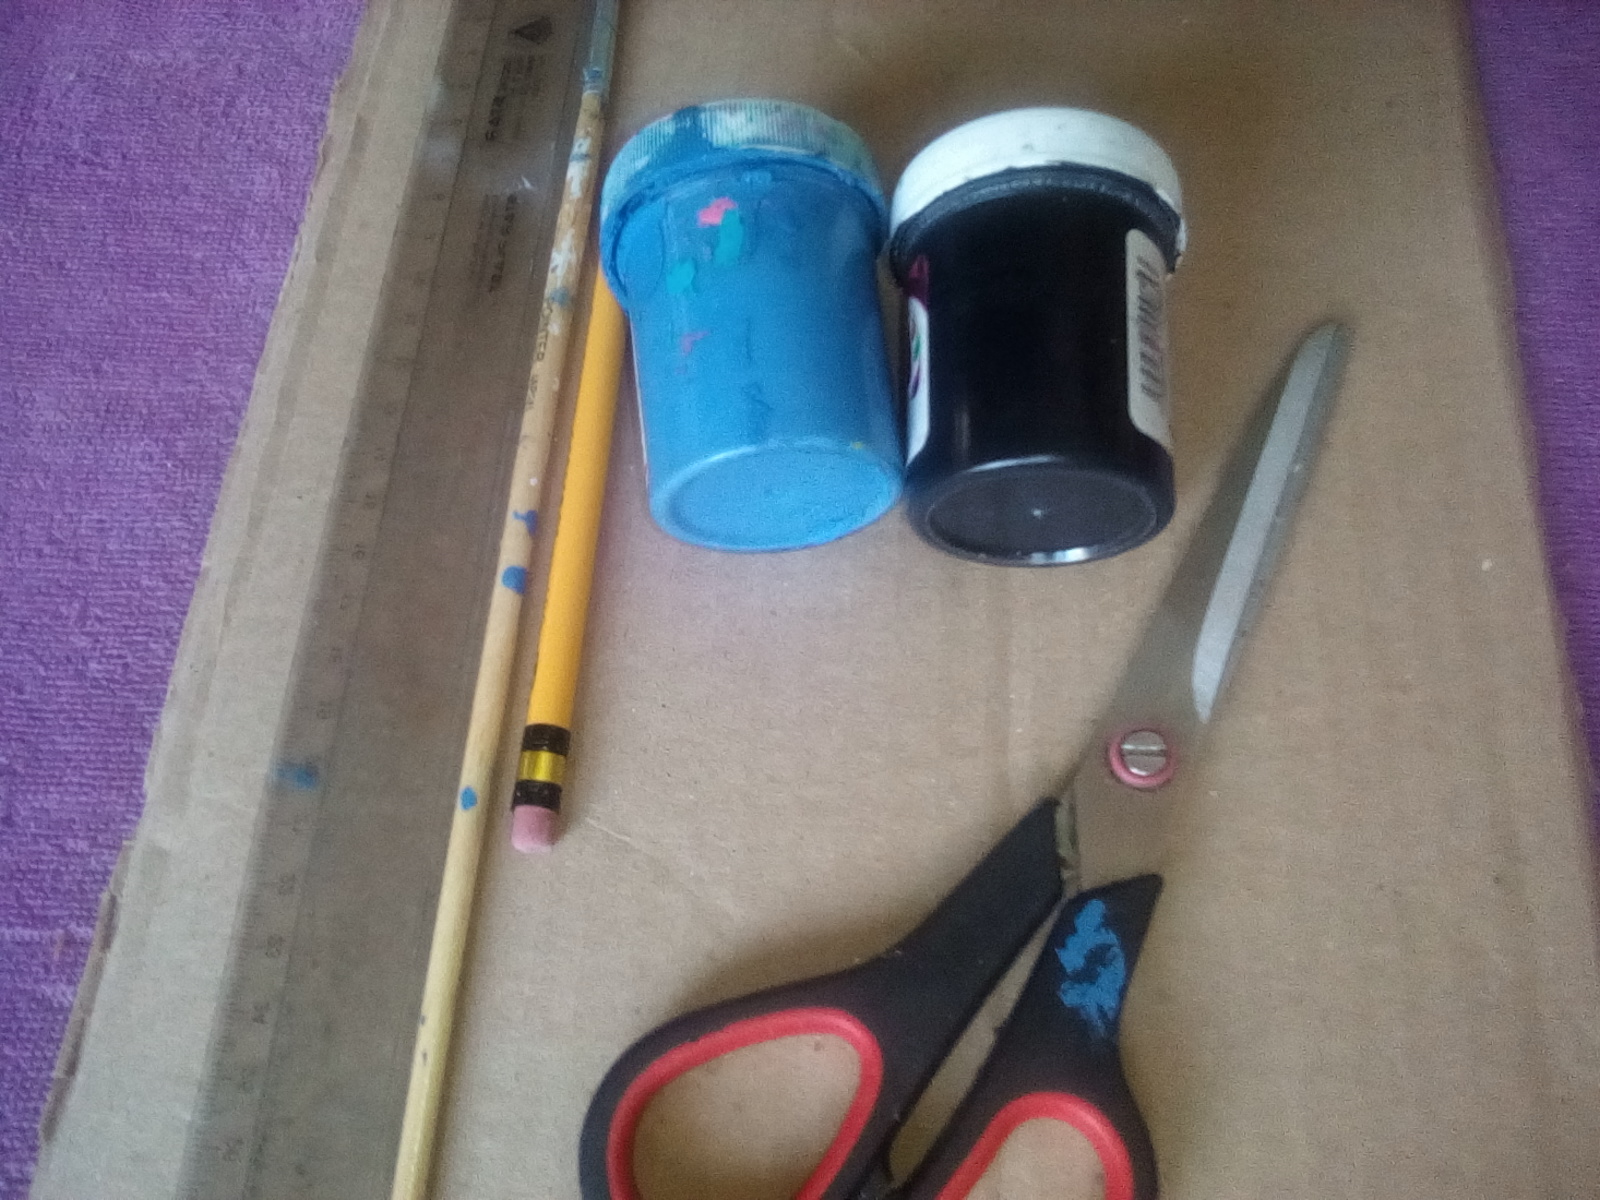
Cartón.
Silicón.
Pinturas azules, blancas y negras.
Pincel.
Paperboard.
Silicone
Blue, white and black paints.
Brush.
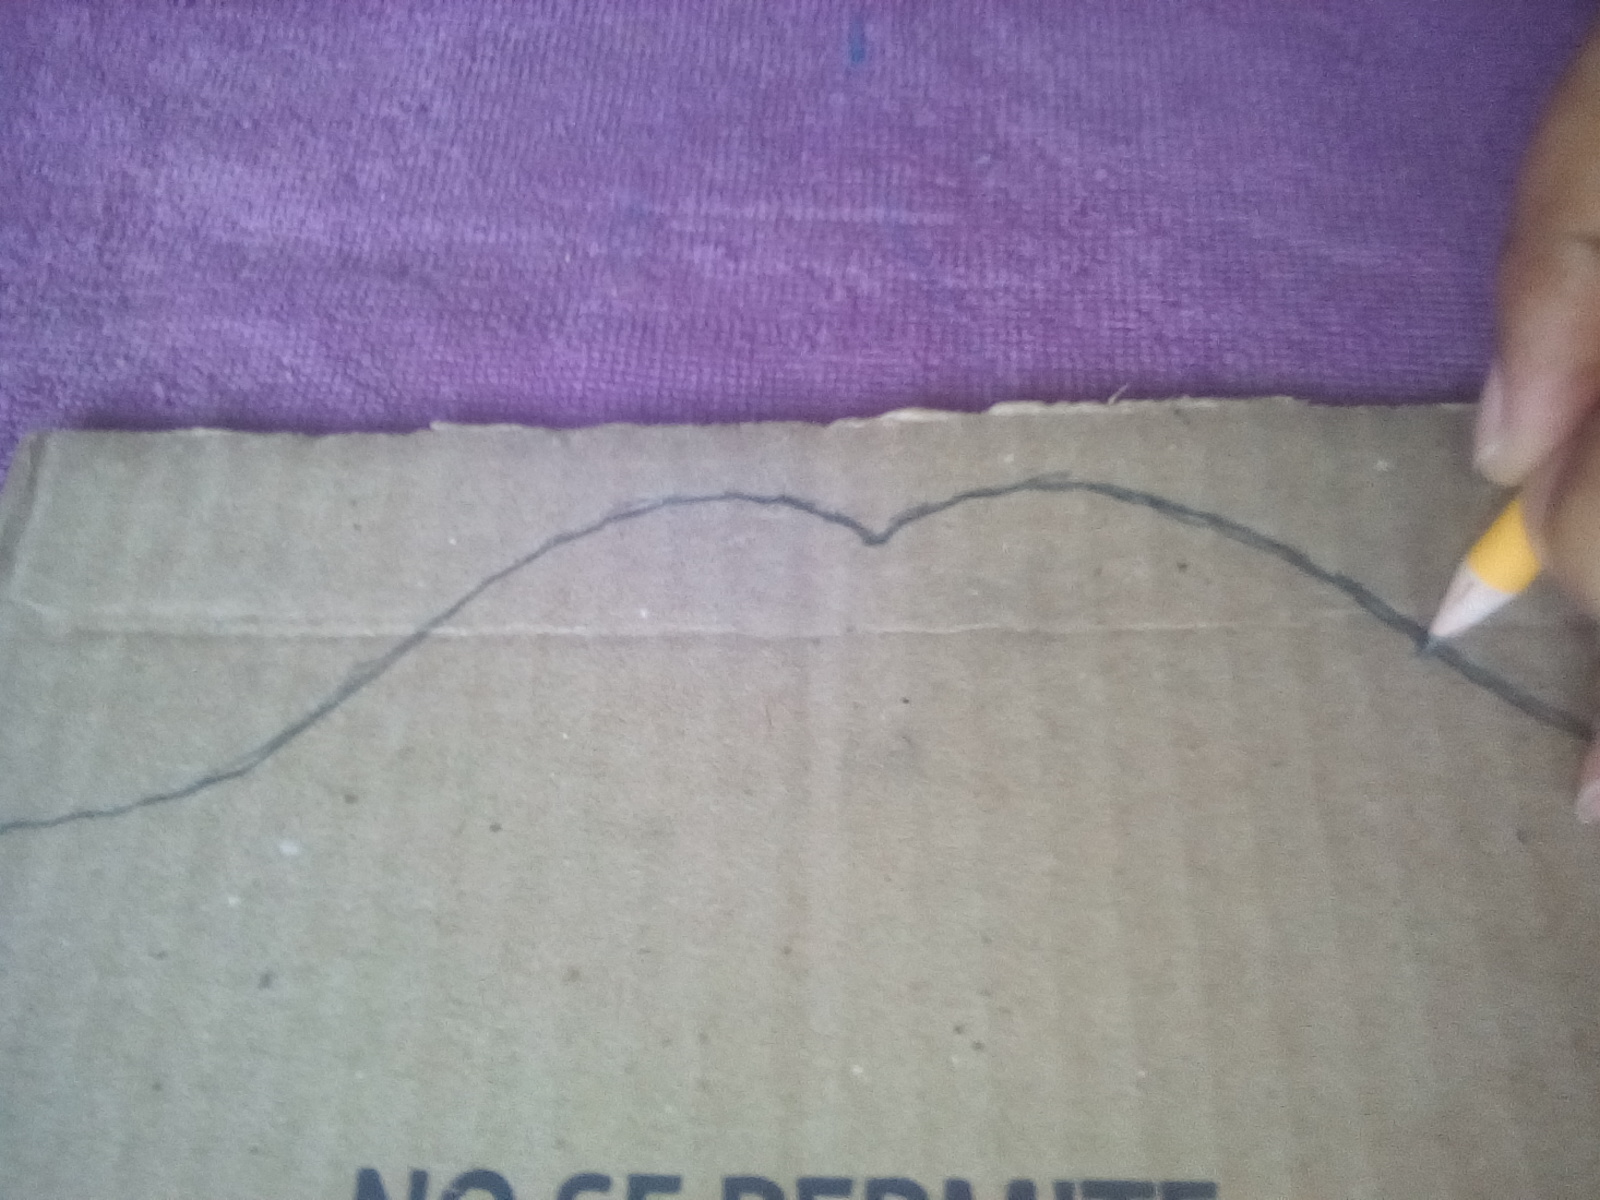
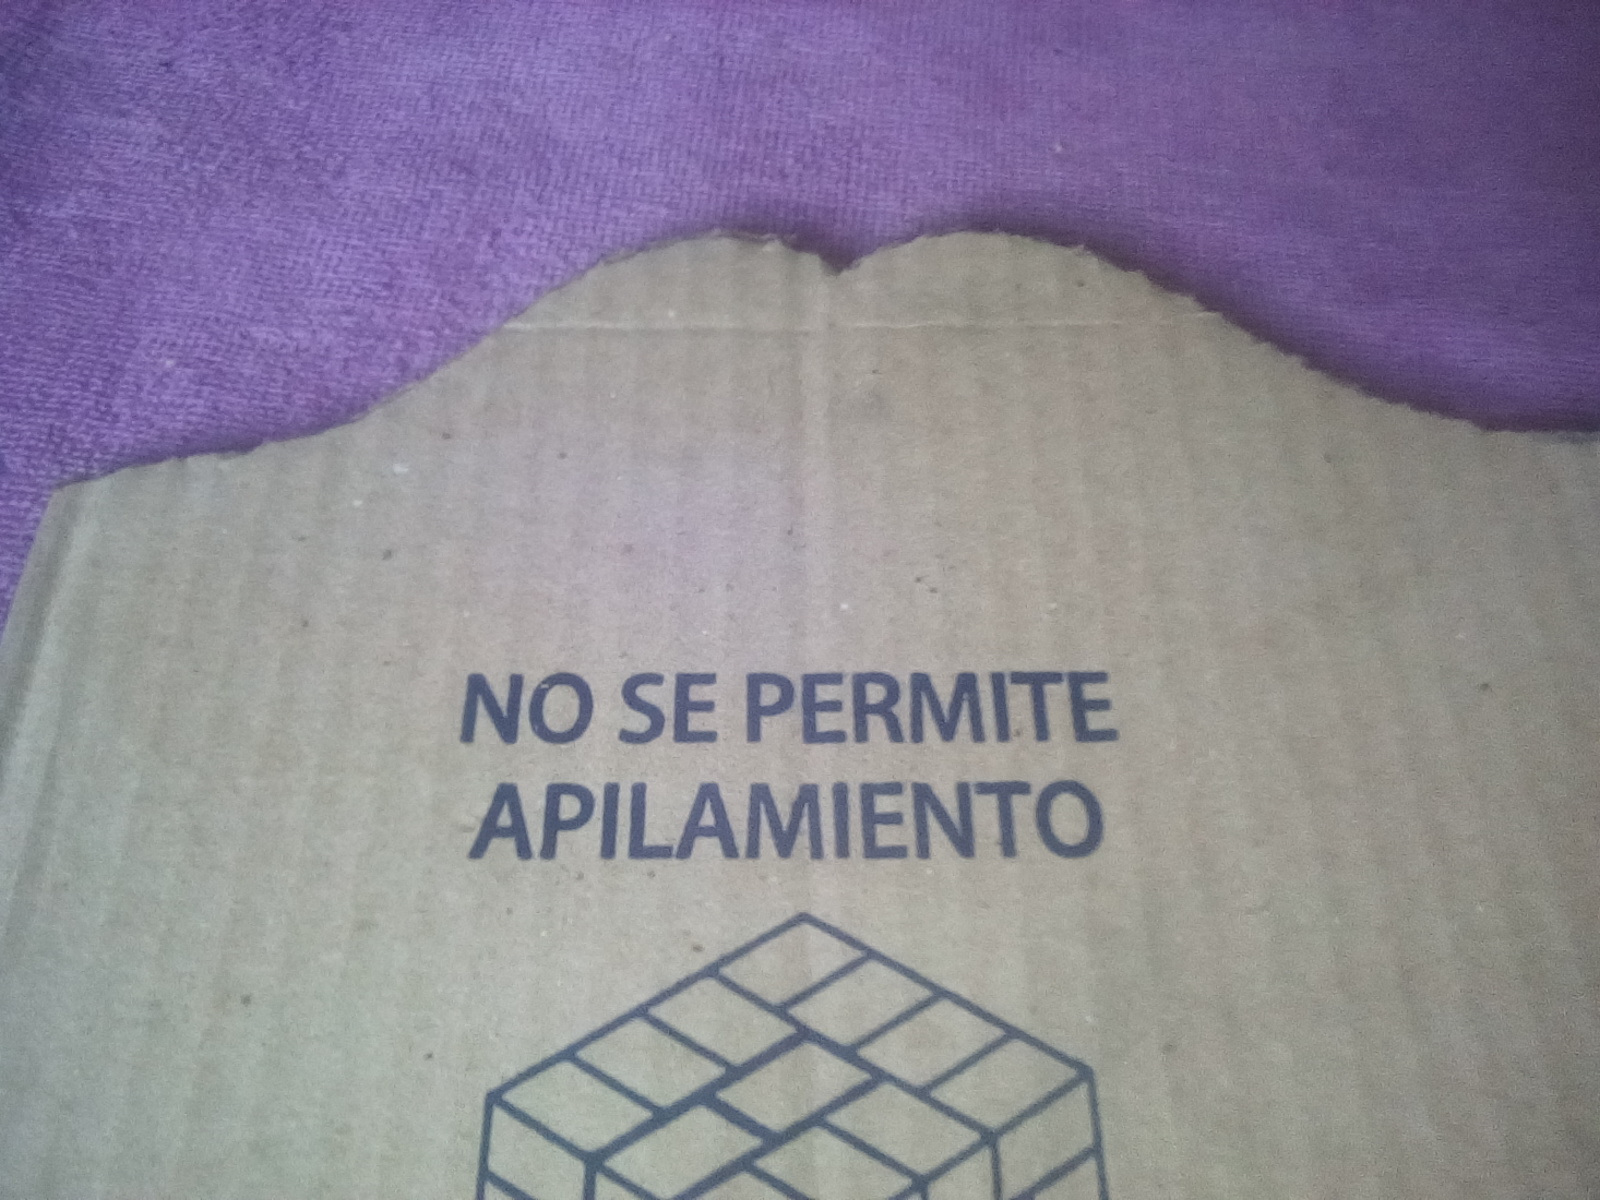
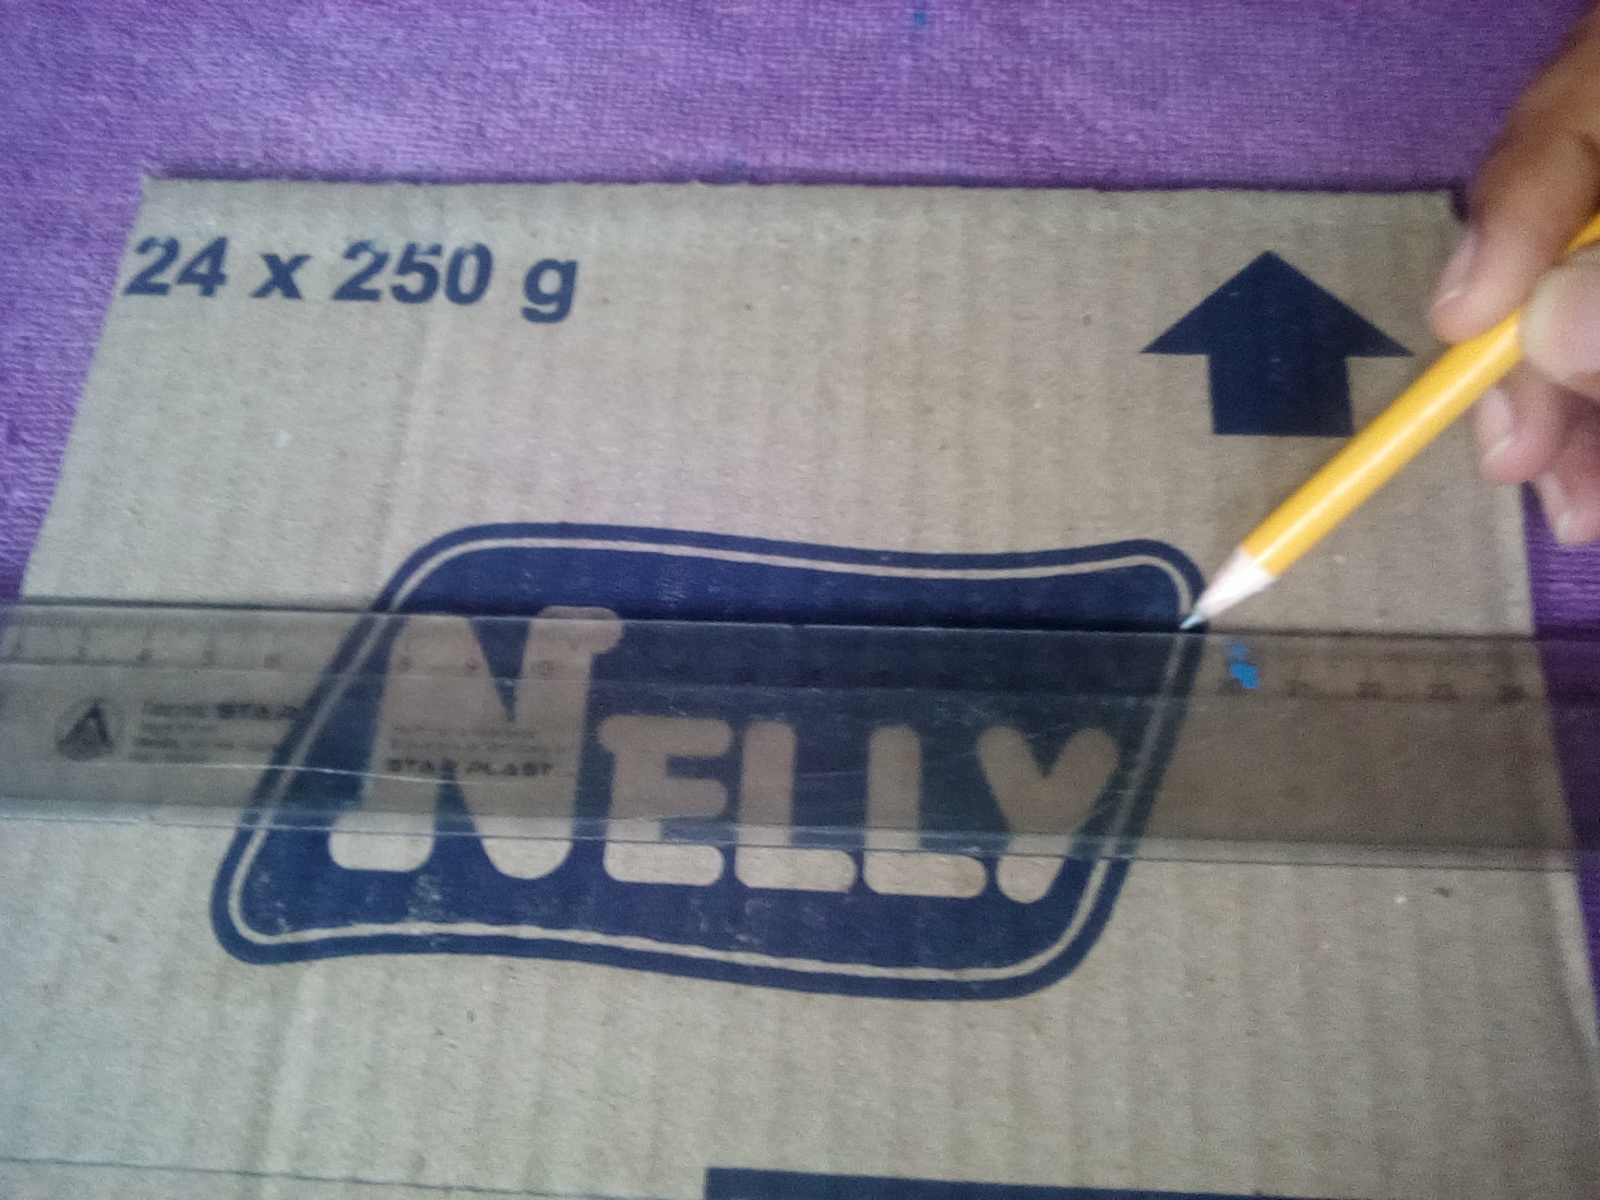
#Paso 1
Le realice al cartón un adorno en la parte de arriba con el lápiz y luego lo recorte.
#Step 1
Make an ornament on top of the cardboard with the pencil and then cut it out.
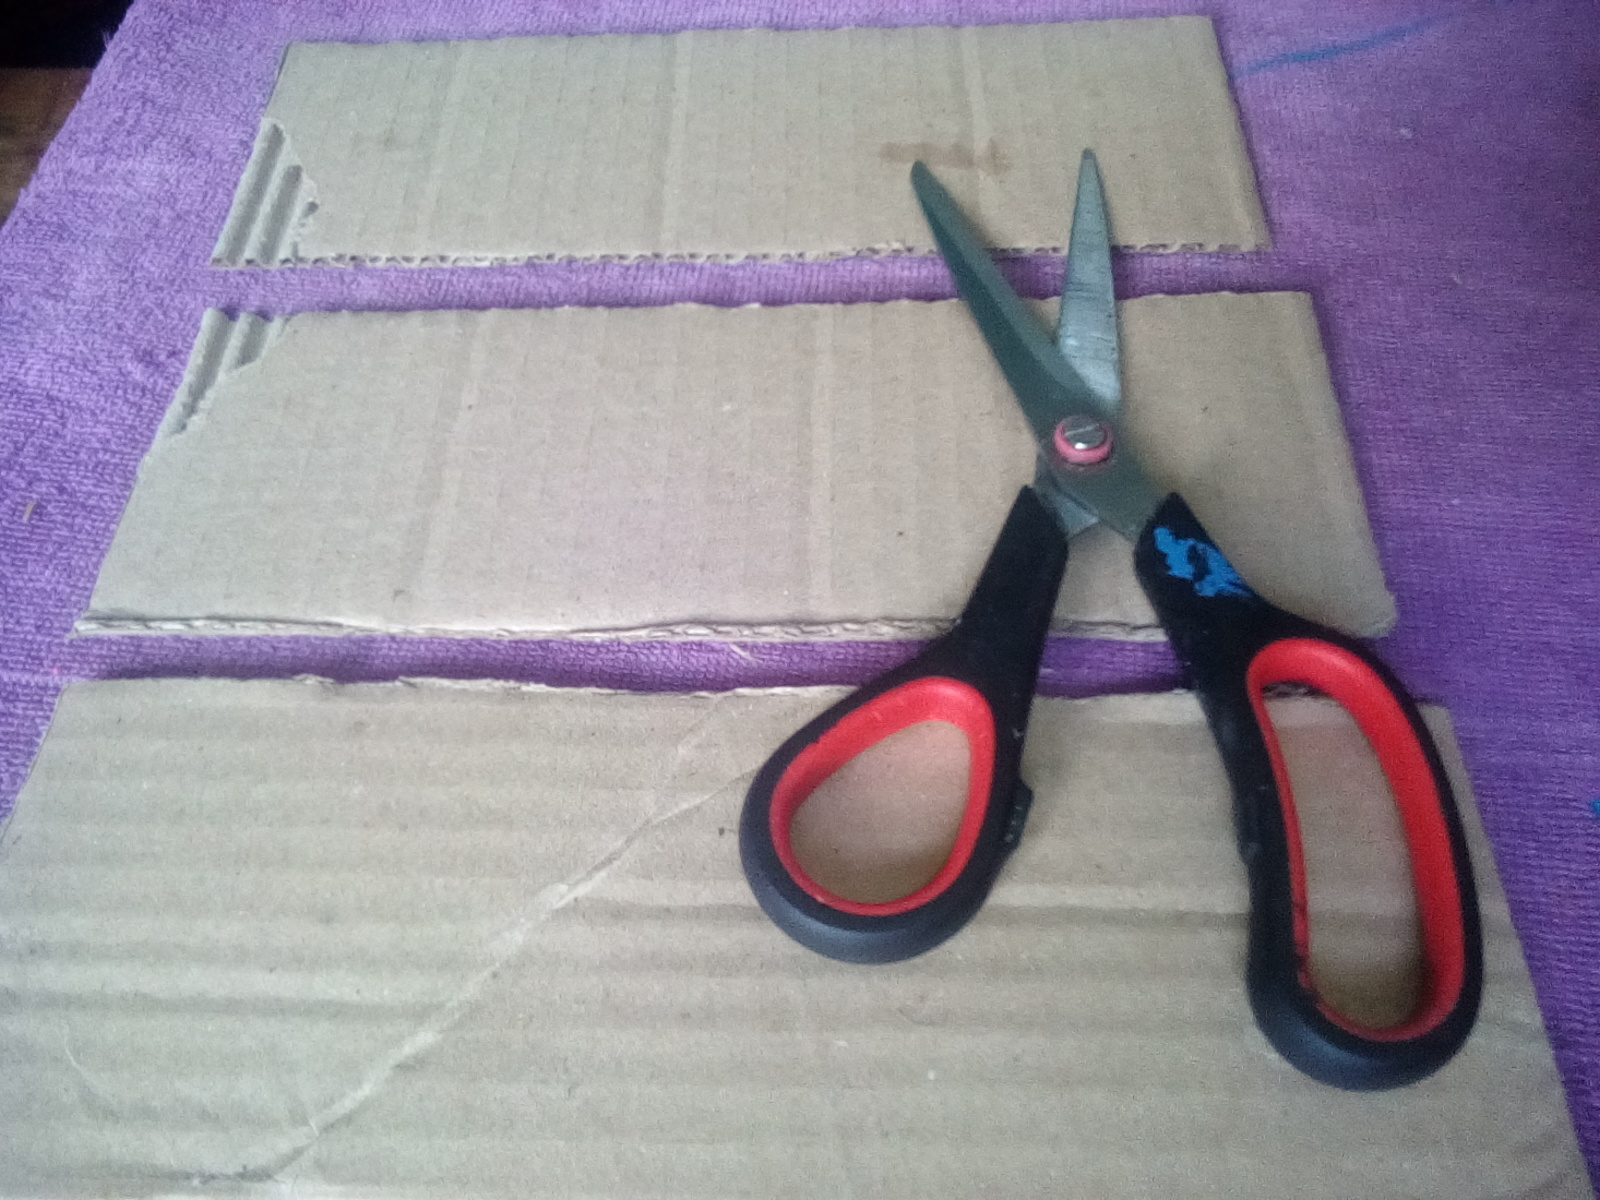
#Paso 2
Corte seis pies para sostener las piezas de los compartimientos.
#Step 2
Cut six feet to hold the compartment pieces.

#Paso3
Corte las tres partes de los compartimientos de la repisa donde cada uno mide 8 cm de ancho y 23 cm de largo.
#Step 3
Cut out the three parts of the shelf compartments where each is 8 cm wide and 23 cm long.
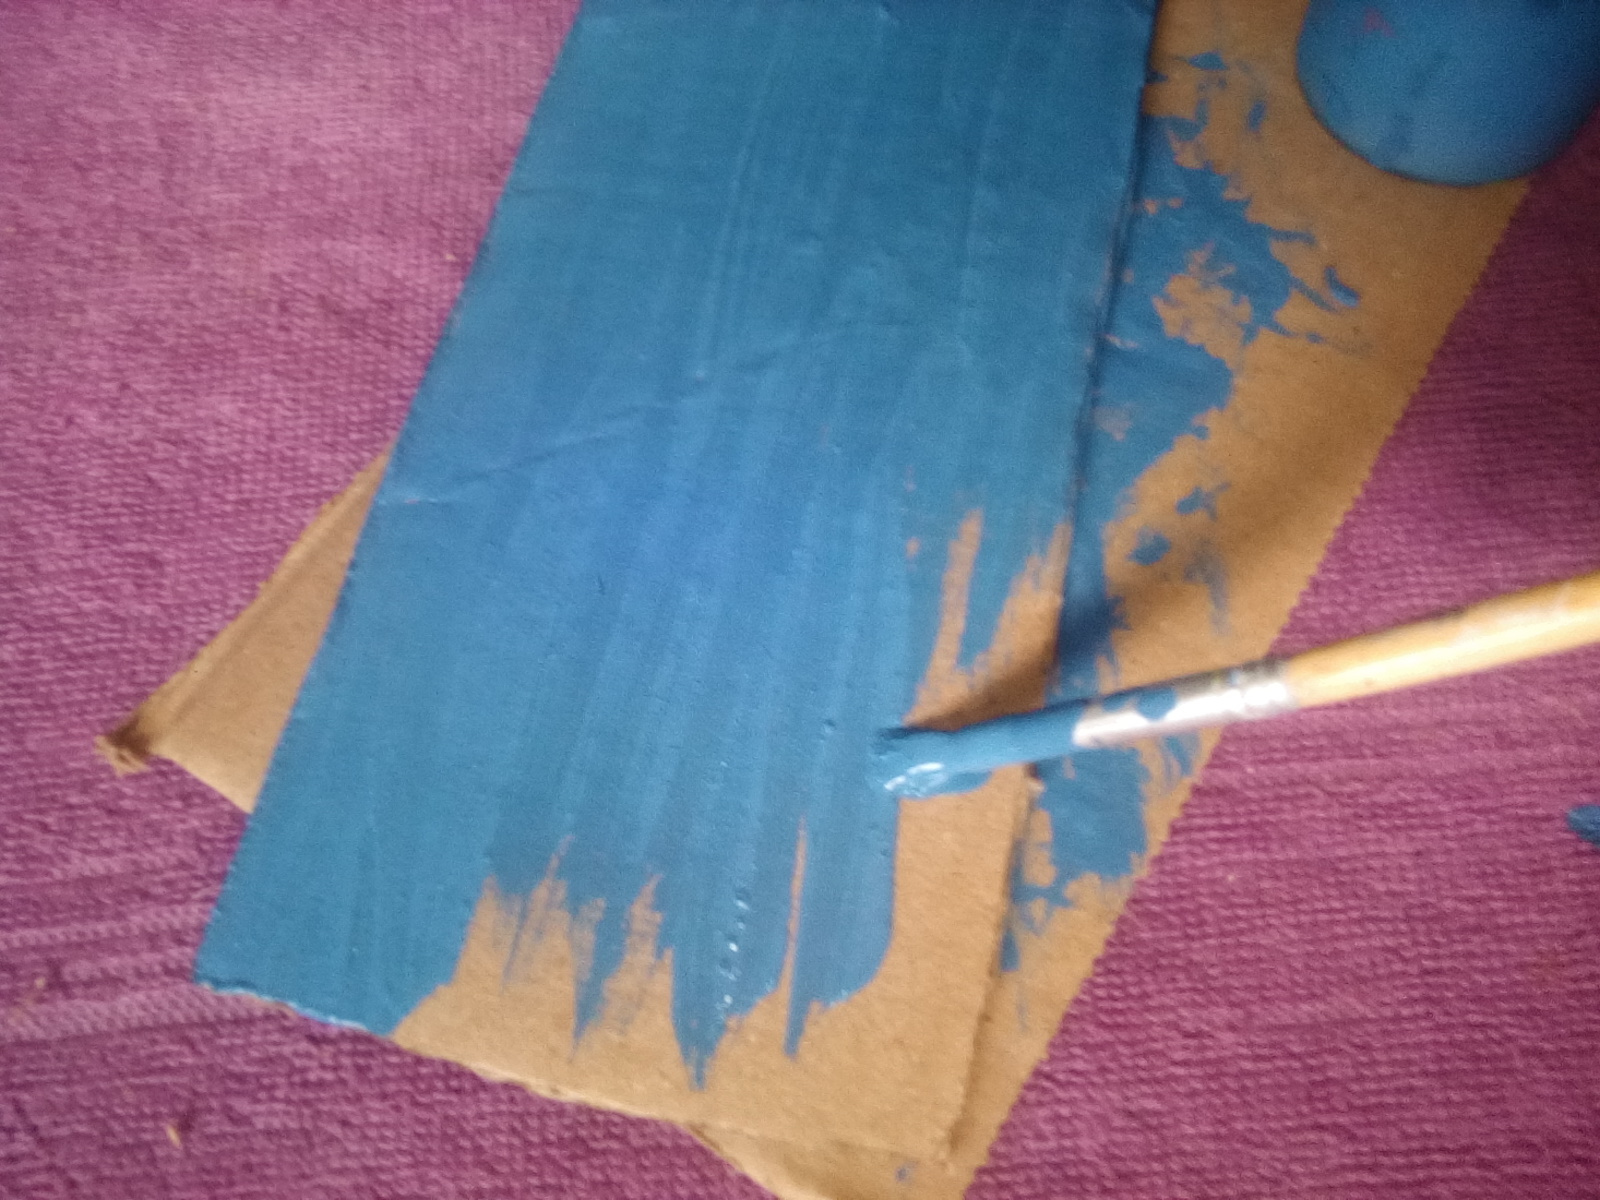
#Paso 4
Comencé a pintar mis piezas de azul.
#Step 4
I started to paint my pieces blue.

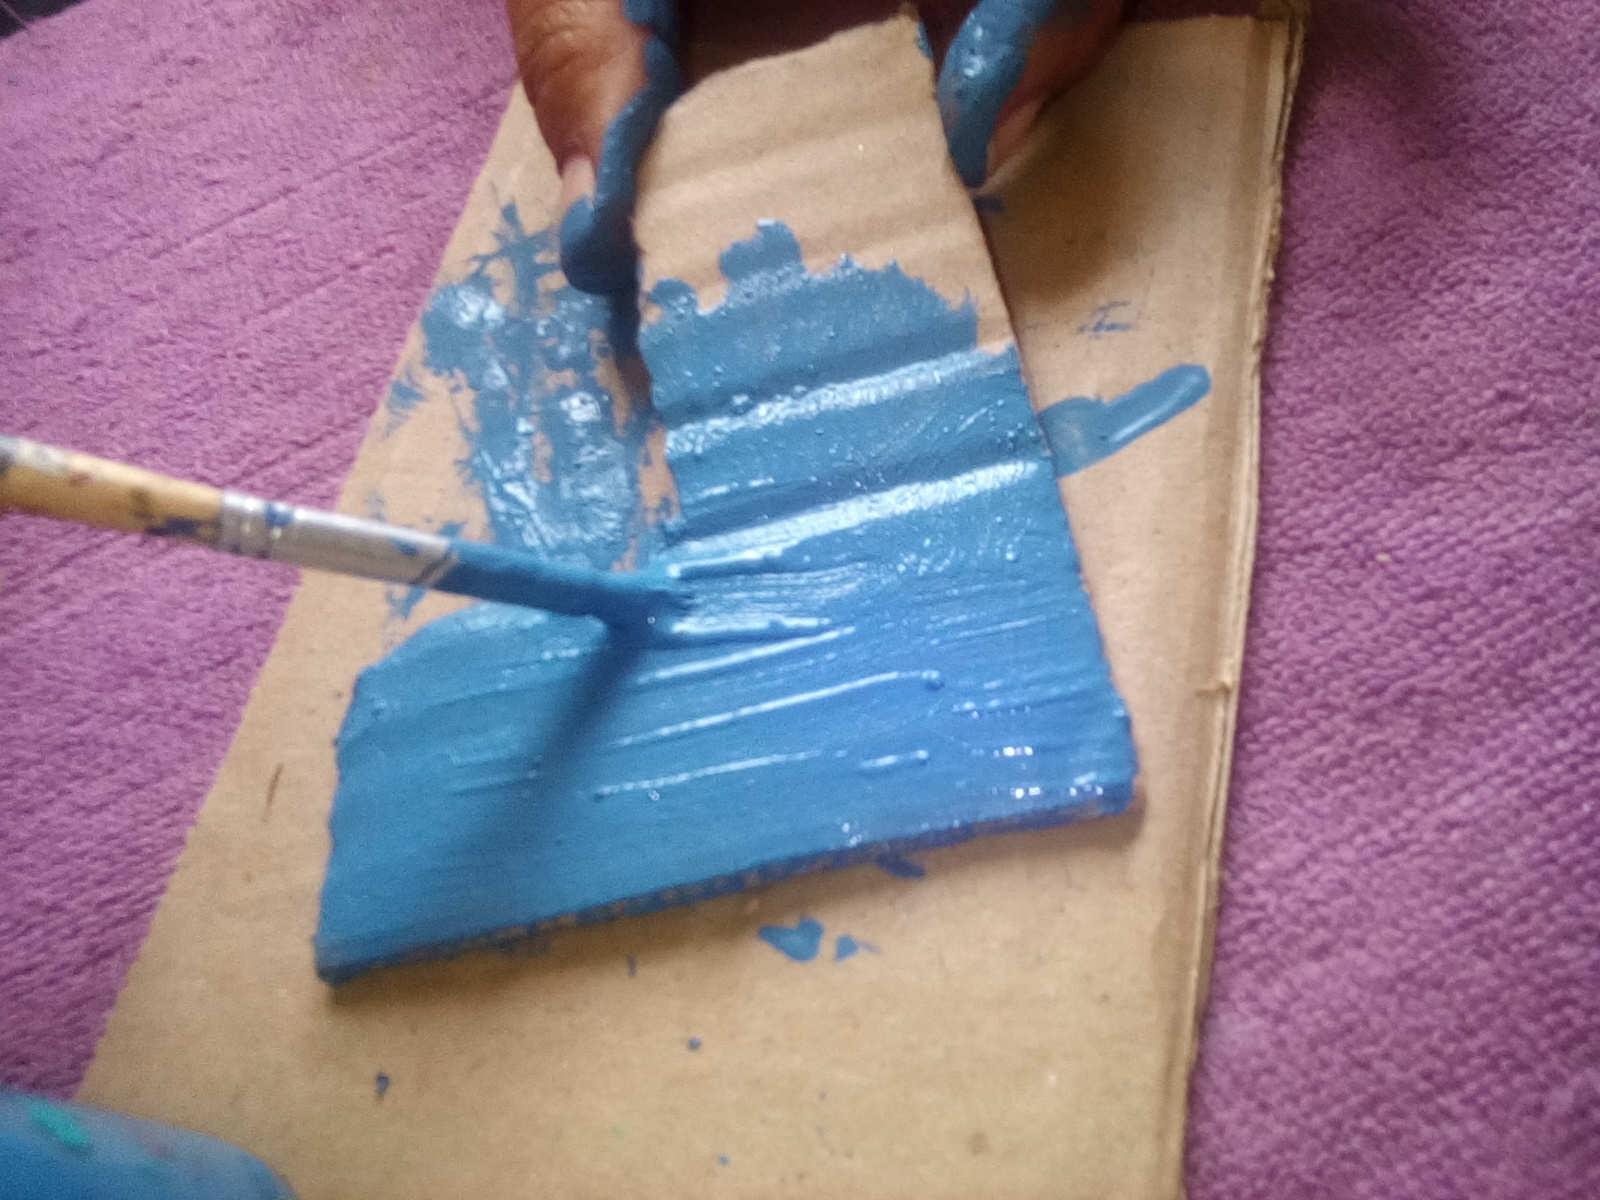
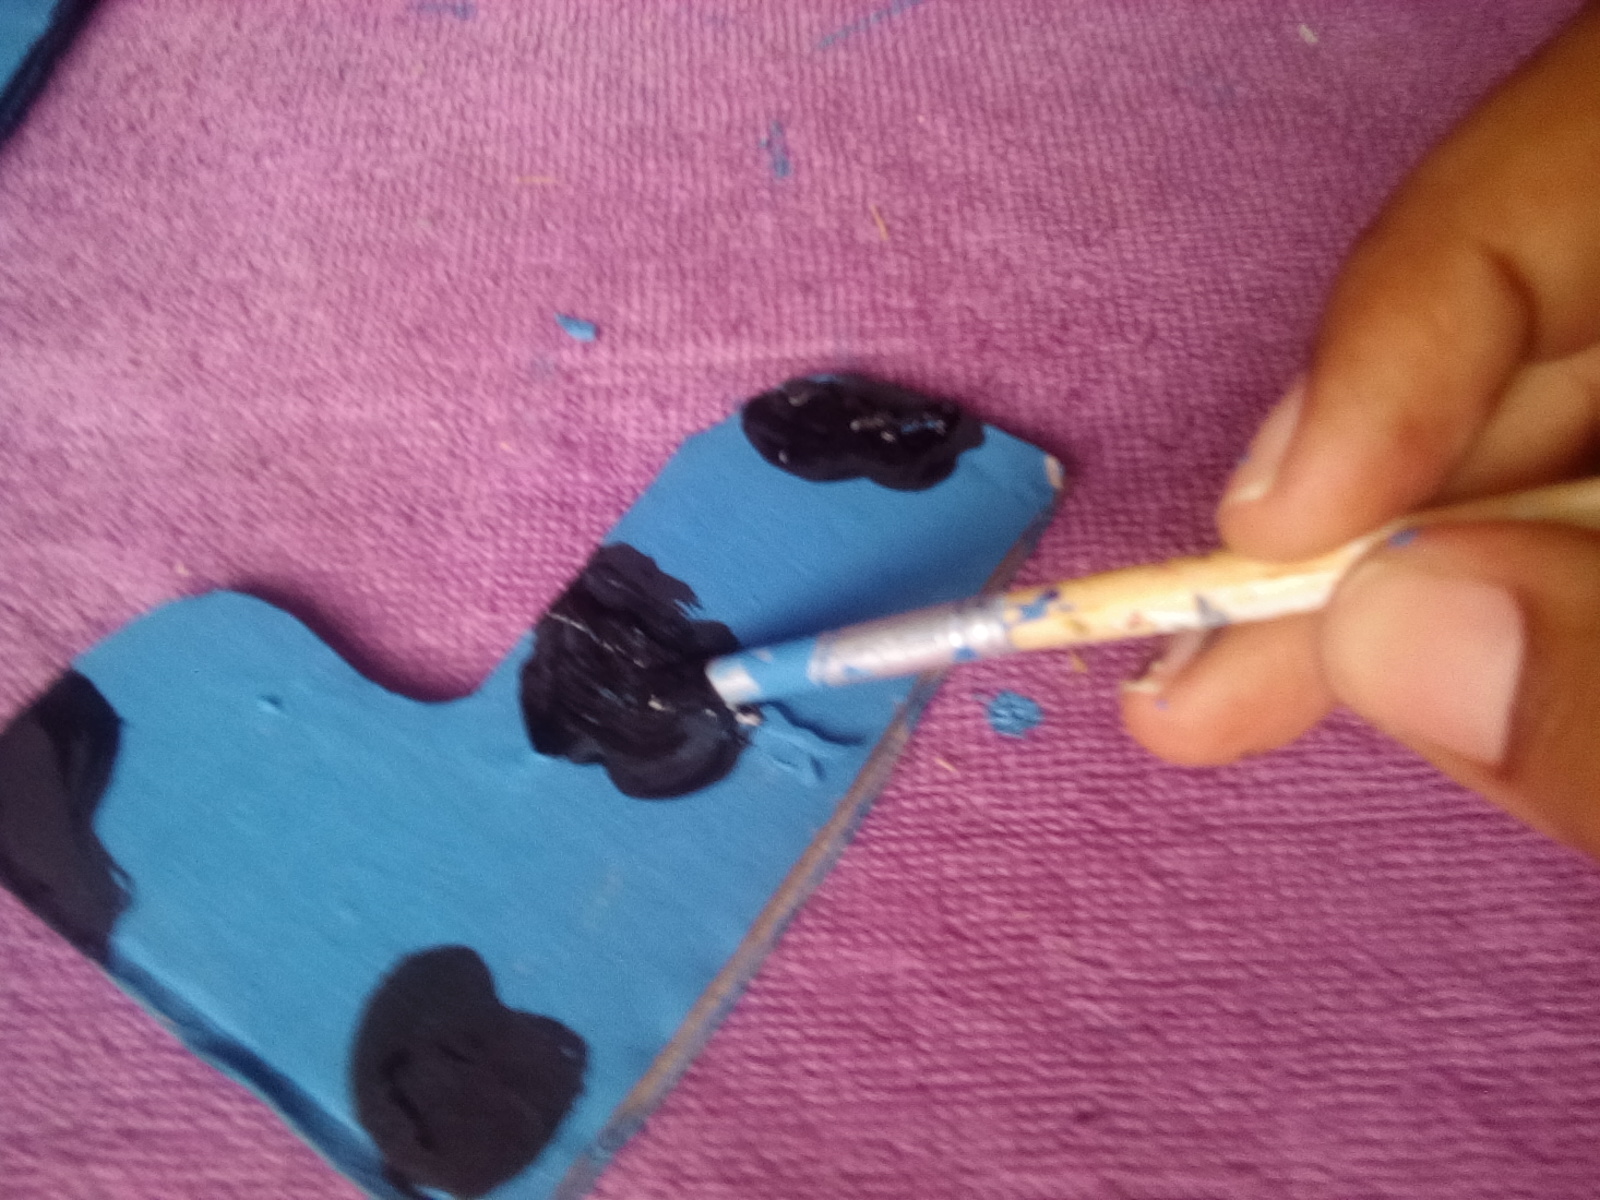
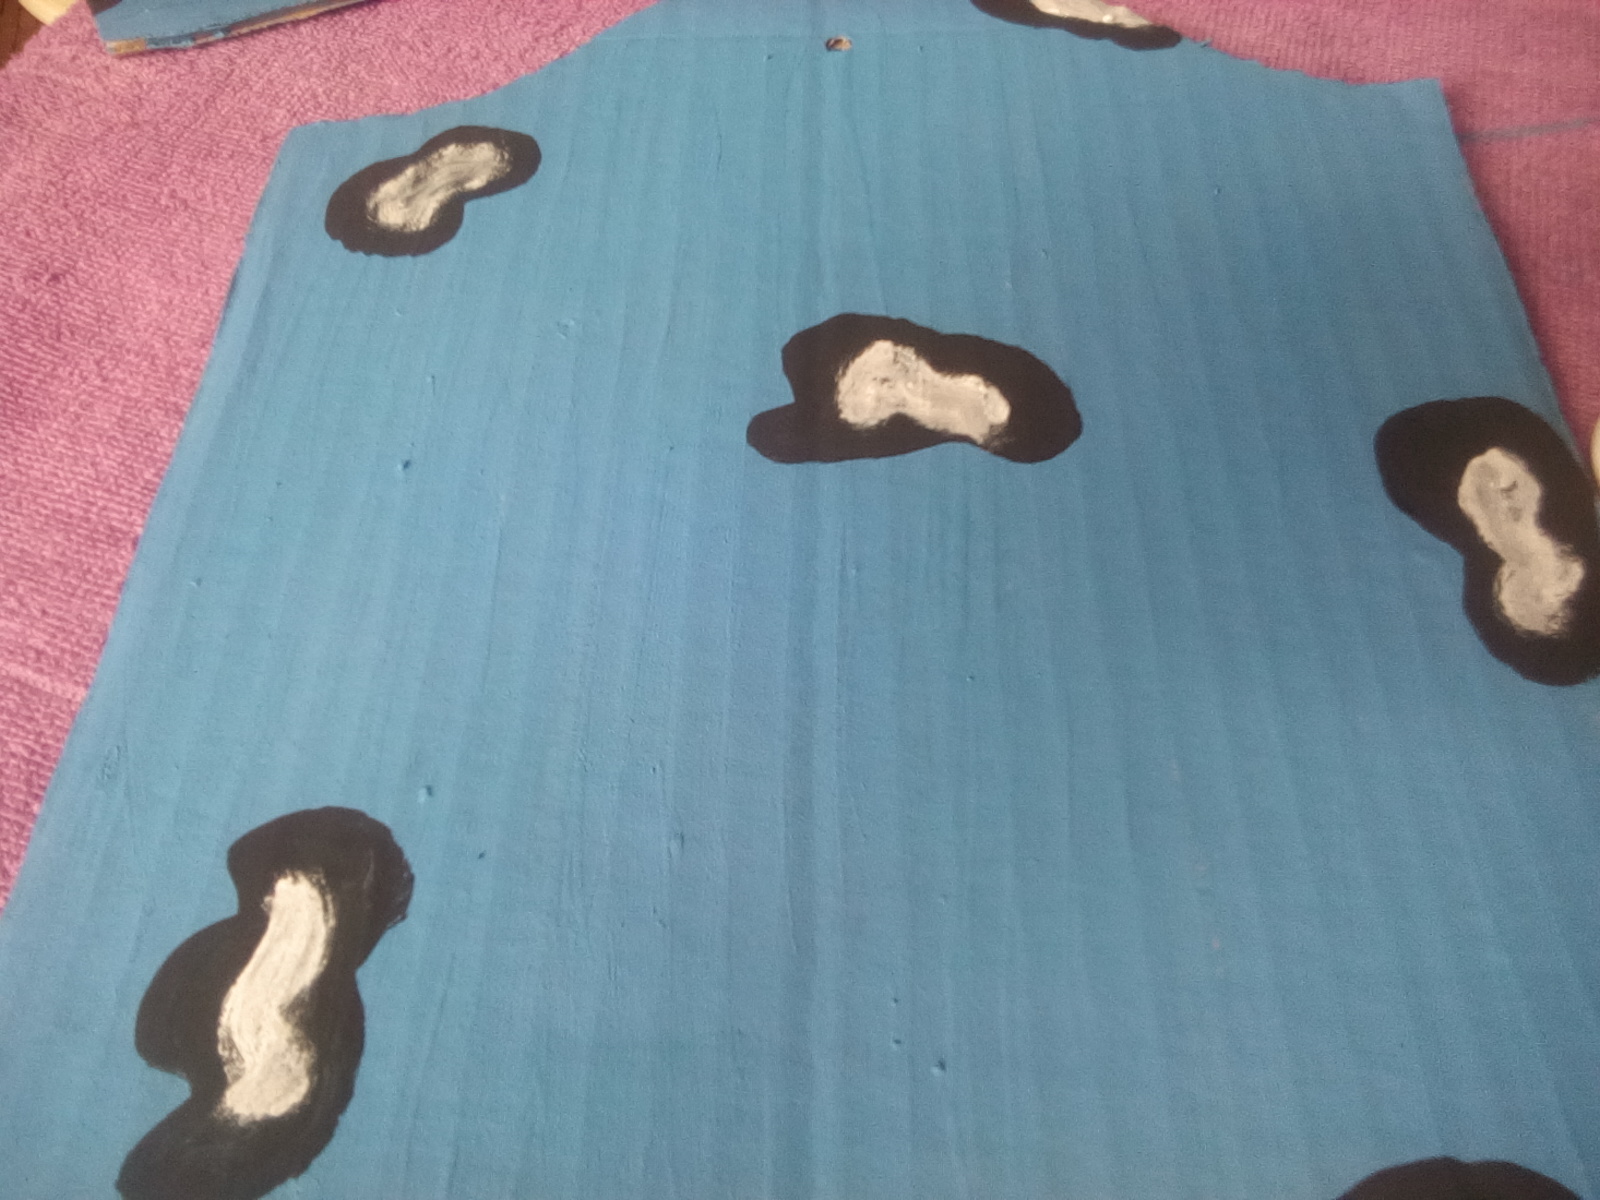
#Paso5
Y luego les coloque manchitas negras y encima de las manchas negras le coloque una mancha blanca a pincel seco.
#Step 5
And then I put lack spots on them and on top of the black spots I put a white spot with a dry brush.
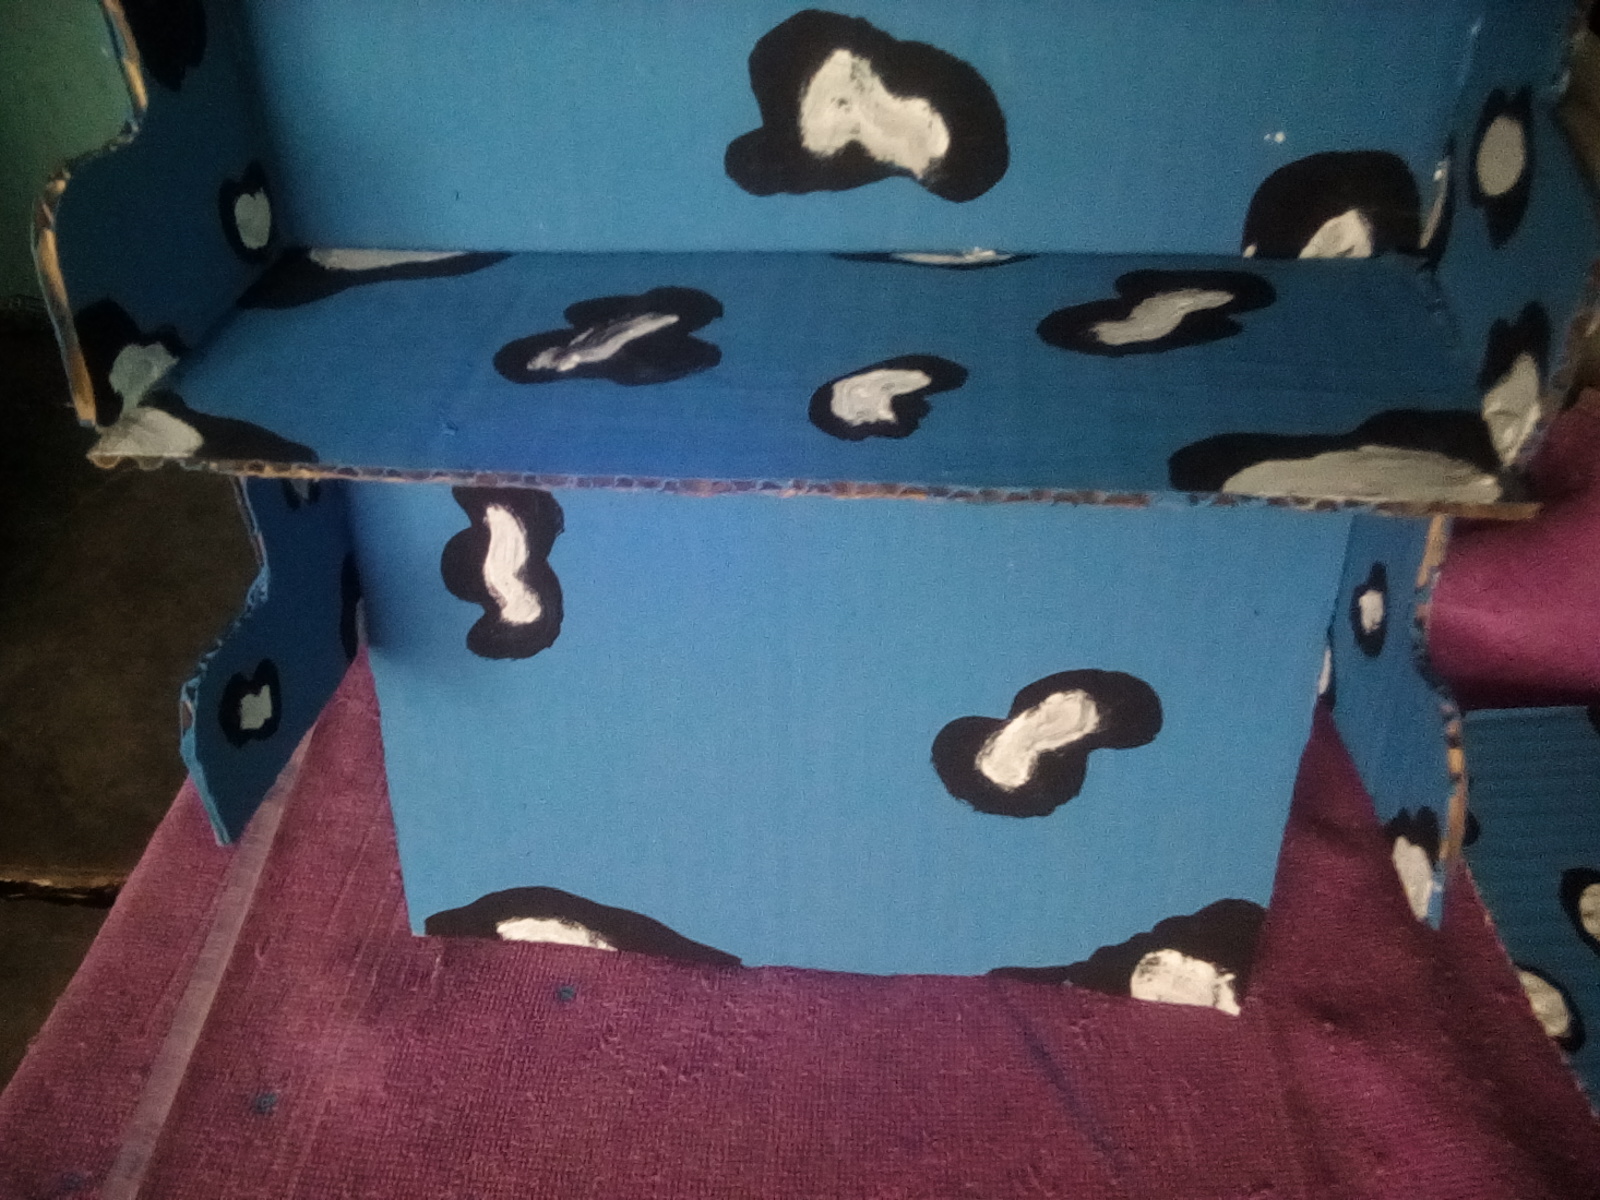
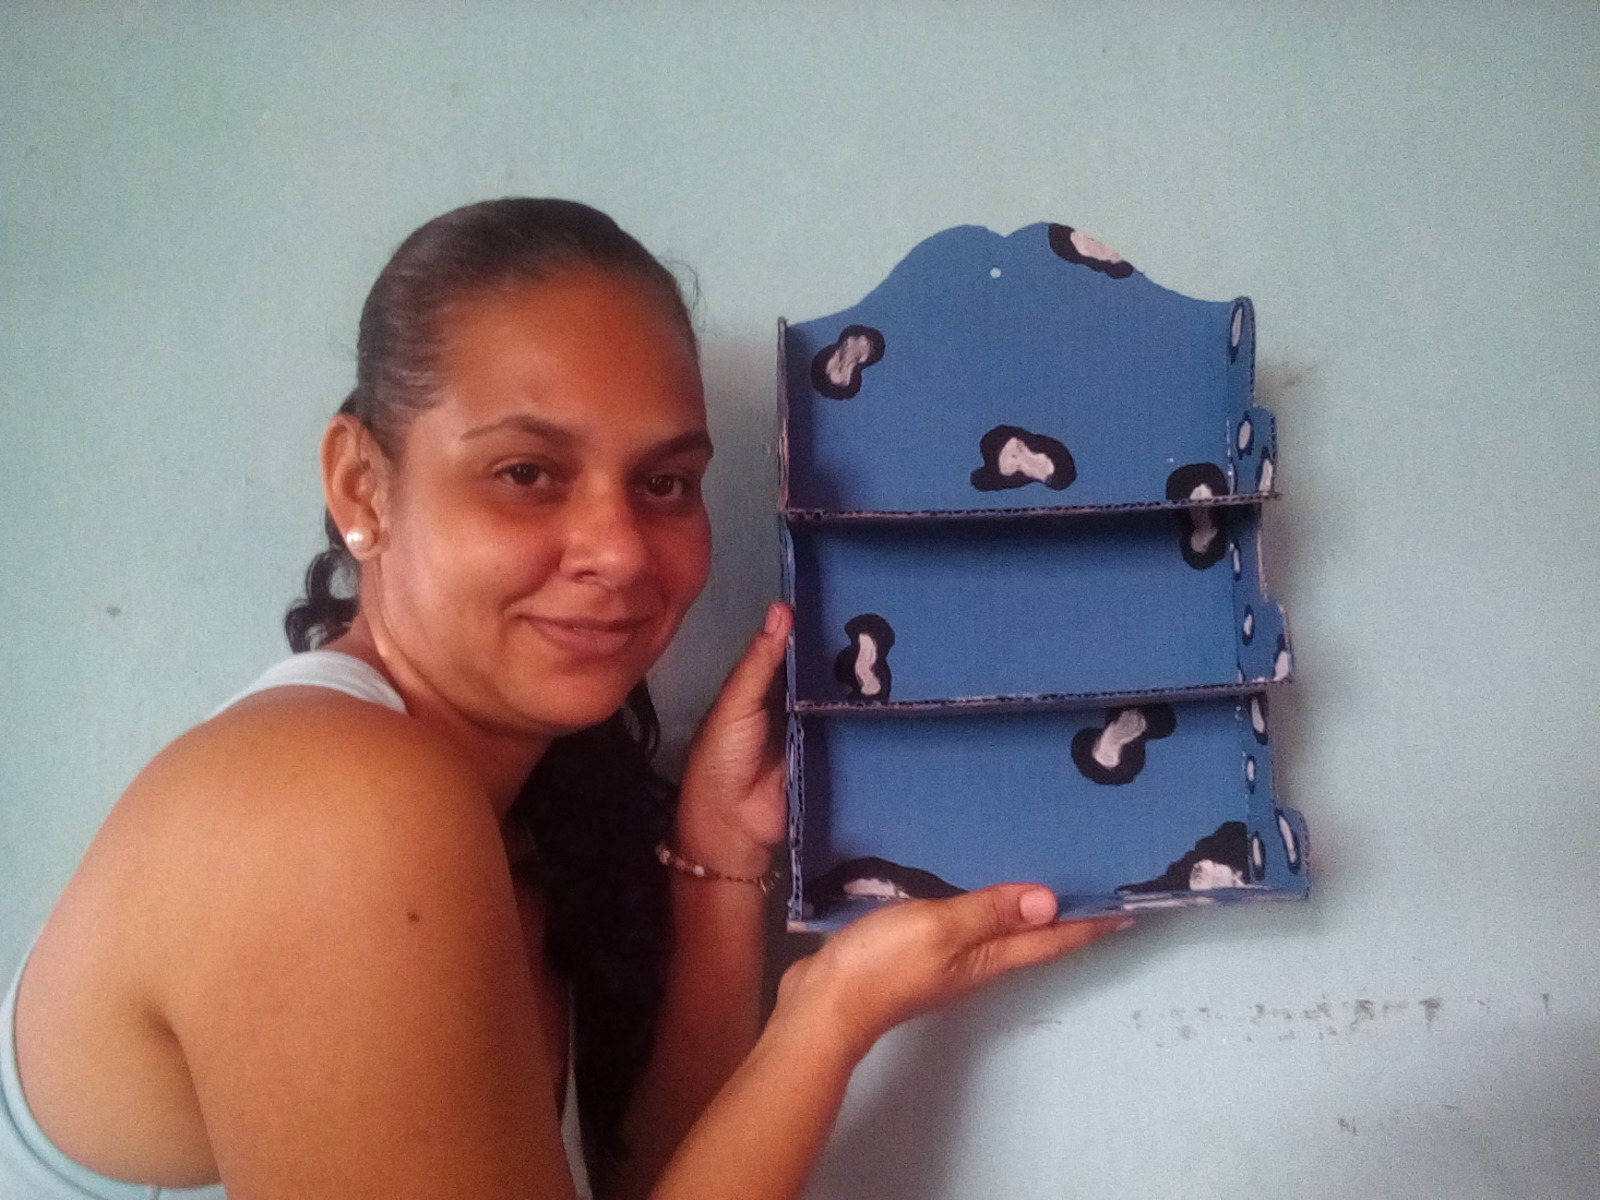
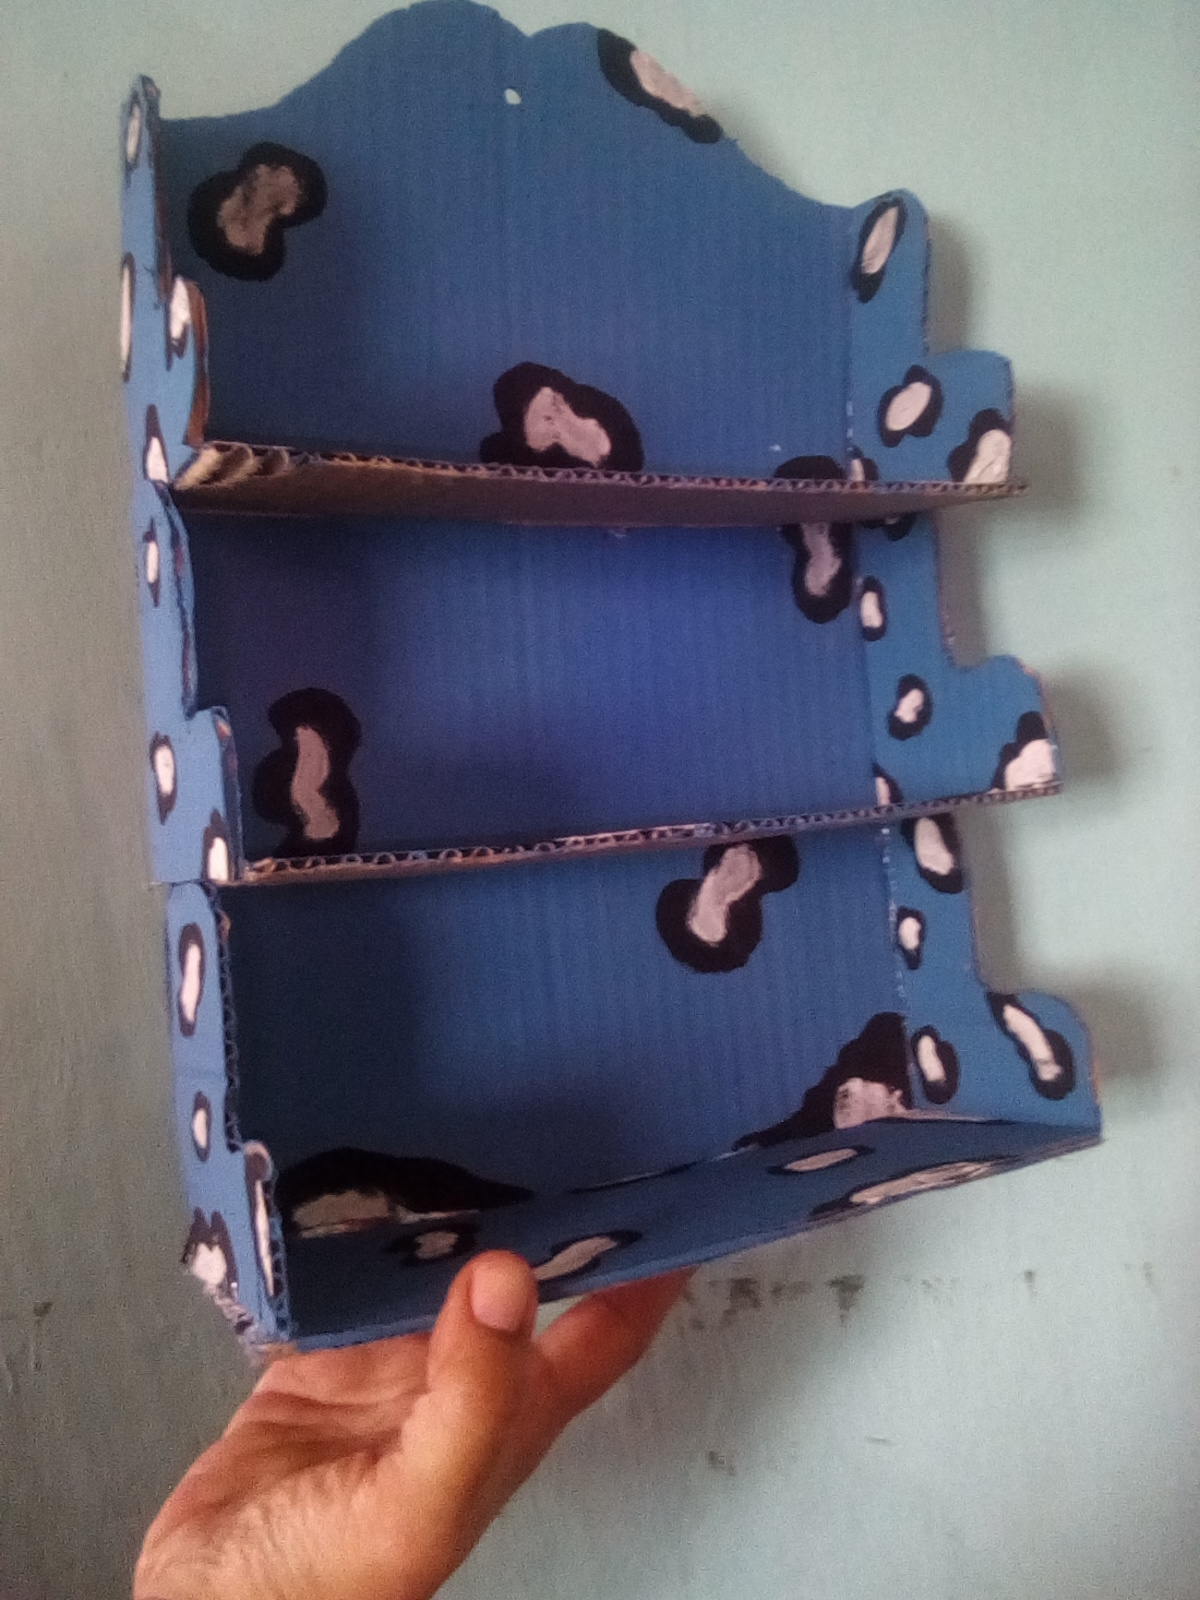
#Paso6
Y este fue el resultado de mi proyecto espero les haya gustado amigos.
step 6
I started gluing my pieces.
And this was the result of my project I hope you have liked friends.
Muchas bendiciones para todos.
Many blessings to all.
.
Muy creativo tu repisa y lo mas importante es que reciclaste. Buen trabajo @valleyesmin
Hola @valleyesmin que bien te quedo la repisa, gracias por compartir tu tutorial.
Congratulations @valleyesmin! You have completed the following achievement on the Hive blockchain and have been rewarded with new badge(s) :
Your next target is to reach 2000 upvotes.
You can view your badges on your board and compare yourself to others in the Ranking
If you no longer want to receive notifications, reply to this comment with the word
STOPCheck out the last post from @hivebuzz:
Your post has been curated by us! Received 20.00% upvote from @opb. Do consider delegate to us to help support our project.
Do join our discord channel to give us feedback, https://discord.gg/bwb2ENt
* This bot is upvoting based on the criteria : 1. Not plagiarised, 2. Persistent previous quality posts, 3. Active engagement with other usersDo upvote this commment if you 💚 our service :)