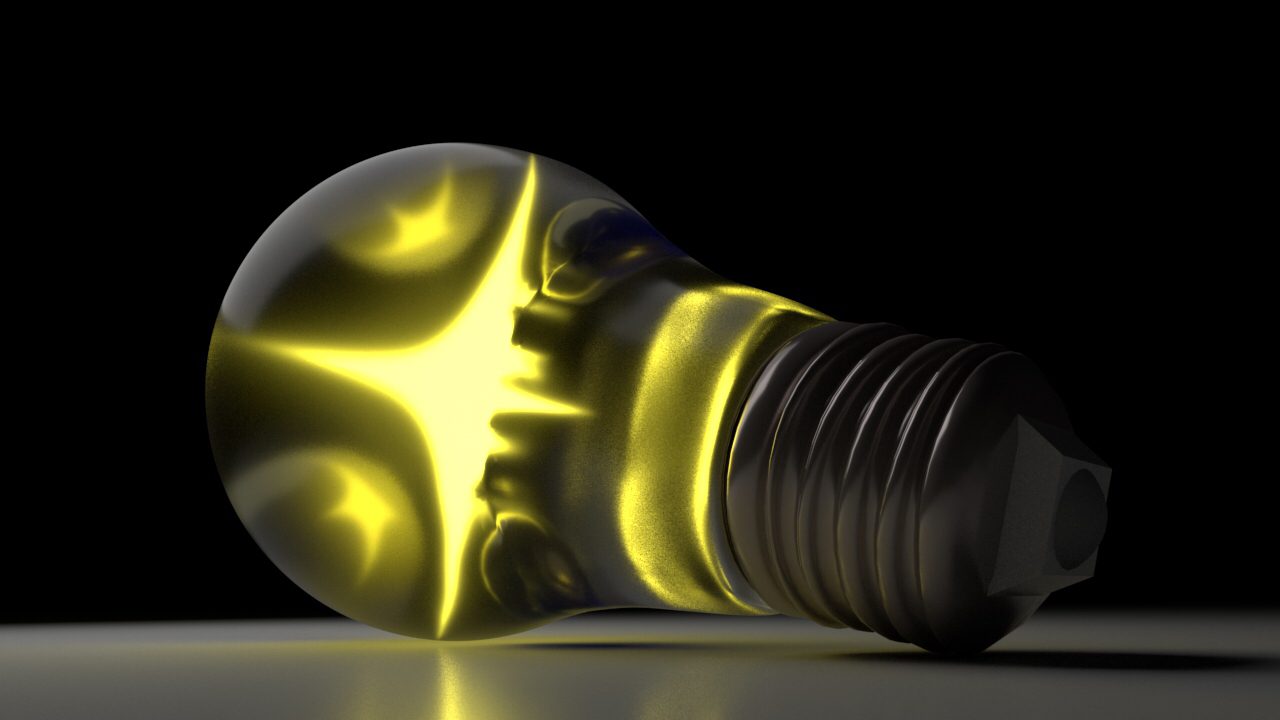
Hey hivians, Virtualbull is back again with a new one titled THE LIGHT BULB created using the Autodesk Maya software. So sorry guys that I haven’t posted for a while now, my rendering time is totally annoying due to the absence of an nvidia graphics card, also the light in my area is adding to the issue as it rearly comes by...anyways not withstanding, it wouldn’t stop me from creating, so let’s dive into the creation shall we...
Now this creation was a little bit different from my usual, as this time I modeled against a reference image, the link below...
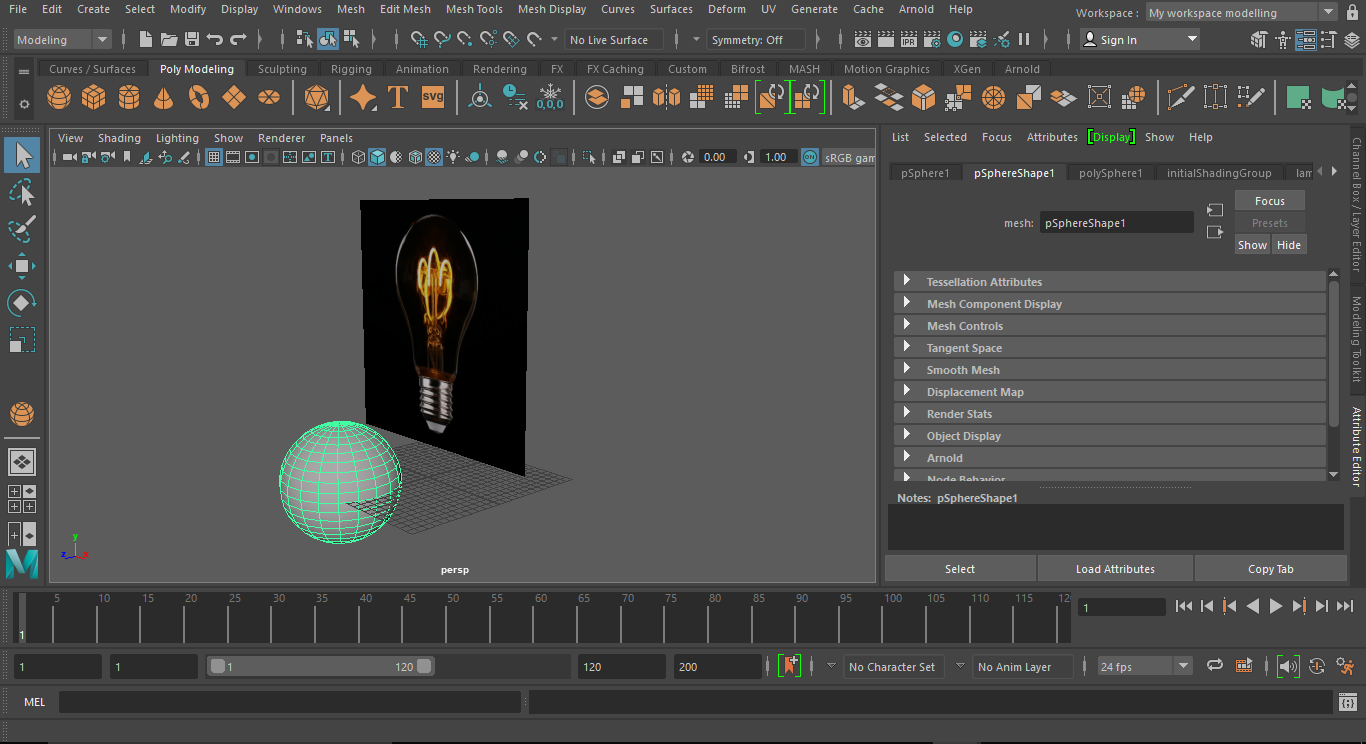
First of all, I used a mesh know as a plane, scaled it to the centimeter length wise and breadth wise of my reference image, added an aistandardsurface material, made my color a file, selected my reference image file, hit 6 on my number pad to make the image appear on the plane, and selected the automatic uv editor to make the image balance well on the plane, an illustration below...

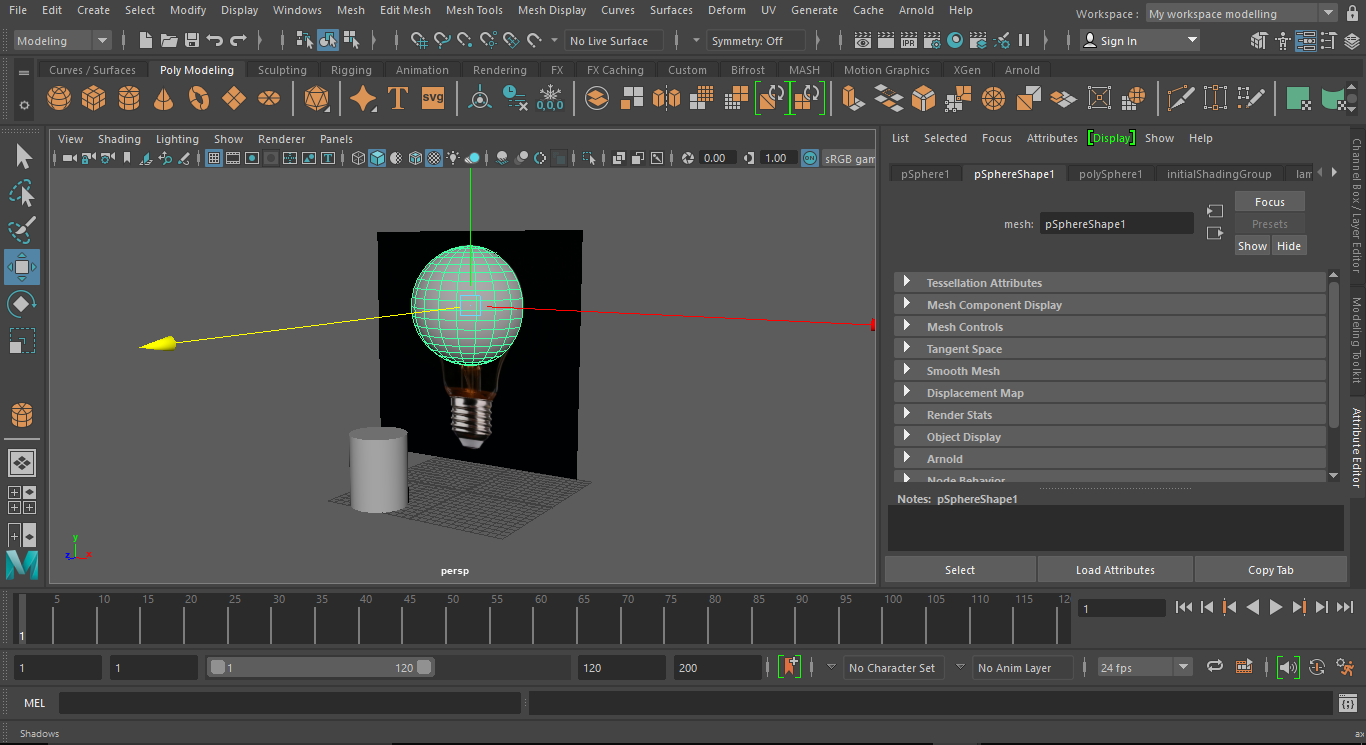
Next, I used one of my favorite mesh know as a sphere to start off modeling, an illustration below...
Then, I placed the sphere on the reference using the move tool, got into the x-ray mode under the lighting menu, an illustration below...
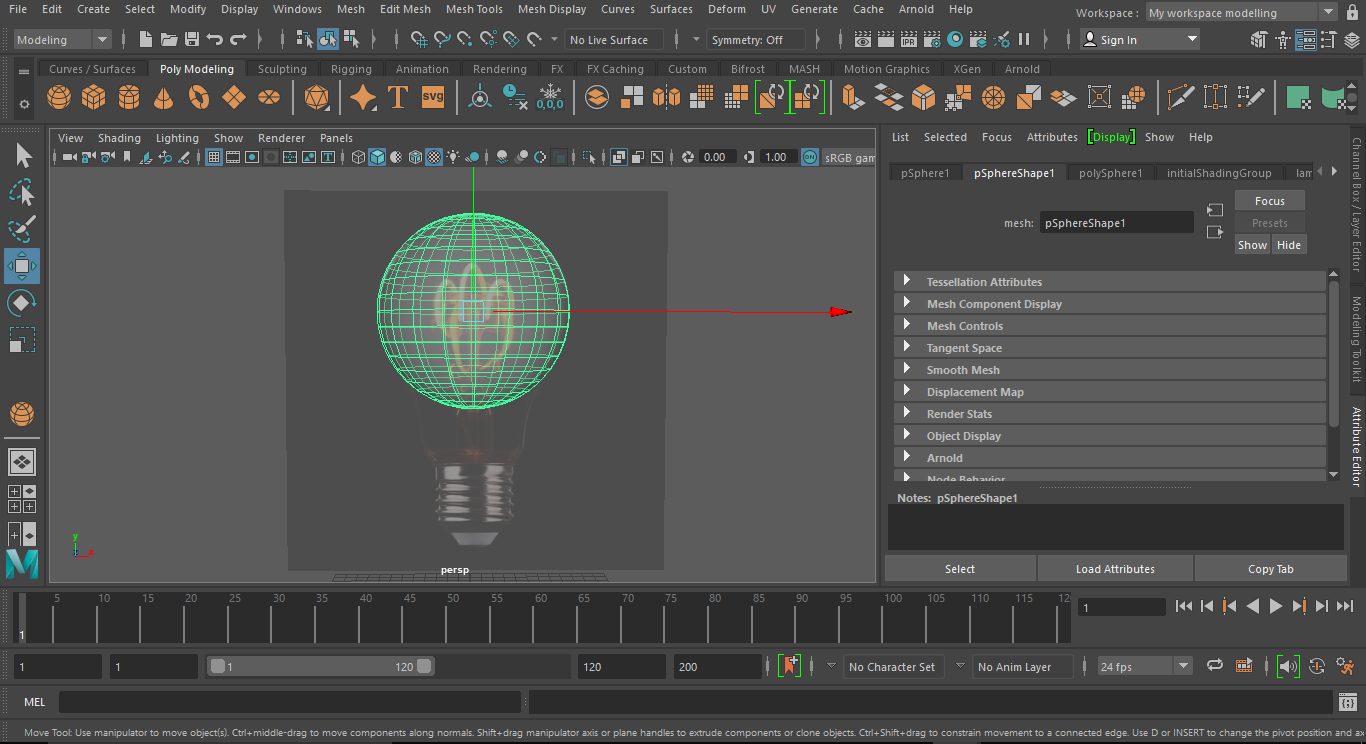
In x-ray et wireframe mode, I got into vertex select mode, selected the lower vertexes of the sphere and moved it downward in relation to the reference image and messed around with some vertex a little, an illustration below...
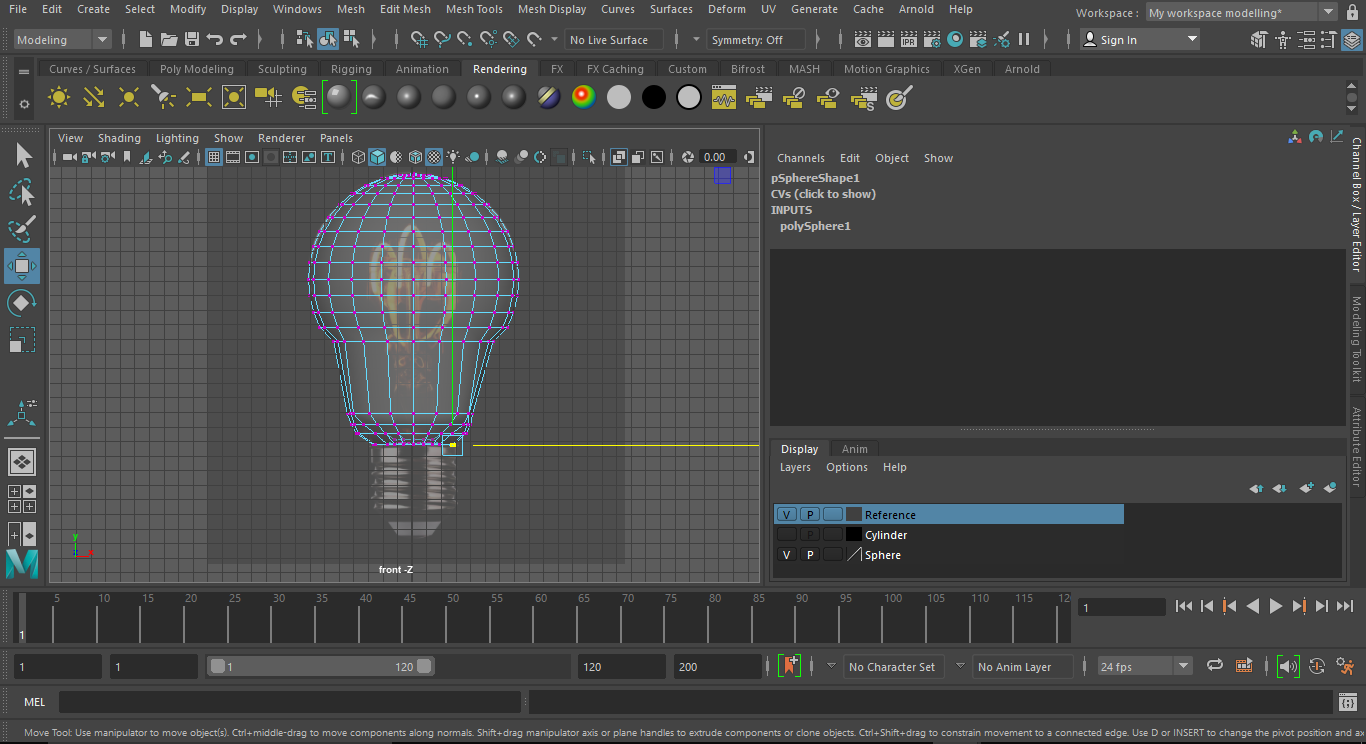
Next off, I hopped into creating the metal of the light bulb using another mesh know as the cylinder, and illustration below...
Moved the cylinder in reference to the image, added some height, used the bevel tool to add even more height, an illustration below...
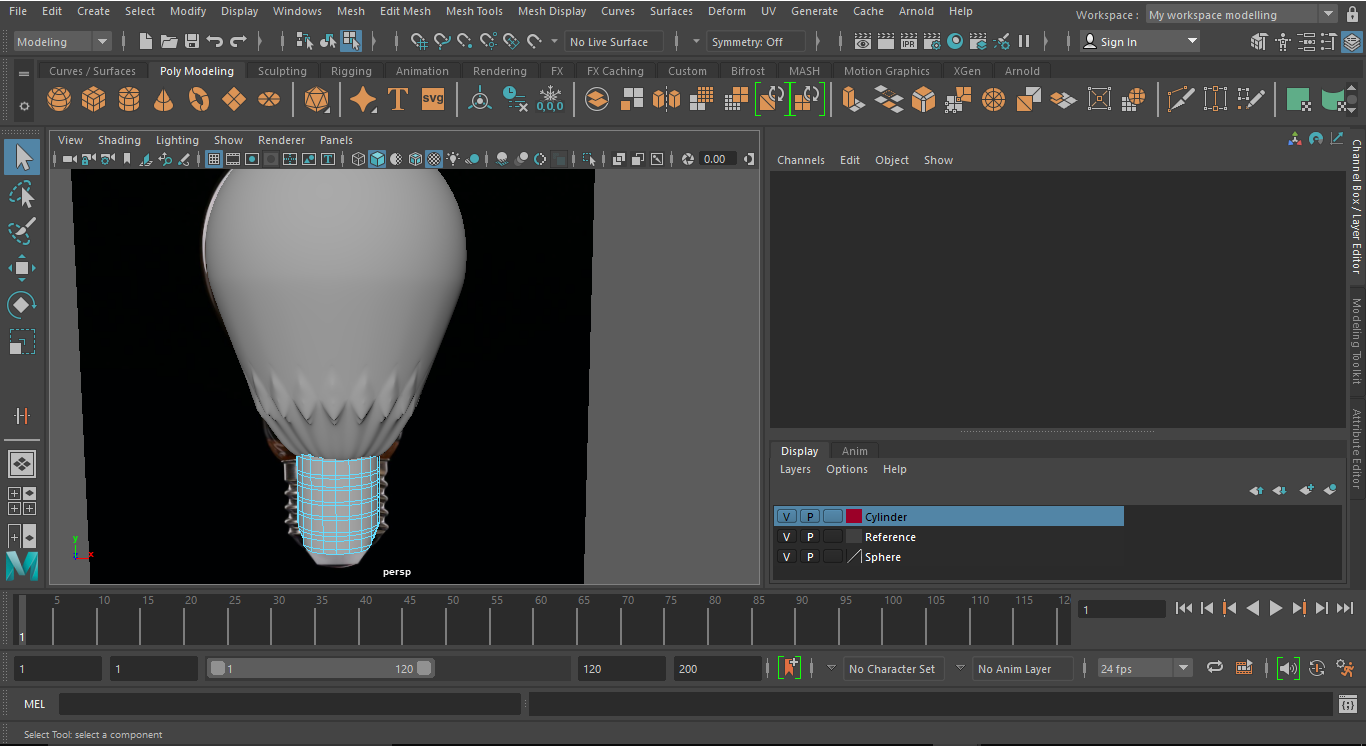
Getting into face select mode, I selected some faces around the cylinder and applied thickness(shortcut:- ‘ctrl + e’ on a windows os and ‘cmd + e’ on a Mac OS), also go into sculpting mode and used the raise tool(I think that’s what it’s called not too sure lol) to raise the selected faces to make the bulb iron more realistic, an illustration below...
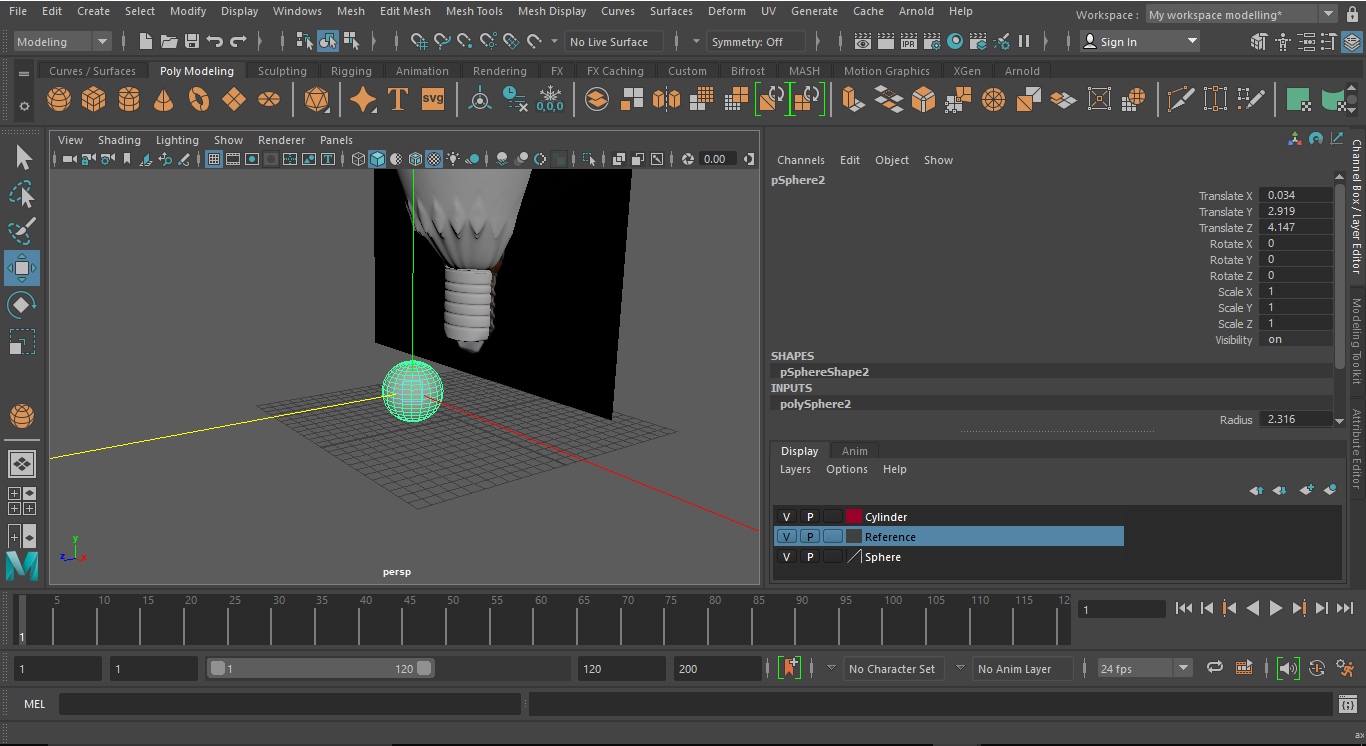
Lastly, I created the little hook at the bottom using my square mesh and the sphere mesh also.
Em...I think that’s about it...lol
Before i forget...I smoothen the creation and deleted my creation history.
THE END

Congratulations @virtualbull! You have completed the following achievement on the Hive blockchain and have been rewarded with new badge(s) :
You can view your badges on your board And compare to others on the Ranking
If you no longer want to receive notifications, reply to this comment with the word
STOPTo support your work, I also upvoted your post!
Support the HiveBuzz project. Vote for our proposal!