This job was from a few years back, located in Monmouth Wales. We have built gardens in this part of town before and all of them have not been easy. The housing estate is situated on an incredibly steep hillside making access very tricky. Quite a few of the houses throughout the estate are very similar to this one. As you look from the front it has 3 floors, the first floor is mostly filled with the in-built garage, and from the back the house only appears to have 2 floors, as the ground level rises and entire floor level, over the width of the building. The kitchen and living room therefore, are on level 2. The rear garden continues to rise as this alarming rate, and at the top of the garden you are clearly 40 or 50 feet higher than the peak of the house roof. So you could imagine just how much hard work is is involved in building and maintaining these gardens. Lucky for us, on this stage we were just doing the front drive.
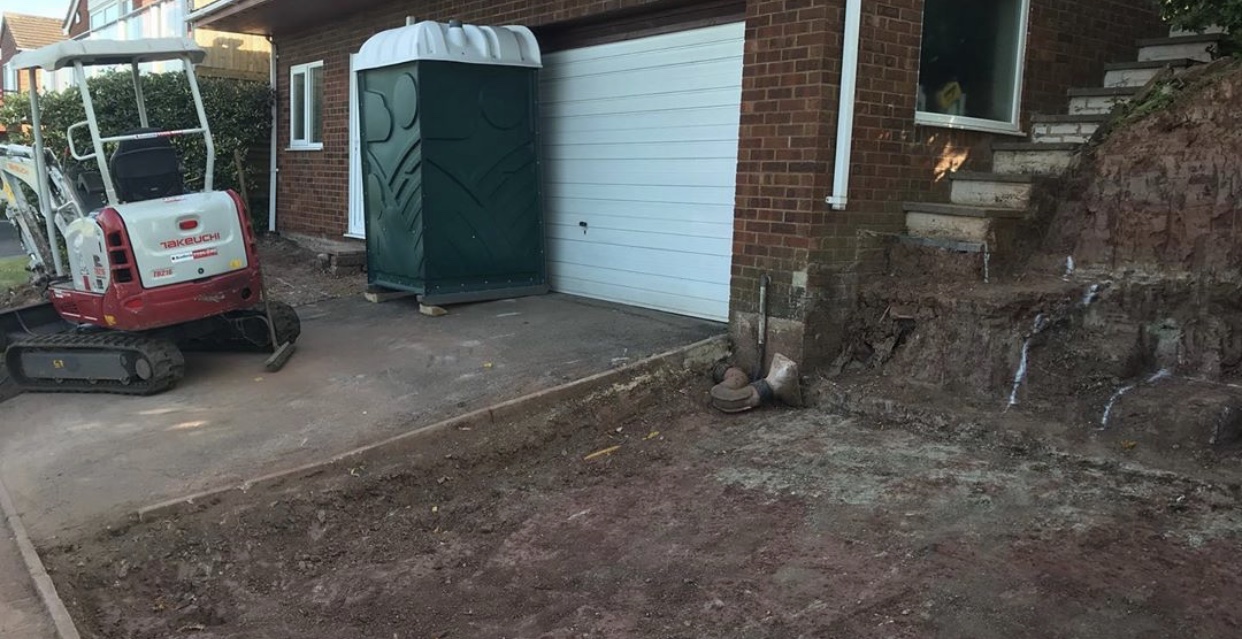
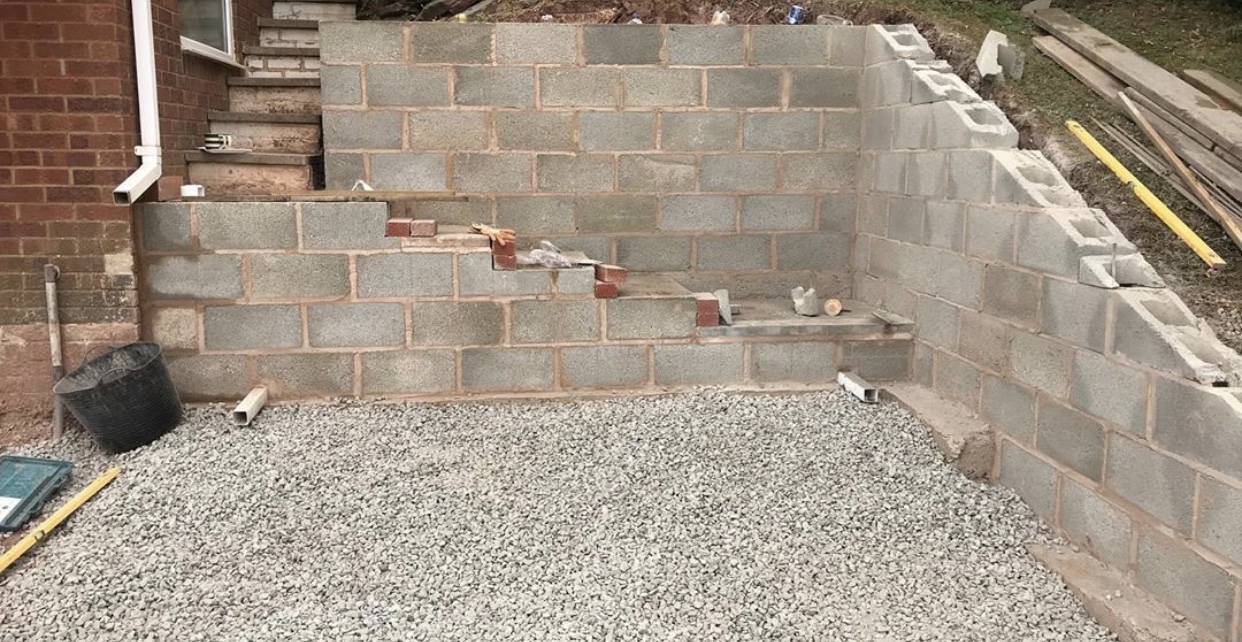
There was already a narrow strip of tarmac leading to the garage, which we were removing, and replacing with block pavers, and also extending to the full width of the house So the first job was to dig the entire front garden down to allow for an adequate base, and the thickness of the brick pavers. Also we dug out for the steps which were being built out of concrete block and clad with 100mm half round timber.
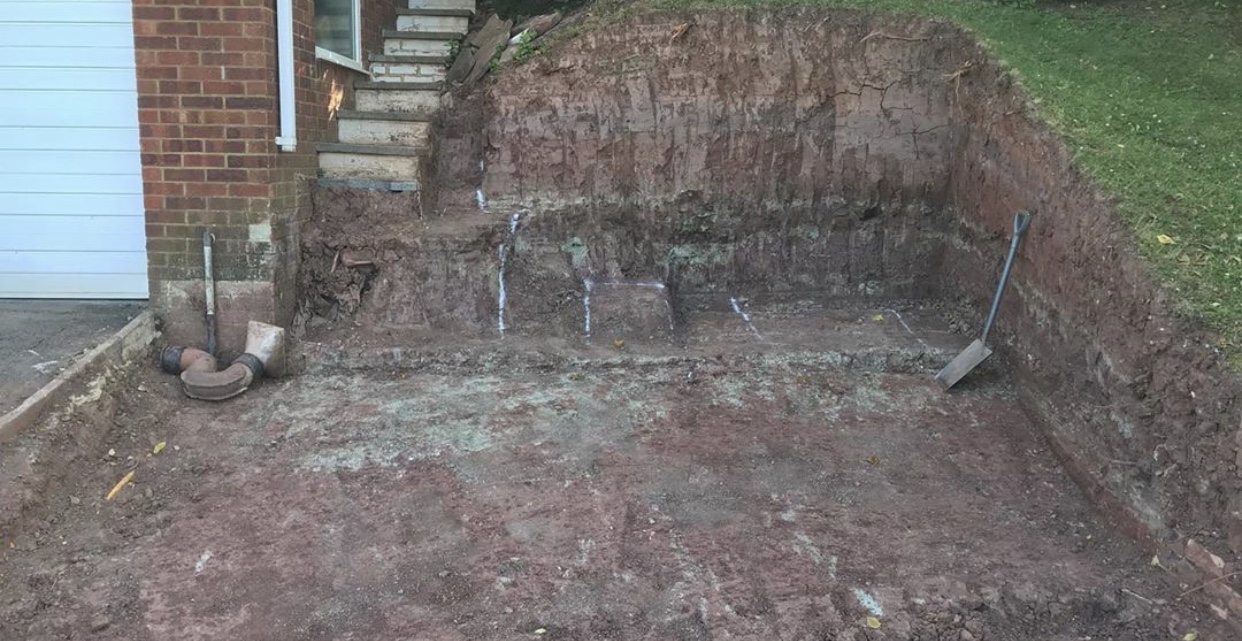
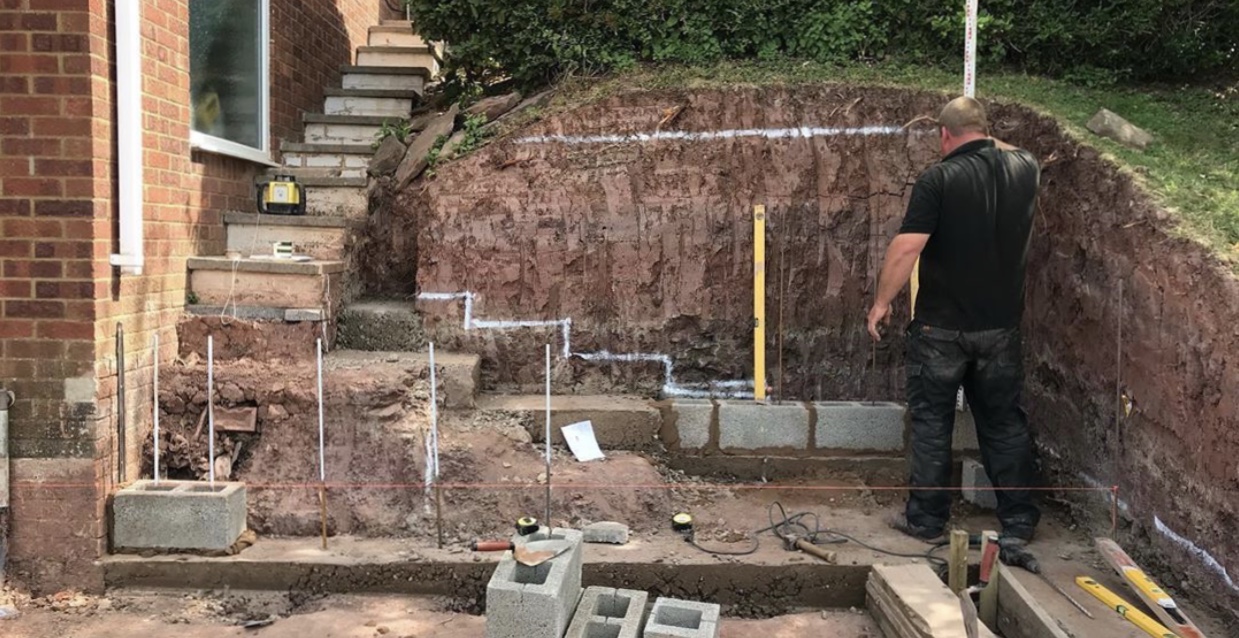
Once this was all dug out it was time to get the calculator app out on my phone, and spend a fair time calculating the hight of each step, and exactly where they are being placed. Then double, triple and quadruple checking all calculations. A simple mistake here could be costly. Once that is sorted, we need to then dig each step down far enough to allow for the slab top, block riser, and concrete footing. It really is very easy to make a schoolboy error and cost you days of work when building a complex set of steps like this. Luckily over the many years of constructing things like this, I have made such mistakes, and I now I make sure to never make them again. So then it was onto the block work.

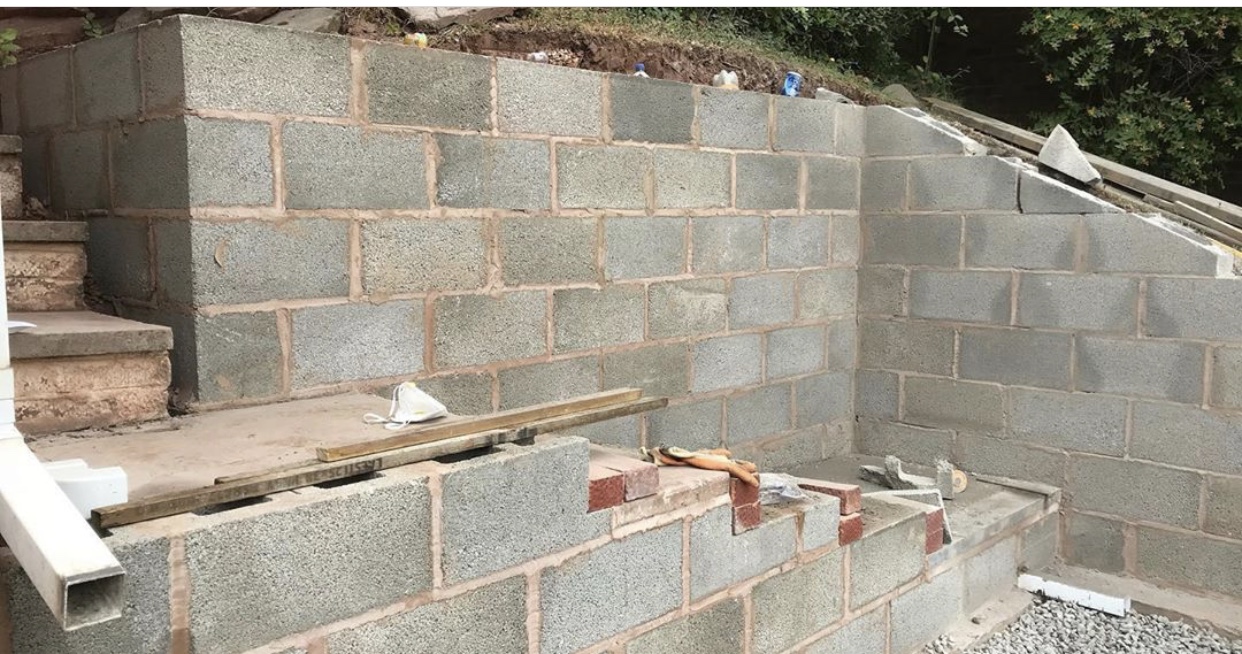
2 1/2 days to complete that task seems like a lot for the amount of blocks involved, but there were a lot of cuts to do, and no mistakes were made so that was a good few days. Then we started the driveway.
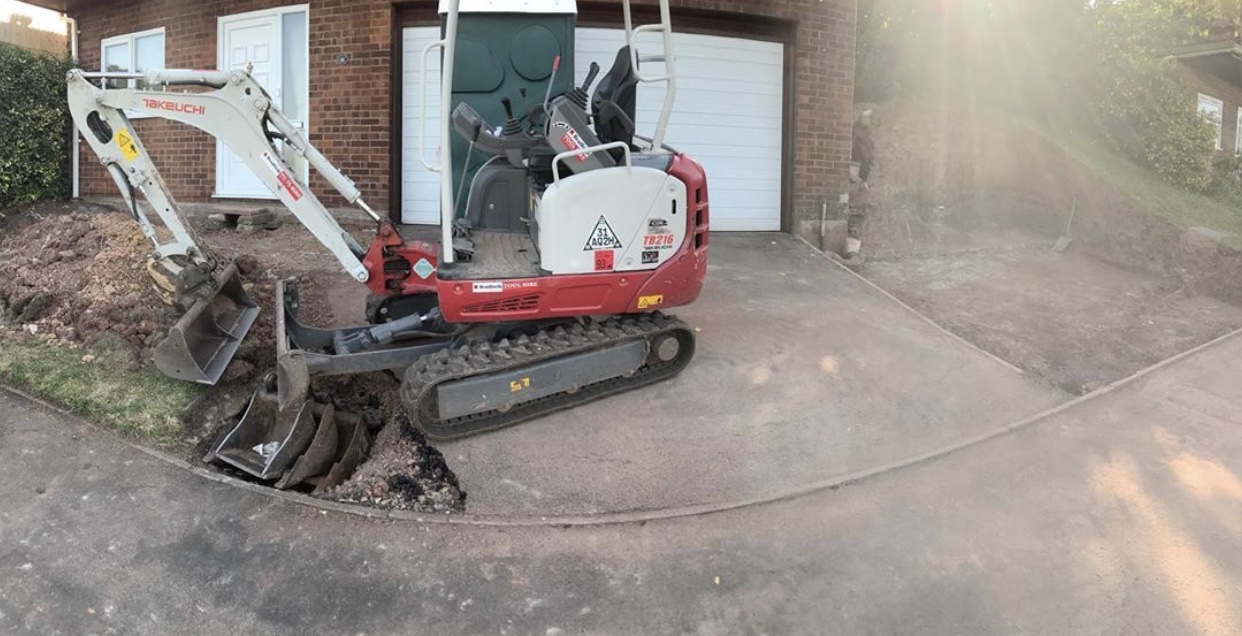
A very large amount of front lawns and gardens have been turned into driveways over the last few decades, resulting in a huge amount of surface area nationwide, that now leads directly into the UK’s storm drain system. In the last handful of years certain parts of the UK have frequently been suffering from floods as the drains are now taking a huge percentage increase of rainwater because of this. The government and councils have now looked into the matter and have now made it a requirement in some areas that all new driveways have to be permeable (allow the rain water to soak through) Monmouthshire is one of these areas, so we are increasingly installing these, and they work very well.
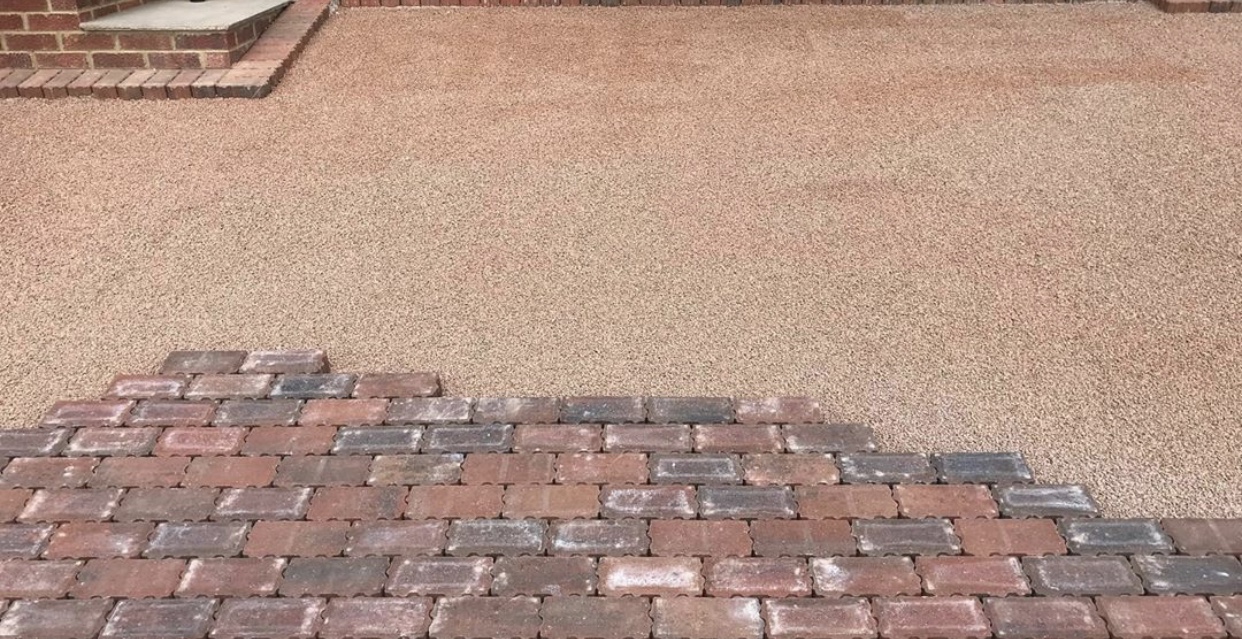
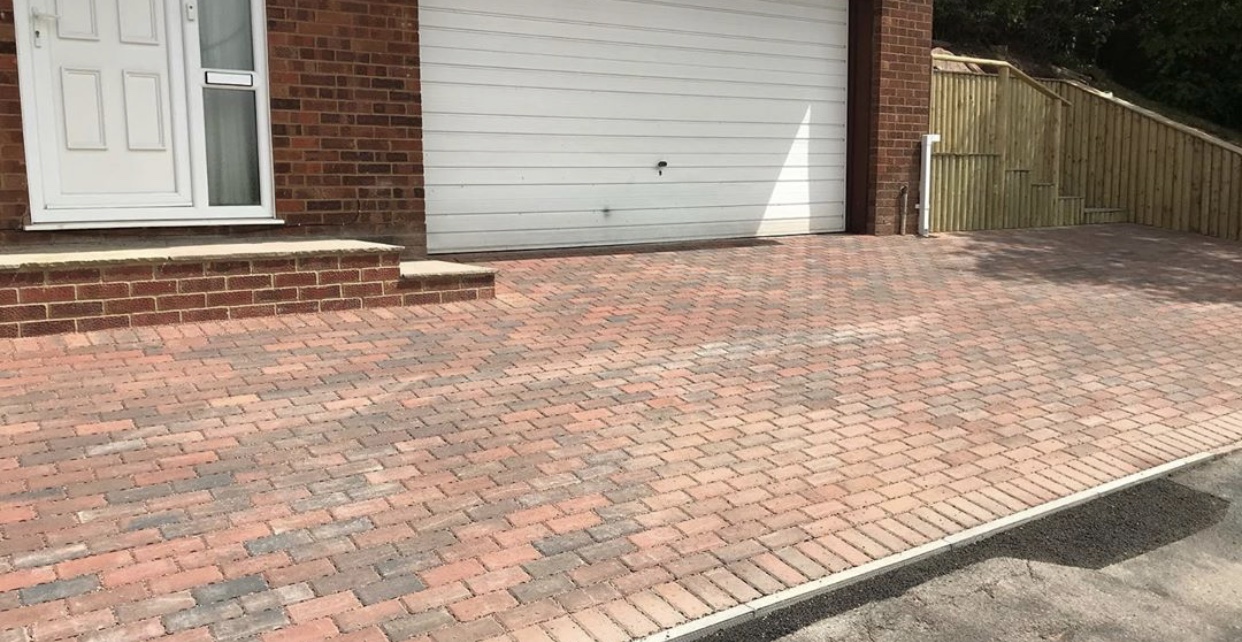
First layer in the sub base is of what the quarries call “crusher run”. This is a mixture of stone from 60mm peace’s down to dust. It gives an extremely solid base when compacted, and also allows the rainwater to soak through. Then we put a compacted 8mm clean gravel layer for the blocks to sit on. Usually this layer is compacted sand for standard blocks, but sand does not allow the water to drain through quickly enough. Then the block sitS right on top of that layer. The only concrete involved is on the outer ring of the driveway, to drop everything spreading out over time. Everything else is sat on lose materials, that have been compacted. It was then finished off by brushing a fine grit into the gaps of the bricks, this is where the rainwater drains through the surface.
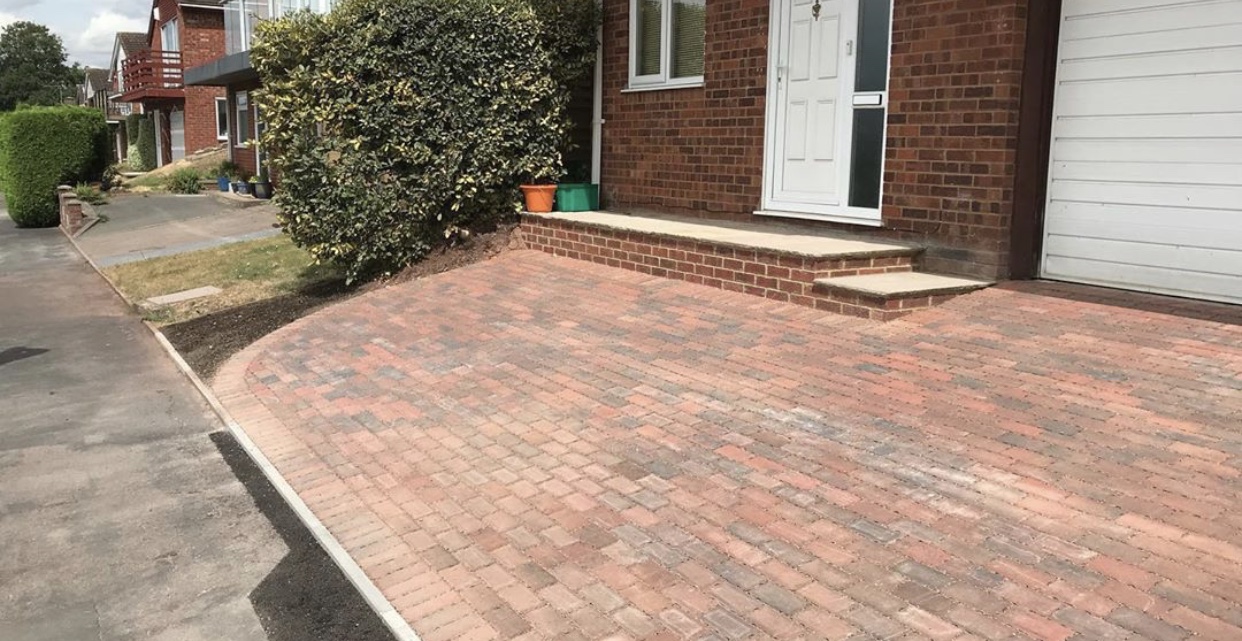
Final job was to clad the steps. I have to admit, the half round timber wouldn’t have been my choice, but it’s what the client preferred. I would have gone for a flat timber, maybe even a decking board. Overall a nice job that ran smoothly, with no hiccups.

Thanks once again for your interest, any questions feel free to ask.
Sloping plots like that would make life difficult. I hadn't realised a block paved drive could still be permeable. We have gravel, but it is inevitably full of weeds. I try to keep on top of that. This job looks very neat.
Thanks @steevc. There are a lot of pavers available that are permeable on the market now. You can also get permeable tarmac, although it doesn’t look too nice. Gravel is the easy option to be honest. Just needs a bit more maintenance.
Congratulations @leighscotford! You have completed the following achievement on the Hive blockchain and have been rewarded with new badge(s) :
You can view your badges on your board And compare to others on the Ranking
If you no longer want to receive notifications, reply to this comment with the word
STOPDo not miss the last post from @hivebuzz:
Support the HiveBuzz project. Vote for our proposal!