Welcome to the next installment of my WALKTHROUGH | Series. Today I wanted to look at a new piece I've created - I call it Cold Steel.
Steelhead Falls, where this image was taken is a stunning and diverse area with a ton of photographic opportunity. During a rare cold snap I managed to make my way down through a risky trail of unstable ground to the base of this waterfall where I explored the ice fall.
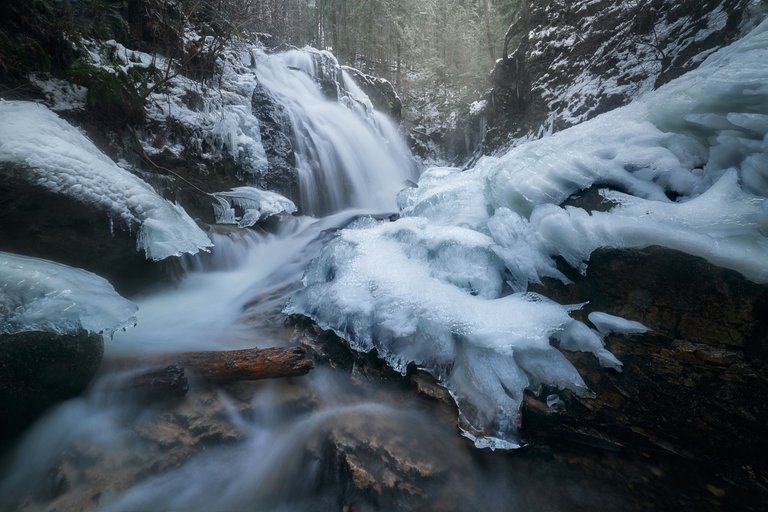
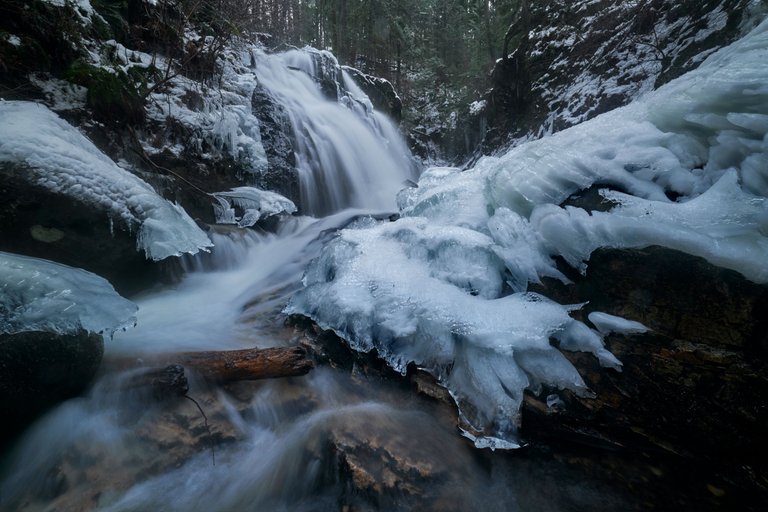
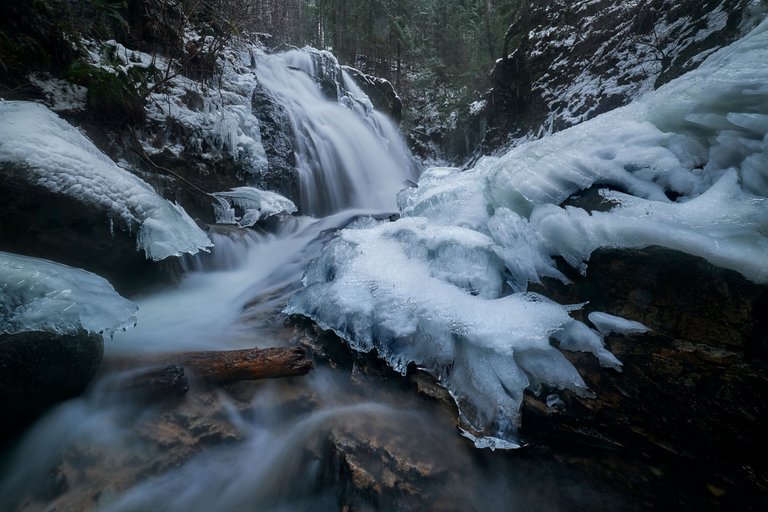
Final Image
Per usual, we start with the final image. This is to provide an end goal to keep in mind, to give you your first impression and a place to reference as you go through the rest of these images. My intent with this image and the final goal I imagined while editing this shot was to create a sense of deep cold within the scene while maintaining the lush feeling this waterfall has in the summer months. To do this I wanted to create a deep blue in the ice, highlight the jagged edges and textures in the ice, and add a layer of atmosphere to create a dreamy feeling final shot.
Composition and Picking the RAW image
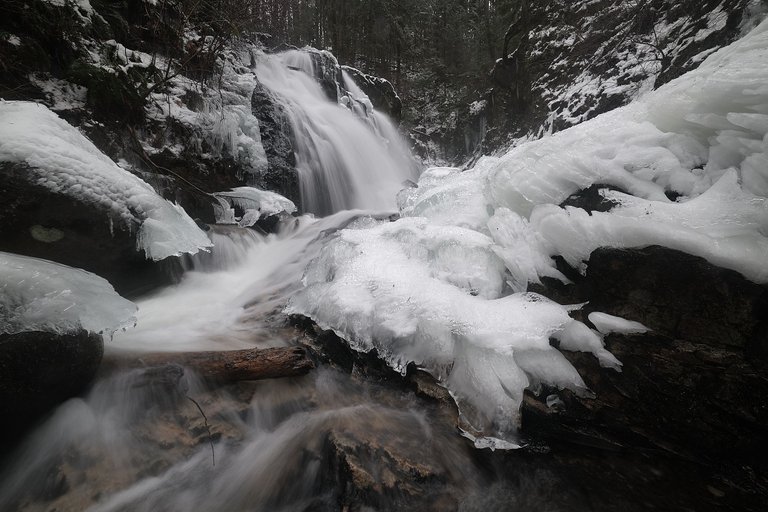
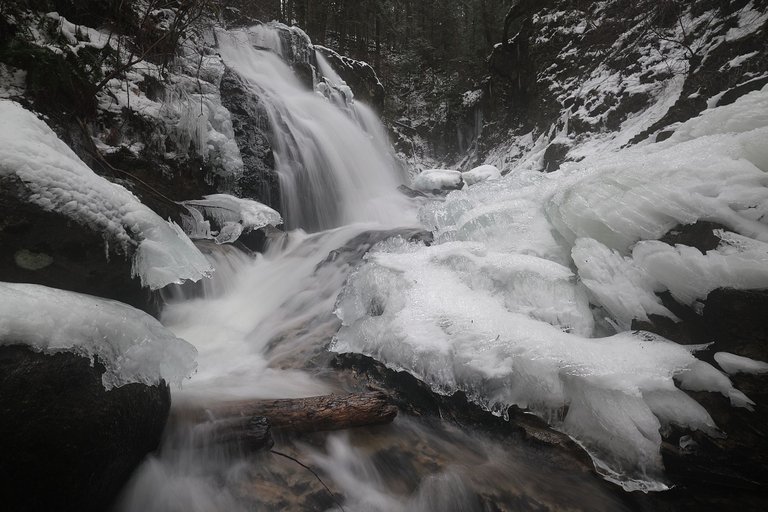
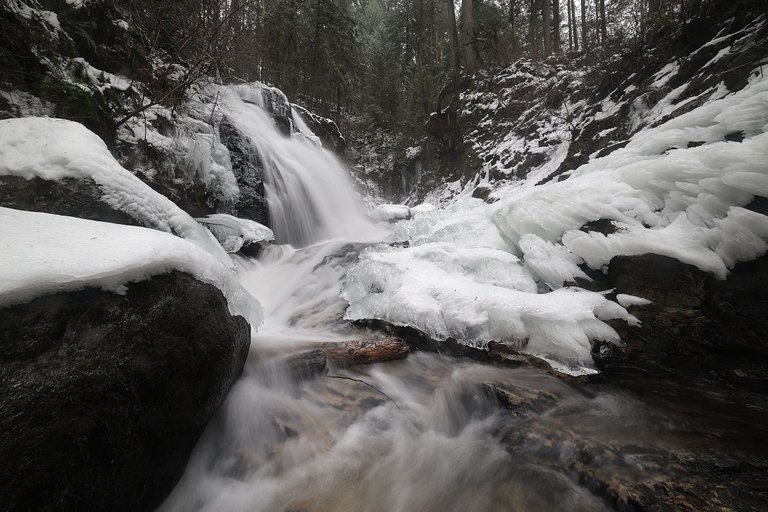
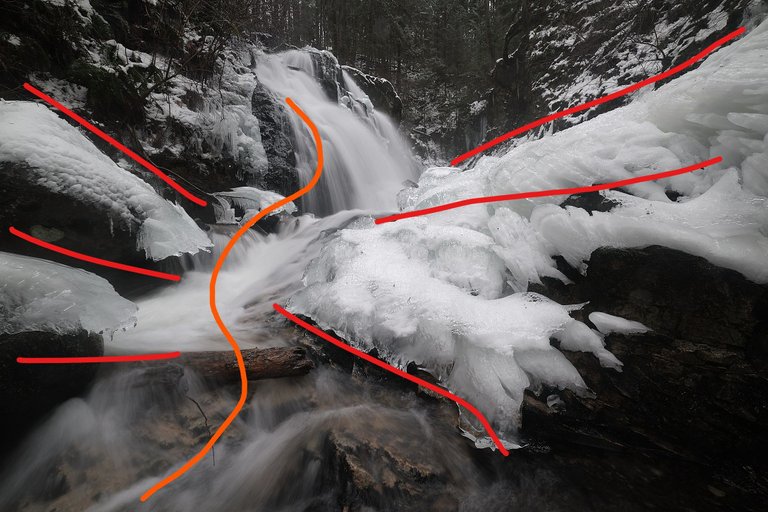
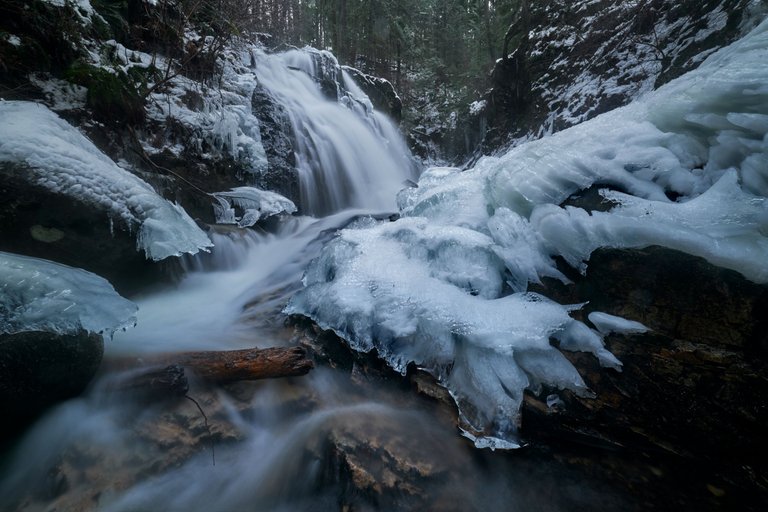
I wanted to start this walkthrough with a look at the various composition options I took. Now, all of these images could have been used, and all have their strong points and weaknesses. So take a moment to look at them and try to decide which you like best. Keep in mind this is the RAW as well, so there are not adjustments or anything to the image data yet.
 |  |  |
|---|
Ultimately I decided to use the raw on the far left. This one stood out to me with the multiple triangular leading lines that bring the eye straight to the winding waterflow. In the other raws either these triangular shapes were broken (right image) or because of the height of the camera the image felt too flat (middle image). I wanted the dramatic feeling that a wide angle lens brings to the table.
Preparing the Base Image
To prepare the base image I first needed to get the white balance correct. The steps involved here were using the WB picker to select the ice, cooling it further, and then using a tiny color grade shift towards blue as well. Next was to blend the moving and none moving parts of the image - using an median blend on multiple images I created this more smooth looking water while maintaining the sharpness of the surroundings. With the base image prepared, were ready for the next steps.
 |  |
|---|---|
| WB Adjusted Image | Merge of Averaged Water with Surroundings |
Adding atmosphere
The next steps are intended to create atmosphere, depth, and give a glow to the image to help create the final impact of the image
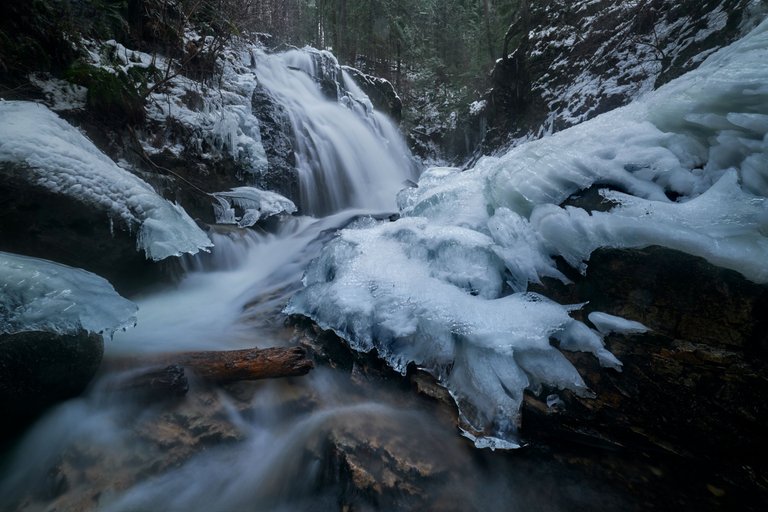
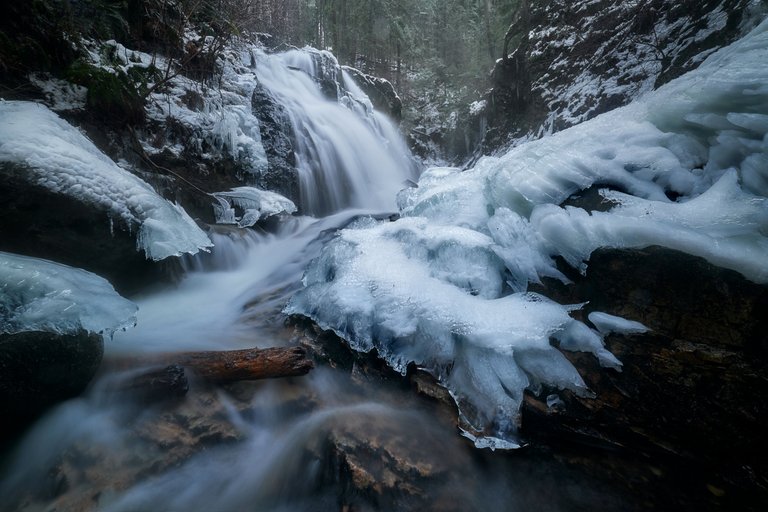
Final Image
I hope you've enjoyed this walkthrough of my edit! As always, if you have any comments, questions, or critiques please feel free to leave them in the comments below for me to answer.
Want to see more of my work or support me?
Website: wwww.dyptrephotography.ca
Prints: https://www.dyptrephotography.ca/Dyptre-Info/PrintsOrders
Instagram: https://www.instagram.com/dyptre/
Twitter: https://twitter.com/dyptre
HIVE: https://peakd.com/@dyptre or https://ecency.com/@dyptre/
All images are owned and created by Dyptre www.dyptrephotography.ca
Haha thanks for giving a great laugh this morning. Dope response my friend!
Congratulations @dyptre! You have completed the following achievement on the Hive blockchain and have been rewarded with new badge(s):
Your next target is to reach 7000 upvotes.
You can view your badges on your board and compare yourself to others in the Ranking
If you no longer want to receive notifications, reply to this comment with the word
STOPCheck out the last post from @hivebuzz:
Support the HiveBuzz project. Vote for our proposal!
Really great to see your editing process. Love the final result!
Thanks Alfredo! Ya, I feel like I could ramble on and on about the process. But I hope this gave enough insight without being too in depth. Glad you like the final shot too! I'm stoked about this one
Wow your picture is crazy, good job bru
Thanks so much :) glad you like man!
Beautiful shot, always nice to see someone else’s workflow. Thanks for sharing 😎
Thanks Blake! Its definitely interesting seeing others workflow, and how much they alter within a photo.
Hauntingly Beautiful!
Thank you Claire :)