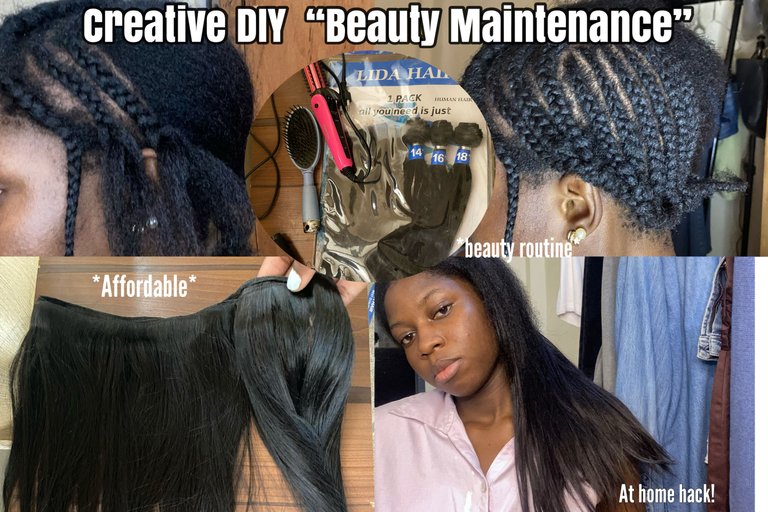
Hello everyone and blessed Sunday to you all also happy new month and welcome to my first #creative-sunday entry of then month, in this episode i am going to share with you a creative beauty routine that would enable you to save your coins and achieve a maintained hair look on a budget, this hairstyle is called a sew-in look, i finessed this look myself with a creative process that is sustainable to a #diy process, to find out how i achieved my new hairstyle myself keep reading below
Products Required
Human Hair weave bundles of your choice,(i was going for a straight look so i used a straight hair)
Weave Needle
Black thread
Hair straightner
Hair brush
Wide tooth comb
Hair blow dryer
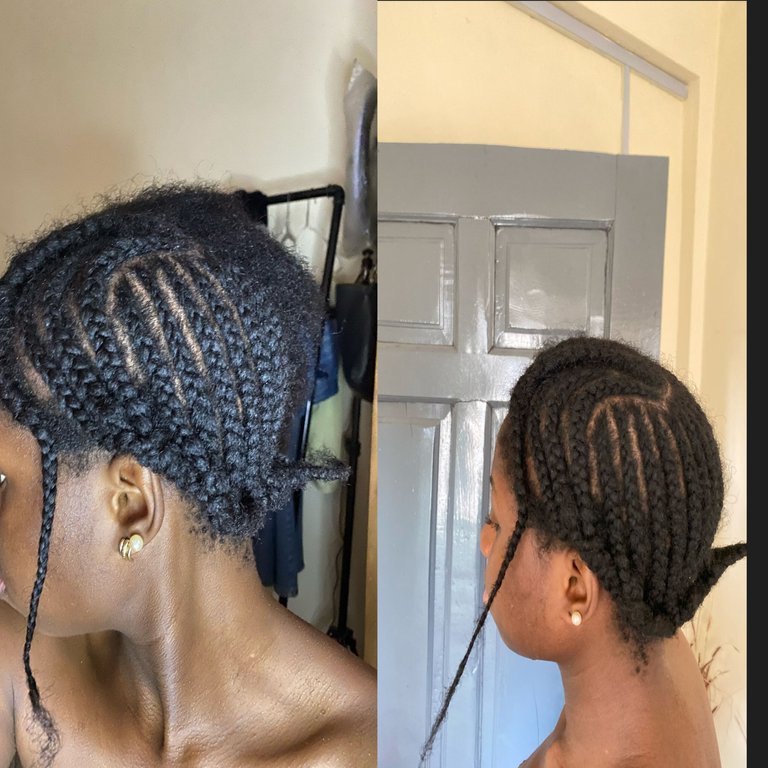
This is the look of my hair before starting the hairstyle, i had initially blow dried and curled it for a picture i took earlier on , so it is in a stretched out stated and is ready t be braided
Step 1
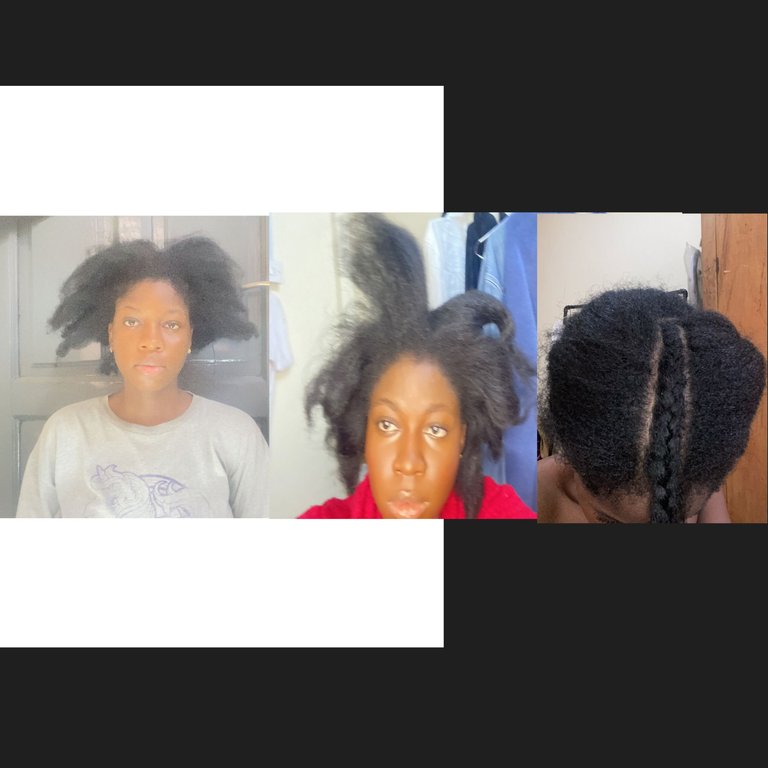
i am going to be starting off with making the cornrows pattern for the base of this hairstyle, i am braiding the middle section of the front of my hair into two big corn rows PS; this is for the leave-out portion i am going to get into much later, i did this braid joining the front edge of my hair all the way down my ears.
Step 2
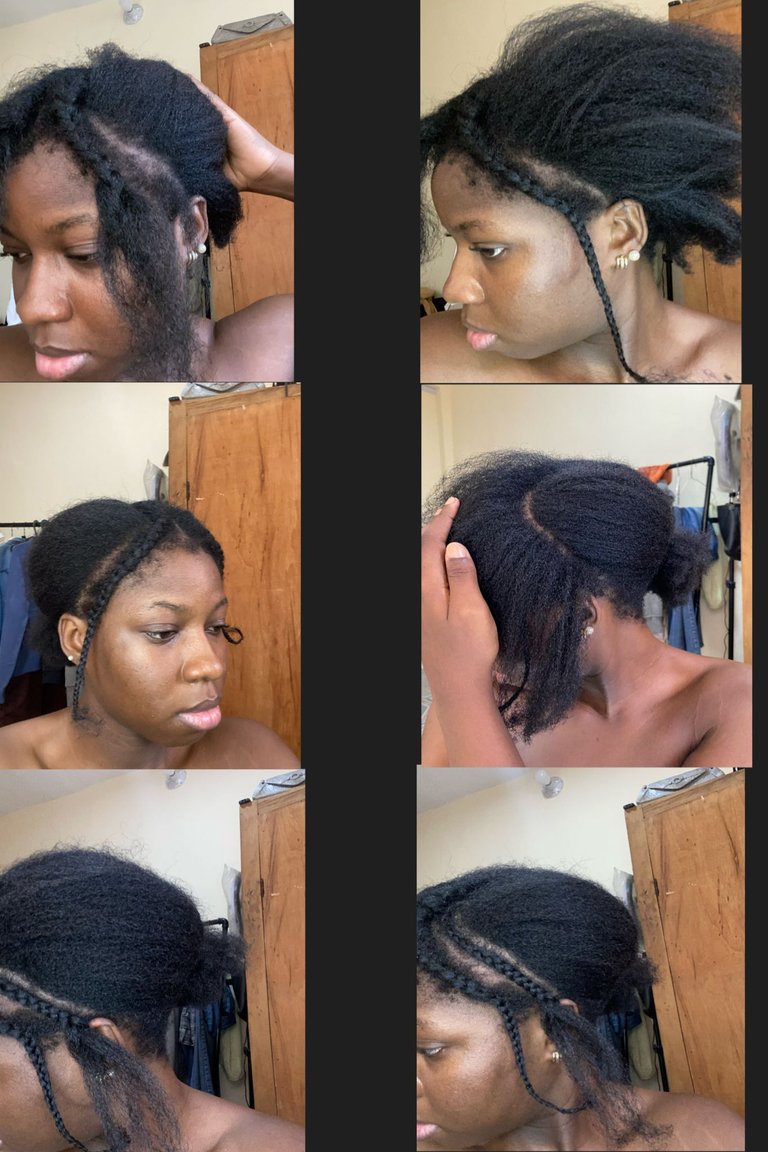
Following this braiding pattern, i am braiding a curve braid on the left side of my hair first, and then i move over to the right part following the same braiding pattern
The final look of the finished base cornrows
Step 3
I am going to start with the sew of the weave on my hair, i am using a straight hair weave extension in 14 16 and 18 inches in length,
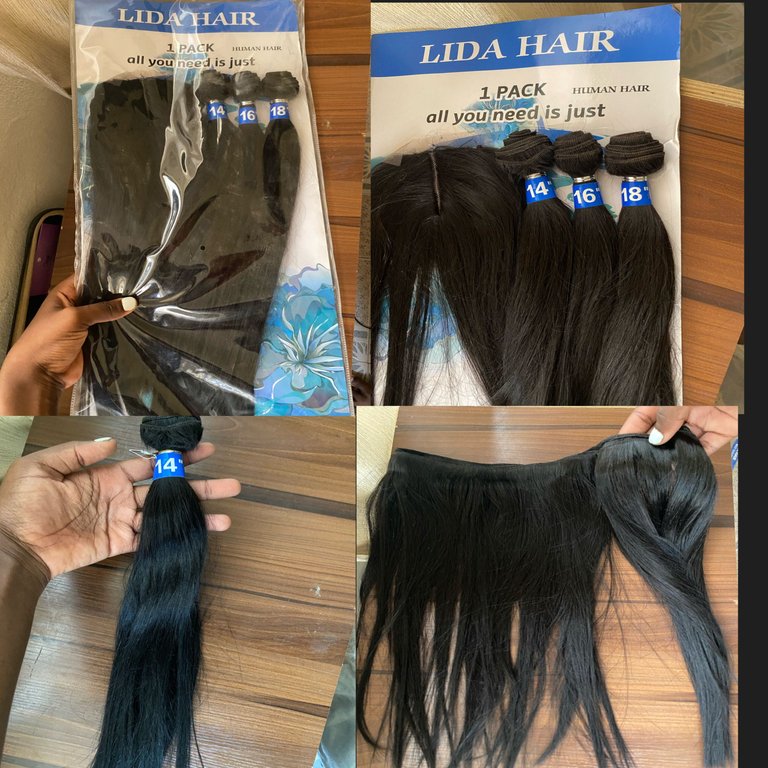
beginning with the 14 inches, i take it out of the securing label and unwrap it to see its full breadth measurement.
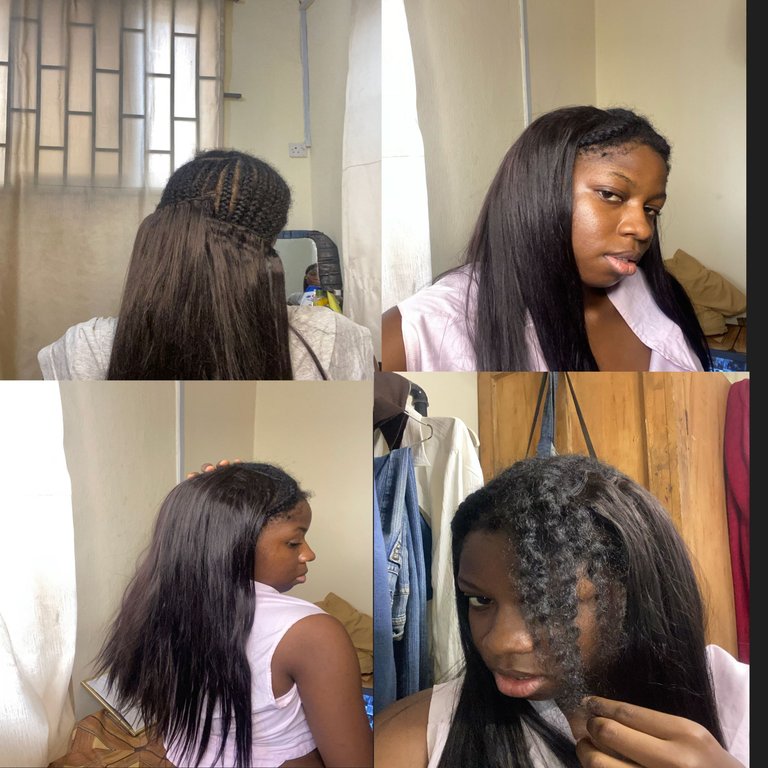
here i have sew on the 14 inches hair to my cornrows with the seeing method, if this is your first time sewing i suggest watching videos on the best way to sew on weave hair extensions.
I completed using the three hair weave bundles, and here is the look of the completion... it looks unsmooth as havent brushed it yet .
Step 4
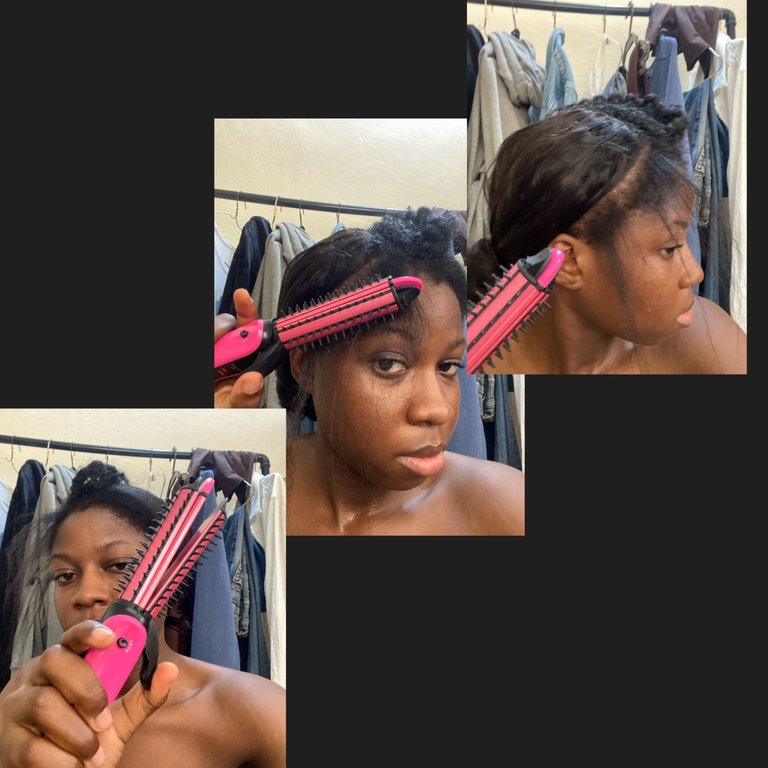
To style the leave out portion which i had braided down in the beginning, i took it out of the cornrow braids and applied some heat protectant (which i very advisable to do) before going in with a hair straightner to stretch out and press the hair. I am doing this so that i achieve a silk and smooth look which would the blend well with the hair weave.....i first stretch out the edges of my hair on low heat and then i stretch out the middle section lastly, and this completed my hair, i brushed my hair to blend in with the hair weave
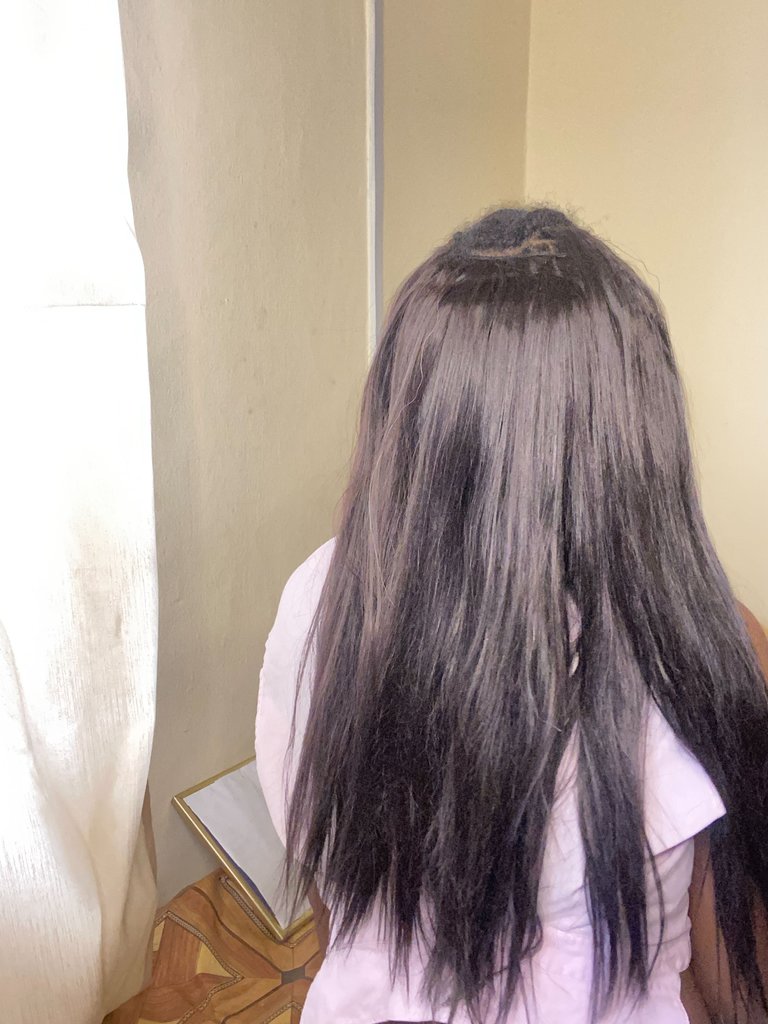
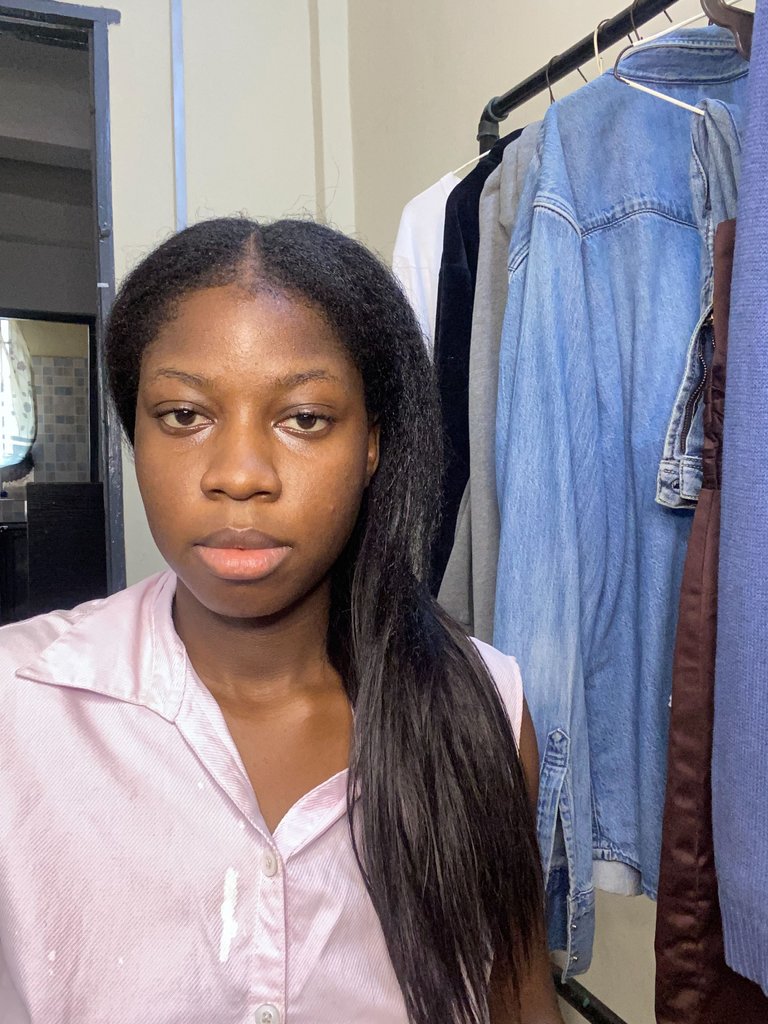
I had gone ahead to brush down the hair to blend with the hair weave and voila!
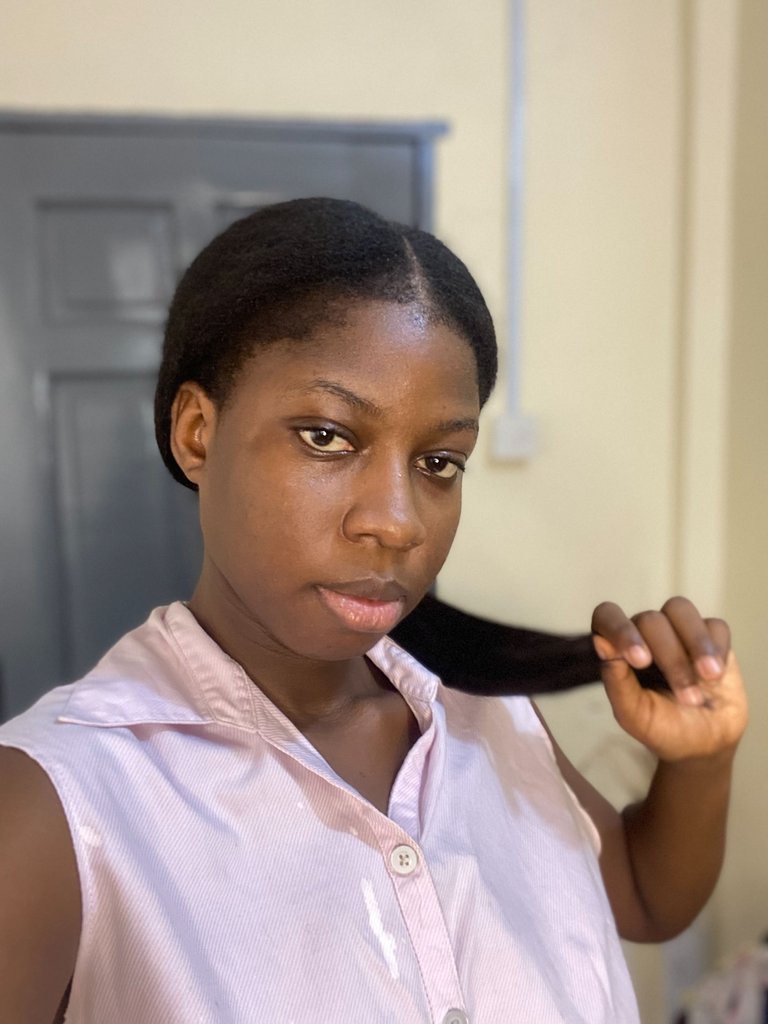
Final Result
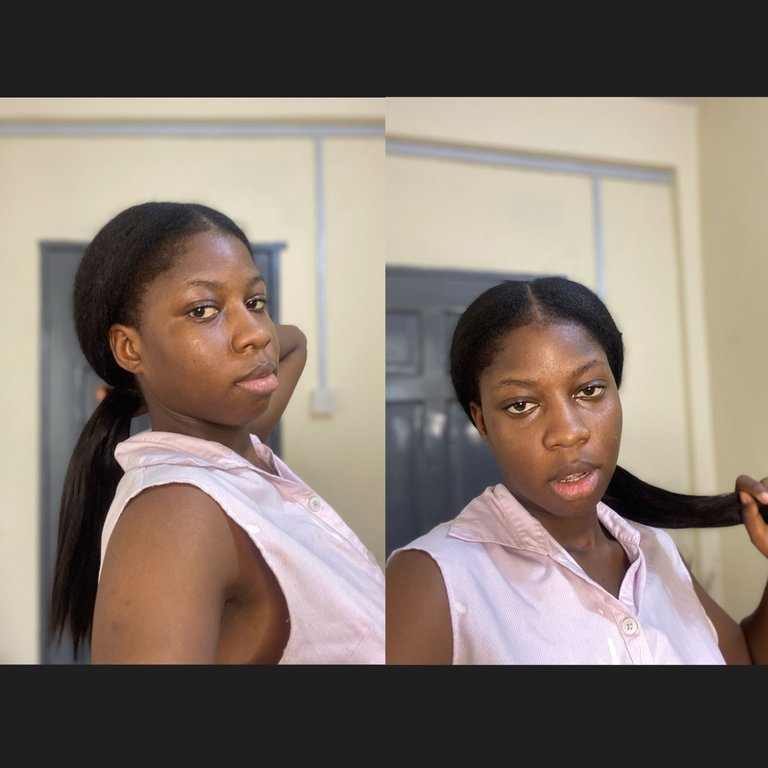
Disclaimer My hair is 4c natural so the result you get may differ, being that chemically proceessed hair might appear more silky
I was very happy with the result, and the fact that my resourcefulness with self labour worked out, i hope this motivated you to try out self- resourcefulness when it comes to services that involves life maintenance, i am glad you got to the end comment if you out here. what are your thoughts leave them in the comments section, and i would see you next time.