

Hello dear friends, I hope you are well.
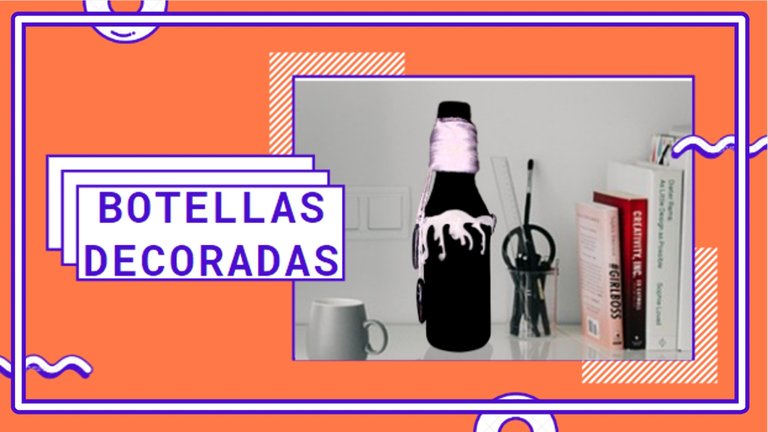
I return to the crafts, little by little. This time I present you how to recycle glass bottles and turn them into something beautiful to decorate your spaces. I show you step by step in detail, I also present a video on my Youtube channel, click here si quieres verlo, está muy entretenido. if you want to see it, it is very entertaining.

Hola queridos amigos, espero se encuentren super bien.
Regreso a las manualidades, poco a poco. En esta ocasión te presento como reciclar las botellas de vidrio y convertirlas en algo bonito para decorar tus espacios. Te muestro paso a paso detallado, también te presento un vídeo en mi canal Youtube, pincha aquí si quieres verlo, está muy entretenido.
Vídeo proceso mi canal Youtube.
Video process my Youtube channel.
Paso a Paso / Step By Step
Vamos a necesitar: / We will need:
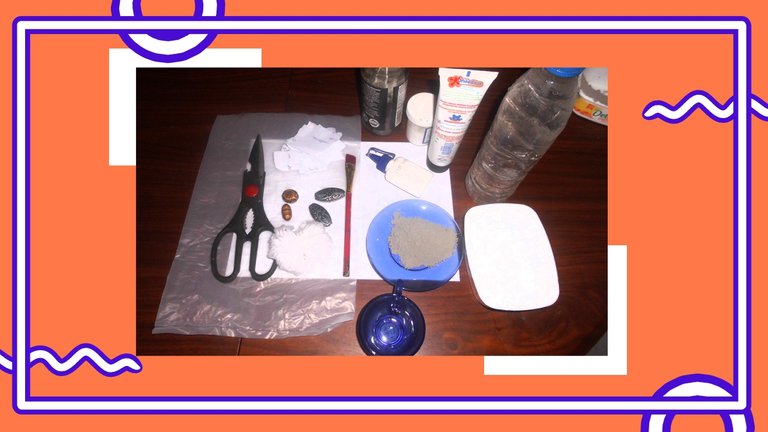
- Tijeras.
- Pega escolar.
- Cemento blanco, cemento gris o yeso.
- Un pincel grueso.
- Una botella de vidrio.
- Cuentas para decorar.
- 2 recipientes vacíos.
- Una bolsa de plástico.
- Un poco de agua.
- Estambre blanco.
- Pintura al frío o acuarelas o pinta dedos, una de color blanco y otra de color negro.
- Papel reciclado cortado a mano en cuadros.
- Scissors.
- School glue.
- White cement, gray cement or plaster.
- A thick brush.
- A glass bottle.
- Beads to decorate.
- 2 empty containers.
- A plastic bag.
- Some water.
- White yarn.
- Cold paint or watercolors or finger paints, one white and one black.
- Recycled paper cut by hand into pieces.
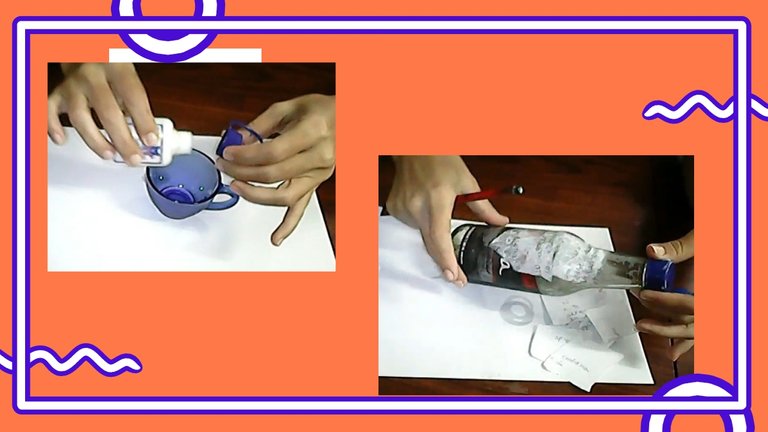
Colocamos la pega escolar en uno de los recipientes y agregamos un poco de agua luego mezclamos.
Seguidamente tomamos la brocha, empapamos con la mezcla que hicimos con la pega y vamos pintando la botella con ella, vamos colocando los pedazos de papel sobre la misma y continuamos dando brochazos de nuestro engrudo sobre ella, hasta cubrir toda la botella, luego lo dejamos secar.
Forrar la botella de esta manera nos permitirá que el cemento se adhiera a ella sin ningún problema.
We put the school glue in one of the containers and add some water then mix.
Then we take the brush, soak it with the mixture that we made with the glue and paint the bottle with it, we put the pieces of paper on it and continue to brush our glue on it, until it covers the whole bottle, then we let it dry.
Covering the bottle in this way will allow the cement to adhere to it without any problem.
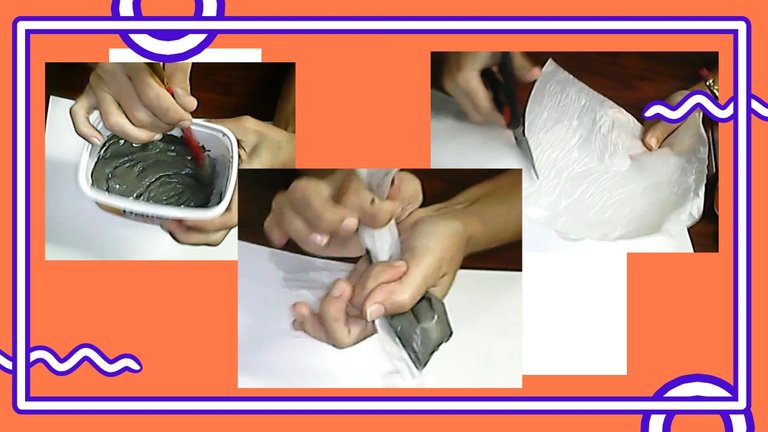
En otro recipiente, colocamos el cemento, y agregamos un poco de agua, la mezcla debe quedar más o menos firme.
Tomamos nuestra bolsa plástica y recortamos la misma en forma de cono. Esto es para utilizarla como manga. Seguidamente vertemos nuestra mezcla de cemento en ella y apretamos.
In another container, we place the cement, and add a little water, the mixture should be more or less firm.
We take our plastic bag and cut it into a cone shape. This is to use it as a sleeve. Then we pour our cement mixture into it and squeeze it.
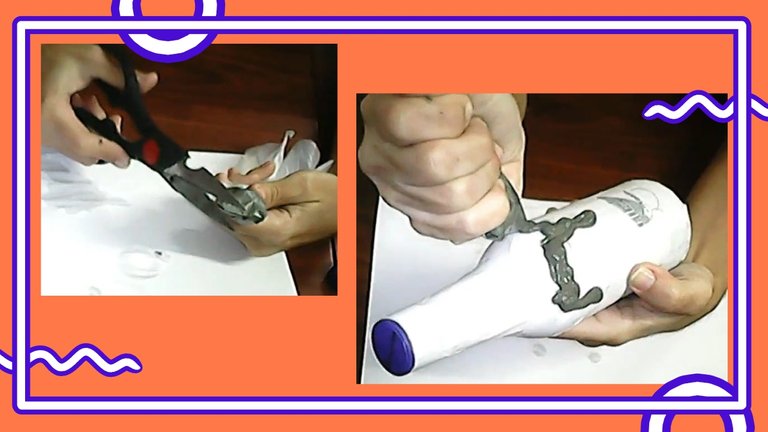
Cortamos un poco la punta de nuestra manga y como si estuviéramos decorando una torta, vamos vaciando el contenido sobre nuestra botella en forma de lágrimas o gotas que caen.
Dejamos secar por un día.
We cut the tip of our bag a little and as if we were decorating a cake, we pour the contents over our bottle in the form of tears or drops that fall.
We let it dry for a day.
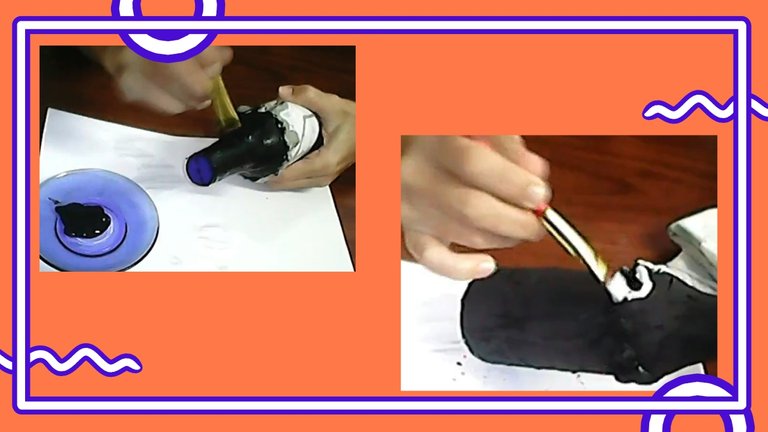
Tomamos nuestra pintura negra y con el pincel cubrimos toda la botella, dejamos secar por una hora.
Luego tomamos la pintura blanca y el pincel y pintamos las gotas que hemos hecho anteriormente con el cemento, si es necesario damos varias capas de pintura.
Dejamos secar.
We take our black paint and with the brush we cover the whole bottle, let it dry for an hour.
Then we take the white paint and the brush and paint the drops that we have done previously with the cement, if necessary we give several layers of paint.
We let it dry.
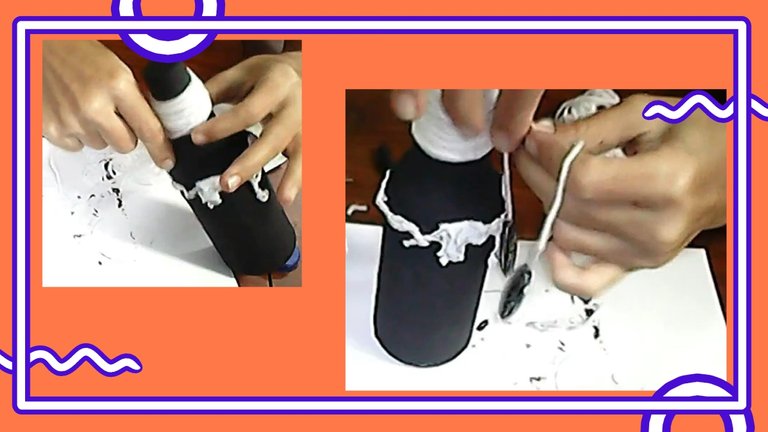
Tomamos nuestro estambre blanco y decoramos...
Cubrimos la parte superior de la botella.
Luego colocamos las cuentas que hemos escogido y listo.
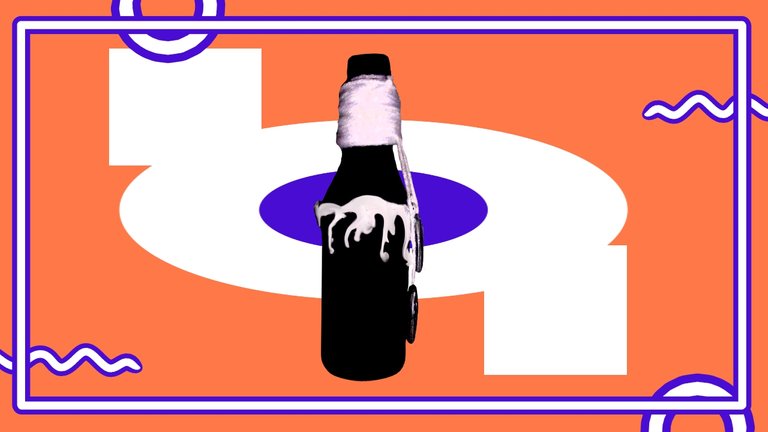
Tenemos nuestra botella lista para decorar nuestros espacios o incluso regalar, tal vez puede que con mucha práctica sea tu nuevo emprendimiento.
Diviértete creando y recicla.
We took our white yarn and decorated...
We cover the top of the bottle.
Then we place the beads we have chosen and that's it.
We have our bottle ready to decorate our spaces or even give away, maybe with a lot of practice it will be your new venture.
Have fun creating and recycling.

Detalles Técnicos / Technical Details
Program:
Graphics tablet: Huion (Usb Pen Tablet).
Sources:
––––––––––––––––––––––––––––––
Music Vídeo:
On The Line (Instrumental) by SilentCrafter
Creative Commons — Attribution-ShareAlike 3.0 Unported — CC BY-SA 3.0
Free Download / Stream
Music promoted by Audio Library
––––––––––––––––––––––––––––––
![]() 👉
👉 ![]() 👉
👉 ![]() 👉
👉  👉
👉 ![]()

Awesome, I just subscribed to your Youtube channel too:)
Thanks, I'm taking a look at yours too, you're a great artist. <3
Congratulations, your post has been upvoted by @dsc-r2cornell, which is the curating account for @R2cornell's Discord Community.
Enhorabuena, su "post" ha sido "up-voted" por @dsc-r2cornell, que es la "cuenta curating" de la Comunidad de la Discordia de @R2cornell.