


Hello dear friends of Hive!
English version:
Dear friends of Hive Community, I am a lover of Crafts and I consider that they are a very valuable tool when it comes to teaching our little ones at home, in this quarantine where we spend more time than usual with them we can take advantage of the opportunity. To teach you some things that may help you in your future, this time we will make an Agamographer for the little ones, an agamographer is a type of optical art that shows hidden images that are seen depending on the position in which the person observing is and is that's why the little ones will love it and they will also learn about optical art, so let's not waste any more time and let's start with the fun.
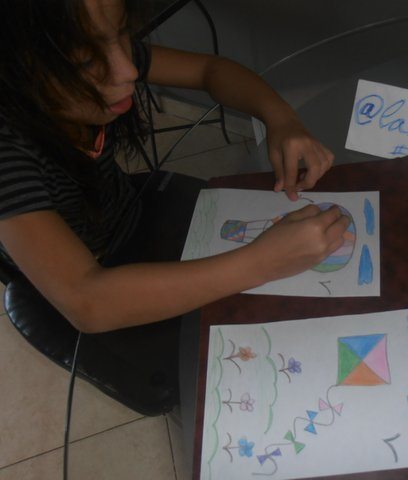
My little daughter Sofia accompanies me as always in this fun and educational trade!

Materials:
Two folios
Glue.
Scissors.
Drawing material: colored pencils, wax, markers ...
Process:
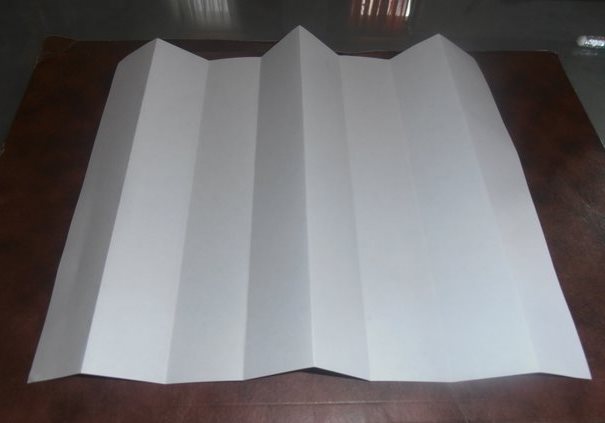
- The first thing is to fold a zigzag folio, like an accordion. To find the appropriate measure of the zigzag you can do calculations and use a rule, or follow the method (simpler and faster) that appears in the video:
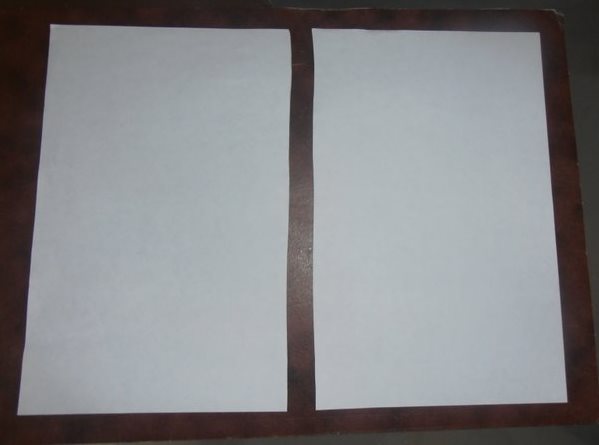
Fold the other folio in half and cut it so that you get two sheets.
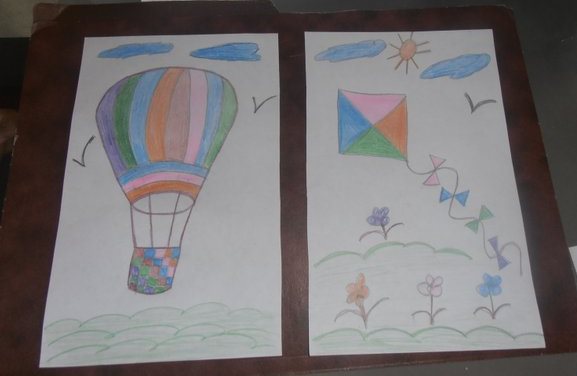
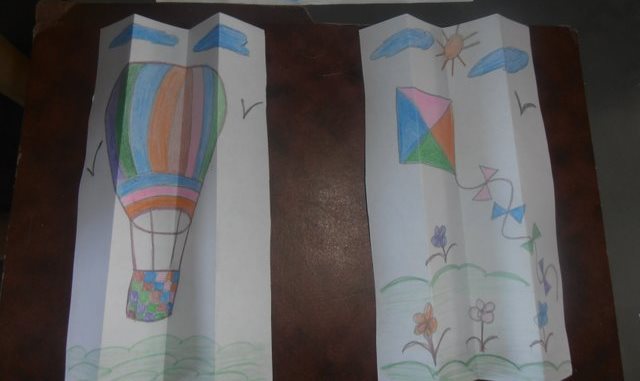
Put your imagination to work creating a different design with vertical orientation in each page.

Fold each sheet drawn into 4 parts just as you did with the first blank.
Then cut each folded part into strips.
- On the blank folio that you had zigzag previously folded, stick the strips alternating each design.
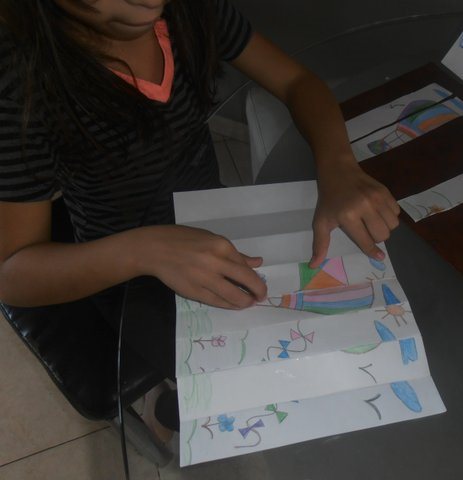
Be careful with order!
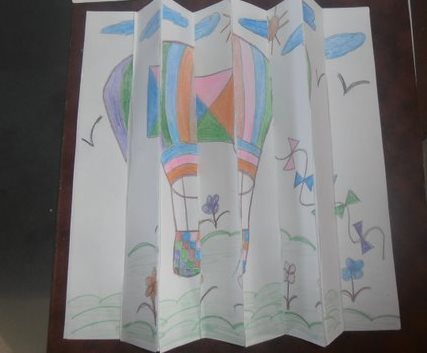
Check the functioning of your agamograph by observing from different angles.
Is not it impressive?
It is truly fascinating! My girl loved it and everything was in the same design, I invite you to do it with your children at home.
Thank you for joining me in this publication.


Hola queridos amigos de Hive!
Versión en Español:
¡Mi pequeña hija Sofía me acompaña como siempre en este divertido y educativo oficio!
Materiales:
Dos folios
Pegamento.
Tijeras.
Material de dibujo: lápices de colores, cera, marcadores ..
Proceso:
- Lo primero es doblar un folio en zigzag, como un acordeón. Para encontrar la medida adecuada del zigzag, puede hacer cálculos y usar una regla, o seguir el método (más simple y rápido) que aparece en el video:
Dobla el otro folio por la mitad y córtalo para obtener dos hojas.
Pon a prueba tu imaginación creando un diseño diferente con orientación vertical en cada página.
Dobla cada hoja dibujada en 4 partes tal como lo hiciste con el primer espacio en blanco.
Luego corte cada parte doblada en tiras.
- En el folio en blanco que tenía doblado en zigzag previamente, pegue las tiras alternando cada diseño.
¡Cuidado con el orden!
- Verifique el funcionamiento de su agamograma observando desde diferentes ángulos.
¿no es impresionante?
Gracias por acompañarme en esta publicación.
Source
Copying and pasting previous posts or significant parts there of could be seen as spam when:
Spam is discouraged by the community and may result in the account being Blacklisted.
Please refrain from copying and pasting previous posts going forward. If you believe this comment is in error, please contact us in #appeals in Discord.