Hello dear friends of Hive!
English version:
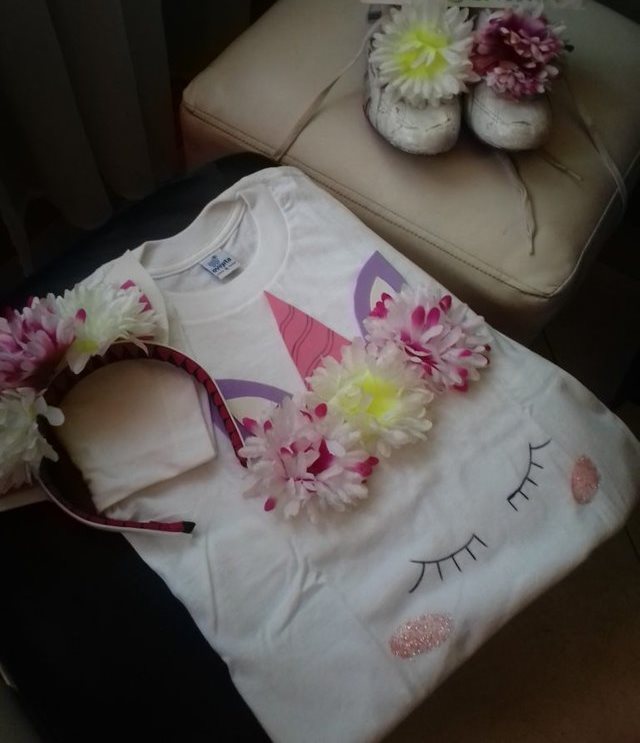
Hello dear friends of Hive Community, I am a lover of Crafts and I consider that they are a very valuable tool when it comes to teaching our little ones at home, in this quarantine where we spend more time than usual with them we can take the opportunity to teach them some things that They can serve you in your future, in the previous post we worked with a beautiful unicorn shirt, well! Today we will make a Unicorn crown that will be the perfect complement to that outfit and your princesses will be amazed, so let's not waste any more time and start with the fun.

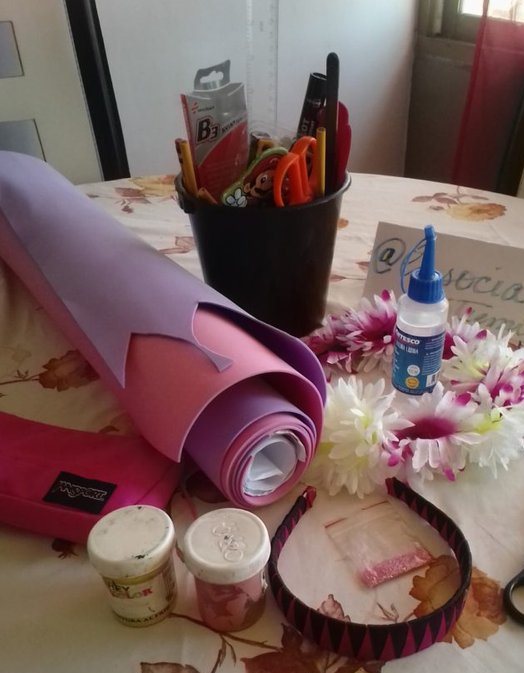
Materials
A headband or depending crown as you call it in your country.
Foamy of various colors preferably white, and fuchsia.
Paper flowers, fabric or foamy of the color you prefer.
Paints Cold pastels.
Brush
A large needle.
Silicom cold
Thread
Process:
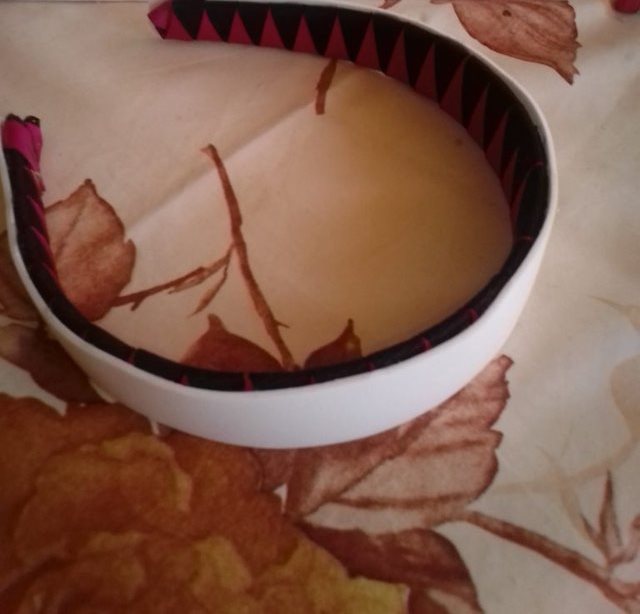
- The first thing we have to do is cut a foamy ribbon of 30 cts of lasgo for 3 cts wide.

- Then we stick it to the headband on the top with glue of silicon cold and trim the excess.
- Then with the help of a ruler, we draw on the white foamy a triangle of a height of approximately 16 cts from which we will extract our horn.
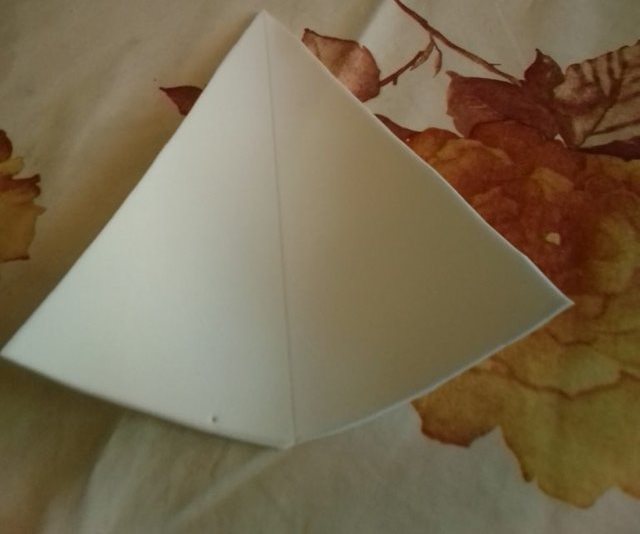
- With the help of the glue of silicon cold stick the ends of our triangle so that we form a cone and fill it with stuffing for pillows.
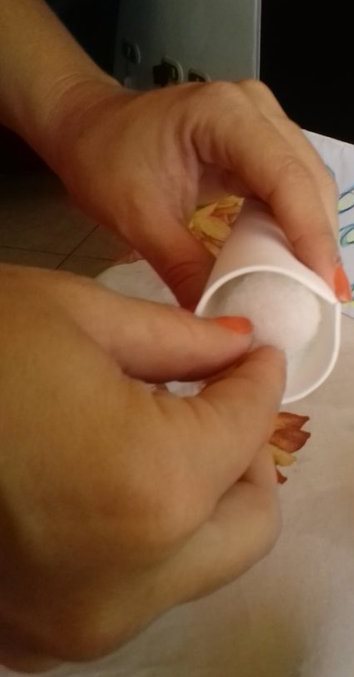
- Thread the needle with thread and introduce it inside our cone so that it comes out from the top point.
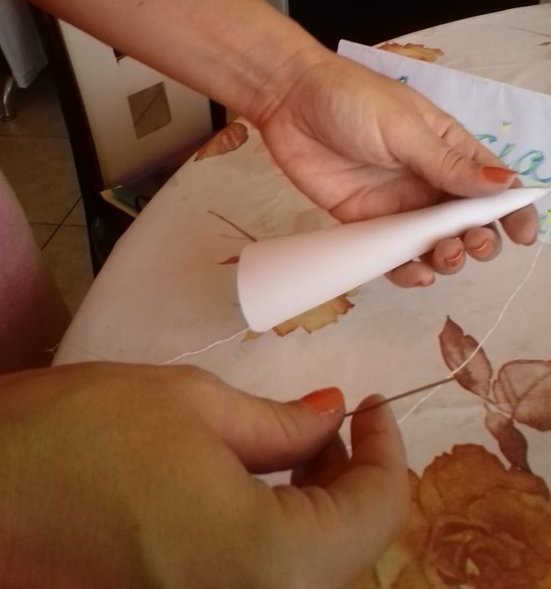
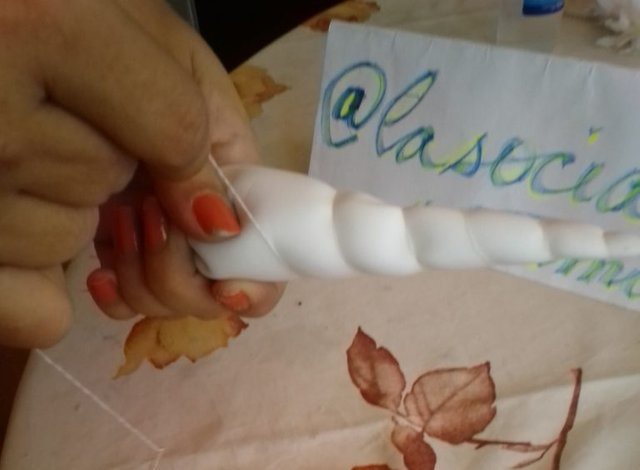
- Once this is done we put stick on the bottom of the cone and close so that our stuffing does not come out and we wrap our yarn around the cone by squeezing it a little bit of maera that is a kind of quilting.
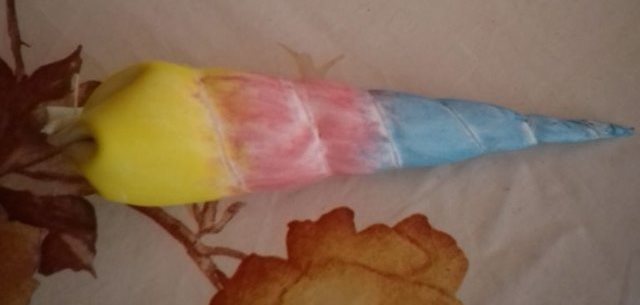
- With the help of a brush and the cold paints, we color our cone in pastel colors so that it looks like a rainbow
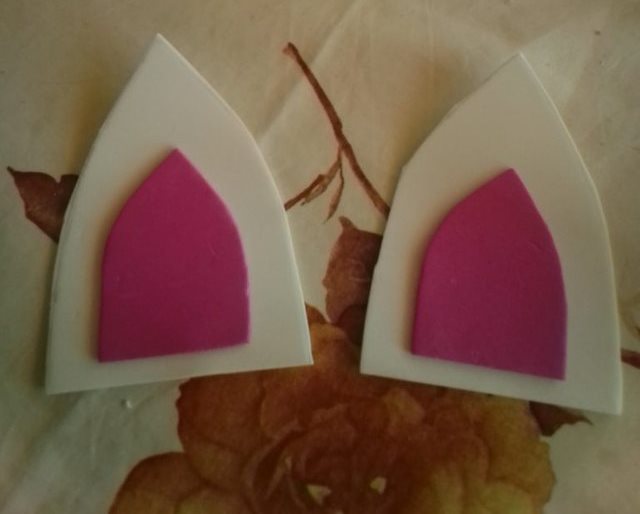
- In the white foamy we draw a pair of ears and cut, likewise we cut a couple more but smaller so that we place them in the part of adento of the largest to complete the design.
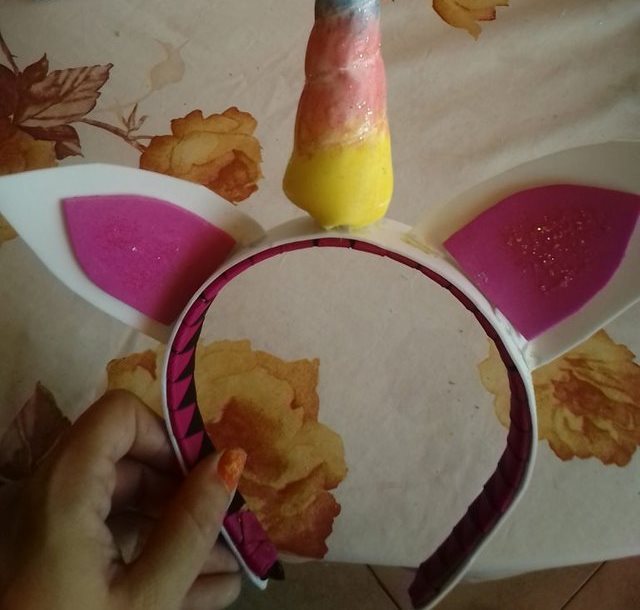
- We proceed to stick our pieces on the headband placing the horn in the center and the two ears on the sides, placing the last of the flowers in order to finish our decoration, we put glitter in the places where you like and highlight the brightness.
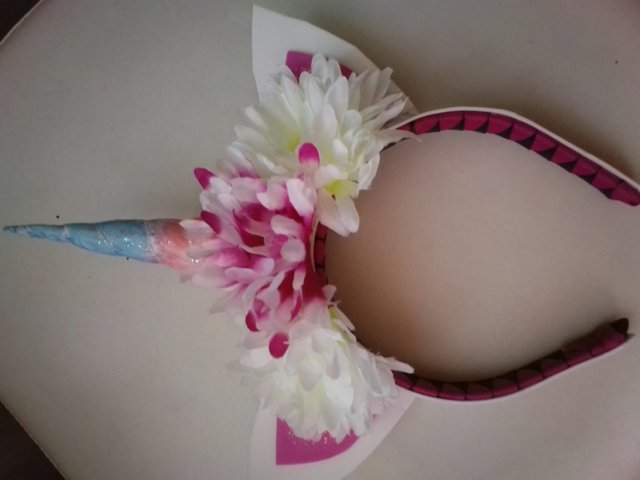
This is how our project ends, with a special touch to perfectly combine everything, we can glue on the braids of white shoes flowers of the same type with which we made the shirt and the headband, and in this way our Unicorn outfit will be even More cool .
Crafts can awaken the creativity and ingenuity of the little ones at the same time that they have a pleasant time and share with them, I thank them for having accompanied me in this project and I invite them to do it with the princesses of the house.
See you in a new post.

Hola queridos amigos de Hive!
Versión en Español:
Hola queridos amigos de Hive, soy una amante de las Manualidades y considero que son una herramienta muy valiosa a la hora de enseñar a nuestros pequeños en casa, en esta cuarentena donde pasamos más tiempo del habitual con ellos podemos tener la oportunidad de enseñarles algunas cosas que pueden servirte en tu futuro, en la publicación anterior trabajamos con una hermosa Camisa de Unicornio, ¡bueno! Hoy haremos una Corona de Unicornio que será el complemento perfecto para ese atuendo y tus princesas se sorprenderán, así que no perdamos más tiempo y comencemos con la diversión.

Materiales
Una diadema o corona dependiente como la llamen en su país.
Espumoso de varios colores preferentemente blanco, y fucsia.
Flores de papel, tela o espuma del color que prefieras.
Pinturas pasteles fríos.
Pincel
Una aguja grande.
Hilo
Silicom frio.
Proceso:
- Lo primero que tenemos que hacer es cortar una cinta espumosa de 30 cts de Largo por 3 cts de ancho.
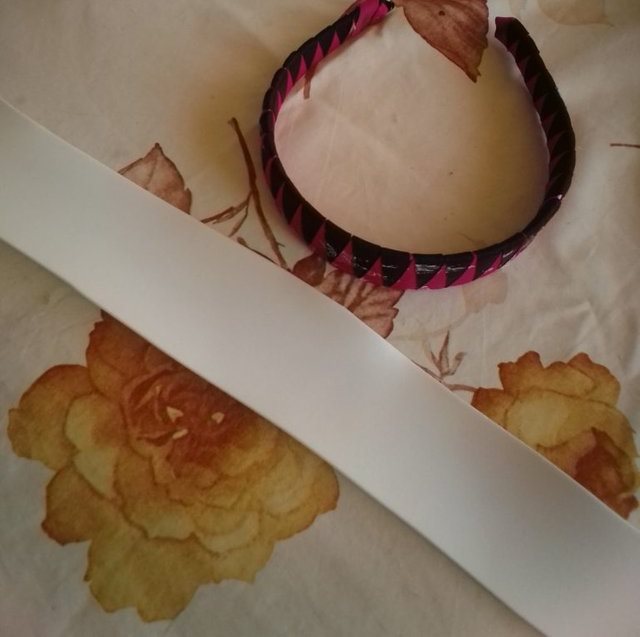
- Luego lo pegamos a la diadema en la parte superior con pegamento de silicona fría y recortamos el exceso.

- Luego, con la ayuda de una regla, dibujamos en el blanco espumoso un triángulo de una altura de aproximadamente 16 cts del cual extraeremos nuestro cono.
- Con la ayuda del pegamento de silicona, pega los extremos de nuestro triángulo para que formemos un cono y lo rellenemos con relleno para almohadas.
- Enhebre la aguja con hilo e introdúzcala dentro de nuestro cono para que salga por el punto superior.
- Una vez hecho esto, colocamos el palo en la parte inferior del cono y lo cerramos para que no salga el relleno y envolvemos nuestro hilo alrededor del cono apretándolo un poco de manera, que es una especie de acolchado.
- Con la ayuda de un pincel y las pinturas en frío, coloreamos nuestro cono en colores pastel para que se vea como un arco iris.
- En el blanco espumoso dibujamos un par de orejas y cortamos, del mismo modo cortamos un par más pero más pequeño para que las coloquemos en la parte del adentro del más grande para completar el diseño.
- Procedemos a pegar nuestras piezas en la diadema colocando la bocina en el centro y las dos orejas a los lados, colocando la última de las flores para terminar nuestra decoración, colocamos brillo en los lugares donde te gusta y resaltamos el brillo.
Así es como termina nuestro proyecto, con un toque especial para combinar perfectamente todo, podemos pegar en las trenzas de zapatos blancos flores del mismo tipo con el que hicimos la camisa y la diadema, y de esta manera nuestro atuendo de Unicornio ser aún más genial.
Las manualidades pueden despertar la creatividad e ingenio de los pequeños al mismo tiempo que se divierten y comparten con ellos, les agradezco por haberme acompañado en este proyecto y los invito a hacerlo con las princesas del casa.
Nos vemos en una nueva publicación.