There’s something uniquely satisfying about turning everyday objects into pieces of art. I love to give my utilitarian items a touch of personality. Whenever I roam around my house, my arts always uplift my energy. It’s also a delightful and easy way to add a little charm around your home.
I have a bit of a love affair with glass bottles. For cooking purposes, I have a lot of glass bottles. When these bottles get empty, instead of throwing them out, I try make something good out of it. Typical Asian mother habit you know.
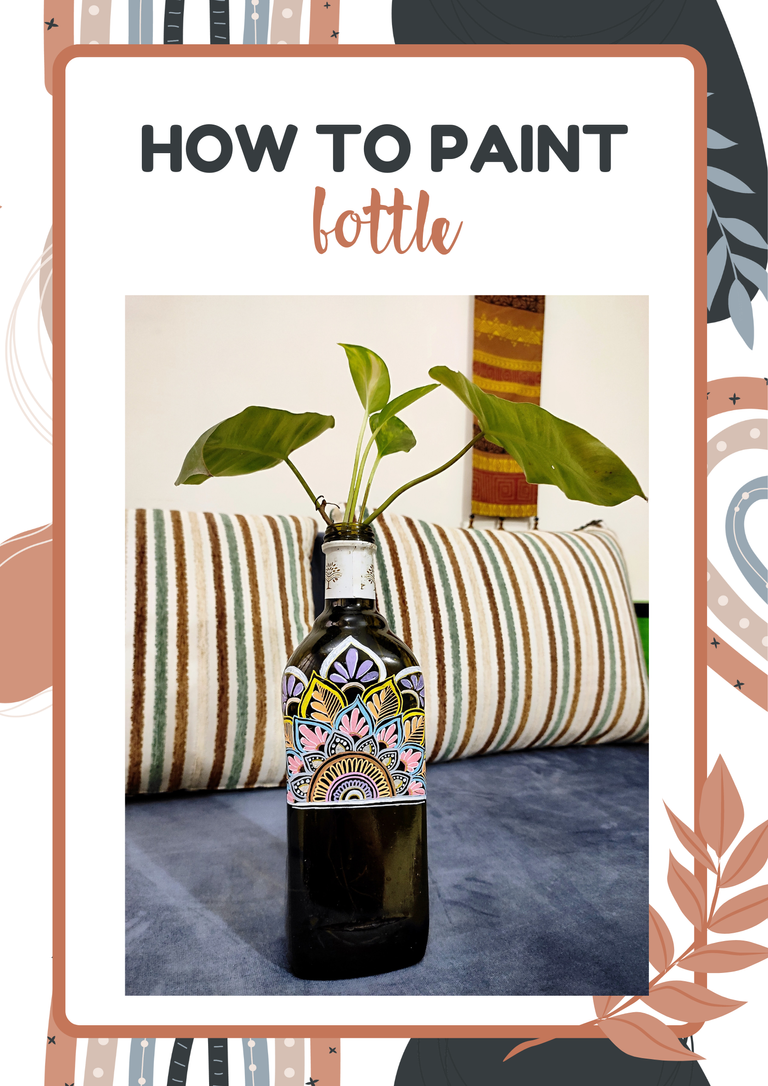
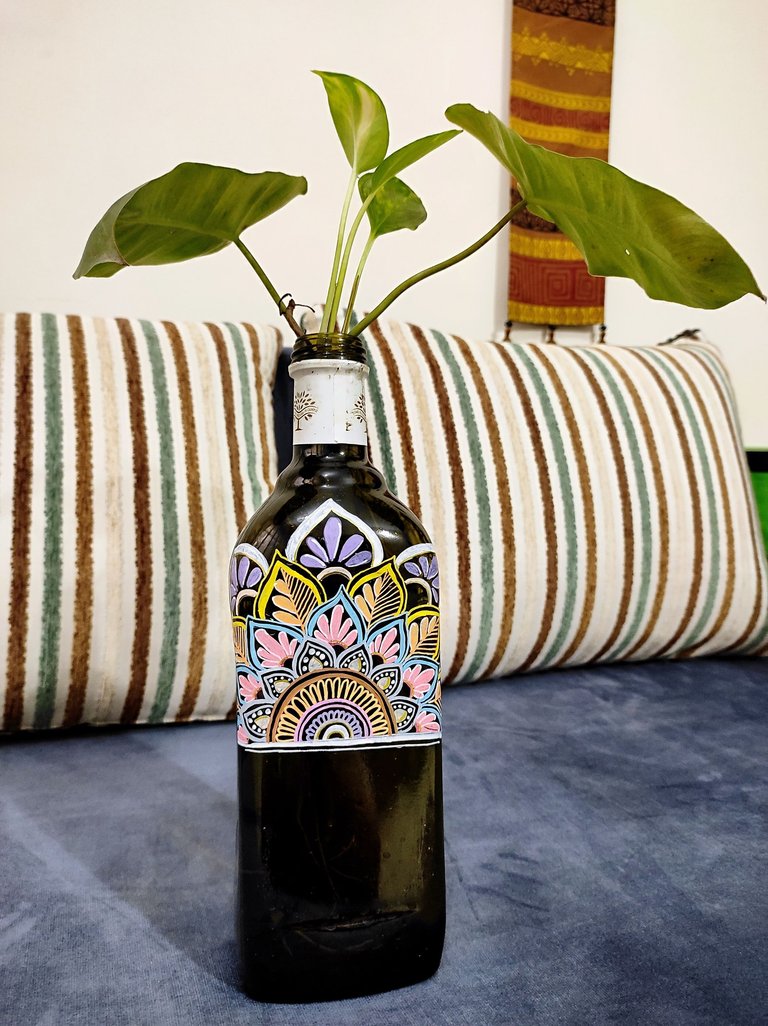
The bottles are often quite plain so I try to transform them from simple kitchen staples to beautiful personalized decor. I’ve some plants without pot so this time, I try to reuse an olive oil bottle to a plant holder!
Why Paint an Olive Oil Bottle?
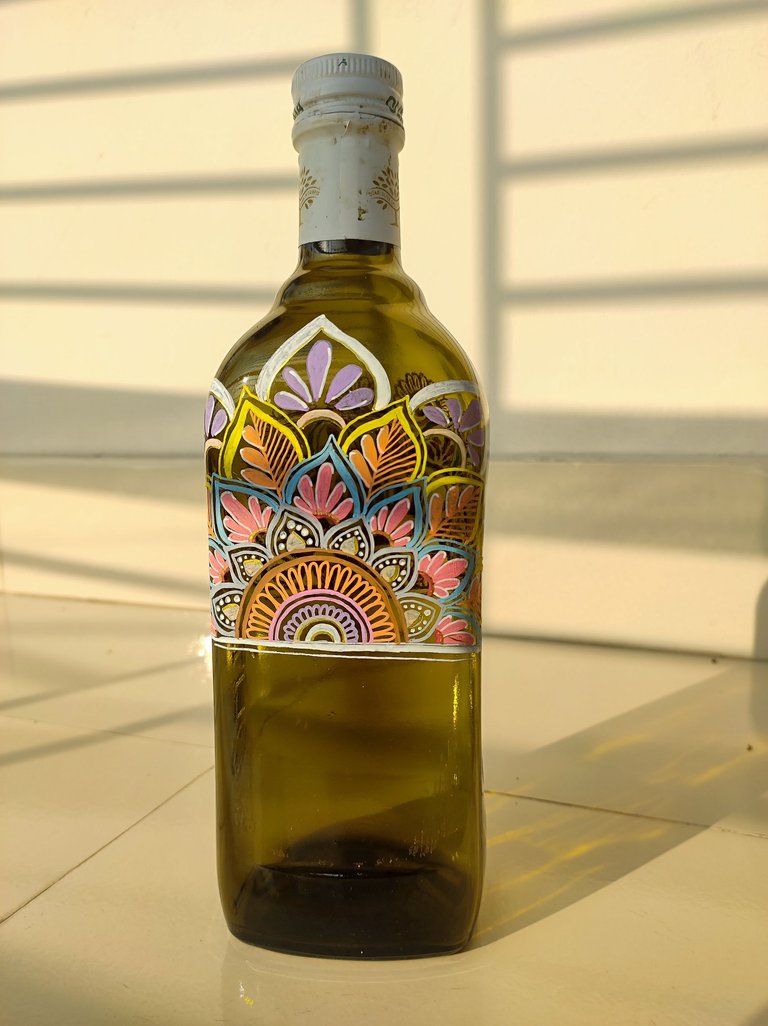
One of my favorite projects is painting olive oil bottles. I have a bit of a love affair with the green olive oil bottles. Because these bottles have a green surface like wine bottles. And this deep shade of background helps to pop up my art. Here’s a step-by-step guide on how I paint bottles. It is easy enough for anyone to try! Plus, it’s a fun, creative outlet that everyone can enjoy, regardless of artistic skill.
Before we dive in, gather these simple materials:
Clean olive oil bottle: Any size will do. I like to use empty bottles, but you can also paint full ones.
Acrylic paints: To me, acrylic is the best color for glass materials. But There is also “glass colors” that are specially used for painting on glasses. This glass color also lasts longer than the acrylic one. But still I prefer acrylic because it’s more vibrant and easy to paint.
Paintbrushes: A small set with different sizes will be helpful. I used acrylic markers so there wasn’t any use of brushes.
Painter’s tape: It normally requires creating clean lines. But I normally prefer free hand uneven line art!
Rubbing alcohol: To clean the bottle. If you don’t have it, then liquid dish soap, and baking soda can also work.
Palette or paper plate: For mixing colors.
Step-by-Step Instructions
- Clean Your Bottle
Start by thoroughly cleaning your olive oil bottle. Remove any labels by soaking the bottle in warm, soapy water. I normally use the mixture of liquid dish soap and baking soda to wipe away any remaining adhesive and to ensure the surface is completely clean. Because a clean surface is crucial for the paint to adhere properly. - Plan Your Design
Deciding a design for your bottle is the toughest part! I spend hours thinking about what to paint. When there is nothing in my head, I scroll pinterest for ideas. You can go for simple patterns, floral motifs, or even abstract art. I usually sketch out a few ideas on paper first. If you’re not confident in your freehand skills, stencils can be a great help. - Tape Off Sections
If your design includes straight lines or specific sections, use painter’s tape to mask off those areas. For new artists, this is a safe way to art because it helps create crisp, clean lines and can make your design look more professional. - Start Painting
Try to begin with a base coat if you want a solid background color. If you want to make light colour themed art then make the background dark. And if you choose the dark one then do vise versa. Main point is, contrast color helps to brighten your paint.
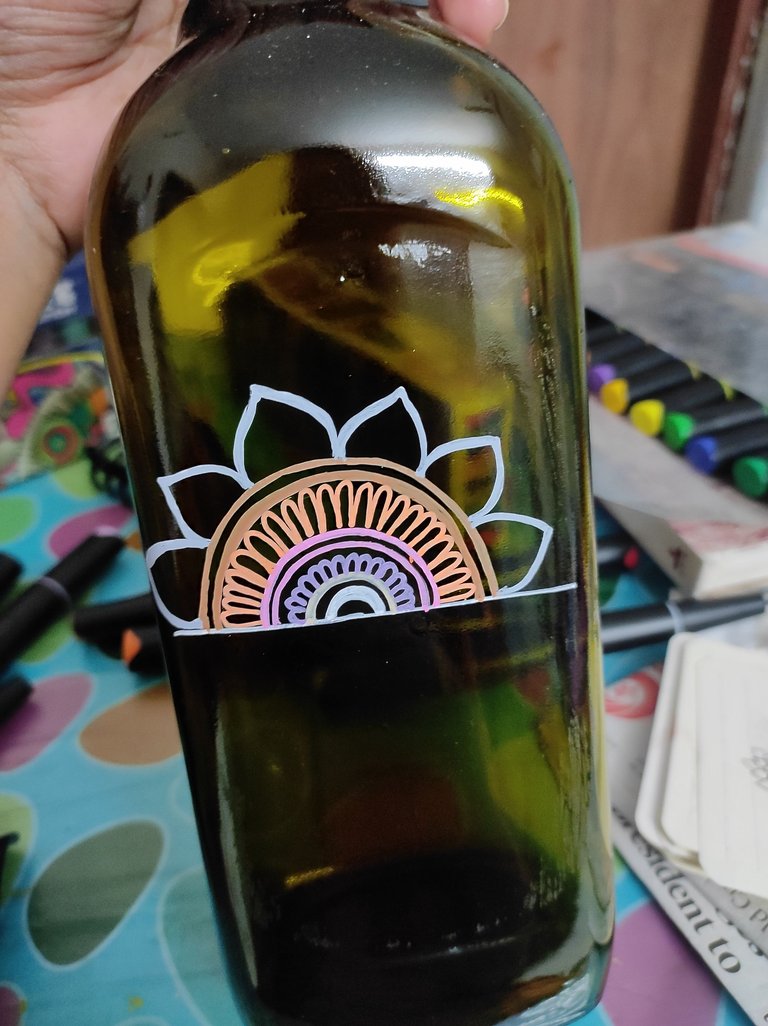
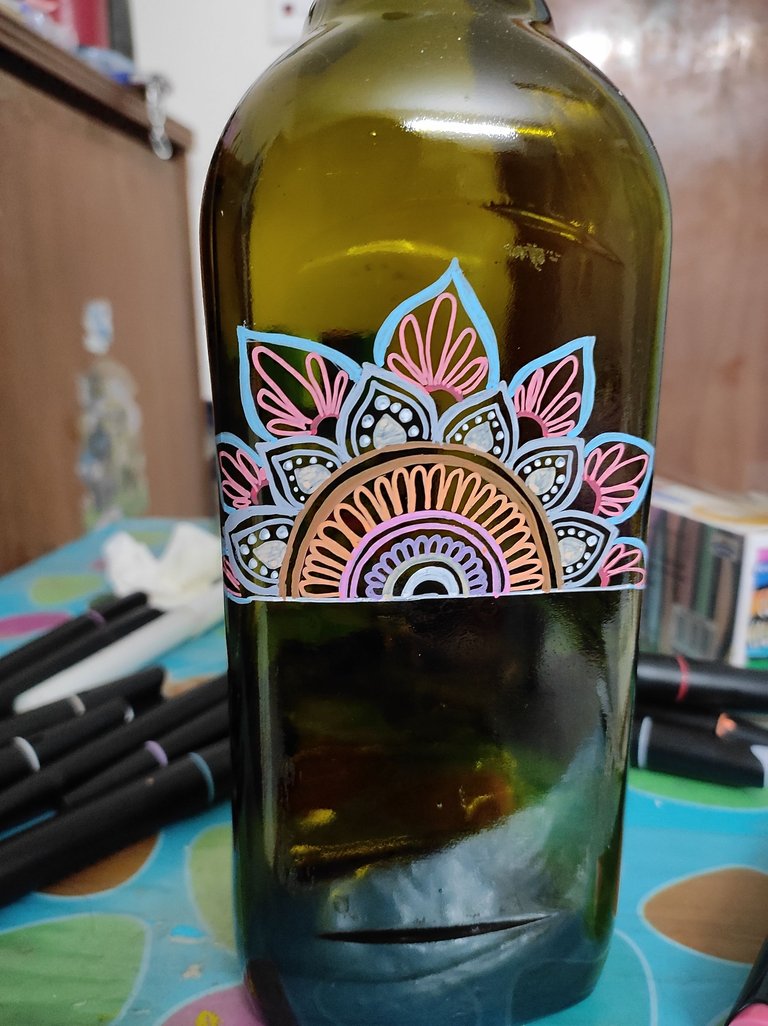
Let it dry completely before adding more details. After that, I color the broader areas then and the little details. Try to use different brush sizes for different parts of your design like larger brushes for broad strokes and smaller ones for details. Don’t rush; take your time and enjoy the process! - Layering and Detailing
Acrylic paints dry relatively quickly, so you can add layers and details without waiting too long. This is where your design really starts to come to life.
On the other hand, if you paint with glass colors, every layer takes a huge time to dry out.
6 Display Your Creation:
After all the details when you’re done with painting, find a special spot for your newly painted bottle. As I planned to use it as a plant holder, I put my plants first! And just look at it! How beautiful it looks!
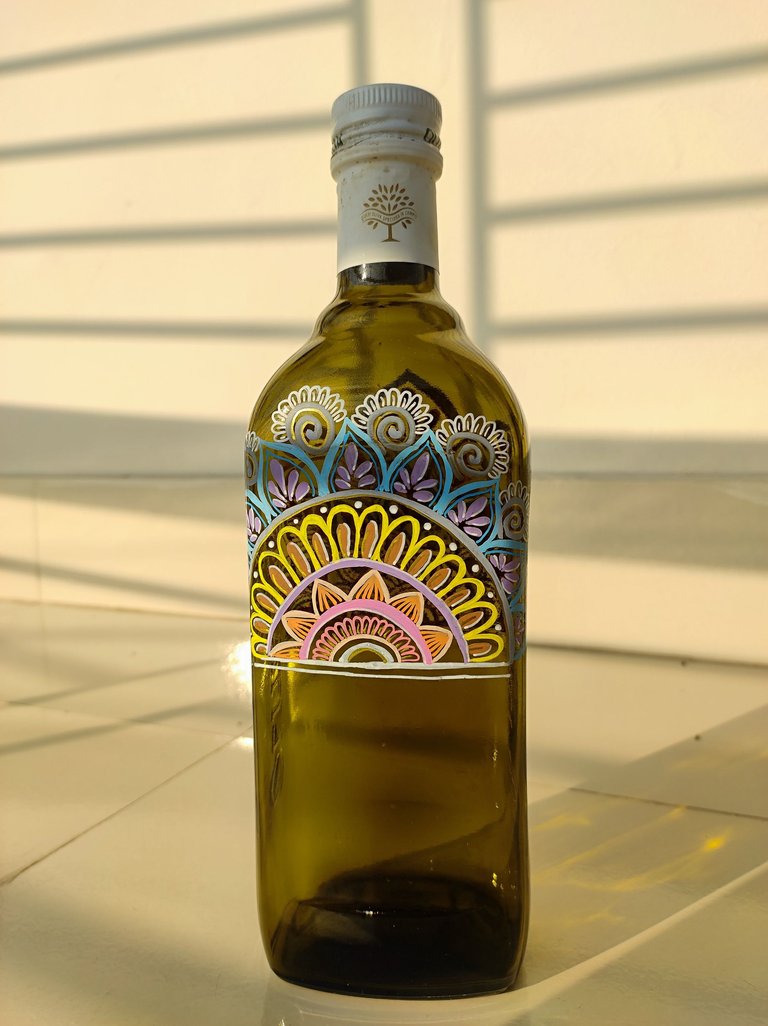
I think you all can guess now why I love to color bottles. It’s a fantastic way to recycle and breathe new life into something that would otherwise be discarded. I hope you find joy in creating your own painted bottle too! It will bring a smile to your face every time you see it for sure! Happy crafting!
Awesome, I was curious about what sort of paint you used for this purpose
Hiya!!!
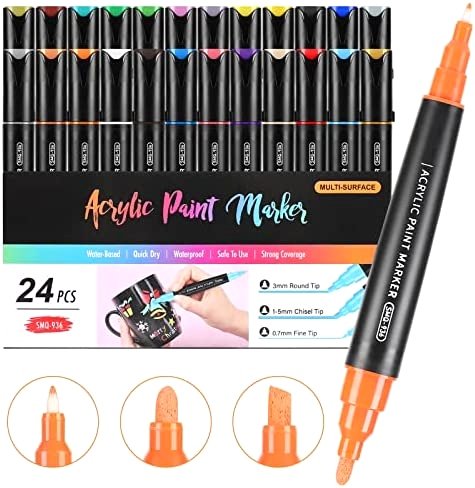
I always use acrylic marker for painting bottles.