.jpeg)

Español
Hola querida familia de HIVE ❤️ Este nuevo y hermoso día les traigo otro divertido paso a paso lleno de mucho amor y creatividad, donde les mostrare como realizar una bota navideña, perfecto para decorar nuestros lugares favoritos en estas navidades y lo mejor de todo es que está hecha con materiales muy económicos y fáciles de conseguir, así que, no esperemos más y démosle la bienvenida a esta navidad.
English
Hello, dear HIVE family ❤️ This new and beautiful day I bring you another fun step by step full of love and creativity, where I will show you how to make a Christmas boot, perfect to decorate our favorite places this Christmas and the best of all is that it is made with very cheap materials and easy to get, so let's not wait any longer and welcome this Christmas.
¿Qué están esperando?
Gracias a esta técnica podemos elaborar fácilmente una hermosa bota navideña, perfecto e ideal para decorar nuestro entorno y darle ese toque creativo a nuestra navidad. Antes de comenzar no olvidemos lavarnos nuestras manos.
What are they waiting for?
Thanks to this technique we can easily make a beautiful Christmas boot, perfect and ideal to decorate our environment and give that creative touch to our Christmas. Before we start, let's not forget to wash our hands.
[Materiales | Materials]
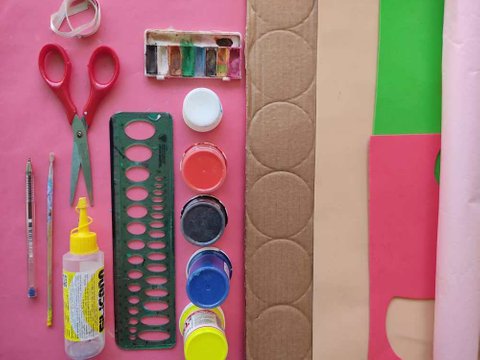
Para realizar esta hermosa bota necesitaremos:
- Foamy o goma eva.
- Lápiz de grafito.
- Cartón.
- Pinturas.
- Pinceles.
- Tijera.
- Pegamento o silicón liquido.
To make this beautiful boot we will need:
- Molds.
- Foamy or eva foam.
- Graphite pencil.
- Cardboard.
- Paintings.
- Brushes.
- Scissors.
- Glue or liquid silicone.
Procedimiento (paso a paso)
Process (step by step)
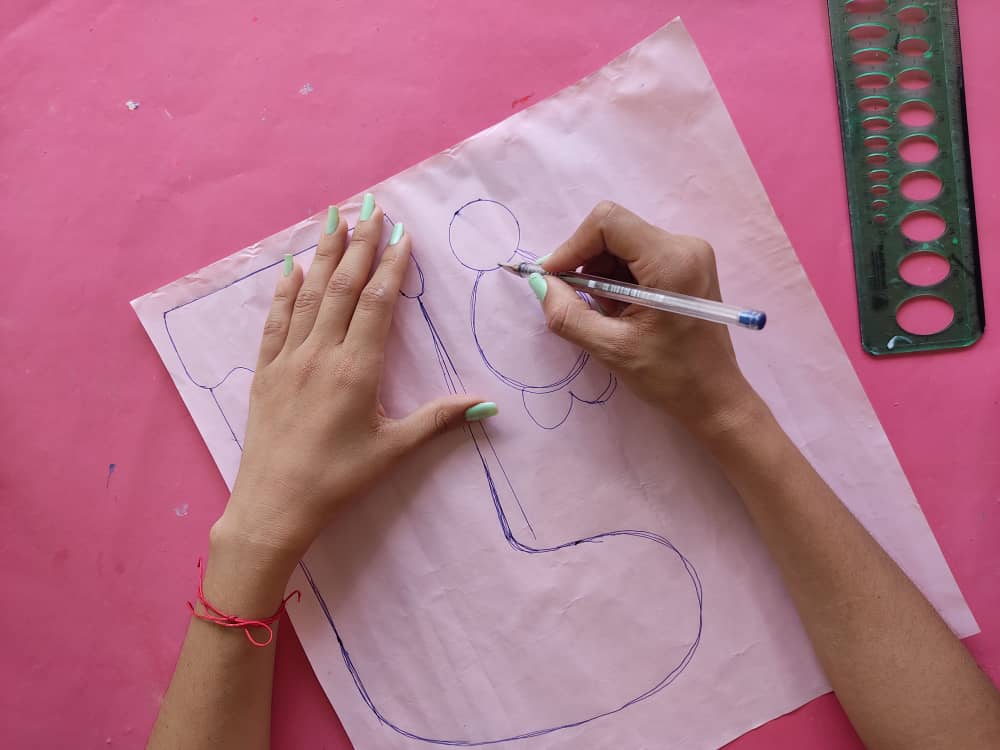
Primero, diseñamos una bota más un muñeco de nieve dejando volar nuestra imaginación para elaborar detalles muy creativos.
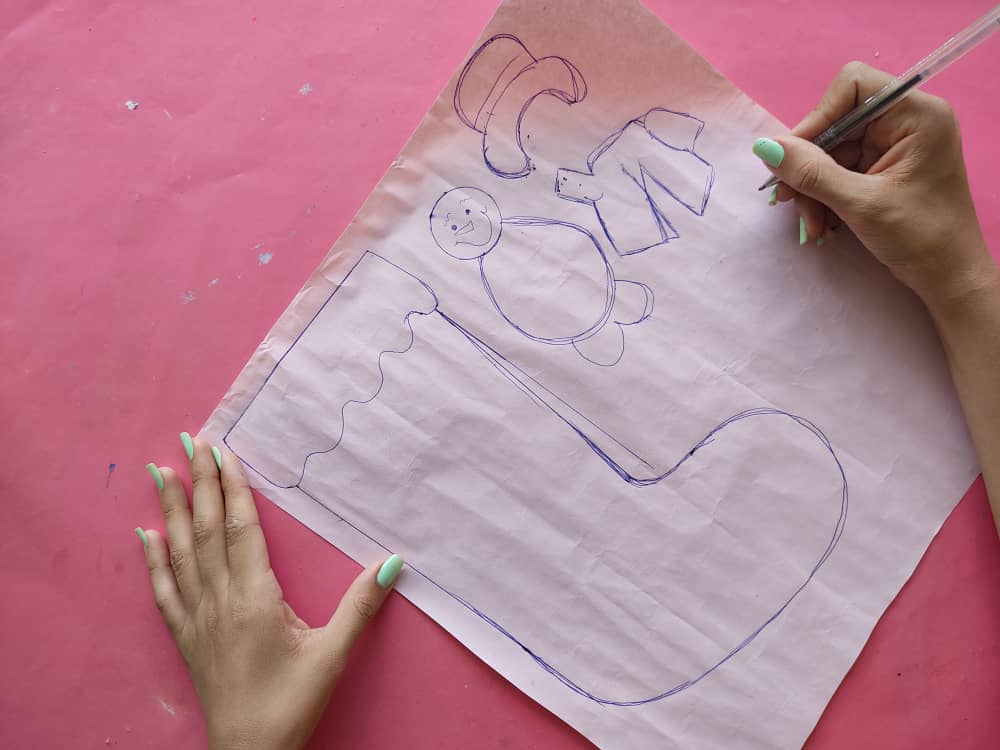
First, we designed a boot plus a snowman by letting our imagination run wild to elaborate very creative details.
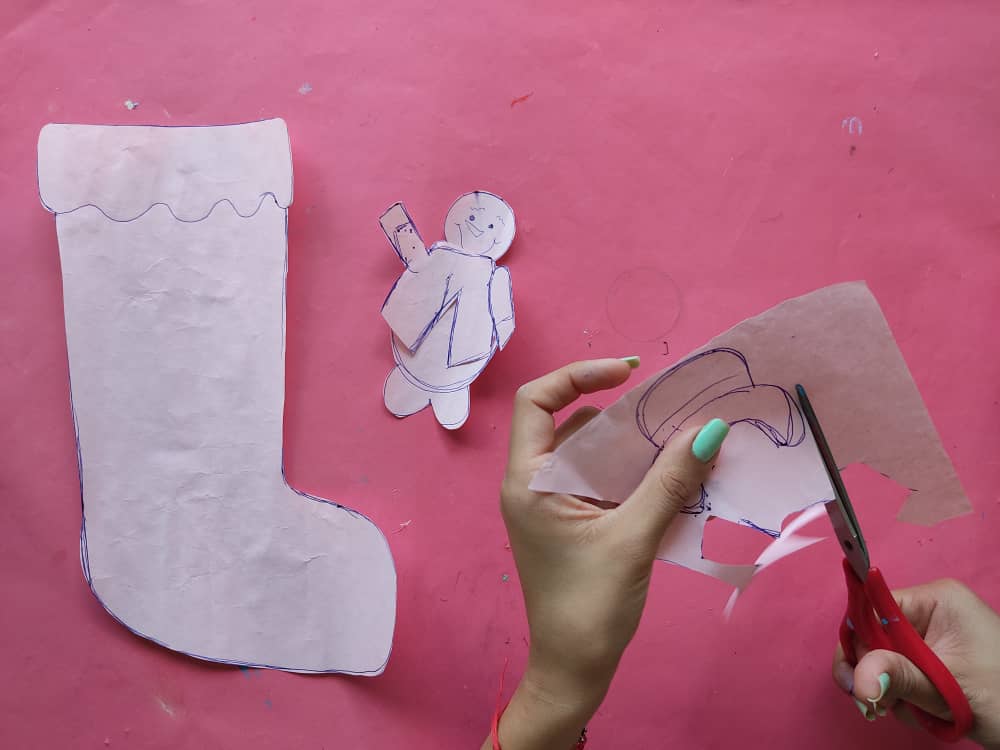
Seguidamente, recortamos las partes de nuestro dibujo con muchísimo cuidado.
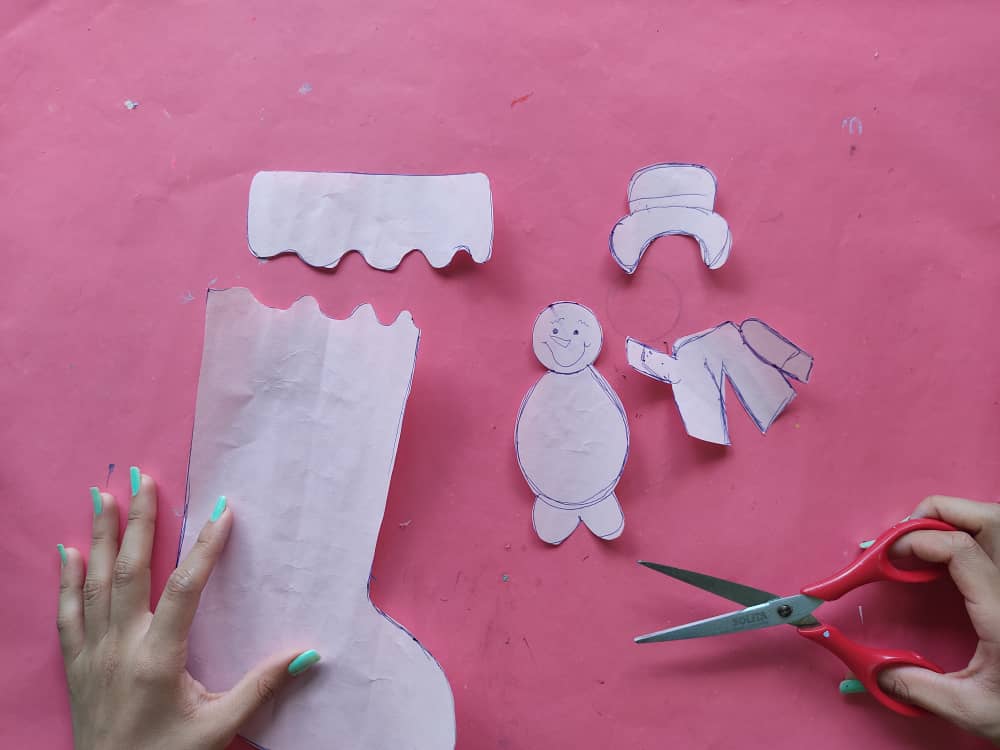
Next, we cut out the parts of our drawing very carefully.
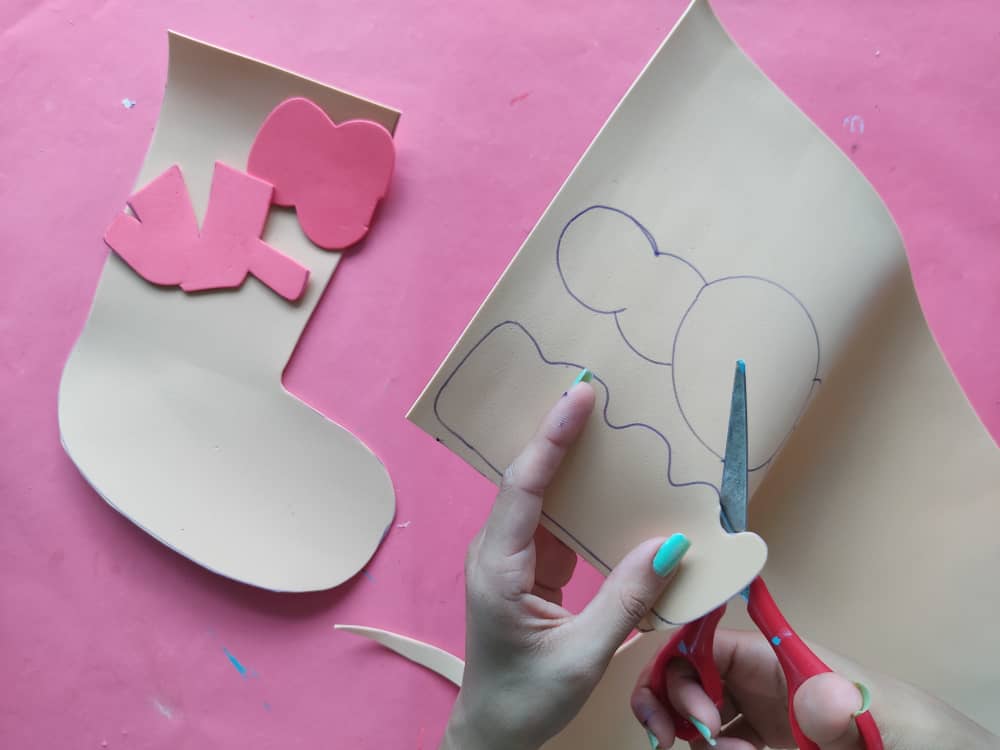
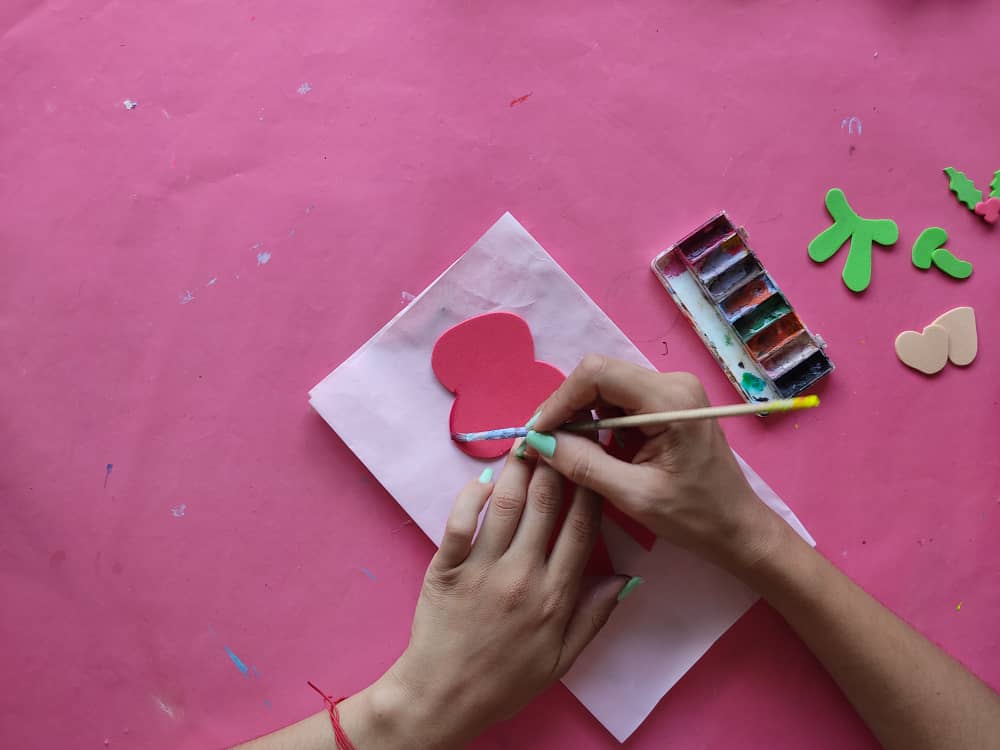
Ahora, transferimos estas figuras al foamy de colores que más nos gusten o tengamos.
Now, we transfer these figures to the colored foamy that we like or have the most.
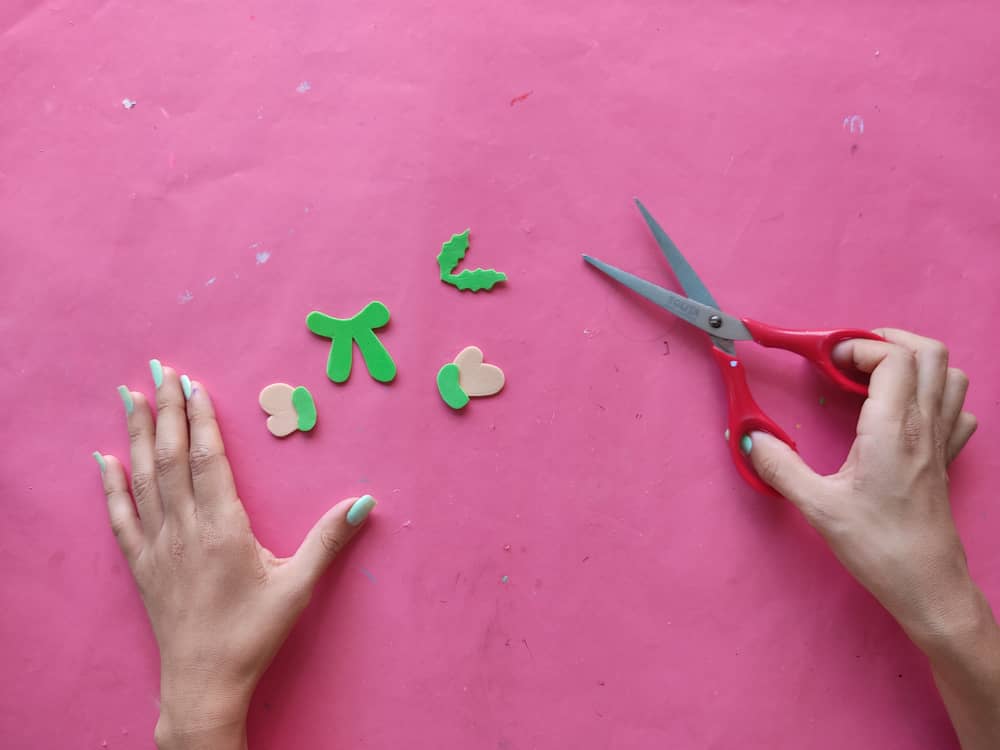
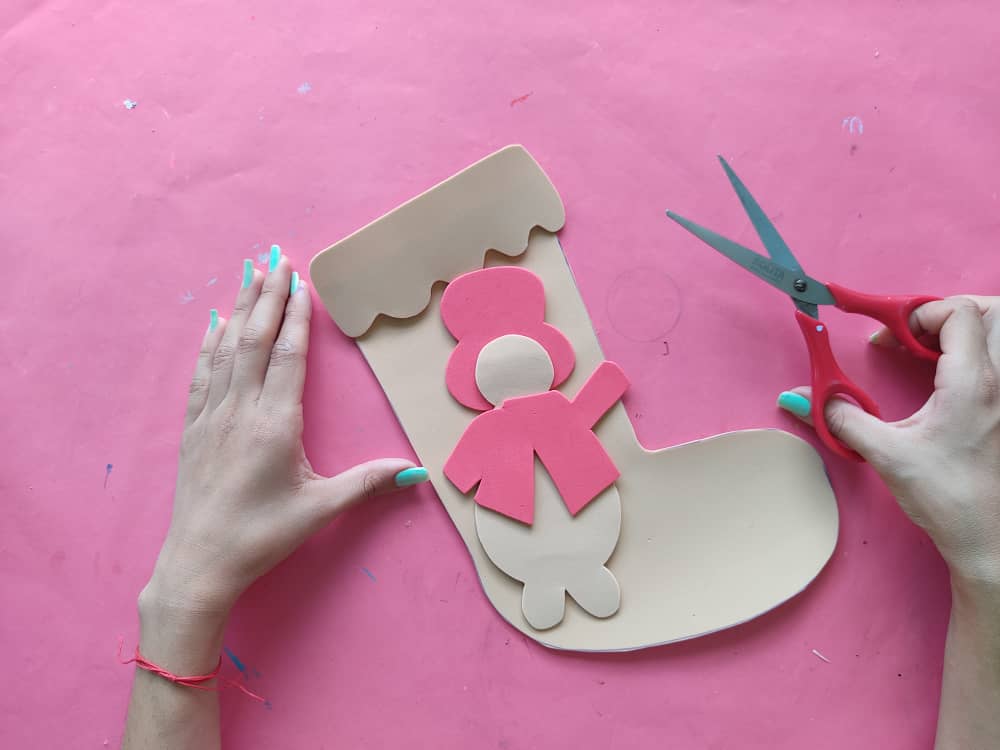
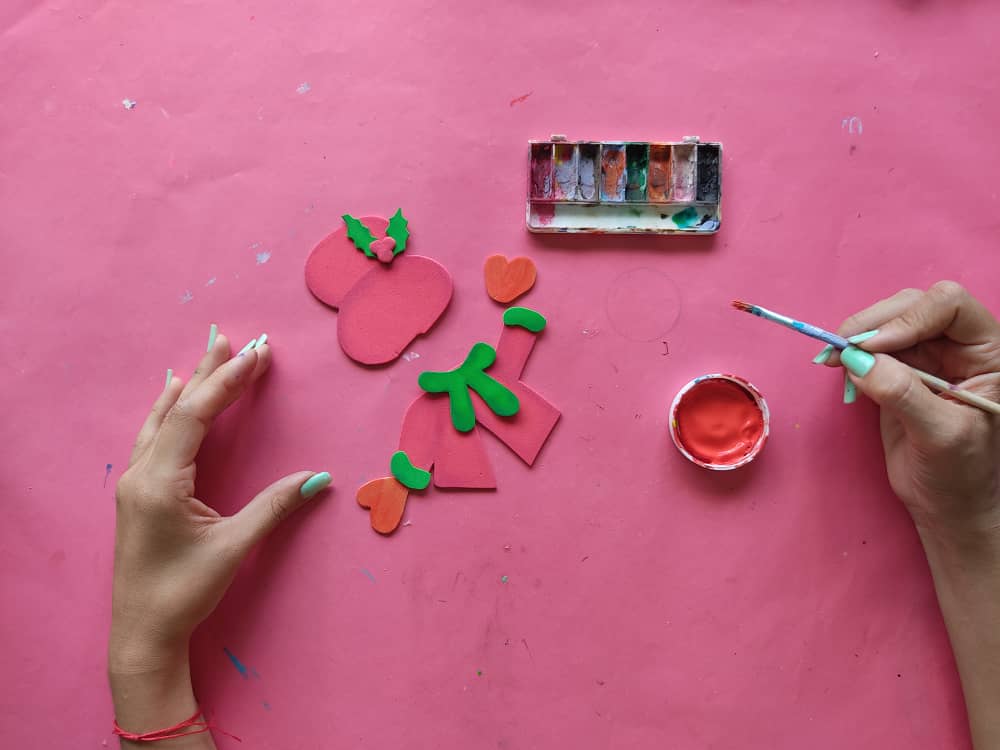
Luego, elaboramos algunos detalles para la ropa del muñeco de nieve, como lo son bufanda, mangas, manoplas, un lindo detalle de cerezas para el sombrero, unas cajas de regalo, y estrellas.
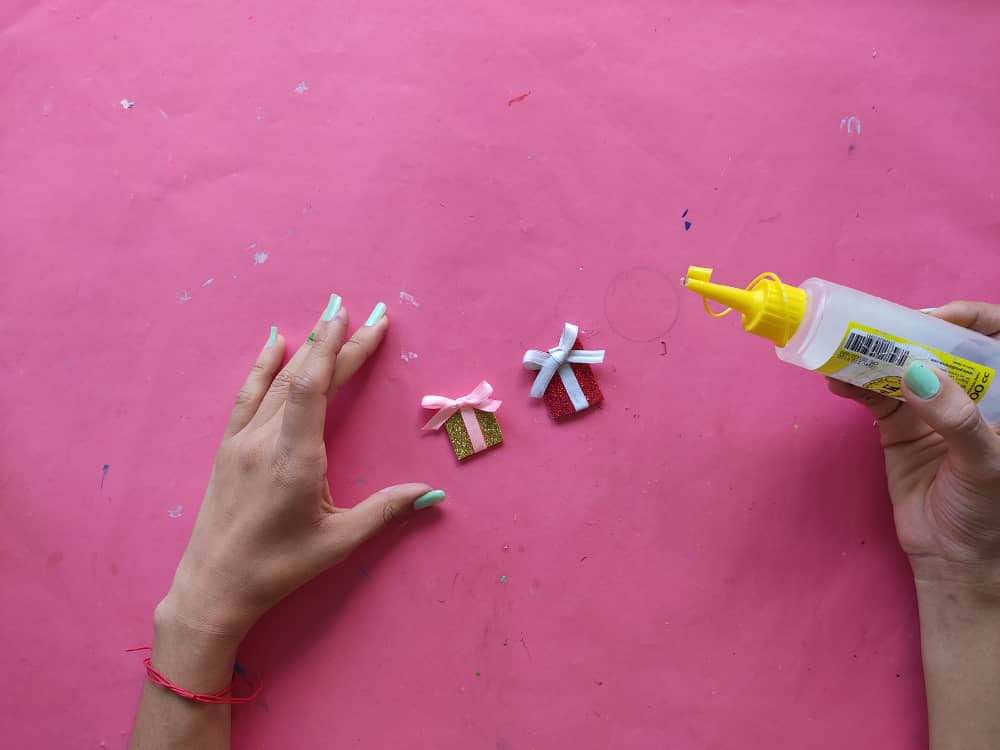
Then, we made some details for the snowman's clothes, such as a scarf, sleeves, mittens, a nice detail of cherries for the hat, some gift boxes, and stars.
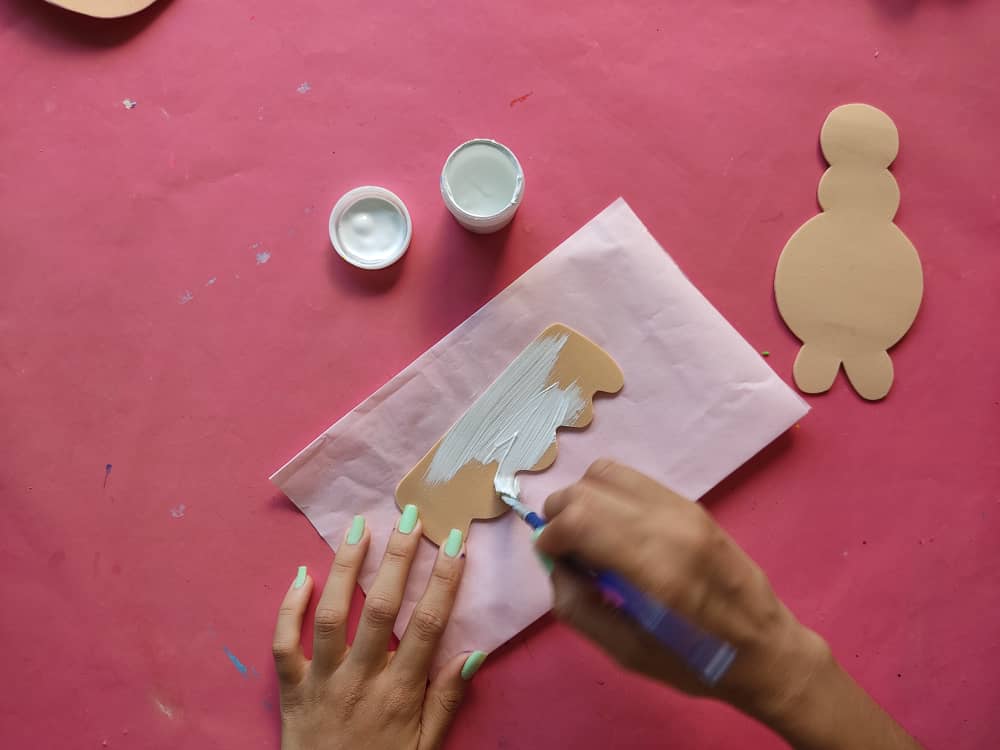
Ahora, comenzamos a pintar las piezas que van de color blanco como lo son la parte superior de la bota y el muñeco de nieve.

Now, we begin to paint the pieces that are white, such as the upper part of the boot and the snowman.
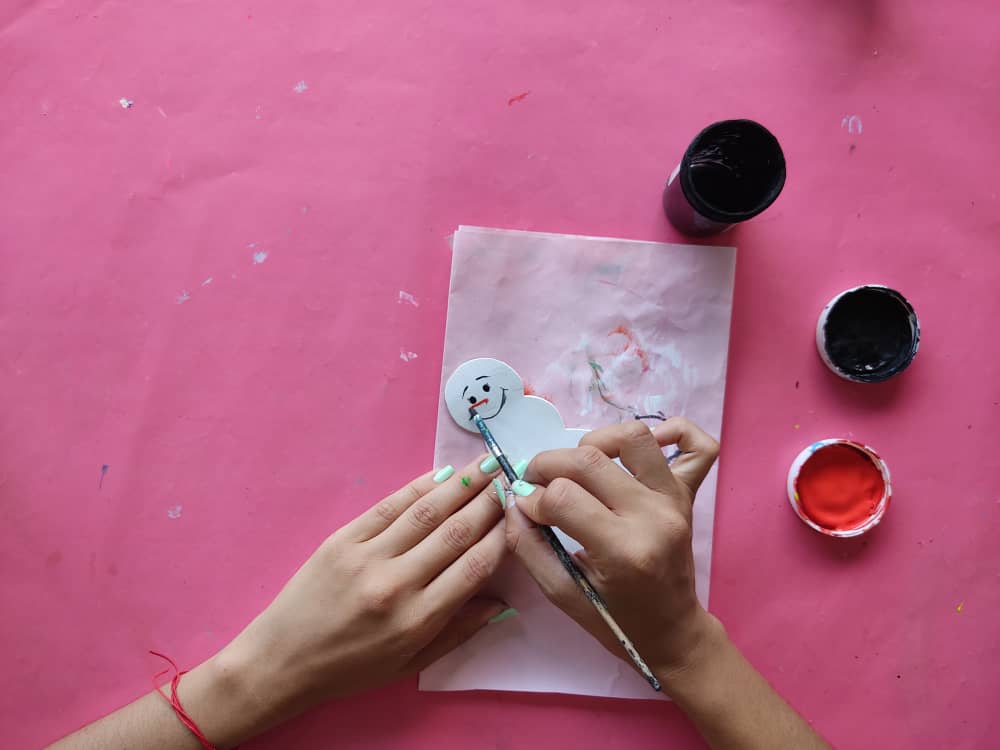
Luego, definimos la cara y zapatos del muñeco de nieve con mucho cuidado para que quede muy tierno.
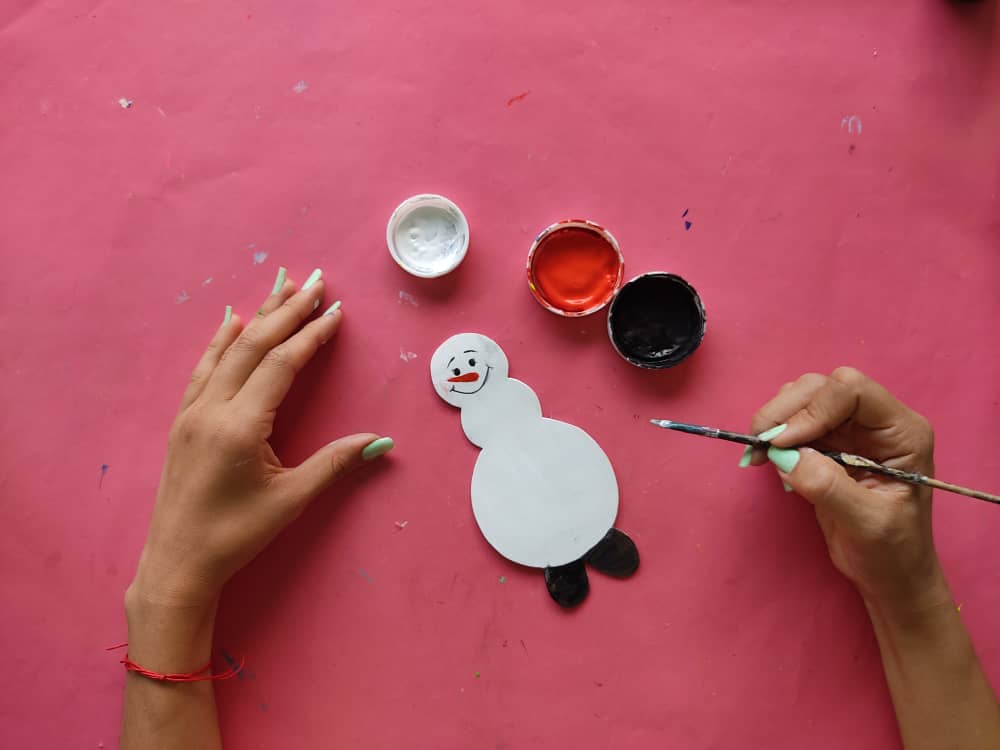
Then, we define the face and shoes of the snowman very carefully so that it is very cute.
Continuamos, sombreando los bordes de la ropa y el resto de accesorios que hemos elaborado para este hermoso y elegante muñeco de nieve.
We continue, shading the edges of the clothes and the rest of the accessories that we have made for this beautiful and elegant snowman.
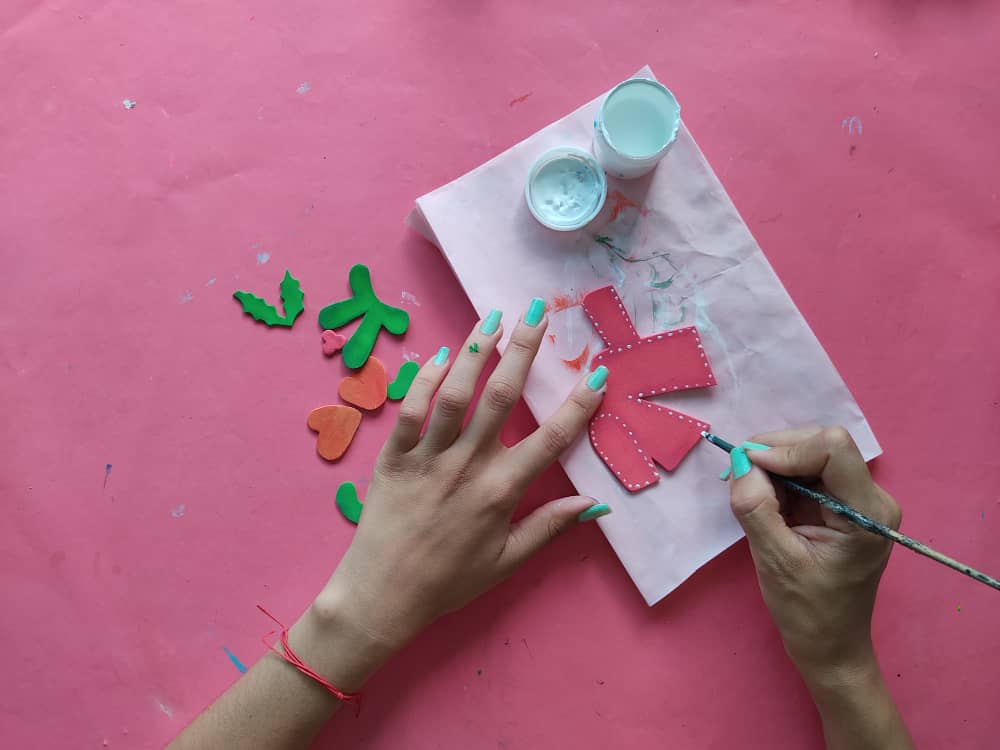
Seguidamente, definimos los detalles de la ropa y accesorios, y aplicamos unos puntos blancos por todos los bordes, y así, está linda ropa lucirá perfecta.
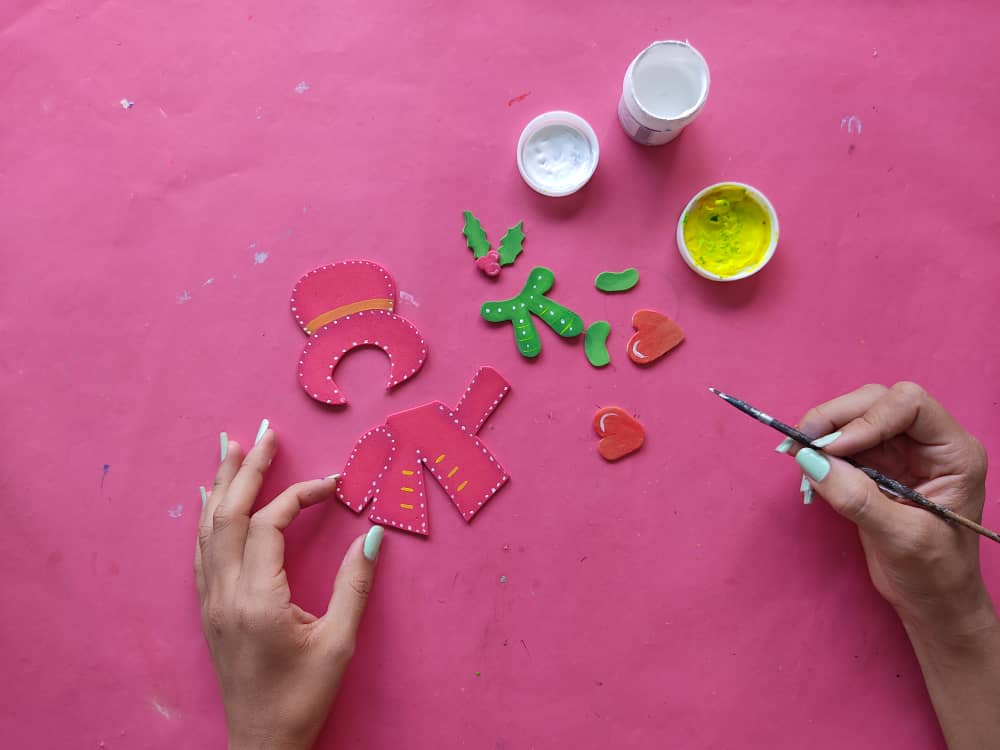
Next, we define the details of the clothes and accessories and apply some white dots around all the edges, and thus, these beautiful clothes will look perfect.
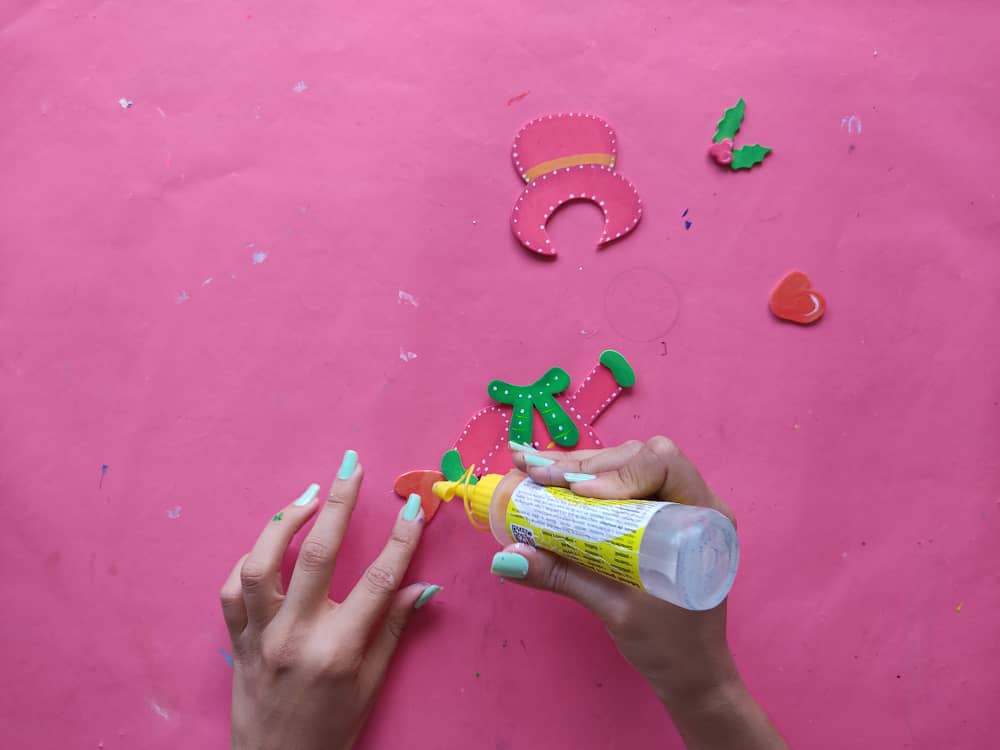
Ahora, armamos este precioso muñeco de nieve pegando cada una de sus piezas en su lugar utilizando silicón frio.
Now, we put together this precious snowman by gluing each of its pieces in place using cold silicone.
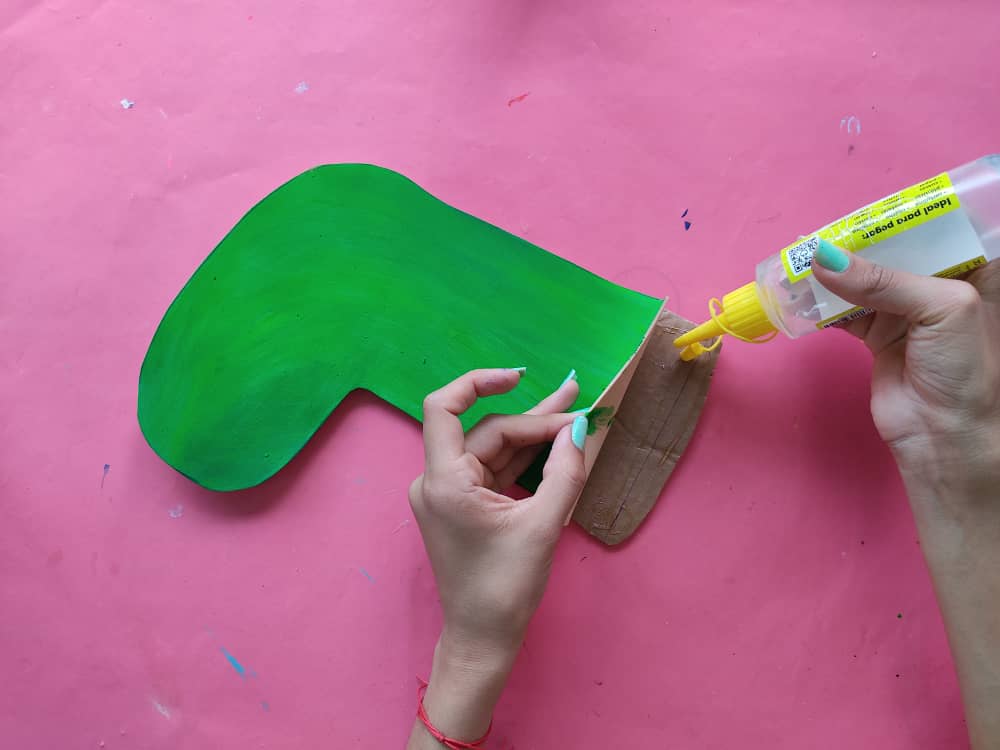
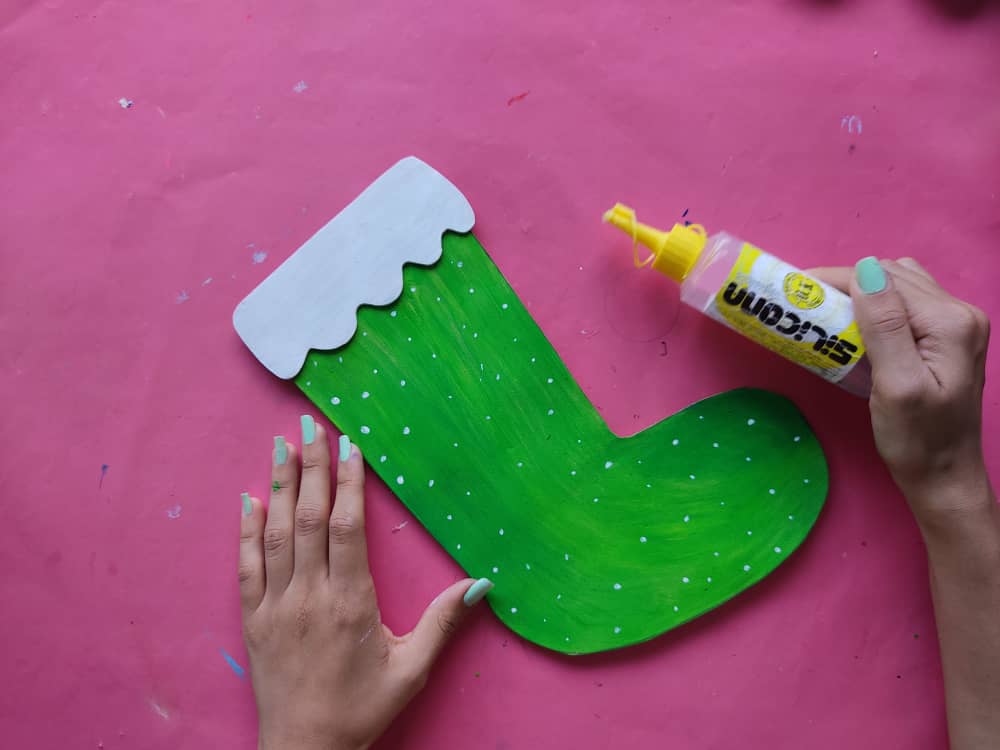
Luego, pintamos la bota de un color verde muy brillante, y cuando este seca la pintura pegamos la bota sobre una lámina de cartón para que así tenga mayor firmeza. Seguidamente, agregamos pequeños puntos blancos por toda el área de la bota, de manera que luzca como la nieve.
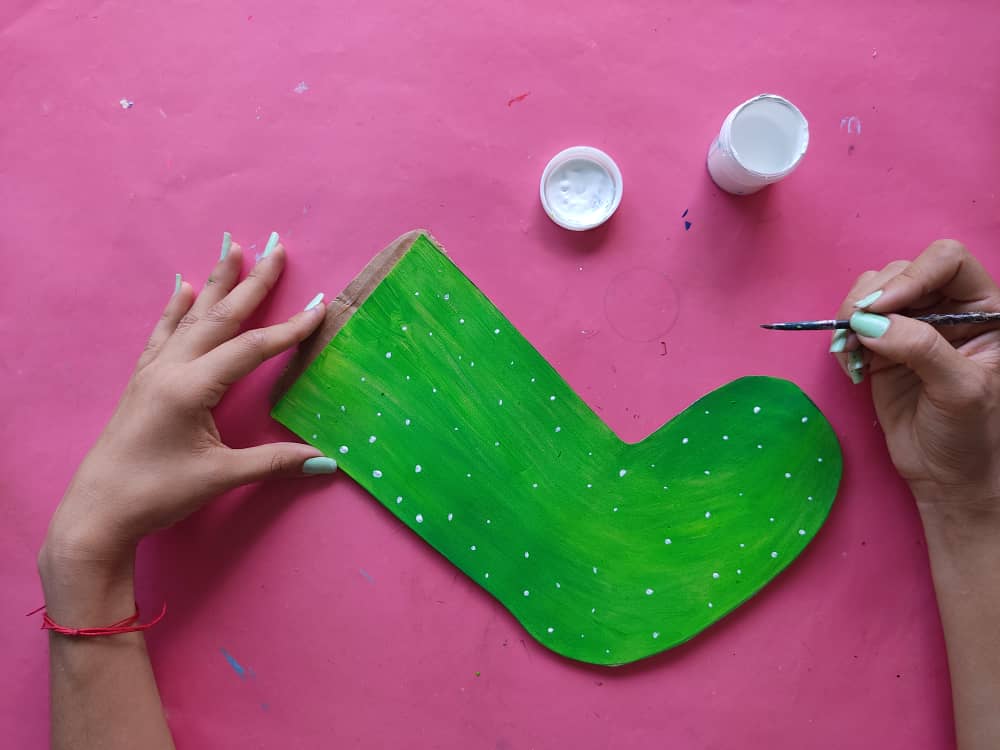
Then, we paint the boot a very bright green color, and when the paint dries, we glue the boot on a cardboard sheet to make it more firm. Next, we add small white dots all over the area of the boot, so that it looks like snow.
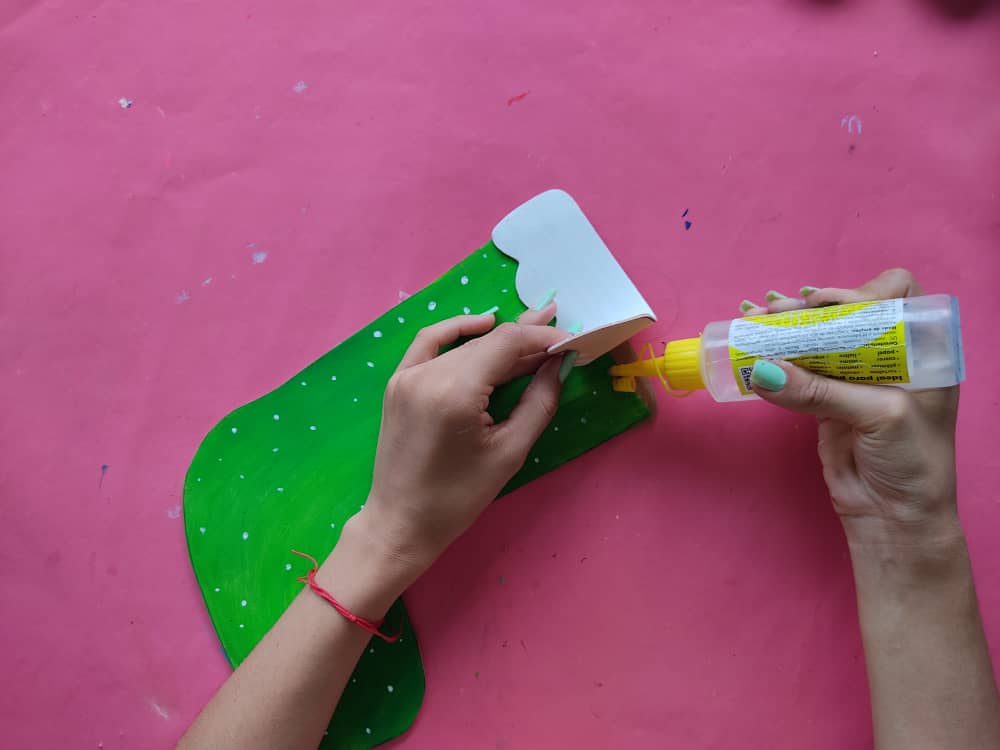
Una vez que tengamos pintada y firme nuestra bota, pegamos el tope blanco en la parte superior de esta.
Once we have our boot painted and firm, we glue the white cap on top of it.
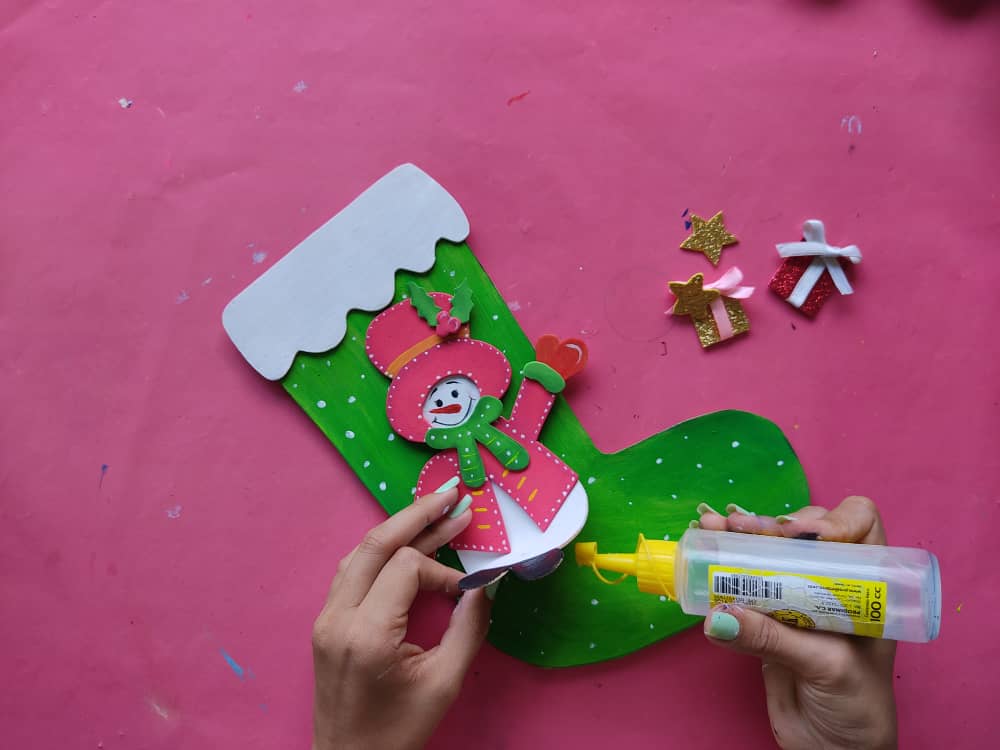
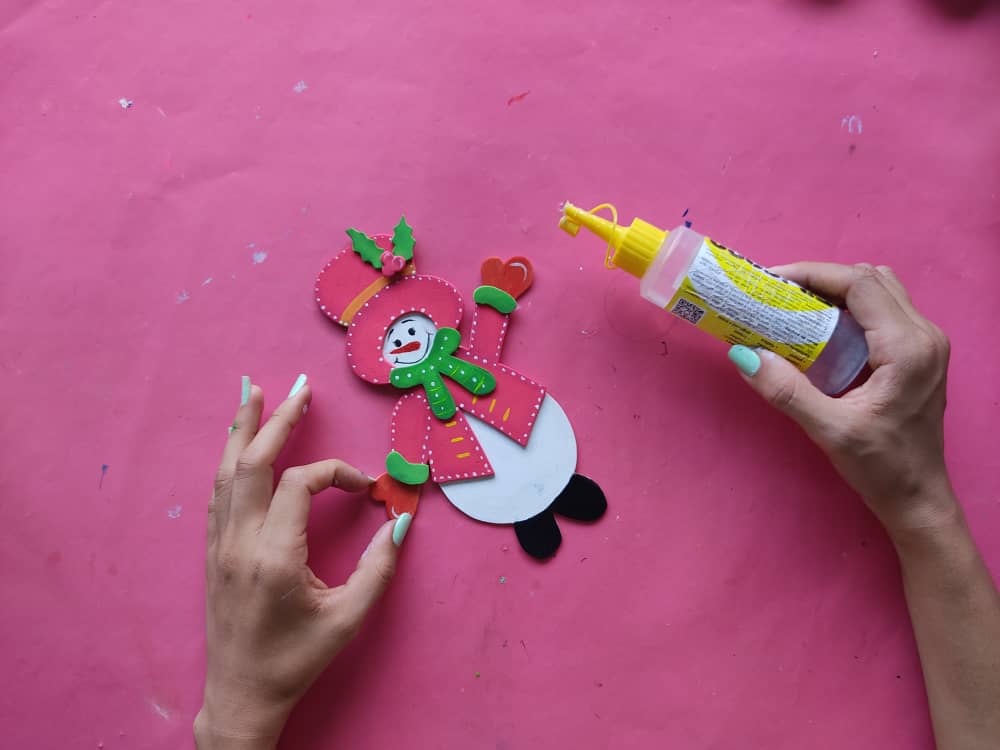
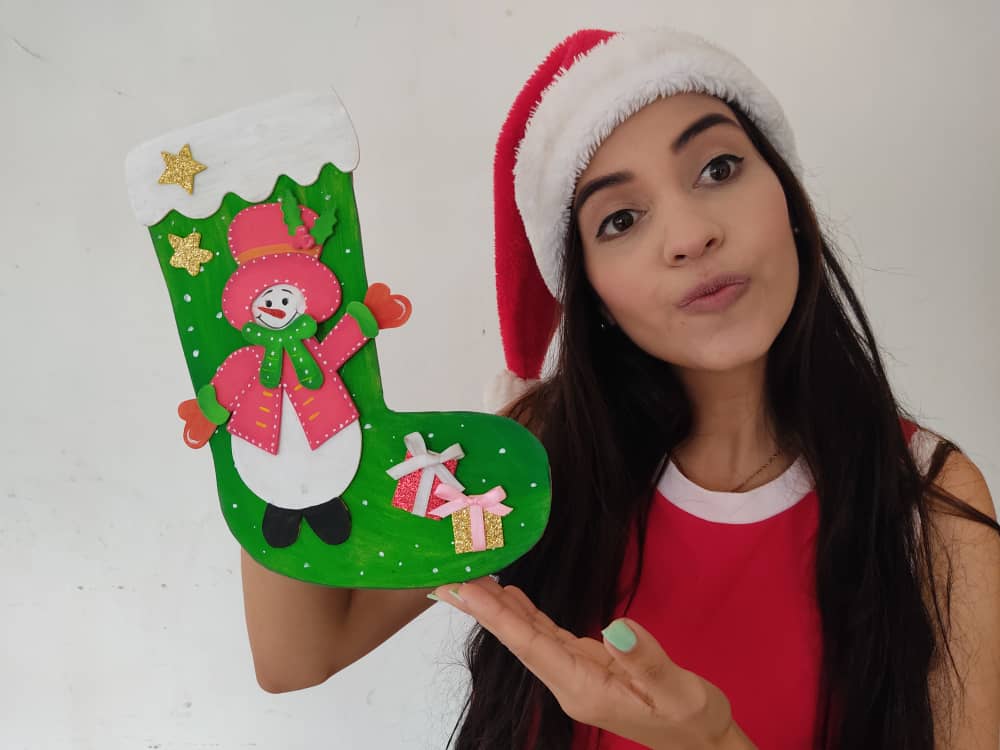
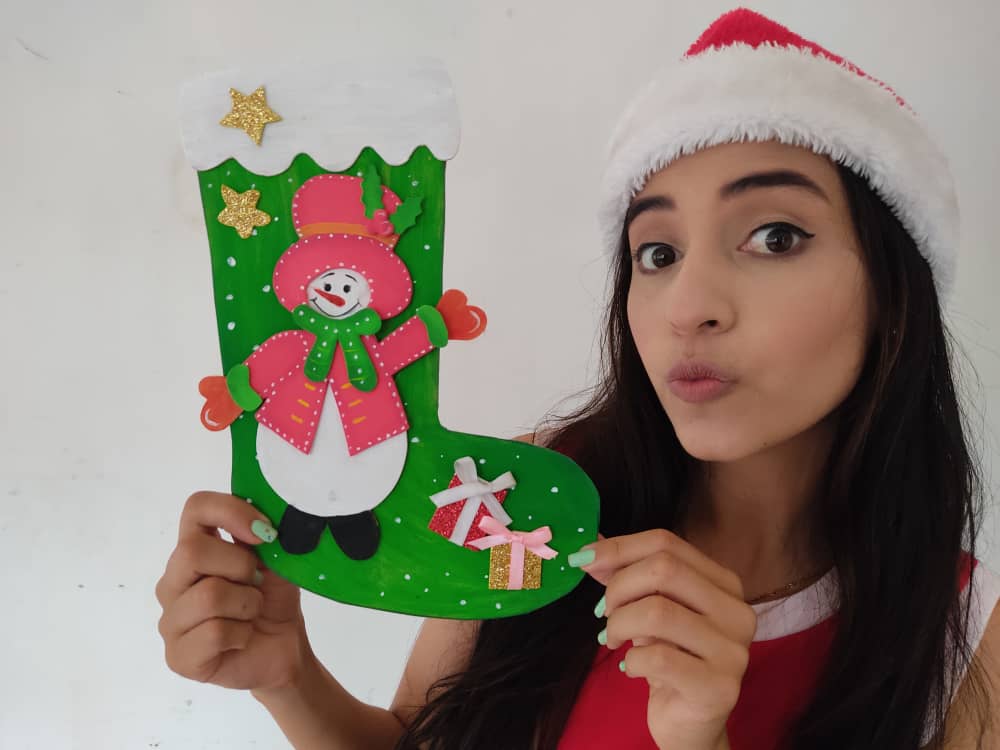
Finalmente, pegamos el muñeco de nieve sobre la bota más los hermosos detalles que hemos elaborado.
Finally, we glue the snowman on the boot plus the beautiful details that we have made.
.jpeg)
.jpeg)
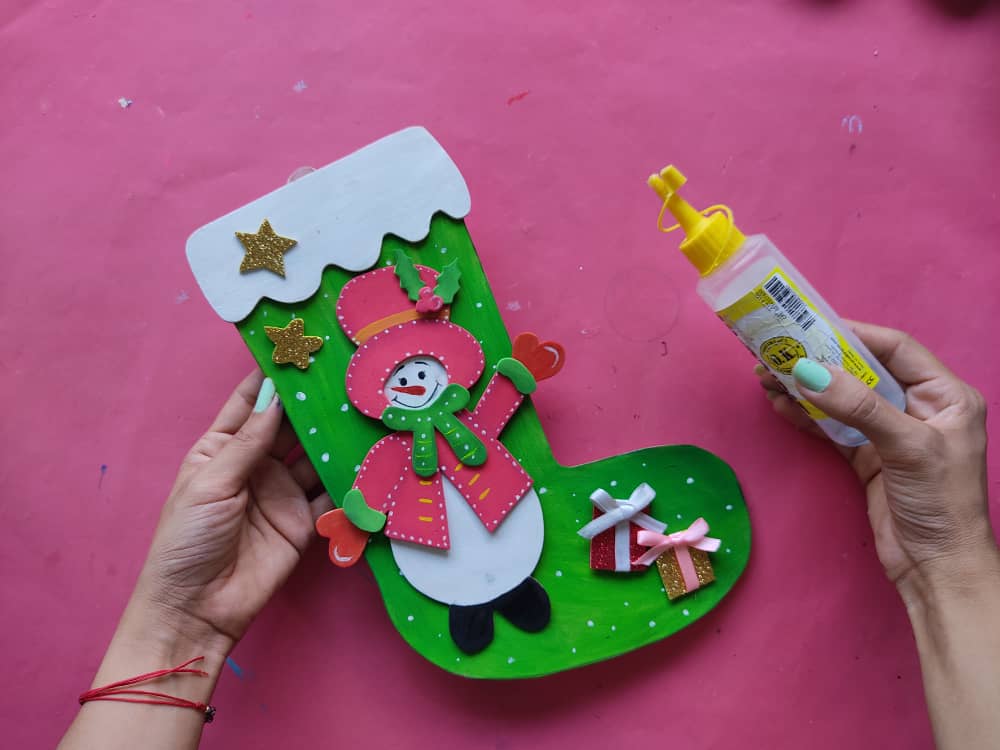
Gracias por acompañarme y espero que lo hayan disfrutado. ❤️
Thanks for joining and I hope you enjoyed it.❤️
.jpeg)
.jpeg)
.jpeg)
.jpeg)
.jpeg)
.jpeg)


que bonito esta tu manualidad señorita @saracampero
beautiful art work of yours
Congratulations, your post has been upvoted by @dsc-r2cornell, which is the curating account for @R2cornell's Discord Community.