Hello, dear Hive family💋
English Version:
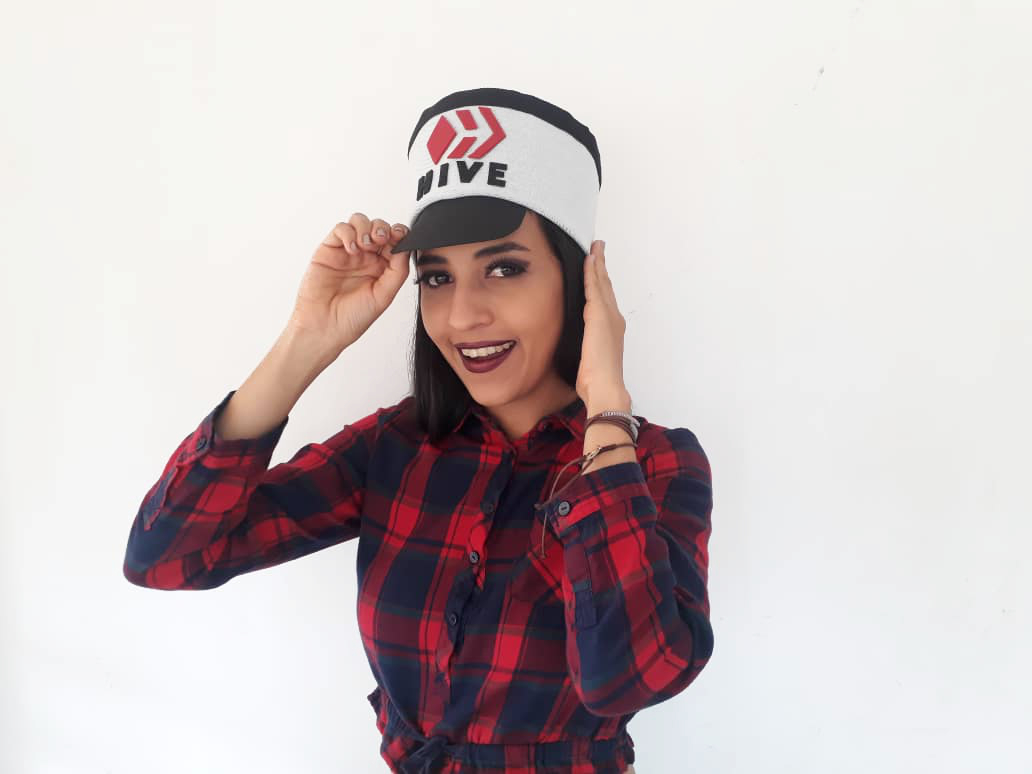
Today Wednesday I bring you a new and fun step by step that you cannot miss. This time I am going to teach you how to make a cardboard cap for a hive. Yes, as you can see, this beautiful cap is very easy to make, with materials that are very easy to get as well as cardboard. So, I invite you to join this beautiful artistic trip, ideal to spend a pleasant time with our little ones at home, since, they can go, little by little, developing their creativity and ingenuity and getting a little closer to the artistic work.What are they waiting for?
With this useful, easy-to-use technique, our little ones will be able to spend a pleasant time designing their own homemade cap. Before we start, let's not forget to wash our hands.

To make this beautiful hive cap we will need:
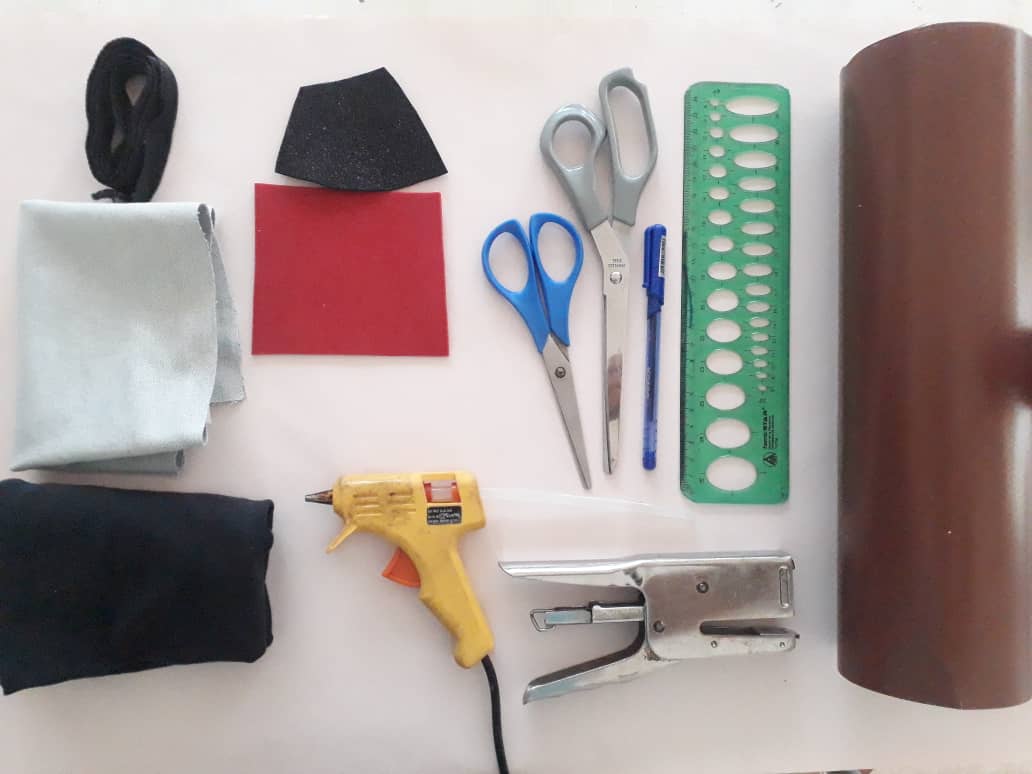
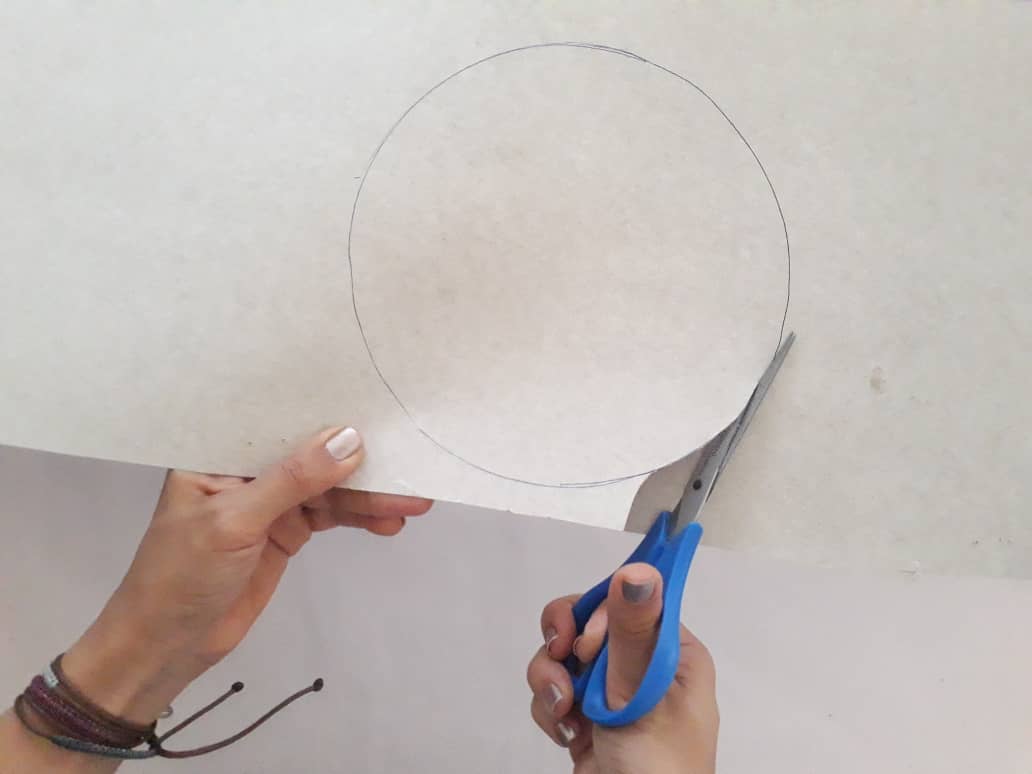
- Molds.
- Foamy sheet or Eva foam.
- Scissors.
- Pen or marker.
- Cardboard sheet.
- Decorative fabric.
- Stapler.
- Ribbon.
- Hot silicone applicator.
Process (step by step)

Once again I thank the entire hive family for joining me in this new tutorial that is part of my project "developing children's creativity". With this fun exercise, we can learn to make our own hive cap. Thus allowing us to develop our creativity and ingenuity, in addition, to spend a pleasant time with our boys and girls. It is a perfect activity in these times of quarantine that we need to distract our minds into something fun.
I hope you like it and thank you all very much for your support 🍎
Con esta útil técnica de fácil uso nuestros pequeños podrán pasar un rato agradable diseñando su propia gorra casera. Antes de comenzar no olvidemos lavarnos nuestras manos.
Versión en Español:
Hola querida comunidad de habla hispana de Hive 💋 Hoy Miércoles les traigo un nuevo y divertido paso a paso que no se pueden perder. En esta oportunidad les voy a enseñar cómo realizar una gorra de cartón para hive. Si así como pueden ver, esta hermosa gorra es muy fácil de hacer, con materiales muy fáciles de conseguir así como lo es el cartón. Así que, los invito a que se unan a este hermoso viaje artístico, ideal para pasar un rato agradable con nuestros pequeños en casa, ya que, pueden ir, poco a poco, desarrollando su creatividad e ingenio y acercándose un poco más al trabajo artístico.
¿Qué están esperando?
Para hacer esta hermosa gorra hive necesitaremos:
Procedimiento (paso a paso)
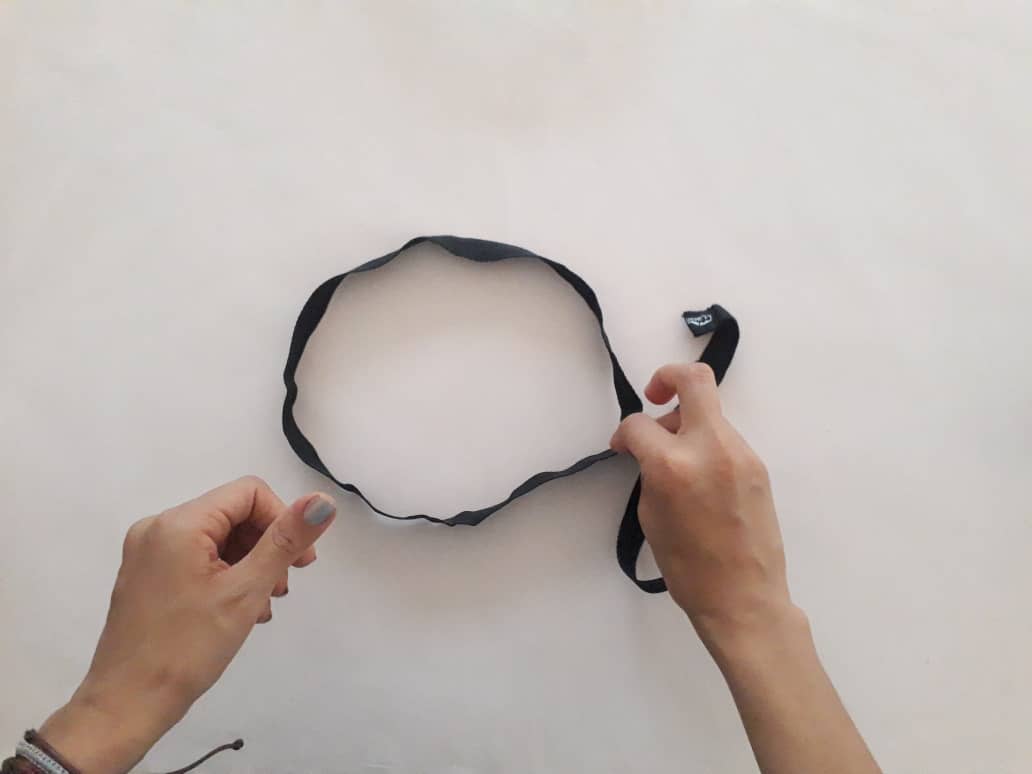
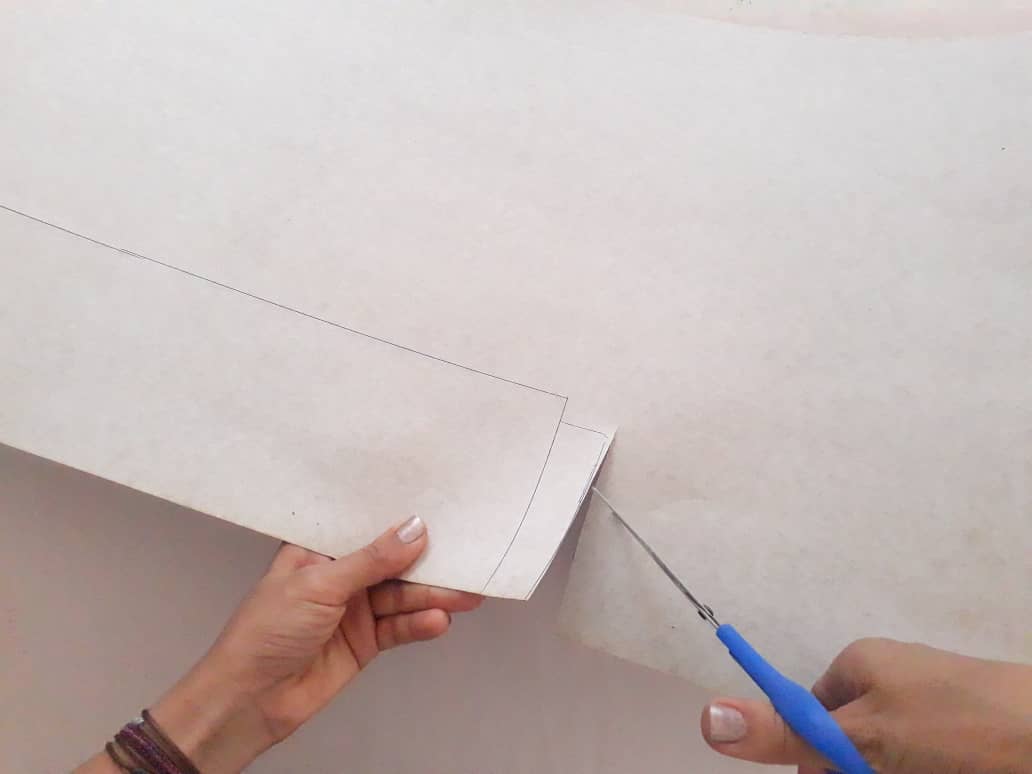
Primero, utilizamos un trozo de cinta para medir la circunferencia de nuestra cabeza y así obtener los patrones.
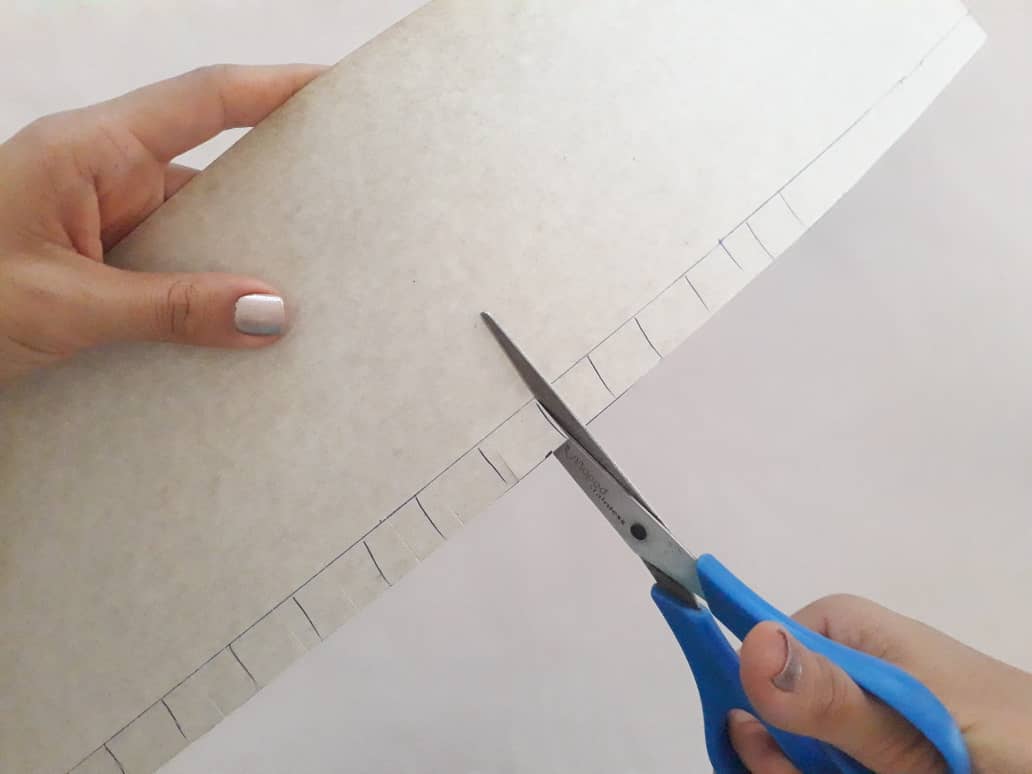
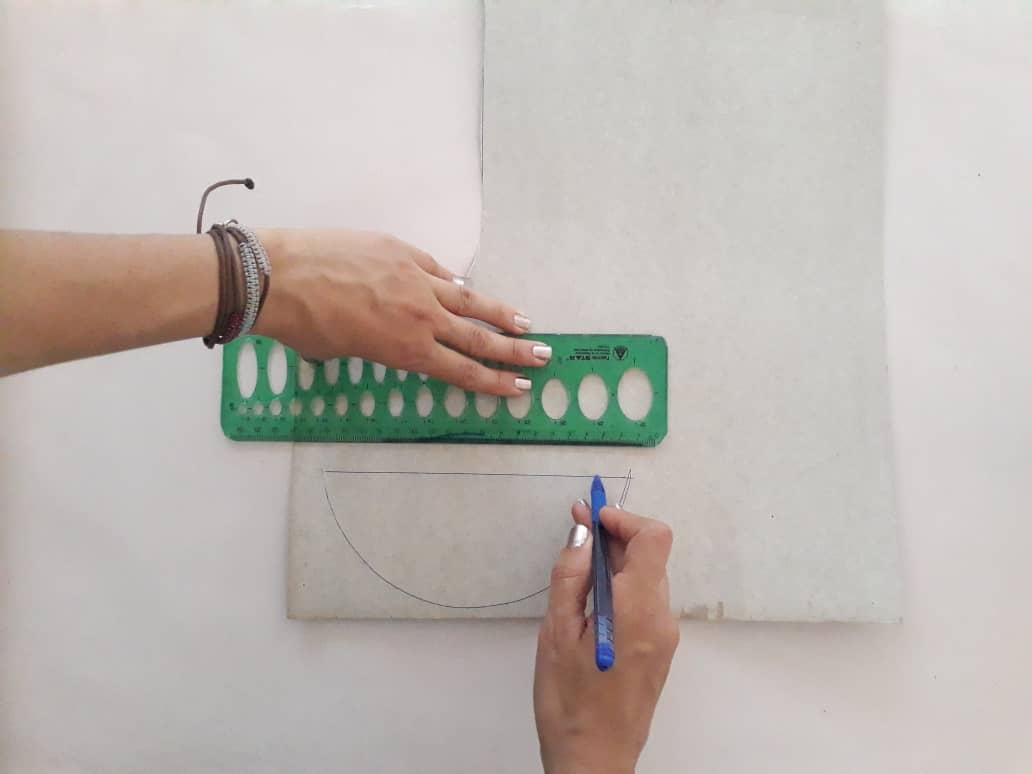
Ahora, Volvemos a repetir el paso número 2, pero esta vez solo utilizaremos la mitad de la circunferencia, doblamos el extremo superior en forma de pestaña para poder unir el visor al cuerpo de la gorra.
Luego, unimos los dos extremos de la tira rectangular utilizando una grapadora. Y ya podemos ver formado el cuerpo de nuestra gorra.
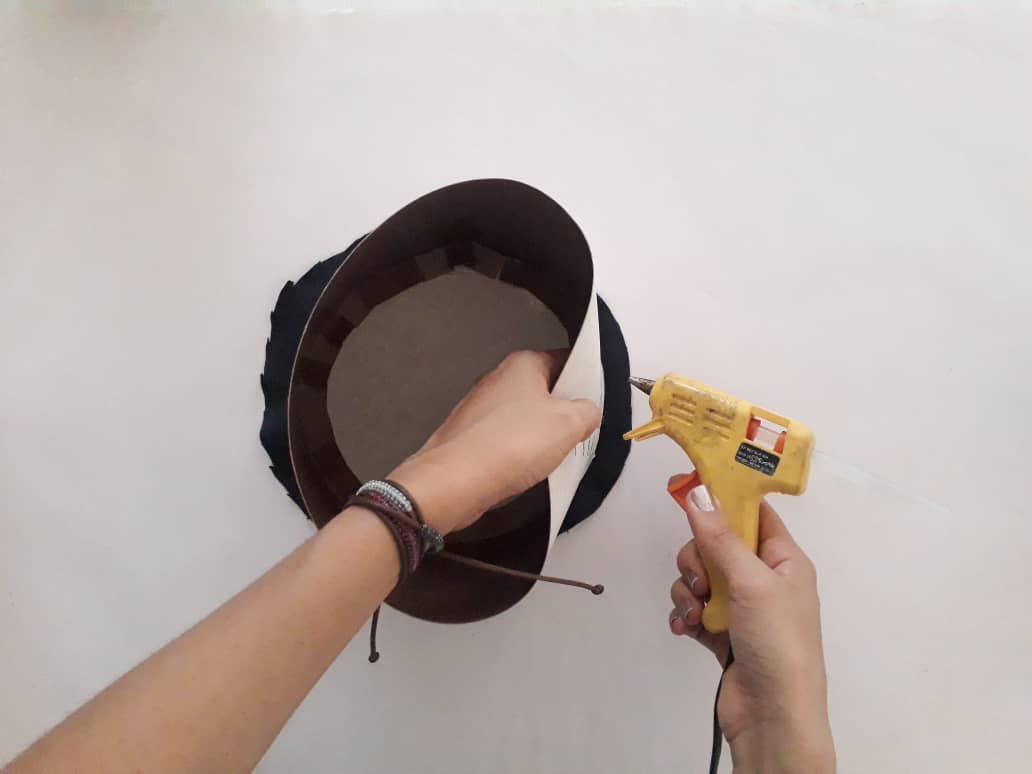
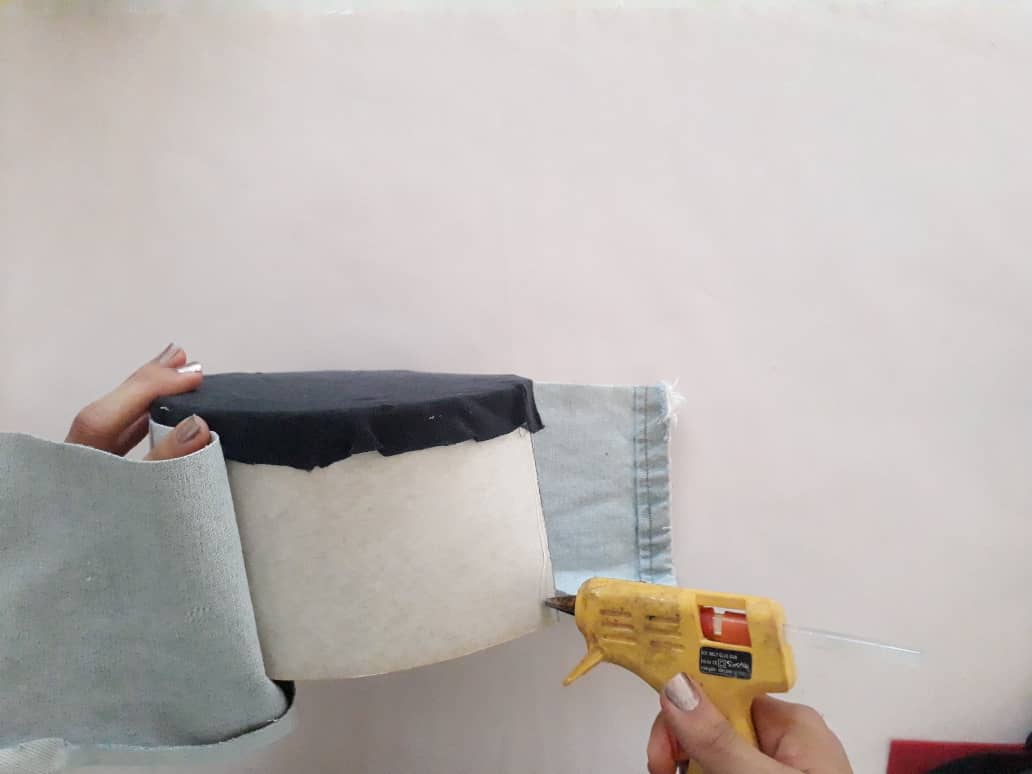
Ahora, cortamos un trozo de tela negra para forrar la tapa y la visera y así poder unirlas al cuerpo utilizando silicona caliente.
En este paso utilizaremos la tela decorativa (en este caso blue jeans) para forrar el cuerpo de nuestra gorra utilizando silicona caliente.
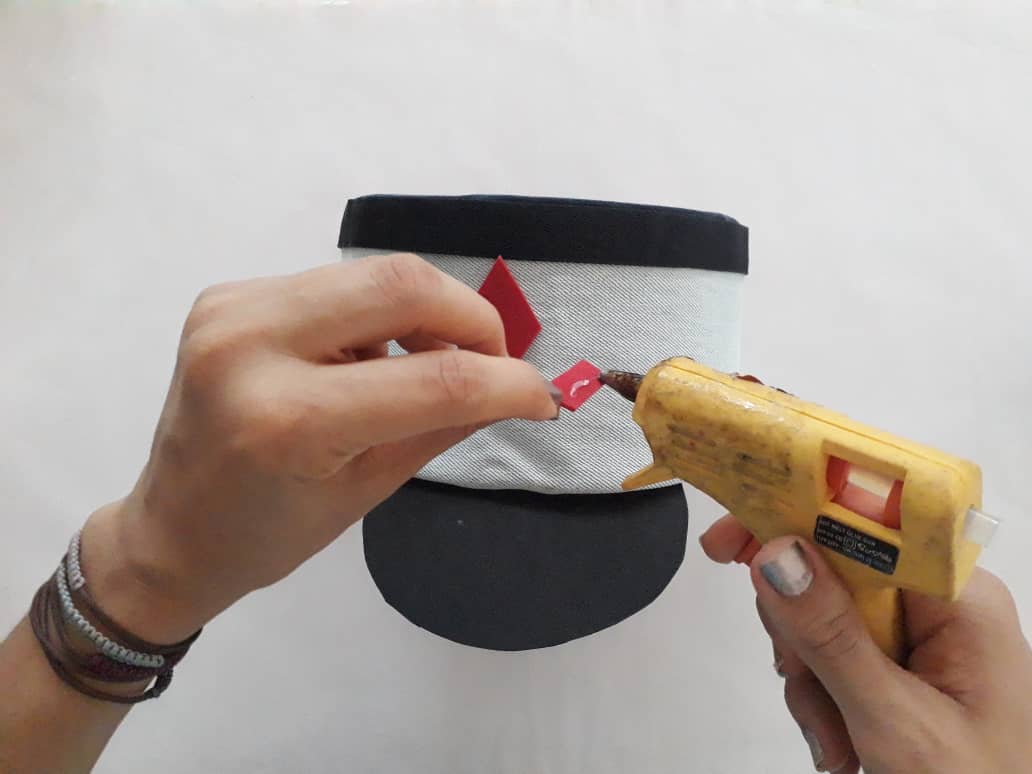
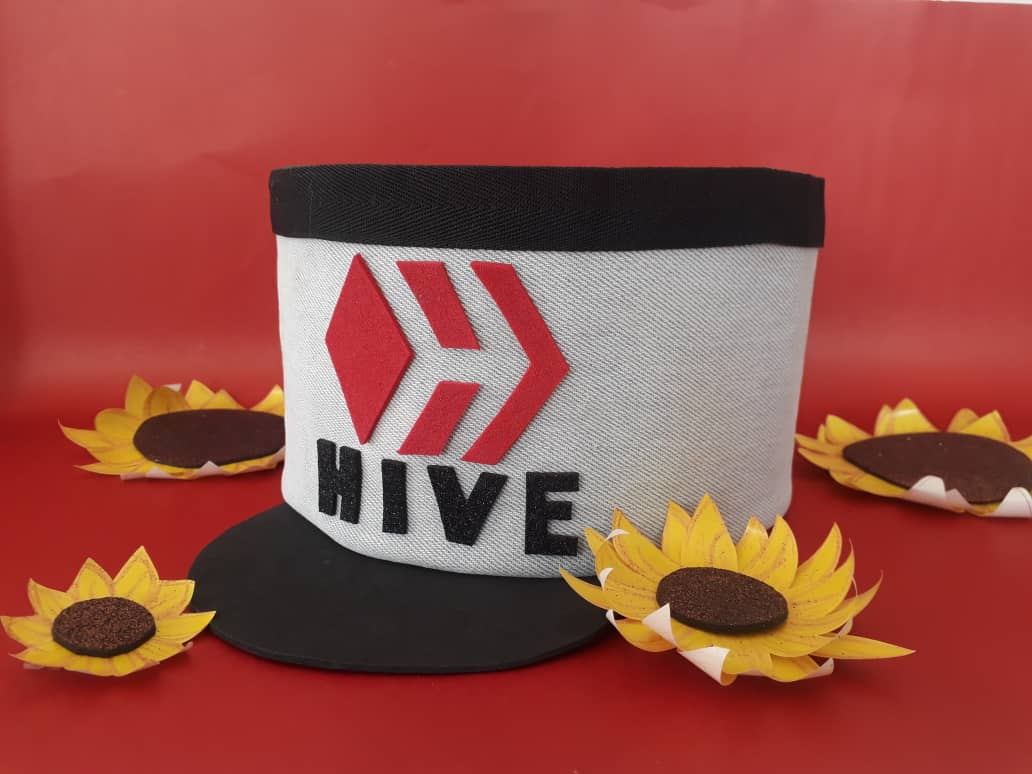
Por último, decoramos nuestra gorra dejando volar nuestra imaginación. En este caso yo utilice le logotipo de hive.blog formado por trozos de foamy o goma eva.
Una vez más agradezco a toda la familia de hive por acompañarme en este nuevo tutorial que forma parte de mi proyecto "desarrollando la creatividad de los niños". Con estos divertidos ejercicios podemos aprender a realizar nuestra propia gorra hive. Permitiendo así, desarrollar nuestra creatividad e ingenio, además, de pasar un rato agradable con nuestros niños y niñas. Es una actividad perfecta en estos tiempos de cuarentena que necesitamos distraer nuestra mente en algo divertido.
Espero que les guste y muchas gracias a todos por su apoyo 🍎

 ✯@saracampero✯
Awesome Work. Upvoted and rehived to 4,700 people. You have been added to the Artist OG_Curation Trail by @offgridlife
Thank you very much for your support dear friend @offgridlife . God bless you always. Thank you.
Muchas gracias por el apoyo, se les quiere..
A su orden bella
My Twt #posh
Awesome post, the hat looks so good :)
It will so cool if we all made the hat and have a group photo
It would look super cool. Good idea. Thanks for comment friend!
Que hermoso trabajo @saracampero, me gusto mucho.
Muchas gracias amiga, un gusto verla por acá. Saludos @sacra97
Thanks for commenting with that gif. It's good.
You are really creative! Love this cap!😀
Thank you for your comment and I am more than glad that it satisfies me to see that you have enjoyed it so much, now anyone can do it at home. Thanks friend @dexpartacus
I don't know if I will be abile to do that...I don't have a lot of practice with this kind of thing, but yours is really nice!👏 😀✌️
Of course if you did .. Thank you for appreciating my work. I hope to see you again here.
Really awesome, and anyone can try it, as you share the steps in detail :D
If that is the idea, anyone can try it from home, with materials that we have on hand. That is the great thing about this ecosystem that we can share our knowledge and experiences so that others can learn. Thanks for your comment Friend @shrazi
Oye amiguita tienes una creatividad asombrosa y un talento en esas manos, que Dios te guarde vale. Abracitos
Oye muchas gracias por tu comentario me alegra que hayas disfrutado del tutorial. Saludos y bendiciones para ti
you rock, great idea, and smart realisAction
If it is a useful idea and very easy to do. Thanks for coming to see my work. Cheers
💪😉👍 💙 super!!!
Very much dear friend. Grettings y blessings
Hola @saracampero,
Sé que te dije que si no era verde no me iba a gustar, pero me encantó.
Excelente publicación, muy bien redactada.
Saludos.
Gracias por comentar amiga. :D
This post earned a total payout of 36.690$ and 18.345$ worth of author reward that was liquified using @likwid.
Learn more.