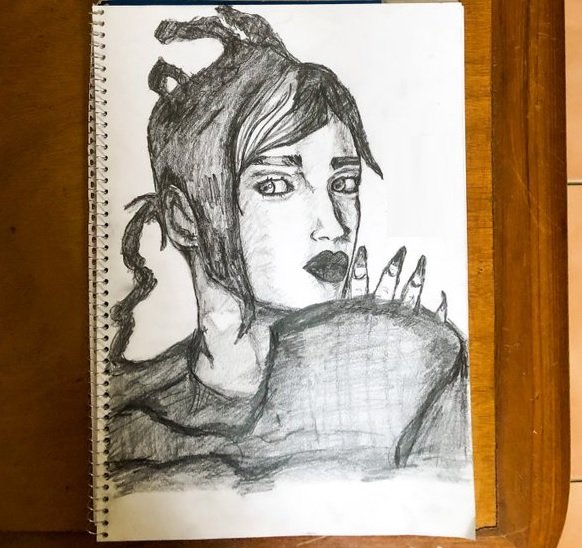
The portrait of this occasion. Photo of my property.
El retrato de esta ocasión. Foto de mi propiedad.
- Materials
- White blog cardboard.
- Pencil 2H.
- Pencil 2B
- Eraser.
- Pencil sharpener
- Materiales
- Cartulina blanca de blog.
- Lápiz 2H.
- Lápiz 2B
- Borrador.
- Sacapuntas.
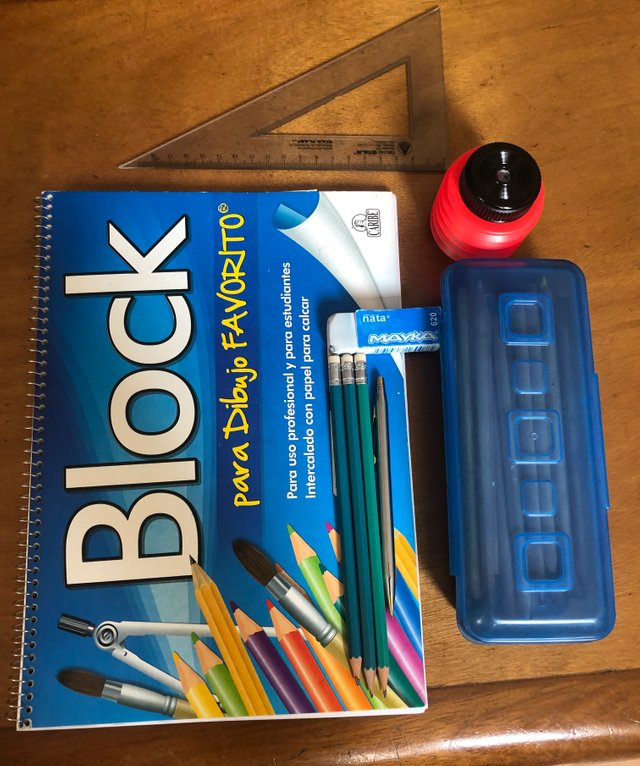
Pencils and necessary materials. Photo of my property.
Lápices y materiales necesarios. Foto de mi propiedad.
Step by step
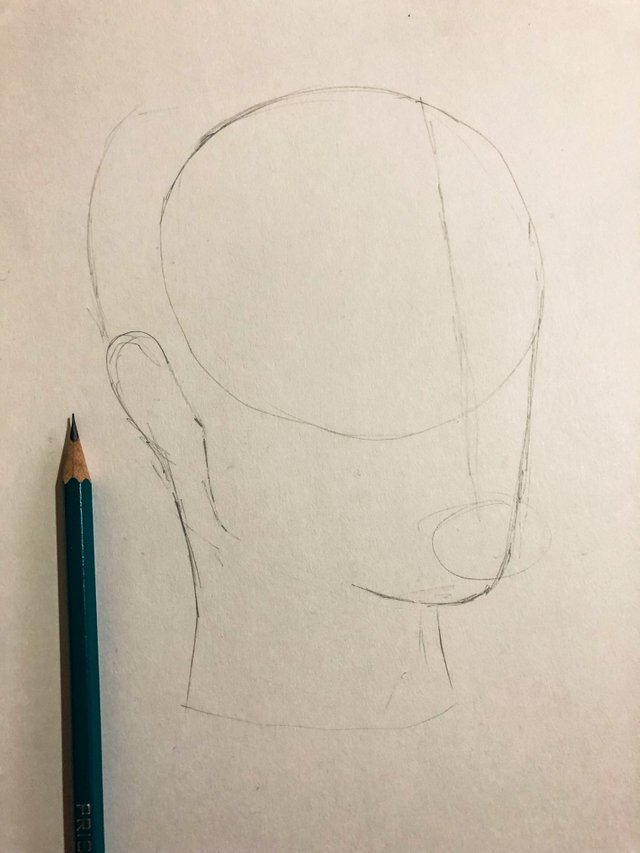
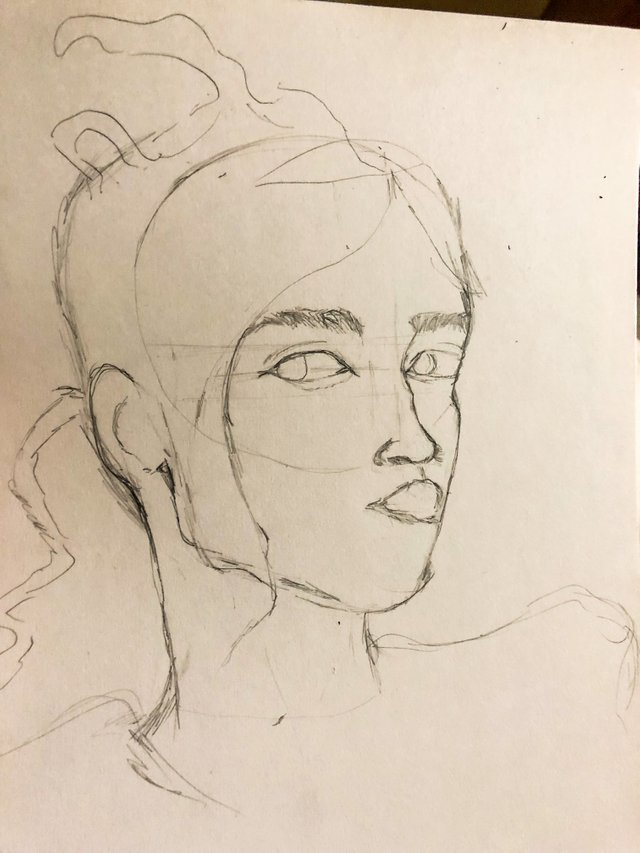
Step 1: Providing the face
To provide this drawing and that everything stays in place, I start with a basic sketch using the 2H pencil (light lines). I draw a circle and from this I take out the silhouette of the woman's head. At the same height as the ear, we draw the lines that will frame the correct place for the eyes and pupils; on these we make small lines for the eyebrows. At the intersection of the circle and the rest of the face will go the nose.
Paso a paso
Paso 1: Proporcionando el rostro
Para proporcionar este dibujo y que todo quede en su lugar, empiezo por un boceto básico utilizando el lápiz 2H (trazos claros). Trazo un círculo y de este saco la silueta de la cabeza de mujer. A la misma altura de la oreja, trazamos las líneas que enmarcarán el lugar correcto de los ojos y las pupilas; sobre estos hacemos pequeñas líneas para las cejas. En la intersección del círculo y el resto del rostro irá la nariz.
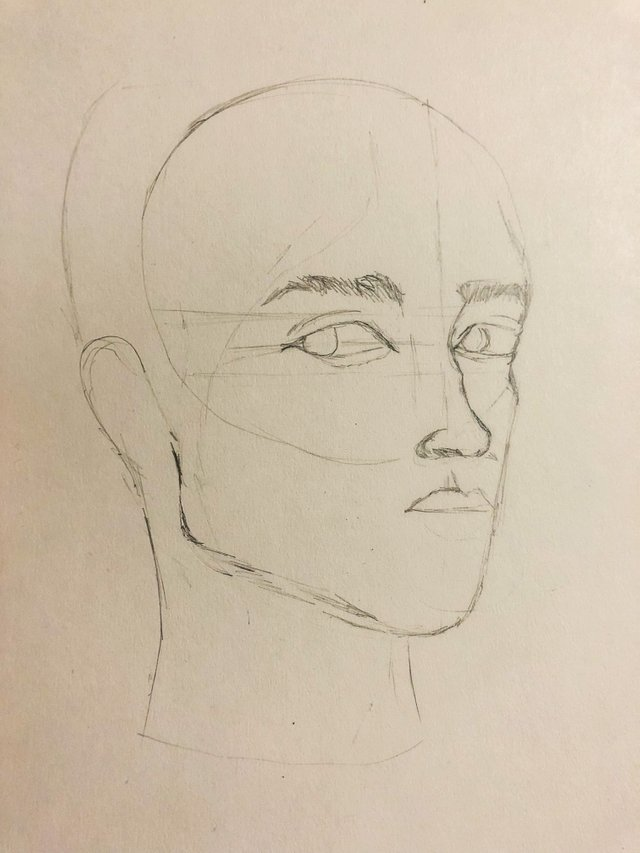
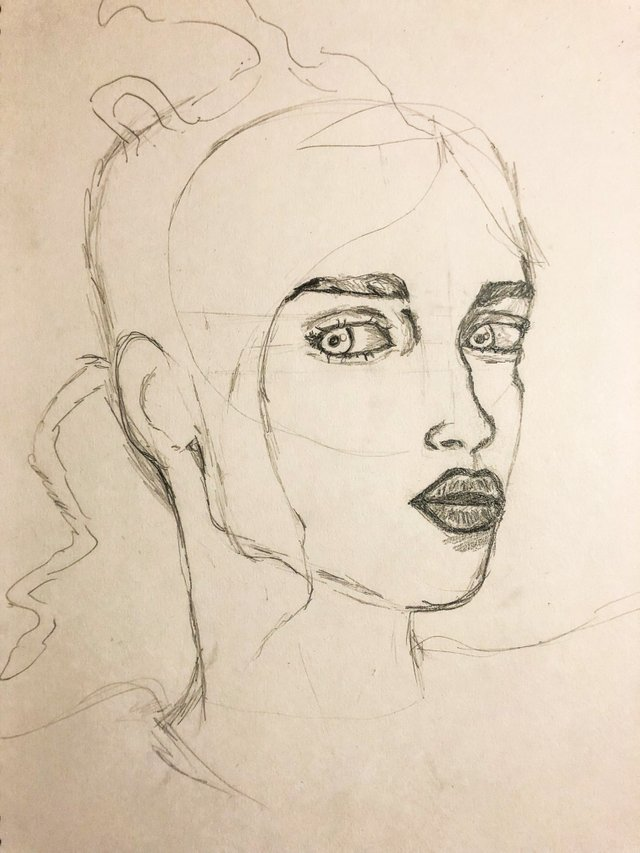
Step 2: Filling in part of the face
To make the drawing more meaningful, we make the shape of the braids, guiding ourselves by the silhouette of the head. Then we begin to shade and mark the lines more in the certain places where we want greater emphasis of darkness; we define the eyes and give them depth. We further define the nose and mouth, which begins to take shape.
Paso 2: Rellenando parte del rostro
Para que se le vea mayor sentido al dibujo, hacemos la forma de las trenzas guiándonos por la silueta de la cabeza. Luego empezamos a sombrear y marcar más las líneas en los determinados lugares donde queremos mayor énfasis de oscuridad; definimos los ojos y les damos profundidad. Definimos más la nariz y la boca, que empieza a moldearse.
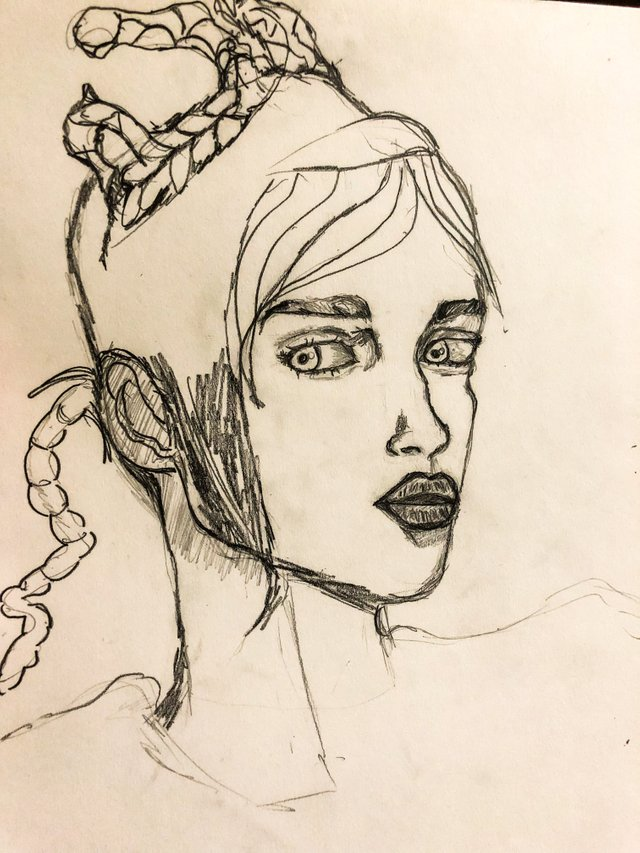
Step 3: Marking the shadows with a 2B pencil
Now we will use the 2B pencil (dark line). With this we better define the features that we want to highlight: the regal nose, the sad eyes, the mouth and part of the hair. It is very important (in case of not drawing freehand) to place a piece of paper under our hand so as not to stain the sheet or blur unnecessarily.
Paso 3: Marcando las sombras con lápiz 2B
Ahora pasamos a utilizar el lápiz 2B (trazo oscuro). Con este definimos mejor los rasgos que queremos que resalten: la nariz regia, los ojos tristes, la boca y parte del cabello. Es muy importante (en caso de no dibujar a mano alzada) colocar un papel bajo nuestra mano para no manchar la hoja o difuminar innecesariamente.
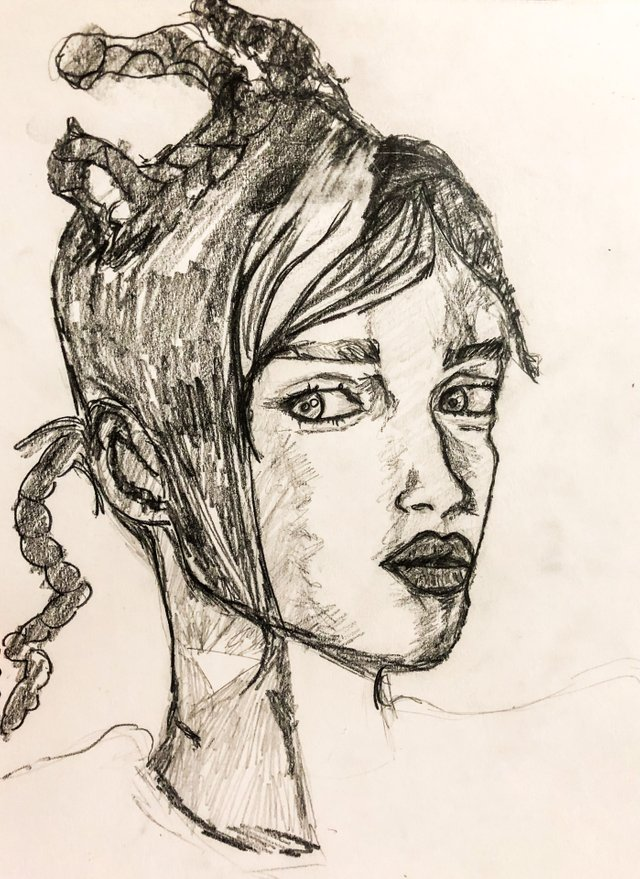
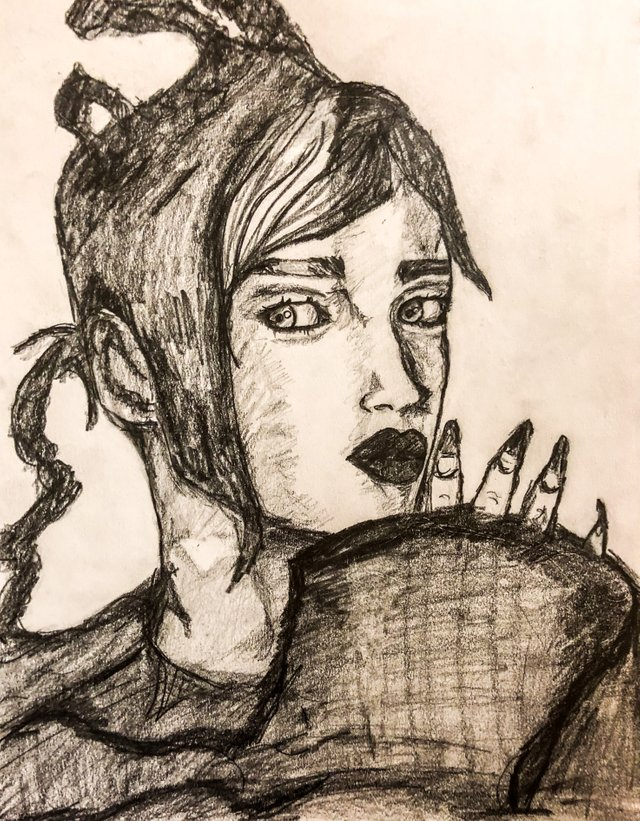
Step 4: Shadows and lights
For this step we use both pencils. In the places where there is shadow, we first trace lightly with the 2H pencil, which will leave small fine lines (as on the woman's neck). Then, where we want a strong shadow, we use the 2B pencil. For example, on the lips and in the lower parts of the hair I used more shadow. I leave the center of the face blank, since that is where the halo of light hits.
Paso 4: Sombras y luces
Para este paso utilizamos ambos lápices. En los lugares donde hay sombra primero trazamos suavemente con el lápiz 2H, el cual dejará pequeñas líneas finas (como en el cuello de la mujer). Luego, donde queremos una sombra marcada, utilizamos el lápiz 2B. Por ejemplo, en los labios y en las partes bajas del cabello utilicé mayor sombra. El centro del rostro lo dejo en blanco, ya que ahí es donde pega el halo de luz.

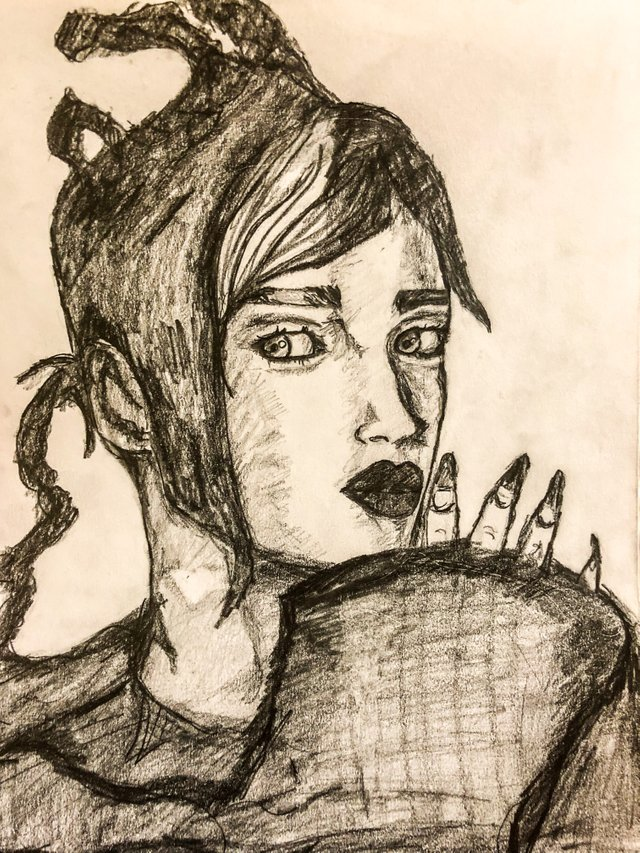
Paso 5: Dibujando el cuerpo
Para el cuerpo seguimos la silueta que empezaba desde el cuello y la continuamos. En el espacio donde va la mano, hacemos los dedos con sus características uñas largas y cubrimos el resto con la manga del vestido; sombremos en los lugares donde la luz no alcanza (lado izquierdo, bajo la manga) y dejamos un poco de claridad en el lado opuesto.
Step 5: Drawing the body
For the body we follow the silhouette that started from the neck and continue it. In the space where the hand goes, we make the fingers with their characteristic long nails and we cover the rest with the sleeve of the dress; Let's shade in the places where the light doesn't reach (left side, under the sleeve) and leave a bit of clarity on the opposite side.
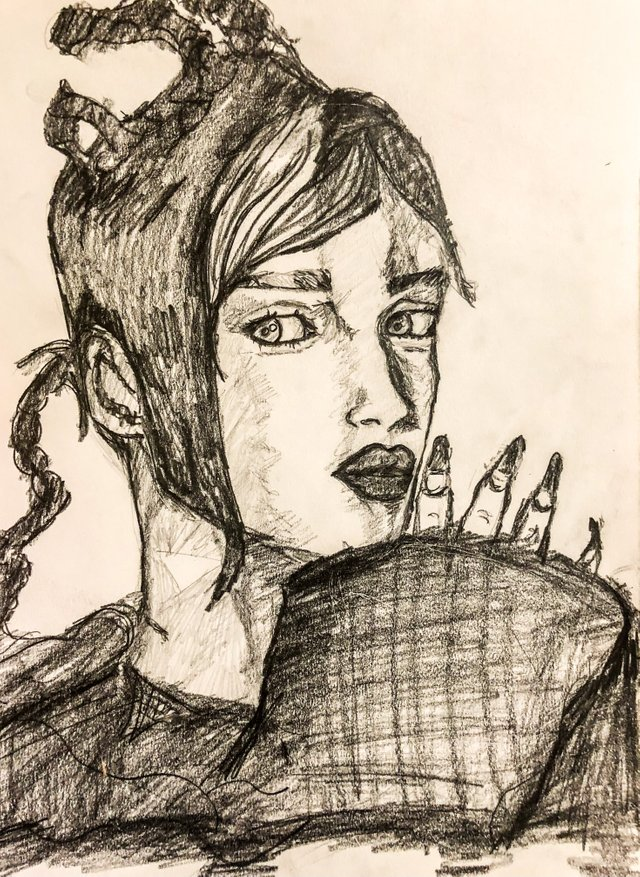
Step 6: We finish correcting details
In this step, where we already have our woman completely formed, I simply shade and correct some details with the 2B pencil until I am completely satisfied with the result.
Paso 6: Terminamos de corregir detalles
En este paso, donde ya tenemos a nuestra mujer completamente formada, simplemente sombreo y corrijo algunos detalles con el lápiz 2B hasta que esté completamente satisfecha con el resultado.
Final score
Resultado Final
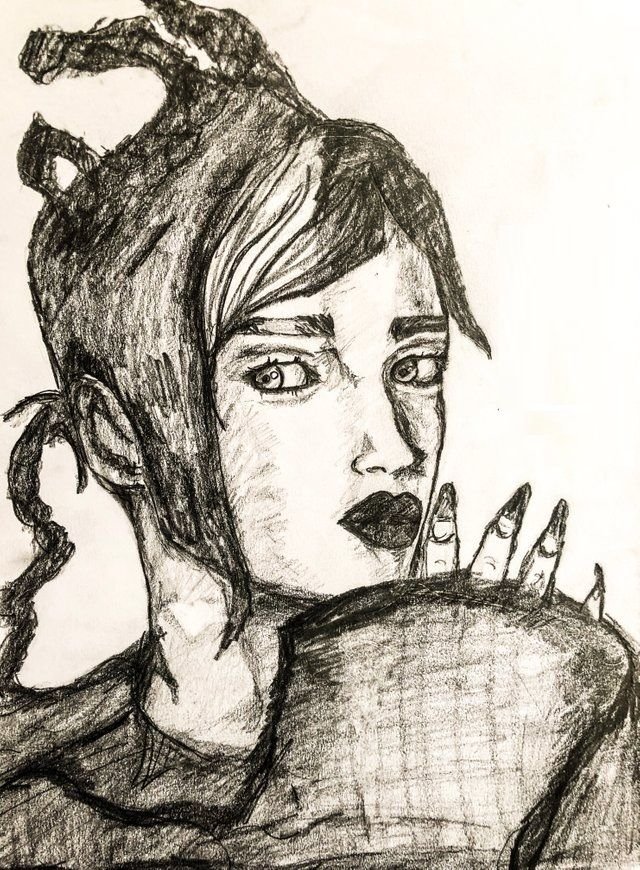
Photo of my property.
Foto de mi propiedad.
I hope you liked my drawing!
¡Espero que les haya gustado mi dibujo!