- A 3d Sculpture Creation Process -
Hello Everyone, I hope you all are doing alright, my friends. Recently, I have been feeling this urge to sculpt something and for those who don't know, I LOVE sculpting so much. However, I stopped doing it coz my PC is not powerful enough, and it starts to lag when mesh becomes too dense to handle. This makes the artistic process so frustrating that most of my creations end up incomplete.
This time I had a different approach since I can't create something super detailed. I came up with a concept of something simplified, that doesn't need much detail, and which can be achieved under the poly count that my PC can handle.
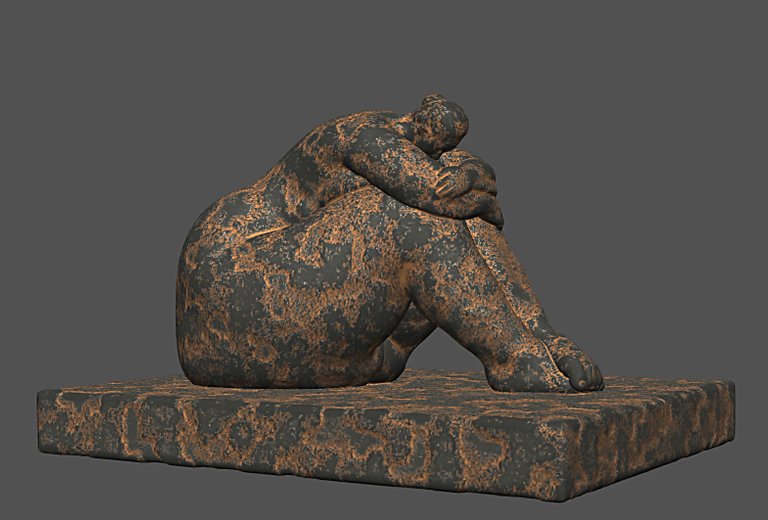
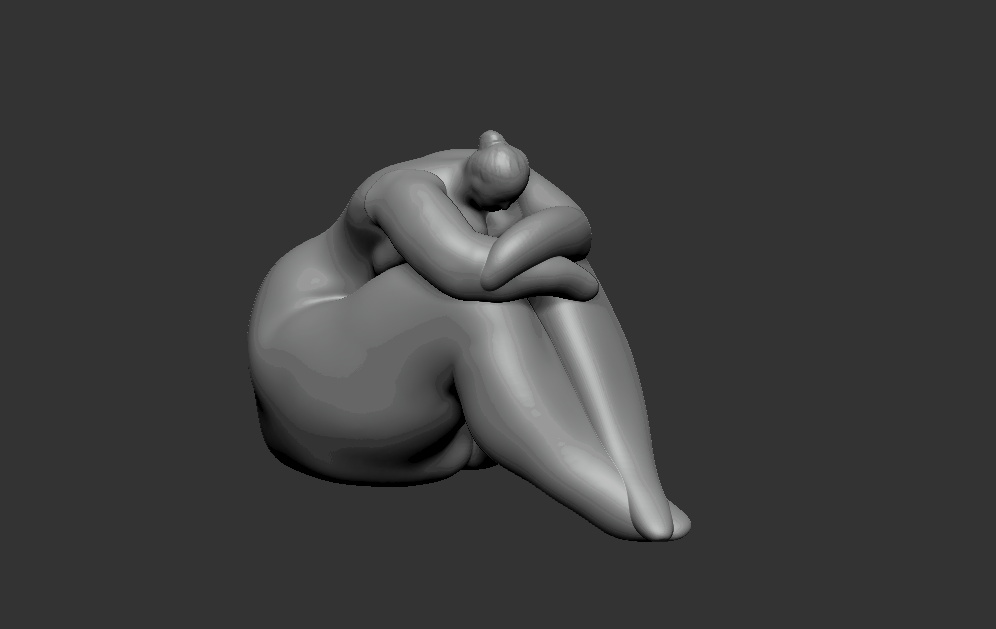
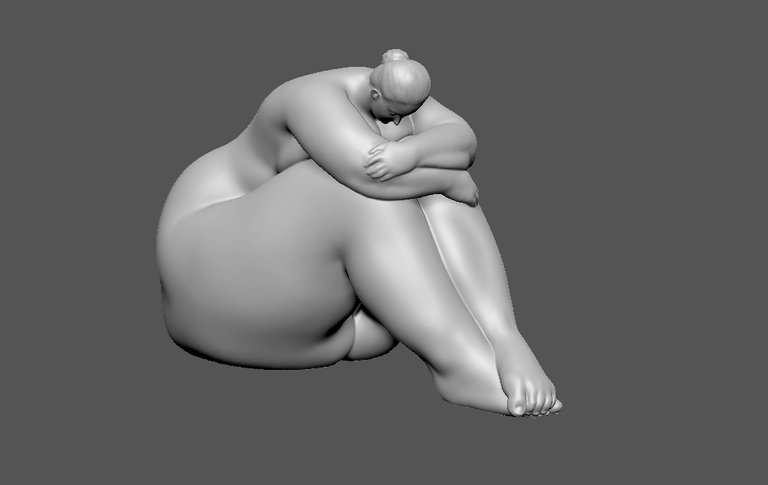
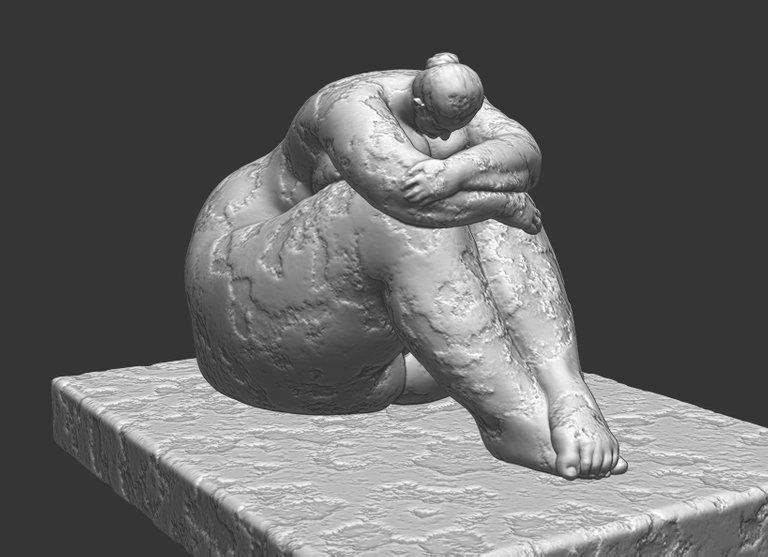
Let's get to the process, but before that, Here is the Final Sculpture. Looks decent. What do you think? :D
The Basic Concept Drawing -
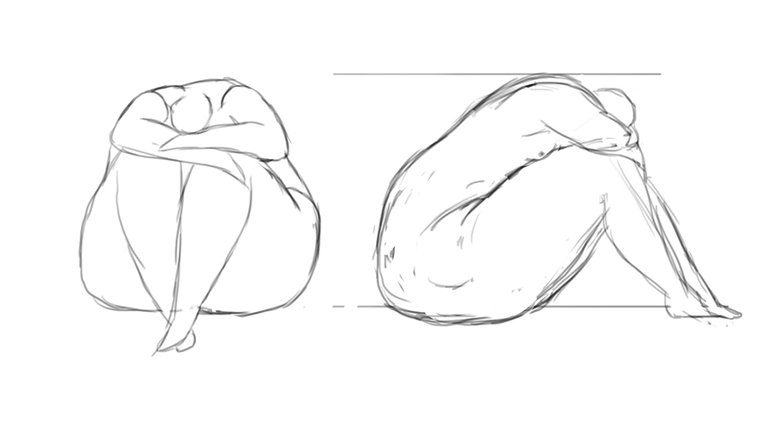
For my "Contemplation" Sculpture, this is the initial sketch I had in my mind. It didn't take me much time, and I was not intended to give it a lot of time. I just needed a basic outline, or I should say a good enough representation of my thought as a sketch, and then put all the work in the sculpting process.
Step 1
So I started with putting together the basic form of the statue based on the lineart I drew. I started with a sphere and molded it into the main body of the statue, and used another sphere for thighs and cylinders for the lower leg.
Now, as you can see I was trying to stick to my drawing as much as possible coz the drawing was making sense to me. But as the sculpting process progressed, I changed a lot of stuff, as you can tell from the final statue. I will discuss the "Why" in a bit.
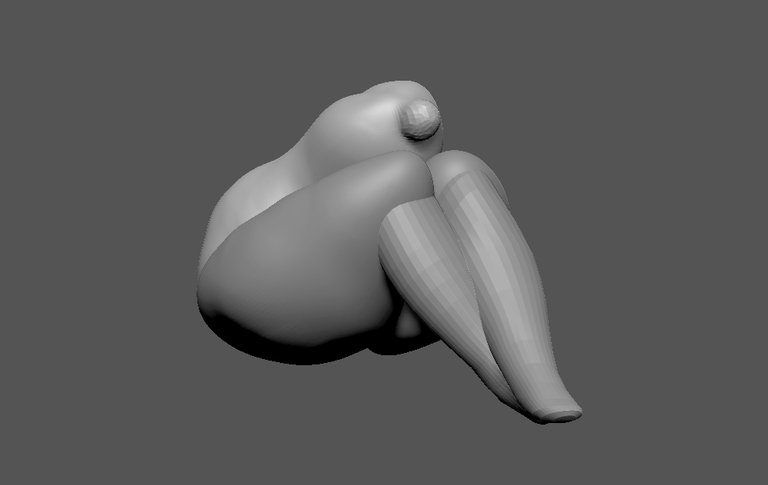
Step 2
To complete the blocking and basic pose, I added the arms, and it did look like the drawing. I then moved on to refining the forms. I merged the Body and the thighs and divided the big forms in to more sub-forms or secondary forms.
Step 3
Here, I did some more work, and this is where I deviated from the drawing I had for my reference. Let me explain the "Why" first.
I am so much into realism and most of the time it takes over. Like as you can see, I defined the chest area and made the fat pushing against/reacting to the thighs like it would in real life. Otherwise, it wouldn't look correct to me coz "Realism" so it kicks in when I try to create something stylized. Other changes you see here are just corrections.
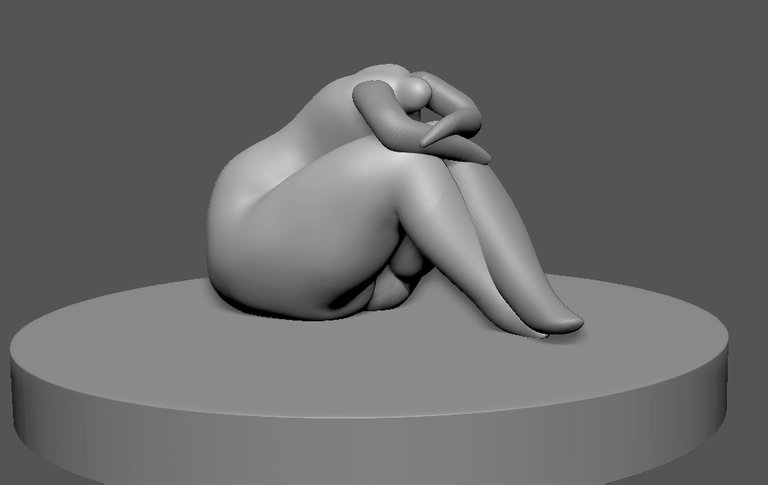
Step 4
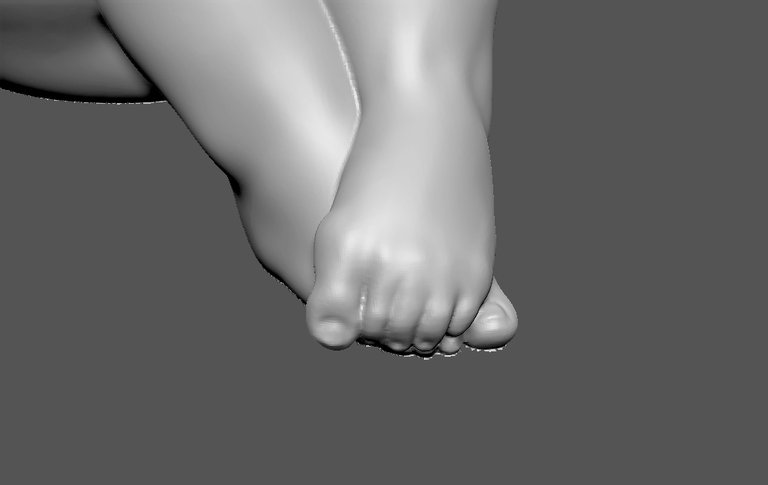
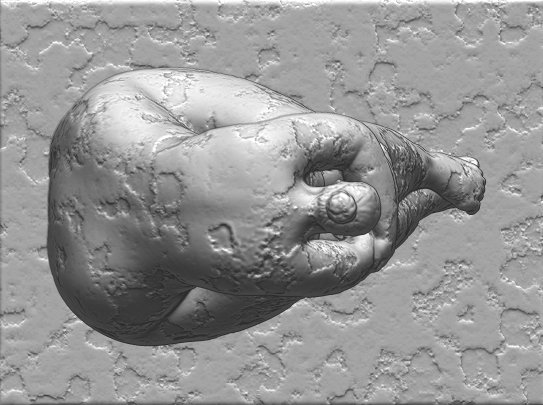
I am pretty much done with all the sculpting here, so I ended up sculpting the hands and feet.
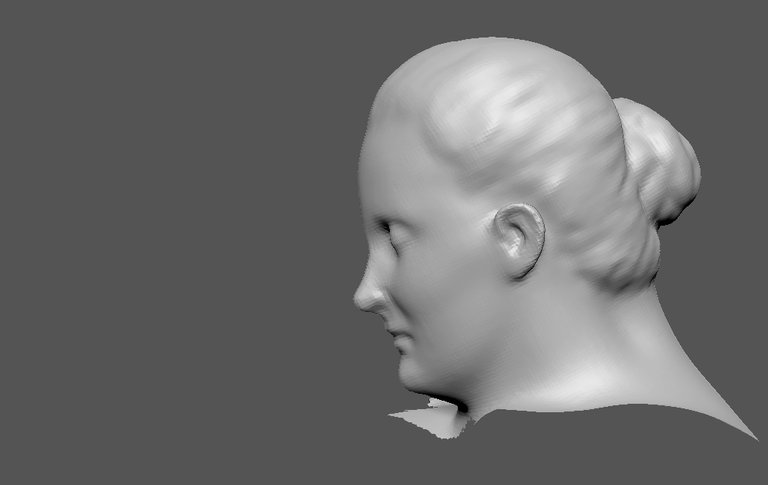
I merged the arms and legs to the body at this point, and defined the head a bit more.
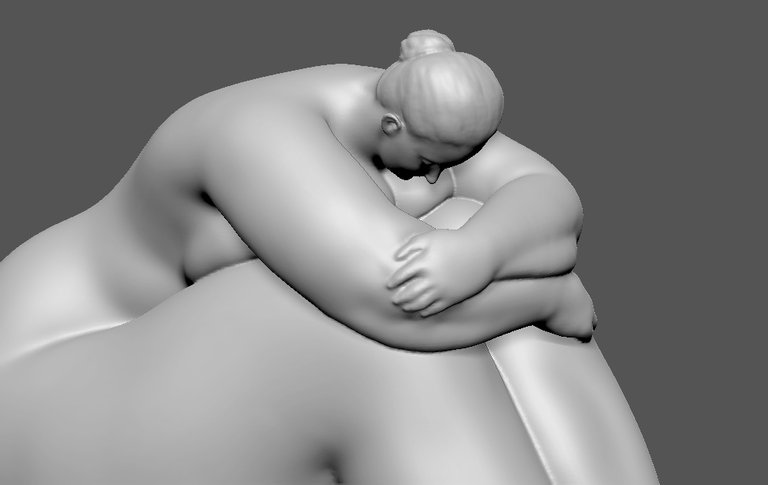
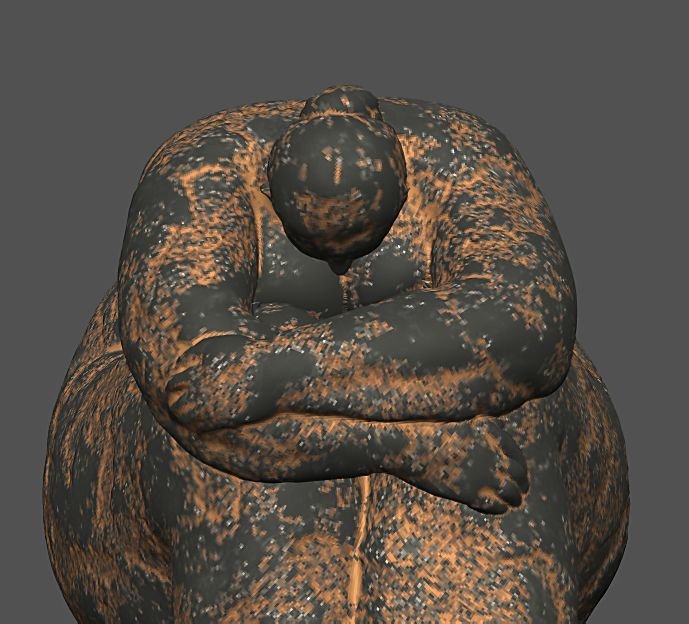
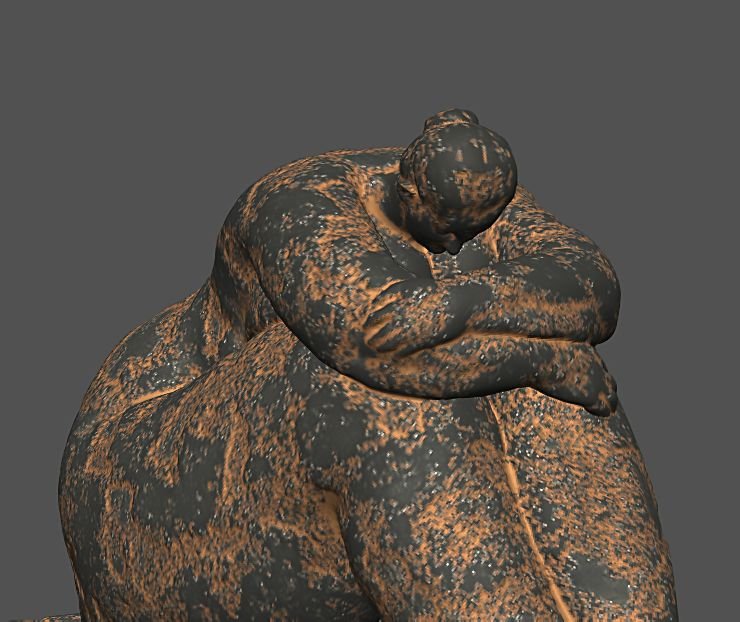
Close ups-
Here are some closeups:
Turntable Gif
Next step involves adding noise to the sculpt which is gonna take away the smoothness of the surface so, here is the quick turntable of the final sculpture without any texture and noise.

Adding the noise
After finishing the sculpture, I added a noise pattern to it for irregularity. I was looking for an old statue look, so the unevenness of the surface was to make it look less like brand new and more old and worn out.
After experimenting with different noise patterns, I liked this one. The reason I picked a bigger value for the noise and didn't use the fine noise is that every detail including noise need good amount of polygons to look crisp.
If you look closely even this one has some jaggedness but it worked for me.
Texturing -
Texturing process wasn't difficult for me. I am a huge admirer of Old Masters' works, from beautiful oil paintings, to relief, marble, bronze, terracotta and so on.
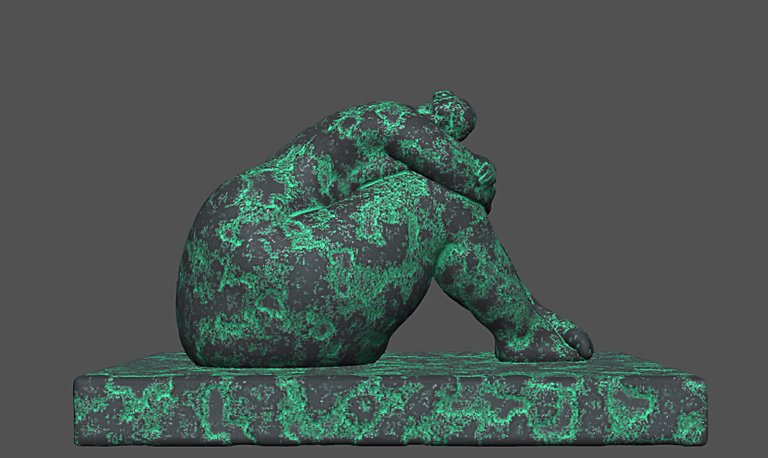
So for the texture, I had a patinated Bronze effect in my mind. I made the material and then opened it in Photoshop. And I just thought of experimenting with the texture and tried to make it look Rusty.
Note: The Patinated Bronze version you see above is just a color adjusted version of the rust material. Just to show what I had before I changed the material. This one looks exactly like the one I made.
The Rusty effect was looking so good to me that I had to drop the patinated bronze and went with this one. Here are some more images of the textured sculpture.
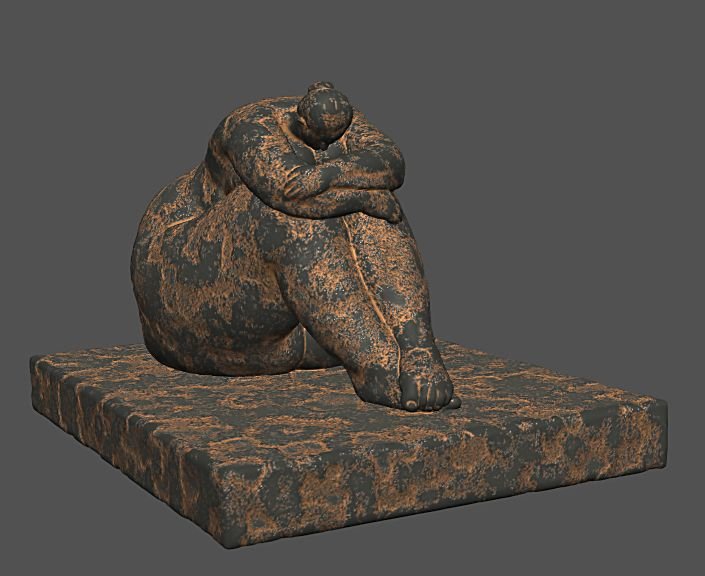

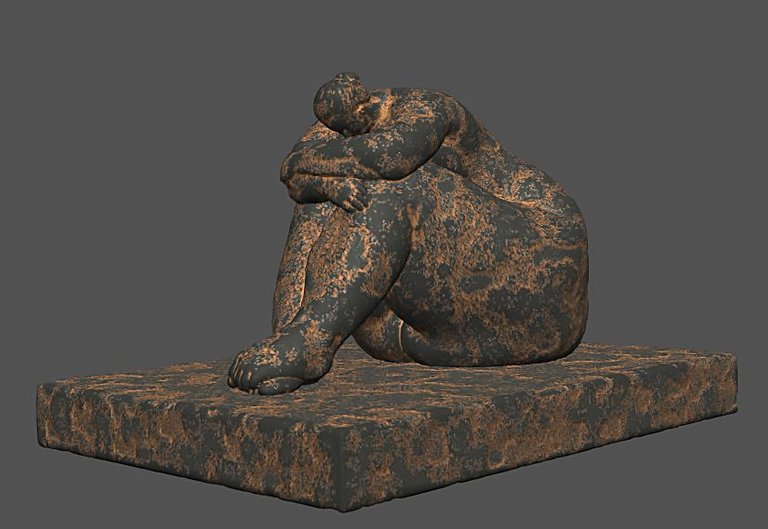
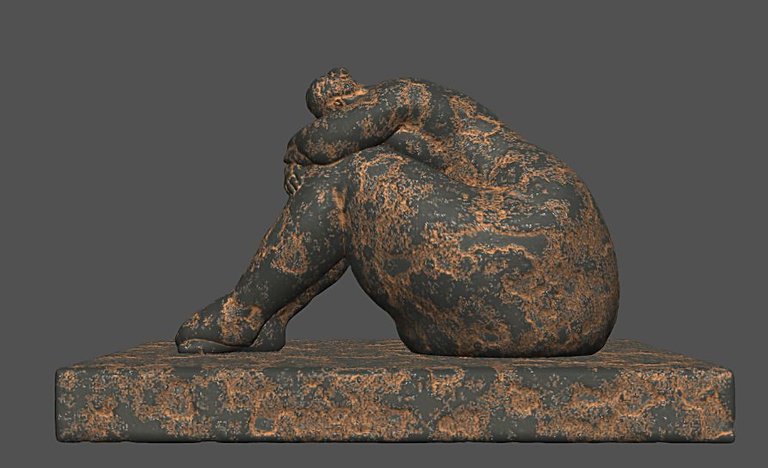
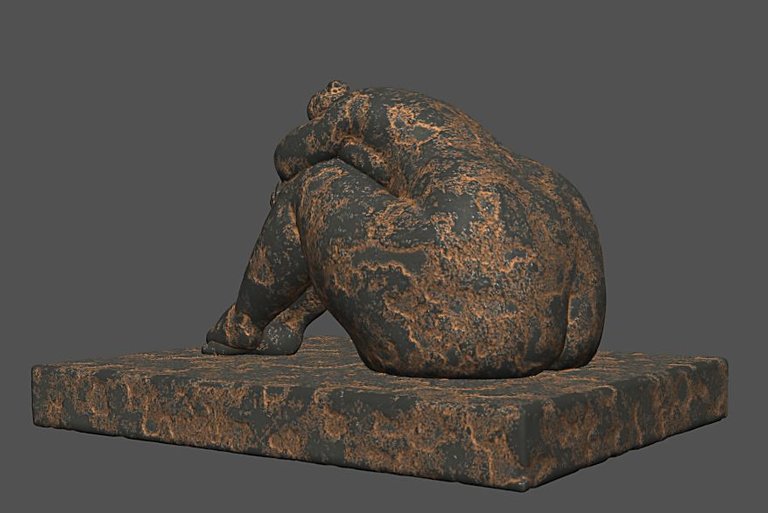
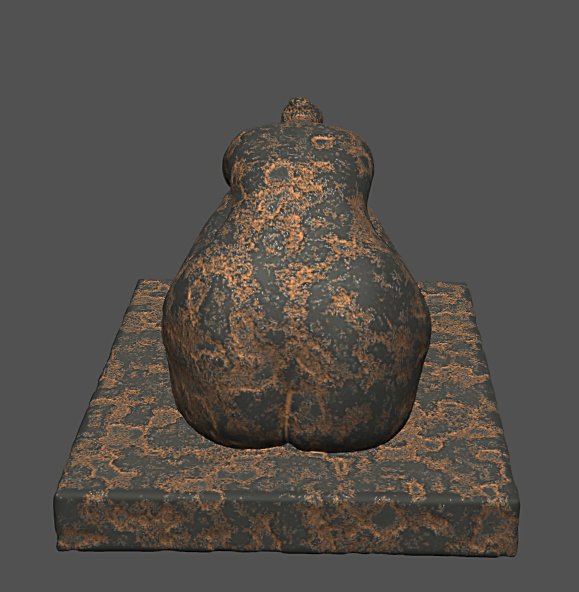
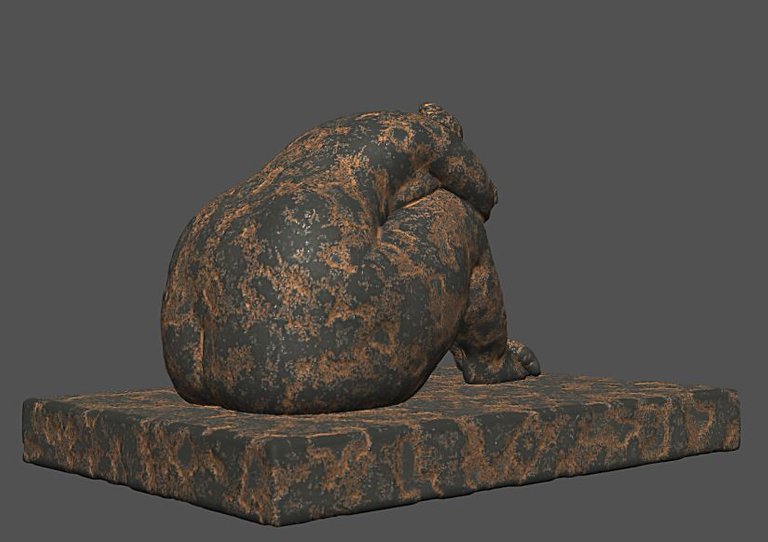
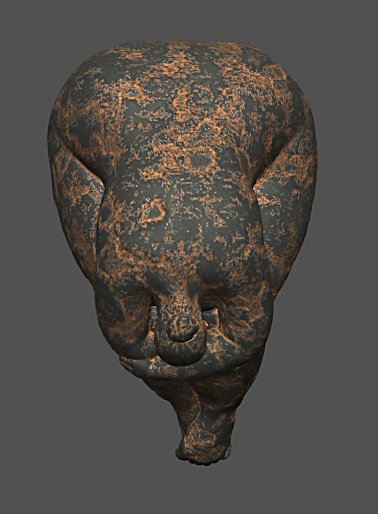
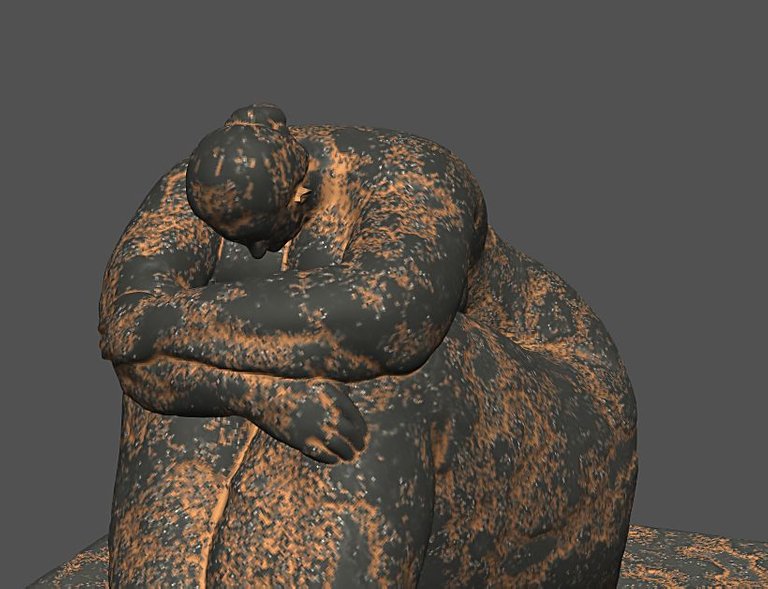
The Final Sculpture:

I minted this Sculpture as a 1/1 3D Nft which can be rotated around. You can view it here and collect if you like it :D.

So, thats all folks, Thanks for the read. I hope you enjoyed the post and my art. If you have any opinions and suggestions, feel free to share it in the comments. Would love to know your views. :))
Super awesome post! Thanks for sharing your process and the awesome art, browski!
Thank You so Much, Brother!! :D
Congratulations @artlover! You have completed the following achievement on the Hive blockchain And have been rewarded with New badge(s)
Your next target is to reach 9000 upvotes.
You can view your badges on your board and compare yourself to others in the Ranking
If you no longer want to receive notifications, reply to this comment with the word
STOPCheck out our last posts:
Support the HiveBuzz project. Vote for our proposal!