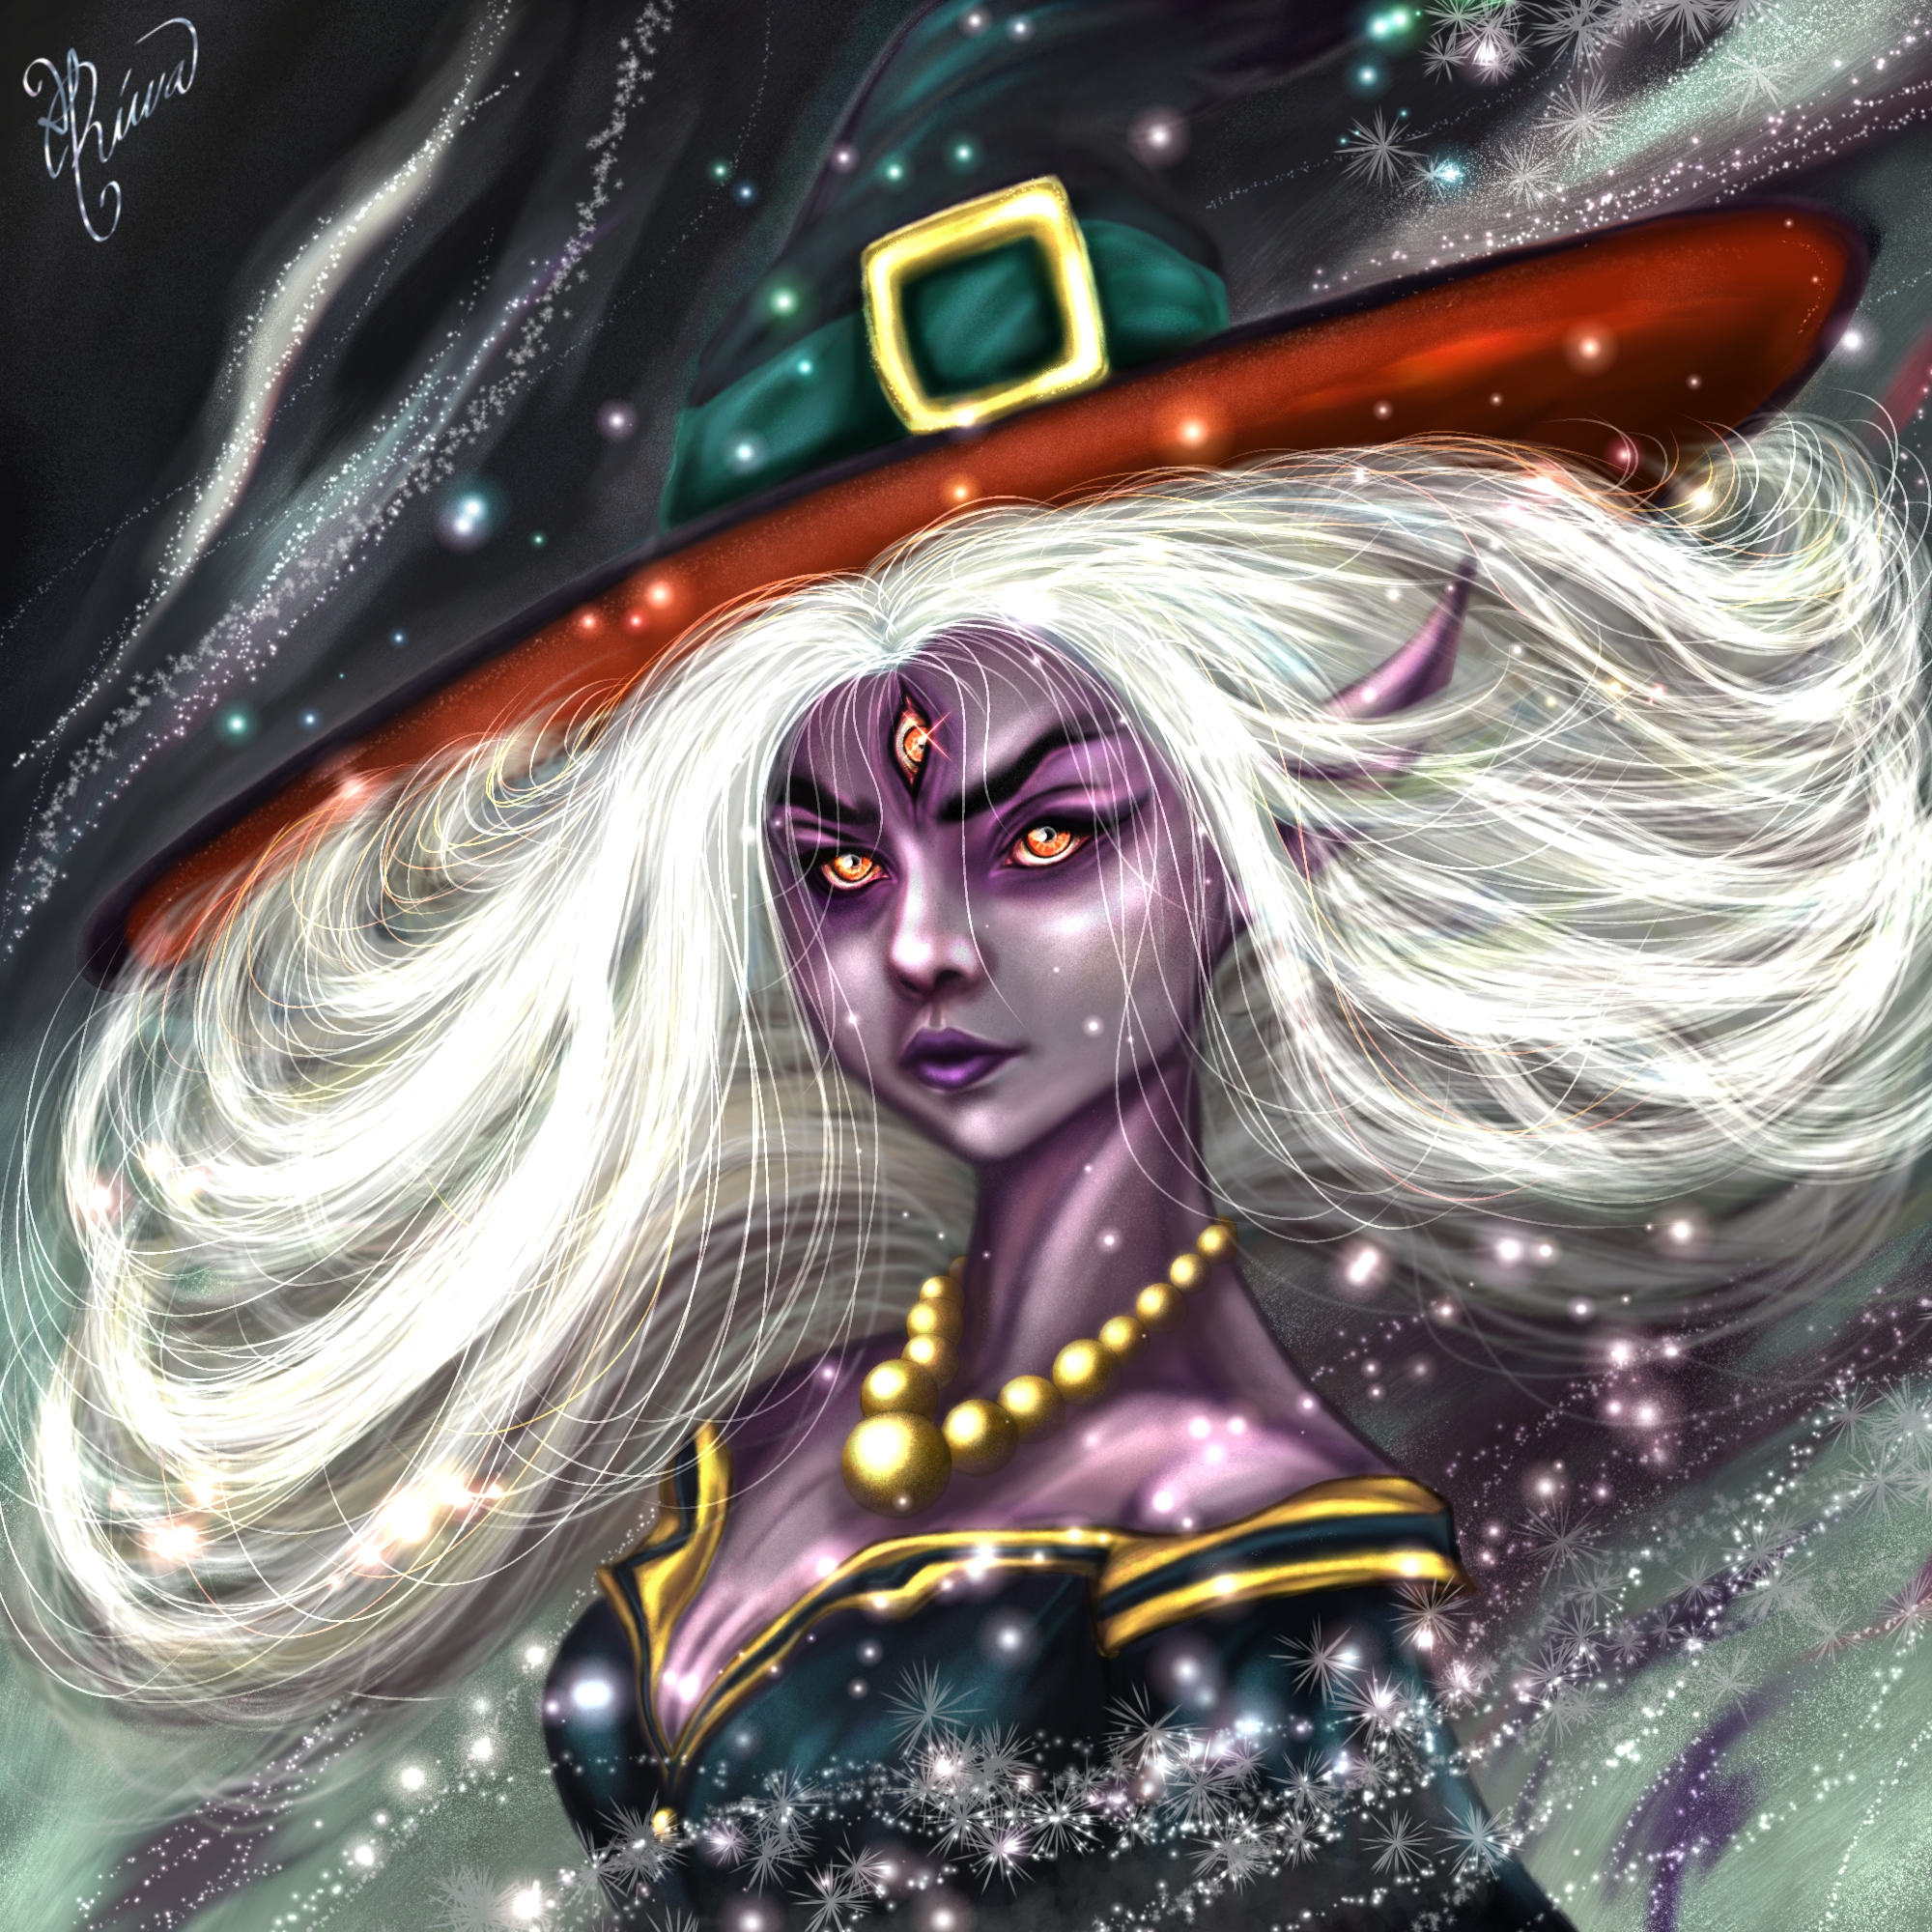
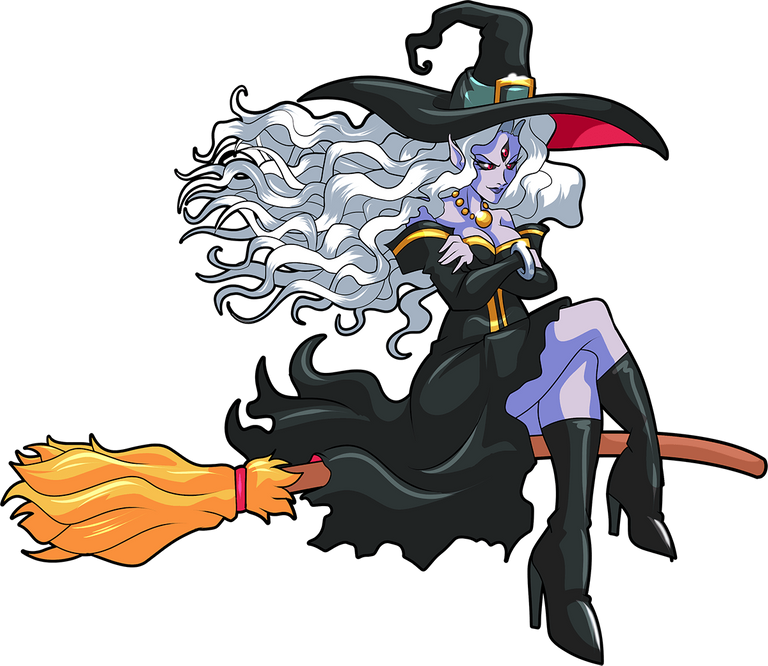
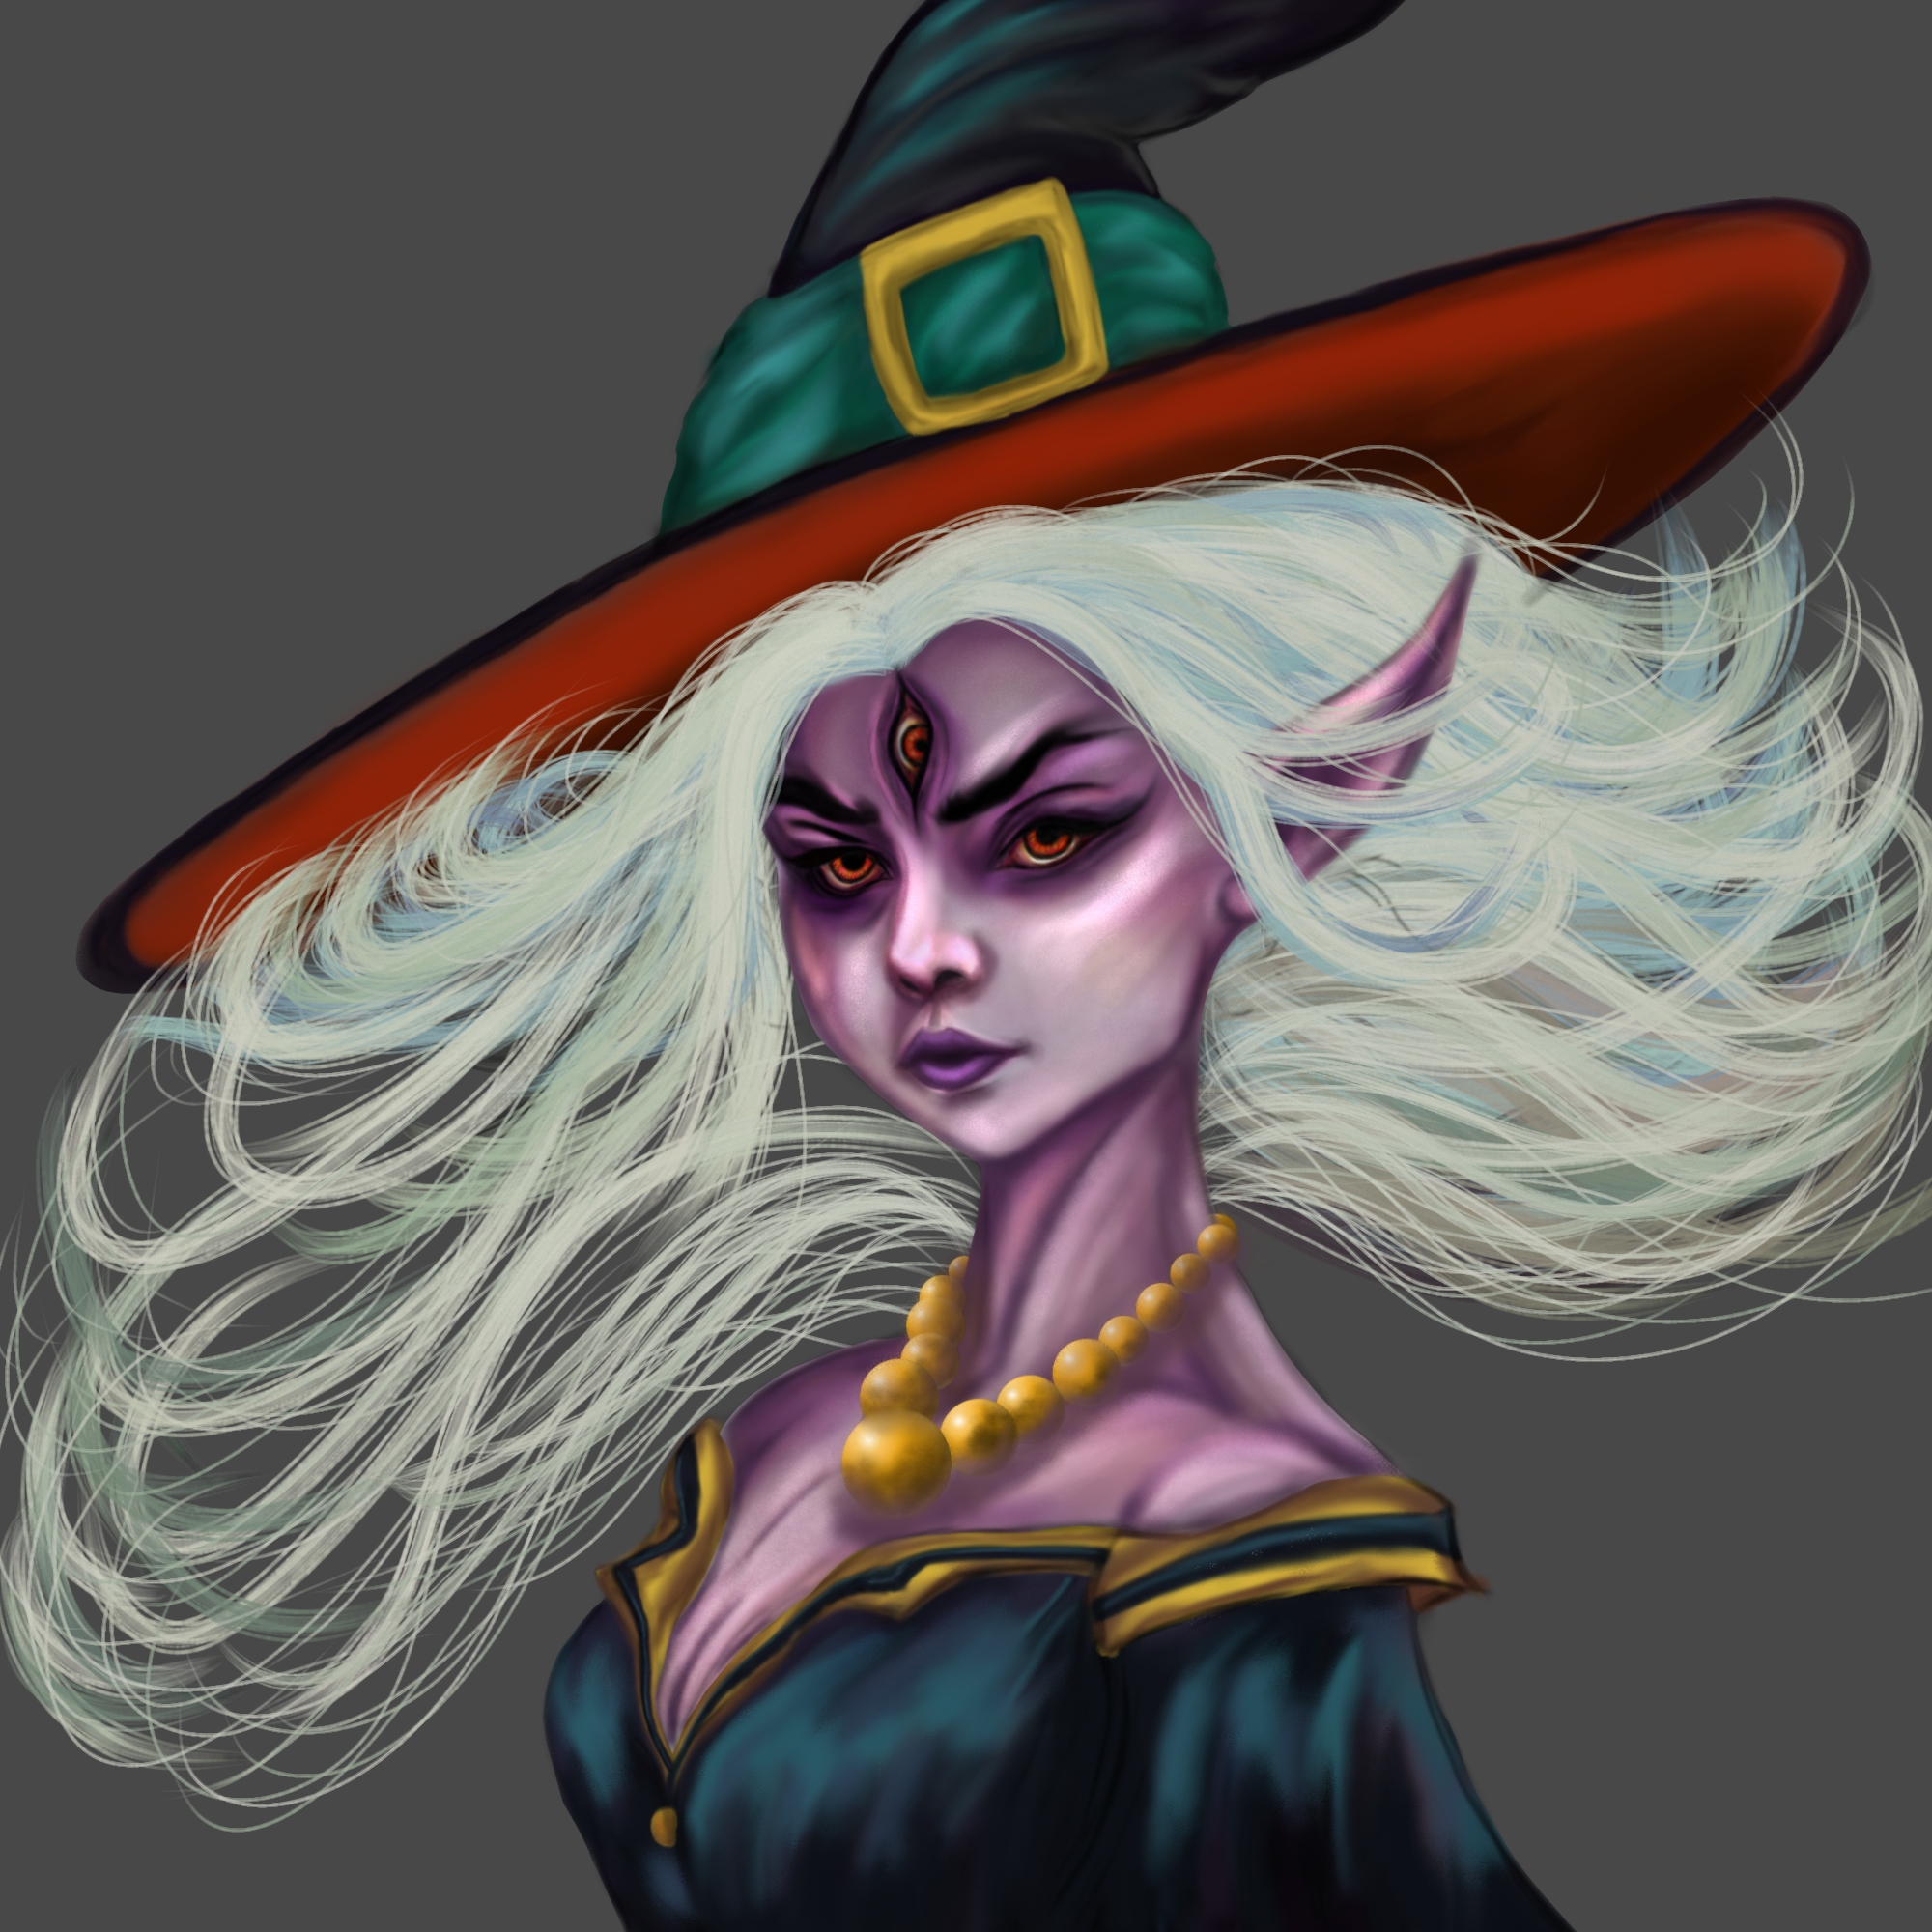
Hola Hola!🙂 Estimada comunidad de Hive. Les envío un saludo con mucha estima a todos y cada uno deseando que estén siempre excelente. Nuevamente estoy con ustedes compartiendo mi participación para el concurso de Splinterlands de esta semana, para el cual quise ilustrar con un aspecto bastante juvenil al personaje oscuro de la carta DARK ENCHANTRESS. De este personaje me llamo mucho la atención ese tercer ojo, de manera que espero les guste esta representación y que disfruten este proceso!😉
Hello Hello!🙂 Dear Hive community. I send a greeting with great esteem to each and every one of you, hoping that you are always excellent. Once again I am with you sharing my participation for this week's Splinterlands contest, for which I wanted to illustrate the dark character of the DARK ENCHANTRESS card with a rather youthful aspect. This third eye catches my attention from this character, so I hope you like this representation and that you enjoy this process!😉

Etapas del dibujo/Drawing stages
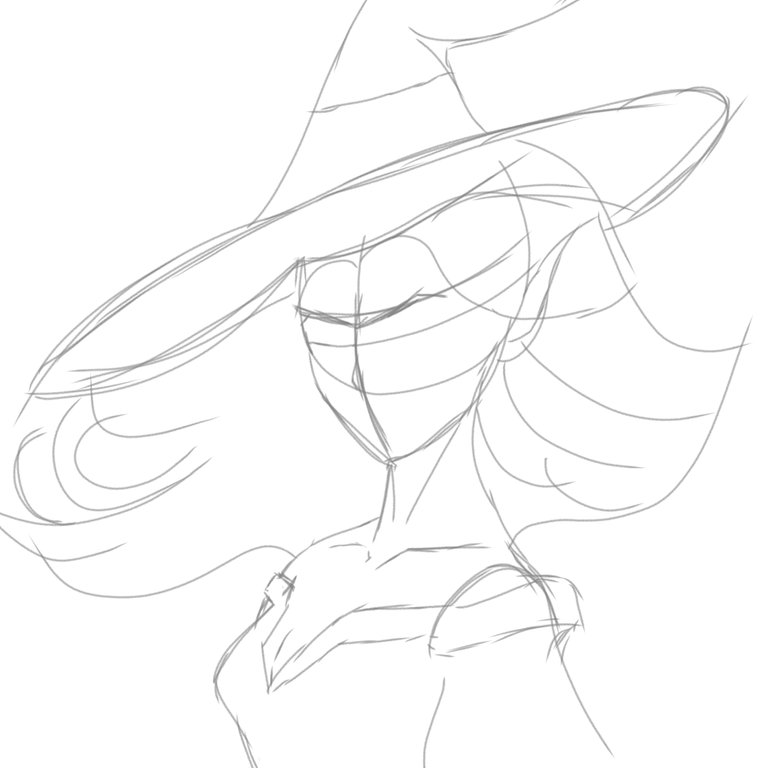
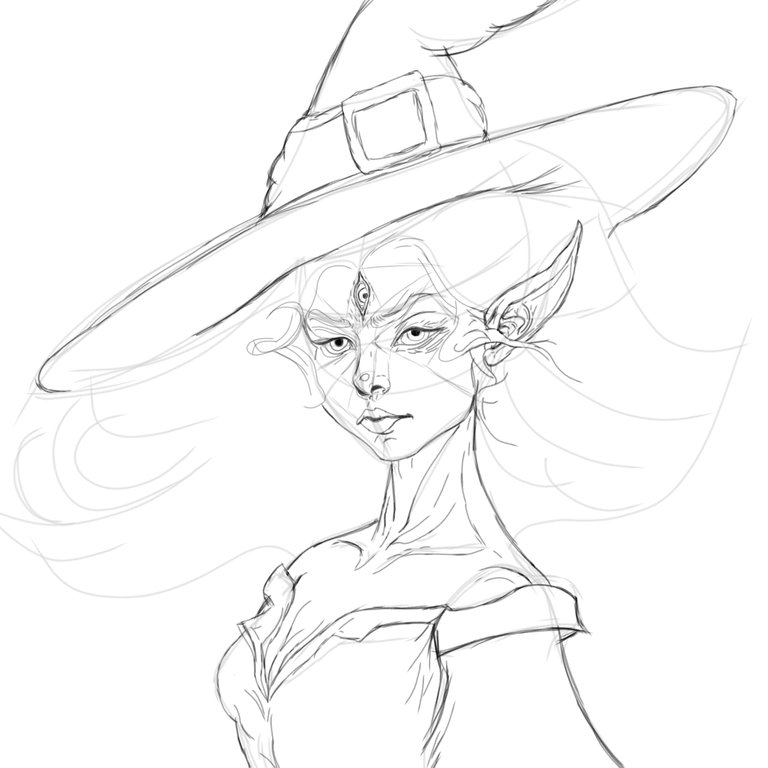
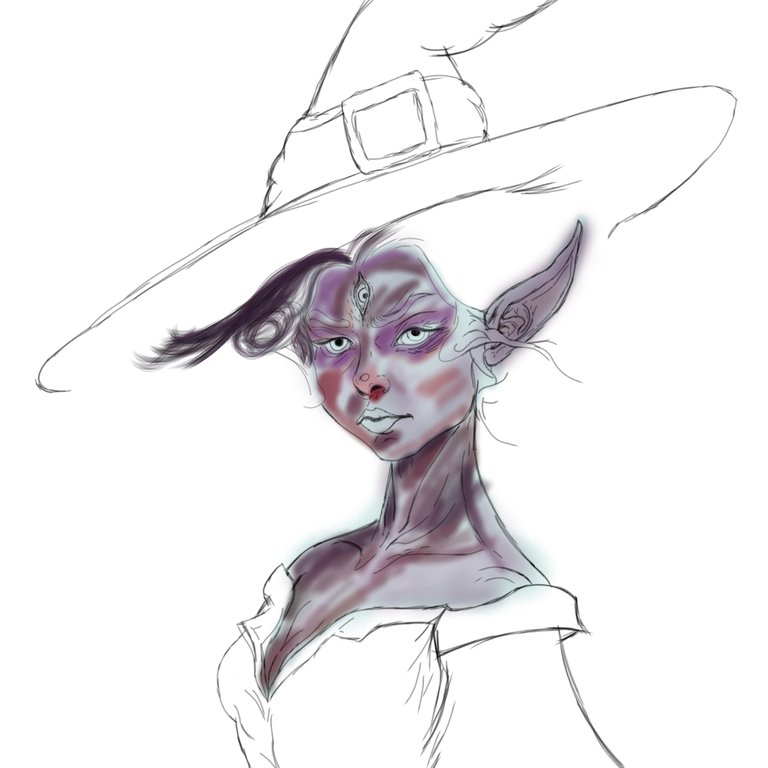
Comence realizando el boceto base para pasar hacer en una nueva capa un delineado en limpio detallando los rasgos y aspecto del rostro, colocando con opacidad al primer boceto guía para poder realizar el delineado luego. Después, en otra capa con un método de mezcla Normal fui agregando los colores para ir luego difuminando y lograr una fusión de colores bastante favorable, enmarque con tonos moras y lilas, y entre otros tonos rosas el contorno de los ojos para darles más profundidad y saturación. También trabaje los ojos utilizando un pincel tipo Aerógrafo para aplicar cada color ya que me permitió un trazo bastante difuminado, bajando y aumentando la opacidad de algunos colores.
Start by making the base sketch to start making a clean outline on a new layer detailing the features and appearance of the face, placing the first guide sketch with opacity to be able to outline later. Later, in another layer with a Normal mixing method, I added the colors to then blur and achieve a quite favorable fusion of colors, I framed with blackberry and lilac tones, and among other pink tones the contour of the eyes to give them more depth and saturation. I also worked on the eyes using an Airbrush type brush to apply each color since it allowed me a very soft line, lowering and increasing the opacity of some colors.
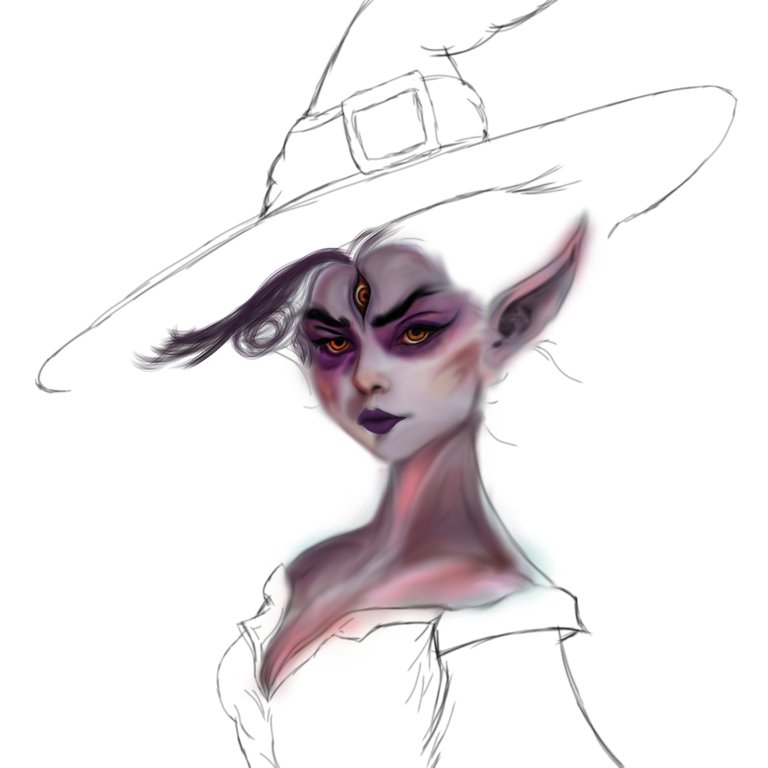
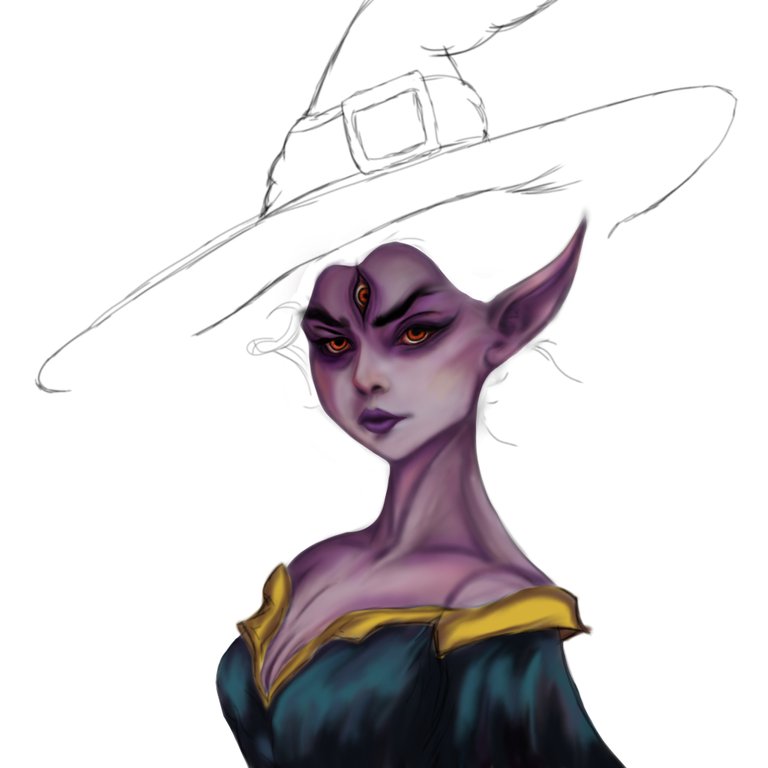
Para esta segunda etapa sature más la piel con tonos lilas y moras oscuros para darle ese aspecto característico de este personaje, difumine los colores y fui agregando profundidad en una capa de Multiplicar. Aplique en una nueva capa los colores con un método de mezcla Normal, para el vestido de este personaje. Agregue también la joyería y fui dando forma al sombrero. Utilice para la aplicación de colores el Aerógrafo Normal y método de mezcla Multiplicar, como también difuminado. Luego pase a trabajar el cabello con un pincel tipo Pelo variando los tonos y también el grosor del pincel para ir dándole volumen y cuerpo al mismo. Seguidamente, comencé con los brillos en la piel con un pincel tipo Puntillismo con un método de mezcla Añadir, bajando y subiendo su opacidad y así mismo lo realice con el vestido.
For this second stage, saturate the skin more with lilac and dark berry tones to give it that characteristic aspect of this character, blur the colors and add depth in a Multiply layer. Apply on a new layer the colors with a Normal blend method, for this character's dress. I also added the jewelry and I was shaping the hat. Use the Normal Airbrush and Multiply blending method for color application, as well as blending. Then go on to work on the hair with a Hair-type brush, varying the tones and also the thickness of the brush to give it volume and body. Next, I started with the shine on the skin with a Pointillism type brush with an Add blending method, lowering and raising its opacity and I did the same with the dress.
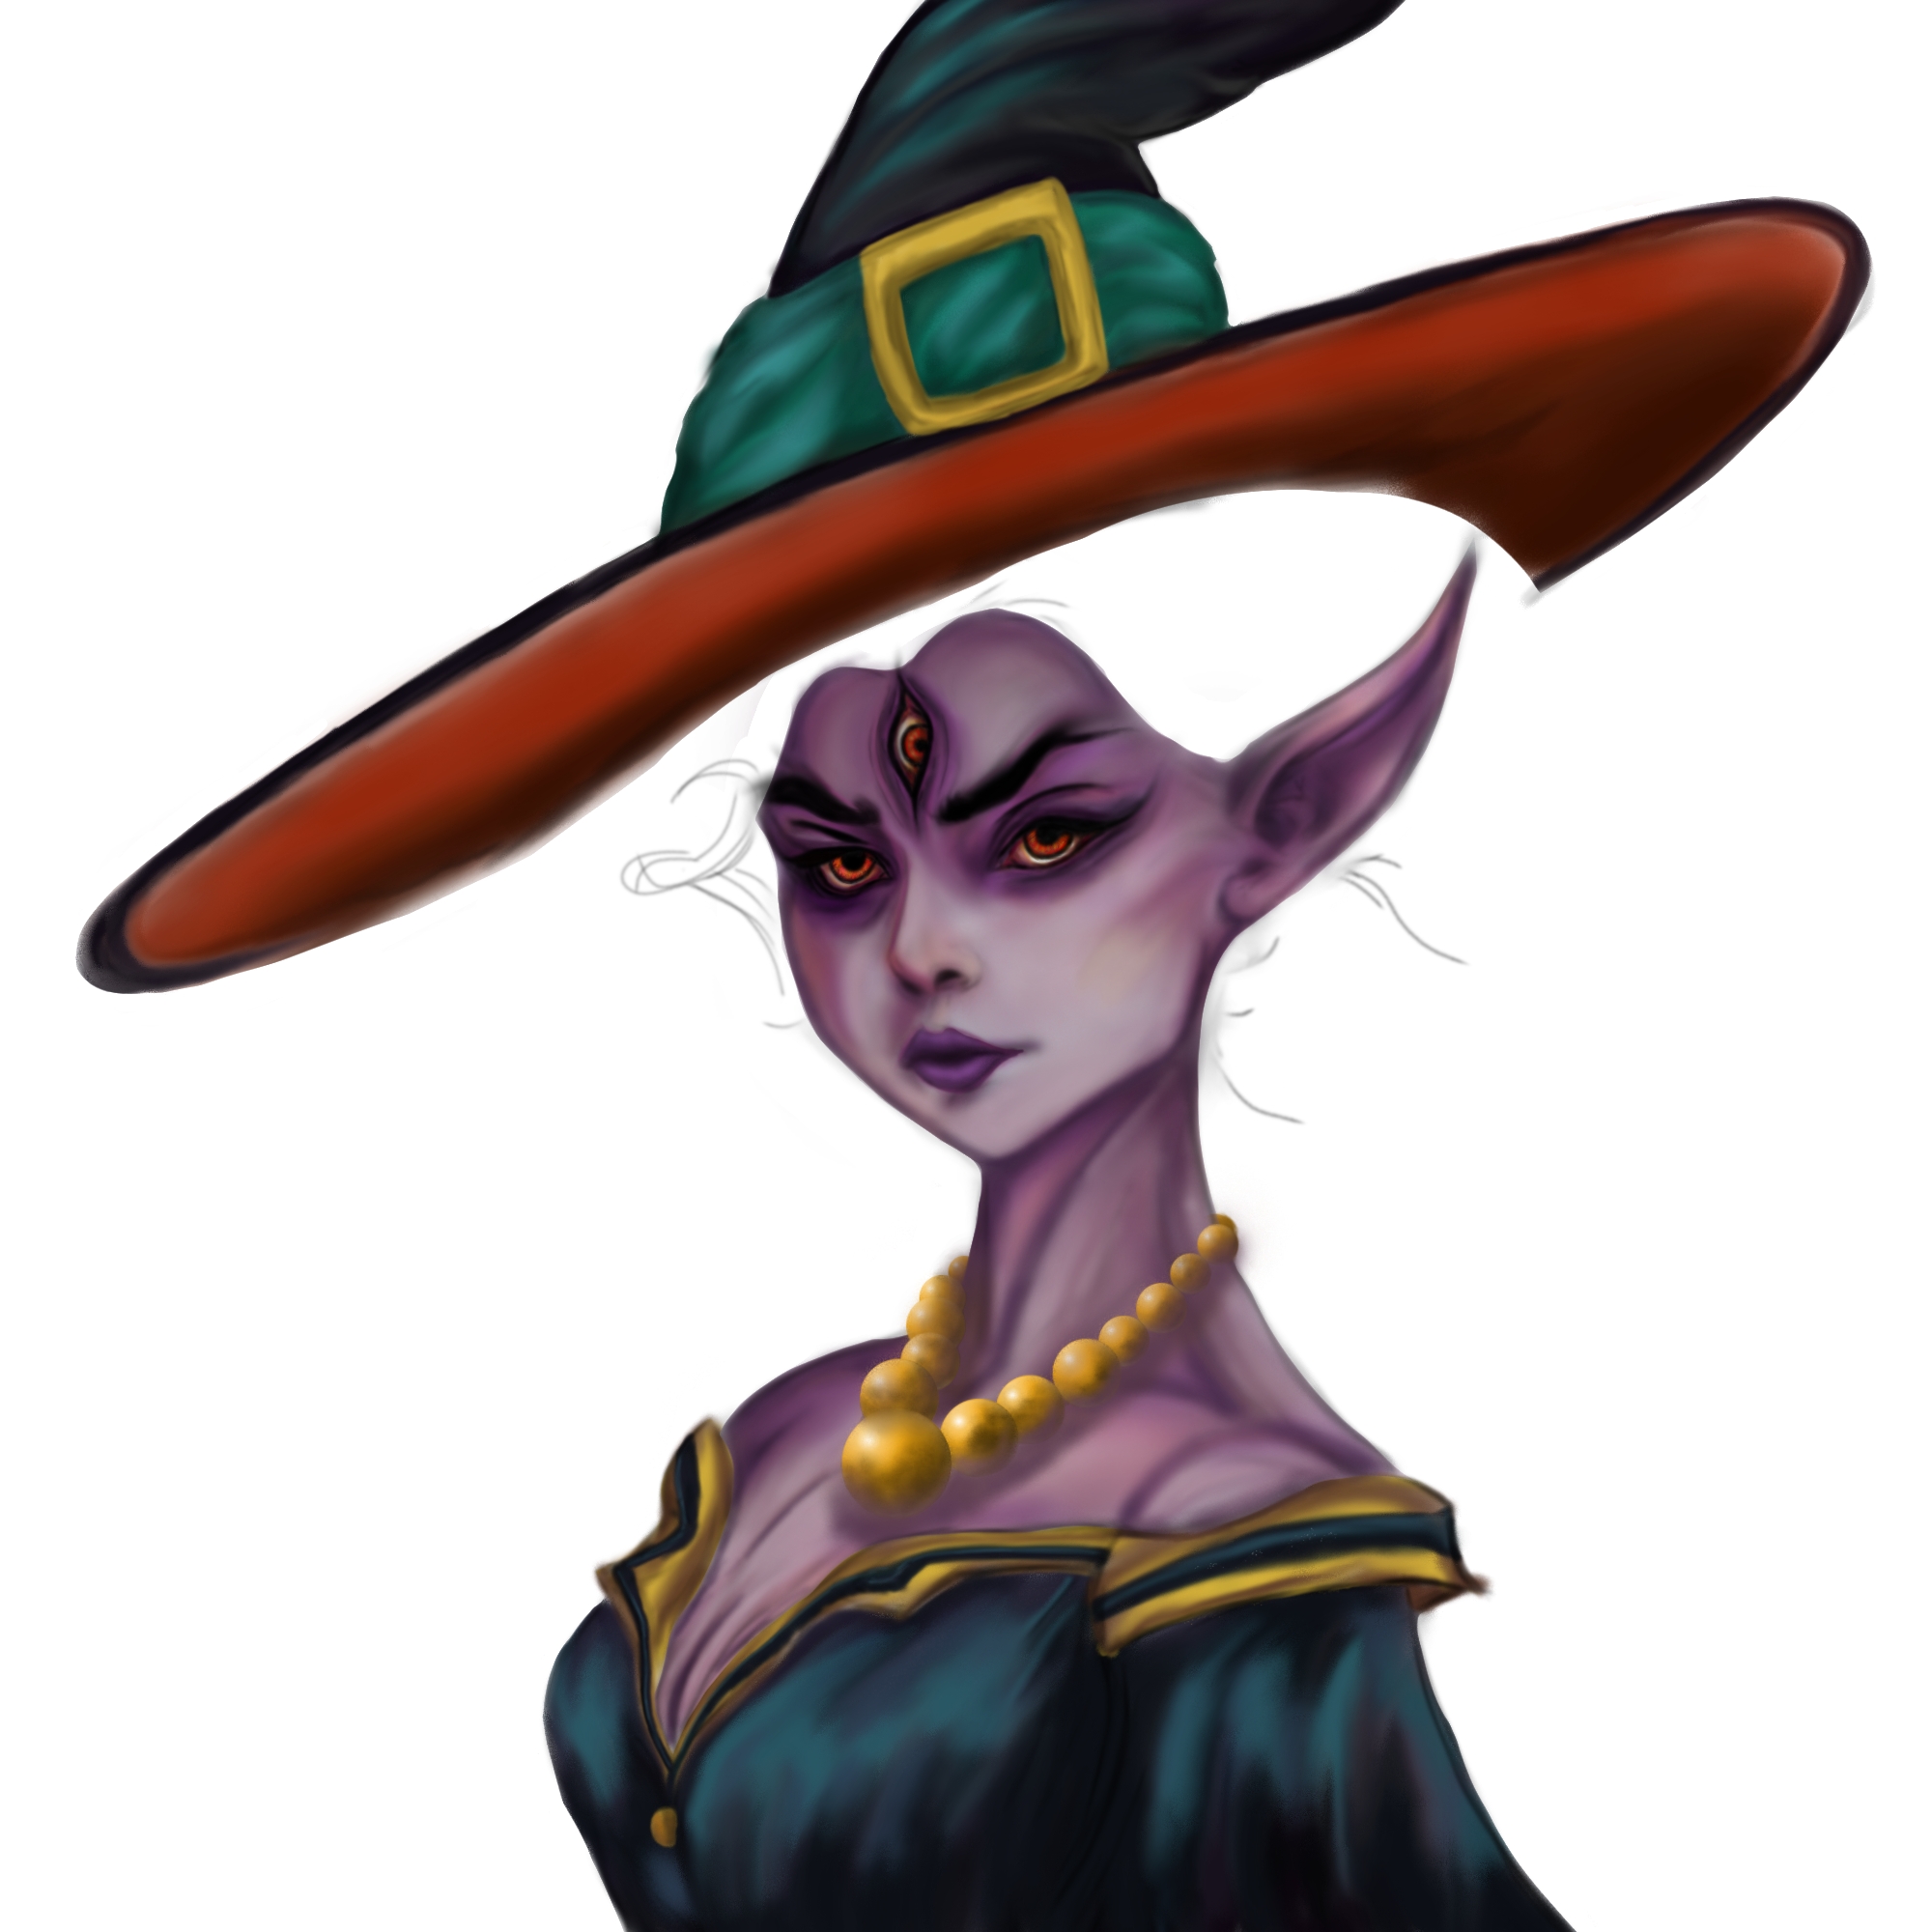

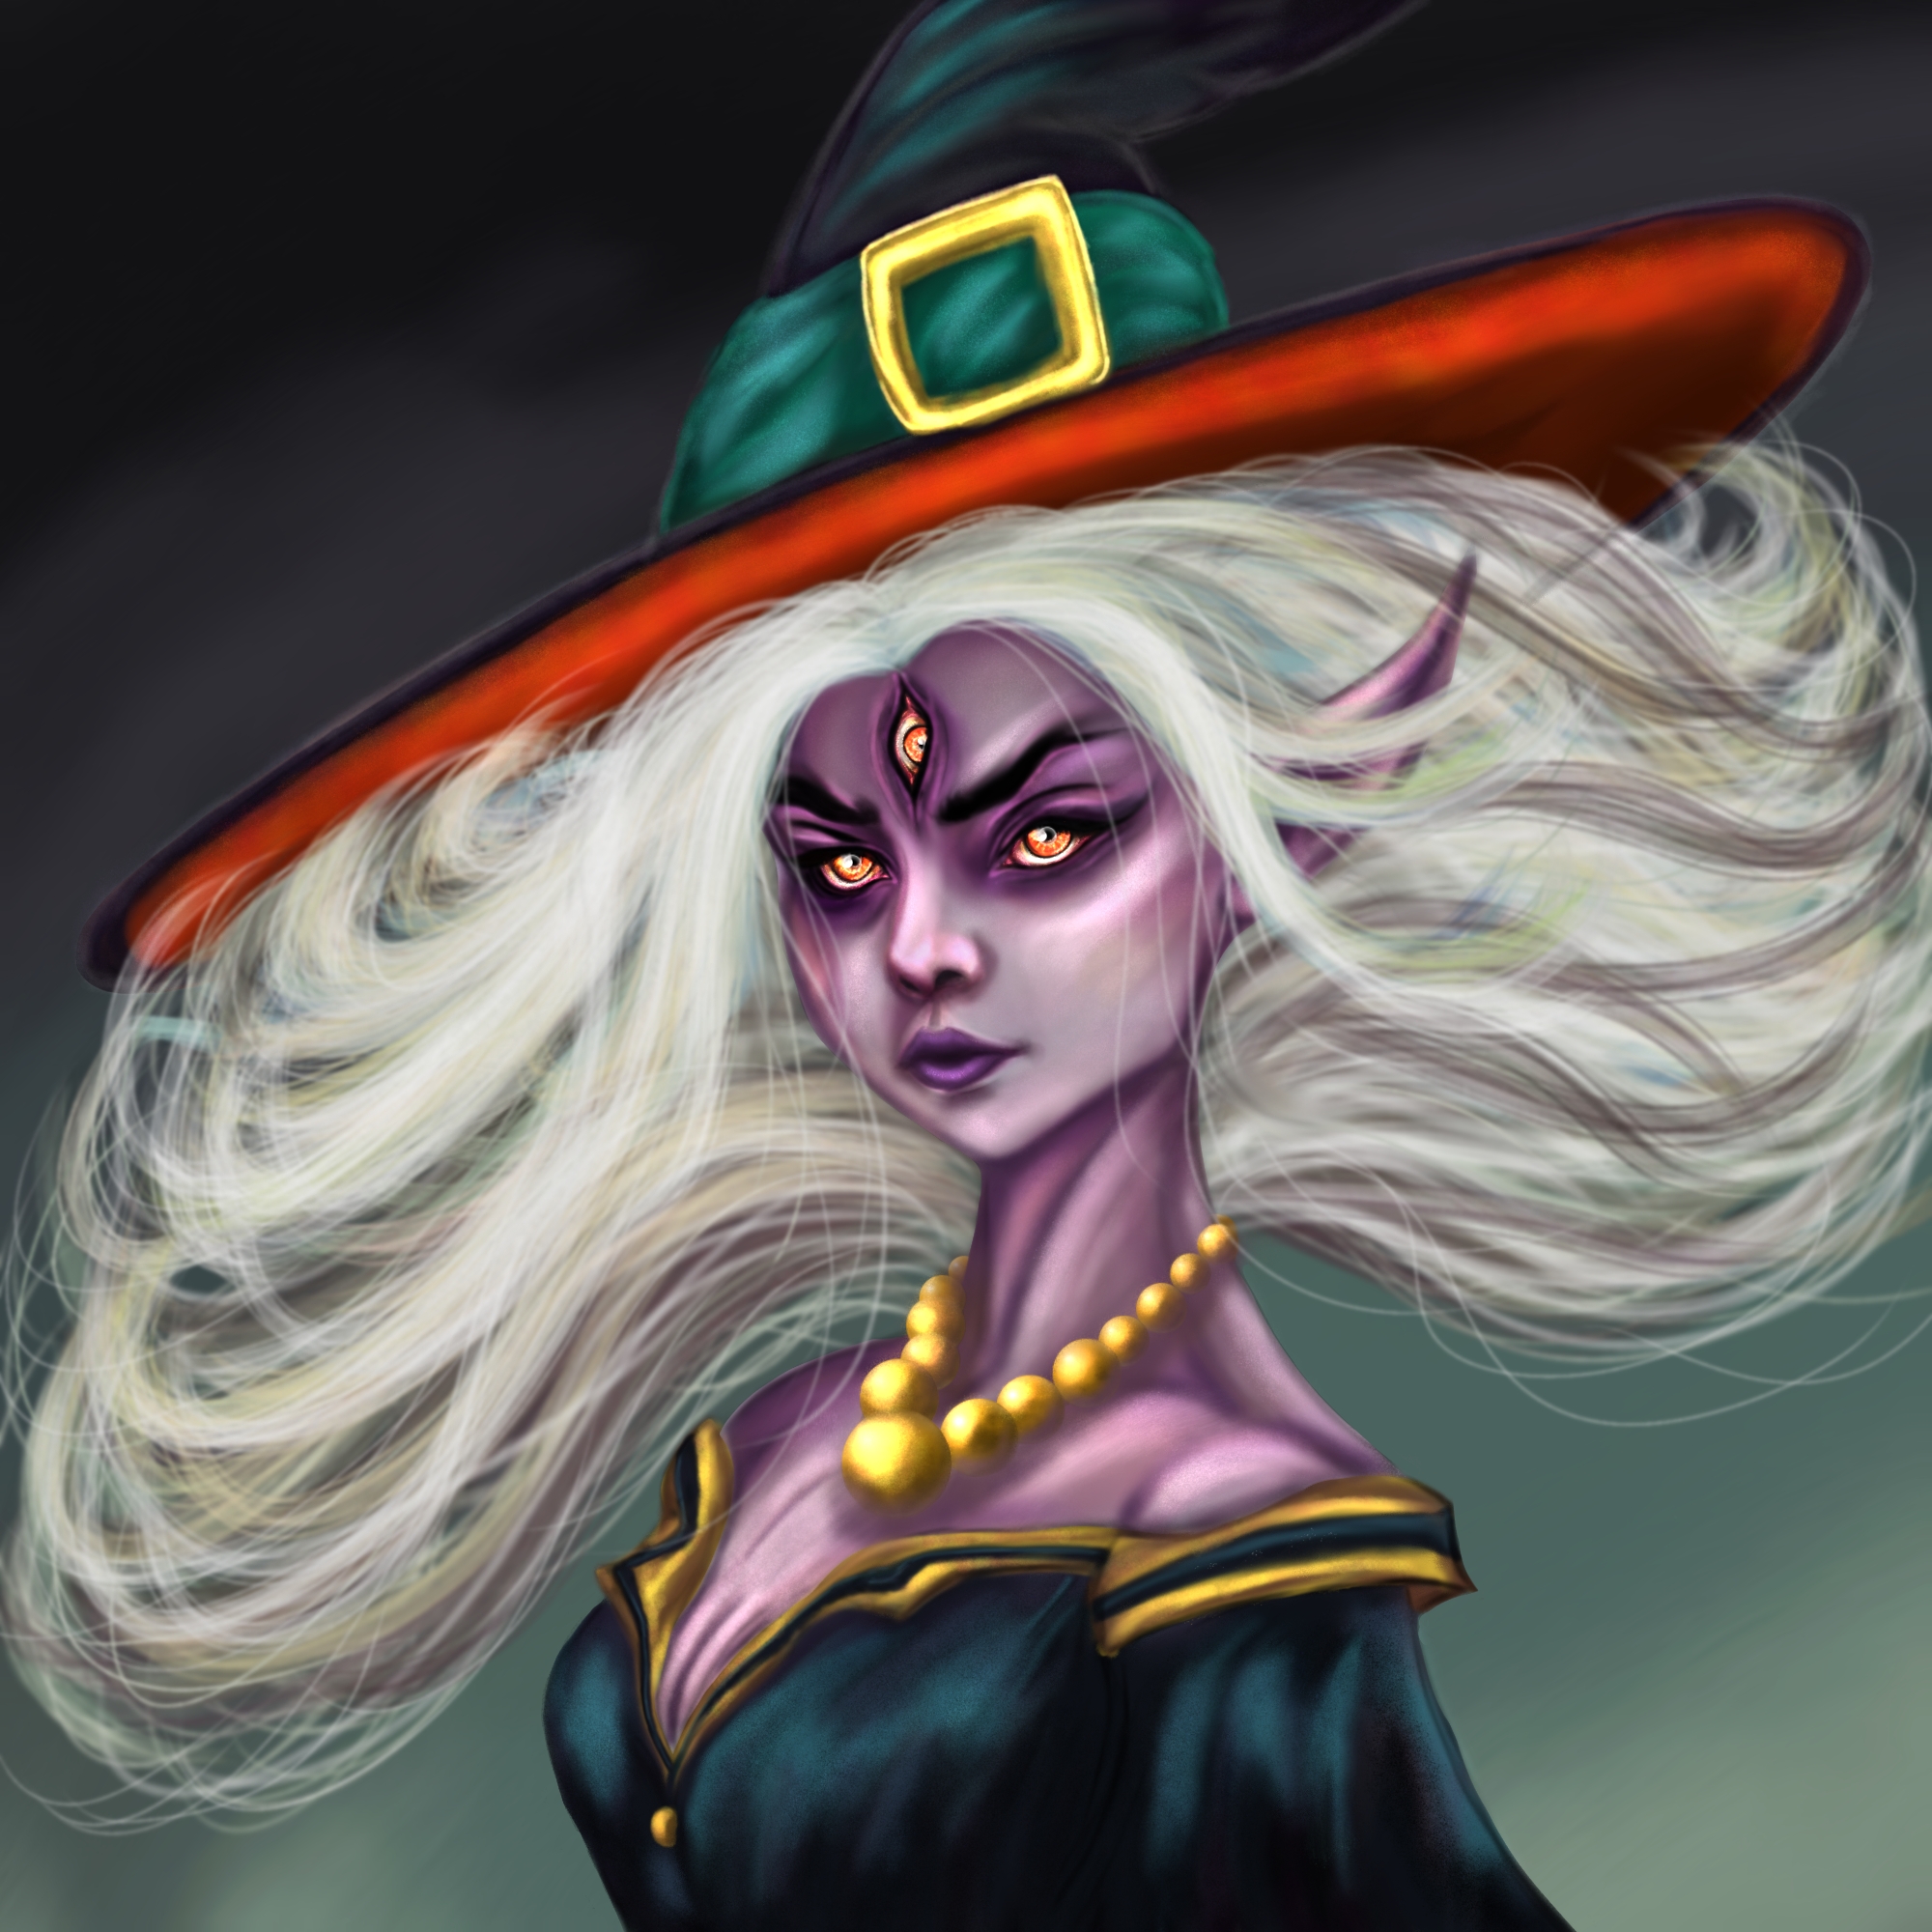
En esta etapa final agregué los brillos a los ojos en una nueva capa con un método de mezcla Añadir utilizando el pincel tipo Erupción para enmarcar los bordes de la pupila y el iris, utilizando también el pincel tipo Brillo con un grosor mínimo, resaltando mínimos brillos con el mismo. Así mismo, añadí los brillos al sombrero, collar y a la vestimenta. Agregue también mechones frontales en una capa con un método de mezcla añadir para darles luminosidad, y antes de esto difumine el cabello con un difuminado gauseano, para luego agregar mechones más definidos y luminosos. Aplique más brillos a la piel con un pincel de Puntillismo #5. Para el fondo agregué degradados de colores desde un negro a un verde agua, los cuales difumine para que hubiera una transición de colores, después agregue varias tonalidades de morados y blancos marfil que luego difumine, y con un método de mezcla Añadir agregue estos mismos colores de manera aleatoria con un pincel Puntillismo #5 bajando y aumentando su opacidad, difumine un poco. Agregué brillos con un pincel de brillos. Para agregar un poco de profundidad a las partes oscuras, en una nueva capa con método de mezcla Multiplicar y con un aerógrafo aplique un lila con bastante opacidad aplicándola en algunas zonas oscuras de la ilustración para luego pasar a resaltar los brillos. Y de esta manera logré este resultado con este personaje, tomándome un tiempo aproximado de 8 horas, espero disminuir esas horas con próximos artes! 😅espero contar cómo siempre con su especial apoyo y de sus importantes opiniones!👋😄
In this final stage I added the highlights to the eyes on a new layer with an Add blend method using the Rash brush to outline the edges of the pupil and iris, also using the Glow brush with minimal thickness, highlighting minimal highlights. with the same. Likewise, I added the sparkles to the hat, necklace and clothing. Also add front strands in one layer with a blending method add to lighten them, and before this blend the hair with a Gaussian blend, to later add more defined and luminous strands. Apply more highlights to the skin with a #5 Pointillism brush. For the background I added color gradients from black to aqua green, which I blended so that there was a color transition, then I added various shades of purples and ivory whites which I then blended, and with a blend method Add I added these same colors in a random way with a Pointillism brush #5 lowering and increasing its opacity, blend a little. I added glitters with a glitter brush. To add a bit of depth to the dark parts, on a new layer with the Multiply blend method and with an airbrush, apply a lilac with enough opacity, applying it to some dark areas of the illustration and then going on to highlight the highlights. And in this way I achieved this result with this character, taking an approximate time of 8 hours, I hope to reduce those hours with future arts! 😅I hope to count as always with your special support and your important opinions!👋😄

Herramientas usadas/Used tools
- Tablet Android
- Ibis Paint X
- Traductor Deepl
- Servidor de imagenes Imgbb
- Dactilopintura digital
HASTA EL PRÓXIMO POST
Detenerse es retroceder
To stop is to go backwards
Thanks for sharing! - castleberry#6859

Thank you so so @castleberry! 😄❤️🙌 And thank you very much to @steemmonsters too! 👽❤️💚👾💚
Wow! esta demasiado hermoso, mucho éxito
Muchas gracias @oscariart ❤️😊 también desde aquí te deseo muchísimos éxitos para esta semana, esperando ver sus maravillosos FanArt que siempre me sorprenden 😍
I like the flow of the hair! 😍 Also, those sparkles wrap up the whole art. Good job!
Thanks you so so @jijisaurart ! I LOVE It🙌❤️
Awesome, I have never noticed the third eye before your drawing, but now I did! Have a great successs with the contest!
Thank you very much @pegarissimo ❤️🙂
Just Awesome!
👋🏼🤩👋🏼
Great Job and Good Luck!
Thanks a lot @lesmann 😊