Hola amigos! Espero se encuentren muy bien bienvenidos en este día!🌹❤️
Hello friends! I hope you are very well welcome on this day!🌹❤️
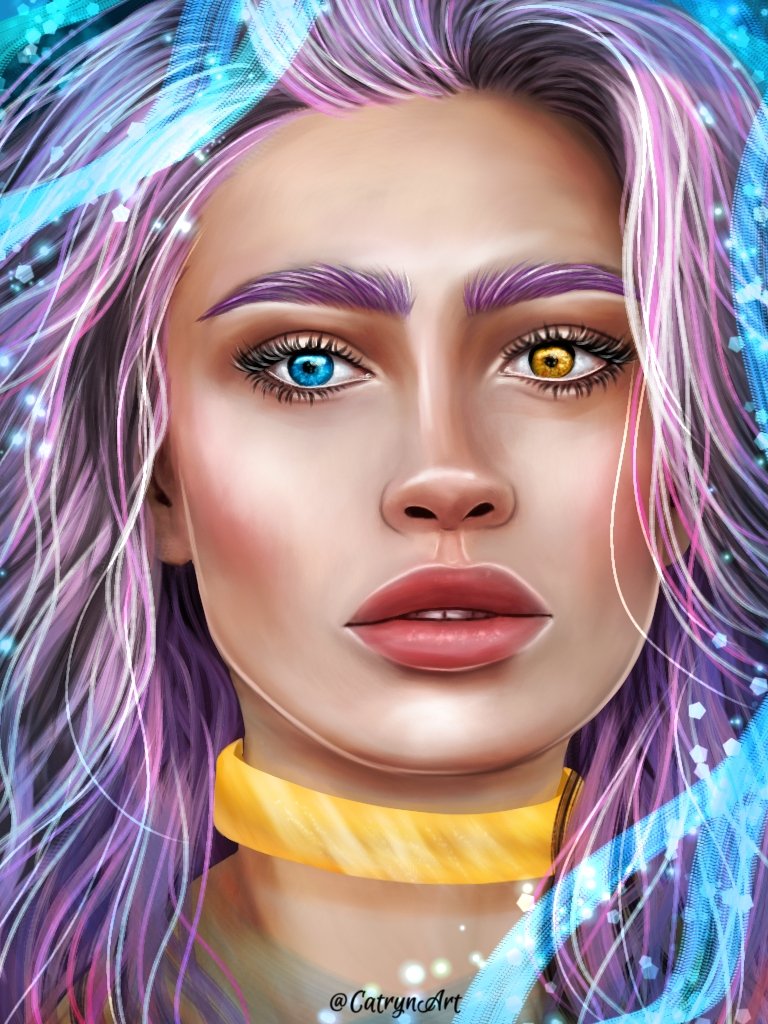

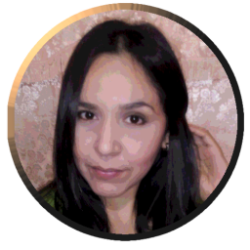
Quiero compartirles nuevamente mi participación al concurso semanal de @Splinterlands, con la representación de la carta LEMELL REFUGEE. Quería hacer un retrato de este personaje para practicar un poco más las iluminaciones del rostro y trabajar un poco mejor los ojos ya que es el rostro que tengo en esta ocasión.. espero disfruten de esta pieza. Acompañame en el proceso!😊❤️🌹🌷
I want to share with you again my participation in the weekly @Splinterlands contest, with the representation of the LEMELL REFUGEE card. I wanted to make a portrait of this character to practice lighting the face a little more and work on the eyes a little better since it is the face I have on this occasion... I hope you enjoy this piece. Join me in the process!😊❤️🌹🌷
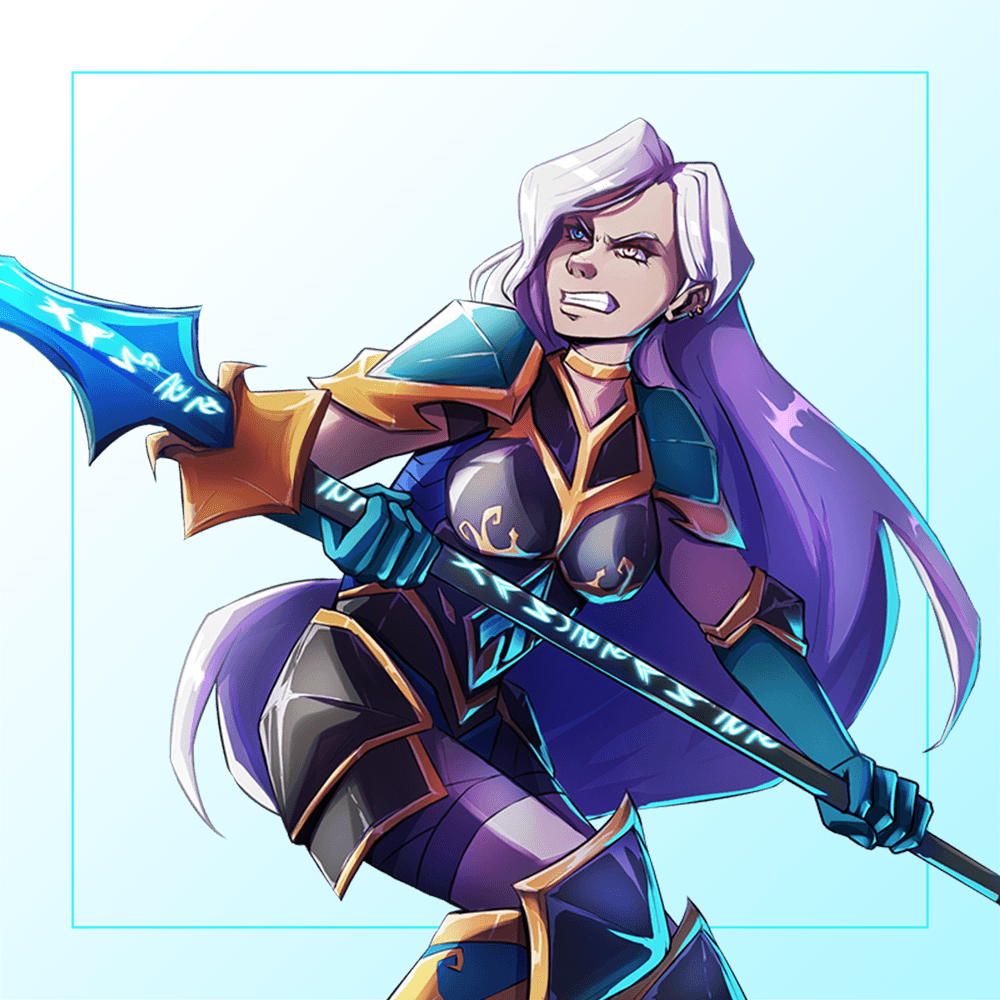
Link de la Imagen de Referencia/Reference Image Link
Etapas del Dibujo/Drawing Stages
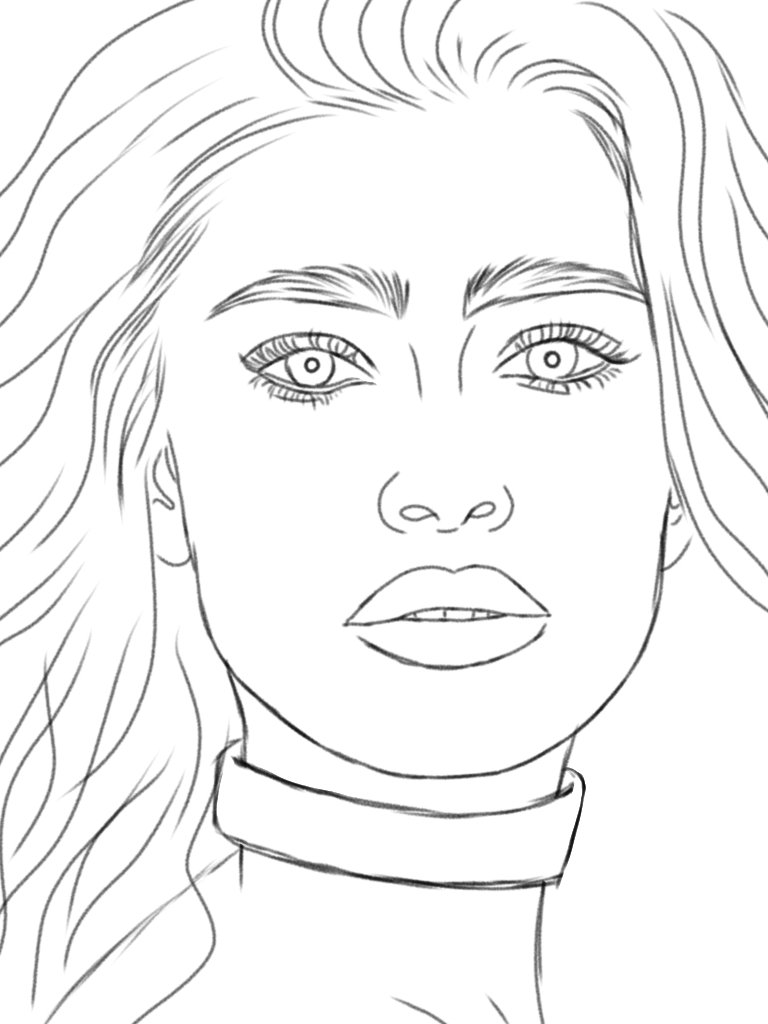
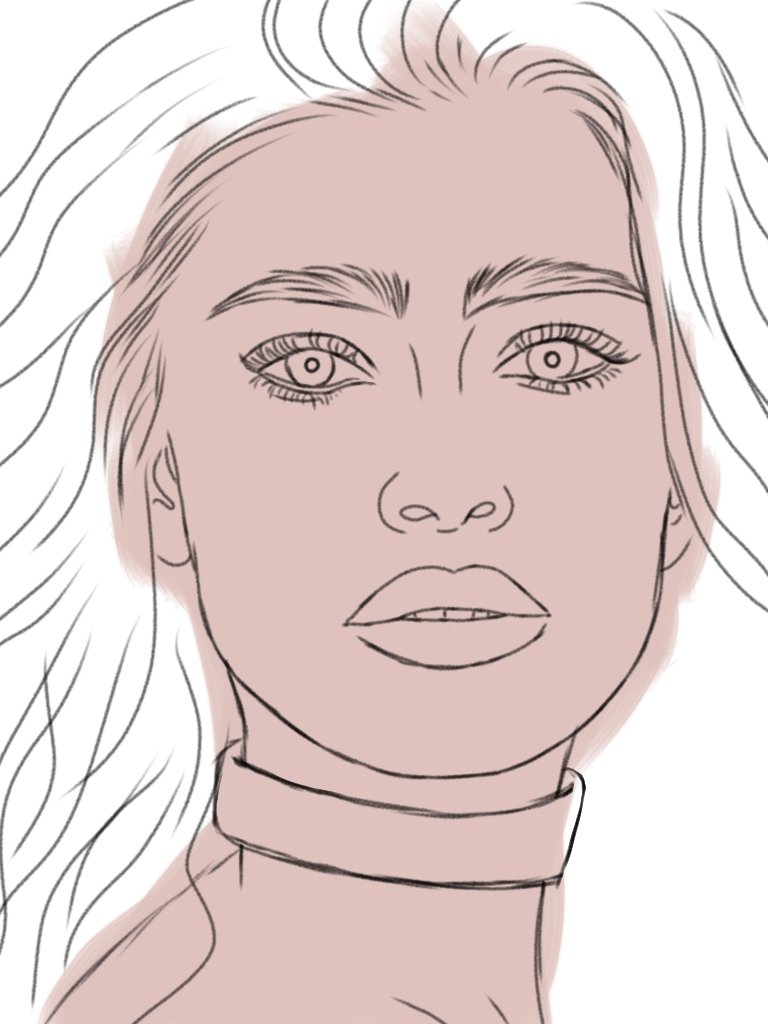
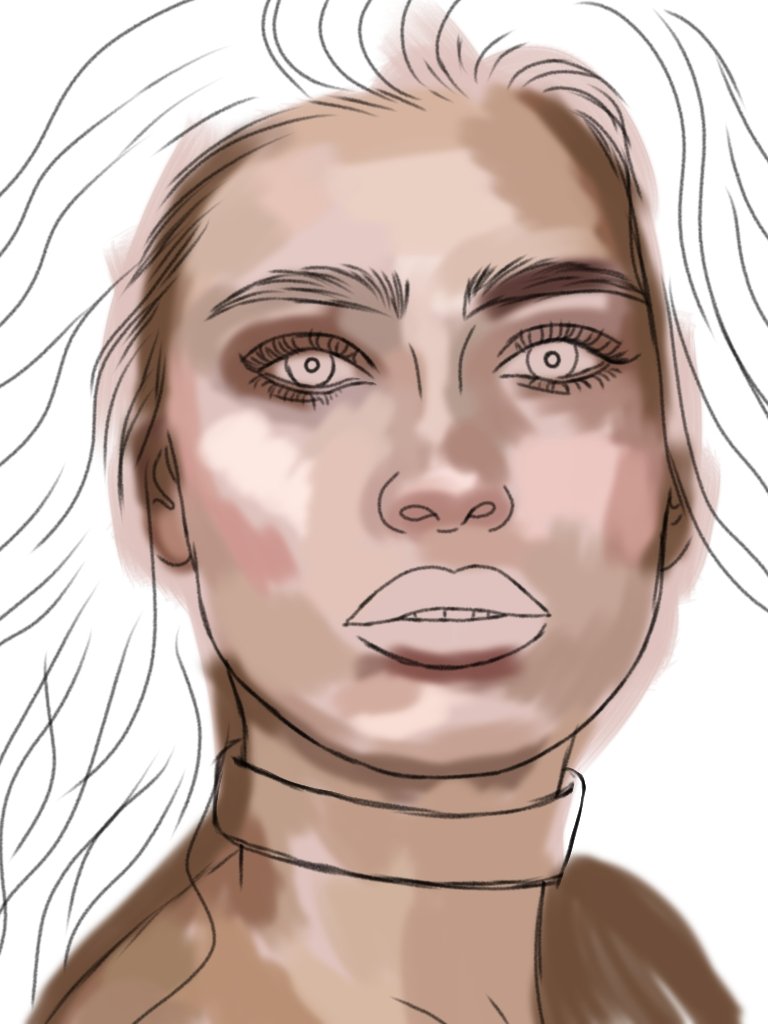
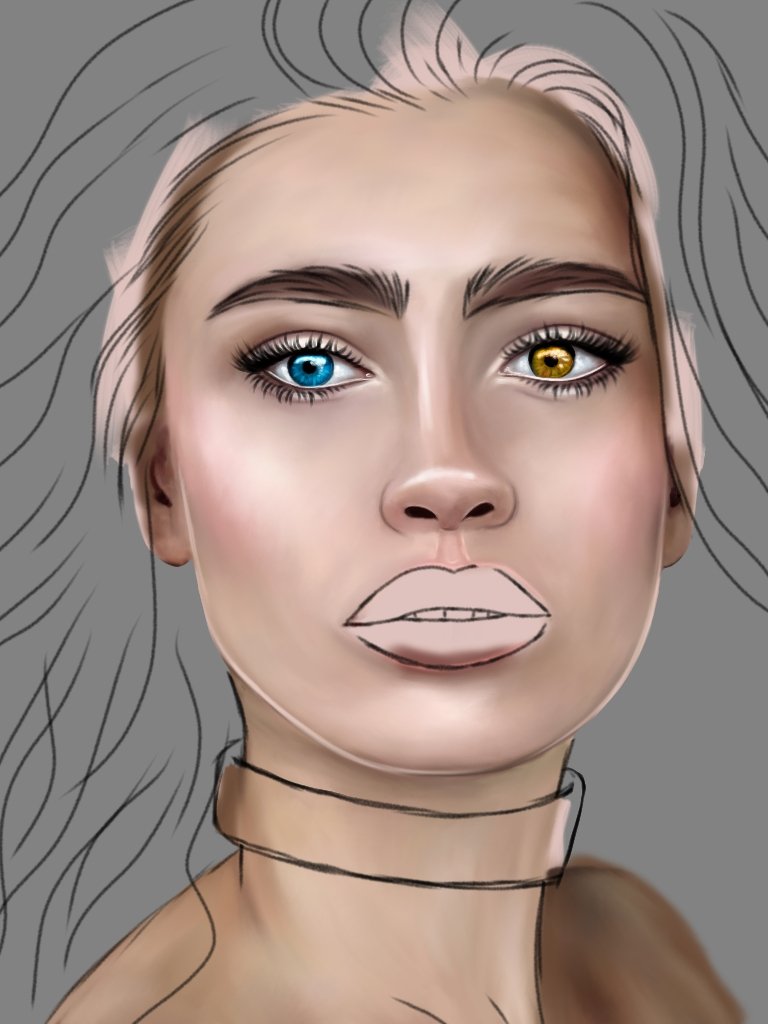
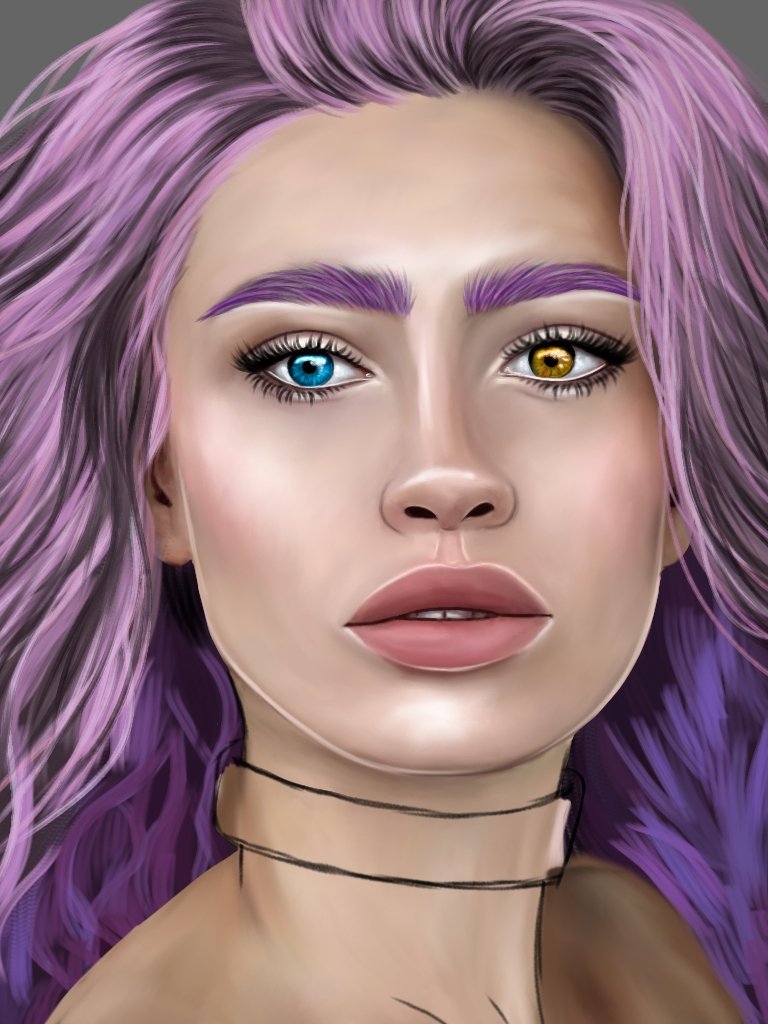
Inicie con un boceto usando la brocha tipo lápiz para luego pasar a una nueva capa a aplicar el color base usando la brocha tipo plano real y seguí aplicando otras tonalidades pincelando con el mismo pincel para ir agregando profundidad. Después con el difumino fui mezclando para suavizar he integrar. Seguí así aplicando brillos para definir más lo que son los ojos y la nariz, como también el contorno de la boca. Pasando a ocultar la capa del delineado en negro.
I started with a sketch using the pencil brush and then moved on to a new layer to apply the base color using the real flat brush and continued applying other shades brushing with the same brush to add depth. Then with the blend I mixed to soften and integrate. I continued applying glitter to further define the eyes and nose, as well as the contour of the mouth. Moving on to hide the black outline layer.
 |  |
 |  |
 |  |
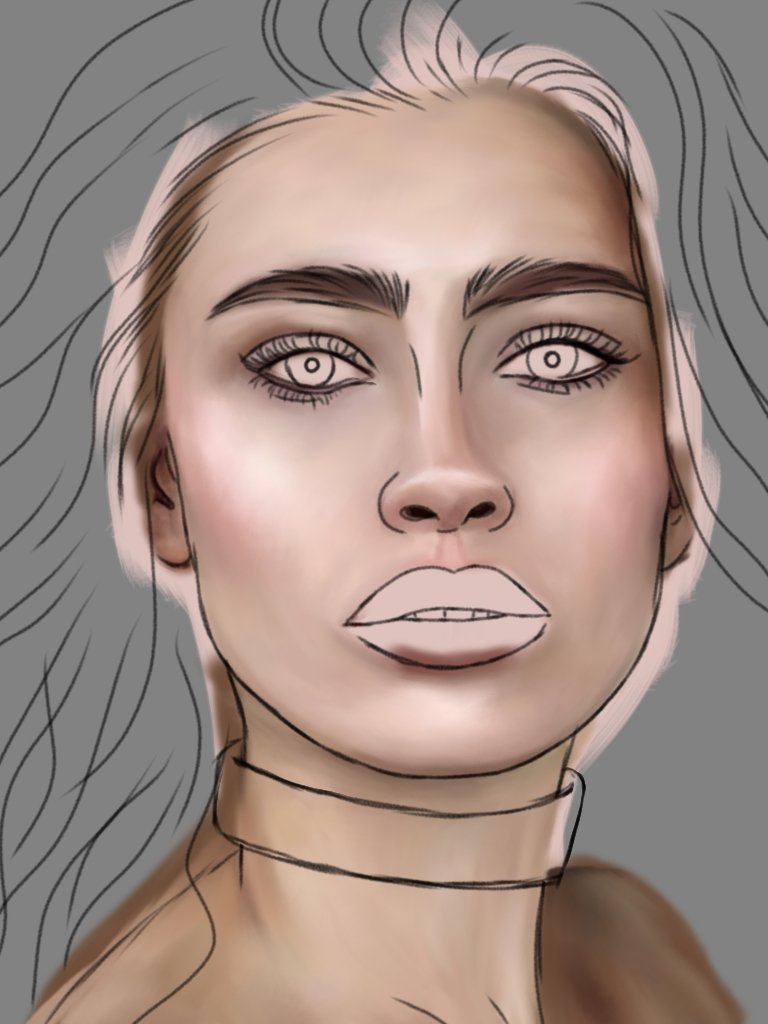
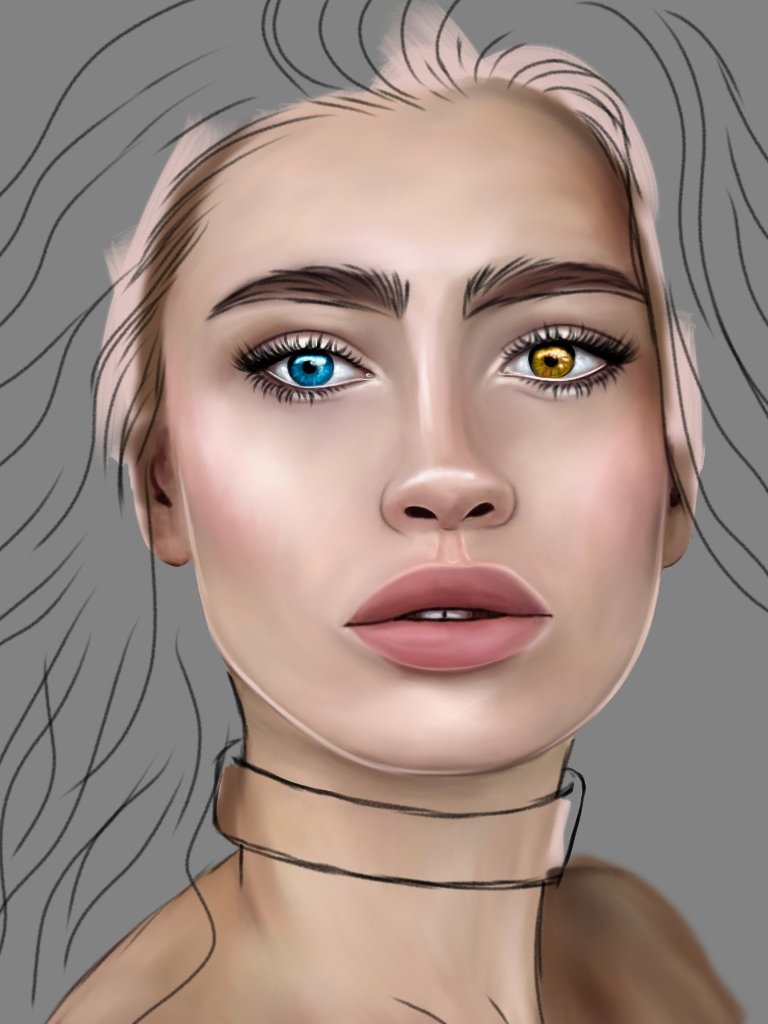
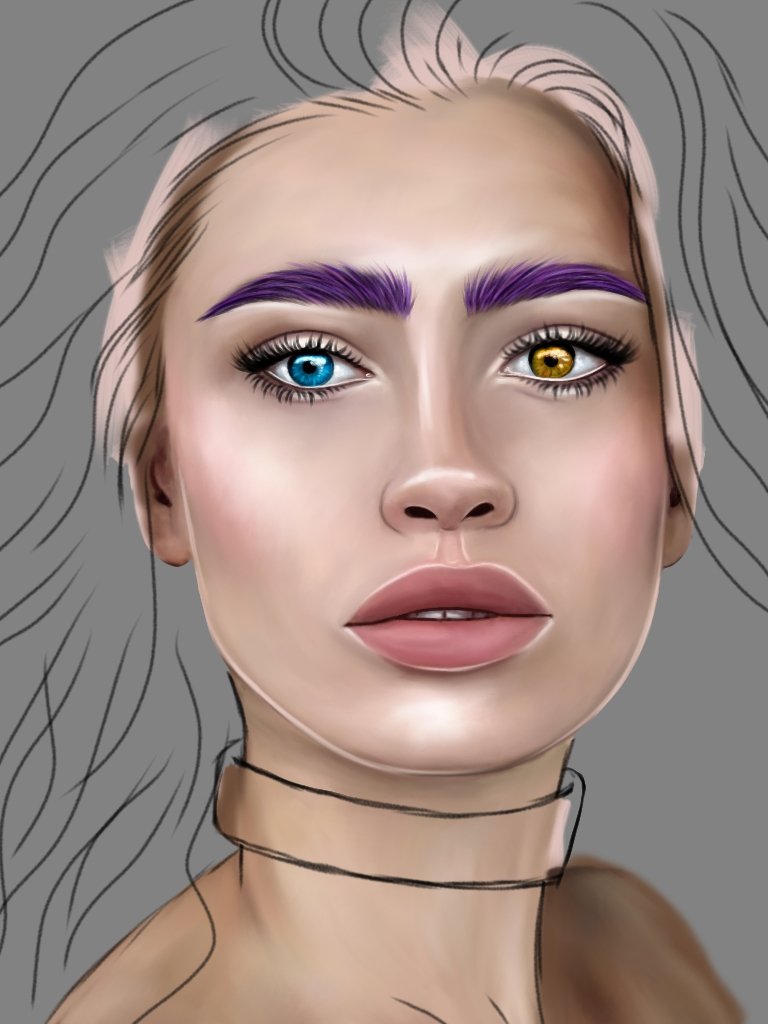
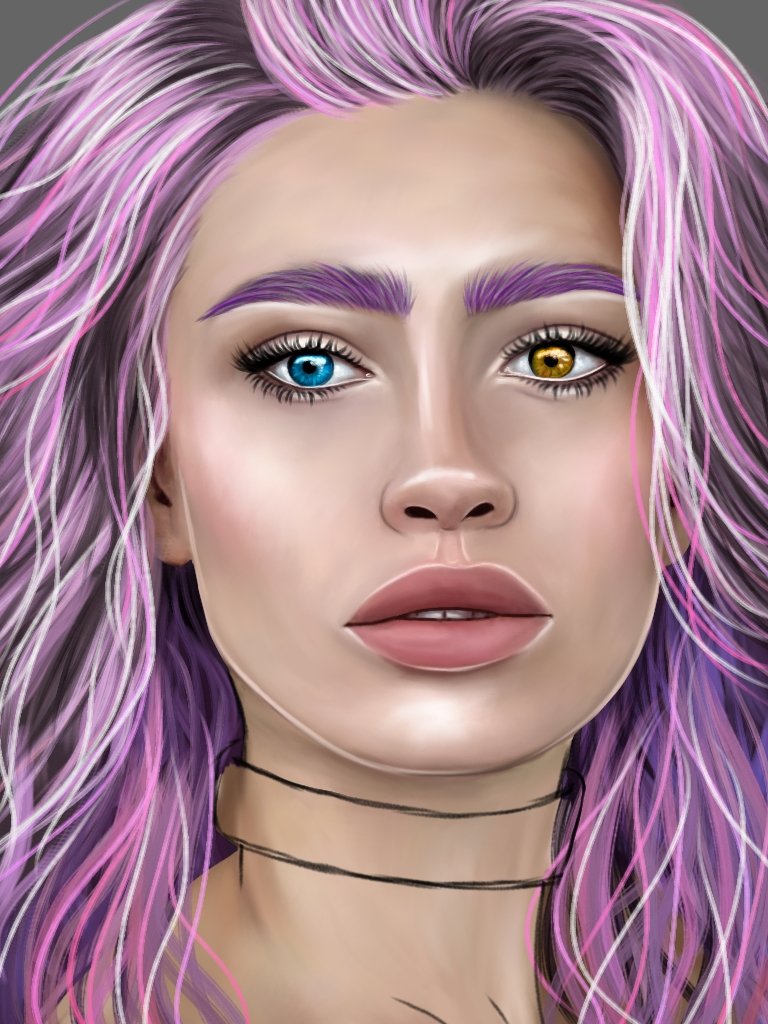
Seguí entonces trabajando los ojos en otra nueva capa usando la brocha tipo plano real y difuminando con una brocha tipo tiza. Después hice la boca en una nueva capa usando también la misma brocha. Reforcé más los brillos del rostro usando una capa con método normal de mezcla. Después realice las cejas con la brocha tipo pelo en una nueva capa. Después empecé a trabajar en el cabello en una nueva capa con método normal de mezcla. Me llevo tiempo definir los brillos del rostro y también algunas líneas de sombras para definir igualmente más. Use varias capas para el cabello usando la brocha tipo pincel redondo abanico y con método normal de mezcla cambiando las tonalidades. Agregando en una capa mechones delanteros y en otra mechones traseros y más oscuros.
I then continued working the eyes on another new layer using the real flat brush and blending with a chalk brush. Then I made the mouth on a new layer also using the same brush. I further enhanced the highlights on the face using a layer with the normal blending method. Then apply the eyebrows with the hair brush in a new layer. Then I started working on the hair in a new layer with normal blending method. It took me time to define the highlights of the face and also some lines of shadows to also define more. Use several layers for the hair using the round fan brush and with the normal blending method changing the shades. Adding front strands in one layer and rear and darker strands in another.
 |  |
 |  |
 |  |
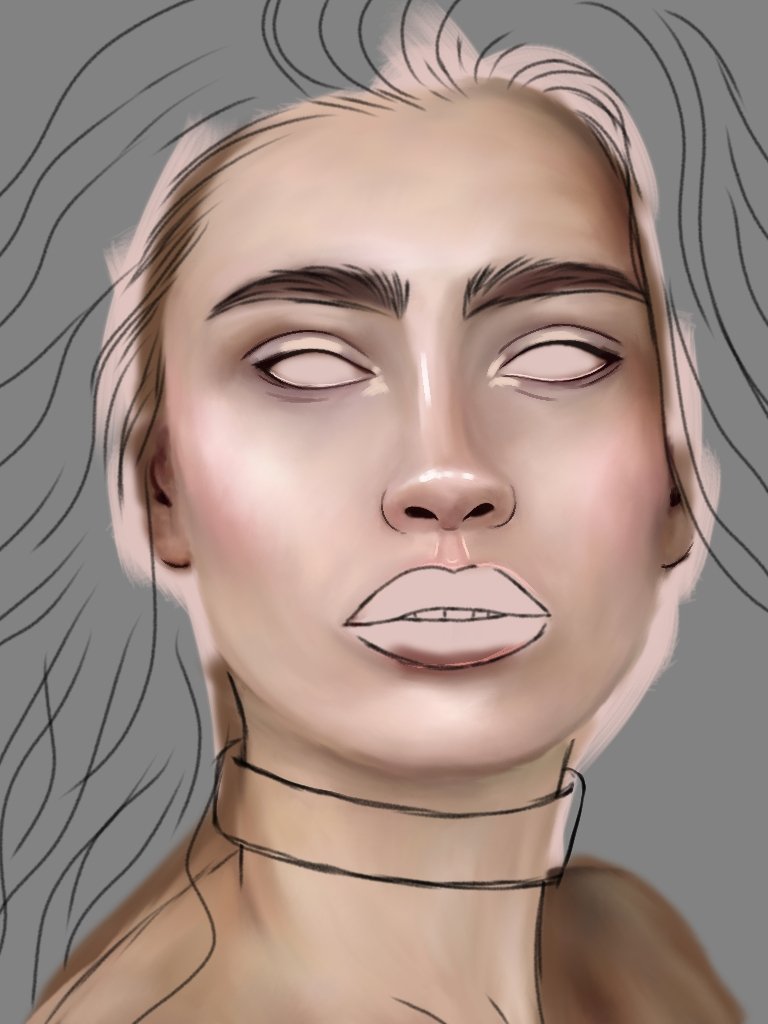
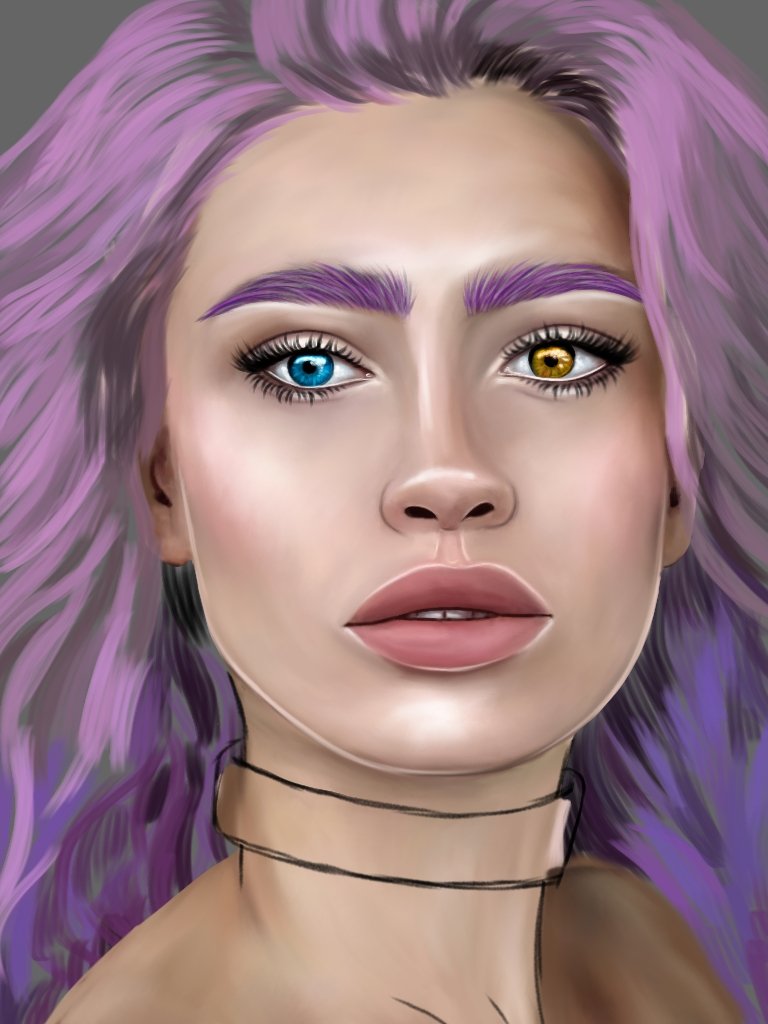
Seguí agregando mechones más delgados al cabello con una brocha tipo pelo y con capa en añadir. Agregué el accesorio en su cuello usando otra capa con métodos normal de mezcla. Aplique luego capa en superposición con la brocha plano real y también método añadir para resaltar algunos brillos con la brocha tipo purpurina y punto de brillo agregando también en el fondo. Con un poco más de práctica se me hará más sencillo. Espero que hayan disfrutado este proceso. Y mil gracias por estar aquí leyendo y valorando mi trabajo!😊❤️🌷🌹
I continued adding thinner strands to the hair with a hair style brush and with a layer to add. I added the accessory on her neck using another layer with normal blending methods. Then apply layer in overlay with the real flat brush and also add method to highlight some sparkles with the glitter type brush and adding glitter dot also in the background. With a little more practice it will become easier for me. I hope you enjoyed this process. And thank you so much for being here reading and valuing my work!😊❤️🌷🌹
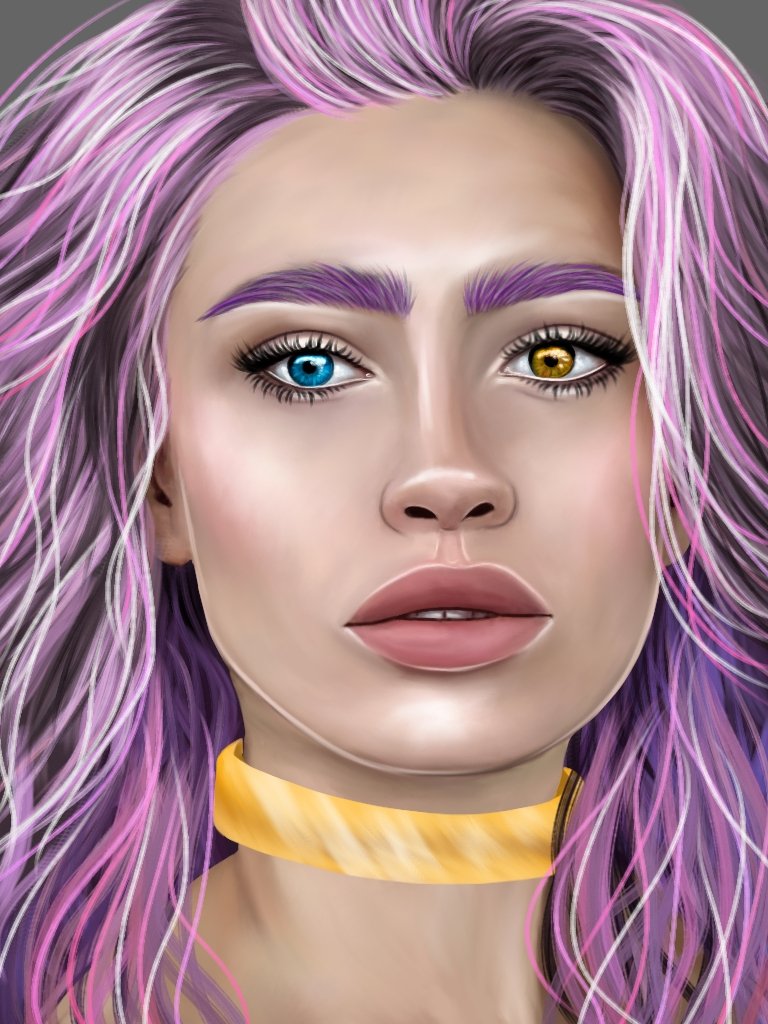 | 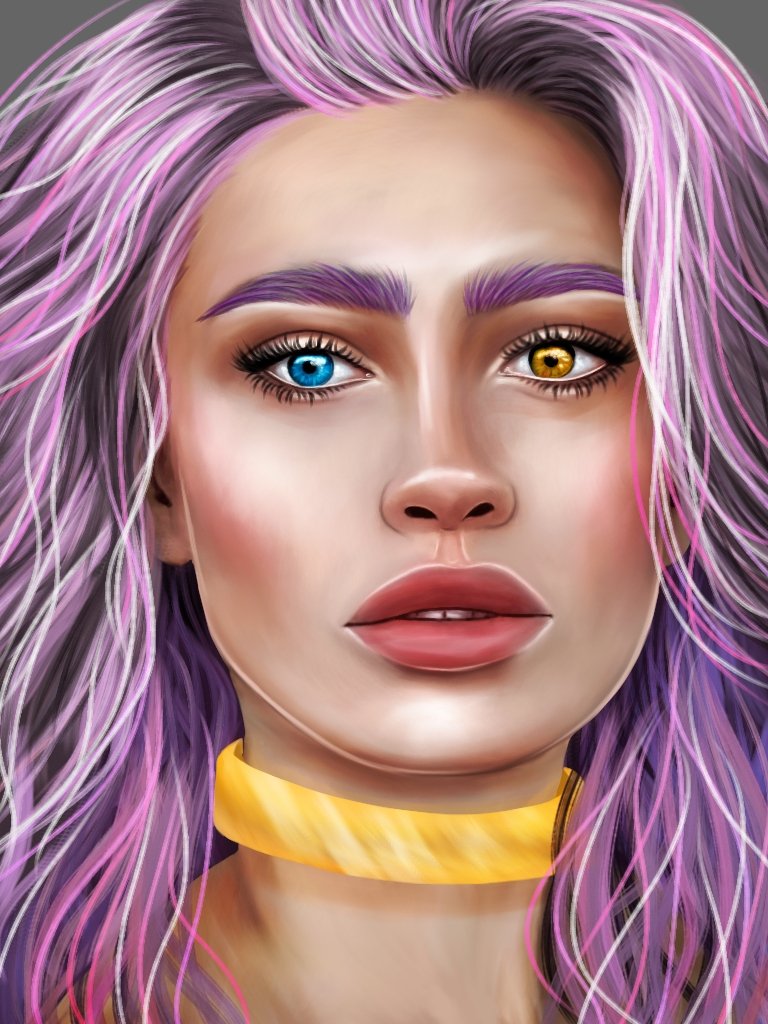 |
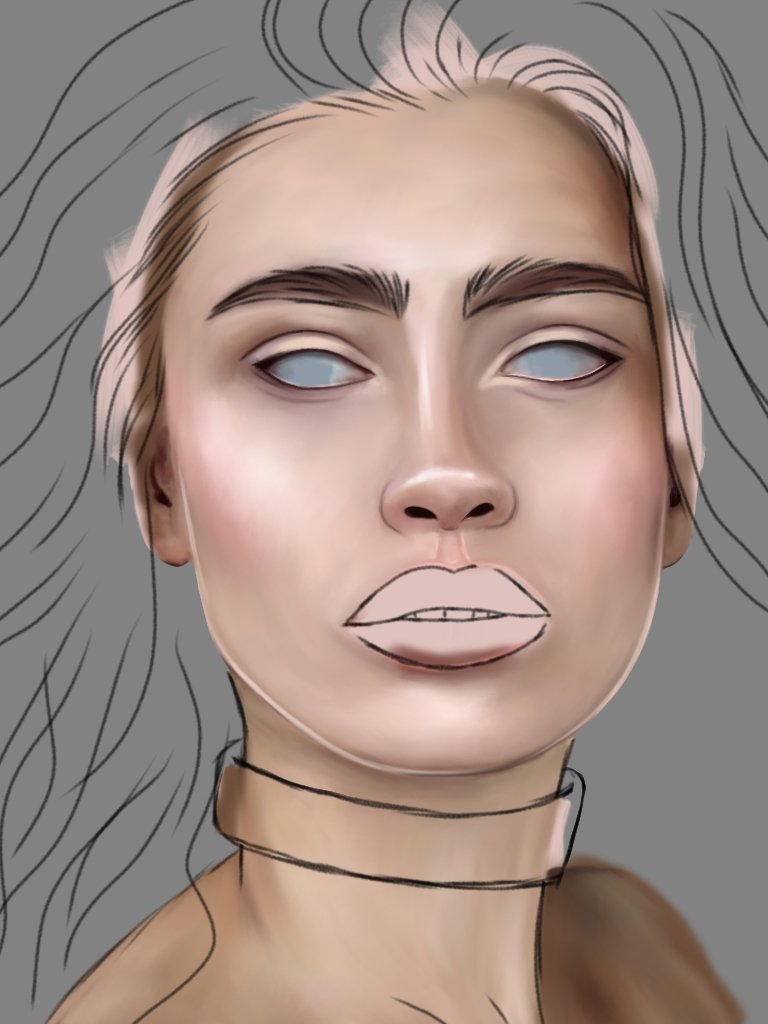
ILUSTRACIÓN FINAL/ End Illustration
Redes Sociales/ Social Networks
Sigueme en/ Follow me in:
👉Instagram: @catrynart
👉 Twitter: @catrynart
Herramientas Usadas/Used Tools
- Tablet Android/ Android Tablet
- Programa Ibis Paint X/ Ibis Paint X Program
- Traductor Deepl/ Deelp Translator
- Servidor de Imagenes Imgbb/ Imgbb Image Server
- Dactilopintura Digital/ Digital Fingerprint Painting
🌺¡HASTA EL PRÓXIMO POST!🌺
Detenerse es Retroceder
To Stop is to go Backwards
Thanks 🌷🤗
nice i like it
Thankyou 😶
Very nice, it looks amazing.