Hey all! Been a while! here's a writeup I’ve been meaning to put together for months: a quick walkthrough of how I turned an AI output into a 3-D printed object.
I should preface this by saying that really will only work for relatively flat objects, and that images with a lot of depth will not translate well to 3D with this method. But for stuff like lapel pins and pendants, you should be good to go.
To complete this tutorial, you will need:
- Access to some generative AI implementation (e.g. DreamStudio, Automatic1111, MidJourney)
- An image editor (Photoshop, Pixlr, GIMP, etc)
- Image To STL
- MeshLab, Blender, or your preferred 3D modeling software
- A 3D printer or printing service
Step 1: Create your image
I actually trained a custom model on fancy Eastlake-style door hinges (which I use in my book-binding practice) for this, but you can easily generate something, too. Remember–a flattish object is best. Things like the following would work great:
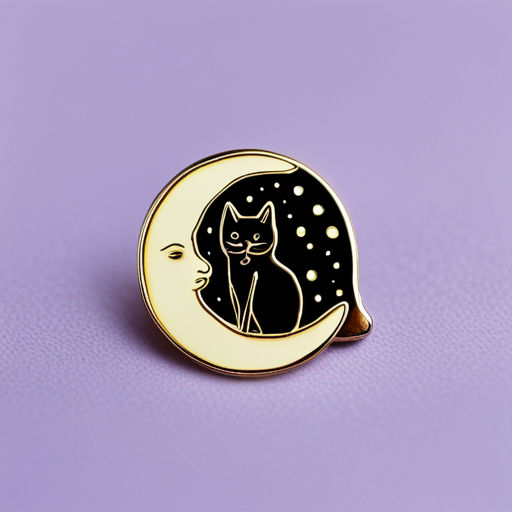
“detailed enamel pin of a cat on the moon on a plain background,” made with DreamStudio
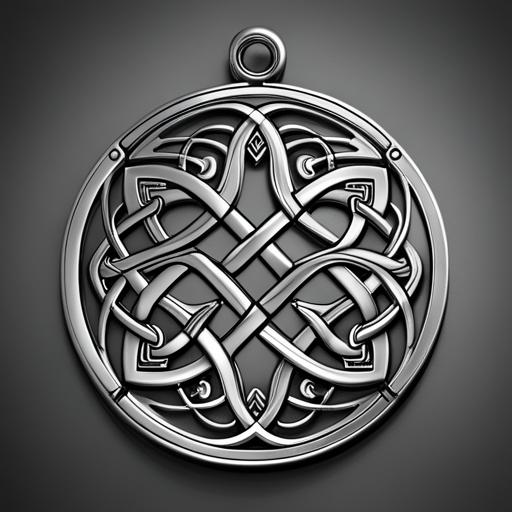
“A complex Celtic knot pendant on a plain background,” made with DreamStudio
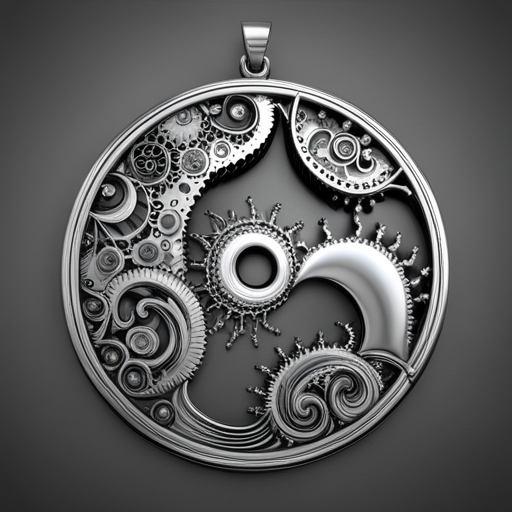
“a mandelbrot pendant,” made with DreamStudio using the previous image as an init
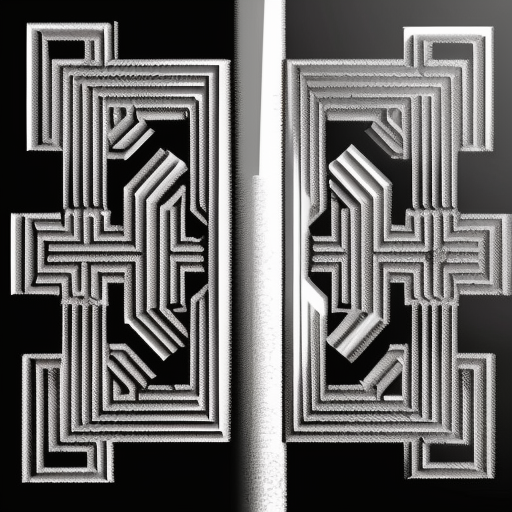
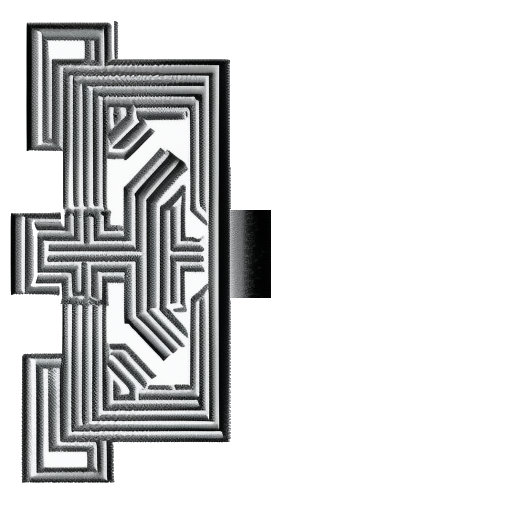
Step 2: Clean up your image in a photo editor
You’ll want to convert your image to inverted greyscale, replace the background with a flat white fill, and remove any details you don’t want in your final piece (or add missing details like holes, loops, etc).
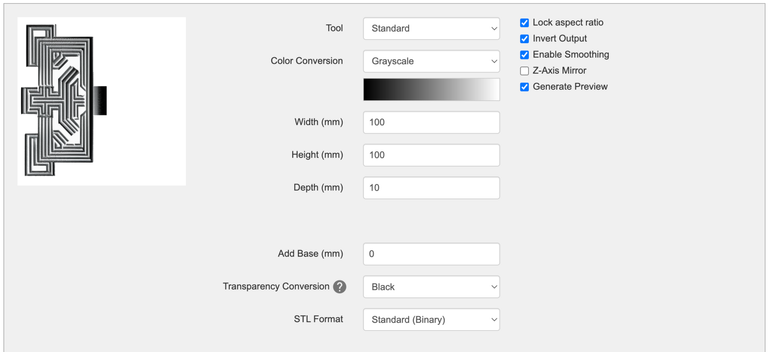
Step 3: Convert image to STL
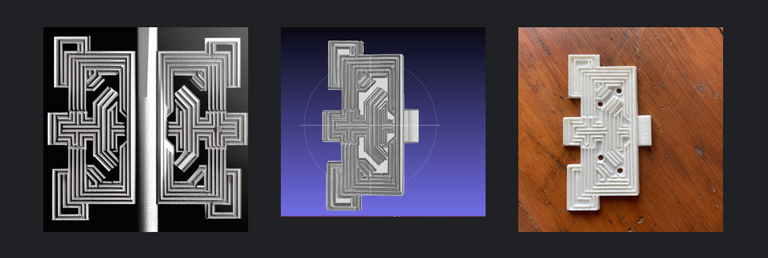
Visit Image to STL and upload your image. Below are the settings I used for my piece, but of course tweak it to suit your needs.
When you’re ready, click ‘Convert to .STL!” Your result should look something like this:
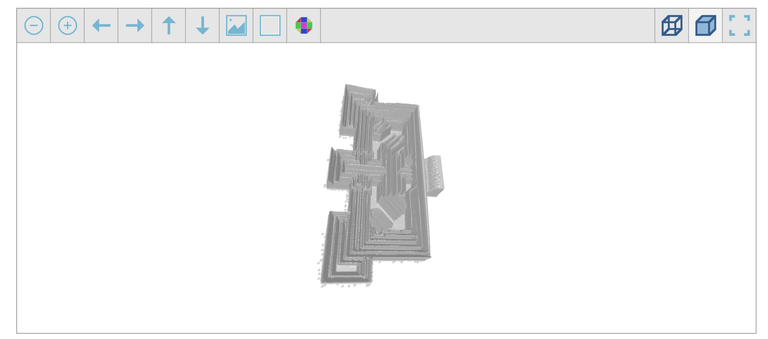
It may take a few tries/tweaks to the settings to get something you’re happy with. When you’re happy, download the .stl.
Step 4: Clean up model in 3D software
Now that you have an STL file, you should be able to open it in your preferred 3D program, clean up any ragged edges, and add any further elements to the model that you want.

Step 5: Print
Once your model is ready, it can saved as an .obj file and printed.
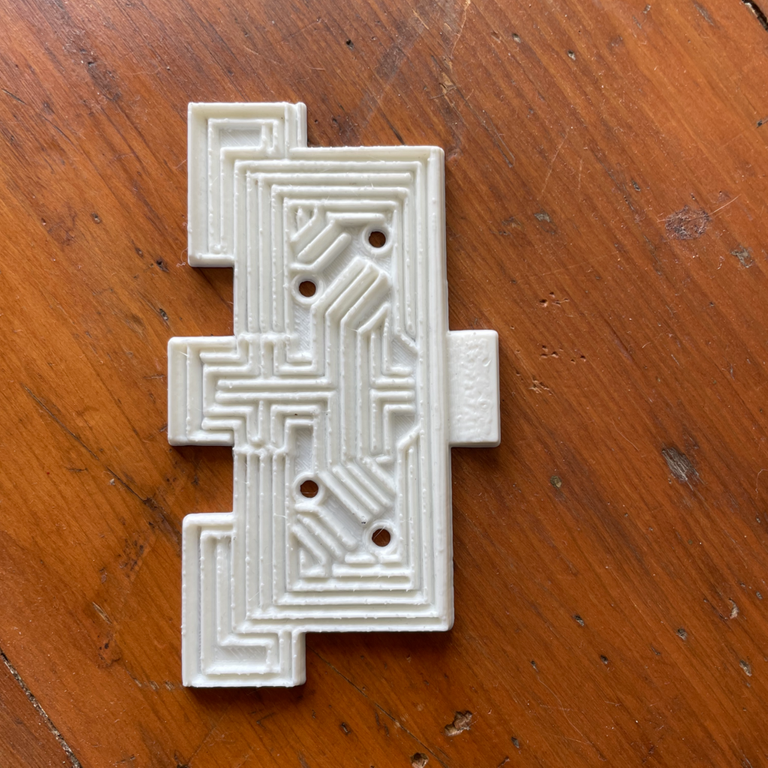
From there you can use it as is or make casts of it in resin/metal. I haven’t done any casts of my prototypes yet, but when I do, I’ll share the process!
That’s it! Please reach out to me below or on twitter if any part of this tutorial is unclear, and also please share what you create!
A version of this walkthrough also appeared on my blog.
This is super cool! Good to see you post after so long!
Thanks man! Trying to get back into the posting swing but I am SO bad a platform juggling xD
I'm not great at it either, myself! ahhaha