Hey peeps!
Today I wanna share with you a concept design that I made for Phobos (on Steam right now!).
In the game, there is a cursed forest where adventures of old were trapped by forest spirits and progressively became one with the woods. As new adventures (players) enter the forest they are challenged by these plant-like humanoids that resemble old fallen explorers, as well as actual plants that want your flesh for themselves.
As folks were designing the main boss for this area, it was thought that a Queen was appropriate - namely, the Queen of Thorns.👑🌵 Of course, the Queen would need elite soldiers who were as infused with the forest energy as herself, but would perhaps take the role of protecting the queen at all costs like worker bees.
The story of Phobos dryads was thus born. According to Greek mythology, dryads were beautiful ladies who were seen as forest spirits able to enchant men into staying with them forever on nights of passion and love. The Phobos dryads, however, want to kill every single person to dares to disturb their Majesty the Queen. 👑🌹
Let's see below how this dryad came to life, shall we?

Here is how I made it
Step 1 - Make scribbles until you see a shape that delights you.
Told you guys that one before on "Confronting Fears" - A guide on how to paint story-driven illustrations. When I don't have a clear idea on how to start a painting, I just begin adding scribbles to my canvas so I can get rid of the blank canvas anxiety as quick as possible!
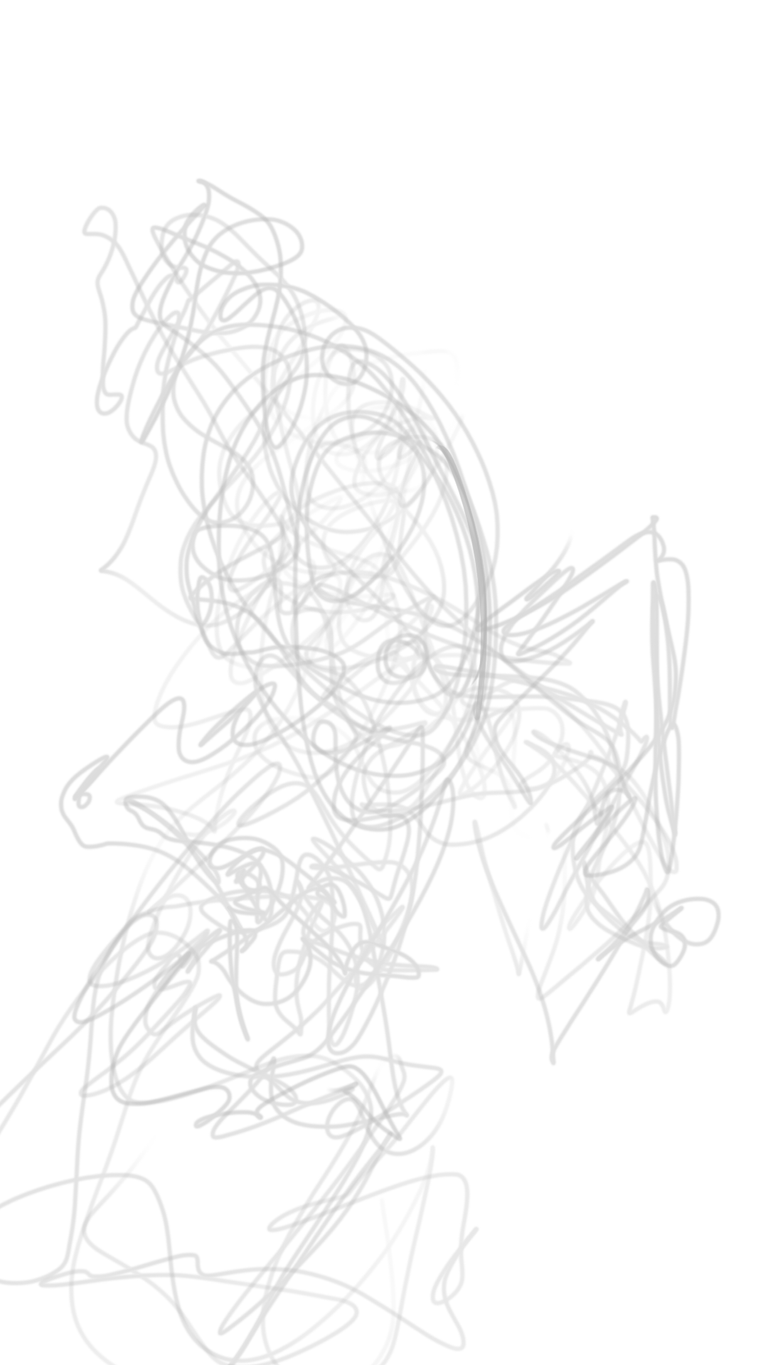
Don't be too attached to any particular shapes here. Imagine it's like you are adding a bunch of play-dough to your table so you can start taking parts out or adding parts in as you see a starting shape that you like. This particular shape reminded me of someone with rollerblades skating swiftly fast toward me ⚡️- which is scary as hell.
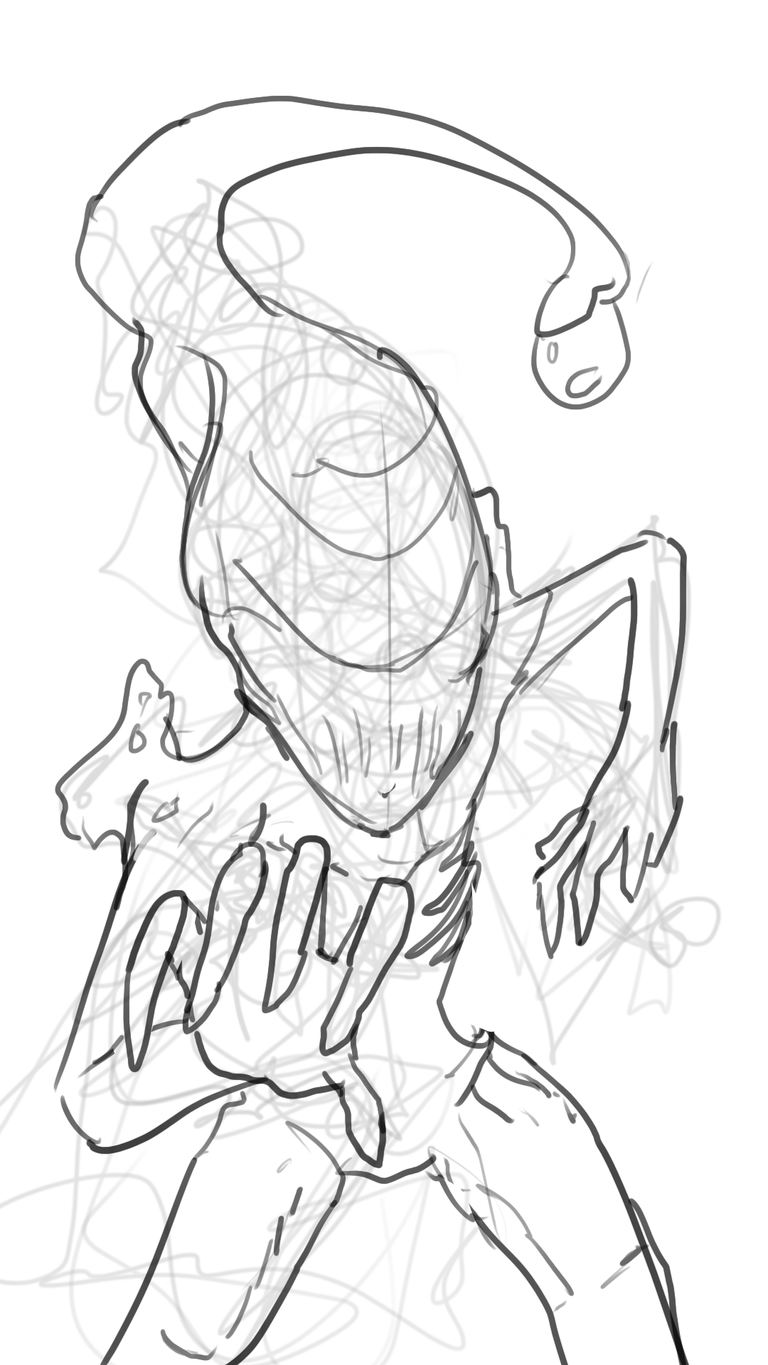
Step 2 - Add an outline to the shapes that talk to you. Test it.
The next thing that we ought to do is to try to make some sense out of the wild scribbles that we made previously. Since I saw a shape that looked like a humanoid being with rollerblades skating towards me, that's what I need to go for here. Knowing a bit of the whole creature story also helps:
- I know it should suggest a female body (bigger waist than chest).
- I know it should look alien somehow.
- Body texture should suggest it is made of oak or some other wood.
- It is DANGEROUS. It is probably trying to catch whoever was able to pinpoint her location.
- It is FAST!
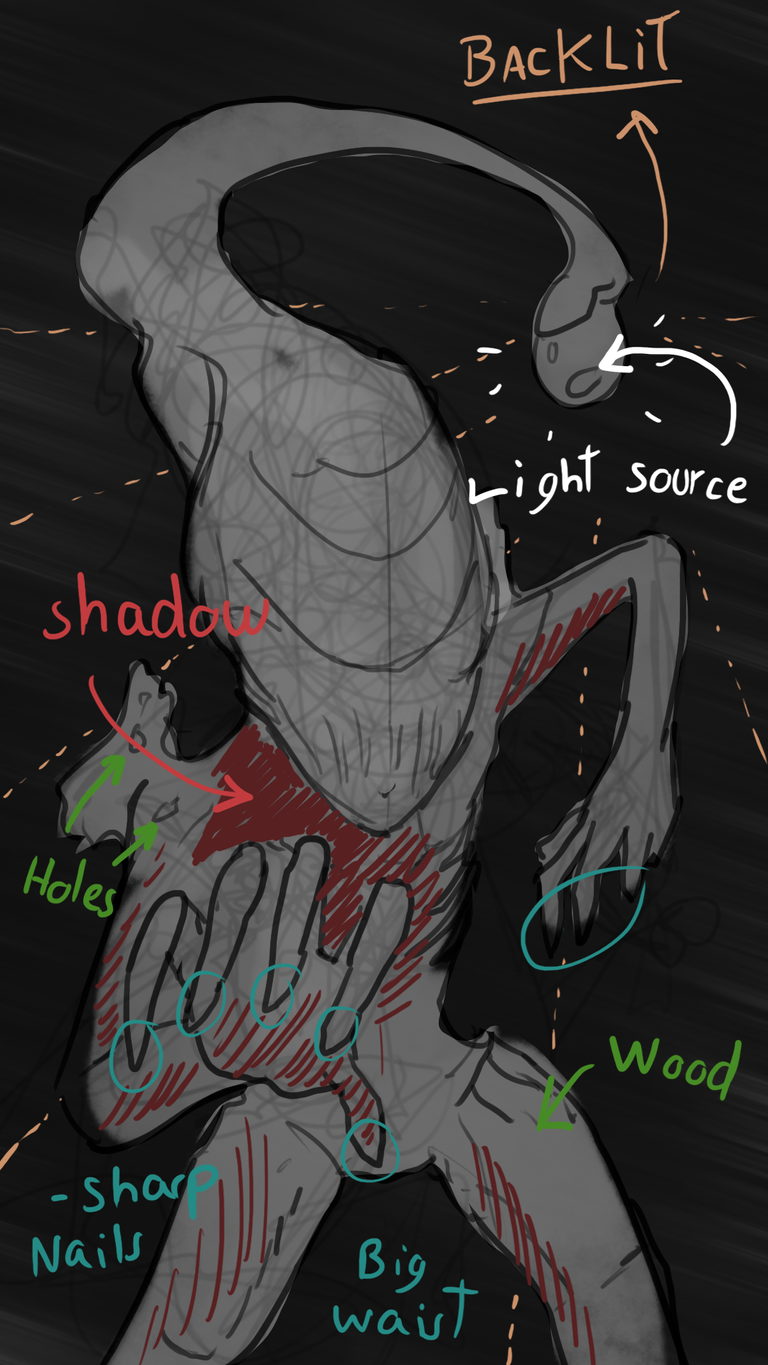
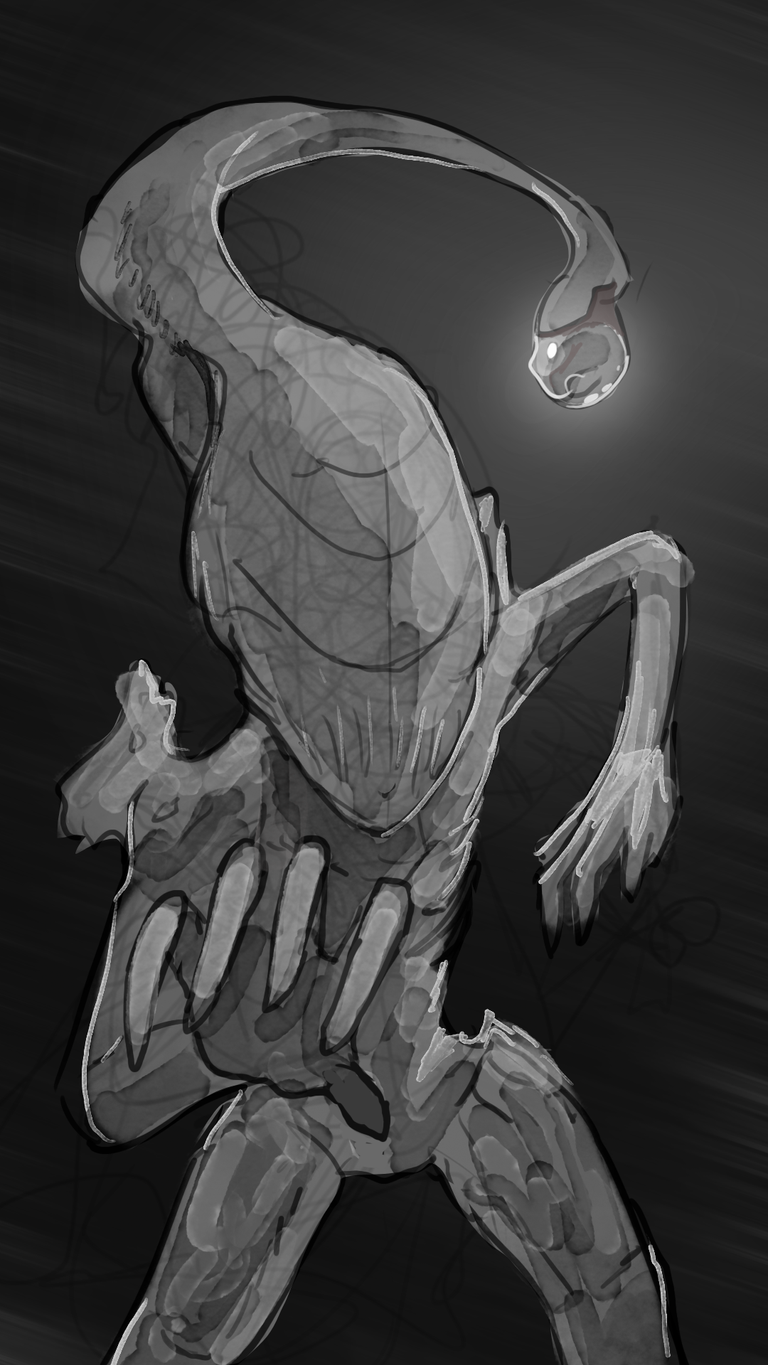
Step 3 - Planing the block-in
It's time to add some volume to this design and try to make it 3D. There are a few things to consider first:
- Where is my main light source? In this case, I decided to go for the orb at the tip of its head.
- How are other parts of the body blocking the light path? What are the shadows being cast by those forms like?
- How hard is the material of its body? Should it be soft or rigid? Should it be metallic (more reflective) or dull (diffuse light)?
- How do the tiny imperfections of the body disturb the light path? Are there any cracks, holes, bumps?
- Are all story-driven traits of the creature preserved? Will the light scheme preserve those features as they sit right now? Depending on where I place the light, some things may be harder to see, and if those things are fundamental traits of the character, either the pose or the light location needs to change in order to preserve the traits that are crucial for the story.
Step 4 - Blocking in!
Now Let's execute all that! I went ahead and considered a more diffuse light source coming from the same direction as the light bulb at the tip of its head. I can tell that this should work just fine. So it was time to add the light bulb next, which looked like a lantern. Very alien-looking indeed. 👽🔦
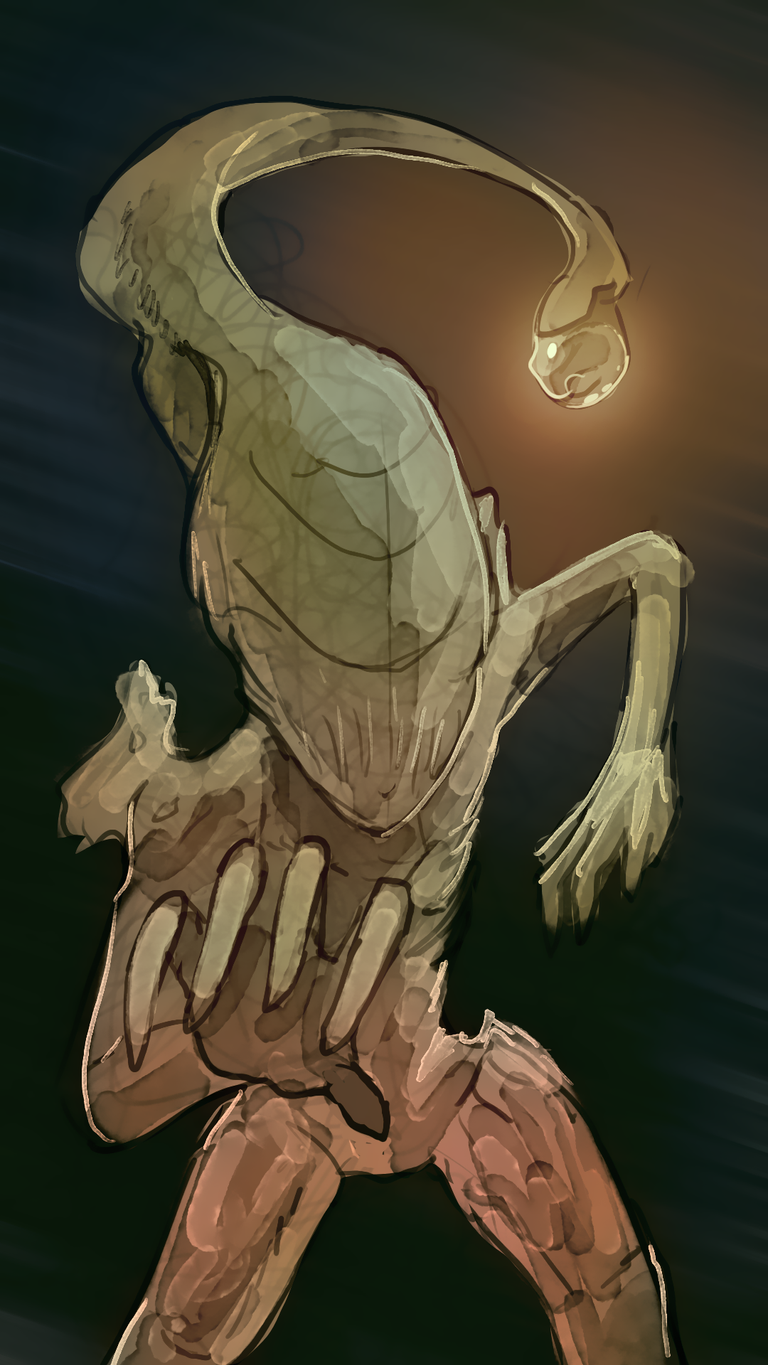
Step 5 - Bring me those Colors!
This stage is always nice. The main idea was to reel back to the storytelling aspects of the creature and try to reinforce those with the color scheme. For this, I decided on an eery yellow tone for the lantern which would then highlight the oak-like texture of my creature's body.
The background would be nothing more than fleeting images of a moonlit forest. The creature's speed is so fast that the camera (which is moving at the same speed as the creature) can only give you suggestions of what the background is.
Thank you for sticking in for yet another art tutorial, guys! Also, have you noticed how I used the new page separator we made together on our last tutorial? Check it here, if you've missed that! There are free separators for you to pick from:
How to make a page separator / splitter + Free designs!
Looking forward to hearing your opinions on this design! And perhaps I'll see you fighting one of those in the actual game these days!
Best regards,
Galiant
Nice job!! Everything you put on these tutorials seems so easy though 😅. Why can’t I even draw a cat? 🤣
You can draw an elephant! =D
It doesn’t count 🤣
Hey, thanks! =D
Congratulations @lourencoalart! You have completed the following achievement on the Hive blockchain And have been rewarded with New badge(s)
Your next target is to reach 4500 upvotes.
You can view your badges on your board and compare yourself to others in the Ranking
If you no longer want to receive notifications, reply to this comment with the word
STOPCheck out our last posts: