Today I want to share a post on how you can use awesome free tools to create, deploy and launch your own NFT collection on any EVM architecture blockchain.
We are going to use Thirdweb free online SDK (Software Development Kit) as well as some additional tools such as Metamask and a faucet to request some free test Matic. I may publish another tutorial in the future to show you how to create your own minting webpage to share. Let's go.
Thirdweb is a great tool that offers a complete free framework to create and deploy smart contracts on any EVM (Ethereum Based Architecture) blockchain. We will be working with Polyton Mumbai testnet to avoid spending real crypto and I recommend you create a new address in your Metamask and avoid using any previous one you may already have.
I am assuming you are familiar with your metamask account, but if you are not, you can use this New address Tutorial and this other tutoria showing you how to add Mumbai Test network to Metamask
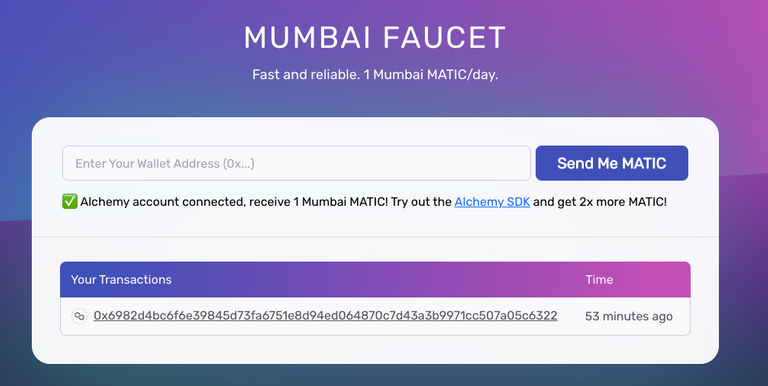
With your newly created address, head over to Alchemy Mumbai faucet, introduce your address, and request 1 Matic which should be enough to deploy your contract and test it. If needed, you can request additional Matic in the same faucet every 24hr.
Once you have your account funded, head over to Thirdweb webpage and click on the white button with "Start Building" and this new page will appear.
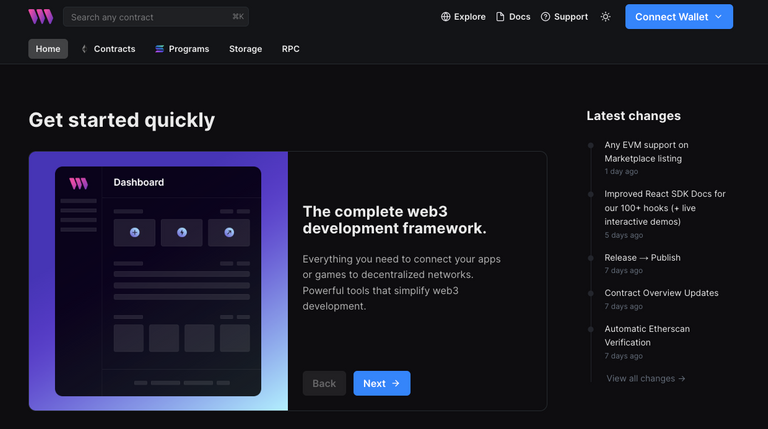
Connect your wallet with the new address and Mumbai testnet selected and the page will change offering you several options
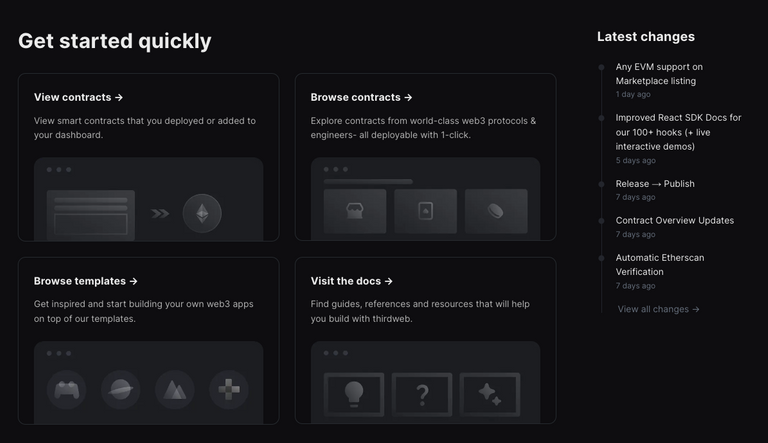
Clic in the "Browse contracts" section and you will see several smart contracts you can use to deploy from your account. Most of them are directly provided by Thirdweb, but the list keeps growing as anyone request to publish its created smart contract into Thirdweb.
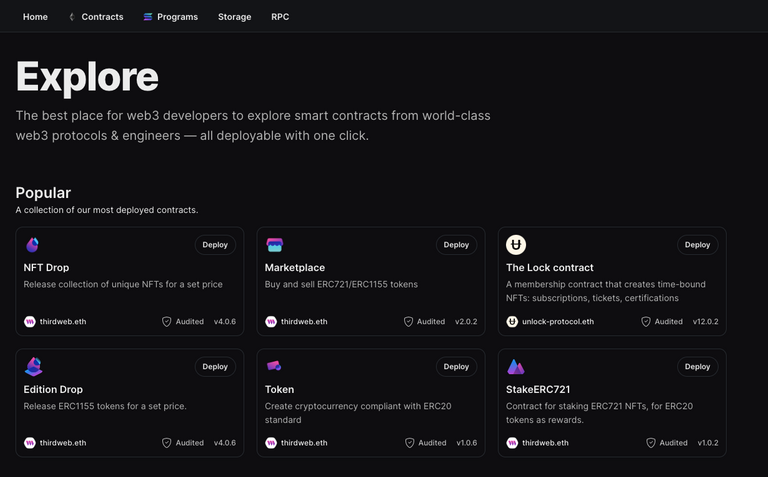
In this tutorial, we will be using Edition Drop contract, which will offer us to launch an ERC1155 collection, this is a collection where you offer several units of every different piece of art, instead of the ERC721 where you can offer only one unit of every different piece of art.
Using Edition Drop will make things easier for us at the time of uploading sample art and testing the contract. So, go ahead and click on the Edition Drop button to start.
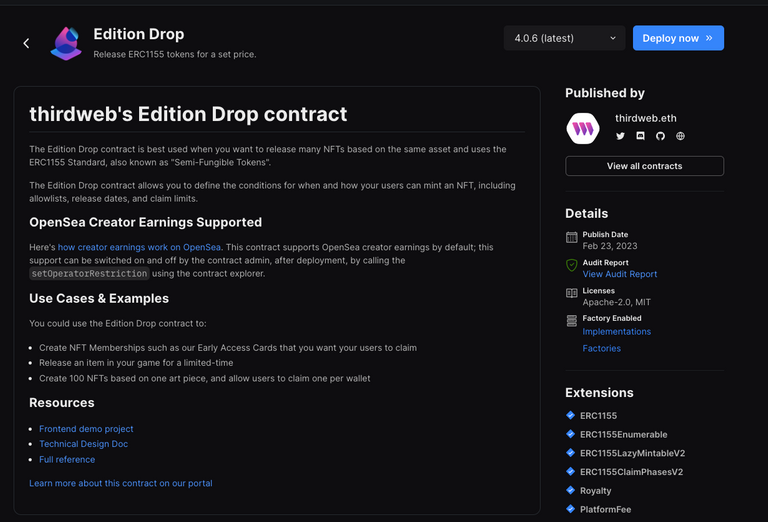
The new page will show you some information explaining the type of smart contract with some use cases. Just click on the blue button at the top to Deploy your contract.
Once you click the button a new horizontal sliding window will appear requesting general information about the contract. The top part requesting "Contract Metadata" asks for your new contract name, token symbol, description, and an image to identify if you wish to do so. Keep in mind, this is not any of the NFTs yet, only an image to identify the contract.
I am going to create a Beer related NFT test contract so I introduce my contract name as "Beer NFT", BEER as the symbol, add a small description an a beer illustration.
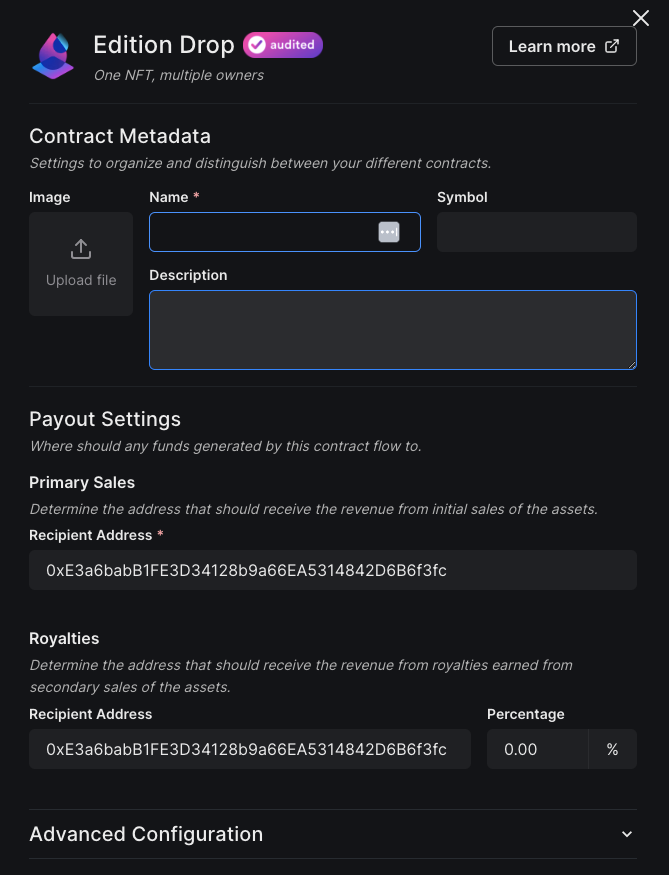
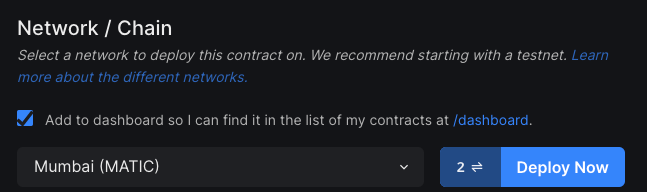
The payout settings are set to your logged address by default, I suggest leaving it as is, but you can change it if you decide to send the sales collected to any other address. The same applies to royalties, here if you wish you can change the percentage to add some income to the creator every time a new sale takes place in the secondary market. Do not worry too much if you do not understand this concept, just leave it to 0, head down the page, and click on the blue "Deploy Now" button after checking you are in the Goerli testnet as shown in the image below. Metamask will pop up and request you to sign the transaction.
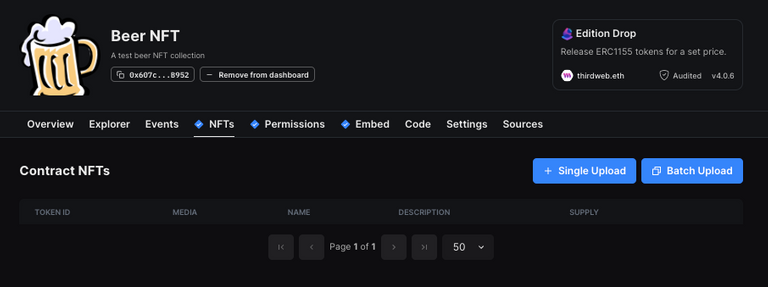
If everything goes right you will Thirdweb will show you the overview of your newly created contract page similar to this one.

So far, you have created and deployed a contract to launch your collection, but you still need to upload the art, define the minting conditions and offer a way for users to mint their NFTs.
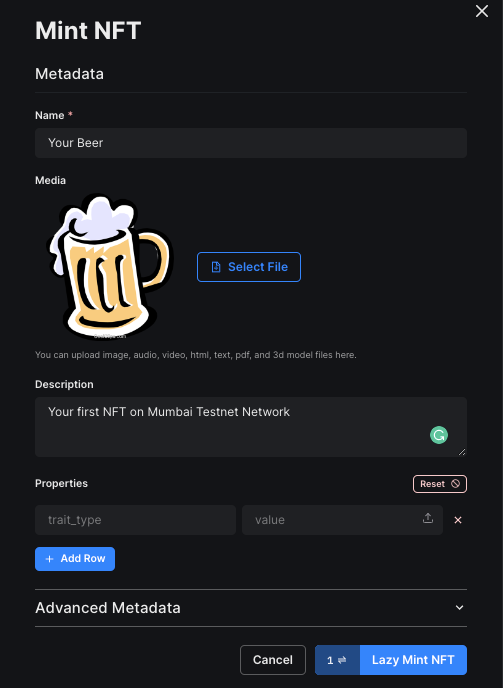
Head to the NFTs section on the menu of your contract and click on single upload. You will be uploading the template for your first NFT.
Keep in mind, this image has nothing to do with the collection image we uploaded previously. I am using the same one but you can use anything you want. Just add a name, an image, a description, forget about the rest of the properties and hit the blue Lazy Mint NFT button.
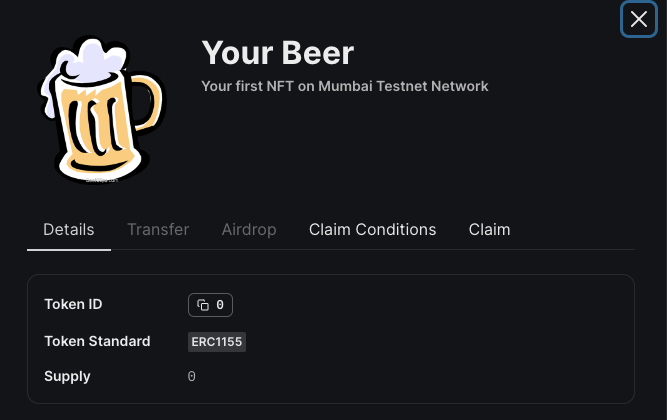
Your newly created NFT template will appear in the screen with the ID=0, the image you have added, and the name and description.
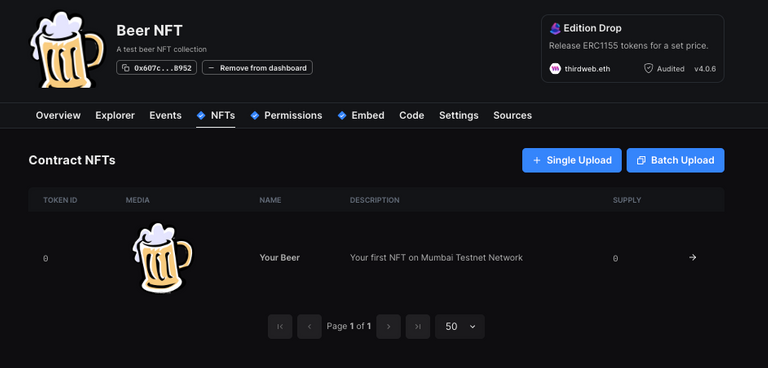
You can repeat this step (add Single Upload) as many times as you want, every template will represent a different art of your NFT collection. Imagine a beer company offering different NFTs for every one of the beers they sell.
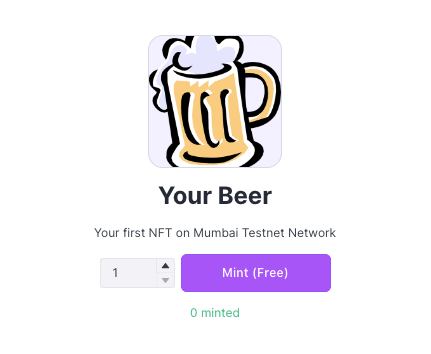
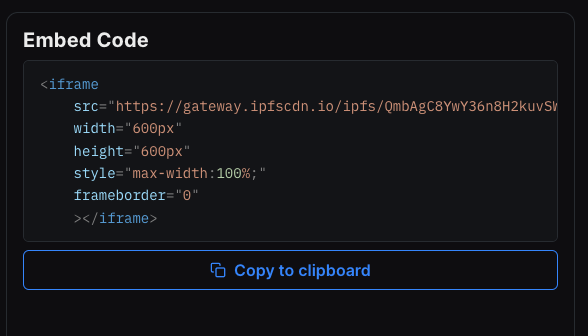
Now head over Embed section of the menu, scroll down and you will see a preview of the minting page. If you clic on the top right button to connect your wallet you will see the Minting button showing a Sold Out message. This is because we still have to define the minting conditions.

If you copy the source url in the embed code appearing at the right of the page you will have the url of your minting page, paste it in a new tab on the browser and the page will appear. You can use any webpage shortener as Bitly to have a shorter Url
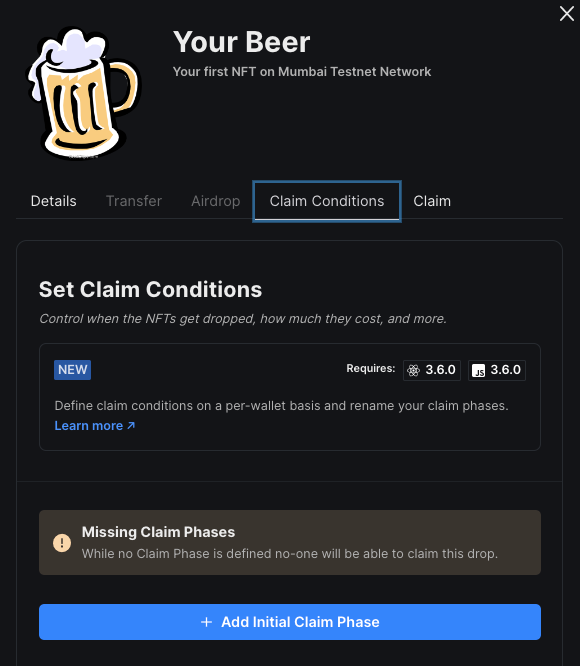
Now you have to create a Minting phase to let your users claim the NFT, go back to the NFTs section in the menu and click on the NFT template you created. A new horizontal page will show up. Click on Claim Conditions option
You still have not added any Claim Phases so you need to click on the Add Initial Claim Phase button
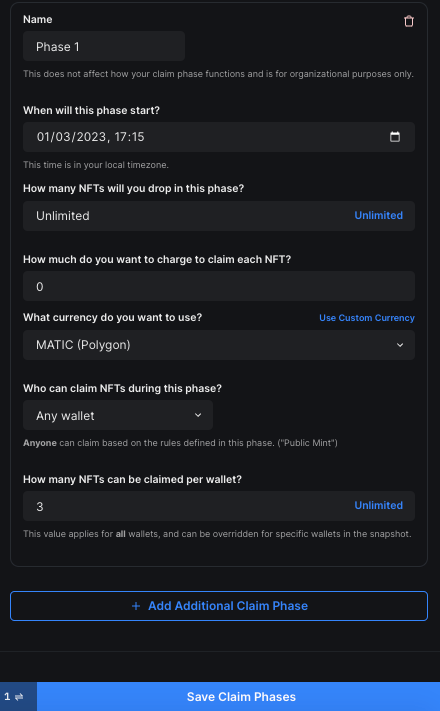
Here you can configure several options as the name of the phase, the starting date, the total number of NFTs for this phase, the price, and addresses that can claim and how many NFTs can every single wallet claim.
I will leave everything as it is except for only 3 NFTs per wallet and then will click on the Save Claim Phases button to save my initial phase. You can add additional phases with different starting dates, NFT amounts and prices.
Now, if you go back to the Embed menu, scroll down, and connect your wallet you will be able to see how the minting button lets you mint as the initial phase conditions are met.
You can try by yourself. In the meantime you can grab your Beer NFT form the collection I just created in this link and check in Opensea Testnet Collecton Page if you have it loging in with the same account you used to claim it.
I got #1 :)
Have fun!!