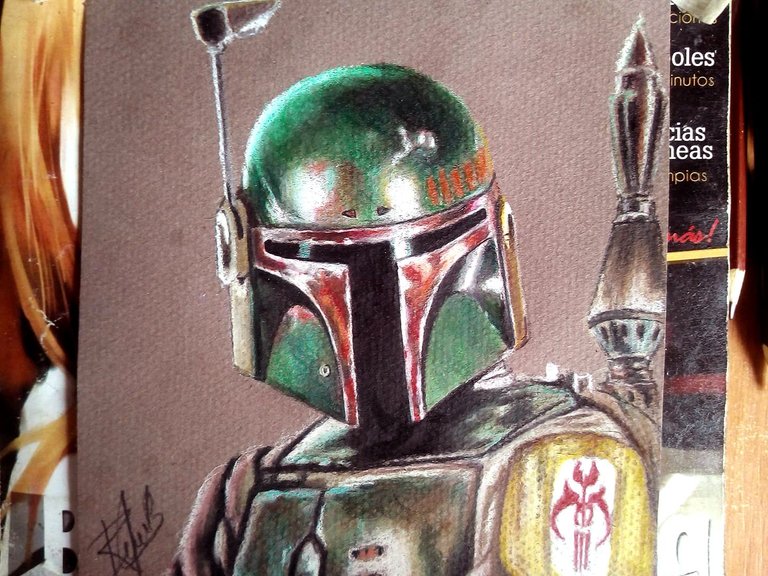
Hello friends, I hope you have had a good weekend. Today we start with a new drawing, this time a portrait of the most famous bounty hunter in the galaxy far, far away: Boba Fett. These last days I have been enjoying the new series of Star Wars: The Book of Boba Fett and it has not disappointed me, I think that the series have saved the franchise, with the disaster they made with the sequels. I made this drawing mixing all my colors to achieve a better finish, I hope you like it.
Hola amigos espero que hayan pasado un buen fin de semana. Este día comenzamos con un nuevo dibujo, esta vez un retratode del caza recompensas más famoso de la galaxia muy lejana: Boba Fett. Estos últimos días he estado disfrutando de la nueva serie de Star Wars: The Book of Boba Fett y no me ha decepcionado, creo que las series han salvado la franquicia, con el desastre que hicieron con las secuelas. Este dibujo lo hice mezclando todos mis colores para lograr un mejor acabado, espero les guste.

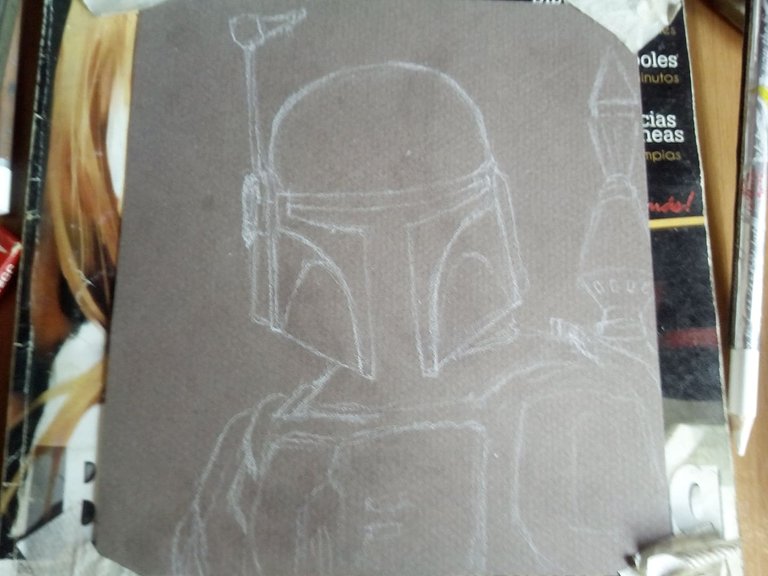
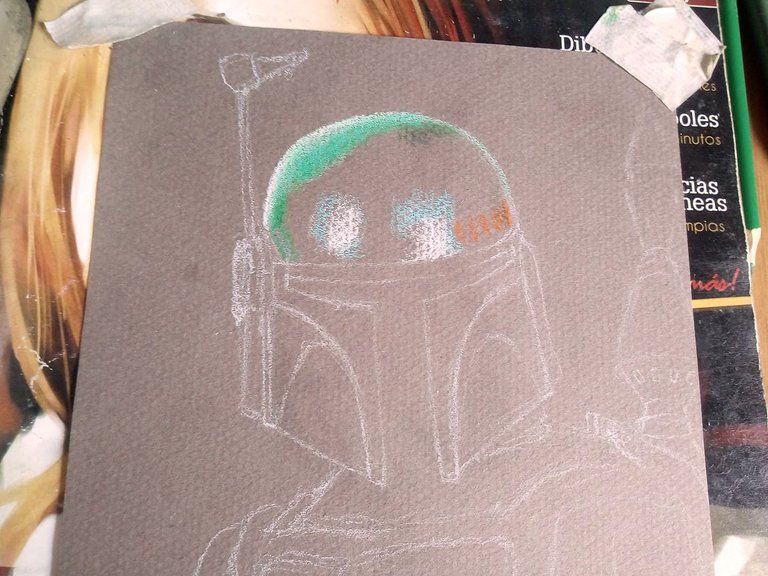
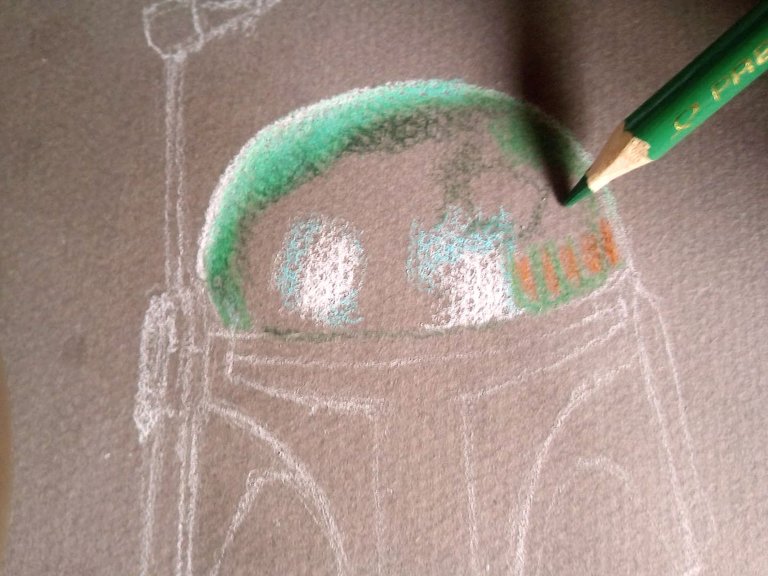
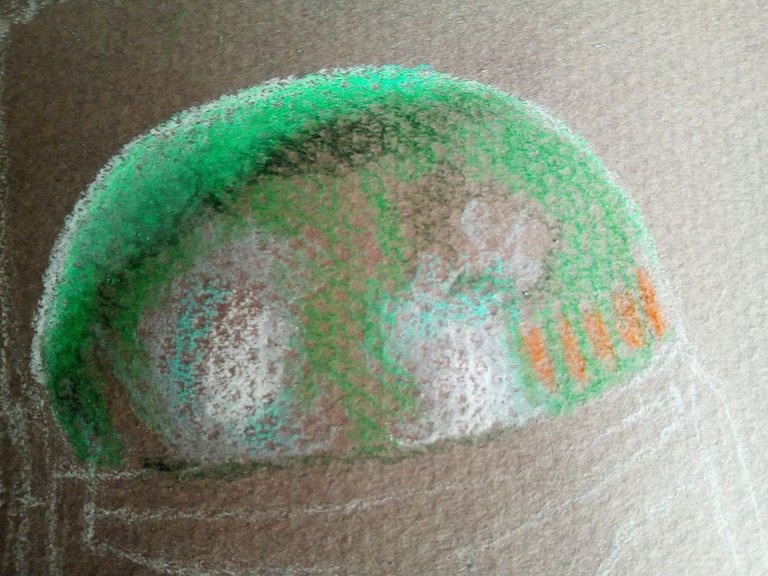
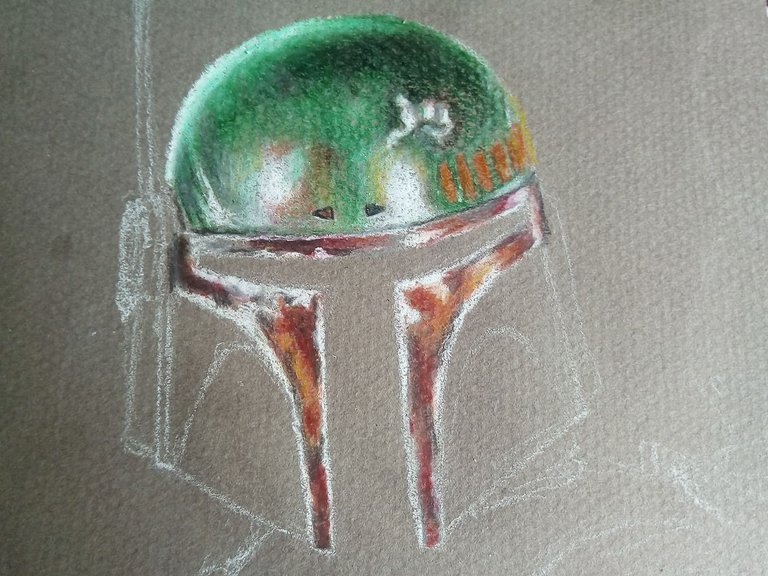
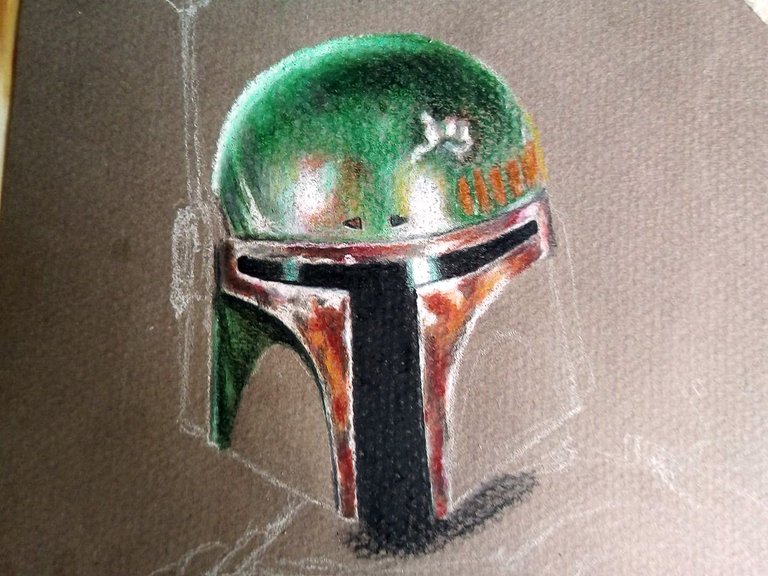
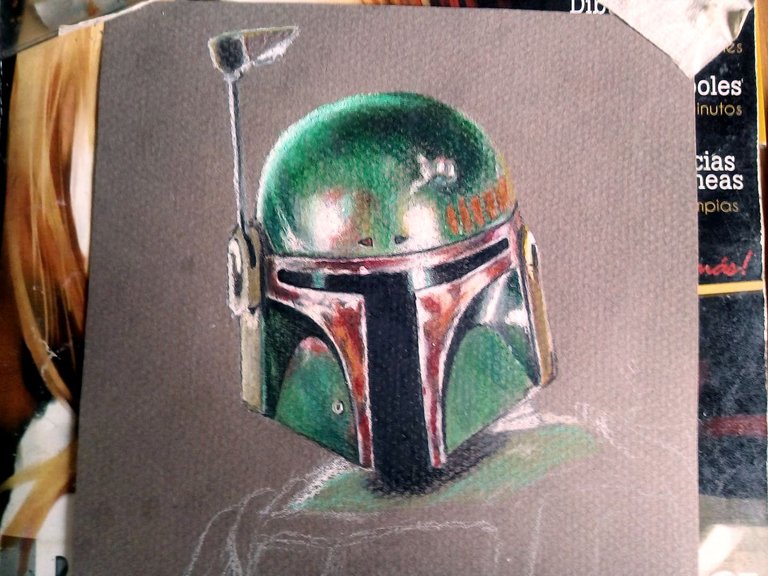
As usual, we start by making a sketch of the figure of Boba Fett with white color, which we will then fill in part by part with the colors. Here I used the full range of green color available, about 10 different shades to achieve the effect of the helmet in terms of light and the bumps it has.
Como es costumbre comenzamos haciendo un boceto de la figura de Boba Fett con color blanco, el cual luego iremos rellenando parte por parte con los colores. Aquí usé toda la gama de color verde disponible, alrededor de 10 tonos diferentes para lograr el efecto del casco en cuanto a la luz y los golpes que tiene.
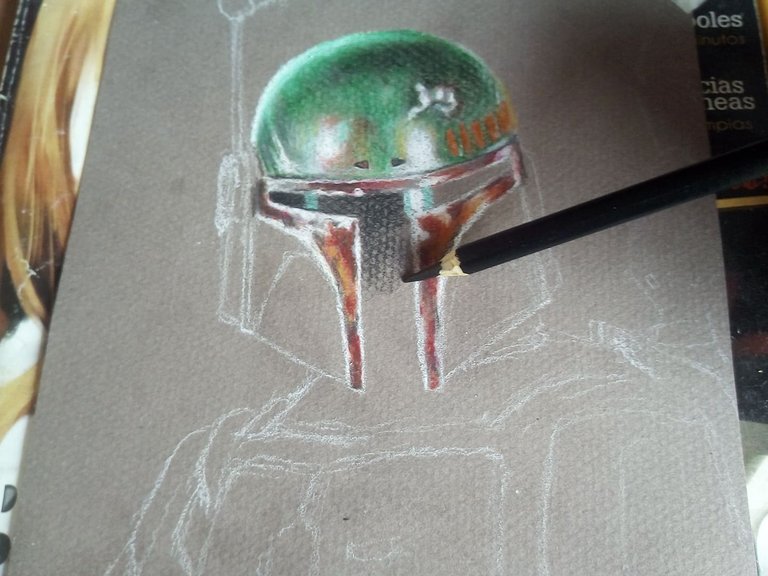
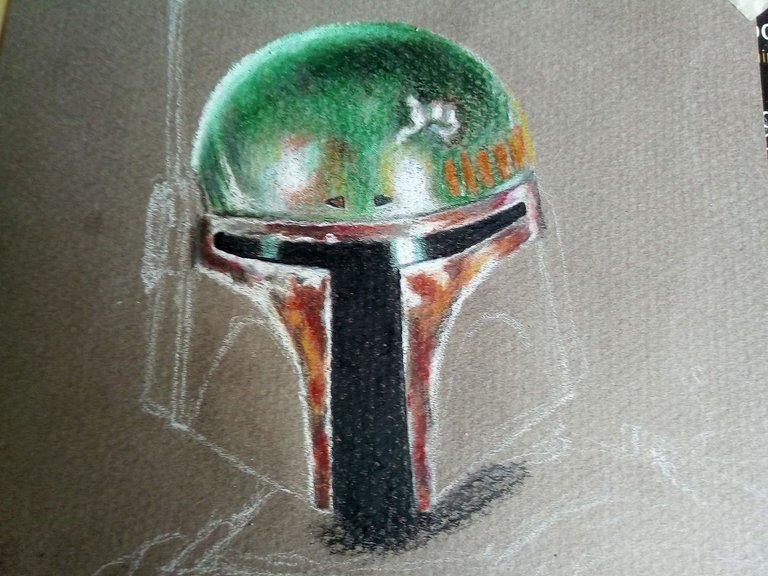
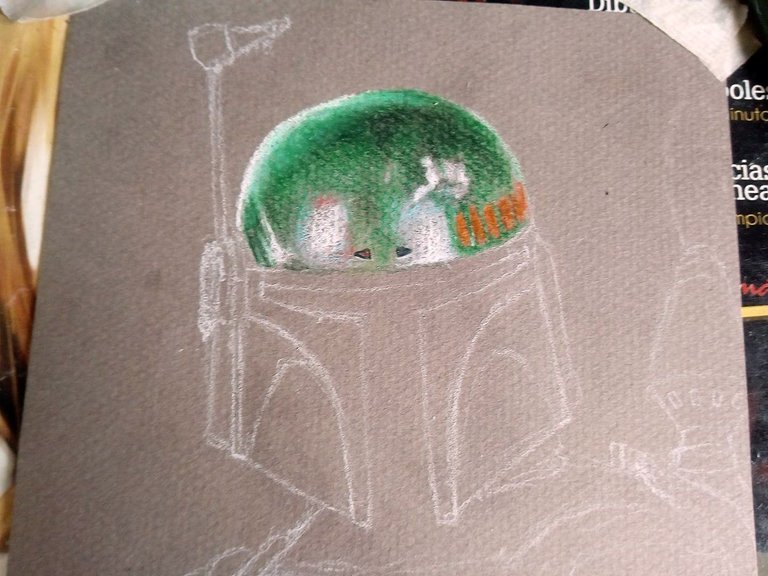
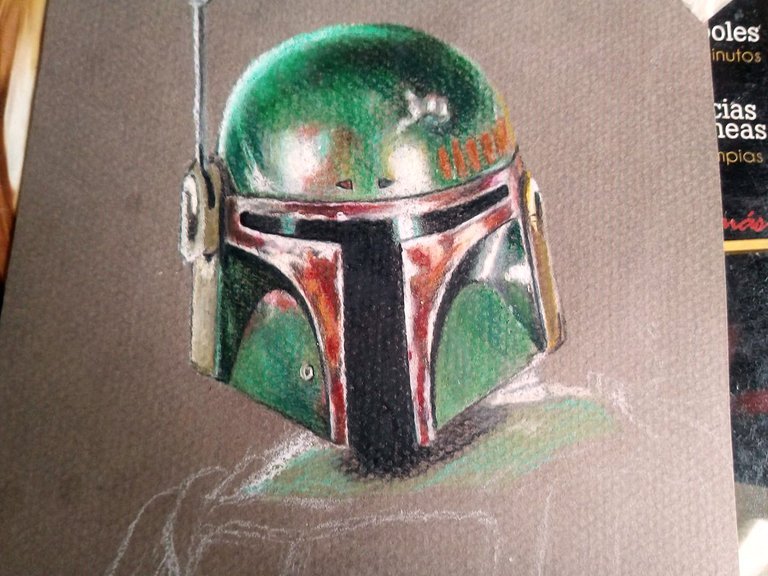
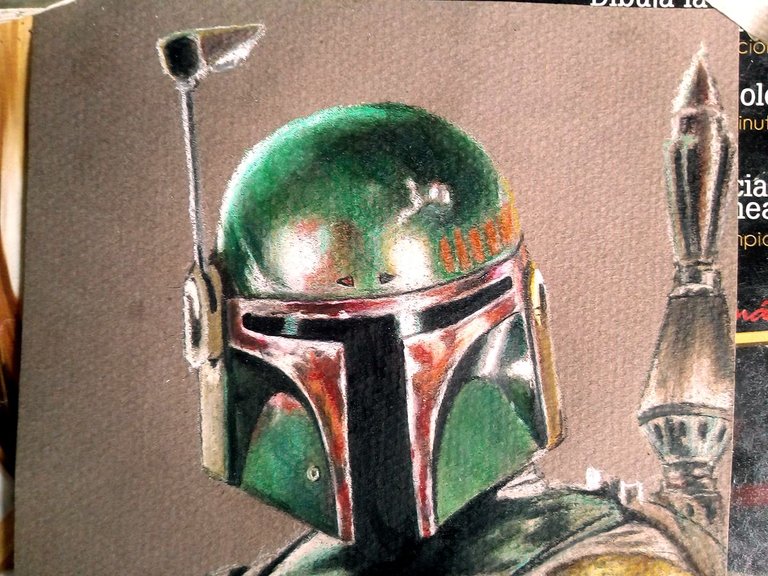
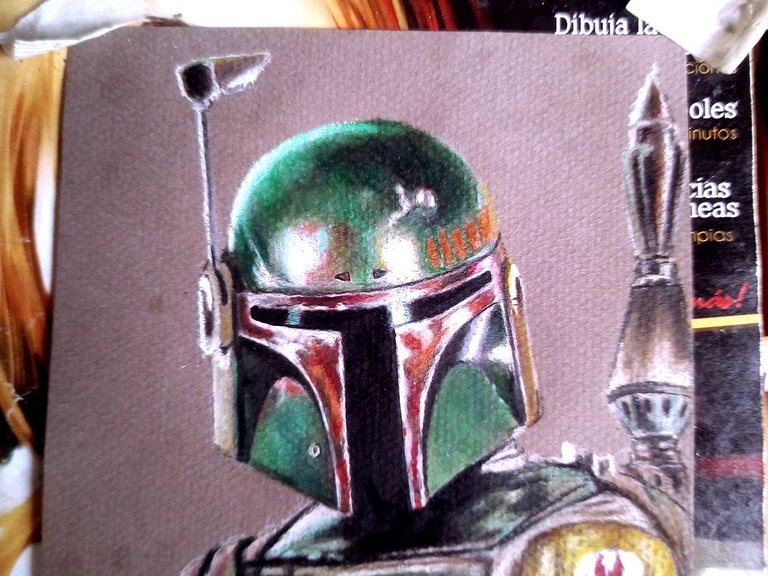
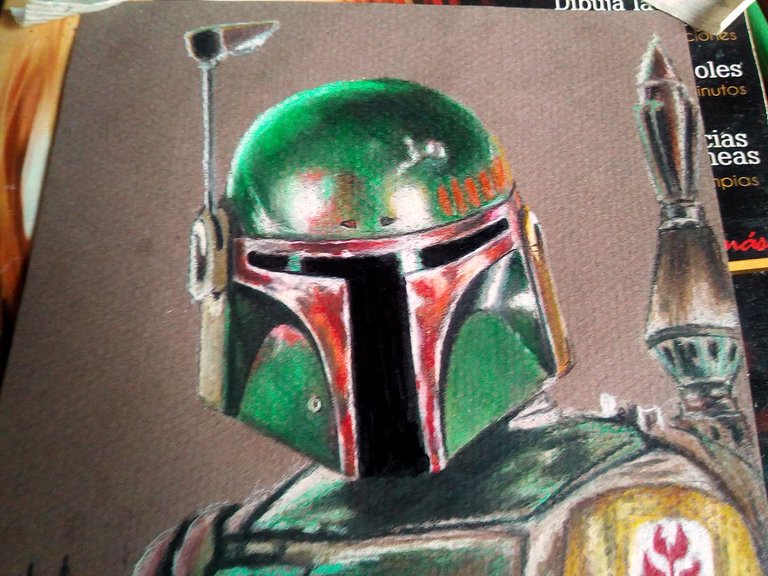
The next move is to draw the front part of the helmet including the dark lens. We paint this area with red color and alternate with gray and white colors, let's not forget that this part also has signs of battle. Then we paint the entire helmet visor with black.
El siguiente movimiento es dibujar la parte frontal del casco incluyento el lente oscuro. Pintamos con color rojo esta zona y alternamos con colores grises y blanco, no olvidemos que esta parte también tiene signos de batalla. Luego pintamos con color negro todo el visor del casco.
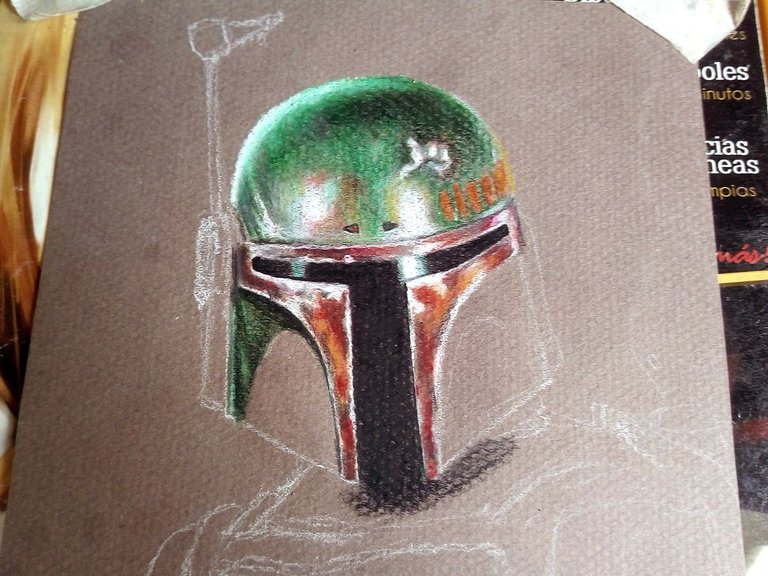
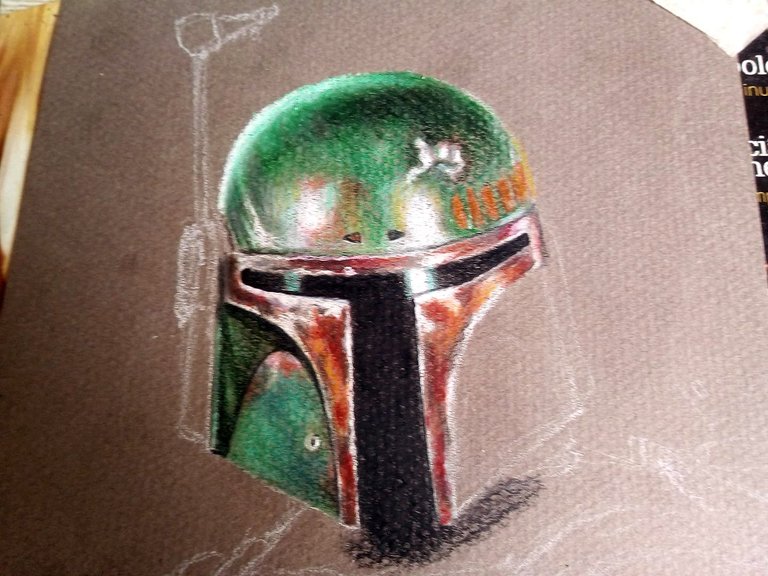
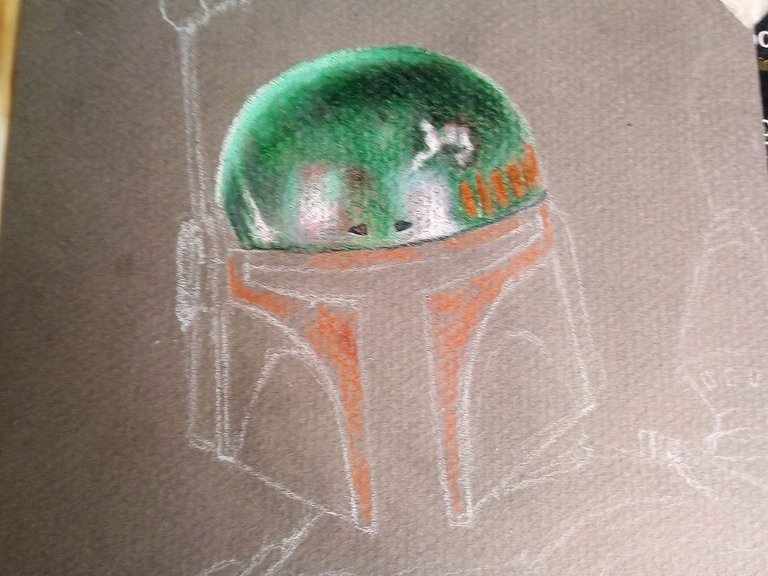
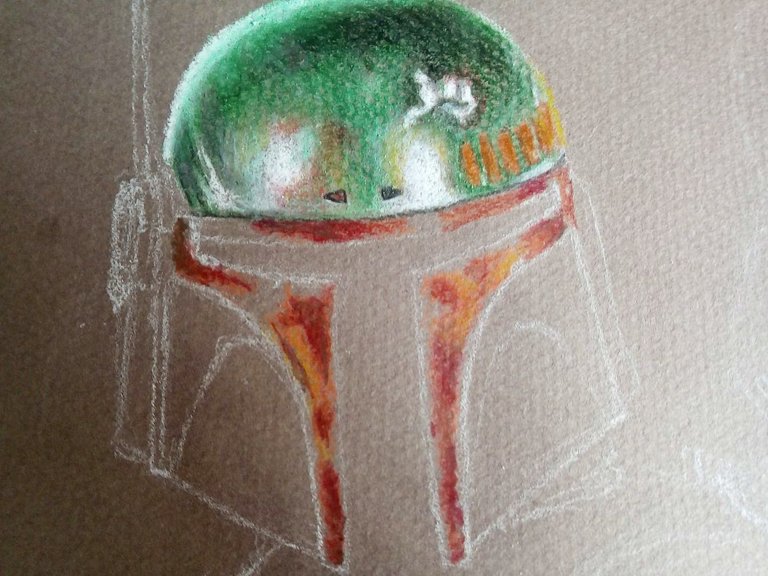
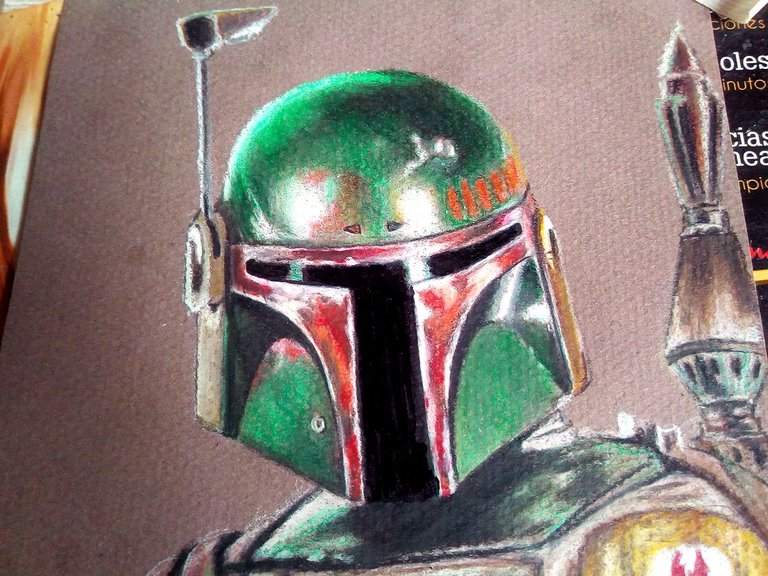
Then we finish with the lower parts of the hull. Applying the same green color bases that we used at the beginning and darkening using dark green, dark brown and also navy blue color ranges, in this way we will achieve another tone and the dark color of the edges will not be so flat.
Luego finalizamos con las partes bajas del casco. Aplicando la misma bases de colores verdes que usamos al principio y oscurecemos utilizando gamas de colores verdes oscuro, marrón oscuro y también azul marino, de esta forma lograremos otro tono y no nos quedará tan plano el color oscuro de los bordes.
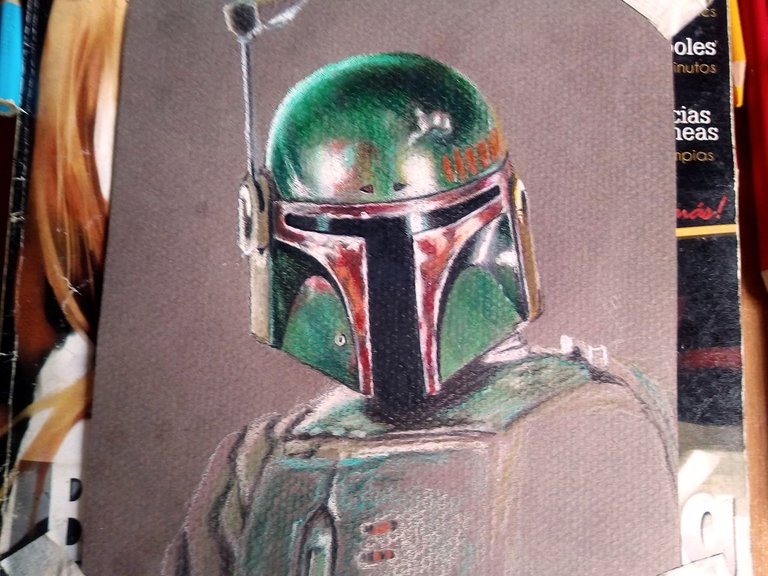
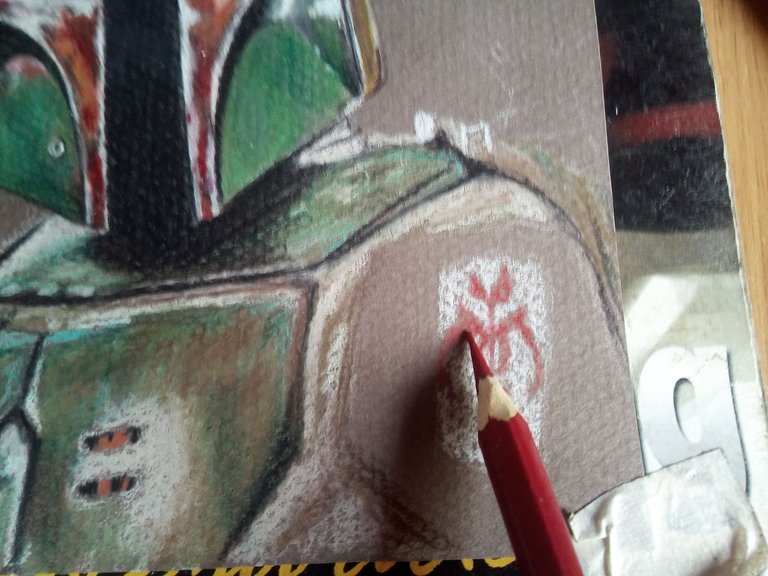
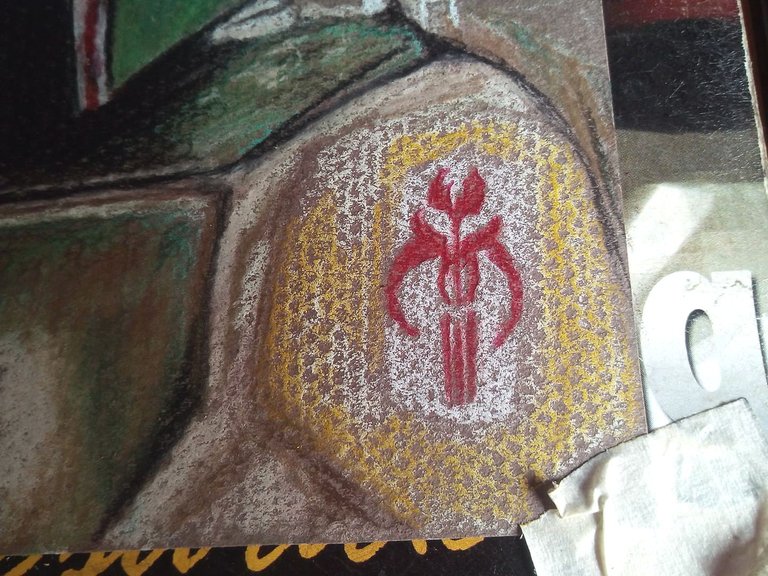
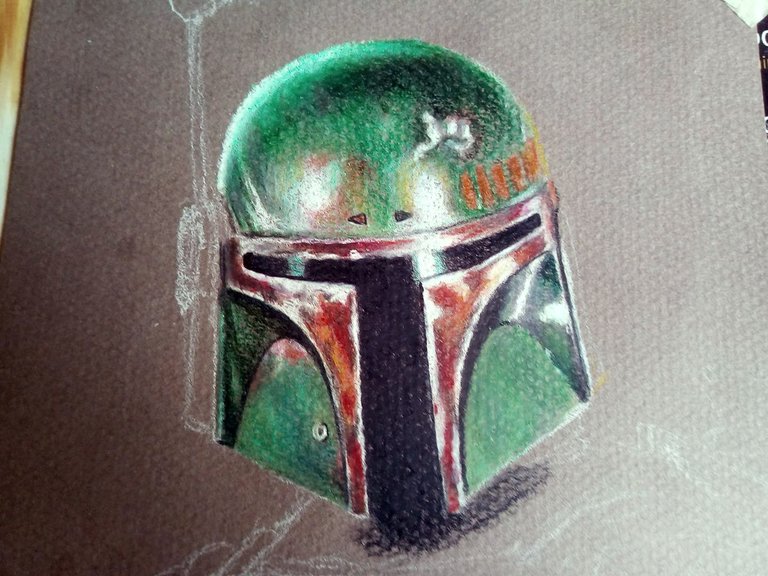
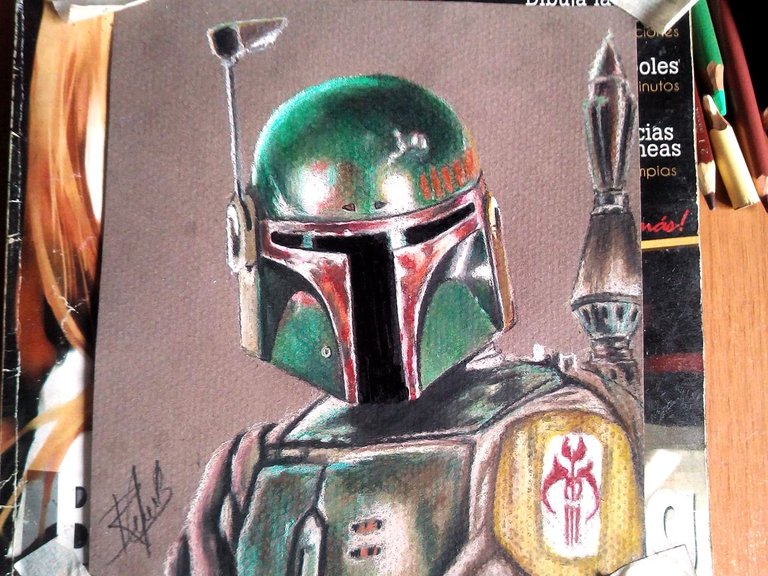
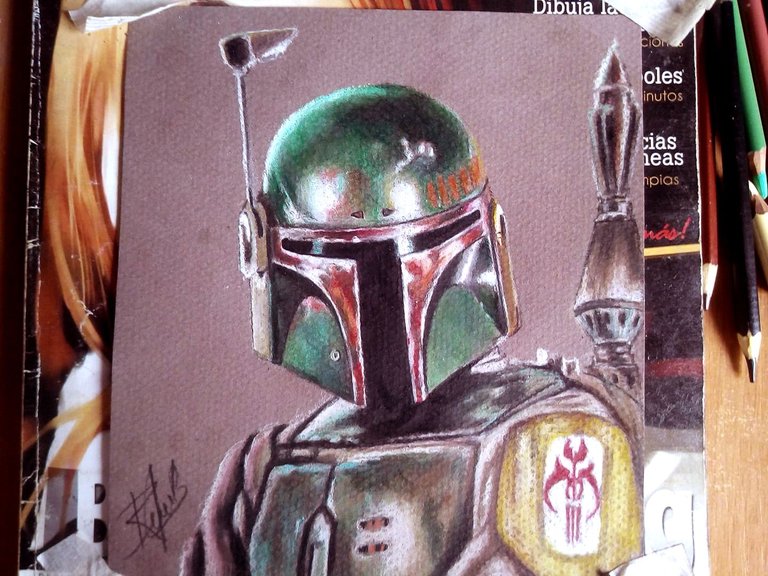
After the helmet we go on to draw the clothing. armor and jetpack. We draw the armor by painting with the same hull colors but in this case we will use deeper green and dark brown strokes, without forgetting to accentuate the bumps. For the clothes we use light brown and some light pastel colors without forgetting to paint the dark parts that represent the wrinkles of the clothes. We also draw in detail the insignia of the Mandalorians, the powerful Mythosaur, finally we draw the jetpack and so we will have finished.
Déspues del casco pasamos a dibujar el ropaje. la armadura y el jetpack. La armadura la dibujamos pintando con los mismos colores del casco pero en este caso tulizaremos trazos más profundos de color verde y color marrón oscuro, sin olvidar acentuar los golpes. Para el ropaje utilizamos café claro y algunos colores pasteles claros sin olvidar pintar las partes oscuras que representan las arrugas de la ropa. Tambien dibujamos detalladamente la insignia de los mandalorianos, el poderoso Mythosaurio, por último dibujamos el jetpack y así habremos finalizado.
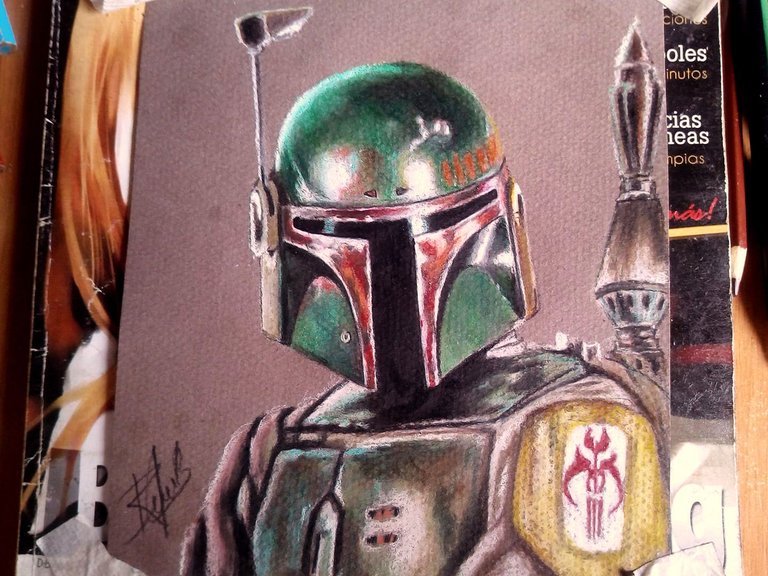
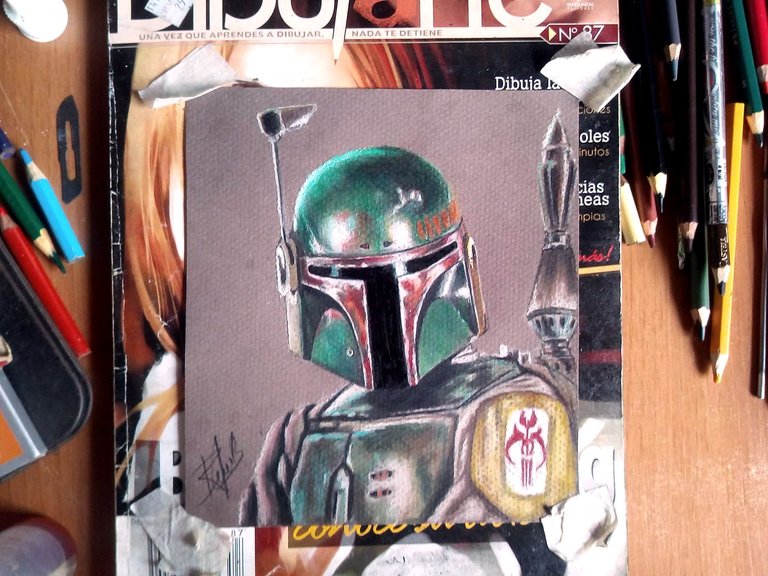
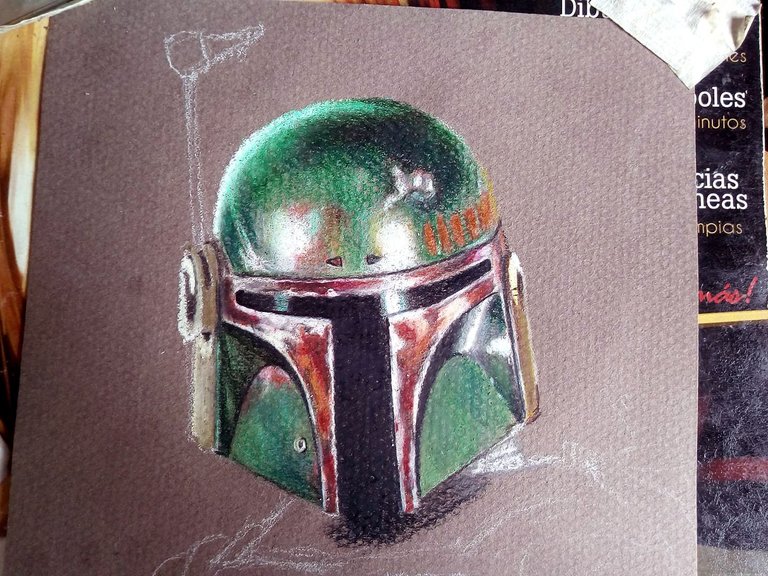
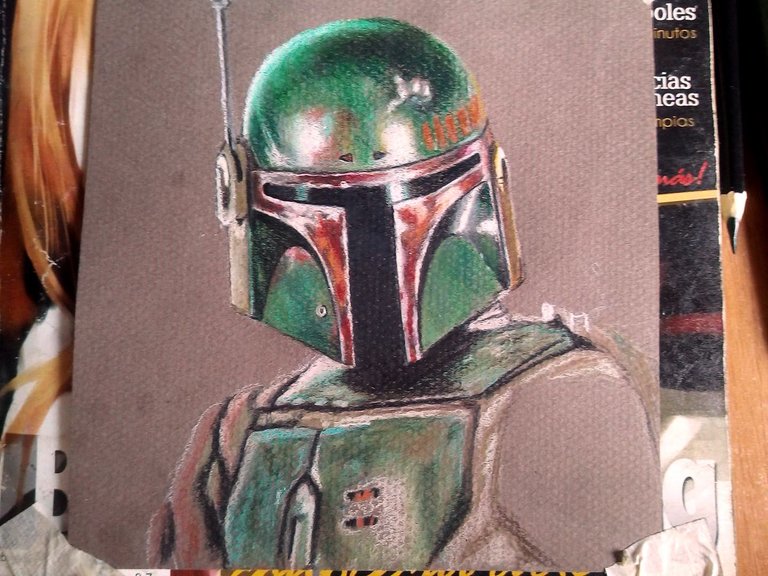
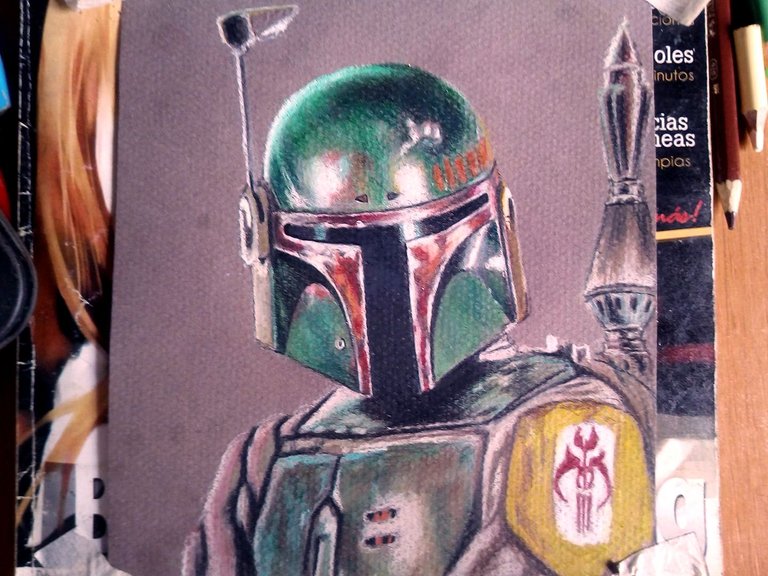
After making the last details we can apply a last layer of colors to the drawing, we can also blur the parts we want using a brush, being different colors they can be mixed, the soft and creamy ones I use to give volume and the sharp ones harder I use them to fill space, outline contours and better polish the surface and achieve better tones. This is how this drawing of one of the best Star Wars characters has remained. I hope you liked it, do not forget to comment what you think, especially Star Wars fans like me. I say goodbye soon.
Luego de hacer los últimos detalles podemos aplicar una última capa de colores al dibujo, tambien podemos difuminar las partes que queramos utilizando un pincel, al ser colores diferentes se pueden mezclar, los de punta suave y cremosa los uso para dar volumen y los de punta más dura los uso para rellenar espacio, delinear contornos y pulir mejor la superficie y alcanzar mejores tonos. Así ha quedado entonces este dibujo de uno de los mejores personajes de Star Wars. Espero que les haya gustado, no olviden comentar que les ha parecido, especialmente a los fanáticos de Star Wars así como yo. Me despido hasta pronto.
Más que genial este dibujo, todos los detalles están espectaculares !
Gracias hermano, pasé largas horas tratando de pulir muy bien los detalles. Saludos.
The rewards earned on this comment will go directly to the person sharing the post on Twitter as long as they are registered with @poshtoken. Sign up at https://hiveposh.com.
Los detalles son espectaculares, tan realistas y de buena iluminación. Me gusta la capa de colores que utilizaste en cada trazo, de verdad que me parece un trabajo impecable.
Muchas gracias por su apreciaci´pn y por el tiempo invertido en observar el proceso. Trate de hacer los detalles de la mejor manera posible. Saludos.
Enhorabuena. Has recibido apoyo
The Creative Coin Fund.
Únete al servidor de Creative Coin y comparte tus publicaciones.
Congratulations. You have received support from
The Creative Coin Fund.
Join the Creative Coin server and share your posts.
Selección manual de @mazquel
Image by
Thank you very much for giving me your support in my contribution.
Good job man
Thank you bro!
De mis favoritos.
muchas gracias por pasarte por aquí.. Saludos!
Muy buen trabajo amigo