
Hey queridos amigos de Hive:
Espero que se encuentren súper bien esta noche. Ha sido una semana bastante complicada y atareada. Mi bebé pequeño recién cumplió sus 2 añitos y estamos preparándole una pequeña celebración para este domingo, la cual les contaré muy pronto. La falta de electricidad y otros inconvenientes me han dificultado la creación de contenido, pero ayer finalmente tuve un ratito libre y decidí hacer algo que amo y disfruto demasiado: pintar.
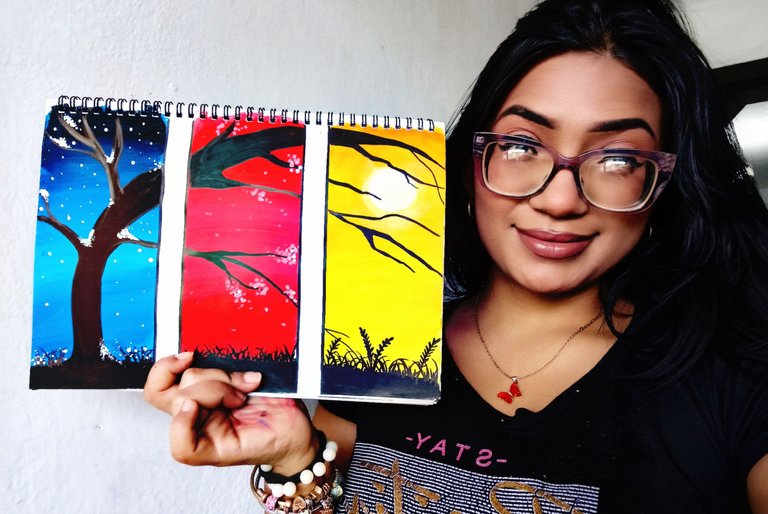
En Pinterest encontré varias ideas de este tipo de pintura dividida en pedazos que continuaba una misma idea, pero en versiones diferentes de colores. Me encantó la idea y quise recrearla, pero con un toque personal. Es por eso que quiero compartirles esta nueva pintura que he llamado "3 pedazos". Espero de todo corazón que les guste.
Hey dear friends of Hive:
I hope you are doing super well tonight. It's been quite a busy and complicated week. My little baby just turned 2 years old and we are preparing a little celebration for him this Sunday, which I will tell you about soon. The lack of electricity and other inconveniences have made it difficult for me to create content, but yesterday I finally had some free time and decided to do something I love and enjoy too much: painting.
On Pinterest I found several ideas of this type of painting divided into pieces that continued the same idea, but in different color versions. I loved the idea and wanted to recreate it, but with a personal touch. That's why I want to share with you this new painting that I have called “3 pieces”. I hope with all my heart that you like it.
Veamos el proceso paso a paso:
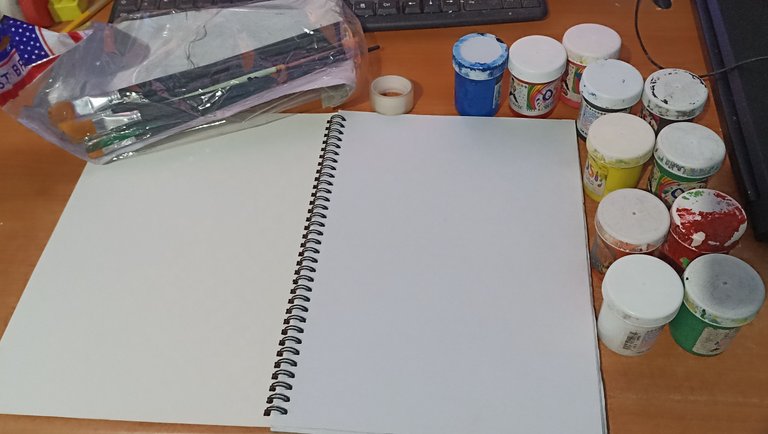
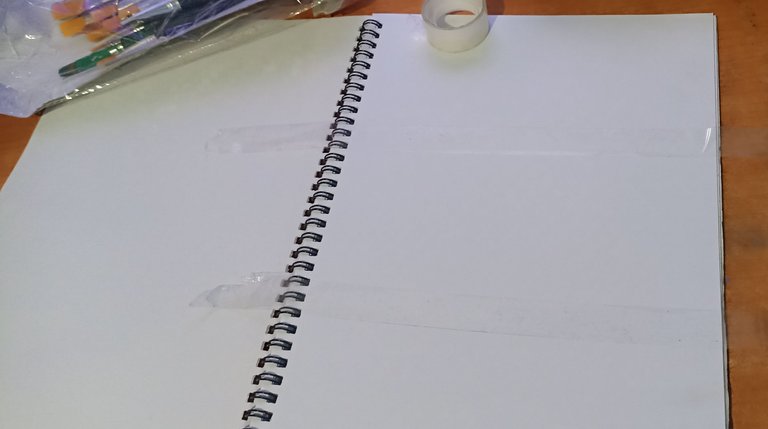
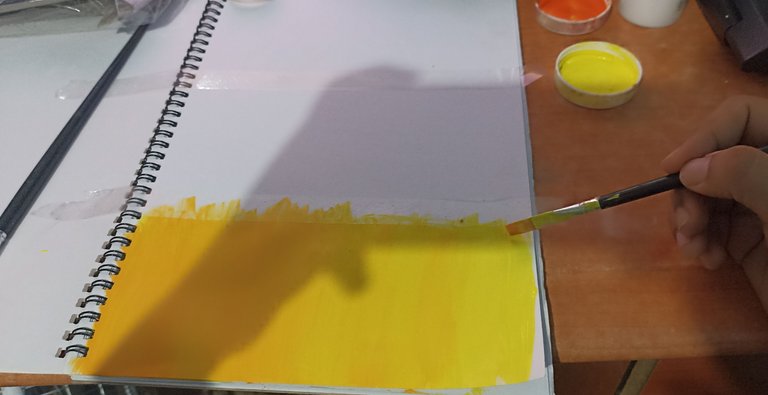
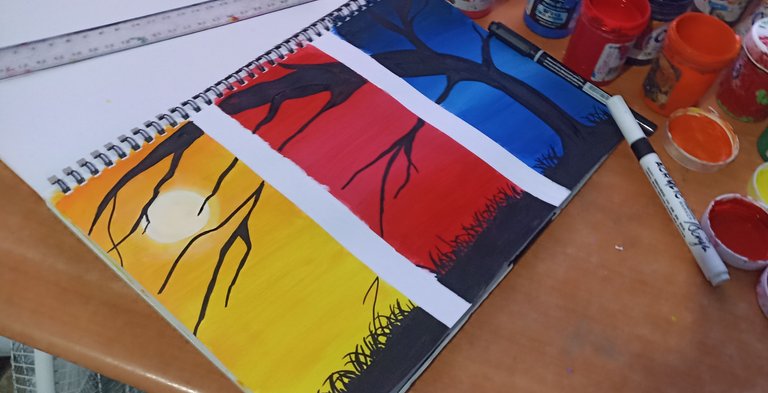
Paso 1: Divisiones y fondo
- Tome la cartulina blanca y con la cinta plástica realice 3 divisiones iguales.
- Pinte primero la parte de día, usando el amarillo y el naranja como colores protagonistas. Difumine bien los colores y luego incorpore un gran sol blanco que ilumine todo.
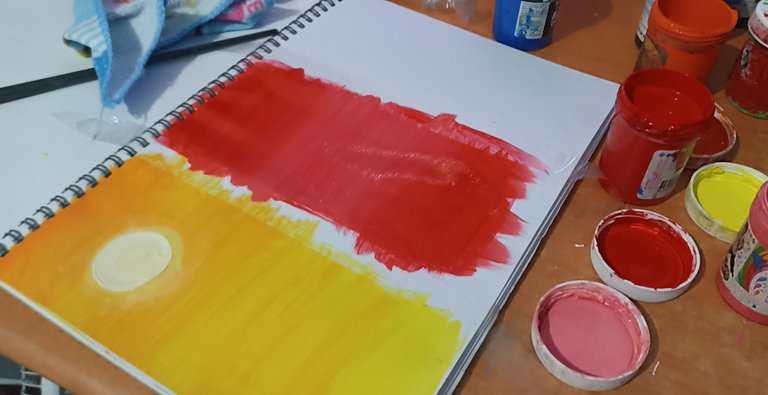
- Pinte el segundo lado de color rojo y rosado, utilizando un tono un poco turbio pero intenso.
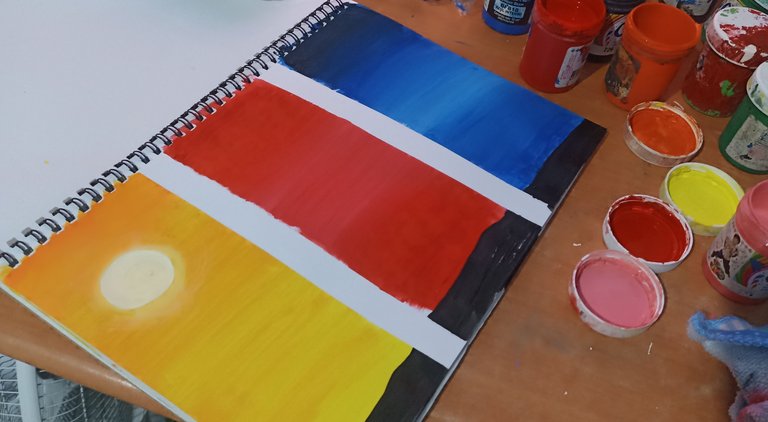
- Para el tercer y último lado, use azul, blanco y negro para crear una noche estrellada.
Let's see the process step by step:
Step 1: Divisions and background
Take the white cardboard and with the plastic tape make 3 equal divisions.
- Paint the day part first, using yellow and orange as the main colors. Blend the colors well and then incorporate a large white sun to illuminate everything.
- Paint the second side red and pink, using a slightly cloudy but intense tone.
- For the third and final side, use blue, white and black to create a starry night.

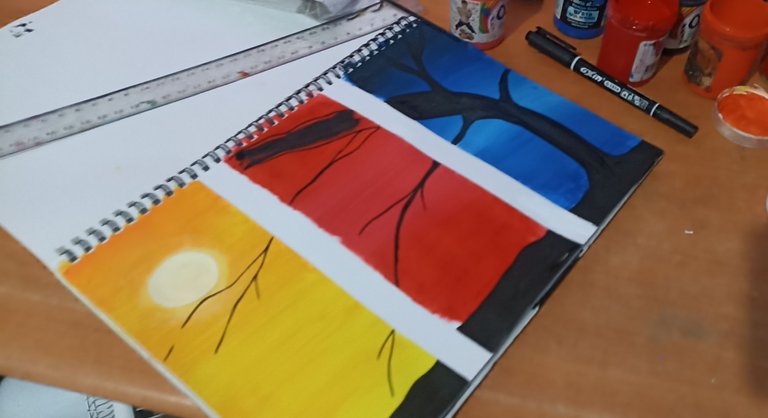
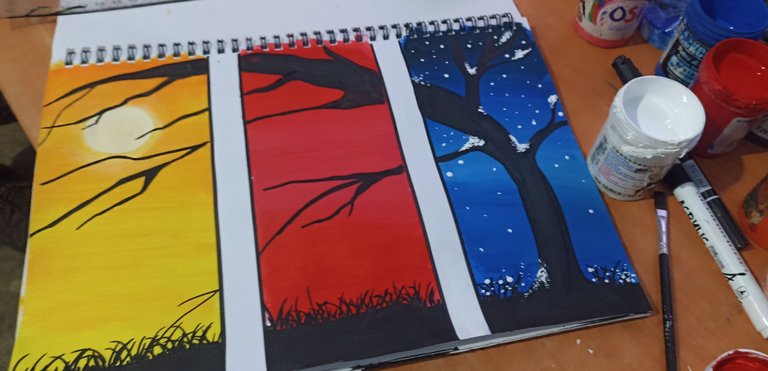
Paso 2: El árbol
- Pinte un suelo de color negro en los tres lados.
- En la parte azul, pinte un árbol con un tronco doblado que se expanda hacia los tres lados. Añada ramas secas por todo el árbol con gran detalle.
Step 2: The tree
- Paint a black ground on all three sides.
- On the blue side, paint a tree with a bent trunk that expands to all three sides. Add dry branches all over the tree in great detail.
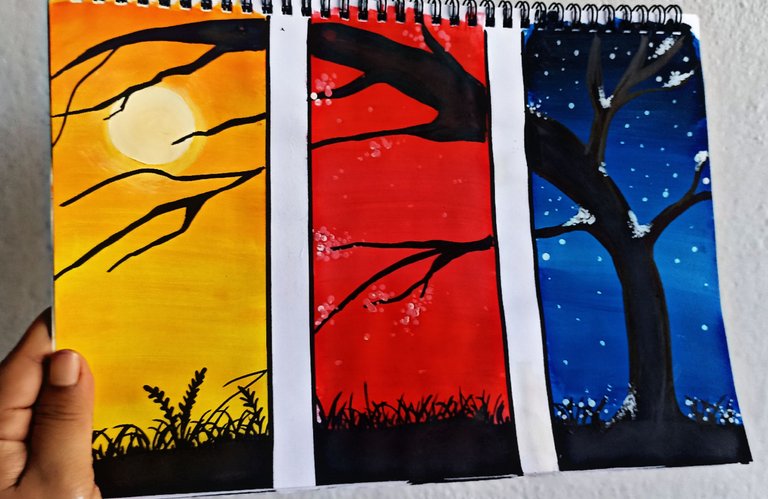
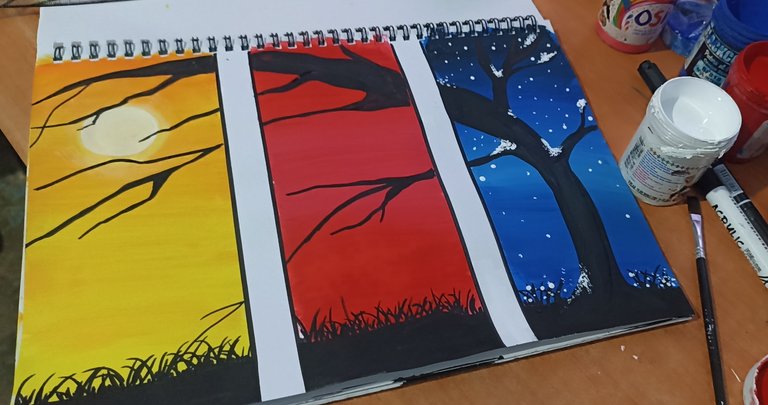
Paso 3: Detalles finales
- Agregue detalles a cada cuadrante de forma individual: nieve en la parte azul sobre el árbol, flores rosas en las ramas del lado rojo y detalles en el suelo como malezas y hojas en color negro en la parte amarilla.
- Resalte los bordes de los cuadros con marcador negro.
Step 3: Finishing touches
- Add details to each quadrant individually: snow in the blue part on the tree, pink flowers on the branches on the red side and details on the ground like weeds and leaves in black color in the yellow part.
- Highlight the edges of the squares with black marker.
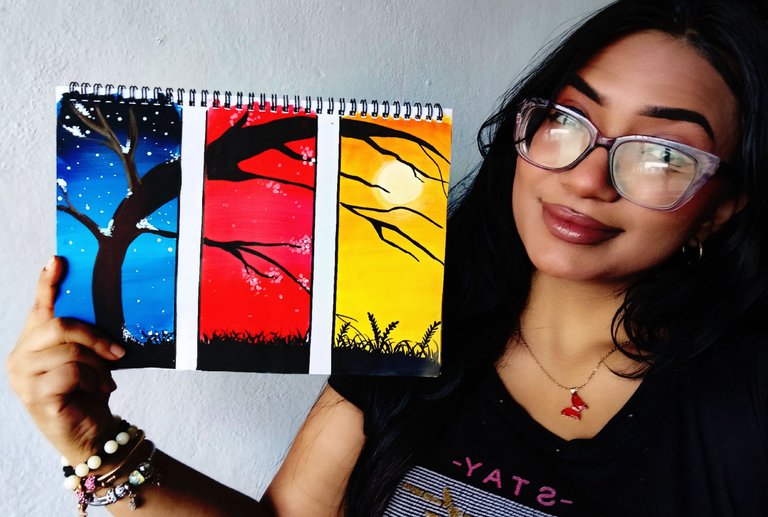
Paso 4: Resultado final
¡Y listo! Aquí les comparto el resultado final de esta pintura. Como siempre, quiero agradecerles por quedarse a leer y por regalarme un ratico de su tiempo. Nos vemos en la próxima publicación.
Un abrazo amigos.
Step 4: Final result
And that's it! Here I share with you the final result of this painting. As always, I want to thank you for staying to read and for giving me a little bit of your time. See you in the next post.
Best regards friends.


🤩 !PGM
This is very creative, well done 👍🏾.
me encanto, quiero algo asi para mi sala.