Hi Hivers, how are you today? May you always be healthy and happy. The inspiration for the digital image that I made this time came from the sword. Following is a step by step drawing process. Let's check this out!
Title: Sword In Stone
Artist: @mochanoz
Technique: 2D Digital Art
Application : ibis Paint X
Media: Digital
Tools: Brush
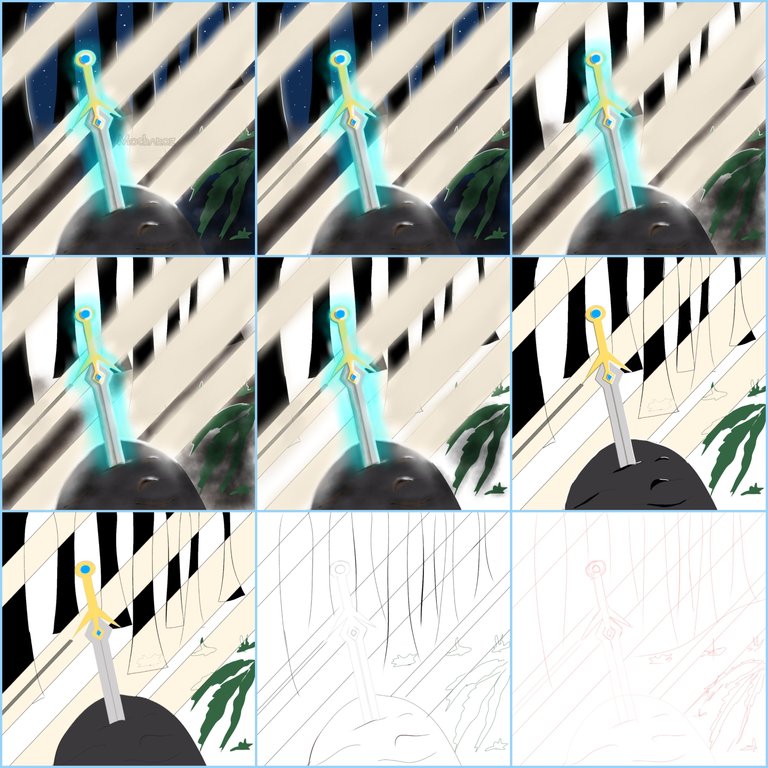
Steps to Create a Sword In Stone Illustrated Digital Image
DETAILS
Step by Step Process
LAYER 1
First I open the ibis Paint X application, there is a menu select My Gallery, there is a new canvas display, the canvas setting is 1080 x 1080 select OK
Then there will be a blank canvas display that I will draw
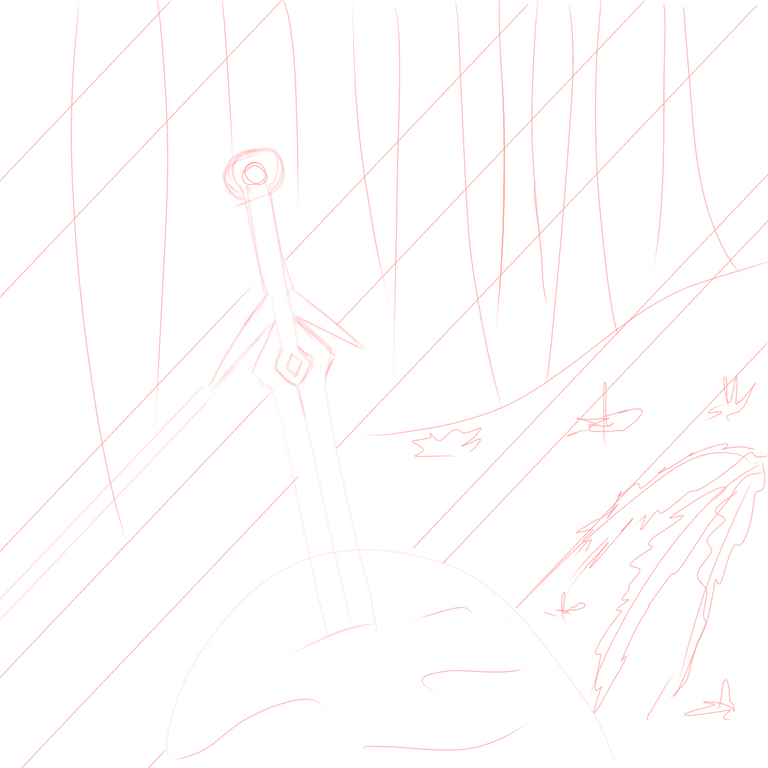
I will make a sketch first to make it easier when making drawings. Choose Brush, Custom, choose pencil
Then select the red color in the colored box in the lower toolbar
After choosing red color for the pencil, then we use it to sketch the sword
The sketch is ready
LAYER 2
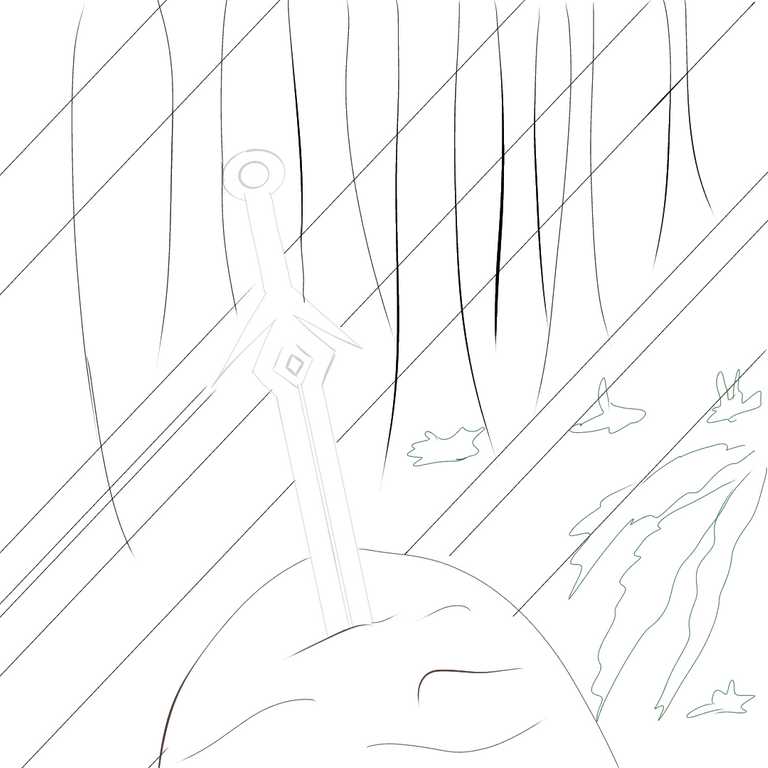
Now we will create layer 2 in the bottom toolbar to create an outline
The outline that we will draw using a brush, choose a custom dyed pen black (hard) to be different from the color of my sketch using gray for the sword, black for the tree trunk, and green for the leaves
Use eraser to erase unnecessary lines
LAYER 3
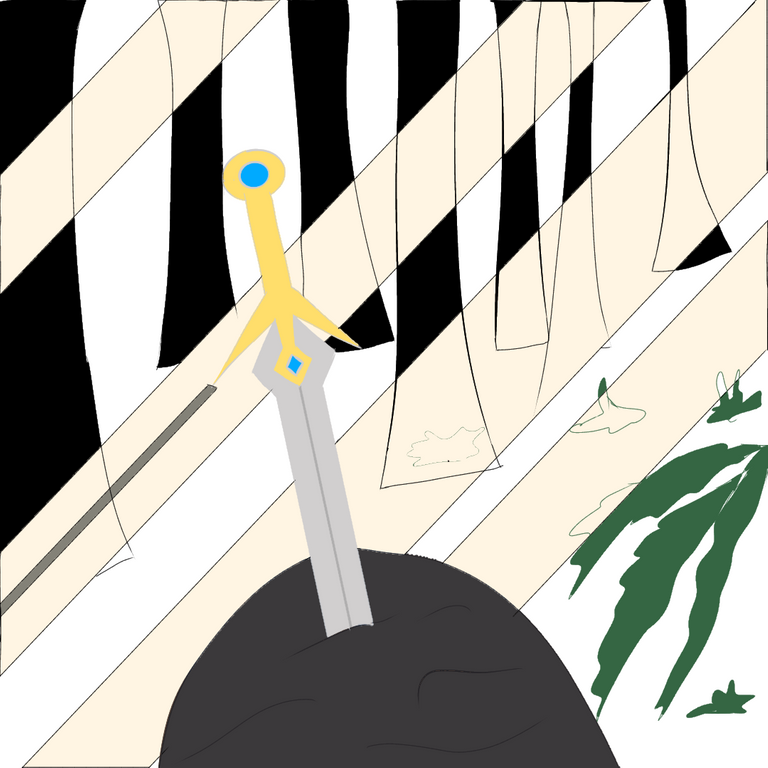
Next we create layer 3 in the lower toolbar to color the image
Choose a gray color for the base color of the sword using the colors in the bottom toolbar
Choose a dark gray color for the stone
Choose black color for tree trunk
Choose green color for the leaves
Choose a pastel ivory color for a light base color
Use the bucket in the toolbar on the side and color the picture
LAYER 4

- Next we create layer 4 in the lower toolbar to make light details on the image using a brush
LAYER 5
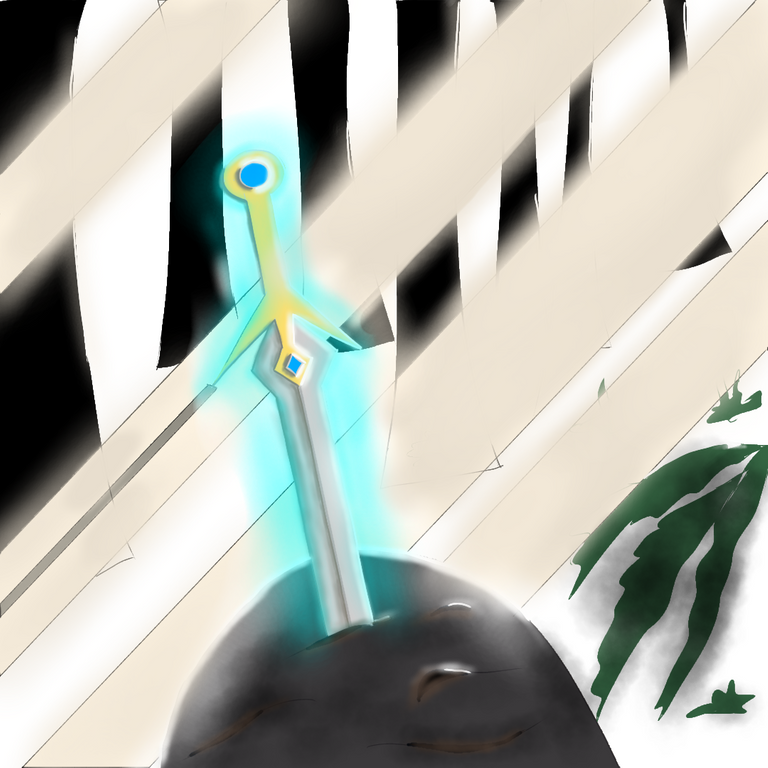
After giving color and light details to the image, apply dark and light effects according to the direction of the light on the sword
To make it look like there is volume, I put a shading and highlighting effect on the sword image
Use the brush on the toolbar on the side, then select a custom airbrush, adjust its size and opacity
The color used matches the color of the image using an eyedropper
Then color the borders between colors so that they are evenly mixed and soft
We create neon light blue details for the sword and neon glow for the rays using a brush
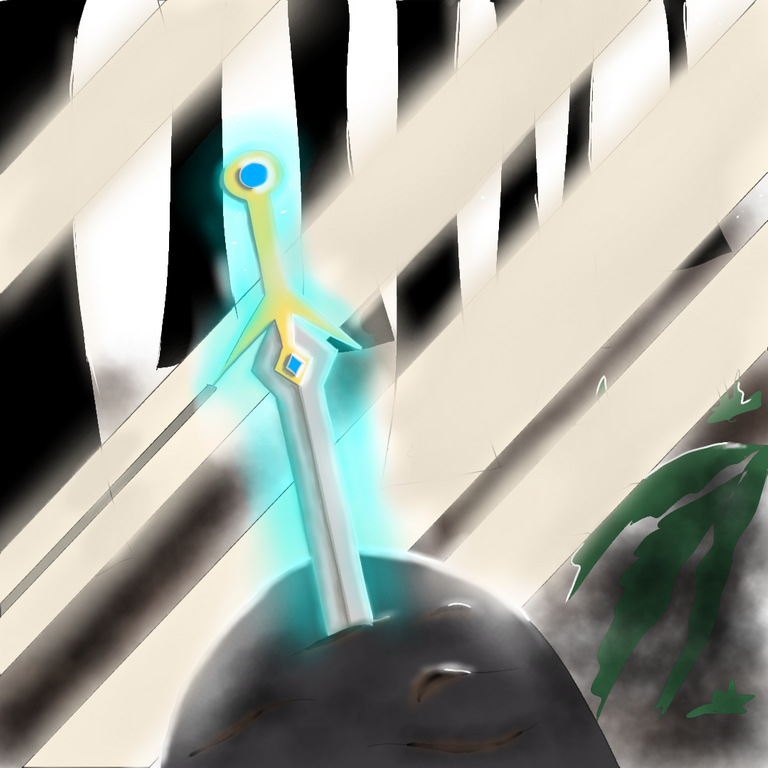
LAYER 6

- Give effect to the image using a brown gradient airbrush for the ground
LAYER 7
Next we create a layer in the lower toolbar to make a star point
Choose white color using brush
Set the opacity and thickness of the brush
LAYER 8
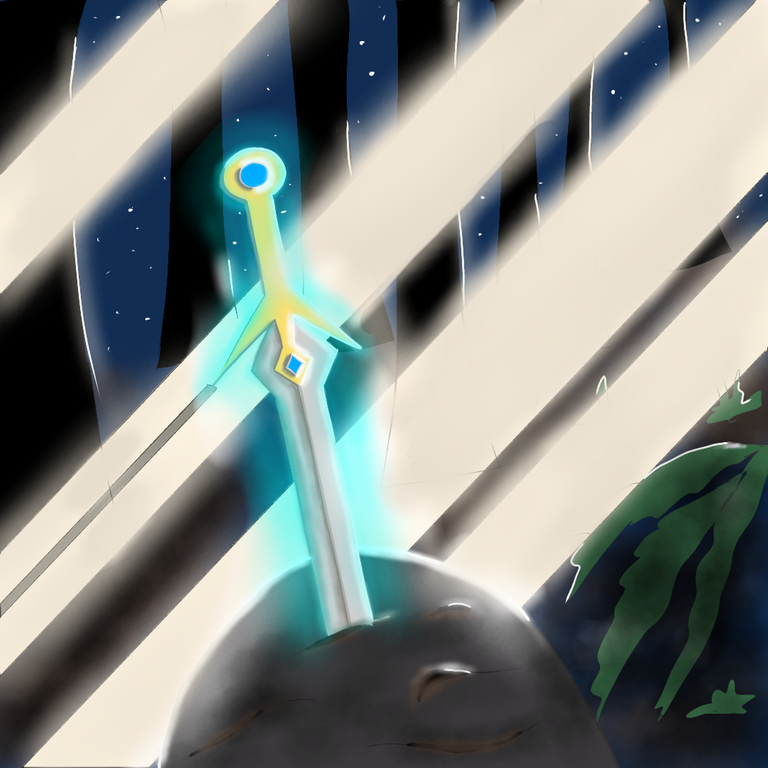
- Next we create layer 8 in the lower toolbar to make a navy background
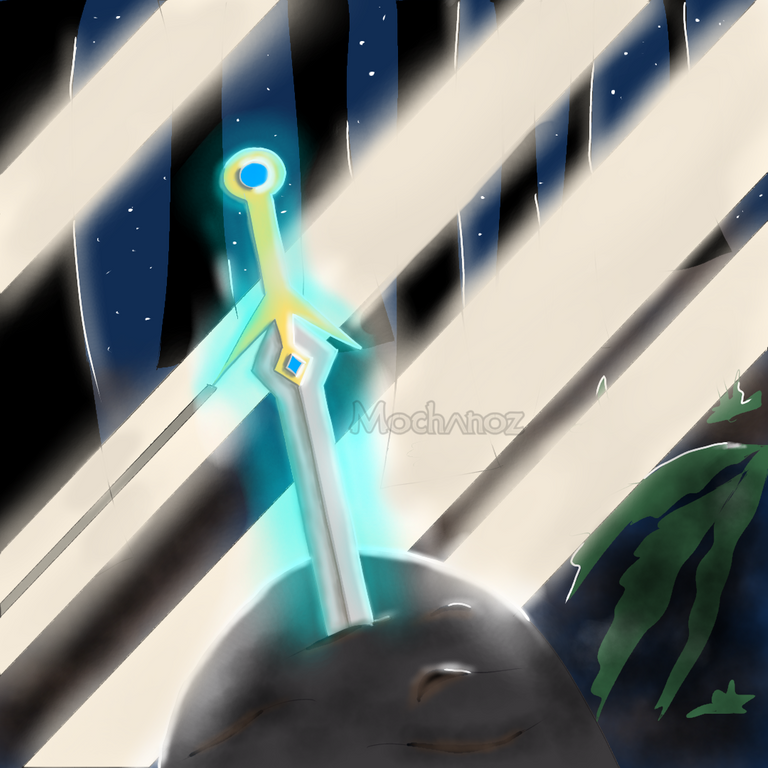
DIGITAL ILLUSTRATION IMAGE RESULT
Here's a complete picture of Sword In Stone
- Select save as PNG to save the created Sword In Stone image.
I'm using Galaxy Tab A with S Pen
Thank you for visiting this post. Greetings To Me @mochanoz
Visit My Gallery:

The rewards earned on this comment will go directly to the person sharing the post on Twitter as long as they are registered with @poshtoken. Sign up at https://hiveposh.com.