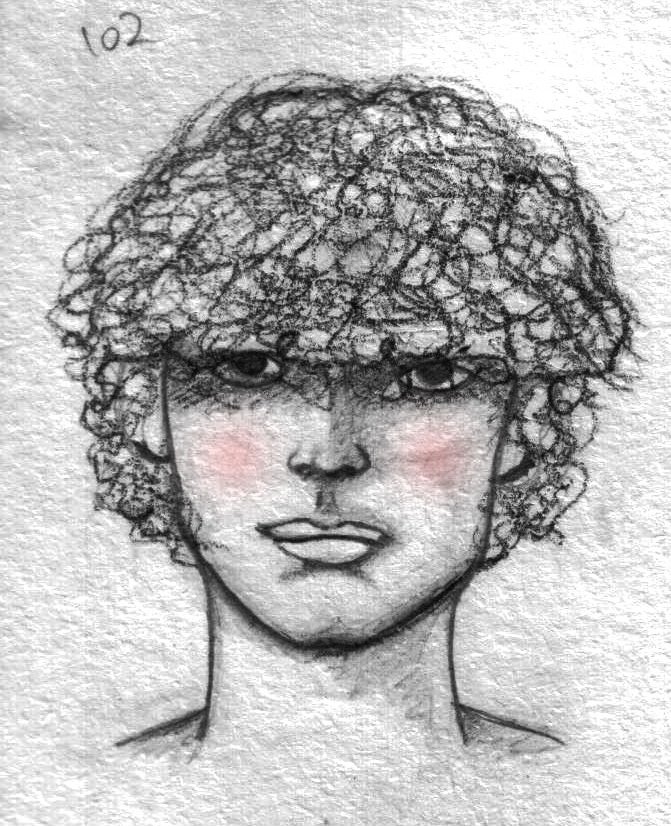
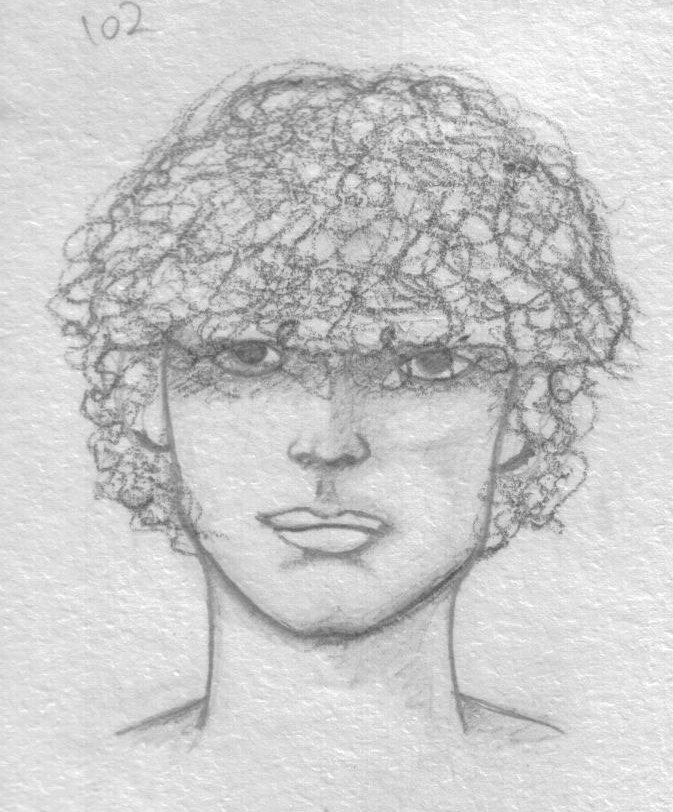
How about people from hive, today I come here to share some drawings that I have continued working after the 10 days challenge! It is never enough, and the idea is to always be consistent to achieve your goals. This was an illustration that seemed quite accurate to me, in terms of proportions, shadows / lights and details, I think you see a quite remarkable change in our drawings when we truly take the time and dedication they need, with this, I could take a little more time and patience than in 100 in 10 days. I think it looks haha
I also add a simple process that I use in photoshop to give it more volume, highlighting, detail, as you want to say, in adobe photoshop. I hope you like it!
Que tal gente de hive, hoy paso por aqui para compartirles algunos dibujos que he seguido trabjando luego de los del reto de 10 dias! , nunca es suficiente, y la idea es siempre mantener la constancia para alcanzar los objetivos. Este fue una ilustracion que me parecio bastante acertada, en cuanto a las proporciones, sombras/luces y detalles, creo que se ve un cambio bastante notable en nuestros dibujos cuando nos tomamos verdaderamente el tiempo y dedicacion que necesitan, con este, pude tomarme un poco mas de tiempo y paciencia que en los de 100 en 10 dias. Creo que se ve haha
Tambien añexo un proceso sencillo que utilice en photoshop para darle mas volumen, resaltado, detalle, como quieran decirle, en adobe photoshop. Espero les guste!
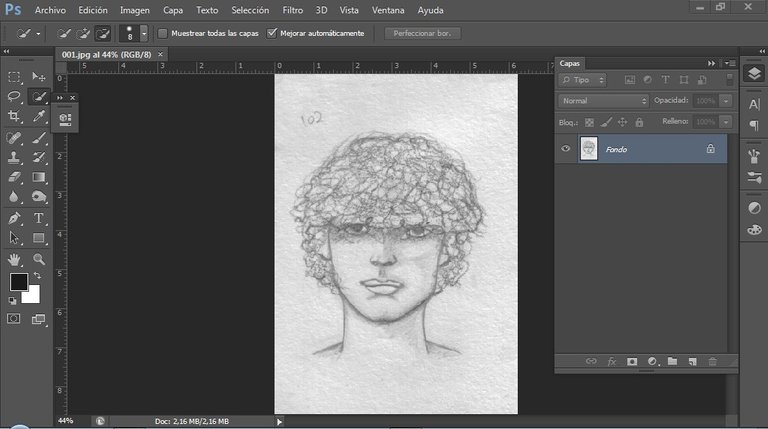
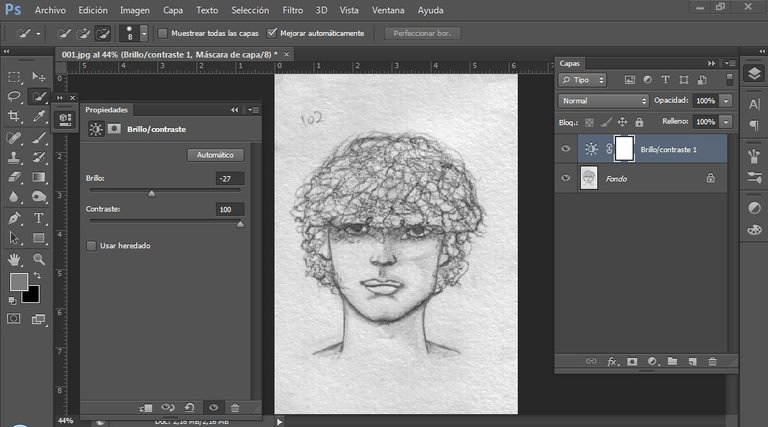
Adjust the brightness and contrast to give more prominence to the line compared to the background
Ajuste el brillo y contraste para darle mas protagonismo a la linea con respecto al fondo
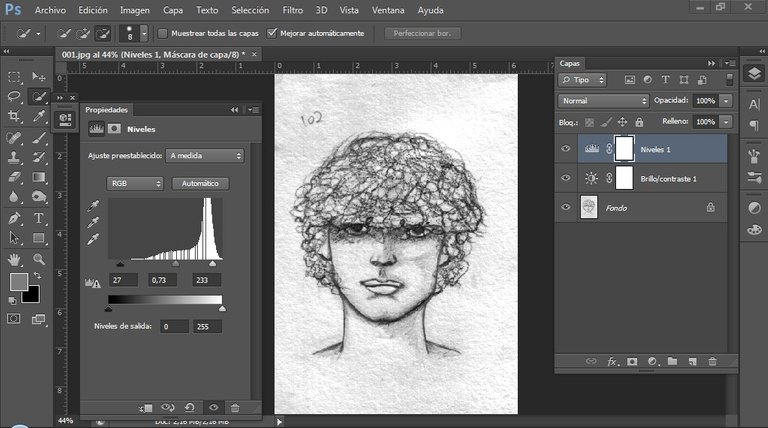
then adjust the levels to give the black value greater depth and dimension in the illustration
luego, ajuste los niveles para darle mayor dimensión y profundidad al valor negro en la ilustración
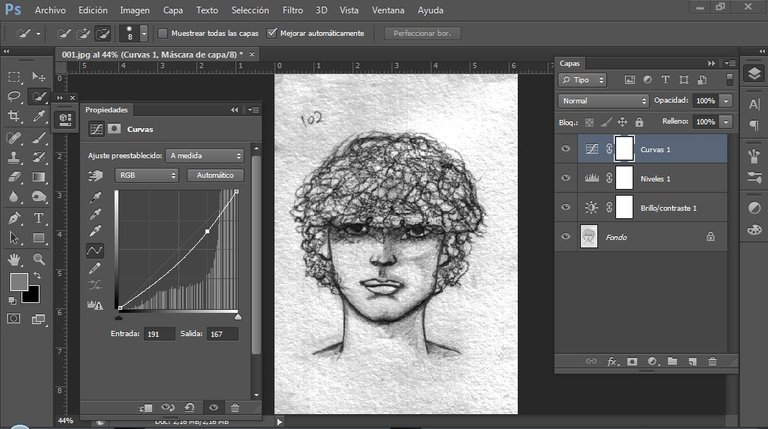
then curl the tones to unify everything
luego, ajuste con curvas los tonos para unificar todo
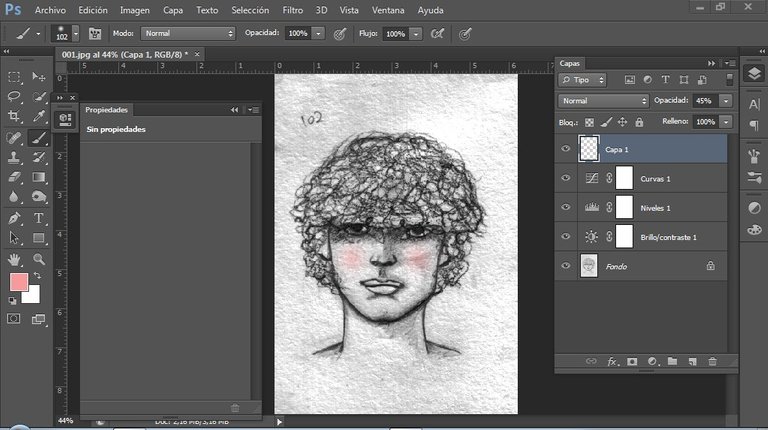
Lastly, with a brush add these two pink points, lower the opacity, to create this blush detail, which I like to use in my illustrations a lot
De ultimo, con un pincel agregue estos dos puntos color rosa, les baje la opacidad, para crear este detalle de rubor, el cual me gusta usar en mis ilustraciones mucho